ECK
-
Posts
646 -
Joined
-
Last visited
Content Type
Profiles
Forums
Gallery
Events
Everything posted by ECK
-
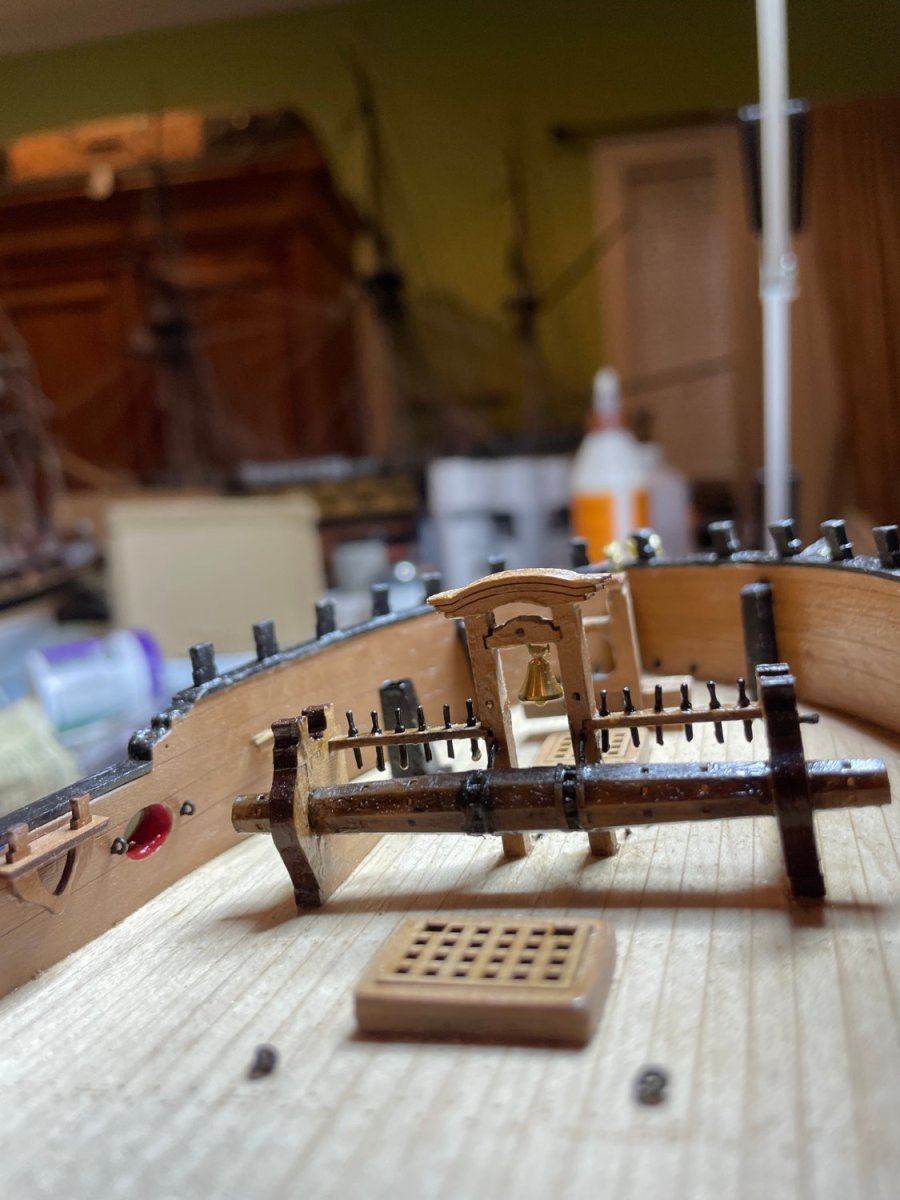
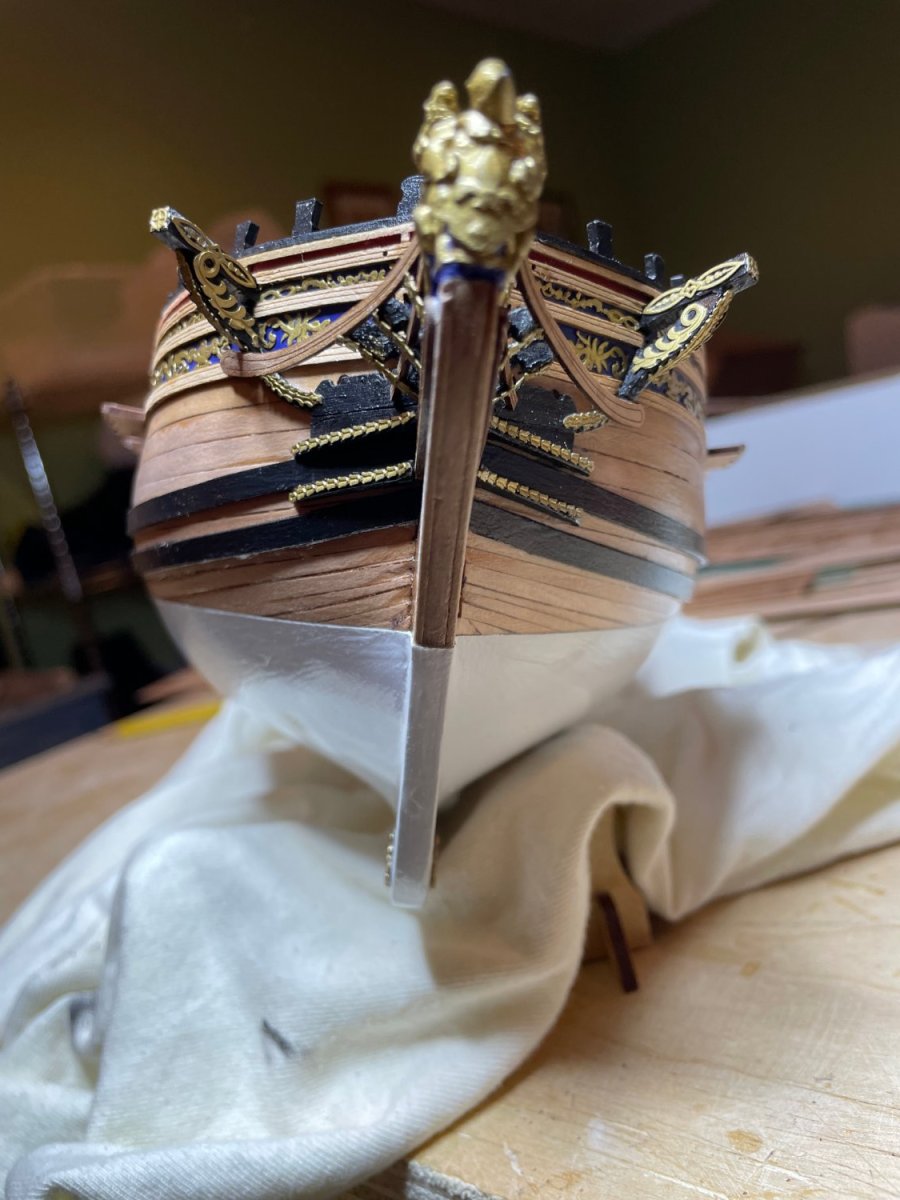
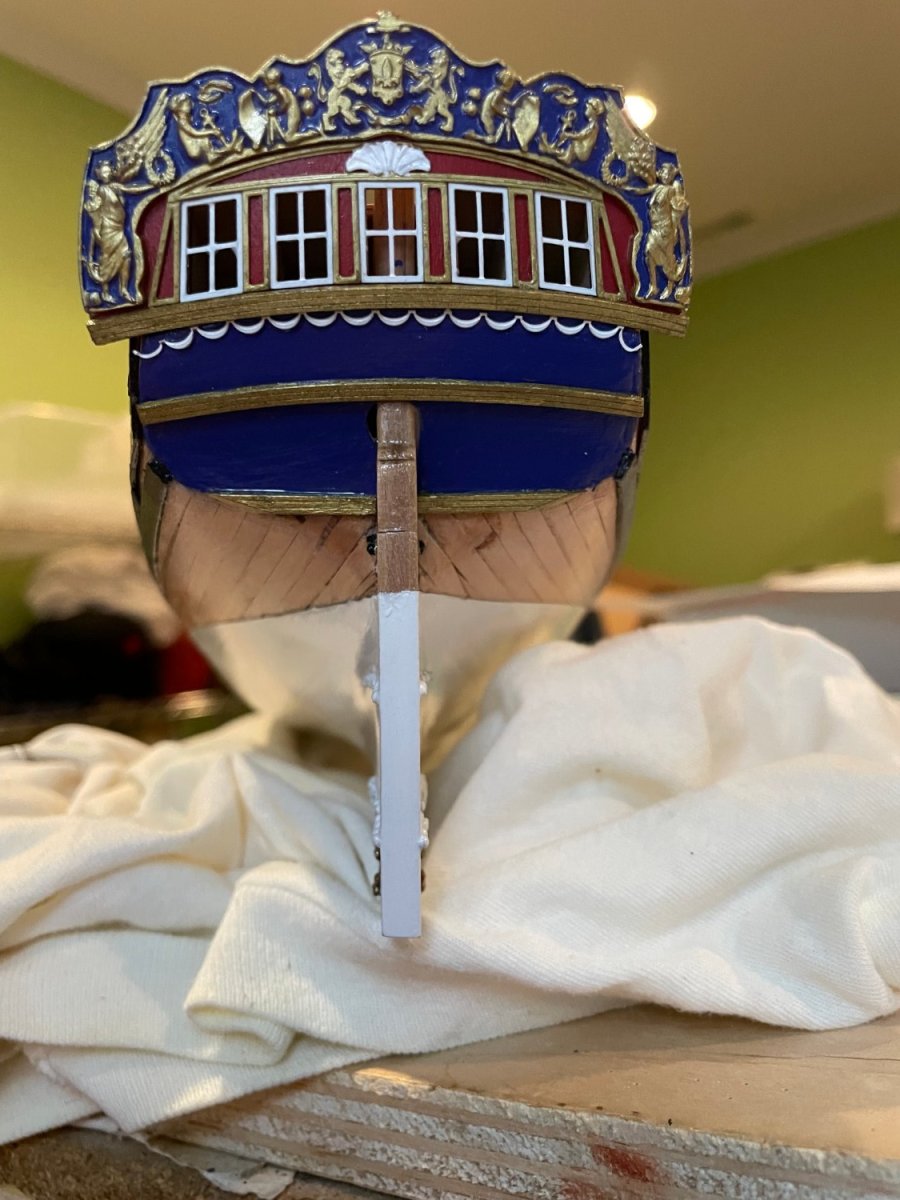
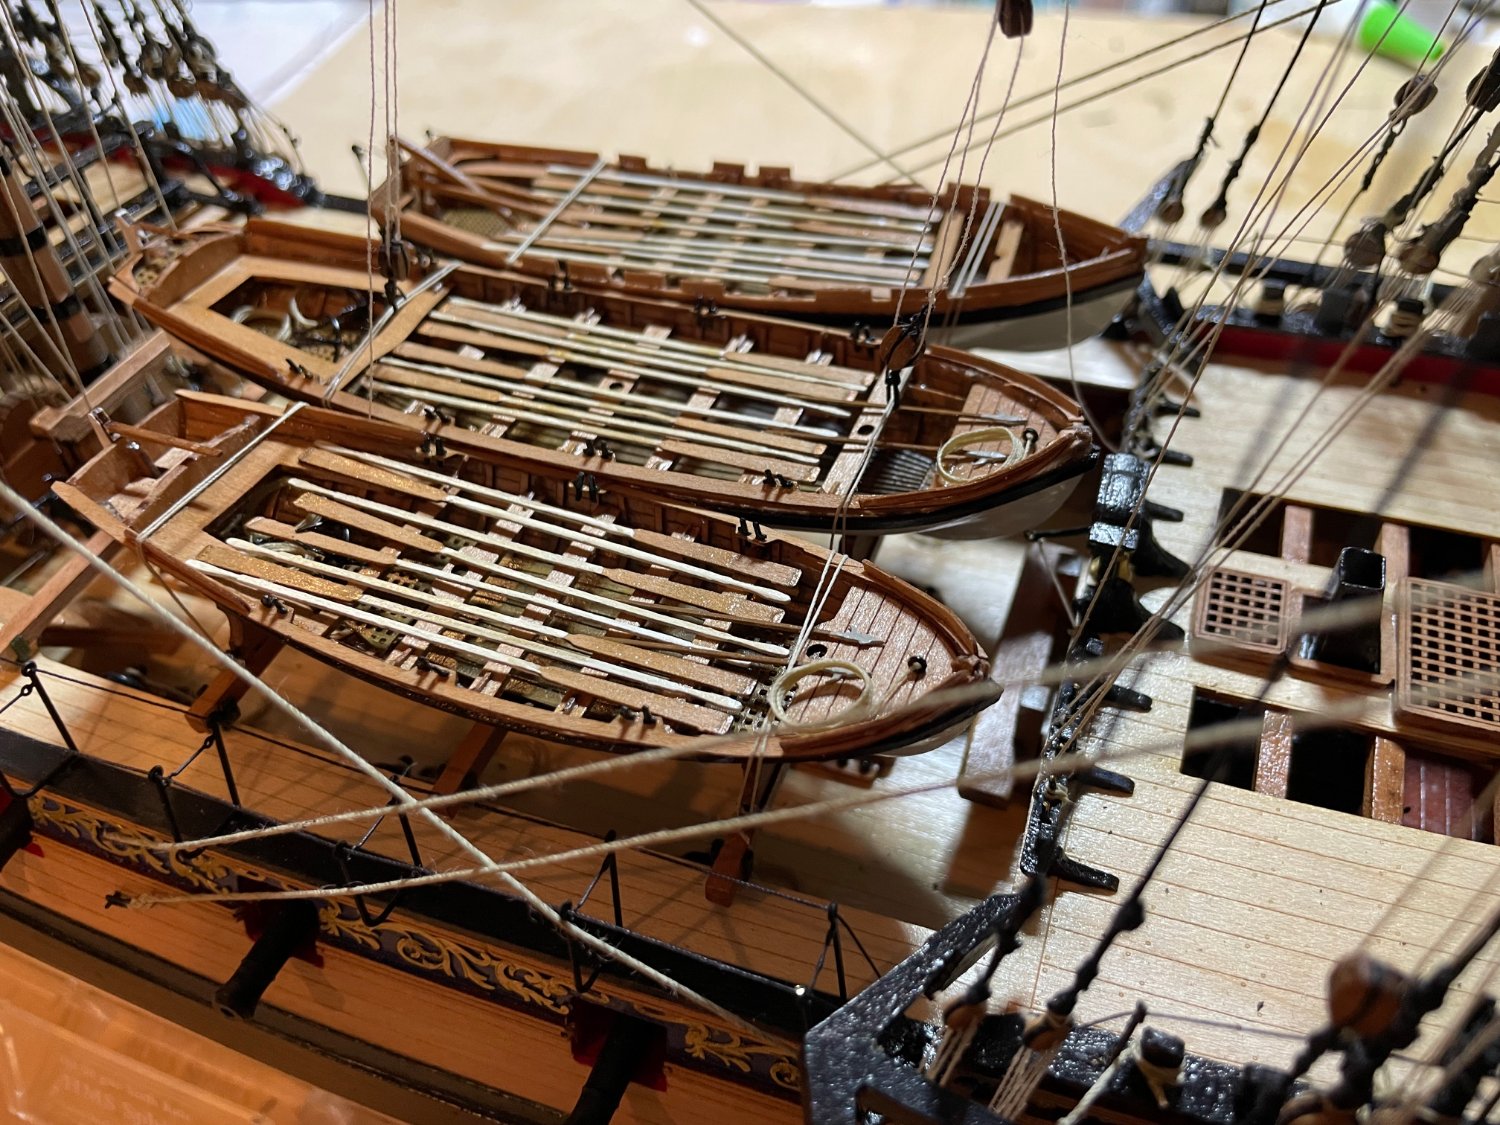
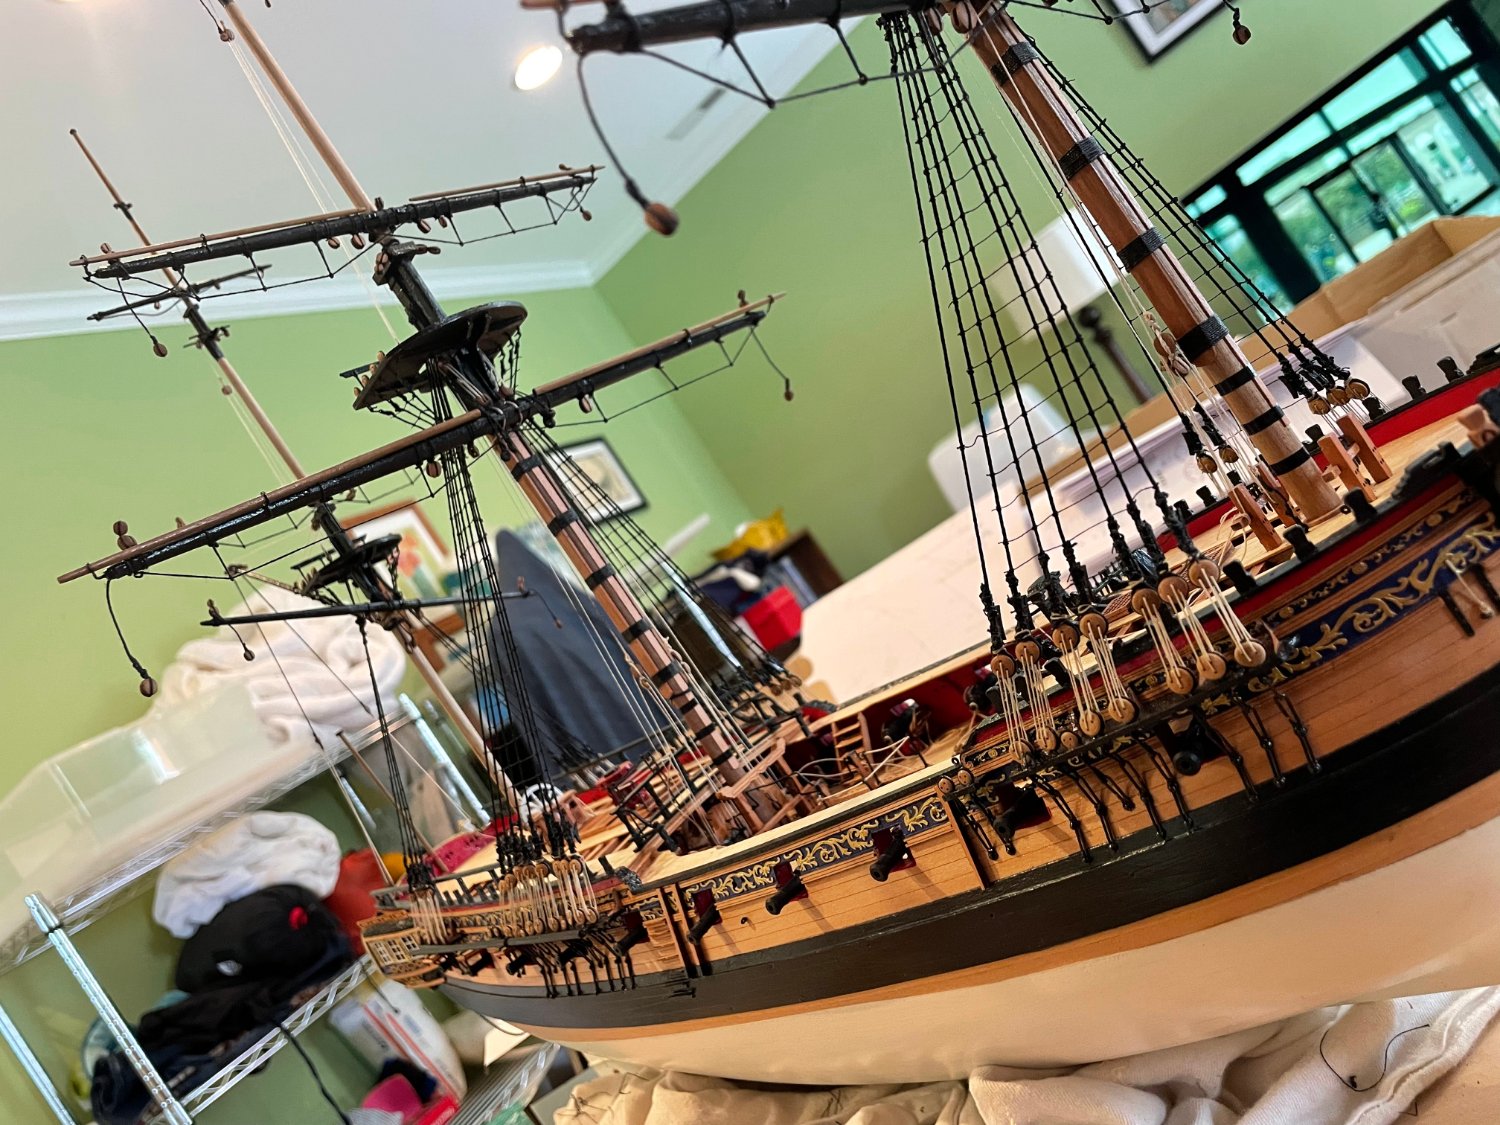
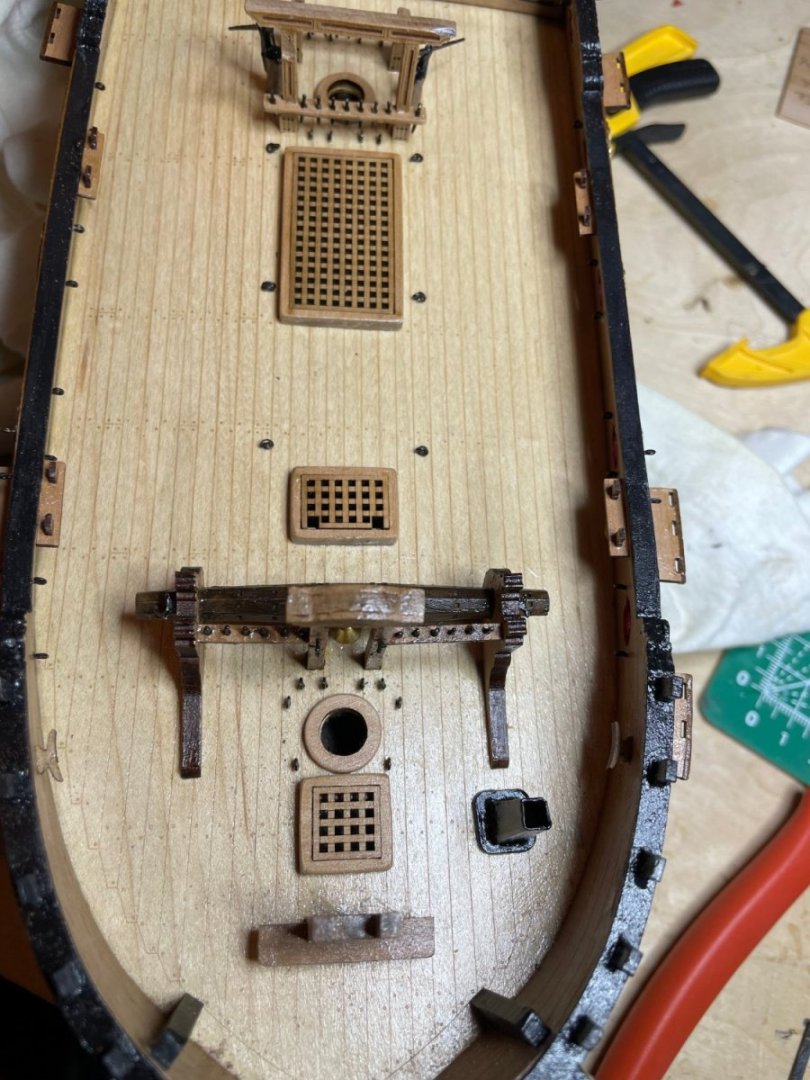
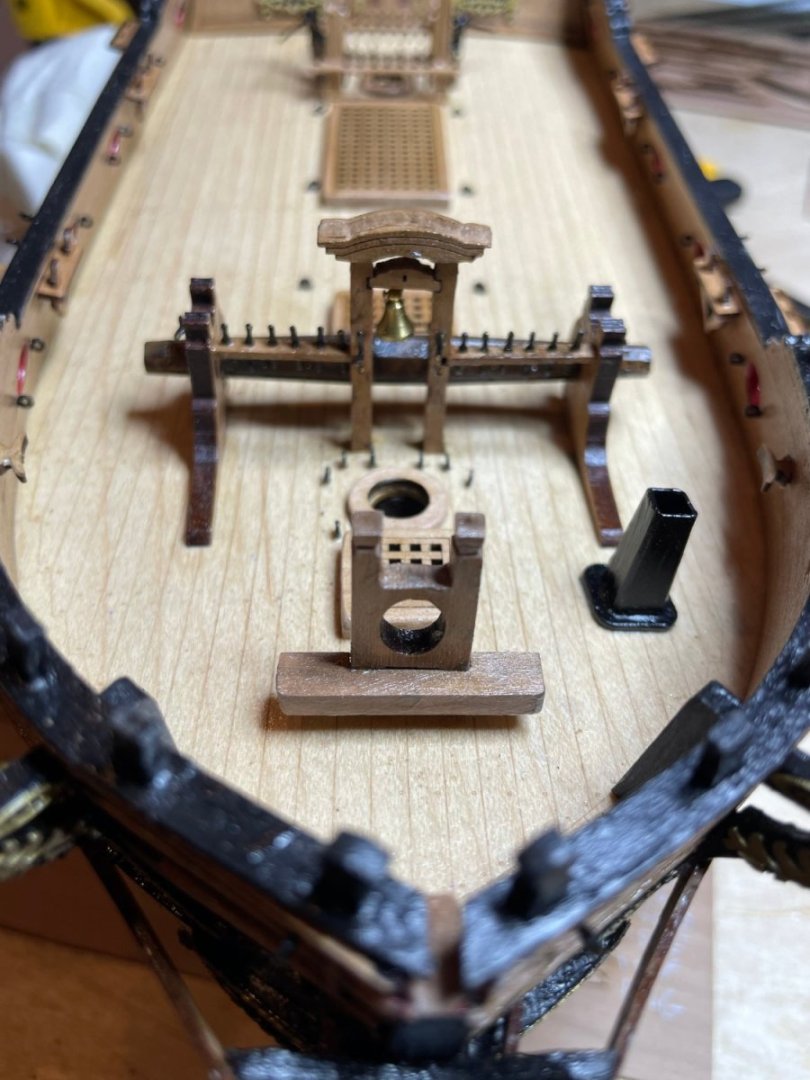
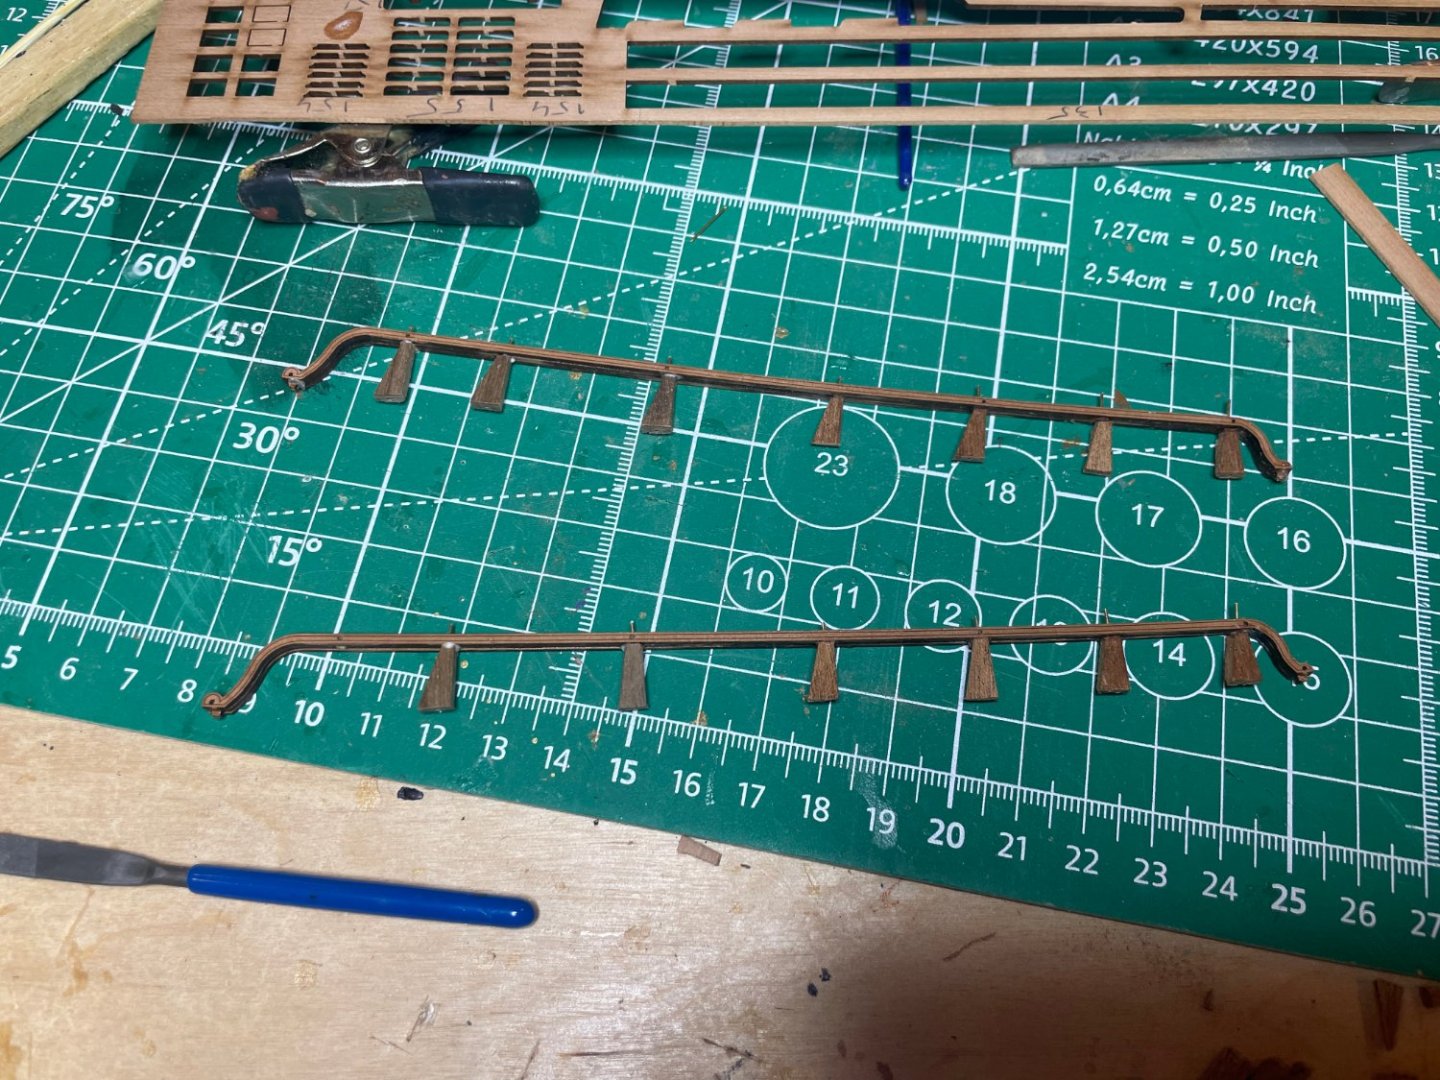
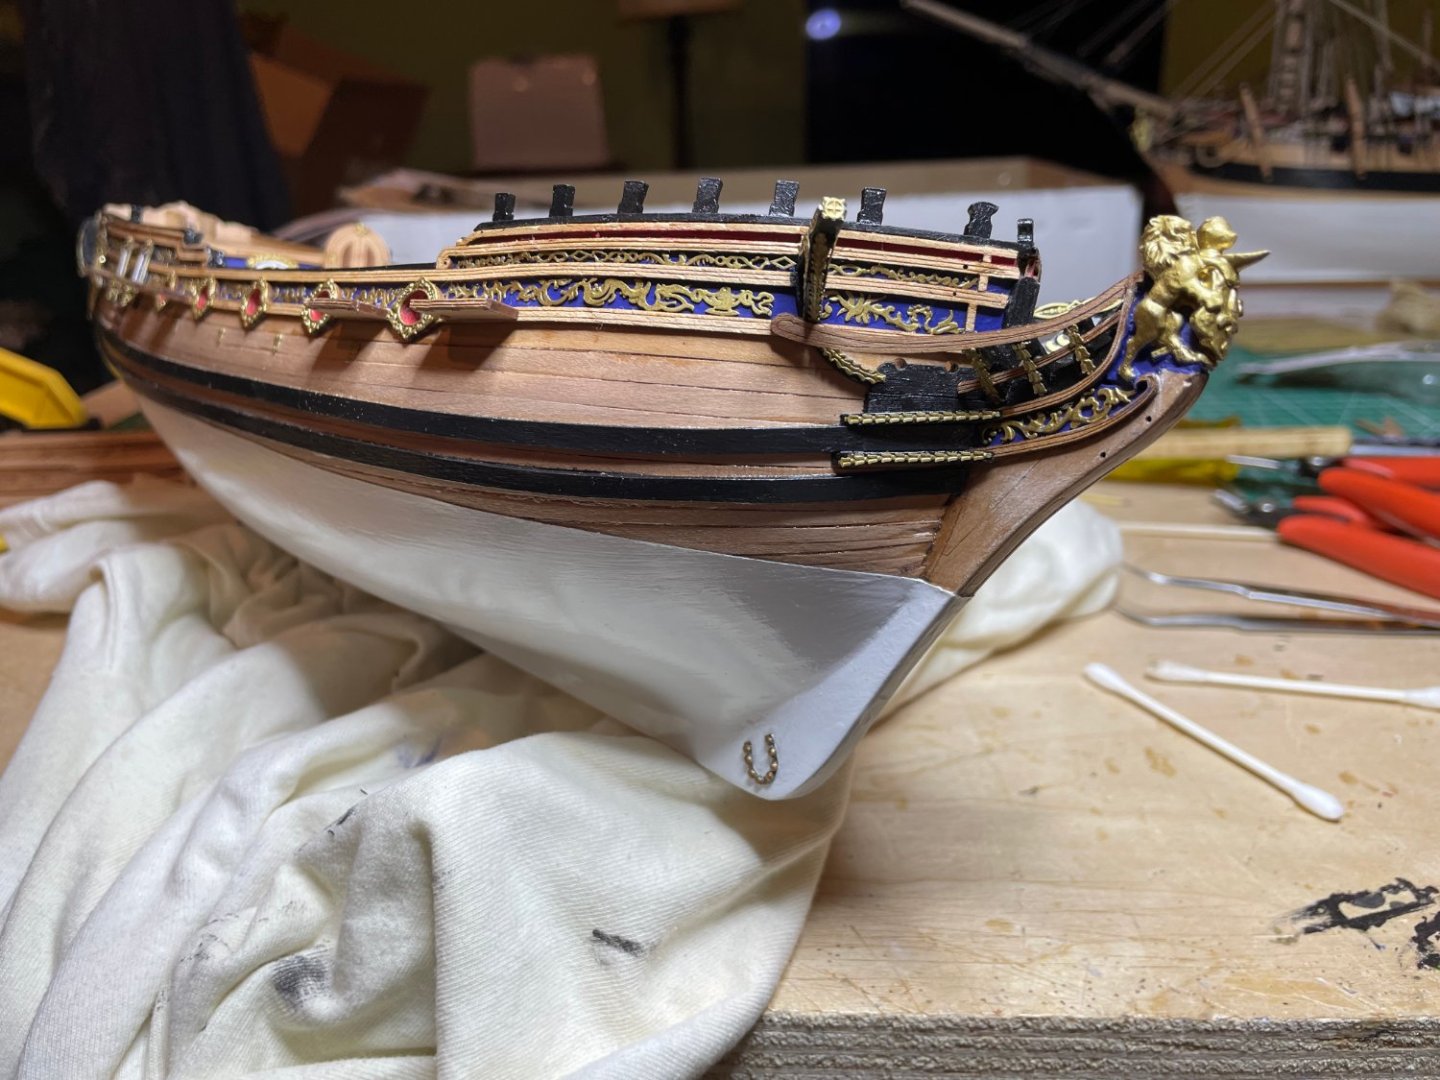
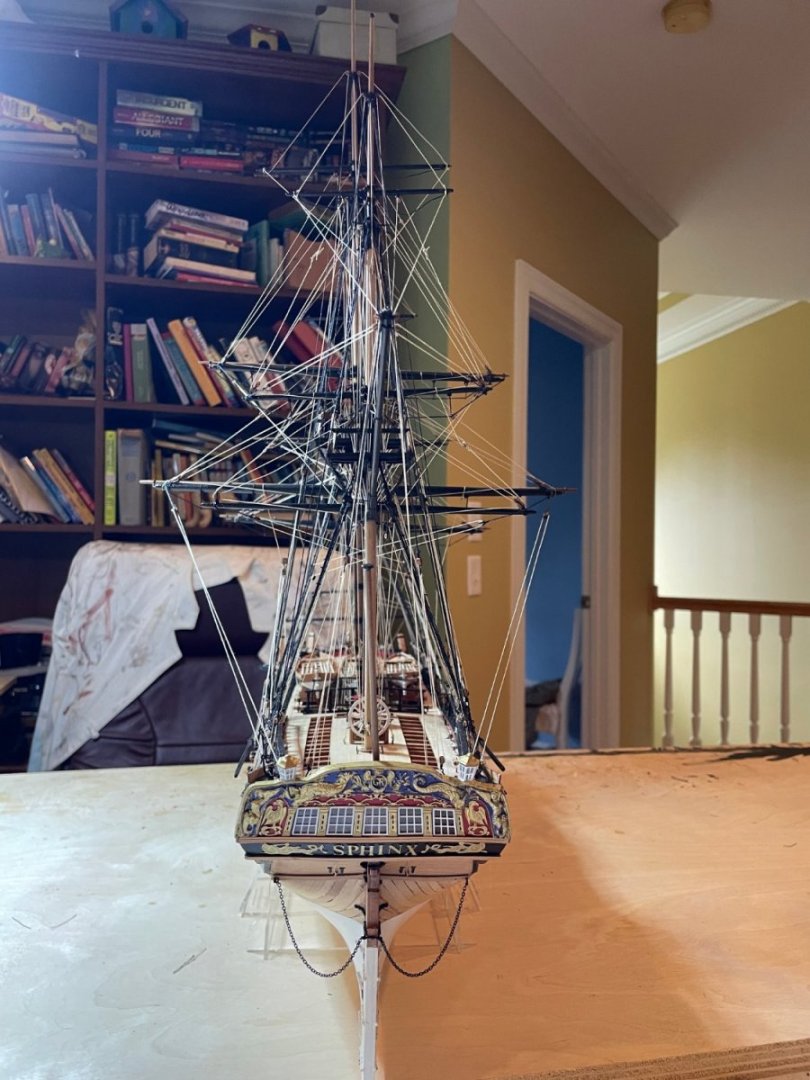
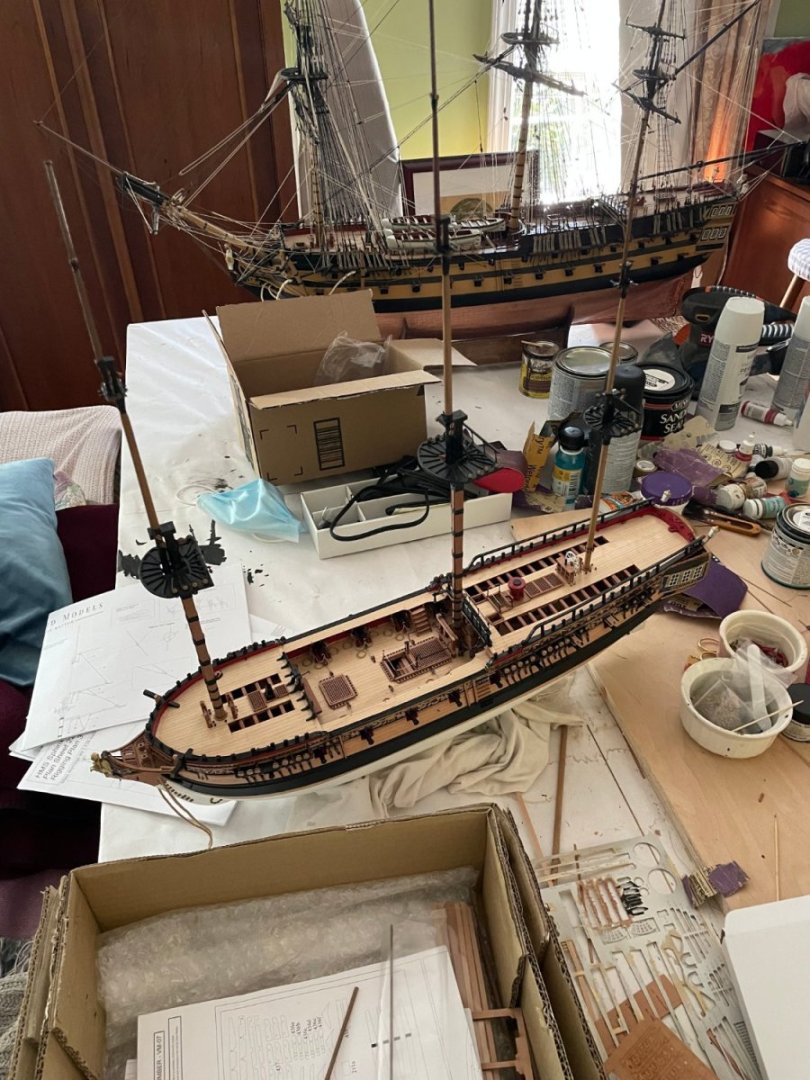
Most of deck done. Now for the problem that vexed me . The stern rails pillars are extremely fragile. The are much smaller than on the Sphinx. The grain also goes across so easily brocken, which of course I did. Multiple times and as a result I had to remove them all and fashion new ones from 3x2 mahogany strip. I drilled holes on top and bottom to pin them in. With paint and all worked ok. Not perfect and clean as the original but much sturdier. Otherwise I would have to have an entire sheet sent from across the pond. Unless you are very close, I think it looks ok. I think the rails and pillars would be best 3-D printed. Another issue is that the pictured cannon assembly in the manual is not the same as the parts with the kit in that the the holders of the cannan are integral to the piece and not something you add later. Assembly is as seen in the HMS Sphinx instructions.


-
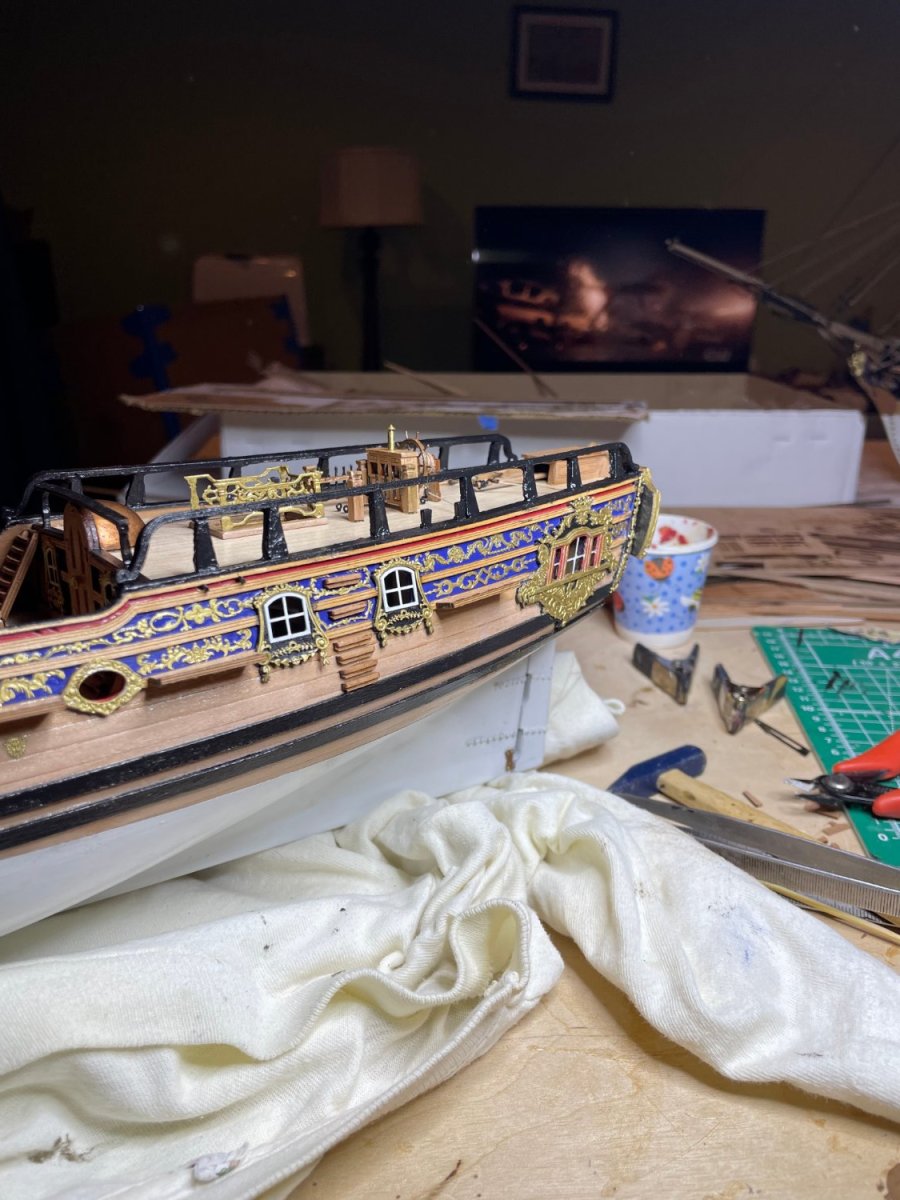
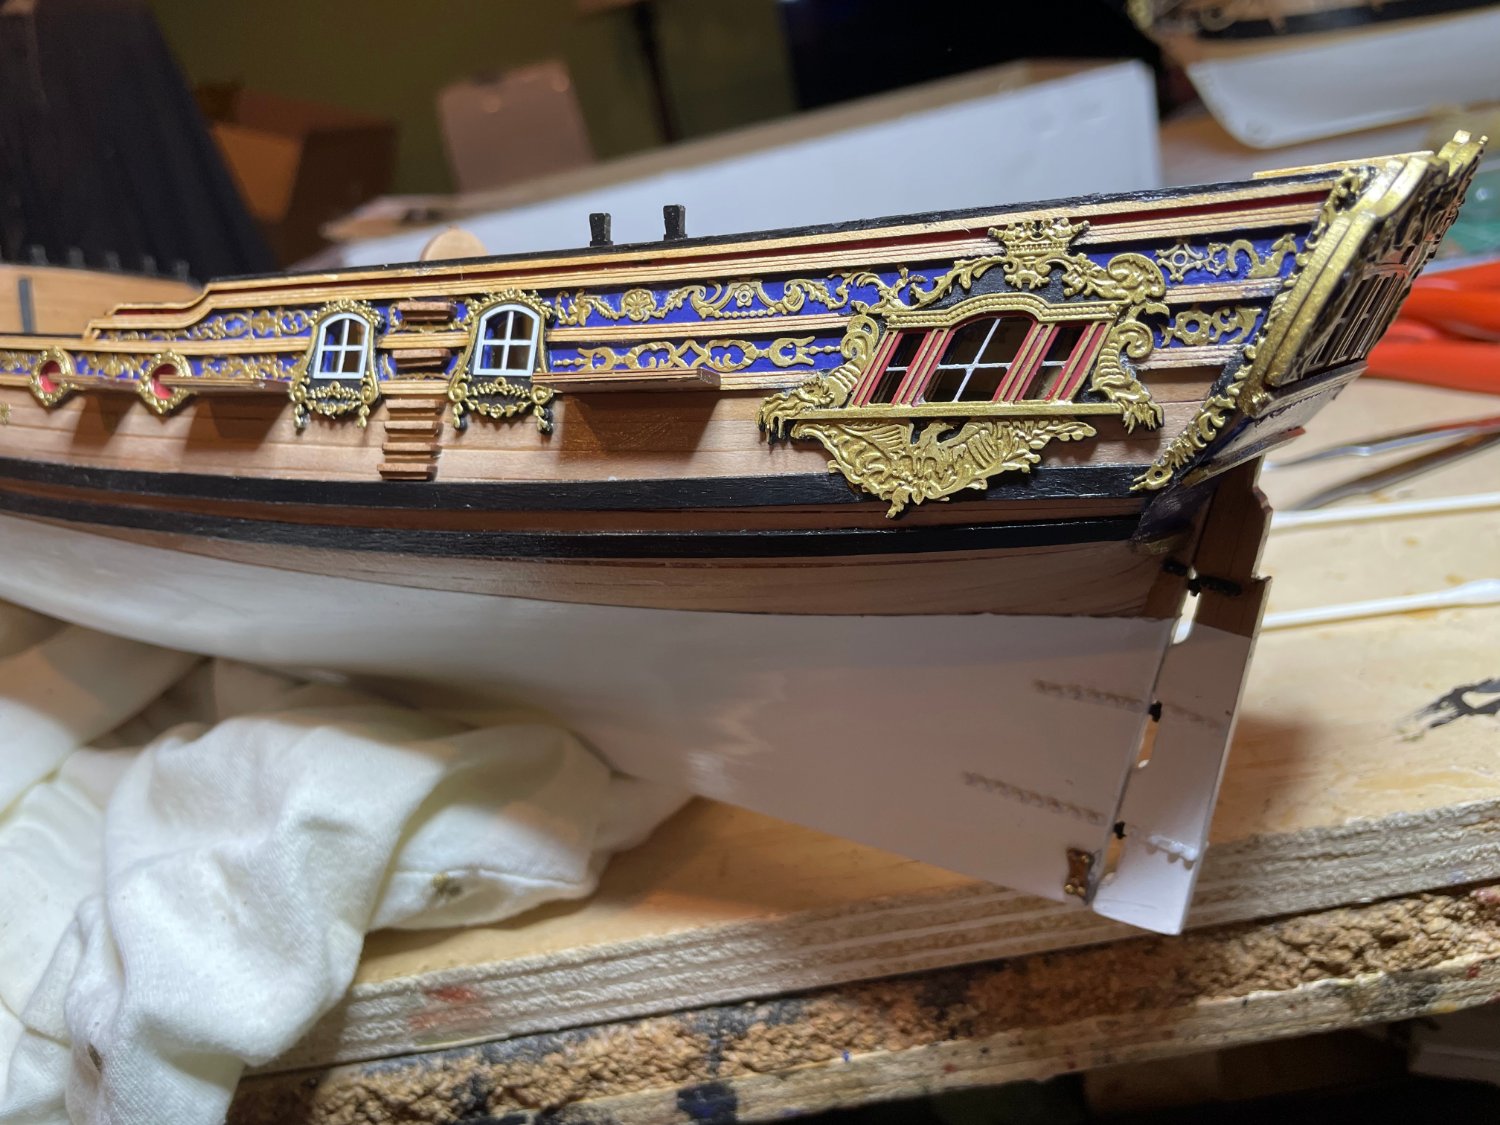
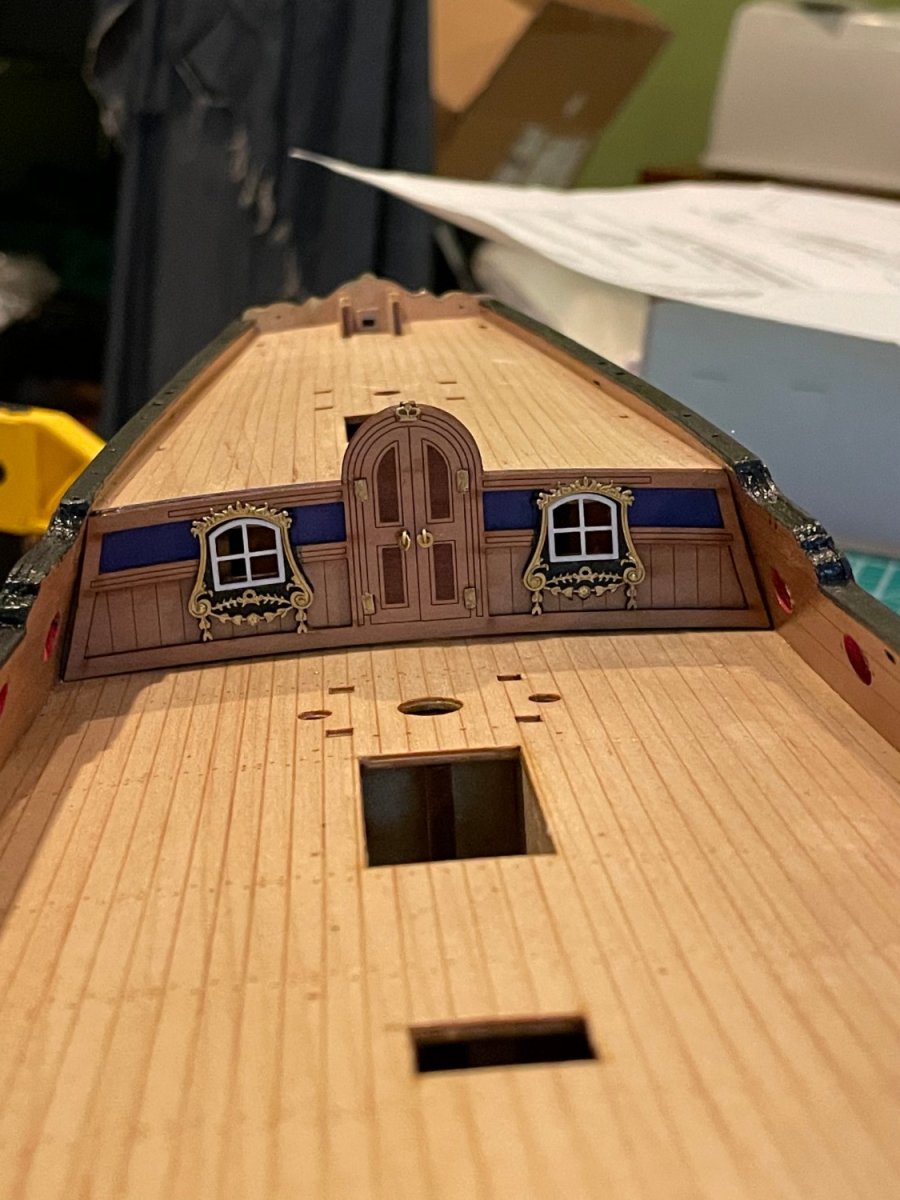
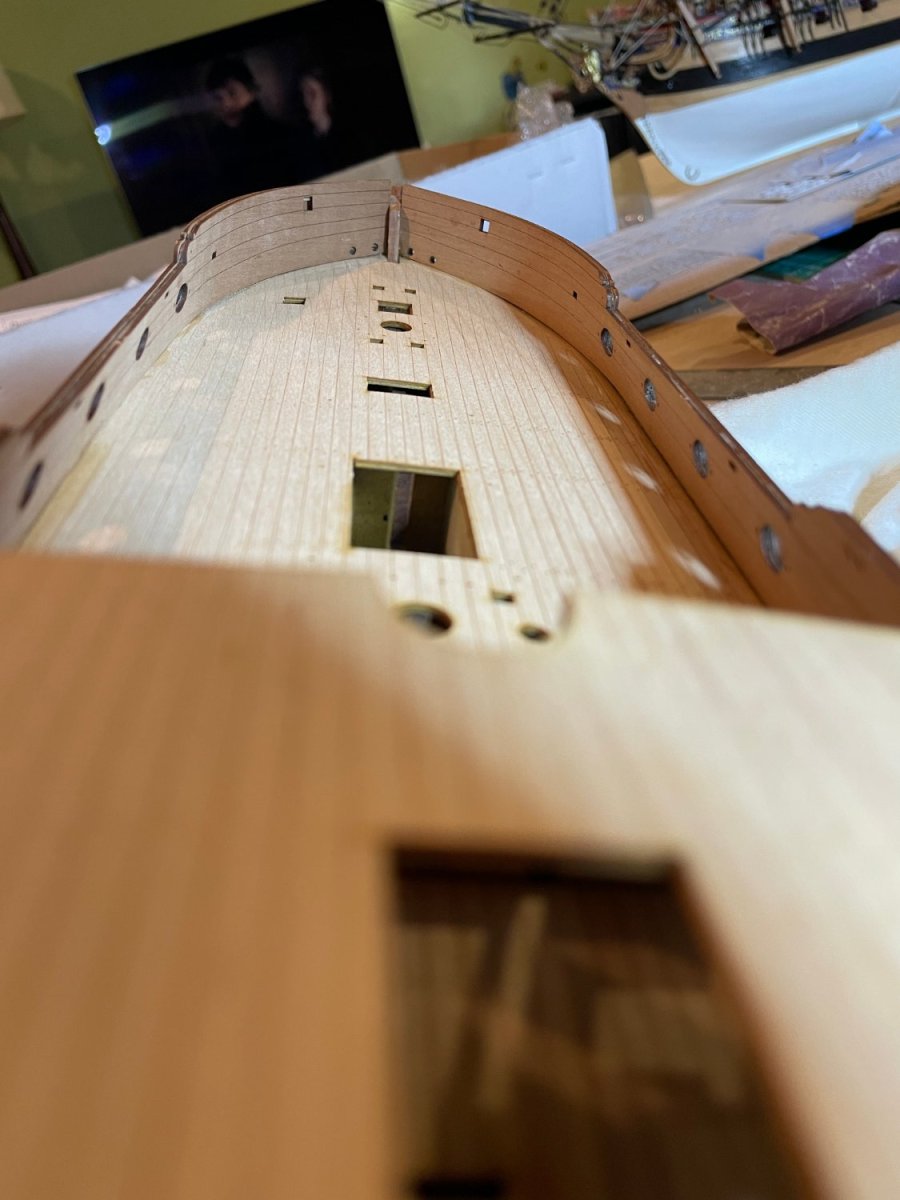
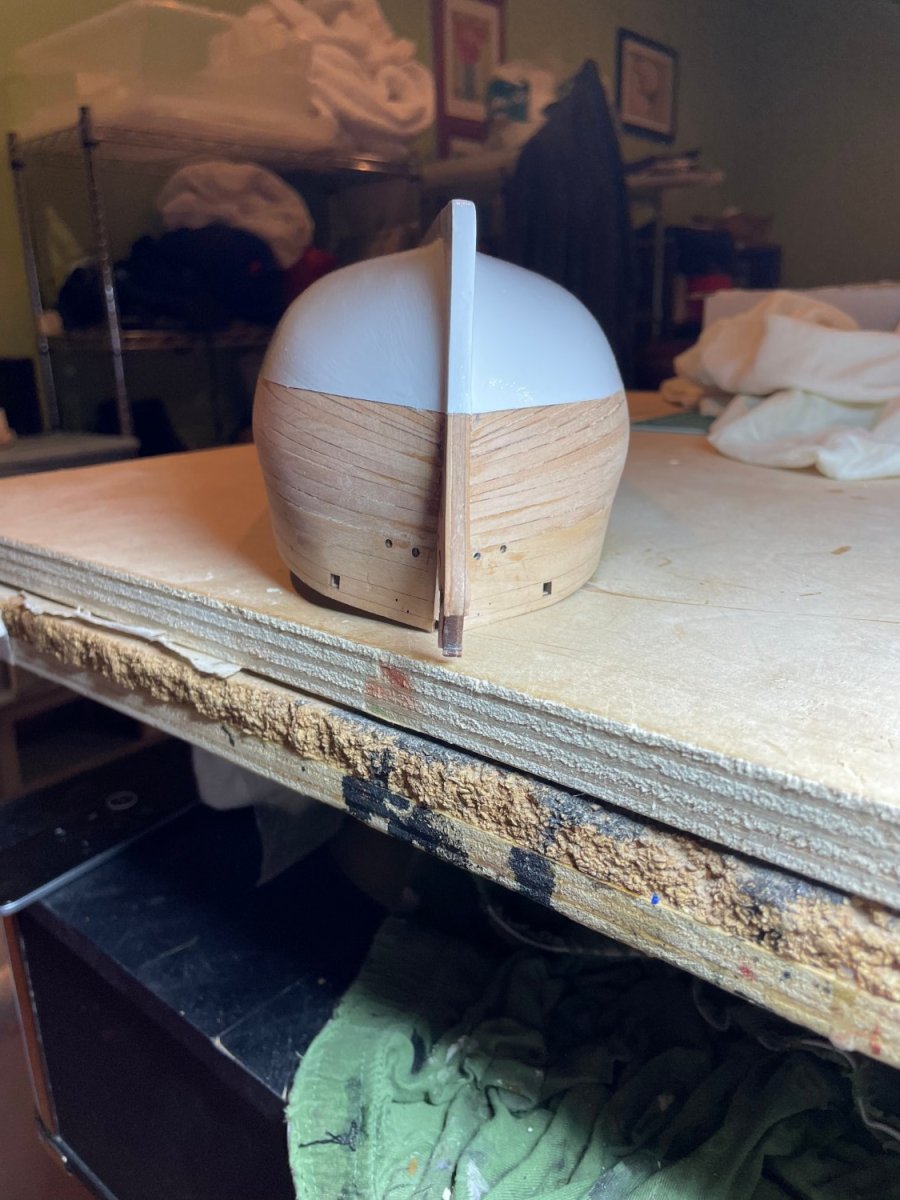
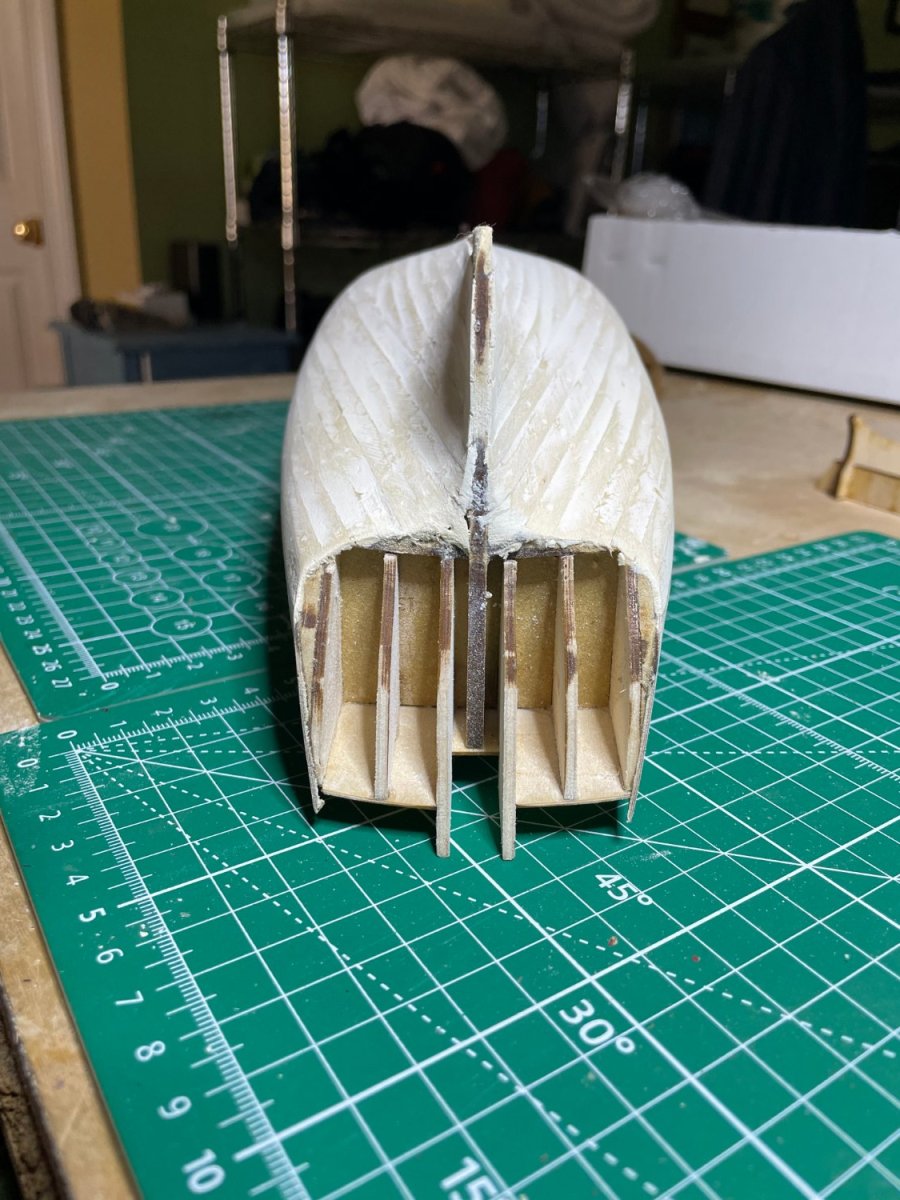
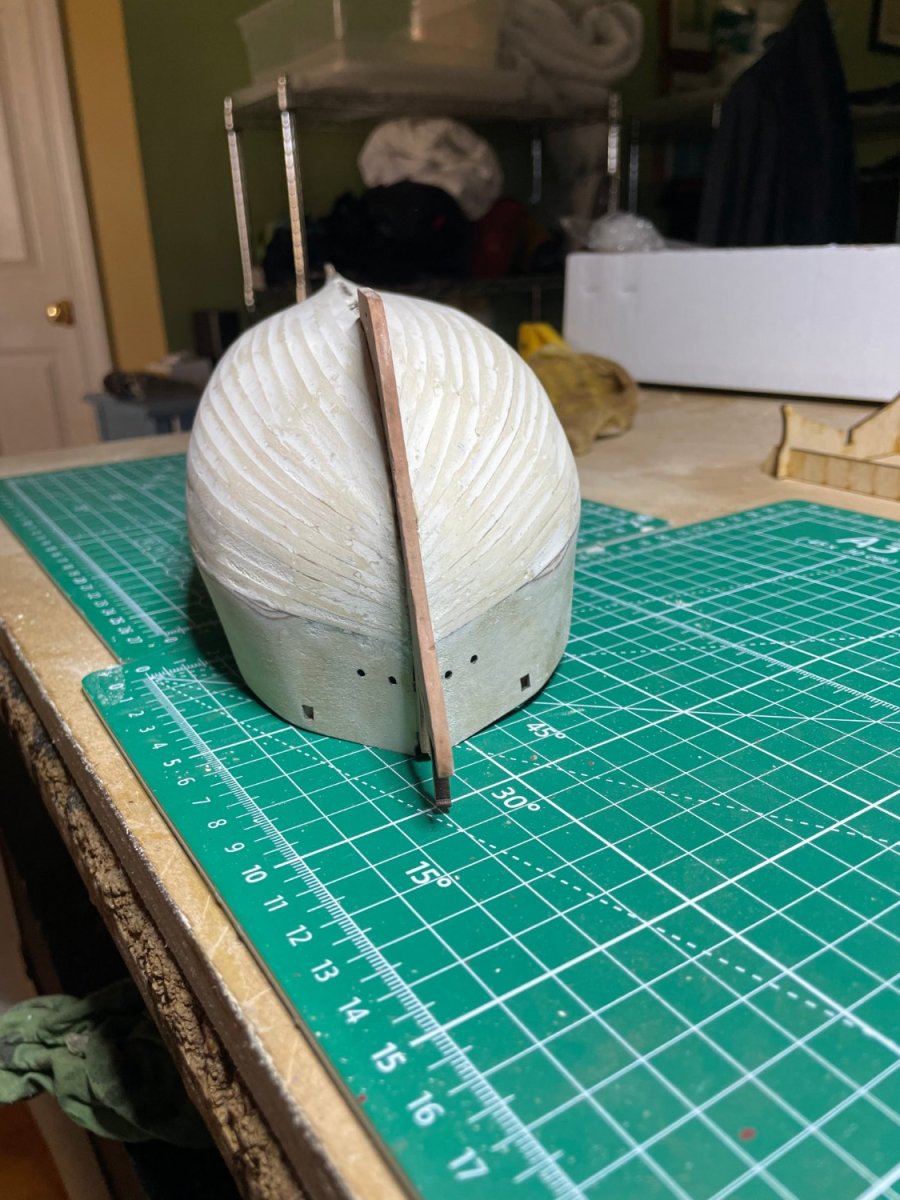
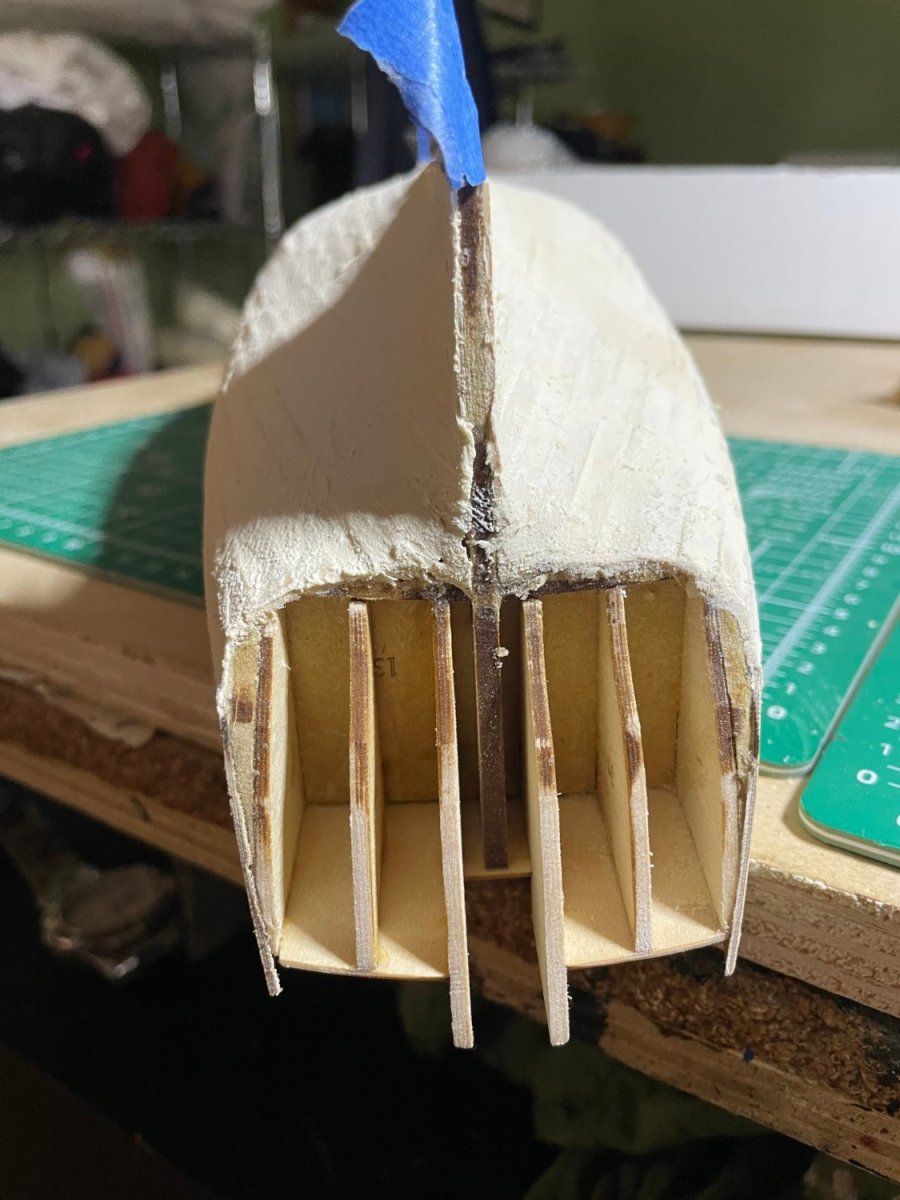
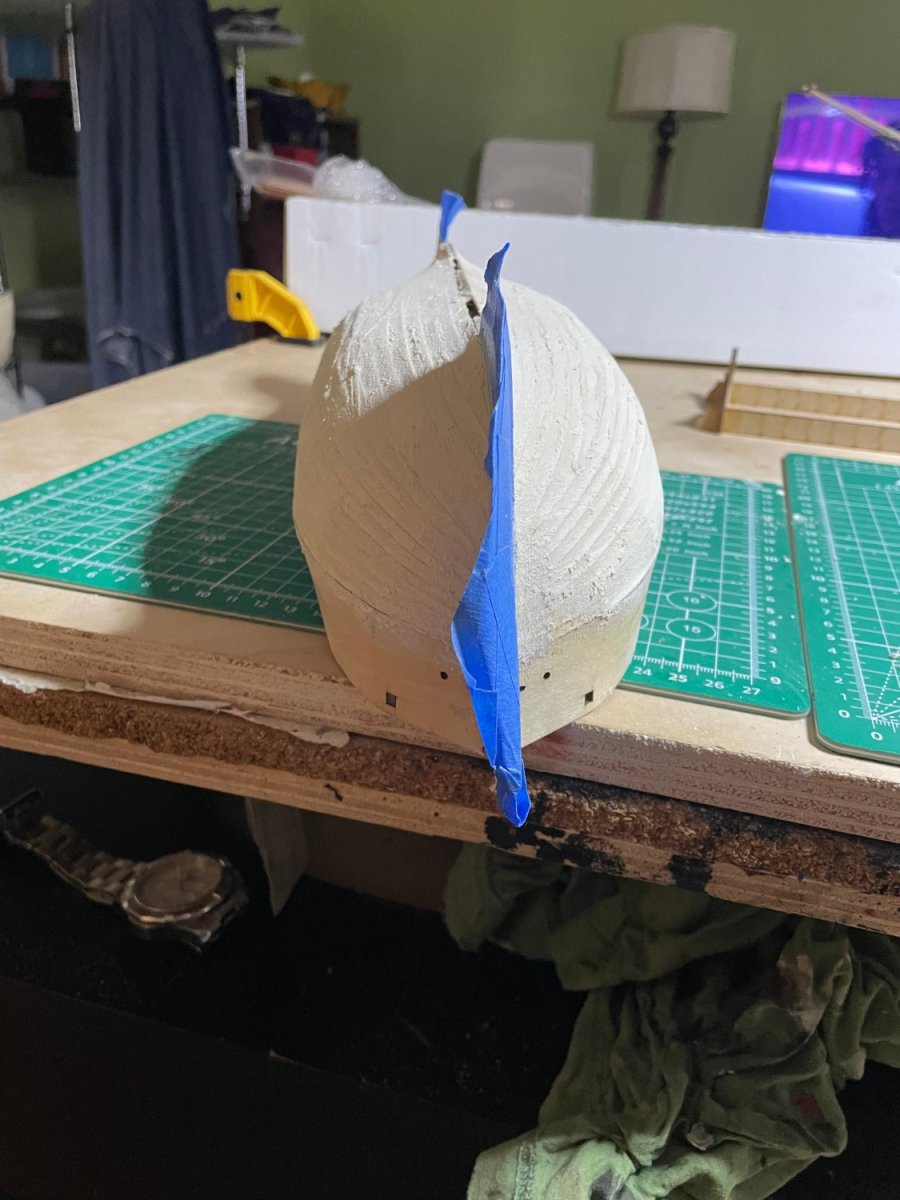
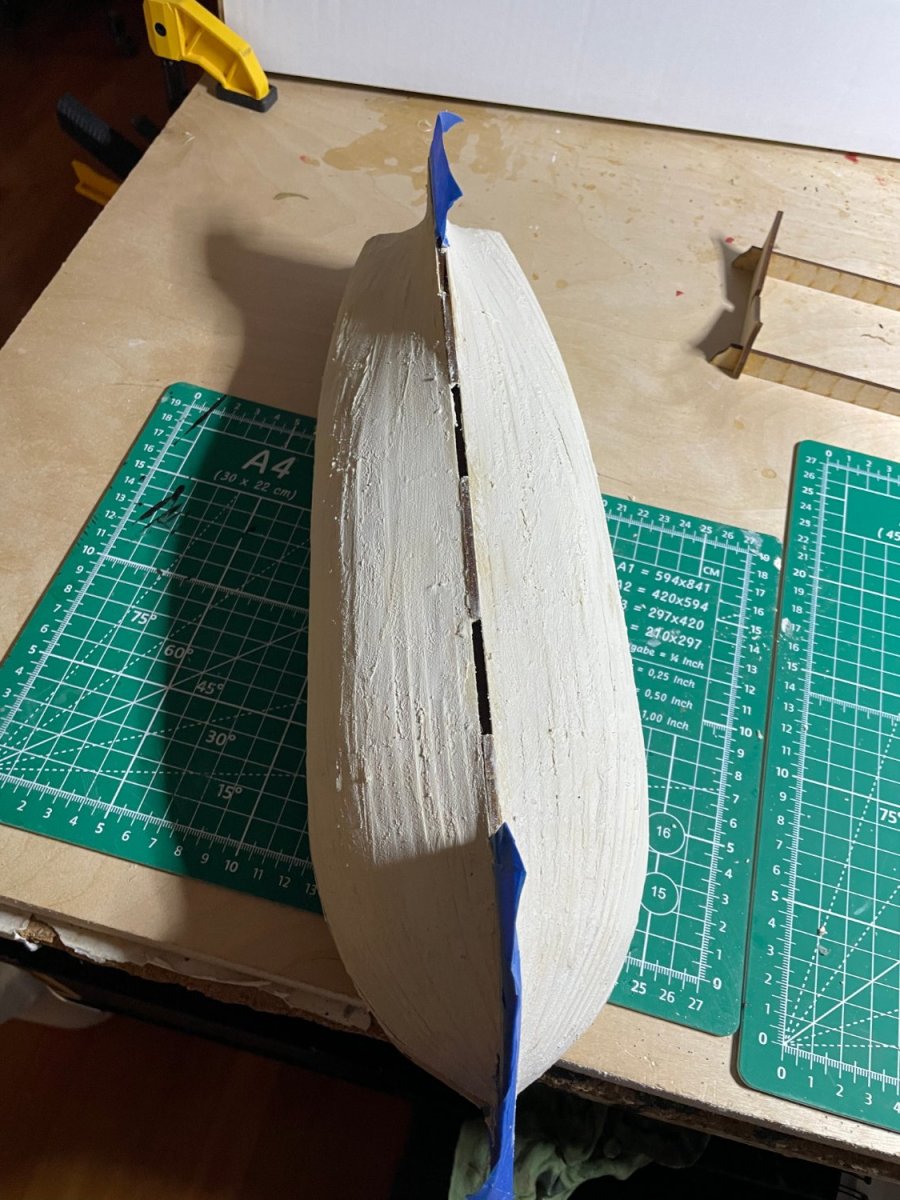
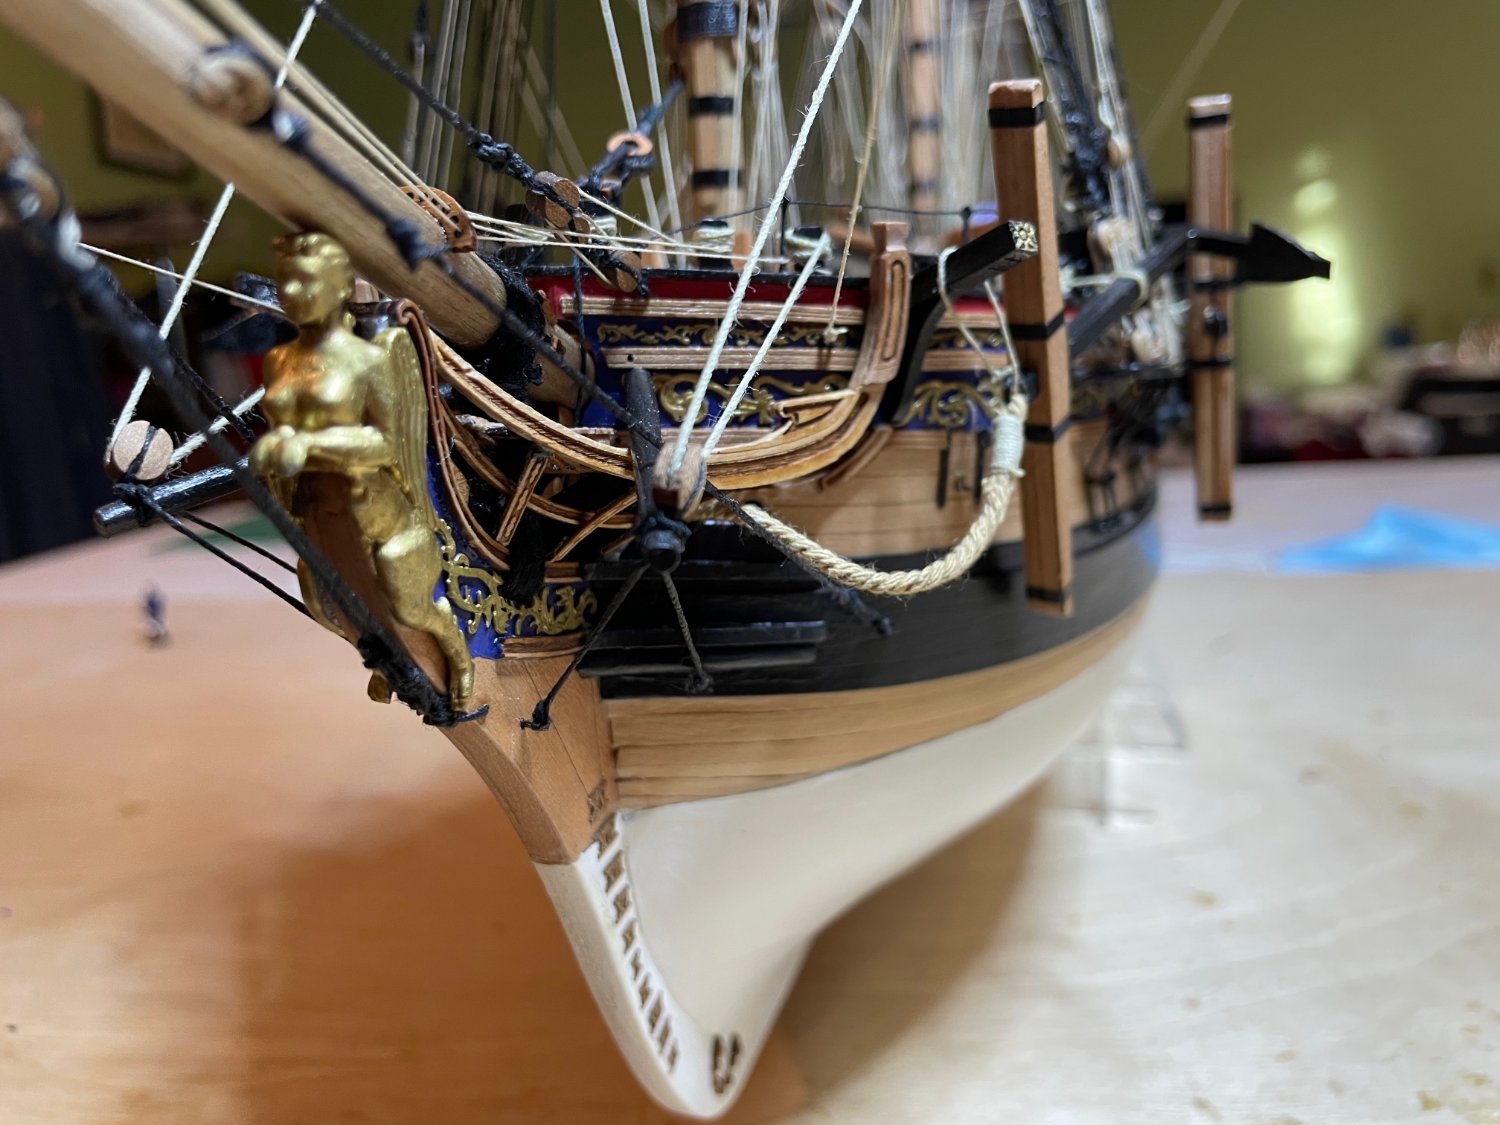
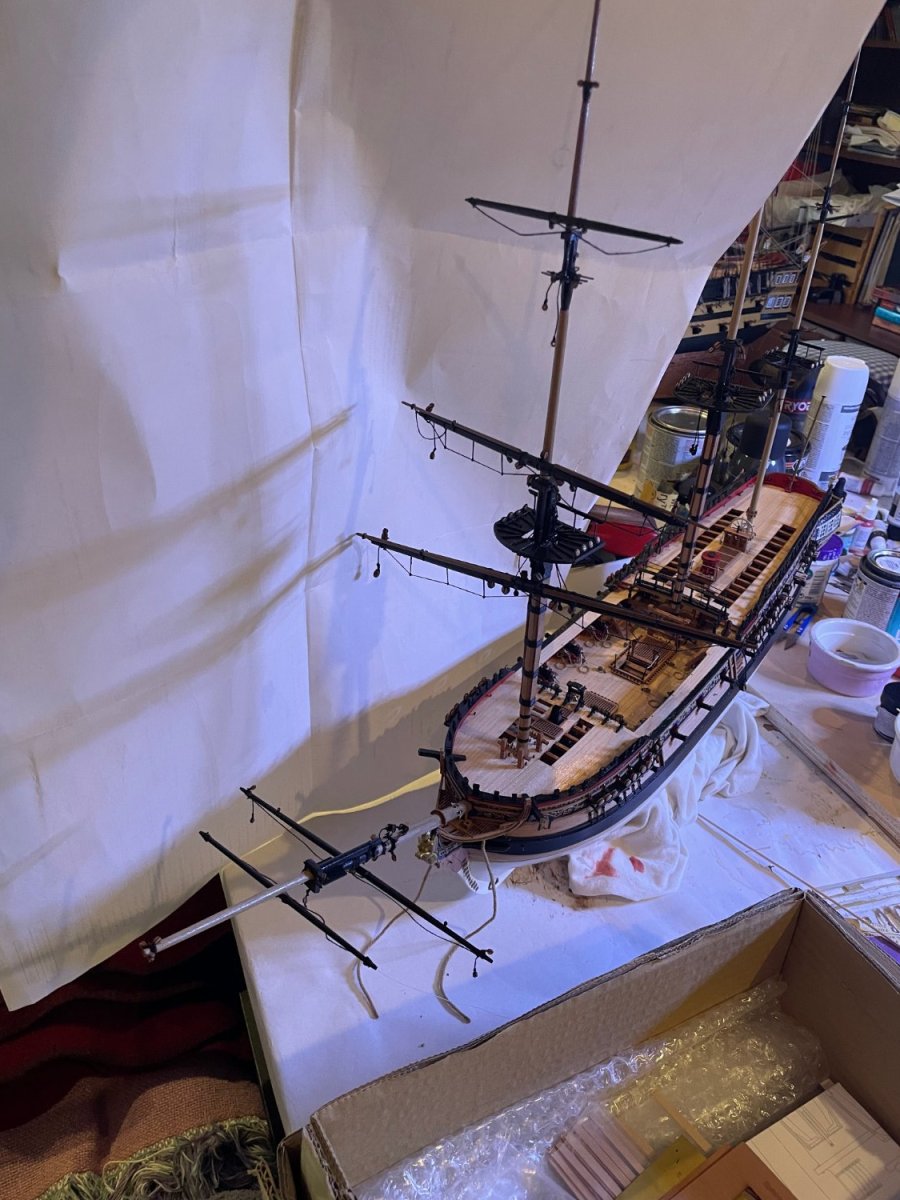
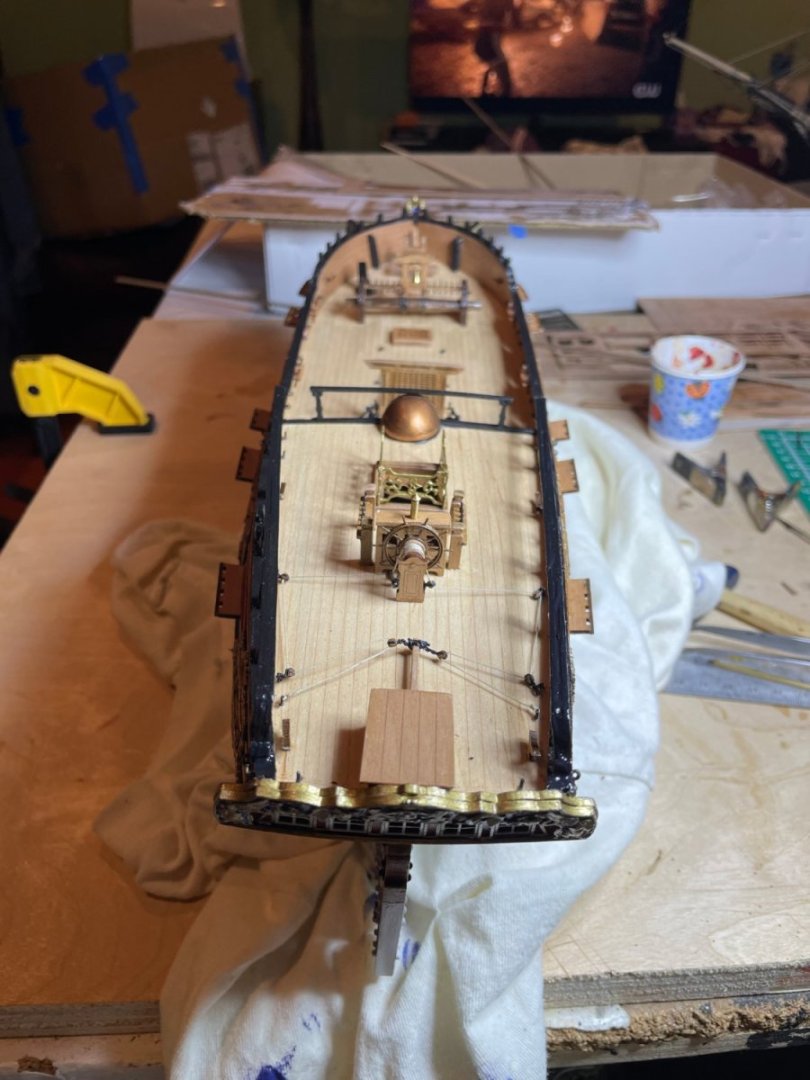
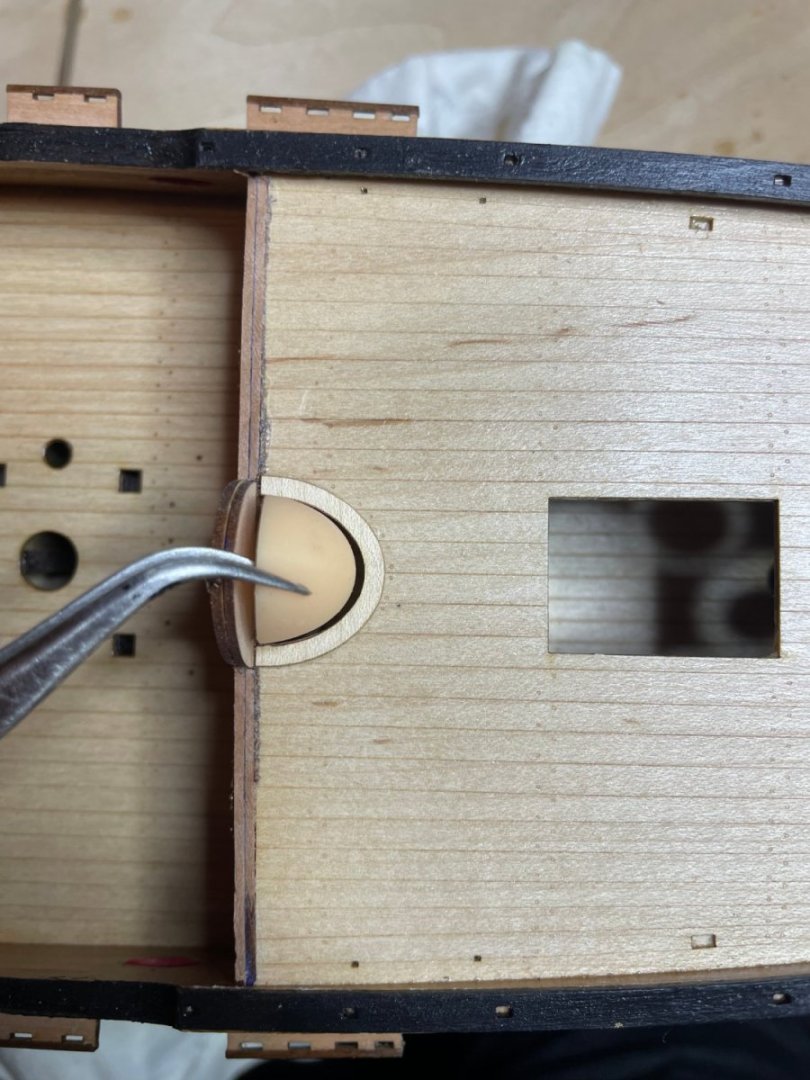
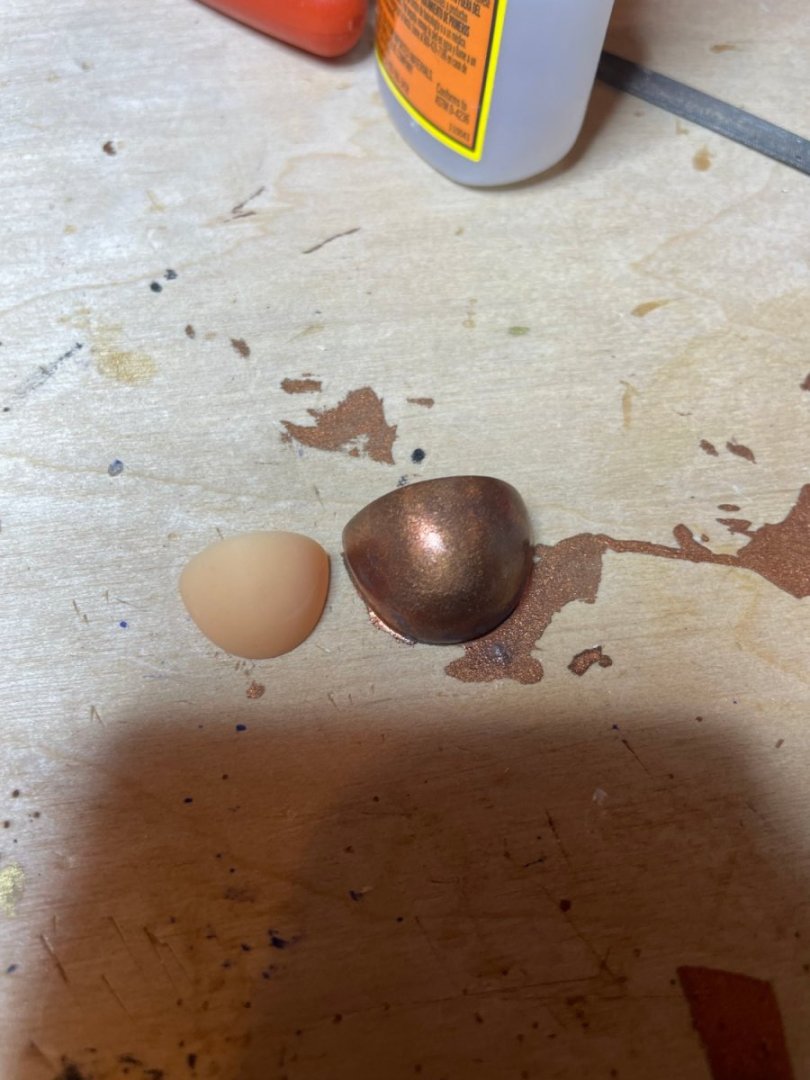
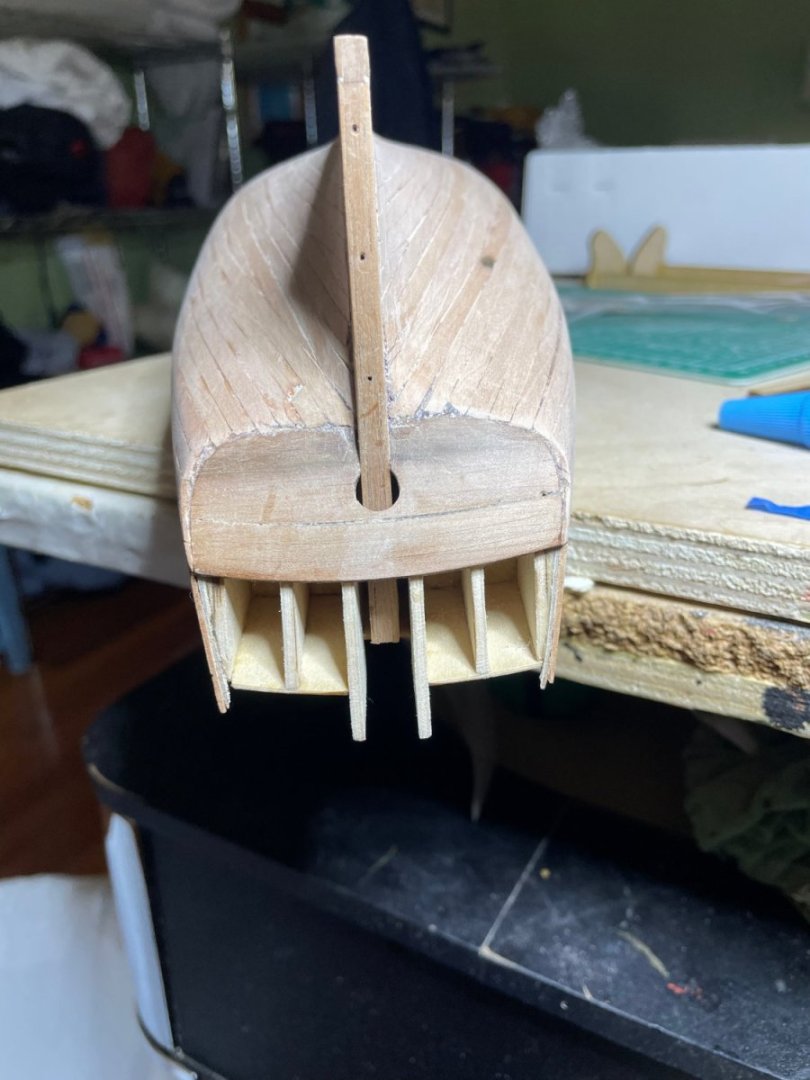
Outer hull done. Next will be the deck fittings. One issue that came up is that the 3D printed dome for the main entry to the stern cabins was way to small for the hole it had to cover so I had to make one out of balsa wood. You can see the side by side size difference.


-
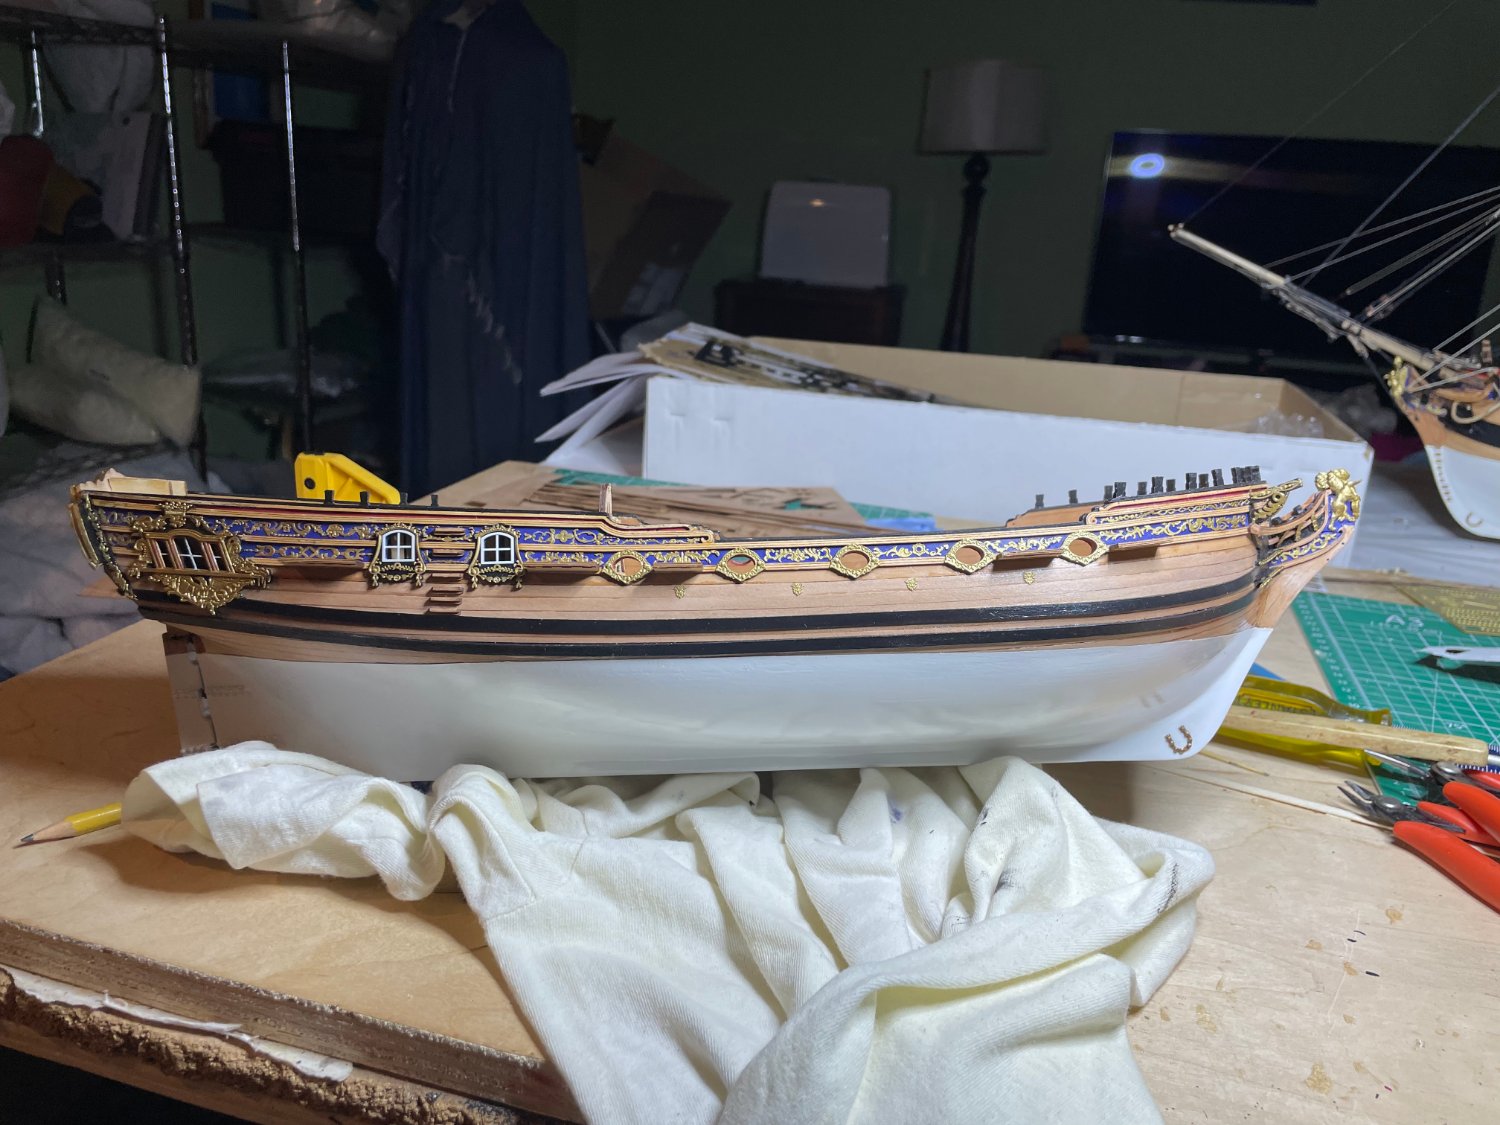
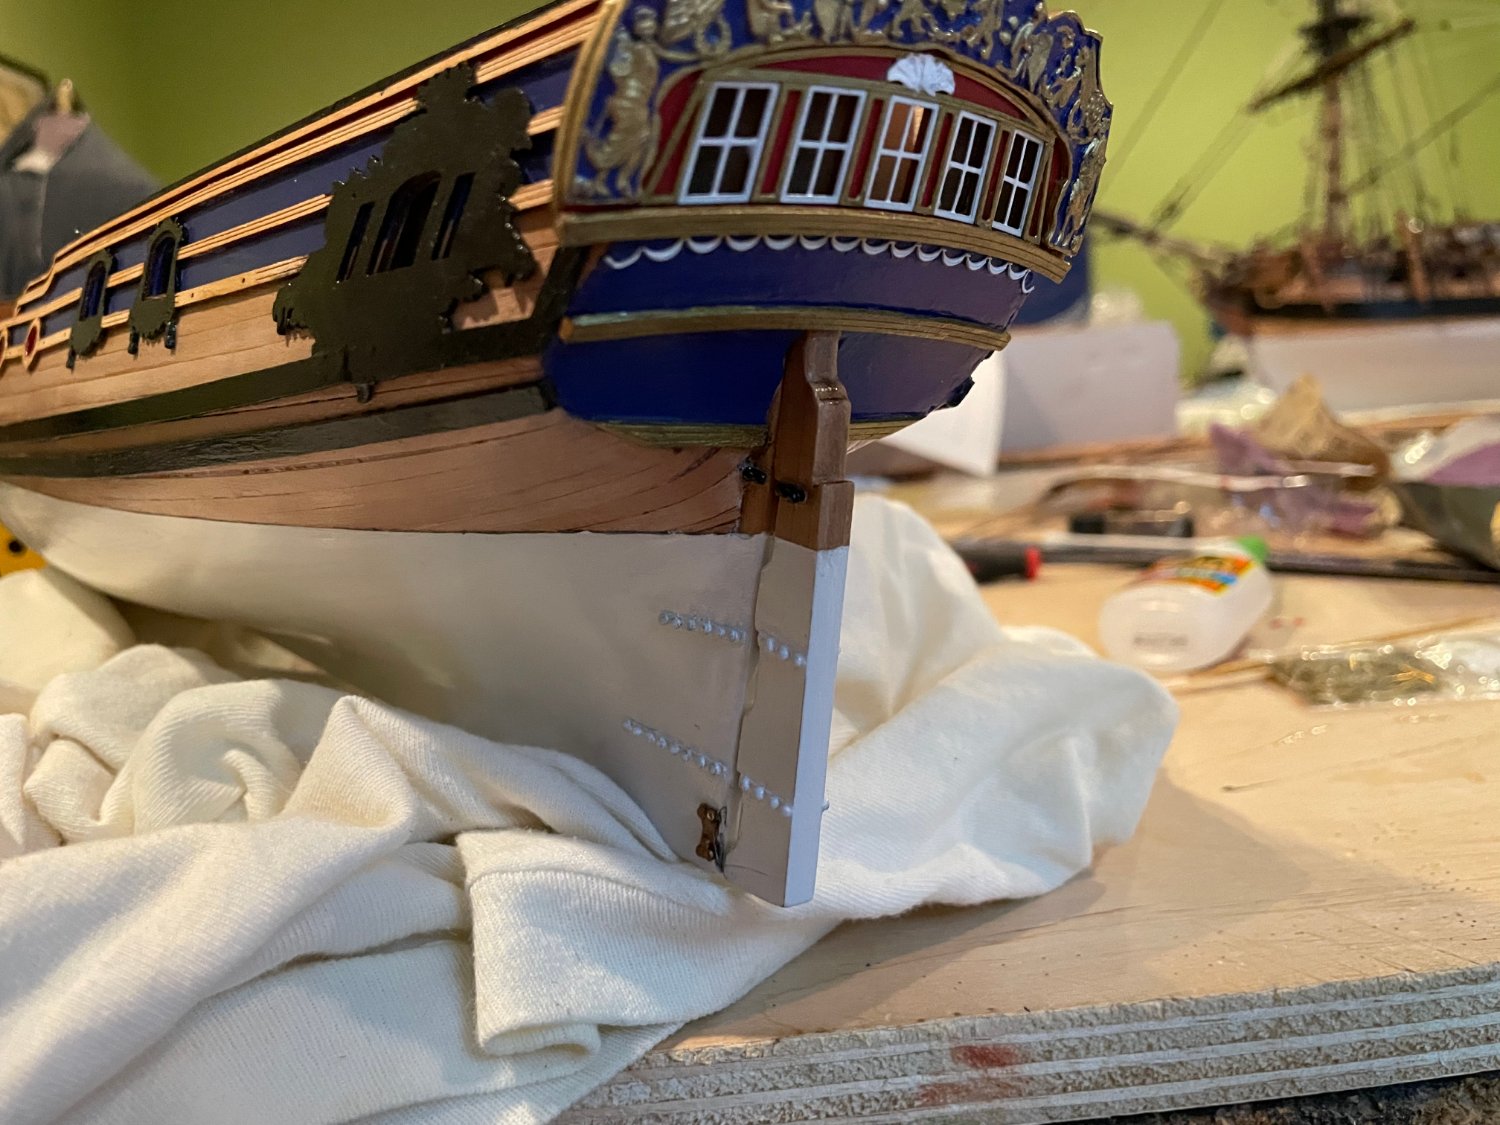
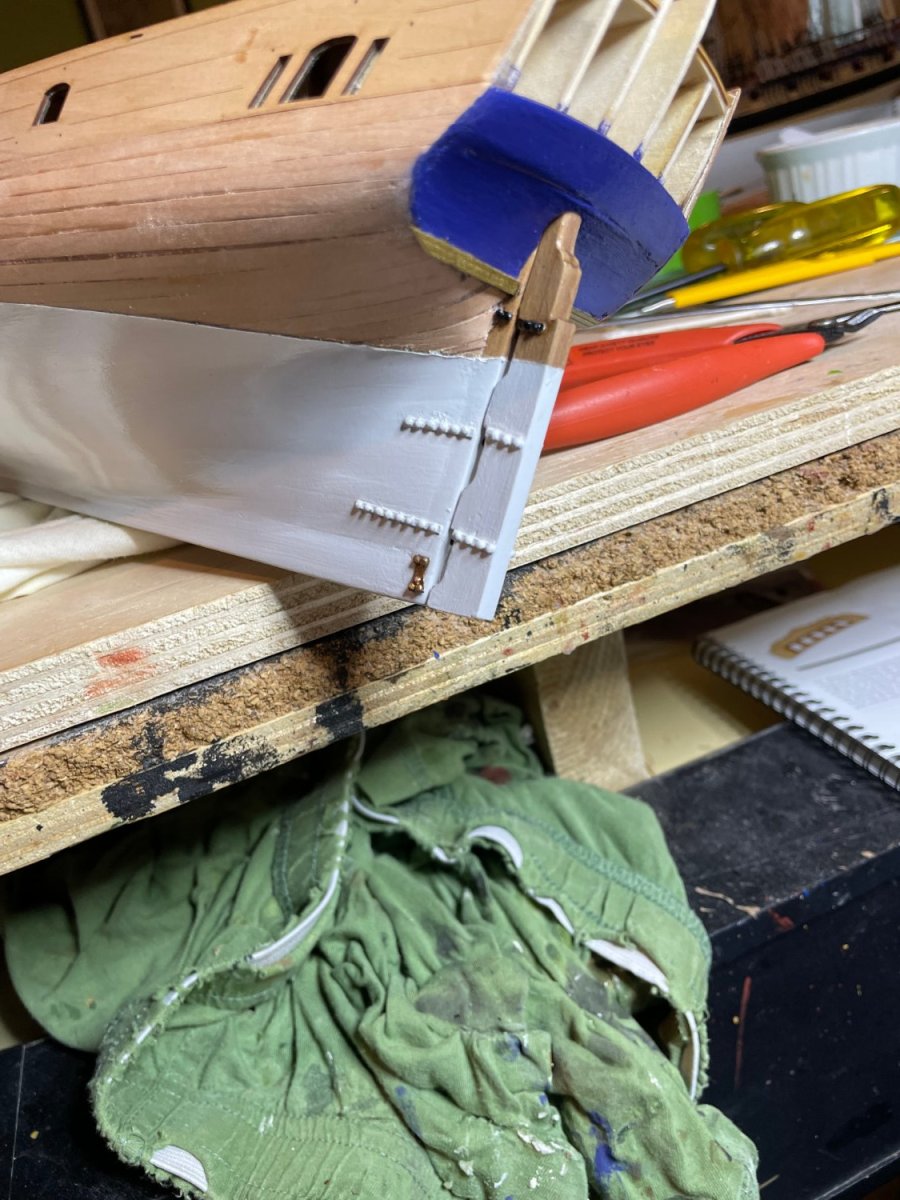
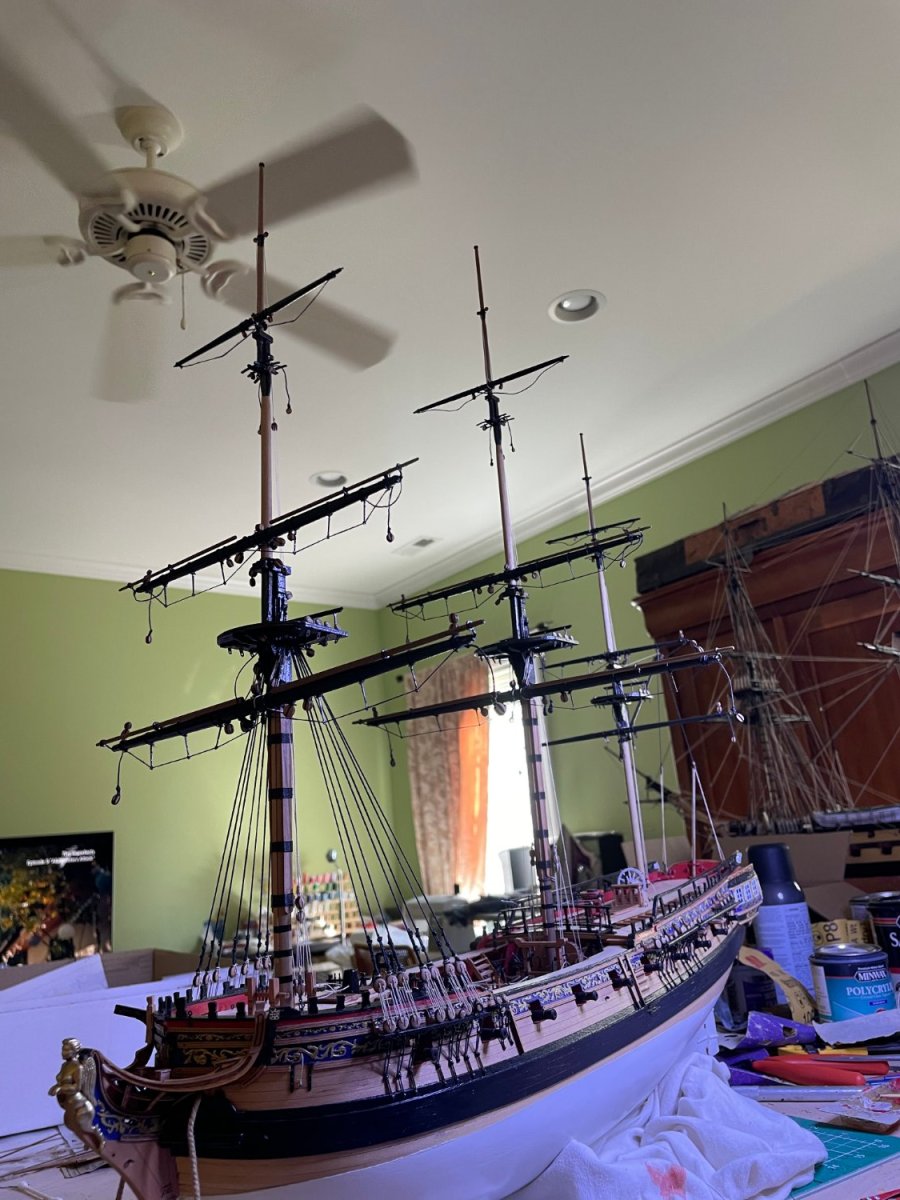
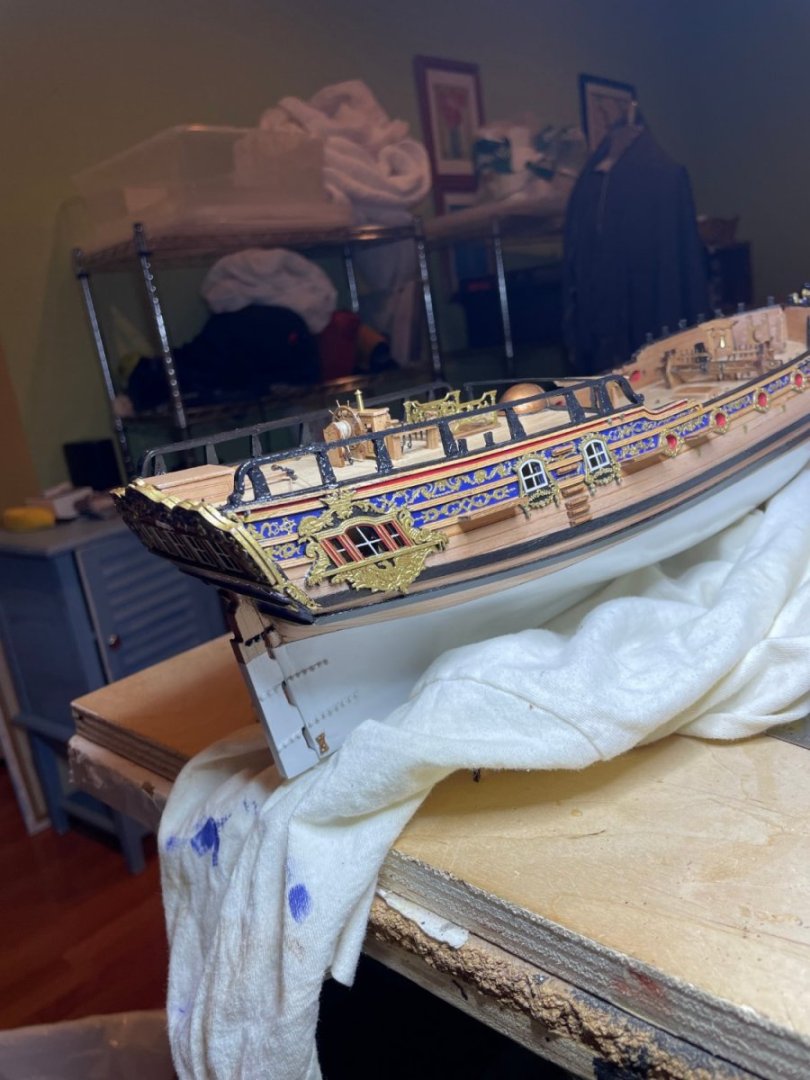
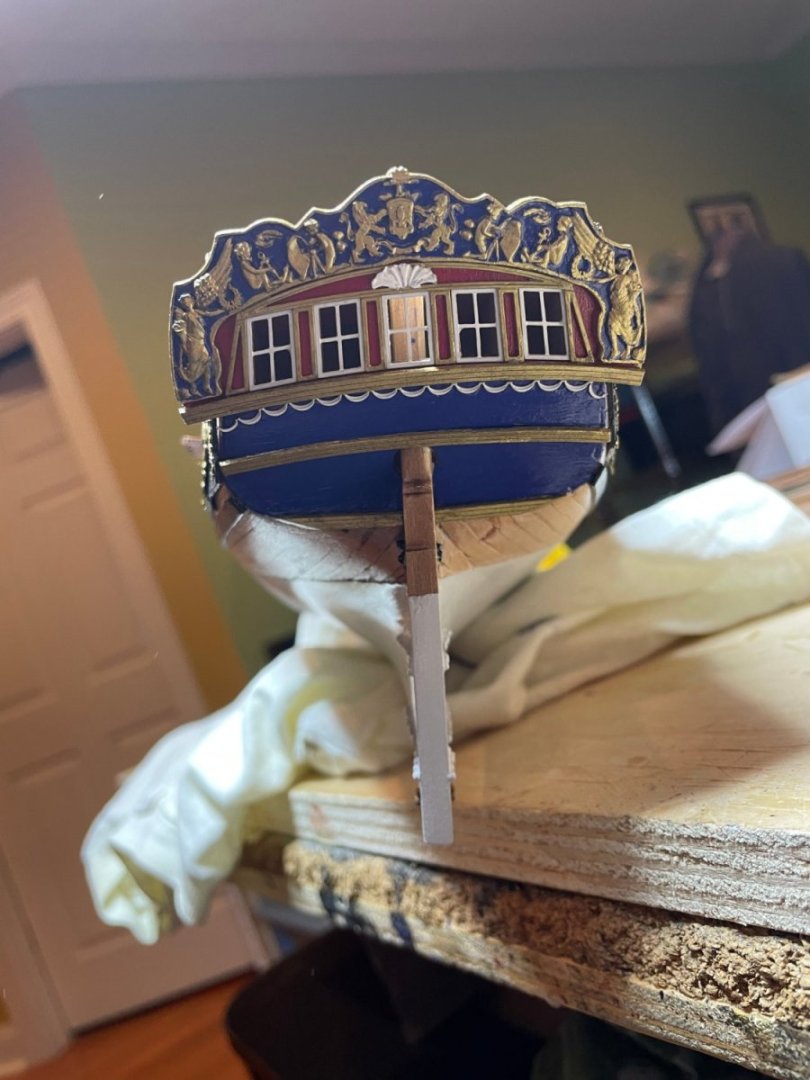
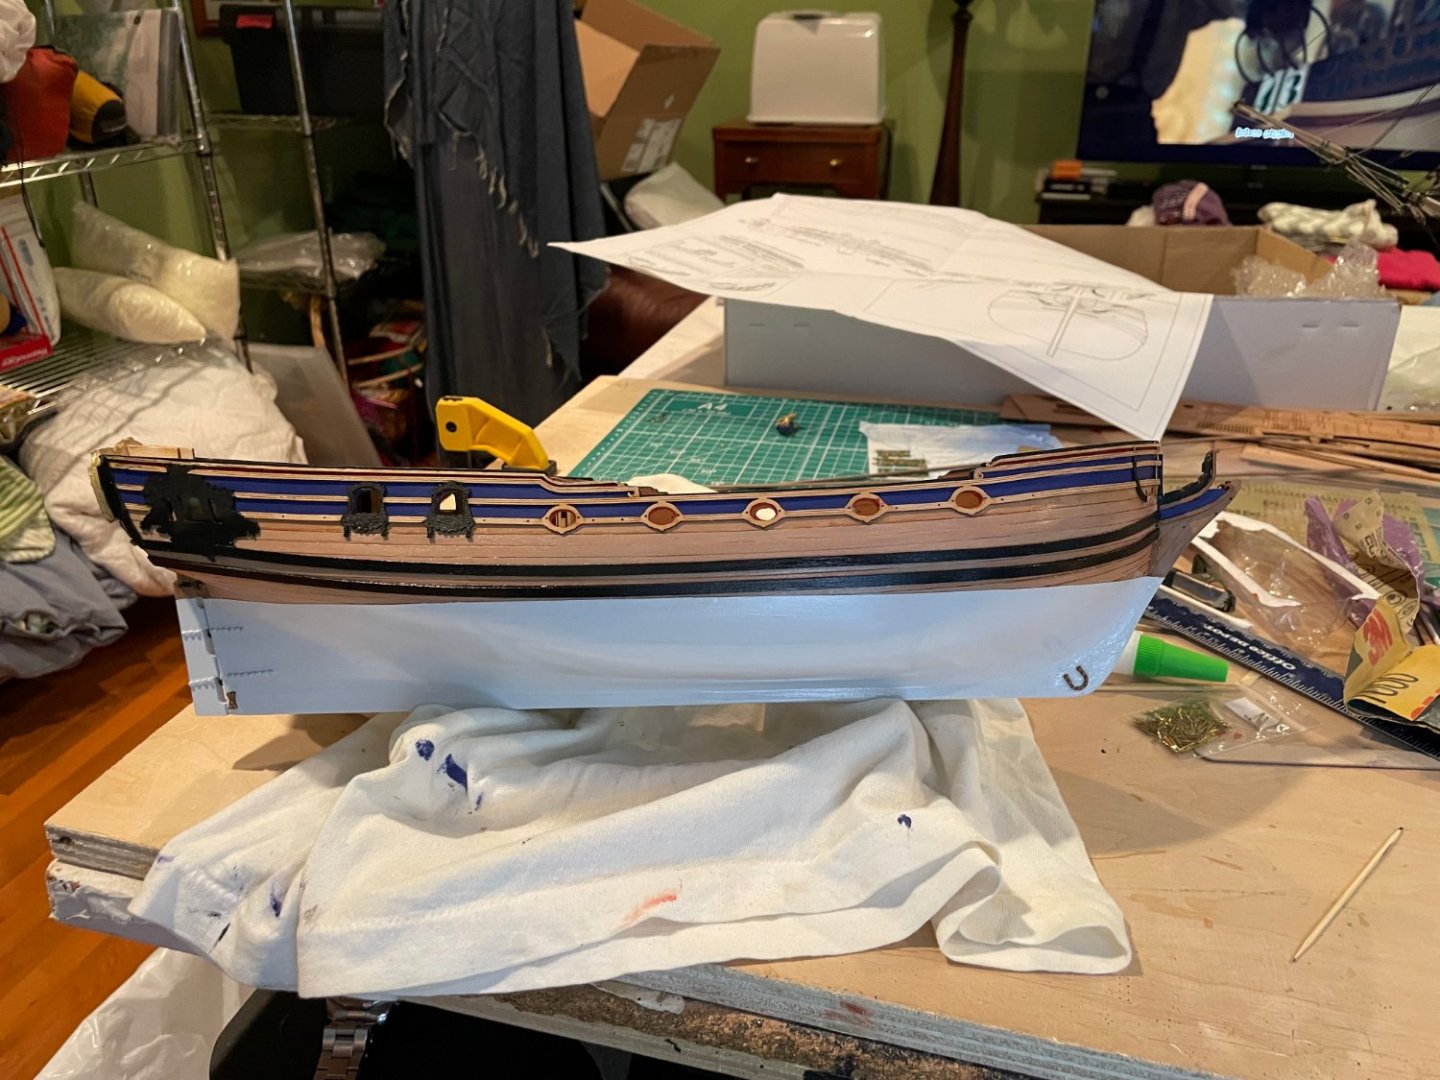
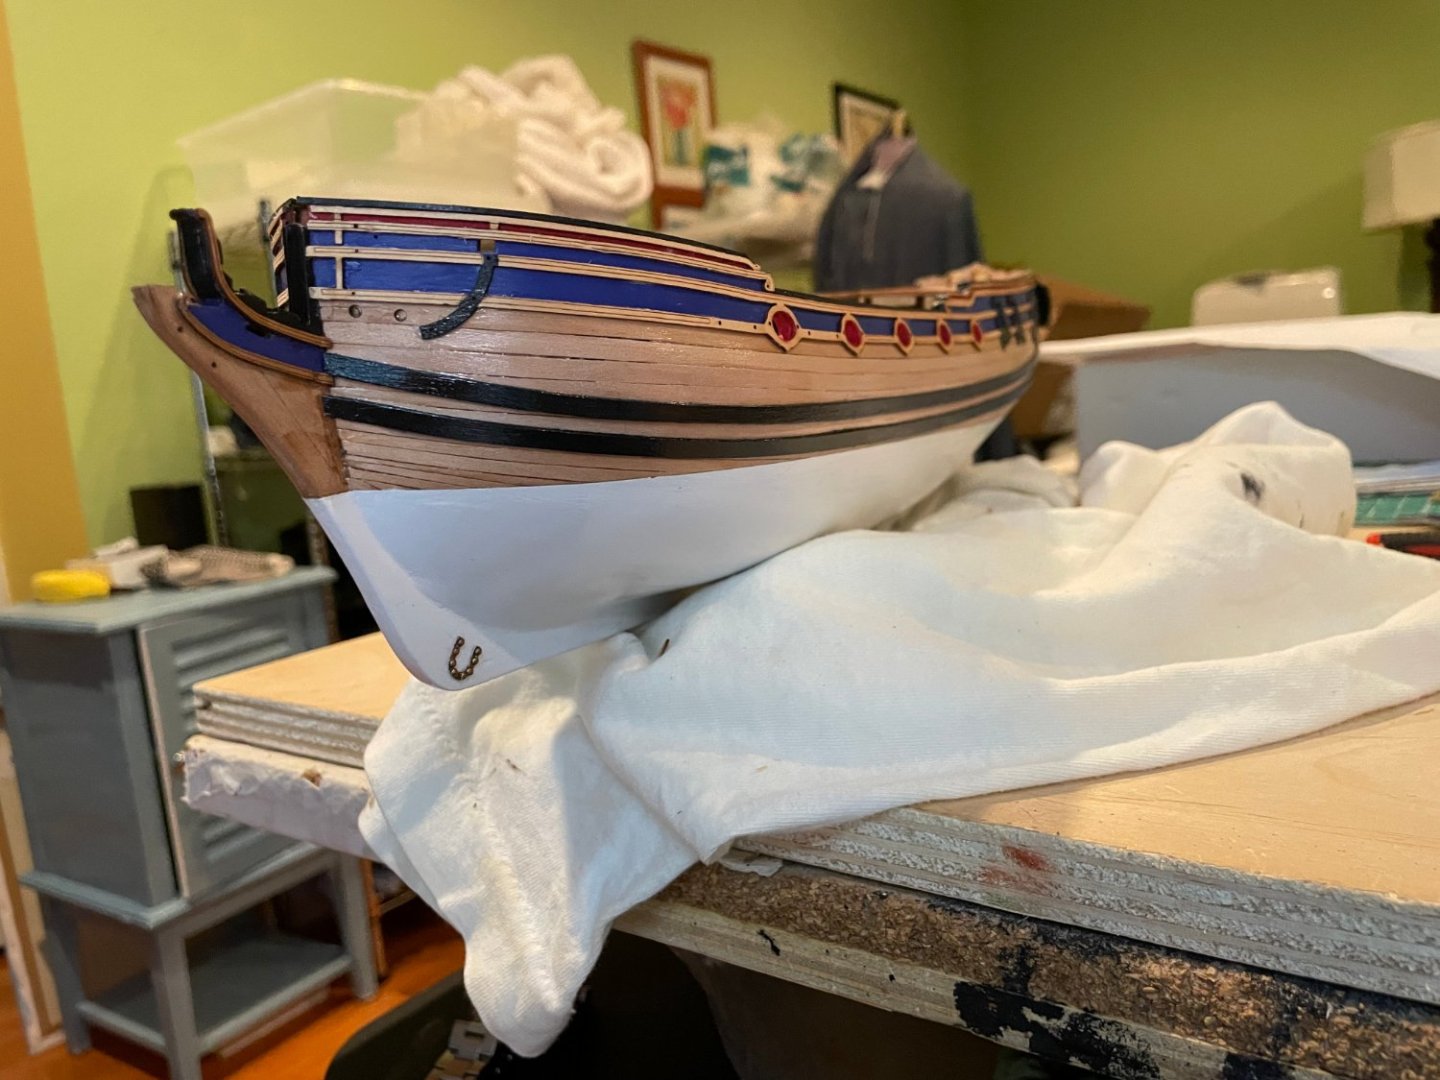
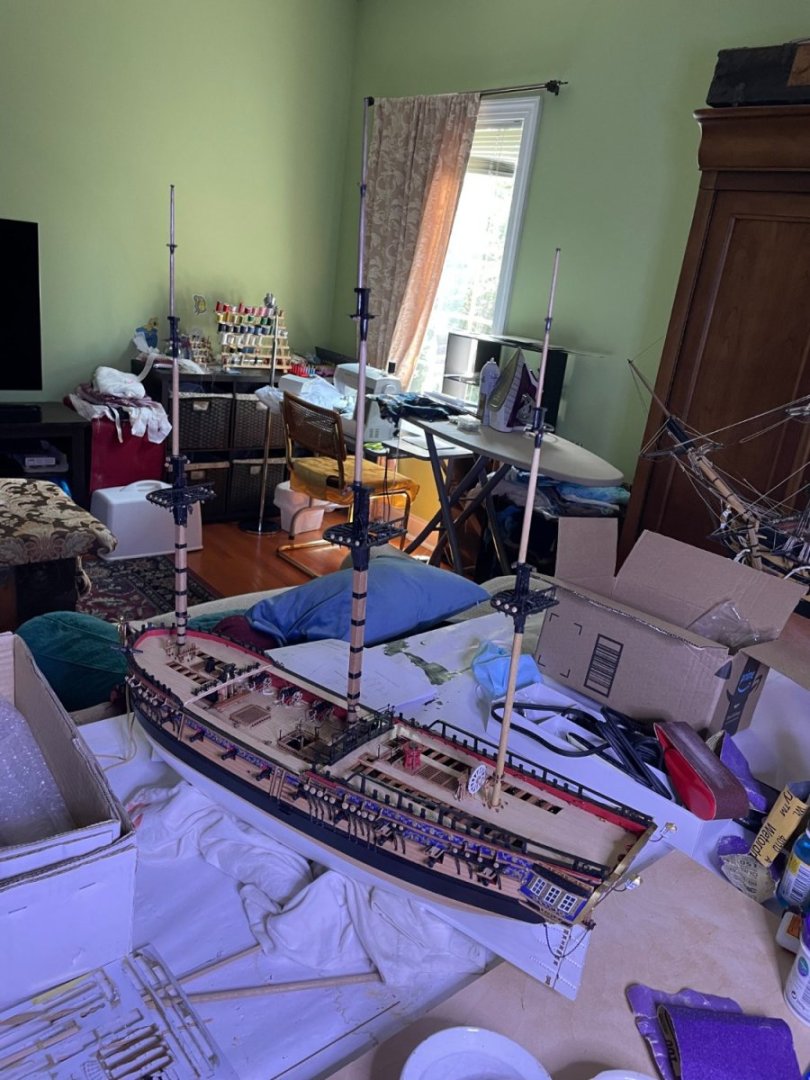
Time to add some bling to the ship!


-
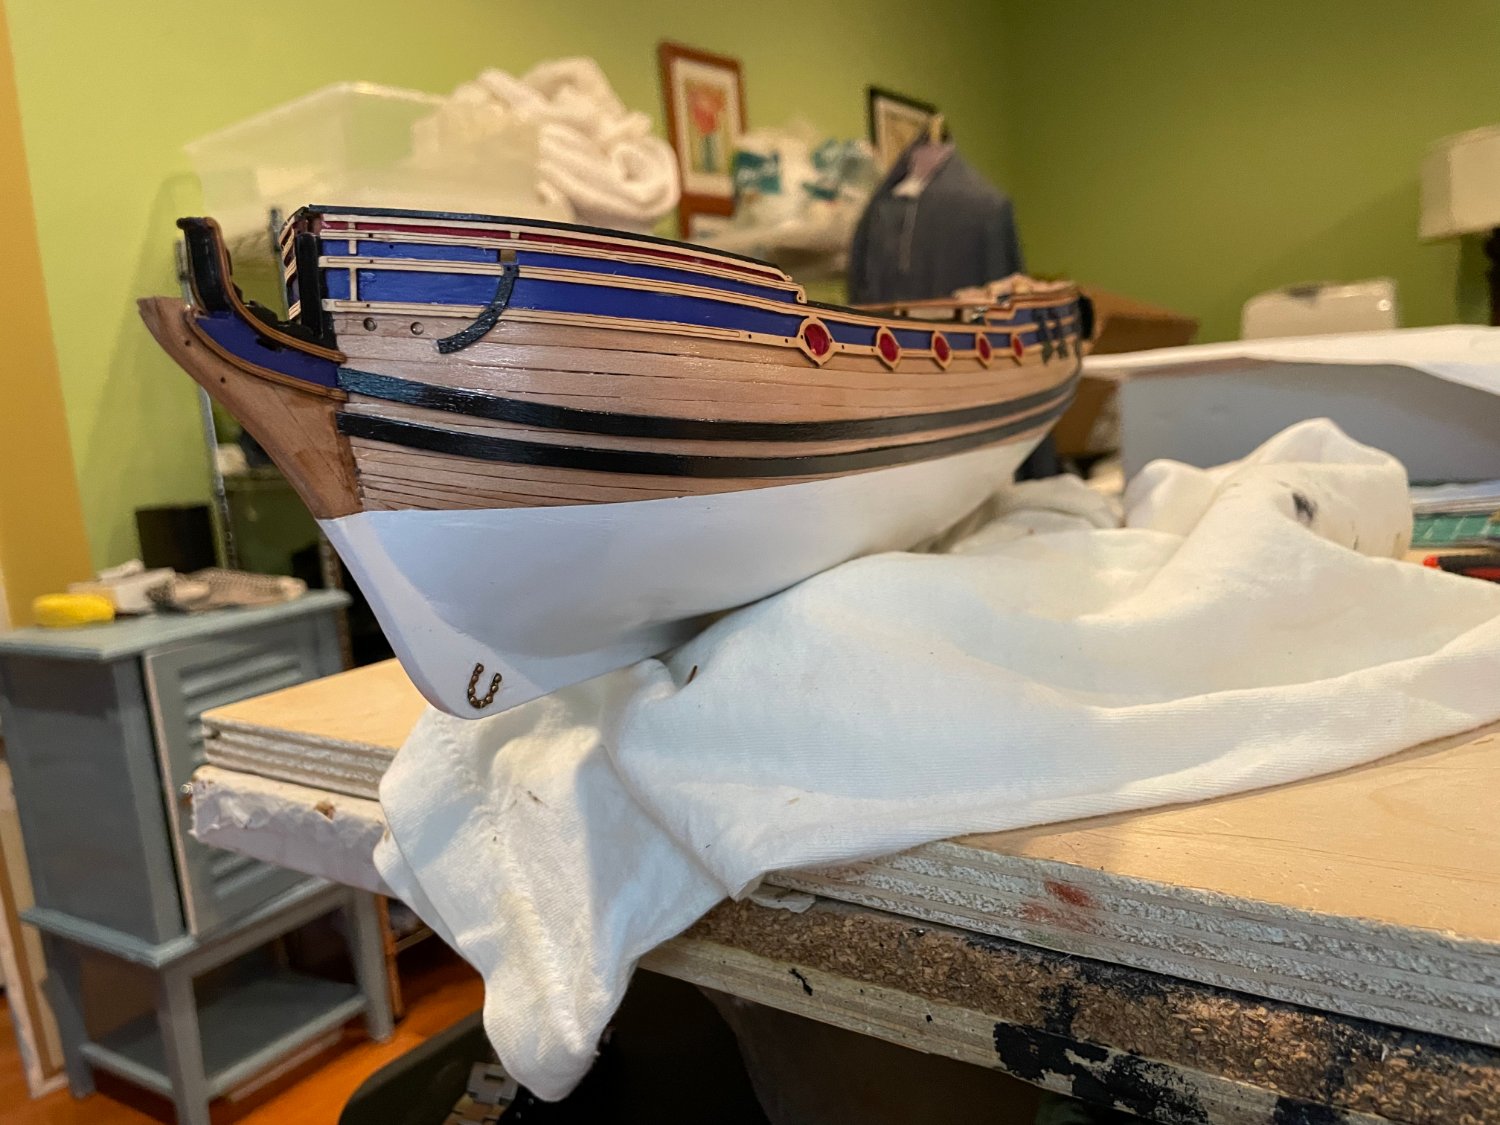
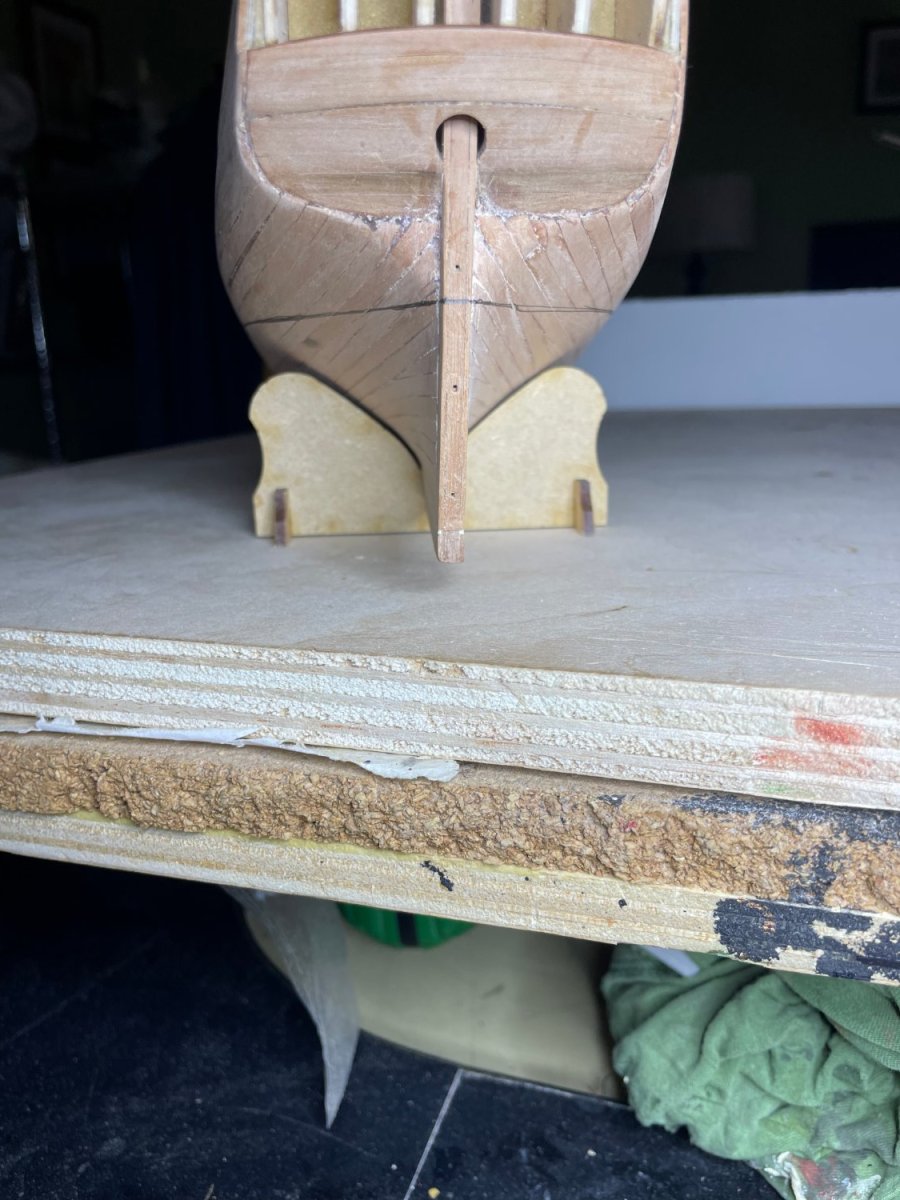
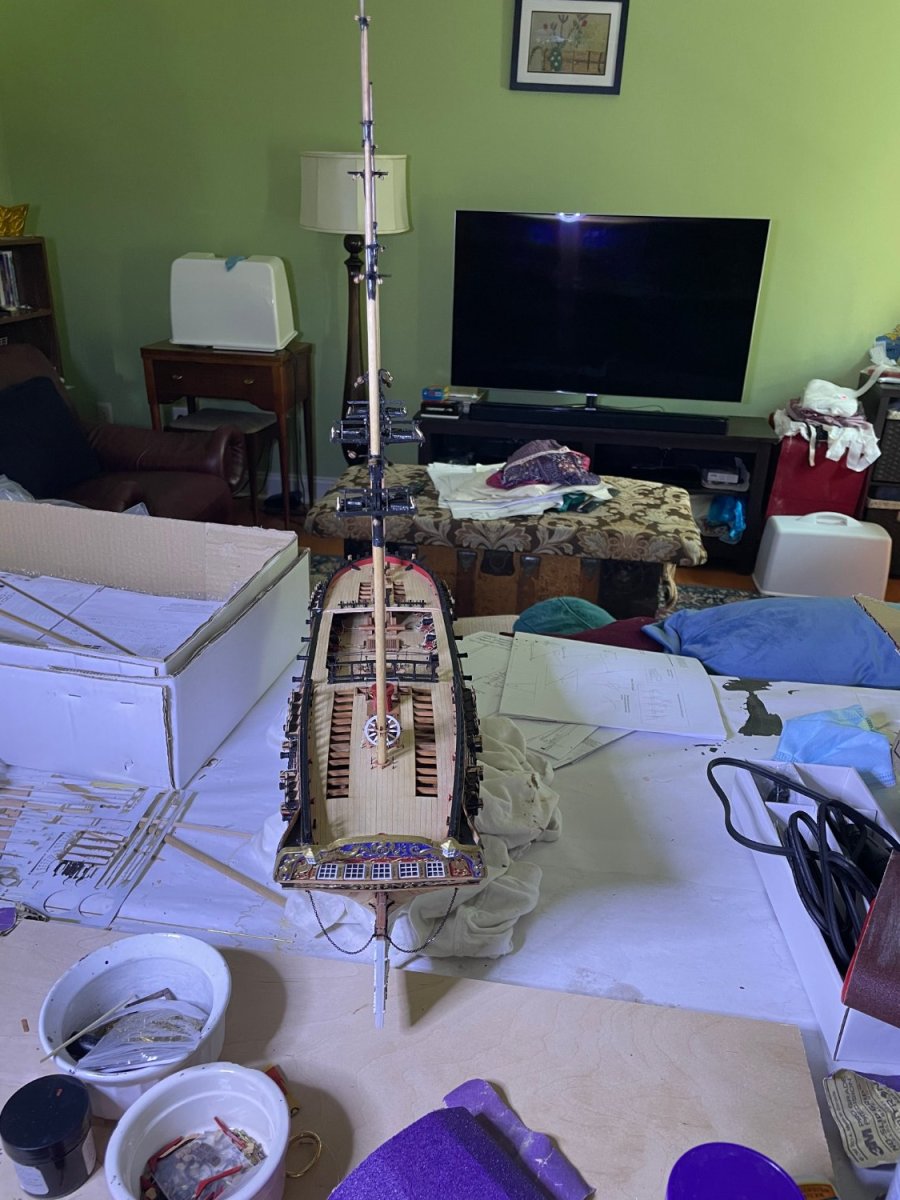
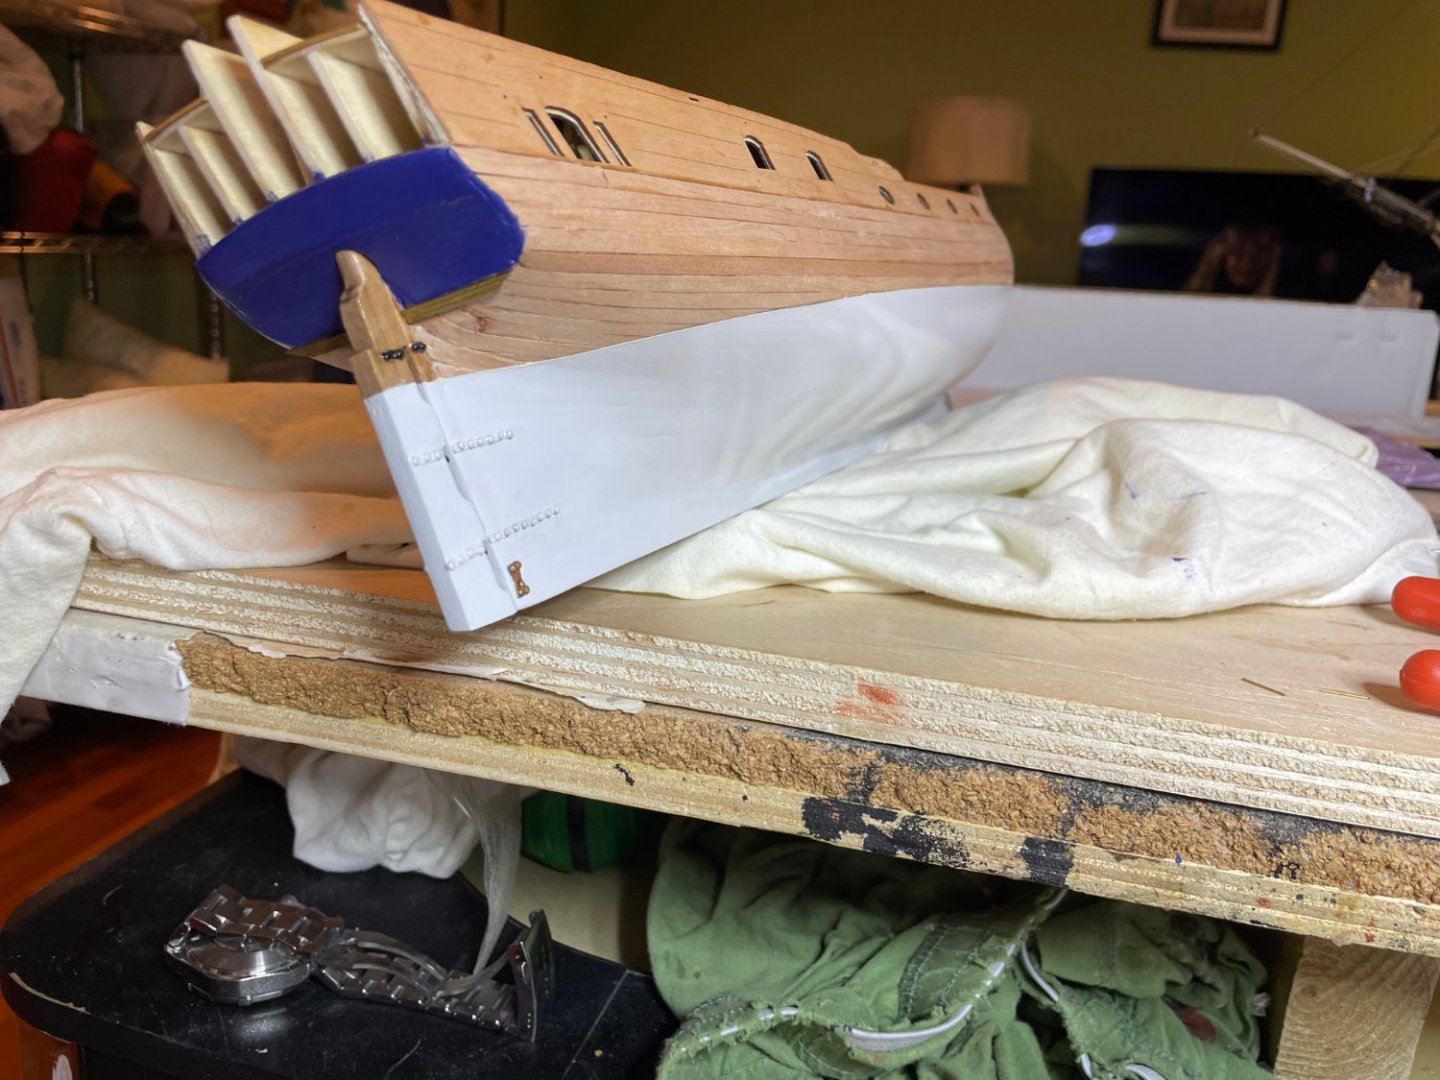
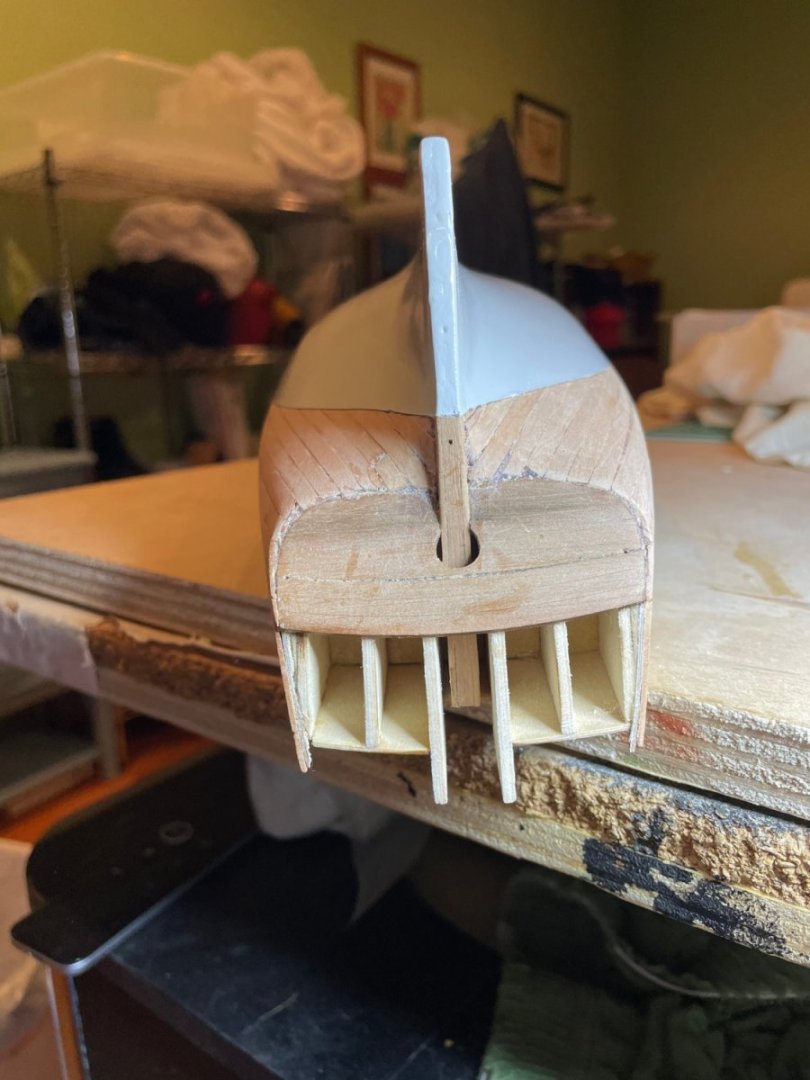
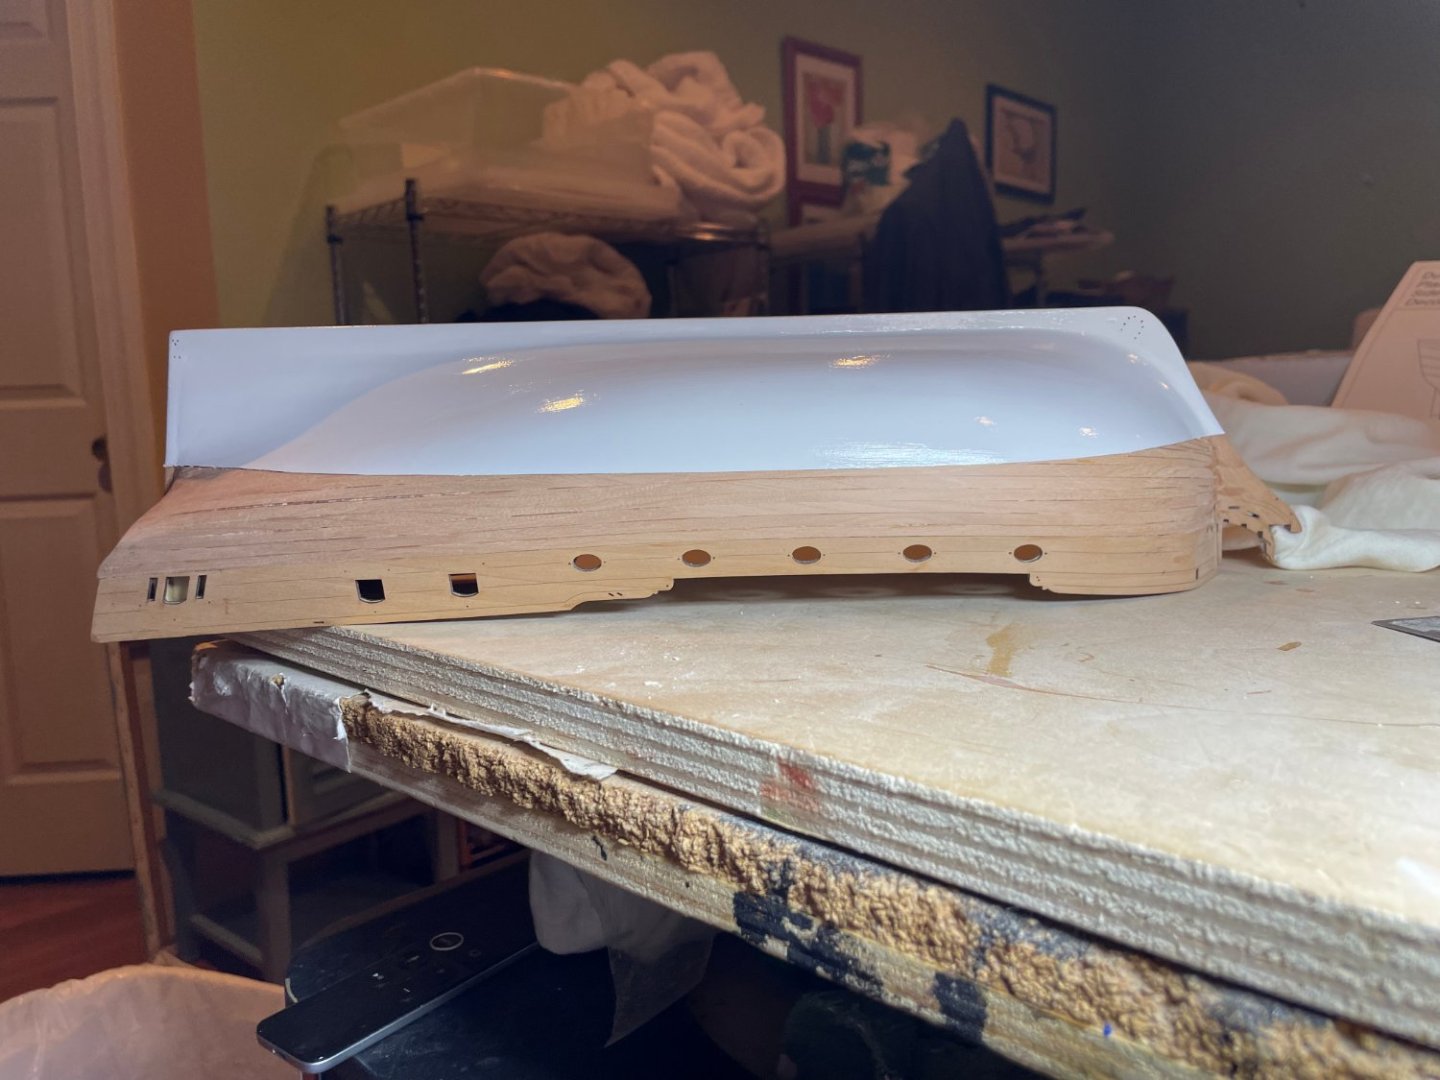
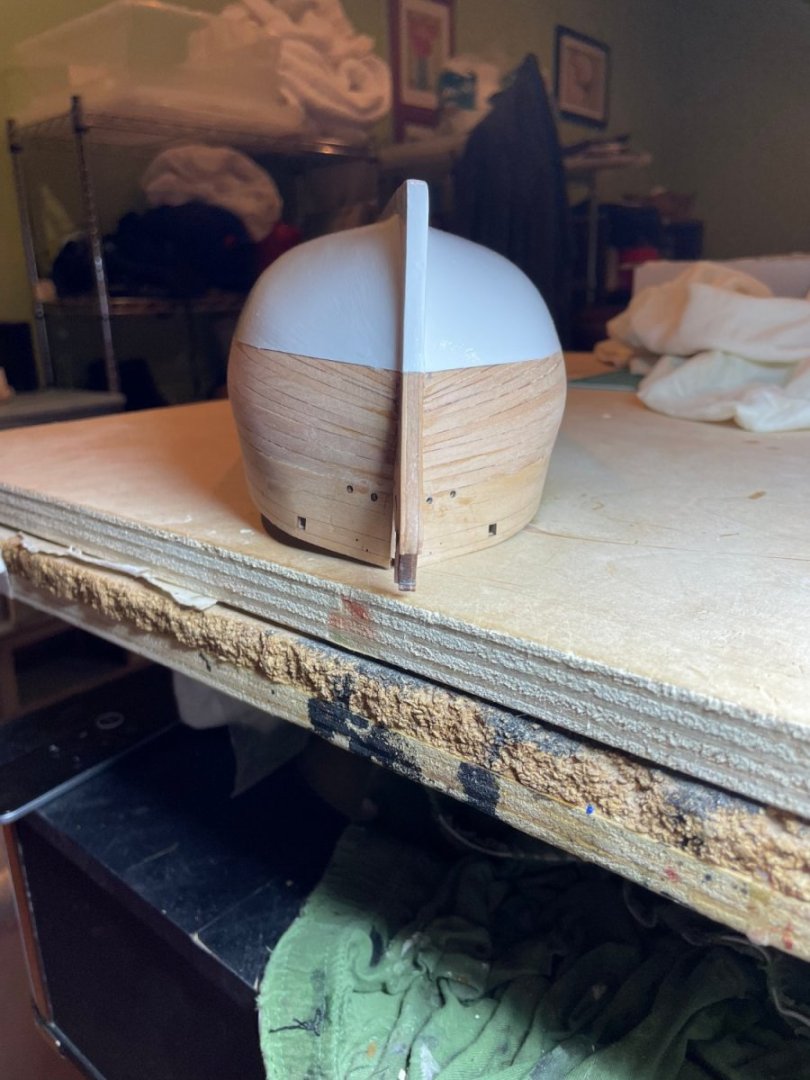
Decided to finish the bottom of the ship first so I don't have to turn it over anymore.


- 22 replies
-
- 1
-

-
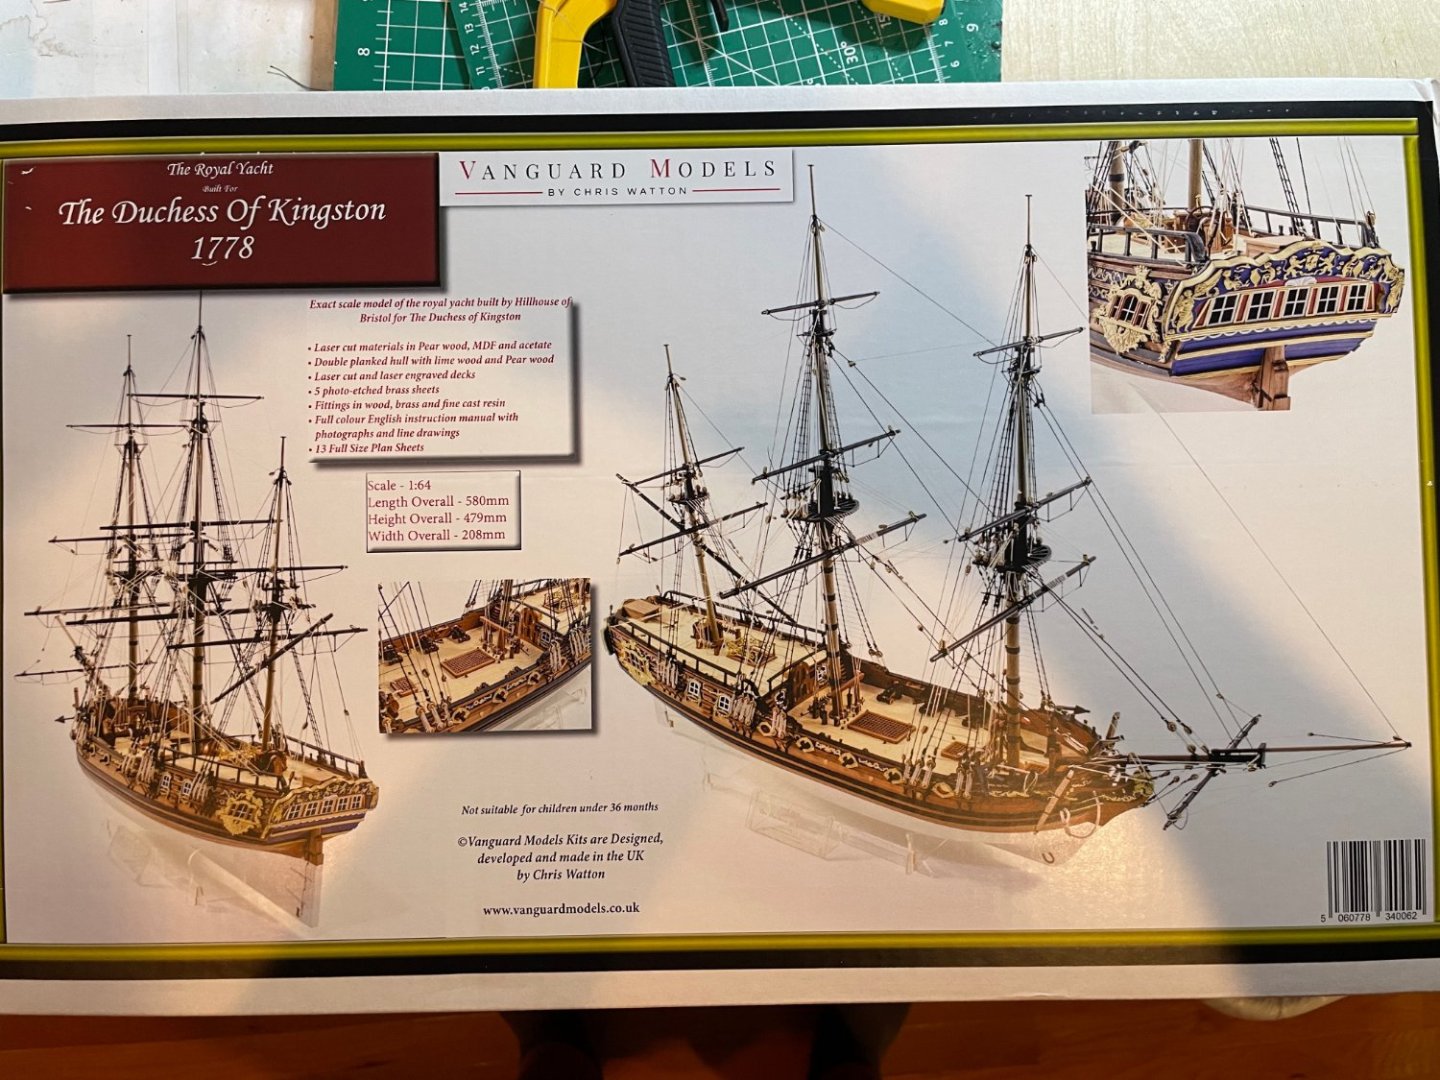
- Duchess of Kingston
- Vanguard Models
- (and 1 more)
-
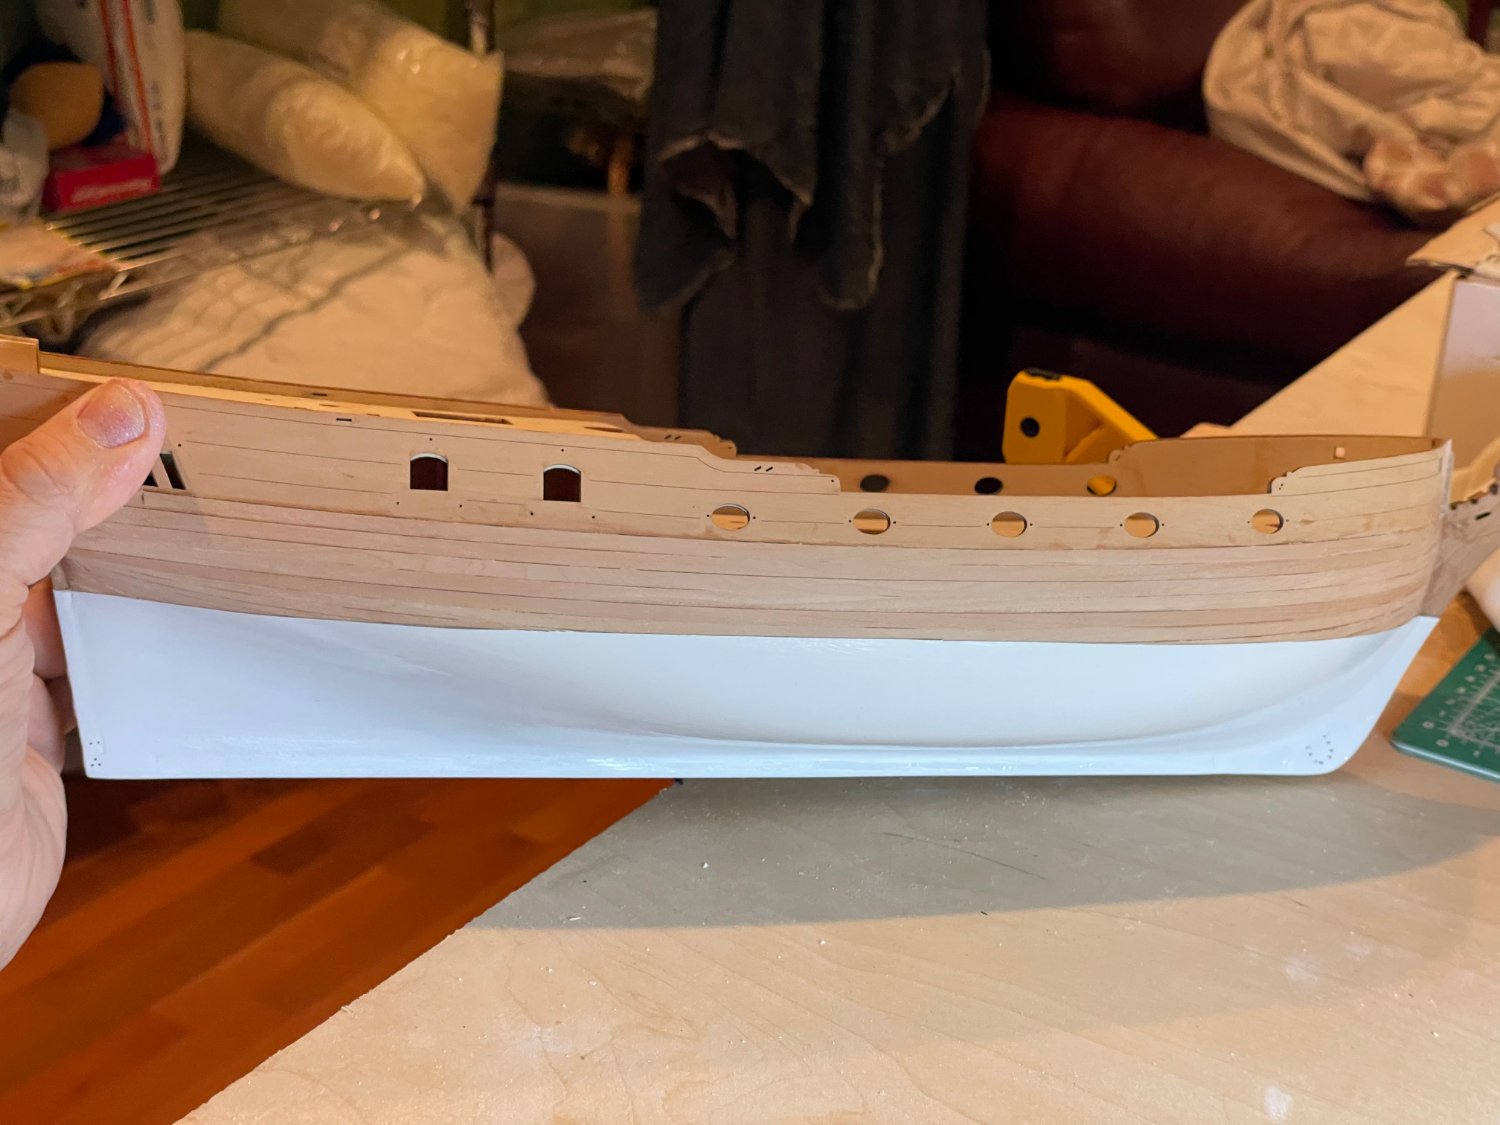
I painted the hull early as I like to not tape and turn things over when other things attached that might pull off.
- 22 replies
-
- 2
-
-
- Duchess of Kingston
- Vanguard Models
- (and 1 more)
-
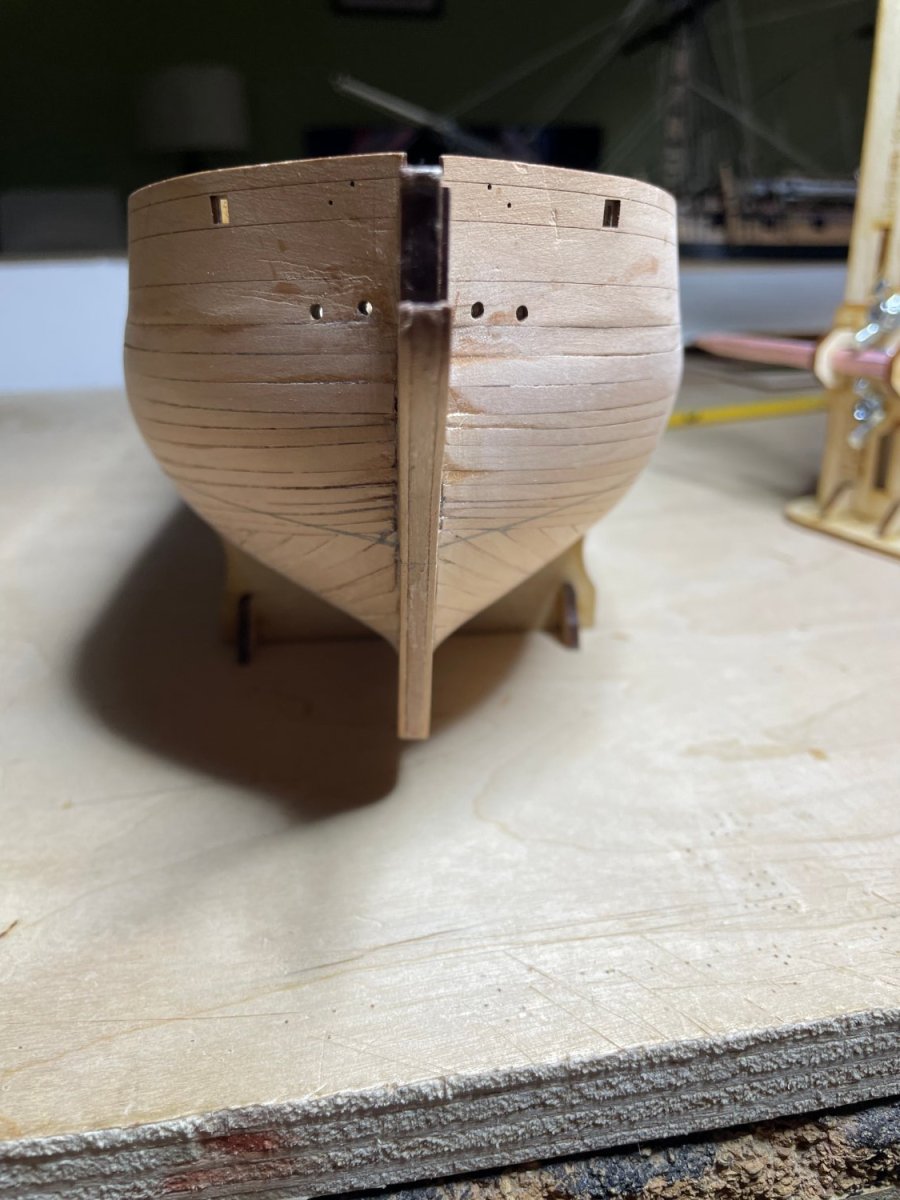
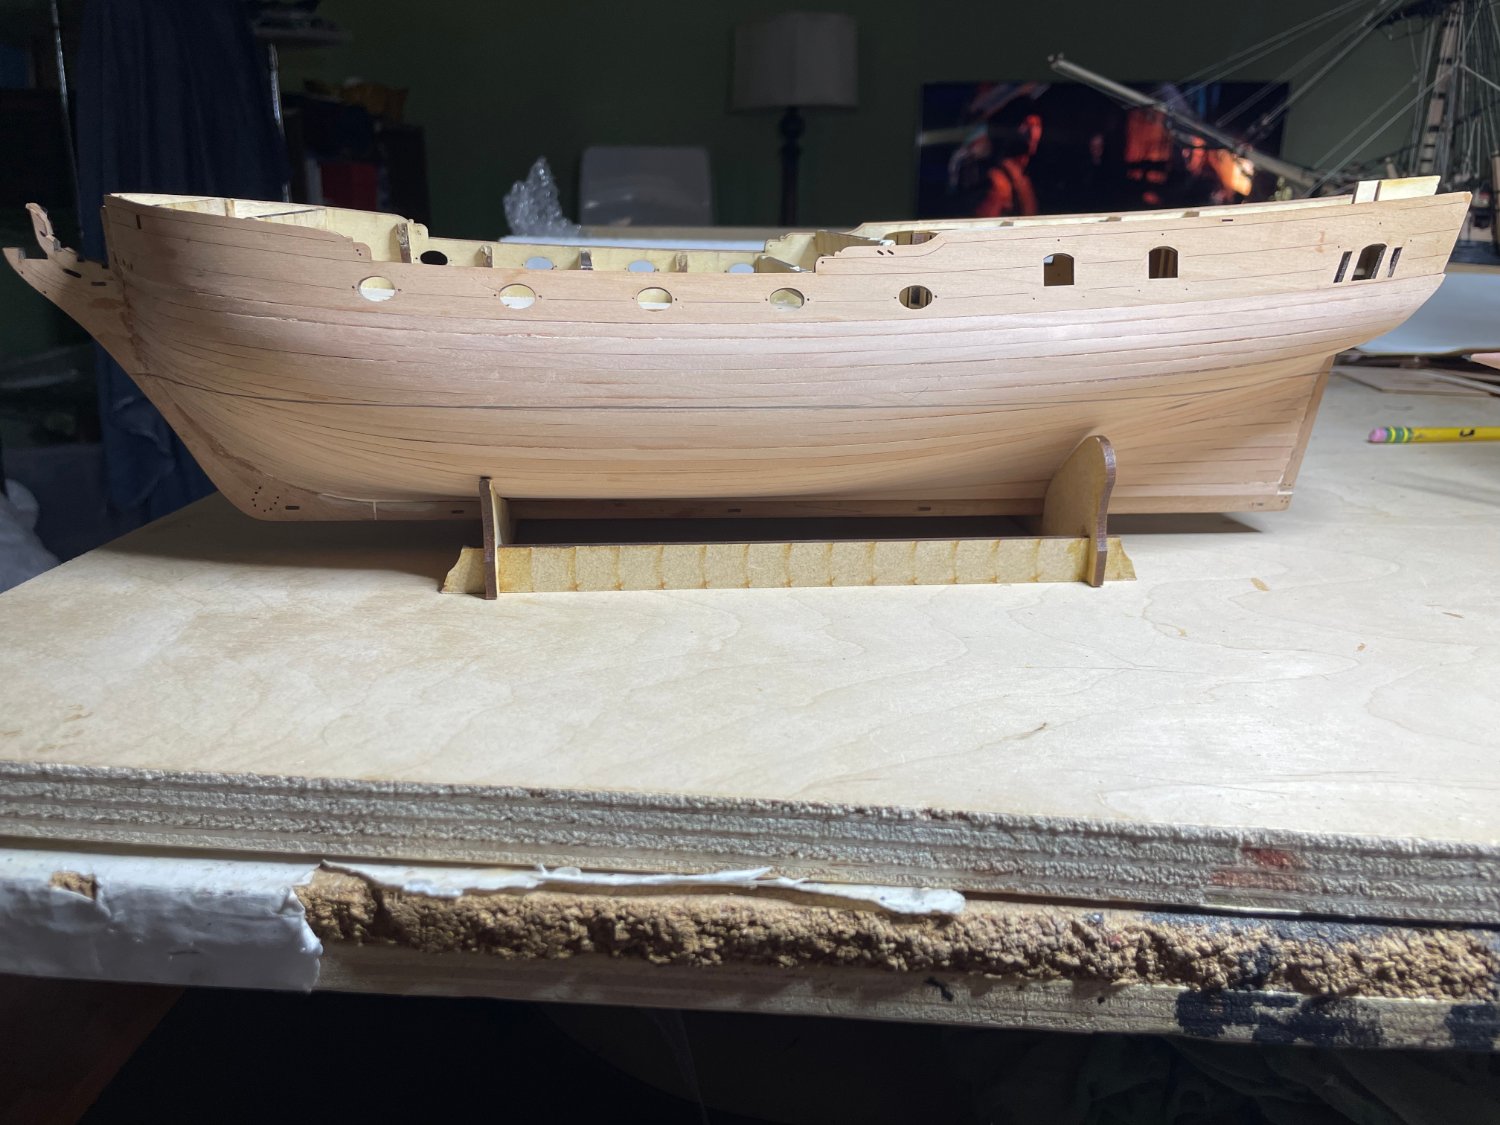
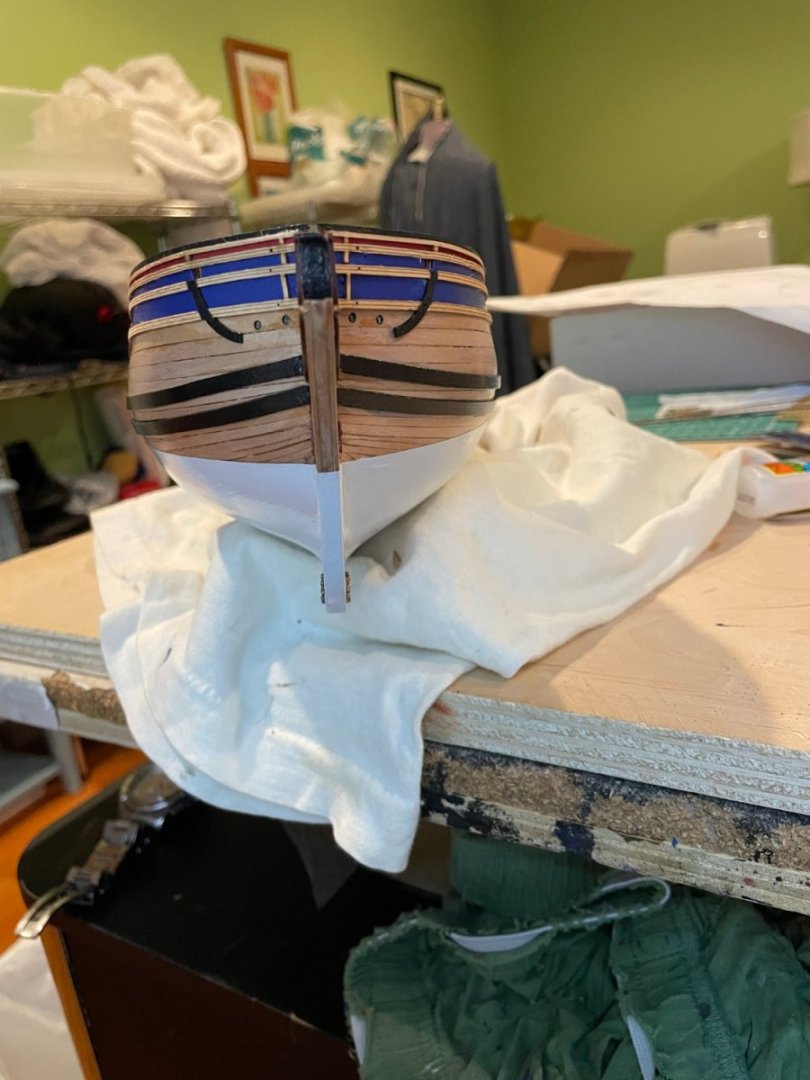
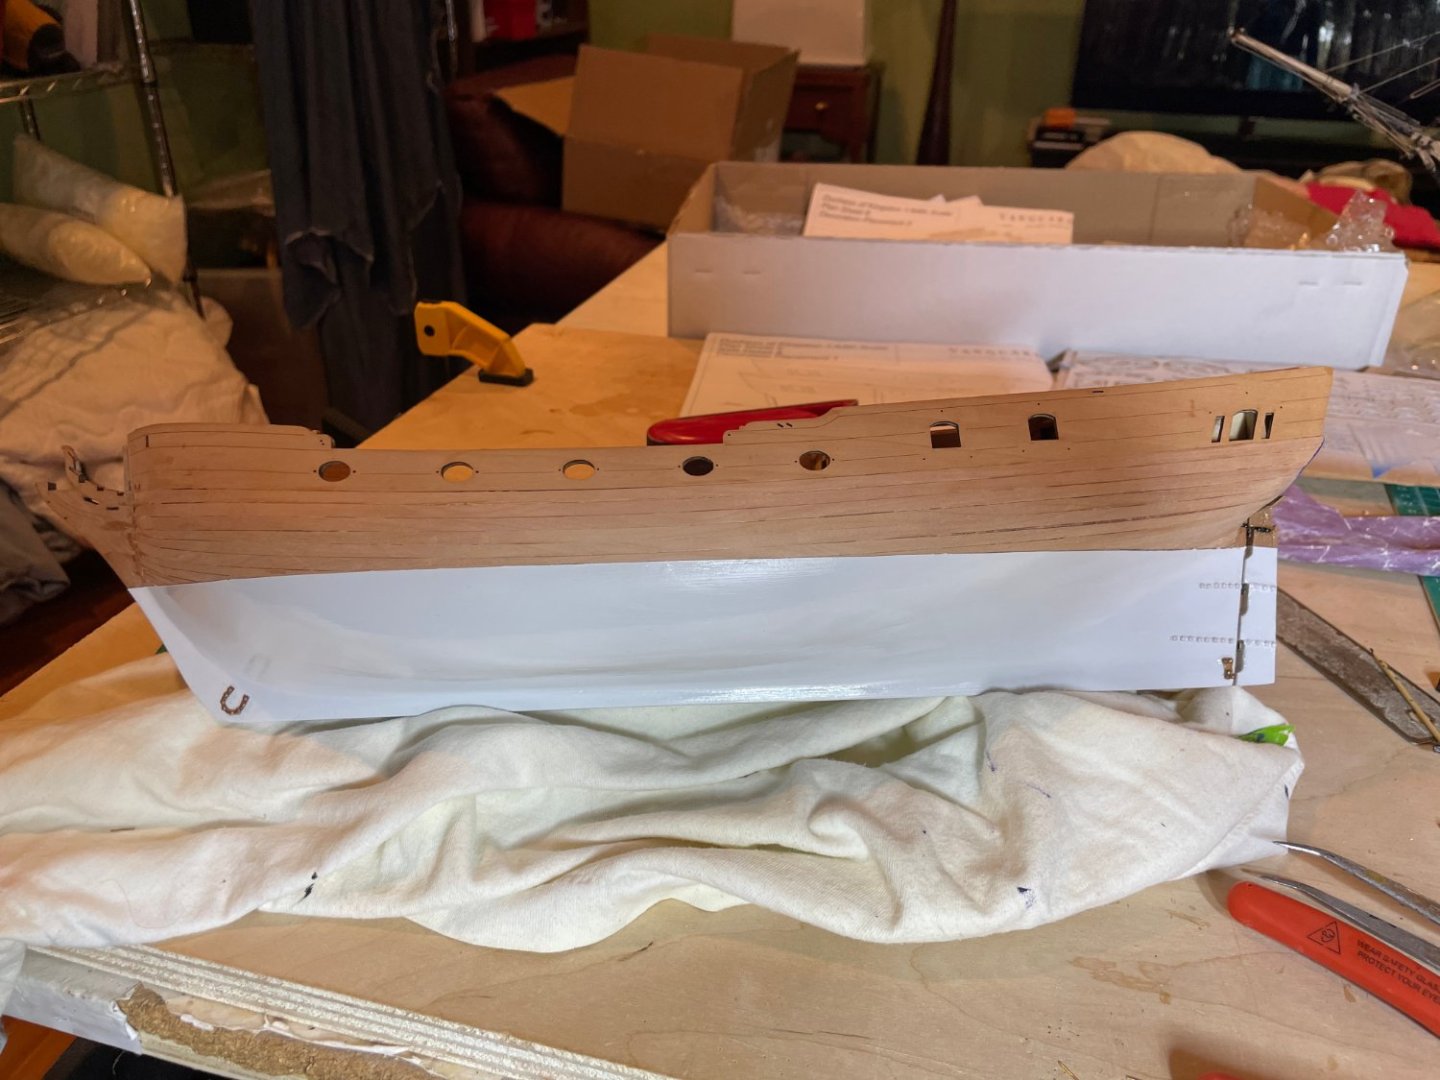
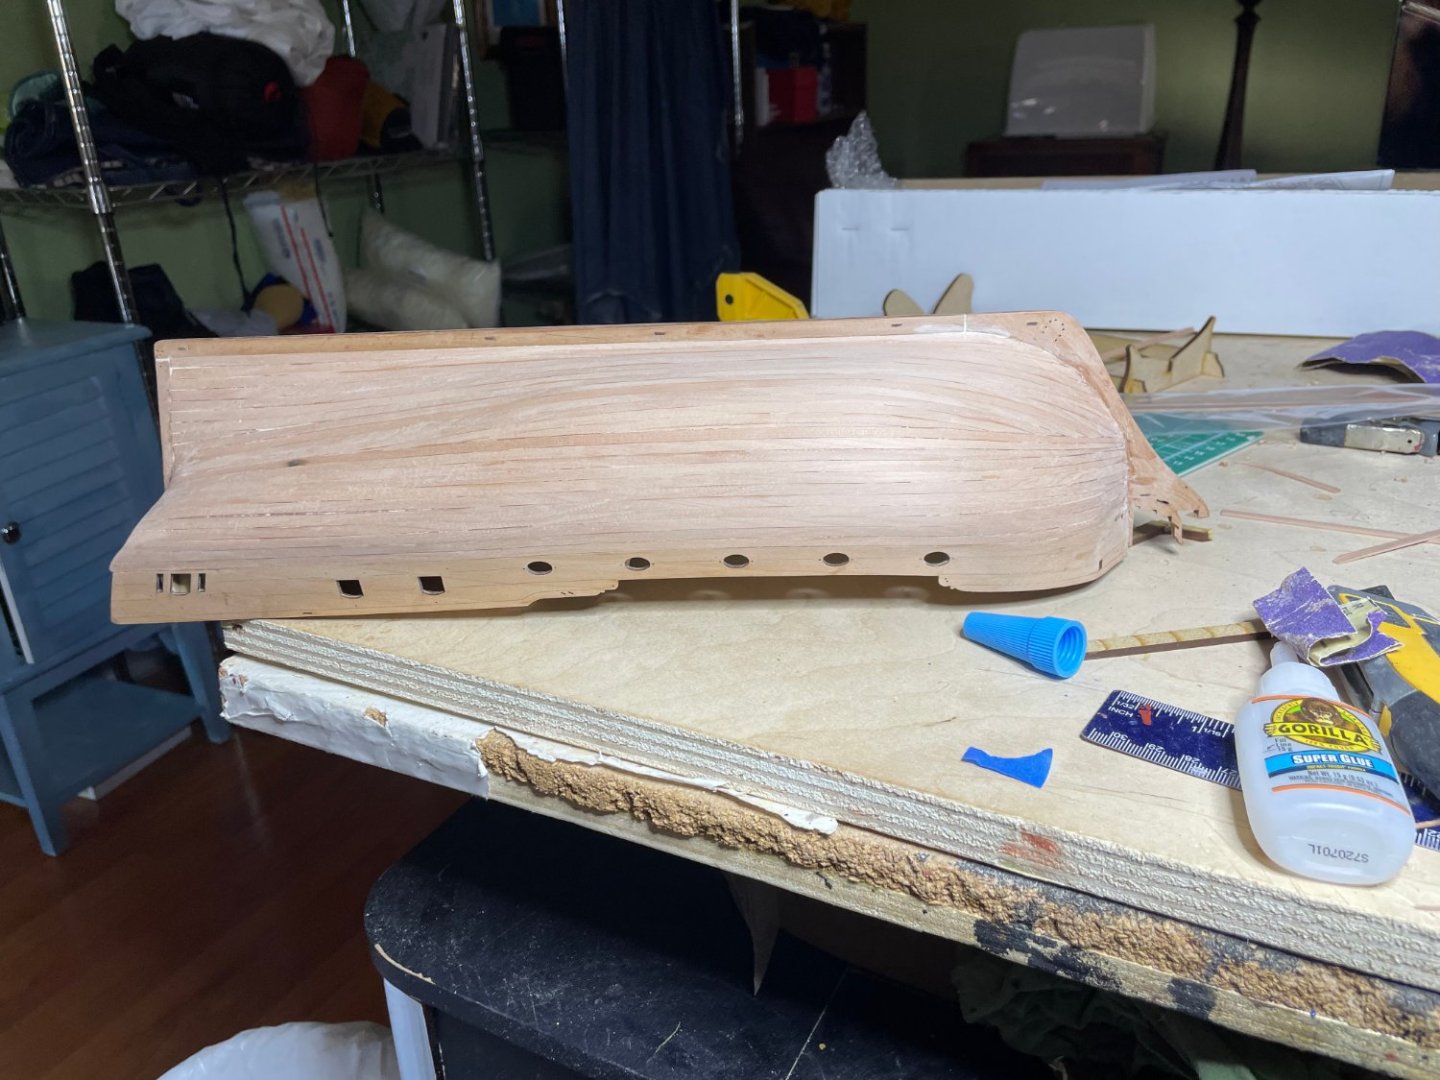
Second planking done and sanded. With water line drawn in


- 22 replies
-
- 2
-
-
- Duchess of Kingston
- Vanguard Models
- (and 1 more)
-
Planking continues With your support, we stay on course: your donations to MSW for 2022 are fully tax-deductible


- 22 replies
-
- 1
-
-
- Duchess of Kingston
- Vanguard Models
- (and 1 more)
-
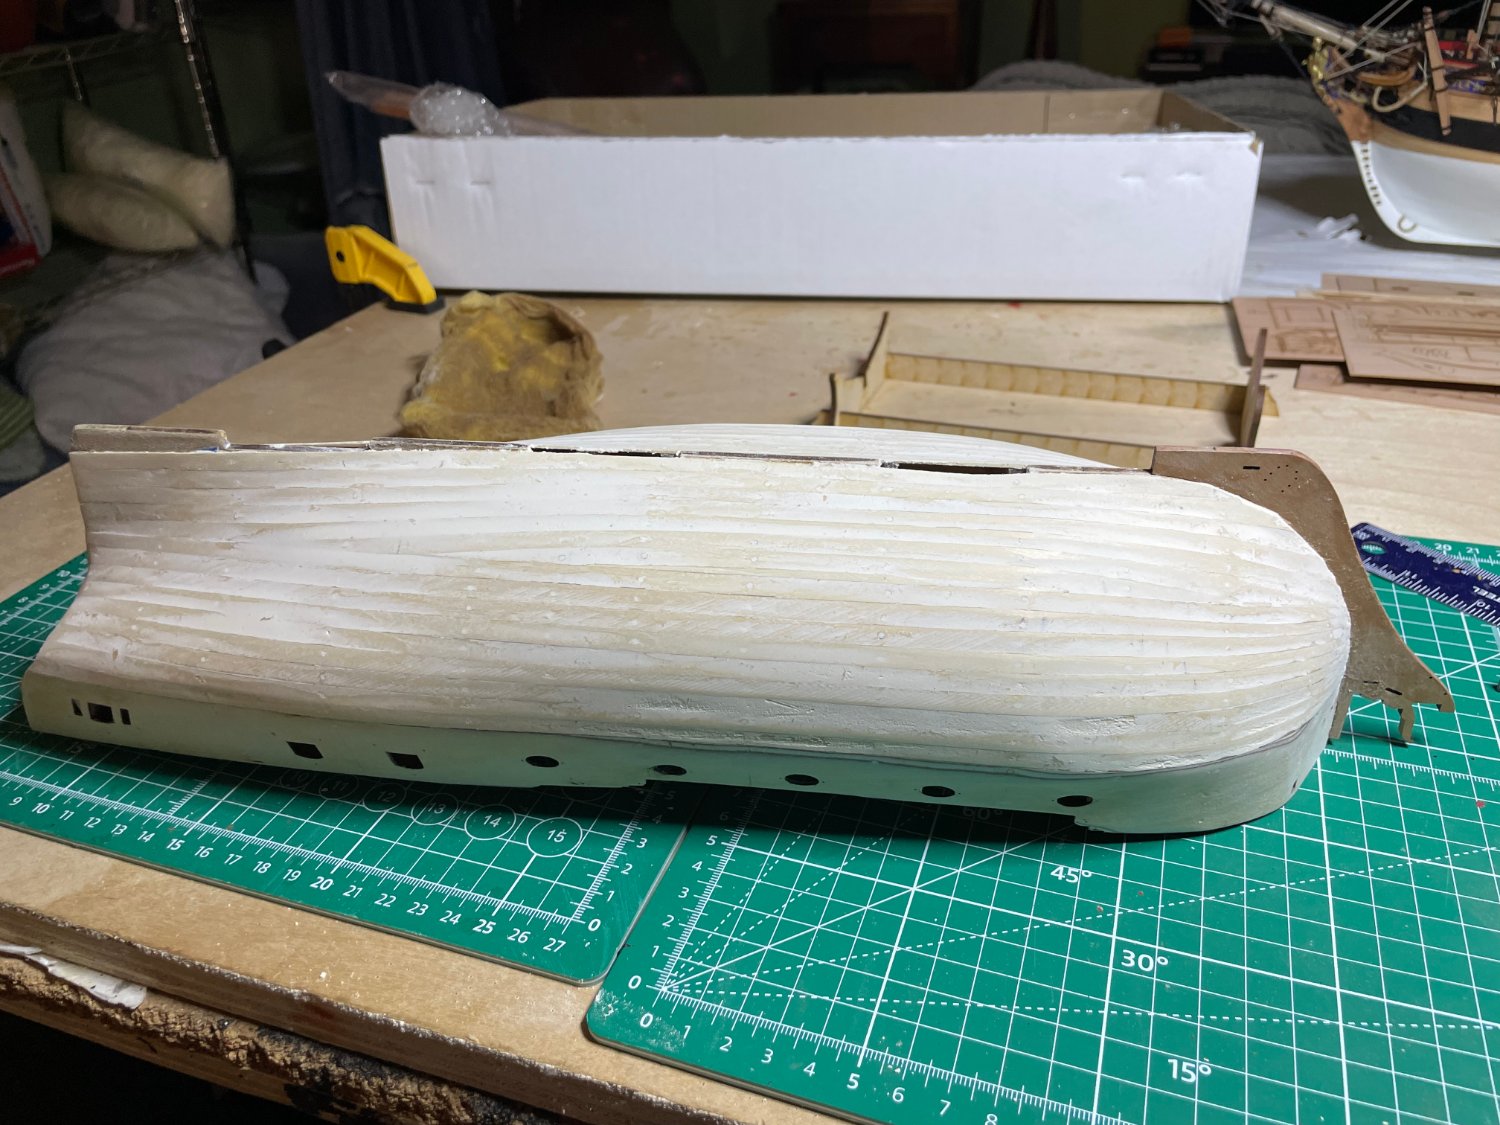
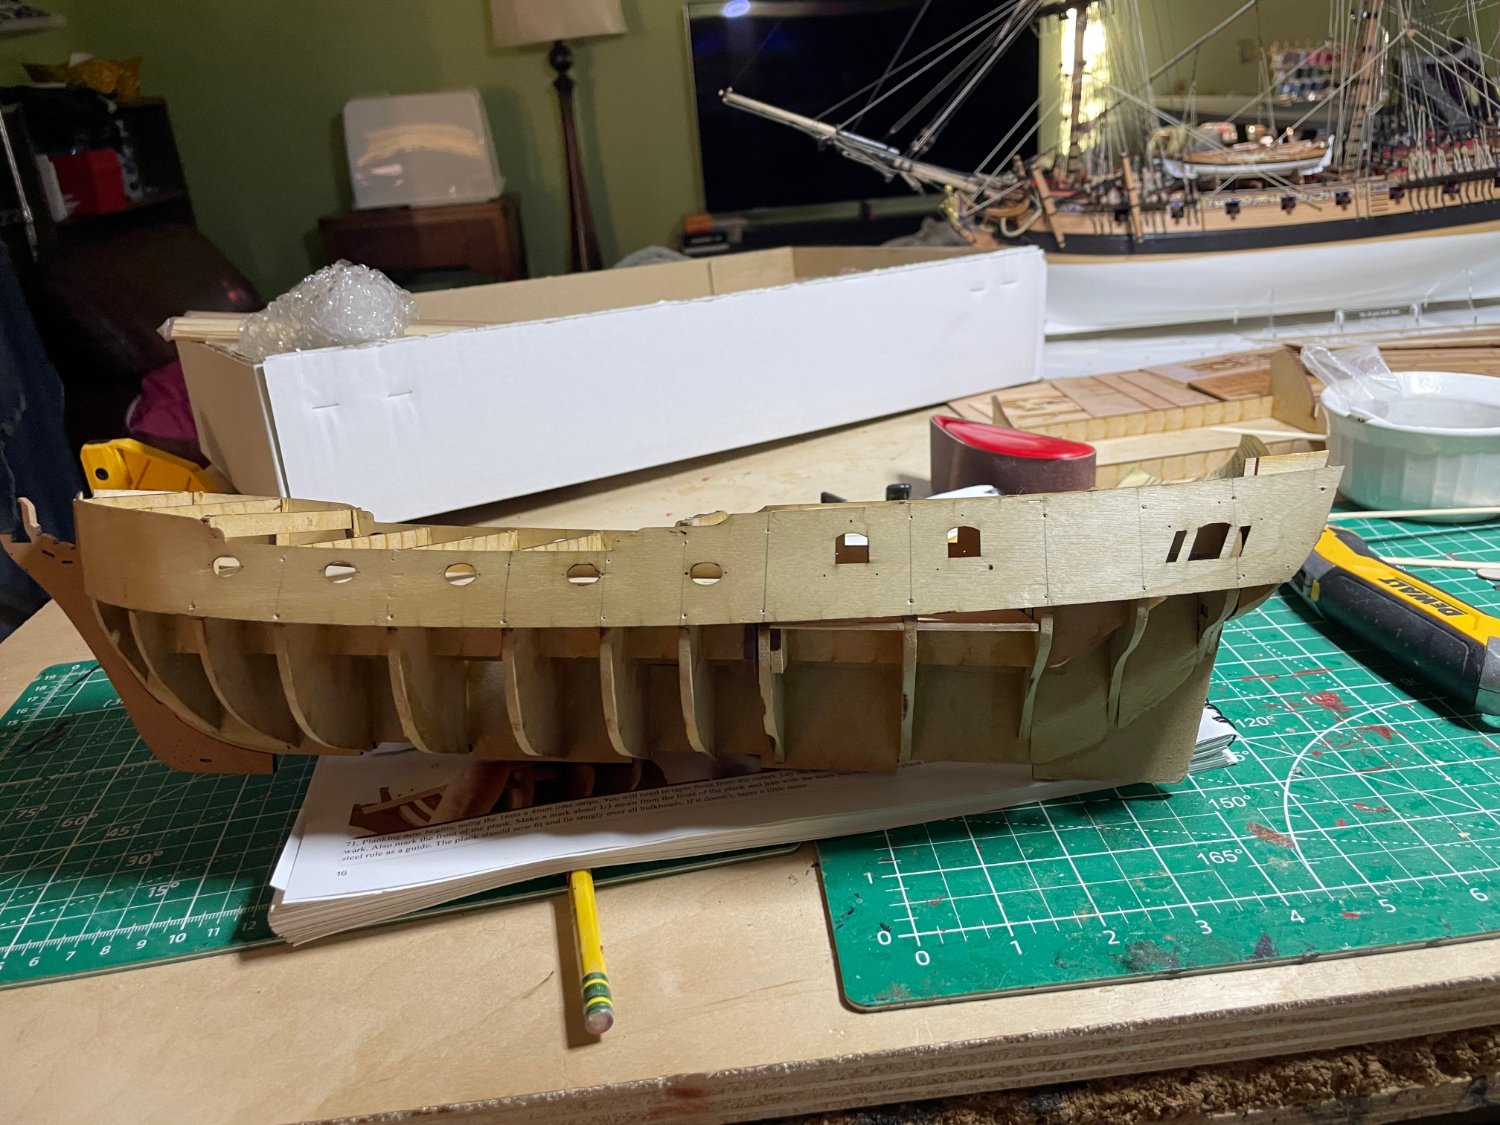
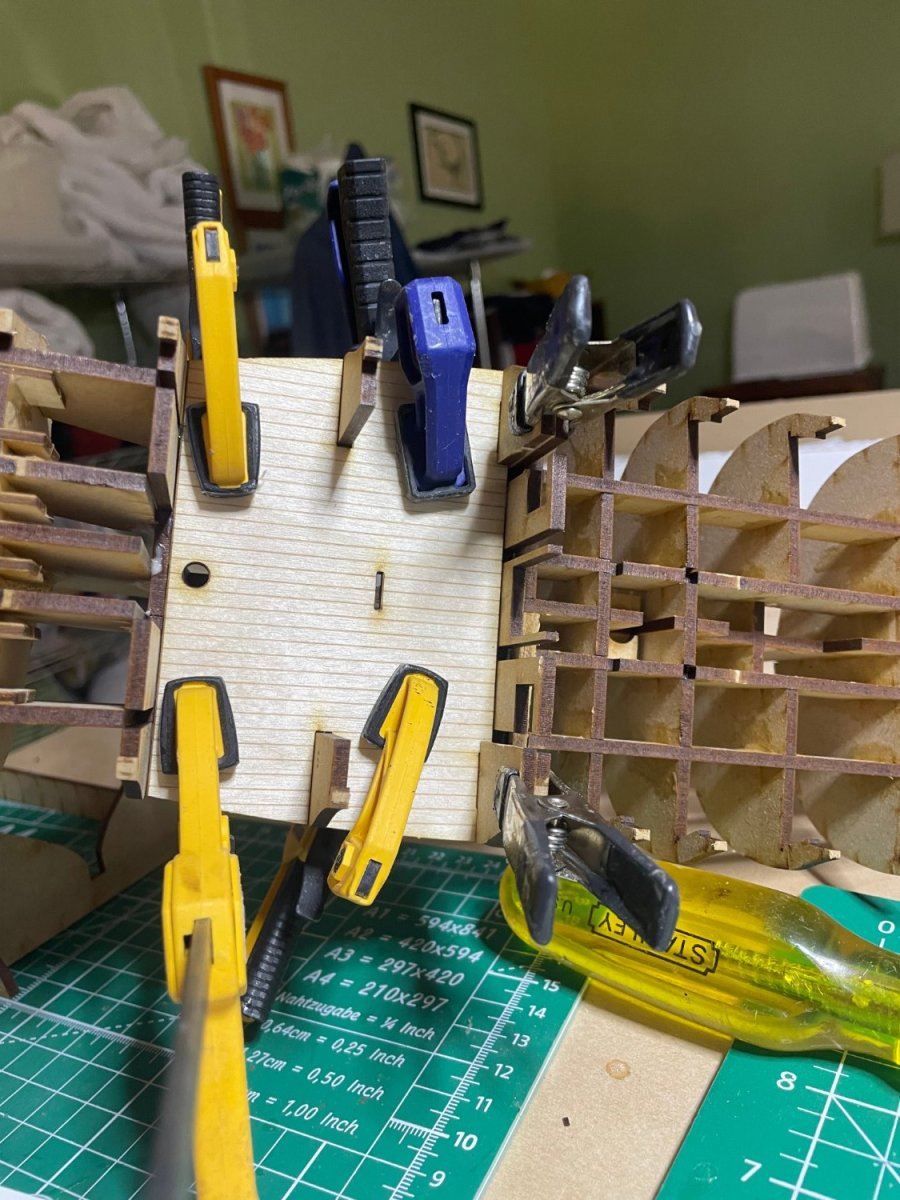
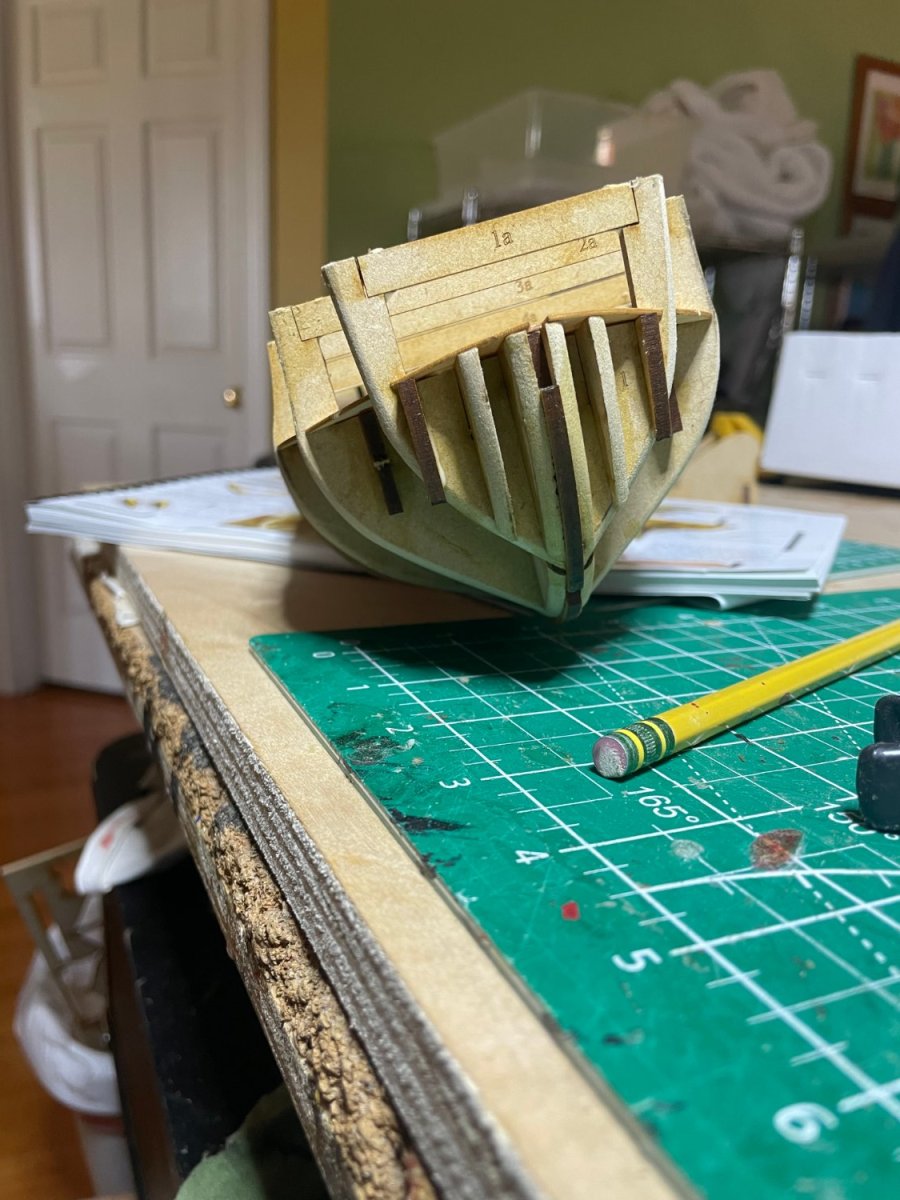
Sanded with a small triangular orbital sander and some hand finishing, looks about right. Plank fits well.
- 22 replies
-
- 3
-
-
- Duchess of Kingston
- Vanguard Models
- (and 1 more)
-
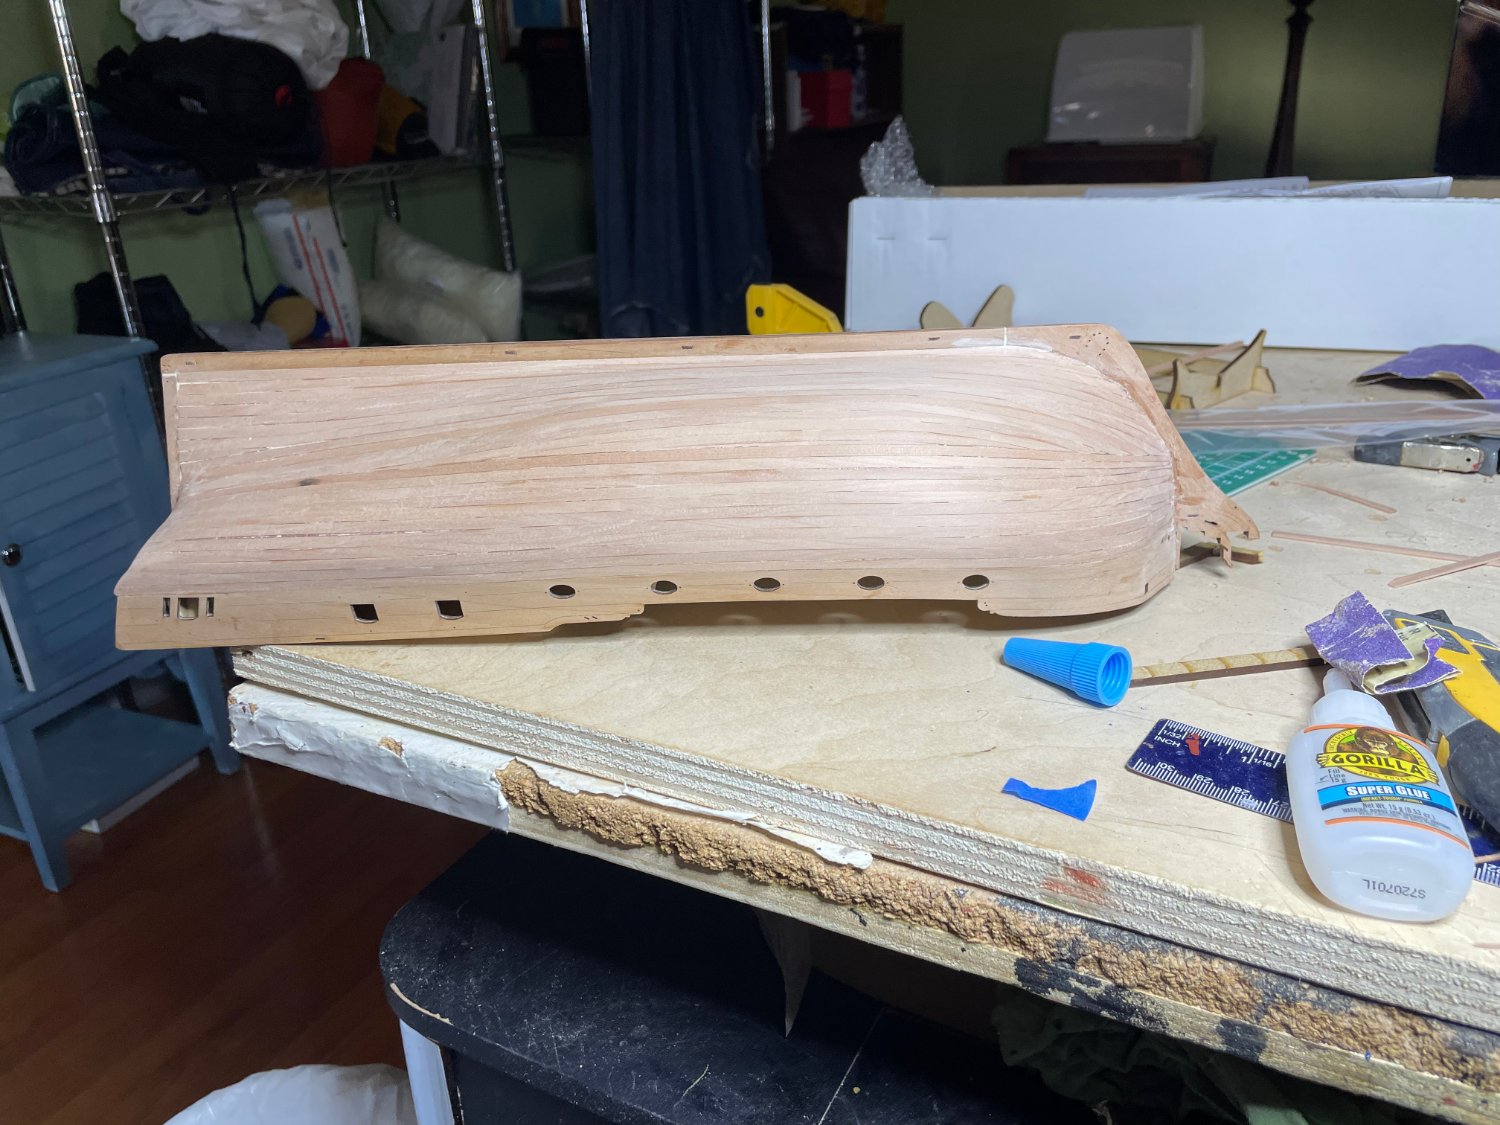
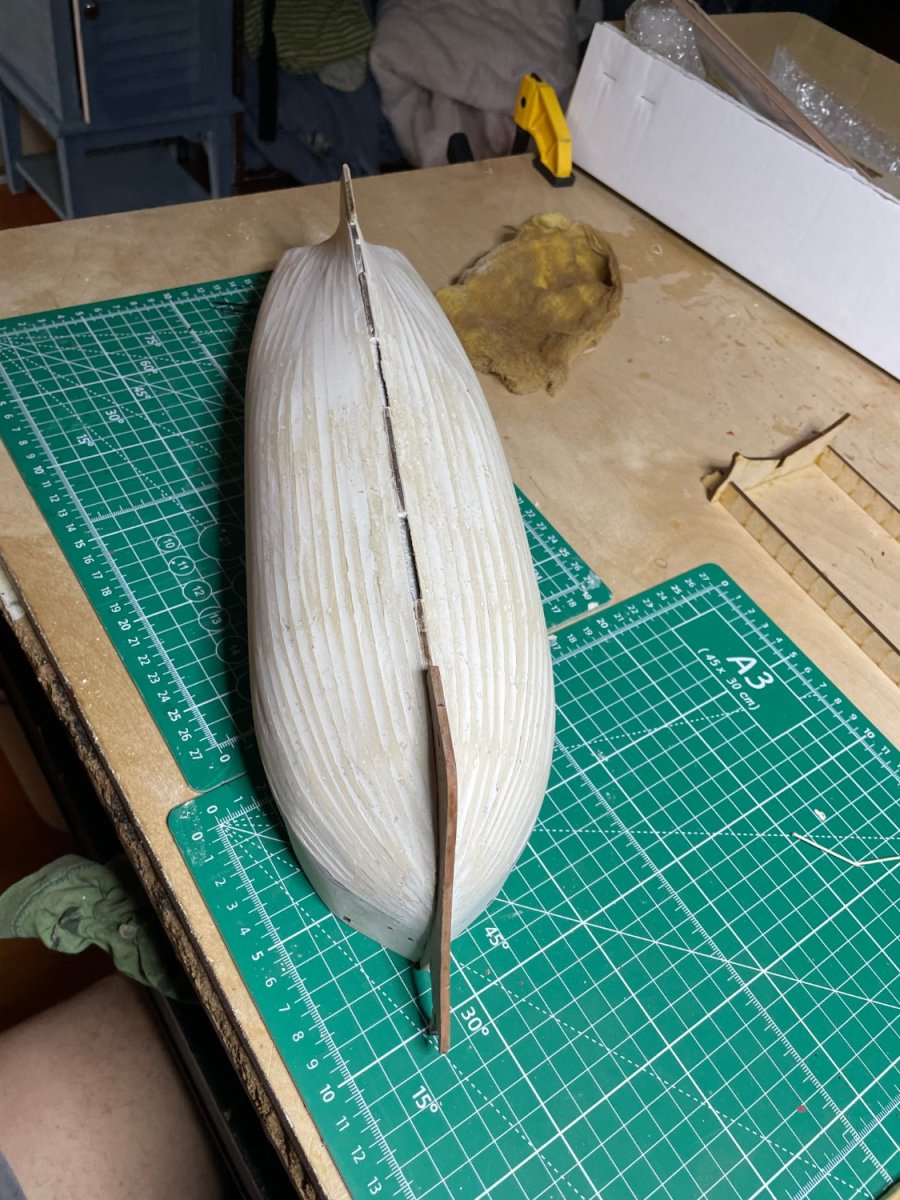
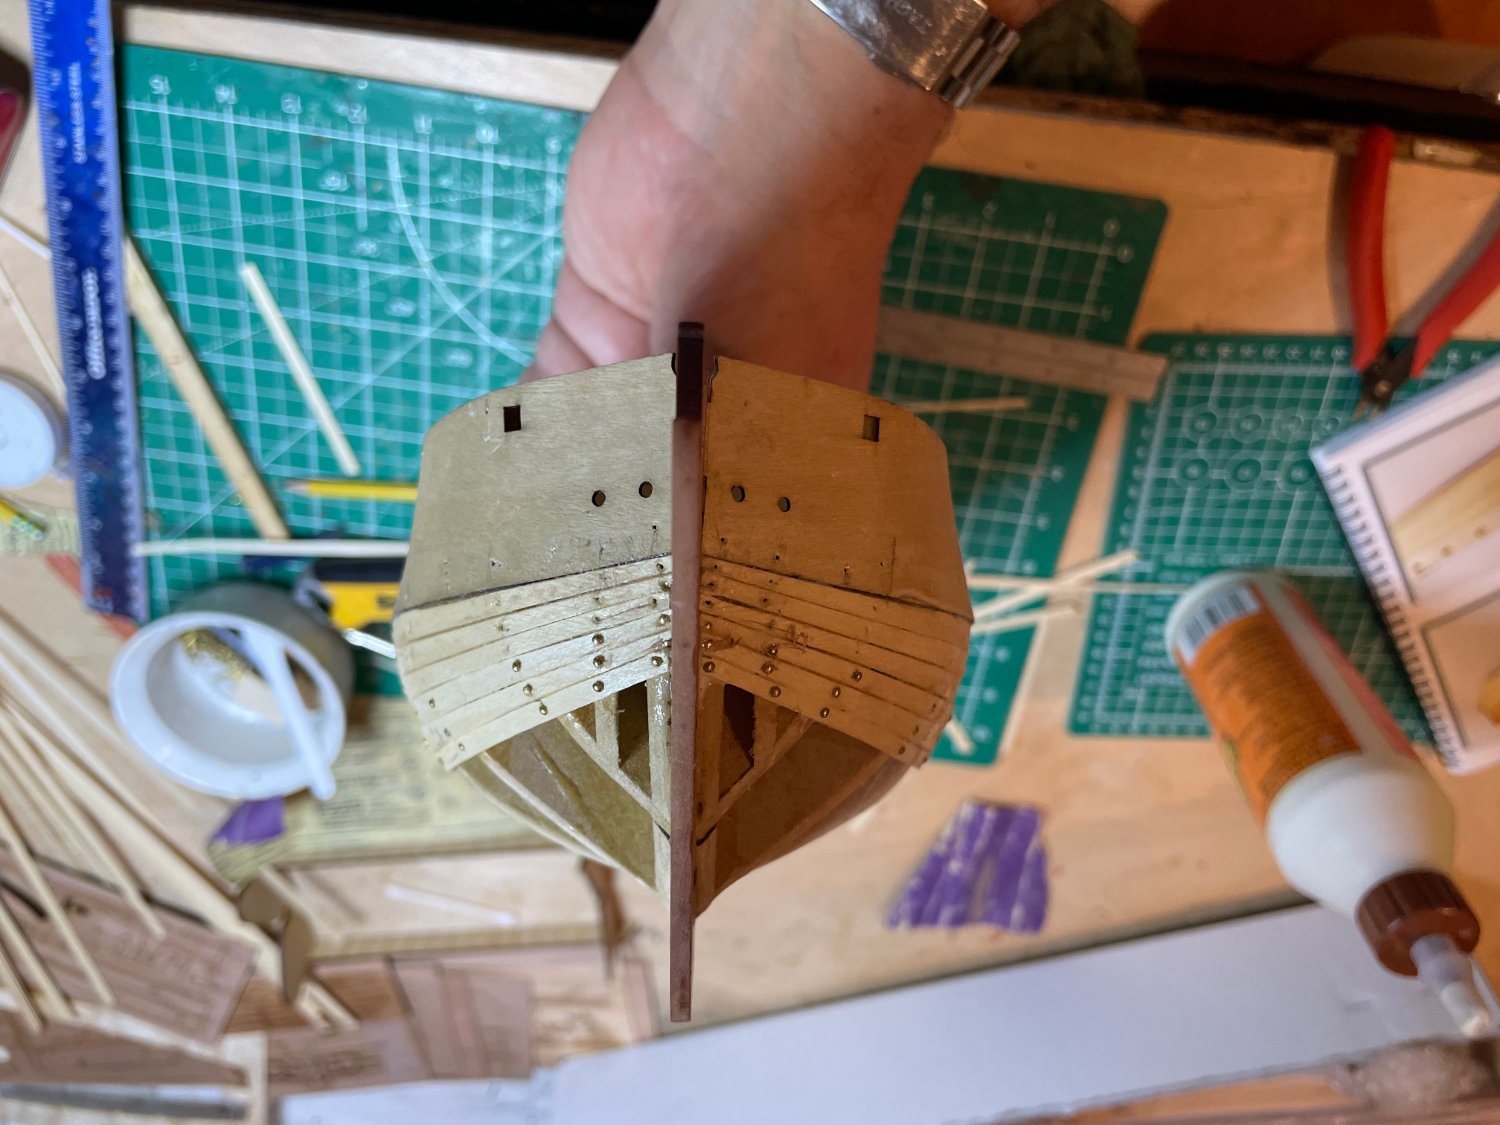
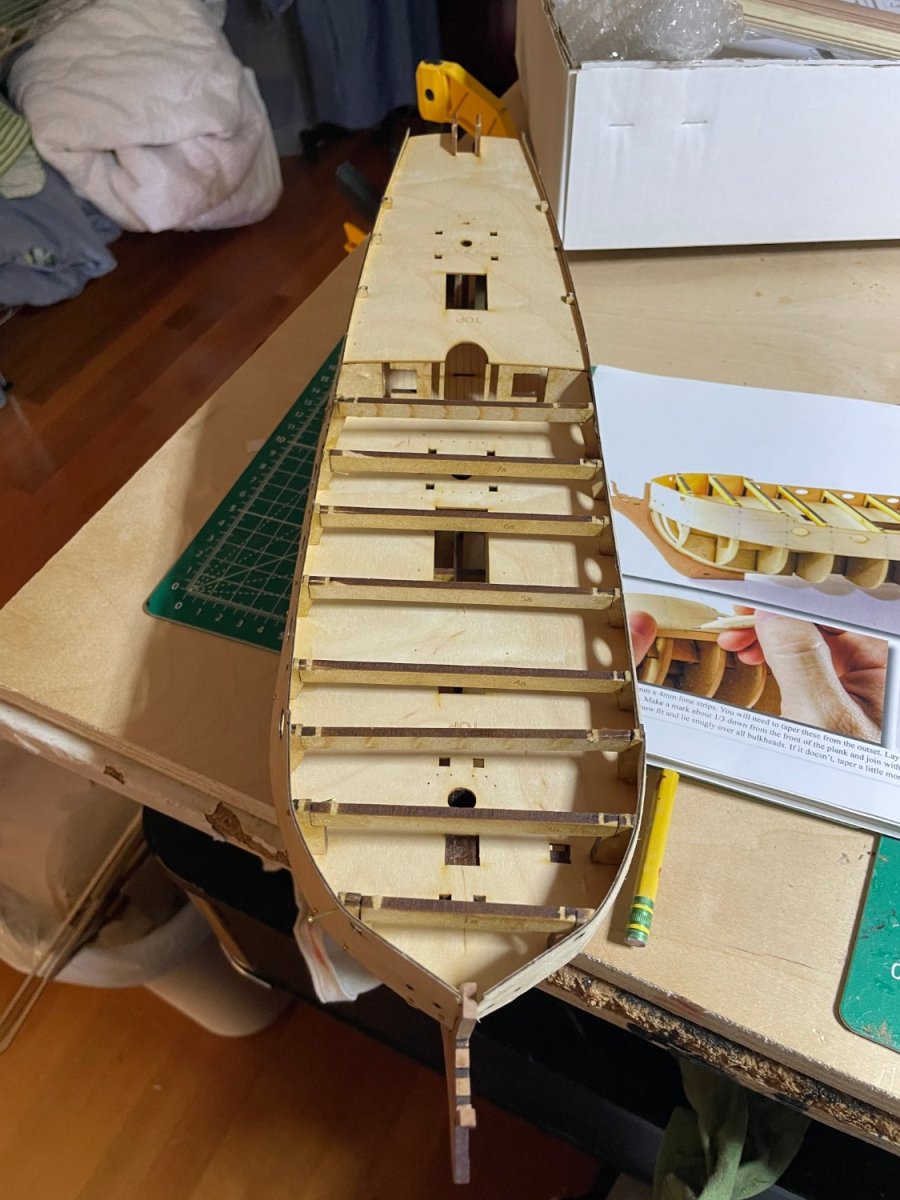
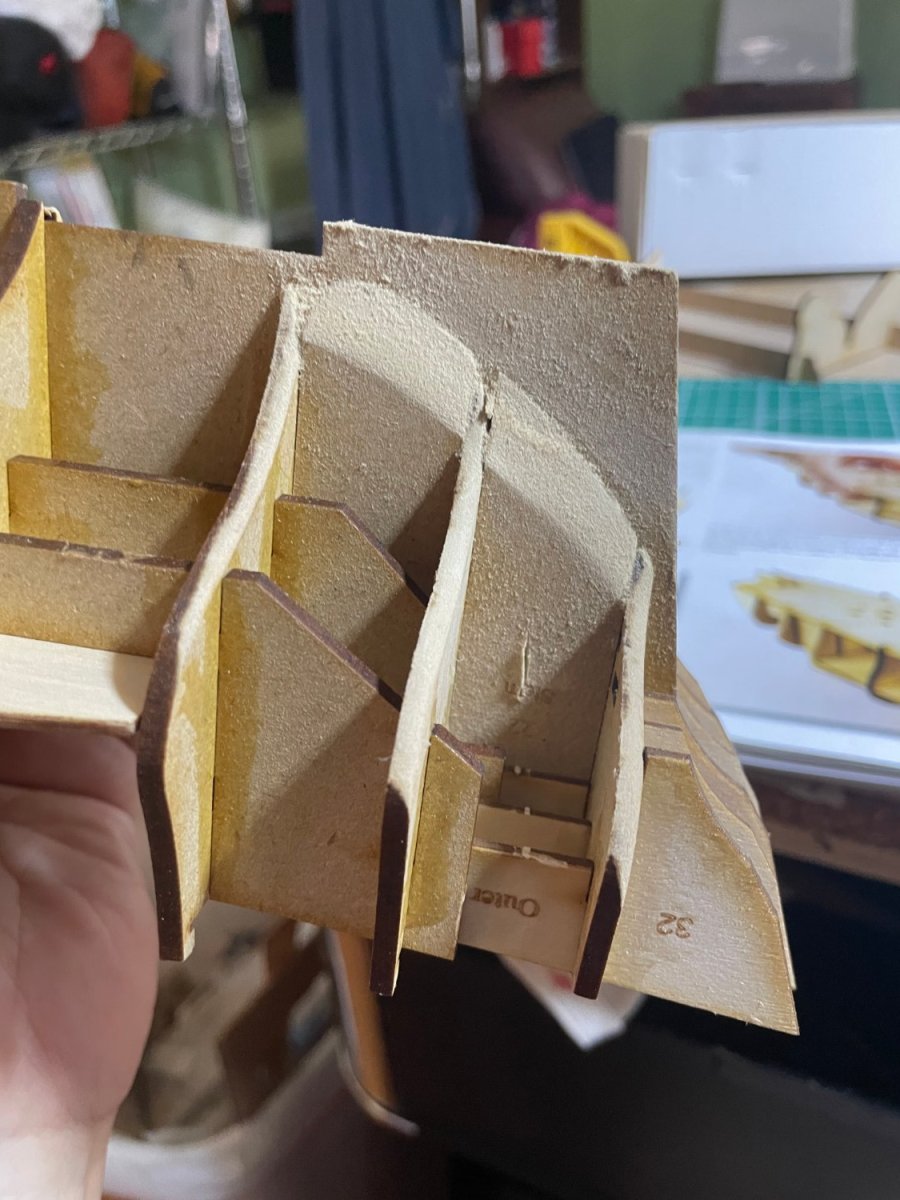
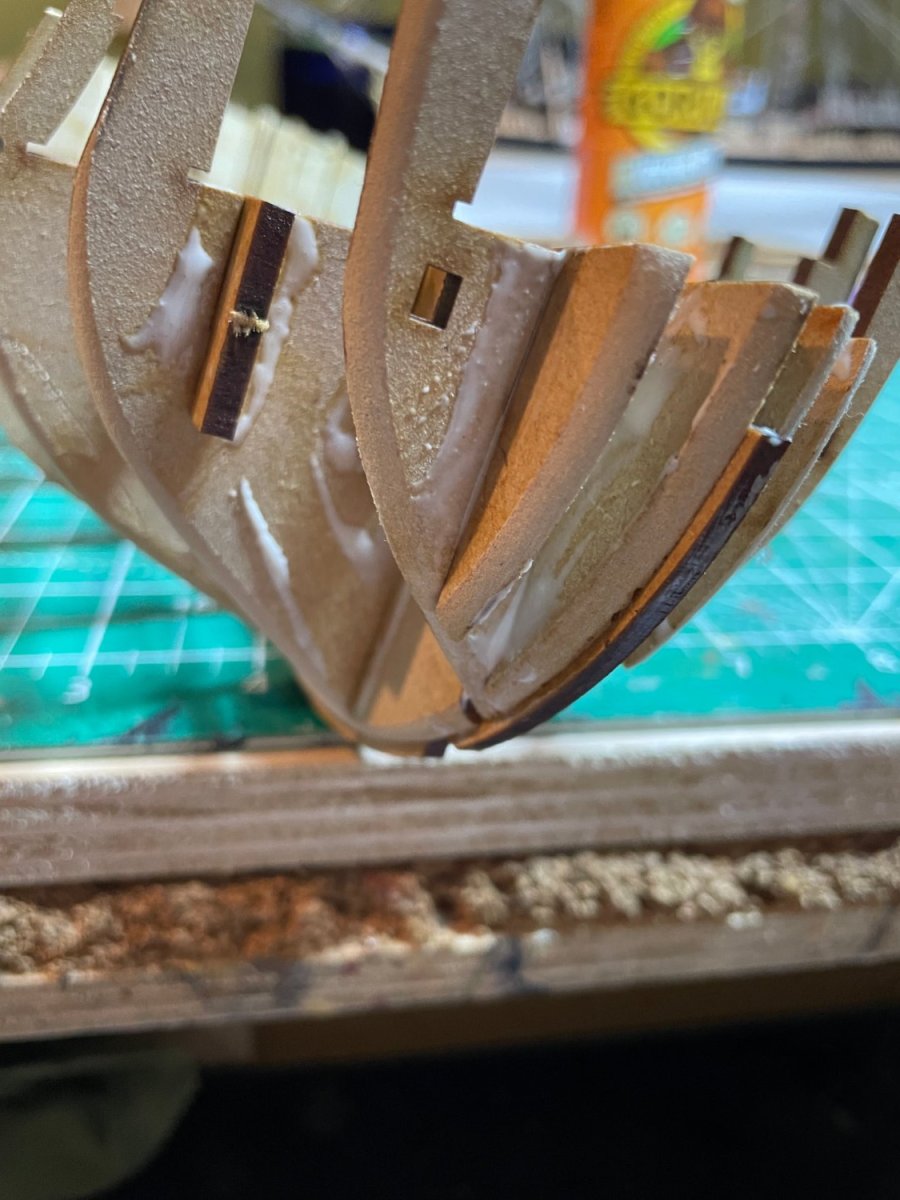
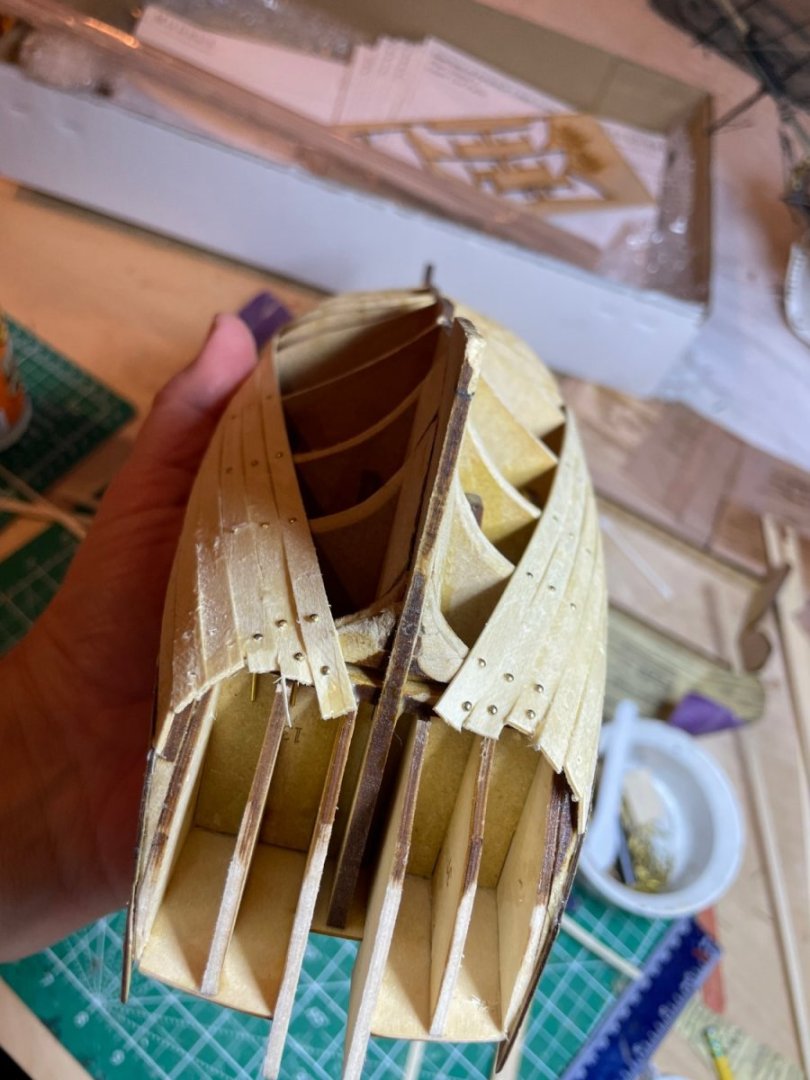
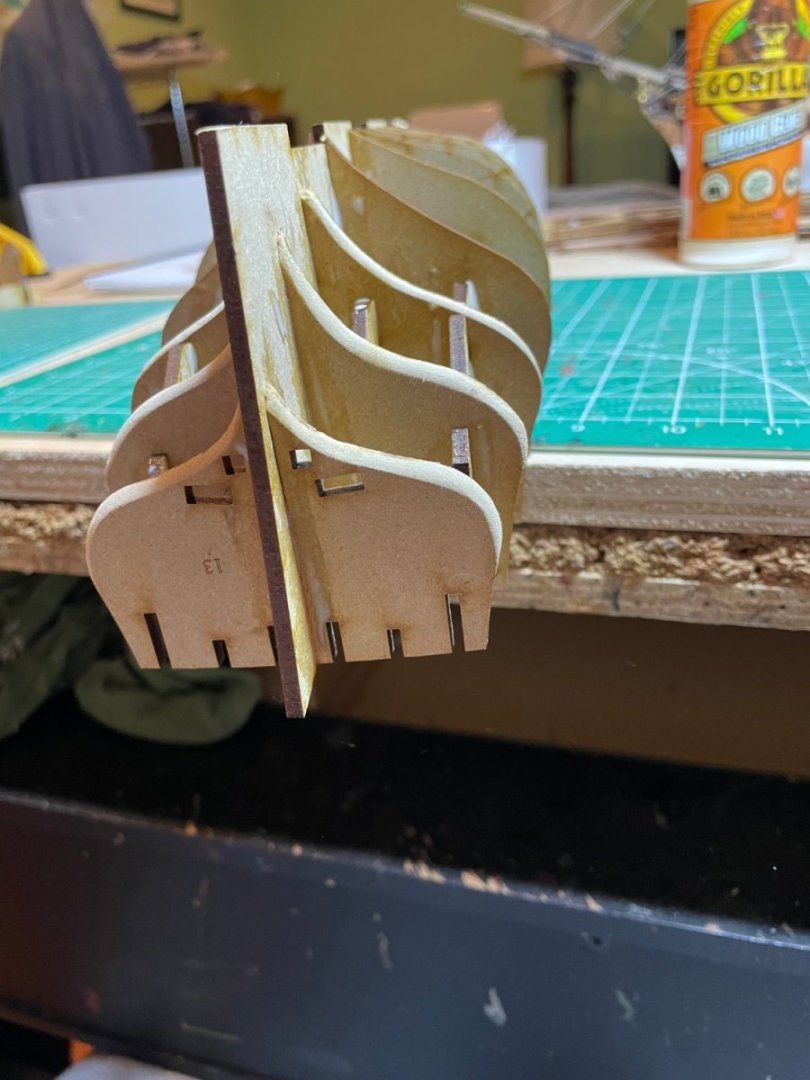
Have completed the jigsaw puzzle of the hull. A few spots needed thinning to fit (in the stern). Now letting glue dry and will start sanding tomorrow.


- 22 replies
-
- 4
-
-
- Duchess of Kingston
- Vanguard Models
- (and 1 more)
-
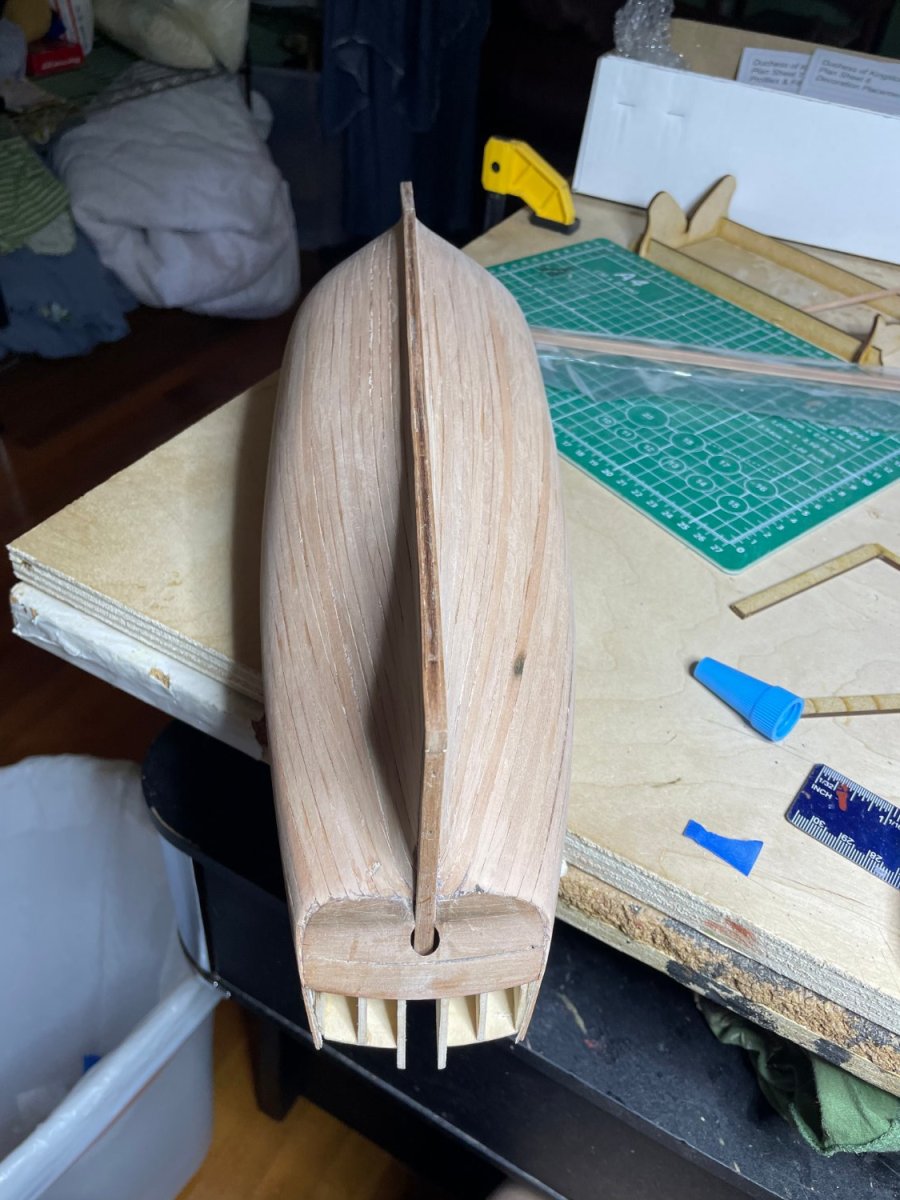
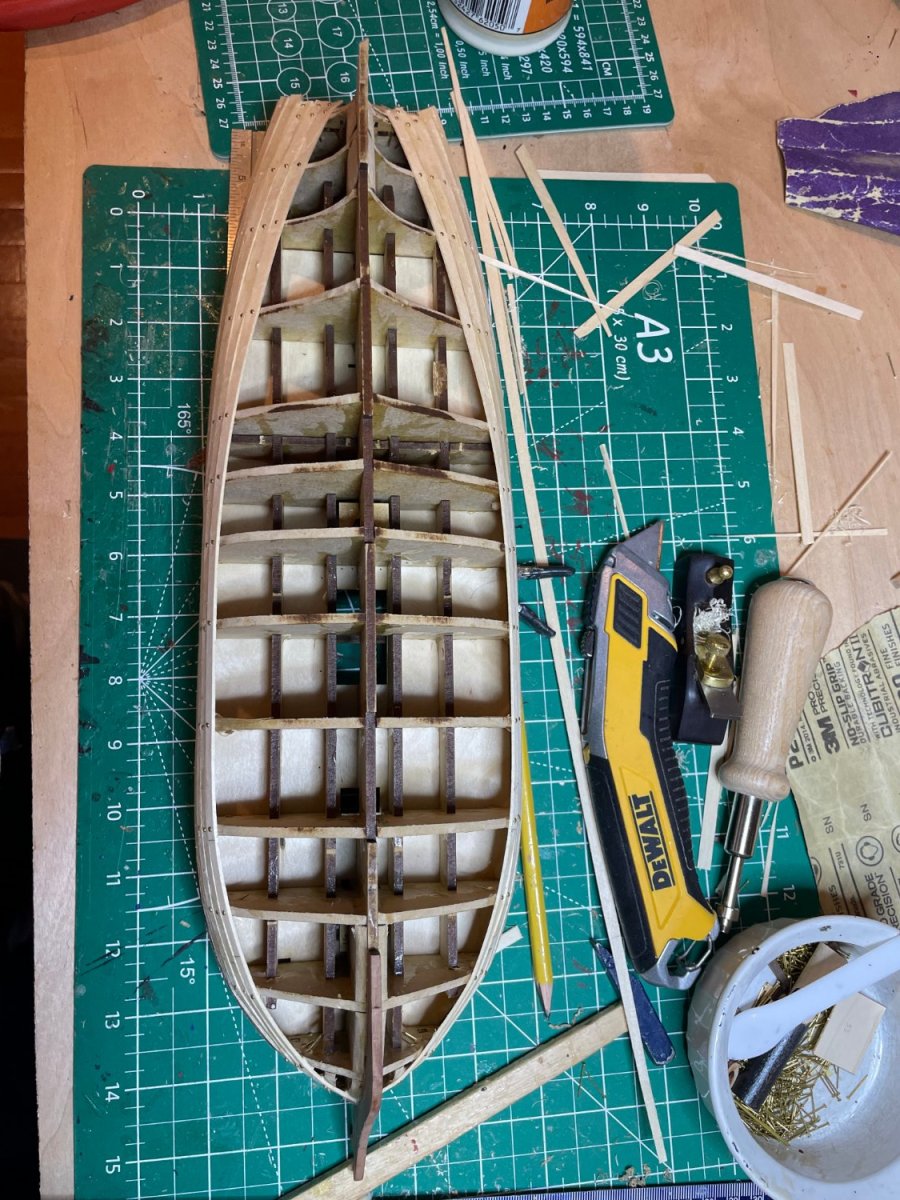
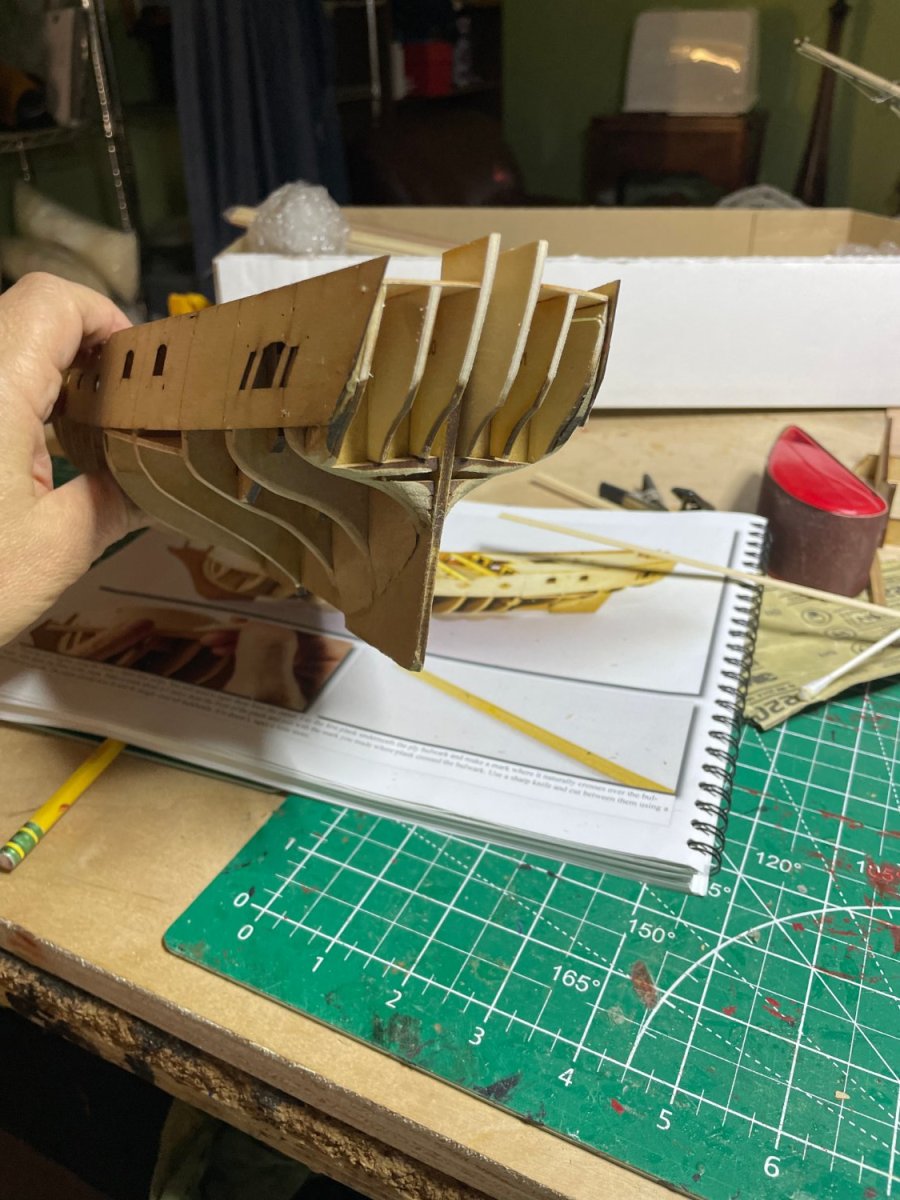
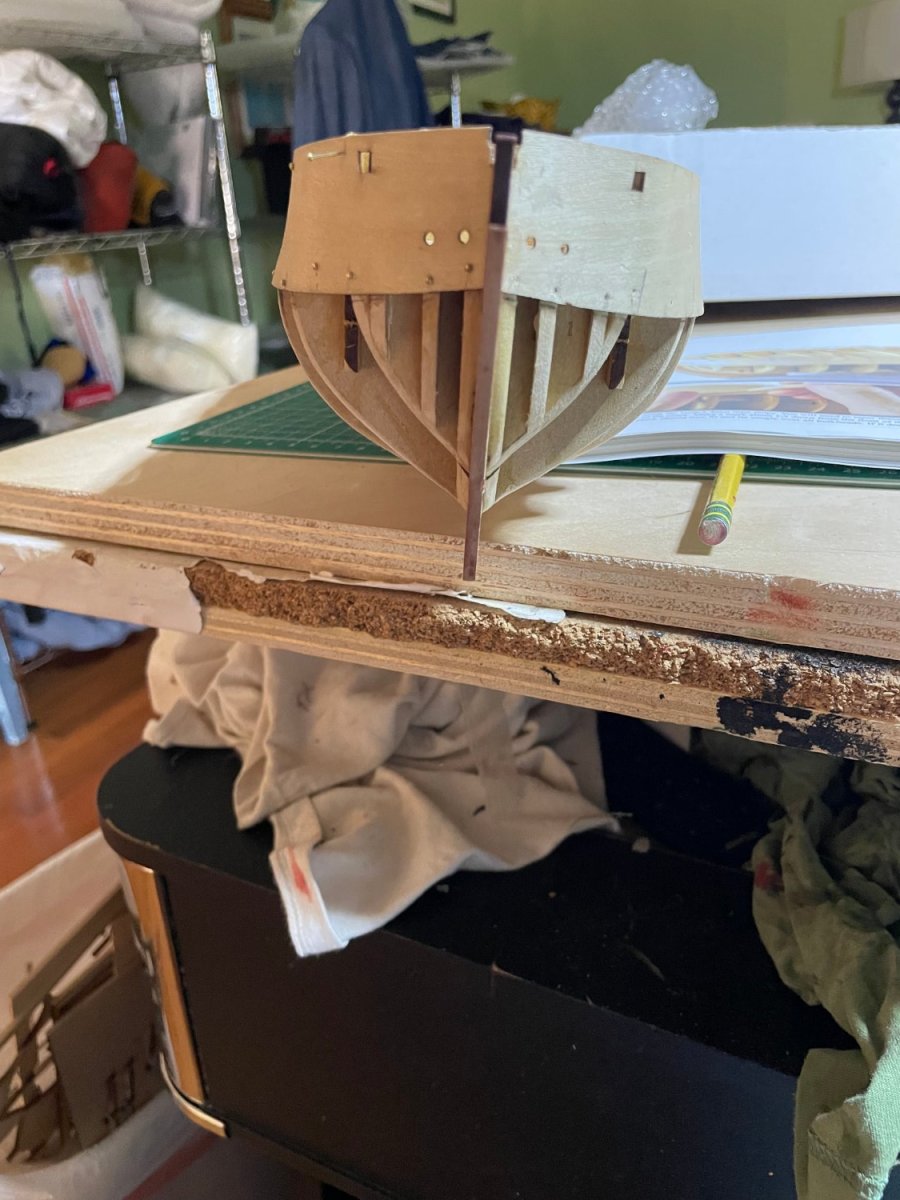
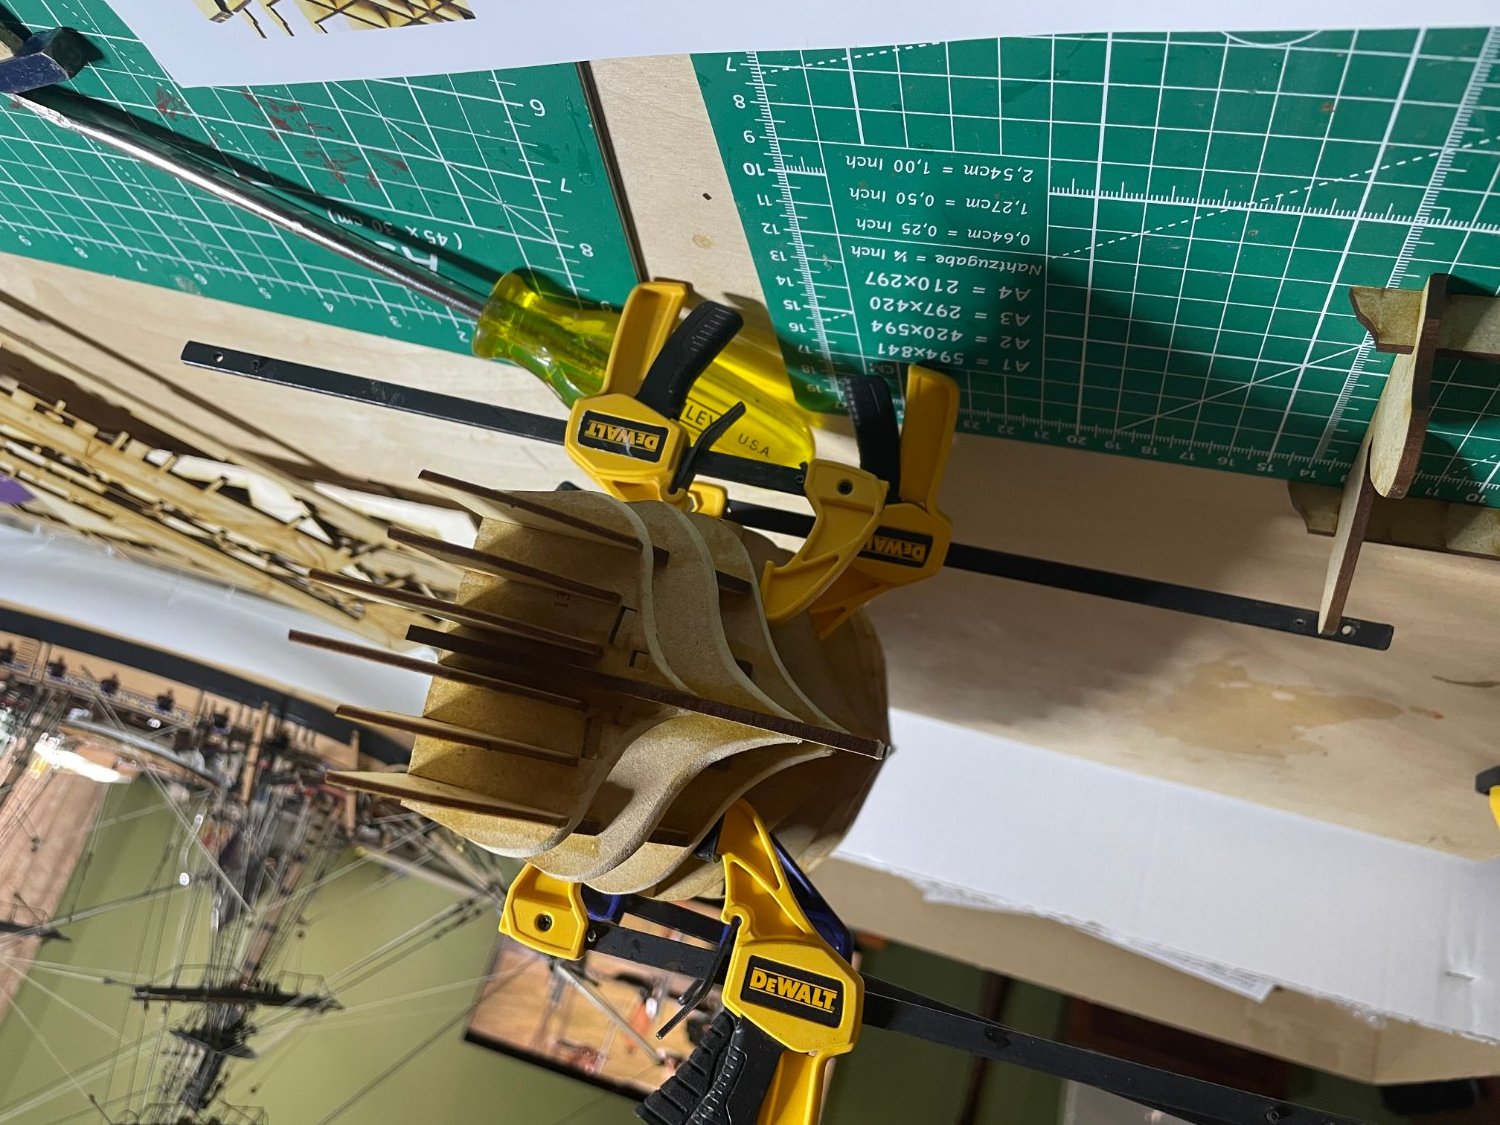
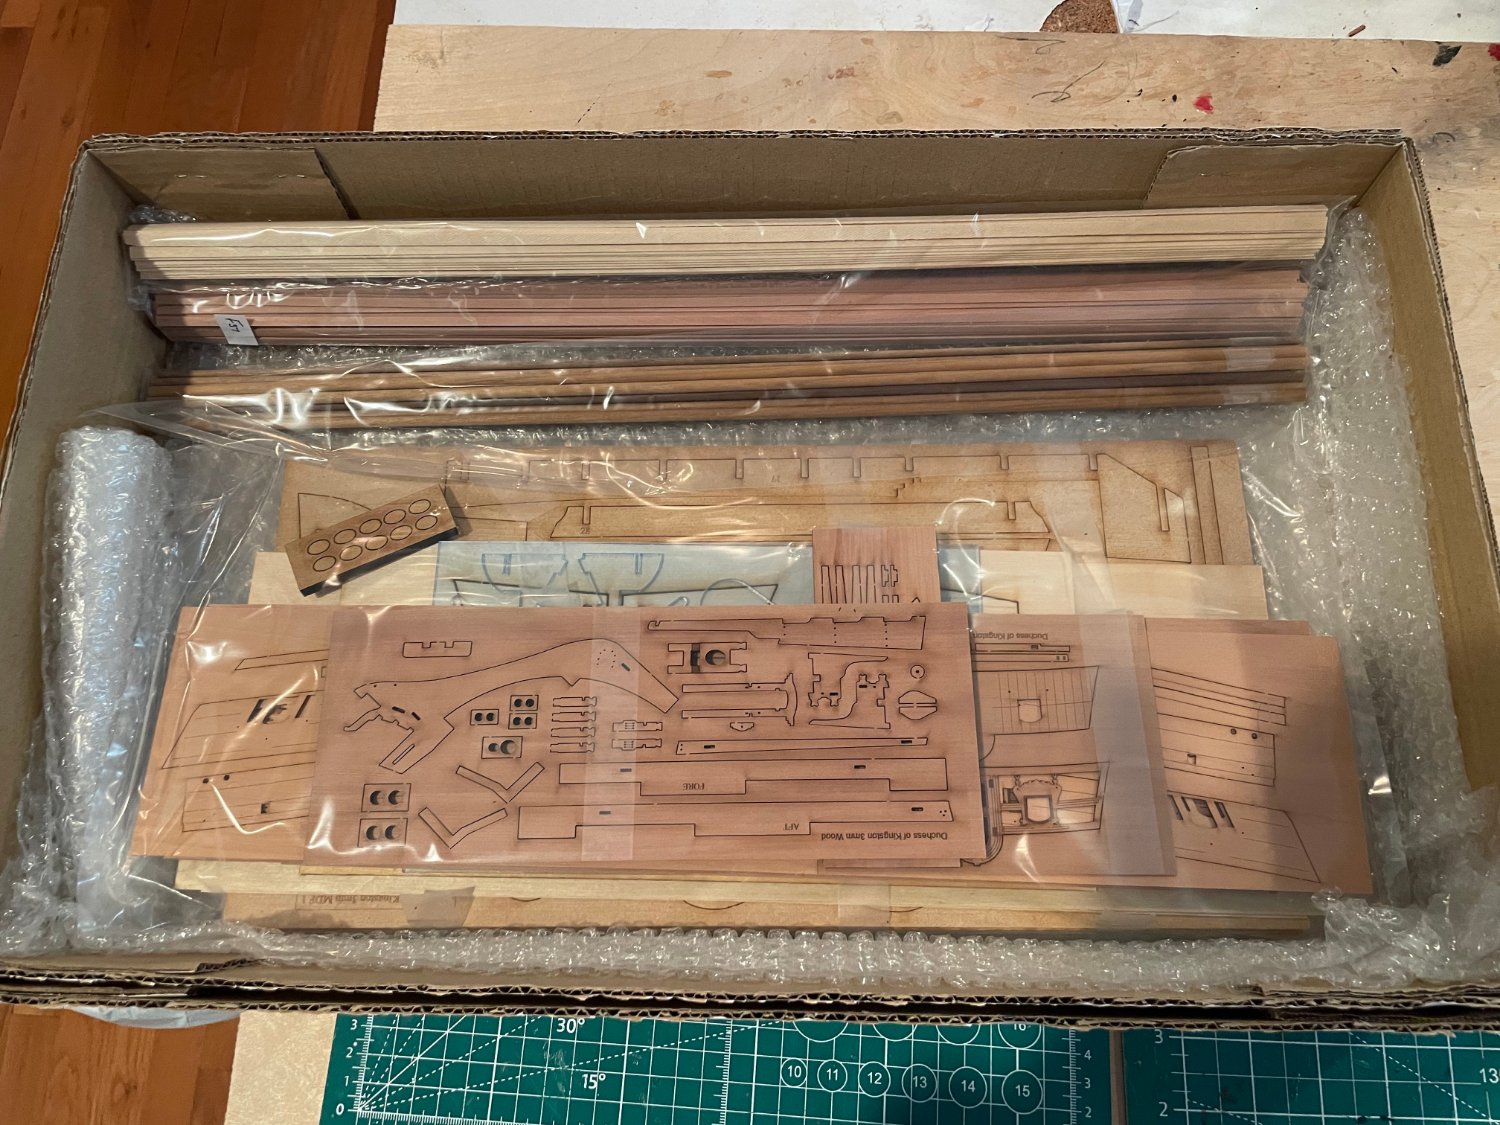
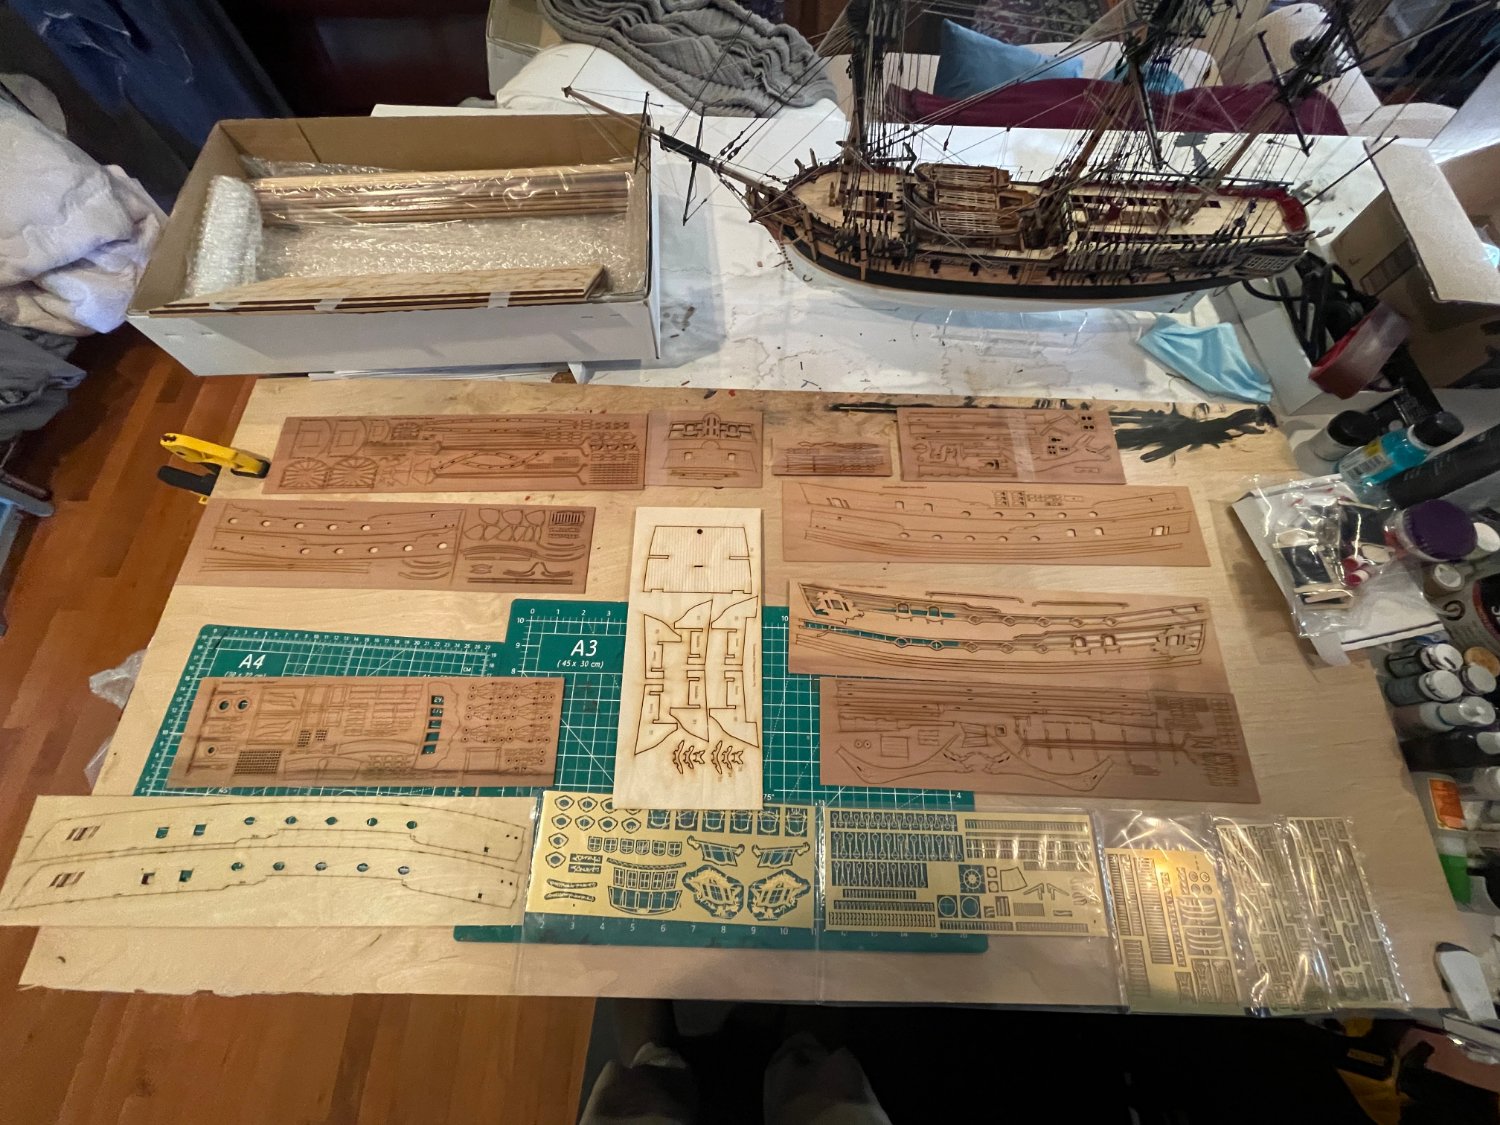
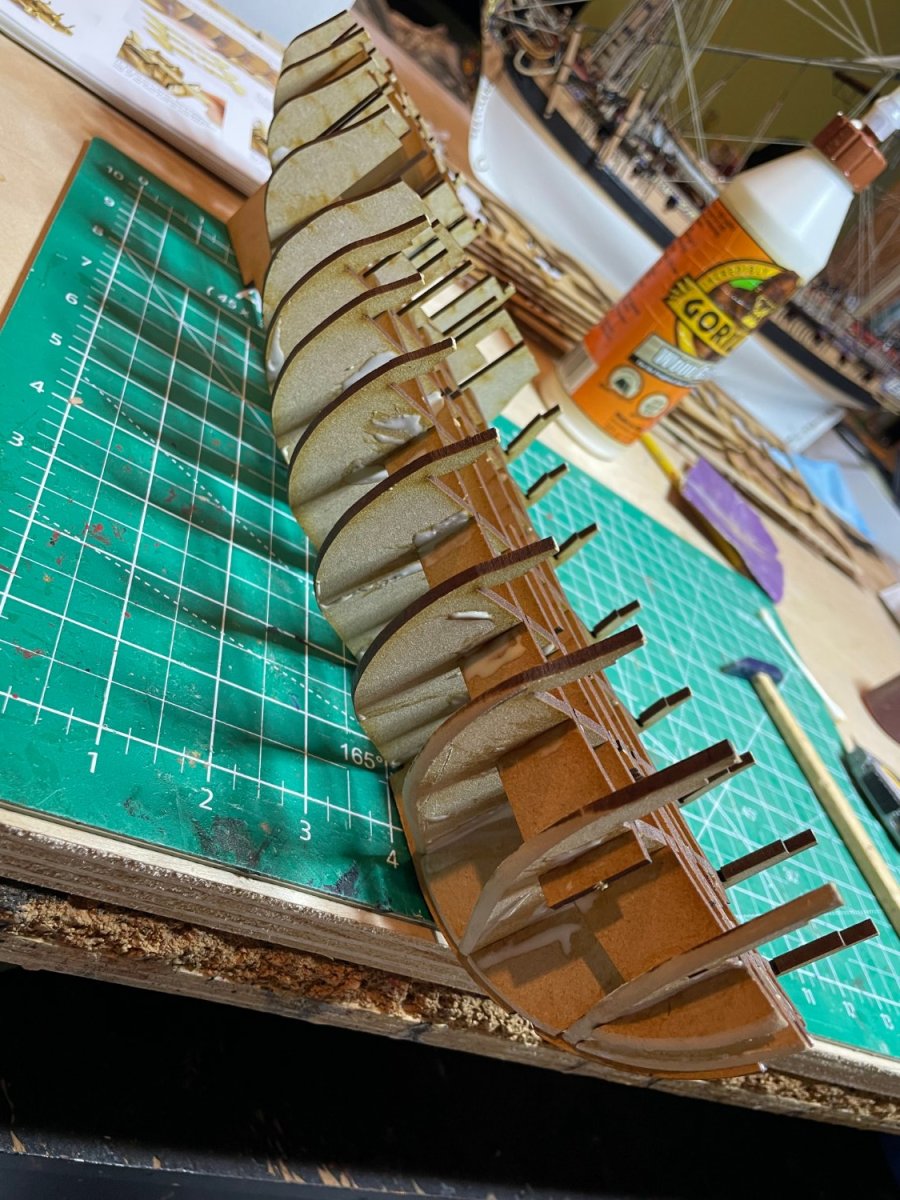
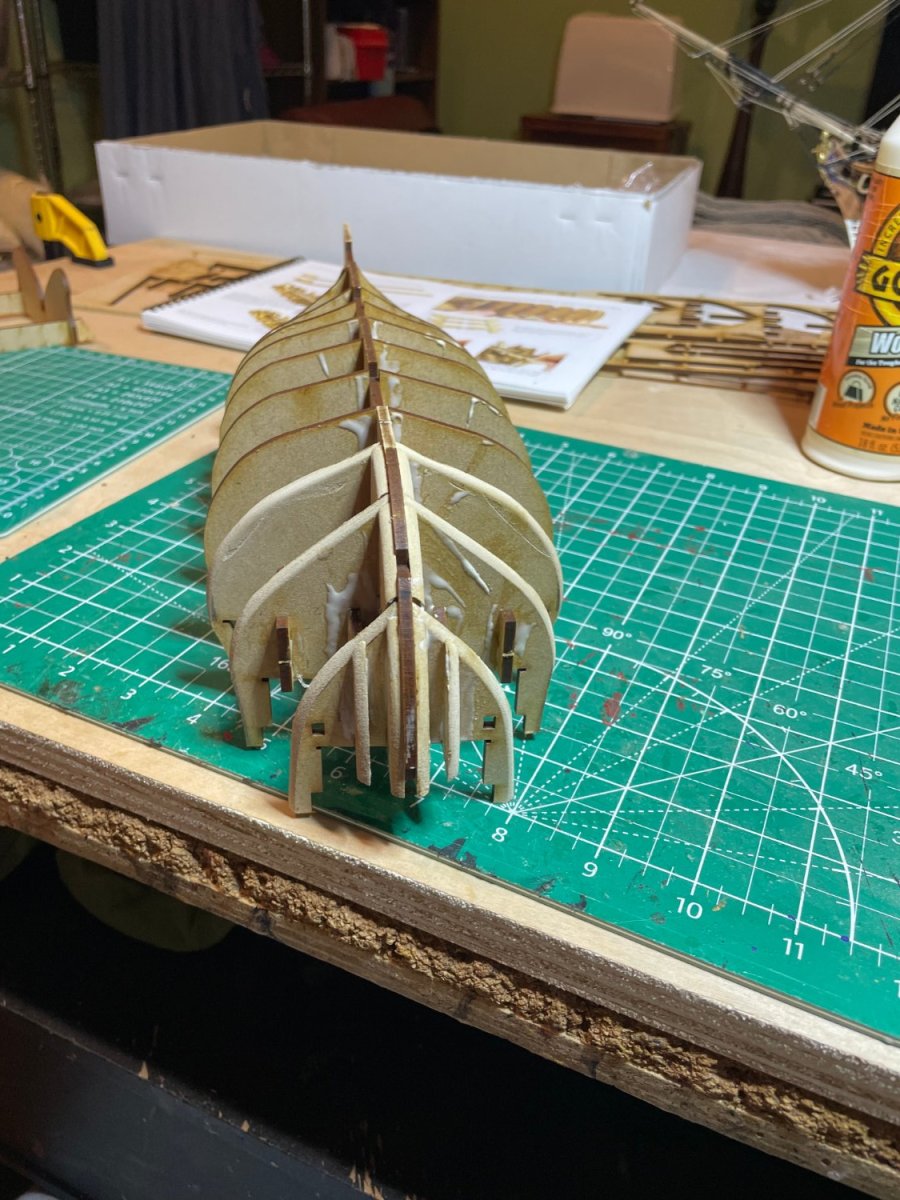
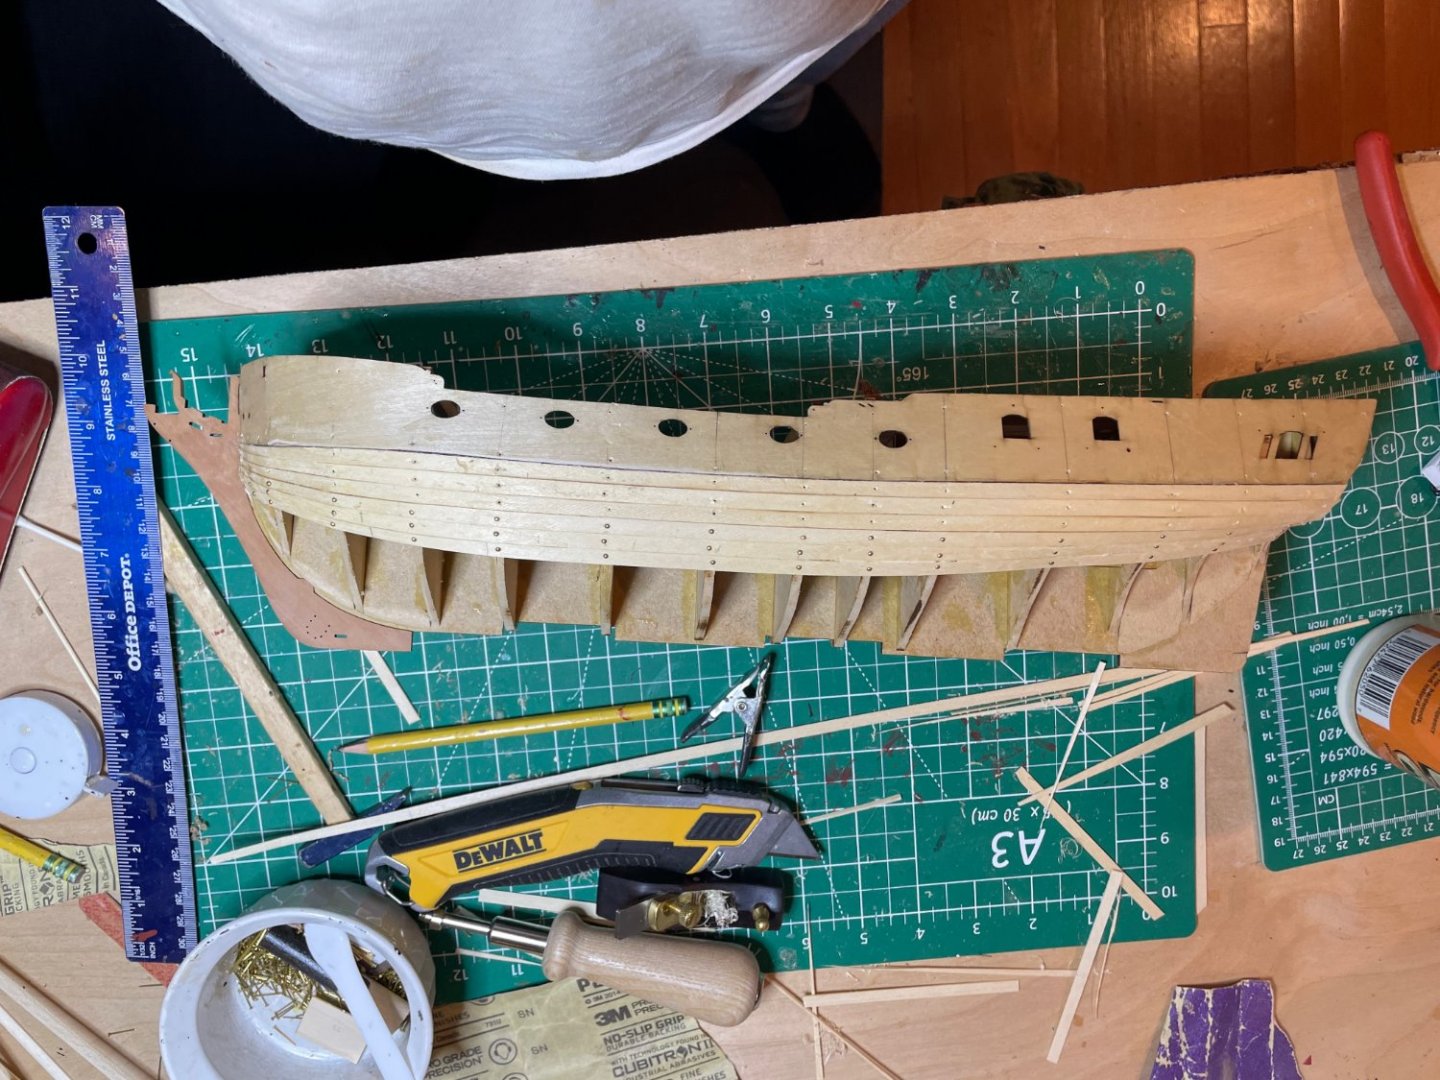
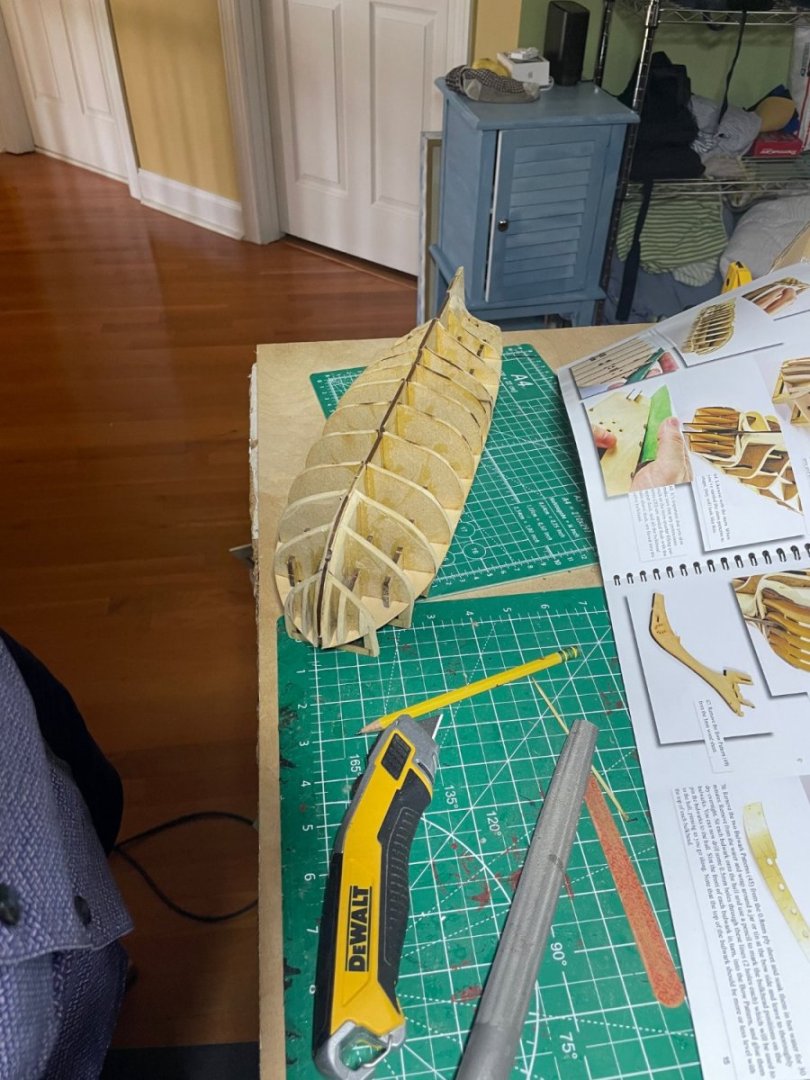
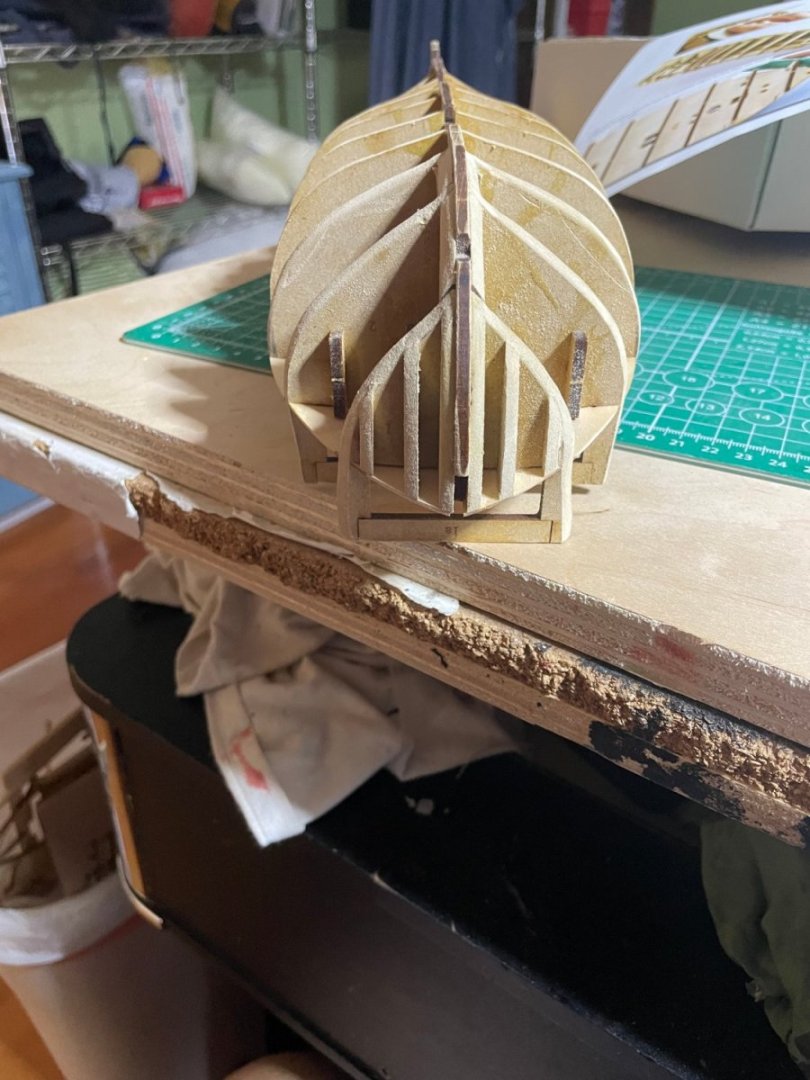
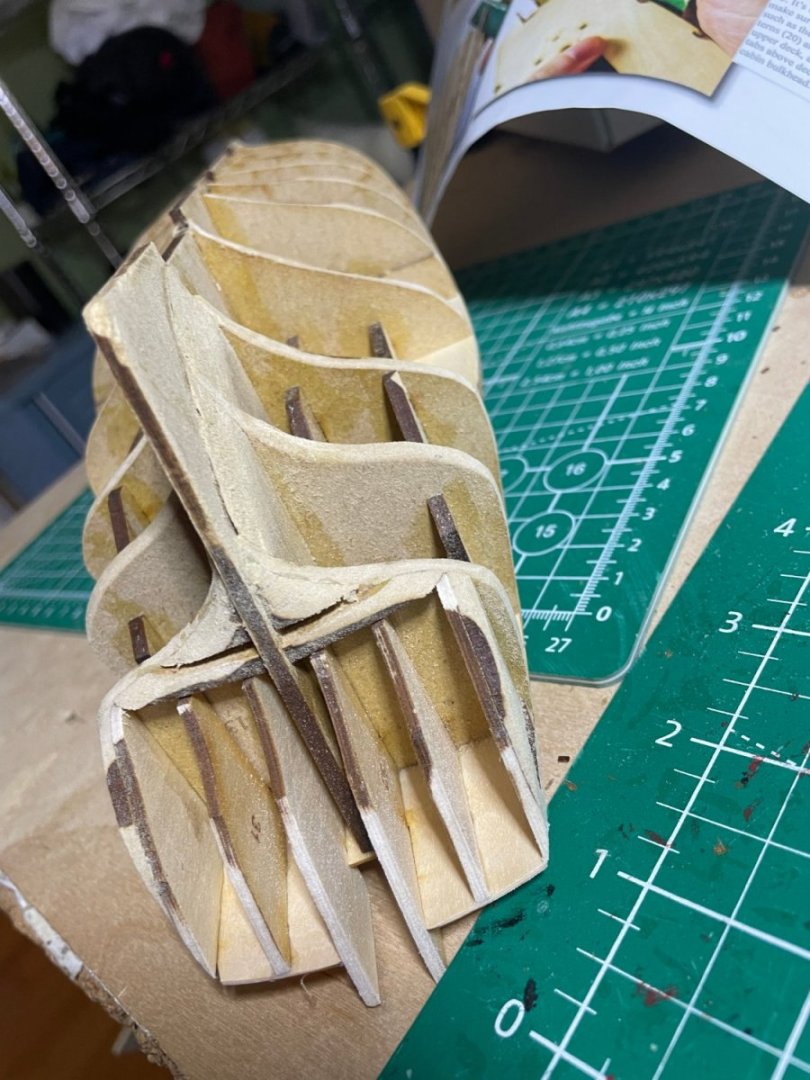
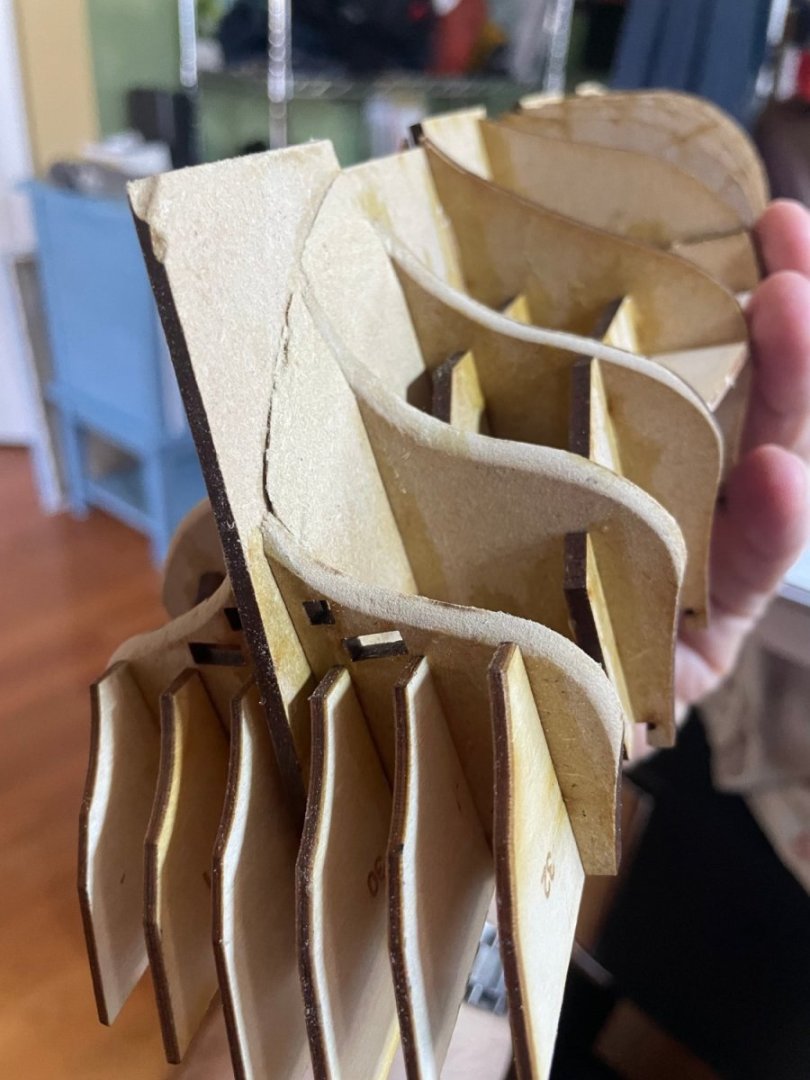
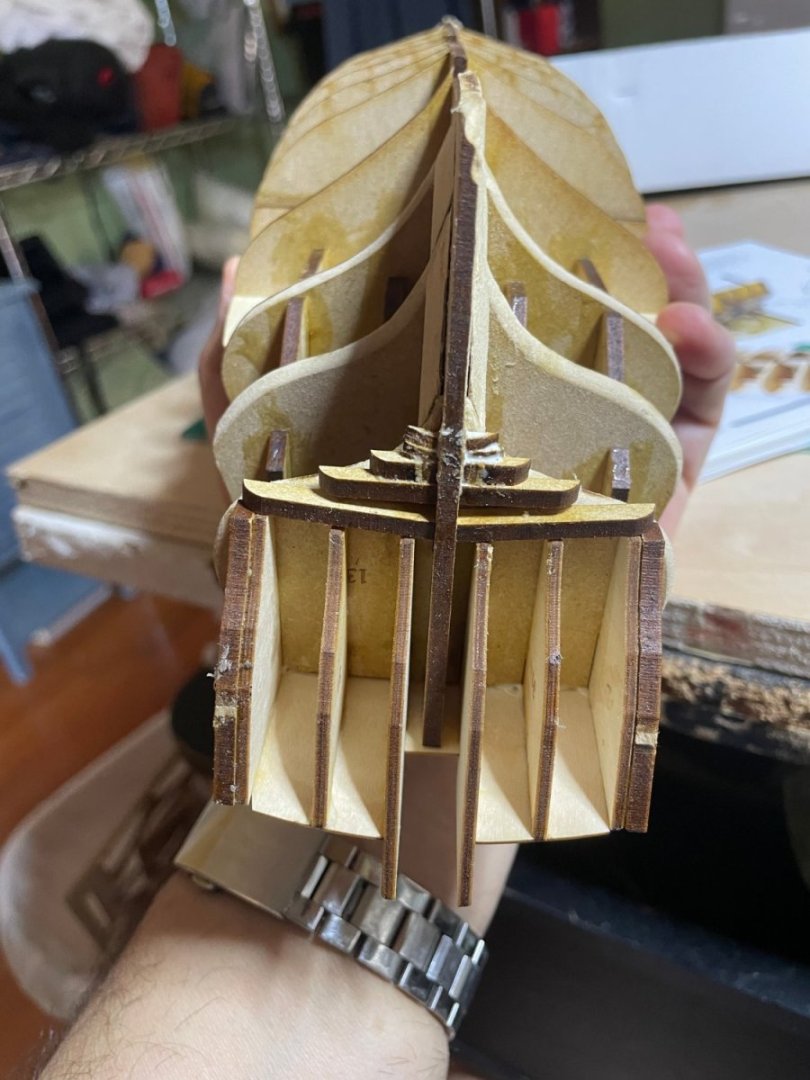
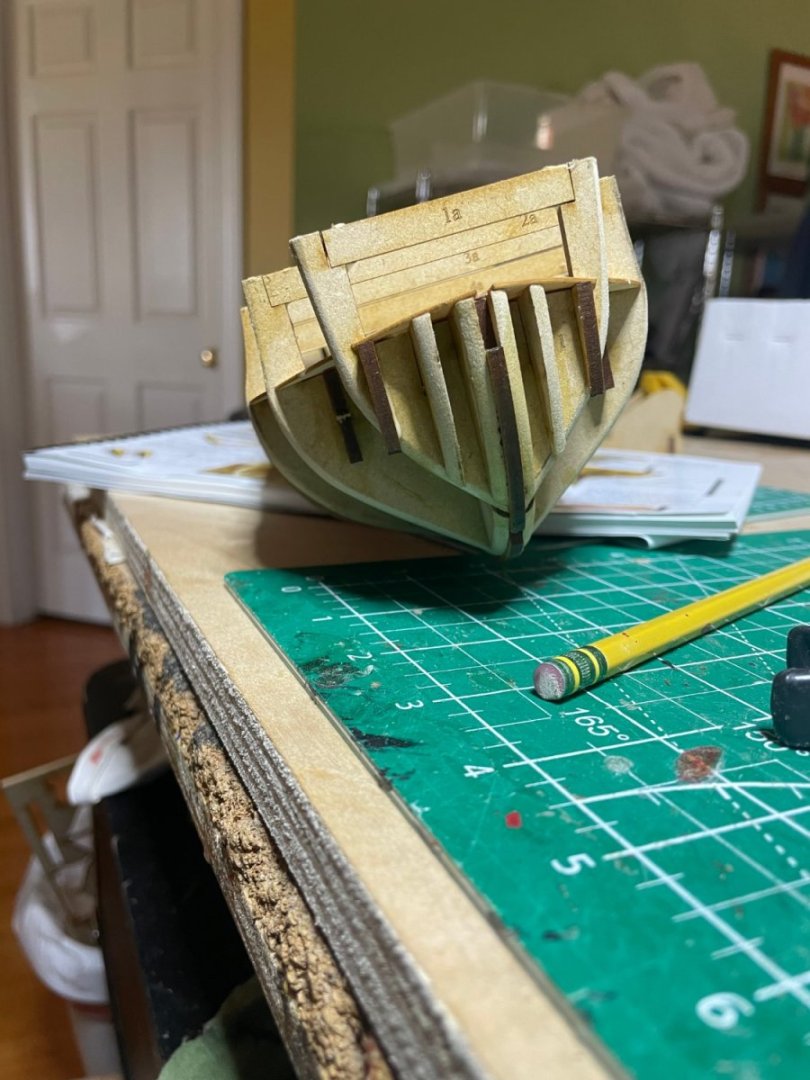
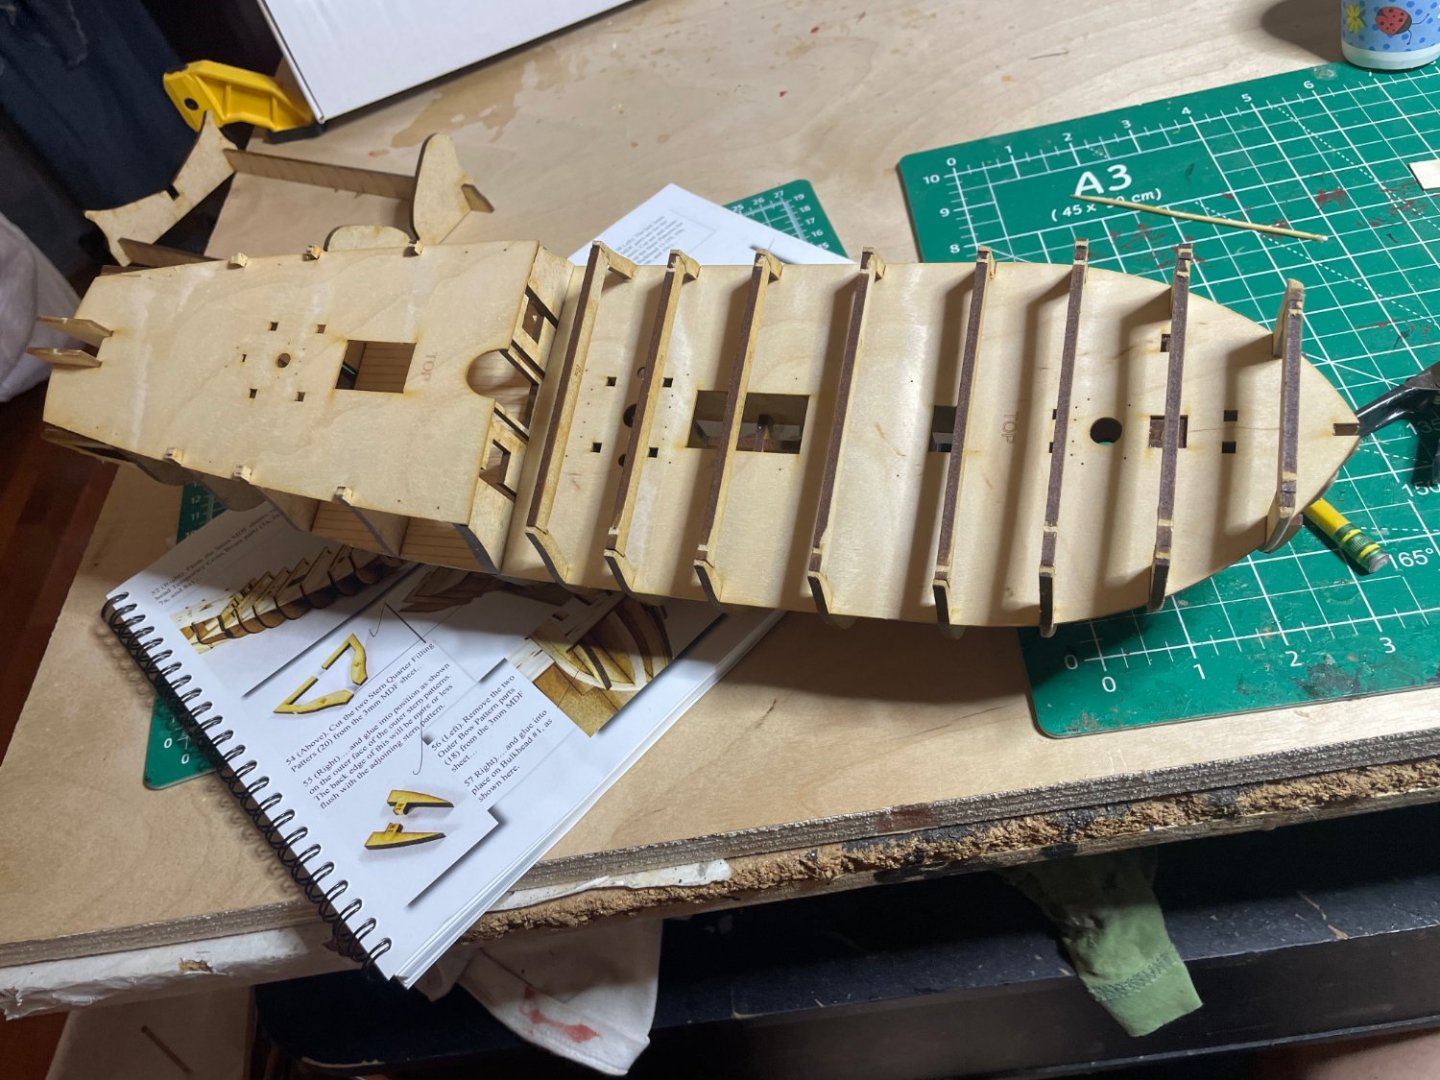
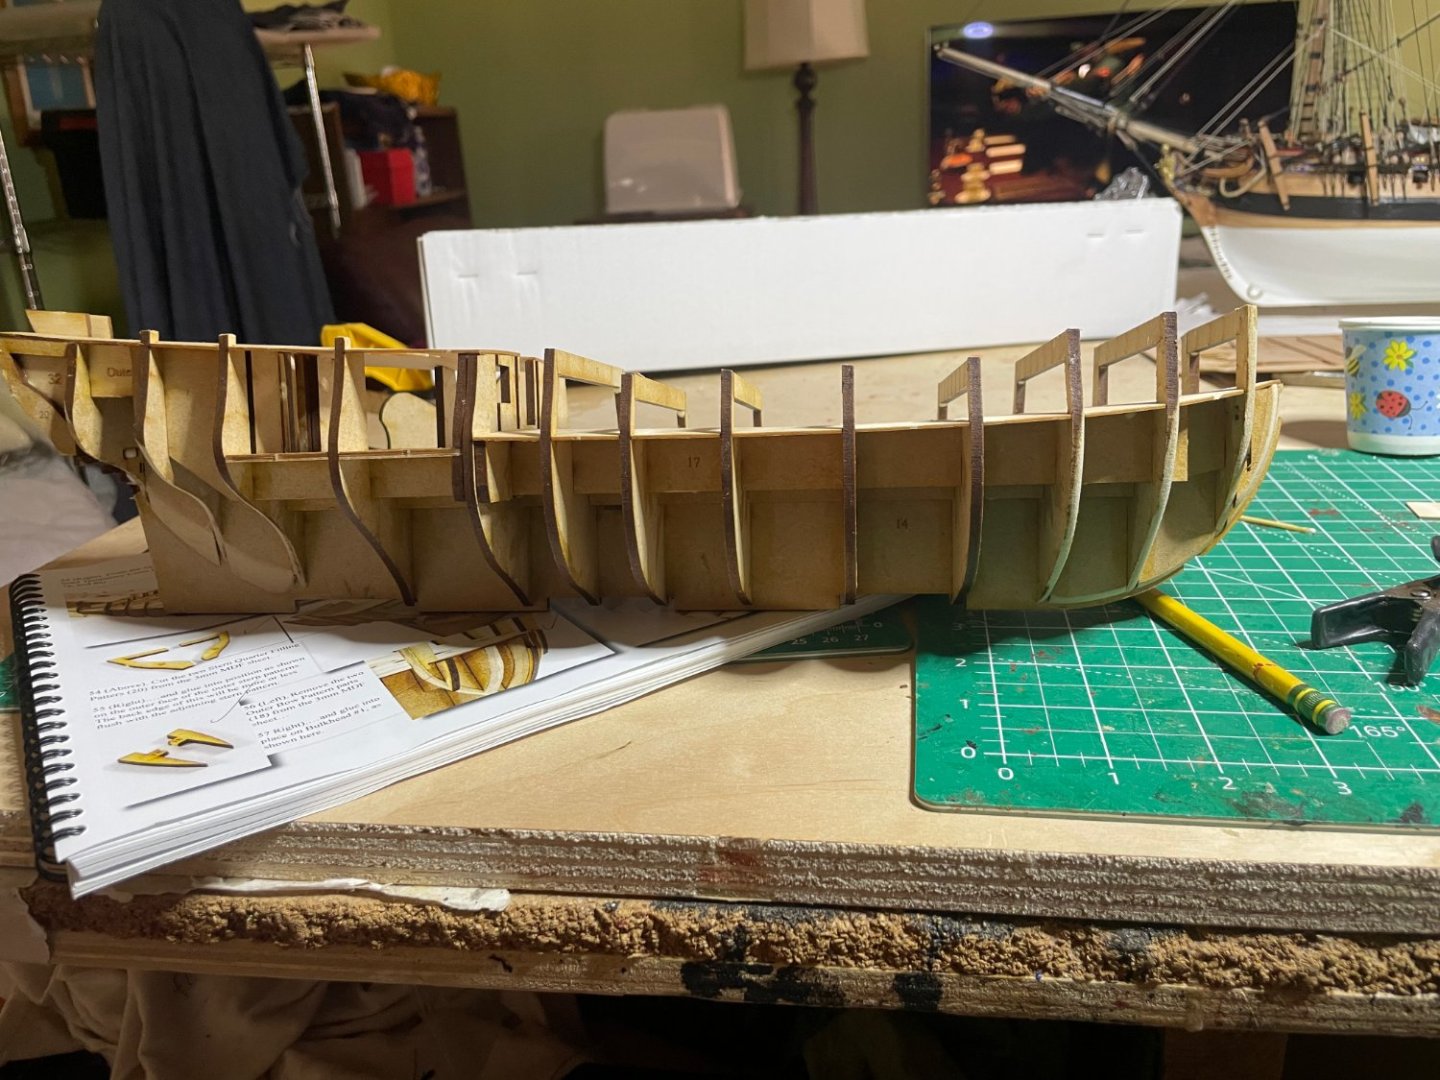
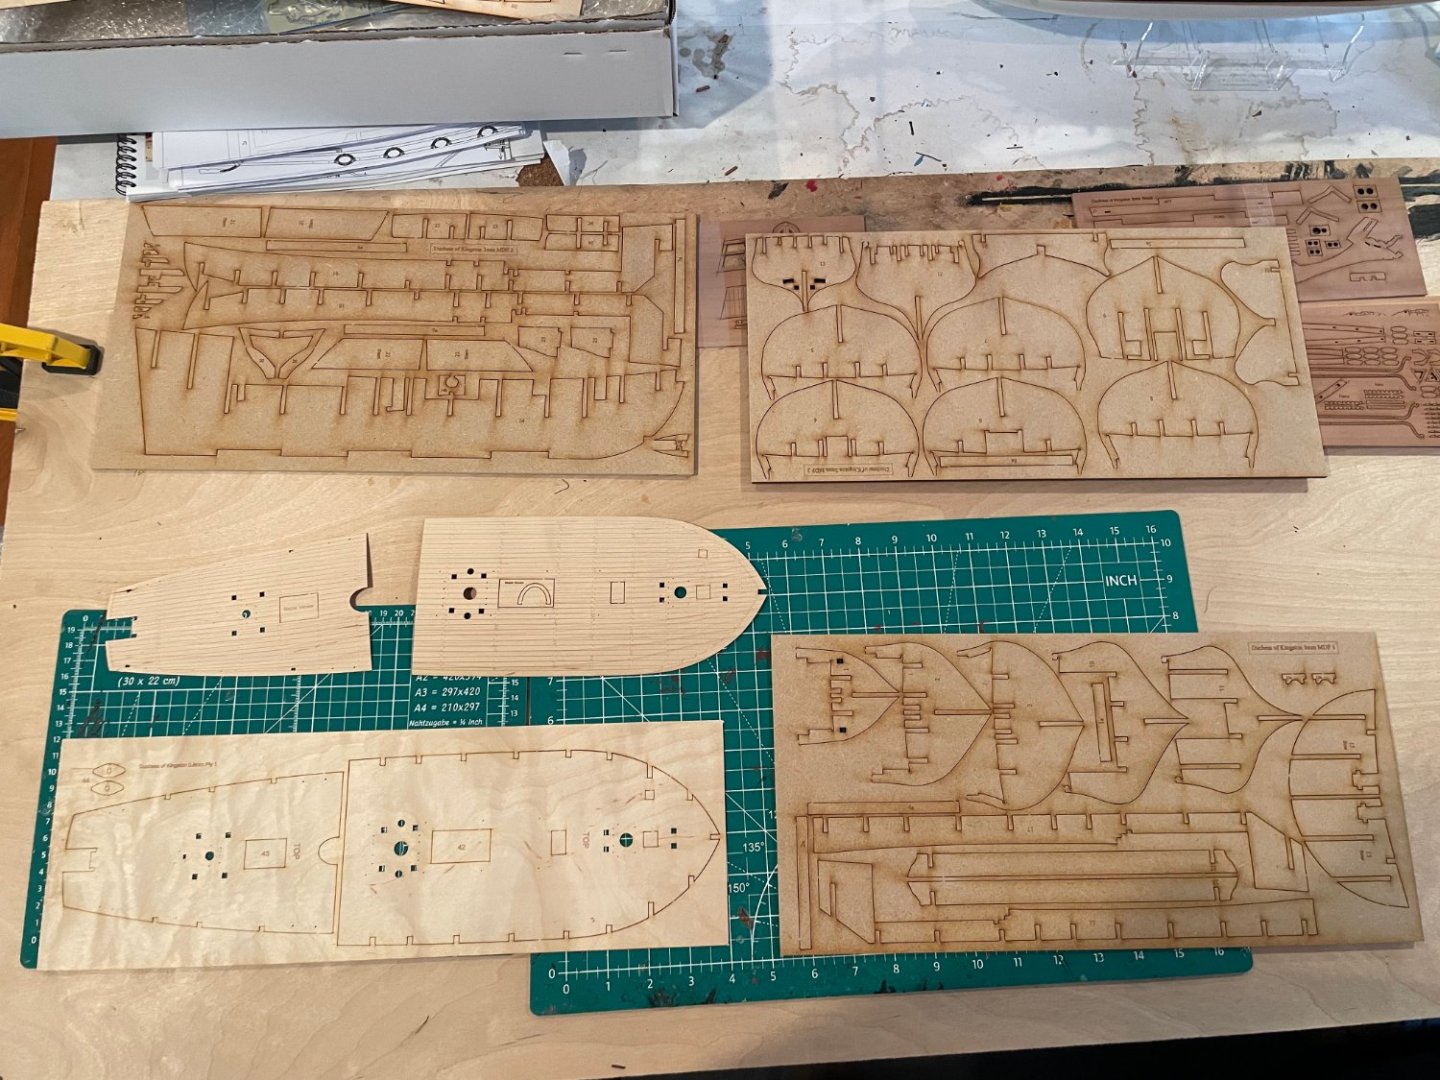
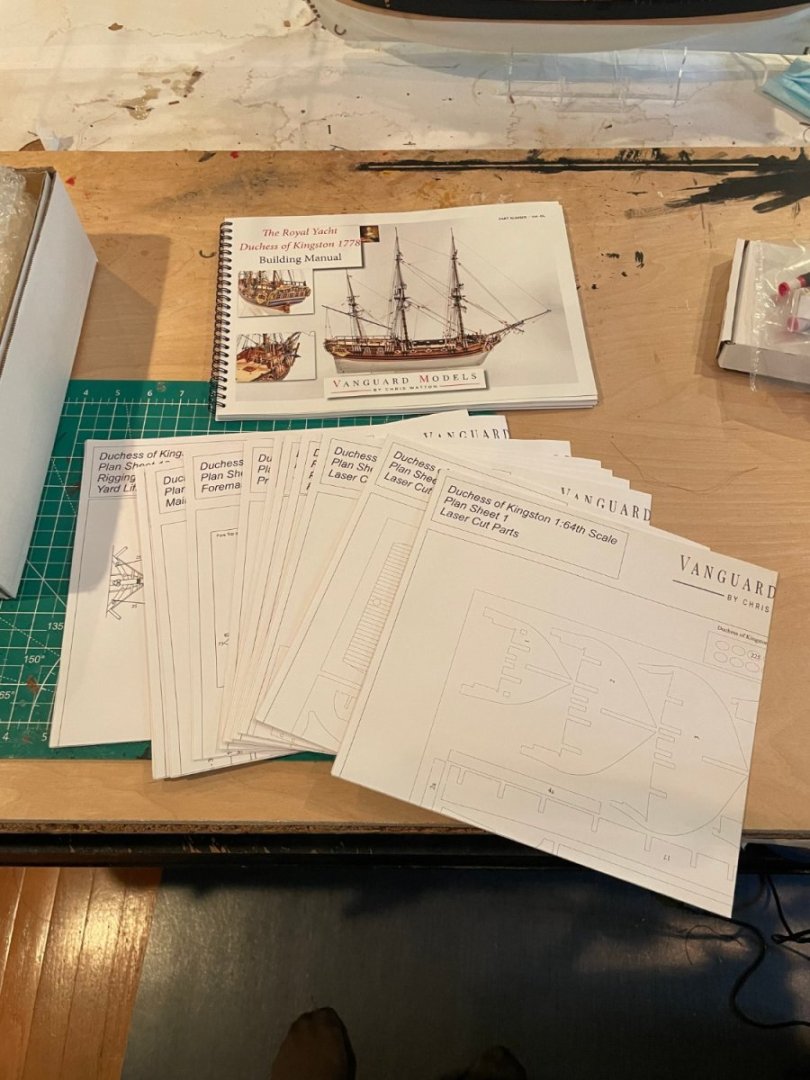
So after 3 days, could not wait anymore and started my next project, the Duchess of Kingston. Quite a bit smaller than HMS Sphinx. The parts fit perfectly, tight, square and feels solid.


- 22 replies
-
- 6
-
-
- Duchess of Kingston
- Vanguard Models
- (and 1 more)
-
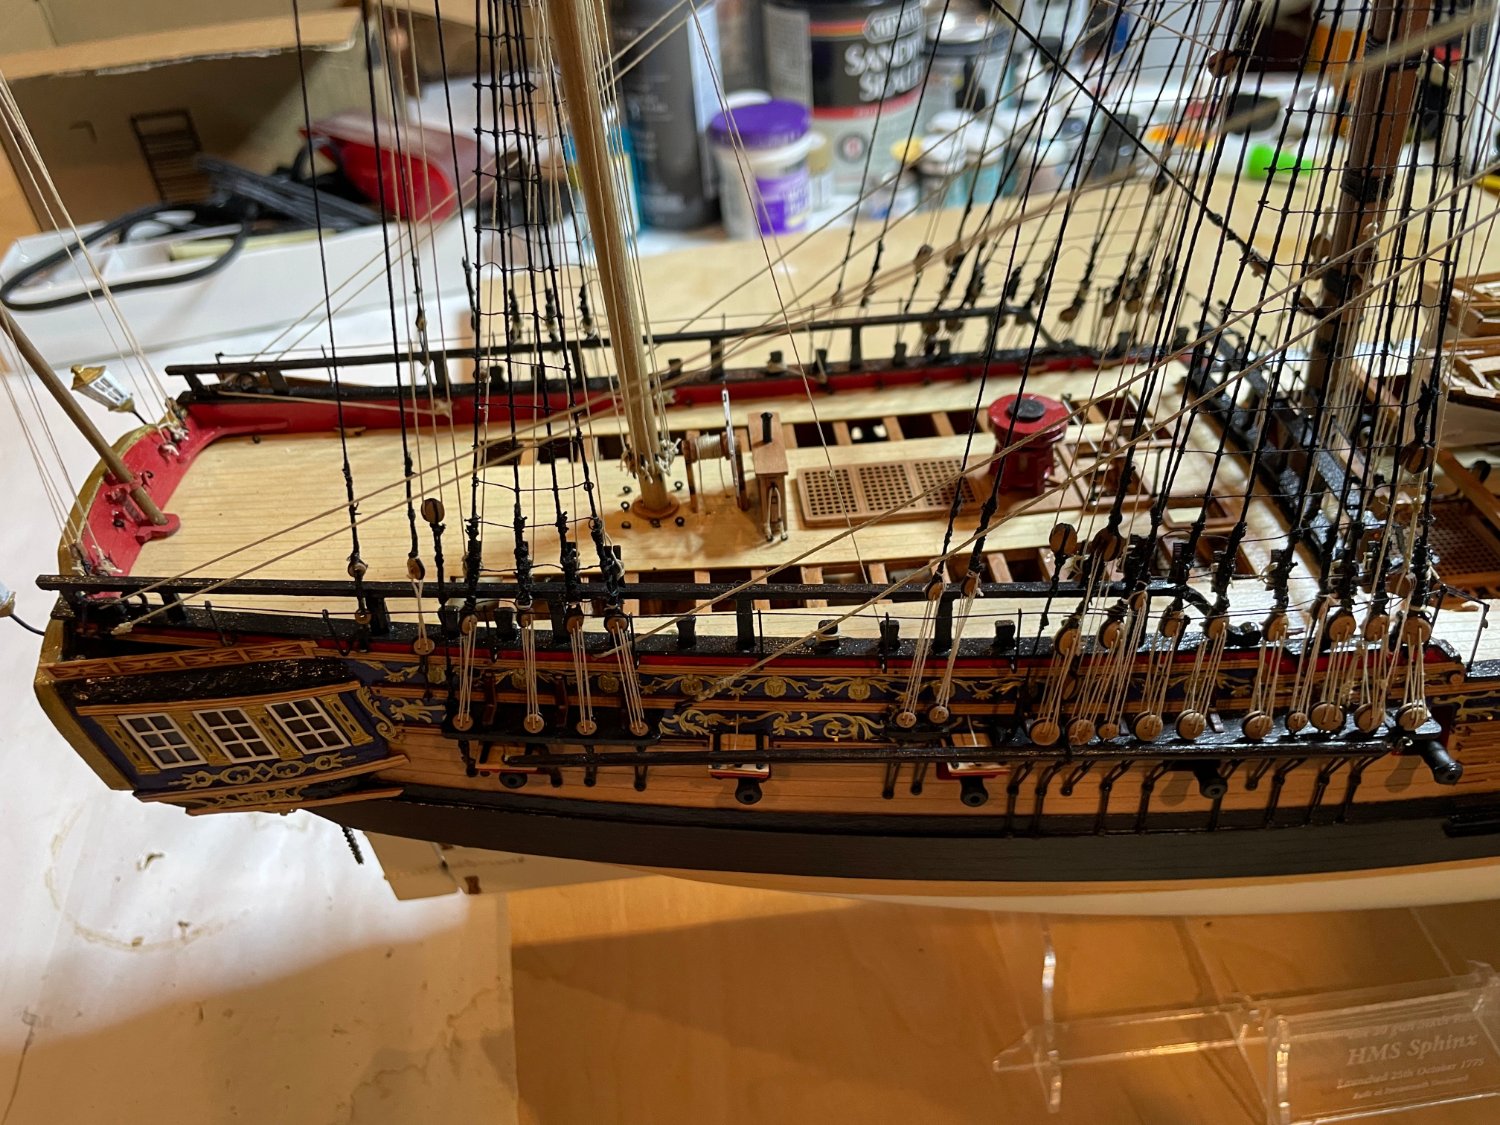
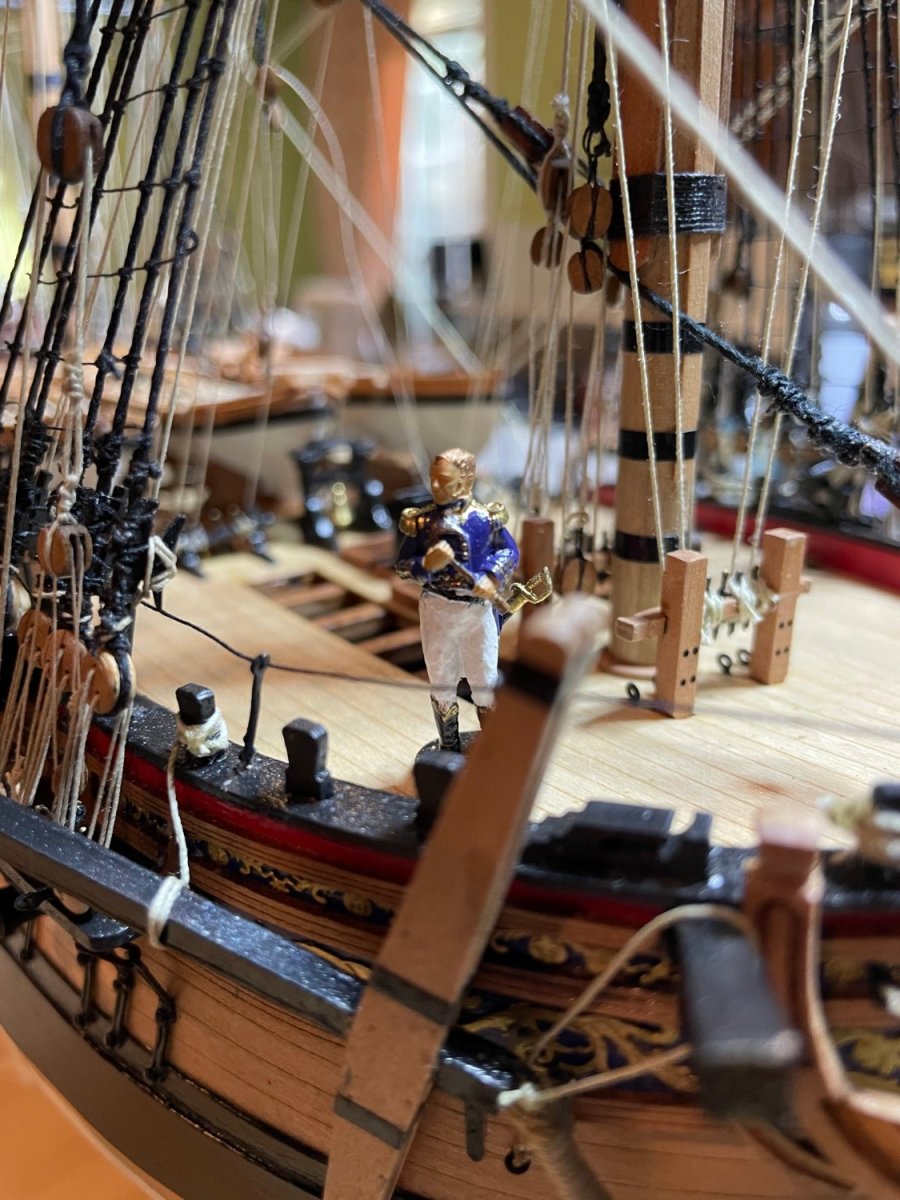
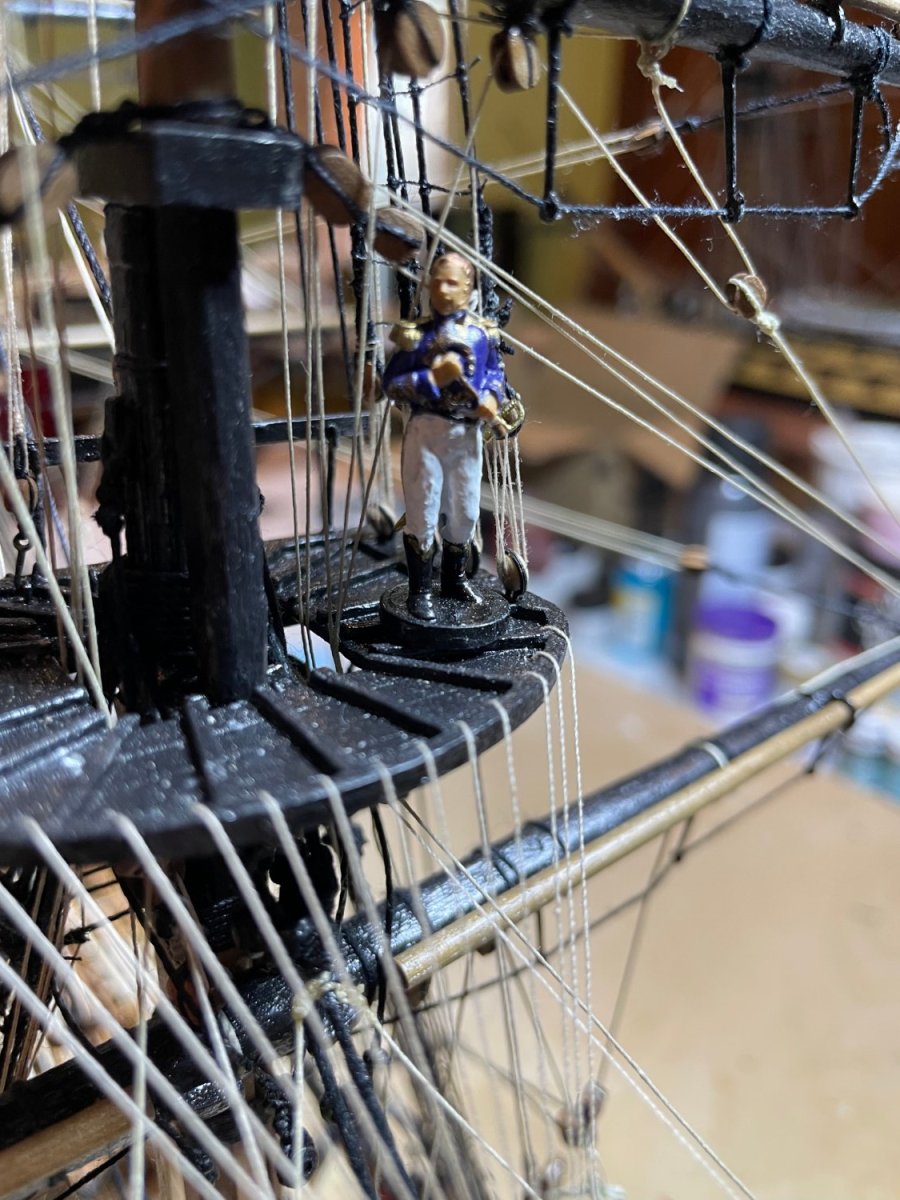
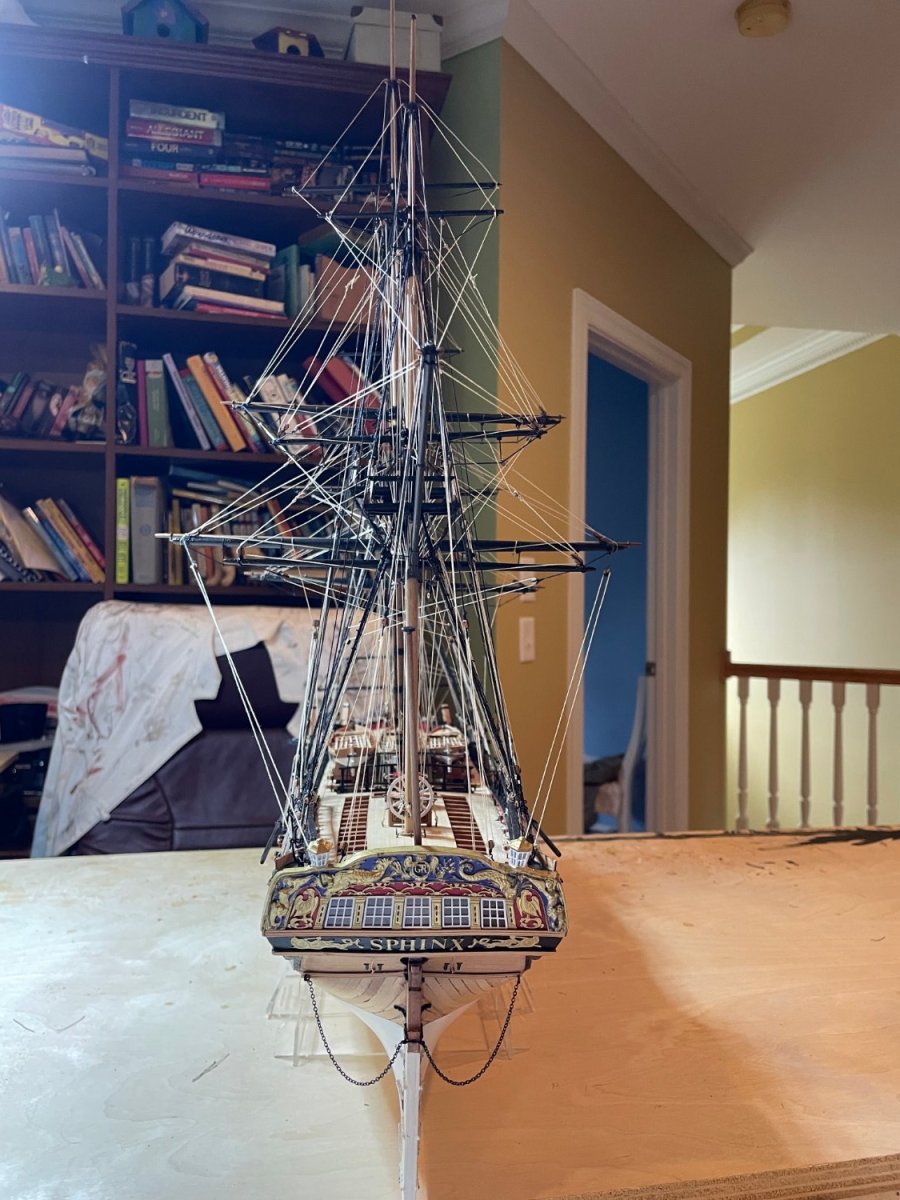
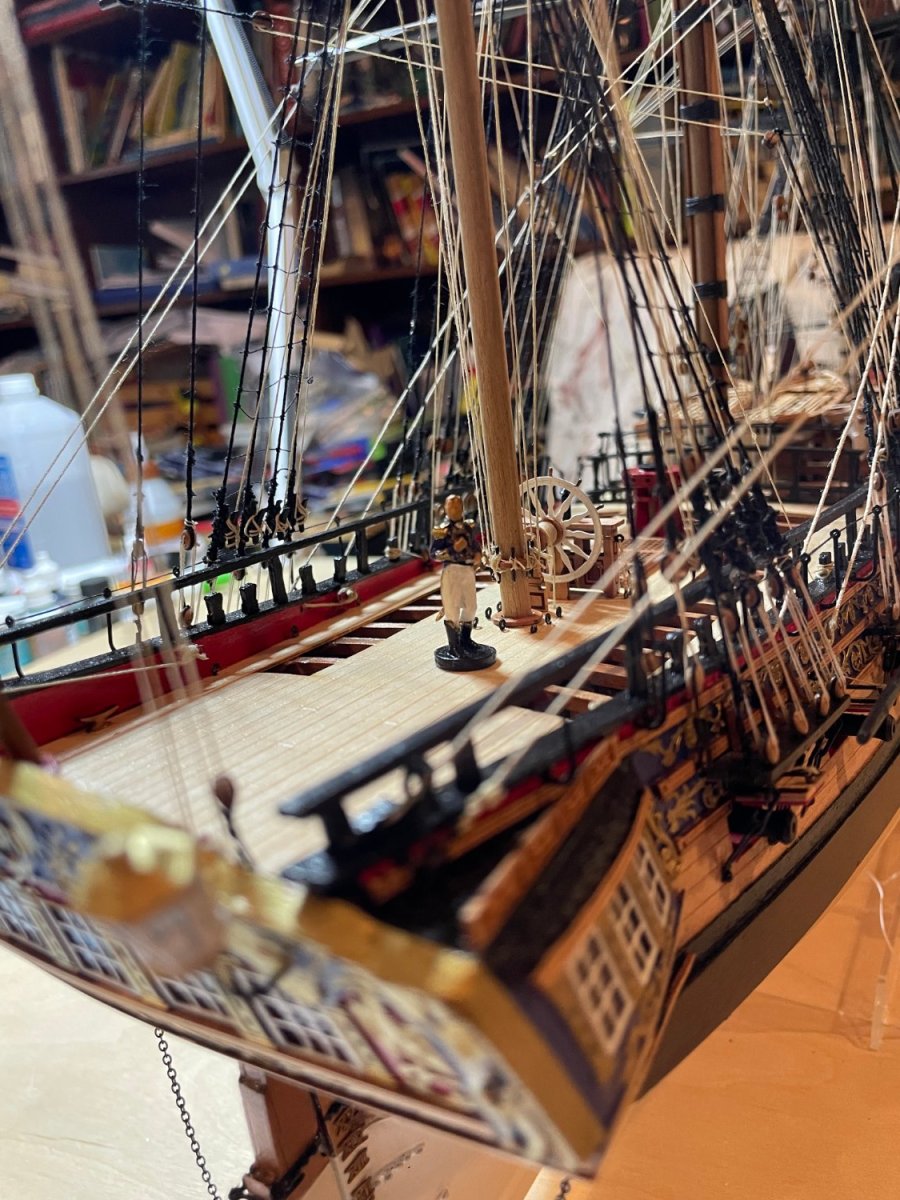
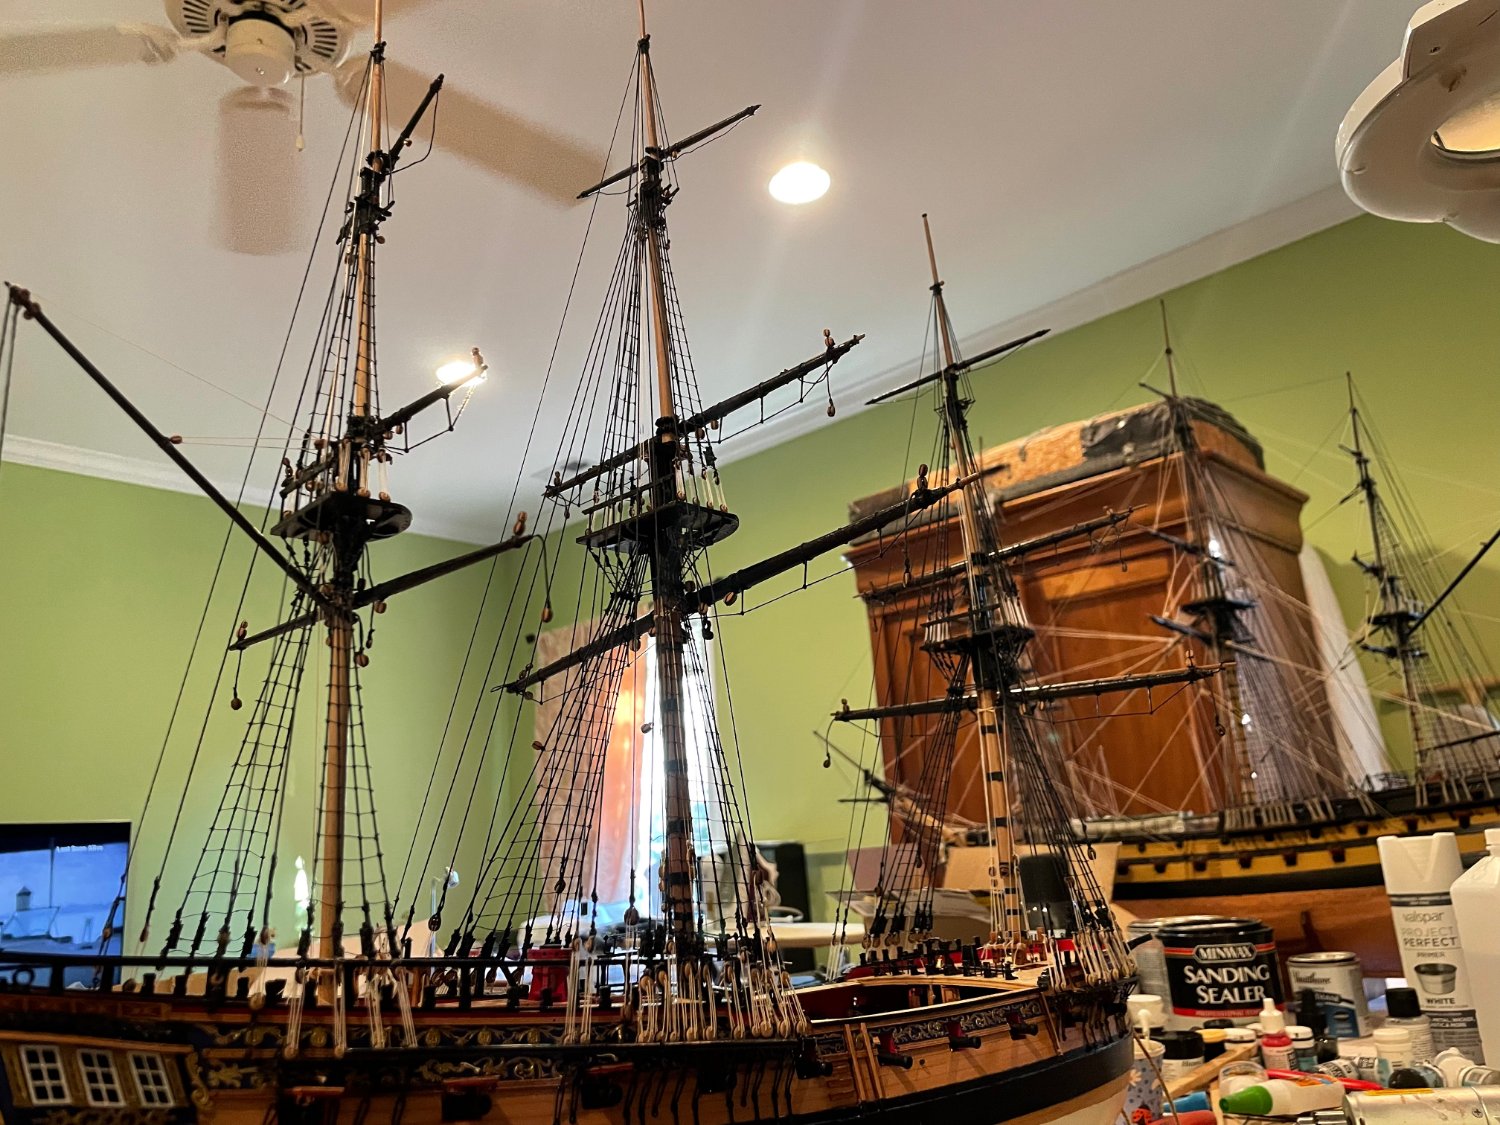
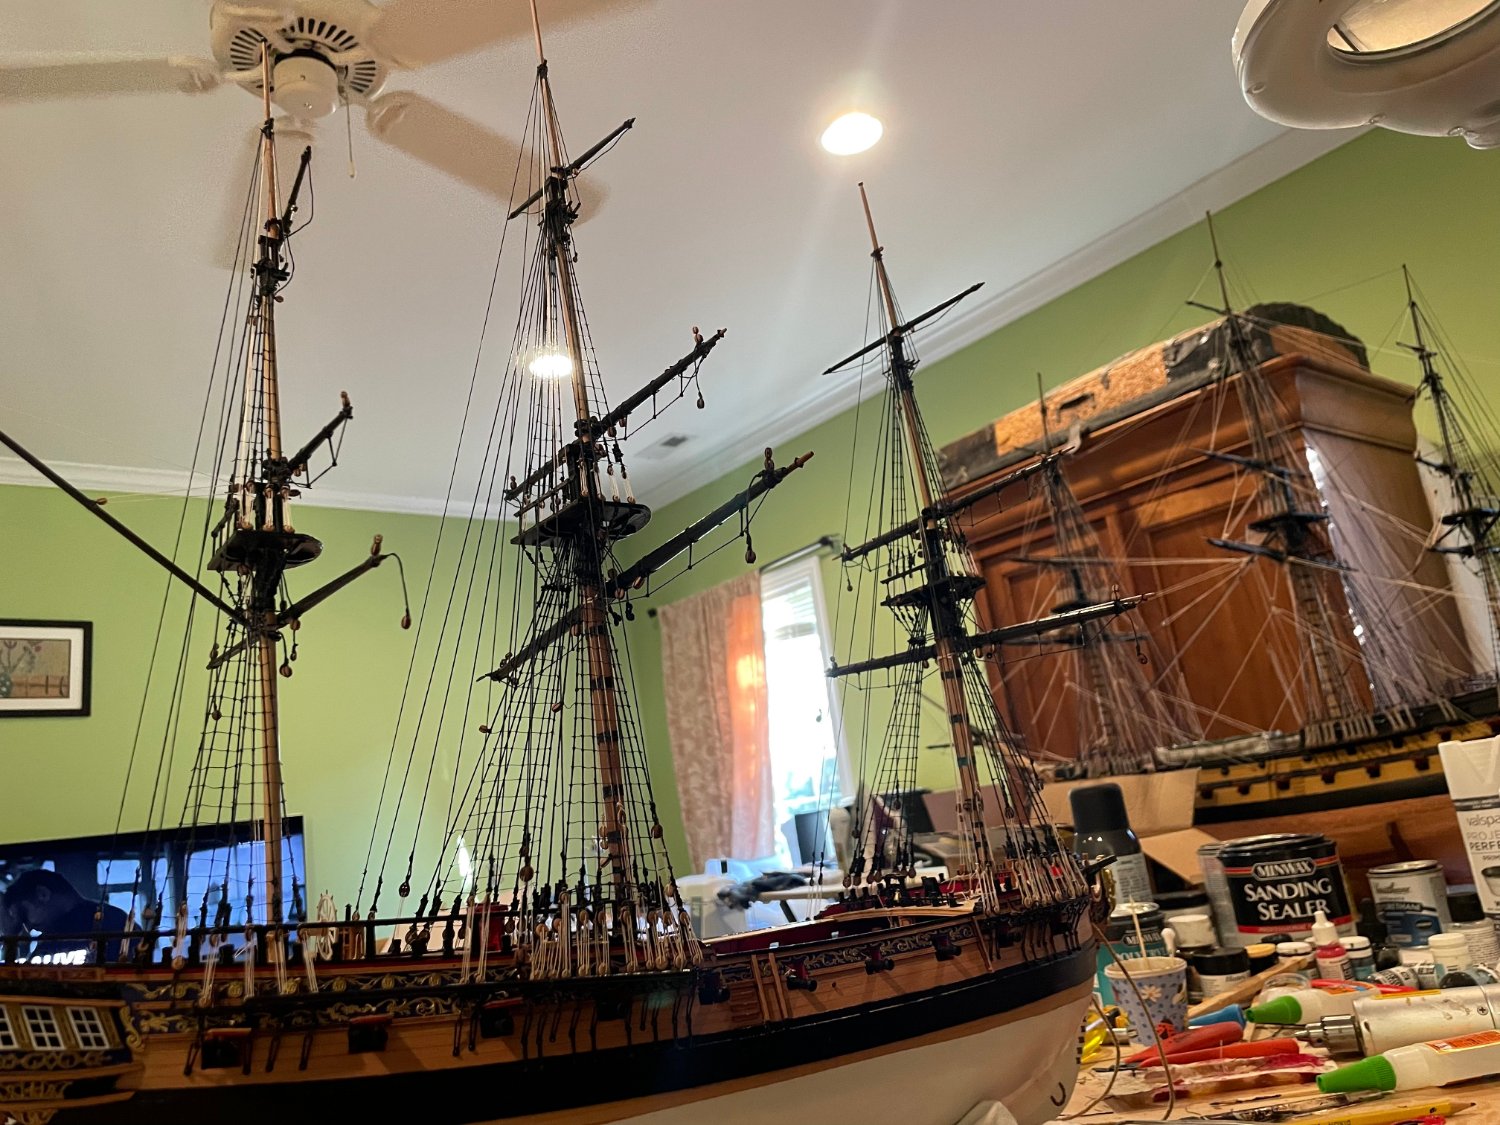
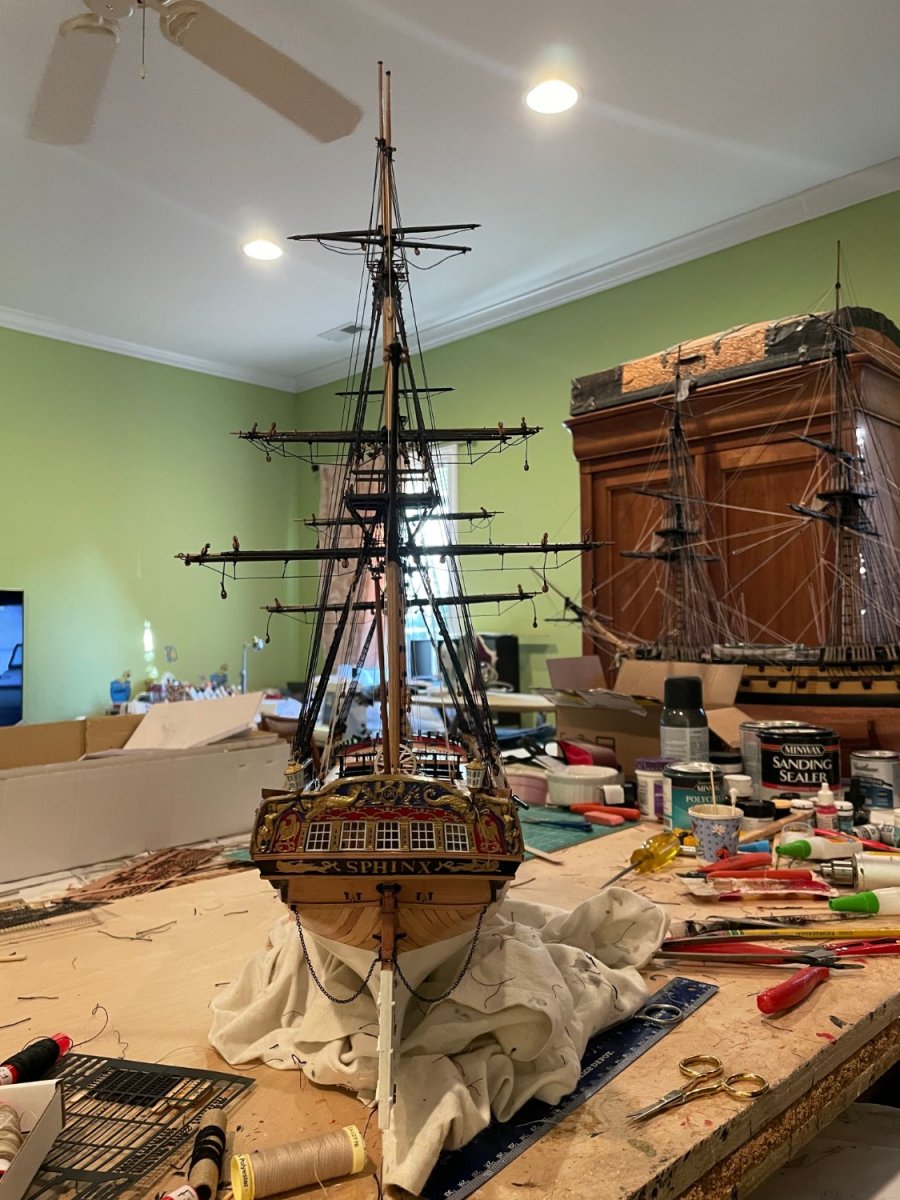
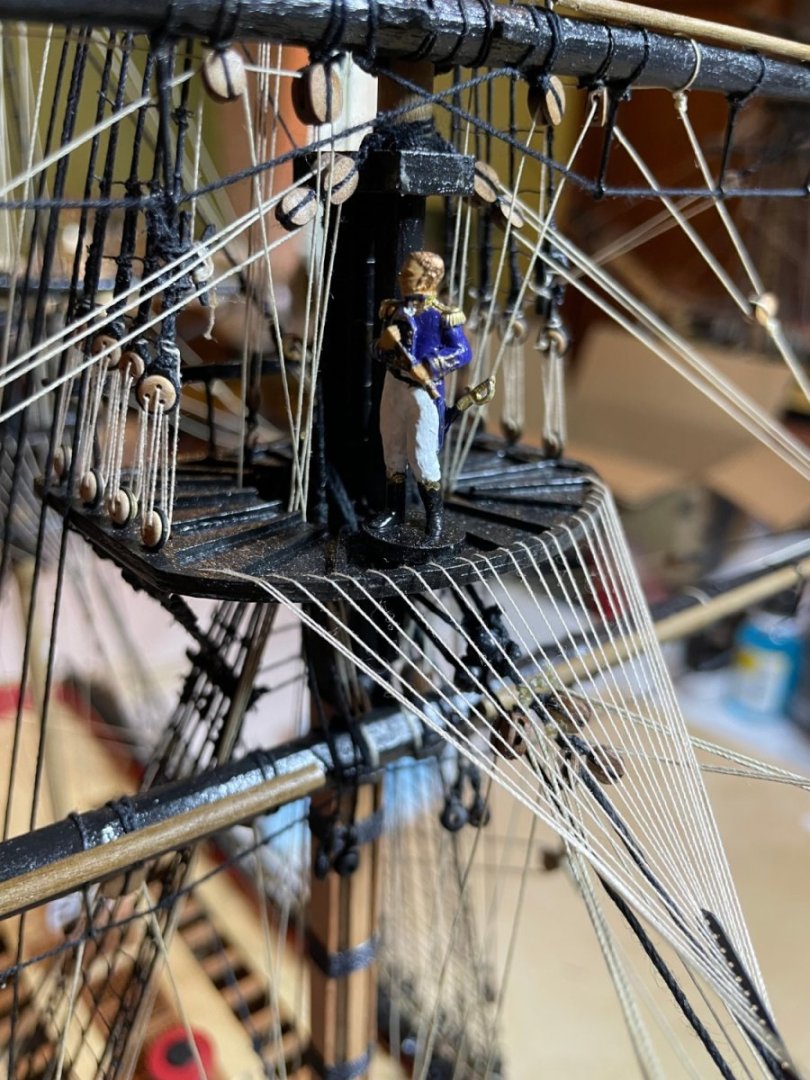
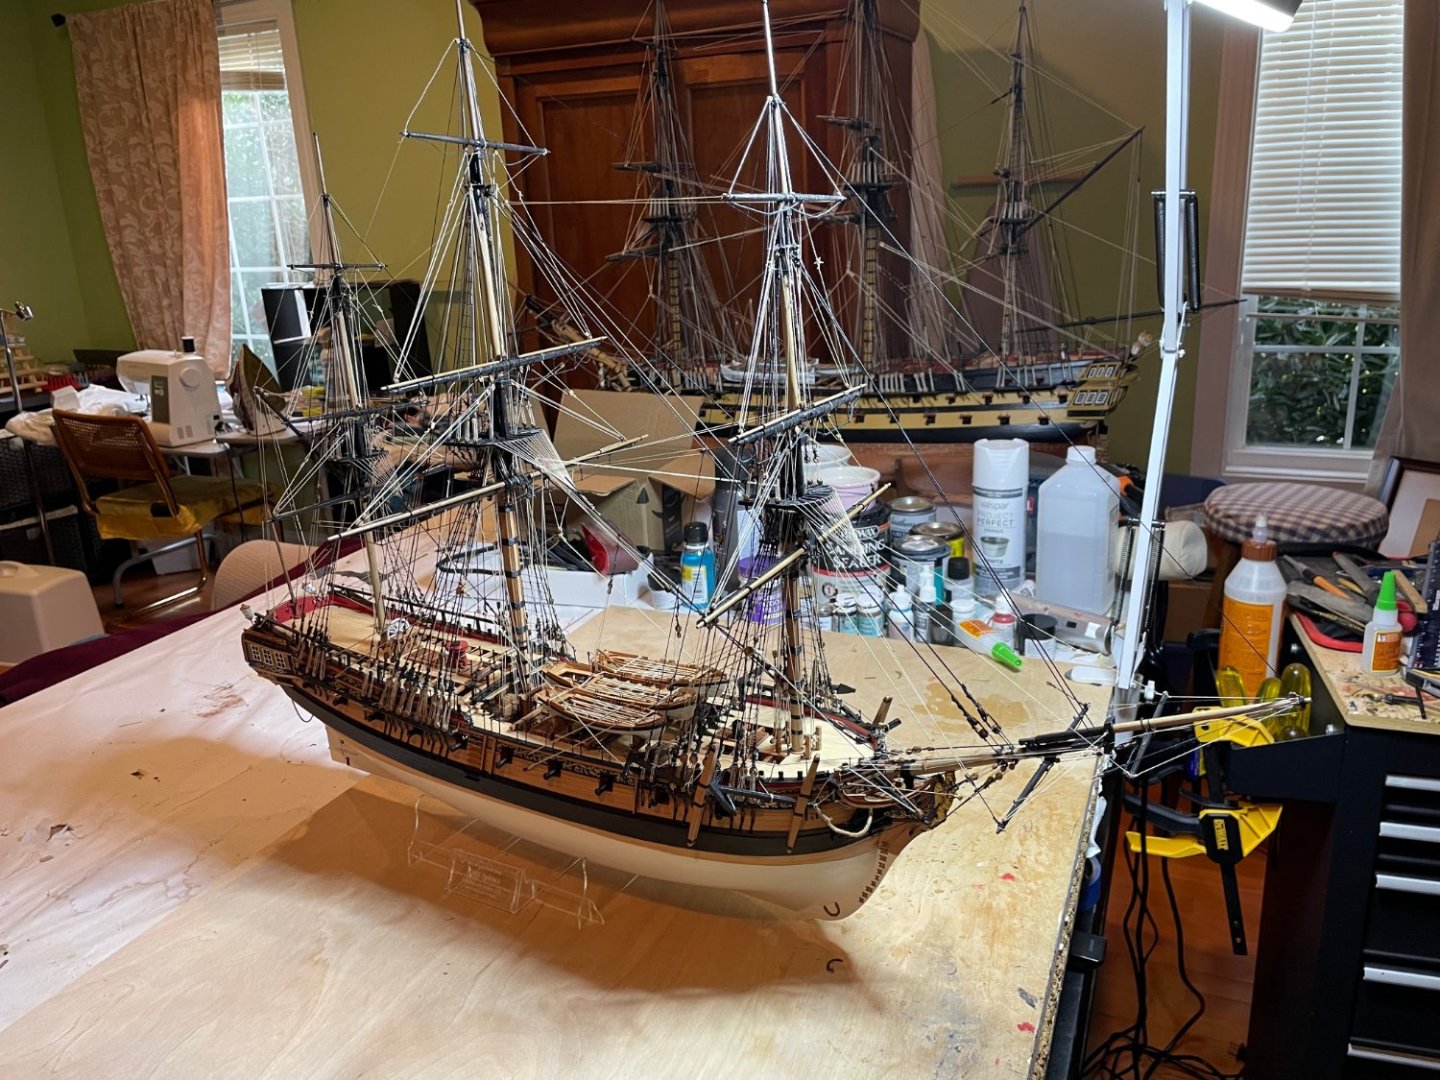
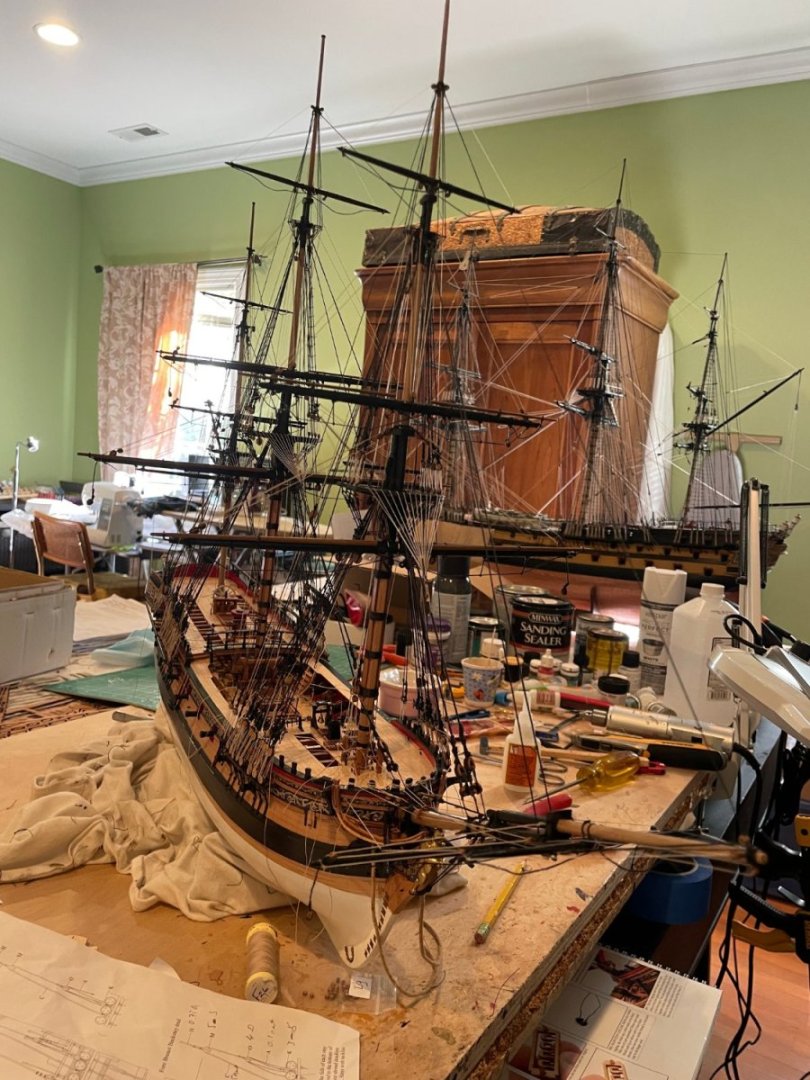
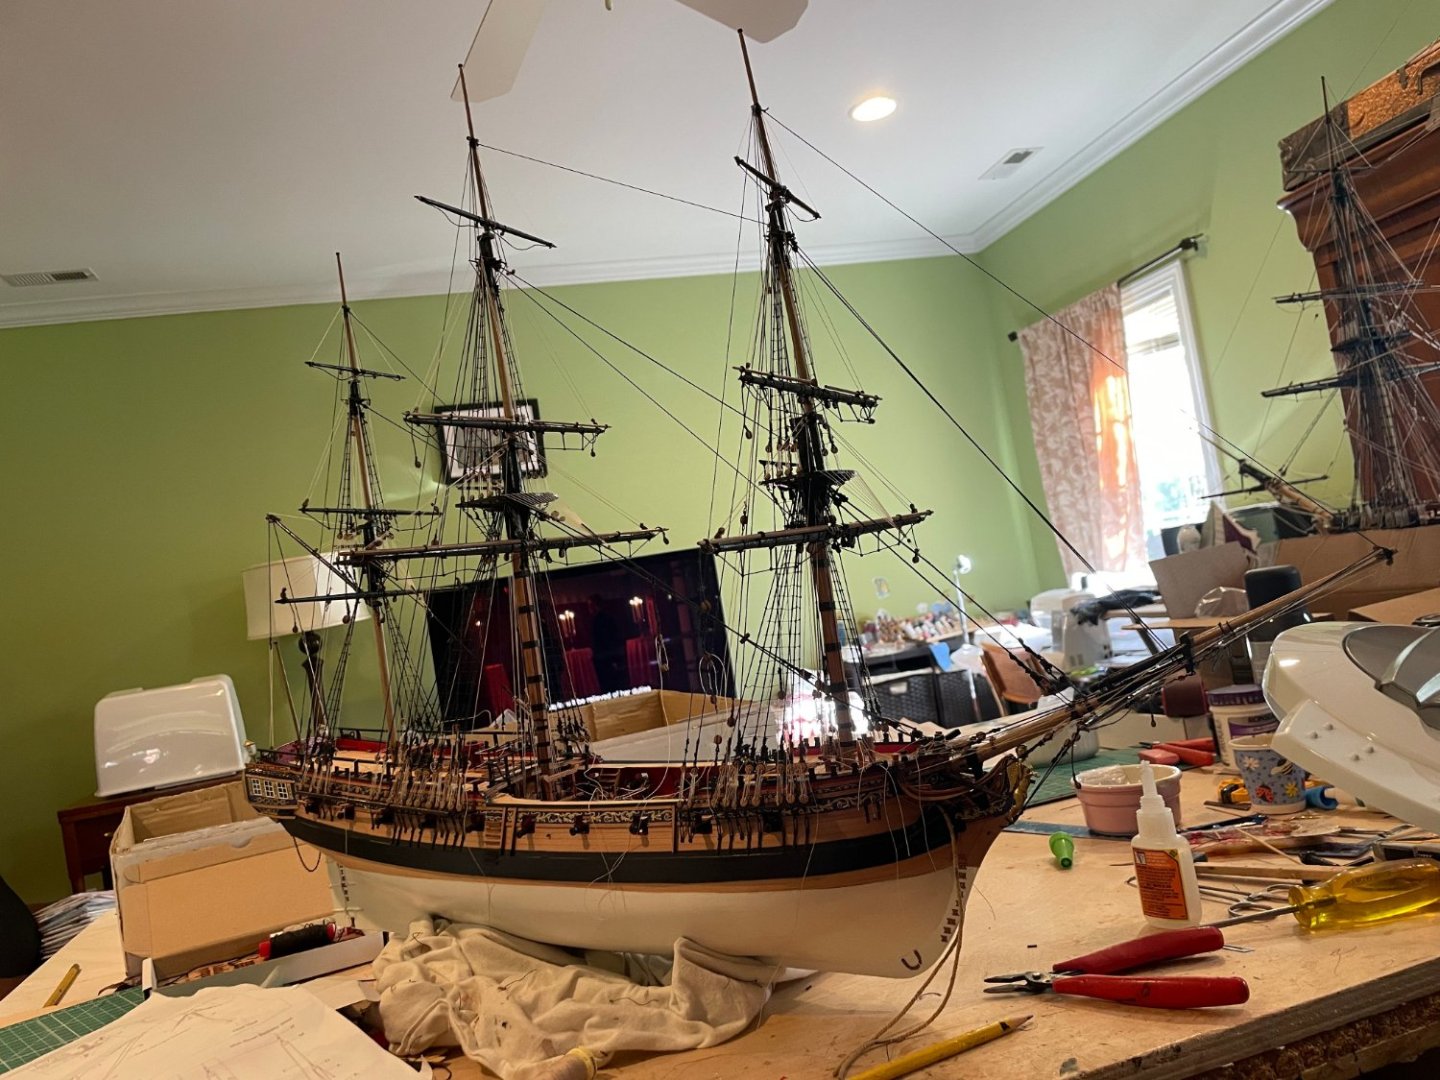
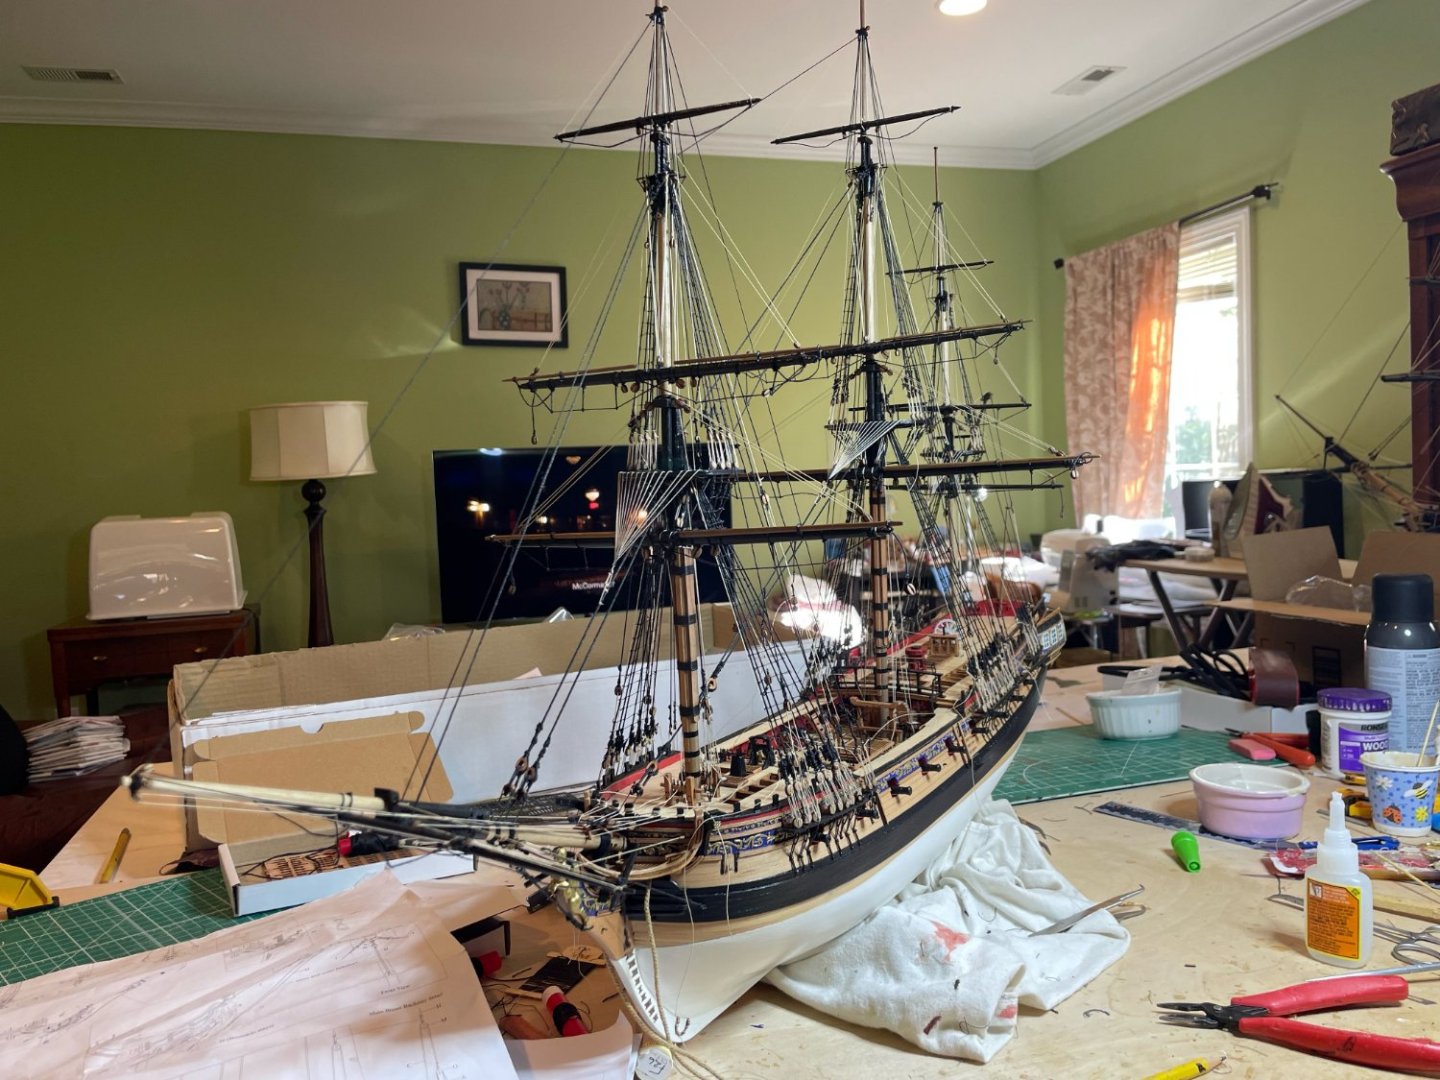
So now the HMS Sphinx is complete. Admiral Cochrane can be seen inspecting it to gie a sense of the 1:64 scale. Until the Indy is ready for purchase, I will keep myself busy with the Duchess


- 73 replies
-
- 14
-

-
-
- Sphinx
- Vanguard Models
- (and 1 more)
-
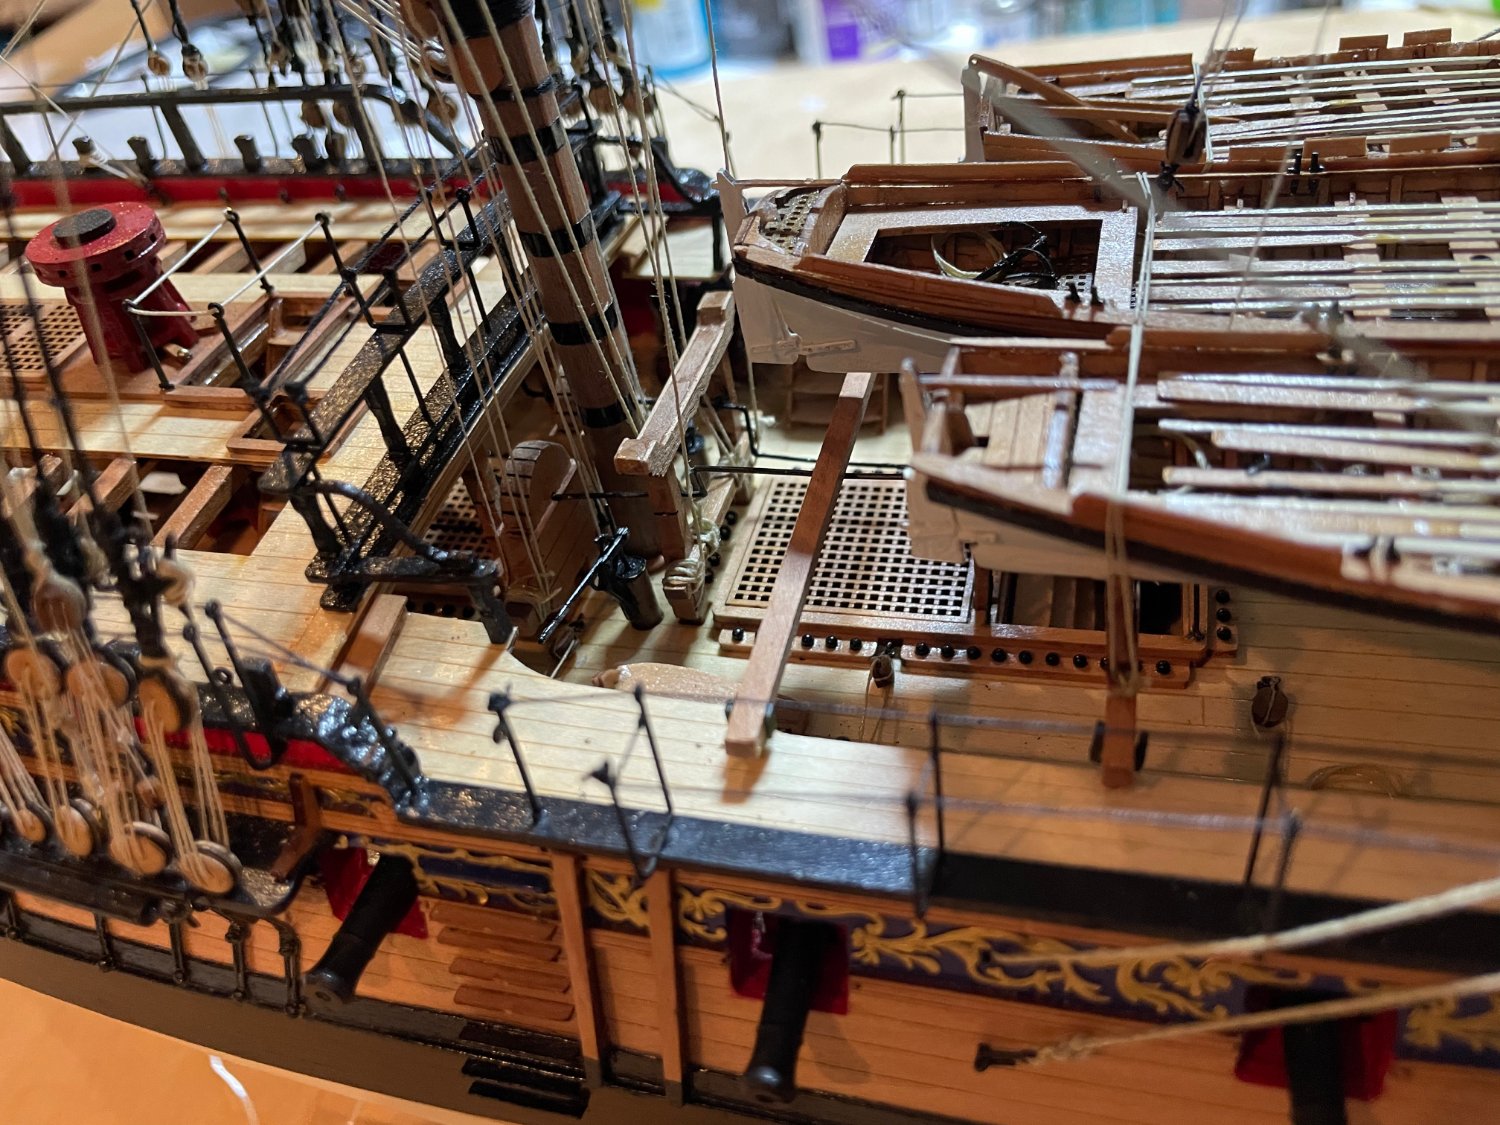
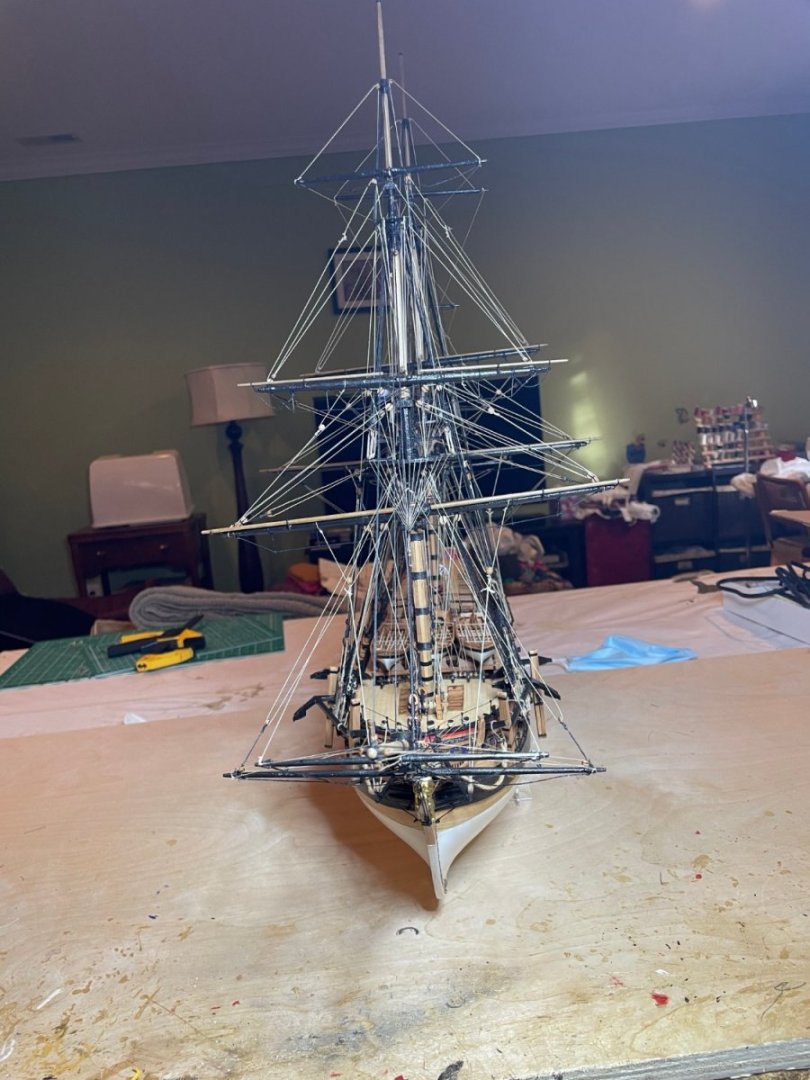
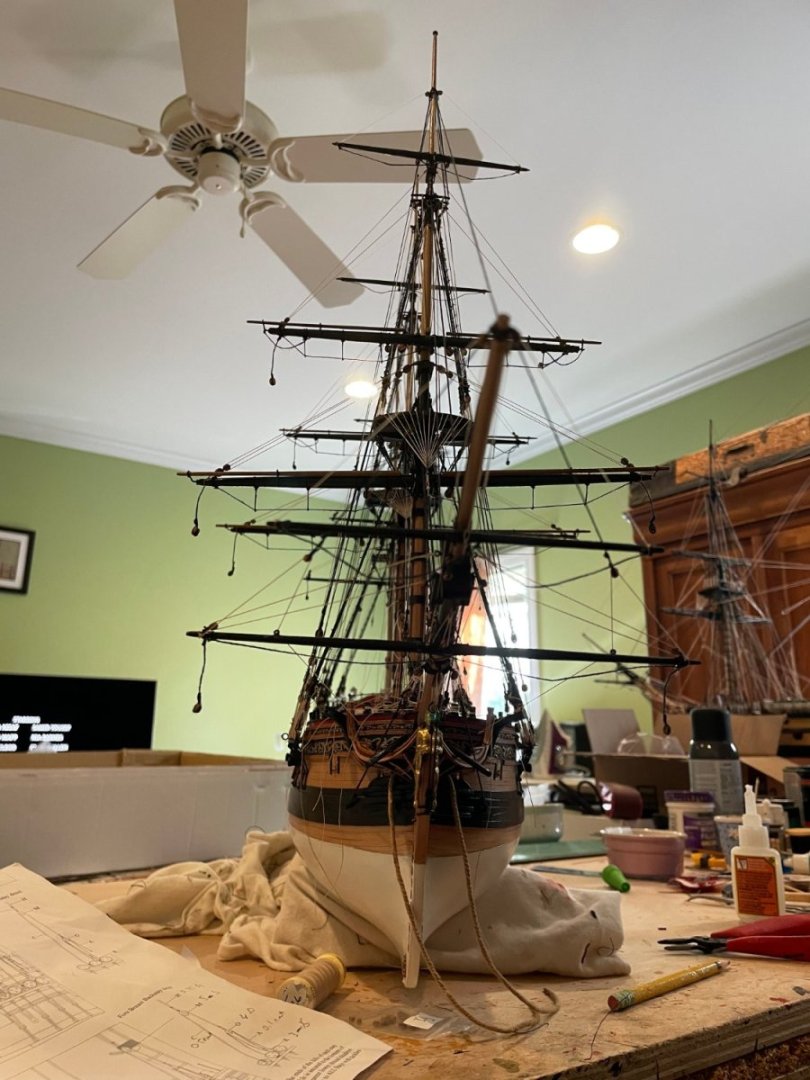
Finally, almost there. Only have, sheets, braces, anchors, mount ships boats and railing left to do.
- 73 replies
-
- 8
-
-
-
- Sphinx
- Vanguard Models
- (and 1 more)
-
Thanks, that is actually an interesting design point which I have not seen on other ships
-
Sorry, I meant Driver , for the spanker. Anyway, I do see the directions for all the other yards but the lower ones but have done several in past and have the drawings from Diane so not a major problem.
- 73 replies
-
- 1
-
-
- Sphinx
- Vanguard Models
- (and 1 more)
-
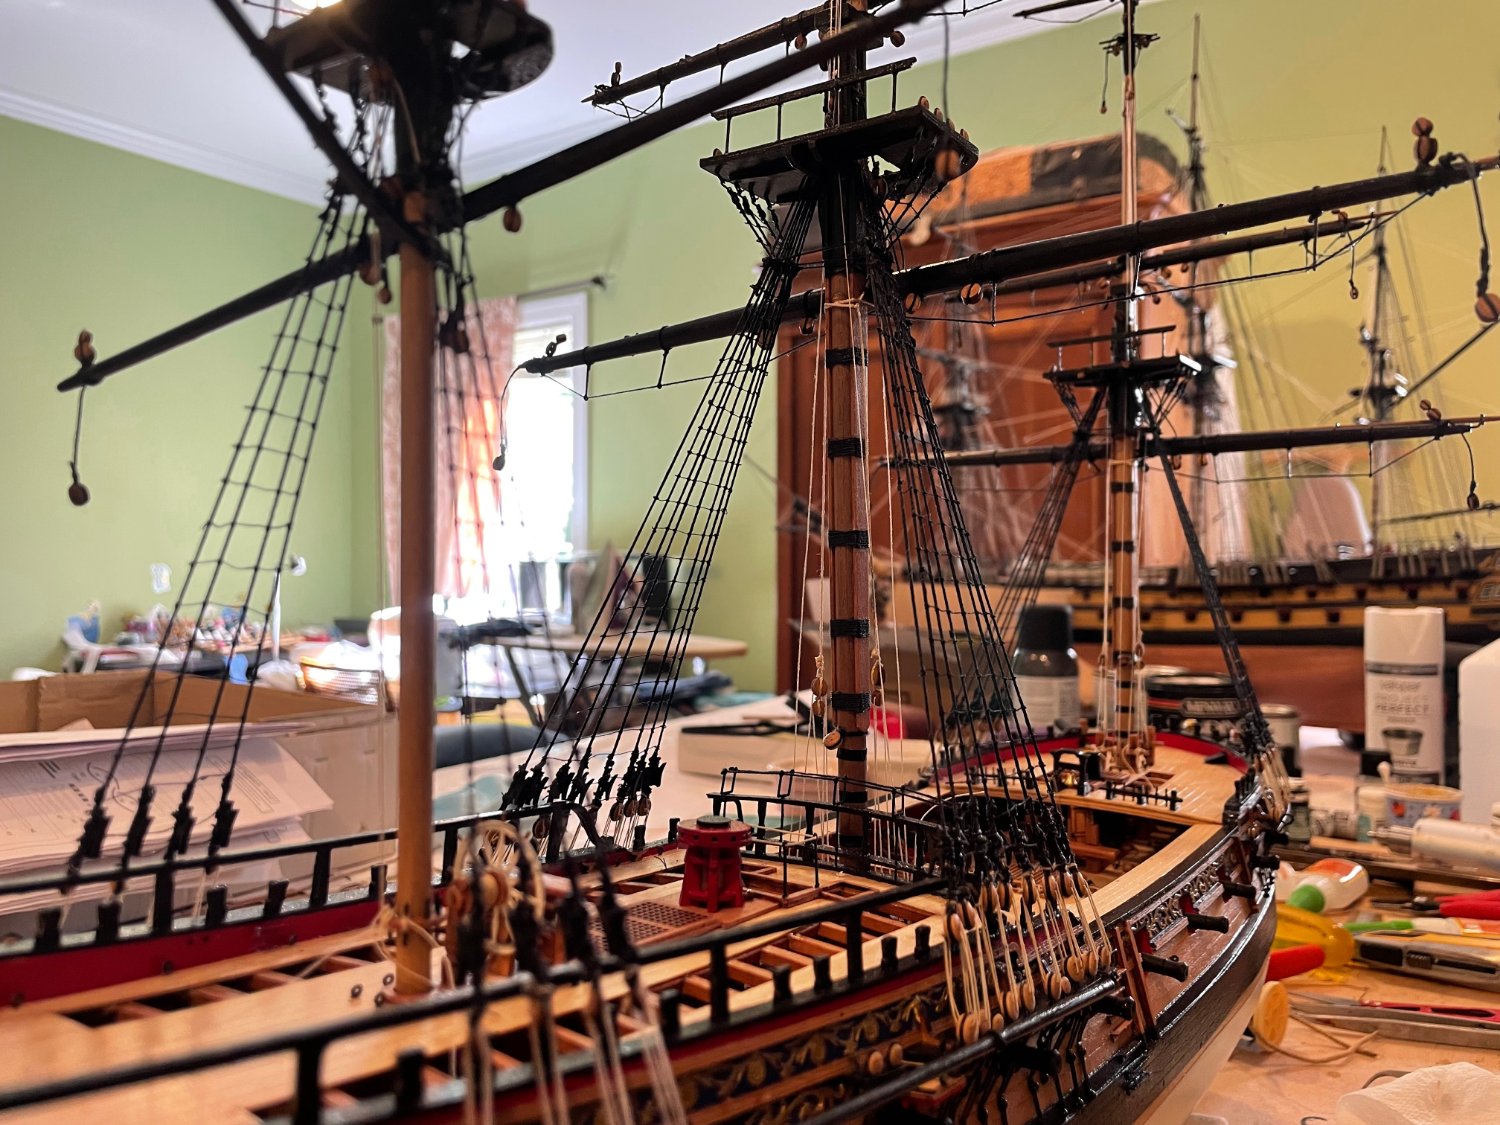
So have some questions. I am about to attach the yards. Interestingly there is drover on this model, on the plans or the finished picture. Not sure why. Also, although I can see lower yard trusses in the finished pictures, there are no instructions about them. I can make them from previous model instructions (ie Diane and Agamemnon) but am I missing something ?
- 73 replies
-
- 1
-
-
- Sphinx
- Vanguard Models
- (and 1 more)
-
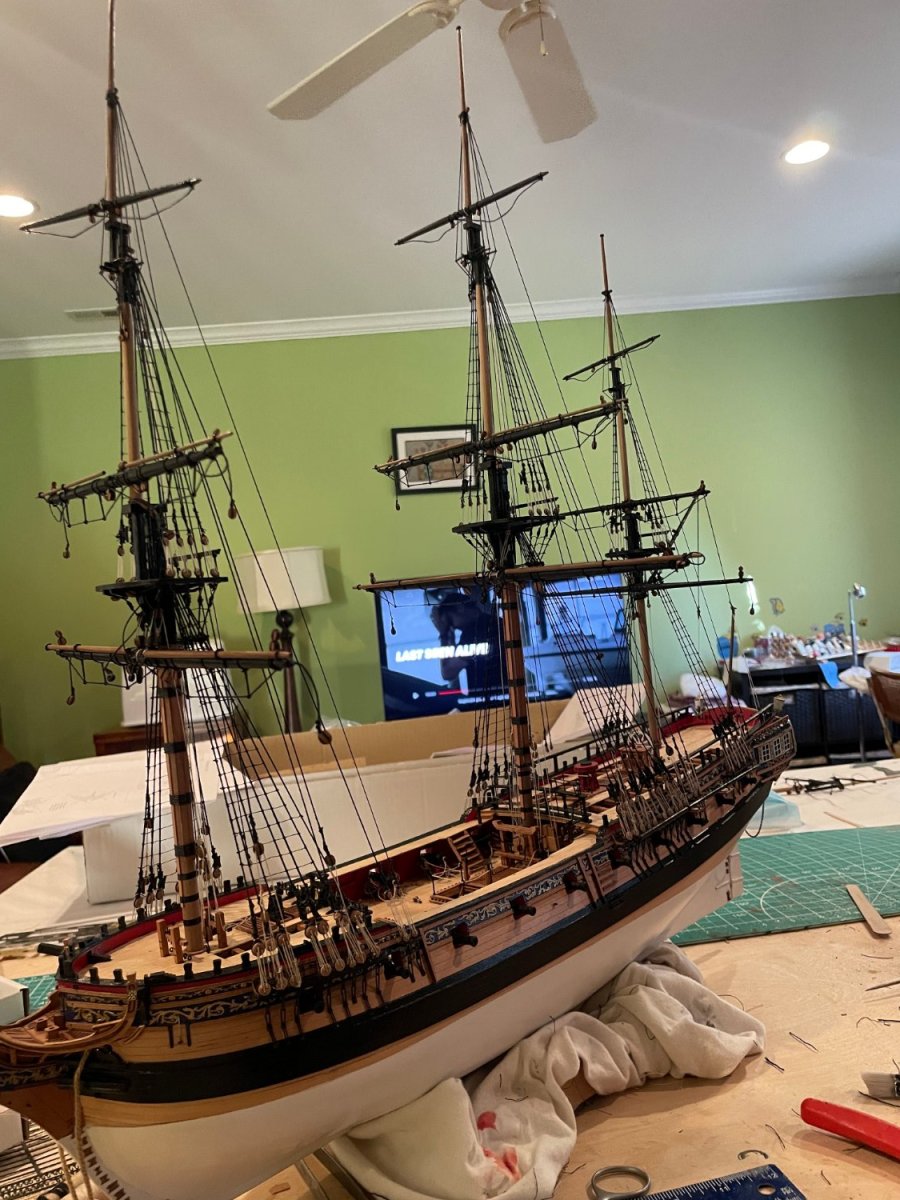
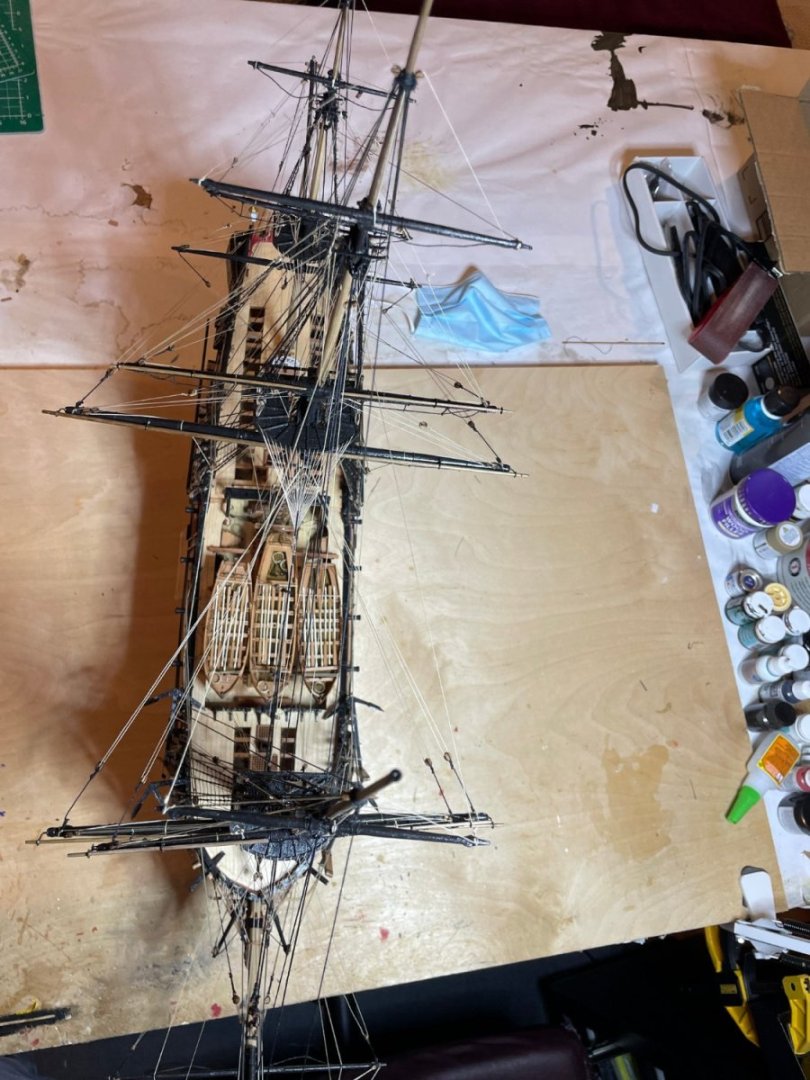
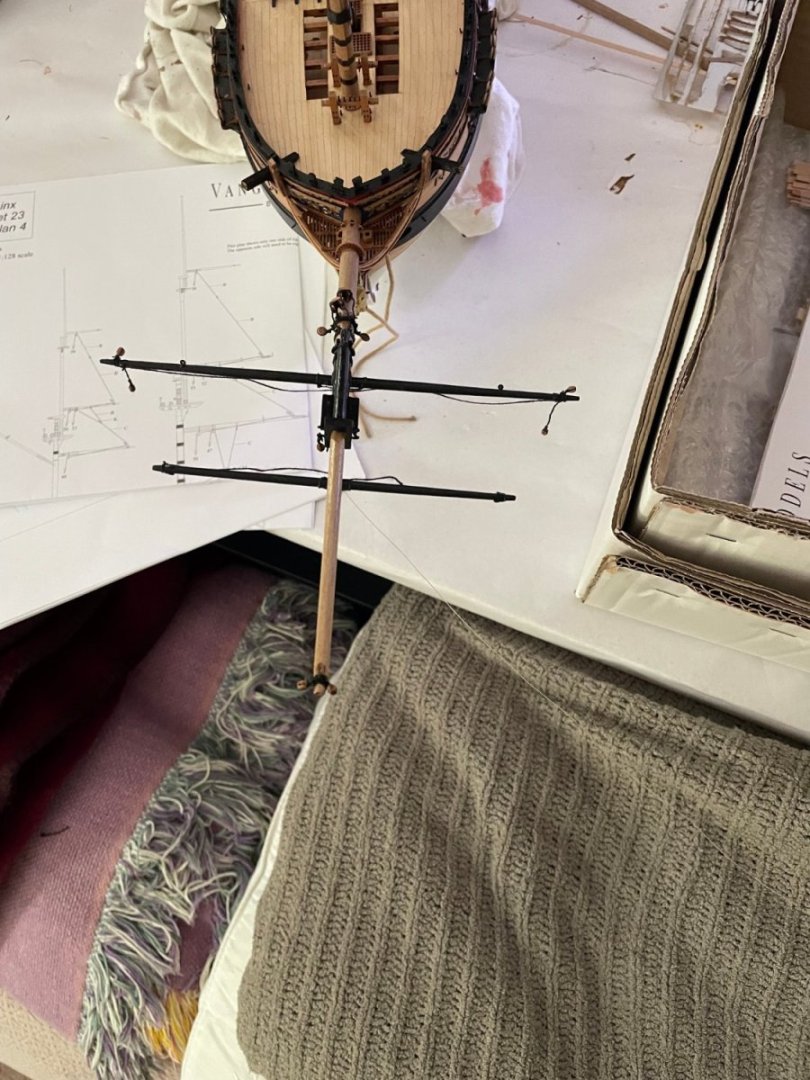
Bowsprit and foremast yards done and temporarily fitted.

- 73 replies
-
- 7
-
-
- Sphinx
- Vanguard Models
- (and 1 more)
-
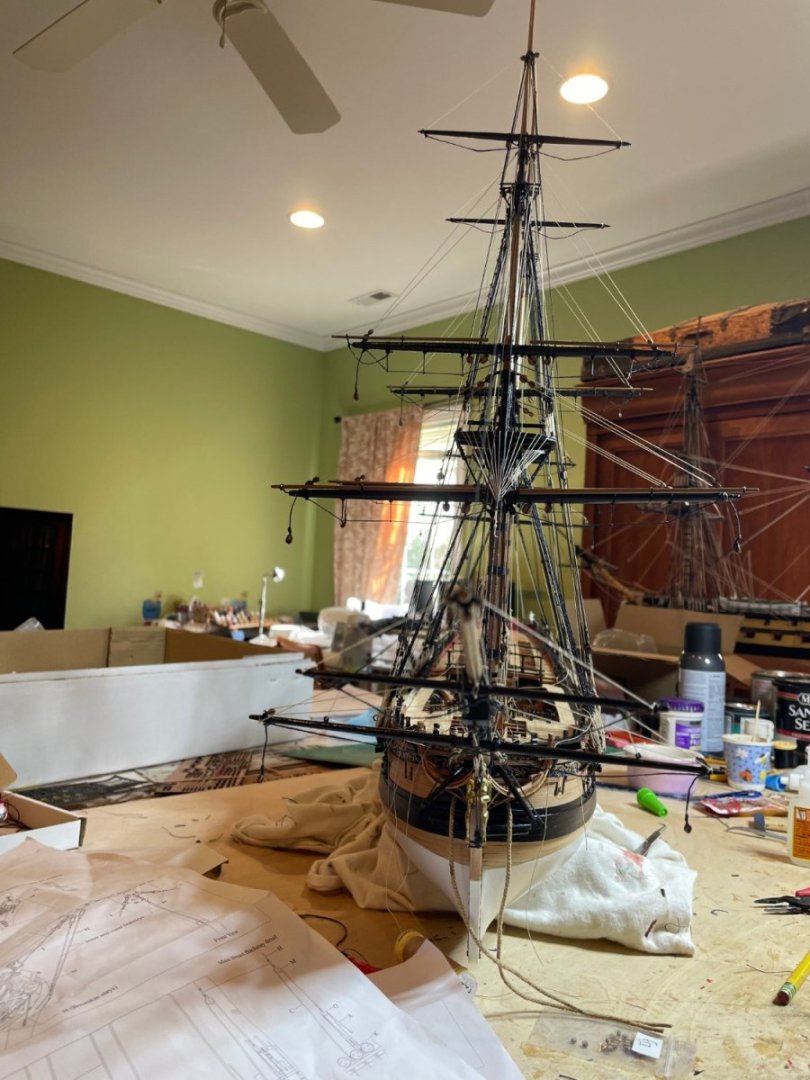
Masts done and line up nicely but will not set them until yards on with pins. Next is the bowsprit but I usually actually attach it after the shrouds done as I learned in the past my arm catches the tip and breaks it at some point.


- 73 replies
-
- 6
-
-
- Sphinx
- Vanguard Models
- (and 1 more)