HOLIDAY DONATION DRIVE - SUPPORT MSW - DO YOUR PART TO KEEP THIS GREAT FORUM GOING! (Only 13 donations so far - C'mon guys!)
×

Knocklouder
-
Posts
2,897 -
Joined
-
Last visited
Content Type
Profiles
Forums
Gallery
Events
Everything posted by Knocklouder
-
 Bryan my man that is so cool. Someday I will try to get to mine. You definitely gave me some great ideas. Well done. Congratulations.
- 134 replies
-
- 3
-

-

-
- sea of galilee boat
- SE Miller
- (and 1 more)
-
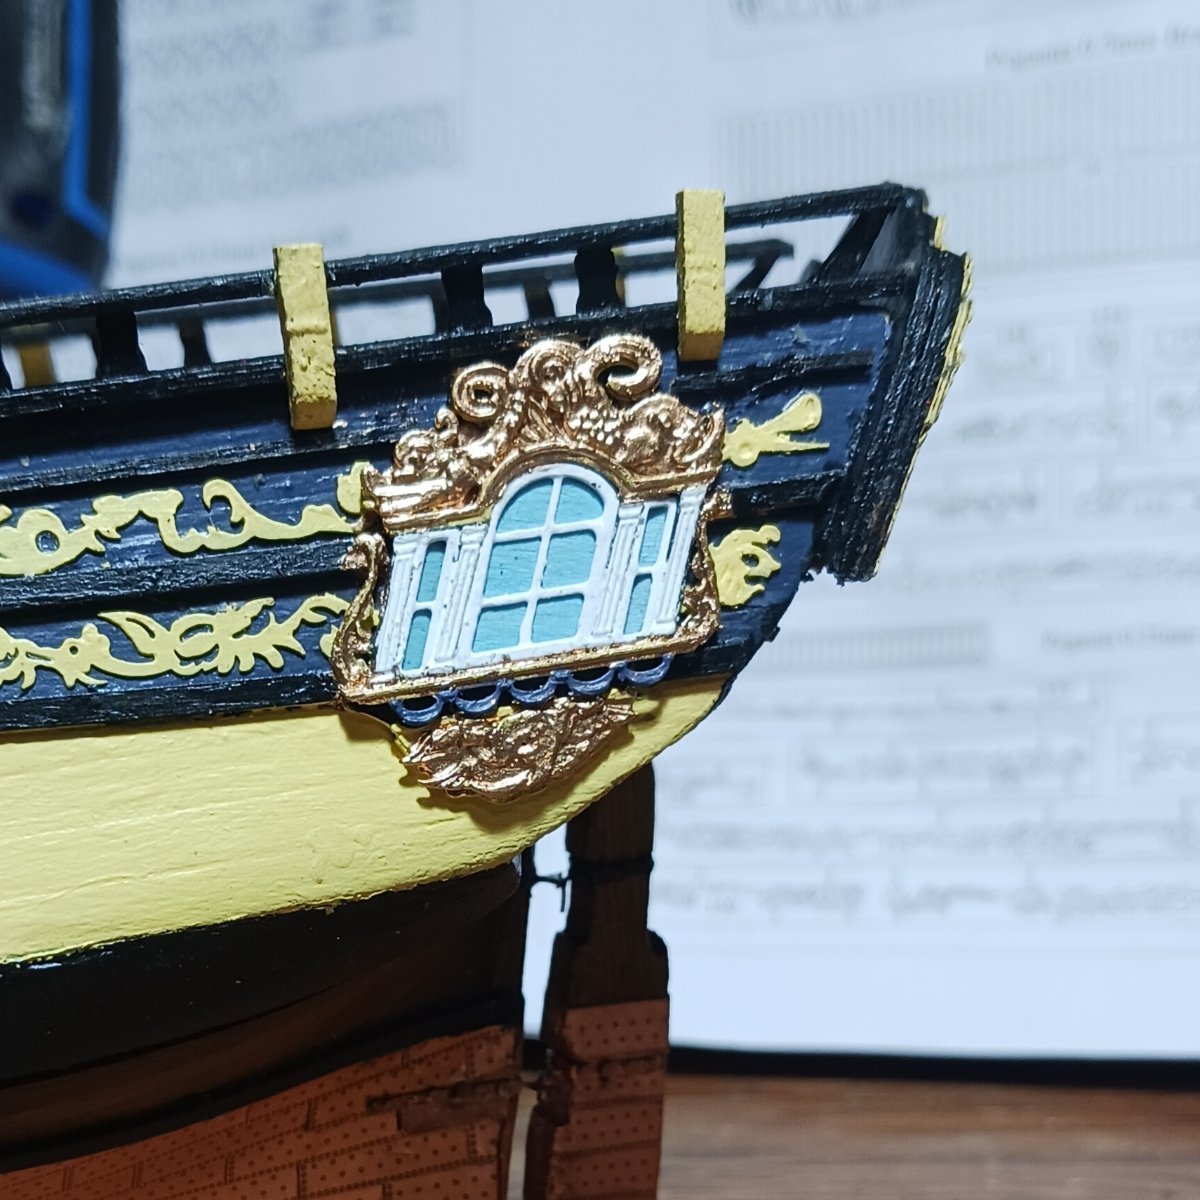
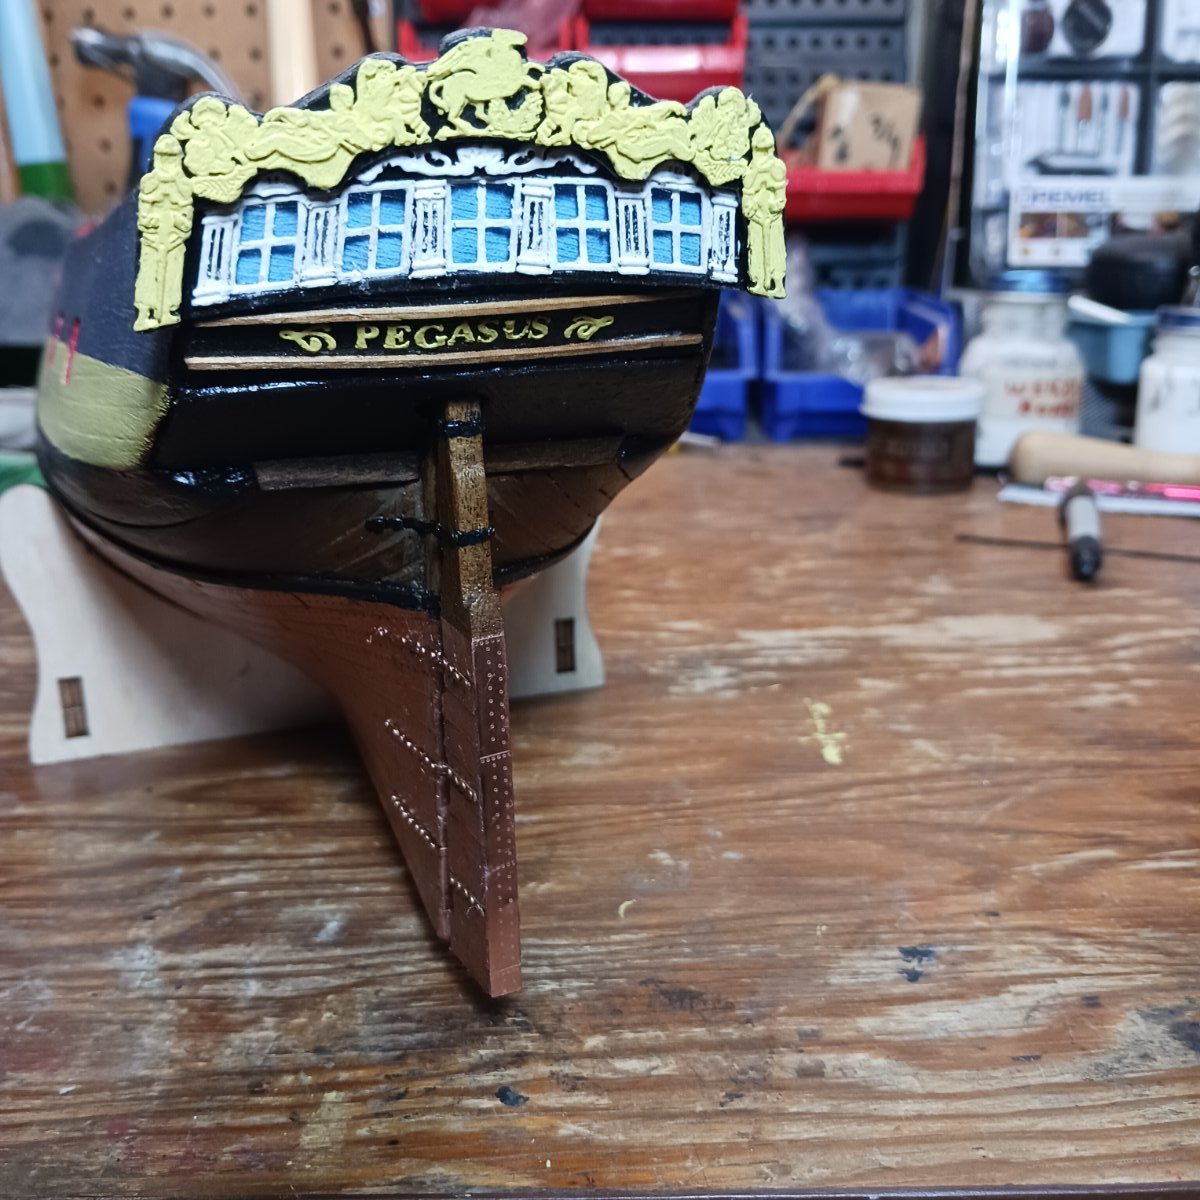
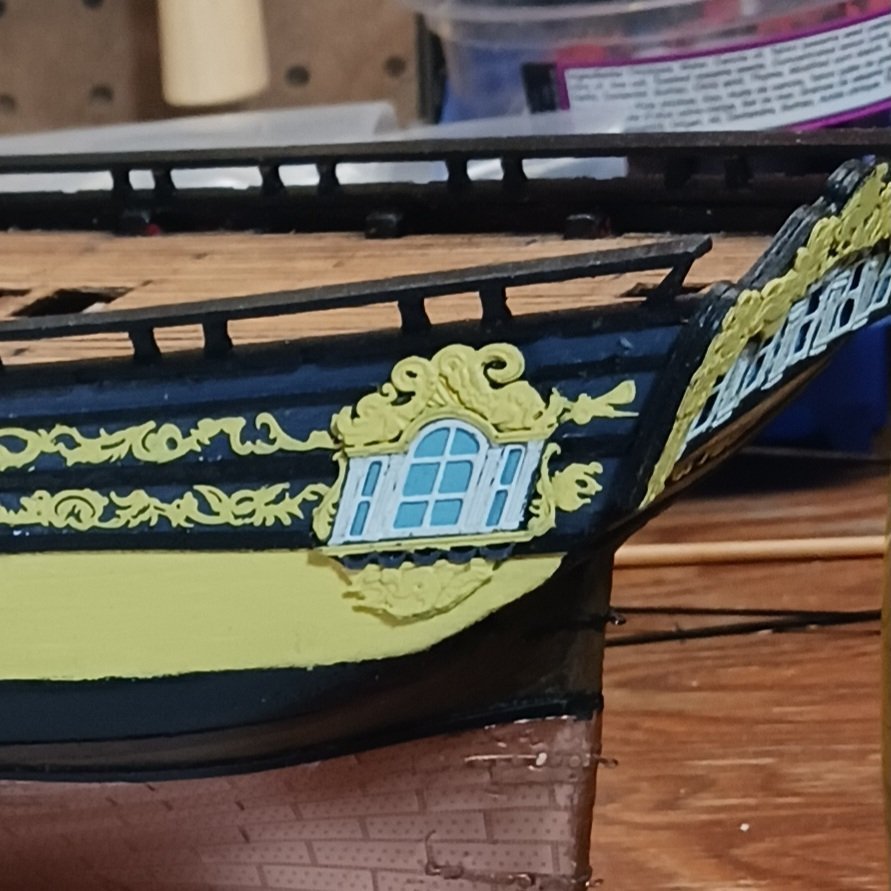
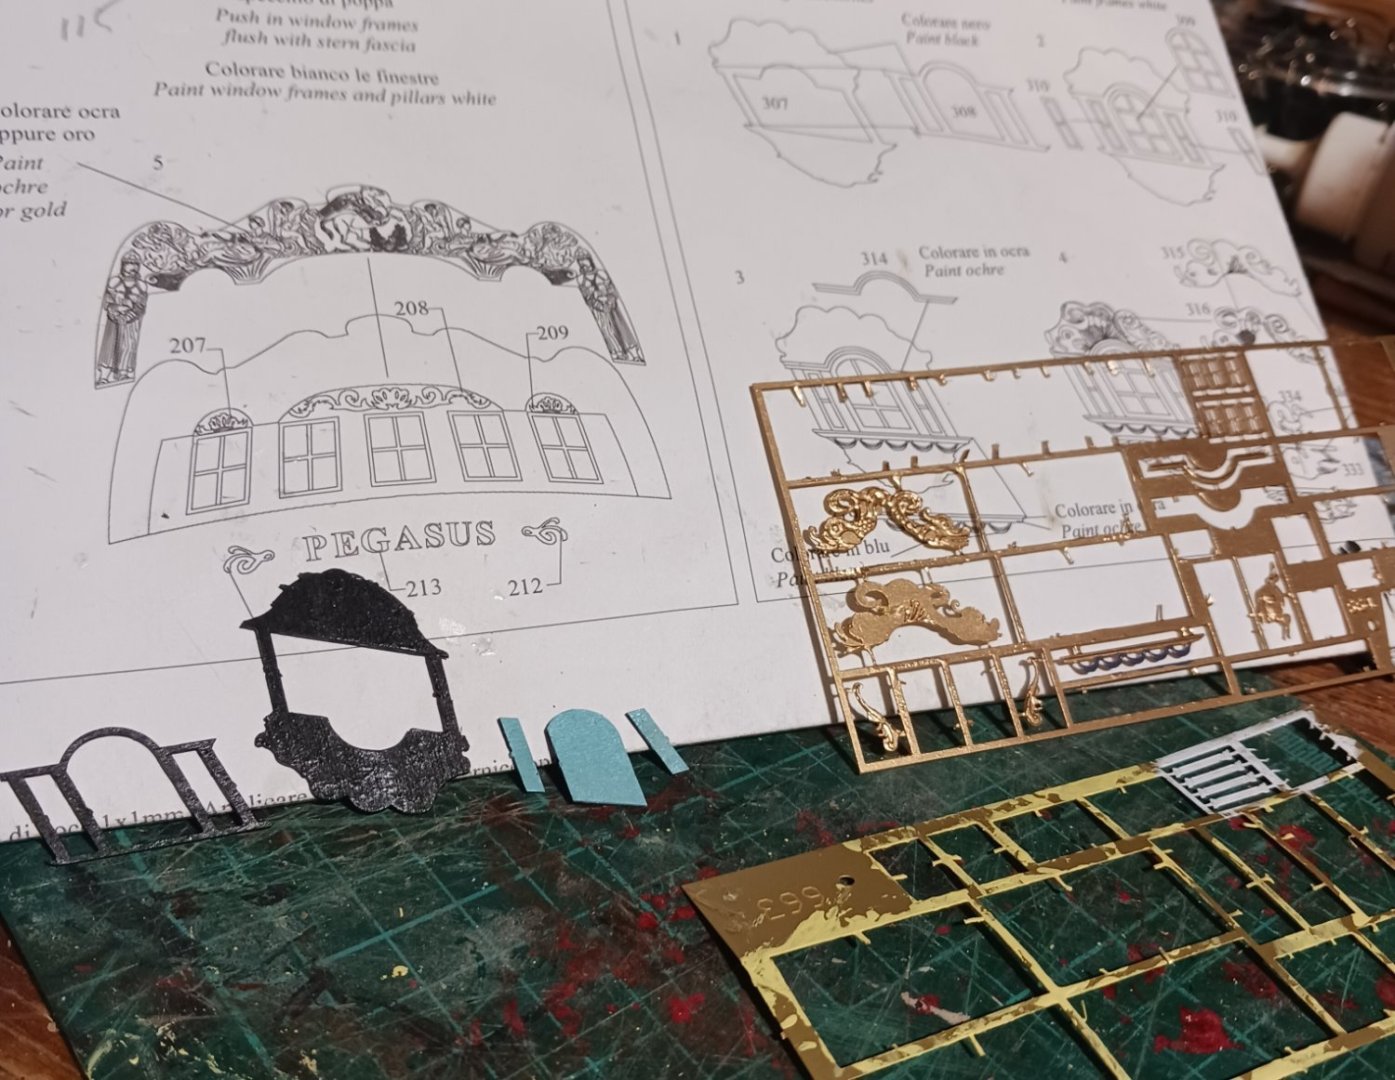
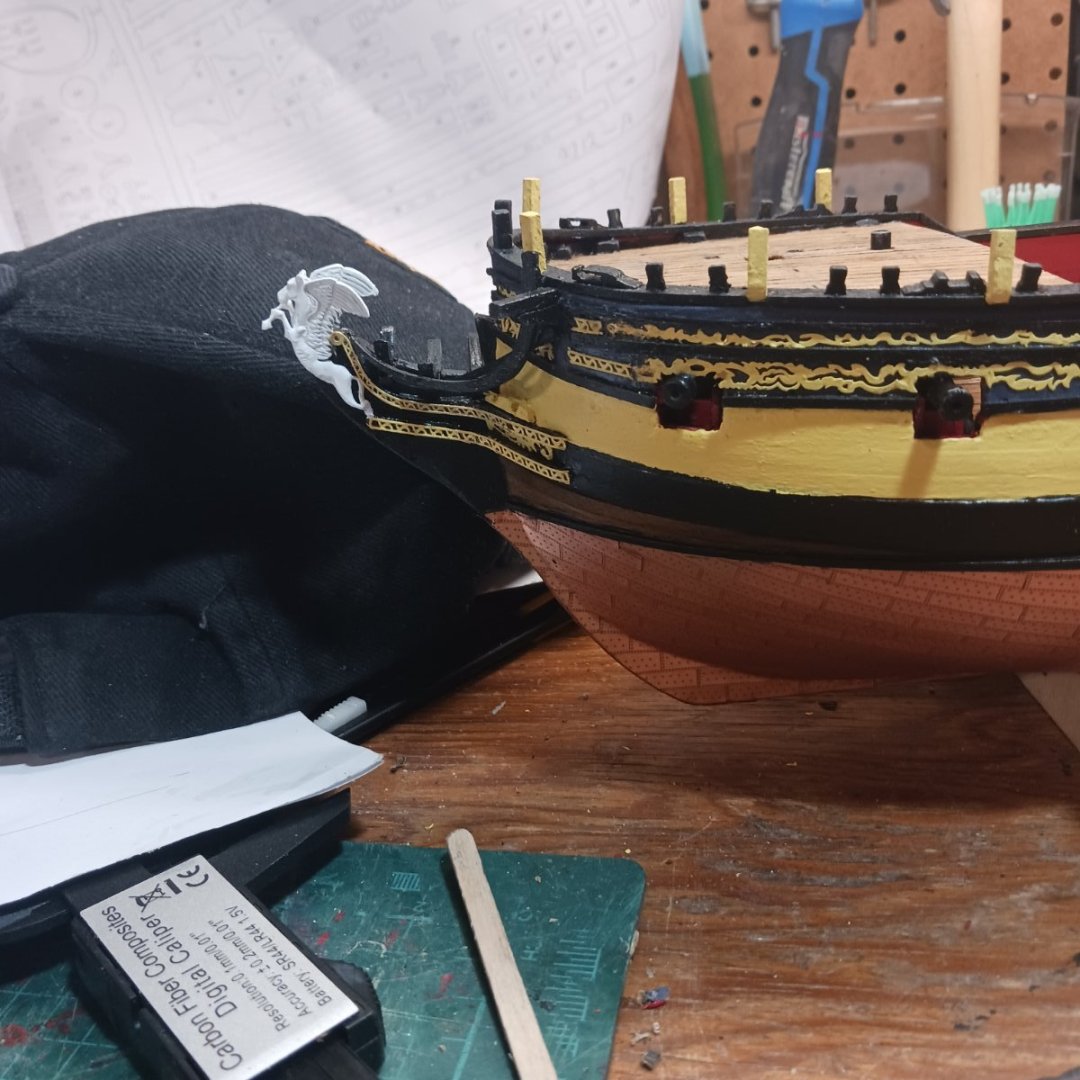
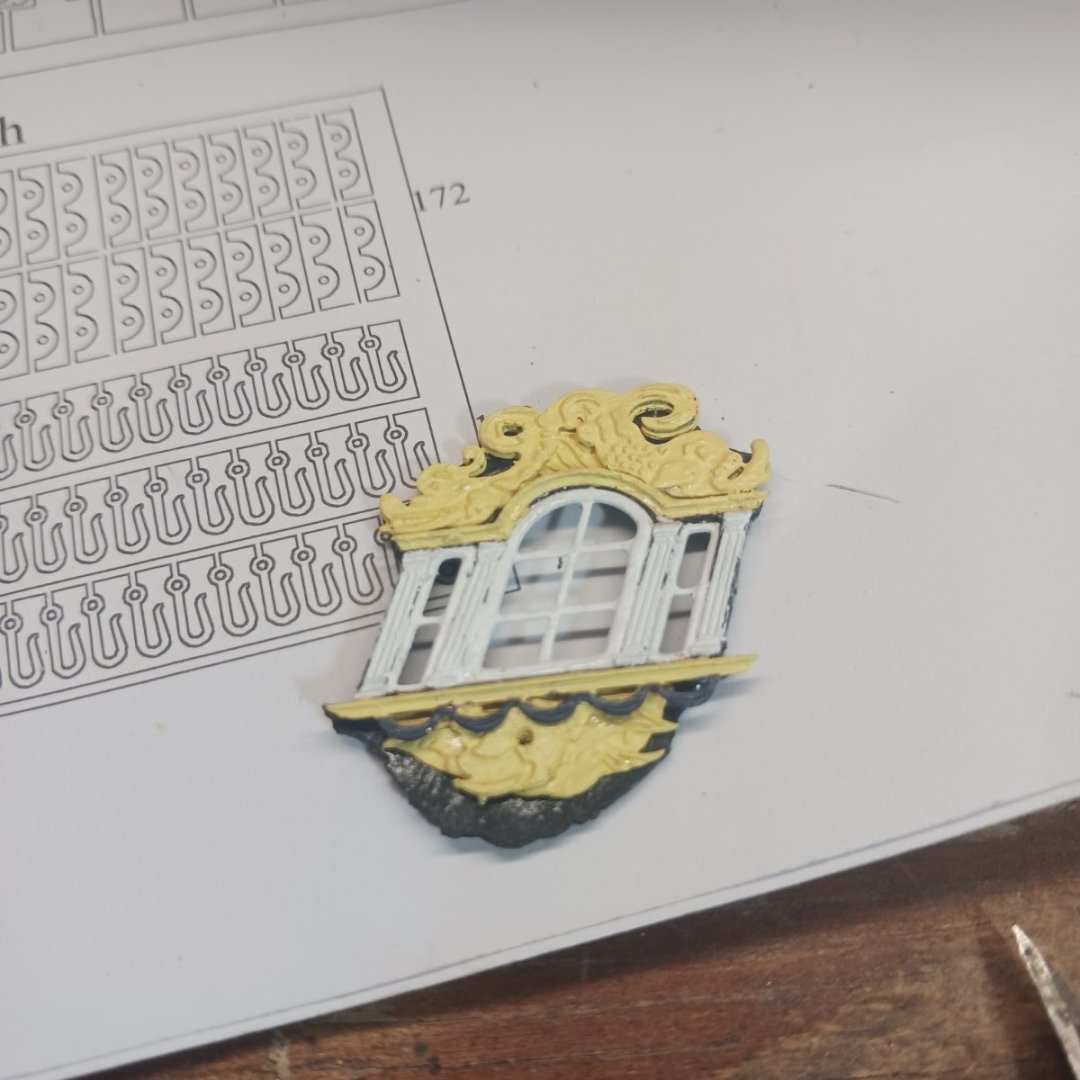
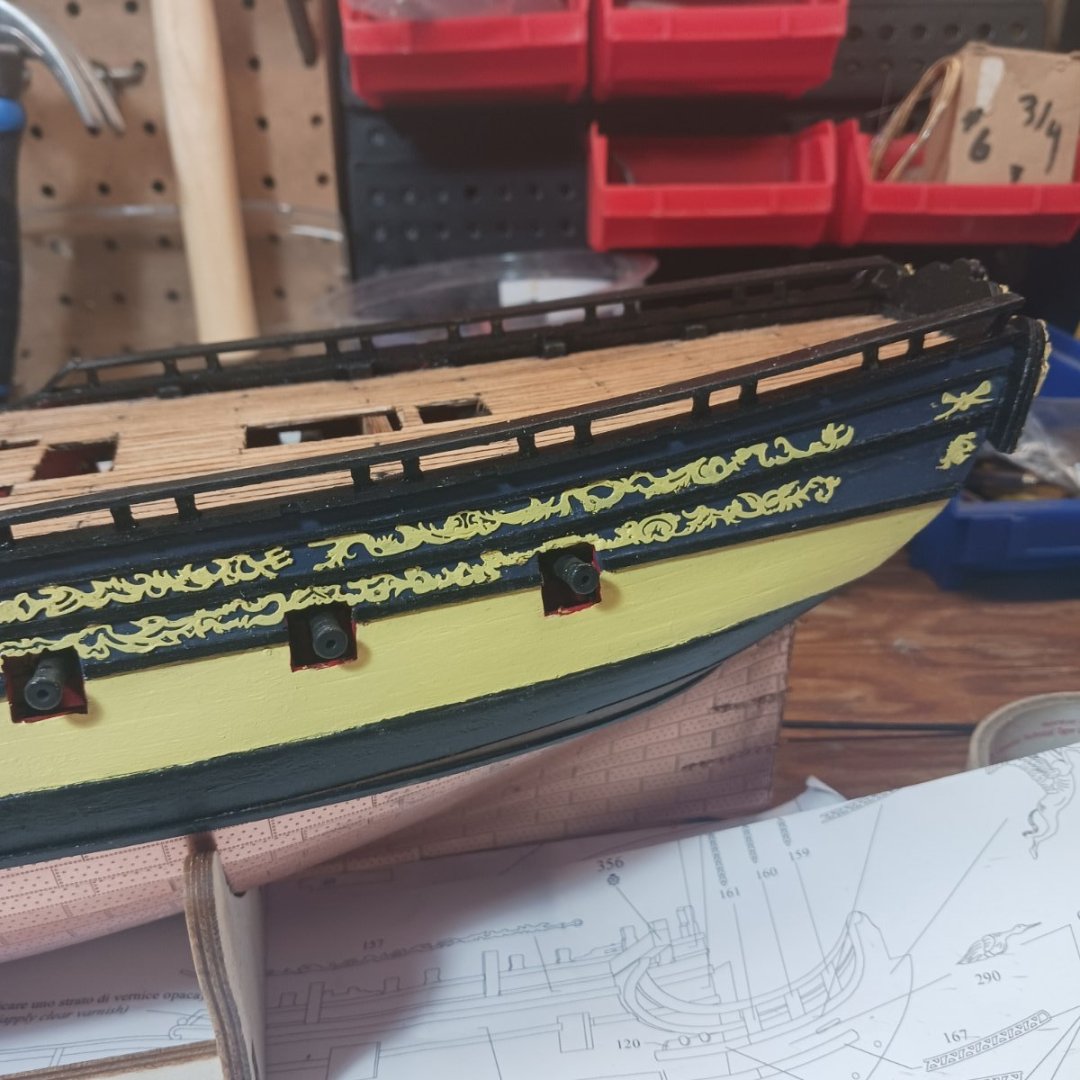
Small update, When I went to put the decorative pieces on the streen it was yellow and faded away so much you could not see it , so I painted it gold . Then I said I might as well paint the window gold as well. One side was easy , just spray it on, but I had to hand brush the port side window. It turn out ok. This is what it looked like And this is what I dd to it. Now I have to assemble the other window, put the timber heads on and the freizes will be done. More later.

- 254 replies
-
- 9
-
-
- Victory Models
- Pegasus
- (and 3 more)
-
Good luck on your journey, have as much fun as you can Many will help a long the way you see.
-
welcome aboard, this is the place to be. You will find all the info and help you need to build your ships right here on MSW. Have fun!!
-
-
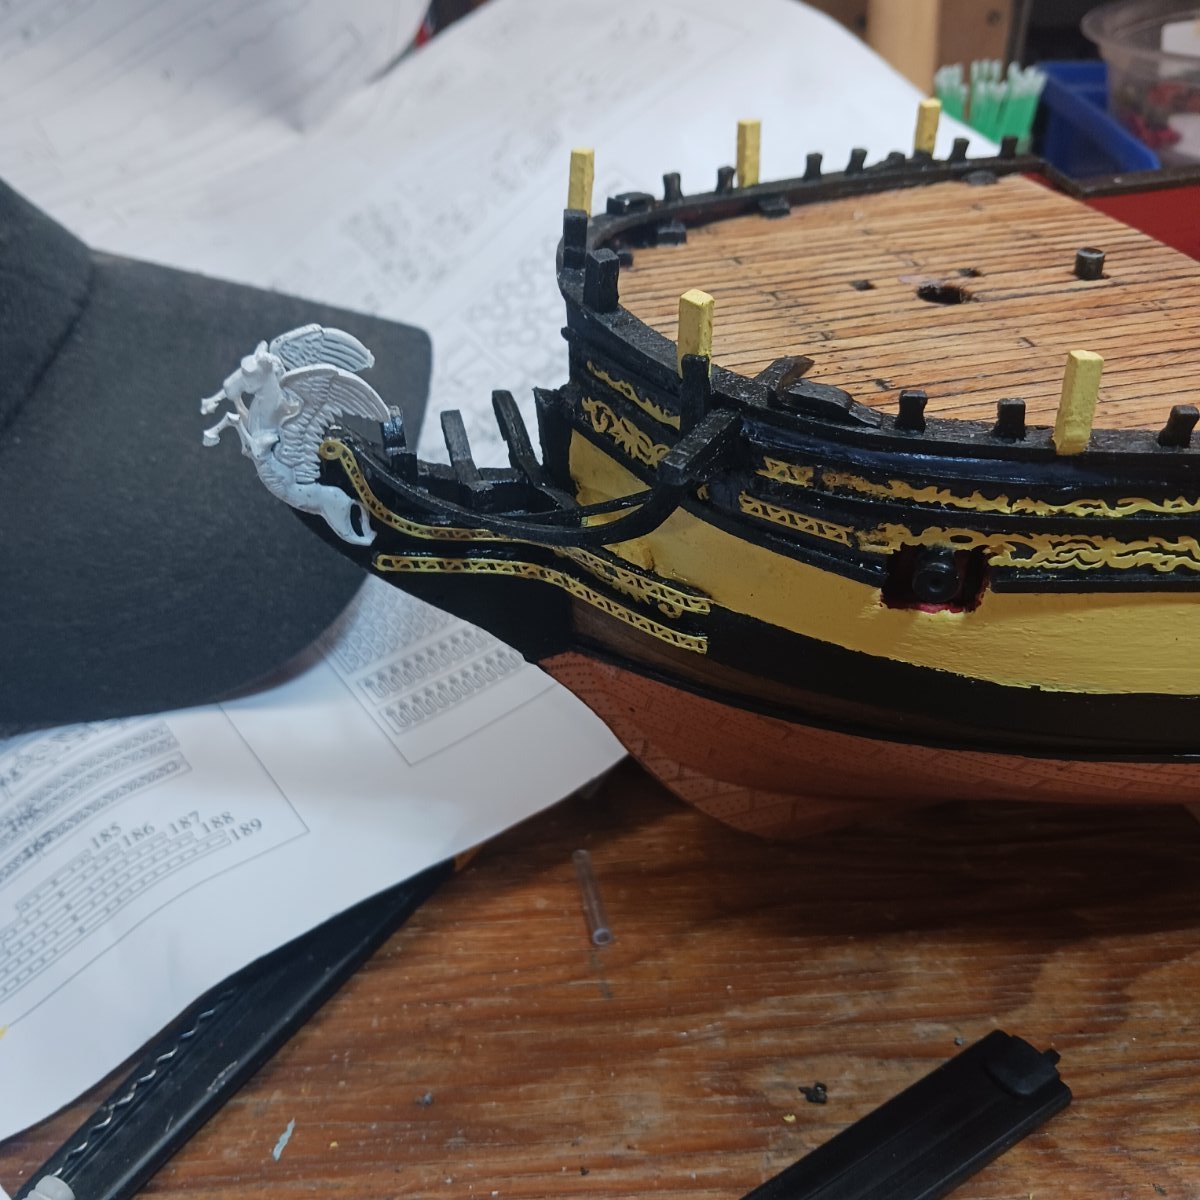
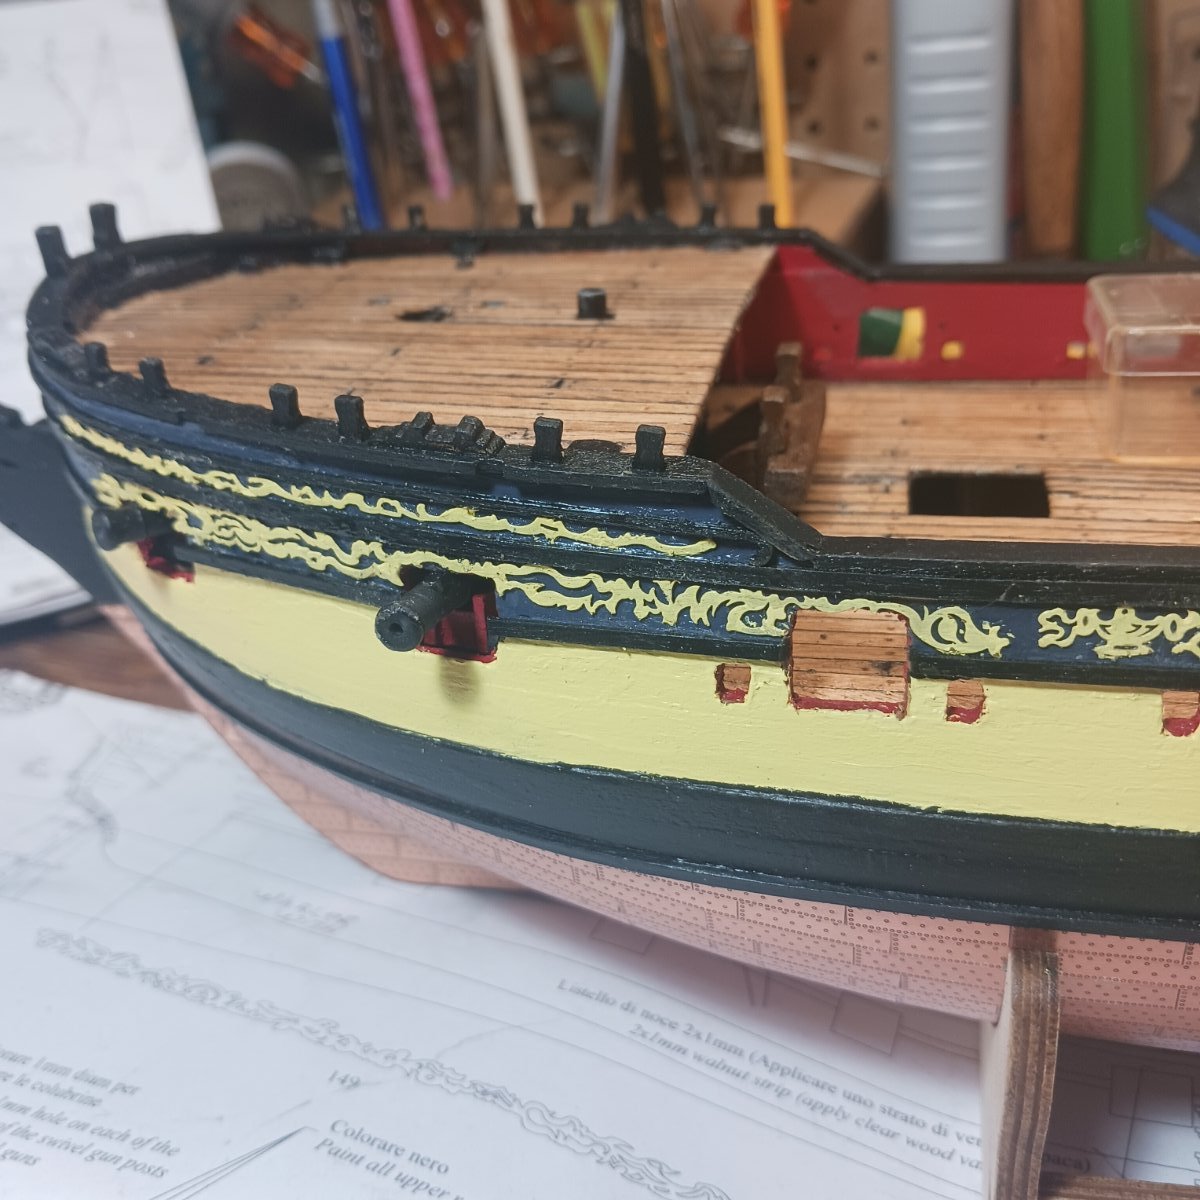
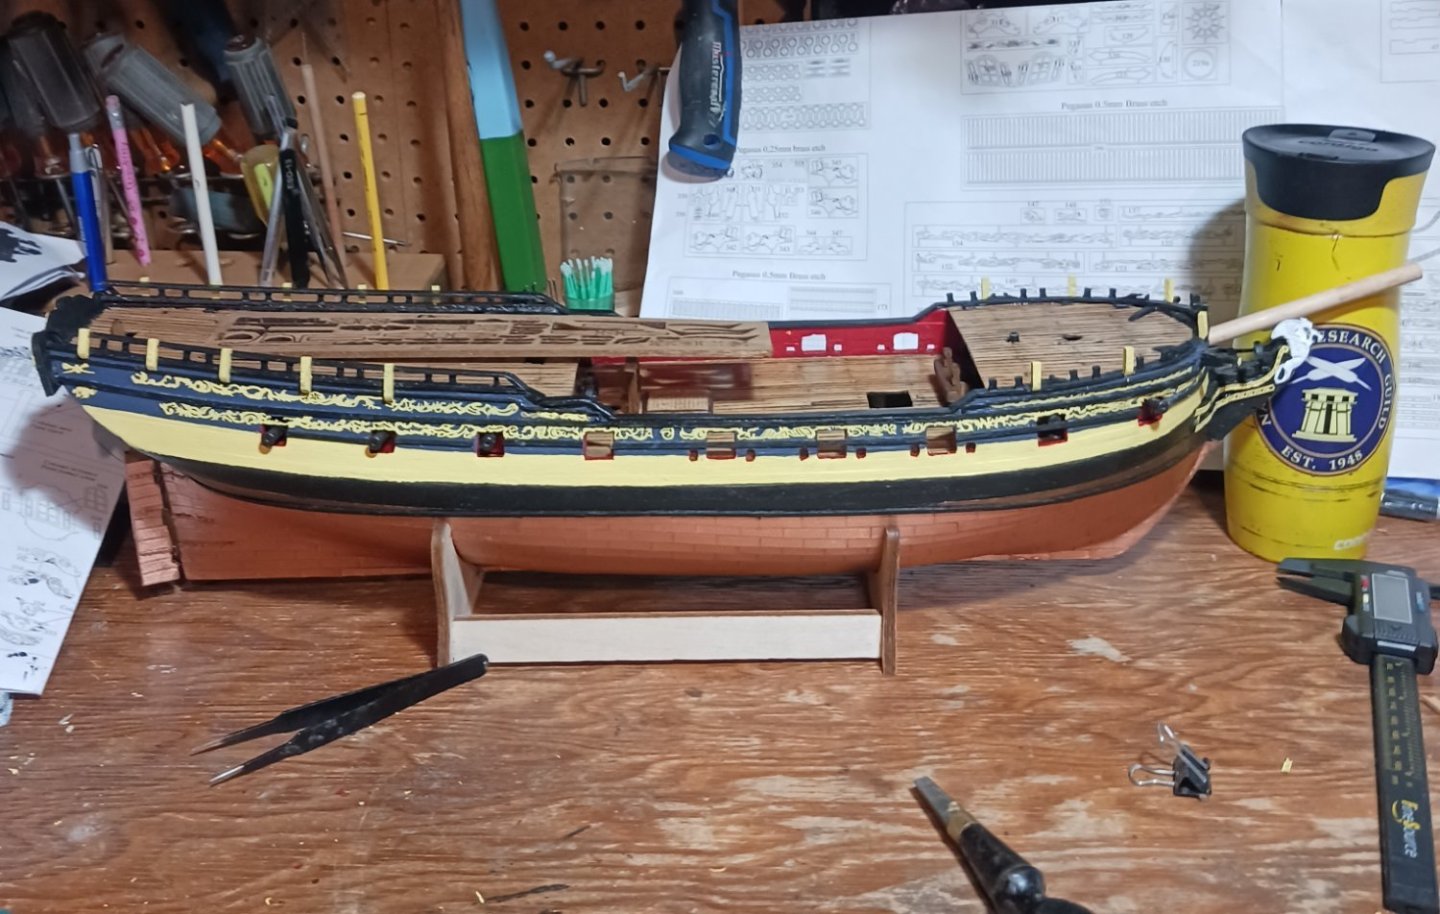
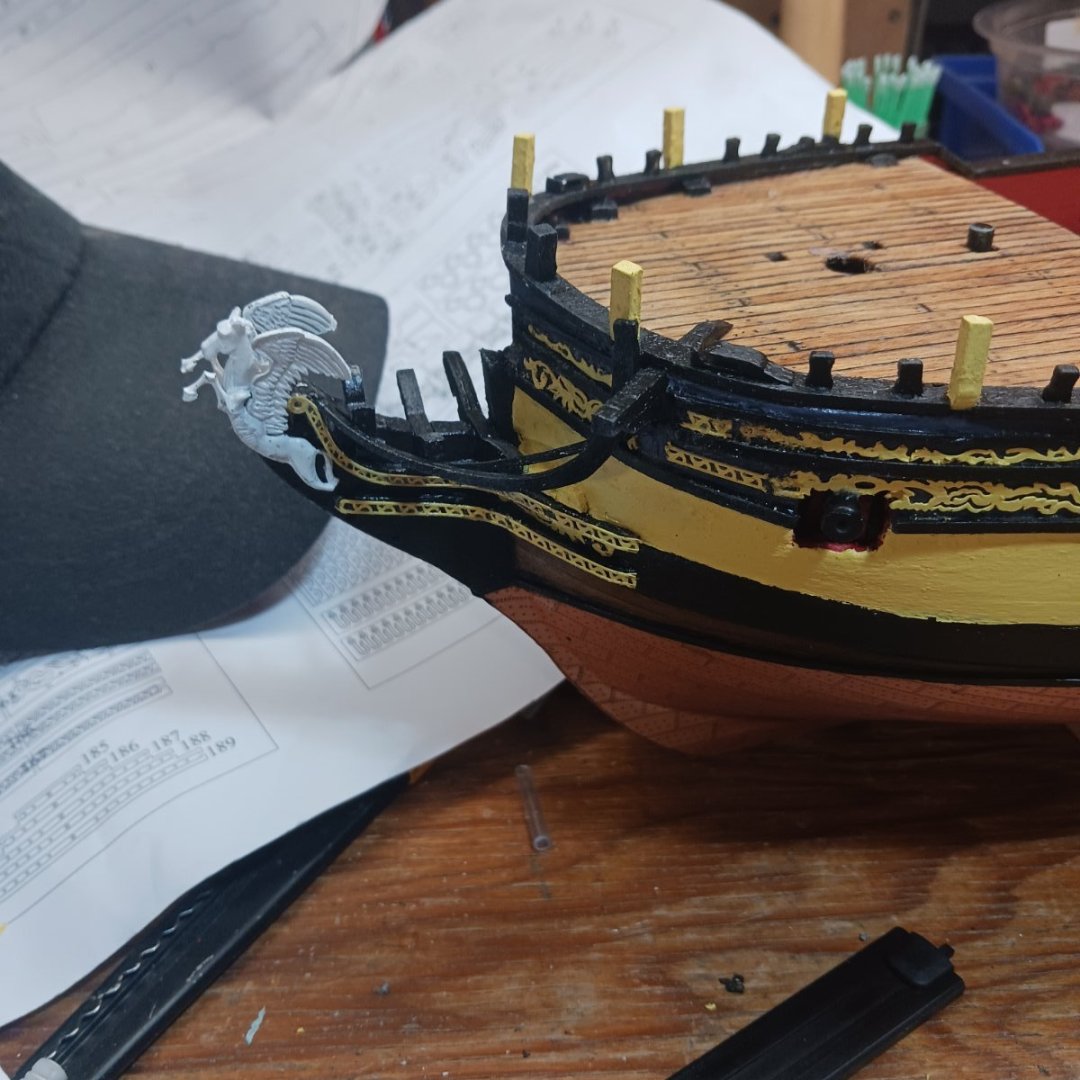
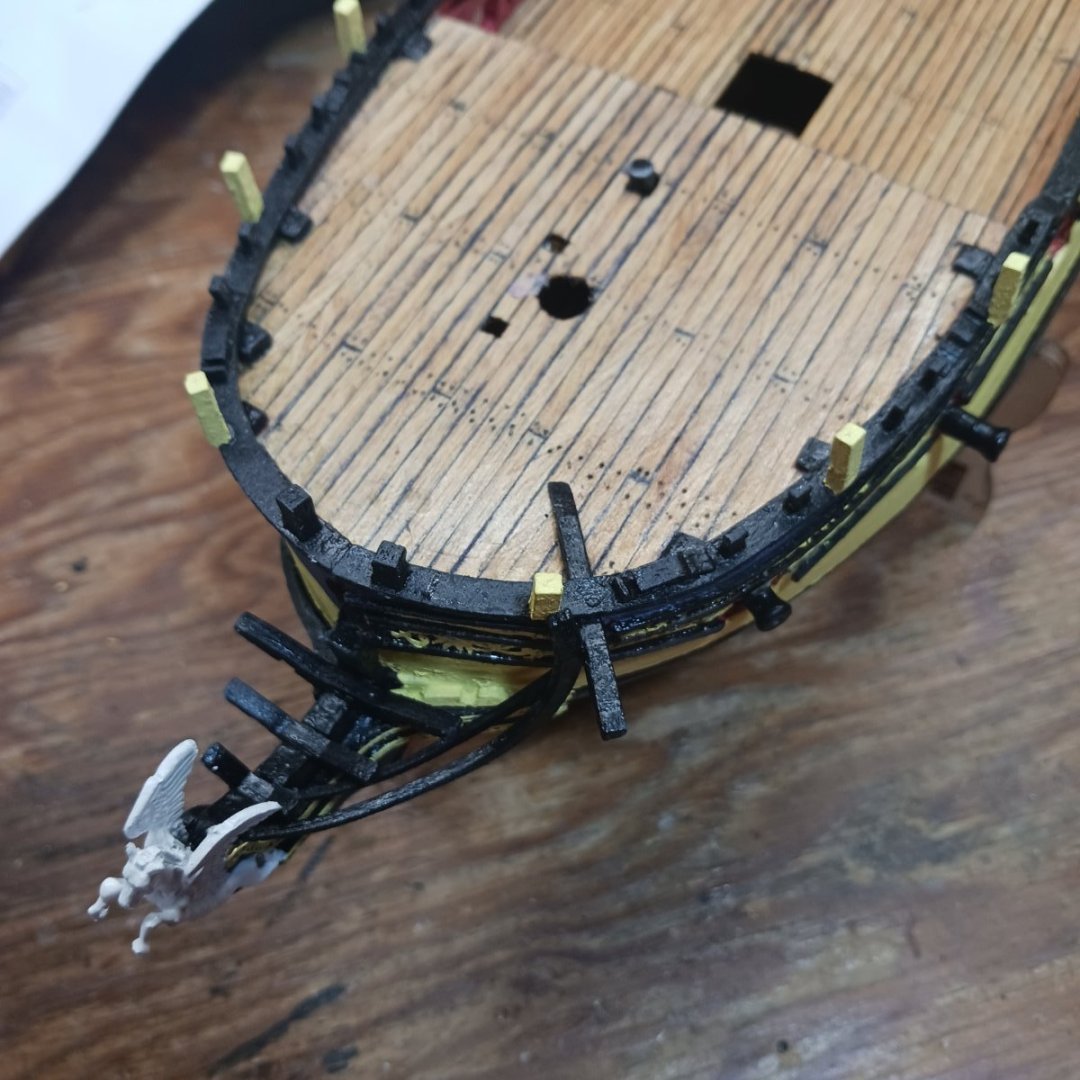
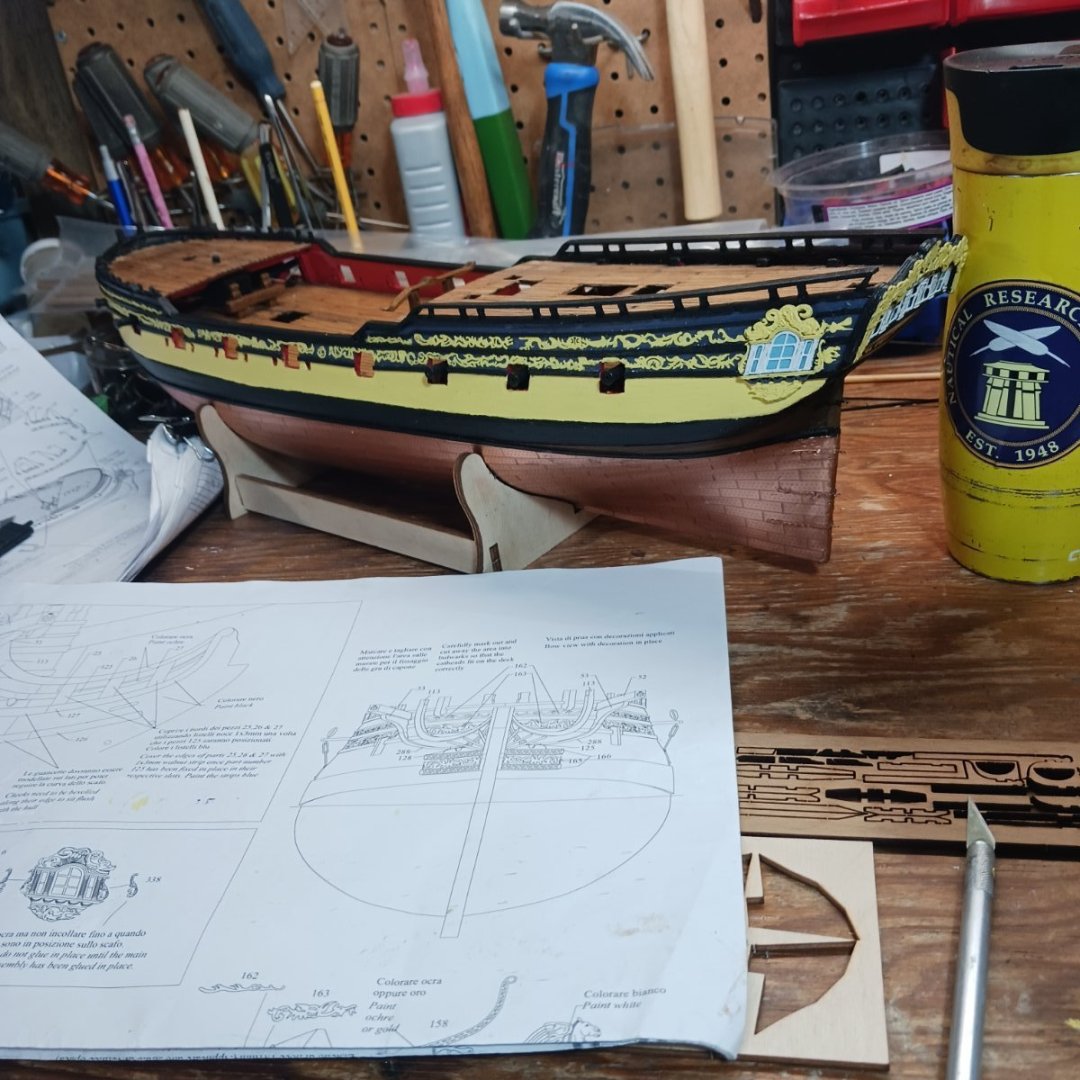
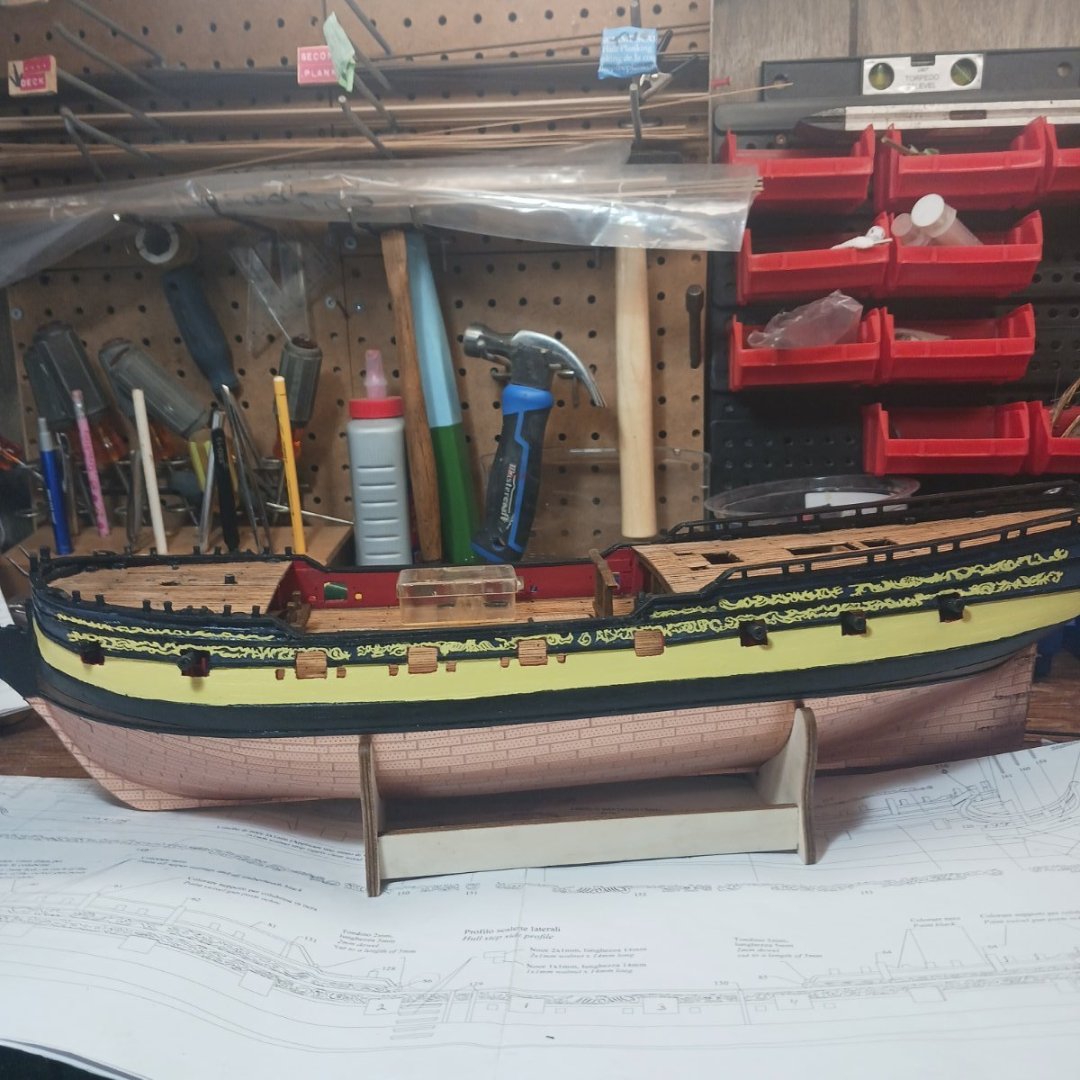
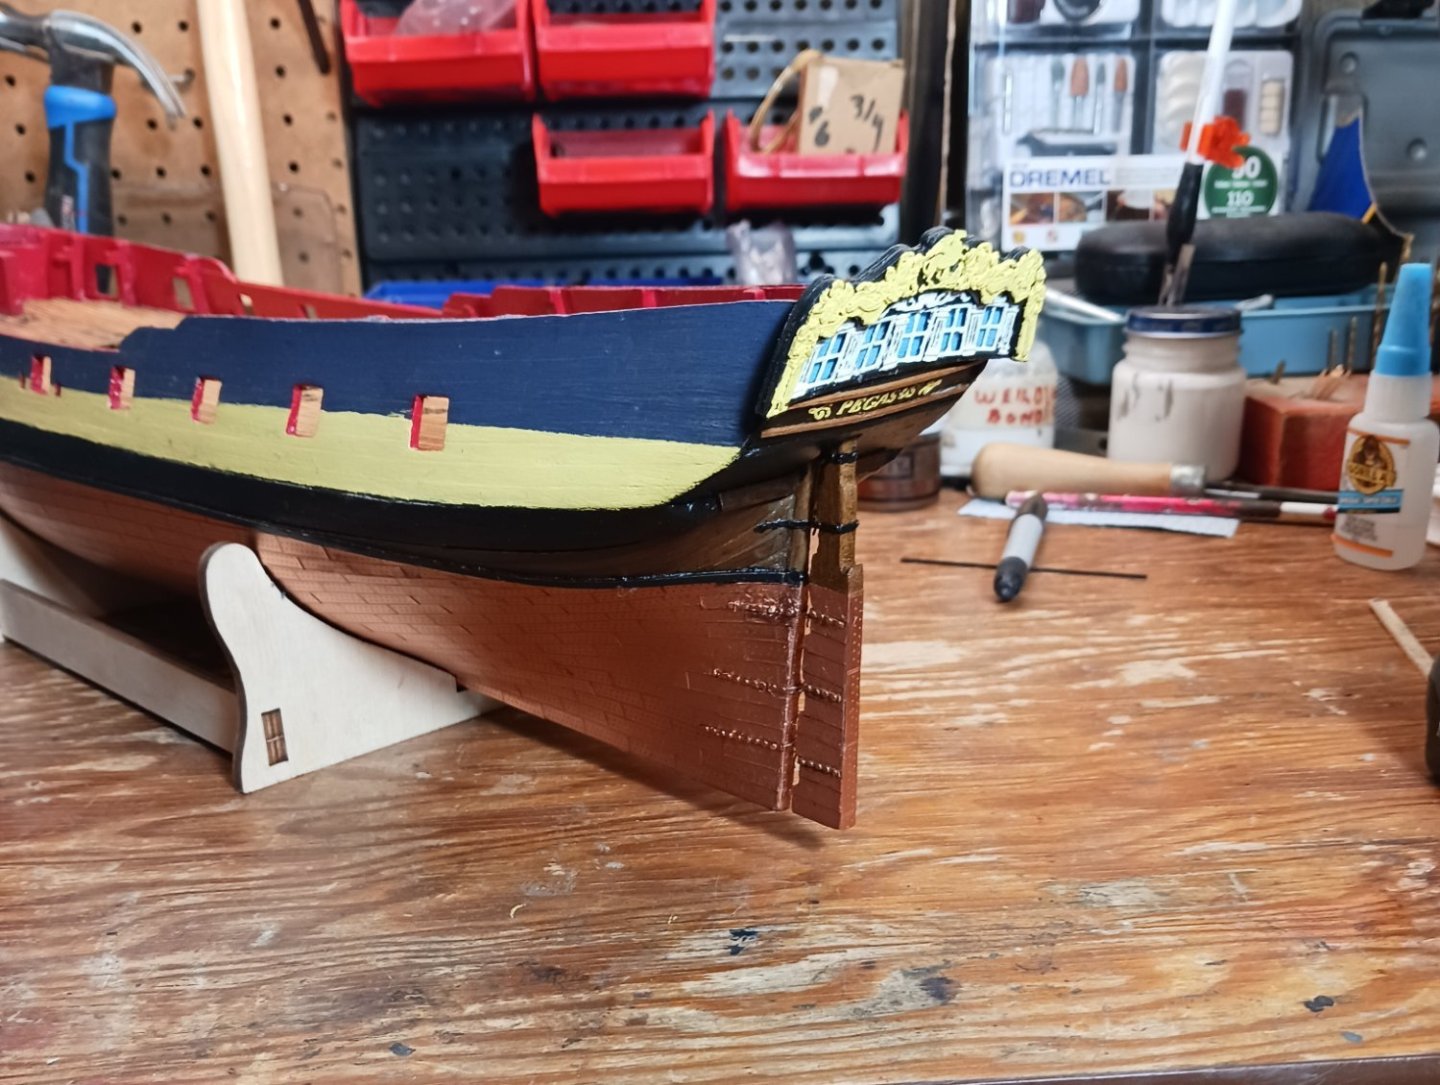
Well the port side friezes are done and I painted the Pegasus white. Was it ever britle, I broke both wings off lost a foot to the bling but added a bit of white paint to look like a foot. Ya it will do lol.I can see the foot missing, But with a drop of white paint it looks ok I guess. Might order a new one but will see. The rest of the bow went together pretty well, I can't find peice # 288 and 128. They don't show up anywhere on the sheets. But I see them on the plan. On to the starboard side, it's so much fun lovein it this is what I came up with I like it. I know Cris designed it, most likely why it is going together relatively easy . I just hope I don't butcher his ship too badly. I really have to finish the models that I have in my stach before they will let me order anymore. Lol So time to turn the ship to the starboard side and get busy lol. Thanks for the help and @aliluke please feel free to point out my errors and I will try to fix if I can lol. Thanks. And as you can see I lost the tail on this side but I will fix it lol.it went the way of the foot bling , gone forever lol. That's it for now. Thanks for all the help and likes. Feeling good about my model today

- 254 replies
-
- 14
-
-

-
- Victory Models
- Pegasus
- (and 3 more)
-
Thank you that seem to work. Chrome is getting worse, I installed edge and it seems to be working now. Man is that annoying it just keeps bunching up hopefully edge will continue to work properly. Lol. Thanks again
-
Hello @Baker when you find out please let me know, as I am about to go buy a new phone and it won't be a Samsung lol. My phone has been doing this for two days now . Most annoying 🙄 lol
-
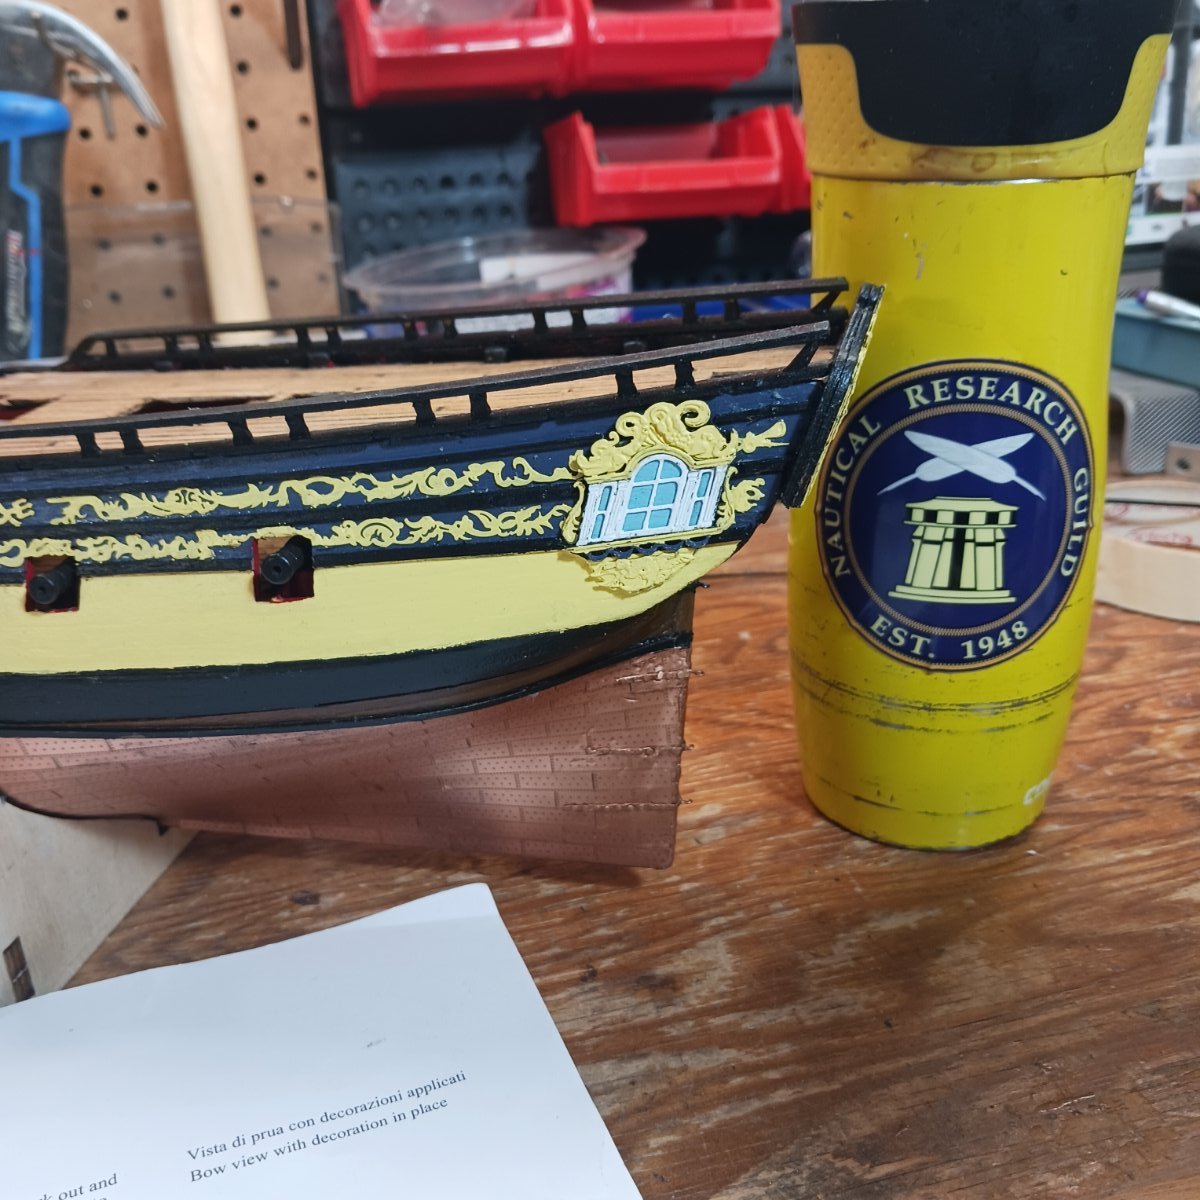
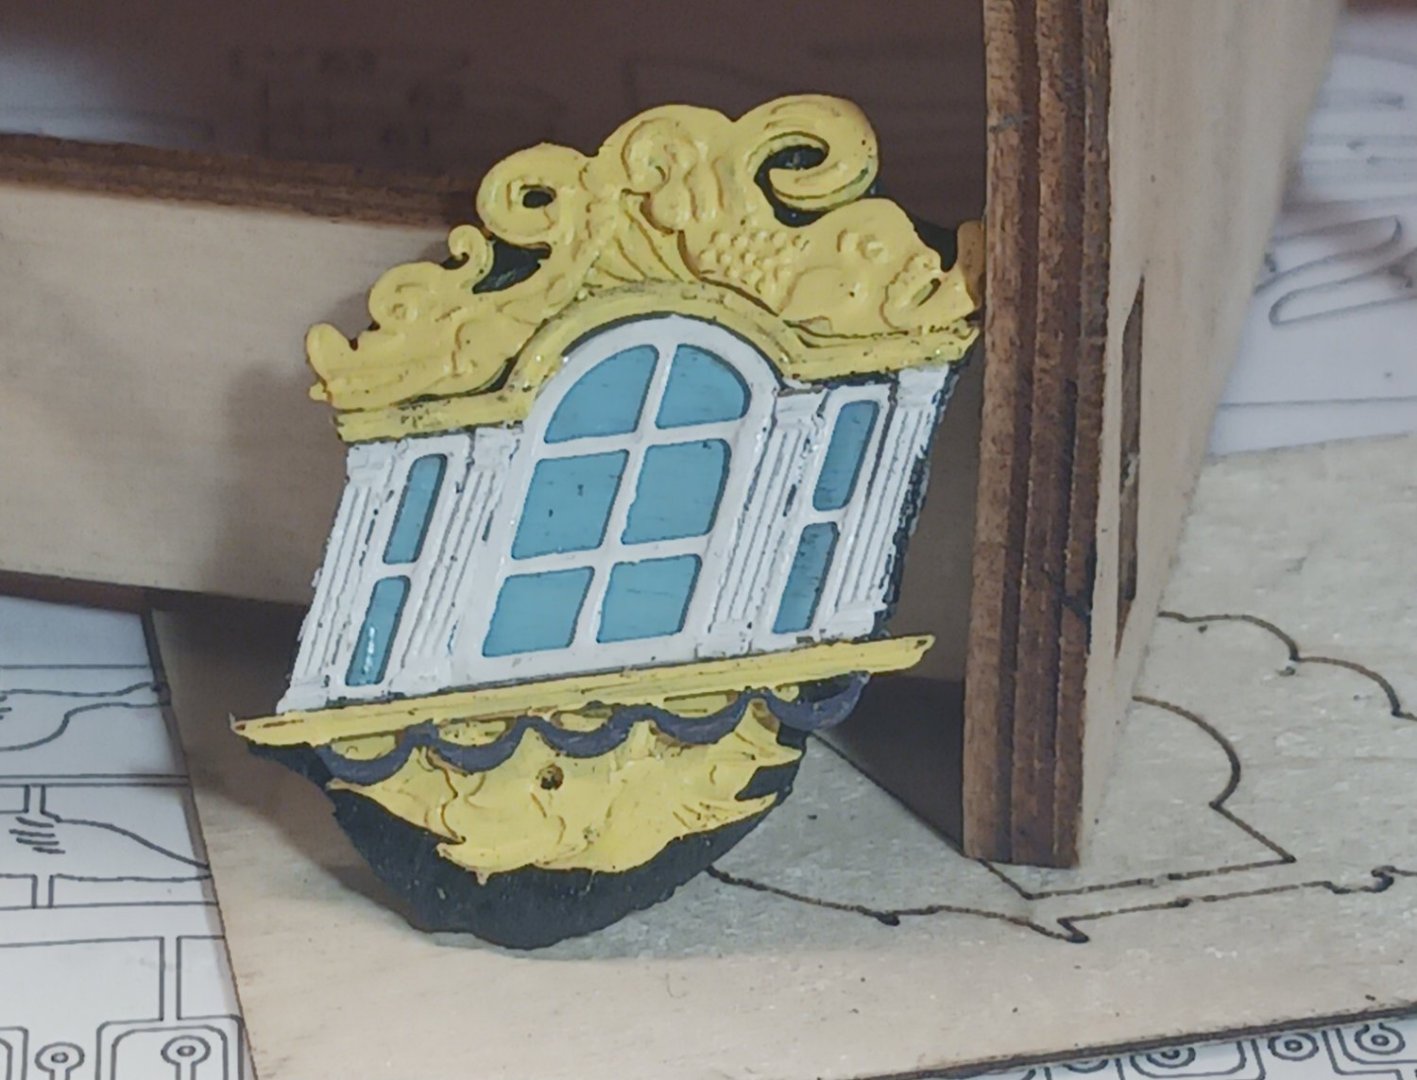
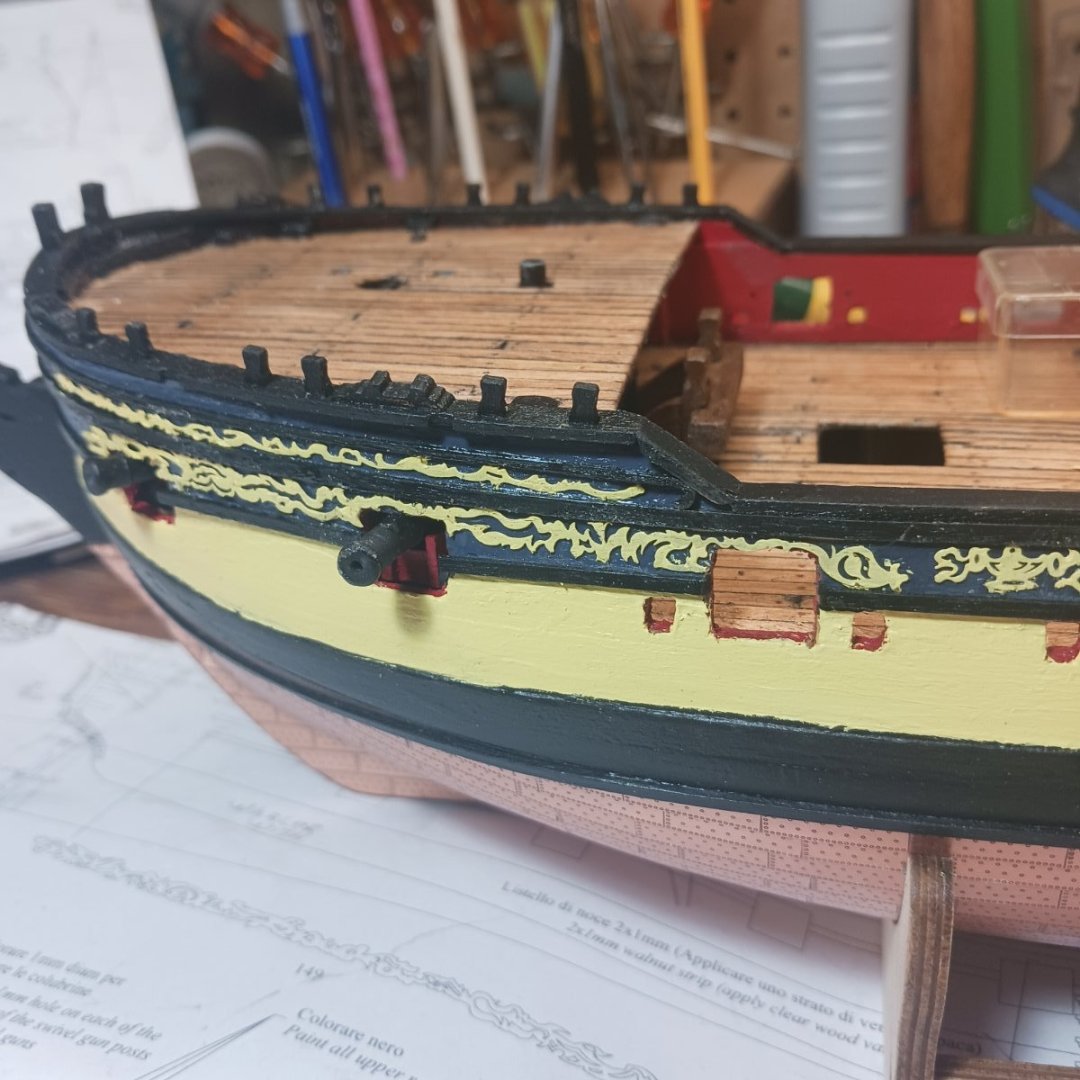
@Darius359au I would have a word with that Murphy guy, to bad about not having a couple of little peices left to fill in the holes. But like @aliluke says no one will notice, and they will be covered by lots of rope coils lol. Slow day in the shipyard, had to go to the hobby store to get some more Phatic glue my new go to glue lol. It is only 45 miles away lol. It was their last one, and they told me their supplier was backorder, dont know when they will get more. Anyway, got the quarter badge on and it looks ok the bottom part of the window fades in to the yellow but ya, It will do lol. So the window needed curtains so I painted the widow knock outs and put them back in . Like I say after it was on the bottom of the window fades. I might paint it gold but we will see.. How ever did that get in there lol 😆 So now it's on to the bow. This looks like I better study the pictures lol. The model looks intimidating but once you start putting it together, it just fits. Must be designed that way. Hats off to the designer lol. So on to the bow... Bob M.


- 254 replies
-
- 11
-
-
- Victory Models
- Pegasus
- (and 3 more)
-
Places for your NRG Stickers
Knocklouder replied to Some Idea's topic in NAUTICAL RESEARCH GUILD - News & Information
They came today. Now I have a NRG coffee mug. Thanks so much!!! And a MSW cell phone lol. They will be all over by the end of the day lol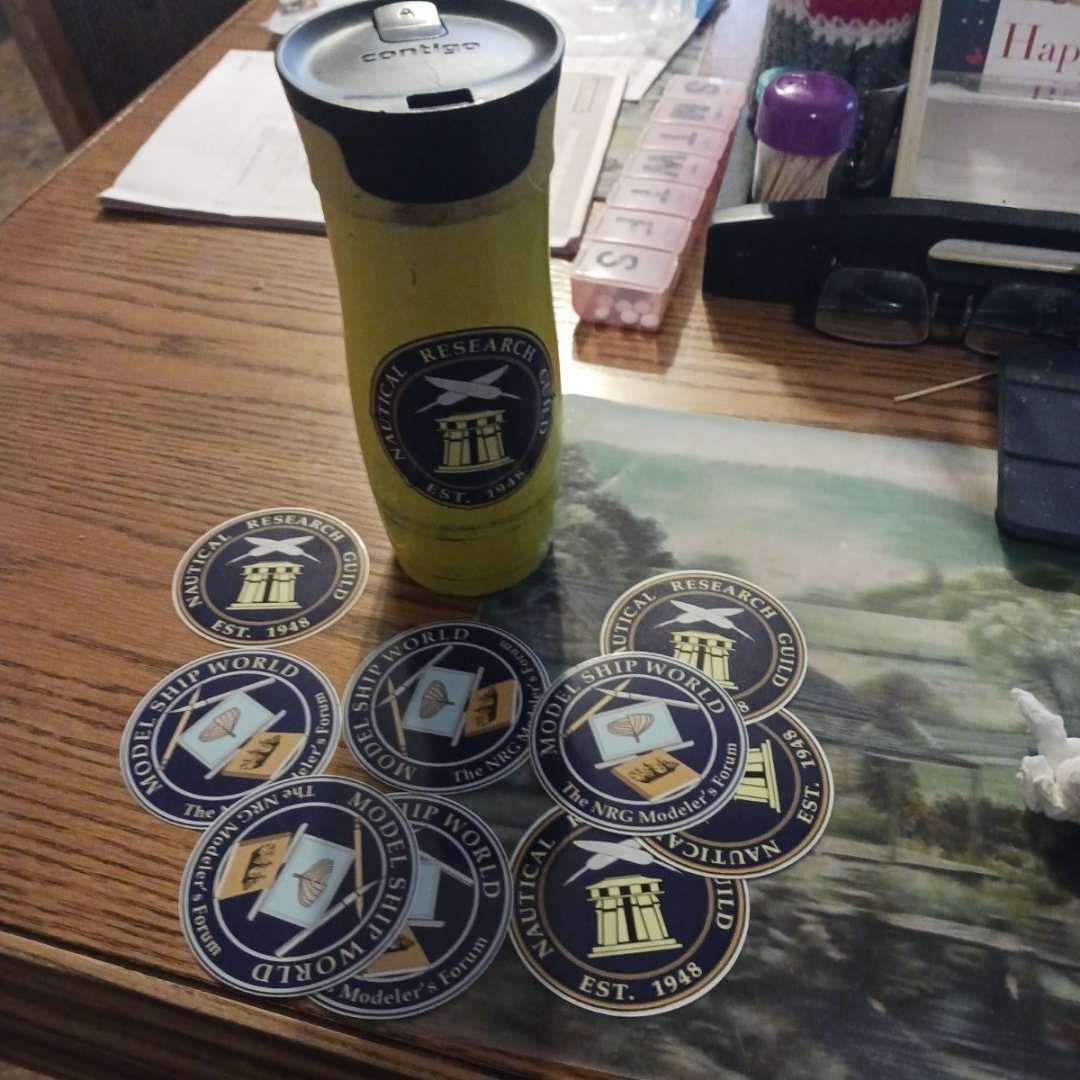

-
They look awesome, nicely done.
-
My phone started that yesterday , I thought it was because I have to many people using my internet 🙃
-
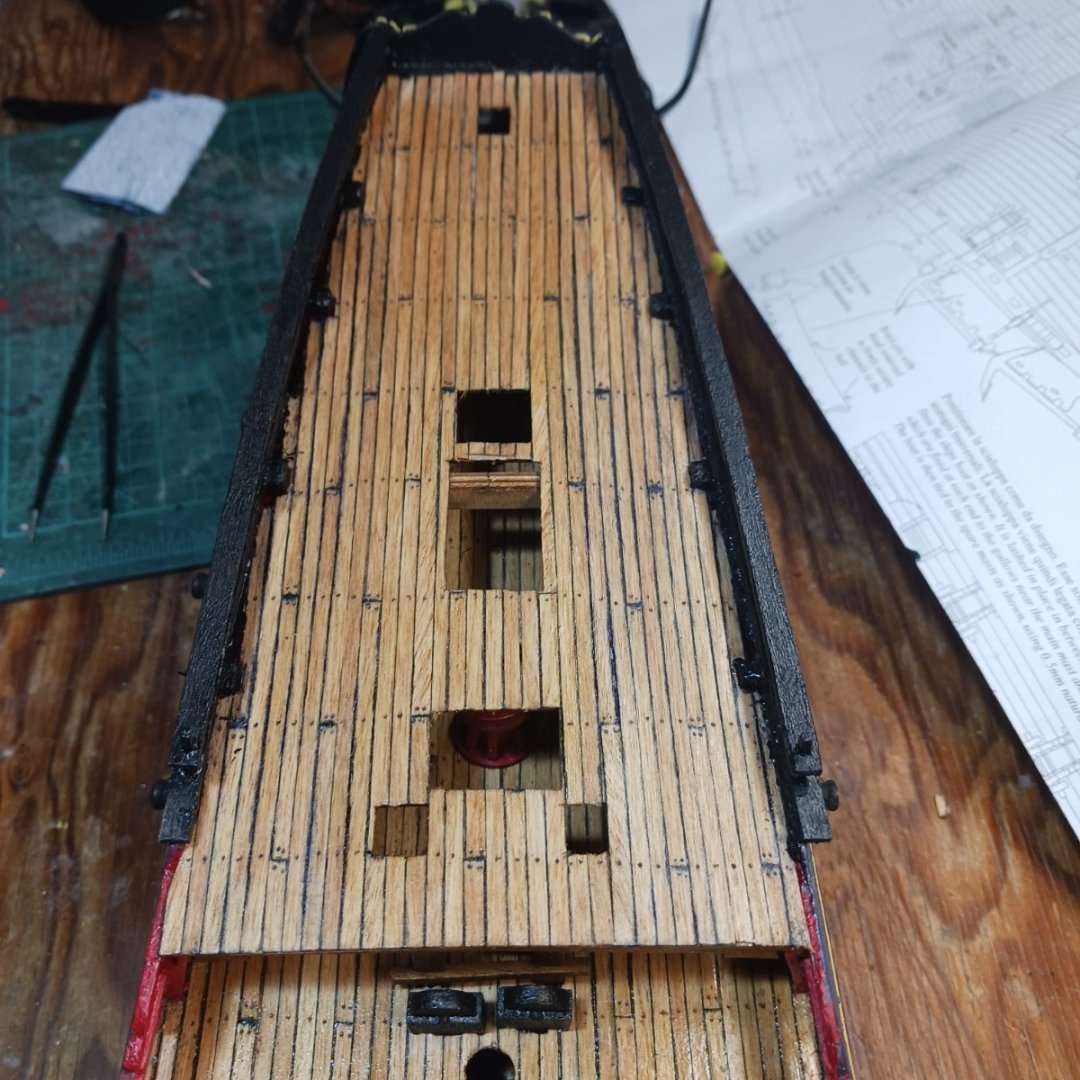
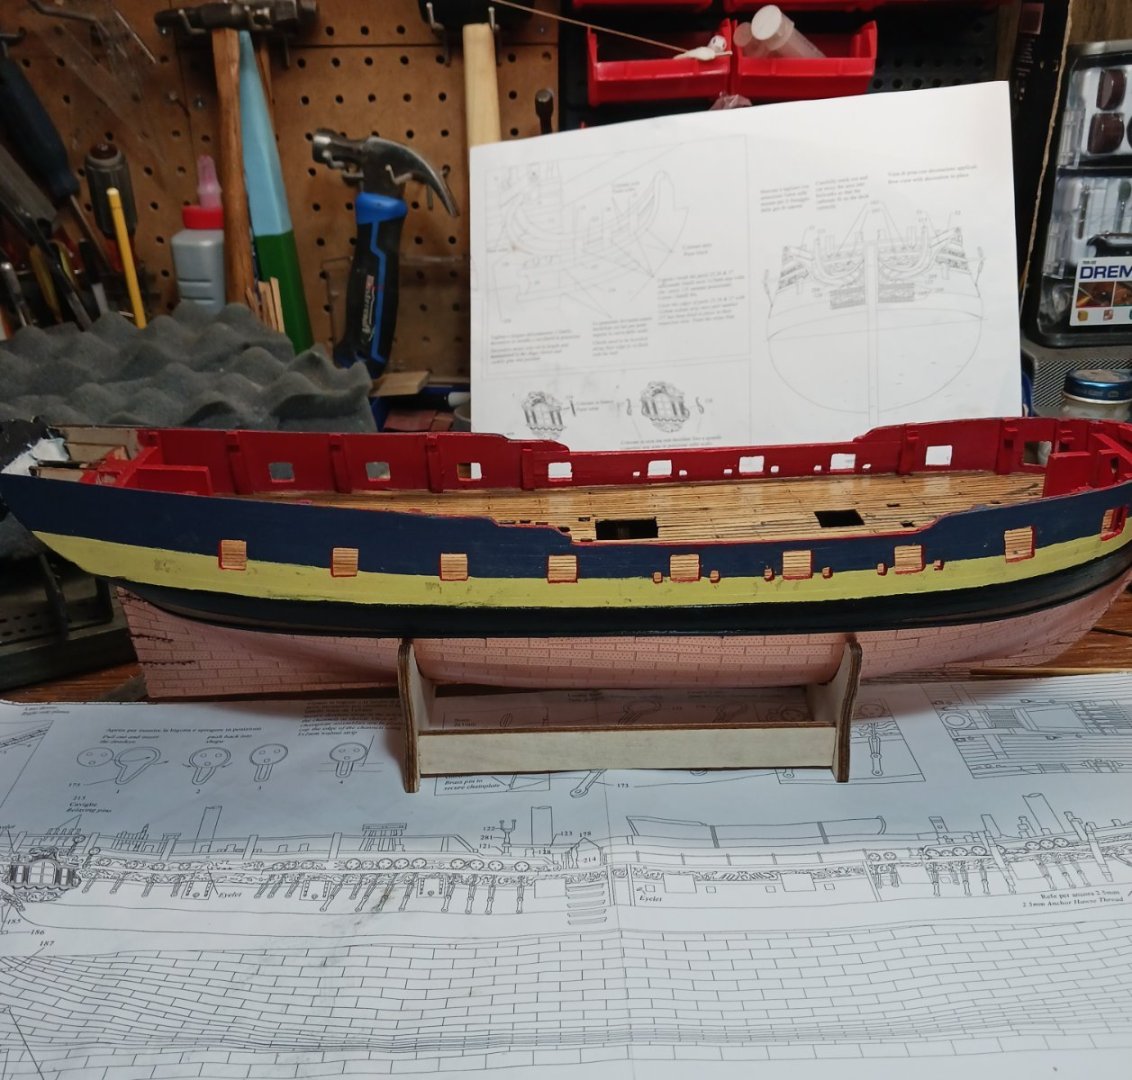
Hello guys, on page 6 of my book it says to remove the bulkhead tabs. But I thought it was for the eight that were on the main deck , I missed page 7 but now I can see that they are gone. The black helps make them disappear and the friezes takes your eyes off the deck and back on to the hull lol. It took me awhile to find which peice was for were, but once I got it the went on pretty easy. The bottom row even had it cut out for the gun ports so I just followed along. I do have a question? When I get to the end of page 9 is it all off the plans from here on forward. Or am I missing a book ? Well that's it for today, I think I try a quarter badge assemblies tomorrow 😅. Thank for looking in
- 254 replies
-
- 11
-
-
-
- Victory Models
- Pegasus
- (and 3 more)
-
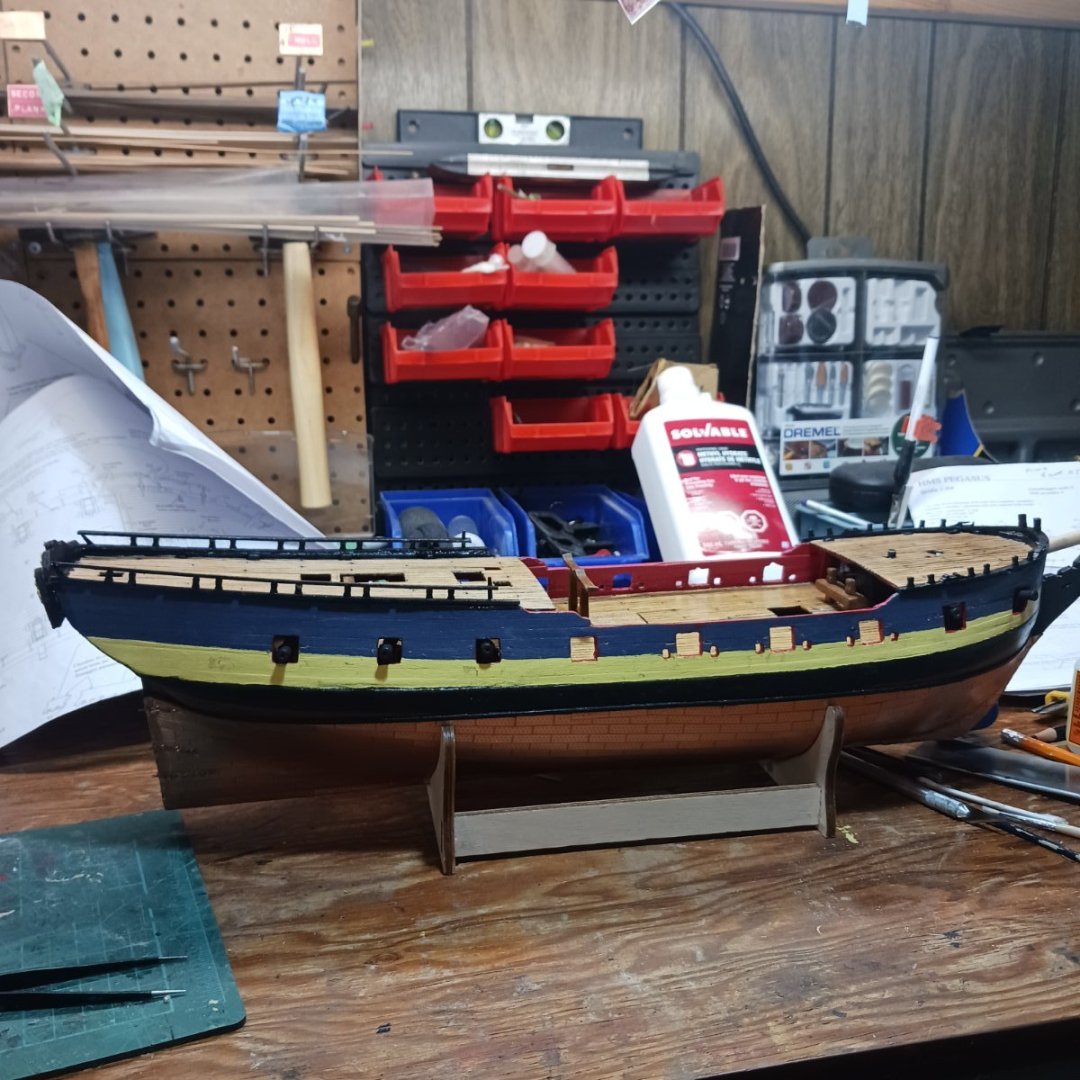
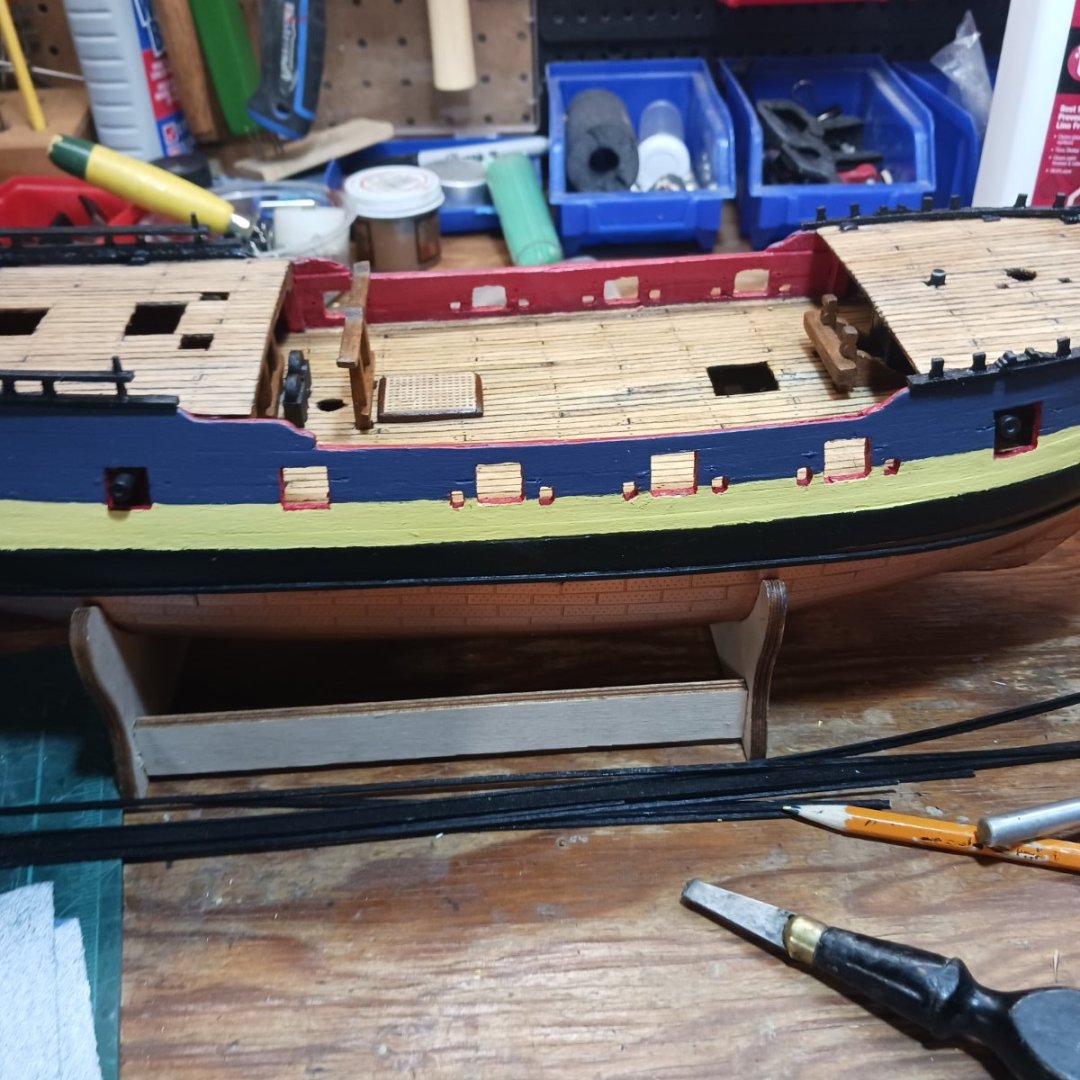
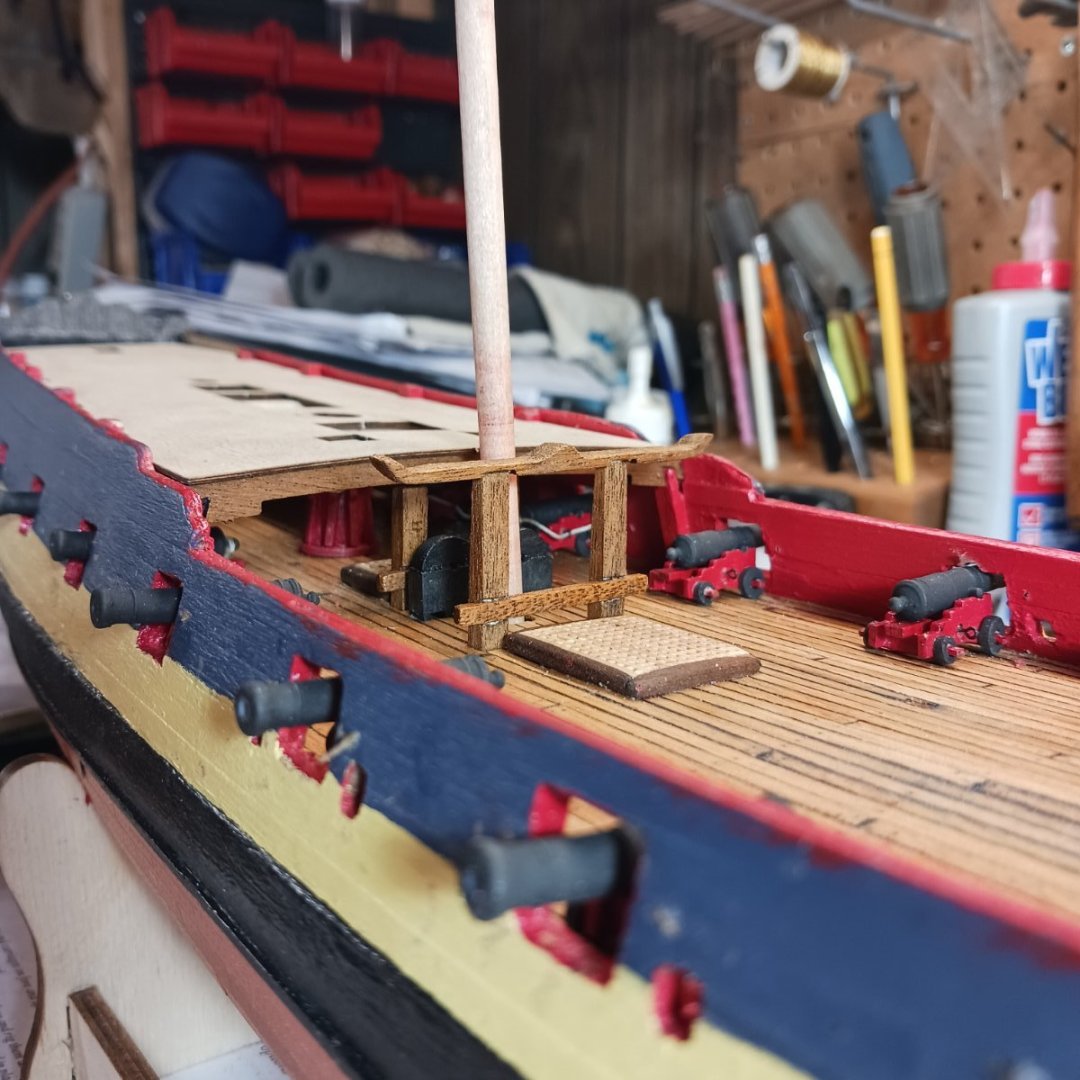
.Thanks @aliluke, As I was gouging the bulk heads I said to myself " this is not smart". But it Looked OK. But now that you mention it, yep try to fix that. I took some cannons apart and reposition them. They fit better now. As far as the bulk head tips, that one slip by me no idea why I did it that way. It would have been easier to plank with no end. But hey I am learning lol. I changed the red to black I think it looks better. At least it's passable. It'll Do. So I am going to finish the cap rails then trim and friezes. Then who know what's next lol. This is what she looks like tonight. Thanks for looking and the tips. Greatly appreciated.

- 254 replies
-
- 11
-
-
- Victory Models
- Pegasus
- (and 3 more)
-
You would think the the man holding the rudder is at the stren, is the way the boat goes. But maybe these boats are ambidextrous, if he takes his rudder to the bow, depending upon which direction the wind blows, I dont know lol. I think I sucked in to much clear coat fumes tonight from my Pegasus deck lol Your boat is looking great Glen.
- 174 replies
-
- 5
-
-

-
- Waa Kaulua
- bottle
- (and 1 more)
-
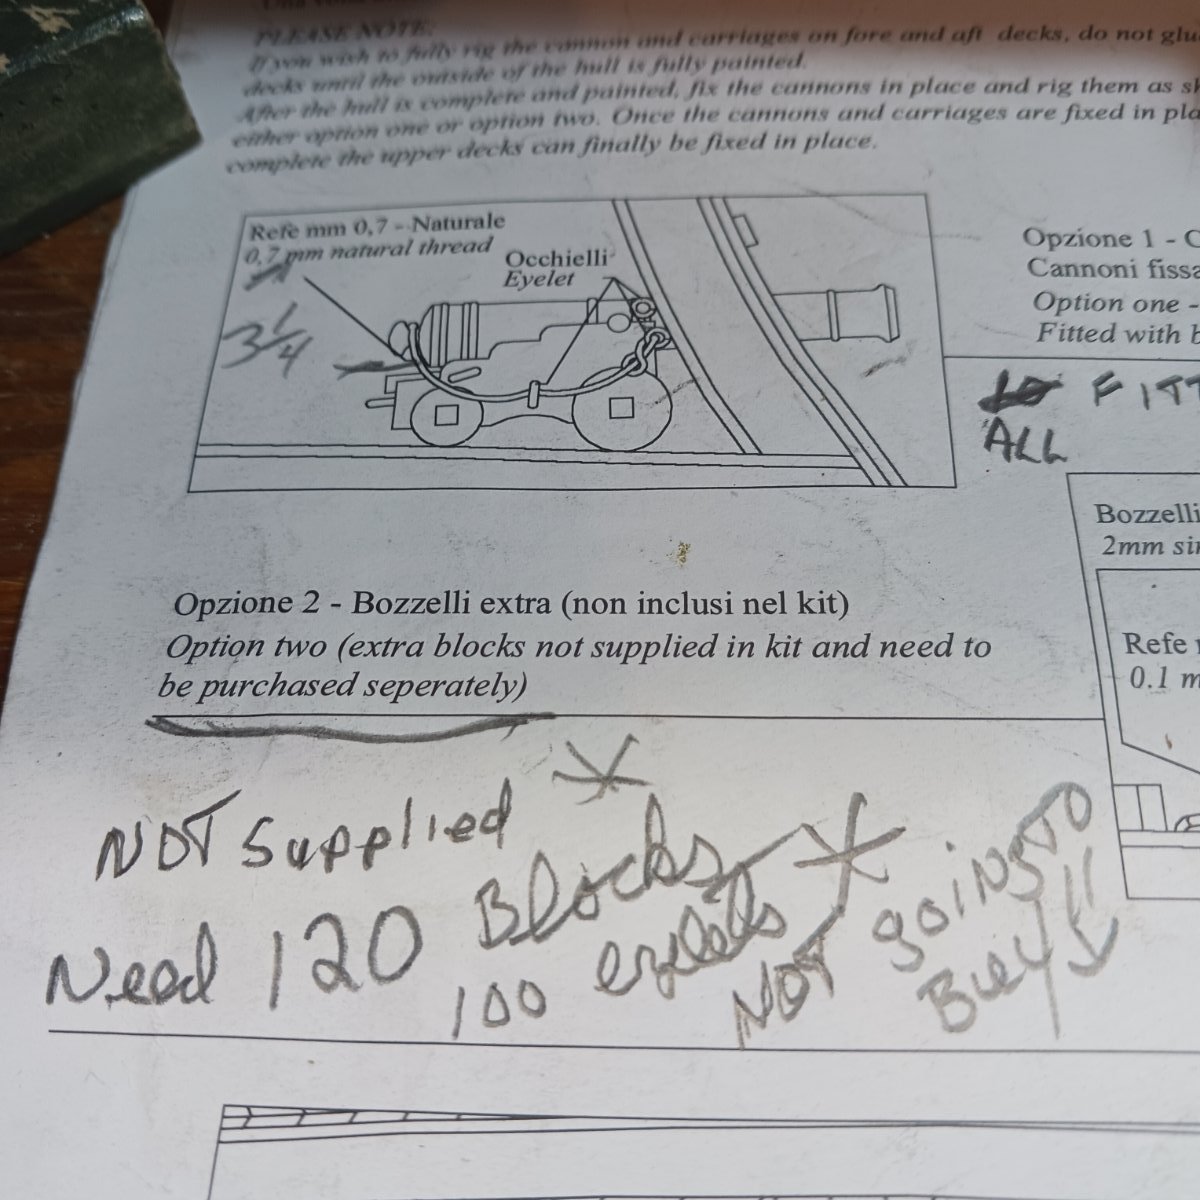
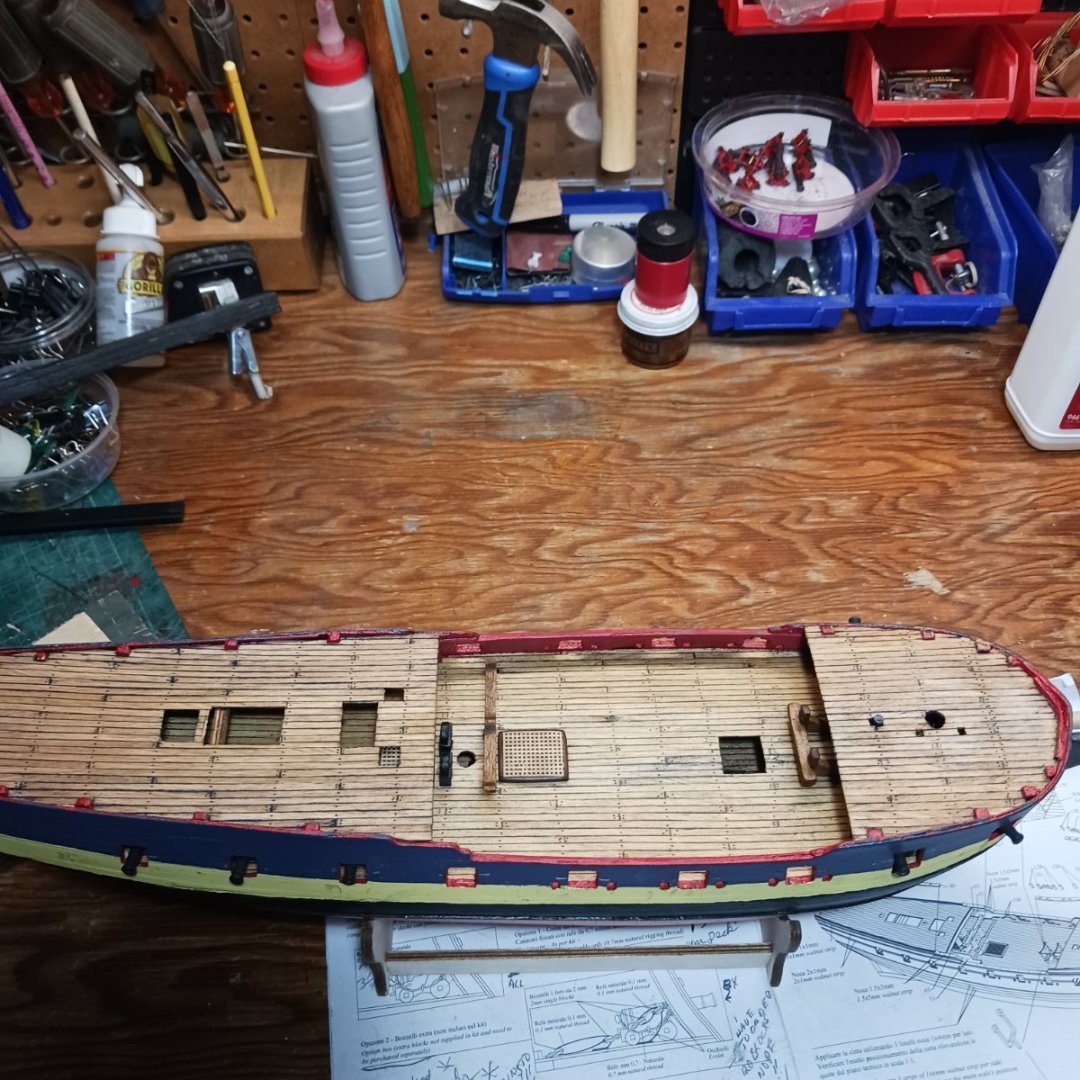
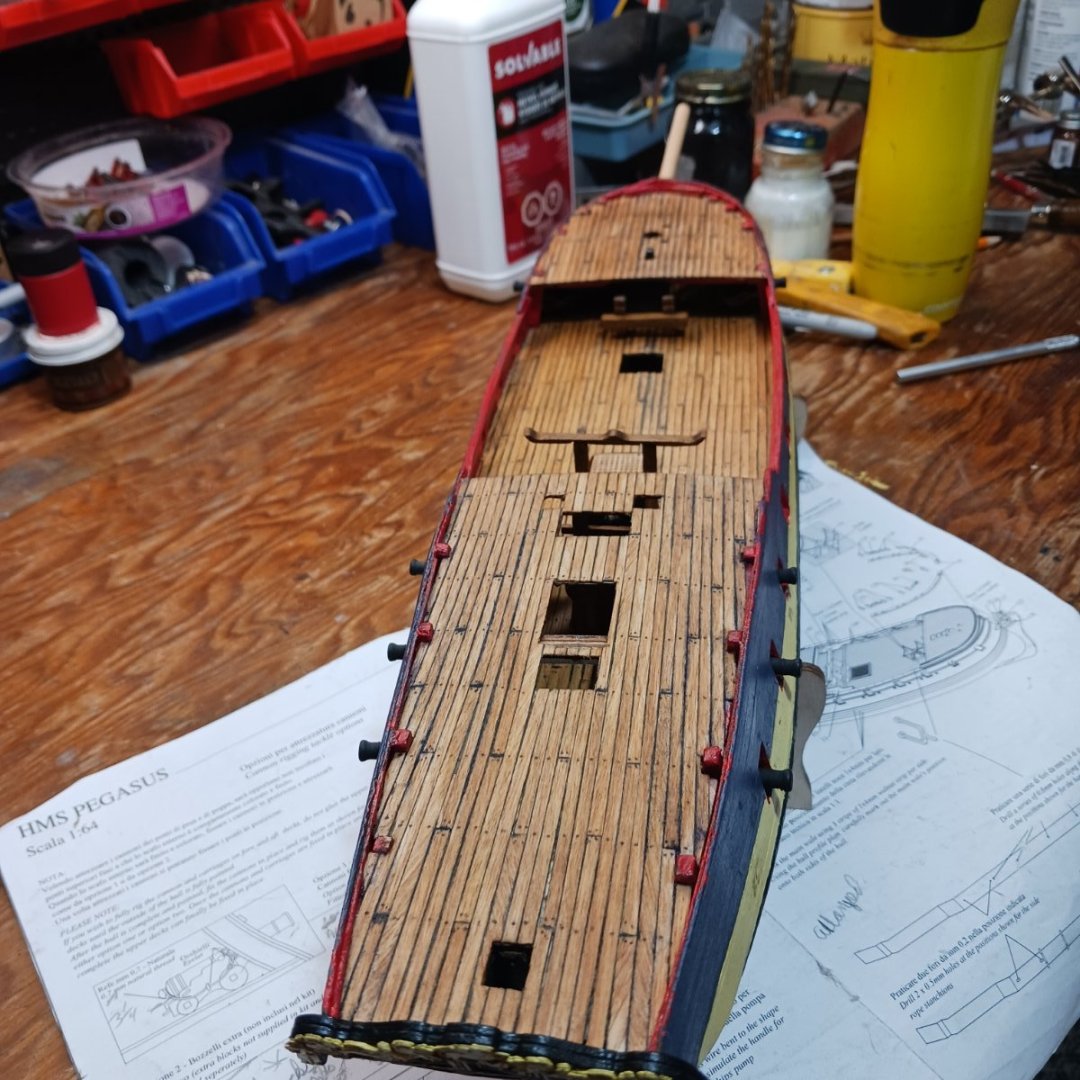
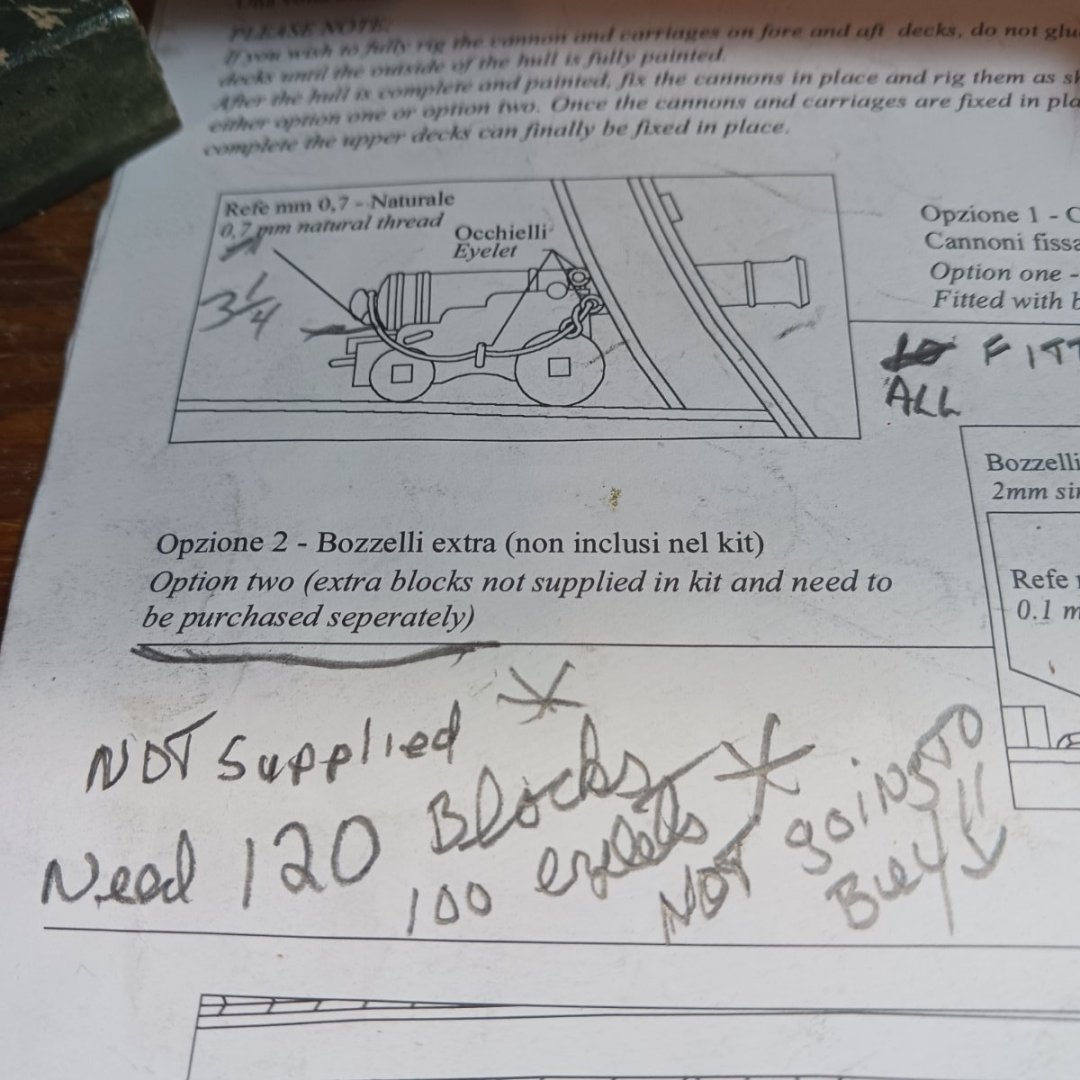
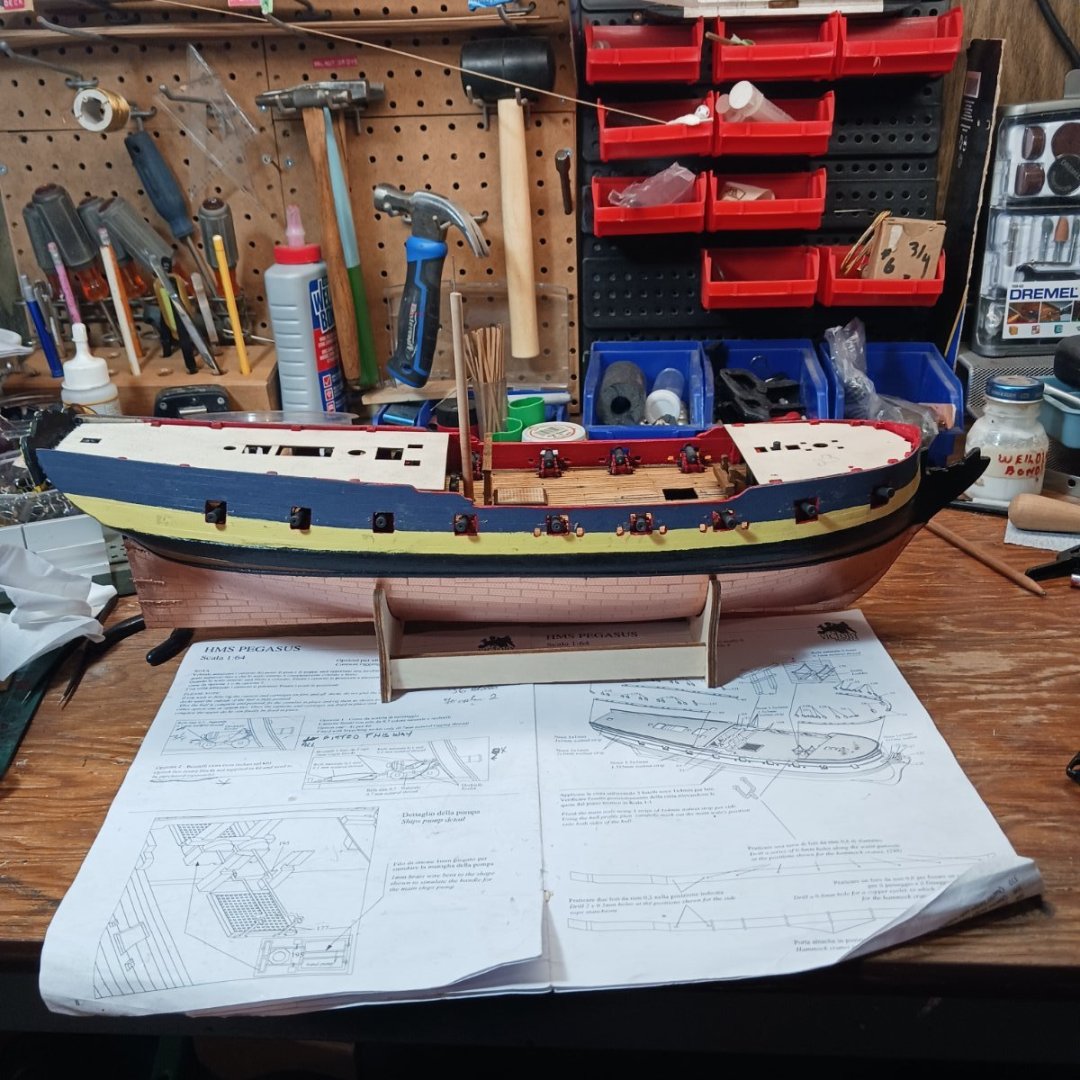
Welll the decks are installed and I am ready for the cap rails. I have to decide what to do about my cannons. The kit gives you two options one is just breeching rope. Options two you have to buy more blocks and eyelets. So I am going with options one. Its been so much fun building this ship, she not the finest but she looking good to me. There is so much on this model that is new to me and if it was not for the database and the info you can get here on MSN/NRG. I would probably just shelf it. But I can't buy another till I finish the ones I Have. Lol Later my friend's Bob M.
- 254 replies
-
- 12
-
-
- Victory Models
- Pegasus
- (and 3 more)
-
-
Places for your NRG Stickers
Knocklouder replied to Some Idea's topic in NAUTICAL RESEARCH GUILD - News & Information
Mine are in the MAIL lol -
-
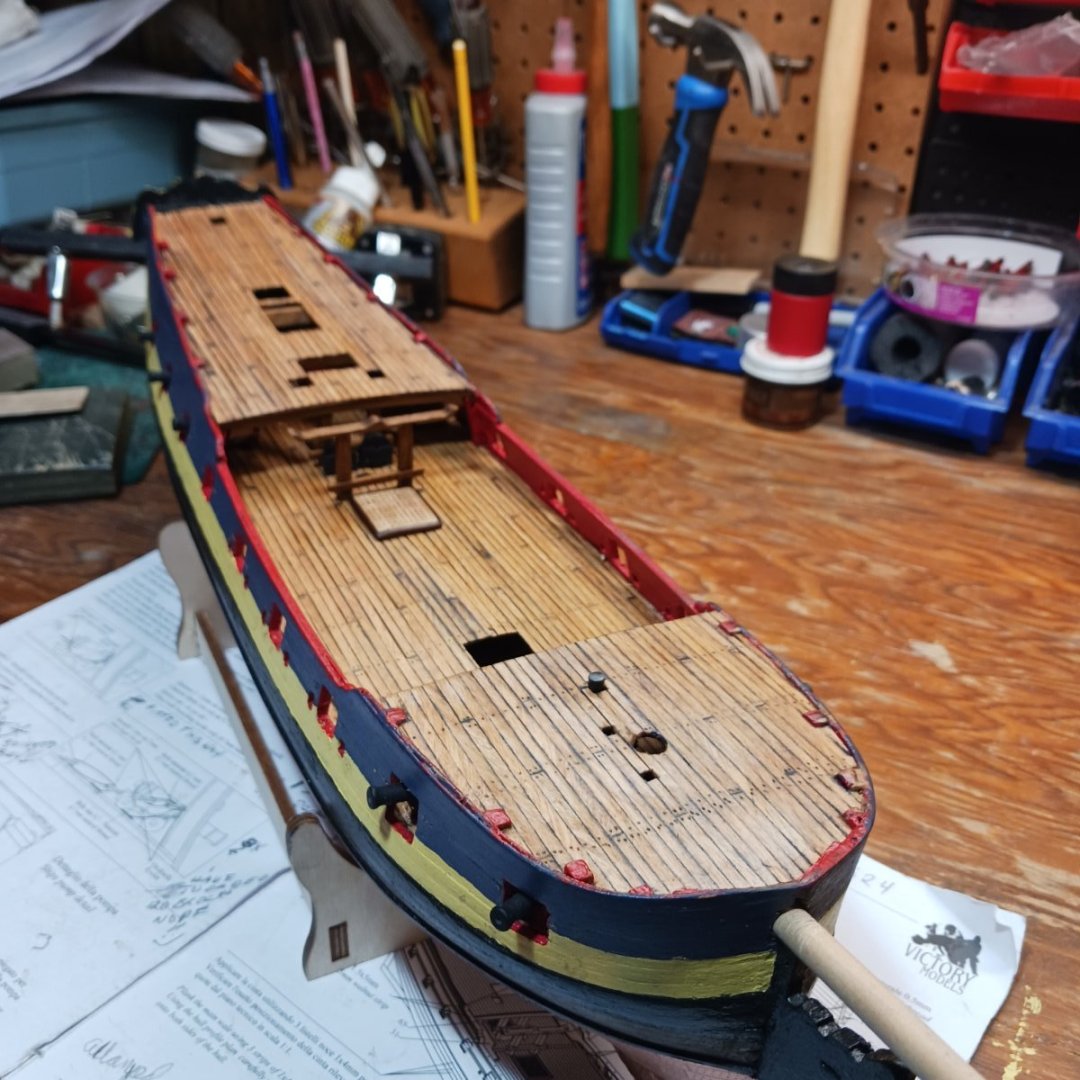
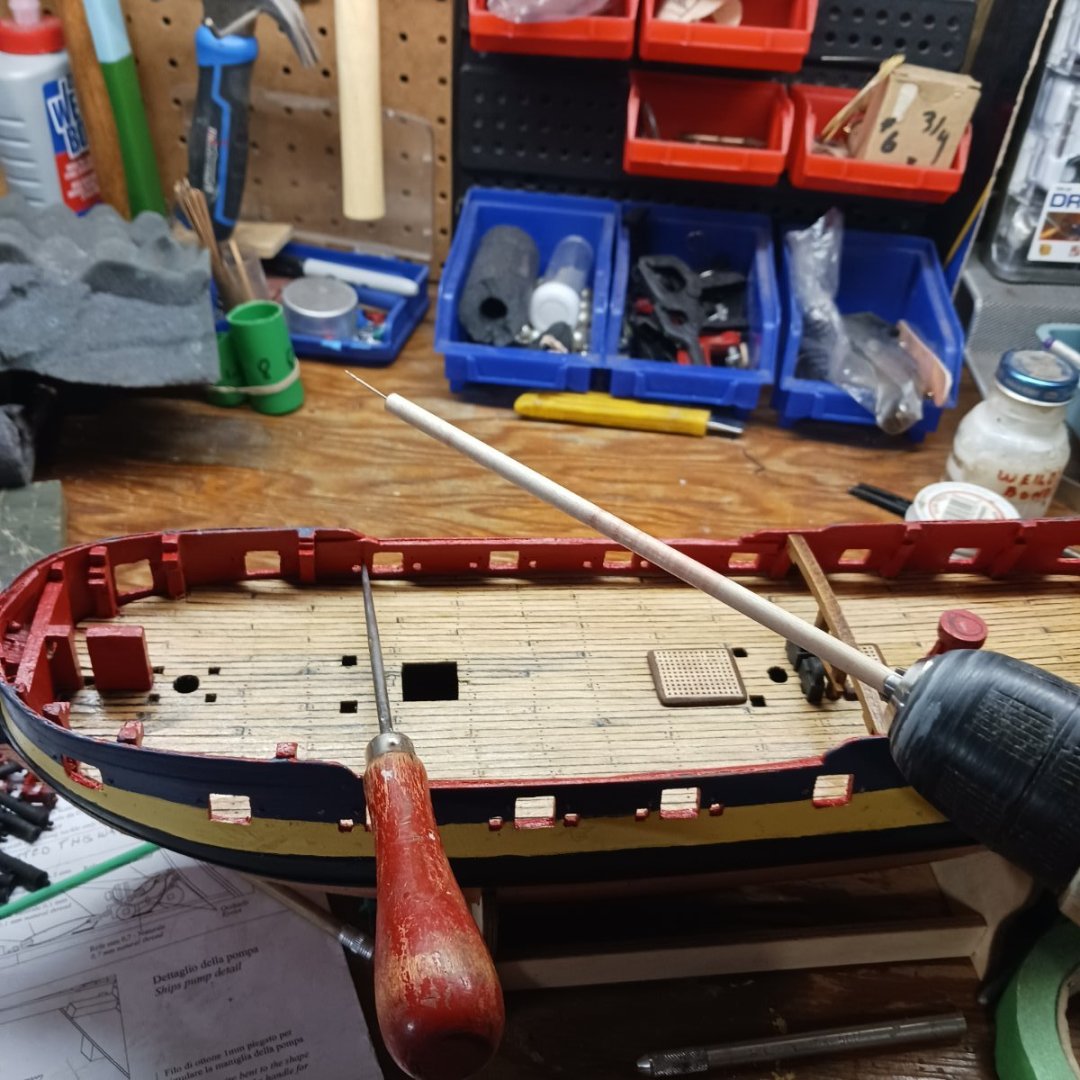
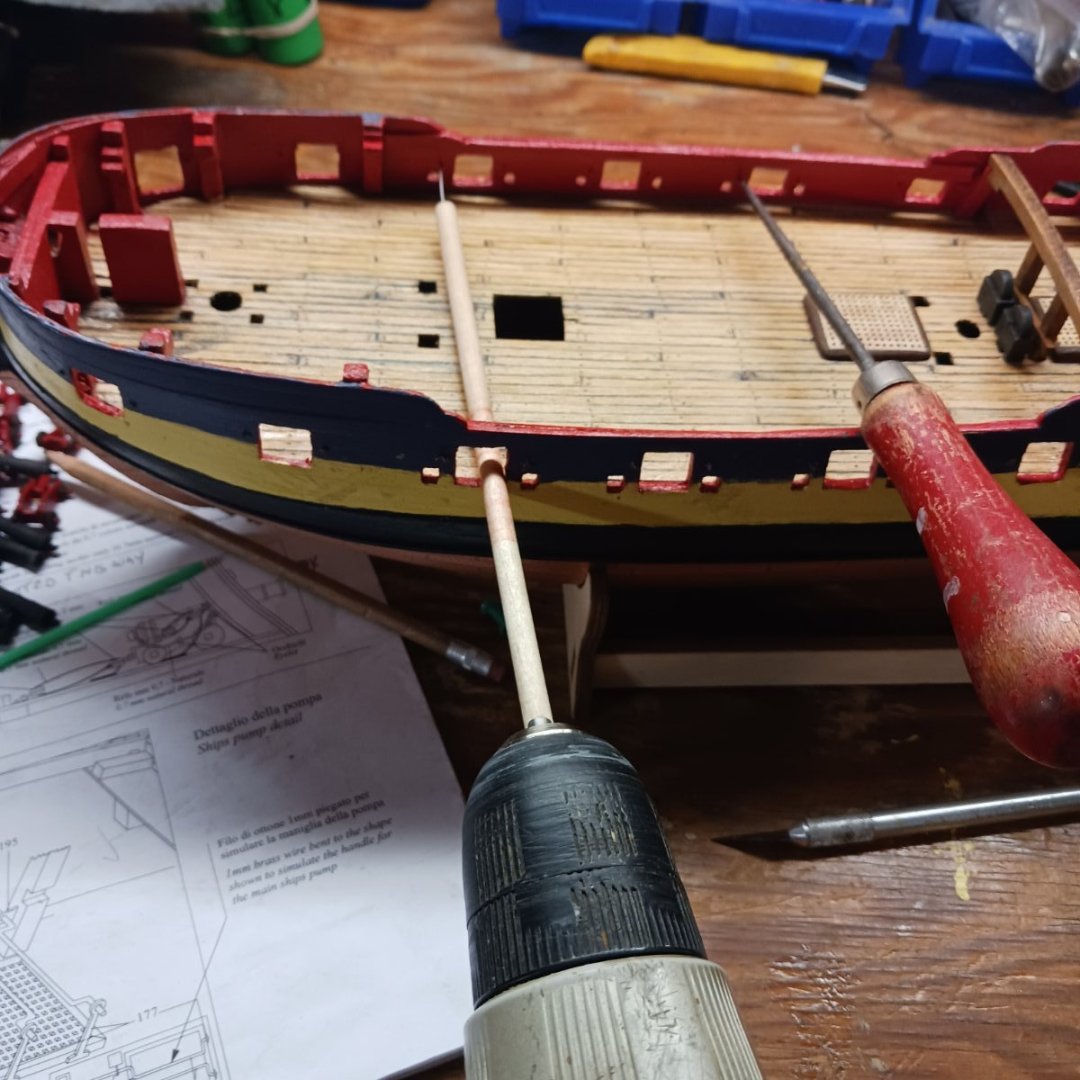
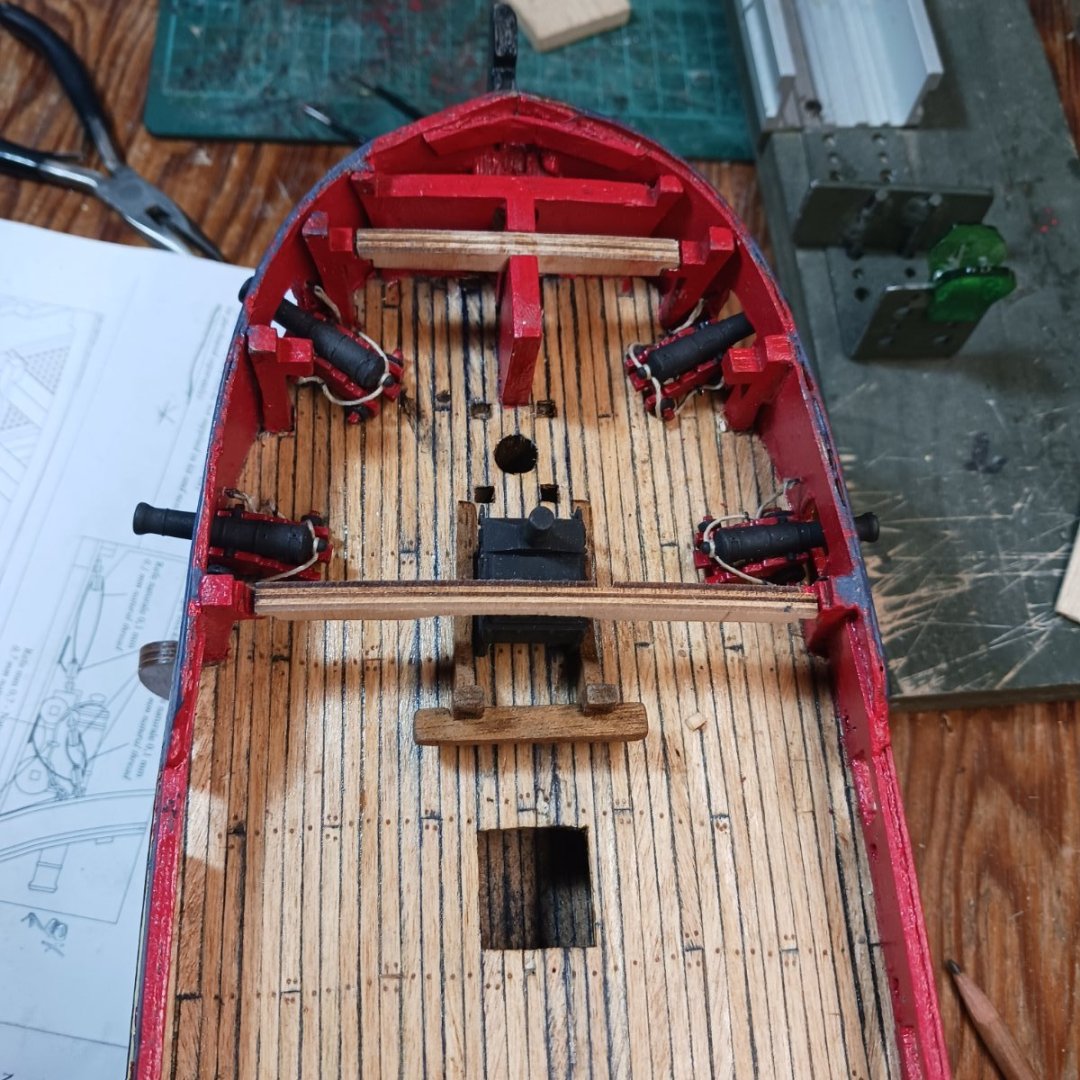
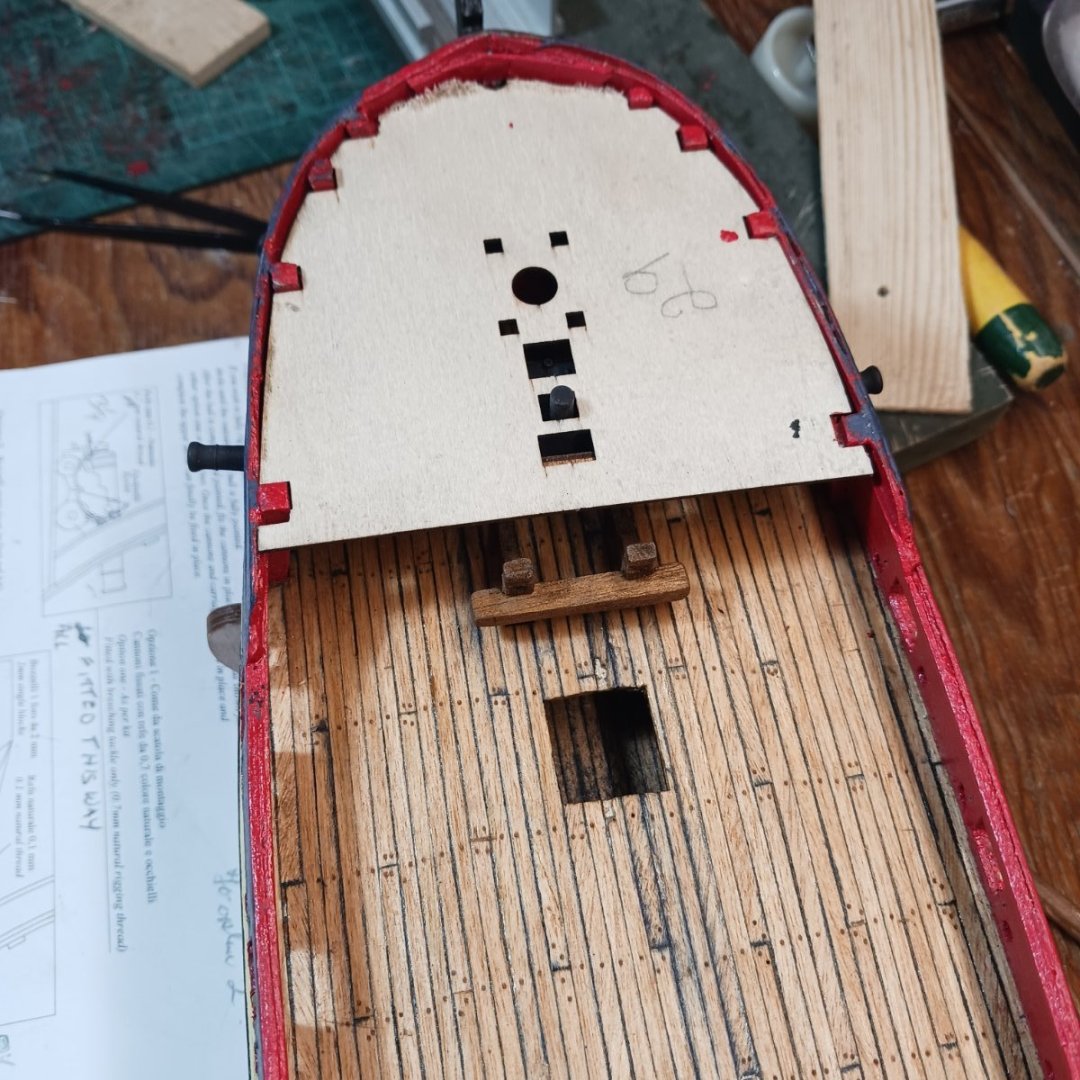
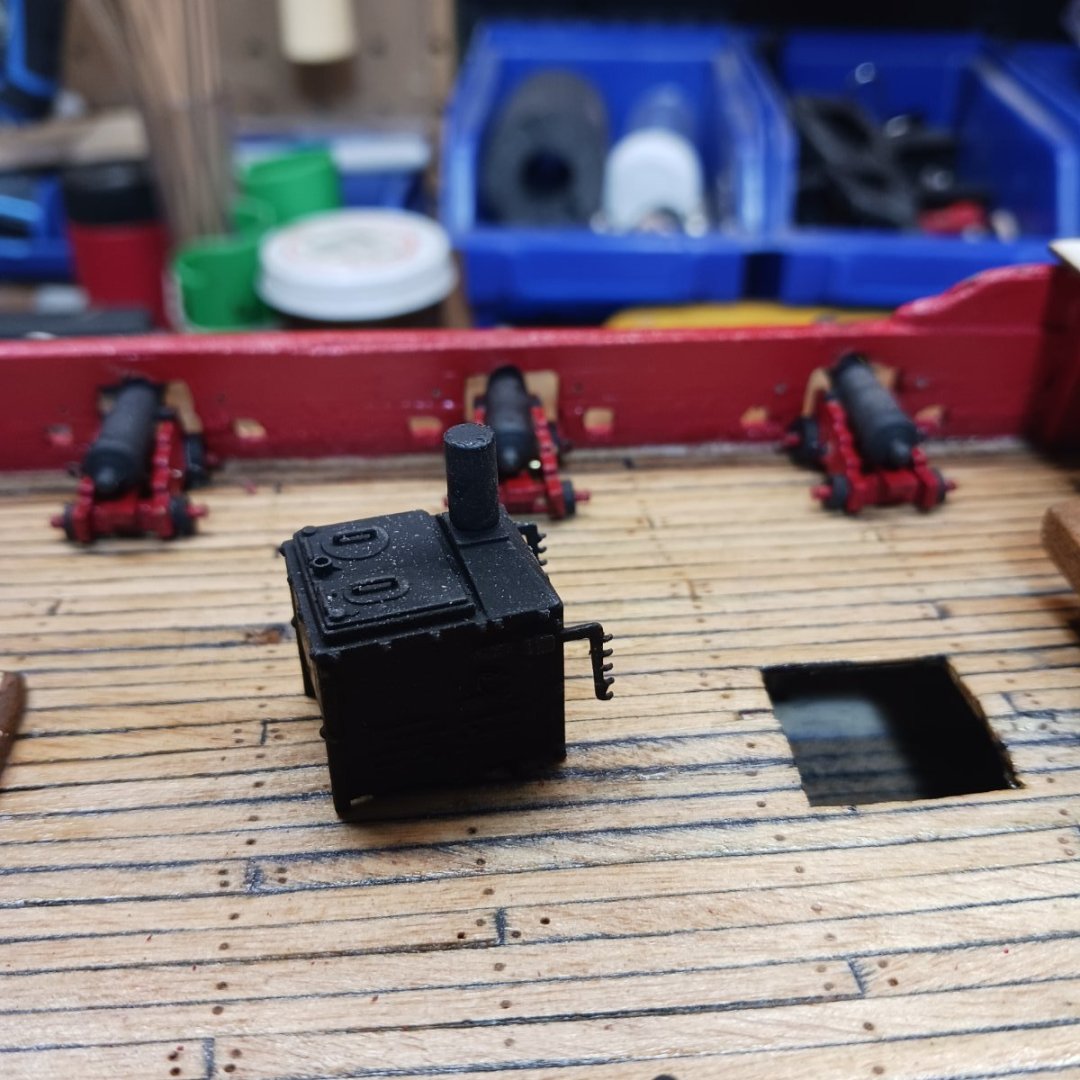
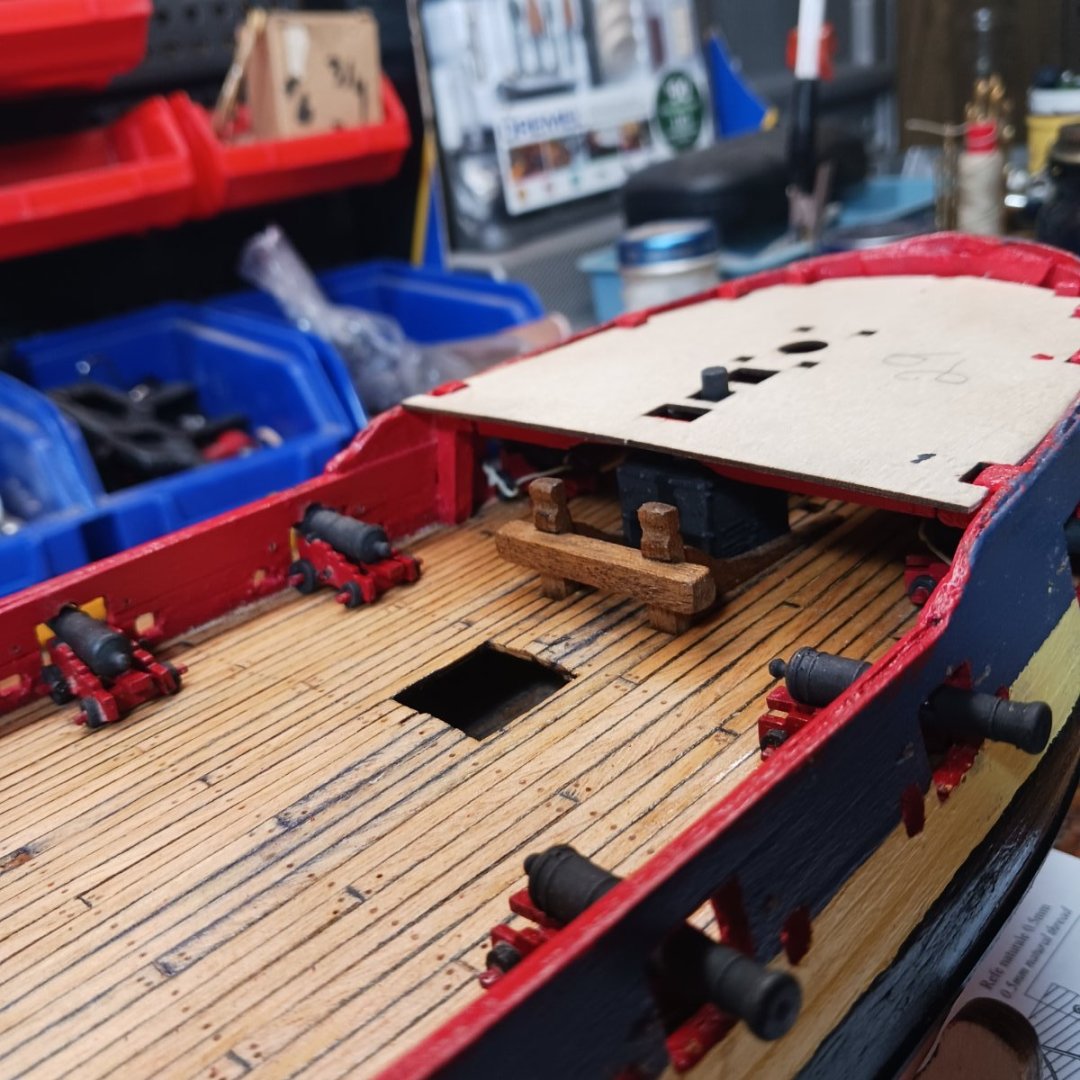
Thank you so much @allanyed.but I really just followed the instructions lol. It just came together nicely. Thanks everyone who like it . so now the first thing I decided to do was I had to drill all the hole for the eyelets ' so using an awl to start the hole I drilled them all. I super glued the drill bit to a dowel then attaching it to my drill the rest was easy. I got this Idea from @mtaylor log thank you. I fitted the cannons with breeching tackle only as they won't be seen. You see once the upper deck is on its all hidden. Working away, I rigged 10 cannons put them on and glued the decks on. Now you can't see all that work lol, but it was Amazing take my word for it lol I have to Thank @Gabek for his stove he made for my ship. I put it on and yep covered it up but it looks awesome. Lol. So now I have 8 more cannons to rig, not sure what I will do just yet, in terms of how I will rig them, but now I can finish the decks, and oh yes my cap rails that's what I started out to do lol. Coming along nicely this is the fun stuff, won't be long and I get to do some rat lines lol 😆. Later all Bob M.
- 254 replies
-
- 12
-
-
- Victory Models
- Pegasus
- (and 3 more)
-
Good luck on your journey on this one. I follow along, always nice to see a master whip up another wonderful build, I am sure Cornhusker will love it. .my man.
- 165 replies
-
- 2
-
-
-
- Red Jacket
- Marine Model Company
- (and 2 more)
-
This is the place to be !!!!
-
Your Boat will look cool on the water, I was going to do that for mine but I could not wait to start the Pegasus. Now I am knee deep into that ship. Just wondering if your planning to have someone walking on the water when your done lol
- 134 replies
-
- 3
-
-
- sea of galilee boat
- SE Miller
- (and 1 more)
-
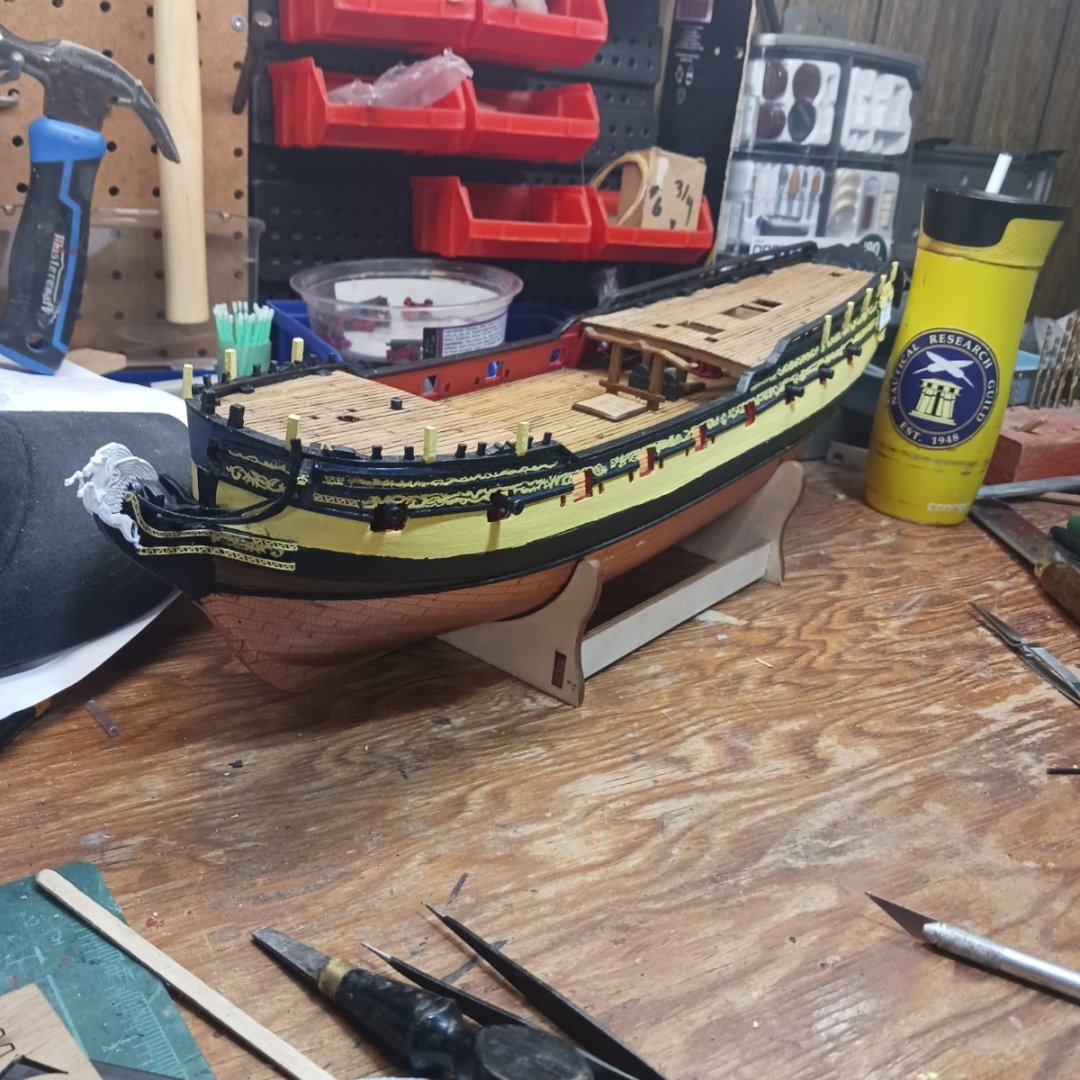
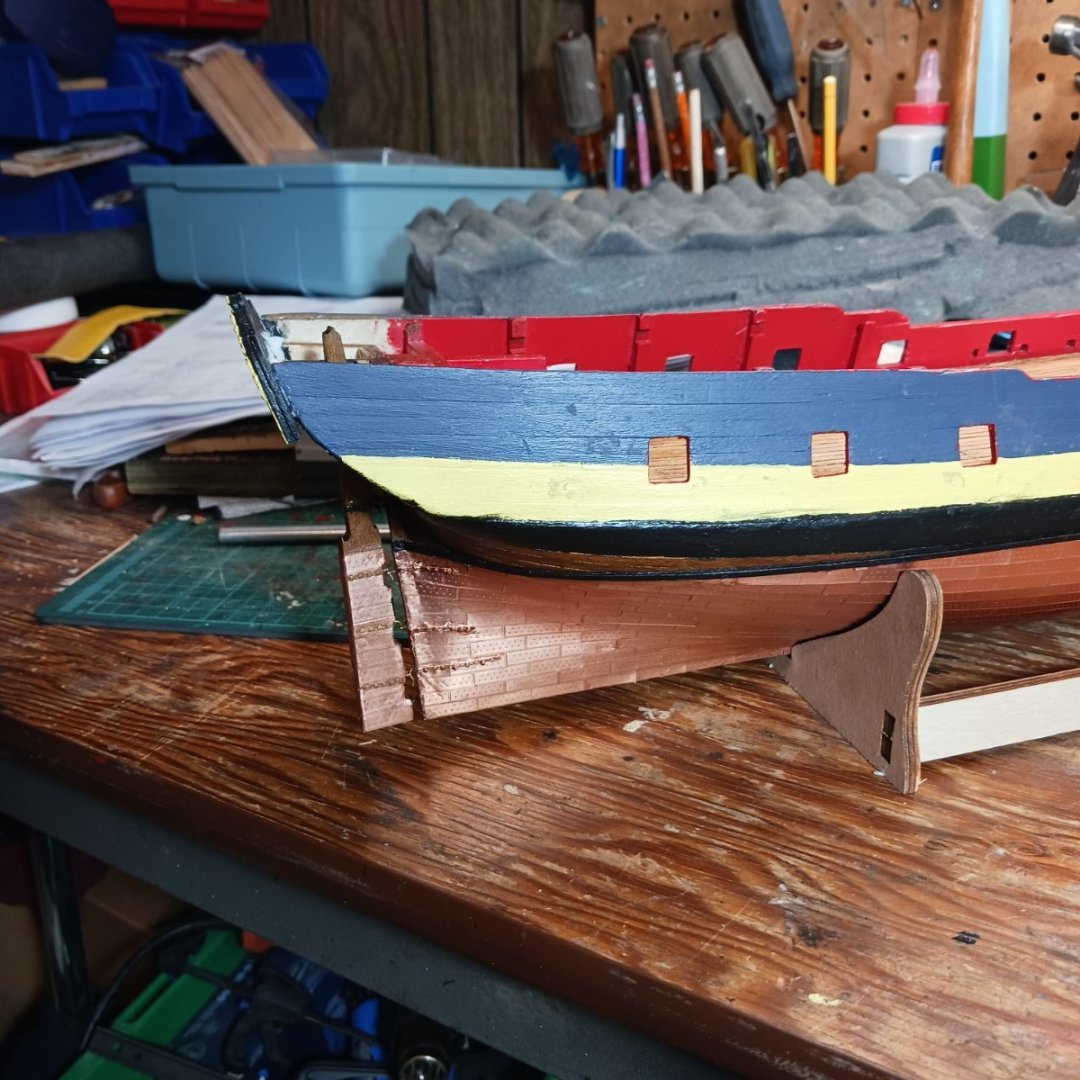
Finally got the rudder on. It went fairly well, neanderthals have a hard time nailing tiny nails in the hull but it's done lol. I could not install the top gudgeons and pintels, so just painted the top one on , not really noticeable, It'll Do!! I even installed the curtains lol. Now I think I work on the cap rails . Then move on to the bow and finish it up as well. There is more written instructions then pictures, so I have to studied the logs more. I am getting the idea, but the friezes are very small and hard to locate which one goes were, which way up or down lol but I'll get it lol. Everyone who has come to the shipyard loves it they all go wow is that ever nice. So far my son and wife have seen it lol. I have got lots of mistakes but I'm happy with it. Ok on to the starboard side. Thank you my friend's

- 254 replies
-
- 12
-
-
- Victory Models
- Pegasus
- (and 3 more)
-
Congratulations on your first boat, she's a keeper. Nicely done.
- 24 replies
-
- 1
-
-
- Ships boat
- Ships of Pavel Nikitin
- (and 1 more)