


mrangus
-
Posts
232 -
Joined
-
Last visited
Content Type
Profiles
Forums
Gallery
Events
Posts posted by mrangus
-
-
Sails look good Nigel. Nice and uniform, and this ship really looks great with sails, the color adds a lot of pop. Almost there!
- UpstateNY, Omega1234, CaptainSteve and 1 other
-
 4
4
-
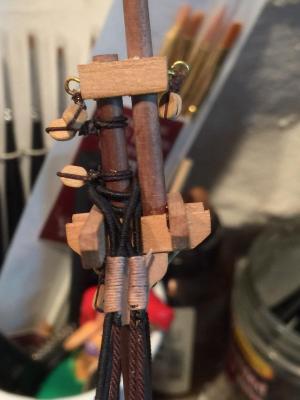
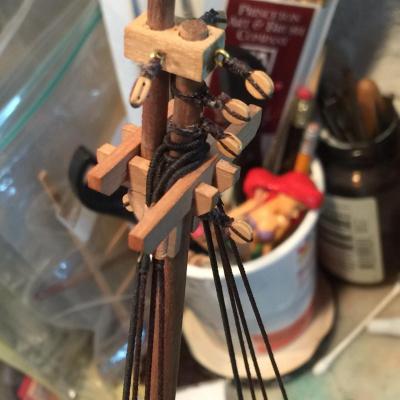
Any ideas how I can tie a fairly thick rope to a block? The rigging calls for a standing line that ends in a block - it's a counter on the mast.
Not sure what the rigging looks like for that....
- GLakie and mattsayers148
-
2
-
-
-
Oops forgot to attach the images


- mattsayers148, GuntherMT, GLakie and 6 others
-
9
-
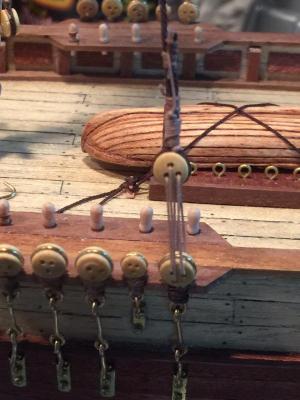
I did a little reading and see that many people just serve the ends of the stays - so for practical purposes, that's what I did.
- GLakie and mattsayers148
-
2
-
Mark I have been struggling with the same question for the stays - thank you for posting. I don't see any reference to a "Mouse" for my stays - I don't think my ship had mice on their stays. I'm not even clear what they are or their purpose... I'm particularly in the stays that run from the mainmast to the bowsprit (for the jibsails). Are these fully served?
Thx!
-
Jesse I just saw your post after I wrote, it had gone onto the next page and I missed. Thanks for the note, as I said before I'll be using the hairdryer to get those lines a bit tighter... they're a tad loose now...
I'll also be working off your examples of the yards soon enough, once the stays are in place. I'm thinking of furling the sails - at least some of them. Did you serve the stays for the jib sails? or just the ends where they are attached?
- mattsayers148, GLakie and Elijah
-
3
-
Thanks Greg and Matt!
Matt - it's funny now that you described, very simply, the process you are using, it makes complete sense. Use the lanyards for what they were intended.... what a concept! Oh well too late for my boat (because I'm NOT going to undo and re-do all the shrouds!
 ) It's the instructions that came with the boat.... they have pictures of rigging in successive order and first step is shroud rigging. I remember from Jesse's blog that he ran into a heck of a time keeping everything tight, and shared a trick of wetting down the ropes and blowdrying them (which I may resort to after all standing rigging is in-place.) Your way makes a lot of sense.
- GLakie, Elijah and mattsayers148
-
3
-
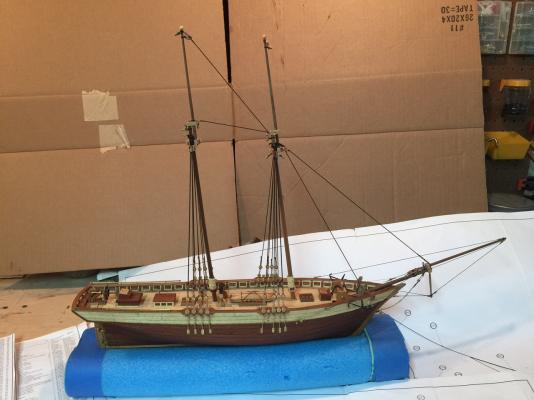
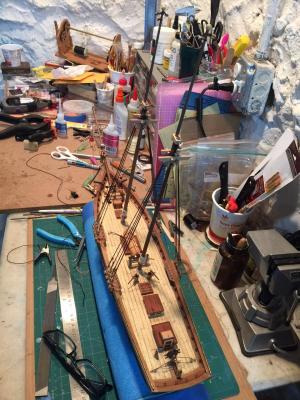
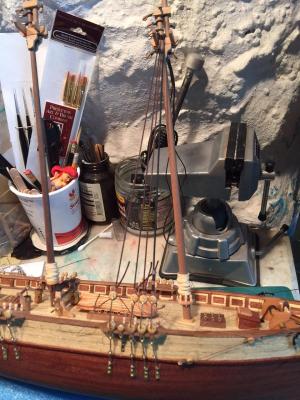
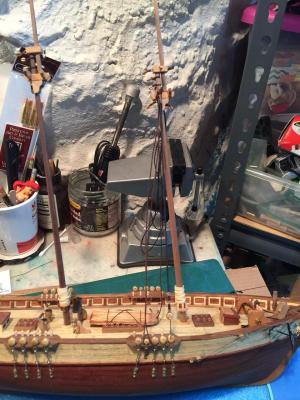
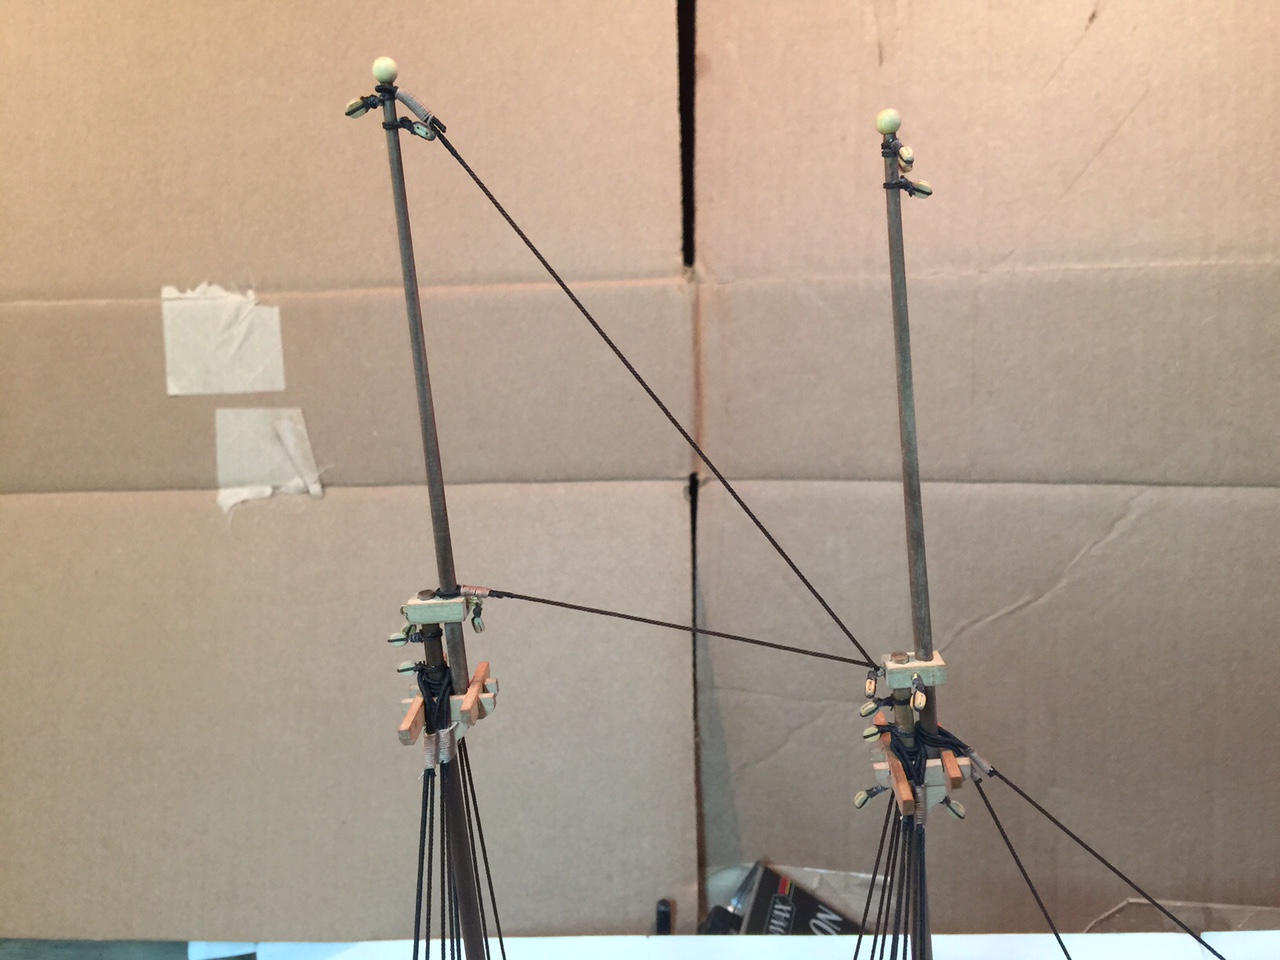
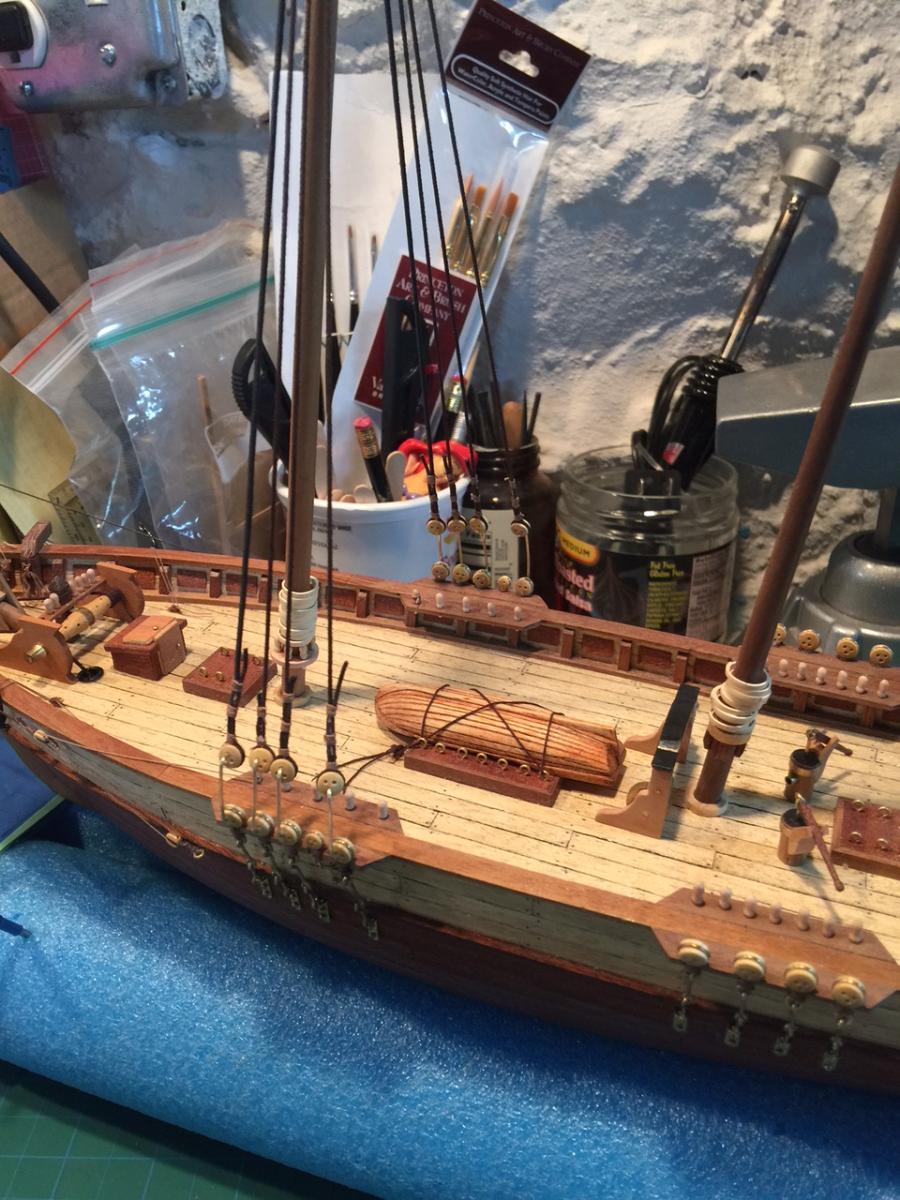
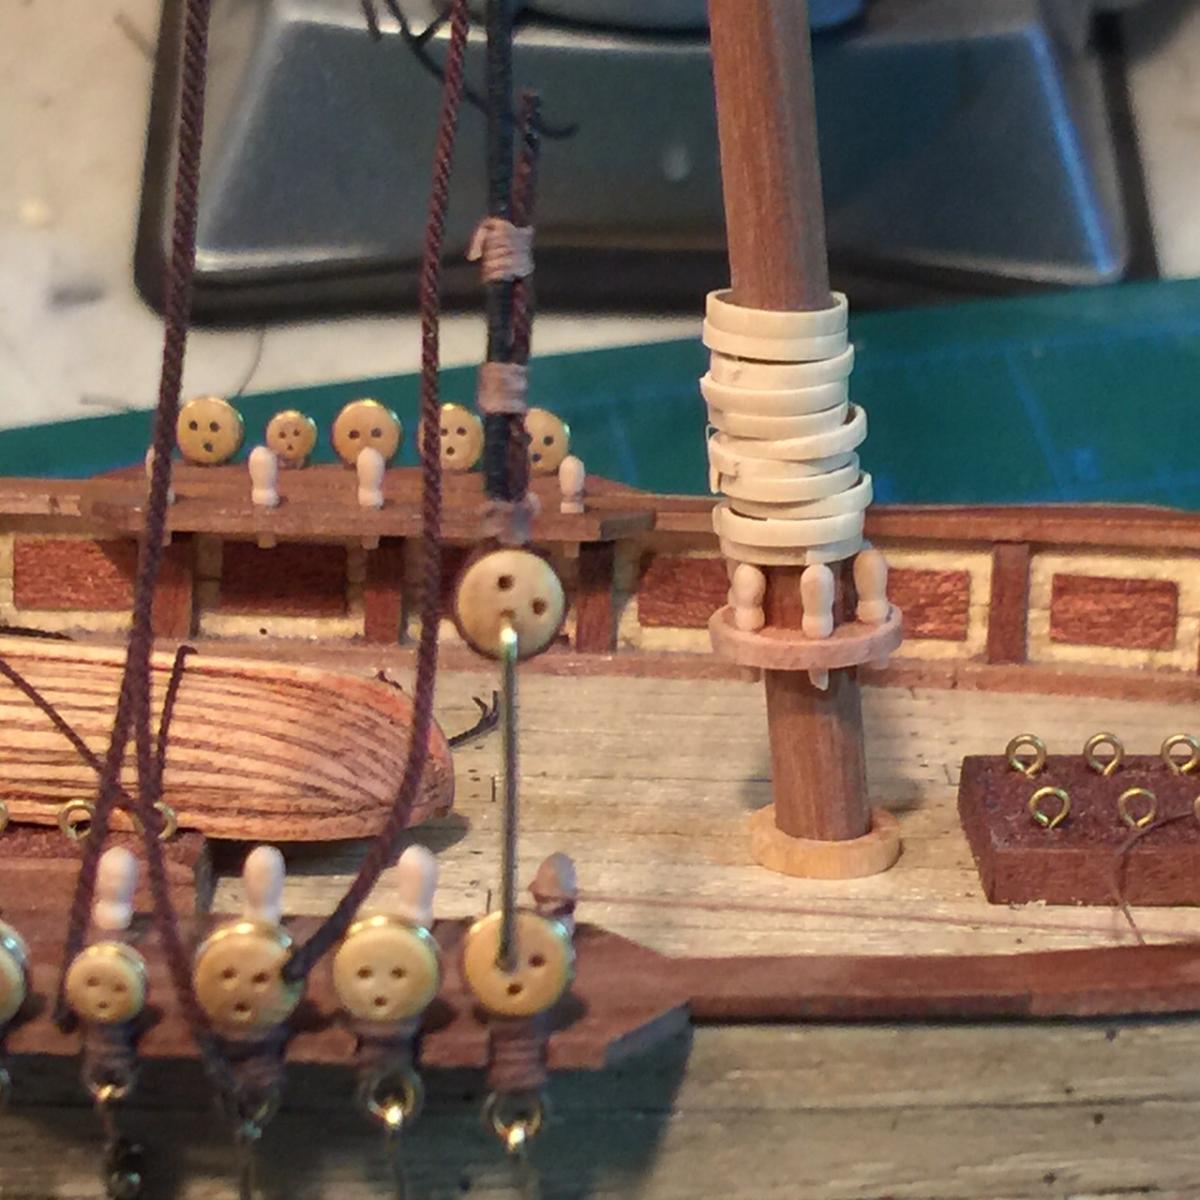
Another milestone met...
I got all the shrouds in place. spent the time to serve and seize the lines bases on some examples that looked nice, don't know how accurate it is, but I'm satisfied with the way they look. One issue I keep running into is how the top deadeye rotates a bit when I tighten up the lanyards. I couldn't figure out the physics of why - so I just twisted them a bit until they looked reasonable.
On to the lines that the sails are on (stays?). I believe that they are supposed to all be served but I'm not going to do that. I will only serve the ends that tie to the mast/jib/etc. It's also a puzzle on how to add the lines to get everything "tight'.
Matt and David thanks for the ideas on the furled sails. I think I might head in that direction. It still feels far away.....
-
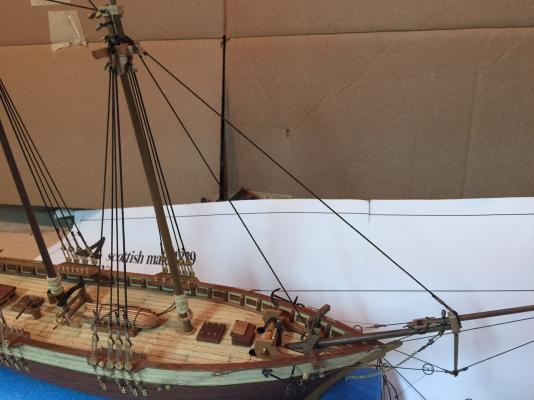
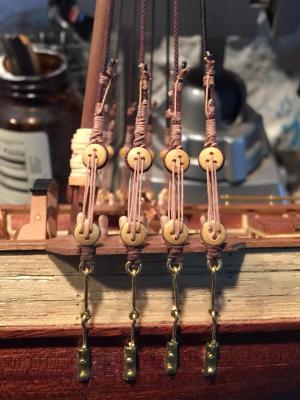
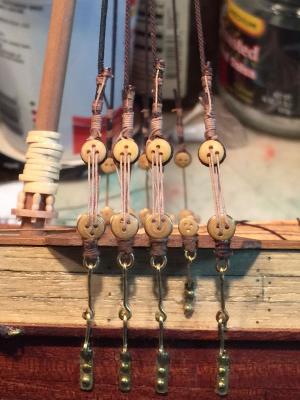
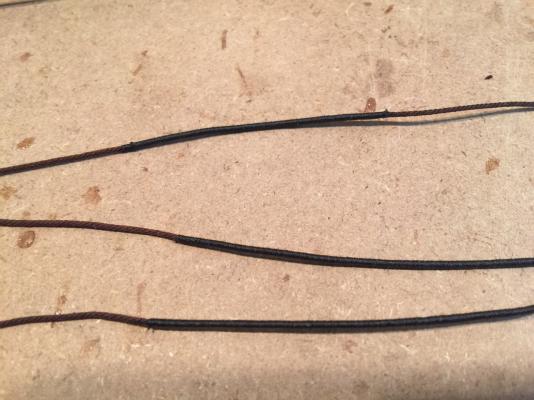
Thanks Don and Matt! I'm quite pleased with how good the served lines look especially where they hook around masts etc. Unfortunately I've gotten too low on my dark brown stays rigging and will have to get more.... I probably should've used a different color (like white) for the shrouds fpr them to stand out a little more but I went with Chuck's rope... I did go with larger rope (than the lines I use for the seizing) and you can tell somewhat in the closeups.
To put sails on or not to put sails on... my daughter wants me to - but with all this rigging I'm thinking it's going to hide a lot of the detail. is furling sails worth the effort? Do you have to build the sails like you typically do and then furl? I haven't seen much on this subject in the areas I've poked around.....
- Elijah, GLakie and mattsayers148
-
3
-
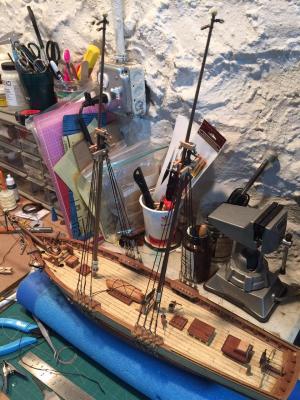
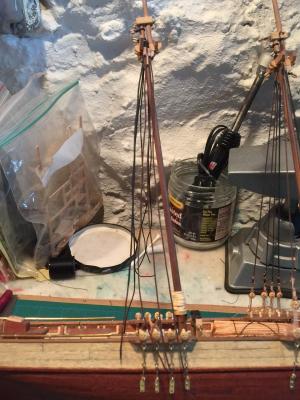
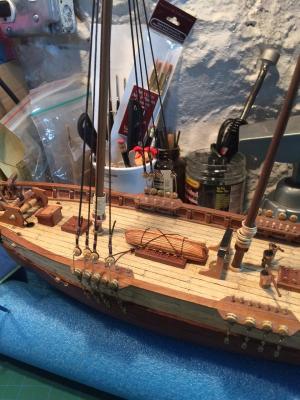
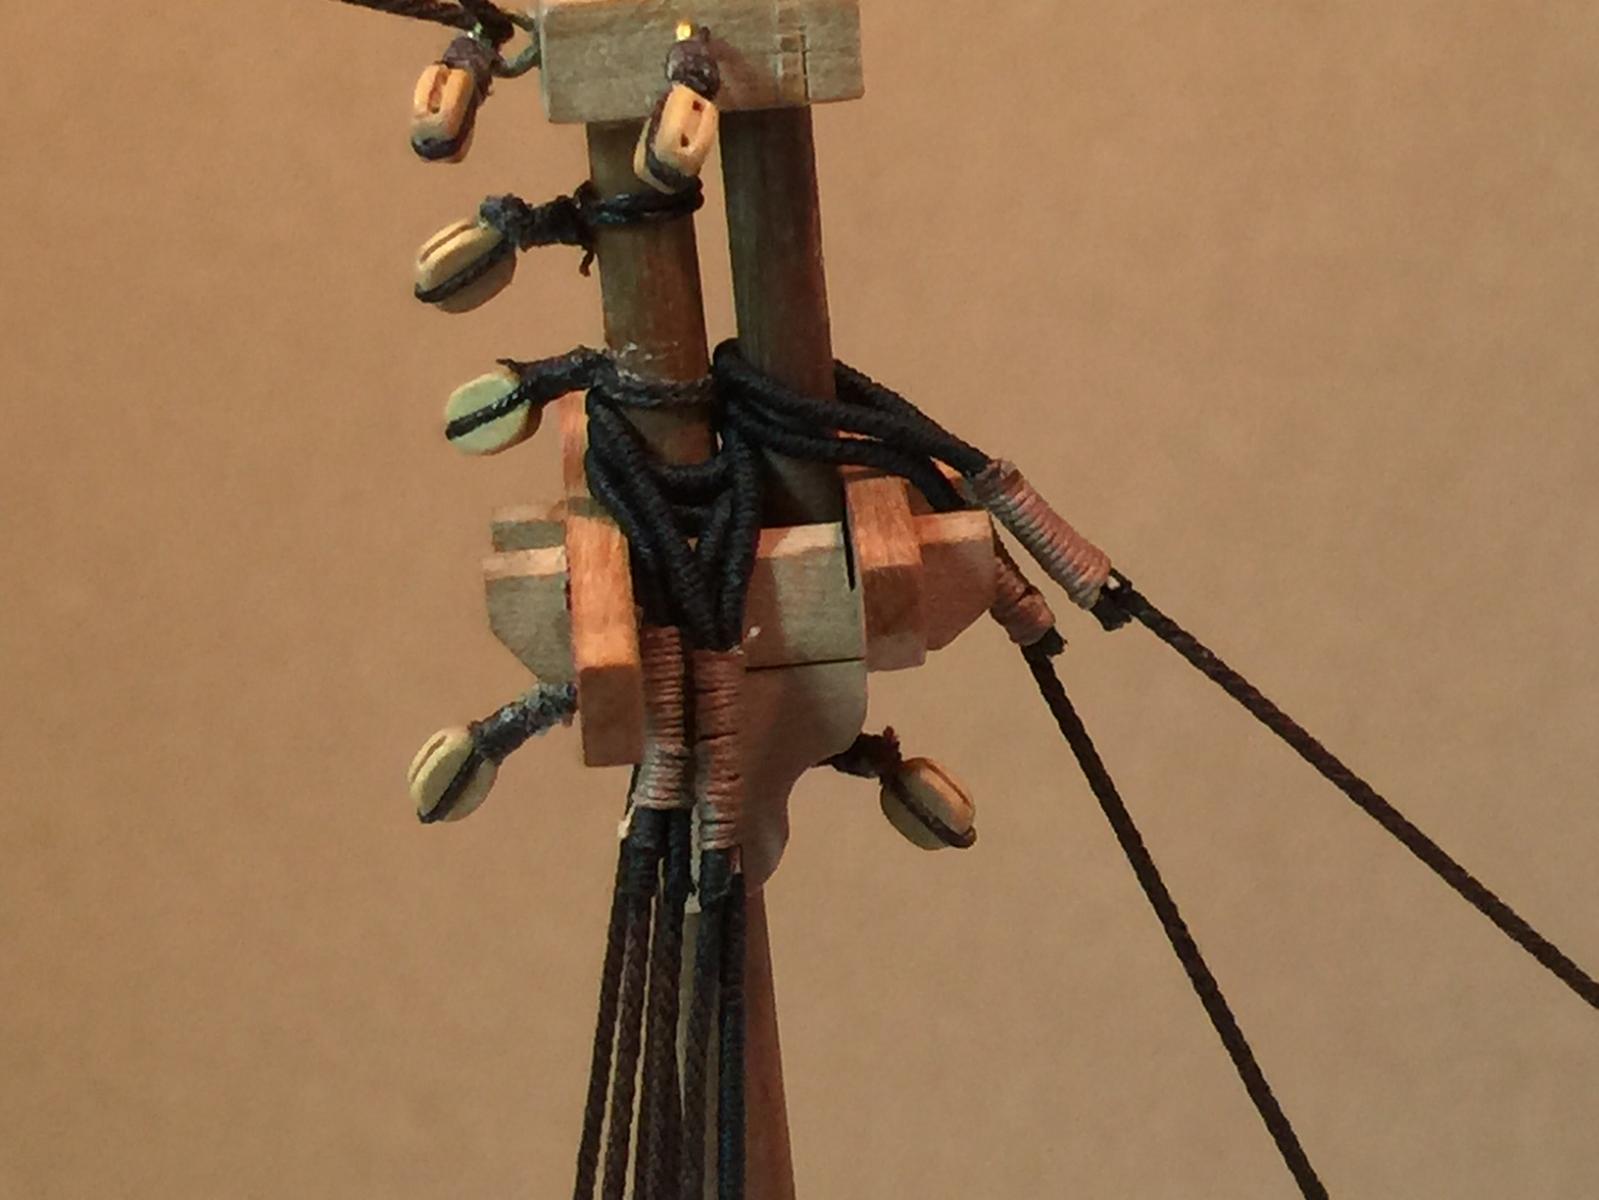
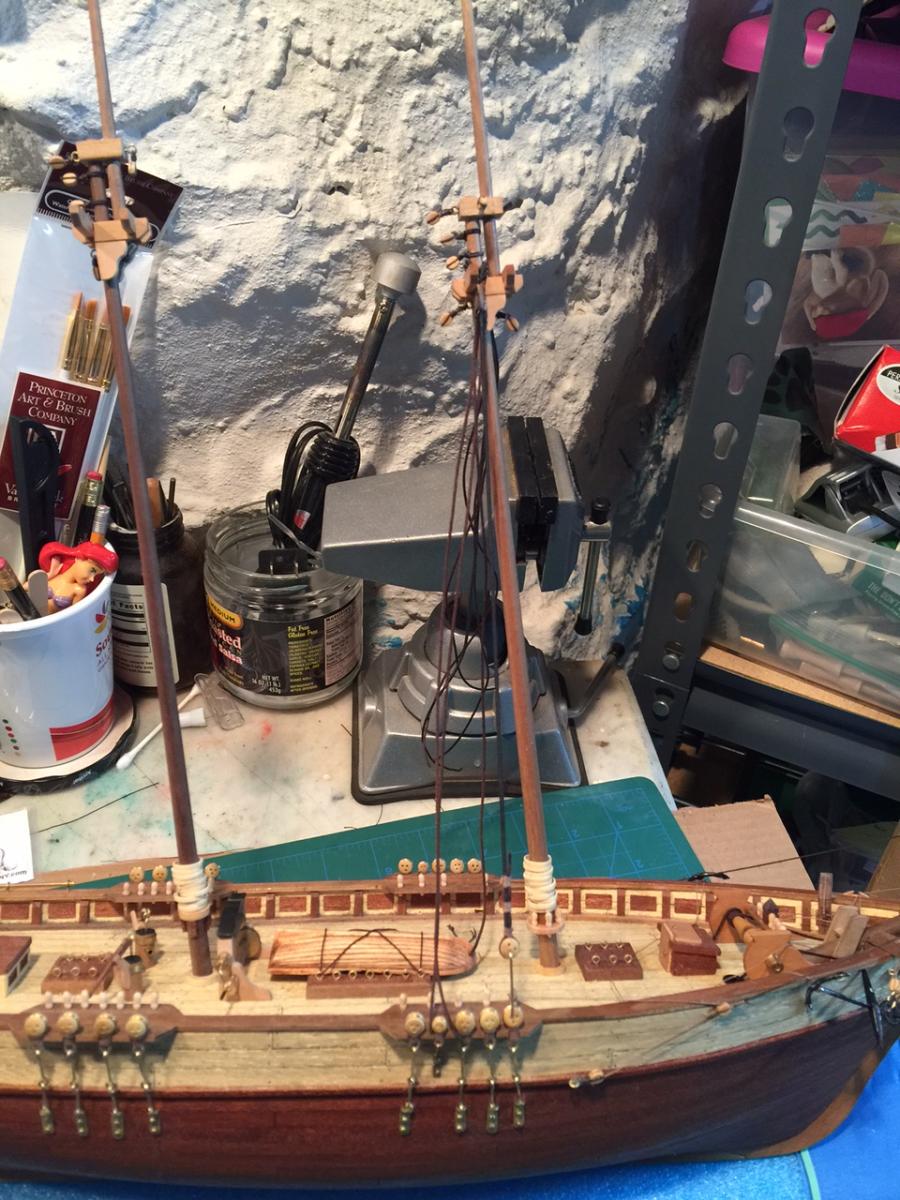
Got the mainmast shrouds all set up I did a better job of measuring and don't think any will come up short this time.
Rigging is a slow process, but I'm getting better. getting these lines ready took half the time the the foremast took and I think they look better.
- dgbot, Laurence_B, mattsayers148 and 5 others
-
8
-
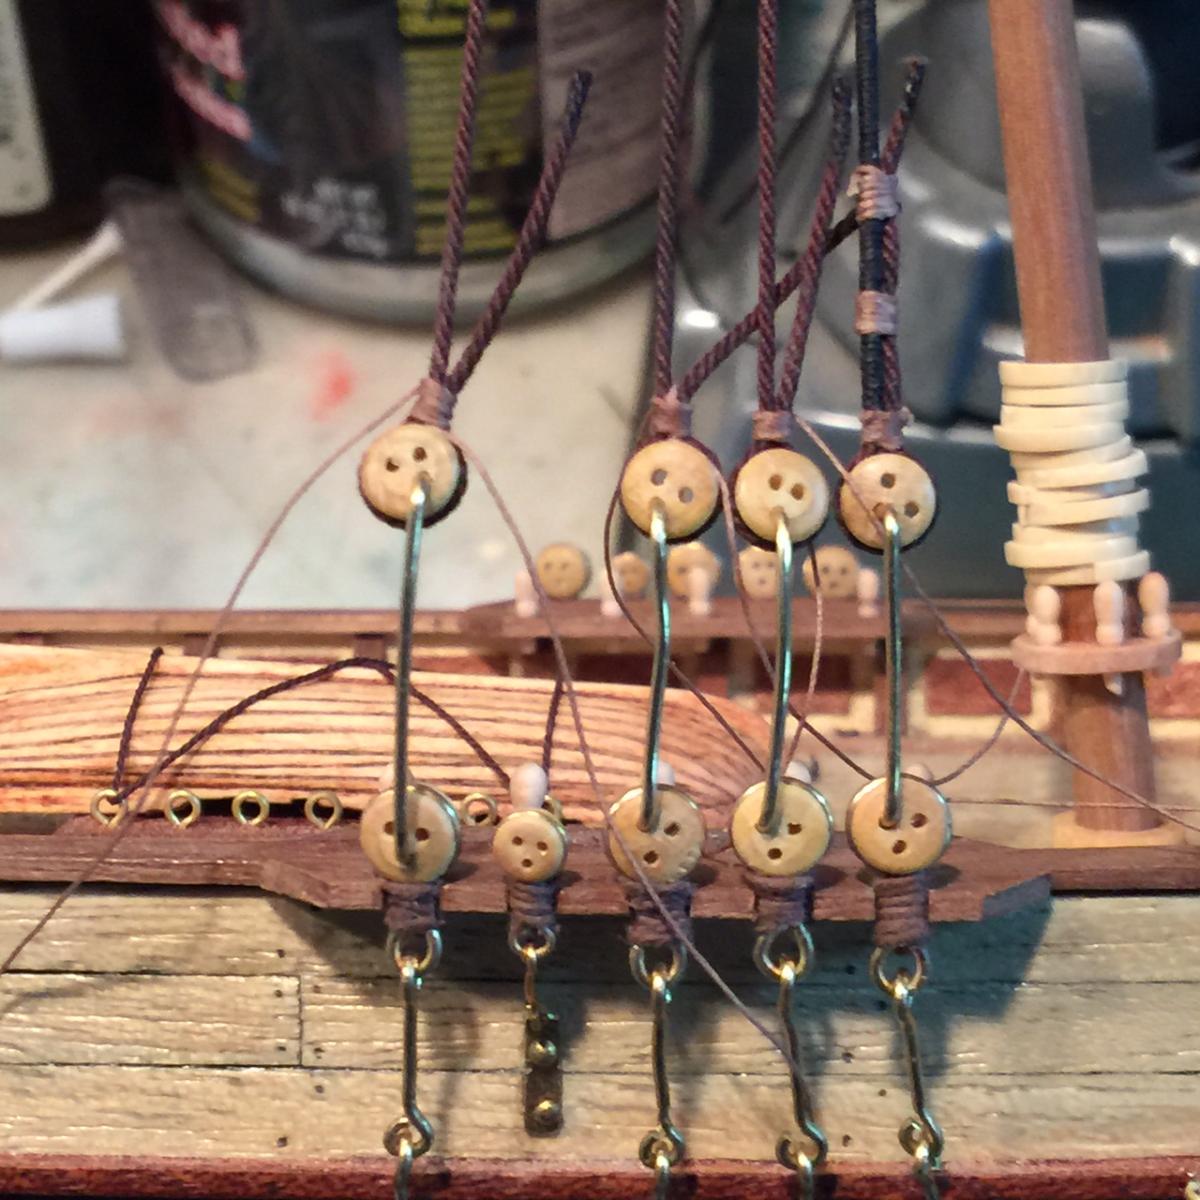
-
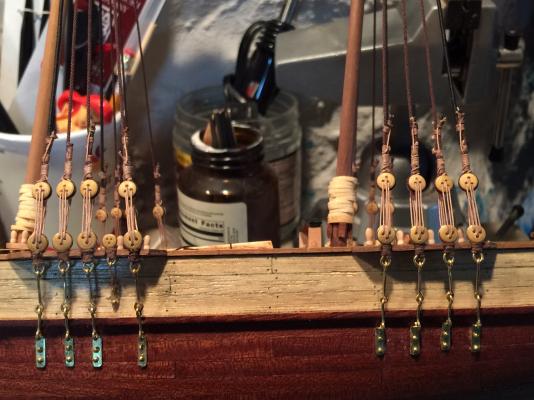
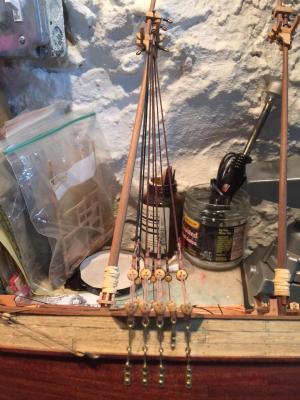
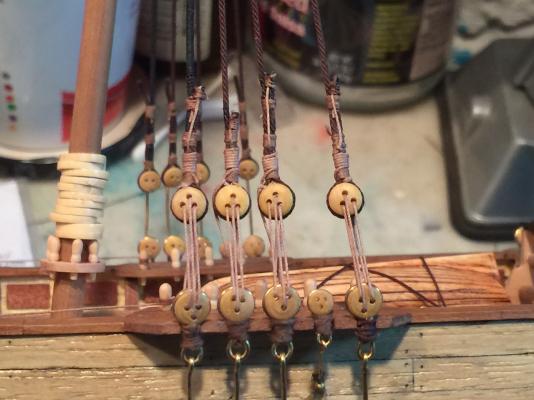
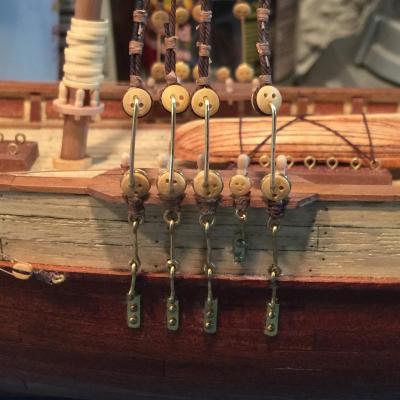
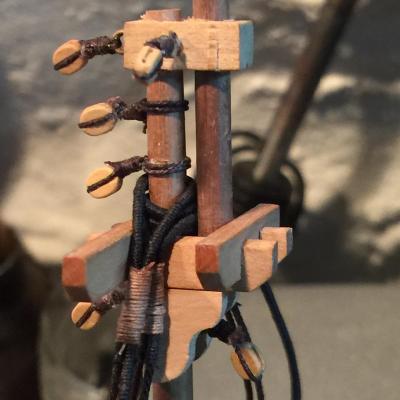
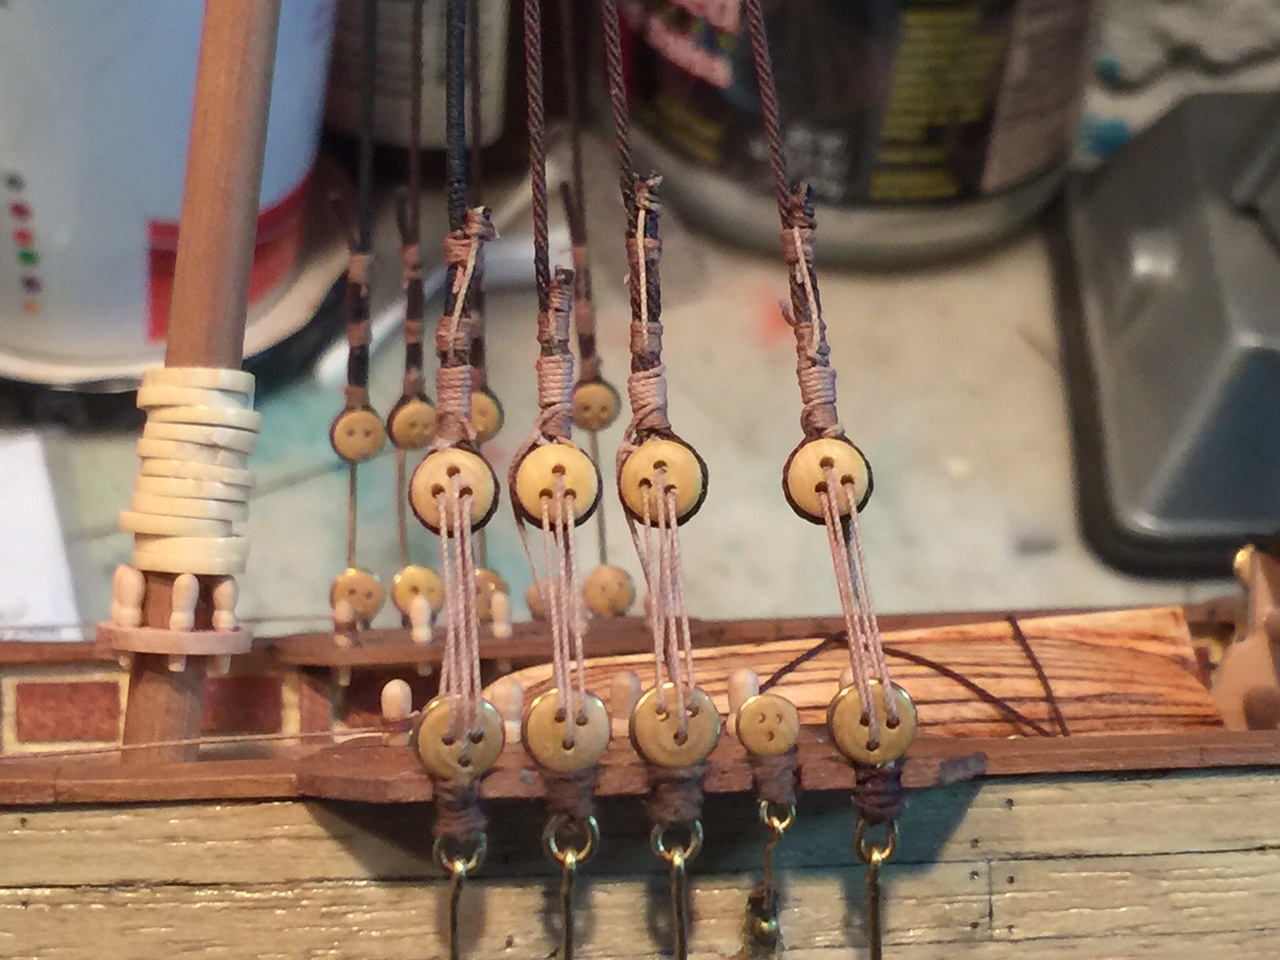
Here is one side lanyards complete (except for the little one) I'm pretty happy with the way they came out. This includes the one shroud line that I cut a wee bit short and decided to live with it....
- dgbot, mattsayers148, Elijah and 4 others
-
7
-
-
Nigel I haven't checked in in a while, you've come quite a ways and looks great. Clean and love the start of the rigging. Can't wait to see this progress some more.
Hope you're enjoying the lovely fall that you get up there. Boston is beautiful this time of year....
- Dimitris71, Omega1234 and UpstateNY
-
3
-
-
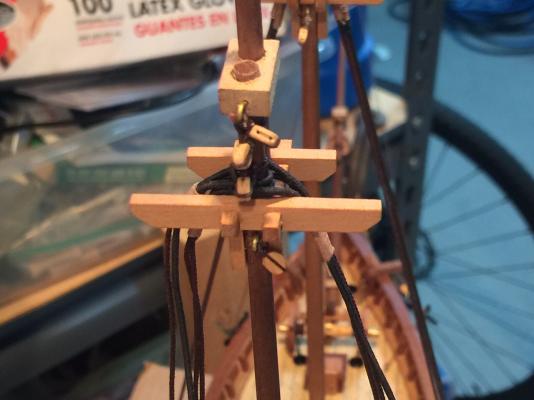
Here's what I came up with:
- mattsayers148, UpstateNY, Jack12477 and 2 others
-
5
-
Matt - thanks, this picture is awesome and summarizes it pretty well... I'll go for it and figure it out with this info...
- JesseLee, GLakie and mattsayers148
-
3
-
Ready for the lanyards. How are they started? tie a knot in the rope and start threading?
One of the shroud lines came up a little short. Will have to do as I don't feel it's worth the effort to take the served line off and re-do, that's a lot of work and might screw up the rest of the lines.
- GLakie, UpstateNY, mattsayers148 and 2 others
-
5
-
A little bit more done, a few more pics.

- mattsayers148, GuntherMT, JesseLee and 3 others
-
6
-
Thanks guys. Jesse I can't believe you did your serving by hand. You must have great patience. I got chucks server tool and it still takes forever. Plus it stinks when you screw up. (I got measuring wrong on first served line).
- mattsayers148 and GLakie
-
2
-
Started on the shrouds, serving and seizing to the mainmast.

- UpstateNY, JesseLee, mattsayers148 and 2 others
-
5
-
I haven't worked much on the boat these days - last few days I began prepping and serving the shroud lines. I got Chuck's server tool which works great and saves a ton of time - still takes time though!
I'm serving the outer lines all the way down to the deadeye as well. Stay tuned for pics should get them up this weekend.
Matt - thanks for your thoughts. Very kind.
- GLakie and mattsayers148
-
2


Scottish Maid by mrangus - Artesania Latina - first build
in - Kit build logs for subjects built from 1801 - 1850
Posted
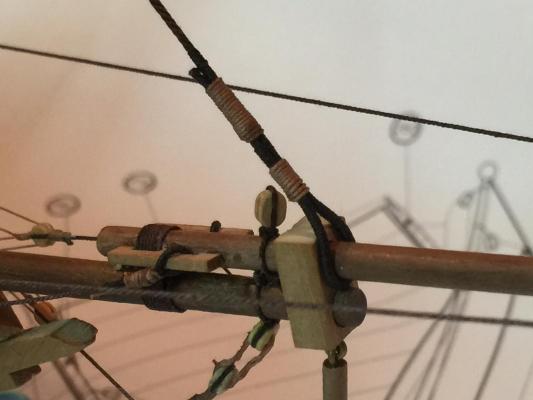
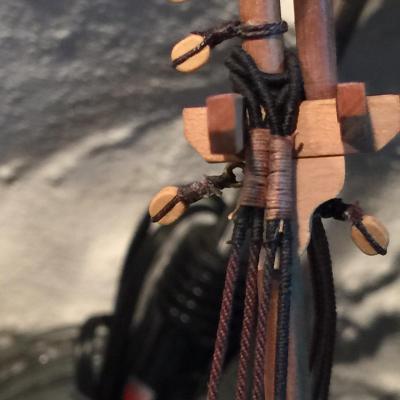
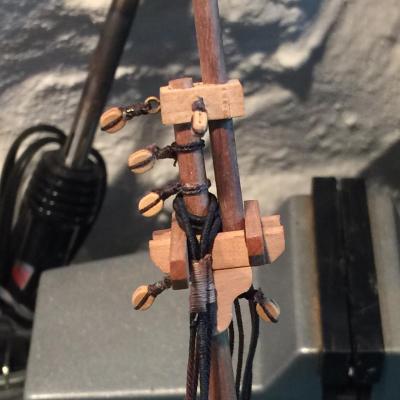
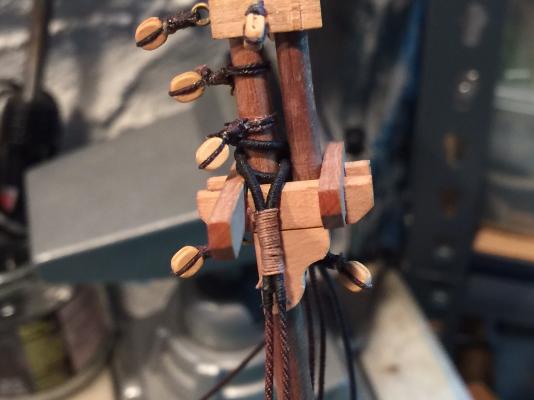
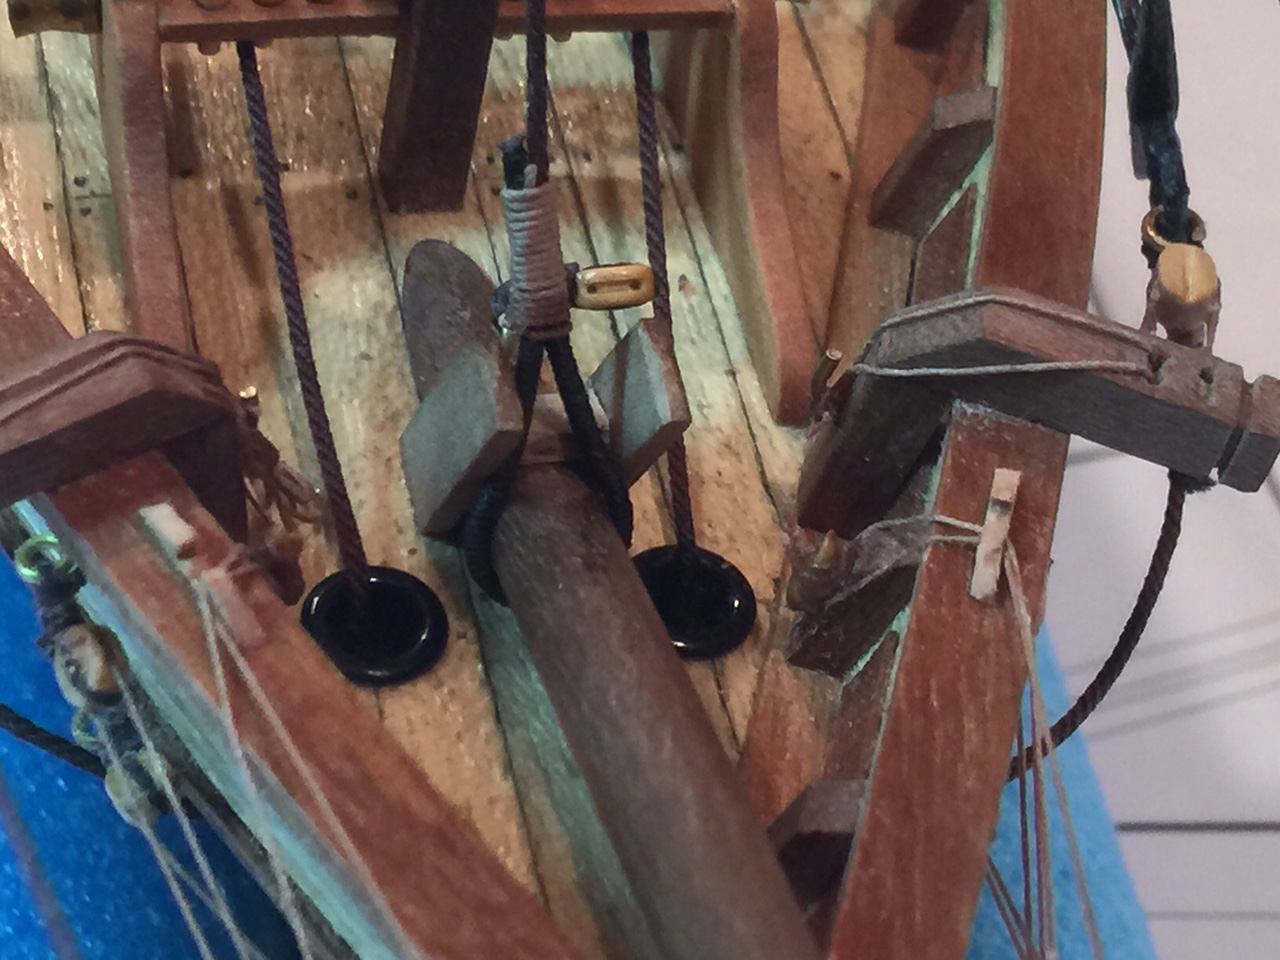
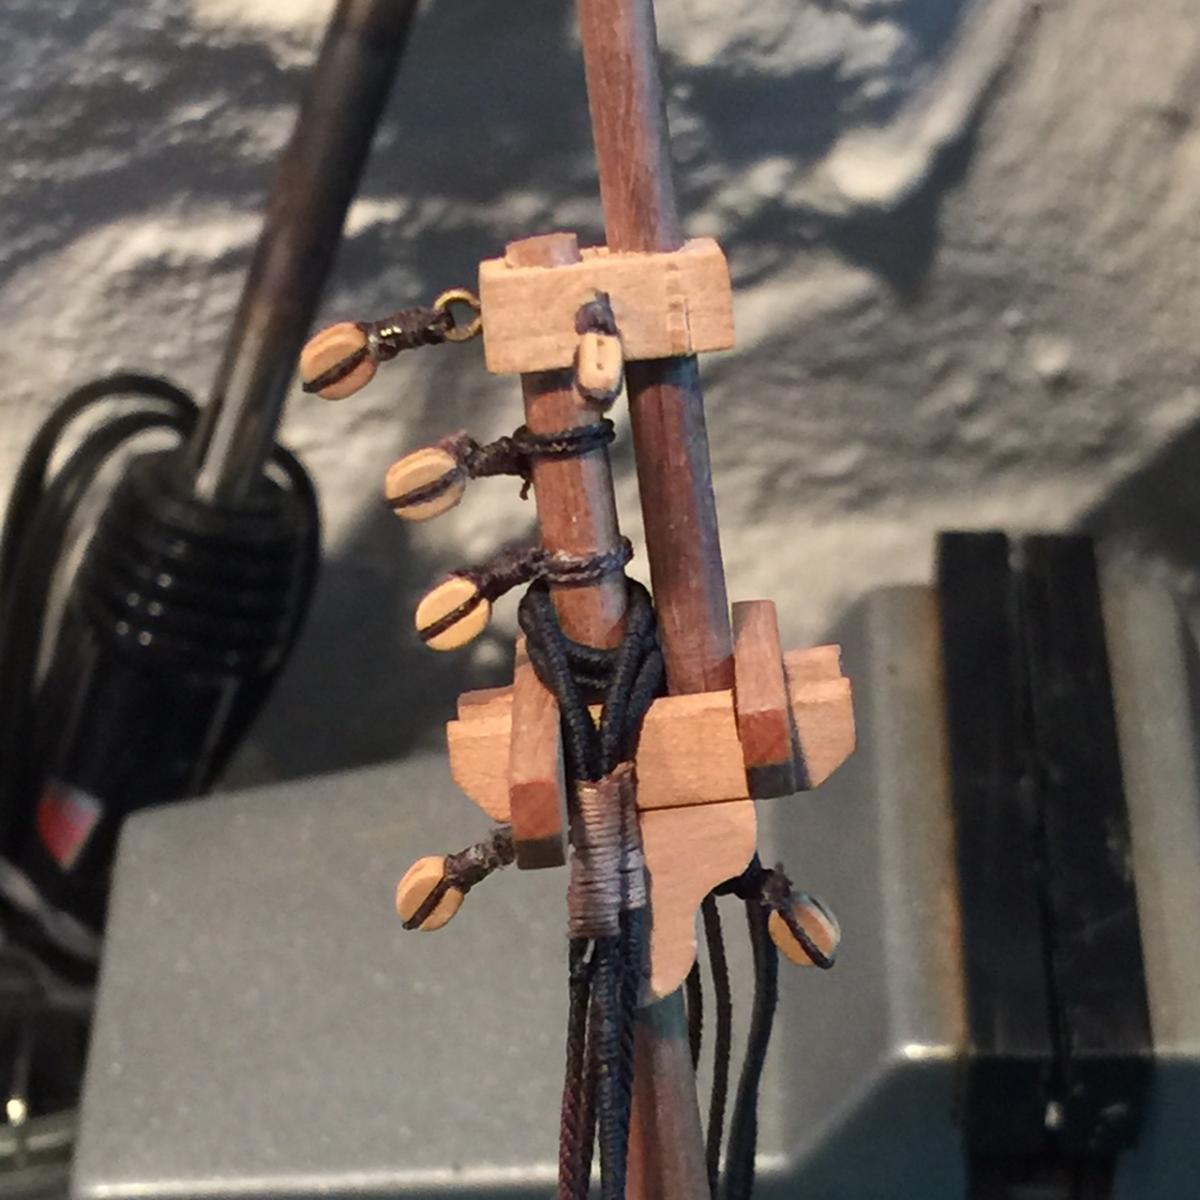
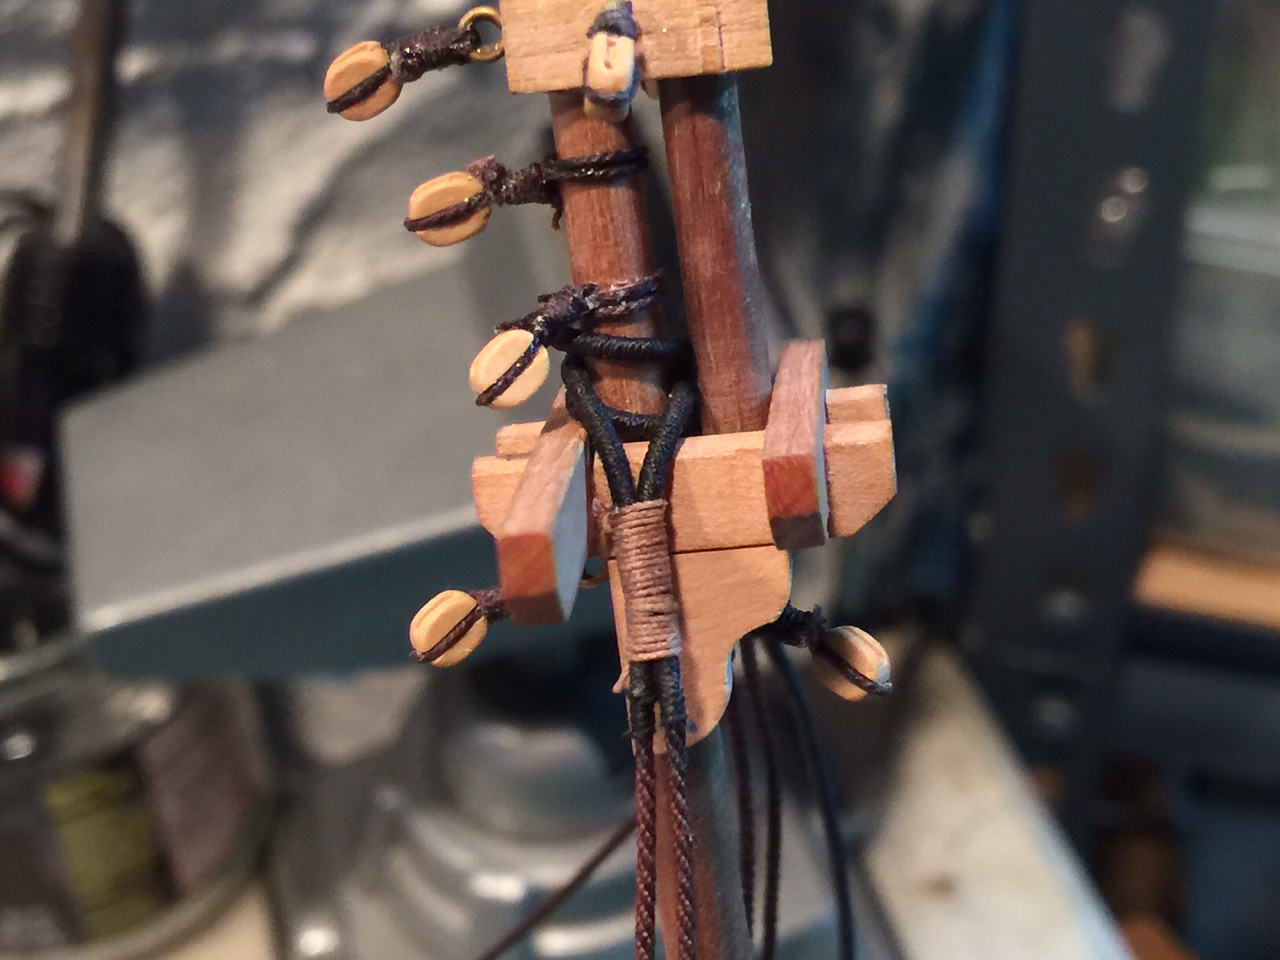
Matt your pictures were great - got my thoughts going. Thanks once again!
Here's how I ended up approaching the need... some of those above look a little more slick than mine but I'm comfortable with the end product.