HOLIDAY DONATION DRIVE - SUPPORT MSW - DO YOUR PART TO KEEP THIS GREAT FORUM GOING! (Only 20 donations so far - C'mon guys!)
×


Ferrus Manus
-
Posts
1,391 -
Joined
-
Last visited
Content Type
Profiles
Forums
Gallery
Events
Everything posted by Ferrus Manus
-
 Do you, by any chance, own a wood-turning lathe? If not, you need one.
 -
Oh man, what a mess. That's Heller's fault for not adding locator pins. Your fix looks perfectly convincing, no more alterations needed. The beakhead really comes together with the side rails added.
- 1,508 replies
-
- 1
-

-
- Le Soleil Royal
- Heller
- (and 1 more)
-
You as well, Keith.
-
I am using your work as an example of what to do, to someone who is building a ship from a similar time period. I am attempting to find similar build logs made by experts (yourself) to illustrate rigging concepts for my friend, who has never rigged a model ship. Personally, i think your work is top-notch, and i can only aspire to reach similar heights.
-
It seems right to me. Now, take what you learned and apply it to other areas in the build.
- 177 replies
-
- 1
-
-
- Perseverance
- Modellers Shipyard
- (and 1 more)
-
@Bill97 i own the book as well, and it has saved my life on many occasions. I have yet to buy the Anderson volume.
-
(Audible clapping)
-
The general consensus tends to be that you should use a single block instead of a double block.
-
No one does. At least, not when they start. It takes quite a while, but just study as much as you can. Buy some books on the rigging of ships in that general time period. C. Nepean Longridge's book "The Anatomy of Nelson's Ships" is the Holy Bible of the constructions and rigging of ships in the 1700's and early 1800's. Here's a link to where you can get a copy: https://www.abebooks.com/servlet/BookDetailsPL?bi=31488248067&ref_=ps_ggl_17730880232&cm_mmc=ggl-_-US_Shopp_Trade_10to20-_-product_id=COM9780853440918USED-_-keyword=&gclid=Cj0KCQjwmtGjBhDhARIsAEqfDEelhZTfGRs1u5mH0KidZL10s4n8Ih_AFJI5xfaFnT9AOaov71i5u_waAngWEALw_wcB
- 279 replies
-
- 1
-
-
- Spanish Galleon
- Imai
- (and 1 more)
-
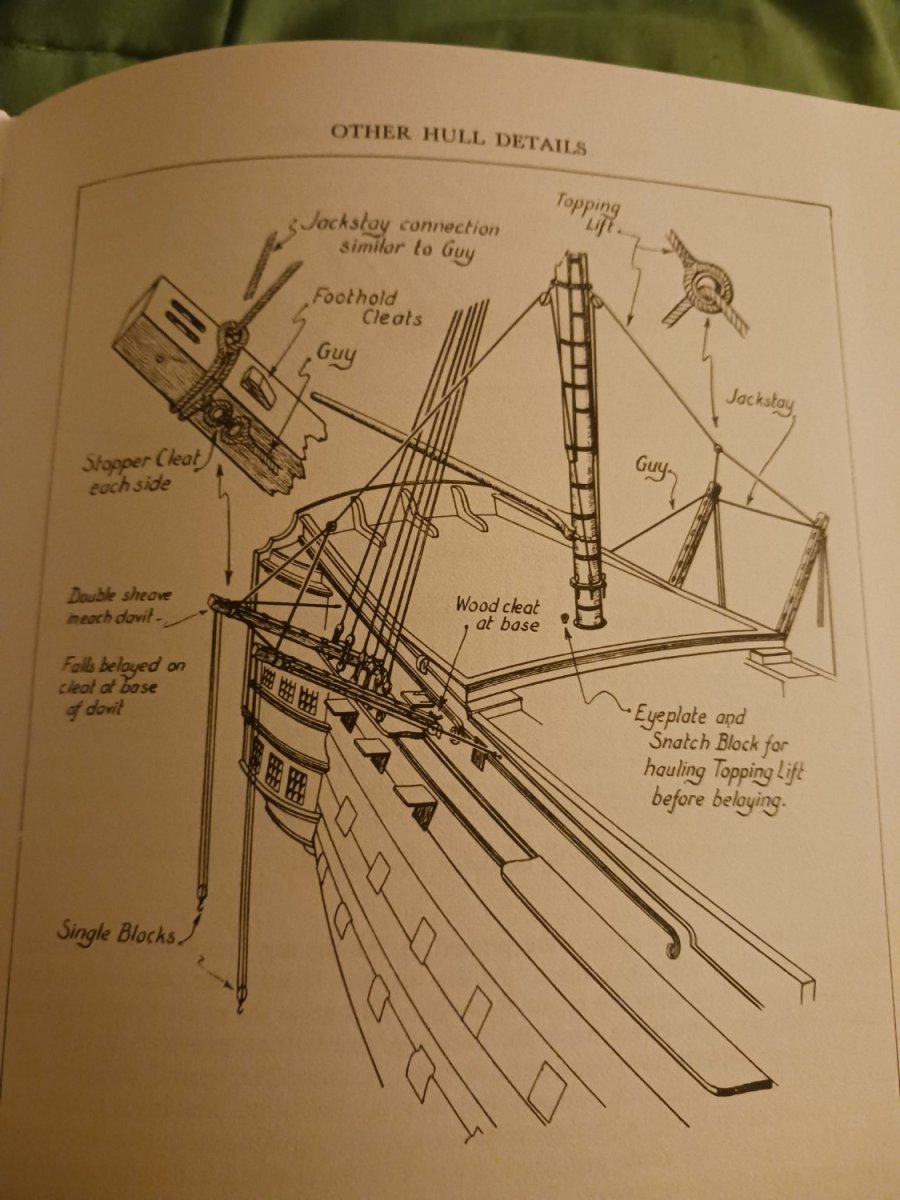
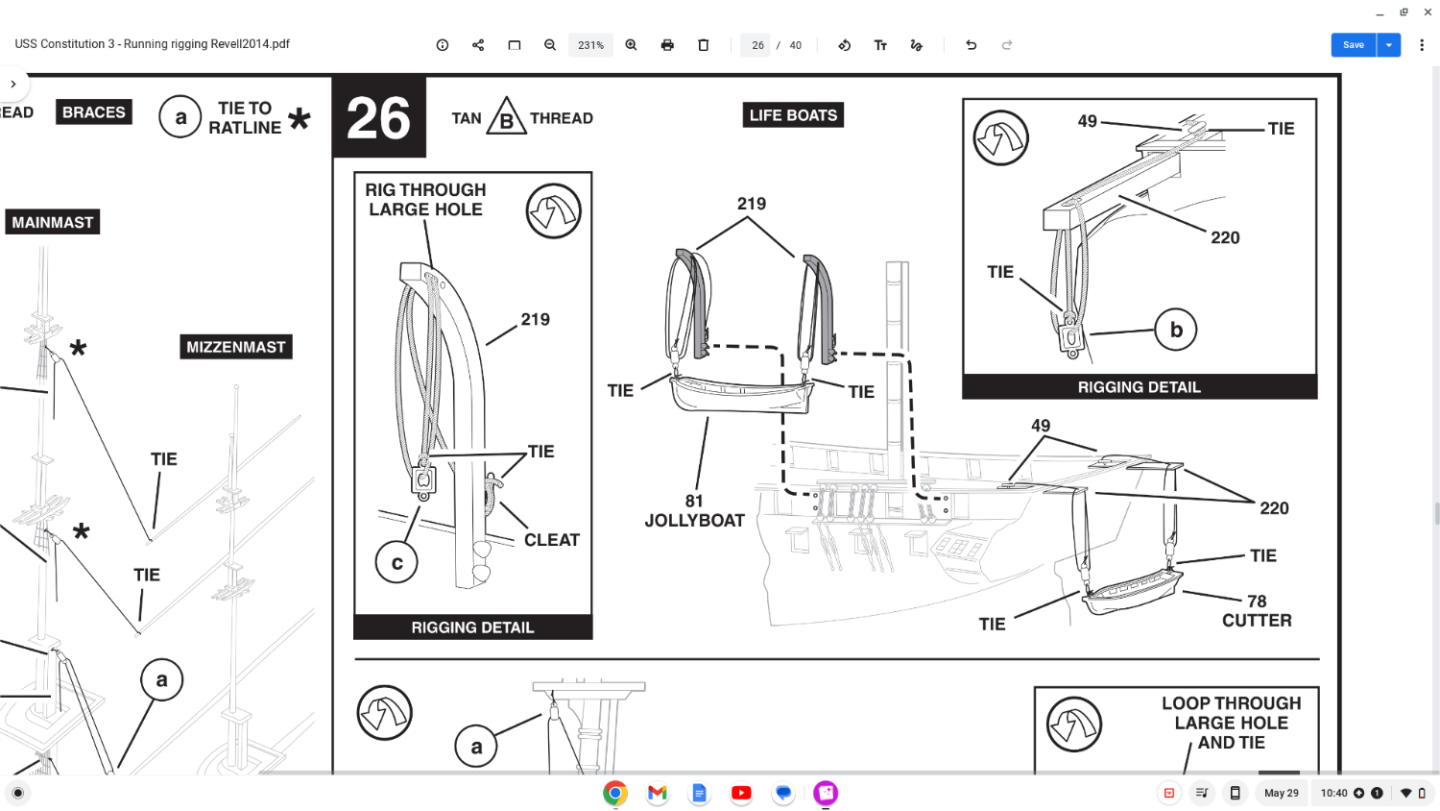
The core tenets of davit rigging, as per the Revell USS Constitution instructions: And as per Longridge's book:

-
Yes. Add the hook to the block and put the hook in the eyebolt. Tie the beginning of the line to the end of the davits. The eyebolt on the davit is in a really horrible location, by the way. It should be at the very end of the davit, and a cleat should be where it currently is.
-
@Isaiah build logs like this one here will help you immensely in your Perseverance build. I would recommend asking more questions than comments. Everyone here would be more than willing to provide help, and most would be better at synthesizing information than i am.
-
Looks like it's almost time to start on the masts! I have no idea, but i would assume those pieces would be painted blue on the back, or whatever the interior wall color is. At least that's what i would personally do with them.
- 1,508 replies
-
- 2
-
-

-
- Le Soleil Royal
- Heller
- (and 1 more)
-
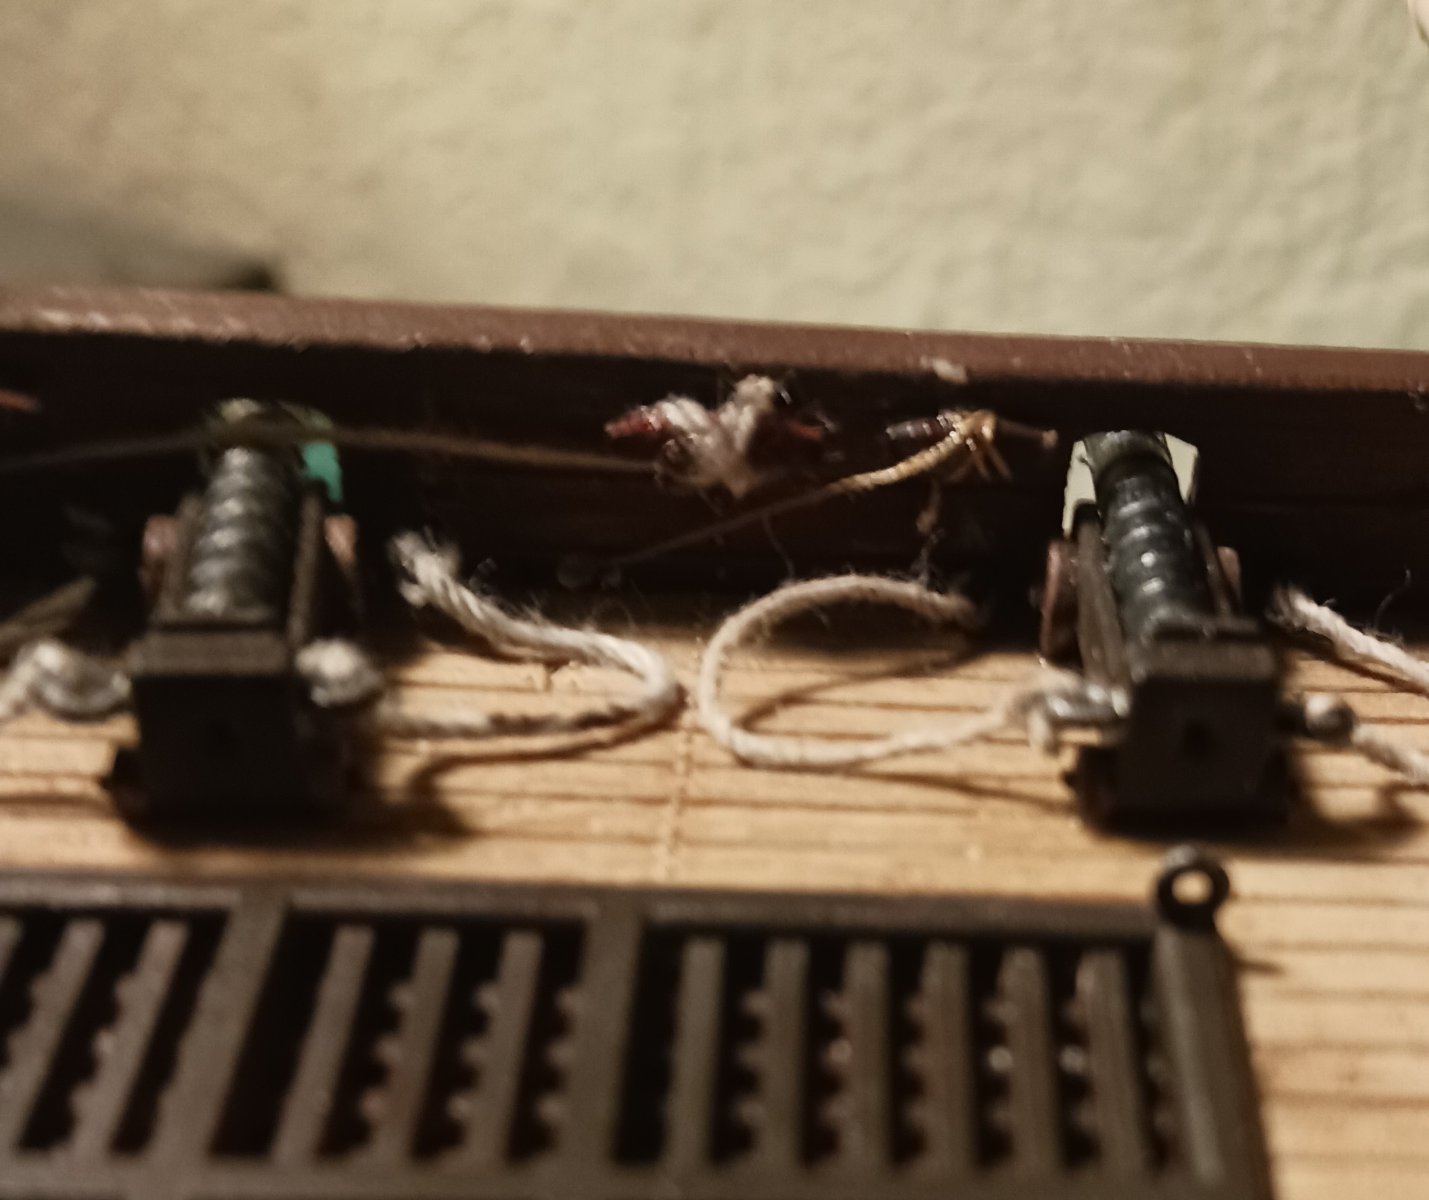
Alright. Wonderful job on the boats. However, we need to go back and redo the rigging of the one on the aft. The rigging blocks (those wooden things with holes) should be tied to the brass eyebolts. Tie a thin line around the block, letting it sit in the groove that runs round the block. Make sure that the knot is on the top of the block, the face closest to where the holes are. Then, thread the line that holds the boat up through the holes in the block. This line should not go through the brass eyebolts. It's okay if you don't understand what's going on here. I will provide diagrams of rigging concepts.
- 177 replies
-
- 1
-
-
- Perseverance
- Modellers Shipyard
- (and 1 more)
-
Just watch others, and do what they do. Follow the instructions, and ask LOTS of questions. I will guide your hand.
- 279 replies
-
- 1
-
-
- Spanish Galleon
- Imai
- (and 1 more)
-
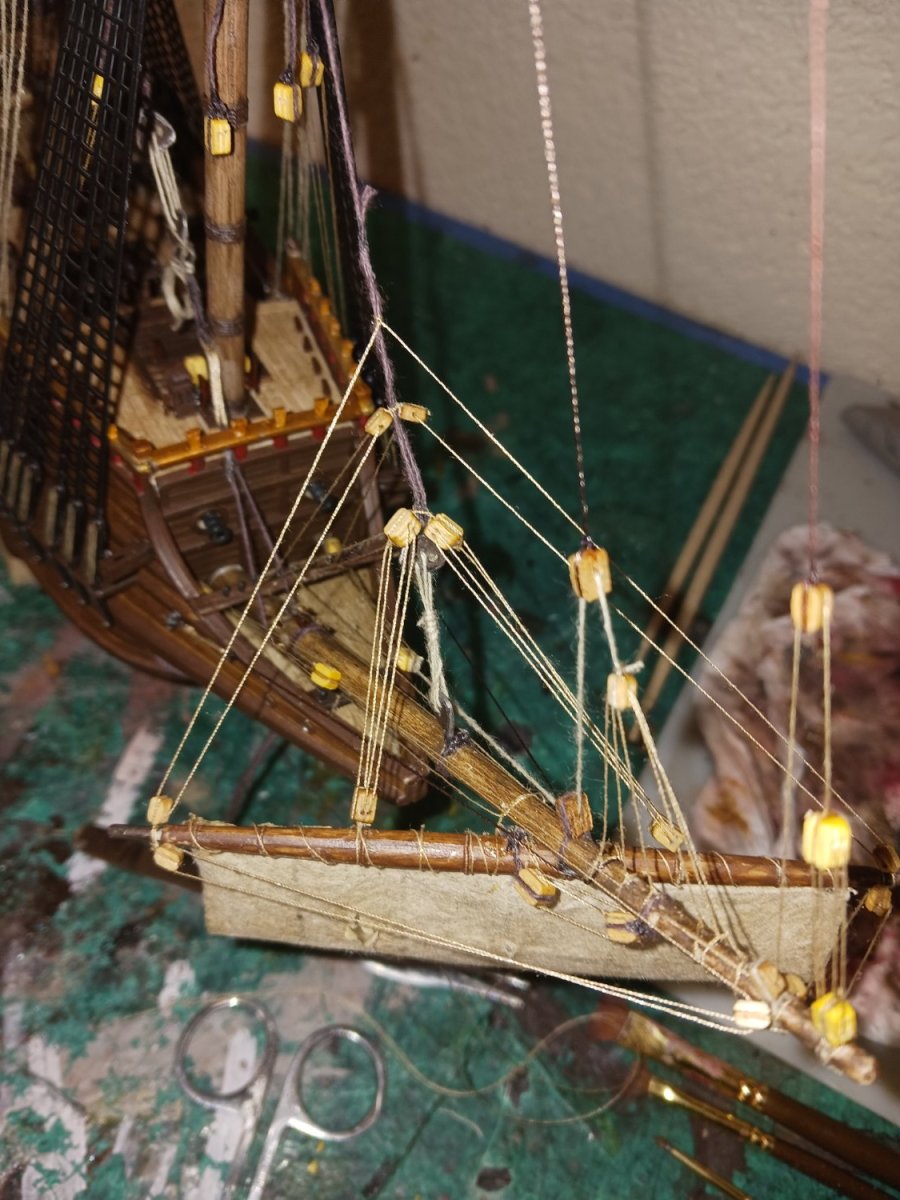
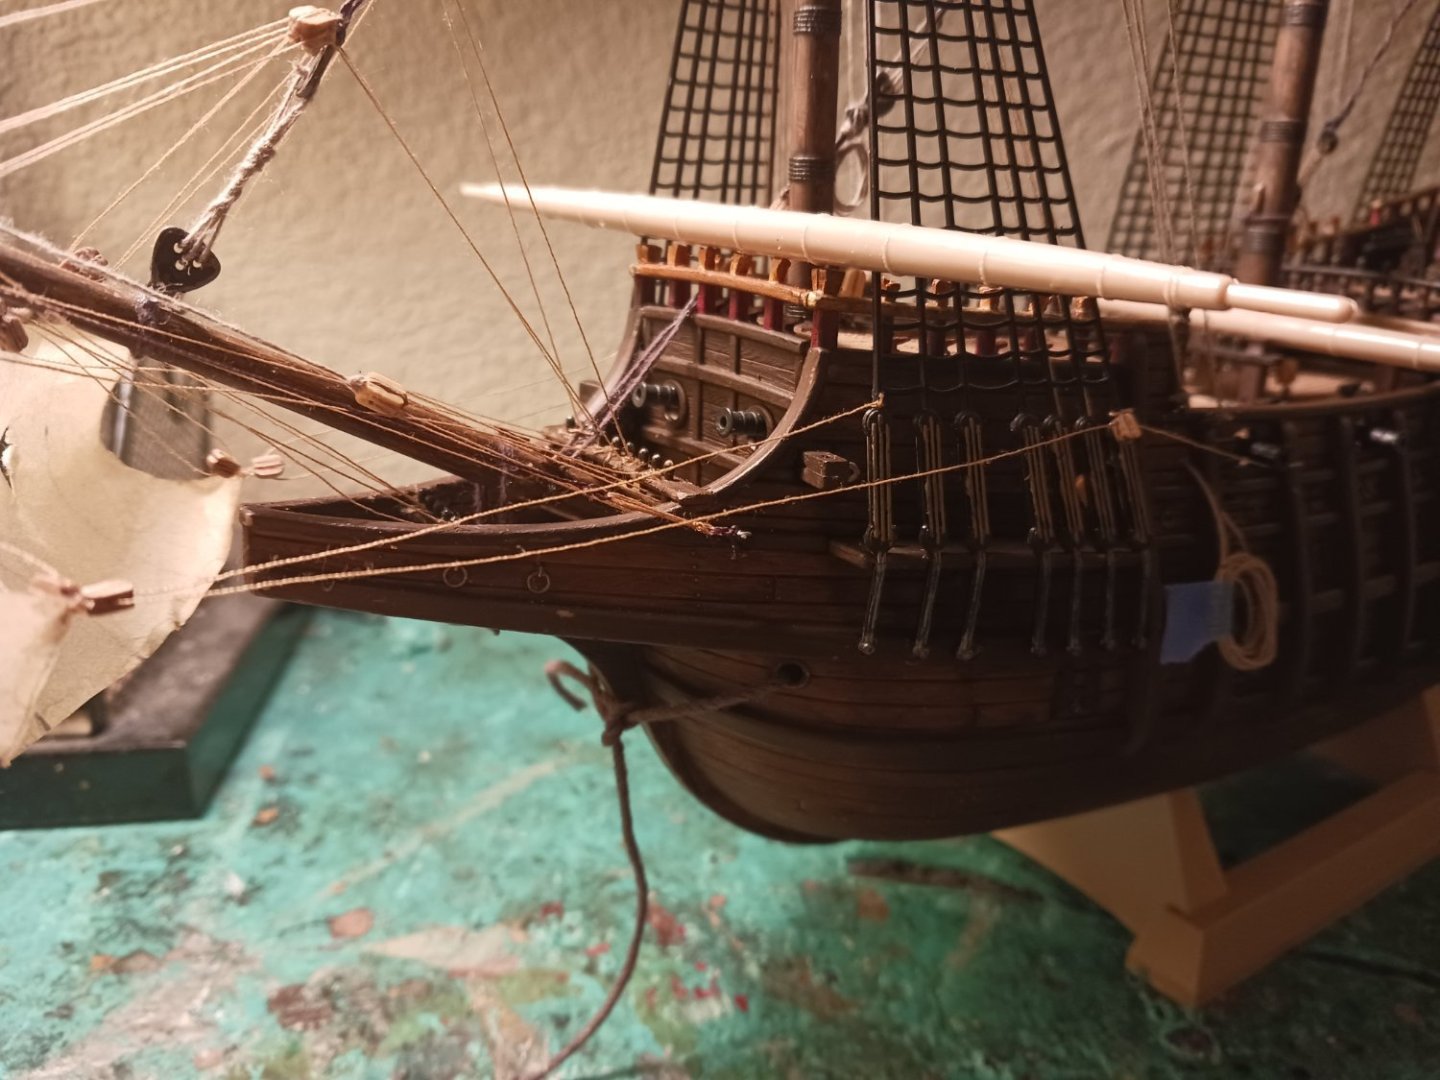
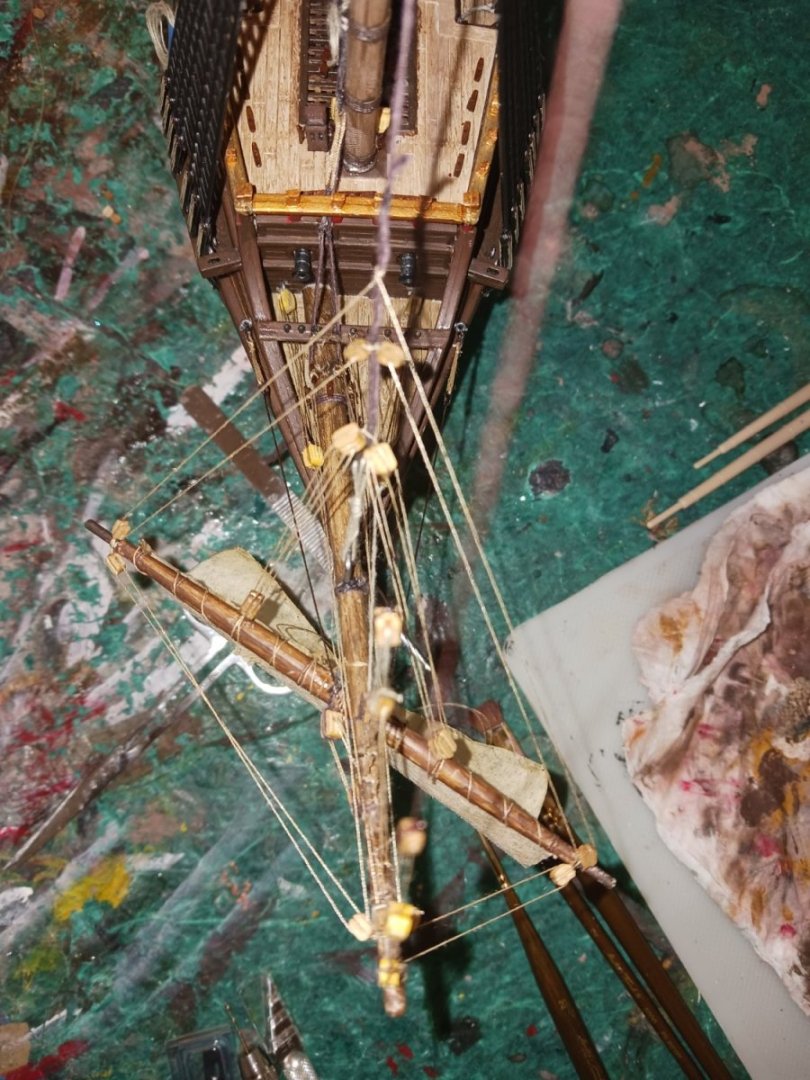
Today, i did the sheets, clews, and buntlines for the spritsail. The only issue was, of course, with the line not wanting to hang loose correctly. First, i did the sheets, as those were the most complex lines. The falls are belayed to the interior, on a smaller cleat behind the main tacks. Then came the clews. They were relatively simple, other than the aforementioned issue with the line. The buntlines were by far the easiest lines involved.

- 279 replies
-
- 6
-
-
- Spanish Galleon
- Imai
- (and 1 more)
-
Incredible model.
-
Ah come on man, add the other lift. Just to make me happy.
-
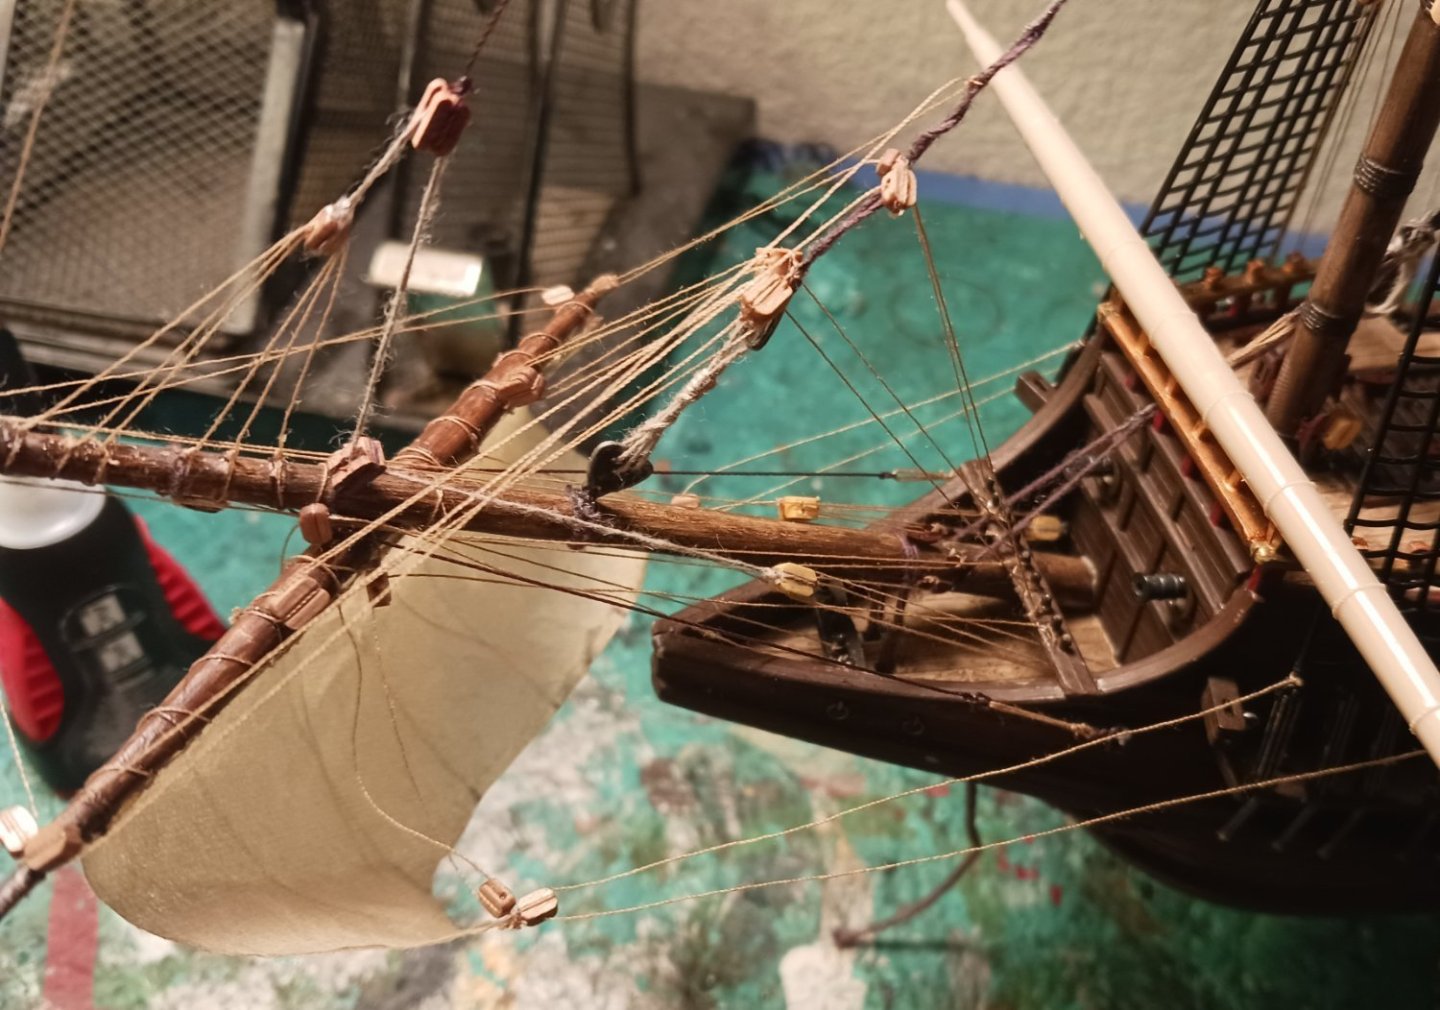
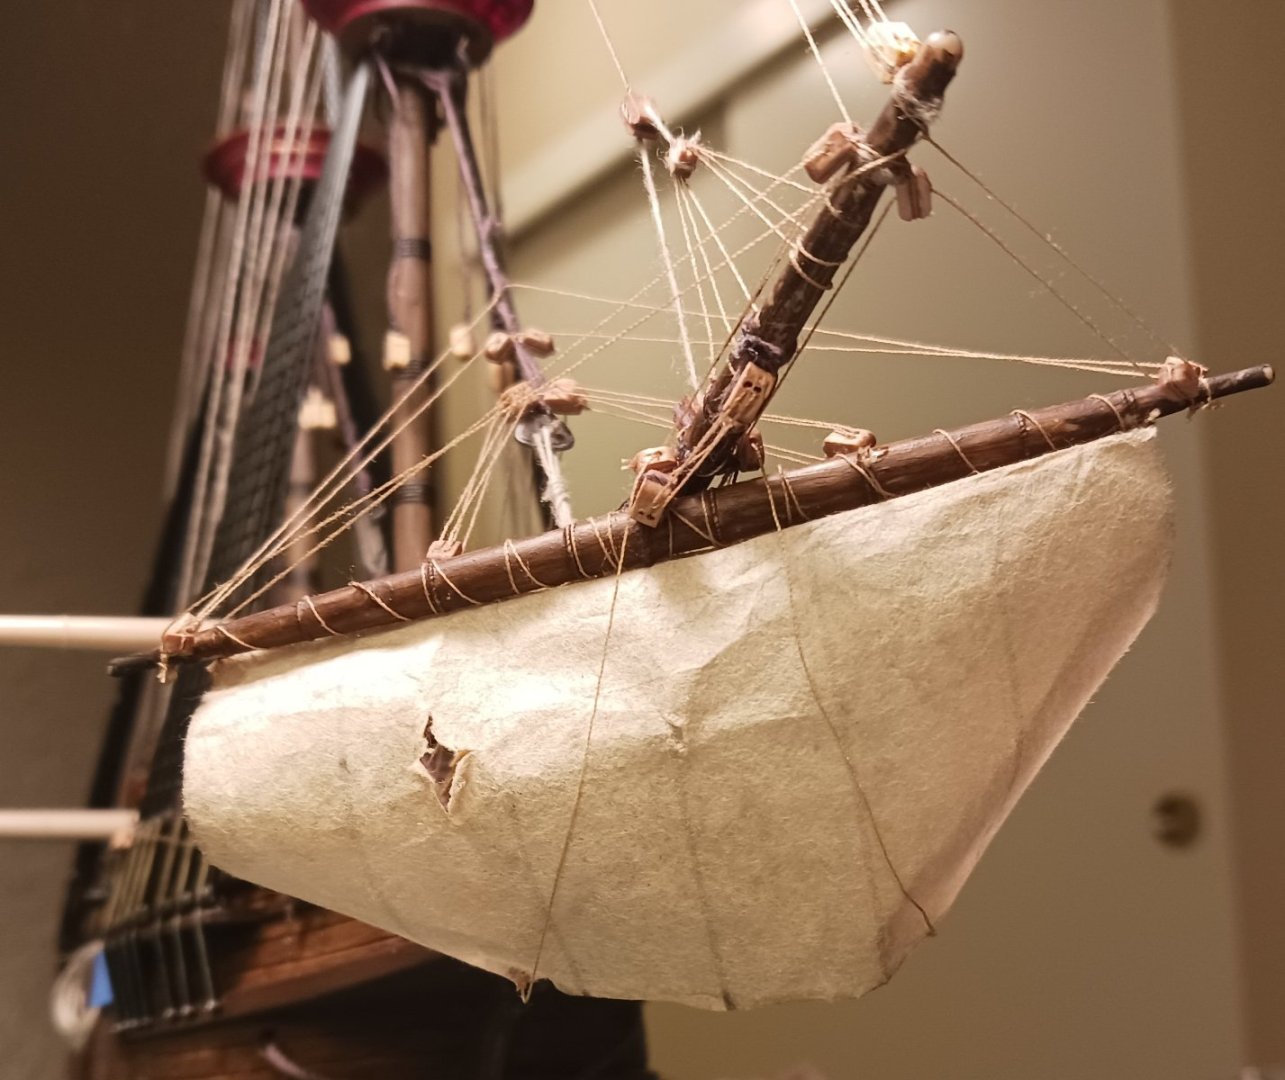
I did the braces and peak halyards for the spritsail. I don't know why they thought the second set of braces was necessary.

- 279 replies
-
- 5
-
-
- Spanish Galleon
- Imai
- (and 1 more)
-
Why only one spanker boom lift? I'm just curious.
-
Or, you could split the stay behind the knight and that would solve it.
- 1,508 replies
-
- 1
-
-
- Le Soleil Royal
- Heller
- (and 1 more)
-
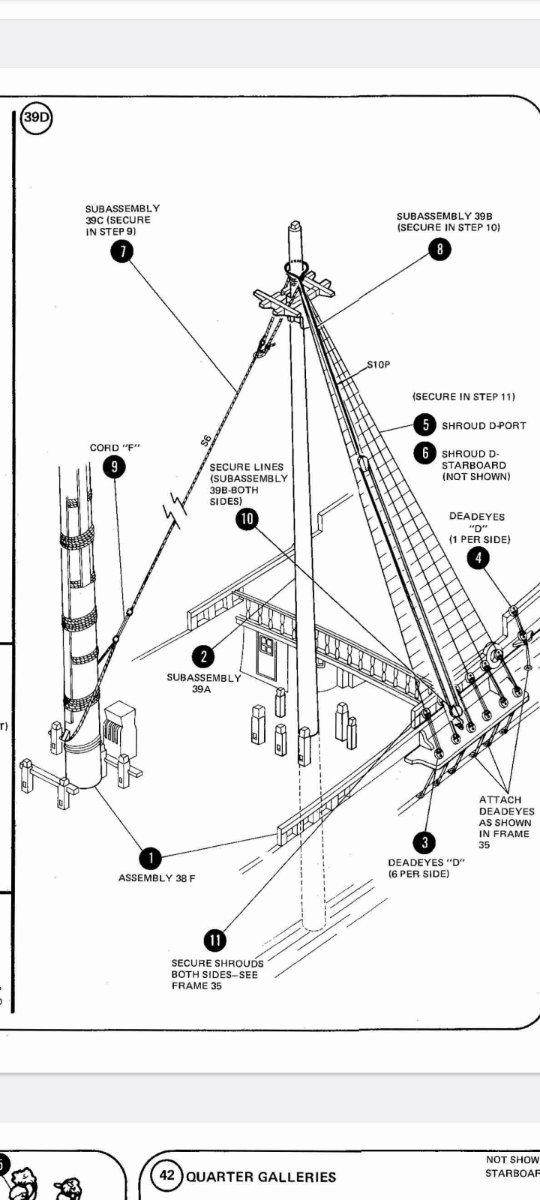
Sorry to rain on your parade, here, but i think you have to move the main knighthead as well (to the other side). The instructions show a singular stay on the mizzen top that goes down to the main base. Henry didn't even do this. However, we have the same issue on the main.
-
The instructions clearly show the mainstay attaching to the collar around the foremast, which is just large enough to encompass the mast, then continuing down to the bowsprit. At least, that's what the older instructions show. There is no mention whatsoever of the stay splitting far enough away to allow for the halyard as well. Plus, off-center knightheads are the norm for this very reason.
- 1,508 replies
-
- 2
-
-
- Le Soleil Royal
- Heller
- (and 1 more)