Ferrus Manus
-
Posts
1,407 -
Joined
-
Last visited
Content Type
Profiles
Forums
Gallery
Events
Everything posted by Ferrus Manus
-
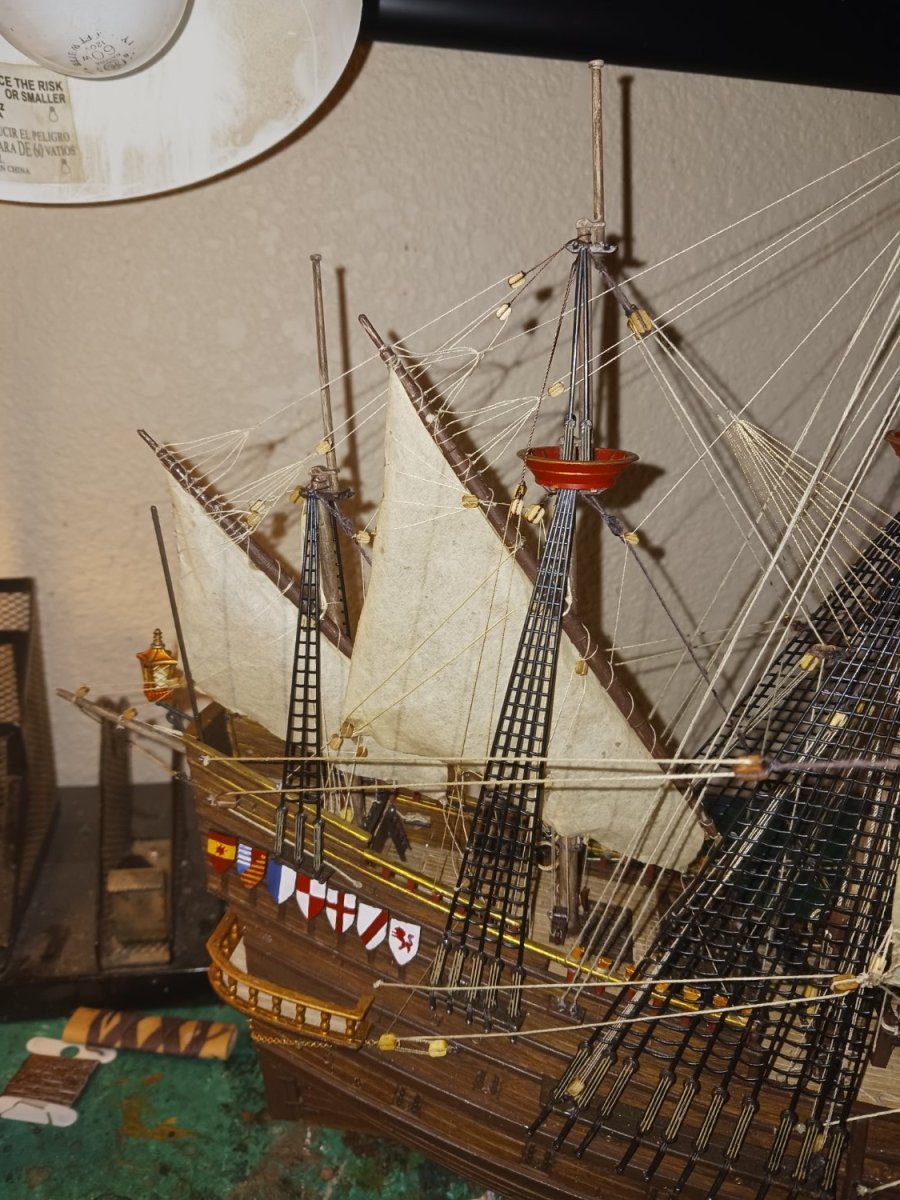
 I turned 19 today. Woohoo! Also, the fore topsail has almost all its blocks in place, and is almost ready for the halyard.
- 279 replies
-
- 2
-

-
- Spanish Galleon
- Imai
- (and 1 more)
-
The fore topsail is being readied to go on the yard, and is currently drying out. Either way, i need to get a bunch of cleats.
-
Next up on the radar for the build will be the fore topsail, which i have everything set up for.
-
I have actually done that before. Most of the medium sized white thread has actually been dyed grey with this method. The lines behave better as well once they have been painted.
-
I choose to incorporate the flagpole. Hendrick Cornelisz Vroom painted from about 1580 to his death in 1640, and many of his paintings are almost perfectly contemporary. He frequently included flagpoles, such as on this Dutch ship:
- 279 replies
-
- 1
-
-
- Spanish Galleon
- Imai
- (and 1 more)
-
It would be much easier for me to fabricate timber heads and just use cleats for things like parrel lines and bowlines.
-
On the fighting tops, should i use timber heads like i have elsewhere on the model, or should i use cleats?
-
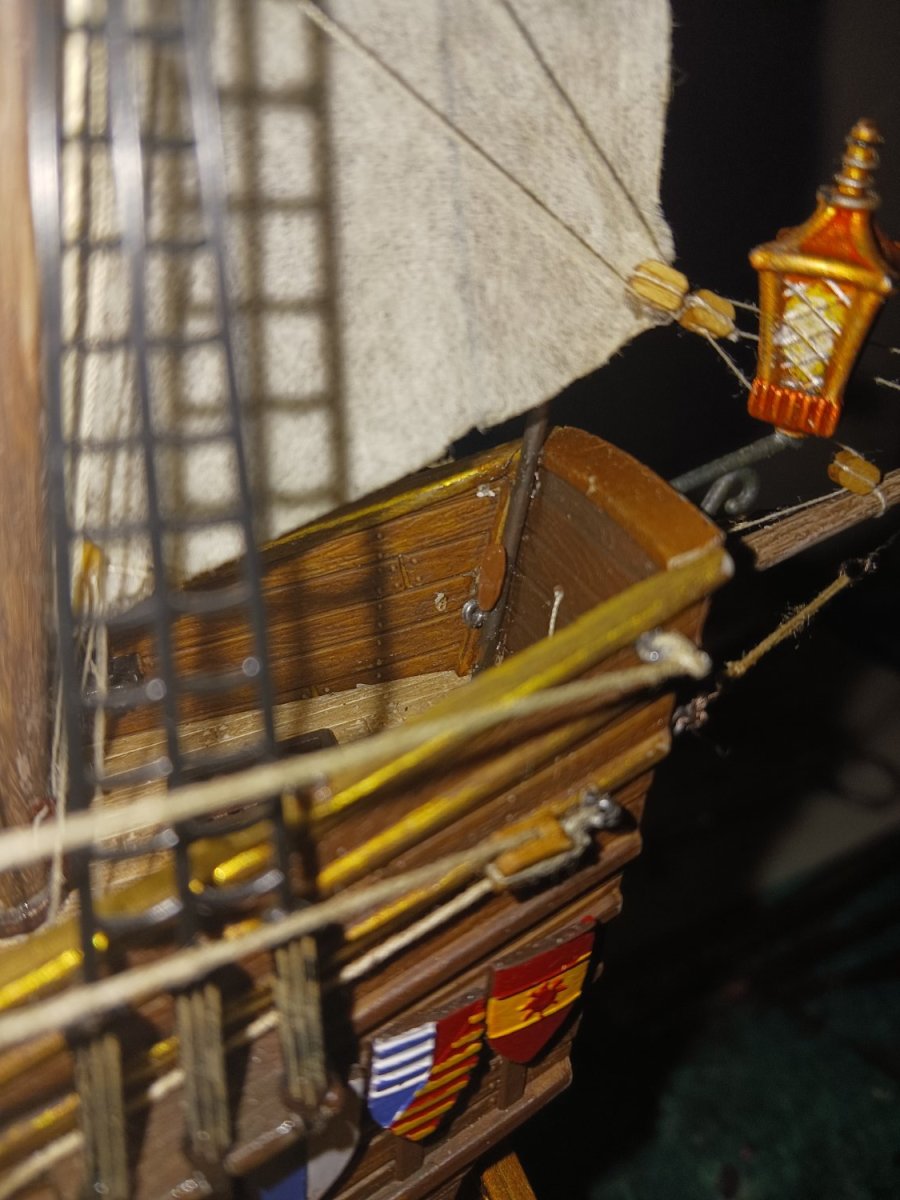
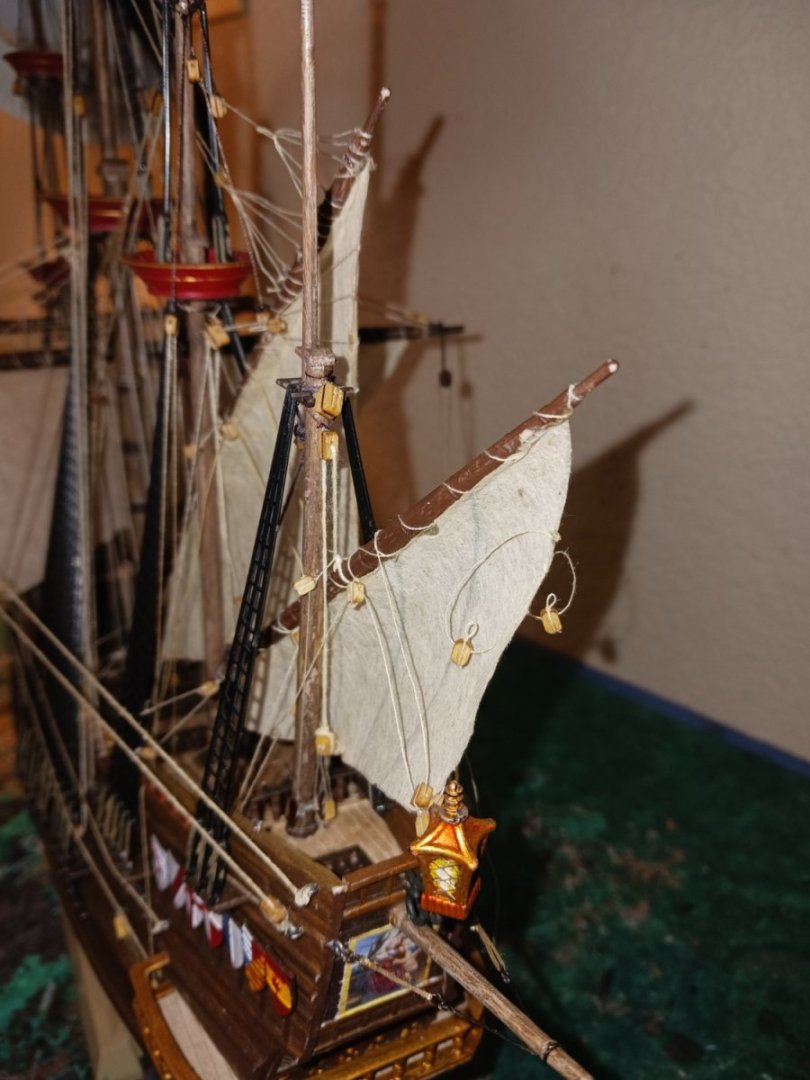
I think it's probably time to glue the flagpole in, which would conclude the work on the back of the ship, for now.
- 279 replies
-
- 1
-
-
- Spanish Galleon
- Imai
- (and 1 more)
-
I would do that, yes. However, i think it is too late for that, unfortunately. Painting the thread going forward would make it look much different than the other thread on the model, which would make the model look ugly and unorganized. However, when i end up doing my next model, all the lines on the ship will be painted with Folk Art Antiquing Medium.
-
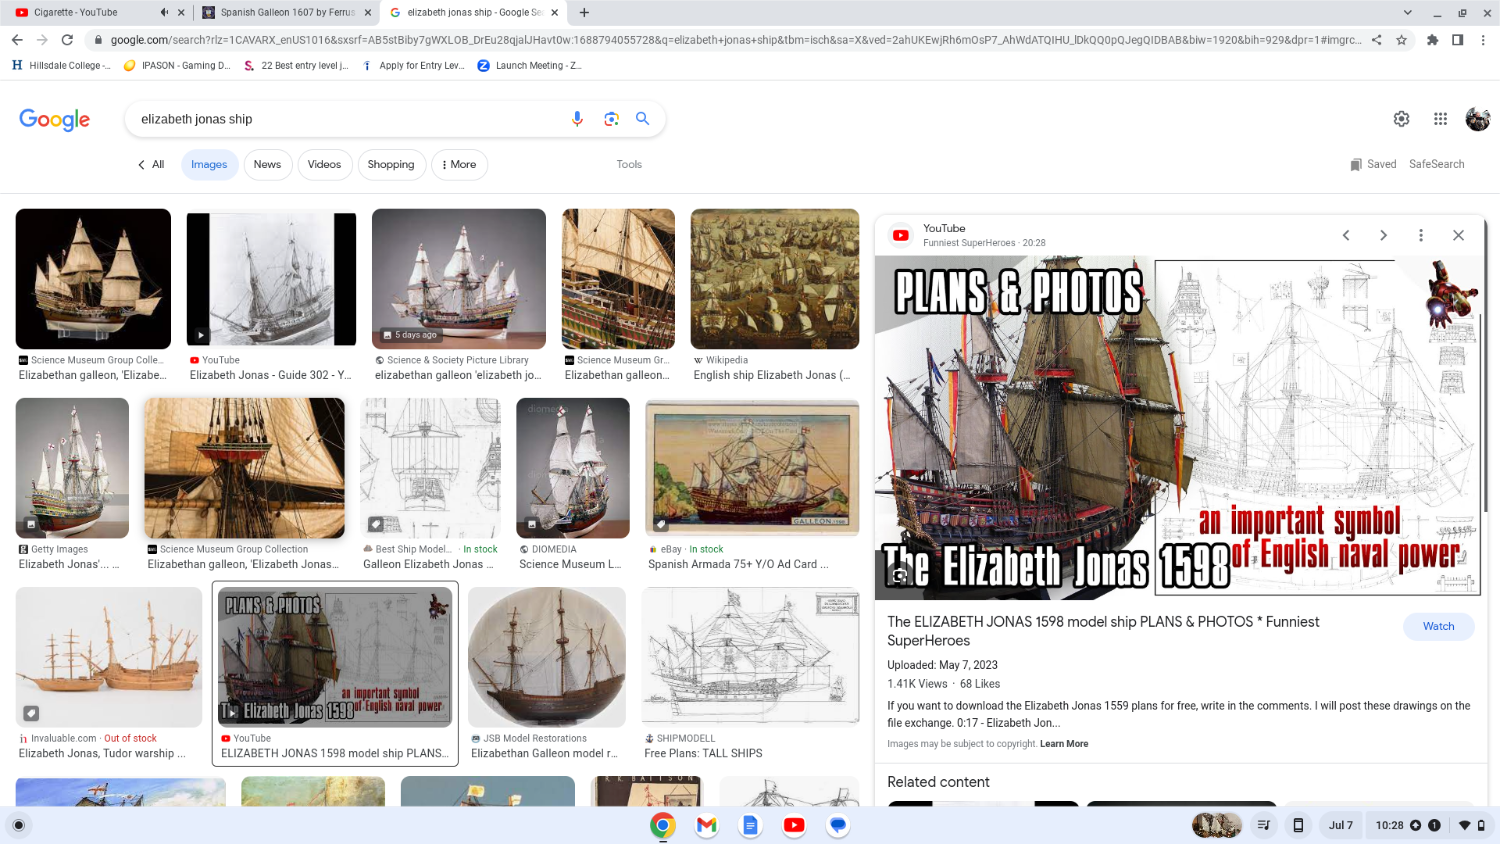
Found this when researching the Elizabeth Jonas, wonder whose model that is?

-
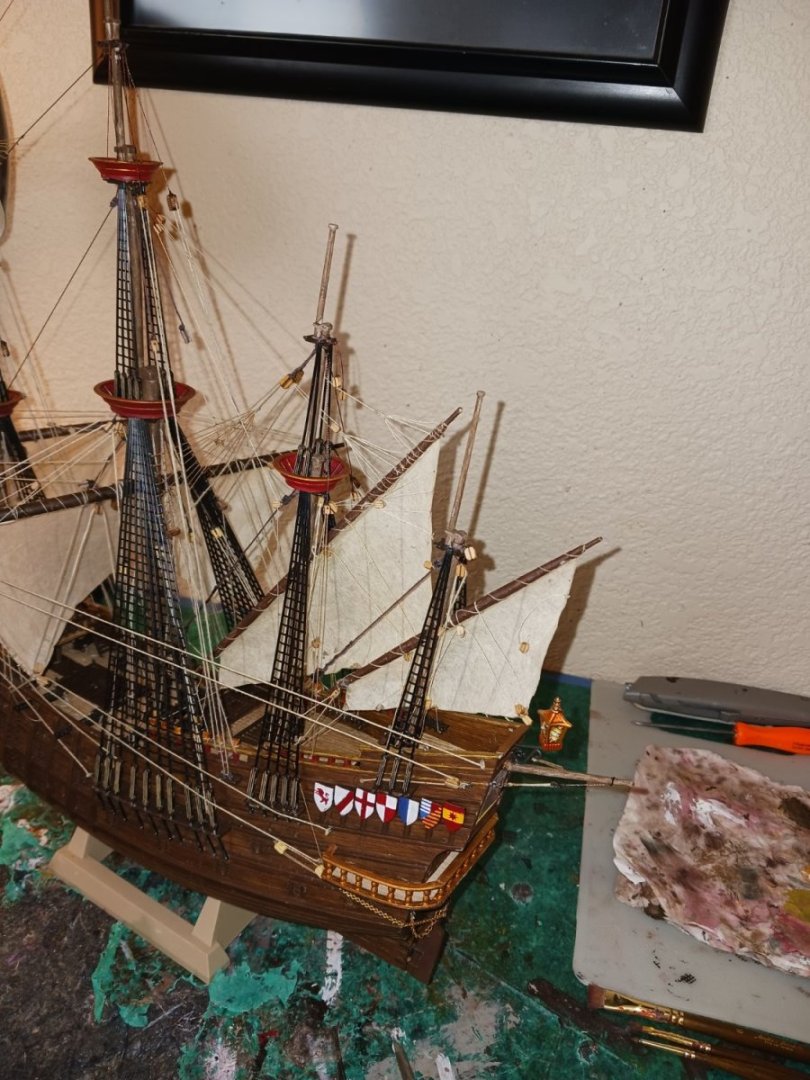
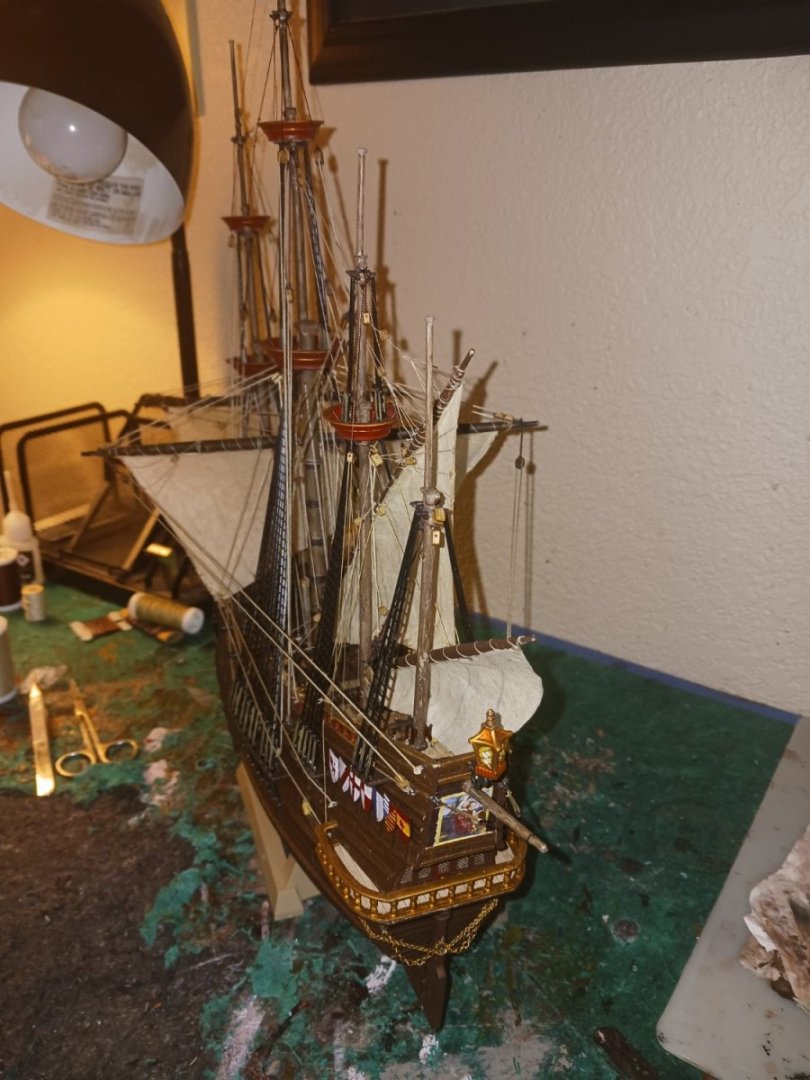
The flagpole is sitting in the corner nearest the camera, by the way.
-
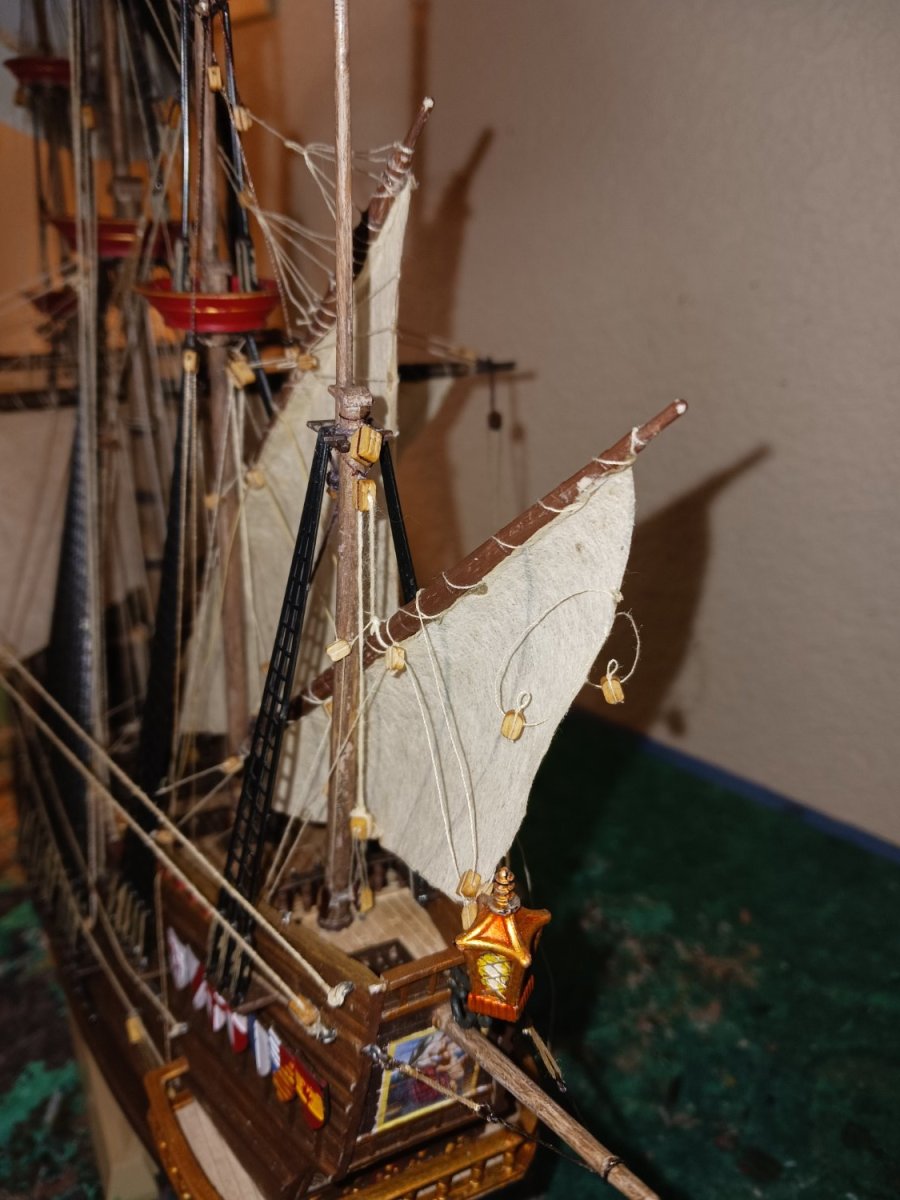
This is what i came up with: The flagpole is not glued in yet. (The martnets are supposed to be slack lines, so don't execute me for not gluing them)

- 279 replies
-
- 2
-
-
- Spanish Galleon
- Imai
- (and 1 more)
-
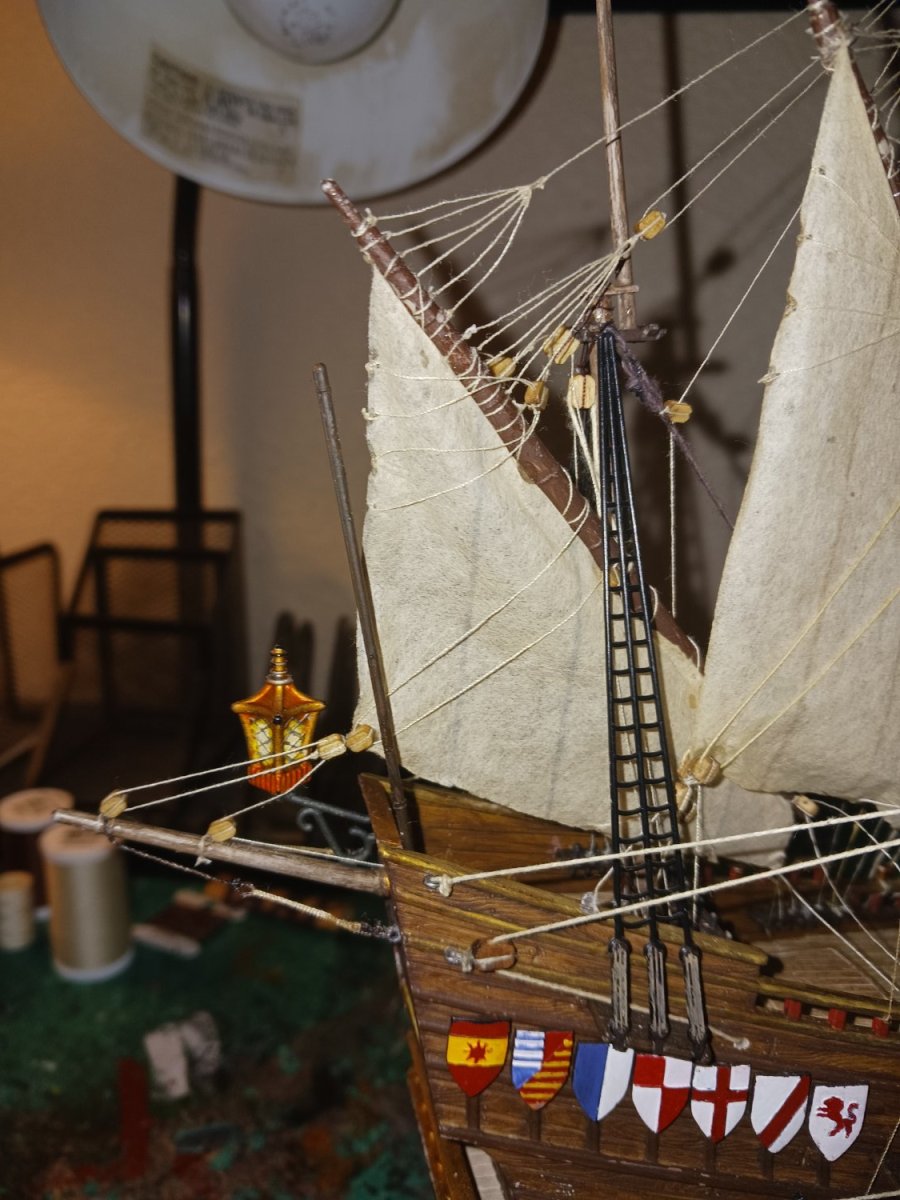
@kirill4 i found a way to rig the flagpole. However, there are not many sources for 4-masted galleons, so both ideas are likely equally plausible. Thanks for the CA glue trick!!
-
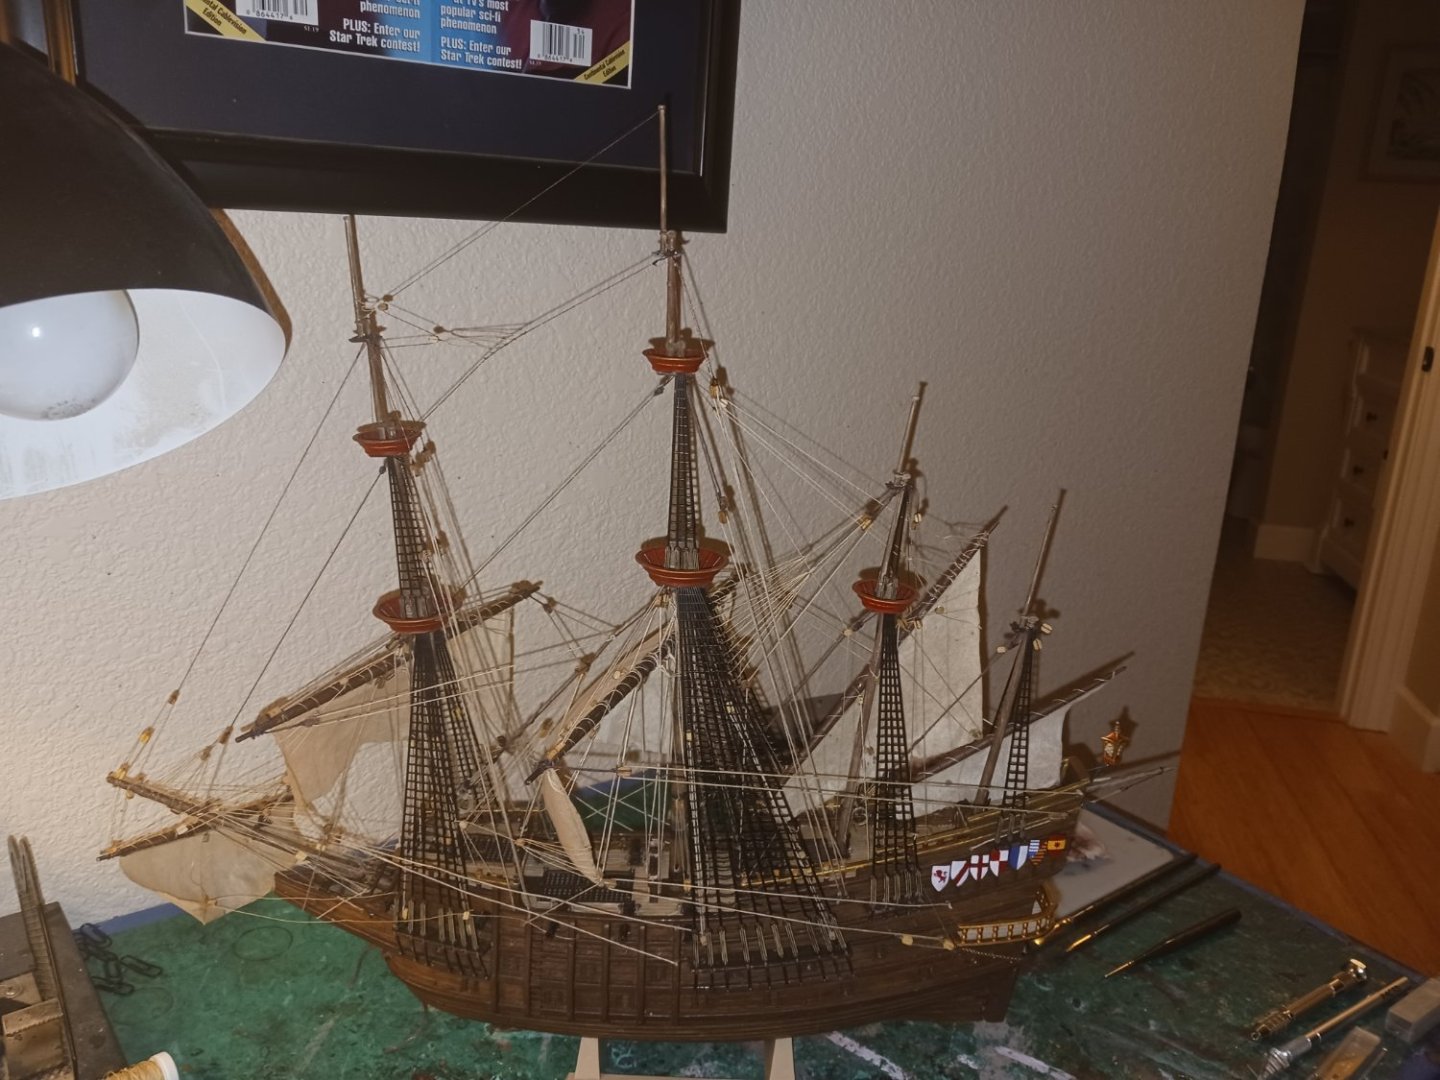
I tried Kirill's CA glue trick, and look at the difference! Clap all you want.

- 279 replies
-
- 5
-
-

-
- Spanish Galleon
- Imai
- (and 1 more)
-
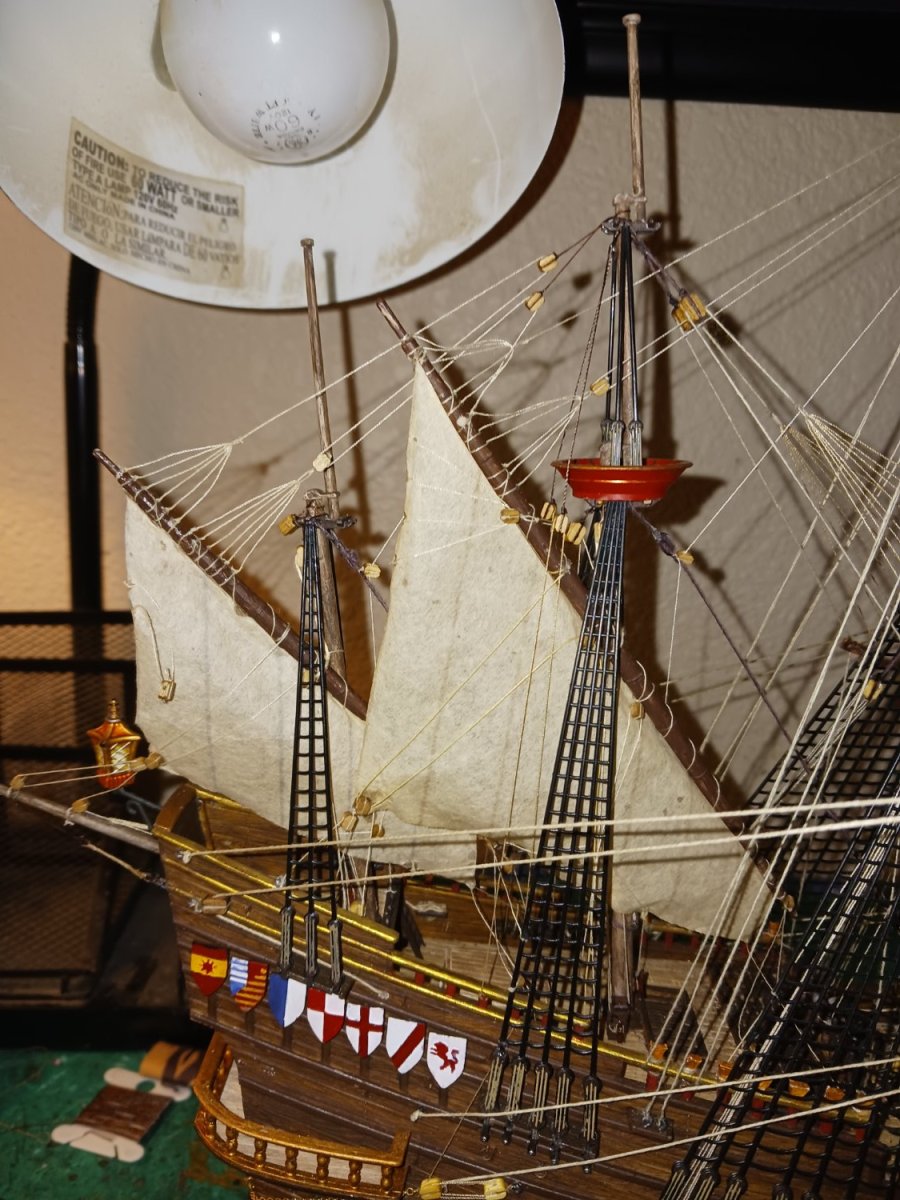
The bonaventure lateen sail is decently well on its way toward completion. However, one challenge has presented itself, that being how i am supposed to stick a long flagpole onto the stern of the ship on the starboard side. I have decided i would like to have it on the starboard side because of the way the wind is blowing. I would like the flag to be able to fly unopposed by the bonaventure sail or any of its rigging. On many of these paintings, the ship in question has an almost comically large stern flagpole, flying an equally large flag. However, these ships are very different to my vessel in one major way: They do not have bonaventure masts or sails. This is very important. The aft bulkhead on a four-masted galleon is an extremely crowded place, much more so than on a three-master. Thus, one must choose where the flag is to be flown at the stern. The crew must have actively transitioned the flag from port to starboard and vice versa, depending on the tack of the ship. Flying it in the center of the bulkhead would mean it would run seriously afoul of the bonaventure lateen's sheet. This problem did not present itself in Kirill's build owing to the fact that his ship's bonaventure sail was not tacked in any considerable way; mine is. I will have to figure out how long of a flagpole i can have without the flagpole truck fouling the top of the bonaventure lateen.
- 279 replies
-
- 1
-
-
- Spanish Galleon
- Imai
- (and 1 more)
-
Part of it is just the fact that that was just where the sail was sitting completely without reinforcement, just gravity.
- 279 replies
-
- 1
-
-
- Spanish Galleon
- Imai
- (and 1 more)
-
We already decided against that. The sail does not drag on the deck in that position, but that doesn't really matter as we collectively came to the conclusion that the sail will be properly set. Edit: upon looking at the pictures, it might actually drag on the deck.
-
Your capstan is quite well constructed. Should i thank you for that, or Airfix? It seems that even at a 6:1 mechanical advantage, the capstan would be needed. These anchors weighed several tons apiece.
-
So you're essentially saying this was an auxiliary device, and the real cat block had more sheaves?
-
Therefore, i propose something like this for the bonaventure sail: Would that work, or should i haul it all the way up like the mizzen?
- 279 replies
-
- 3
-
-
- Spanish Galleon
- Imai
- (and 1 more)
-
Here we go. I would like to bring something to your attention. In period artworks featuring galleons, oftentimes the lateen sail at the aft is allowed to billow out and rub against the shrouds, and is also lowered about halfway instead of being raised to the top.
- 279 replies
-
- 2
-
-
- Spanish Galleon
- Imai
- (and 1 more)
-
The single cat block does seem pretty impractical. However, the line may have been attached to the capstan and raised that way. Where is the capstan on the Vasa?