Ferrus Manus
-
Posts
1,407 -
Joined
-
Last visited
Content Type
Profiles
Forums
Gallery
Events
Everything posted by Ferrus Manus
-
 Please, stick around. I really want you to stay. You're a good friend, and an even better mentor. Even with the language barrier.
 -
Next build will be of a viking ship. That will be my playground to try out all your tips and tricks.
-
Michael and Kirill, the build has progressed too far for me to just rip everything out and redo it. However, i can take tips on how to improve what i already have done.
-
Any tips for how to paint thread, and with what?
-
Same thing i used on the mizzen rigging. All lines will be the tiny white thread. That is what i have at my disposal.
-
I already paint some of the threads before they go onto the model.
-
What types of thread do you use? are there any brands you like? I am using modelling thread, which is quite hairy. As i put together the bonaventure sail, i will use the CA technique. How would i go about painting threads, but not getting that paint on the sail and other threads?
-
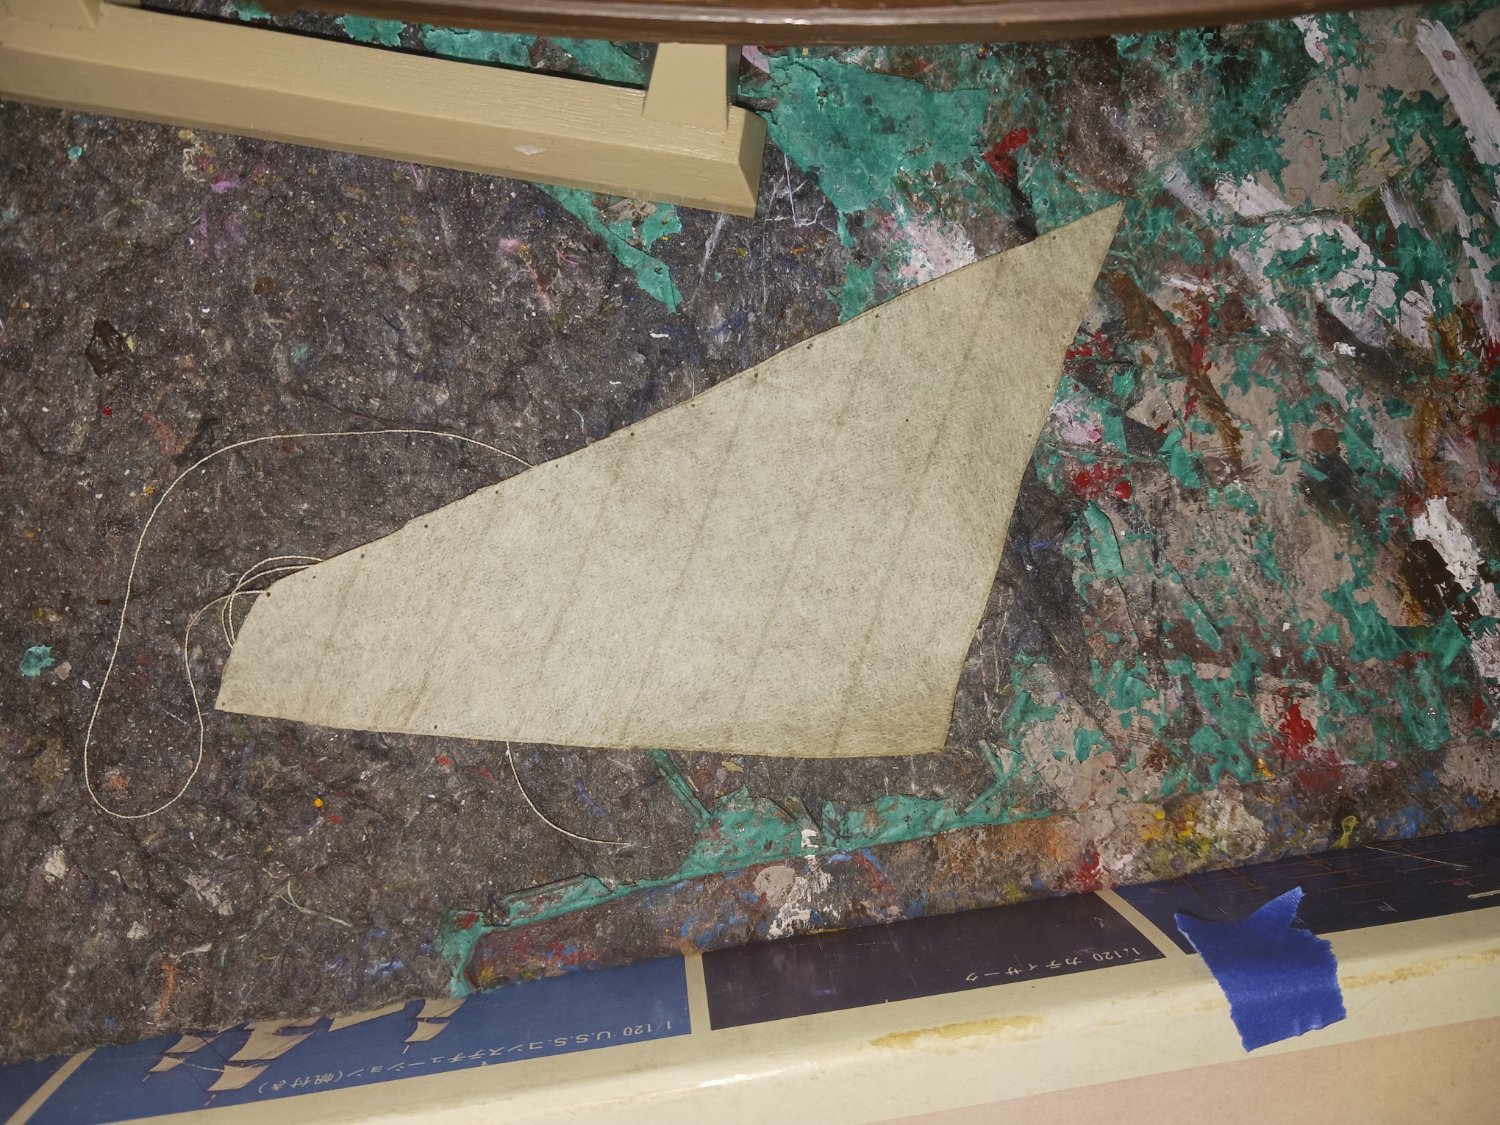
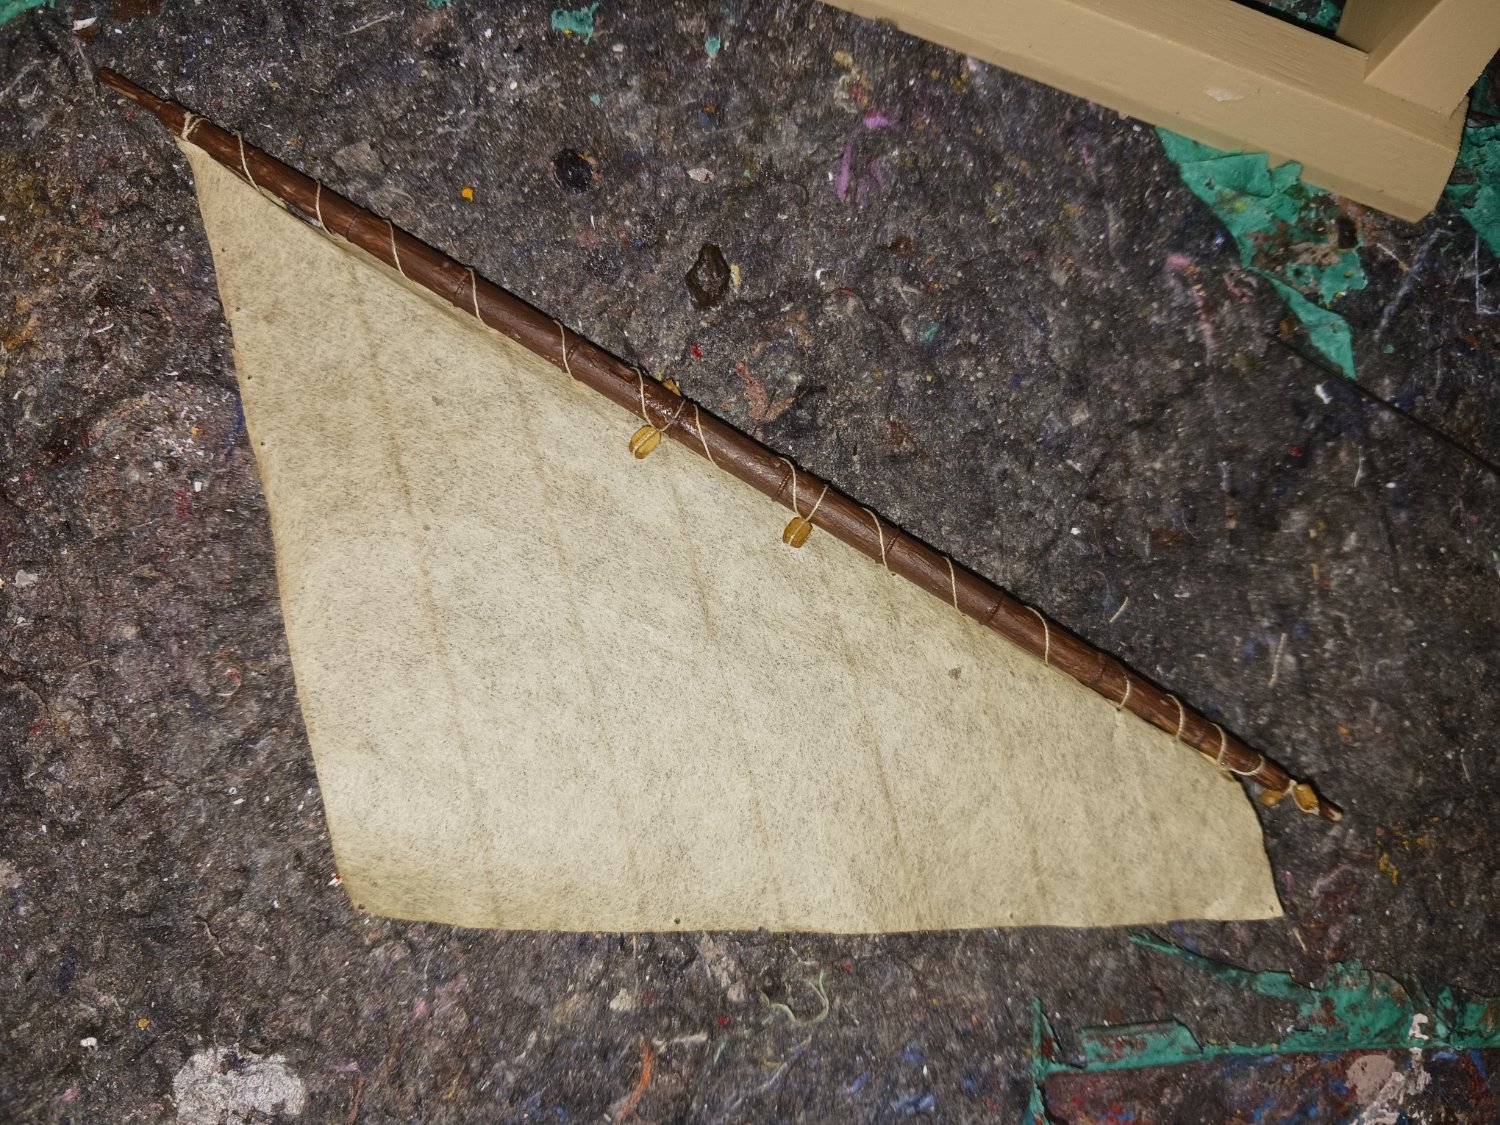
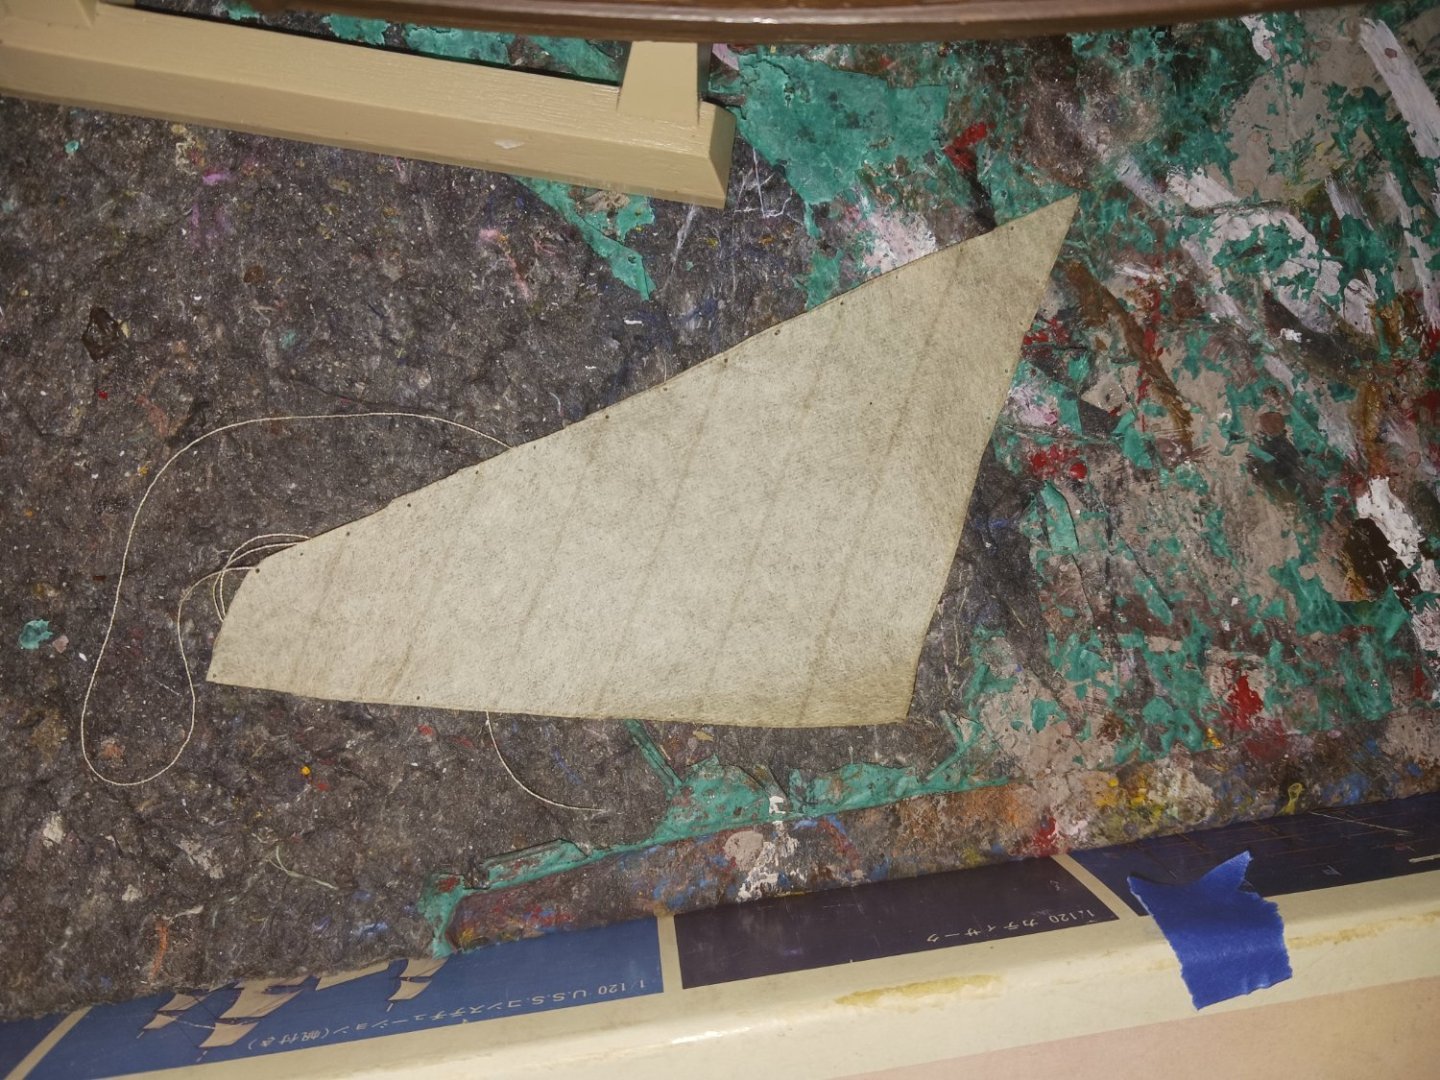
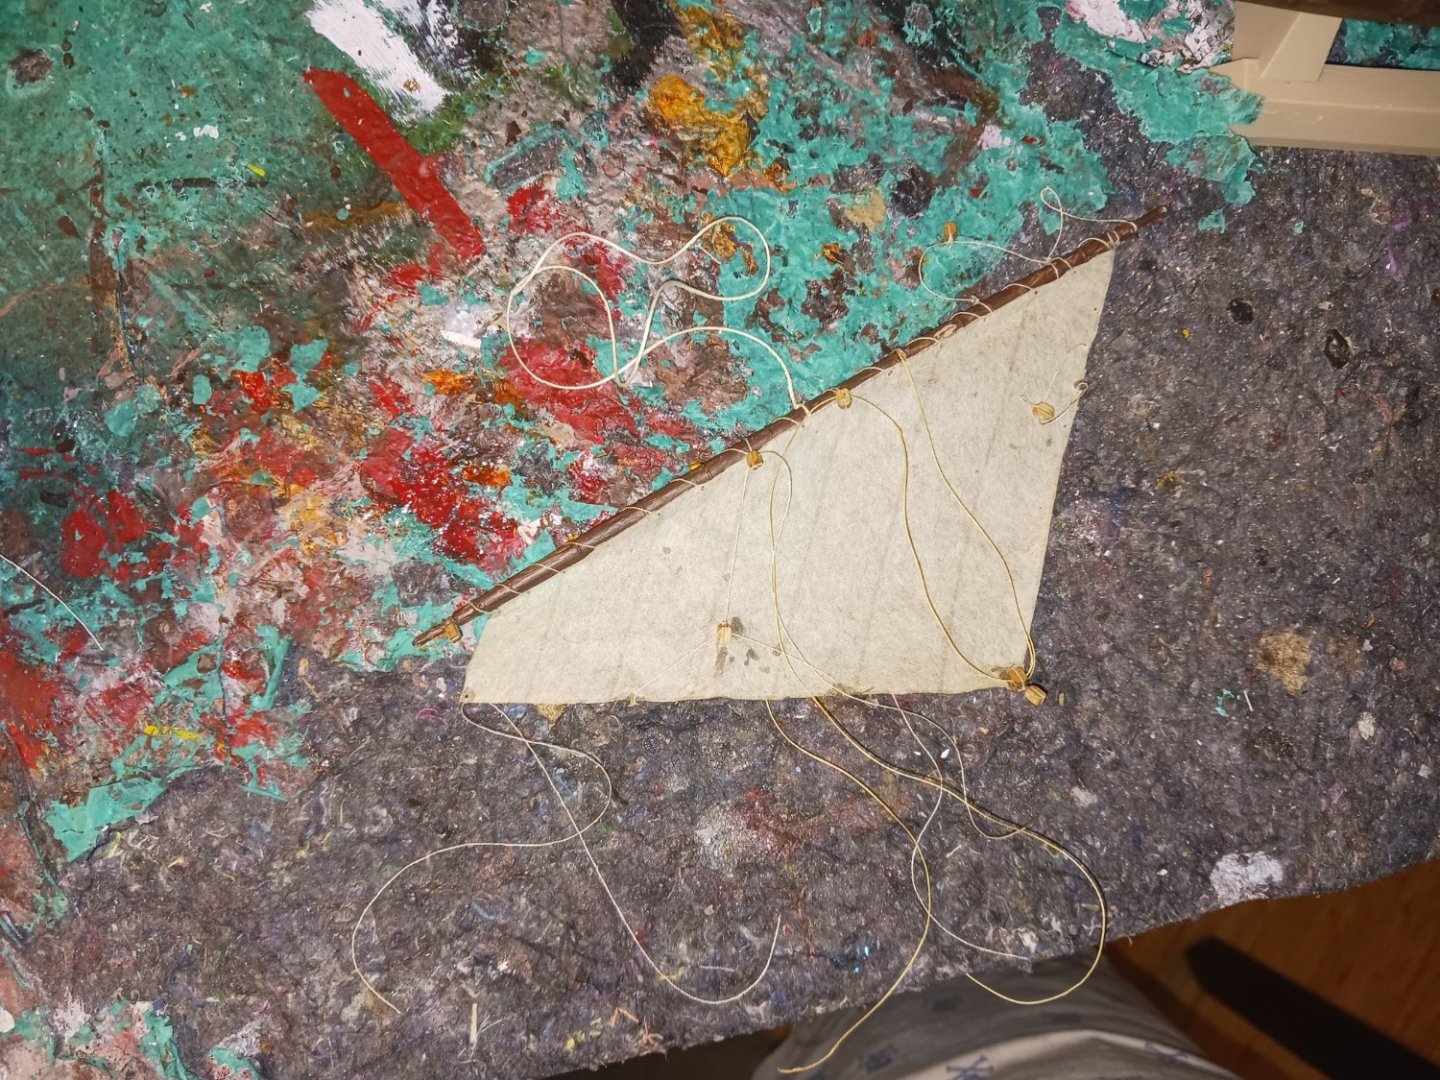
I am about to start on the bonaventure lateen sail. I have about four opportunities there to use CA to make really good crow's feet.
- 279 replies
-
- 2
-

-
- Spanish Galleon
- Imai
- (and 1 more)
-
I see it now! Thank you for showing me. A lot of times, i don't understand until someone tells me. I will do that with the bonaventure lateen sail.
-
Oh, your build log! I think that got lost in translation. I looked there and found where you did the crow's feet for your mizzen lateen sail.
-
At first i did not know where to find where you did your crow's feet, but then i searched and found it.
-
Remember, I do not know many of these tips and tricks, and i have so much more to learn from you. However, if this is a waste of your time, i will leave and do my model alone. I enjoy your presence very much, because i always learn something whenever you are here.
-
Ah! Thank you! I will do that next time i have to do crow's feet. By the way, i did not understand your first message. Thank you for the advice, however. I will try it, i have plenty of CA. I sometimes use CA to straighten lines, and i always use it on my knots.
-
How did you imitate gravity on your lines? Как вы имитировали гравитацию в своих линиях?
-
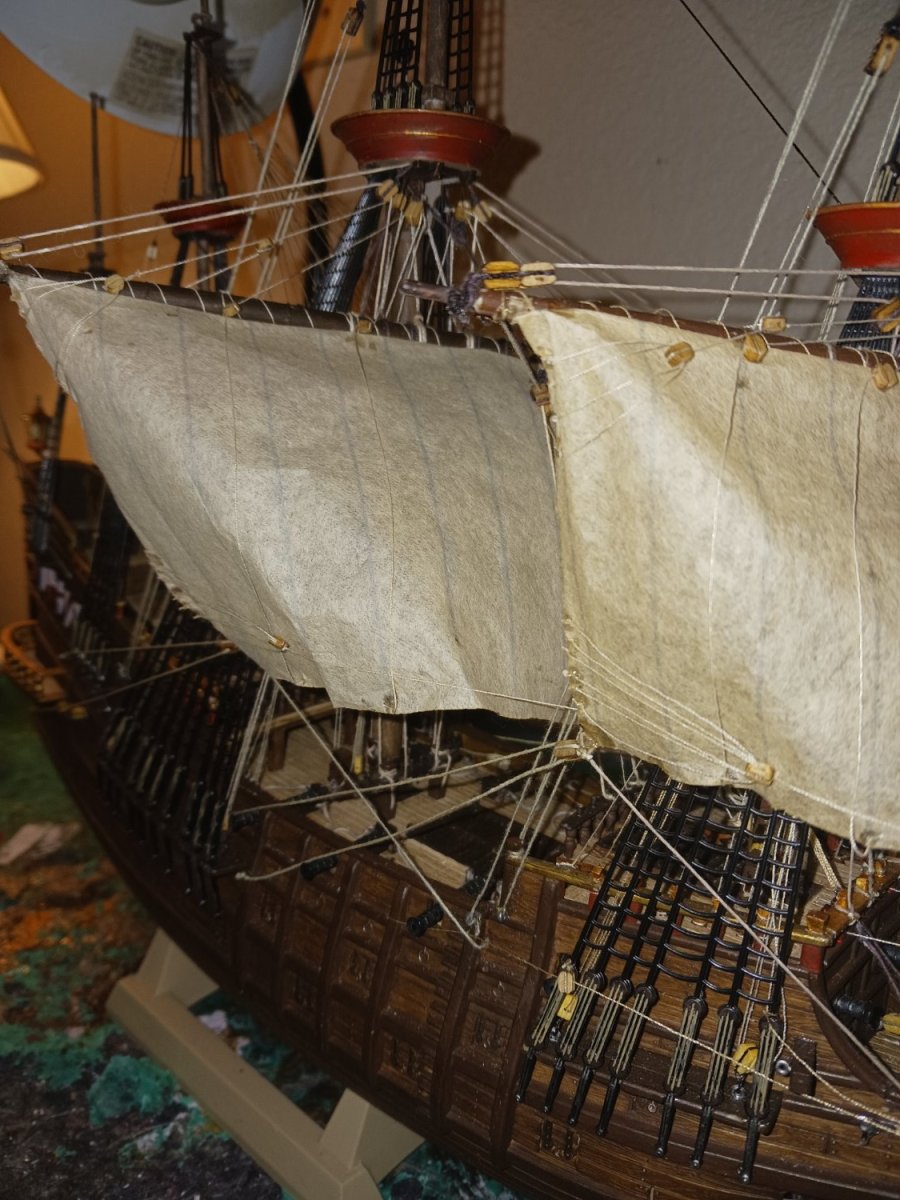
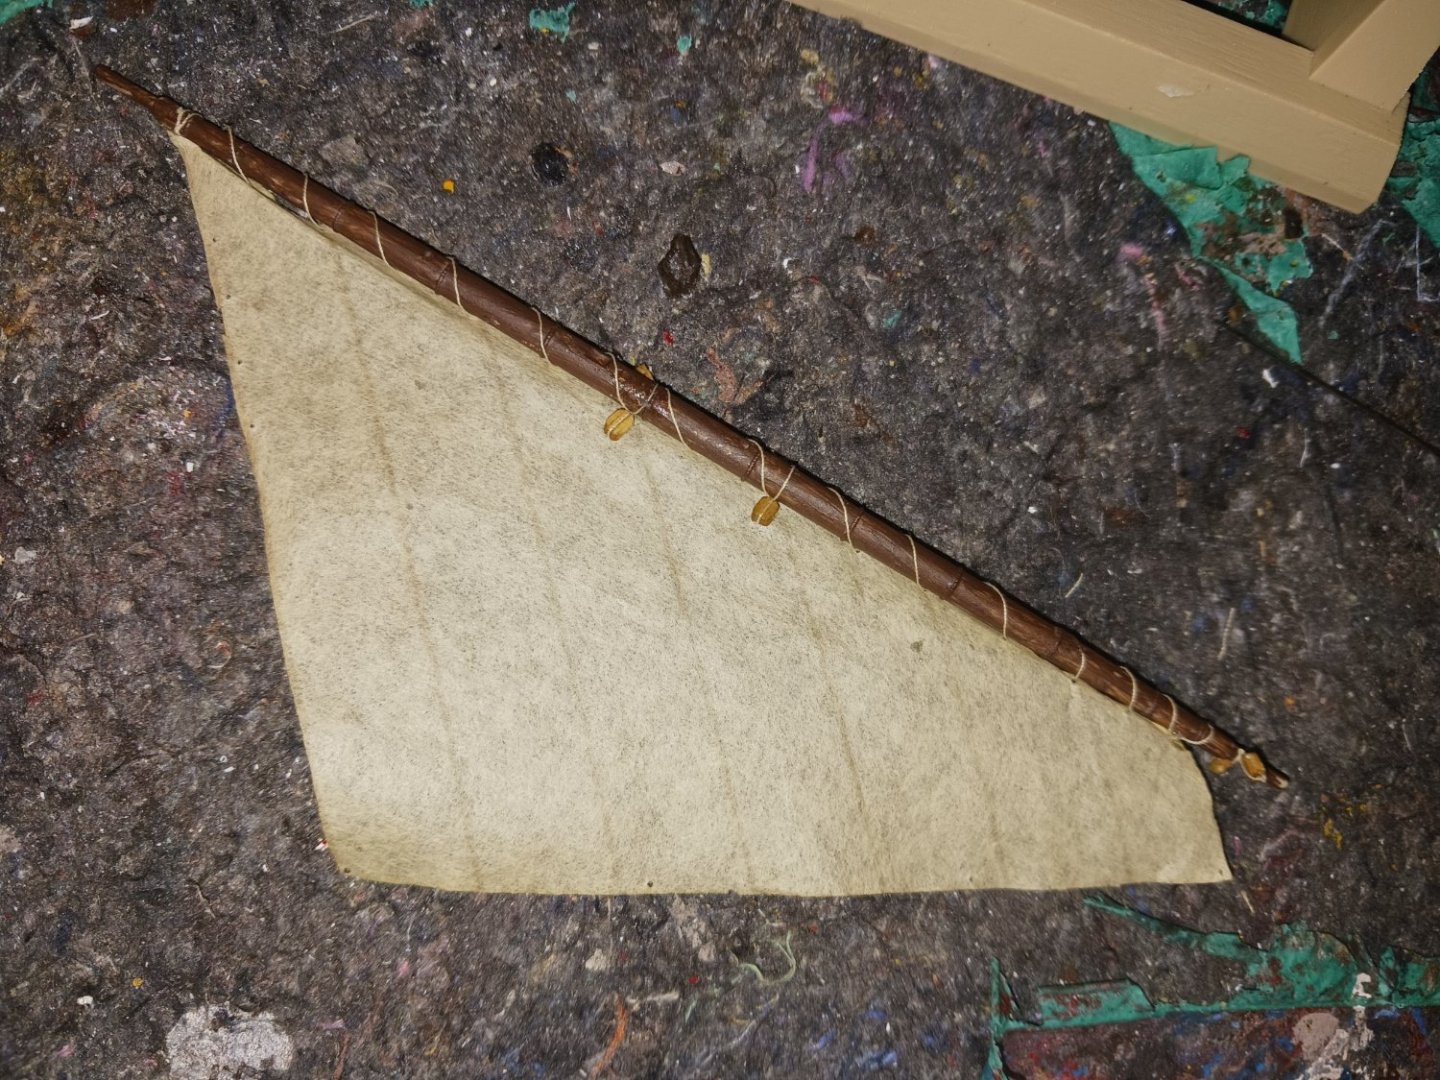
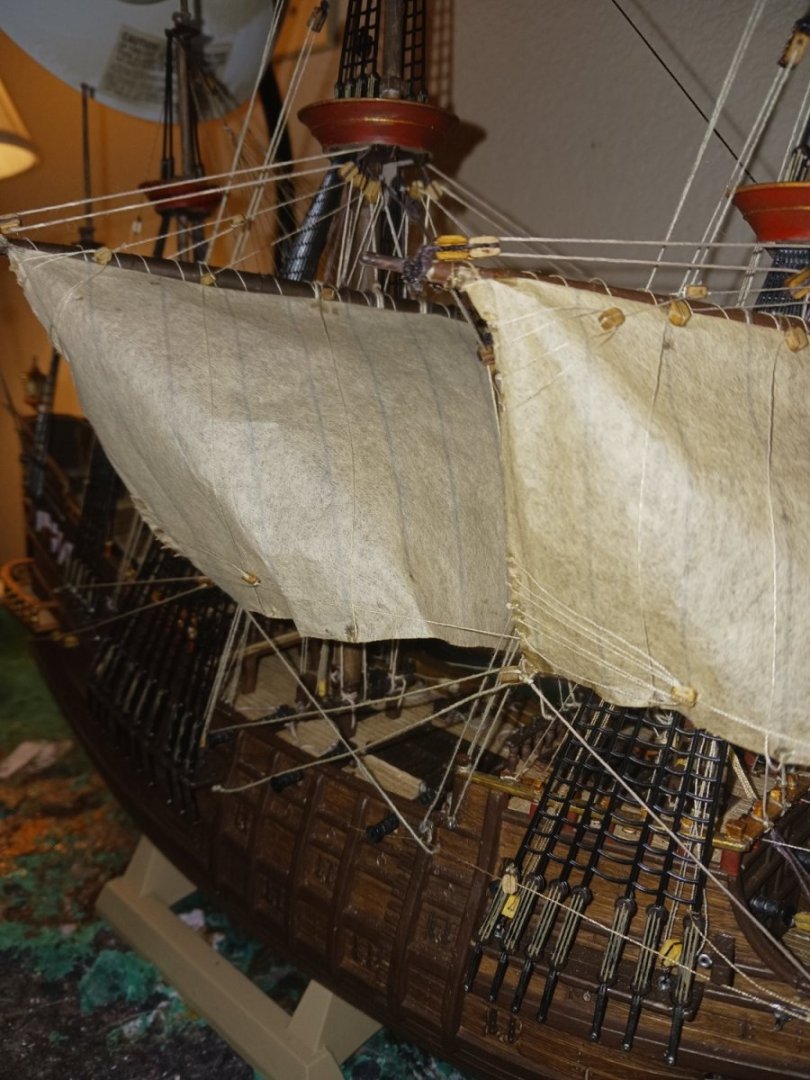
@kirill4 @72Nova I know you guys have a massive appetite for crows' feet, just like me. So, here you go. That's the mizzen lateen sail, done.
- 279 replies
-
- 3
-
-
- Spanish Galleon
- Imai
- (and 1 more)
-
Oh, i'm not brave enough for that yet.
-
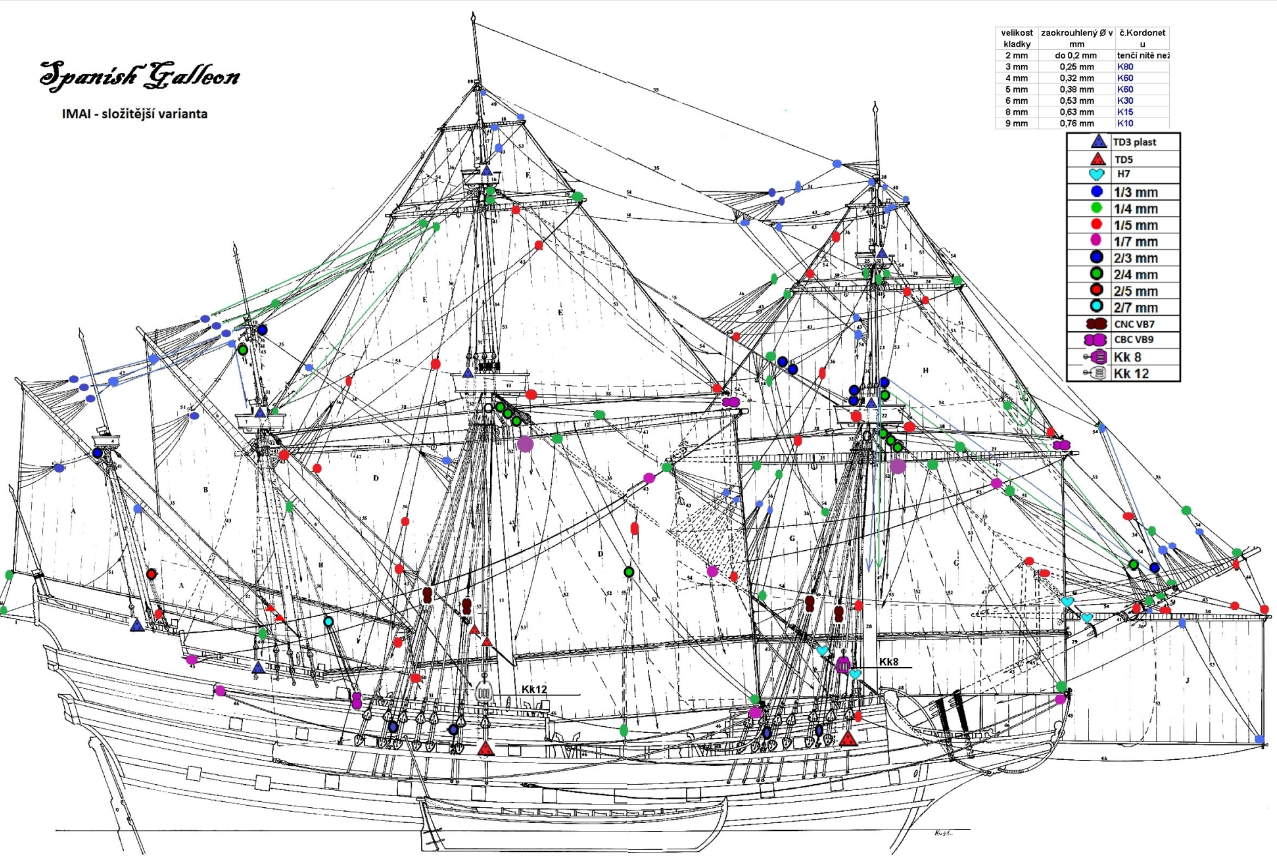
This is the rigging diagram i am using, for the most part:
- 279 replies
-
- 1
-
-
- Spanish Galleon
- Imai
- (and 1 more)
-
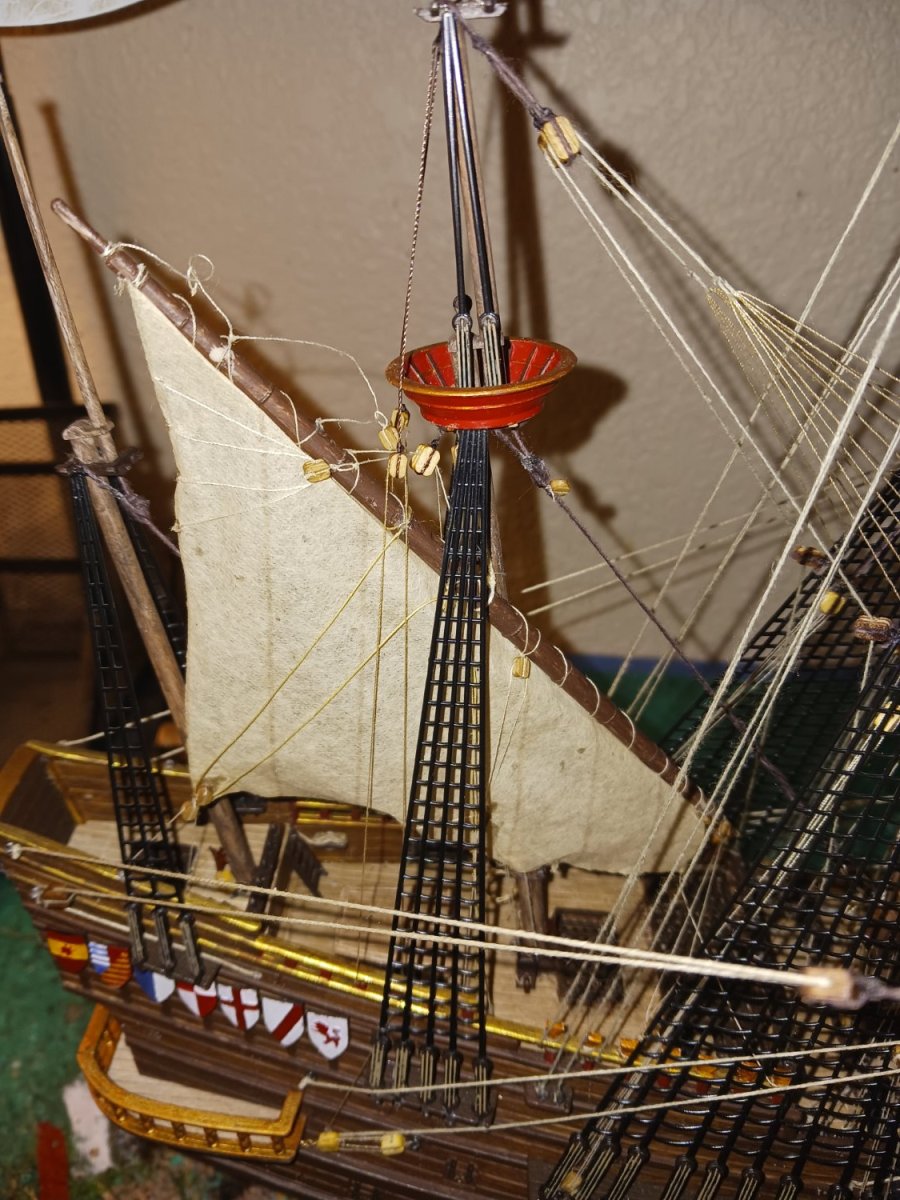
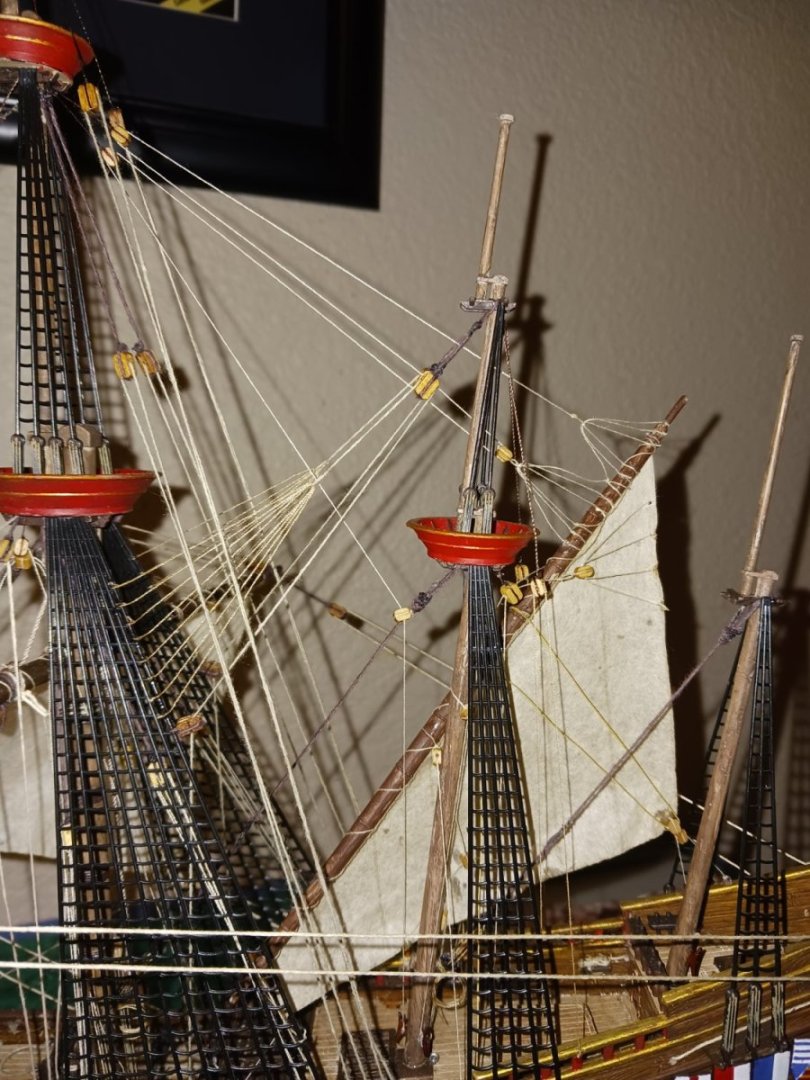
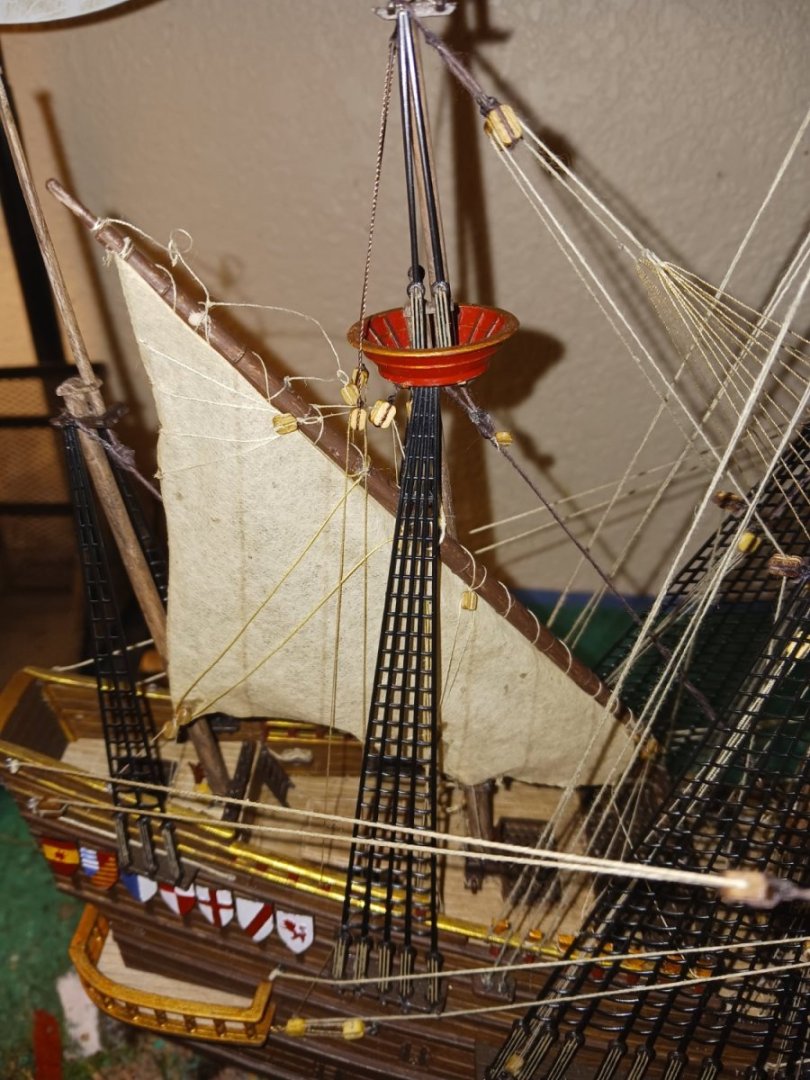
More Kirill bait here! The mizzen Lateen sail is almost done! All that's left to do is the peak halyard.


- 279 replies
-
- 4
-
-
- Spanish Galleon
- Imai
- (and 1 more)
-
I would greatly appreciate it if you guys would come hang out at my Galleon build. Maybe we could throw a party on the deck! @72Nova (my name is also Michael) Your work is only eclipsed by the one and only Kirill. It genuinely looks so much larger than it really is, which makes it all the more impressive. To be honest, your ropework is absolutely incredible. You two would make an amazing duo, and i have much to learn from you.
-
Kirill!!! I cant believe you're back!! How was your fishing trip? My galleon is waiting for you. You certainly are a sight for sore eyes.
-
I kind of feel bad continuing the build before @kirill4 checks my work. We'll wait for his approval. Lots has changed since he was last here.
-
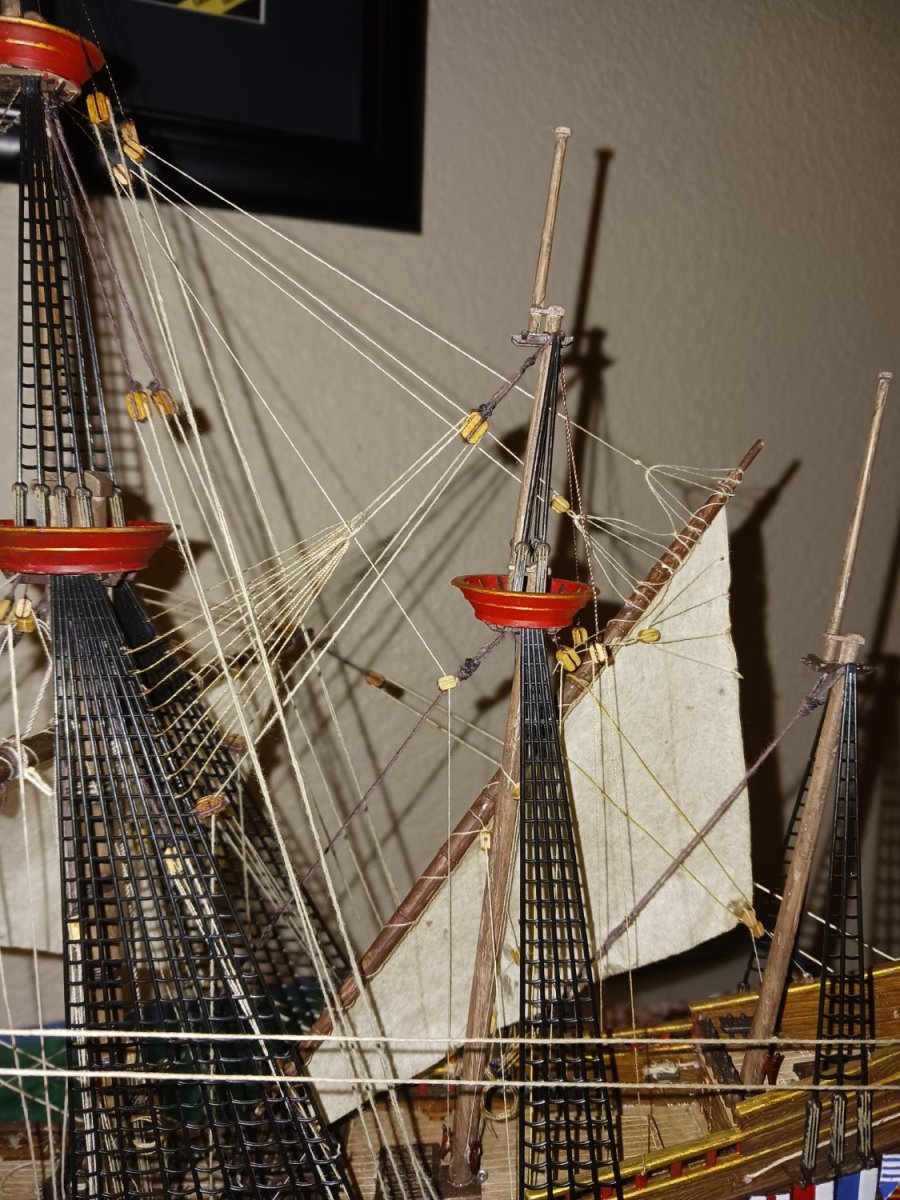
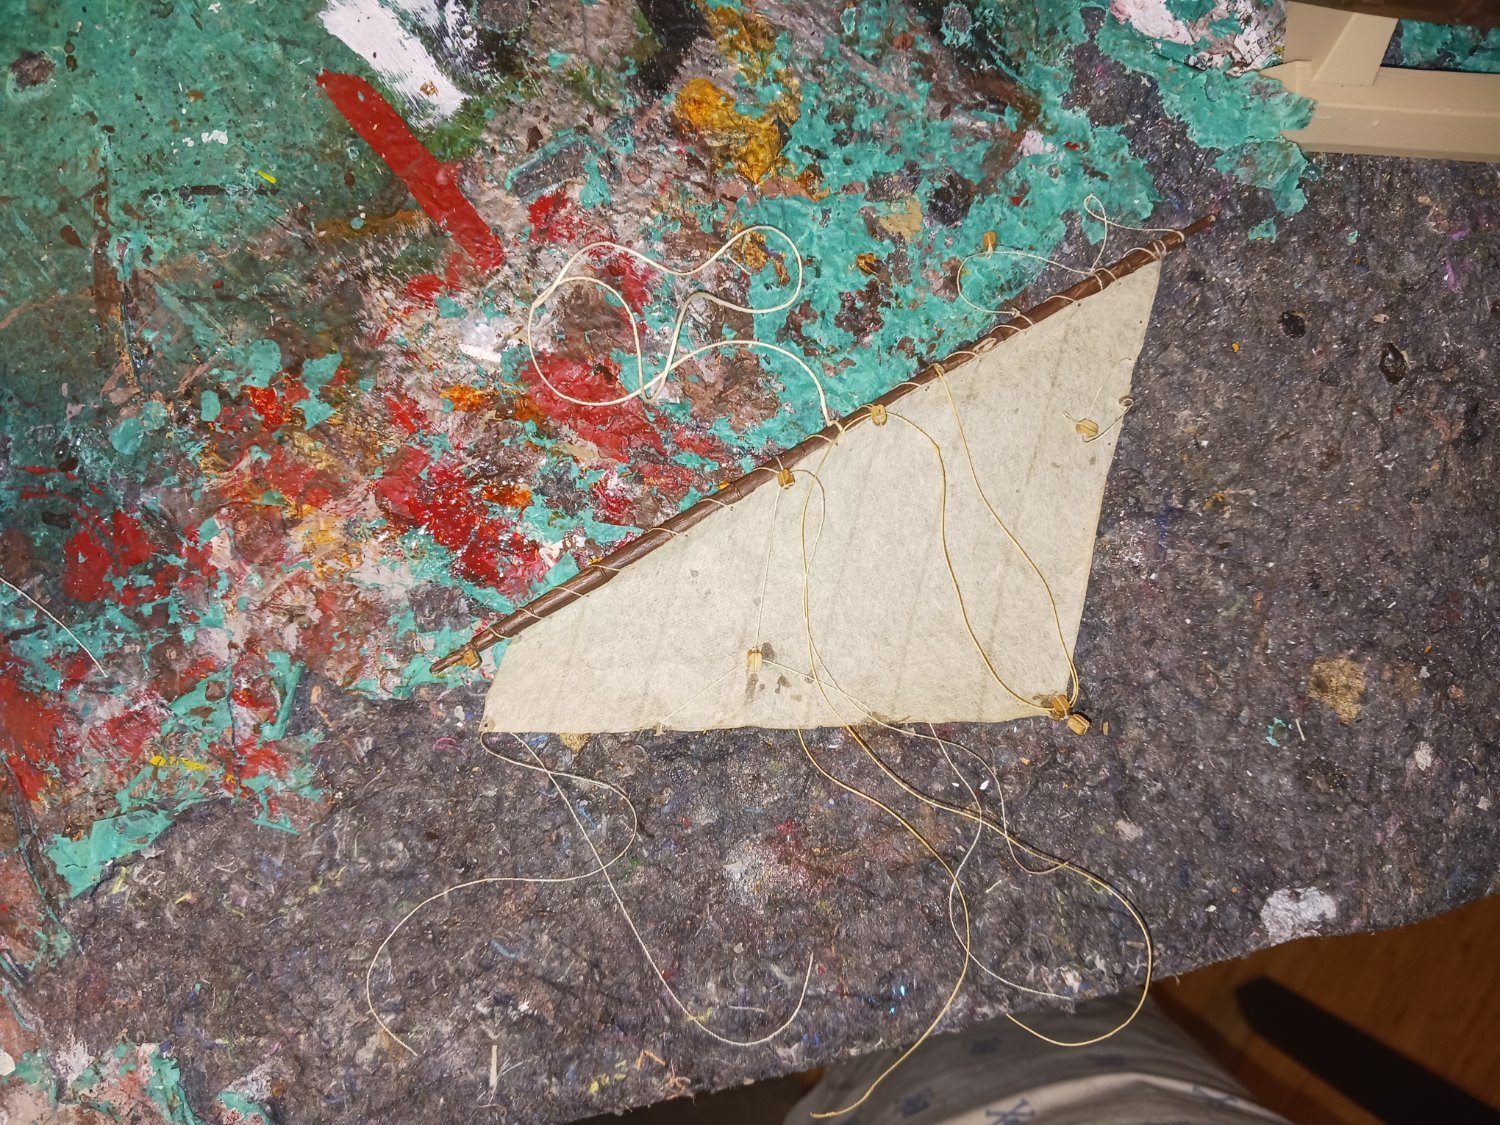
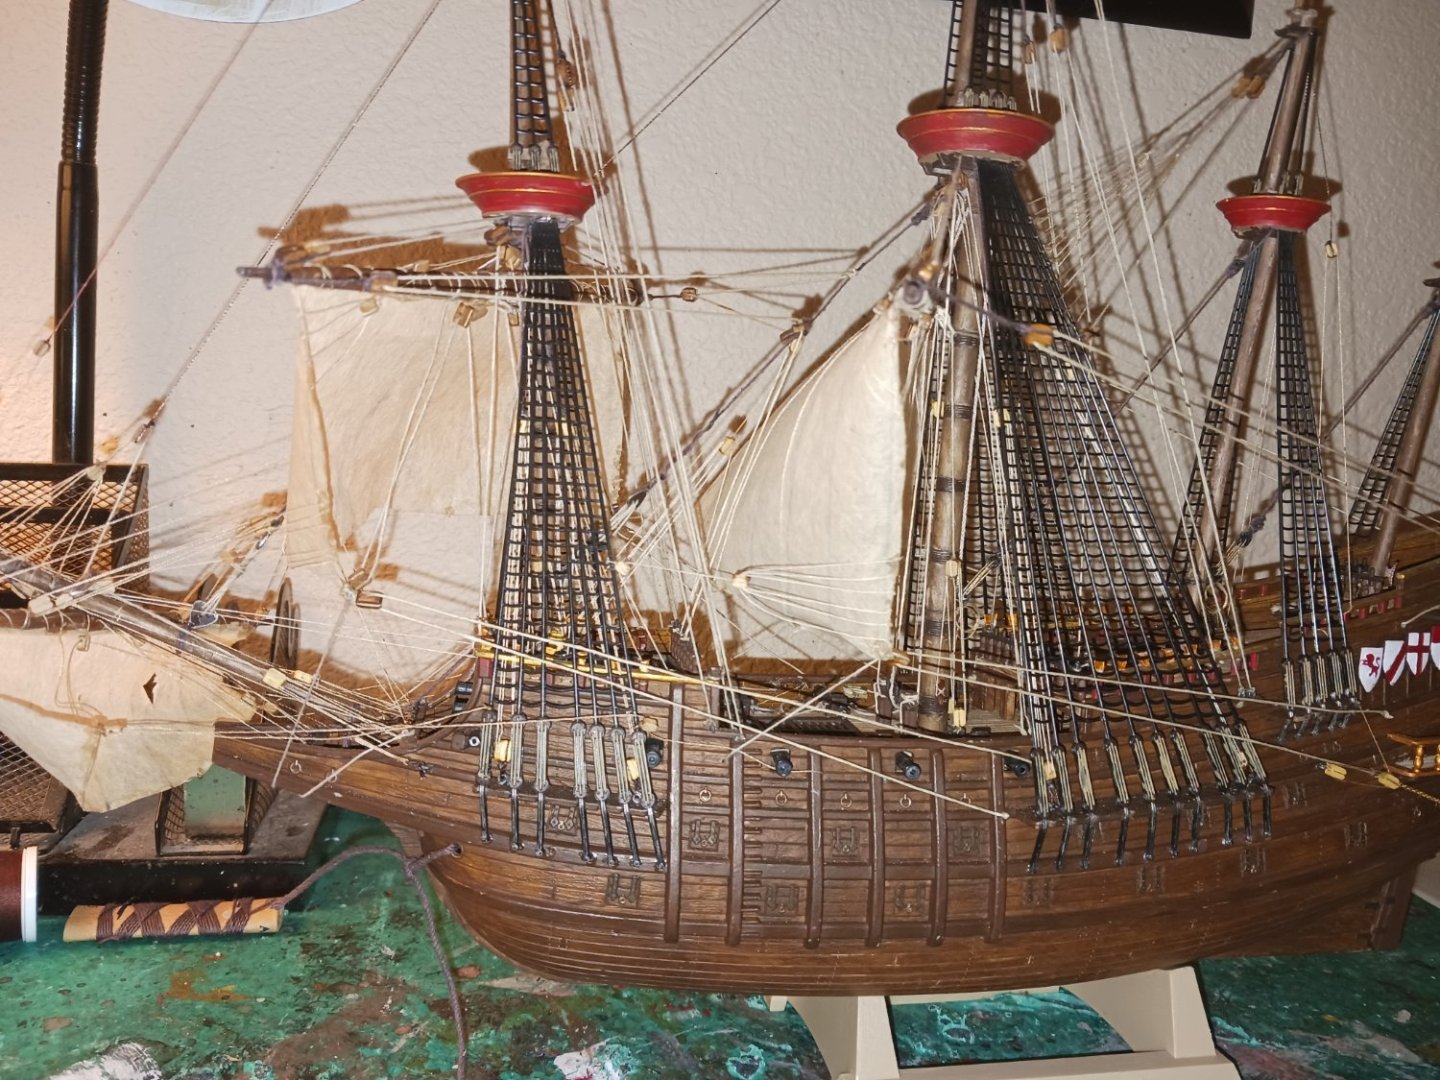
Over the last two days, i rigged the lines for the mizzen lateen sail. The reason i rigged the lines now instead of on the ship was the issue of room on the ship. As we go progressively aft and up on the ship, it gets narrower and narrower. This issue of room also boils down to the massive number of shrouds on the main mast. At least i have enough room to belay everything.
- 279 replies
-
- 4
-
-
- Spanish Galleon
- Imai
- (and 1 more)
-
Greetings from Ukraine from Igmar.
Ferrus Manus replied to Igmar's topic in New member Introductions
Welcome to MSW!! I look forward to seeing your builds. Feel free to ask questions and, of course, show off your talent! Perhaps you would like to visit my Galleon? I look forward to further interactions with you very much. -
Where have you been?
-
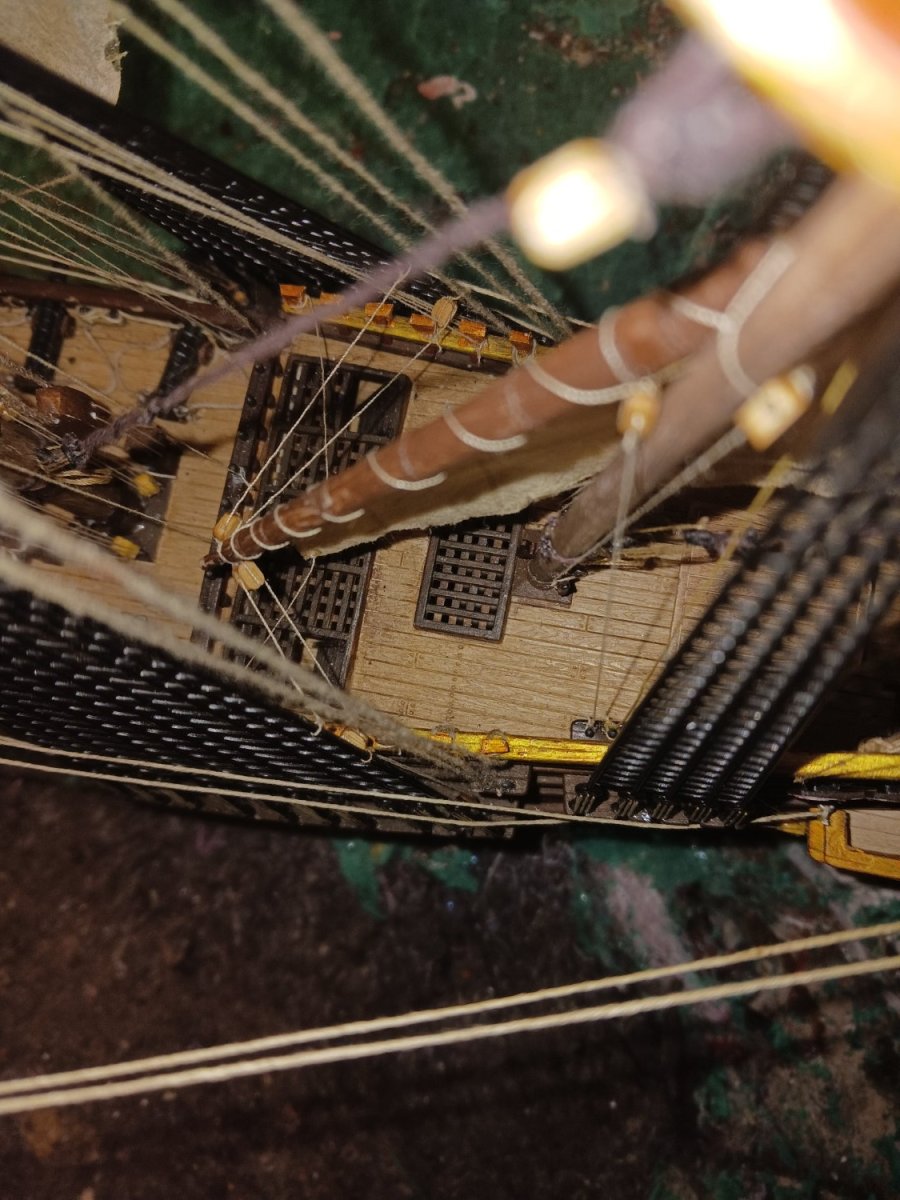
This is the finished mainyard, after the martnets and bowlines were completed. I actually had to stop belaying lines on the rails just in front of the sterncastle bulkhead, as it just got too inaccessible. I opted instead for the bulkhead rail itself. If only i had an inch tall mini-me to help me out. Got that nice feel of a legitimate contemporary painting. What i genuinely love about this model is that it legitimately shows an action scene, instead of the sails and rigging just sort of hanging there. Personal preference.

- 279 replies
-
- 5
-
-
- Spanish Galleon
- Imai
- (and 1 more)