HOLIDAY DONATION DRIVE - SUPPORT MSW - DO YOUR PART TO KEEP THIS GREAT FORUM GOING!
×


HIPEXEC
-
Posts
2,698 -
Joined
-
Last visited
Content Type
Profiles
Forums
Gallery
Events
Everything posted by HIPEXEC
-
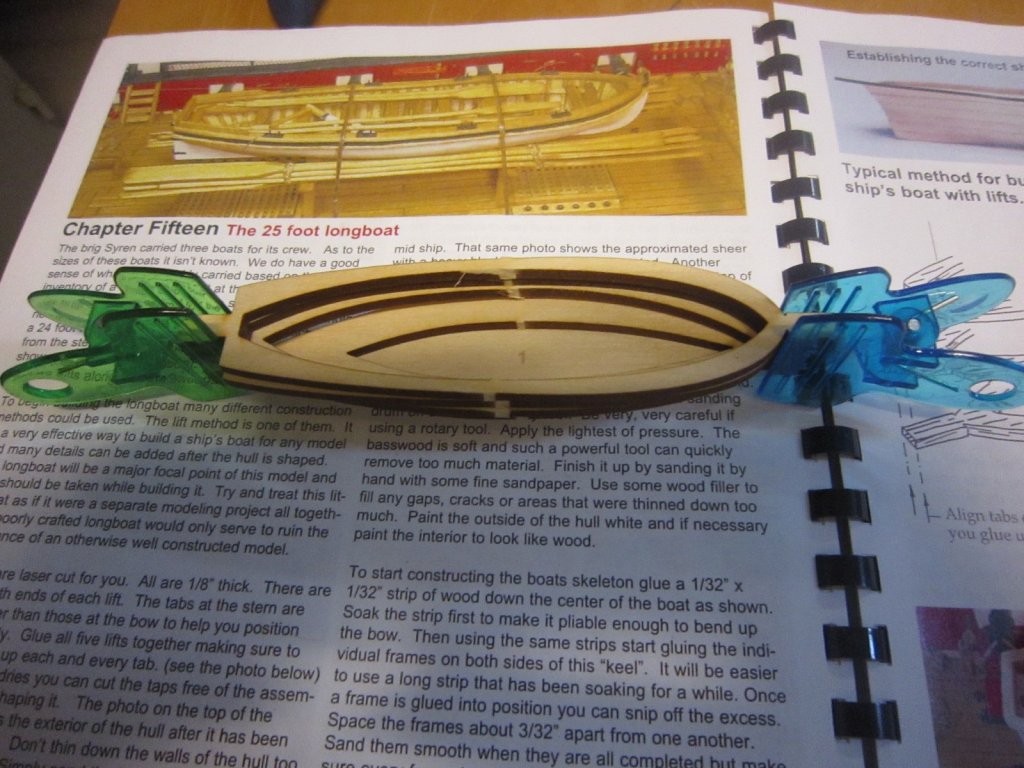
 The frame is going very slowly. One piece at a time.
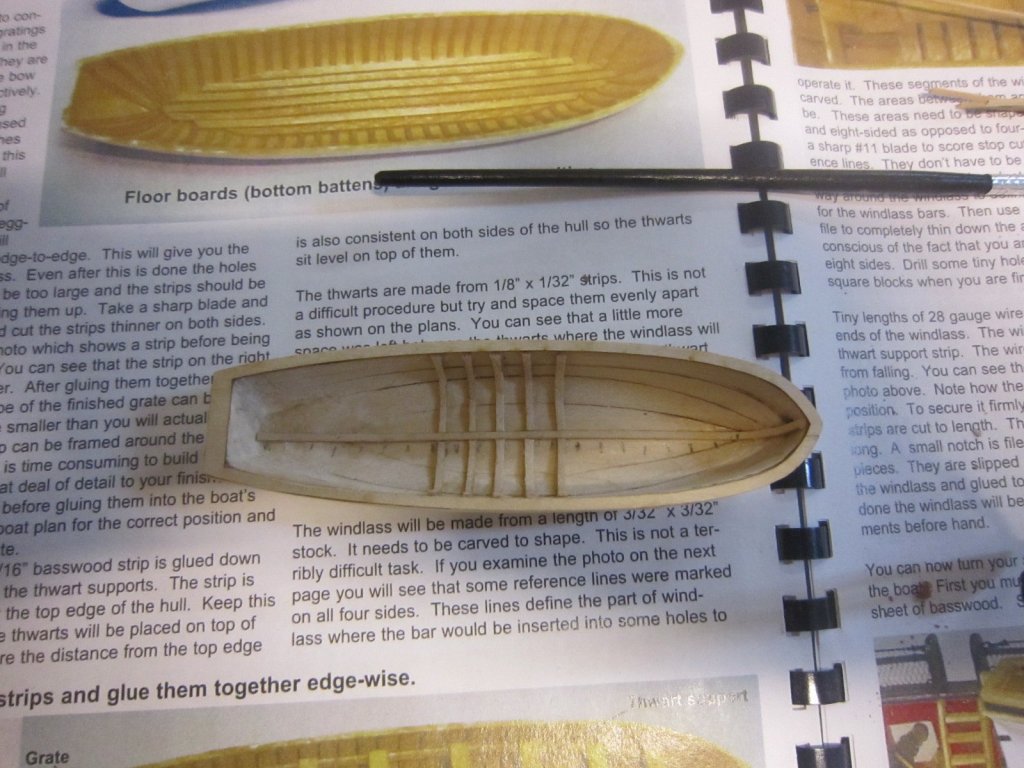
- 1,135 replies
-
- 5
-

-
- model shipways
- syren
- (and 2 more)
-
I'll look for it. I have stage three cancer so I know what you mean. I want to build a plastic model of an aircraft carrier I flew combat missions off of.
-
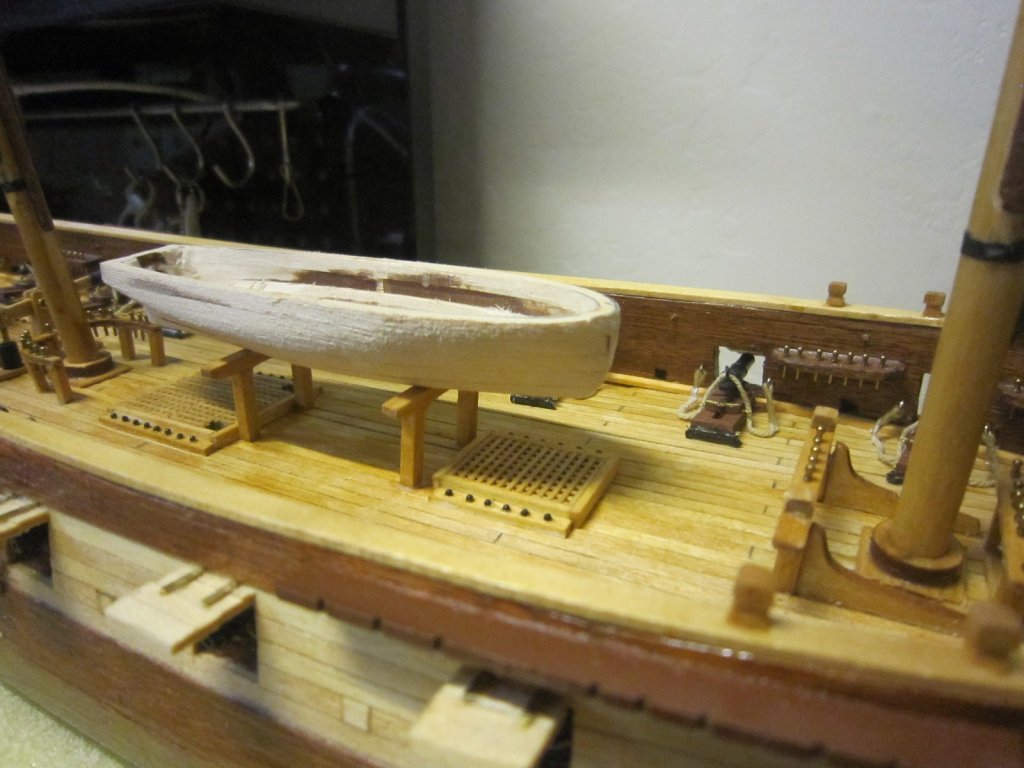
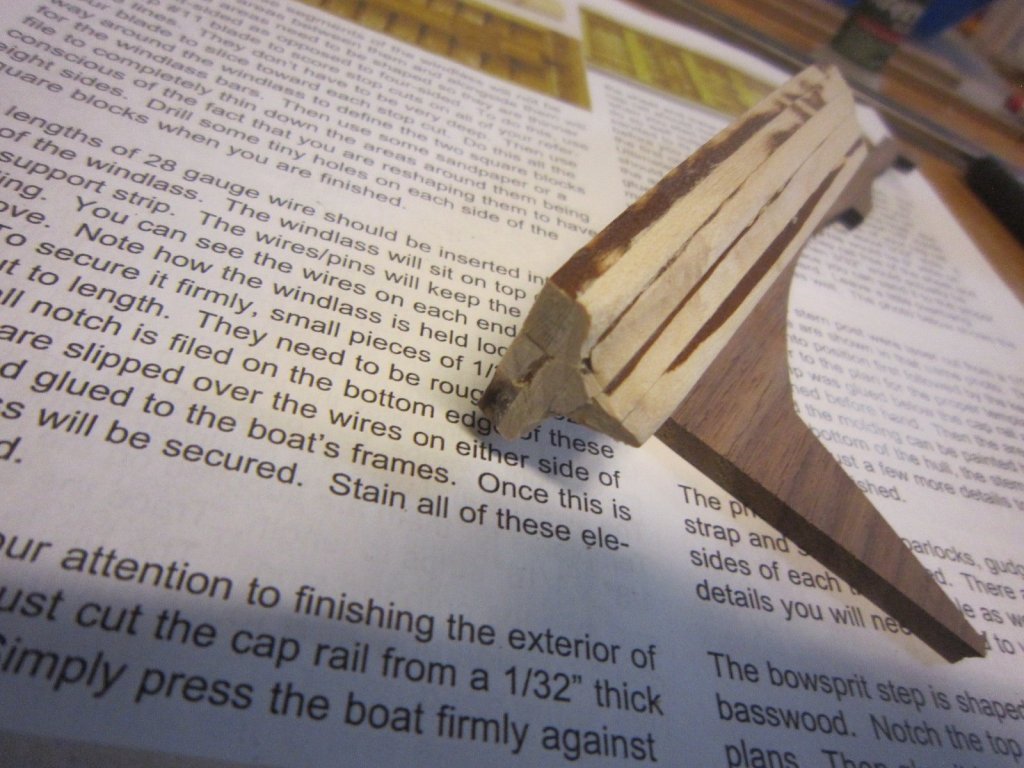
I'm starting the longboat's frame or skeleton. I sanded the hull so much I can see daylight through some spots and there are still some charlines?

- 1,135 replies
-
- 5
-
-
- model shipways
- syren
- (and 2 more)
-
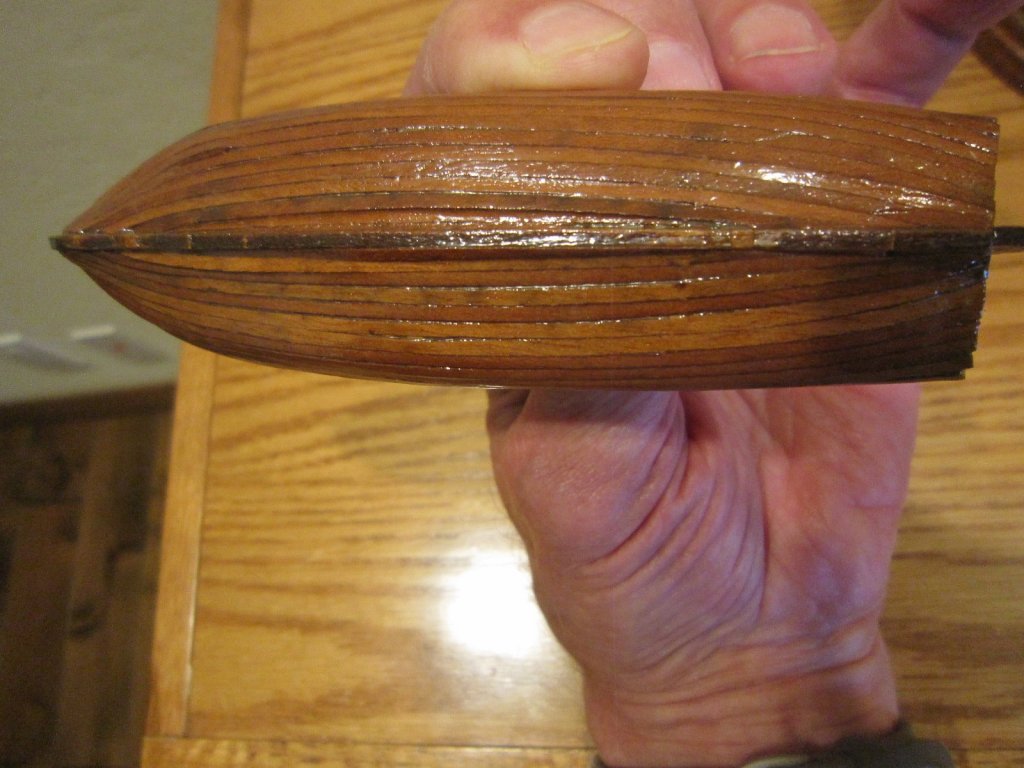
Still sanding the longboat. Hull is getting very thin. I have to be careful.

- 1,135 replies
-
- 5
-
-
- model shipways
- syren
- (and 2 more)
-
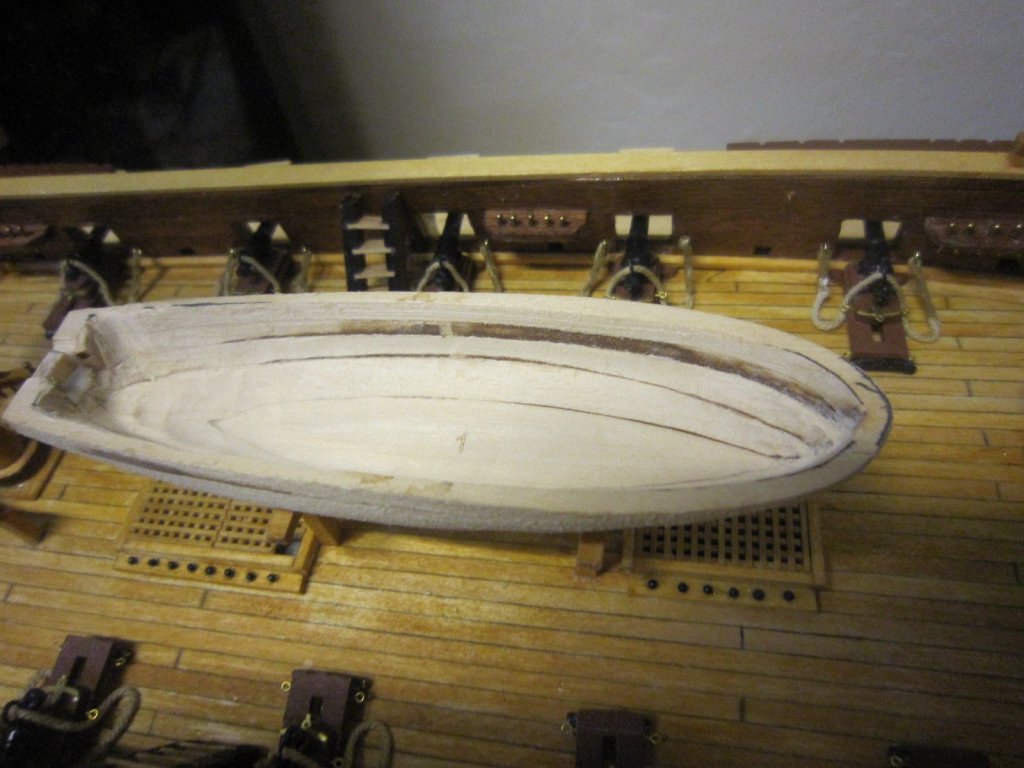
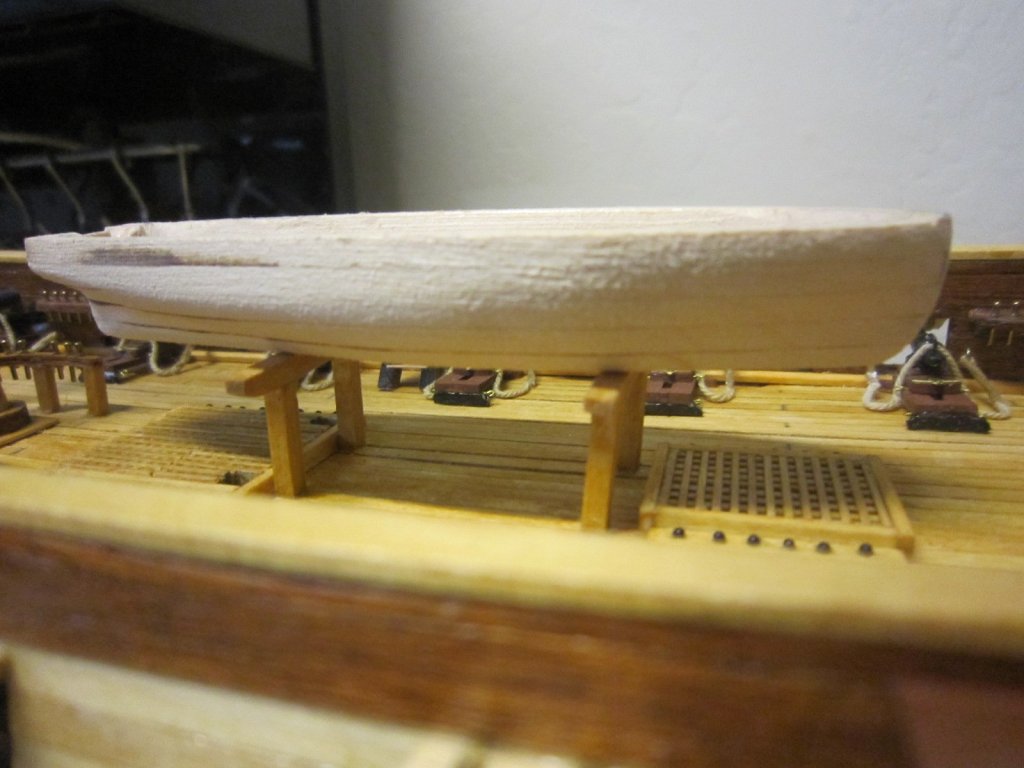
Shaping the longboat is a slow, careful project. The walls get thinner and thinner and I still don't have the boat completely smooth. I'll just keep on sanding

- 1,135 replies
-
- 7
-
-
- model shipways
- syren
- (and 2 more)
-
Still sanding away on the longboat. A piece of the transom broke off and I had to glue it back. I'm still not finished, but it's getting there.
- 1,135 replies
-
- 7
-
-
- model shipways
- syren
- (and 2 more)
-
Nice work. Stay dry and safe At least you don't have to climb up the mast to shorten sail in the storm.
- 1,306 replies
-
- 6
-
-
- syren
- model shipways
- (and 1 more)
-
I'm now using rough grit sandpaper and making slow but sure progress shaping the longboat. I'm still working on the outside.
- 1,135 replies
-
- 8
-
-
- model shipways
- syren
- (and 2 more)
-
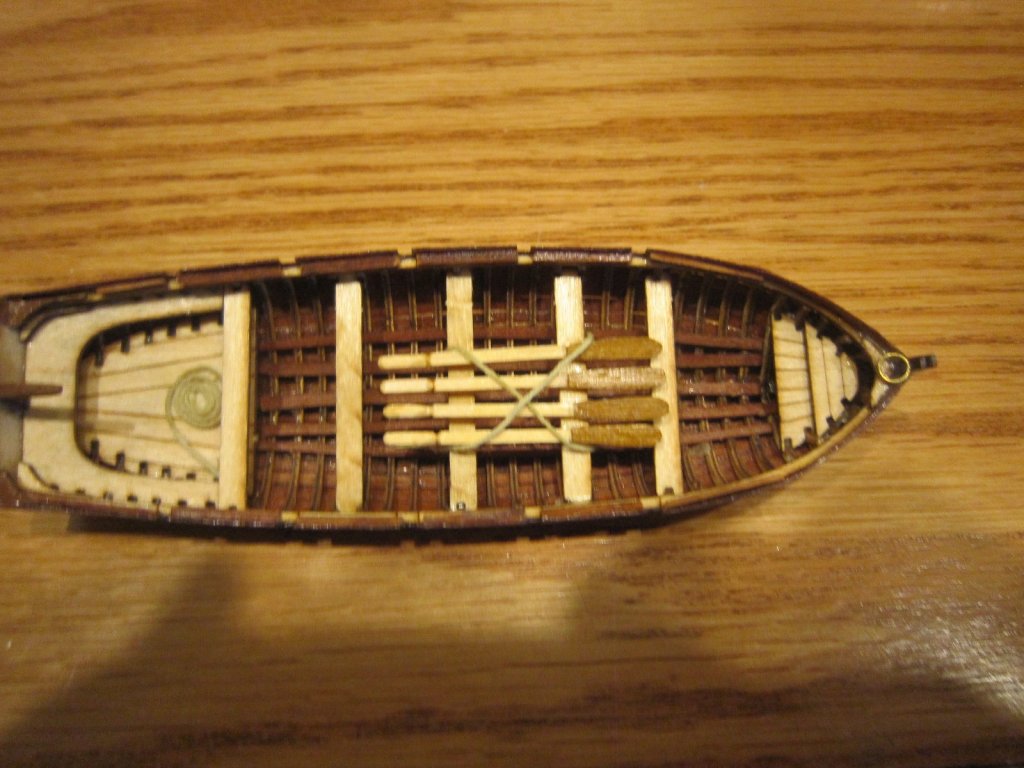
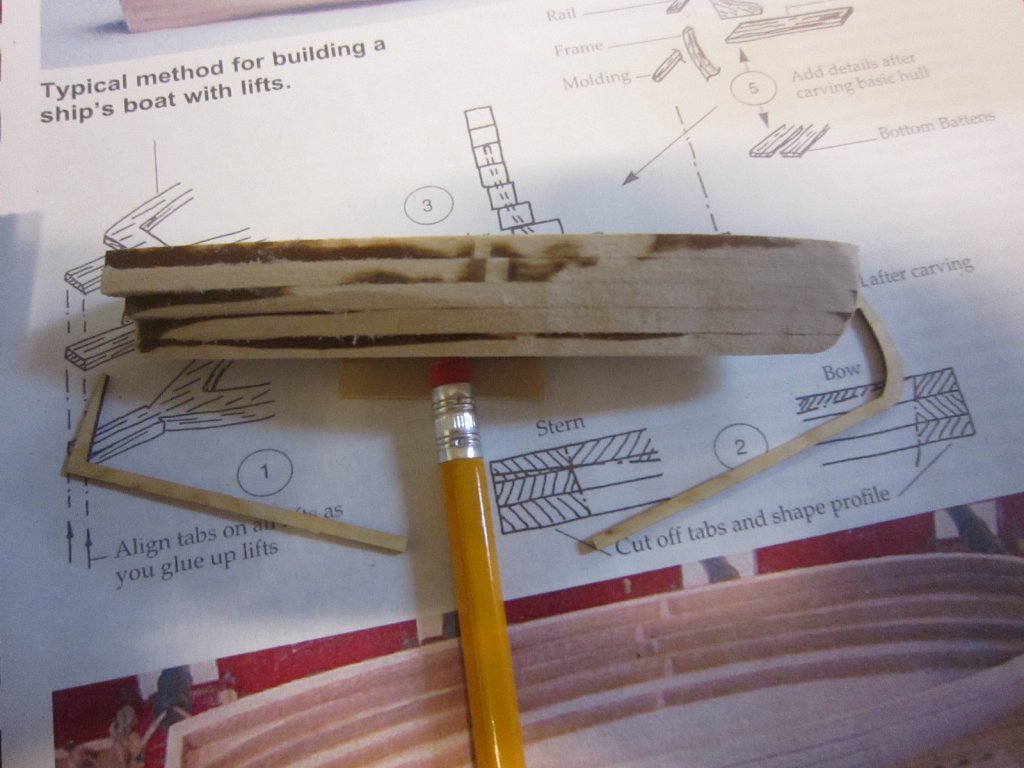
I'm putting some pictures of the longboat I built for my Surprise. It was a traditional plank on frame build of natural wood. This Dremel carving is very difficult for me and I'm running out of cutting bits small enough to get into the cracks and crevasses. Oh well...I'll just keep on plugging.

- 1,135 replies
-
- 4
-
-
- model shipways
- syren
- (and 2 more)
-
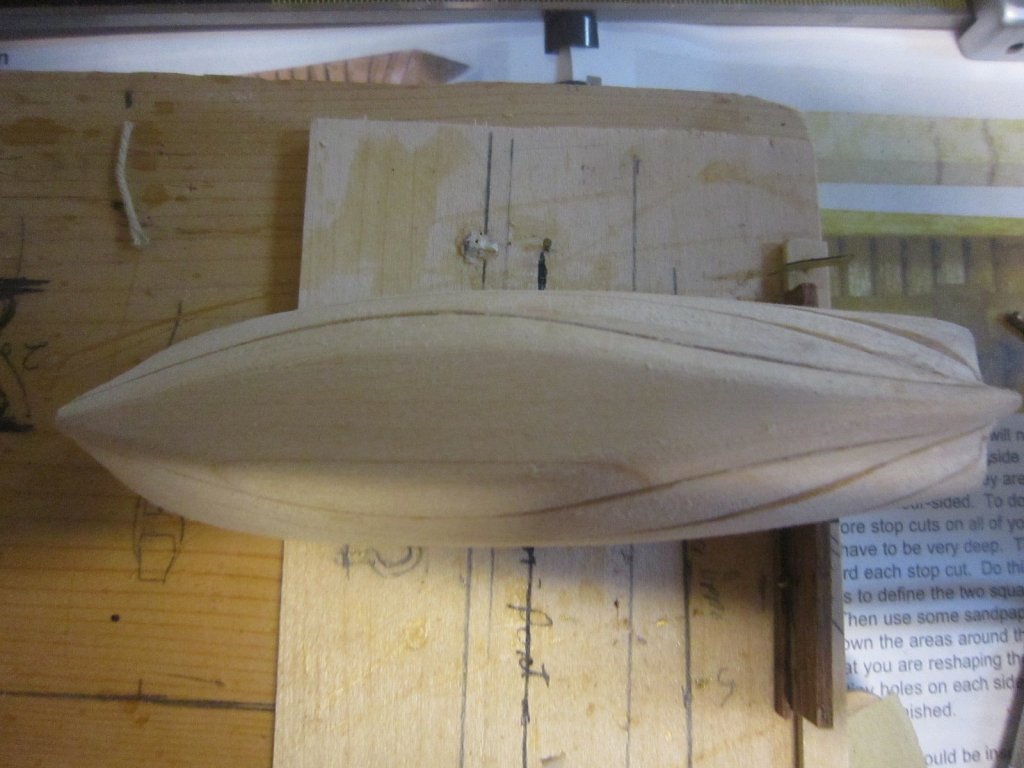
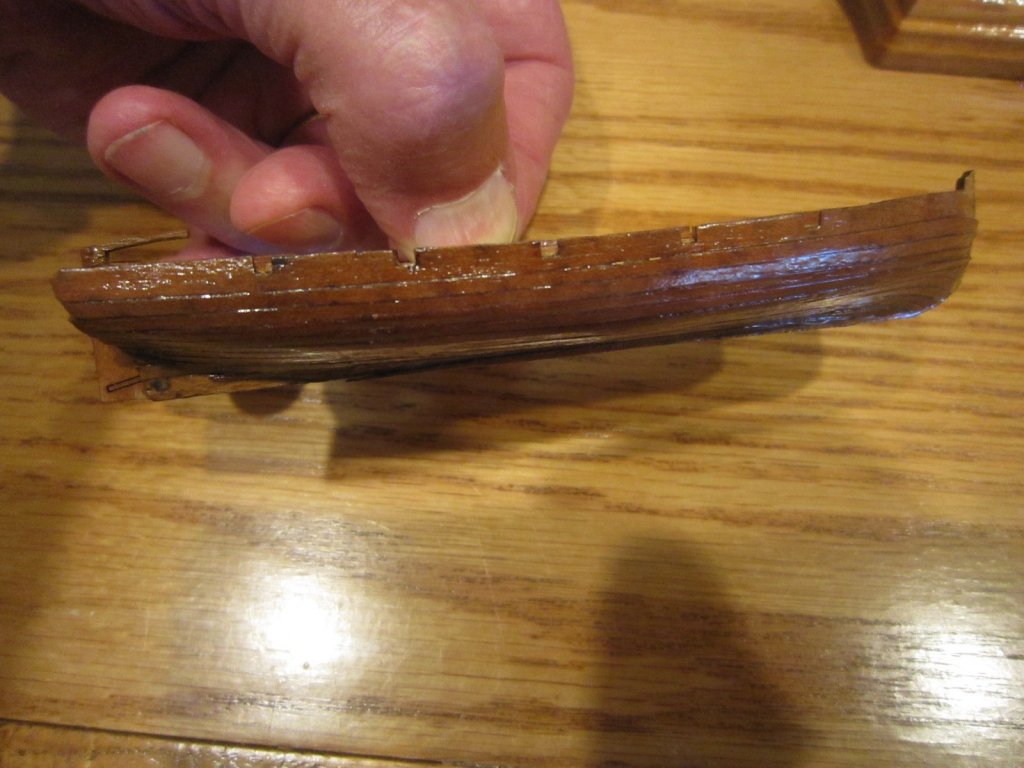
I'm rough shaping the exterior hull of the longboat with my Dremel. I've got the profile of the bow and stern exactly the shape of the provided keel pieces. I'll probably have to shift to hand sanding to make sure I don't take off too much and to give the hull that streamlined look.
- 1,135 replies
-
- 7
-
-
- model shipways
- syren
- (and 2 more)
-
Building this long boat will be more of a sculpting project than a normal boat building. It'll be the most delicate Dremel work I ever had to do.

- 1,135 replies
-
- 3
-
-
- model shipways
- syren
- (and 2 more)
-
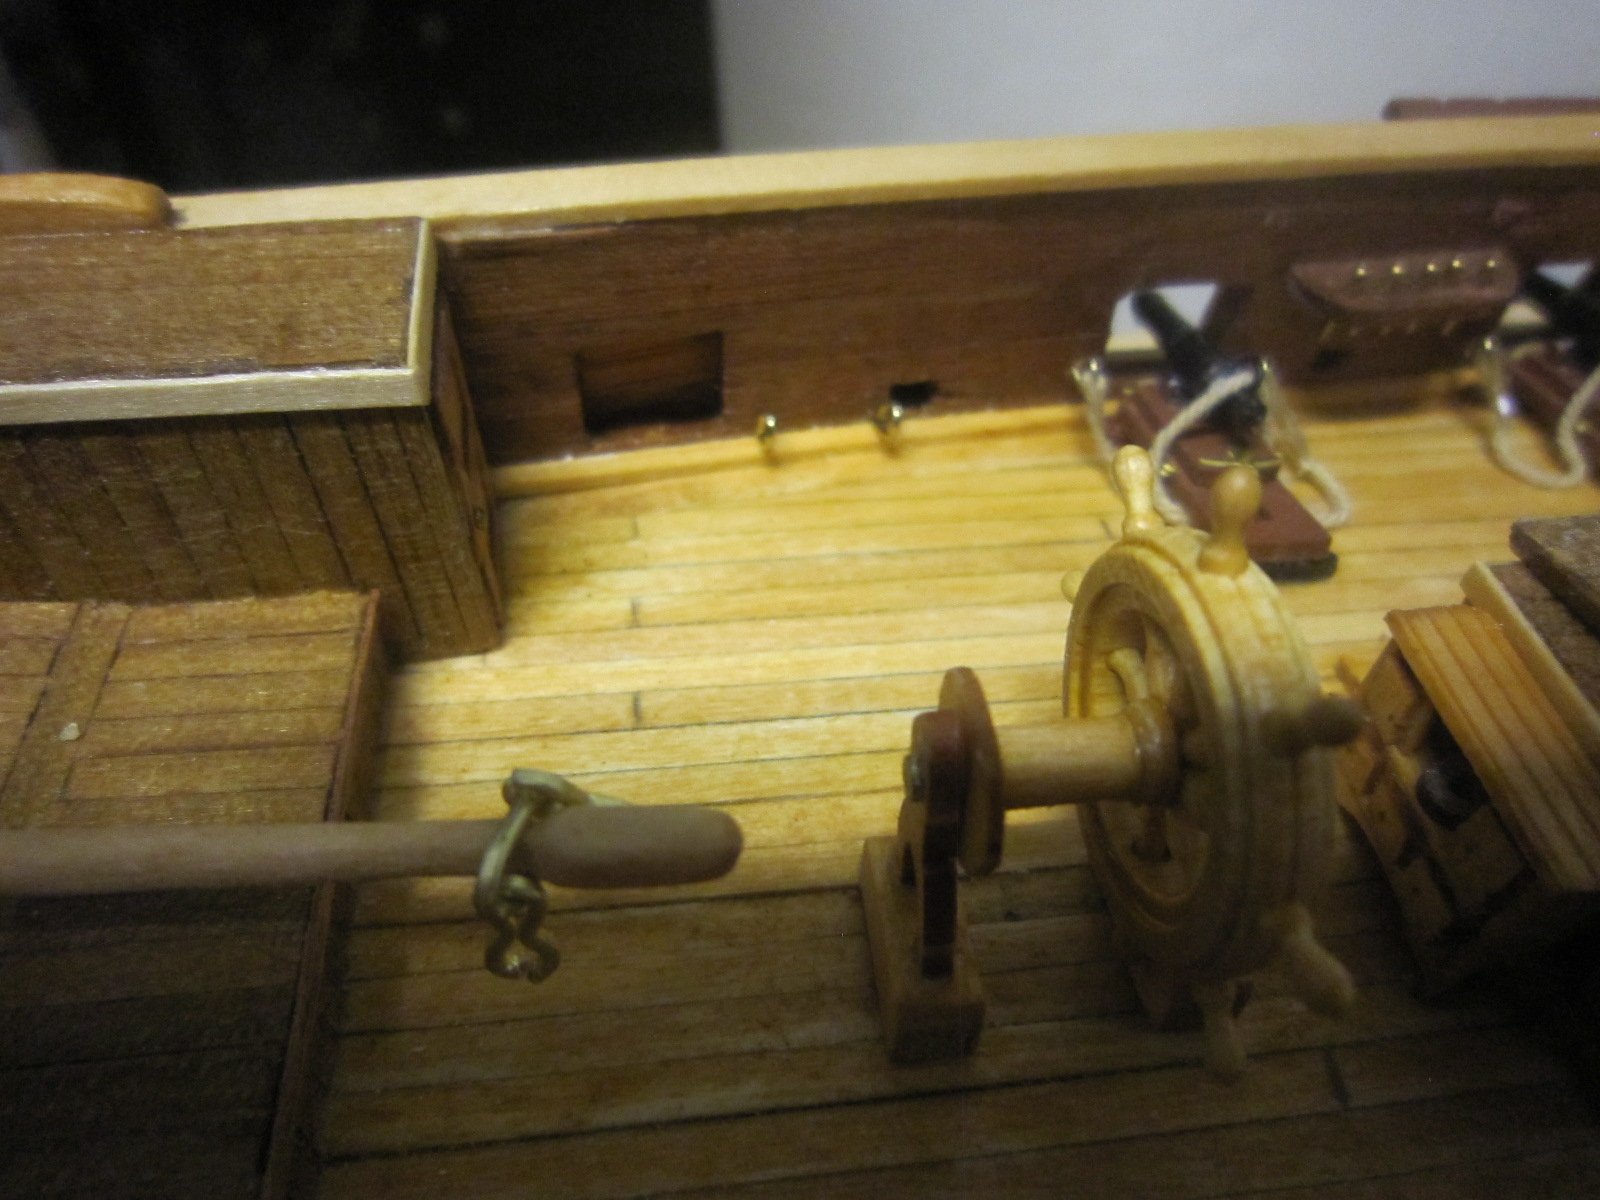
Now that rigging the steering has driven me crazy, I'll go back to wood working and build the longboat
- 1,135 replies
-
- 4
-
-
- model shipways
- syren
- (and 2 more)
-
It's coming along very nicely!
-
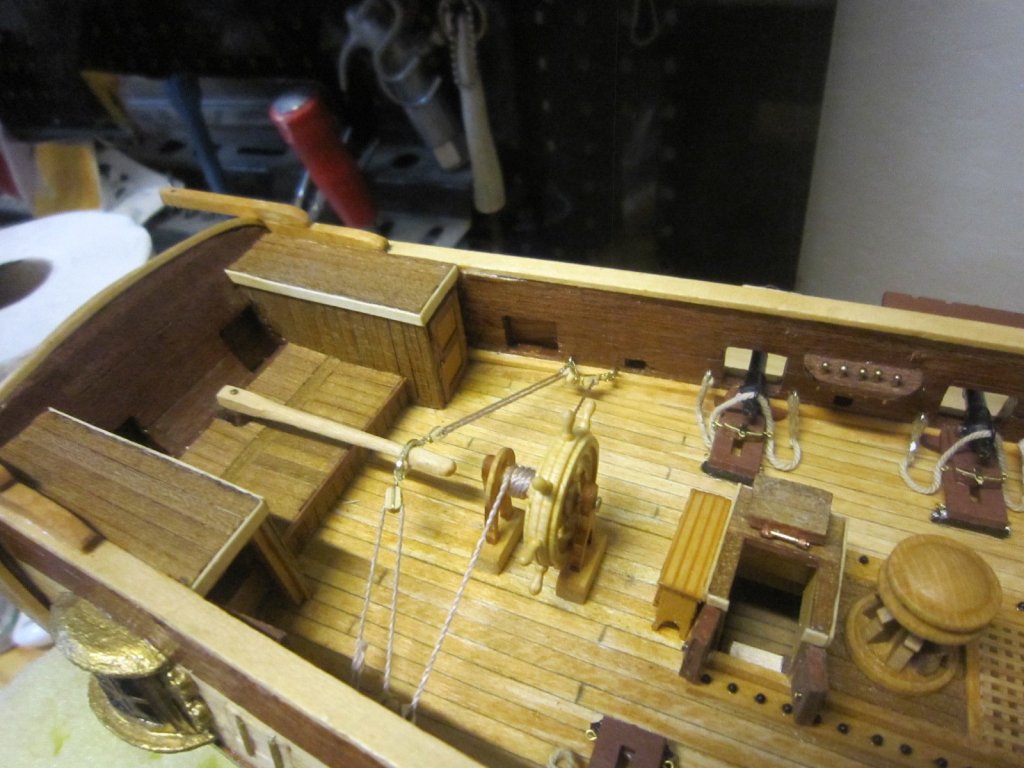
Challenge was an understatment! Rigging the steering was a lesson in frustration especially for my shaky fat fingers. It's rigged with one long line and it works, but it's stiff. Maybe I'll put some beeswax on the lines to lube them. It's also not neat and pretty like the drawings.
- 1,135 replies
-
- 8
-
-
- model shipways
- syren
- (and 2 more)
-
I love your tools. You can do stuff I can only dream of. I better get off my butt and buy some of that good stuff. I love your attention to minute details.
- 1,306 replies
-
- 6
-
-
- syren
- model shipways
- (and 1 more)
-
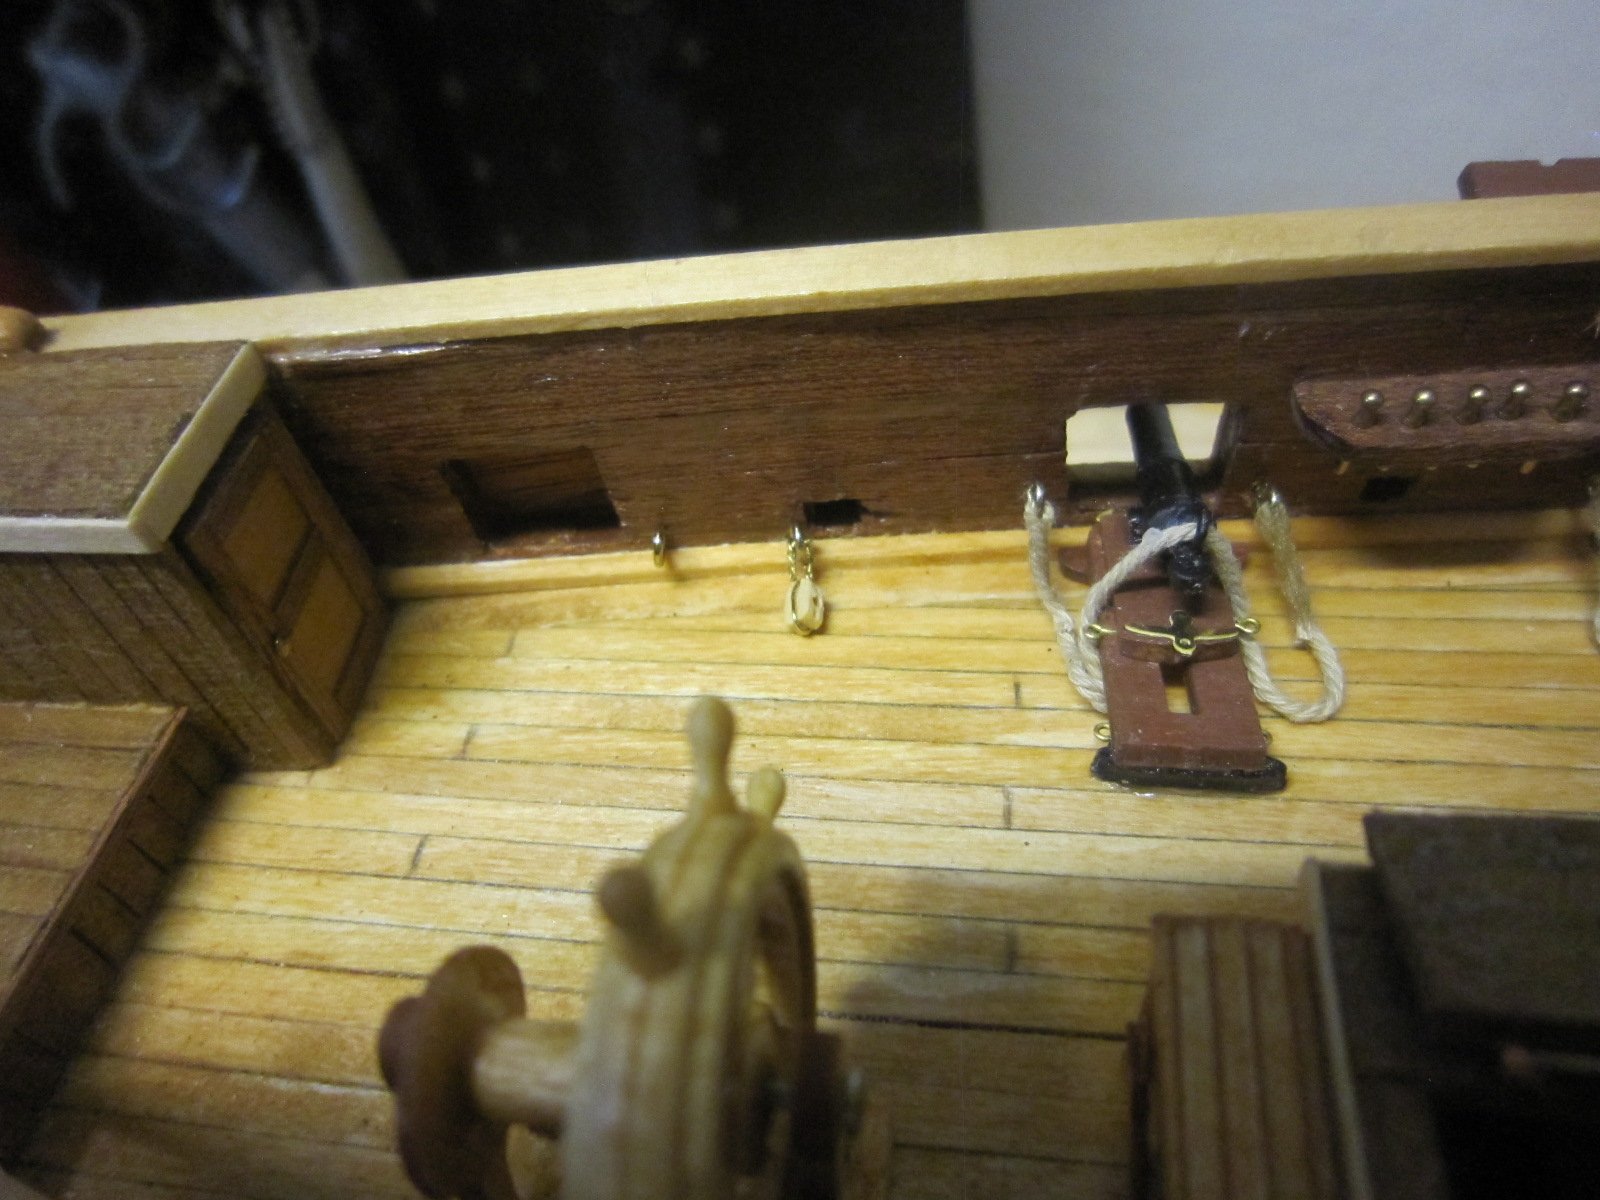
I pinned and added glue to the tiller where it mates with the rudder post. Then I wedged with chocks to hold the tiller dead center while I string the rigging lines.

- 1,135 replies
-
- 8
-
-
- model shipways
- syren
- (and 2 more)
-
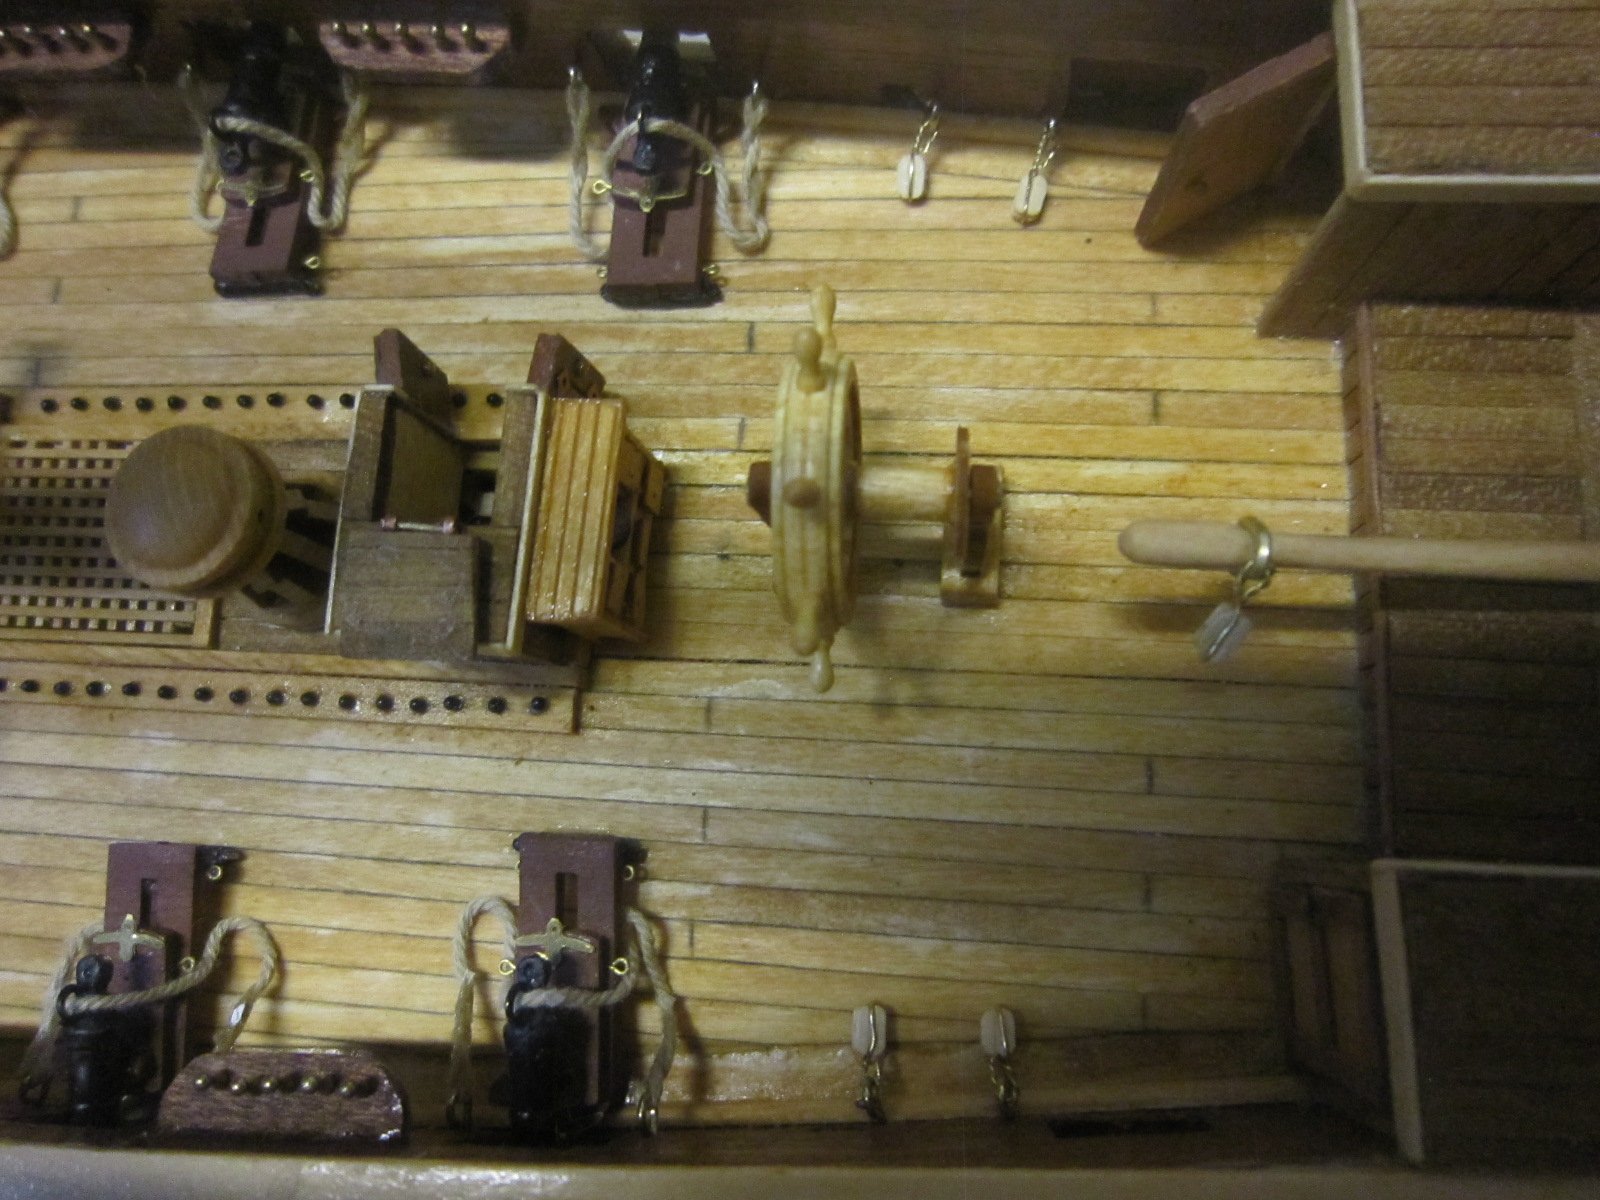
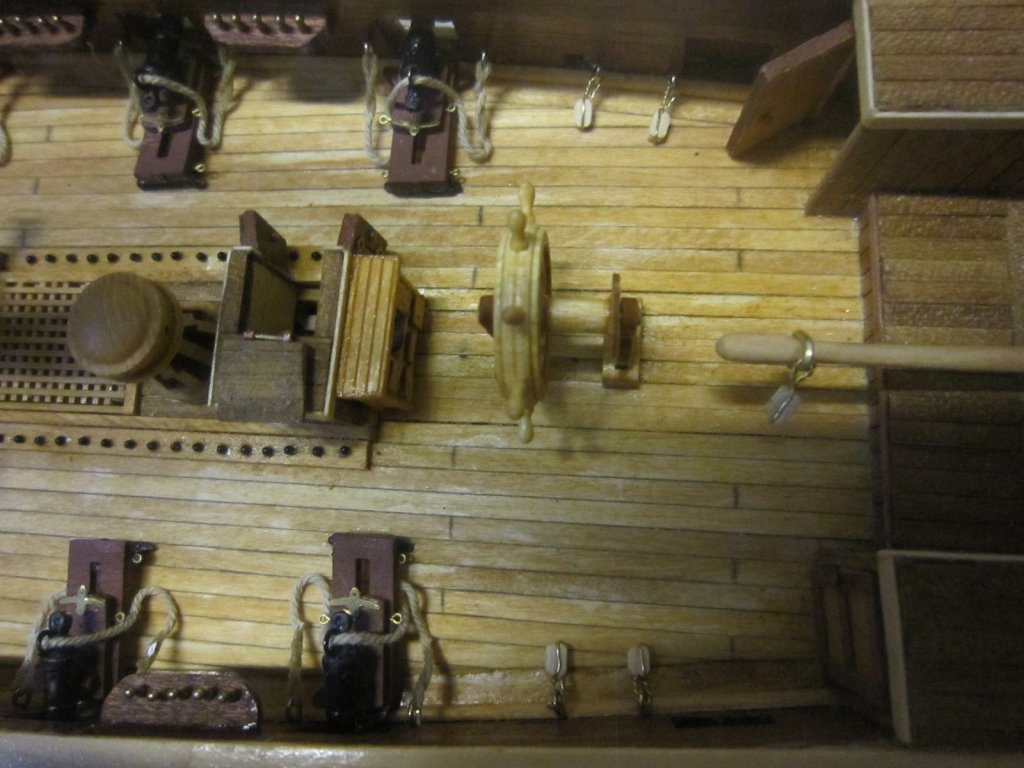
I installed the blocks for the steering mechanism. The degree of difficulty I had fabricating and installing these tiny blocks tells me I'm really going to struggle rigging this ship. Rigging this mechanism with one long strand of line will be a challenge. I'll try it, them move to plan "B" using two pieces of line if it defeats me
- 1,135 replies
-
- 3
-
-
- model shipways
- syren
- (and 2 more)
-
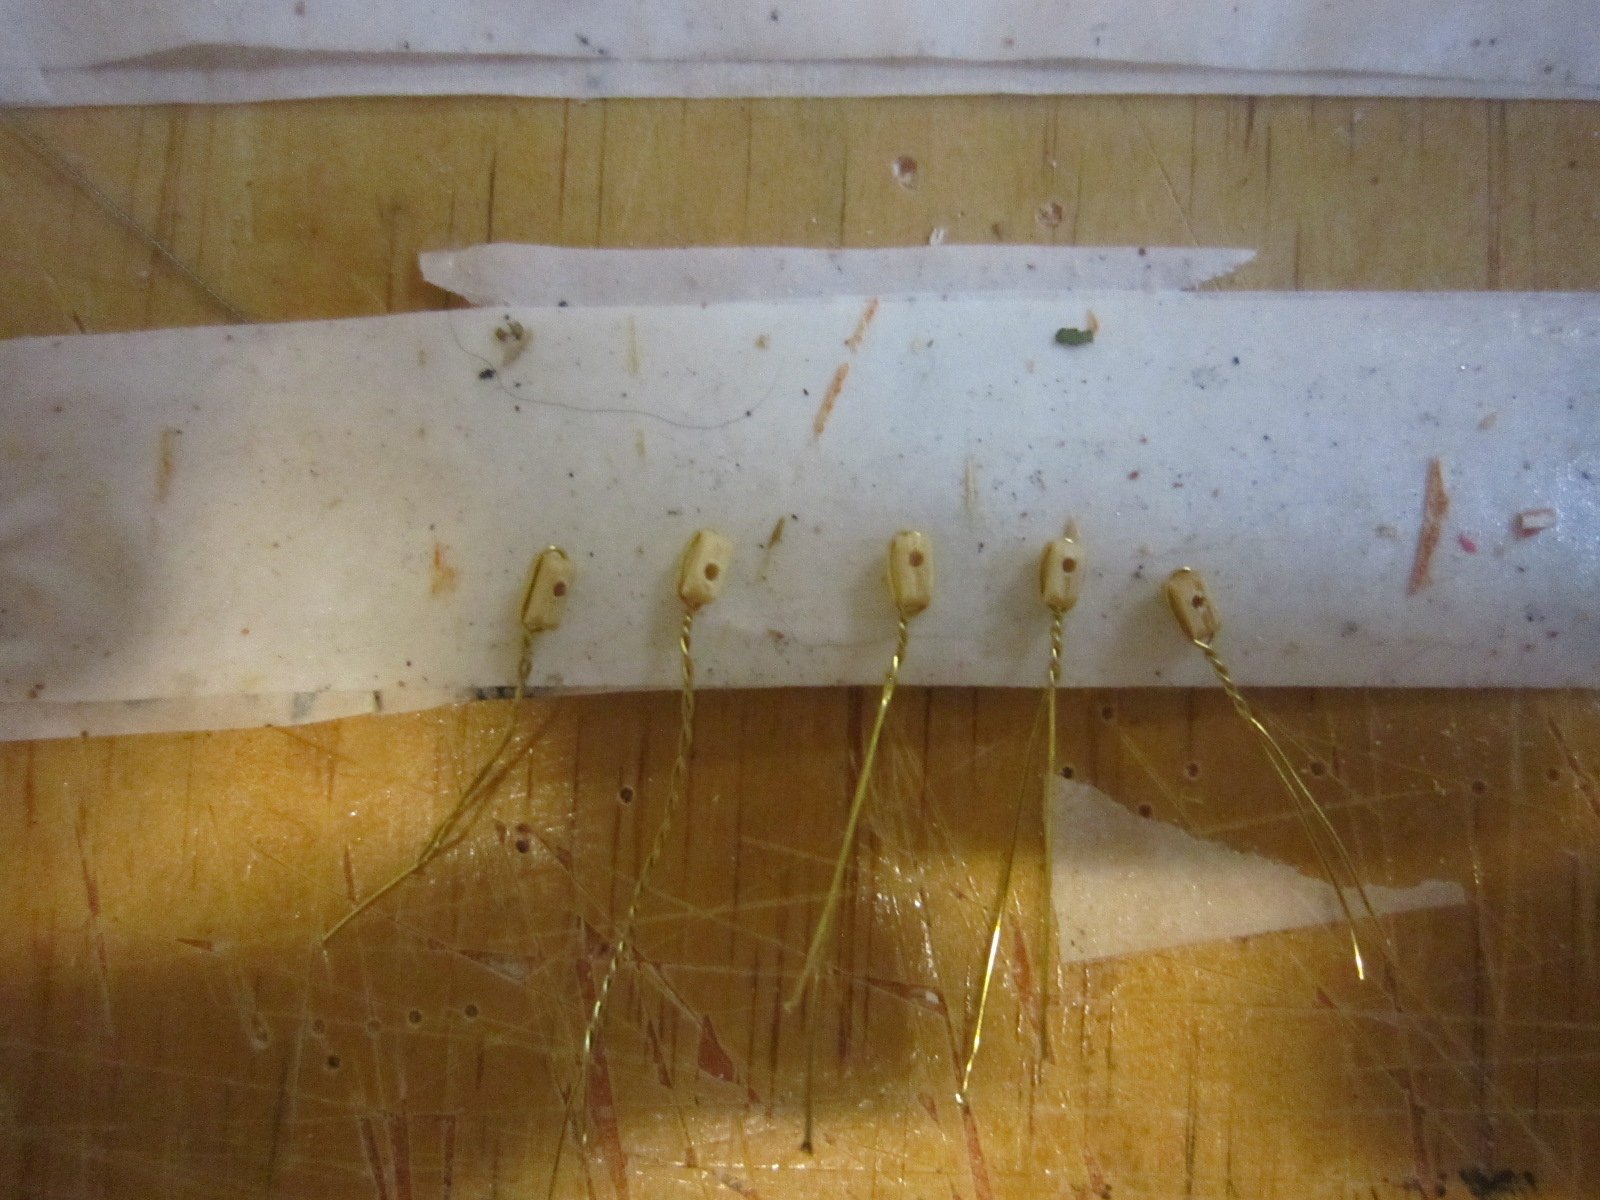
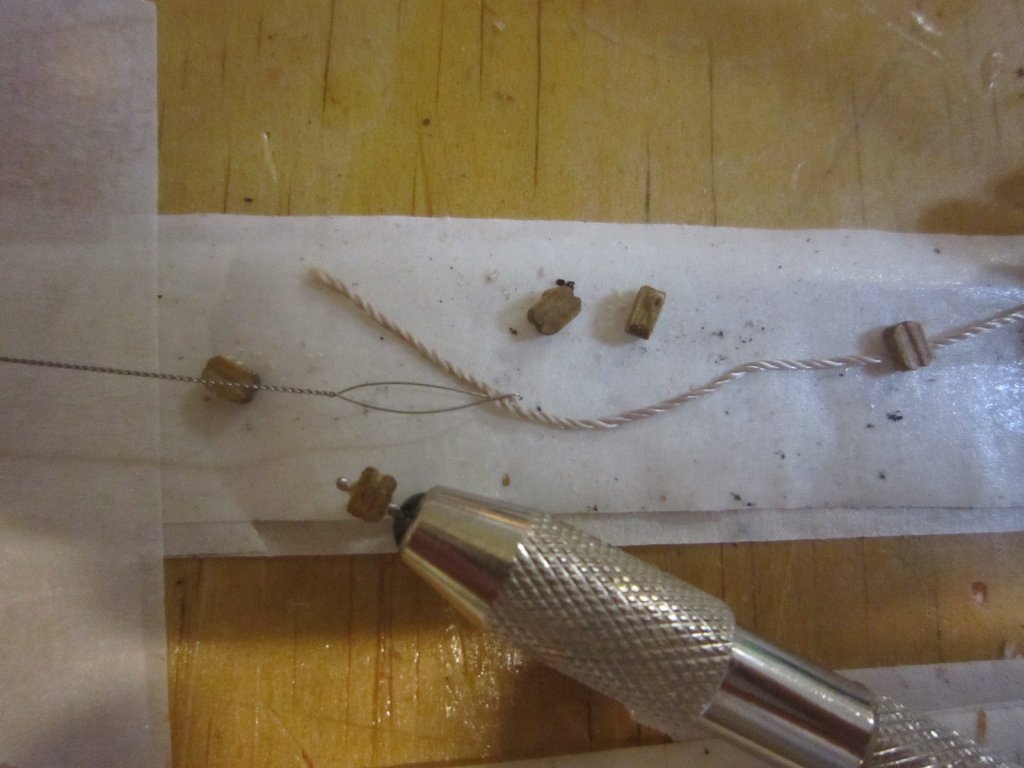
I found some high quality blocks in my "stash" to replace the kit's blocks. They are good wood with holes on center and don't shatter when reaming the hole larger.


- 1,135 replies
-
- 1
-
-
- model shipways
- syren
- (and 2 more)
-
The blocks provided with this kit are sub standard. They are not symetrical and the holes are too small to take a sturdy rigging line fitting a ship's steering mechanism. I drilled out these blocks, but if I don't like how they look I'll have to shop for better quality blocks.
- 1,135 replies
-
- 2
-
-
- model shipways
- syren
- (and 2 more)
-
I'm starting the rigging process for the steering mechanism by installing the eyebolts for the blocks. It's a Rube Goldberg affair that I had to modify slightly from the Syren since I now have two aft superstructures that the doors open and would impede the lines in the Syren's plan location..

- 1,135 replies
-
- 5
-
-
- model shipways
- syren
- (and 2 more)
-
Great job. A friend of mine who just passed away flew the Black Widow in WW II.
-
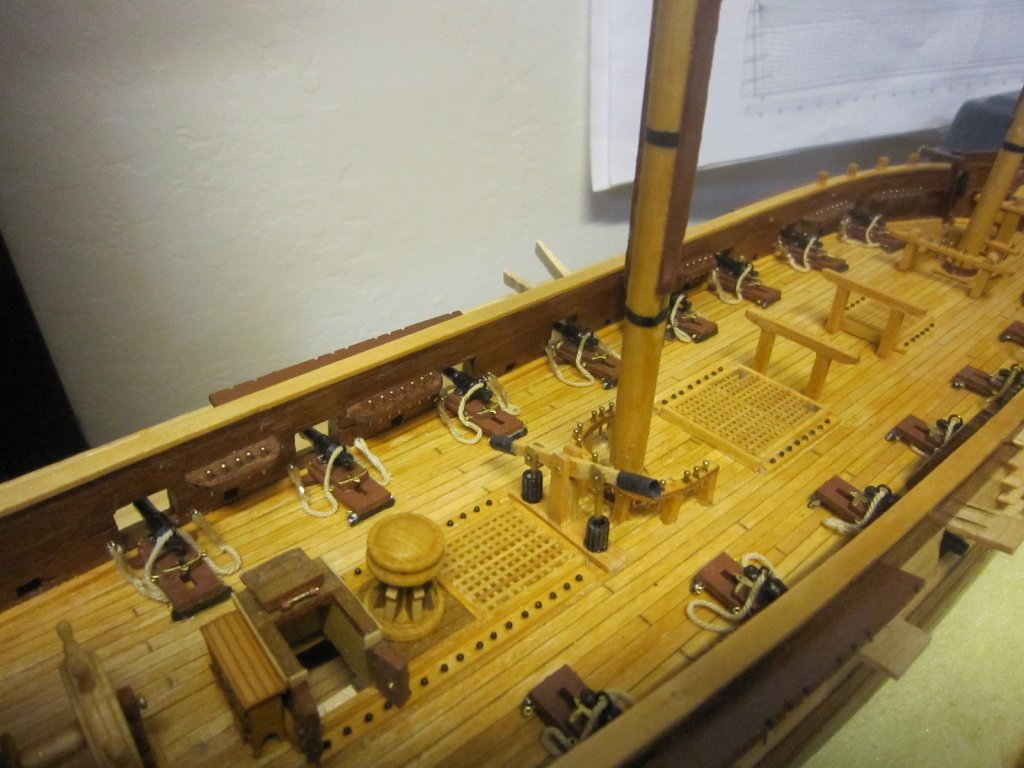
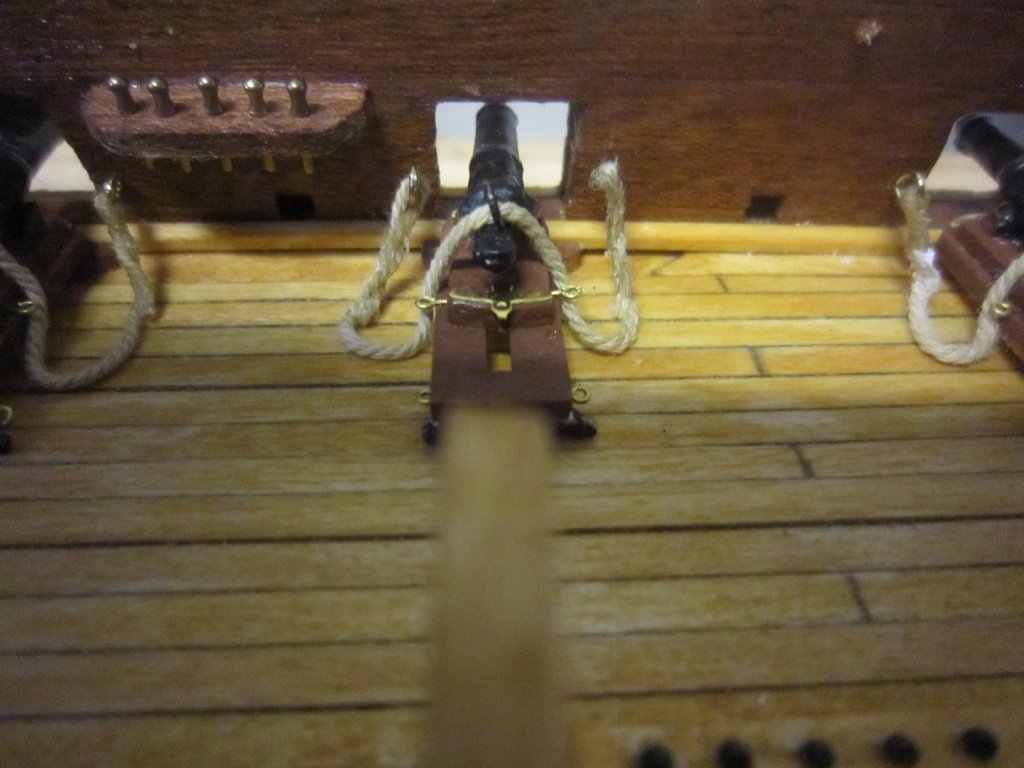
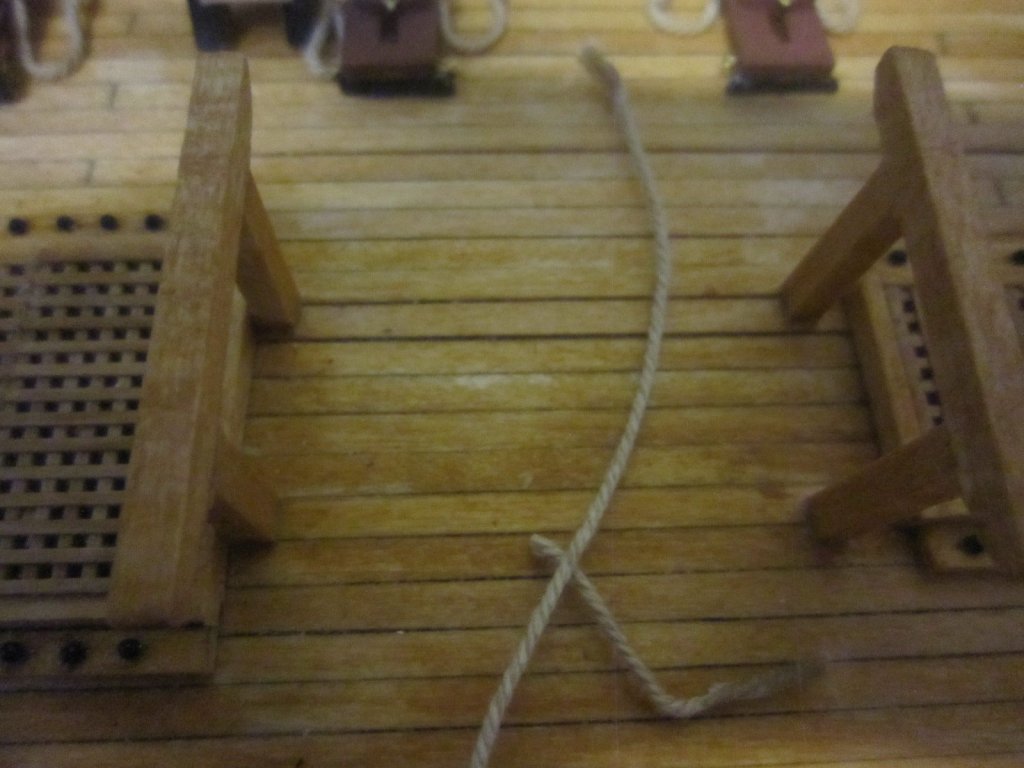
I finished rigging all the breech lines. In the process of trimming the excess line ends, I accidentally cut two "good" lines and had to re-rig them. DUH!
- 1,135 replies
-
- 8
-
-
- model shipways
- syren
- (and 2 more)
-
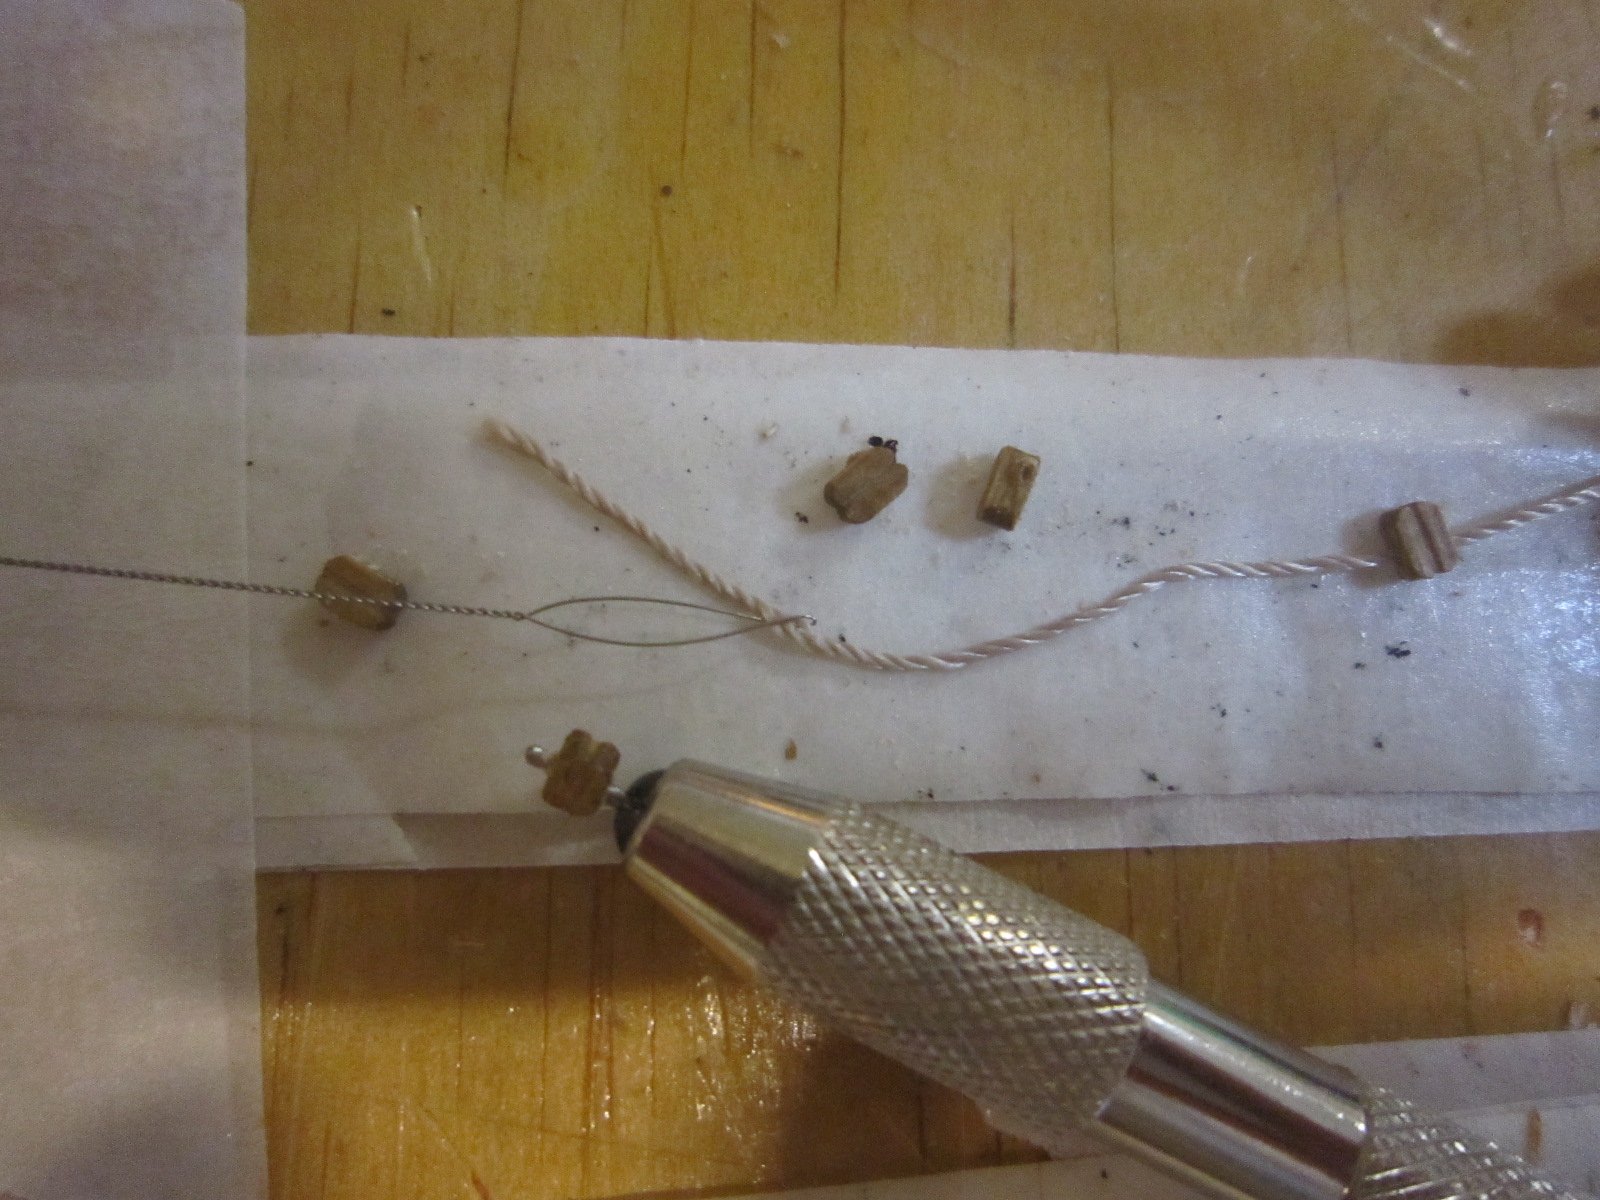
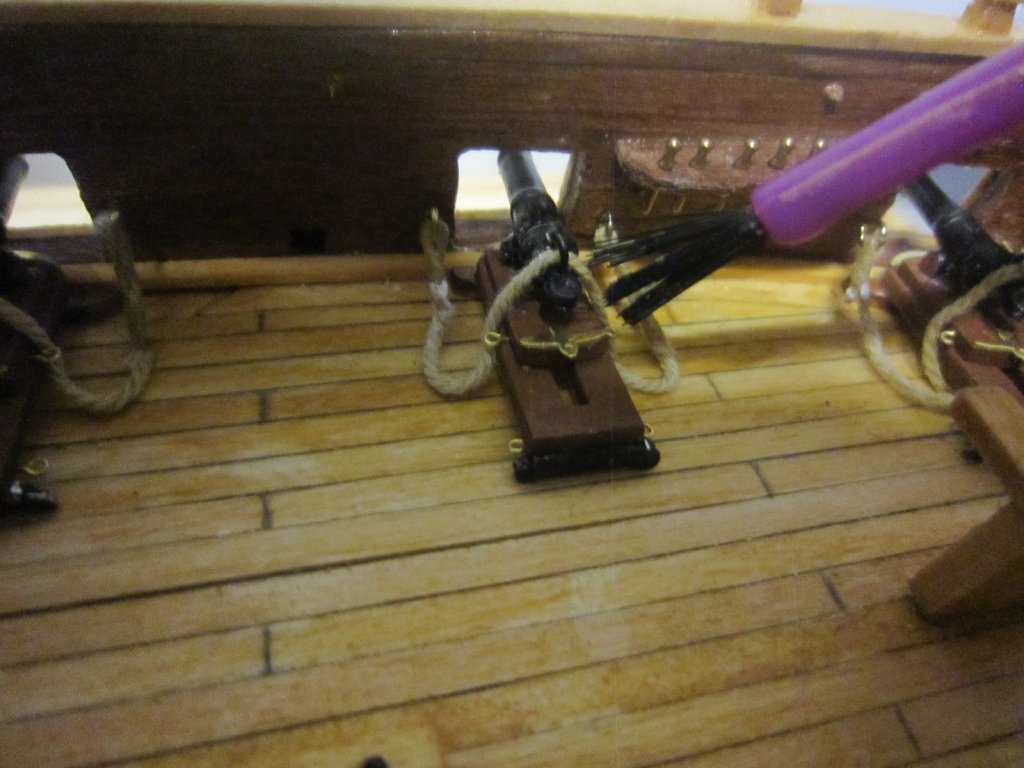
I shape the breech lines using a small paint brush and water to soak the line and shape so it hangs naturally.
- 1,135 replies
-
- 9
-
-
- model shipways
- syren
- (and 2 more)