HOLIDAY DONATION DRIVE - SUPPORT MSW - DO YOUR PART TO KEEP THIS GREAT FORUM GOING! (Only 51 donations so far out of 49,000 members - C'mon guys!)
×


HIPEXEC
-
Posts
2,698 -
Joined
-
Last visited
Content Type
Profiles
Forums
Gallery
Events
Everything posted by HIPEXEC
-
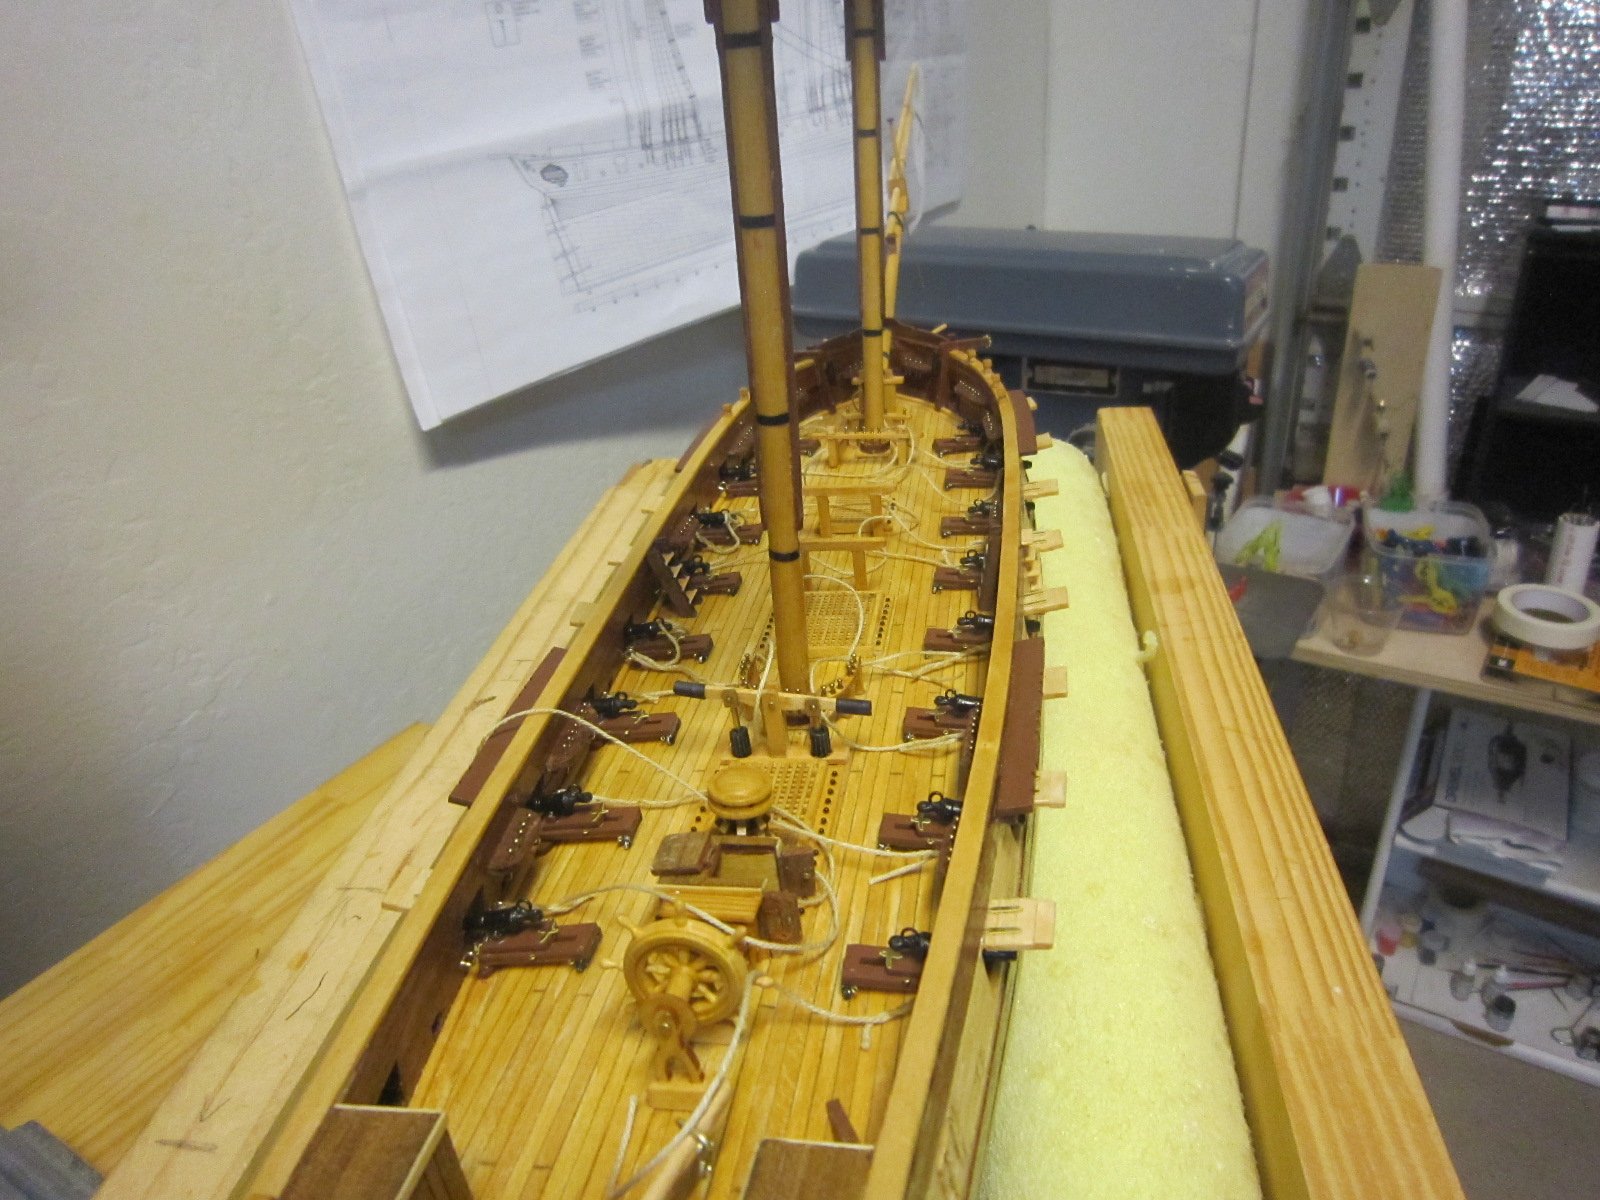
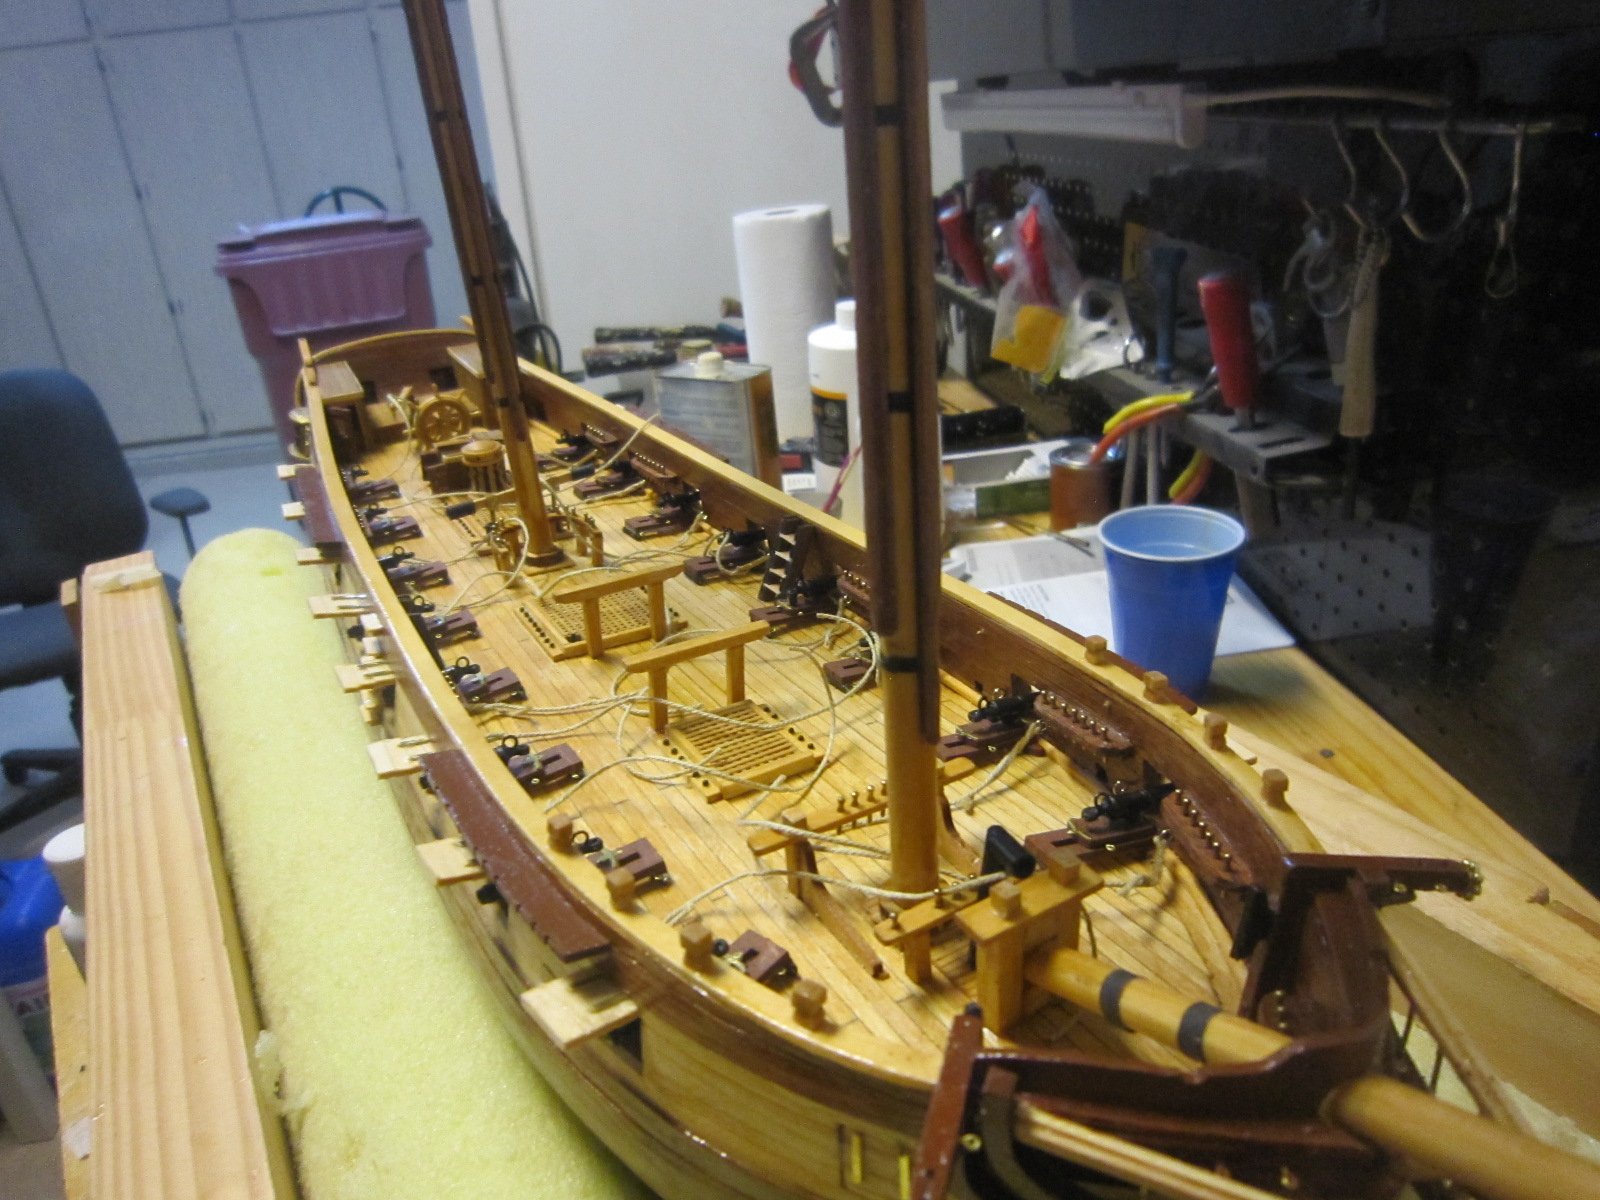
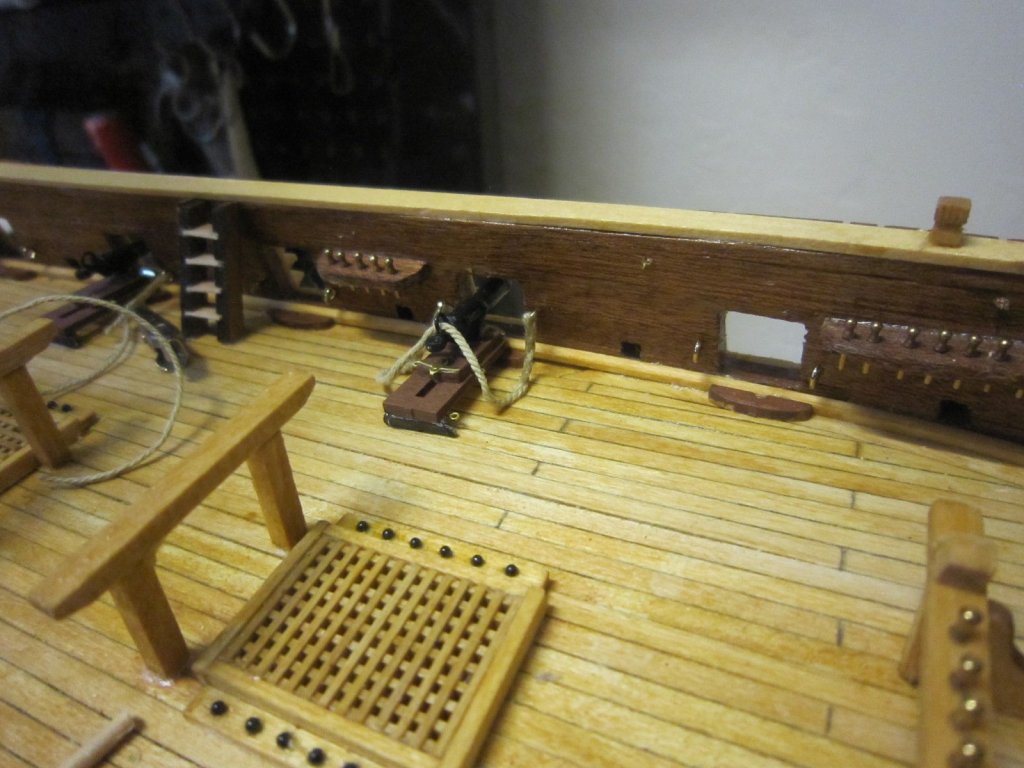
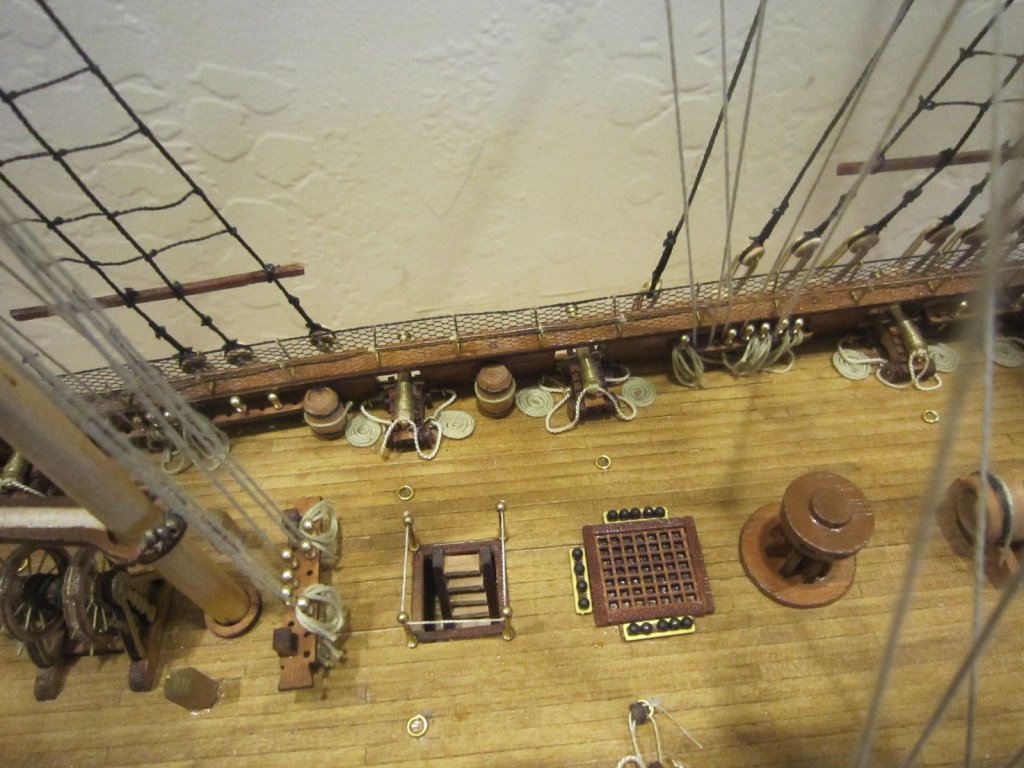
 All 16 carronades are glued in position and one half of each breech line attached to one side. The deck looks like spaghetti with the unattached breech lines flopping around

- 1,135 replies
-
- 10
-

-
- model shipways
- syren
- (and 2 more)
-
The first carronade is glued in place and breech line installed. 15 to go!
- 1,135 replies
-
- 3
-
-
- model shipways
- syren
- (and 2 more)
-
Nice work. The planks look good. I don't know what the rule is, but I've work mostly top down but some bottom up.
-
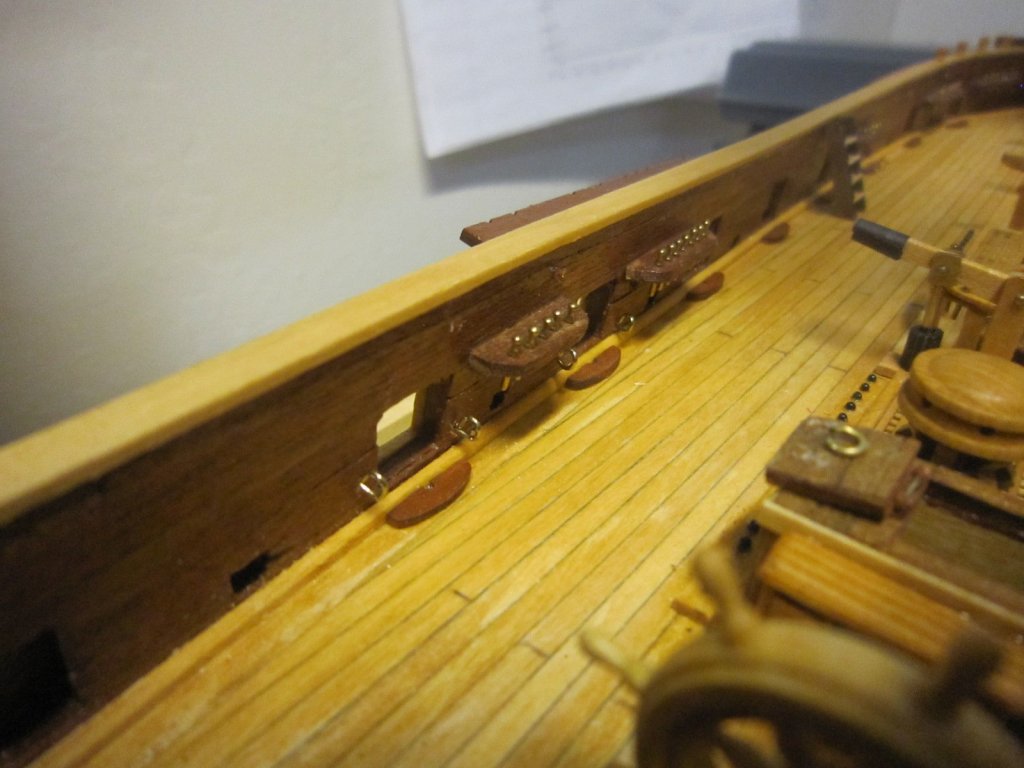
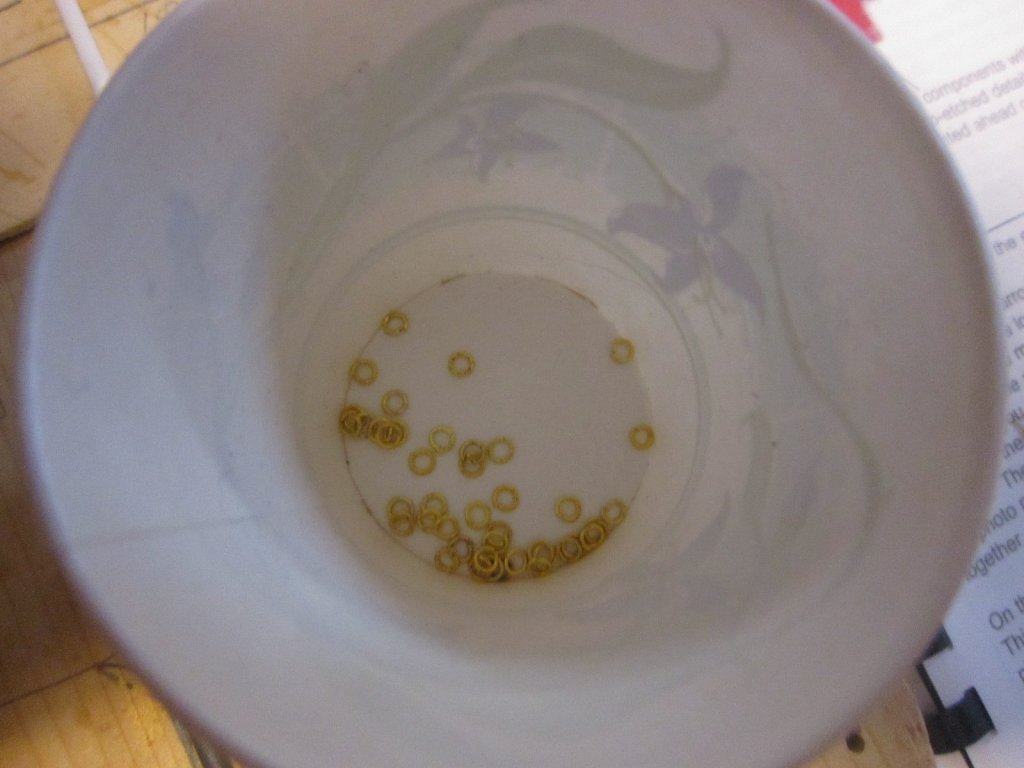
Now I'm installing some eyebolts to rig the breech lines to. The kit doesn't provide eyebolts big enough t take the fat breech line so I got my own.
- 1,135 replies
-
- 4
-
-
- model shipways
- syren
- (and 2 more)
-
The breech line rings are finished. I doubt will I fully rig all block and tackle at this scale. I'll probably do like I did on another model (see pic)
- 1,135 replies
-
- 6
-
-
- model shipways
- syren
- (and 2 more)
-
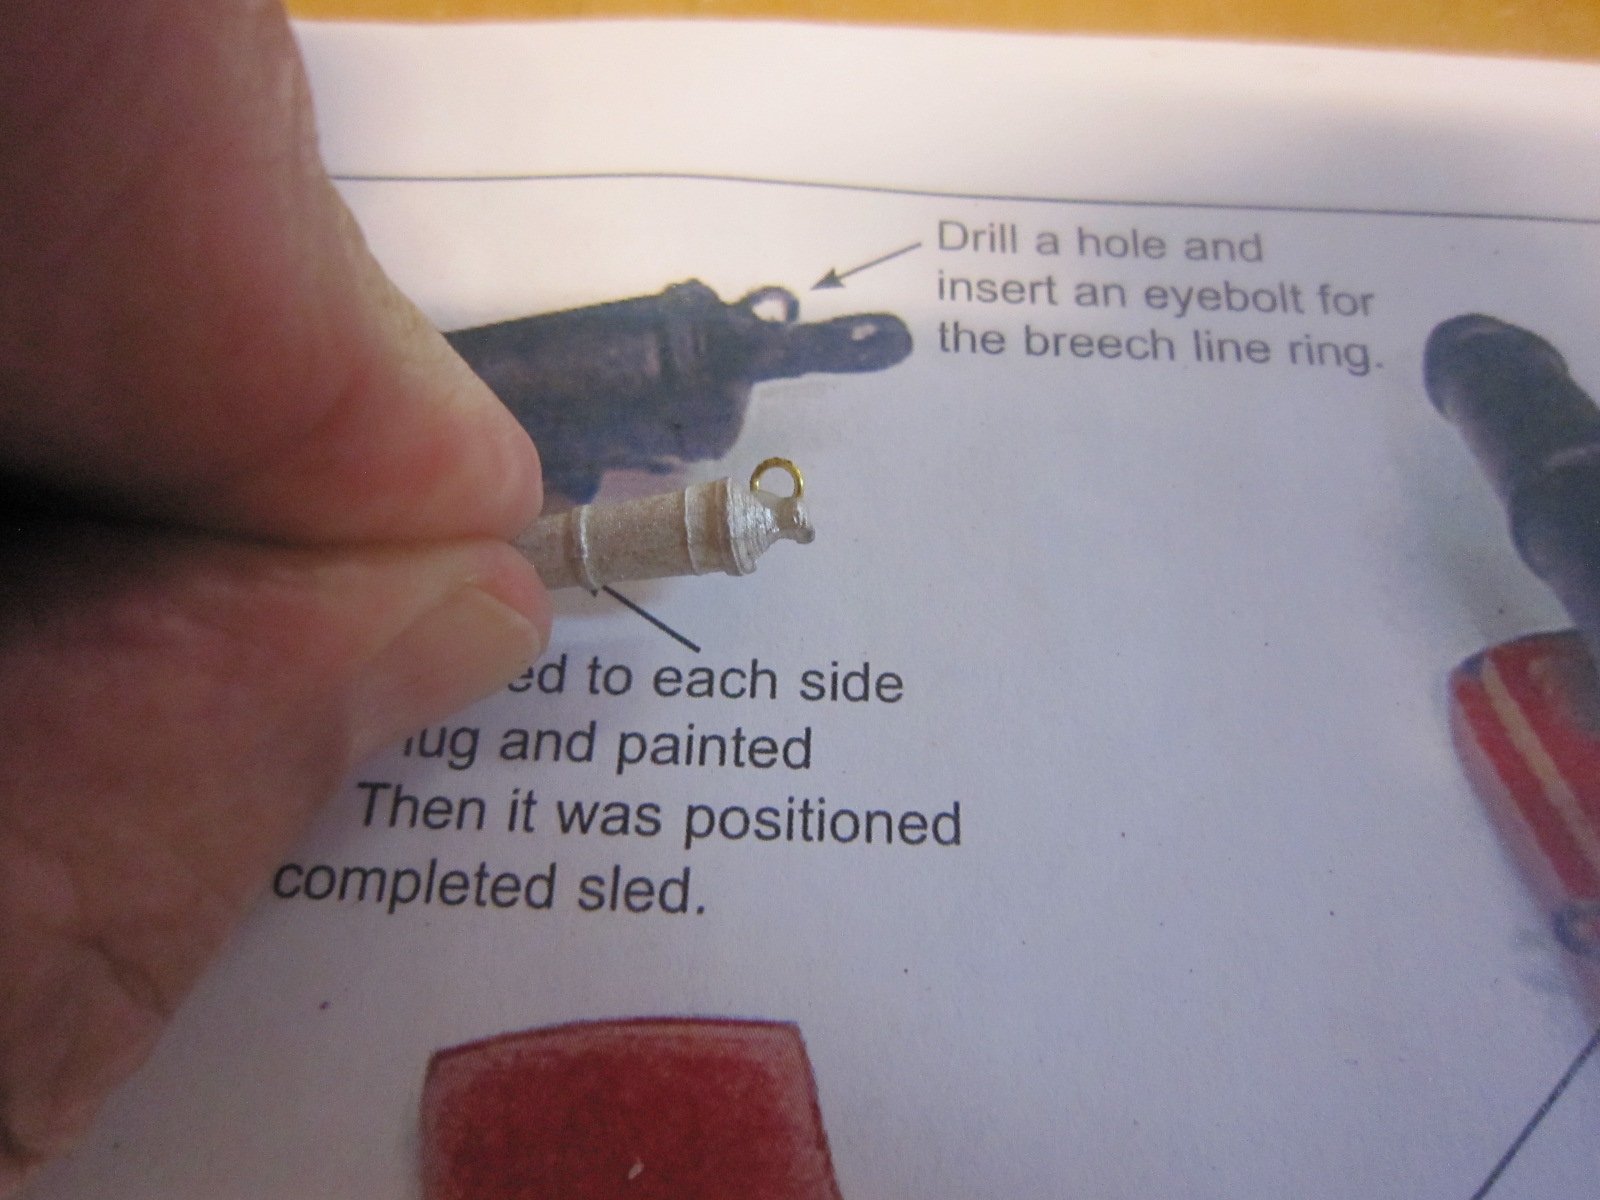
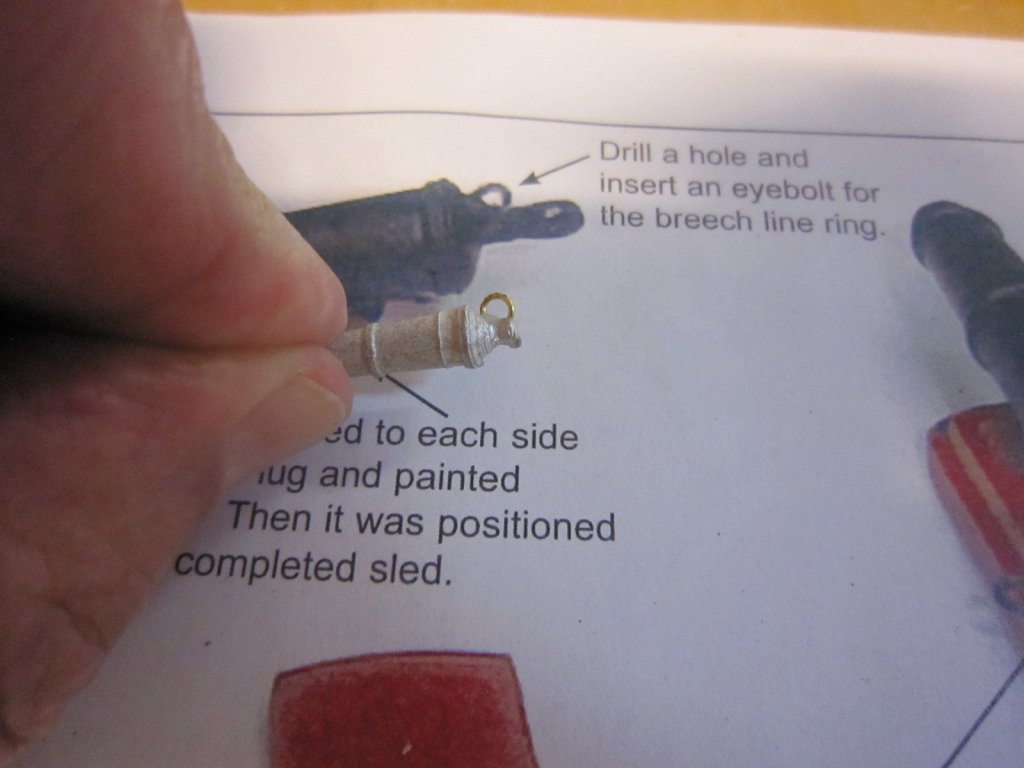
Since the carronades that came with the kit do not have a breech line ring I decided to add my own. I glued on a small ring left over from another kit. When the glue dries I'll paint it black so it looks like part of the gun.
- 1,135 replies
-
- 7
-
-
- model shipways
- syren
- (and 2 more)
-
After the glue dries when I mount the carronades to the base, I figured the safest place to store them until I rig the block and tackle is in place on the deck of the model

- 1,135 replies
-
- 7
-
-
- model shipways
- syren
- (and 2 more)
-
Way back when I built the guns for my Connie, I built a fake gunport so I could rig the guns off the ship. I'm now using it too build the rest of each gun,
- 1,135 replies
-
- 12
-
-
- model shipways
- syren
- (and 2 more)
-
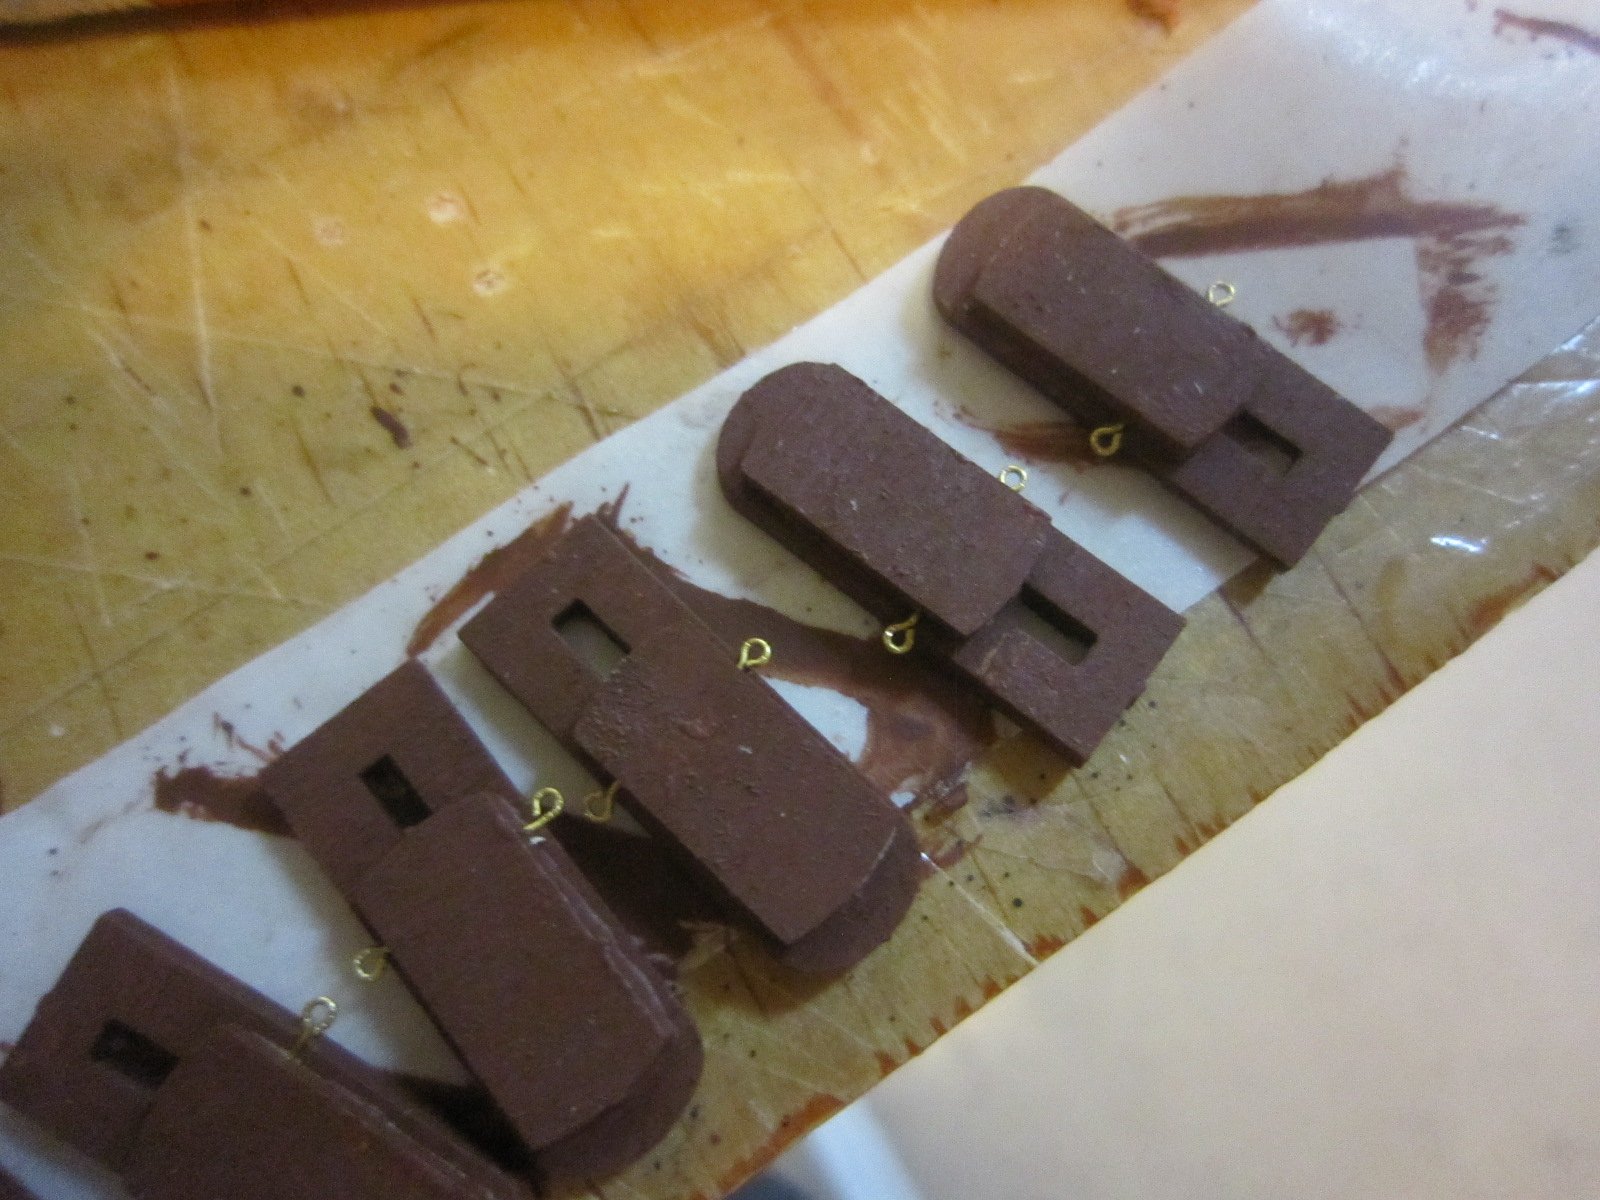
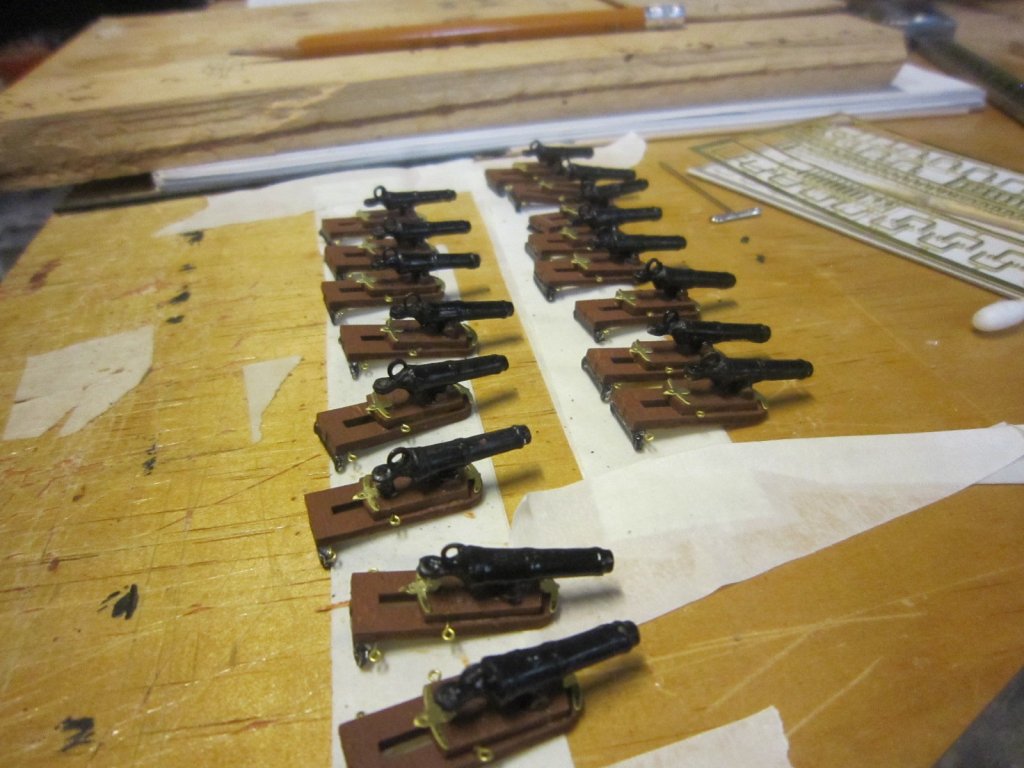
I finished the carronade bases. Now I have to figure out how to mount the actual guns. Again the wood is so poor that several split while I was handling them. BTW I use masking tape doubled on itself sticky side up and down to hold all these small pieces to the work bench.
- 1,135 replies
-
- 9
-
-
- model shipways
- syren
- (and 2 more)
-
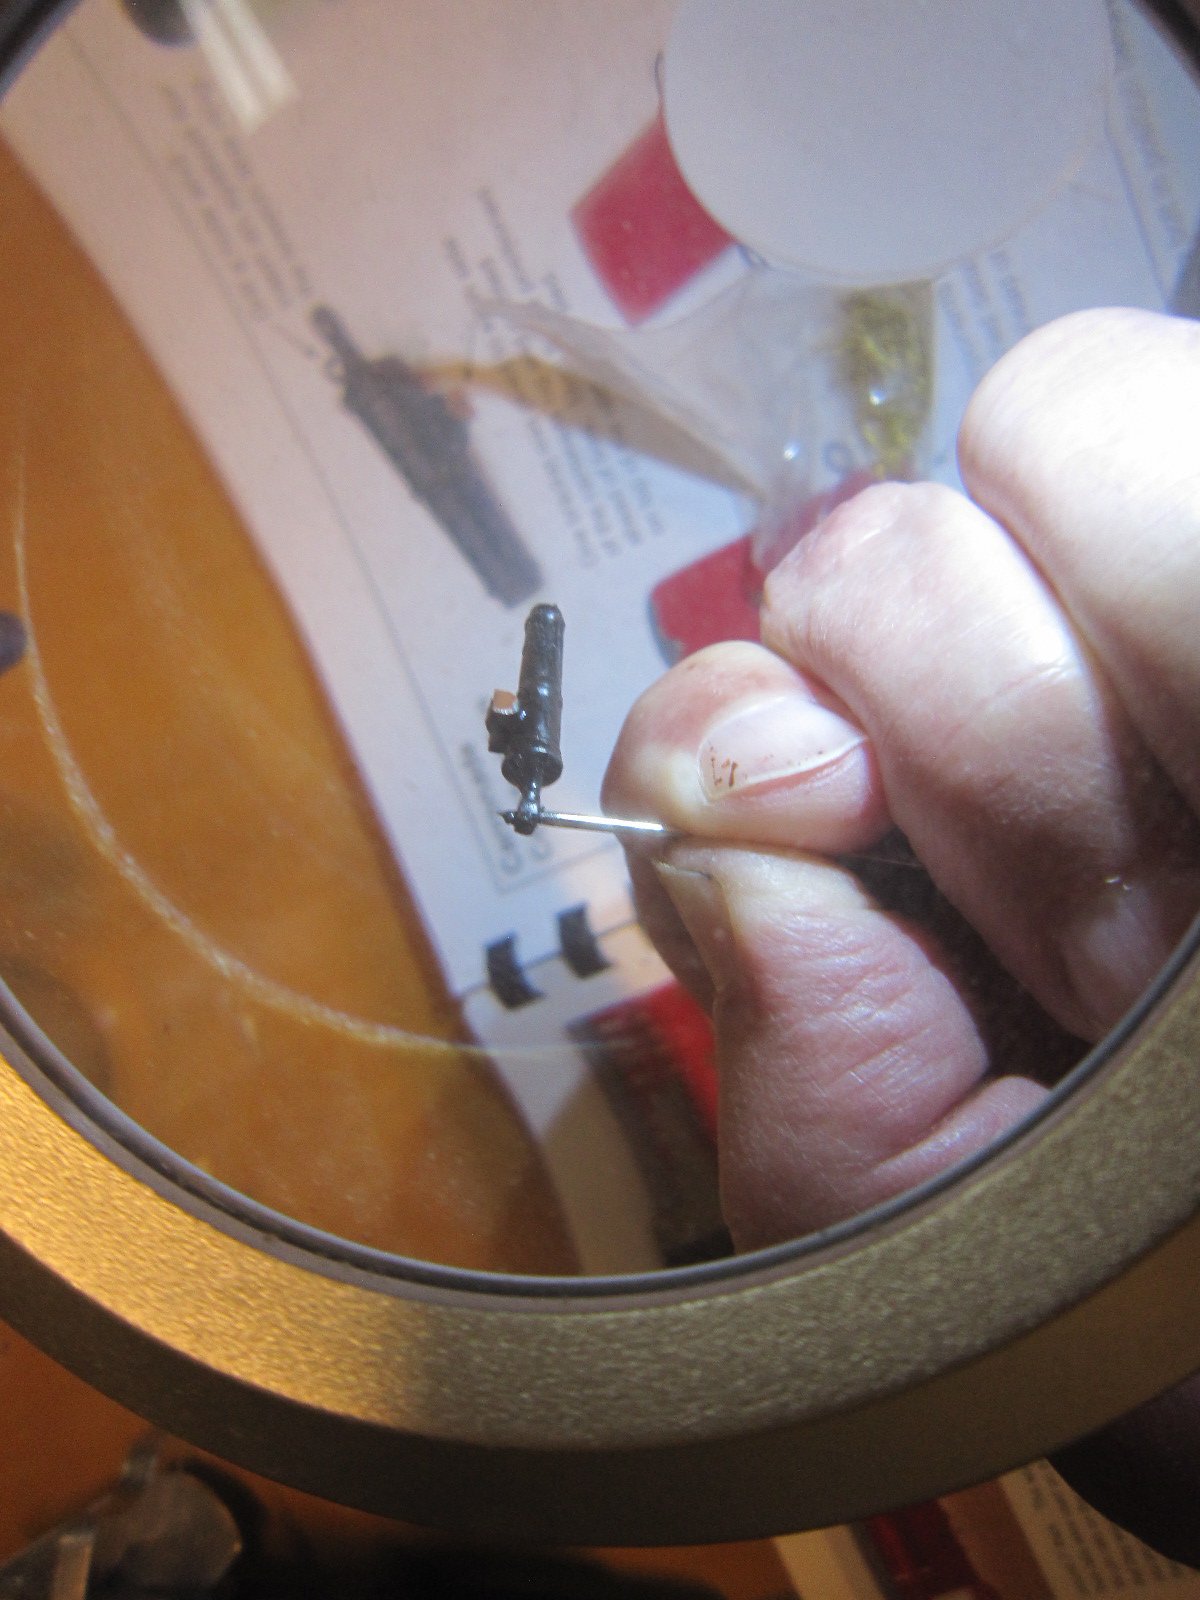
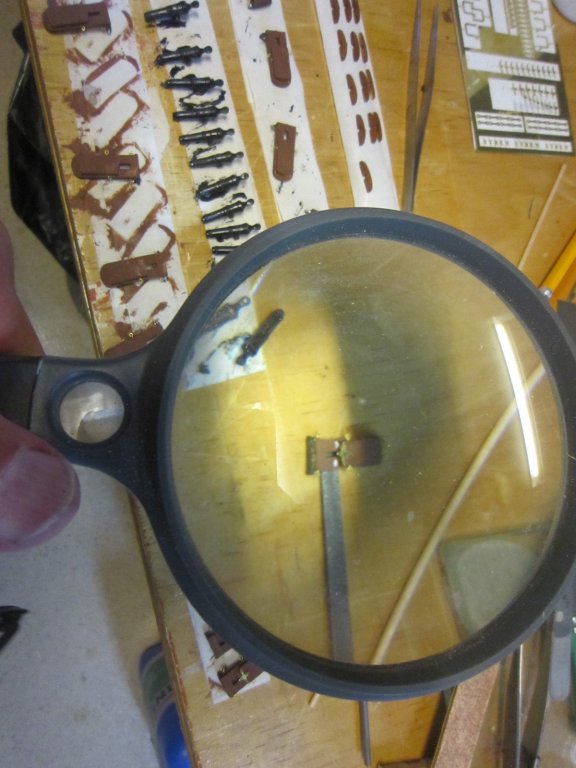
Continuing the carronade production line, one of the completed gun platforms just split in half picking it up. The wood in this kit is quite inferior. These are my two types of magnifiers. One on a fixed stand with a light built in, the other is a plain Sherlock Holmes type.

- 1,135 replies
-
- 3
-
-
- model shipways
- syren
- (and 2 more)
-
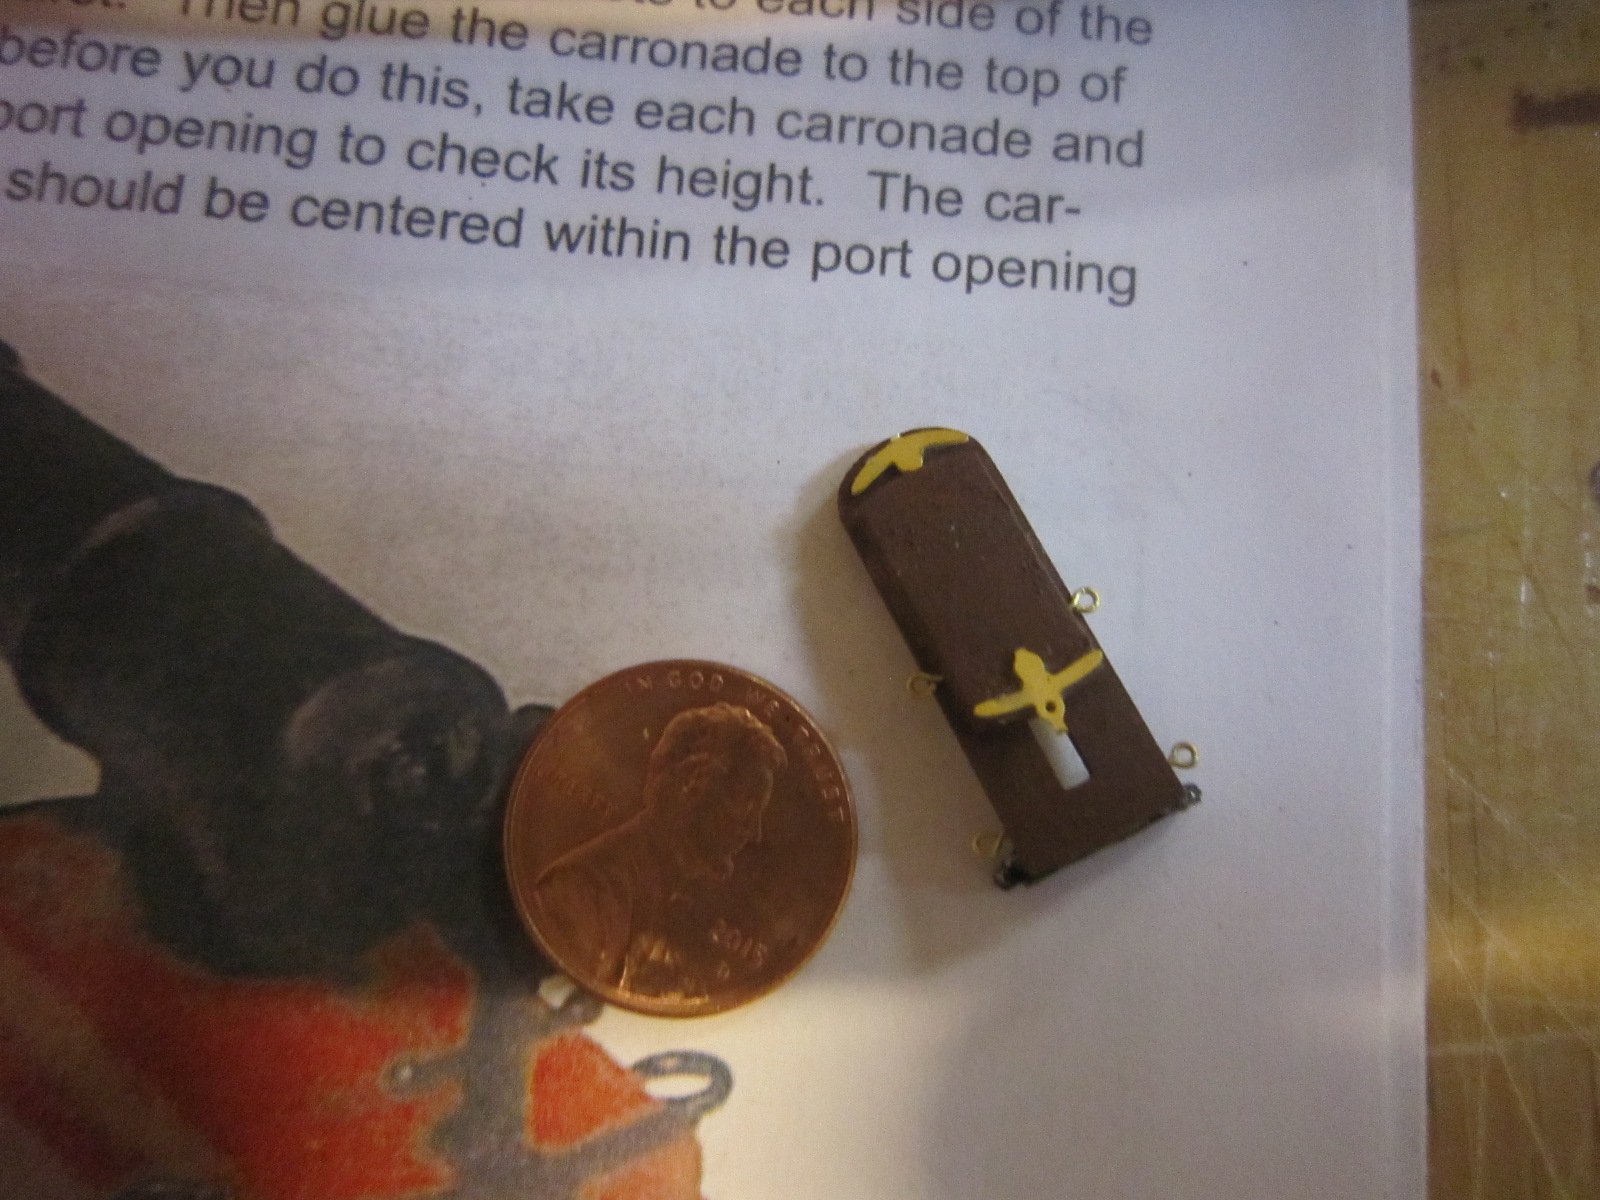
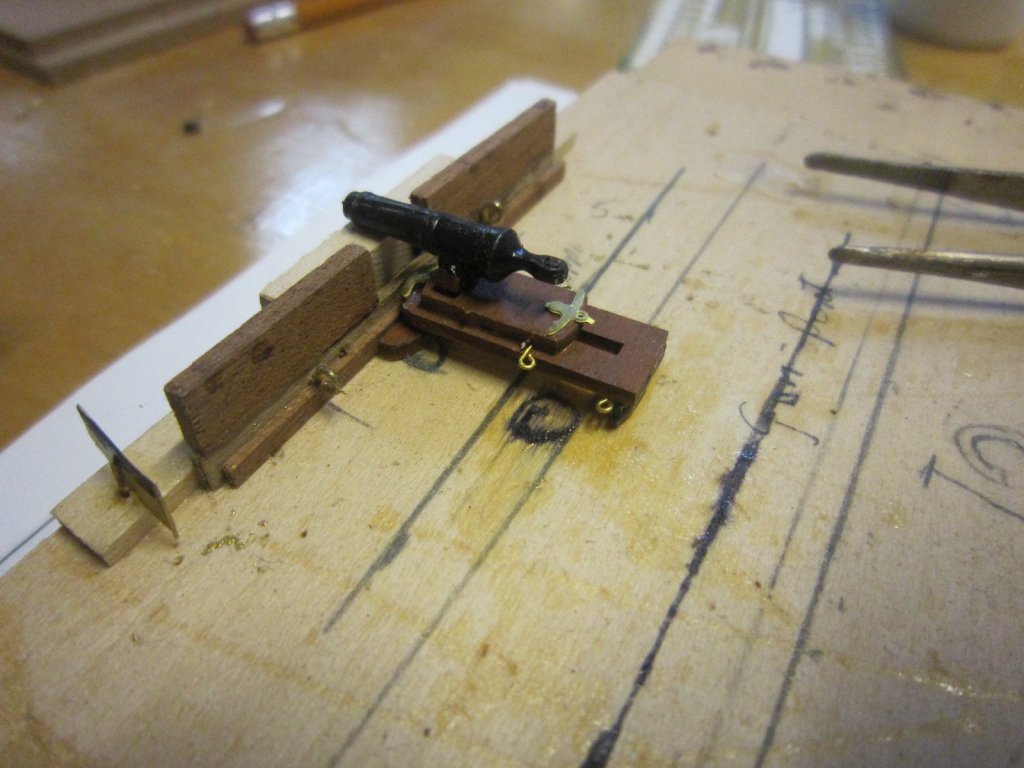
Gun platform with all the trimmings. Carronade is next if I can figure out how to mount it. If it was any smaller I'd throw in the towel.

- 1,135 replies
-
- 6
-
-
- model shipways
- syren
- (and 2 more)
-
Most scratch built ships are very close to how the real boat was built.
-
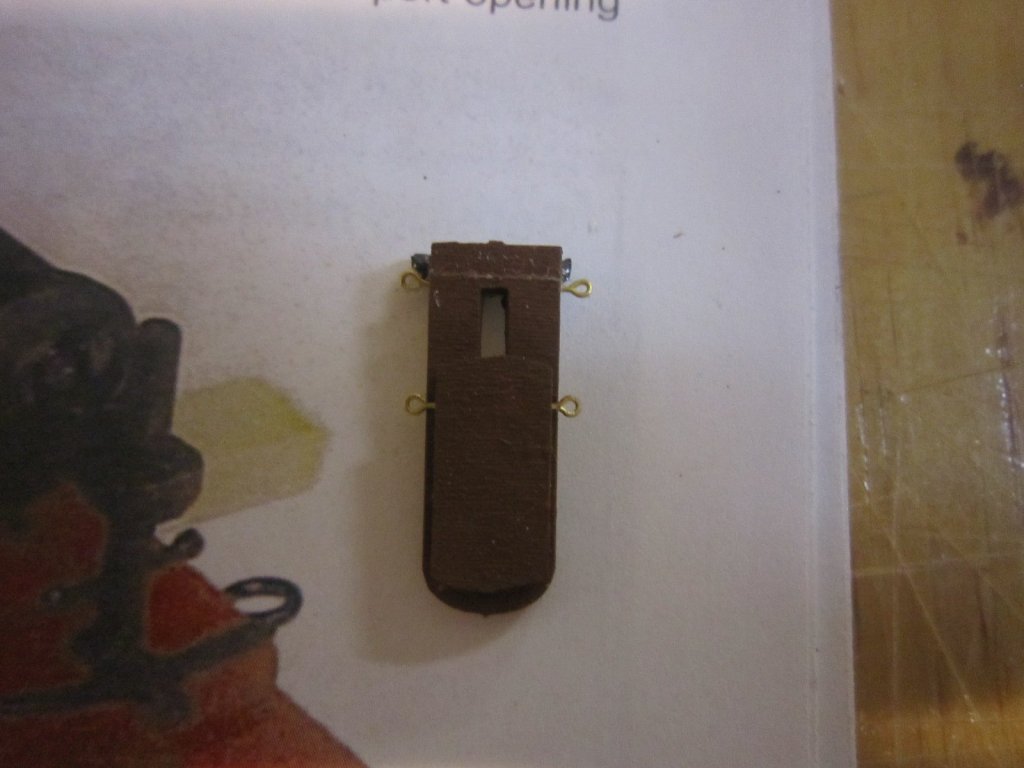
I'm starting to install the carronade eyebolts. The slide eyebolts went right on with just a small pilot hole. The rear or lower eyebolt was a problem. When I started the small pilot hole the whole rear piece broke off (split). So I then gave up trying to drill a pilot hole in that fragile thin wood. I glued the eyebolts behind the rear wheels under the carriage. Looks okay to me.

- 1,135 replies
-
- 6
-
-
- model shipways
- syren
- (and 2 more)
-
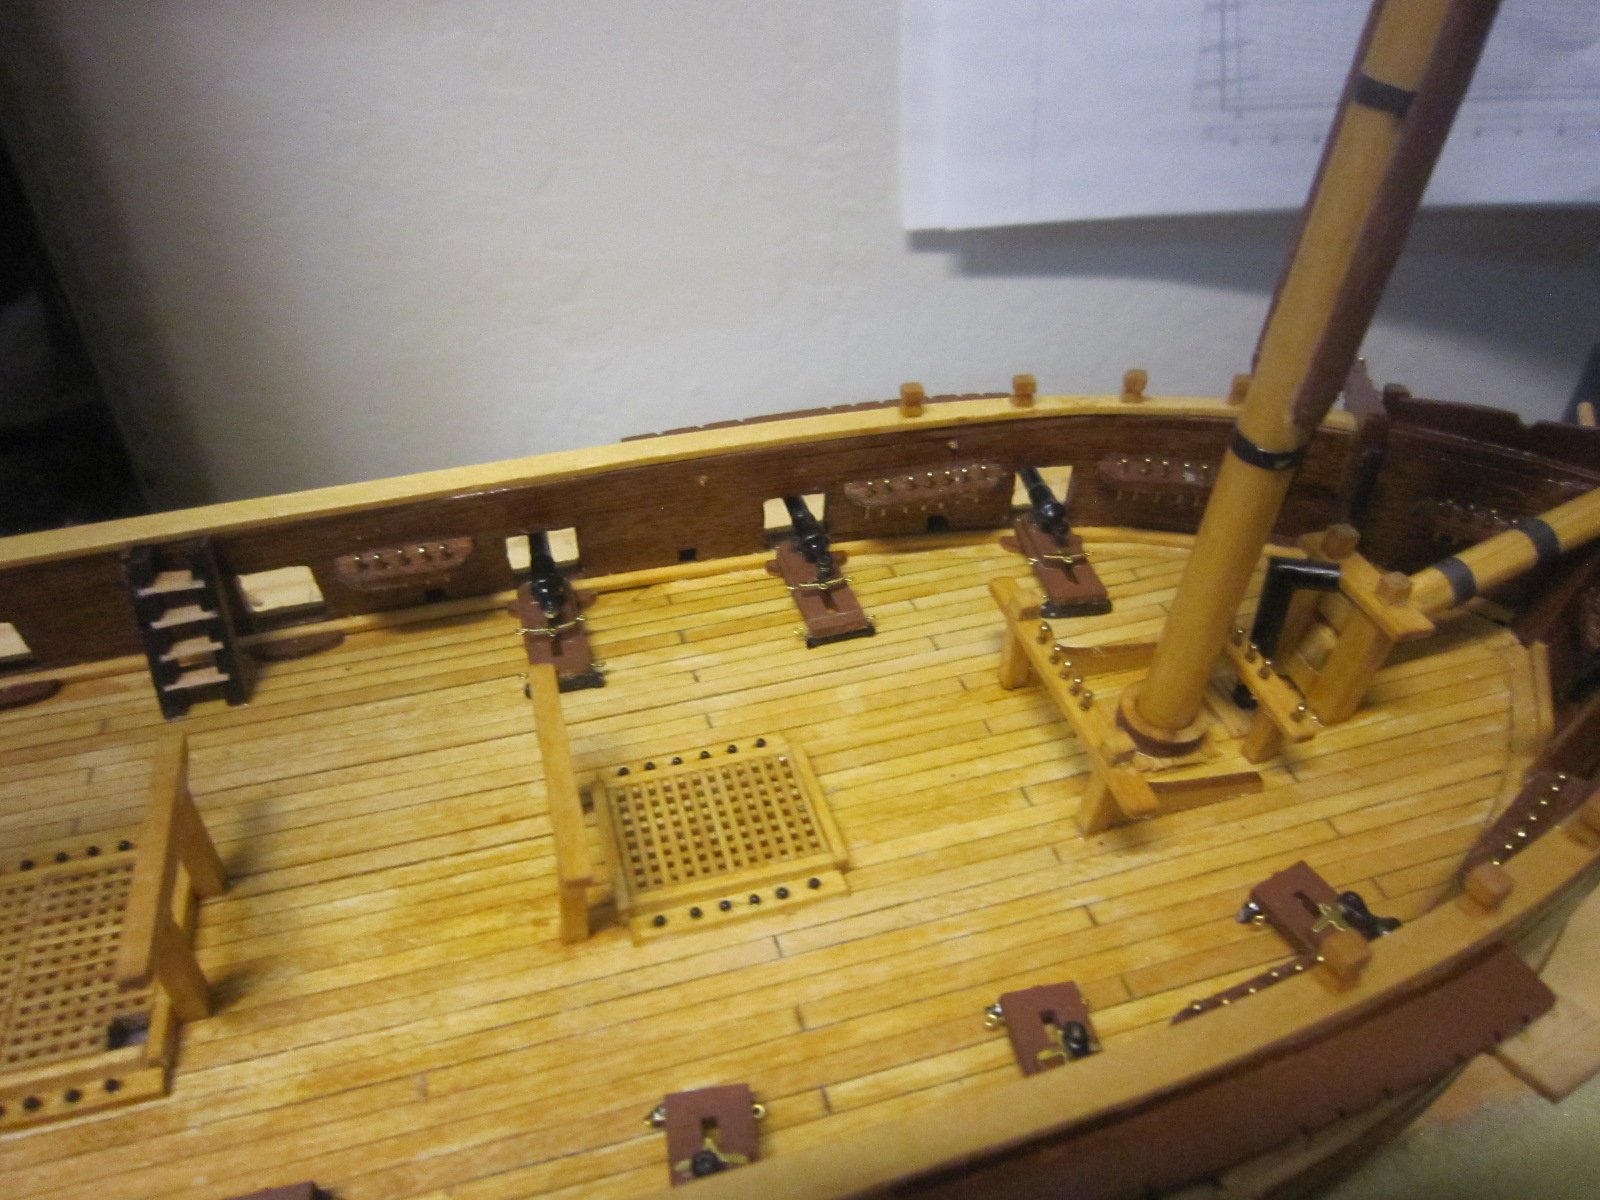
I painted the brackets so they look like the original wood. I can't imagine anyone but me noticing this detail when the ship is finished.

- 1,135 replies
-
- 8
-
-
- model shipways
- syren
- (and 2 more)
-
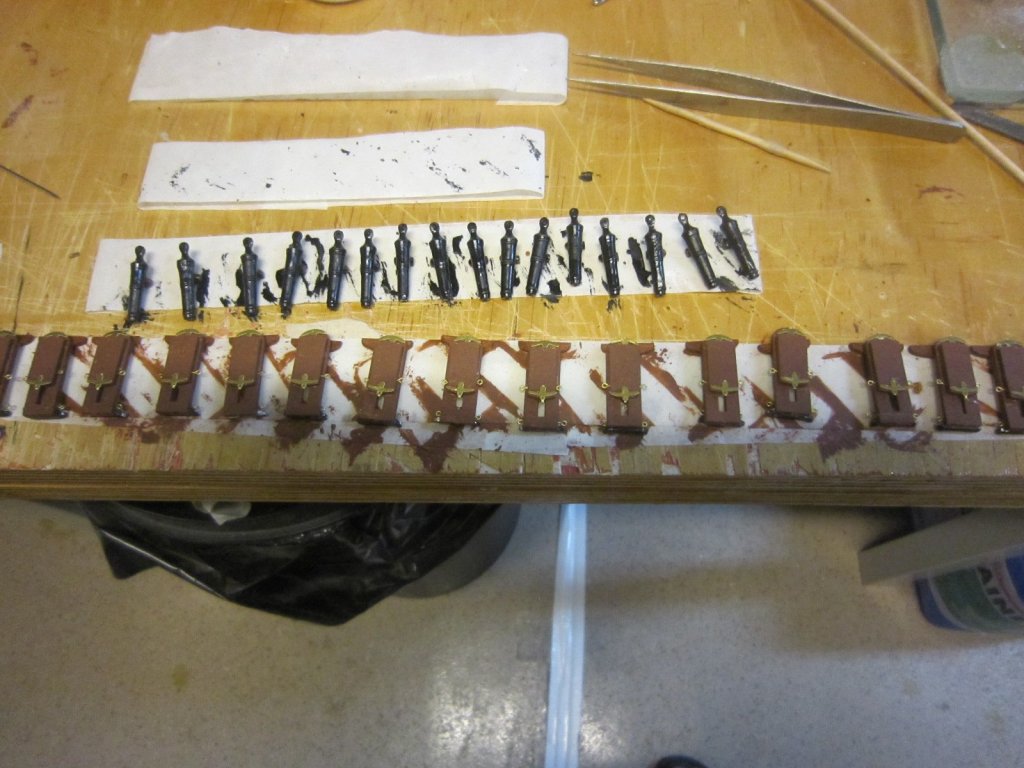
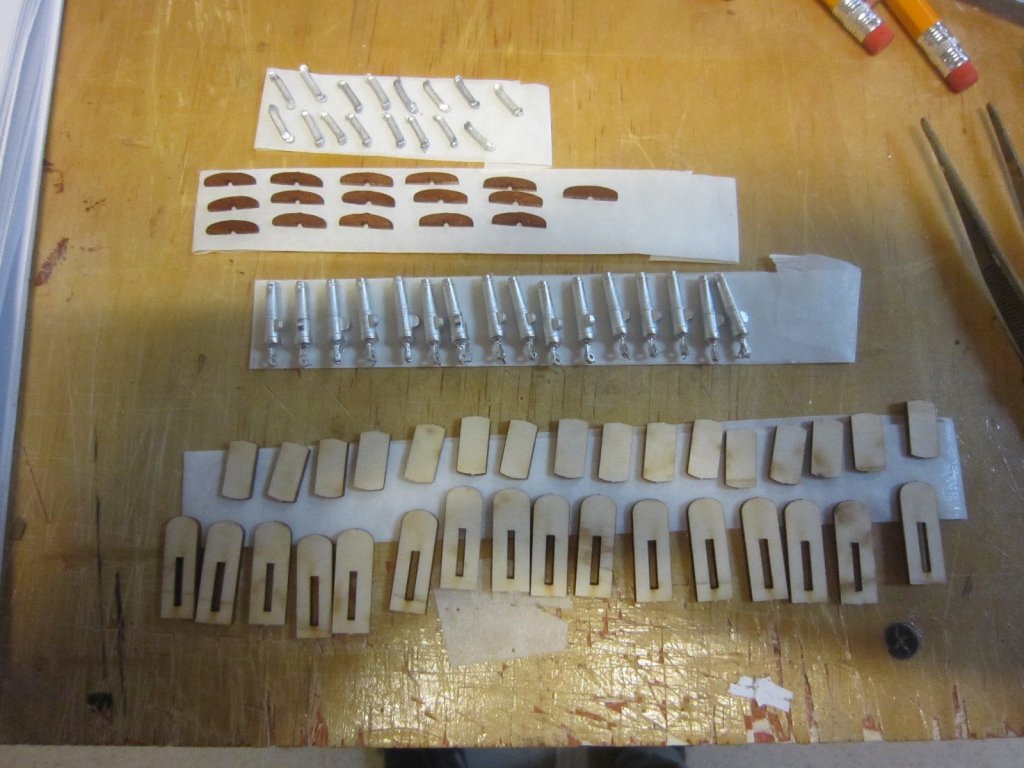
I started to paint all the carronade parts. Still some small details left.
- 1,135 replies
-
- 4
-
-
- model shipways
- syren
- (and 2 more)
-
I glued the sleds to the carronade bases. I located them exactly where the drawing showed in relation to the slot

- 1,135 replies
-
- 5
-
-
- model shipways
- syren
- (and 2 more)
-
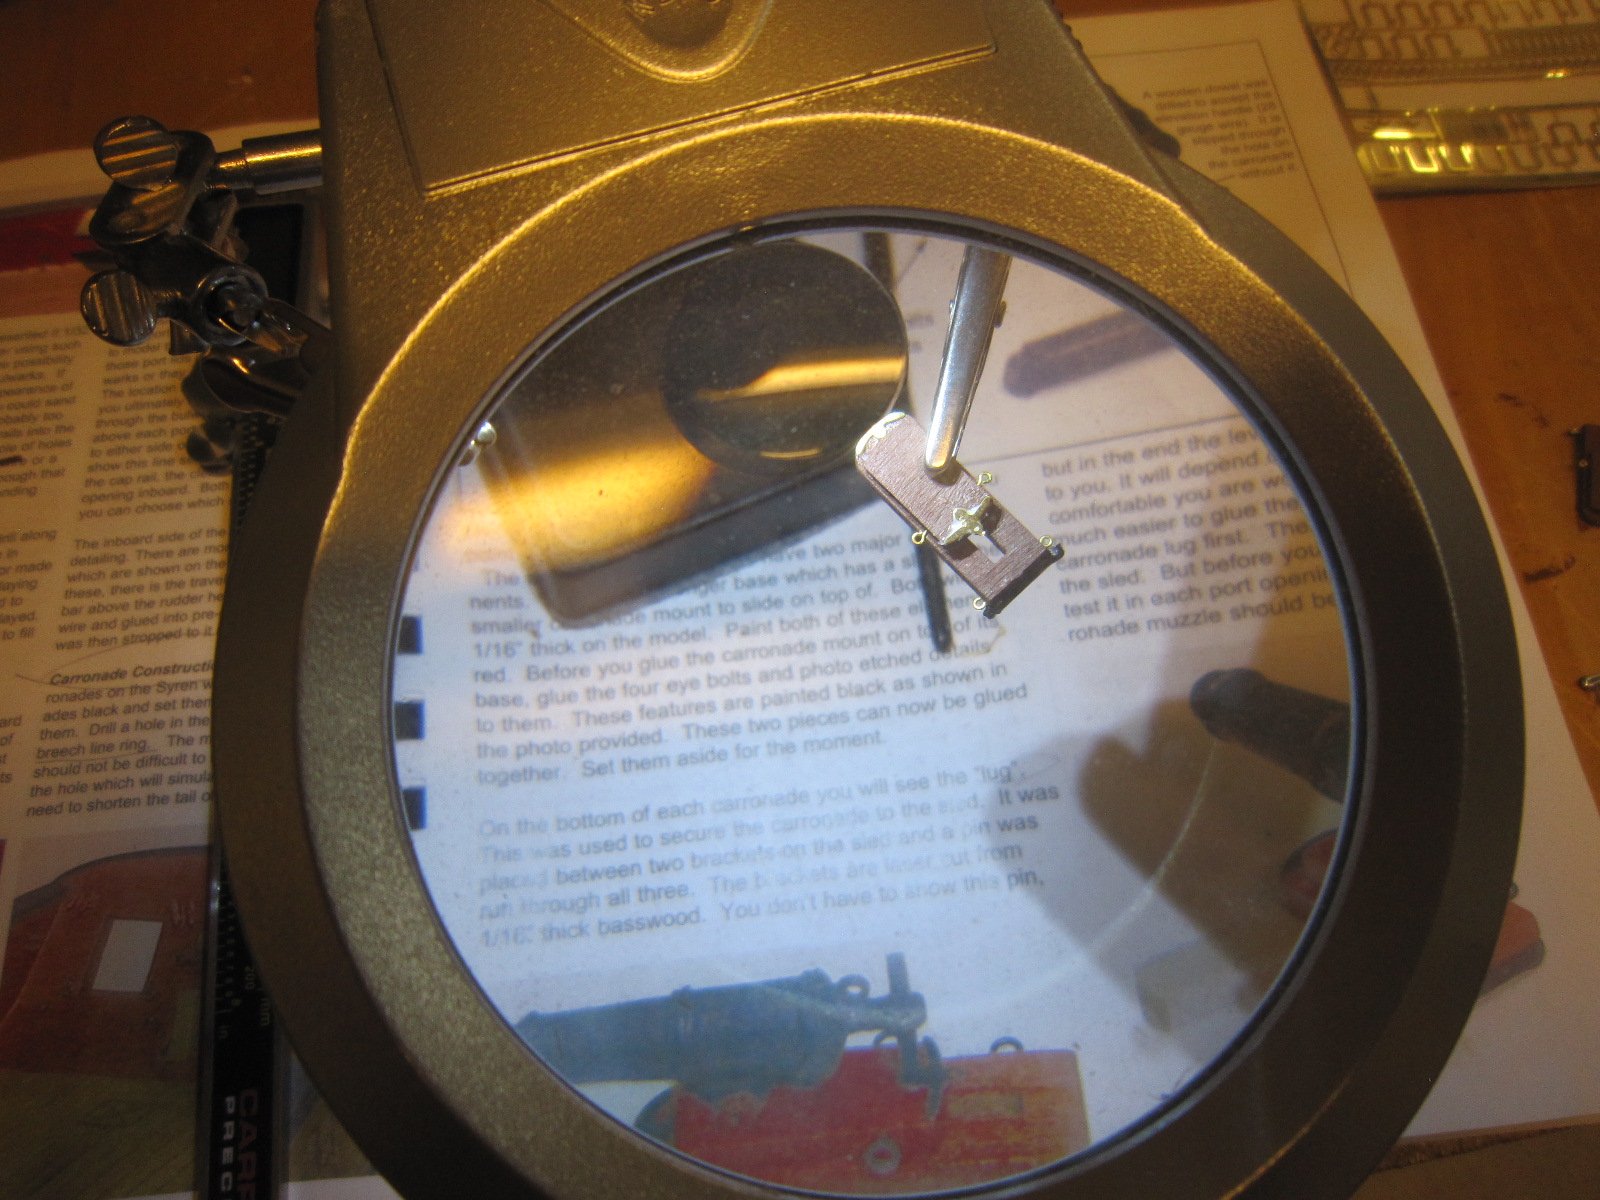
Yes. I had to use a magnifying glass to double check positions. They're still not perfect but I'll sand and file them level before gluing.
-
Half way gluing on the tiny supports on each carronade

- 1,135 replies
-
- 6
-
-
- model shipways
- syren
- (and 2 more)
-
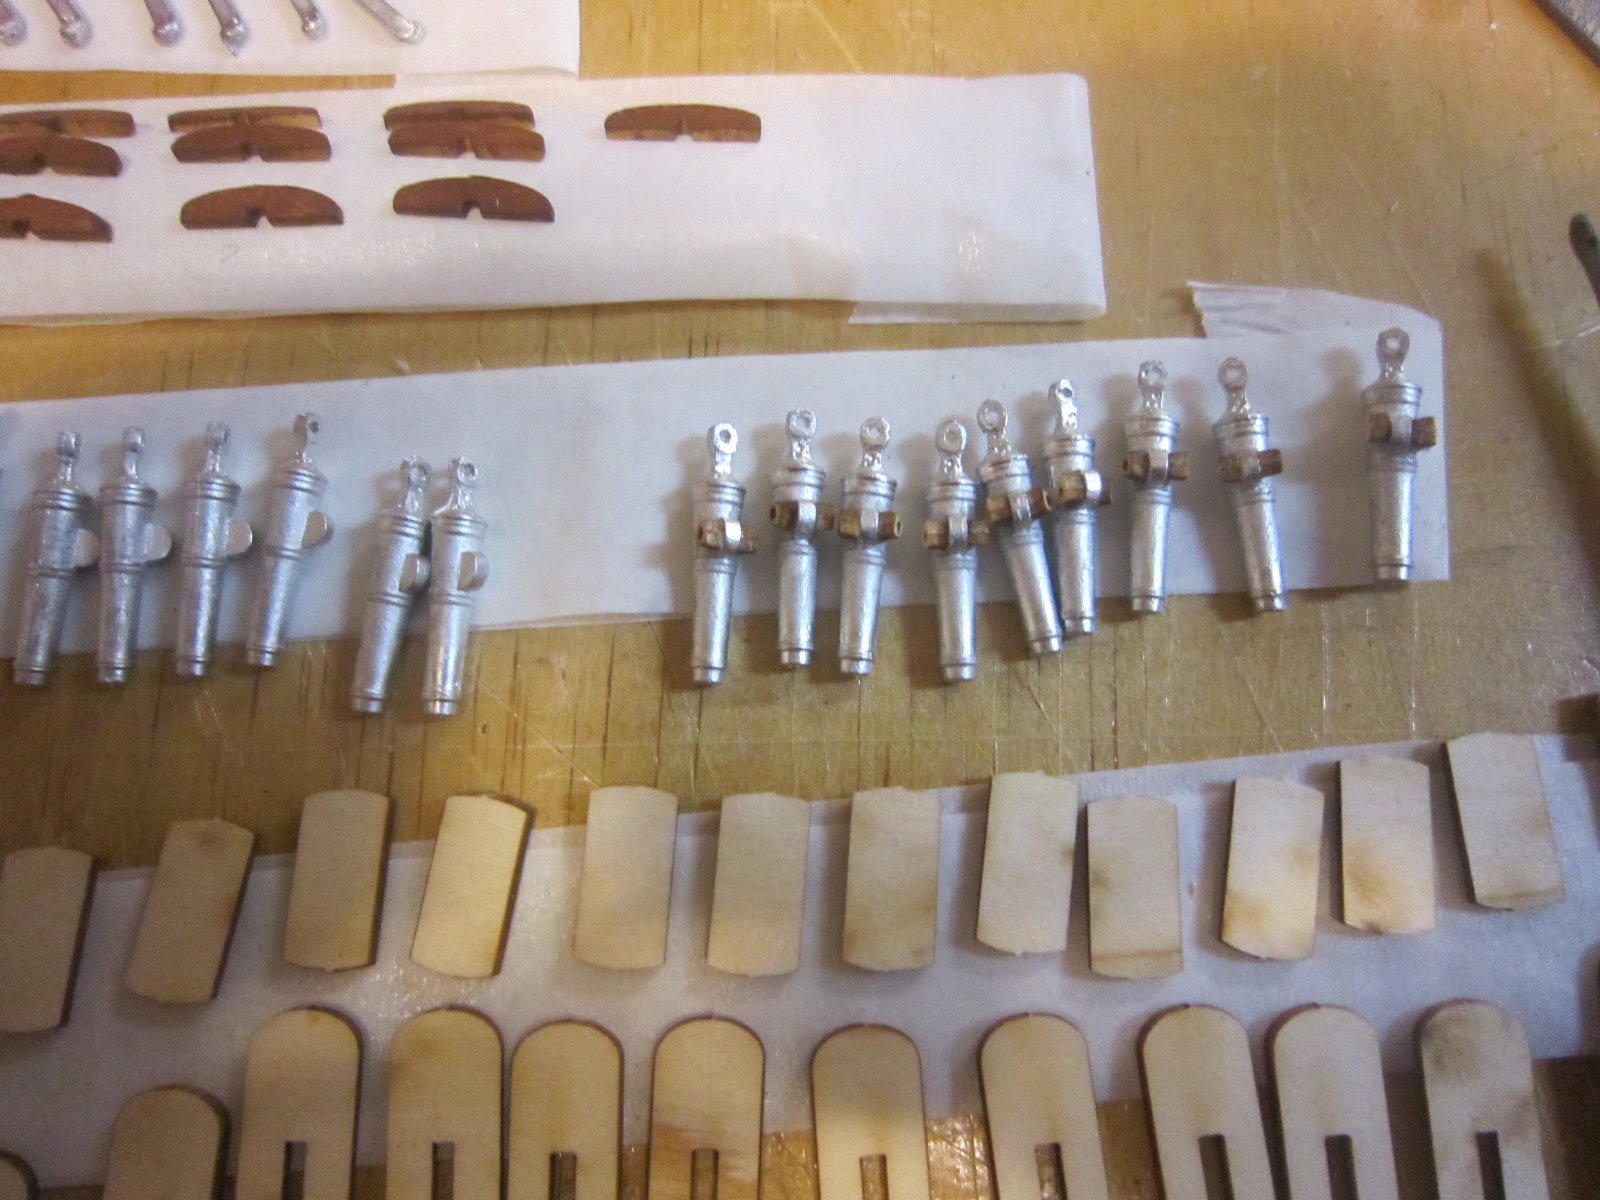
Putting these tiny supports is very time consuming. They are so small I can't even get the camera to focus down to their size.
- 1,135 replies
-
- 3
-
-
- model shipways
- syren
- (and 2 more)
-
Thanks. So who made off with the Crown Jewels?
-
A lot of people pitched in to help. I tried lots of combos and luckily found one that worked. Thank you all who pitched in!
- 1,135 replies
-
- 2
-
-
- model shipways
- syren
- (and 2 more)
-
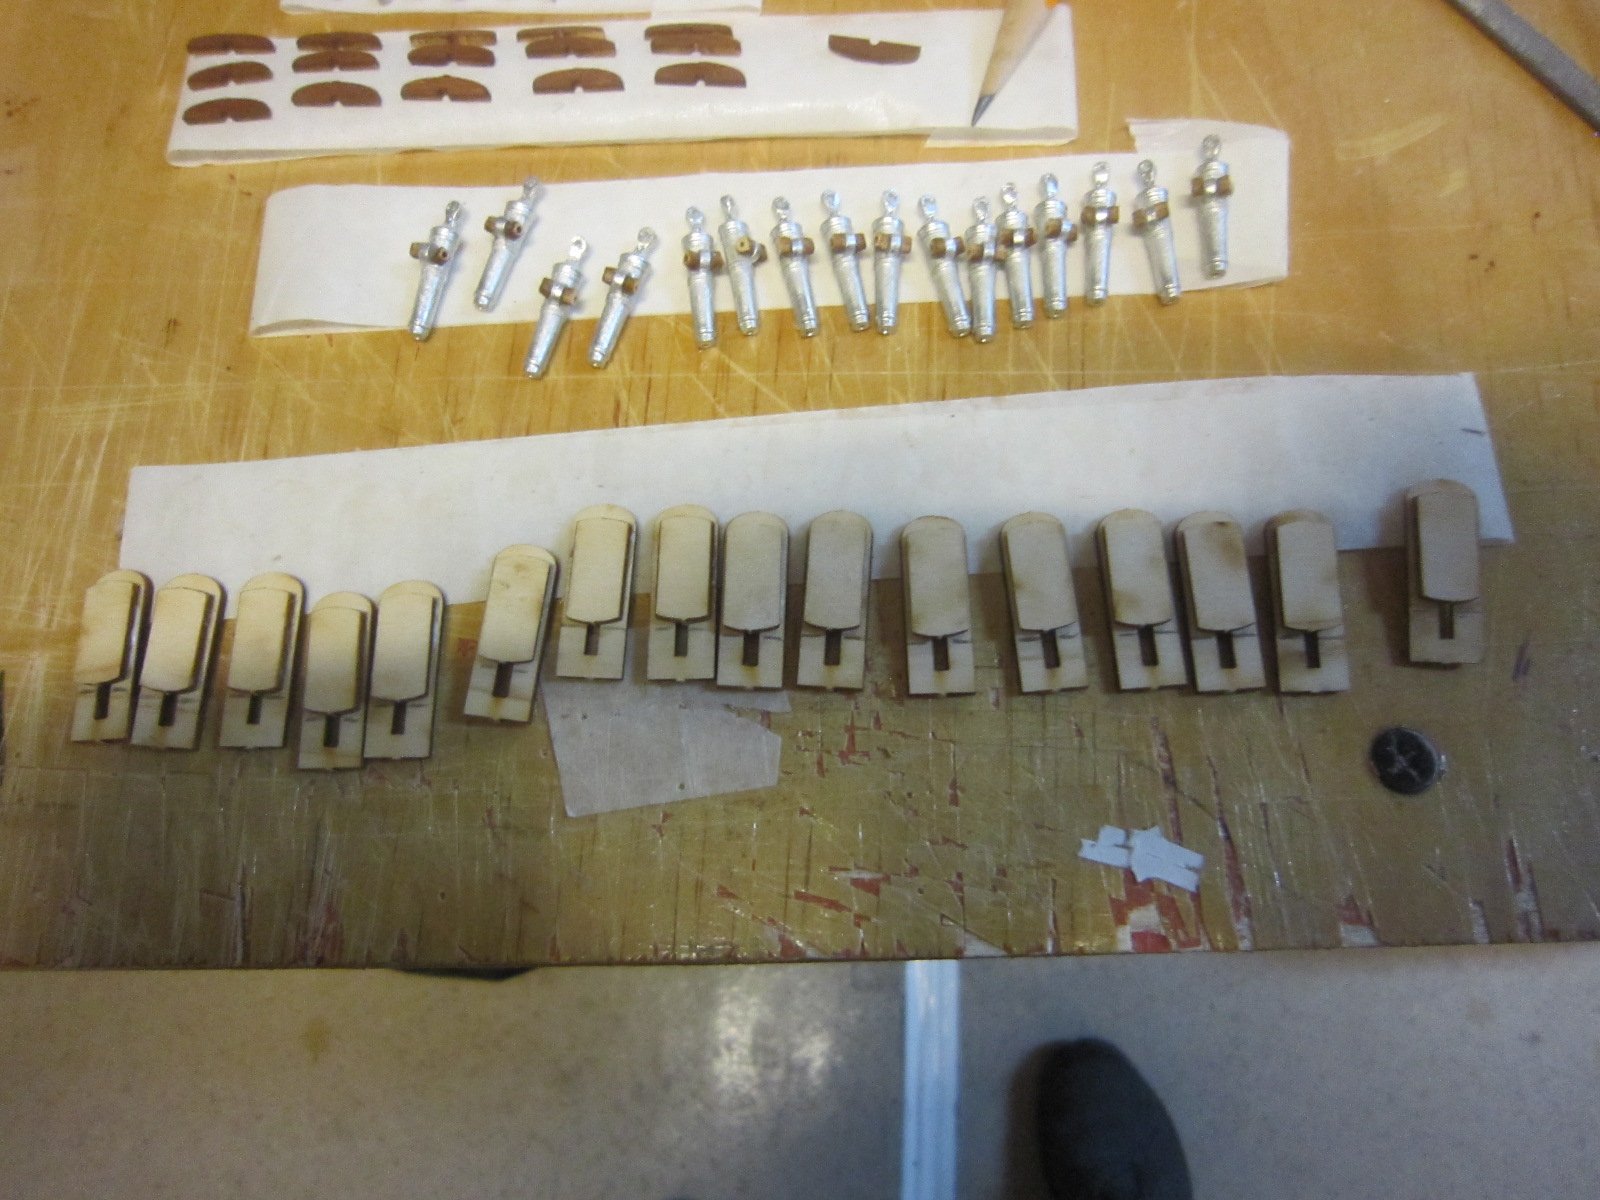
Now I have to glue these tiny wooden supports to the flange on the base of each carronade. I'm not good with all this tiny tiny stuff.
- 1,135 replies
-
- 5
-
-
- model shipways
- syren
- (and 2 more)
-
I've started the cannon factory. Now I know why I don't build the Victory. The cast parts have a lot of flashing to be filed off.
- 1,135 replies
-
- 6
-
-
- model shipways
- syren
- (and 2 more)