-
Posts
576 -
Joined
-
Last visited
Content Type
Profiles
Forums
Gallery
Events
Everything posted by NavyShooter
-
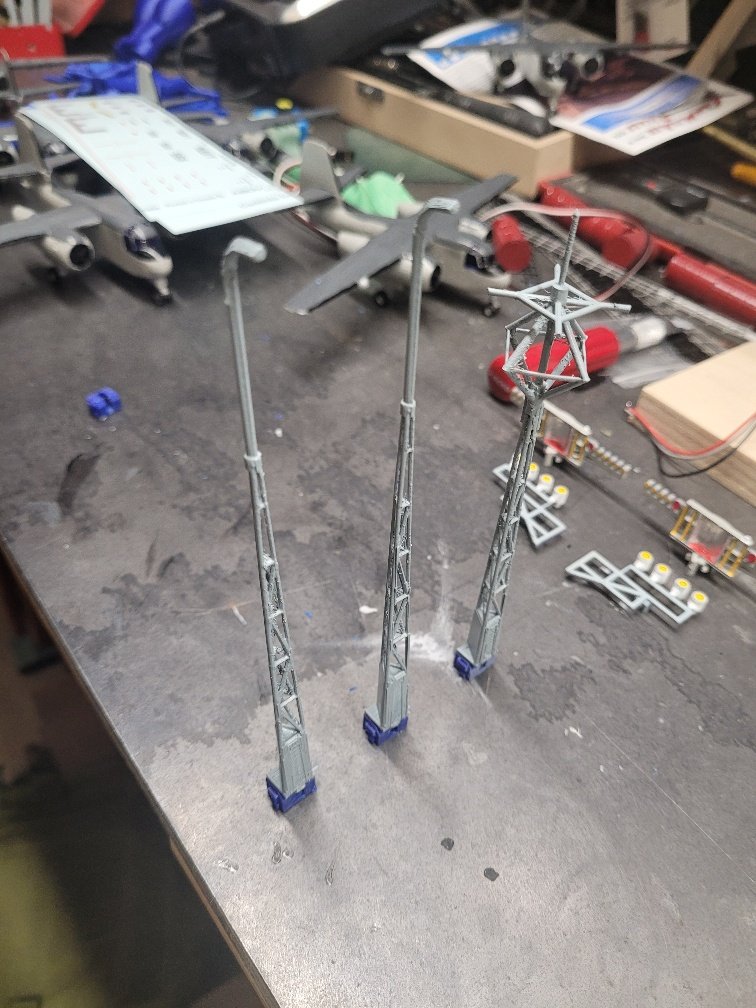
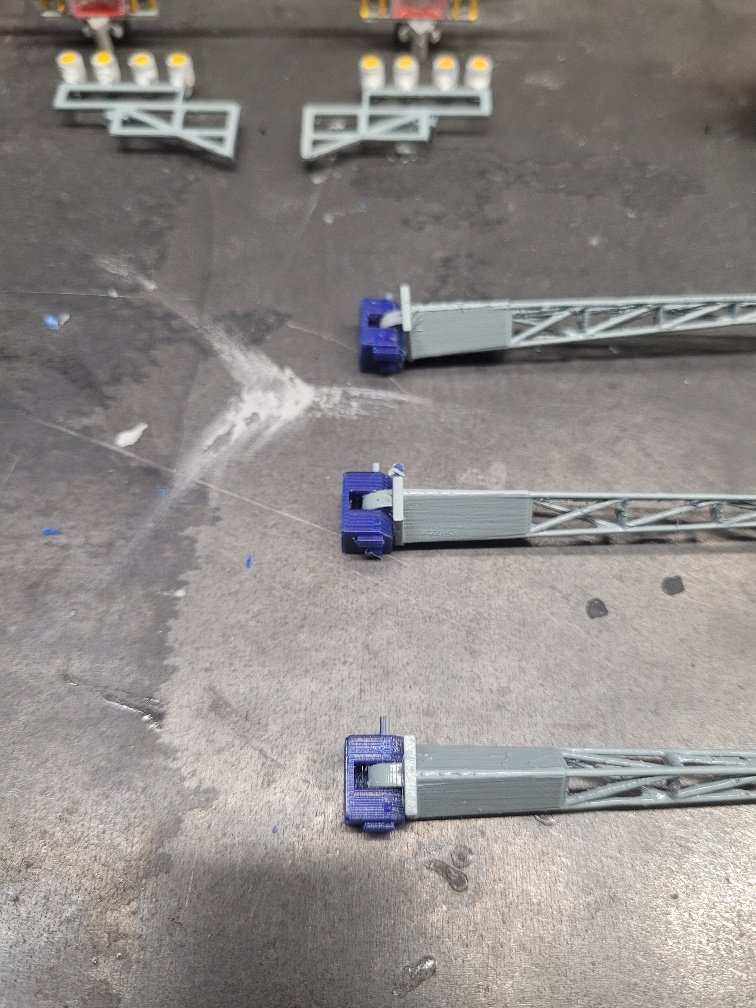
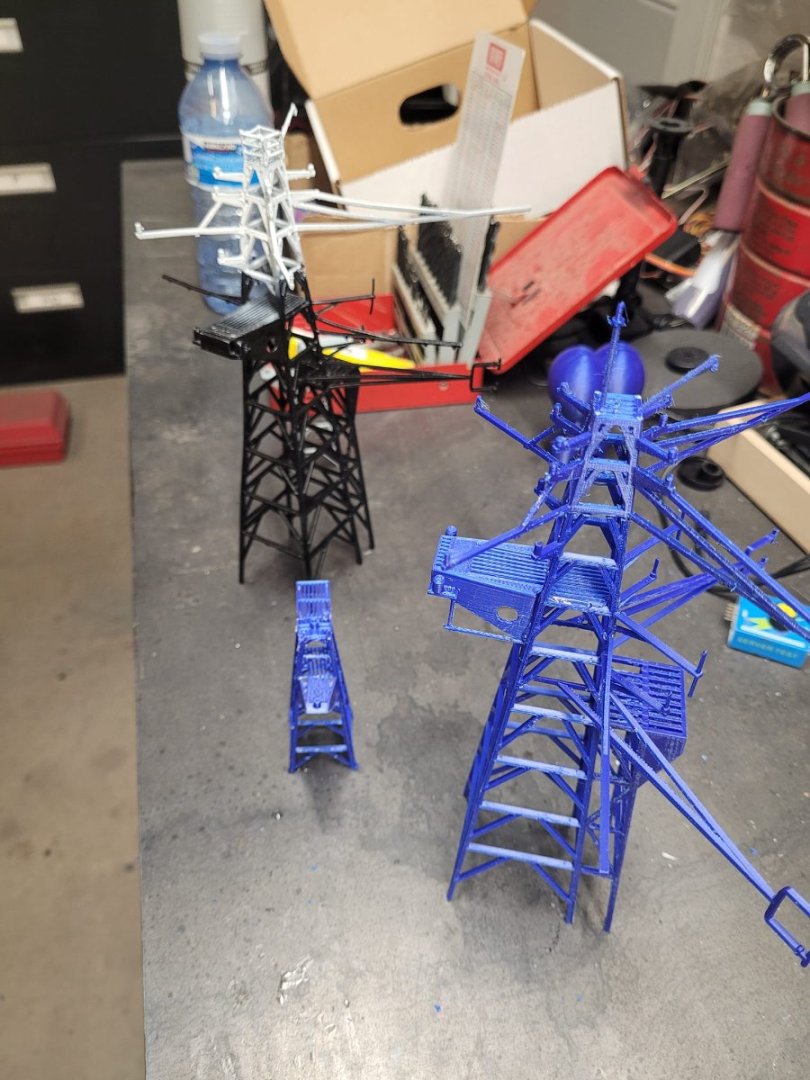
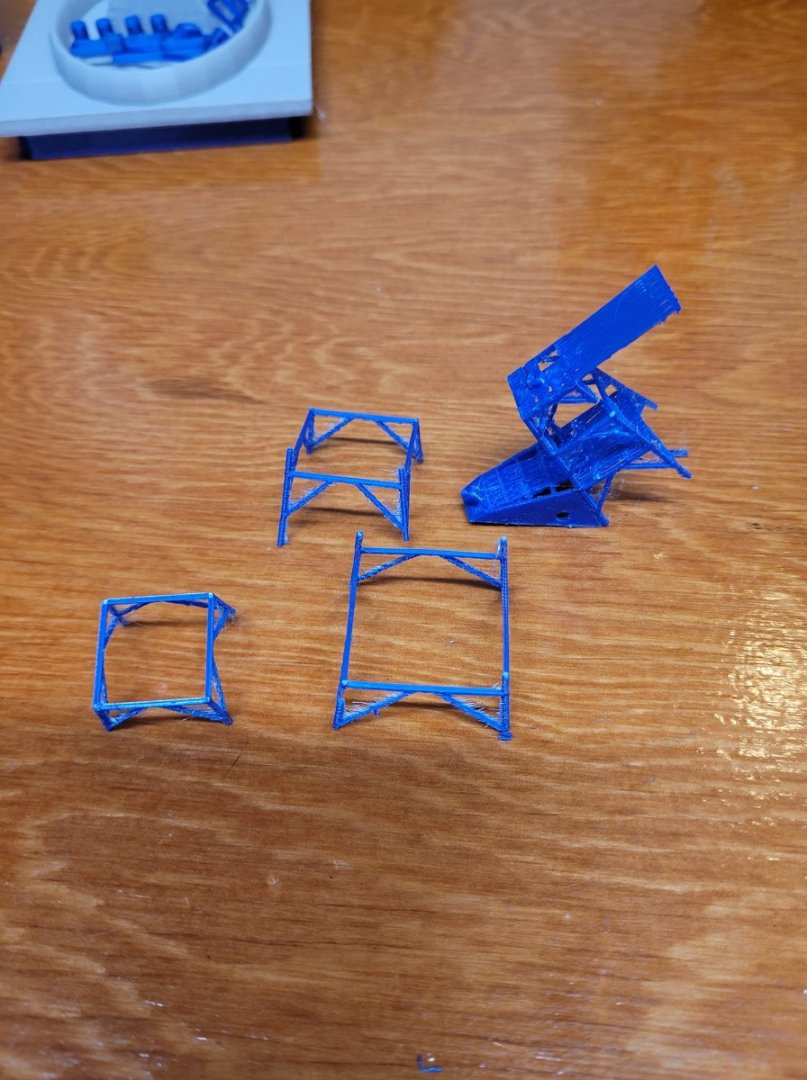
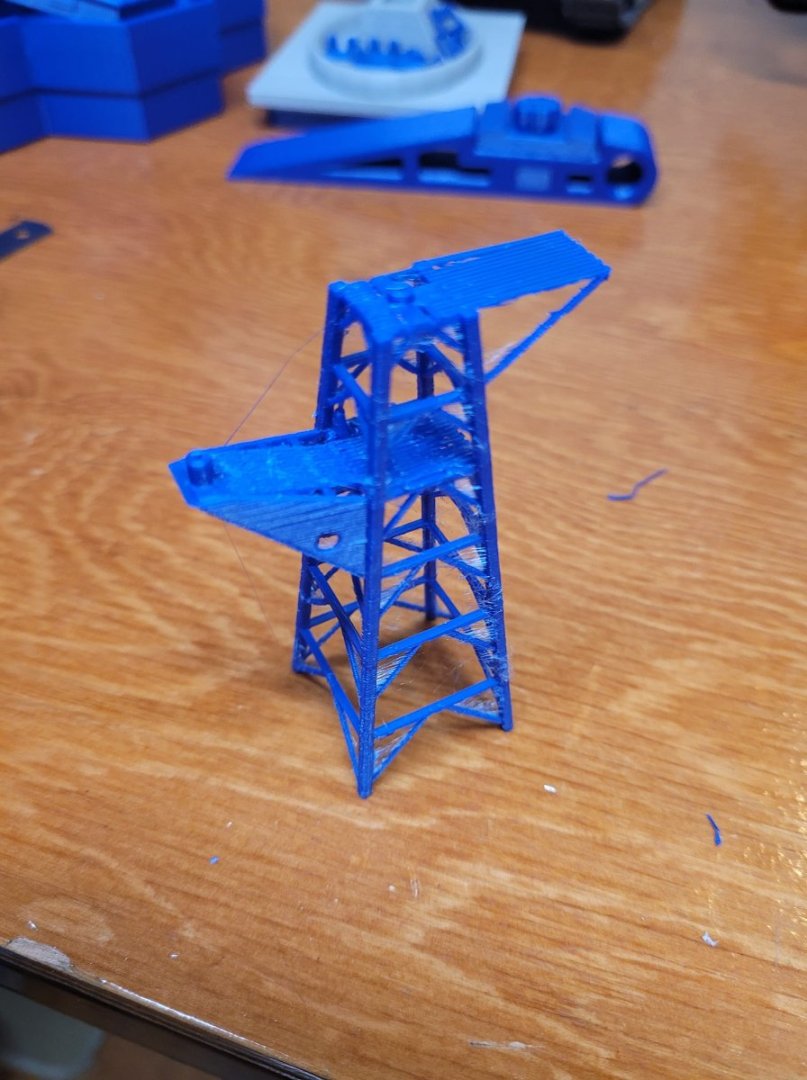
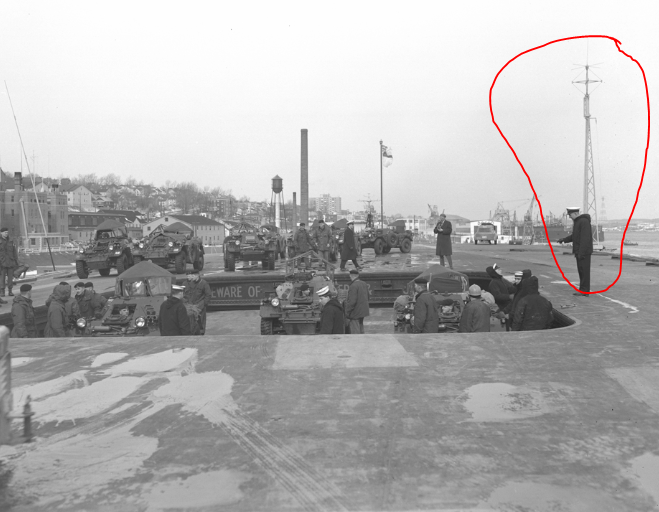
So...I just lost what I'd started working on in this post...but it was basically a start of an explanation of 3D design. This is a design for a radar dish that I found....I decided to modify it a bit to make it more like what I thought it should look like. This is what I came up with - still not right, but it was an exercise in learning how to use some 3D design software. The program I used for this is called "Tinkercad" which is a free online CAD program that runs on a website that you log in to. It's basic, but it's almost intuitive - and it let me figure out some basic design aspects and let me learn how to do some basic 3D CAD work. My RADAR dish project was set aside...and I started on a ship's crane. This is version 1 of the crane: Pretty basic still - not quite correct, when you compare it to the image below, but not a bad starting point: Here you see my 'Version 4' of the Deck Crane. You can see that based on previous versions, I've added more detail, adjusted, tuned, and so on. And here is a comparison between Version 1 and Version 3. Here is the 'mostly' final product - you can see that I plan to have the crane functional as an RC crane - with a servo below deck to enable rotation, and a servo embedded in the crane body (5g micro servo) set for continuous rotation that will enable me to hoist and lower objects: The 1.9 Gram servo that you see here has been switched for a 5 gram servo in the current iteration which you can see here: This was a steep learning curve for me. The nice thing is, I was able to go from design to printed object in my hands within a few hours. That let me figure out a lot of things...and get much better at my 3D designing. I'm not good in any way, but I'm getting better. So that inspired me to work on other bits and details.
-
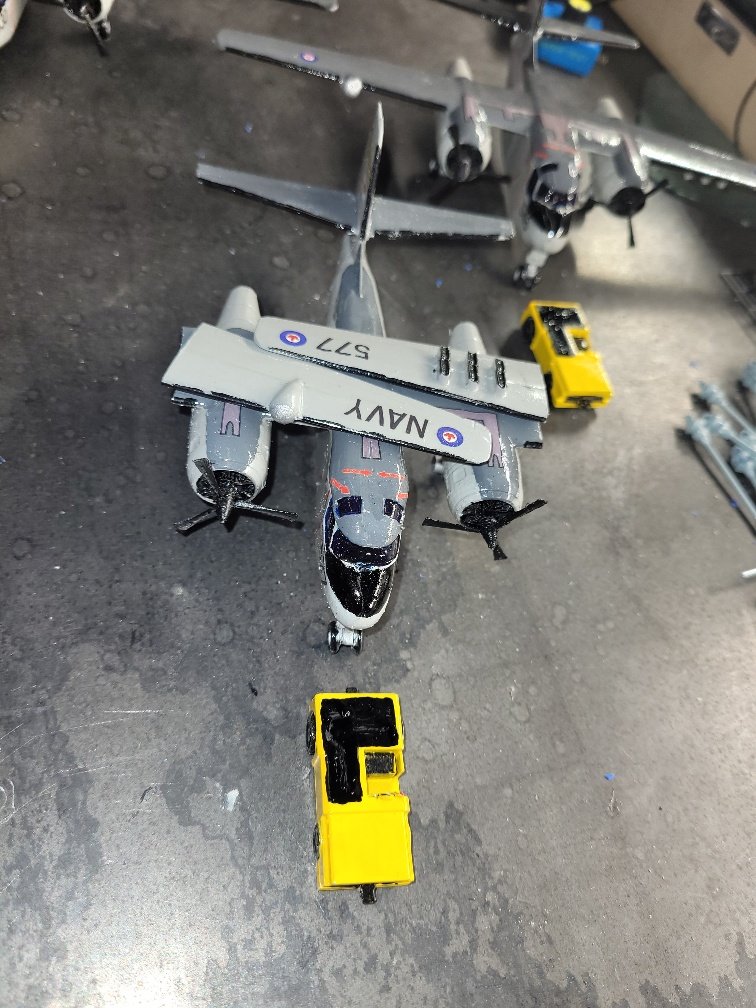
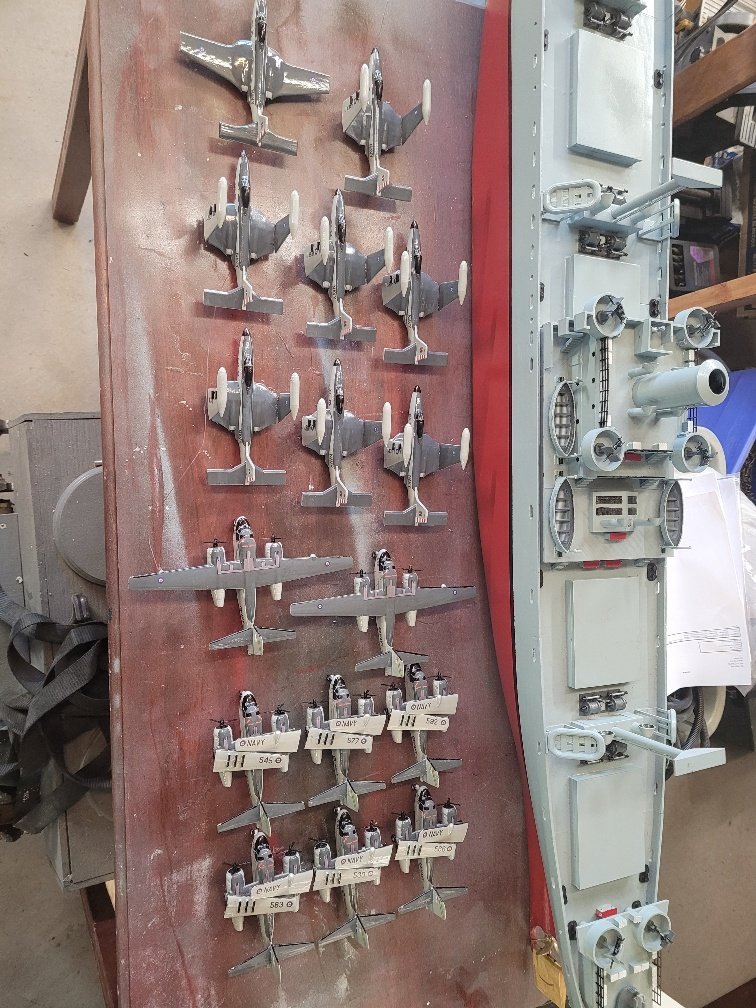
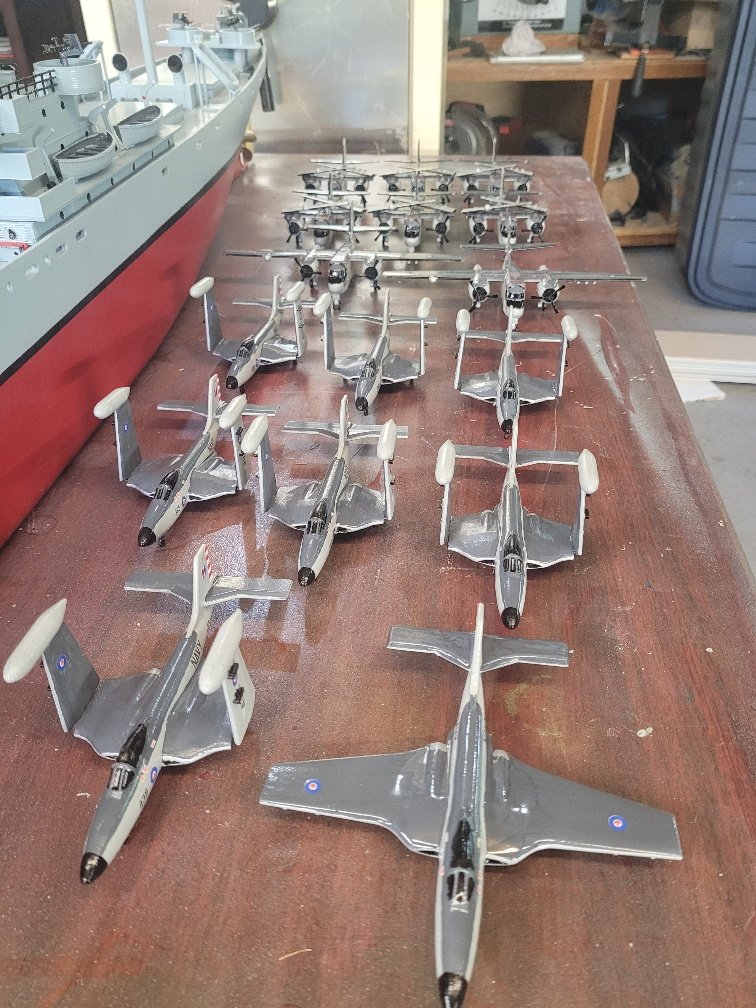
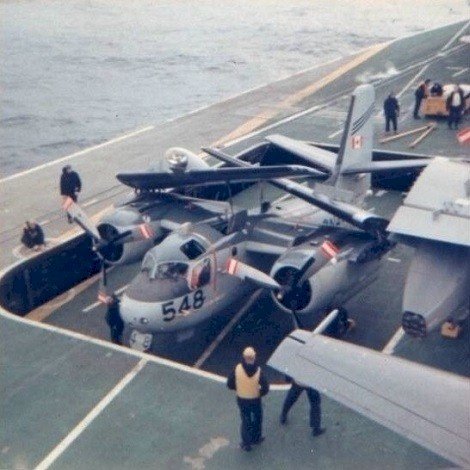
In the background, I knew there were some problems with his design - You can see in this sliced view of the model, there are some horizontal lines, that when you zoom in show as blank layers: I tried rotating the model to see if I could fix that, and it actually got worse: You can see the clear gaps in the model here. He made changes, tried to fix it, but he's not an expert at generating 3D models for printing...he does computer games. So...I set off on a path that someone pointed me to, and found a guy on Cults3D (which is another 3D model source site) that had this model available: https://cults3d.com/en/3d-model/art/grumman-tracker-s2-escala-1-200 And after paying the first guy $50 GBP (he's in the UK) I then downloaded this model for another $8.22 Canadian, and printed a test version. No odd gaps, no slicing problems...and a very detailed model to boot. It's been 'cut up' in a way that it's actually designed to be 3D printed, and when printing at 0.5mm steps, it takes about 31 hours to print. I settled on this solution about a week ago...and now have 3 complete trackers ready to be glued together. My goal is to have about 8 Trackers, since there are numerous photos of Bonnie with that many on deck.
-
I started looking for a suitable 3D model of the S2F tracker, and could only find ones suitable for 3D computer games - so I reached out to one of the 3D designers who had a model on CGTrader, and asked him if he'd be willing to work with me to generate a 3D printable version - that has worked reasonably well. I recognized that I do not have the personal skill to make a 3D printable airplane - not yet...certainly not last fall when I started down this path. So, after considerable back and forth, I got a design from him that was 'mostly' workable. I ran with it, and printed a bunch of Trackers.
-
Since I had a 3D printer, I set about finding suitable models to print, and found an F2F Banshee. It's not 100% the right version for the RCN, but, a good starting point. I printed off a sample aircraft with some modifications (straight tail and landing gear) to see how it would look. Then I printed another at higher resolution to get rid of some of the obvious lines and smooth things out: This starting point gave me the confidence that I'd be able to make this work...so...off we go. I'm going to finish this ship!
-
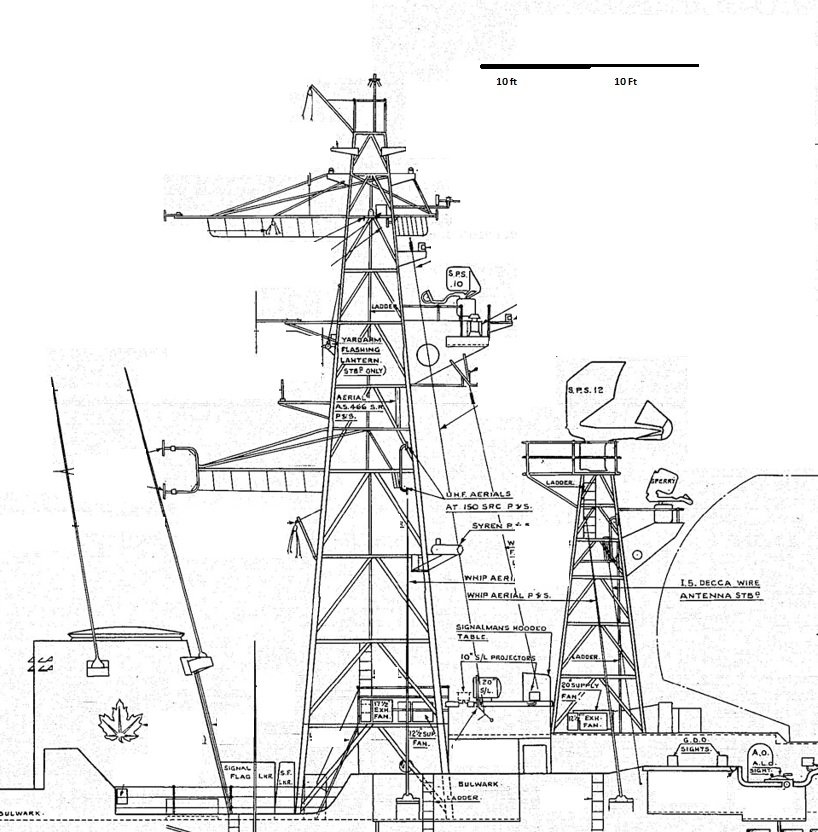
Ok, so this one is going to be a long one - and note that I am calling this a 'fitting out' rather than a 'build'. Long story short, I got the hull, flight deck and superstructure late last year from another local modeler in the condition that you see here. He got it from an elderly modeler who was not going to ever be able to complete it, and after some discussions, I bought it from him. The biggest problem with a 1/96 scale Canadian Aircraft Carrier is not the RC gear, the deck fittings, or any of that....it's the air group. (Or Air Det in RCN parlance.) There is no source for any of these aircraft in 1/96 scale: HSO-4 helicopter S2F Tracker F2 Banshee SH3 Seaking But. I had a 3D printer....and a concept....so I took up the challenge and decided to run with it. As it arrived in my garage, the ship came with a single Tracker - the modeler I got it from had purchased that through a company called Shapeways at a cost of about $90. This was part of why he sold it - he recognized that to build up a complete Air Det, he'd need to spend probably almost $1500 to buy aircraft...and that's a buttload of money for some tiny airplanes. So, the ship arrived as you see above, and it became my project to fit her out. More to follow. NS
-
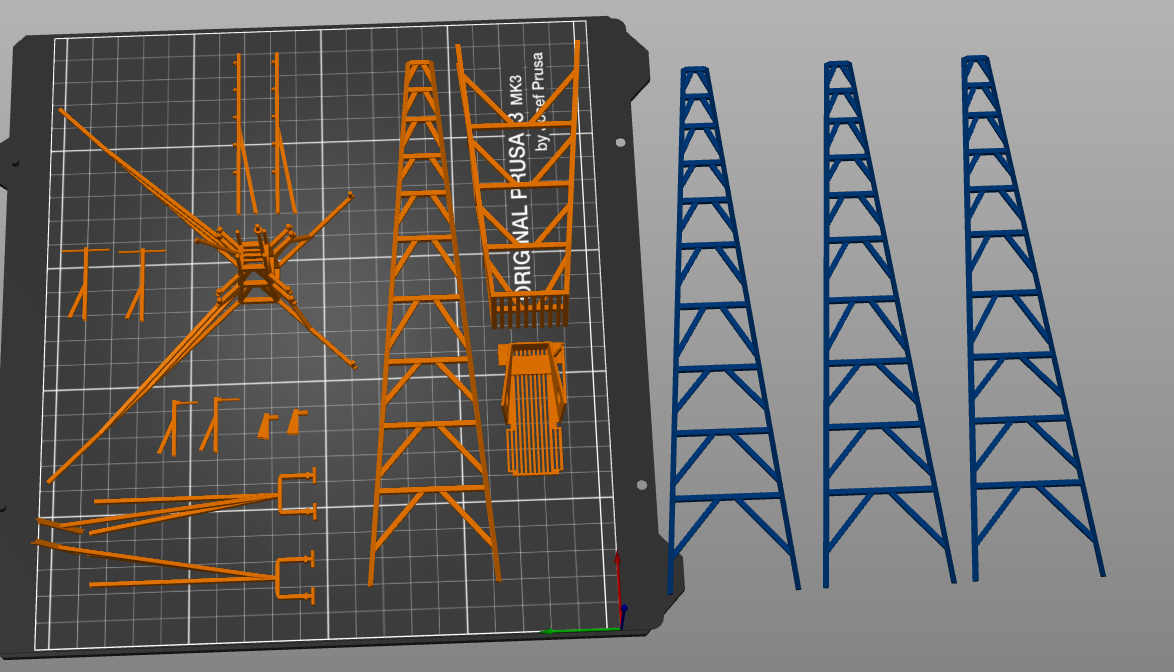
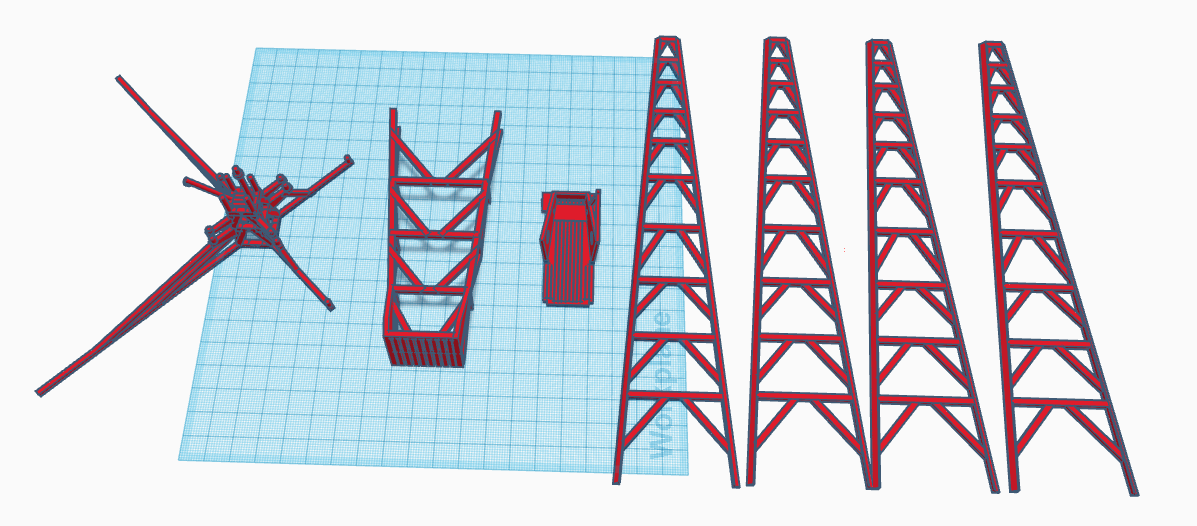
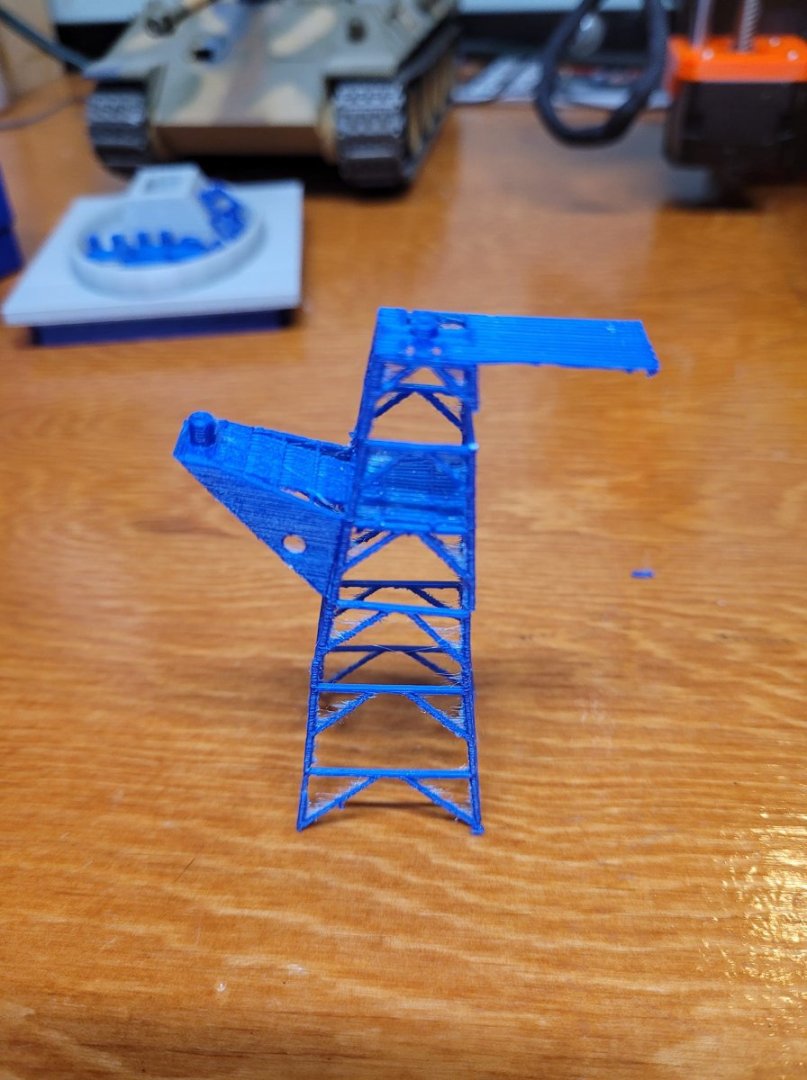
Ahoy! I've read through most of your build thread here and am impressed at your perseverance in the face of the difficulty you had with extrusion. I started printing with an Anycubic Mega S a few years ago, and something I found with PLA was that the brass teeth would chew off little bits of plastic and eventually the teeth would clog and I'd get reduced extrusion. I printed 2x Liberty Ships - one for myself on my Anycubic, and the other for a friend with my new Prusa MK3S that I bought - I will observe that the finish on the Prusa is much better. I will suggest that for some detail bits (like the Oerlikons) that you might want to change your step level to .05mm or .1mm. I've had some really good success with detailed prints with .05mm steps. I'll note that I wasn't thrilled with the detail of the Liberty Ships included guns with the free 3D model I found on Thingiverse - so I created my own 3D models for the guns - 3", 5" and the 20mm Oerlikons. I uploaded those files to Thingiverse if you want to try them. I have also recently downloaded the print file from Bensworx for his Castle Class Corvette - I've done a test print in 1/96 scale of the hull and some of the detail parts which didn't turn out so great due to it being very thin - I'm pondering re-printing at 1/72 scale, but have some stuff I'm printing right now for my HMCS Bonaventure model (new Trackers and a new island!) Your added details to the model are really nice - I like the wood work! NS
- 460 replies
-
- Finished
- Flower-class
-
(and 1 more)
Tagged with:
-
Thanks Dave! The boys up in Greenwood are pretty good at what they do. I had them overhead when I was off the coast of Libya in 2011 - that was an interesting time!
-
Thanks Lou! I'm sure you know what one of my upcoming projects will be!
-
Good afternoon all, It was suggested that I introduce myself, so here goes. I was a sailor in the RCN for 26.5 years, and did a bit of small arms marksmanship during that time, hence my 'nickname'. Before I joined the Navy, I built models - tanks, planes, ships, and was starting to get into building scale RC warship models before I headed off to sea, and around the world. I still have my DKM Graf Spee in the attic in my garage - but it's in too rough shape to think about putting back to sea. Having hung up my full time Sailor's rig 3 years ago, I've stepped into a part time position with the Army Reserves, and have a full time job with the government as a technical inspection. My trade in the Navy was a SONAR technician (maintenance/repair as opposed to operating it) but I ended up doing a whole lot different roles. Anyhow, moving back into the world of RC stuff happened last summer when I got involved with a guy running an RC youtube channel that spoofed the 'Alaska gold mining shows' and and that got me back into fiddling about with RC Stuff. I am more a scale boat guy, so I decided to pursue that path again. I ended up buying a 1/96 scale HMCS Bonaventure model from a friend of a friend that had been started, but was basically an empty hull with minimal detail, and a flight deck. Knowing that the hardest part of a 1/96 scale aircraft carrier is finding the right aircraft...I took my 3D printer and and got busy. I've printed a couple of squadrons of both Trackers and Banshees now - and am looking for a Sea King model to print. That was in November and December. In January, I was chatting with a buddy at work who is a trainaholic, and he was looking for a ship to go with his train layout - I found a 3D print-able model of the Flower class corvette and while he loved the Canadian content, was looking for something bigger, and more train-related. So, I found a guy who released a 3D model of the Liberty Ship, and printed one for him....in 1/88 scale (which was as big as the printer could go...I know that HO is 1/87) and while I was at it, I printed myself a Liberty Ship in 1/96 to match my Bonnie. I also had a chance to play with some Ready to Run tugboats through my RC Youtube buddy, and so I bought one of those (Horizon Hobby HH30 Tugboat) and have done a few minor upgrades to it (ESC, Prop mostly) that have improved the performance considerably, particularly in terms of sternway performance. So...long story long (as they usually are with me) I'm a not-really retired sailor who lives on a lake, and has some RC boats, and am doing a lot of 3D design and printing work. Right now, my 'completed' projects are the HH30 tug, and my Liberty Ship build - which you'll find in the 1901-present forum. I look forward to learning a bit from the old hands here! Brad (NS)
-
Ian, Something I discovered recently was that there have been considerable advances in both motors, and ESC's. I was show a Hobbywing 1080 Crawler ESC by a friend of mine who does trucks, and when I got one, I discovered that you can program the ESC...there are about 15 different options you can do, from battery set points to limiting outputs. But. The most important thing I discovered was that you can set the FREQUENCY of the ESC.... this is the 13th item on the setup checklist: Factory default frequency is 8kHz...setting it to 16 kHz puts it outside the normal audio range for most people, and makes it effectively silent. THIS IS WONDERFUL. ABSOLUTELY WONDERFUL!!
- 54 replies
-
- Liberty Ship
- Finished
-
(and 2 more)
Tagged with:
-
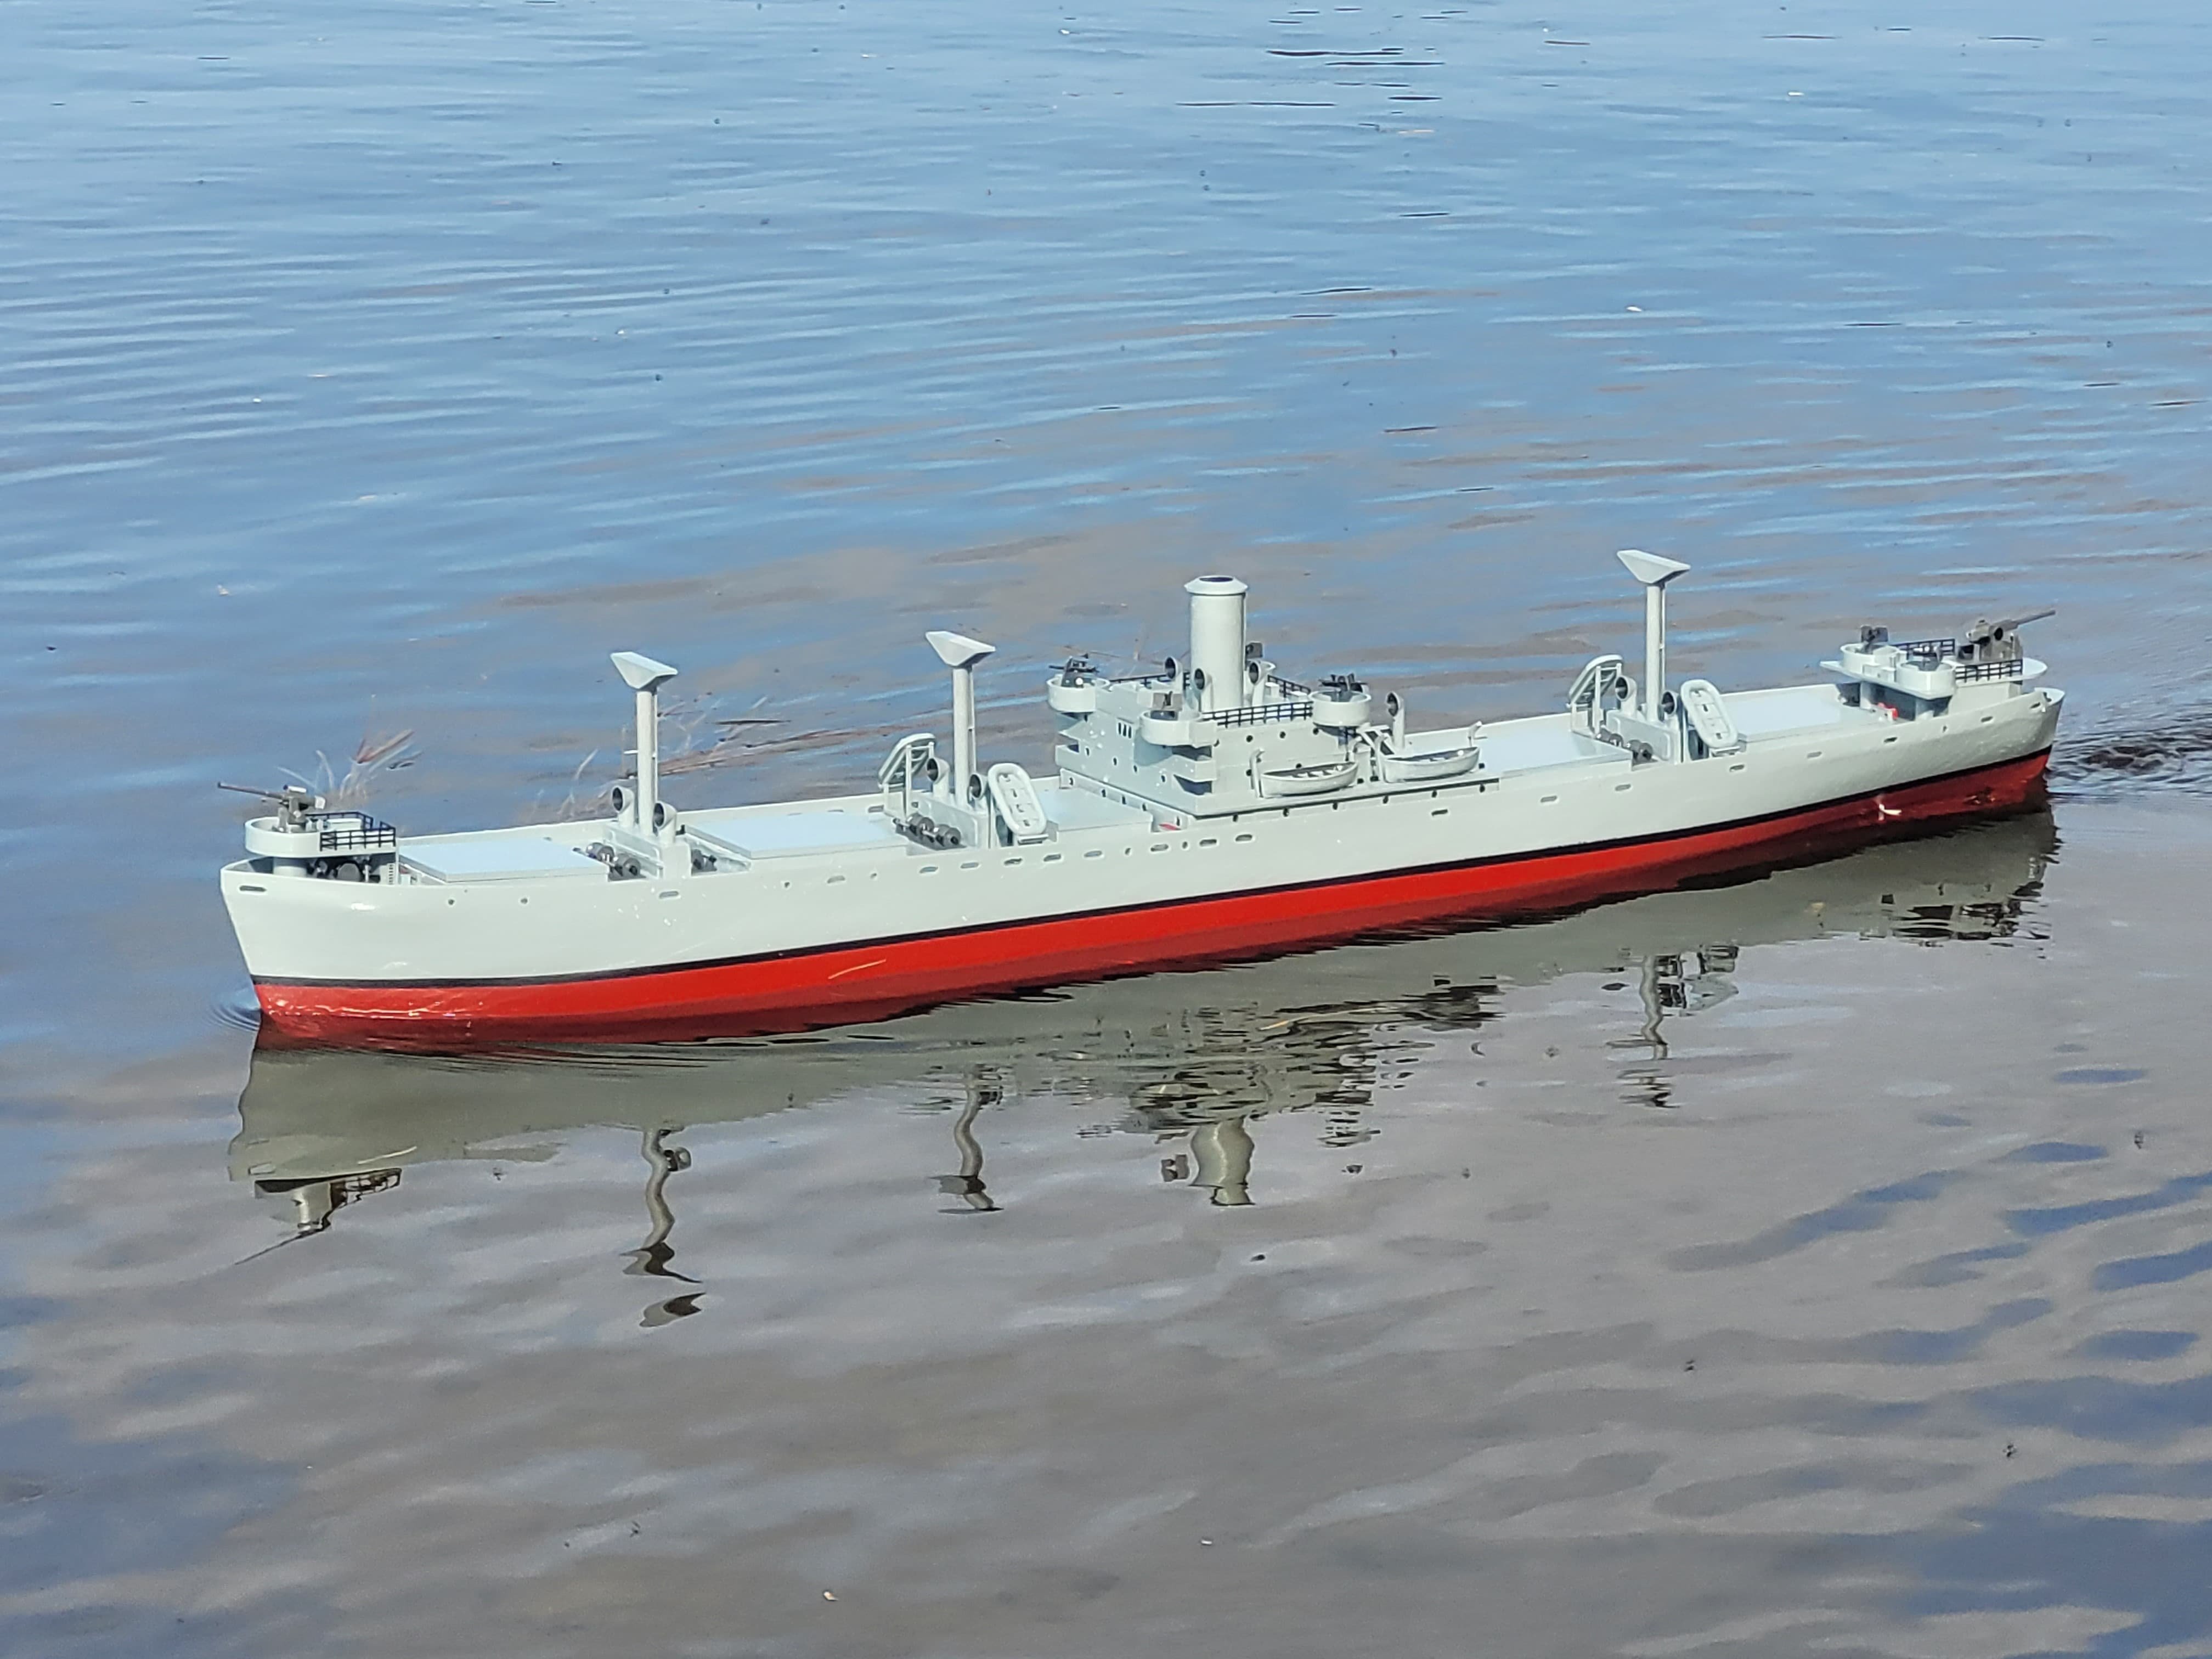
The performance curve on the boat is such that it is now able to practically go on plane...so I went into the settings on my controller (Radiomaster TX16S) and changed the throttle set points to +50% and -40%. This still has lots of power, but keeping her under 50% means that she's not going to look too crazy when sailing about the lake! Something that isn't clear from these pictures is how easy it is to get access to the inside of the hull - all of the cargo hatches come off, and so does the entire superstructure. I'll have to snap a photo with them open to show the access - really a great design by Mr. Buttery (the guy who uploaded the project to Thingiverse) and that put me into thinking about what else I can do with the ship.... Living on a lake, my wife has friends over during the summer, and they go 'floating' on their inflatables...this usually results in them calling ashore to me, or one of our 'minions' (kids) to get some additional 'recreational beverages' delivered to them as they float around the lake. So...I decided that there might be a practical use for this ship in the real world, and so I spent a few minutes with the 3D model software I use, and fabbed up a design for a replacement hatch cover. I printed one, and trialed it yesterday. Success! Based on the interior layout of the ship, I can transport 3 'recreational beverages' at a time safely. Two forward, and one just behind the superstructure. (There are 4 large cargo hatches, alas, the stern one is right over top of the rudder servo, and so it prevents putting the can in 'deep' so I'm only going to make 3 of these replacement hatch covers.) I'm going to save this as a surprise for my lovely wife and her friends...I'm sure there will be a giggle or two. The other husbands will enjoy this as well - we're all current of or former RCN sailors as well. Hope you've enjoyed this build thread....now it's a matter of enjoying the ship! Note - from start to finish, I began printing this boat in about February, and I consider the ship essentially complete now. The only thing remaining is to choose a name, and add some decals with waterline and balance markings. My problem is choosing a name among about 2500 Liberty Ship names....if anyone has a suggestion for one that has relevance to Canada, or the the Canadian Navy, I'd welcome your input! Thanks for reading! NavyShooter
- 54 replies
-
- Liberty Ship
- Finished
-
(and 2 more)
Tagged with:
-
The good news - she handled about as I was expecting - slow to turn, slow in speed, and underpowered. I'd gone with a 380 size motor with the specific aim of having the ship appear to be slow...I succeeded in that, but unfortunately, with a 4.5 foot long model that needed over 20 pounds of ballast steel to bring her down in the water, that little 380 motor was not having a good time of it. I did a little 3 minute spin about the cove and checked the hull for water, and the motor for heating...and while there was no water, there was heat. I then sent her out for the video above, and the heat...almost became flame. I ended up melting the 3d printed motor mount, and the motor bearings...and let the magic smoke out of it. Another 2-3 minutes of running and I'd have been printing new modules and taking the hull to the table-saw to cut off the aft end. So, not quite back to the drawing board, but obviously some work to be done still. I bought a 540 size motor and fabbed up a sheet metal mount for it which has been epoxied into the hull, and while I was at it, I installed the new prop I got from the Prop Shop in the UK - a more scale/period 4 blade prop instead of the 3 blade I had hanging around. You cannot tell the difference externally in a photo, but the performance difference between the 380 and the 540 motor is like night and day.
- 54 replies
-
- Liberty Ship
- Finished
-
(and 2 more)
Tagged with:
-
Here is a short video of her taken a few minutes after the above pictures:
- 54 replies
-
- Liberty Ship
- Finished
-
(and 2 more)
Tagged with:
-
- 54 replies
-
- Liberty Ship
- Finished
-
(and 2 more)
Tagged with:
-
With the running gear in place, I shifted focus to the paint, finish, and details. In the pictures above, you can see the red hull and gray uppers with the black boot topping having been sanded away - well, it turned out that some of the gelcoat didn't harden properly, so I ended up having to sand all that back down, re-apply, re-seal, repaint because the paint was bubbling on me. Grrr. To the good, once that was done, I was able to get the superstructure assembled and painted, and add details for the guns/lockers/ladders that I added:
- 54 replies
-
- Liberty Ship
- Finished
-
(and 2 more)
Tagged with:
-
Once the gelcoat had been sanded, re-applied, and then painted, I moved on to the rudder system and prop shaft. Getting the running gear running so to speak. The design has a 3d printed rudder - and maybe that'd work for someone else, but when I looked at it, I said 'nope' and simply used it as a template to build a solid brass rudder. I recognized that if I'd used the 3d printed rudder, it would have had to have been glued to the rudder post, which would have limited the ability to swap out props and access to the shaft as well. So, here's the rudder design and implementation, including the brass support tubes that I installed.
- 54 replies
-
- Liberty Ship
- Finished
-
(and 2 more)
Tagged with:
-
With the hull structure assembled, I moved on to the outside of the hull. I know that PLA is not likely to be water proof, so I added a layer of gelcoat, and on the strut for the rudder, I added a couple of layers of cloth as well to give some reinforcement and strength.
- 54 replies
-
- Liberty Ship
- Finished
-
(and 2 more)
Tagged with:
-
I decided I wanted to get mine going, and so, I started assembly. The hull modules come with alignment pegs, and are supposed to be simply glued together. I decided that due to the size of mine - it's almost 4.5 feet long - I wanted to add some additional strength, so I looked at the slots in the bottom of the hull frames, cut some wood on the table saw, and inserted them into the holes, giving some additional strength along the keel of the ship. No idea if it's necessary or not, but it made me feel better to have it added.
- 54 replies
-
- Liberty Ship
- Finished
-
(and 2 more)
Tagged with:
-
Once I had the printing complete, I delivered the 1/88 model to my friend, and he has started (slowly) to progress it, and sent me this picture of the ship in place on his railway setup (HO scale): As you can see, it's a work in progress for my buddy!
- 54 replies
-
- Liberty Ship
- Finished
-
(and 2 more)
Tagged with:
-
Here are the printers working together: And here is the stern segment of one of the ships complete and on the printer. It prints the hull in about 13 sections:
- 54 replies
-
- Liberty Ship
- Finished
-
(and 2 more)
Tagged with:
-
Good morning all, This is my first post in here - my account has just been approved, so I'm going to try and start off with something I've just finished...and we'll see how this works. Long story long - (as this always is with me) I was asked by a friend if I could help make him a 3D printed ship to go with his railway layout. So, we bantered back and forth about that, and he settled upon wanting a Liberty Ship. There being a set of free plans for it available on thingiverse, I downloaded, scaled, and started printing. Liberty Ship (RC) - Revision 5 by JohnButtery - Thingiverse Thing is, I had just bought a second 3D printer (a Prusa) that let me scale it to 1/88 because it had a slightly larger build plate than my older printer...so I built my friend's on the prusa, and while it was spitting out parts, I set my older printer to knocking together a 1/96 scale version (that would fit on its build plate) and so, for basically about 3 weeks, my printers were running continuously popping out parts. Here's a 'partially done' picture: And here are the two hulls complete: As you can see in the lower photo, I also assembled and collected some hardware/running gear. The original 3D model was fairly basic, and was scaled to about 1/160, so some of the 'detail' bits were lacking when scaled up a bit. My buddy is a former RCN Weapons Tech (he fixed the 76mm OTO Meleras on our destroyers) so I spent some time modifying, then creating entirely new detailed guns and other bits to improve the models. I uploaded most of those extra bits to Thingiverse, and here is the list of all the models that are available associated to this in case anyone wants to print one of these 'kits' as well: https://www.thingiverse.com/thing:4411101 https://www.thingiverse.com/thing:5259865 https://www.thingiverse.com/thing:5259056 https://www.thingiverse.com/thing:5274078 https://www.thingiverse.com/thing:5258022 https://www.thingiverse.com/thing:5259571 https://www.thingiverse.com/thing:5274077 https://www.thingiverse.com/thing:5259970 https://www.thingiverse.com/thing:5334214
- 54 replies
-
- Liberty Ship
- Finished
-
(and 2 more)
Tagged with:
About us
Modelshipworld - Advancing Ship Modeling through Research
SSL Secured
Your security is important for us so this Website is SSL-Secured
NRG Mailing Address
Nautical Research Guild
237 South Lincoln Street
Westmont IL, 60559-1917
Model Ship World ® and the MSW logo are Registered Trademarks, and belong to the Nautical Research Guild (United States Patent and Trademark Office: No. 6,929,264 & No. 6,929,274, registered Dec. 20, 2022)
Helpful Links
About the NRG
If you enjoy building ship models that are historically accurate as well as beautiful, then The Nautical Research Guild (NRG) is just right for you.
The Guild is a non-profit educational organization whose mission is to “Advance Ship Modeling Through Research”. We provide support to our members in their efforts to raise the quality of their model ships.
The Nautical Research Guild has published our world-renowned quarterly magazine, The Nautical Research Journal, since 1955. The pages of the Journal are full of articles by accomplished ship modelers who show you how they create those exquisite details on their models, and by maritime historians who show you the correct details to build. The Journal is available in both print and digital editions. Go to the NRG web site (www.thenrg.org) to download a complimentary digital copy of the Journal. The NRG also publishes plan sets, books and compilations of back issues of the Journal and the former Ships in Scale and Model Ship Builder magazines.