NavyShooter
-
Posts
699 -
Joined
-
Last visited
Content Type
Profiles
Forums
Gallery
Events
Everything posted by NavyShooter
-
 A friend of mine pointed out that these ships in RCN service actually had BLACK painted hulls below the waterline. So. With a pause enforced by being out of province for a bit for work, I'm now back to the bench and decided to shoot a layer of black gloss on the bottom of the keel. More to follow...and this time I'm going to be PATIENT and WAIT the 48 hours before recoating. I promise.
-
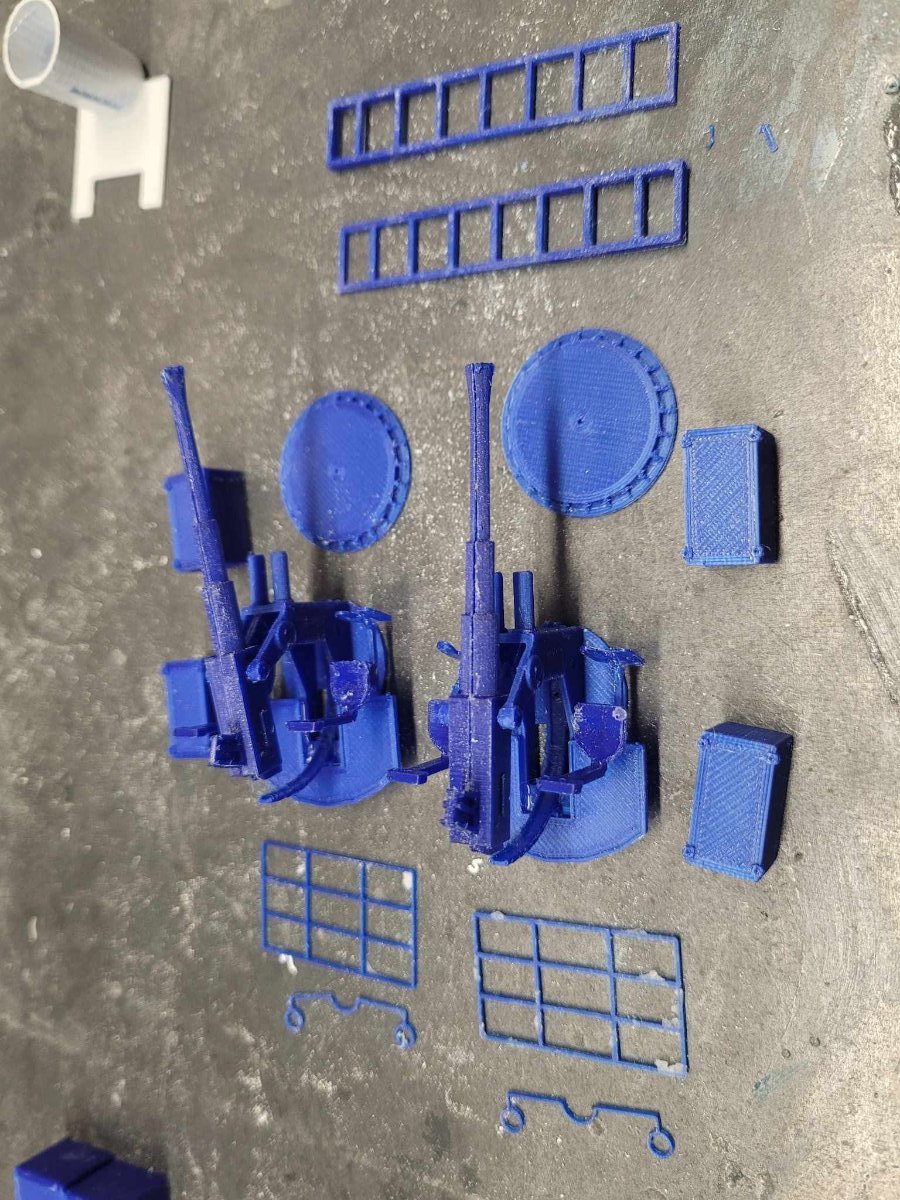
Maybe I screwed up, but maybe not. From what I can see, there's 20mm Oerlikons that feed from both left and right.
-
Archaeological Evidence for the Development of RN Gunnery
NavyShooter replied to Steve20's topic in Nautical/Naval History
OK, Having sailed in the Navy for a lot of years, I'll observe a couple of things - Firstly - everything has a place, and it should be in place. Secondly, on a Navy Ship, most of those 'places' were designed to properly hold those things, and keep them in place. A big factor in objects on a ship is inertia - but I'm certain you all know that. A cannon, on wheels, even when secured in place will still have some range of motion - the flex or stretch in the lines will enable this. The weight of a cannon and its carriage is huge - the 3 pdr I have in my garage takes an engine hoist to move safely into and out of the bed of my truck. Cannon balls are round, but they are not on wheels, nor are they loose rolling about on the deck. In looking at pictures online of HMS Victory and other ships, there are cannon ball holders either behind the guns on the deck, or on the bulkhead beside the guns. Those holders see at least 1/3 of the ball sitting into the wood, with only maybe 2/3 of the ball exposed. The deck ones, in heavy seas, would not require a lot of effort to toss a blanket on top of them to ensure they wouldn't roll anywhere. The bulkhead ones? I suspect that if you looked closely at them, you'd find wear spots where they'd have a cover tied on to help keep them in place. Before a ship was to sail in the modern Navy, we'd always do "secure for sea" rounds on the day before sailing. Are things tied down, are they secure, did they use rope instead of a bungee cord (NEVER use bungee cord!) I suspect that the same applied for the age of sail. When a ship is alongside and open for tours, you don't see the chains holding the helicopter in place in the hangar. They're all disconnected and hung up along the bulkhead, and are practically invisible to a visitor. They're looking at the fancy helicopter, not the chains and clips and such. If you asked a visitor to a ship how a helicopter was secured, they'd probably not have a clue. You'd need to be a member of the Air Det to know which chains go where, which tie down points to use, which shackle point on the helo is appropriate for use and so on. -
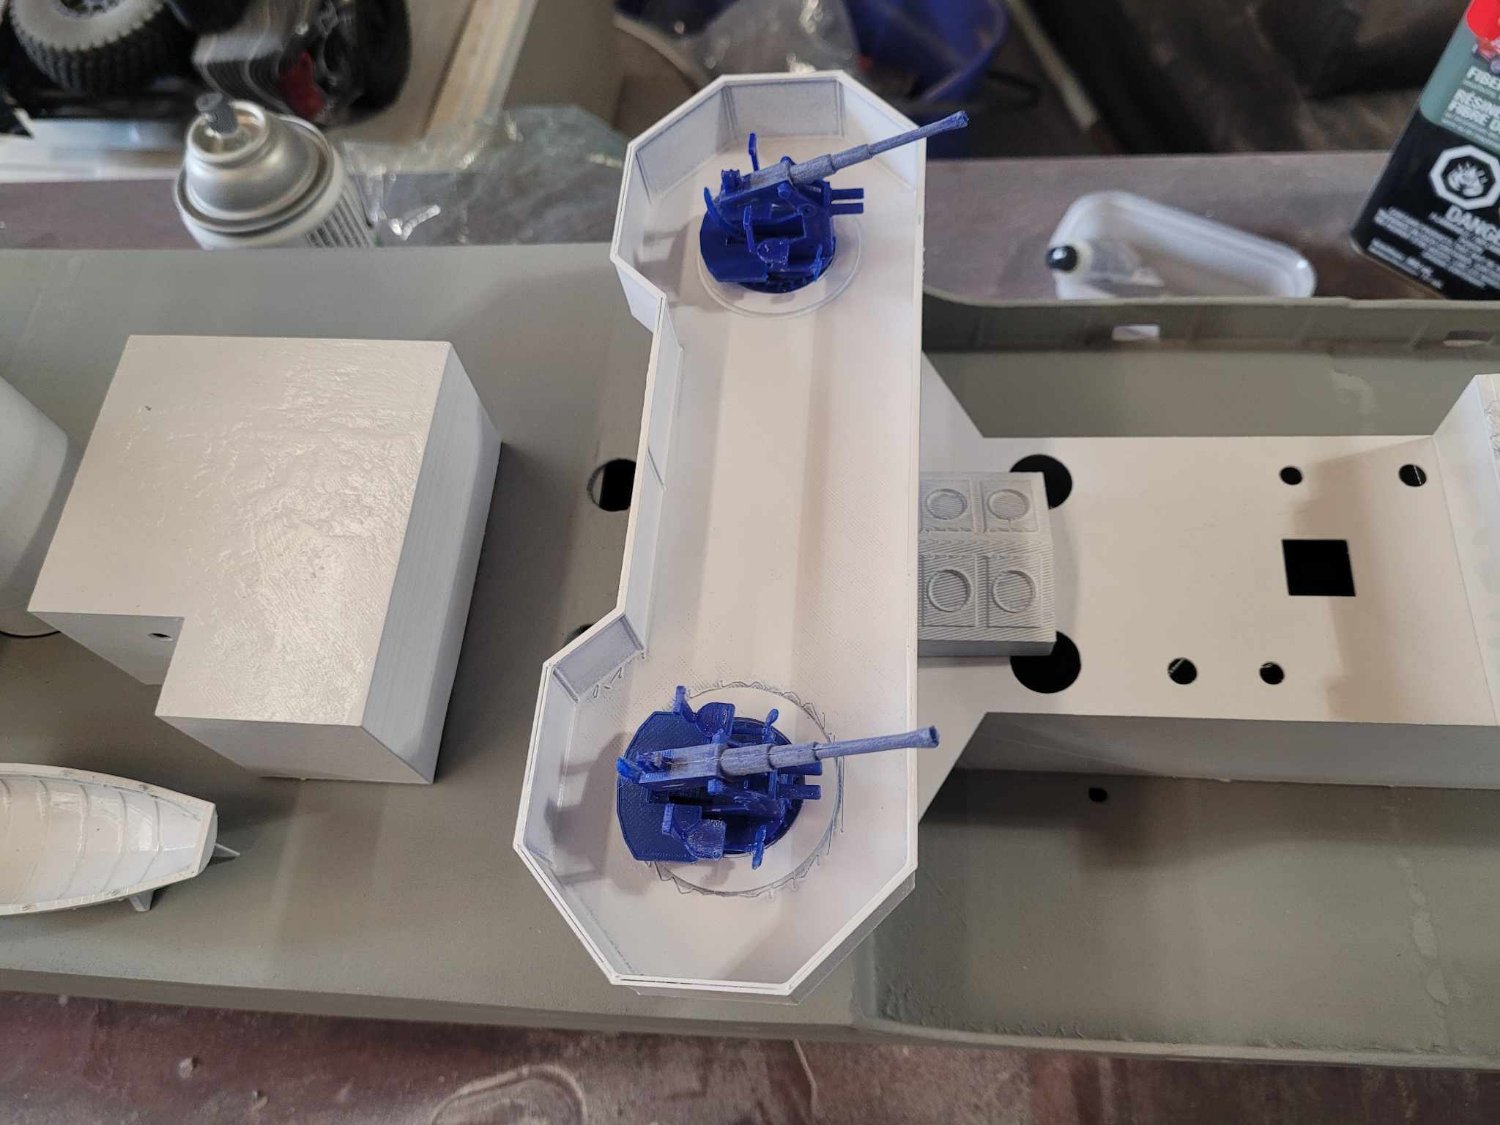
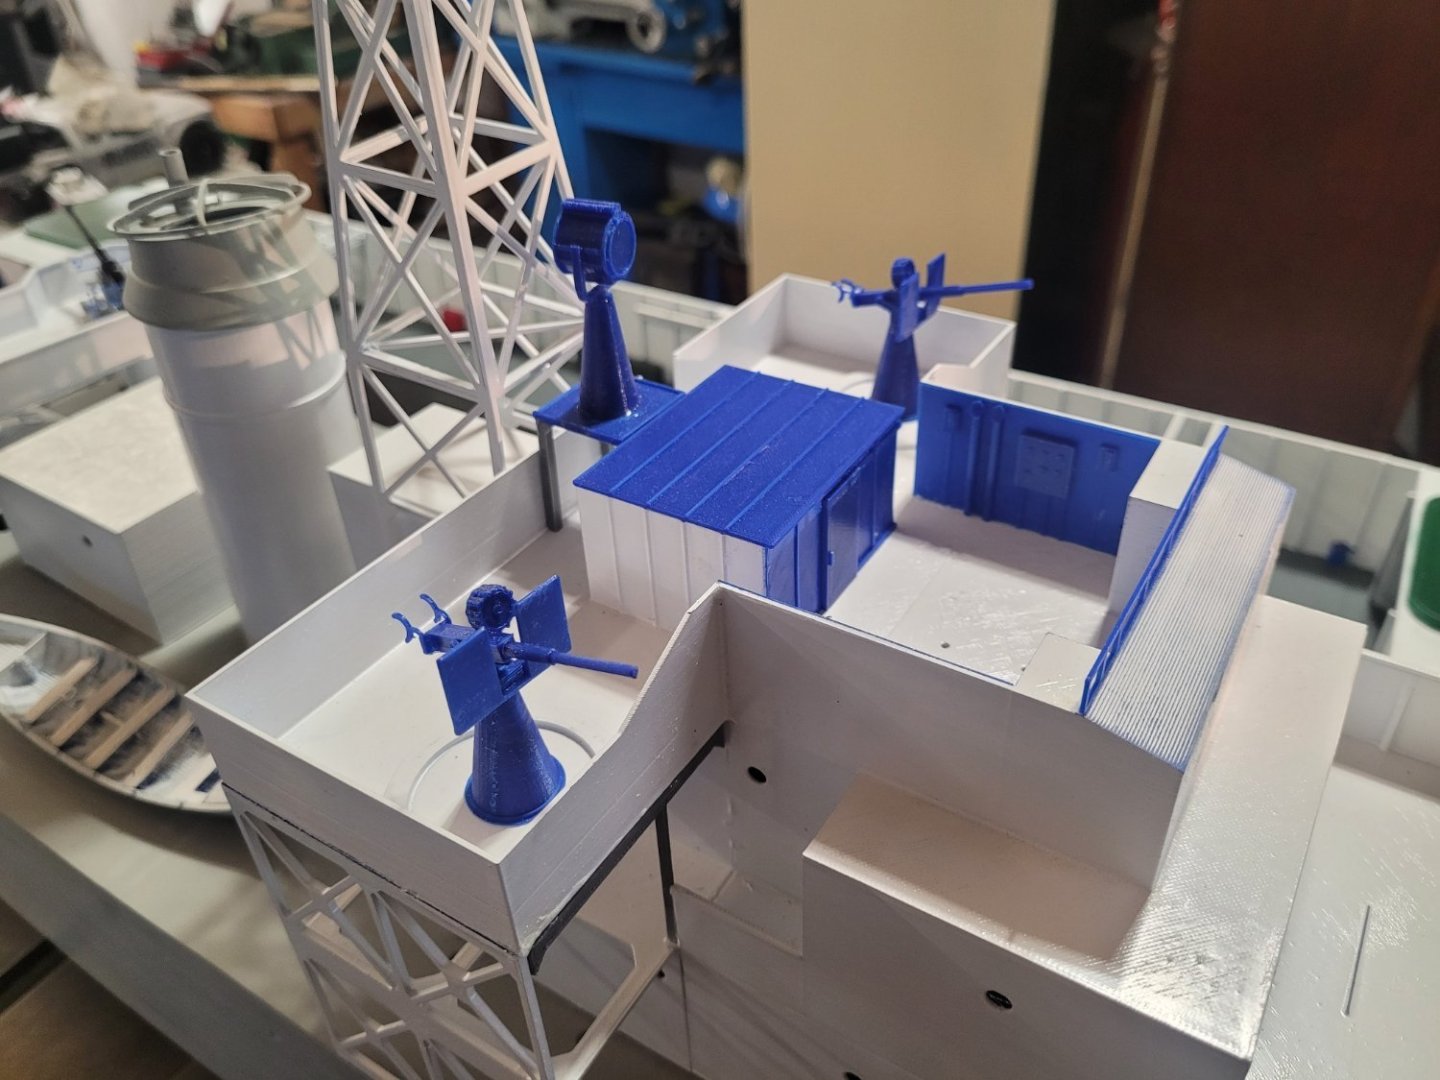
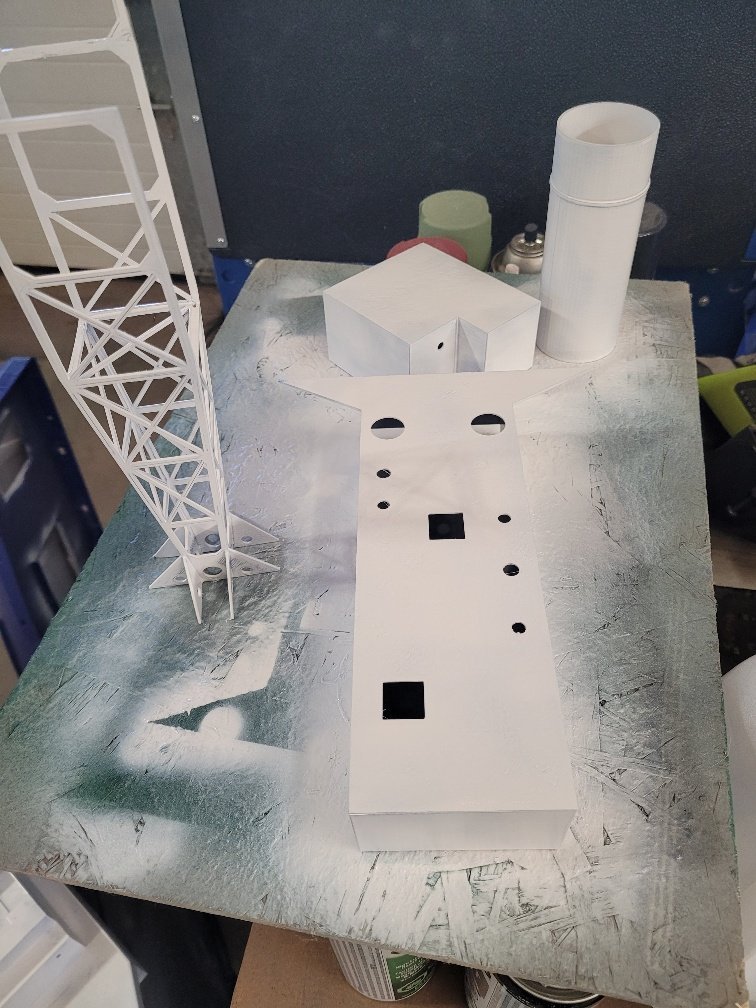
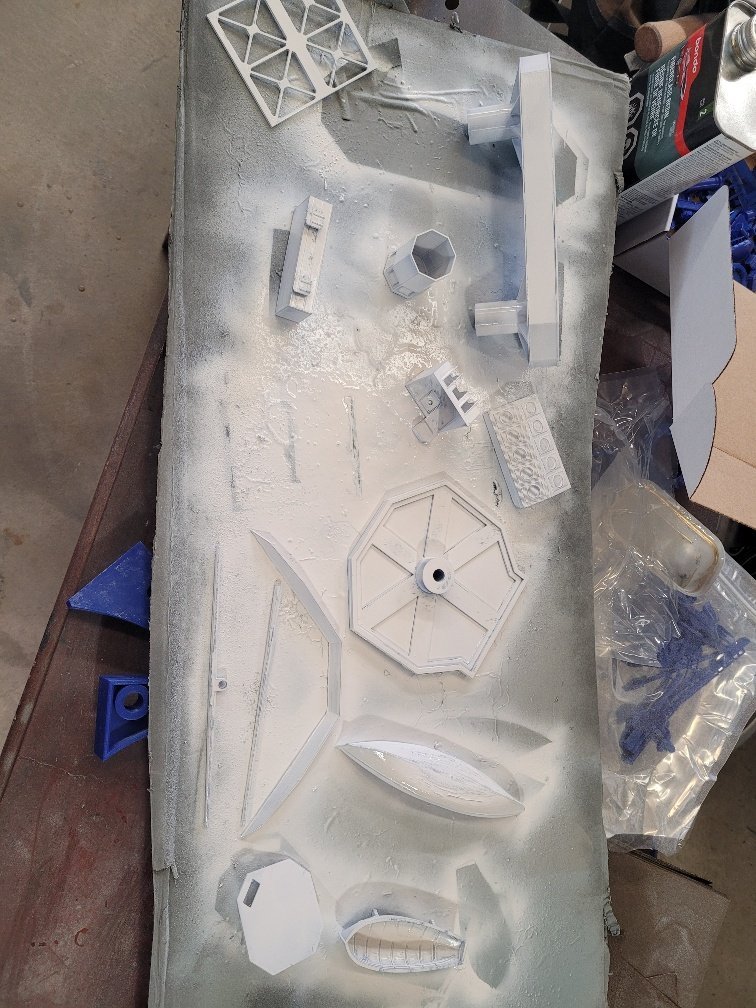
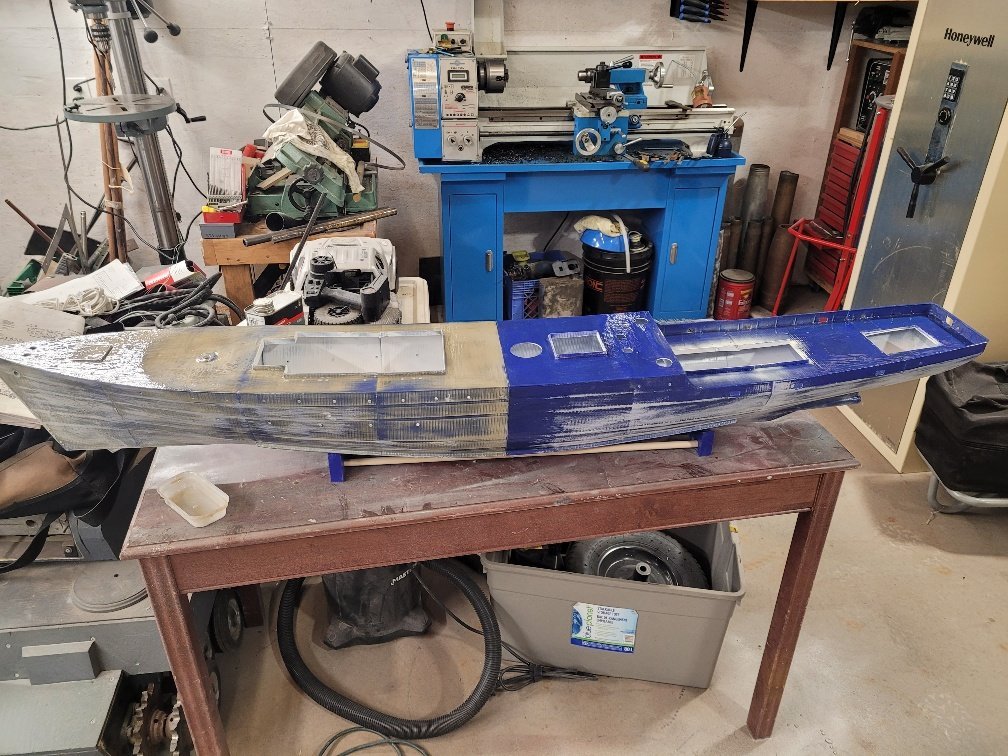
Some slow progress - I spent the weekend working on a hull for another friend of mine. He's a model railroader, so ships are not his thing. He brought beer over and we puttered away in the garage building a rudder, and getting a layer of gelcoat over his hull. I did assemble the Orelikon guns and the searchlight platform though. Starting to come together. NS
-
Barncave Shipyard by mbp521 - Scale 1:1
NavyShooter replied to mbp521's topic in Non-ship/categorised builds
I love my Chargemaster! Great work, and I look forward to your continued updates! -
Barncave Shipyard by mbp521 - Scale 1:1
NavyShooter replied to mbp521's topic in Non-ship/categorised builds
Very nice design. I wish to see more details of your reloading bench though...I have a modular design for mine, with a metal bench, and a wooden work surface (no sparky!) and I have my presses setup on 3/4" ply bases that have a standard bolt pattern so I can swap my Dillon 550 and my RCBS out whenever I need to go from speed of production to precision of production. 🙂 I know you've mentioned HVAC, but I'll highly suggest adding a spot for a dehumidifier as well. Humidity is a killer - both for wooden models (if that's your preference) but also for powders. When building your powder storage box, I recommend a fully wood construction, with brass fittings (again, no sparky!) (Said by the guy who used to instruct the reloading course at the local club) NS -
In looking at the hole designated #18, there seems to be a bar slid into it - so there would be a long pole sticking out behind the carriage that would enable them to push left or right a bit to help aim the cannon?
-
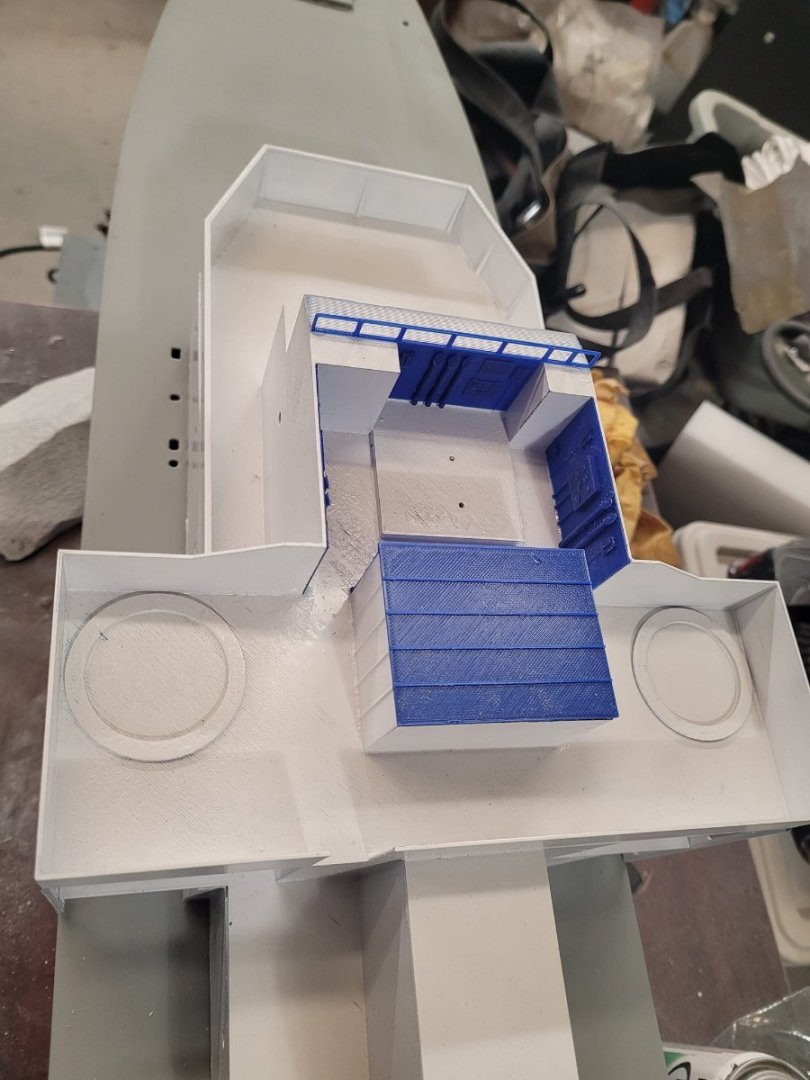
In case anyone is interested, here is the 81 page instruction manual that is included with the download files. So far, I've been assembling things without looking at it...I am now at the point where I probably *should* read the instructions. uploads_files_2715711_3D_Printed_1.48_Scale_Castle_Class_Corvette_Instructions.pdf
-
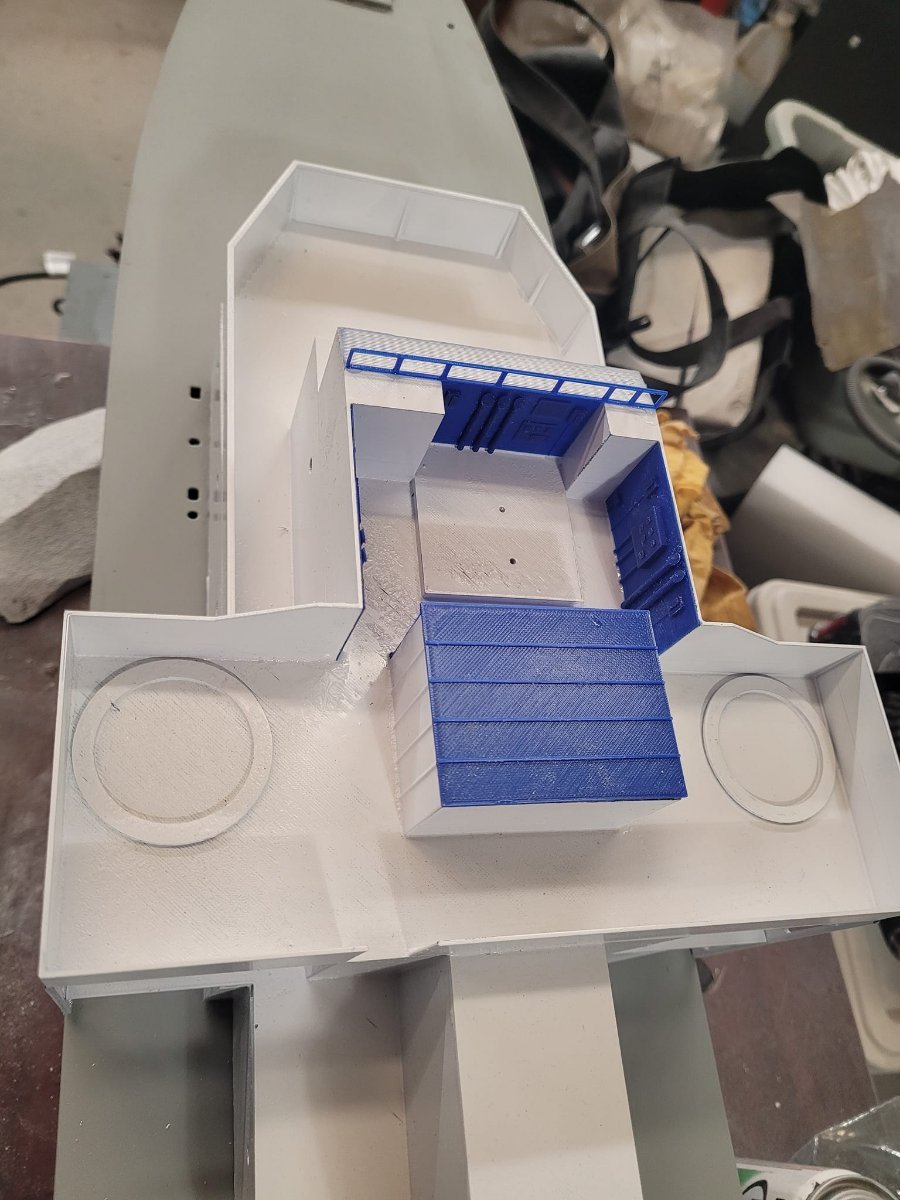
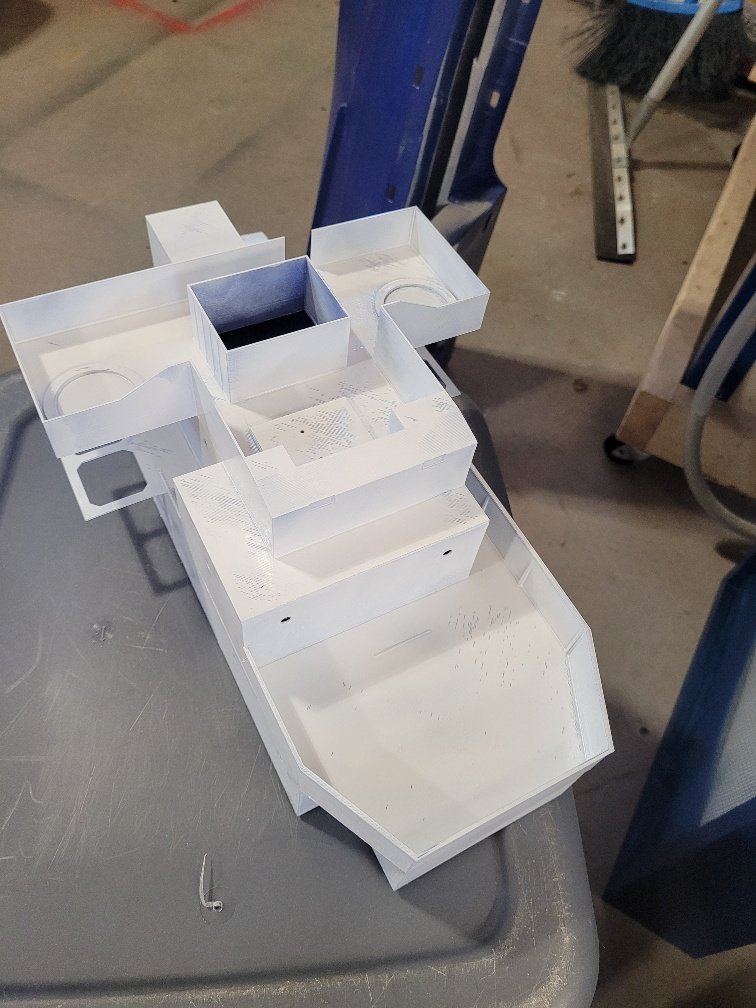
A bit more progress over the weekend. If I can get back out to the garage this afternoon, I'll assemble some of the AA Weapons systems.

-
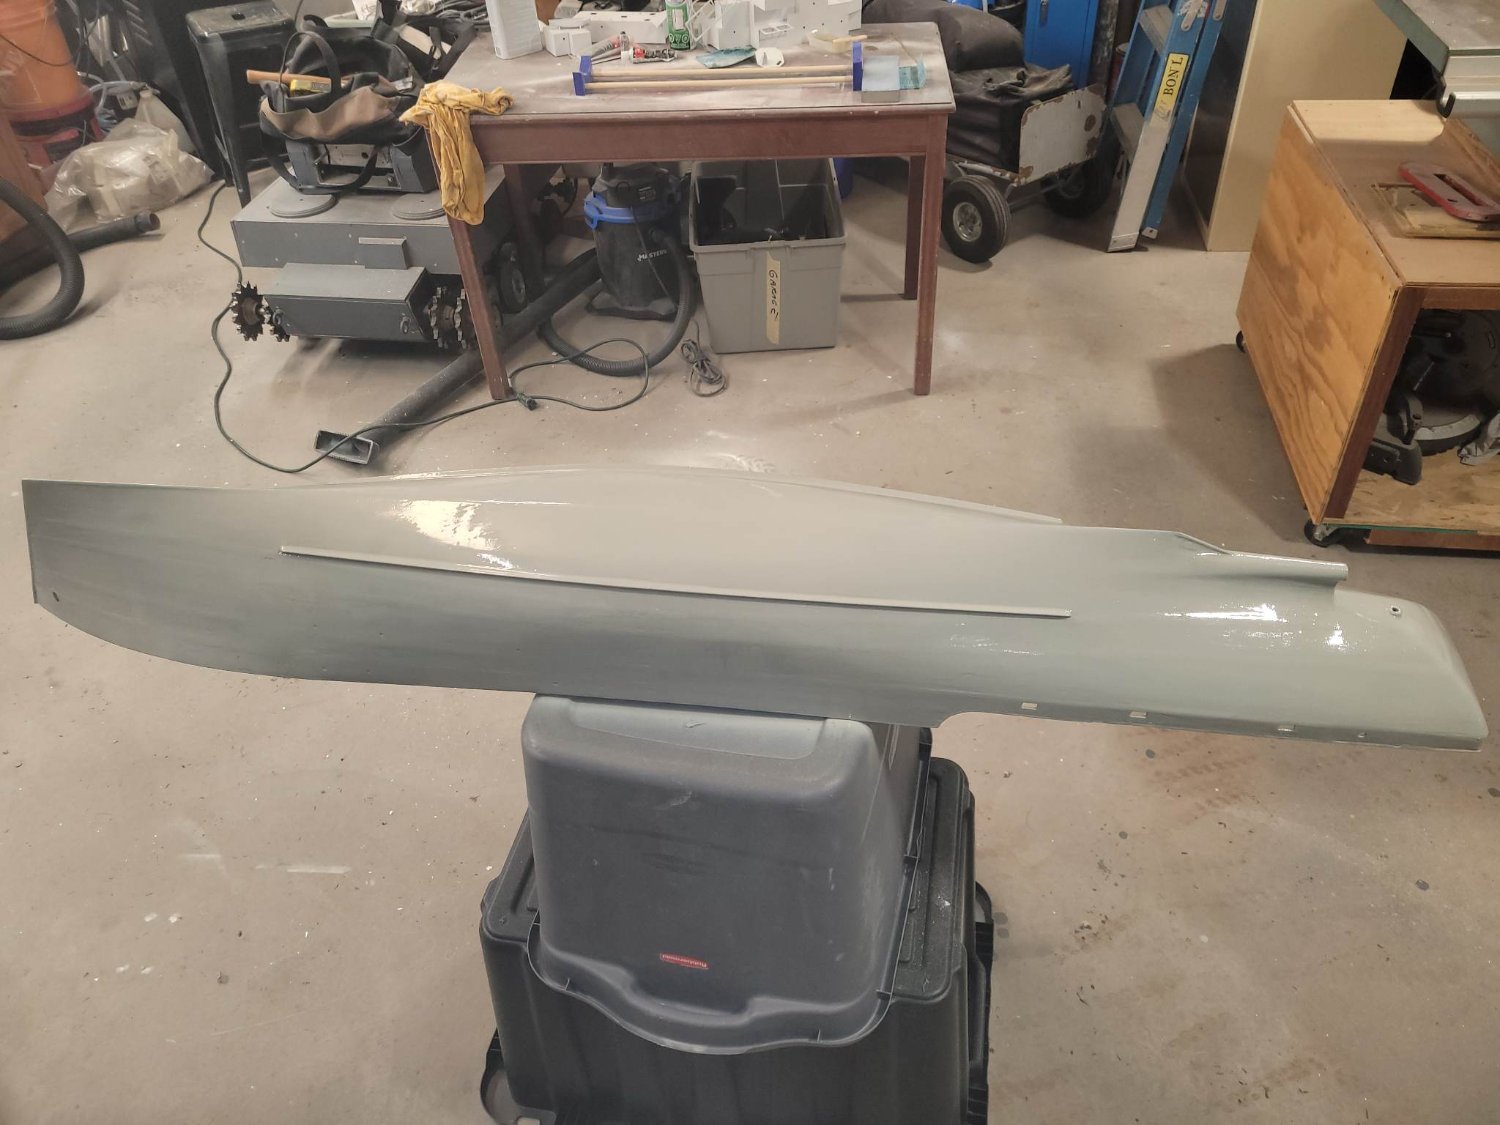
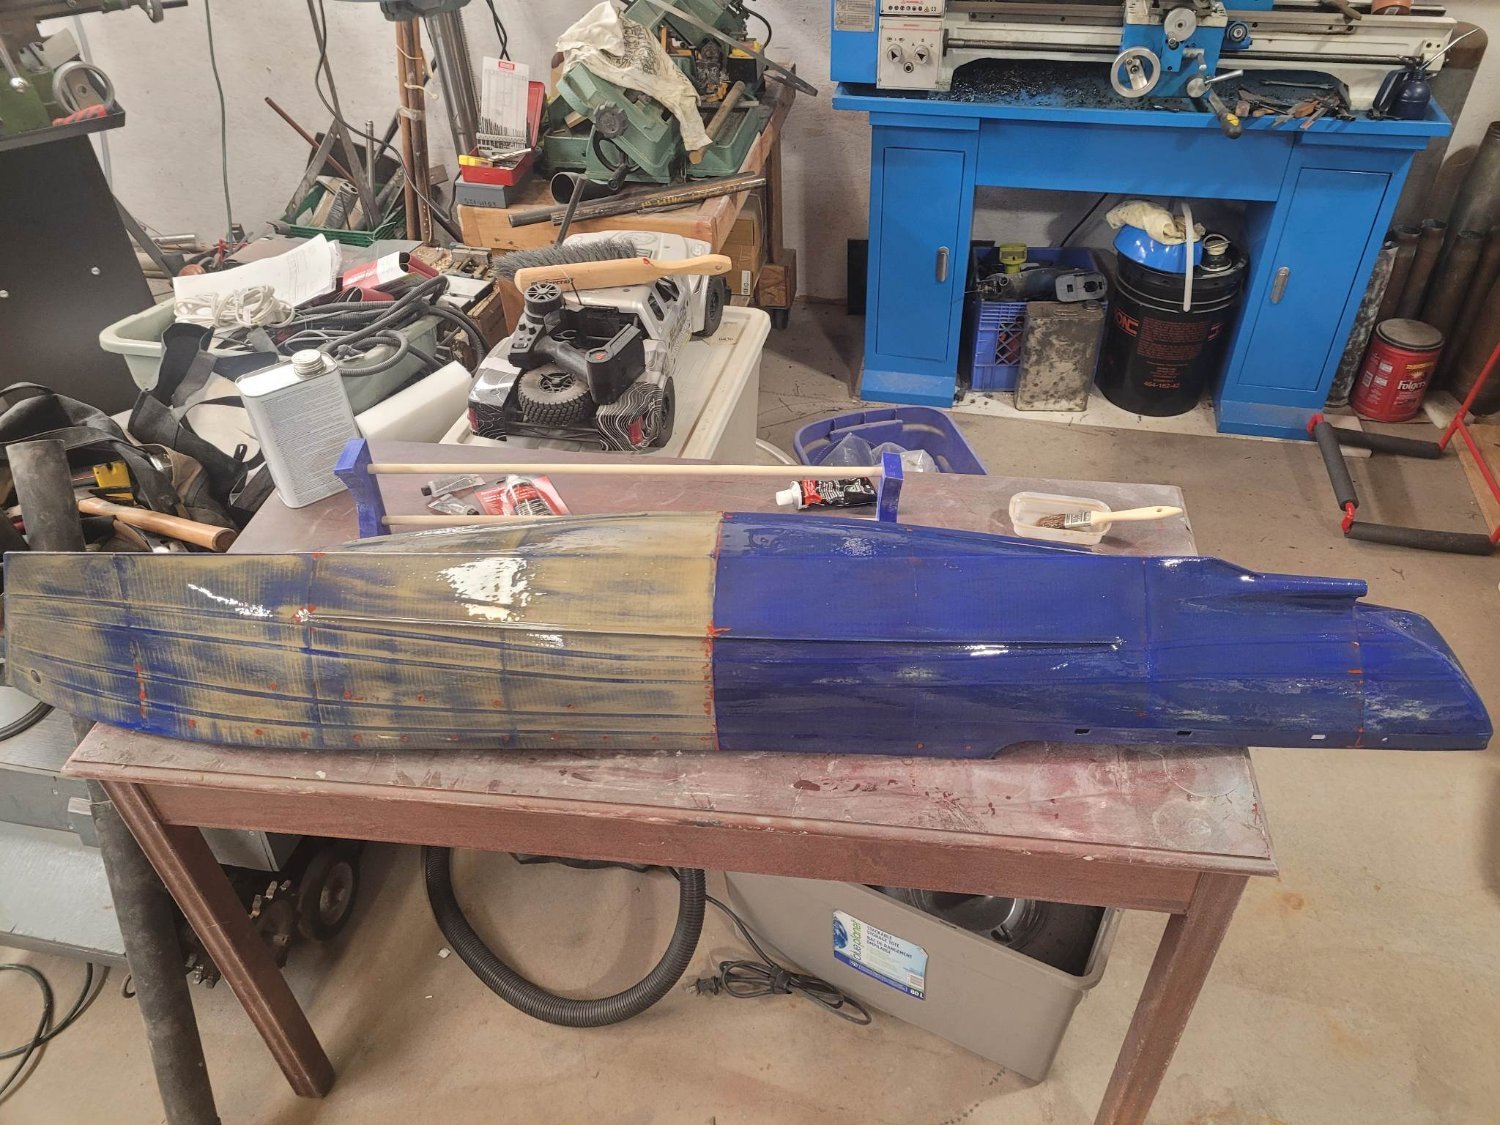
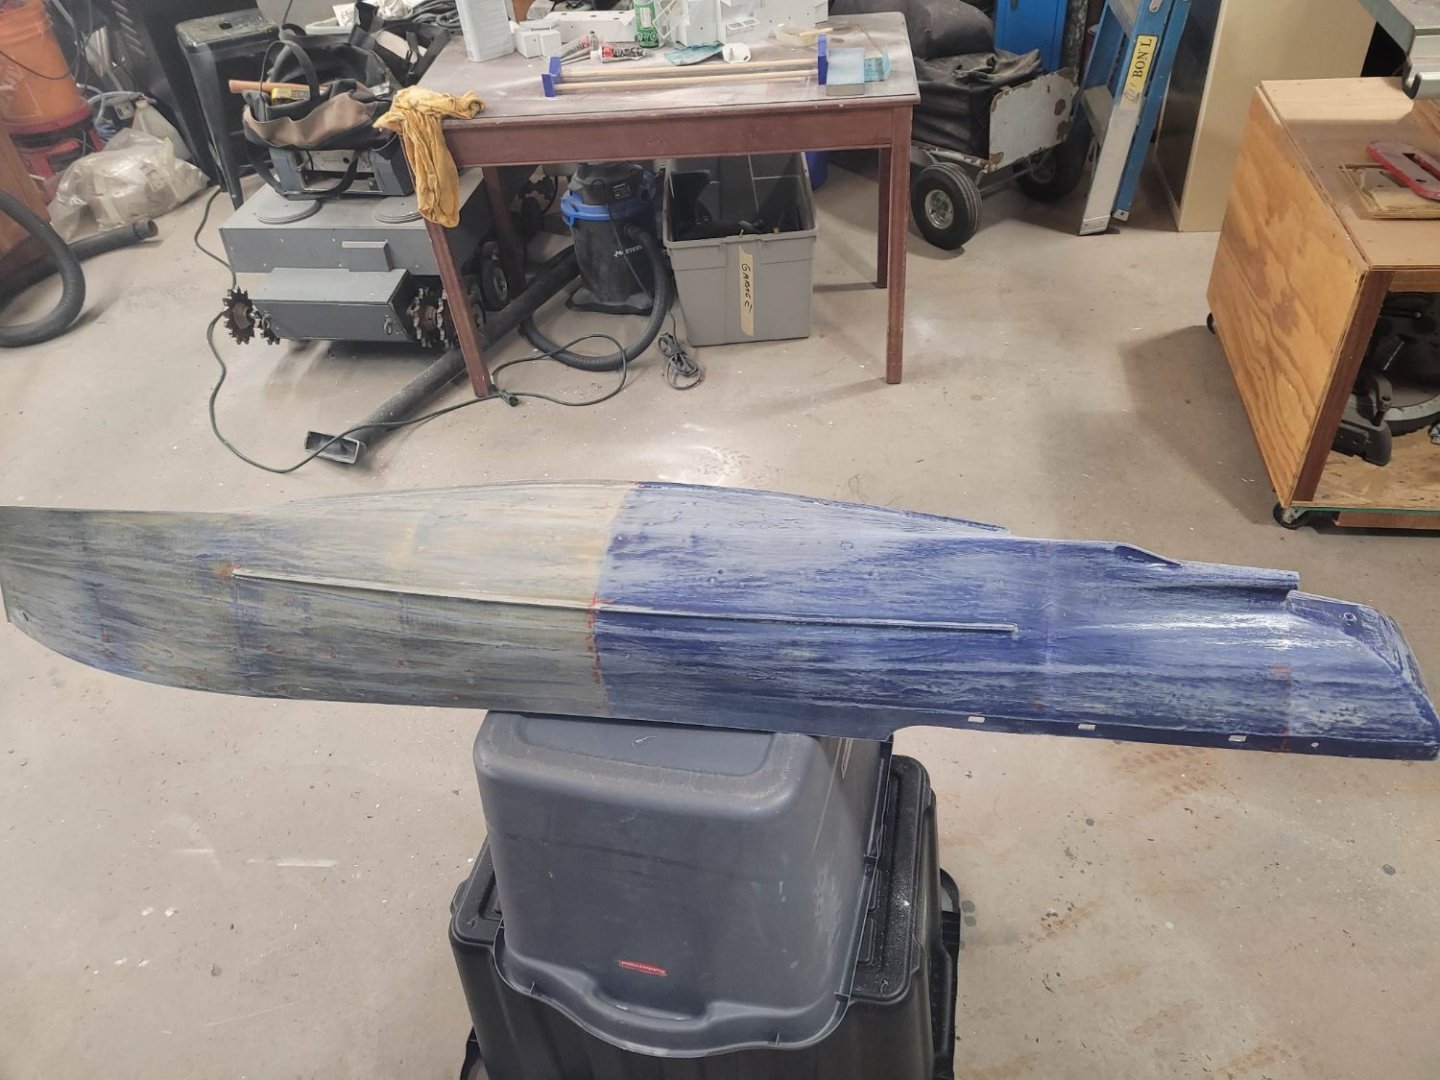
And finally, we have a layer of primer on the hull. A bit of sanding and tidying still ahead.

-
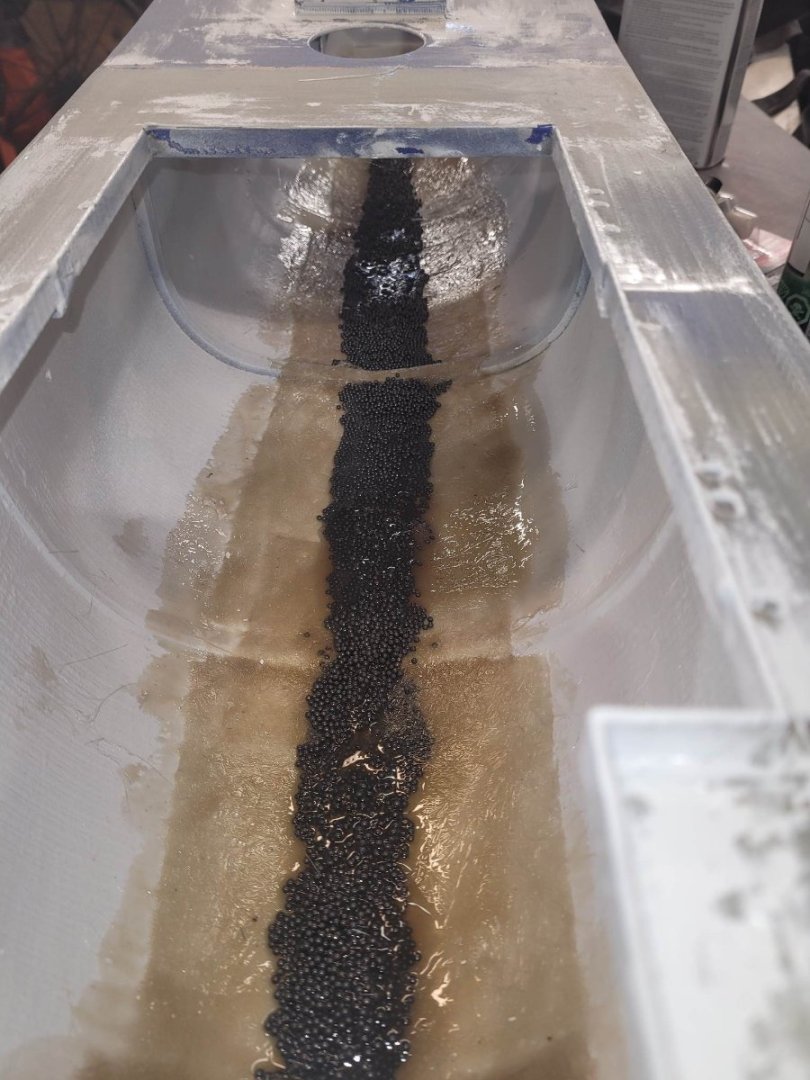
And, you can see from the previous photo, and this one, that I've started on the ballasting. Some lead shot, some additional strength from some fiberglass sheeting and a bit of resin to hold it all together. Intent is to add more weight in the form of additional metal bars (I'm almost out of lead shot!) and hold them in place with resin as well.
-
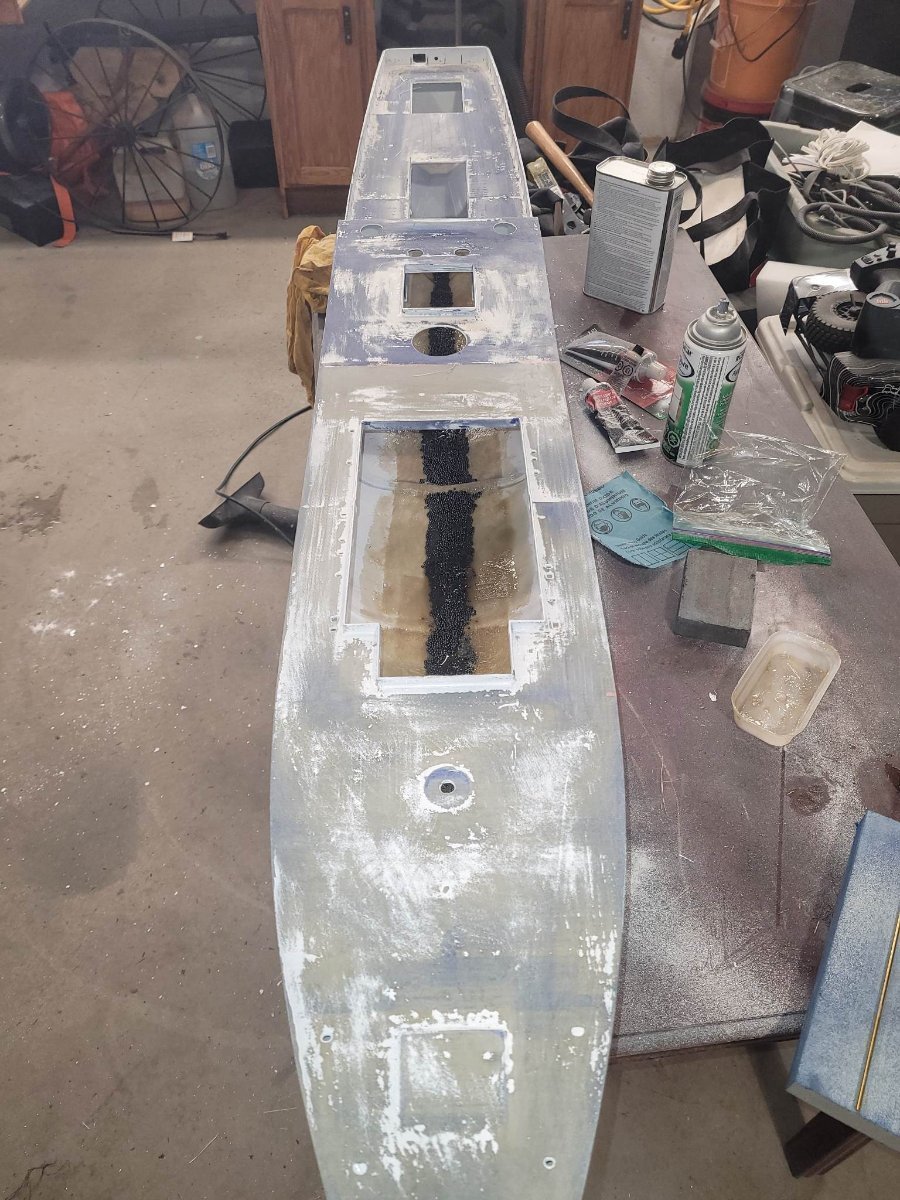
So, after an appropriate length of time for the epoxy paint to dry, I had a go with the sander and got it almost all off. Good. Let's try this again.

-
OK....so....I knew that the drying time on the epoxy paint was 7 days between coats...I read that very clearly on the instructions. I chose NOT to wait 7 days. I am an idiot.
-
B-25 C/D by Javlin - Airfix - 1/72 - PLASTIC
NavyShooter replied to Javlin's topic in Completed non-ship models
I really like the black and white image of the impact zone on your display. That's a neat touch. I came across a website that had some of the original B&W overlaid with modern Google-maps satellite imagery, showing the areas where the craters were in modern times. That was a really neat overlay. Well done on the models as well, they're spectactular! -
5th layer of gelcoat applied - the hull is now quite smooth. I think a light sanding and some primer will be the next step tomorrow!

-
Rumble I heard was that they were painting the hull, and so my thought is that maybe they had some of the shoring had been removed to paint a section, then they put it back in place incorrectly? The Shores are supposed to be lined up correctly with the hull frames to give the right support. If they'd removed some shores, and put them back slightly offset from the actual frame, then it would be pressing on the hull plate rather than the frame, which has some give to it, and in high winds (25 knot winds were forecast that day?), could have compressed/loosened the shores, and if one or two fell due to improper placement, then it would likely lead to a domino effect.
-
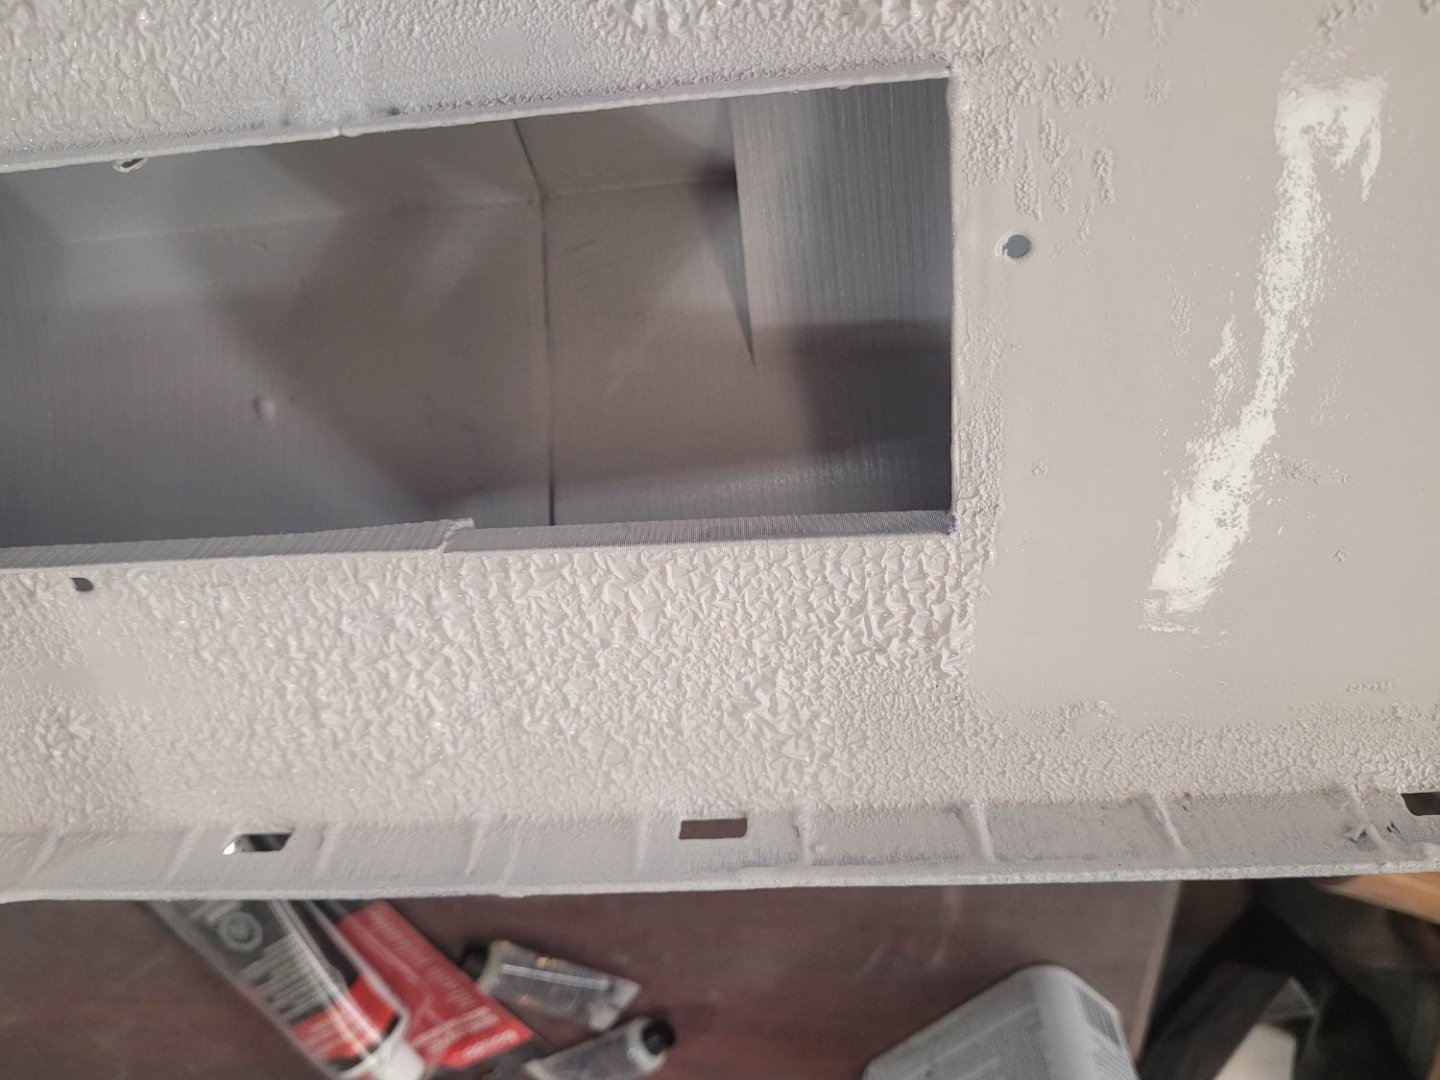
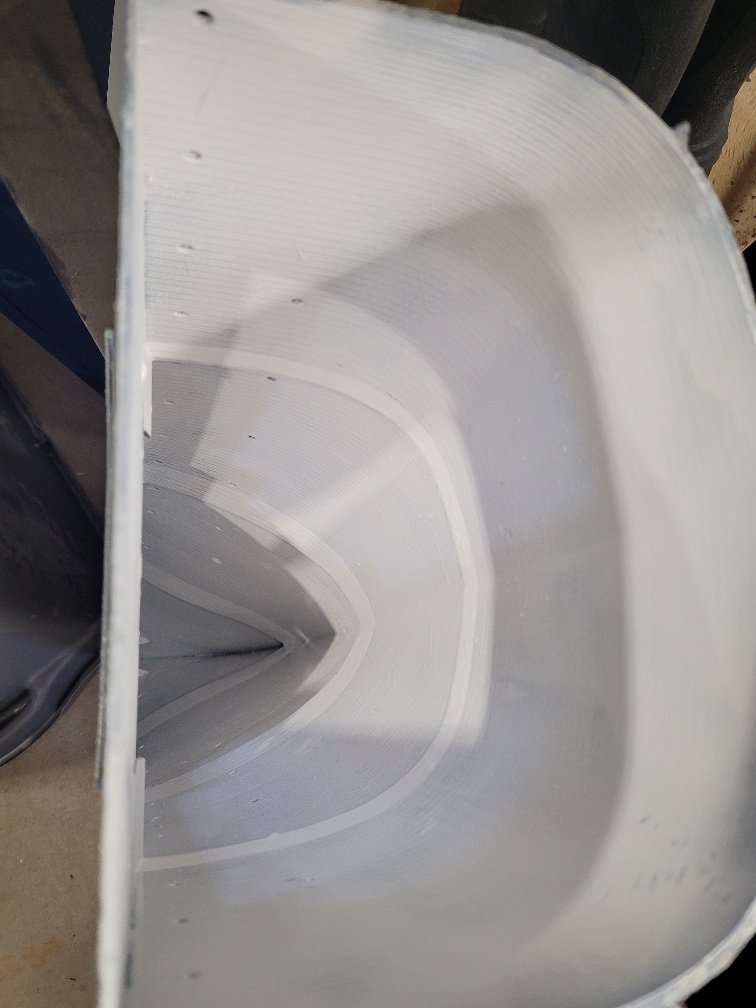
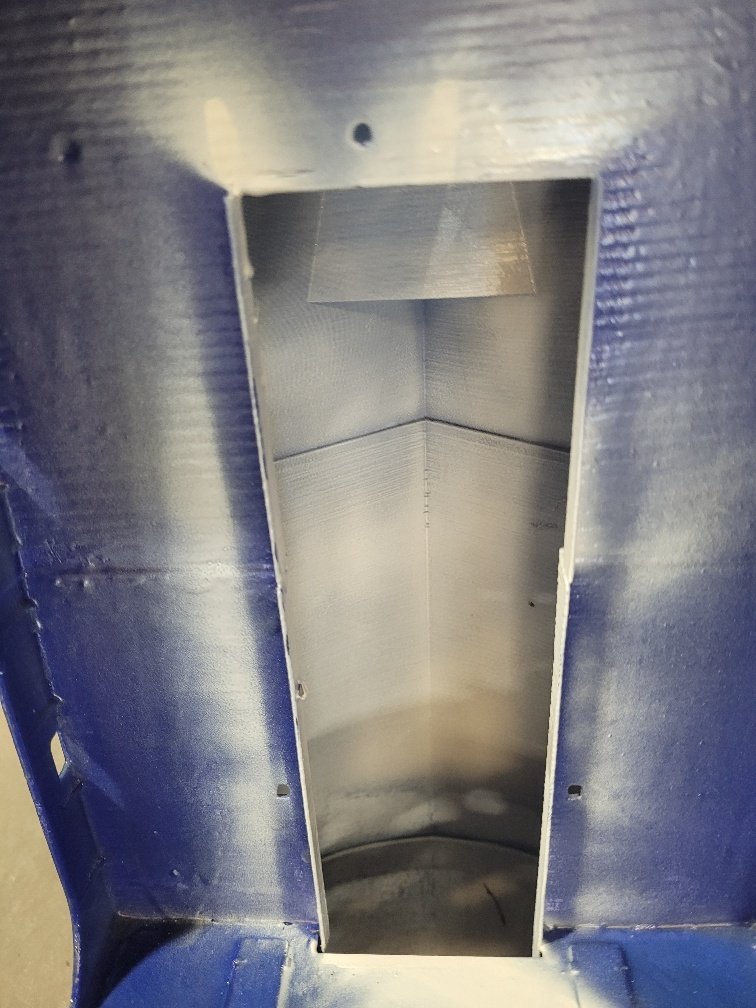
I found some epoxy spray paint over the weekend, and used that on the interior and some of the upper deck structures to help make them waterproof. Then I joined the forward and after portions of the hull together. Here's some update pictures of the project - the main upper decks received another layer of gel-coat as well last night. Both the hull and the decks need at least one more coat I think. Then I can move on to primer again!
-
Welcome aboard! I hang my hat in Halifax, and have considerable respect for those who are able to both build and see items as small as are required when building ships in that scale. I generally build bigger, and mostly RC stuff. NS
-
Alas, no progress for another week...I'm on vacation keeping SWWBO happy. There is some consolation to the rum punch by the pool though....
-
I really don't know what you mean? Also, WRT any inaccuracies in the hull, well, I've printed the hull as I got it from the gentleman that created the 3D model - Bens Worx. I'm not able to edit the hull or modify it in any way - so it is what it is. I'm 2 layers deep on the gel coat now, and things are fairly smooth. I think one more layer after I join the two hull halves should do me fine. NS
-
Looks like we're going to be able to do an apples to apples comparison of the HMCS St Thomas with the HMCS Copper Cliffs.
-
Ahoy, and I really don't know - this is the 3D model as printed, designed by someone else. Do you have a higher resolution version of that docking plan that I could look at and compare?
-
Welcome aboard!
-
I've taken on the task of getting a Titanic built as well...I'm certain that it will be no-where near what yours is! I'm working with 3D prints, so there's some aspects to that which are challenging, but workable for what I'm building. Intent is that it will be a slightly better than stand-off scale model that will end up in the local pond - I'm about 20% done the printing so far. Ish. I have about another 3-4 weeks of printing left to go. NS