-
Posts
704 -
Joined
-
Last visited
Content Type
Profiles
Forums
Gallery
Events
Everything posted by NavyShooter
-
Yves, It's standard Bondo red auto body putty. 3M Bondo Glazing and Spot Putty, 4.5 oz, Fills Pinholes, Scratches, Minor Dings & Hairline Cracks, Can Be Used on Metal, Fiberglass, Wood and more, Fast Drying, Sandable in 30 Minutes (907C) : Amazon.ca: Tools & Home Improvement
- 66 replies
-
- Type 26
- City Class
-
(and 2 more)
Tagged with:
-
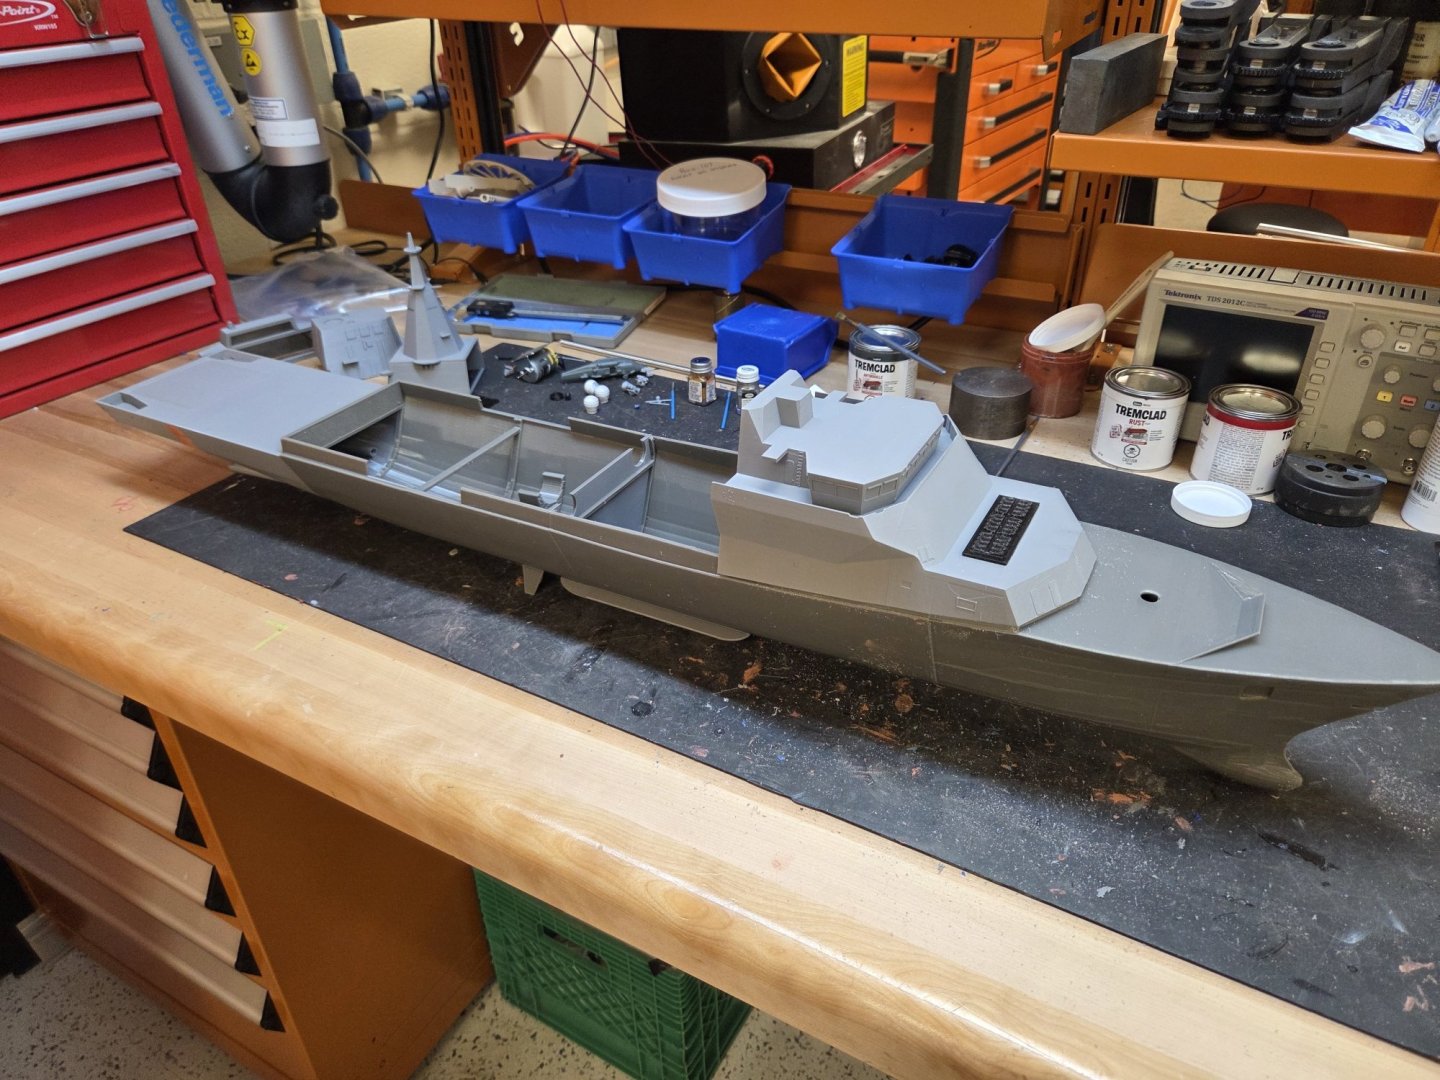
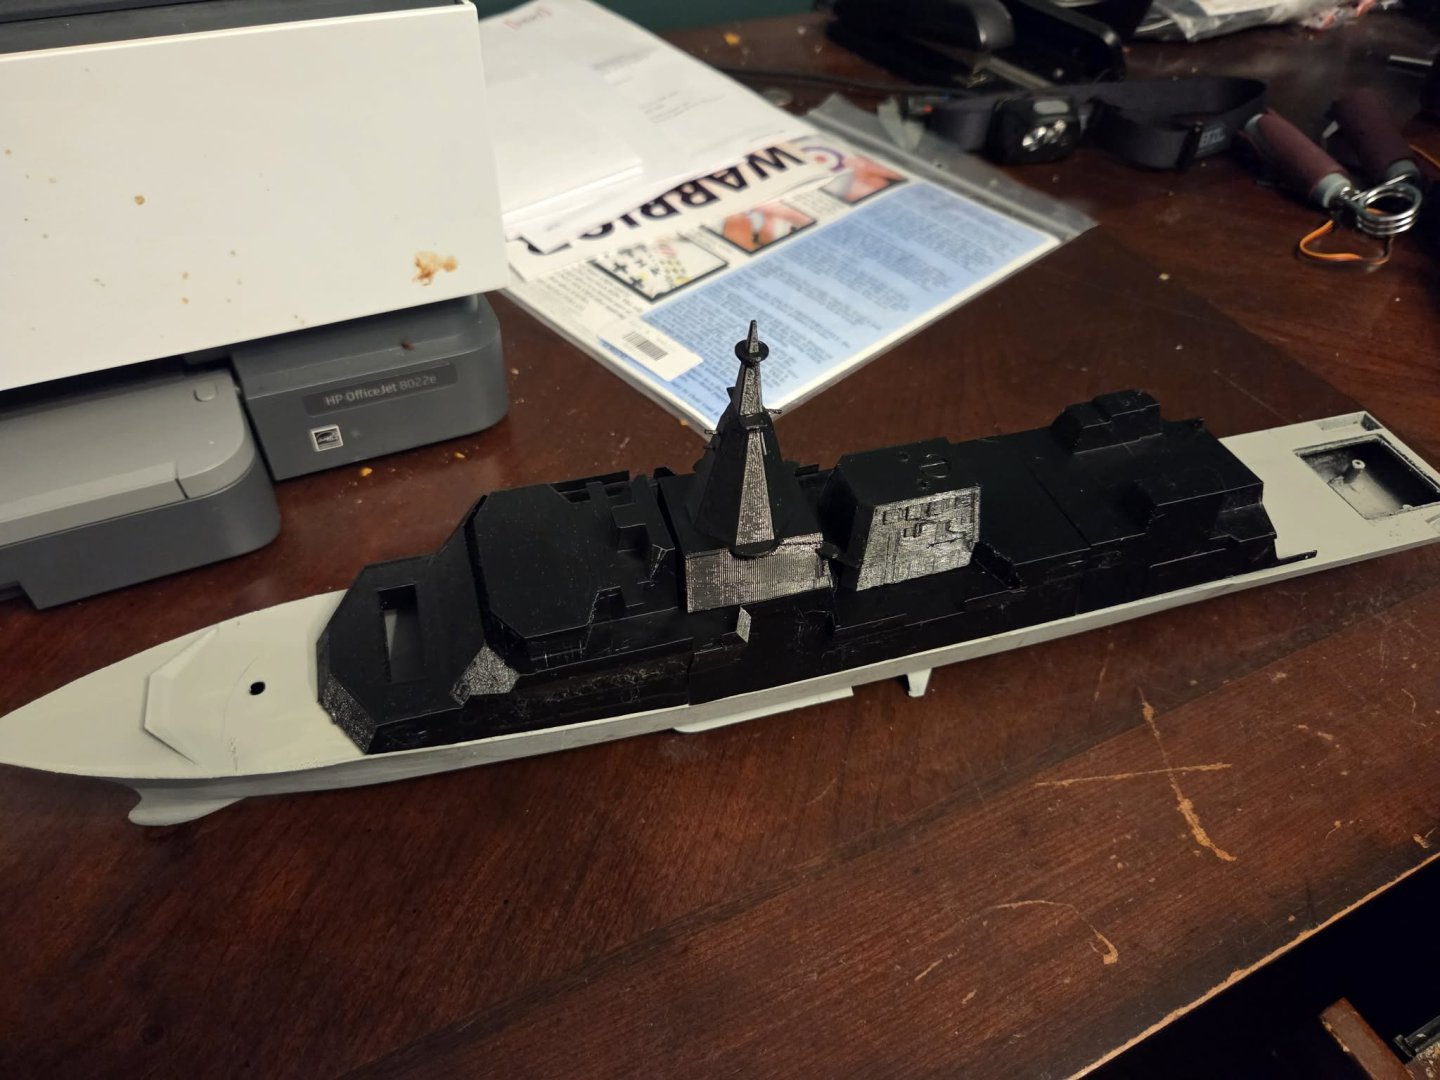
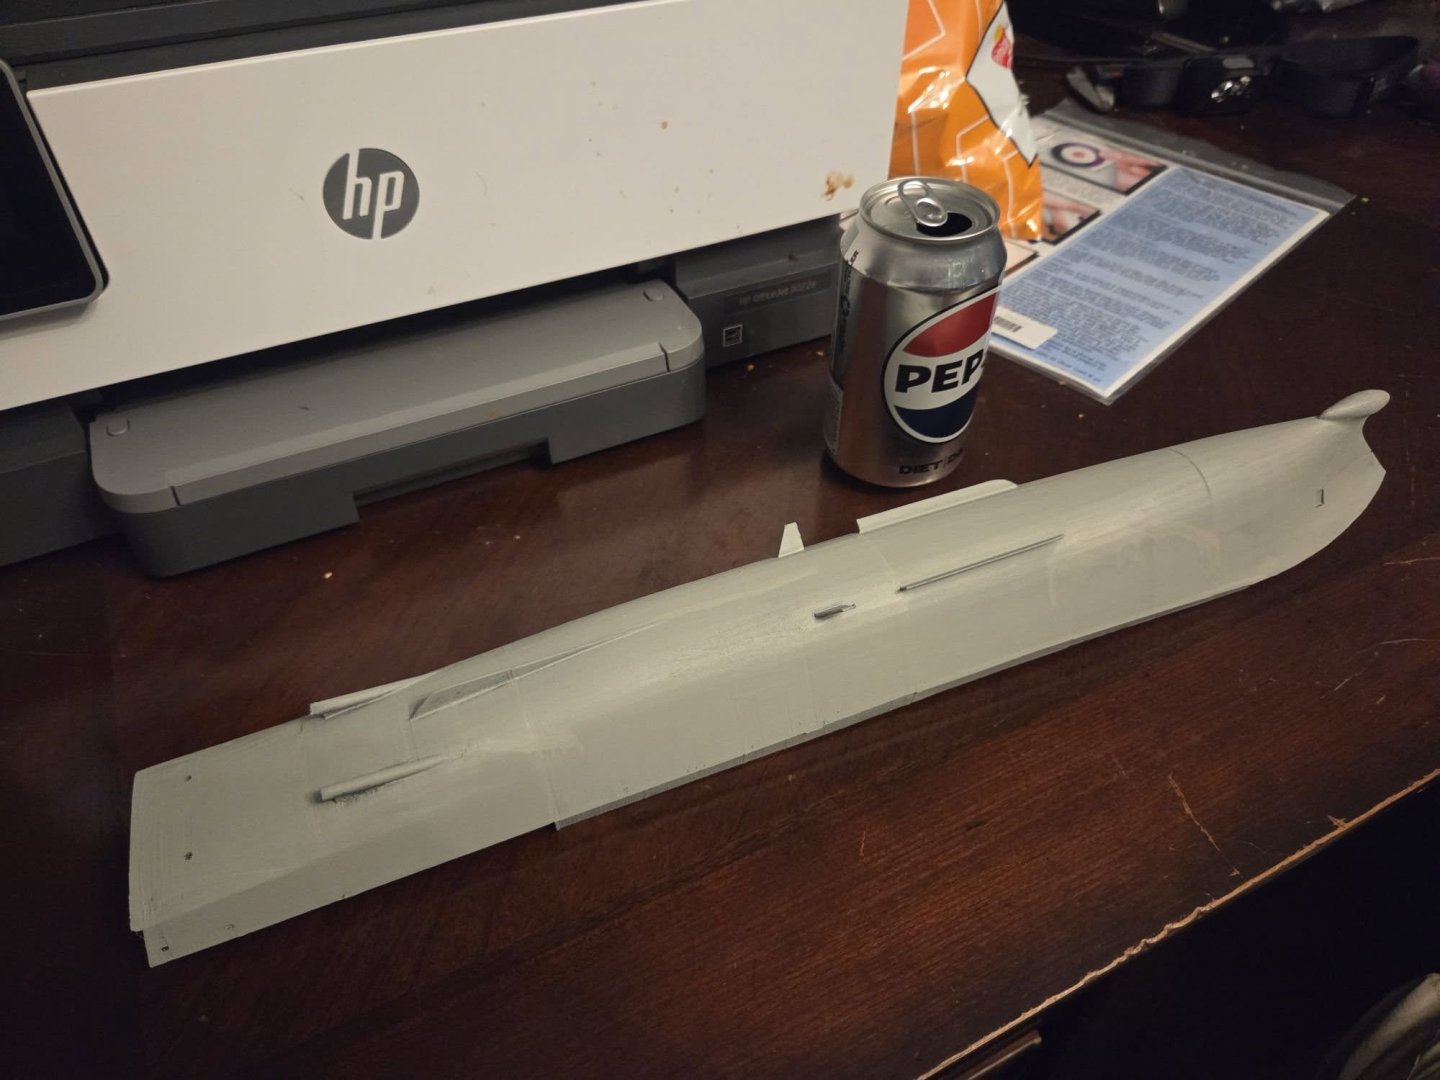
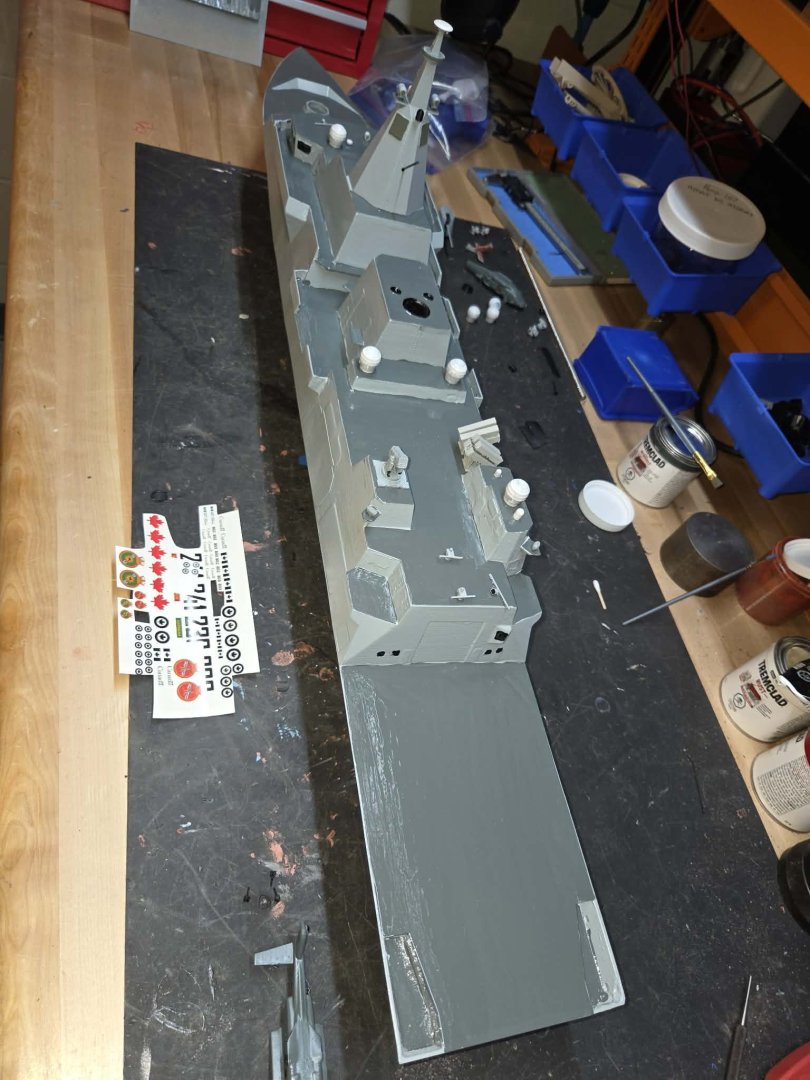
The props certainly look the part. And I've got the 4 main hull modules assembled as of this morning, with 2 of the 4 superstructure modules printed and ready to go. I've got another project on the printers tonight, so the rest of the superstructure will be delayed by a day or so...not a big deal. The new print files are looking pretty good - some minor adjustments needed for fit, and they will still need a lot of sanding to smooth out the facets, but I'm generally pleased with how things look so far.
- 66 replies
-
- Type 26
- City Class
-
(and 2 more)
Tagged with:
-
The amount of extra detail options is amazing! Thanks for letting us 'poors' live vicariously through your extravagance. 😉 NS
-
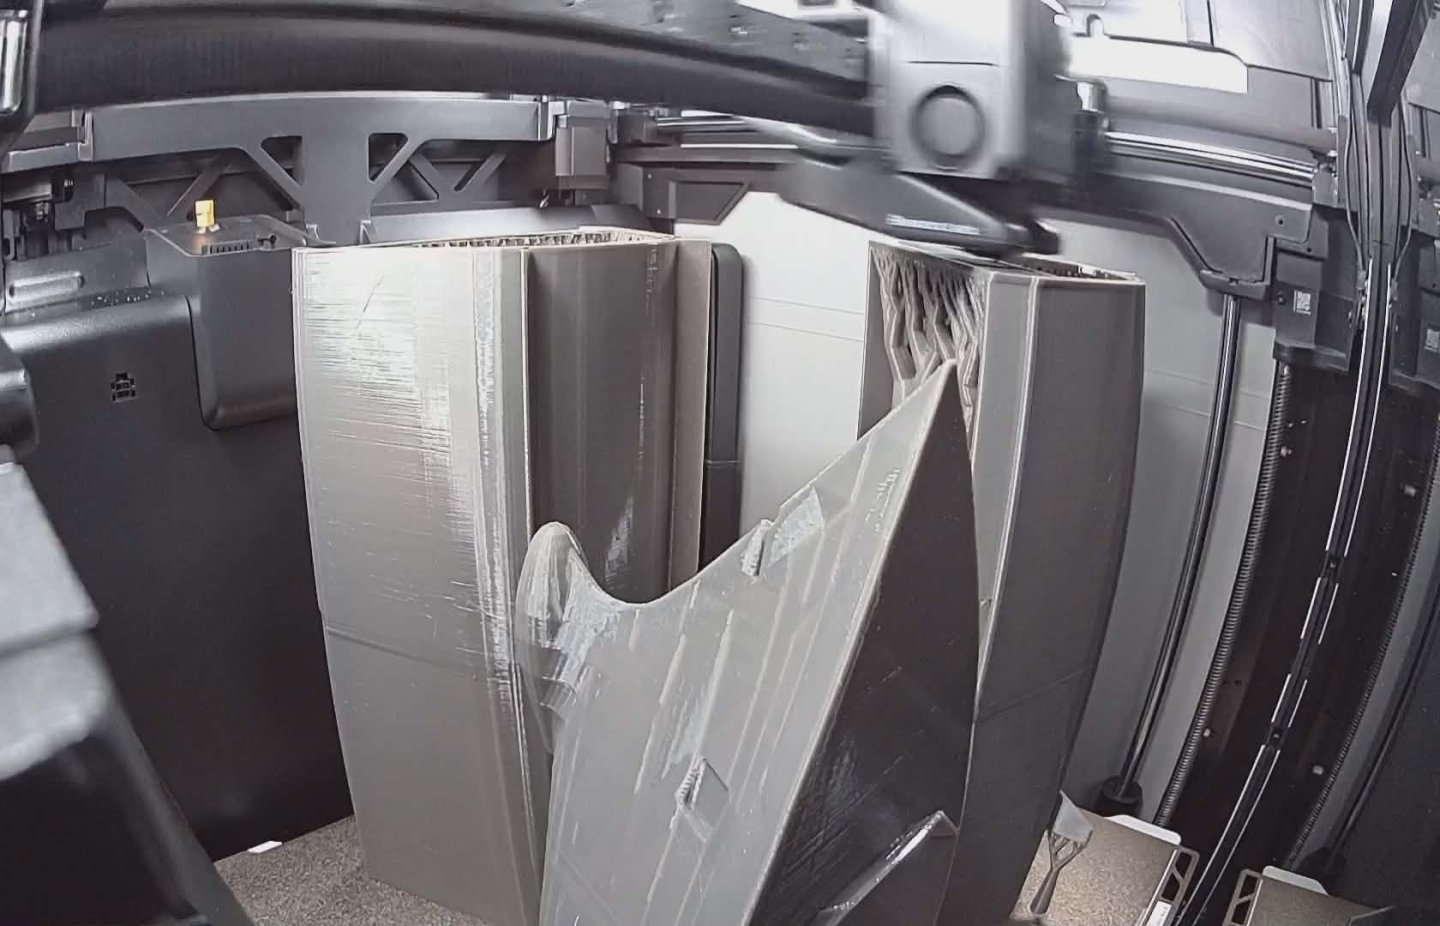
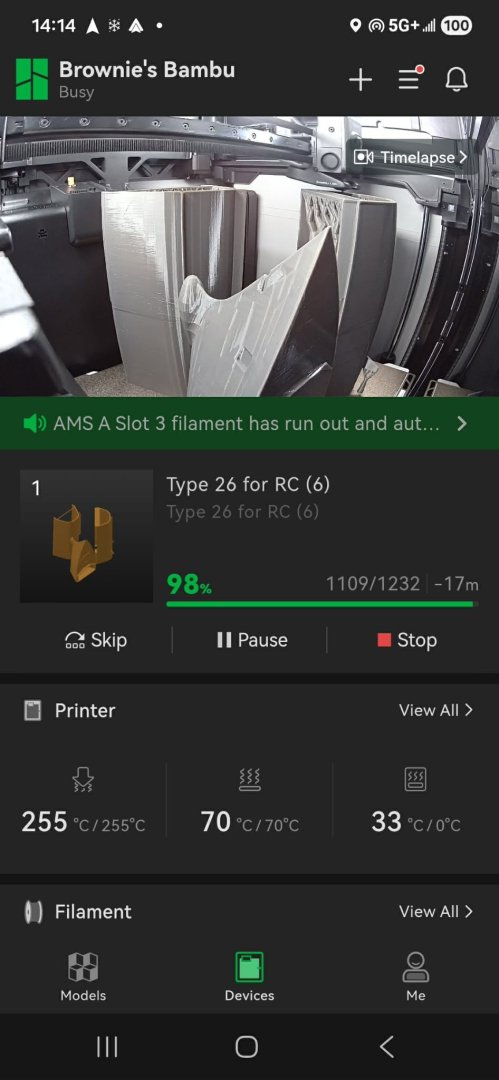
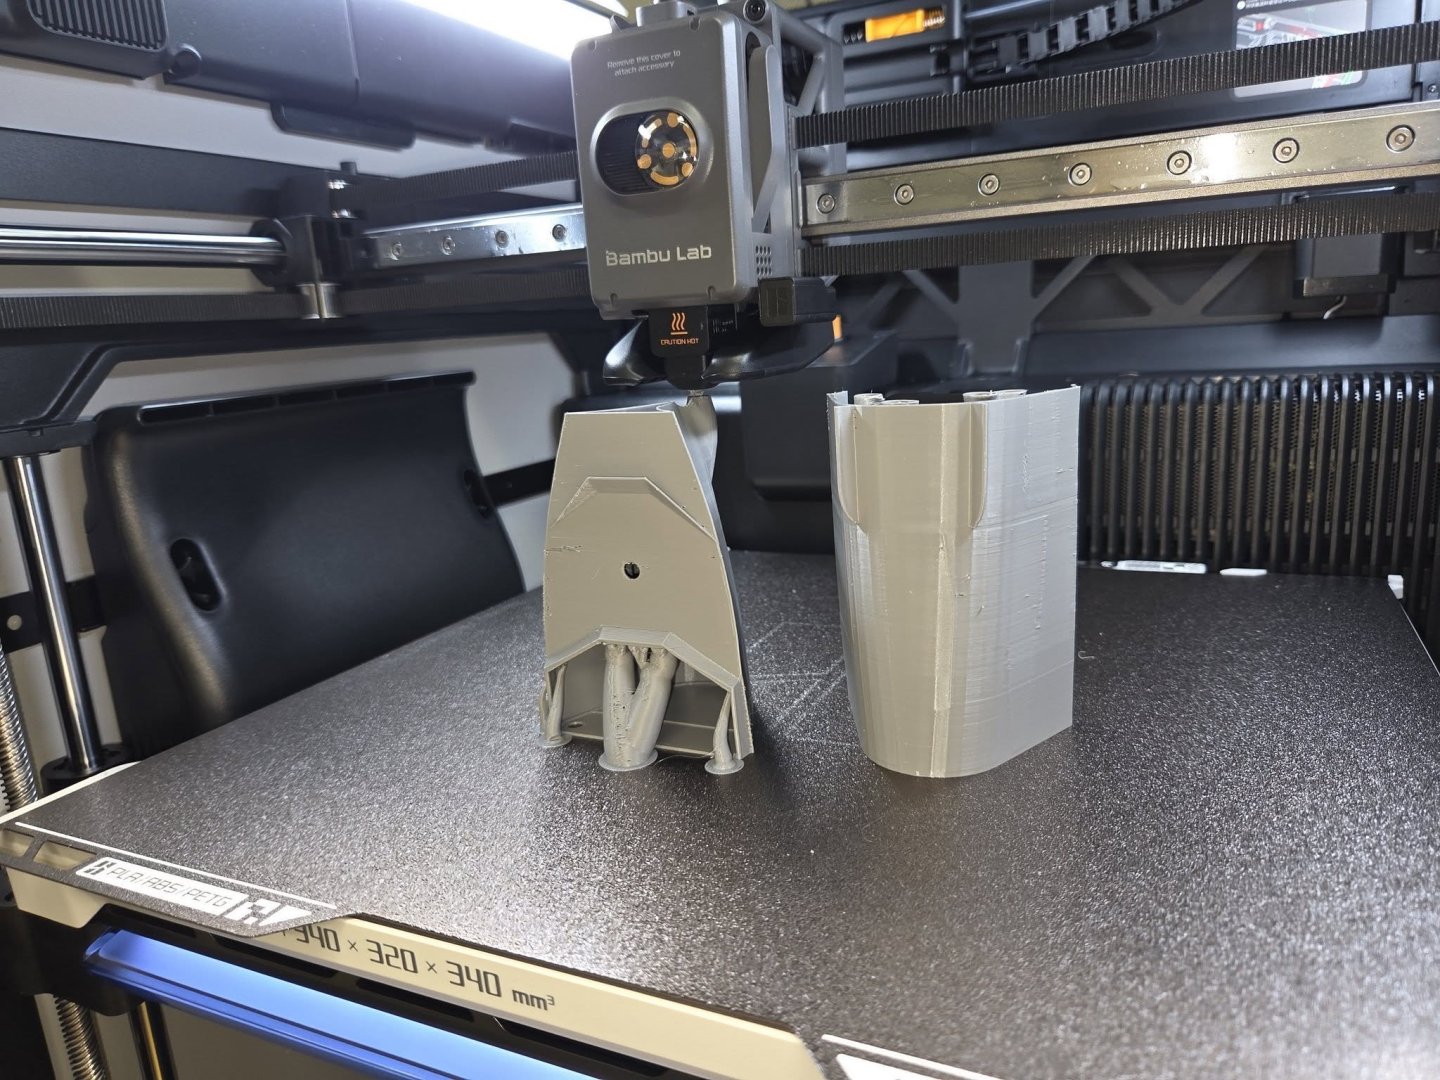
Here's how she looks on the Bambu...hull is almost done printing. I'll be printing the rest of the superstructure over the coming days.
- 66 replies
-
- Type 26
- City Class
-
(and 2 more)
Tagged with:
-
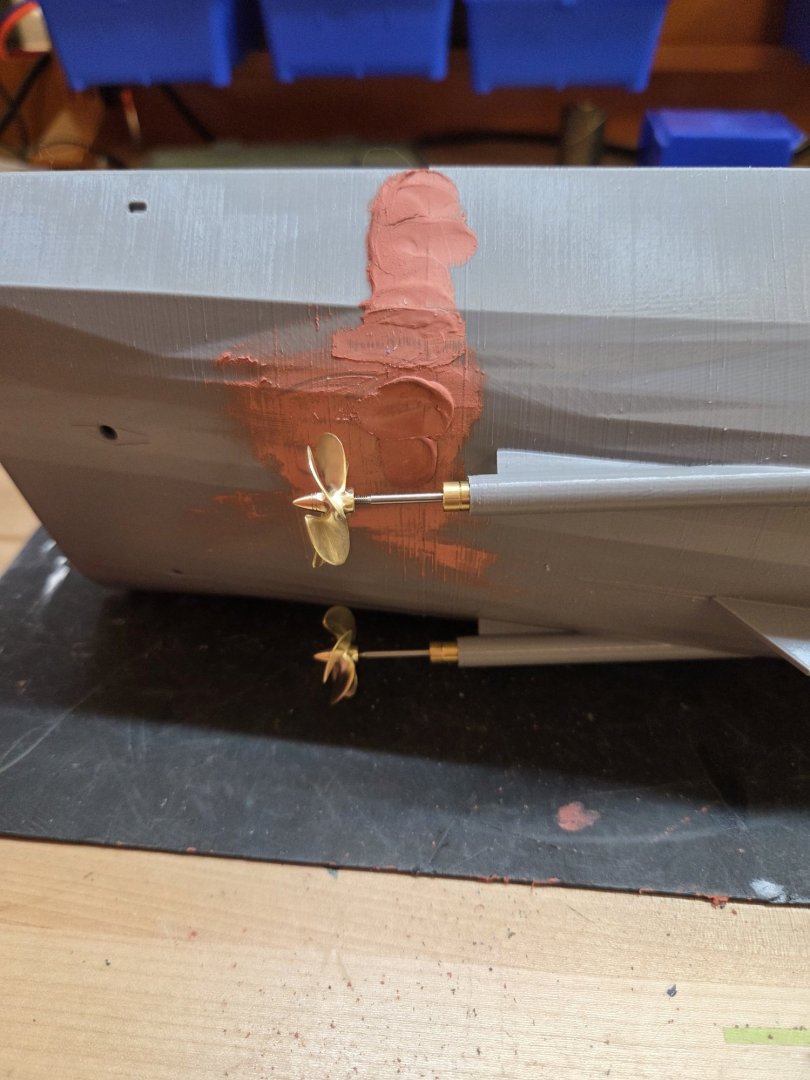
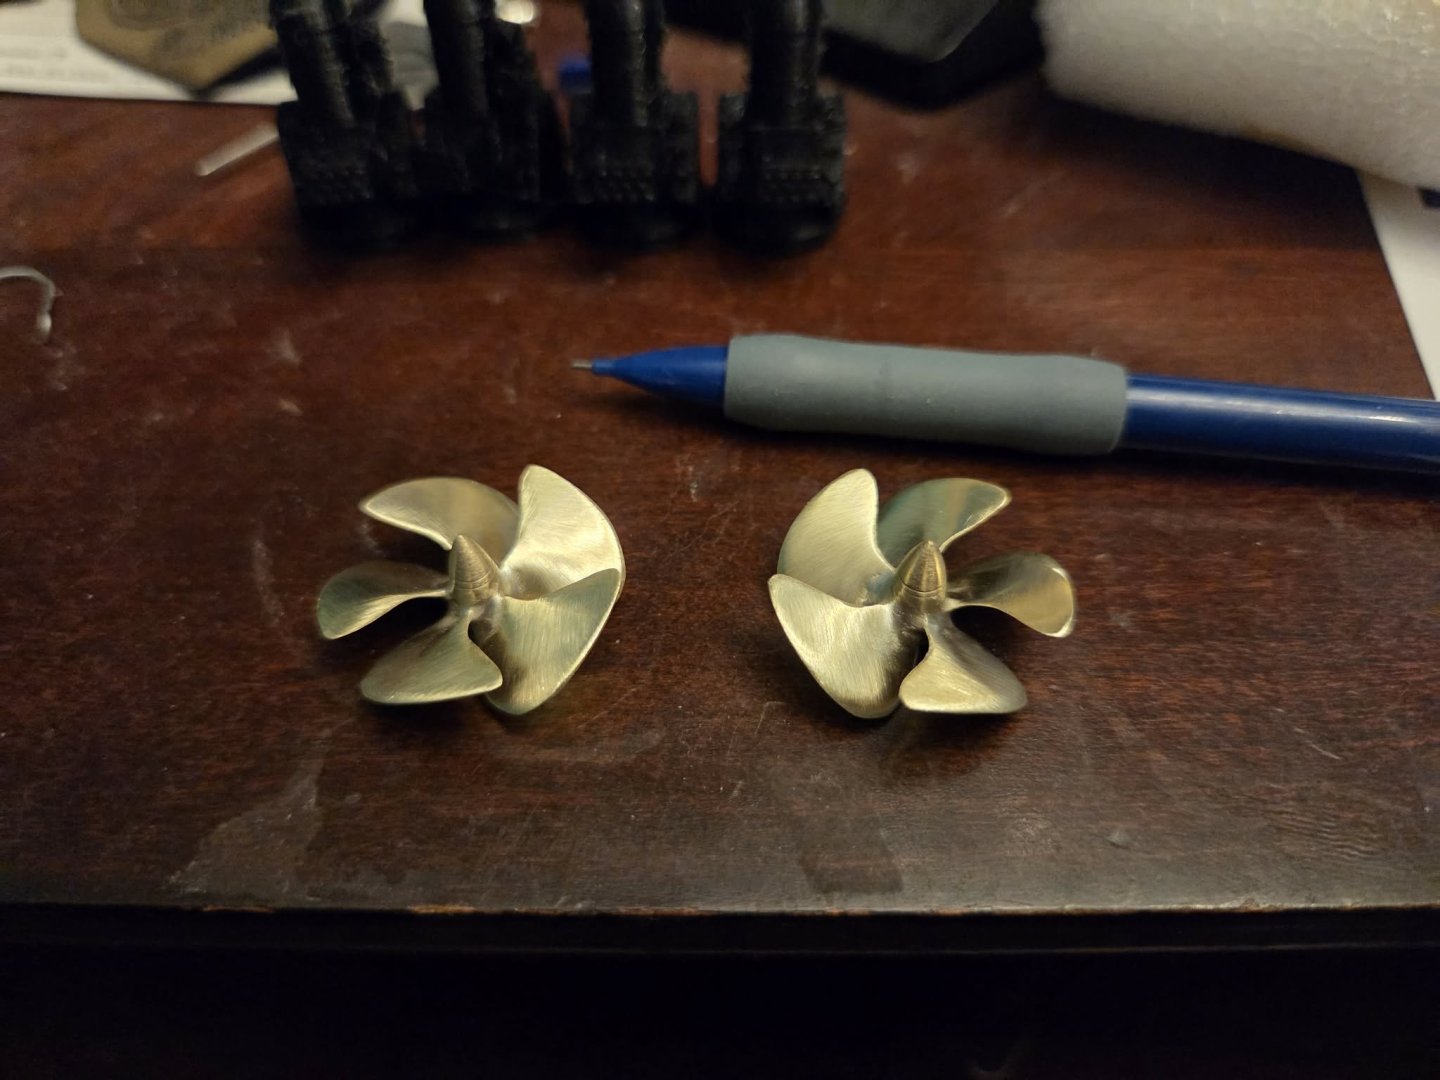
Got busy with other things this week....some hiccups getting the new printer sorted out too. VERY happy with the Bambu H2S so far. That said, some parts and bits have shown up in the mail this week - VLS rocket pack quick connectors, prop shafts, and my Keith Bender 5 bladed modern props. 2mm thread, 28mm outside diameter. VERY pleased with them. The hull should be finished printing tomorrow afternoon. Of note, the Bambu is about 2-3 times faster than the Prusa. Plus a heated chamber. Amazing.
- 66 replies
-
- Type 26
- City Class
-
(and 2 more)
Tagged with:
-
Test print of the superstructure is done - next (full size - 1/144) version will have the mission bay included.
- 66 replies
-
- Type 26
- City Class
-
(and 2 more)
Tagged with:
-
- 66 replies
-
- Type 26
- City Class
-
(and 2 more)
Tagged with:
-
David, The angled bits are part of the print - it's a elevated lip that will fit inside the superstructure that will sit on top of it. I hope. The superstructure print is in progress and will be done at about 3pm tomorrow, sometime in the middle of the snow-storm. Since this is an R/C design, having a raised lip around the hull opening seems like a good idea to me.
- 66 replies
-
- Type 26
- City Class
-
(and 2 more)
Tagged with:
-
- 66 replies
-
- Type 26
- City Class
-
(and 2 more)
Tagged with:
-
The underlying model still has a lot of facets - there will be cleanup no matter what with this model. Print lines on this draft version were not a huge concern for me - I was looking at fit of the modules together. With the new printer, I'm going to do some test prints of modules of other models and compart with what I've got onhand already and am hopeful that the $$$ shows some measurable improvement. The full size version (1/144) that's on the printer is going to get treated differently than the previous models - they were display only. This one will be for R/C, so she's going to get some fiberglass on the hull. That should help smooth the faceting out a bunch. We'll see.
- 66 replies
-
- Type 26
- City Class
-
(and 2 more)
Tagged with:
-
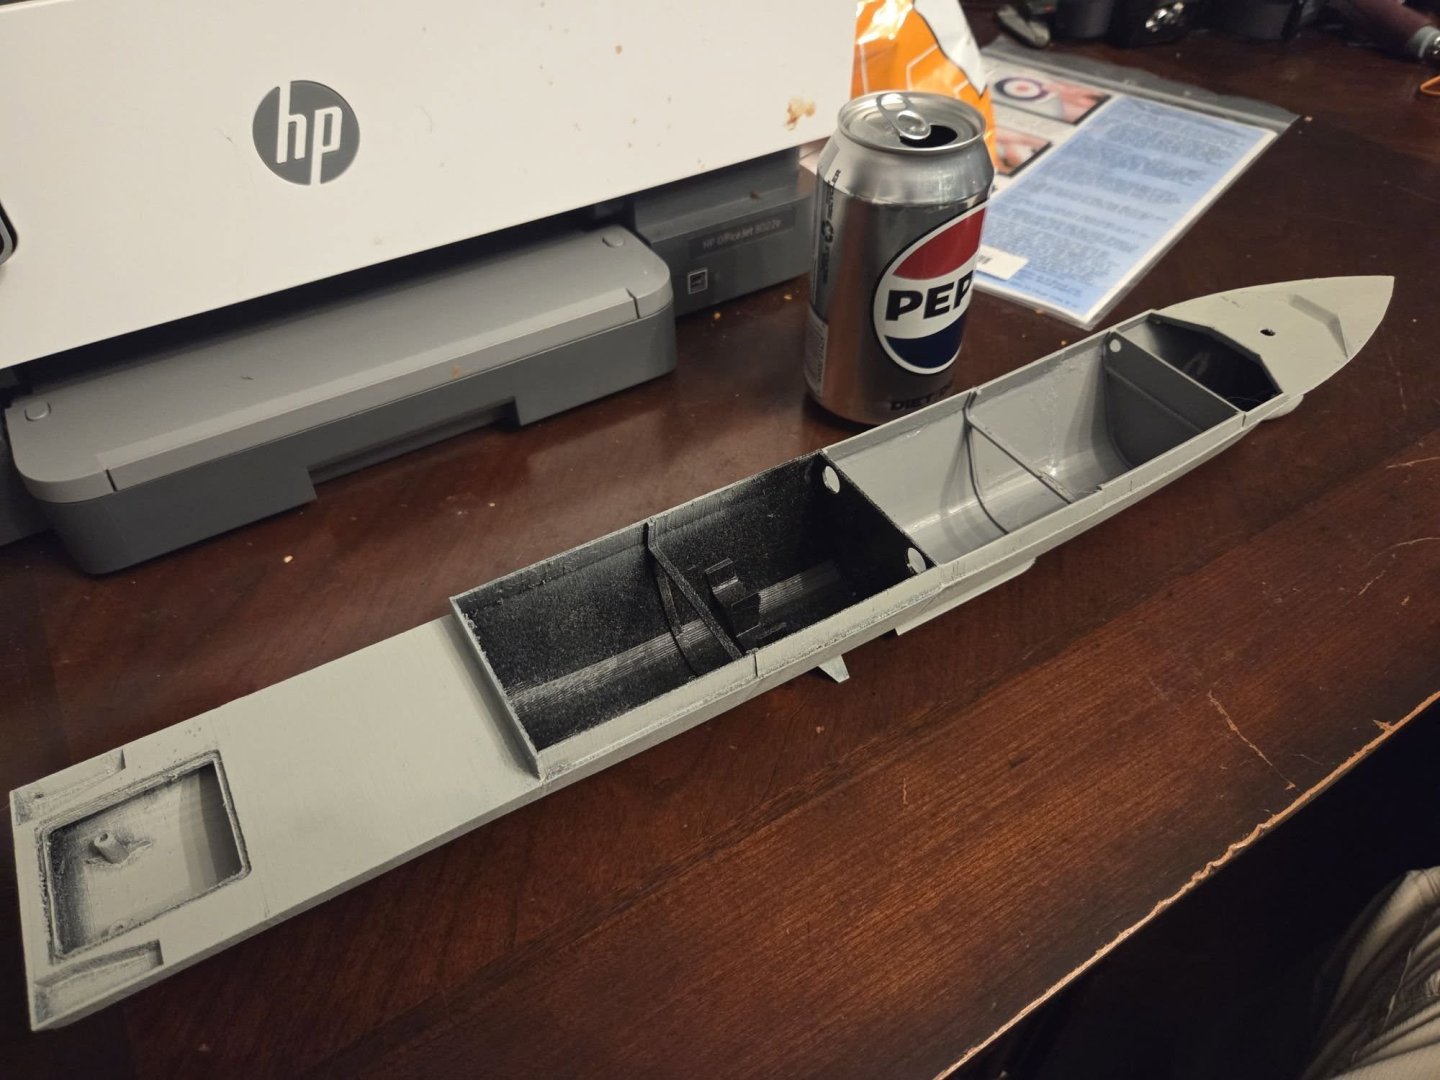
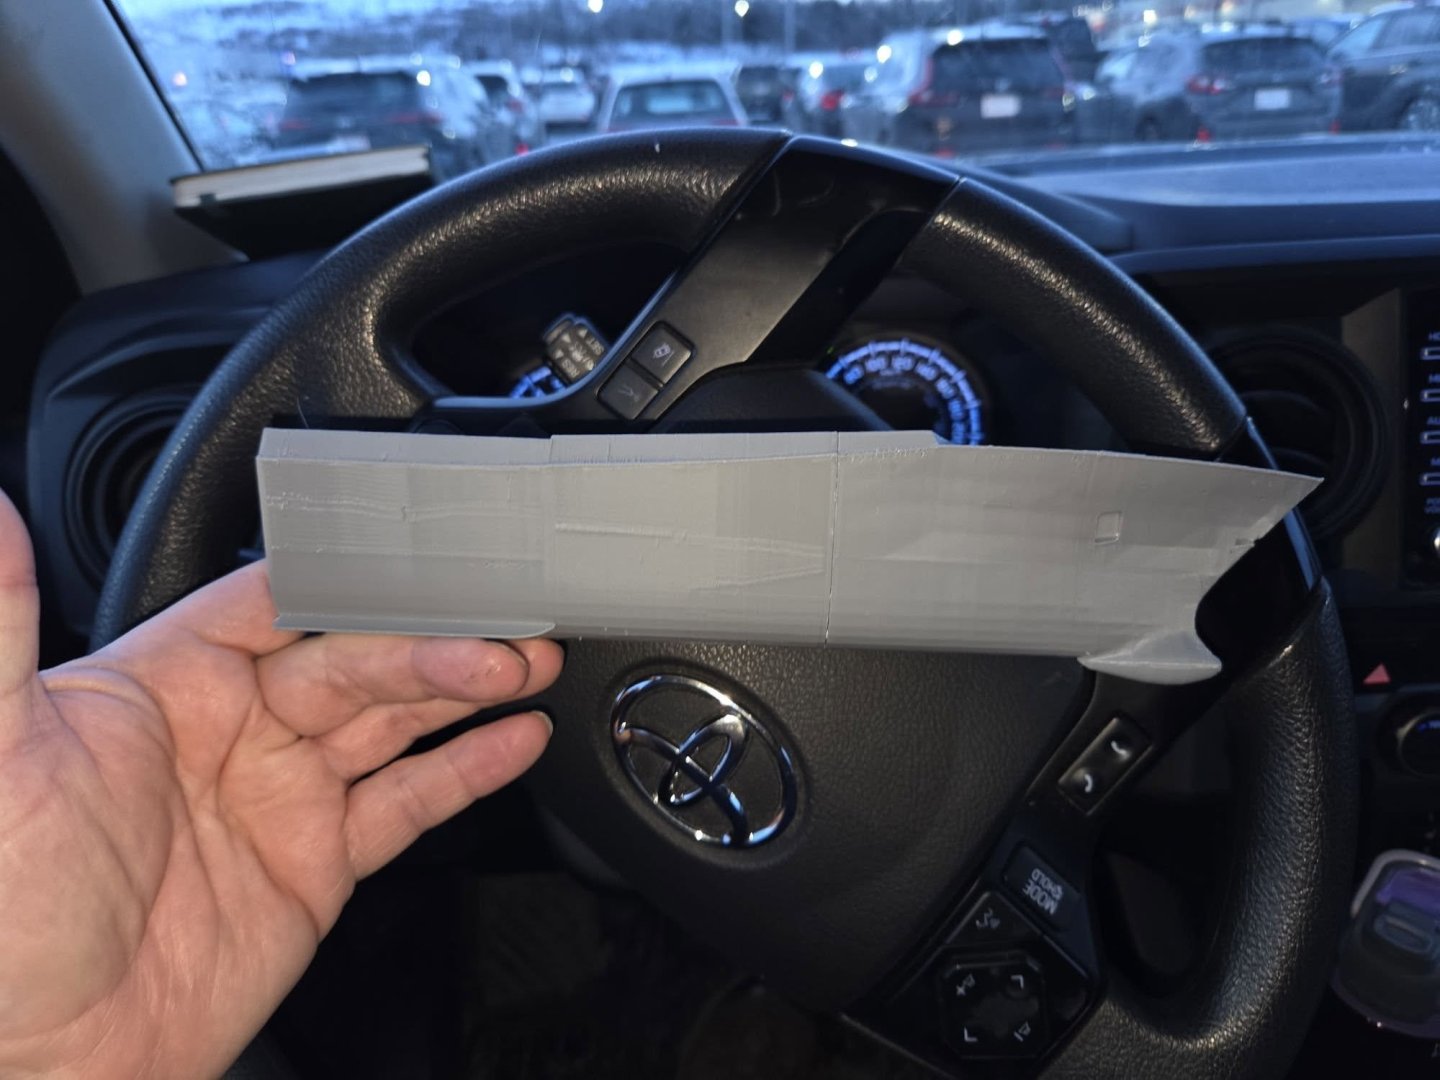
Here's the test print. No major issues - going to go full steam ahead and print the 1:144 version over the weekend. It's a 2 day, 3 hour print (51 hours) for the entire hull.
- 66 replies
-
- Type 26
- City Class
-
(and 2 more)
Tagged with:
-
Here's the forward half of the ship - printing at 'ludicrous' speed now. It'll be done in...17 minutes. Wow.
- 66 replies
-
- Type 26
- City Class
-
(and 2 more)
Tagged with:
-
OK, New printer (Bambu H2S) is setup and running now. I've got a re-do of the hull for the R/C version printing at 1/288 scale as a test, and if that goes well, I'll click 'print' and on Monday I'll have a 1/144 sample hull waiting for me in 4 segments.
- 66 replies
-
- Type 26
- City Class
-
(and 2 more)
Tagged with:
-
David, WRT the door - that door was a bit sticky in how it was assembled - I think I'm going to be making sure going forward that the doors are free moving and not sticky - see if that changes how they launch. My new Bambu Labs H2S has shown up, and is going through it's calibration right now. 🙂 Good. Also, I presented the V2 model last night to the RCN Command Chief for him to display in his office in Ottawa. His problem to get it back there 🙂 It was much appreciated, and he's going to send me a couple of photos of it once it's all setup and on display. He was super excited about having the first T26 model at NDHQ. I expect his office will get a few jealous visitors! NS
- 66 replies
-
- Type 26
- City Class
-
(and 2 more)
Tagged with:
-
Phil, that's amazing brass work! Well done good sir! You have the 'heat shield' part of the grenade lockers right - having been an ammunition custodian on a modern warship (Halifax Class) all of our upper deck lockers had a heat shield which was normally painted white that was stood off a couple of inches from the lockers to provide shade and natural cooling. Originally, as fitted, the ships didn't have these heat shields, and we ended up having to put shot matts on top of some of the lockers and put a fire-hose spraying a light amount of water over them to provide some cooling while in the Persian Gulf back in the 2001 time-frame.
- 496 replies
-
- minesweeper
- Cape
-
(and 1 more)
Tagged with:
-
The two test shots went between 30-80 feet I think. The one fired with the cover/door open already flew straighter than the one which had the door closed. I'm pondering the results.
- 66 replies
-
- Type 26
- City Class
-
(and 2 more)
Tagged with:
-
- 66 replies
-
- Type 26
- City Class
-
(and 2 more)
Tagged with:
-
Today was the test launch day for V4 of the VLS system. Worked ok. I sealed the entry point for the ignitor into the launch tube with hot glue, and it looks like one of them didn't seal quite perfectly, that's OK...it's a learning curve. The second was better sealed. The brass plates I glued into the J-tube at the bottom got blasted apart - viewed with a flashlight, it's clearly destroyed. The one without the brass survived the shot OK as well - so - I think I'm going to go without the brass and make them expendable after a single shot instead of worrying about the brass if it's going to get destroyed anyhow. The missiles - first shot went straight up about 60-80 feet or so and the parachute ejection charge went "pop" quite nicely up in the air. Shredded the 'missile' - I considered it expendable anyhow, so no big deal. I had the launch door open for the first shot, so it went straighter. The second shot I left the launch door closed, and it opened just fine when fired - but I think that deflected the shot and so it went across instead of up - ended up about 30 feet away, 30 feet up in a tree when it popped the parachute ejection charge. Overall - I am pleased.
- 66 replies
-
- Type 26
- City Class
-
(and 2 more)
Tagged with:
-
I have no formal confirmation as to exactly where things go, so this is my 'best guess' based on some informal chats with some friends. I'm open to being incorrect....in fact, I know there's parts of this model that are wrong, but that's OK since the ships themselves don't even exist yet. Nice thing about it being a 3D design is that I can adjust on the fly, and V3 will be closer than V2....and V4 will be even closer still.
- 66 replies
-
- Type 26
- City Class
-
(and 2 more)
Tagged with:
-
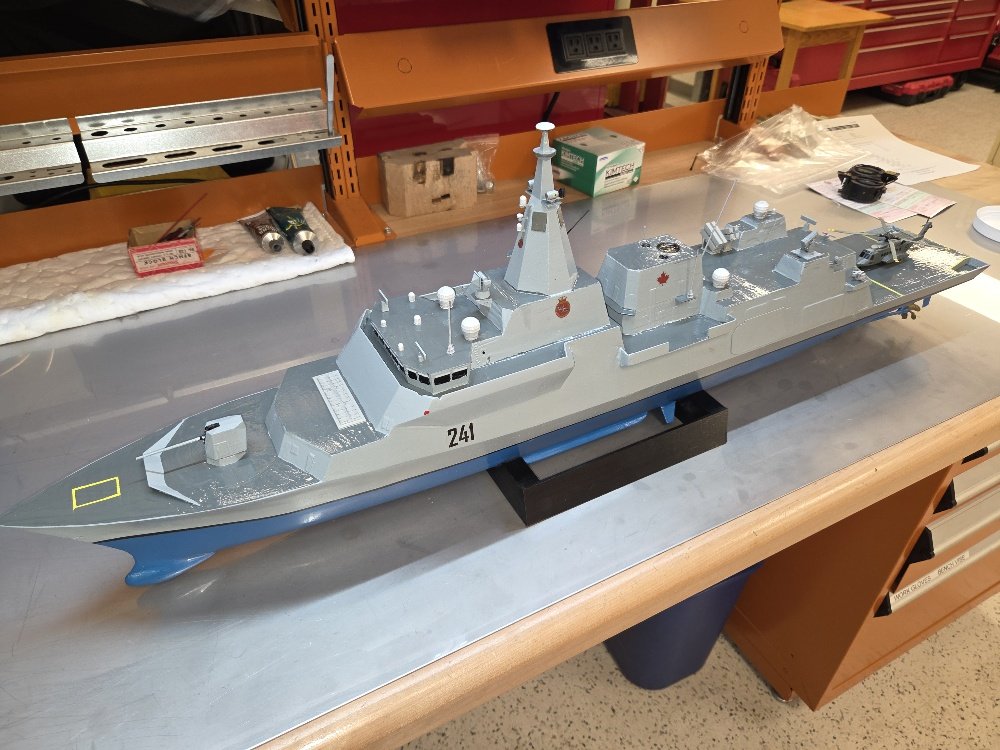
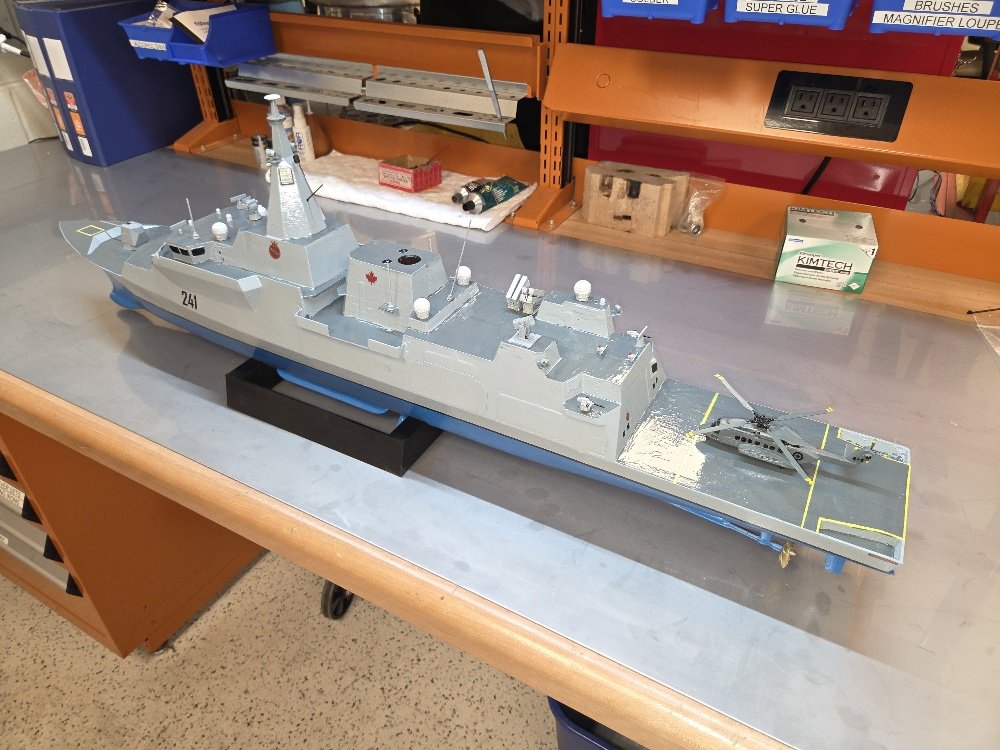
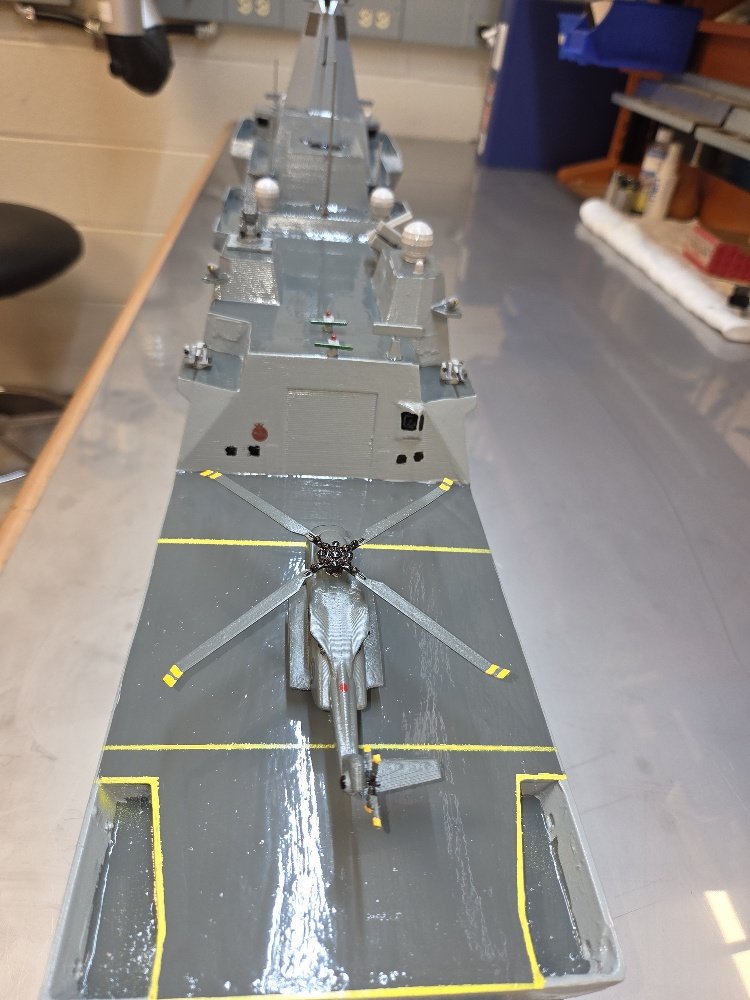
Hoisted a flag (ok, it's glued in place...whatever....) and am calling V2 complete. Here we have DDH 241 - HMCS MacKenzie The next one will be the first of the R/C version(s?) - we'll see how it goes. I'm quite pleased with how this is looking. I understand that this is closer to the 'actual' look, but not quite correct - V3 has further revisions to the superstructure to match the RCN version more closely.
- 66 replies
-
- Type 26
- City Class
-
(and 2 more)
Tagged with:
-
- 66 replies
-
- Type 26
- City Class
-
(and 2 more)
Tagged with:
-
Observation - the below the waterline colour on the ship should be BLACK not red. That was some feedback I got from the crew of HMCS Sackville as I was working on my model of her (and the St Thomas model I did as well.) NS
-
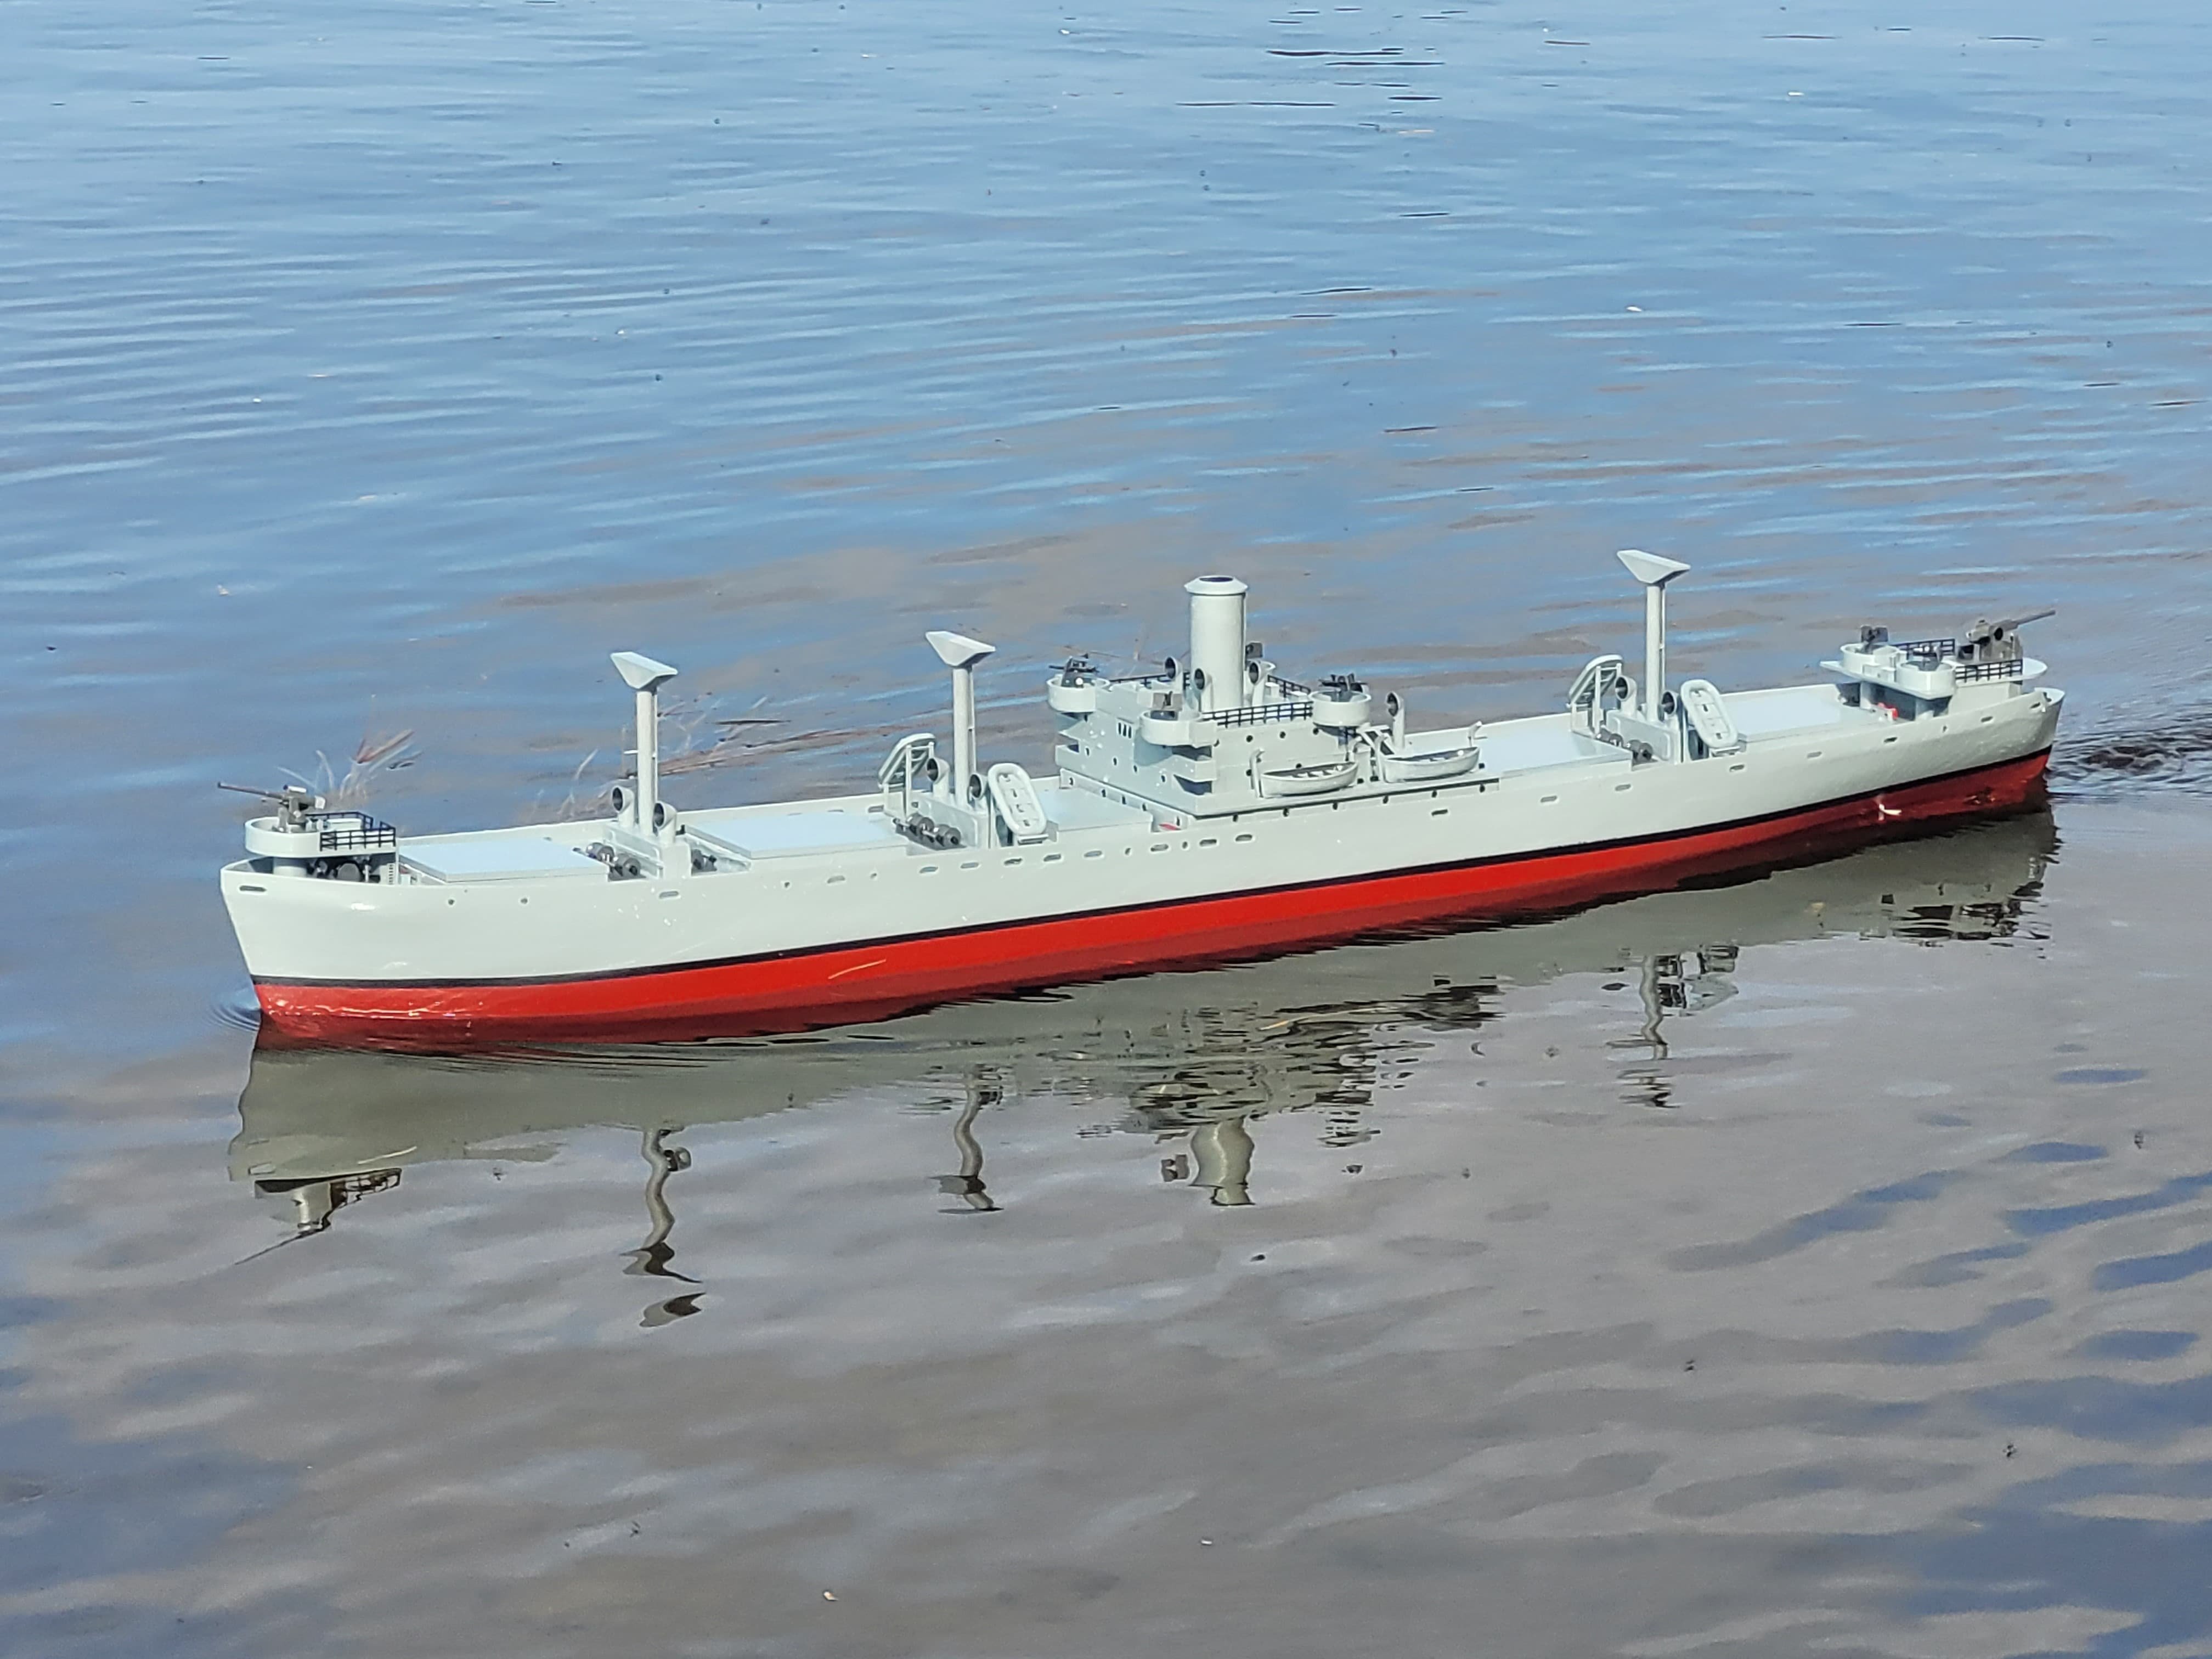
OK, HMCS St Thomas will likely be moving to Ontario this summer (at last) and I've got a model of HMCS Sackville that's spent the summer in the pond. Here's the touch-up paint on the hull of Sackville that I applied today. I'll do the port side tomorrow.
About us
Modelshipworld - Advancing Ship Modeling through Research
SSL Secured
Your security is important for us so this Website is SSL-Secured
NRG Mailing Address
Nautical Research Guild
237 South Lincoln Street
Westmont IL, 60559-1917
Model Ship World ® and the MSW logo are Registered Trademarks, and belong to the Nautical Research Guild (United States Patent and Trademark Office: No. 6,929,264 & No. 6,929,274, registered Dec. 20, 2022)
Helpful Links
About the NRG
If you enjoy building ship models that are historically accurate as well as beautiful, then The Nautical Research Guild (NRG) is just right for you.
The Guild is a non-profit educational organization whose mission is to “Advance Ship Modeling Through Research”. We provide support to our members in their efforts to raise the quality of their model ships.
The Nautical Research Guild has published our world-renowned quarterly magazine, The Nautical Research Journal, since 1955. The pages of the Journal are full of articles by accomplished ship modelers who show you how they create those exquisite details on their models, and by maritime historians who show you the correct details to build. The Journal is available in both print and digital editions. Go to the NRG web site (www.thenrg.org) to download a complimentary digital copy of the Journal. The NRG also publishes plan sets, books and compilations of back issues of the Journal and the former Ships in Scale and Model Ship Builder magazines.

