-
Posts
82 -
Joined
-
Last visited
Content Type
Profiles
Forums
Gallery
Events
Everything posted by LCdr Dave
-
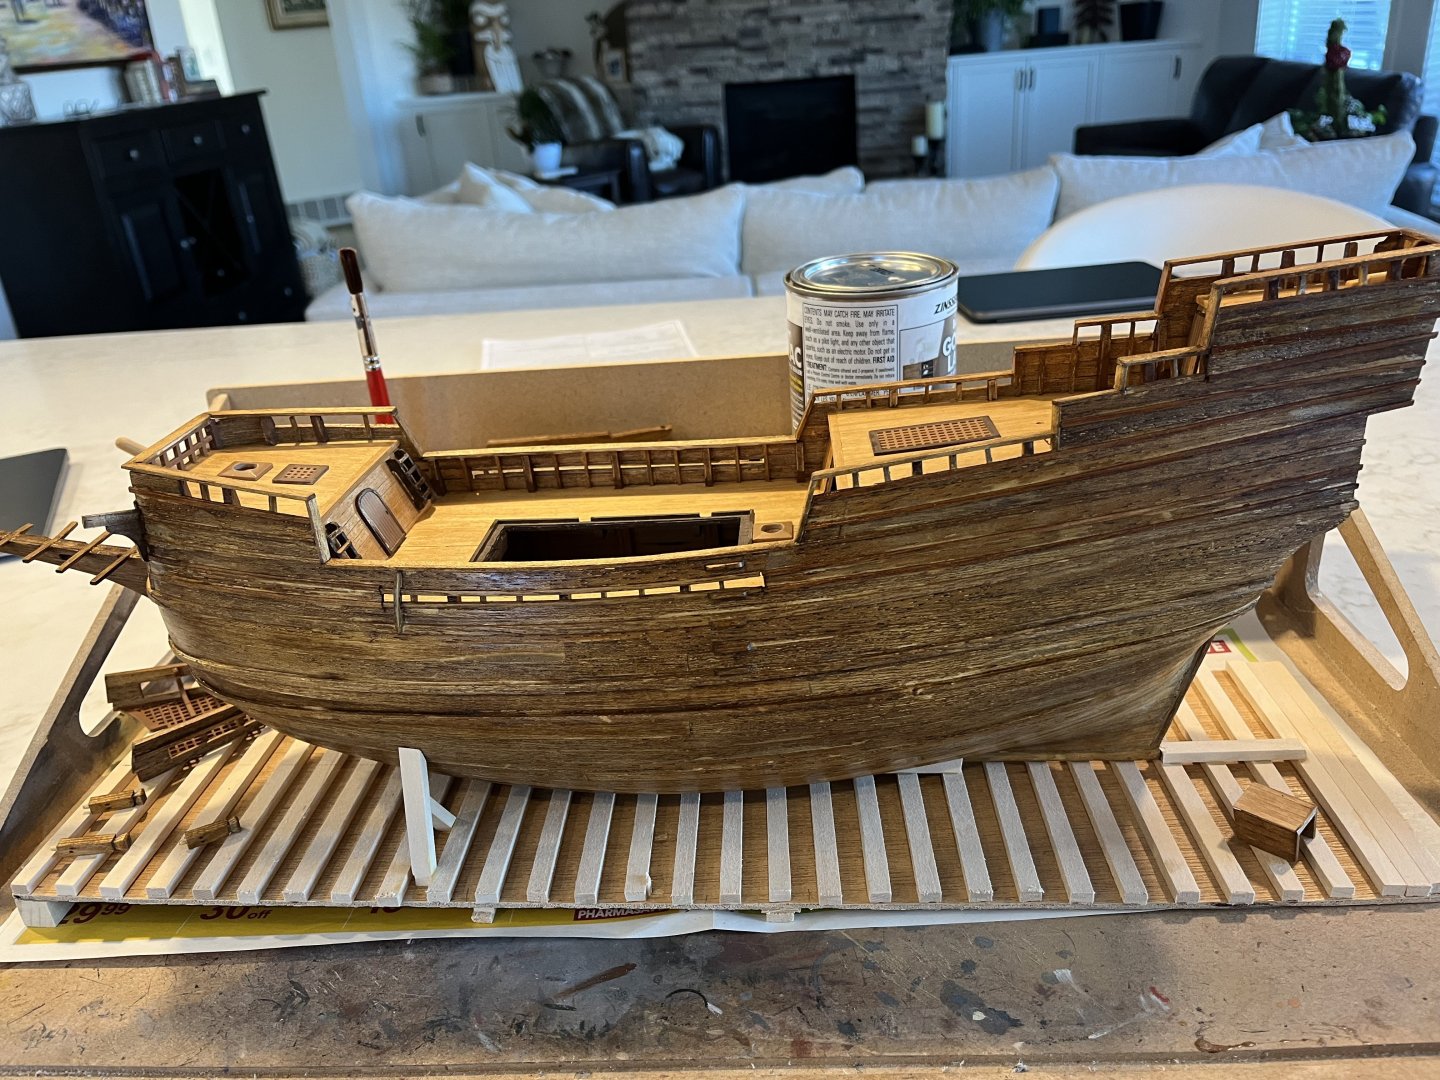
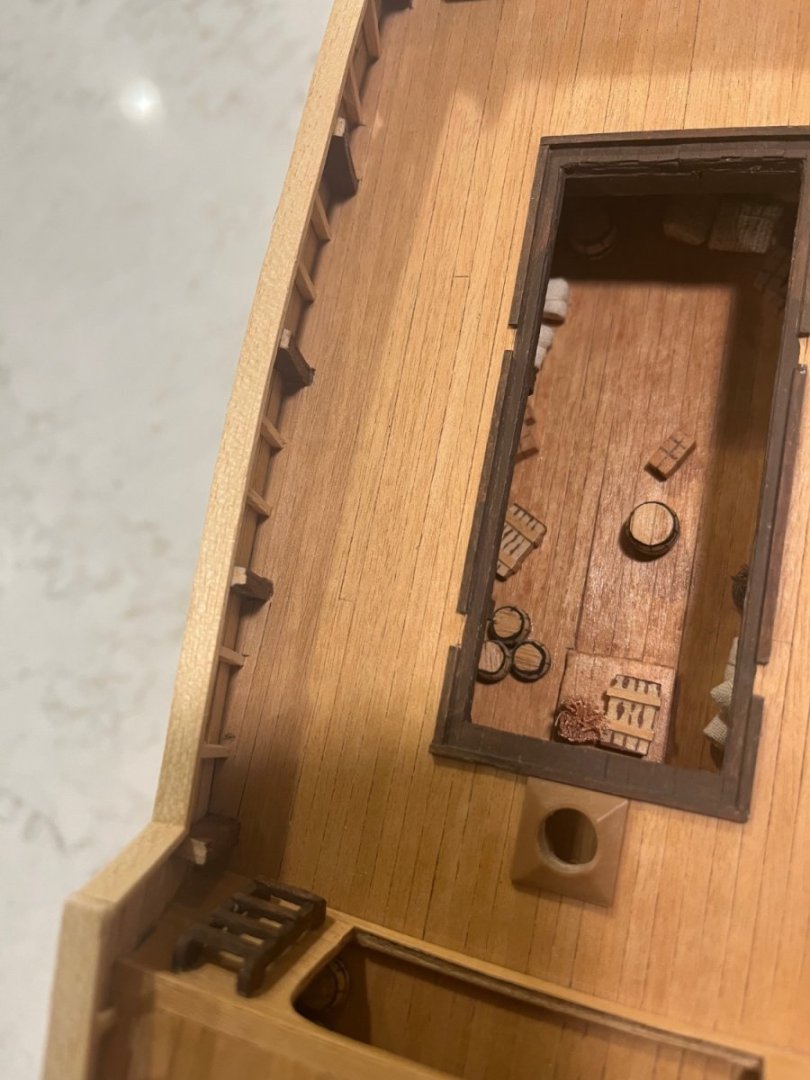
Progress is slow and not very exciting to talk about but I have given the hull some stain (3 coats of mini wax Golden Oak) and a coat of Bull’s Eye Shellac. I will give it a second coat tonight and a light sand and see where to go from there. I noticed that the stain is splotchy due to the different woods and wood filler. It looks worse in the picture but I may just give it a wash of something to even out the colour. Thanks for looking. Cheers, Dave
-
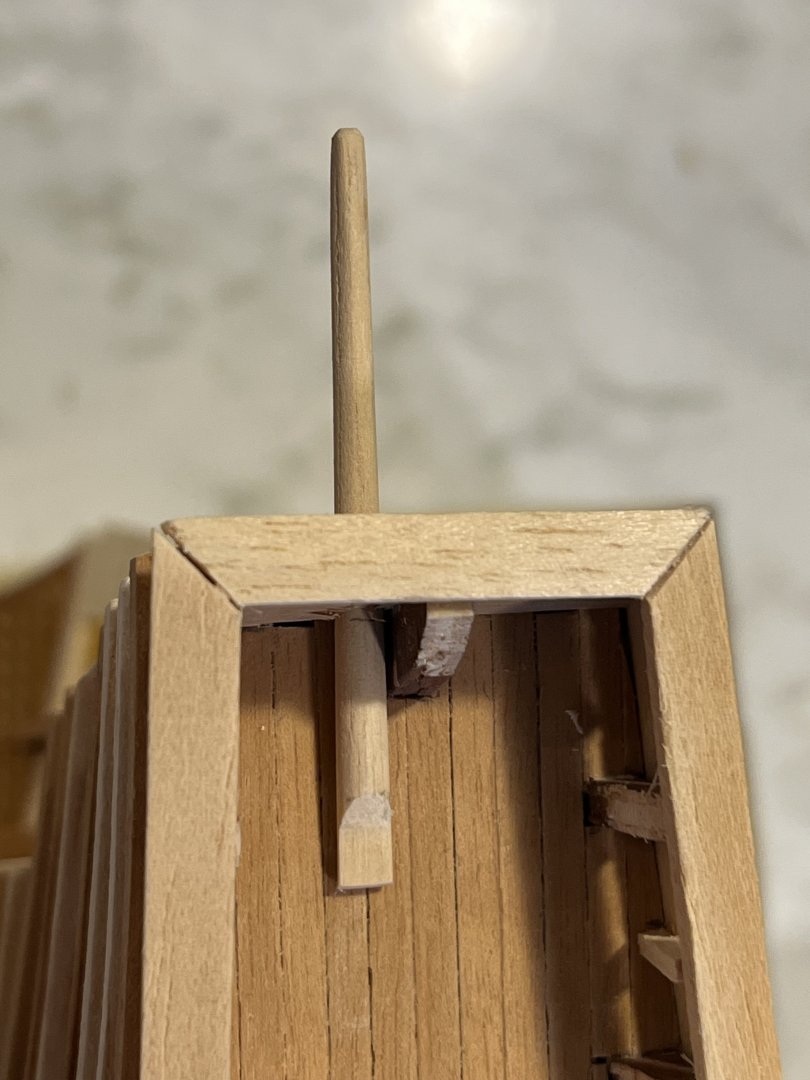
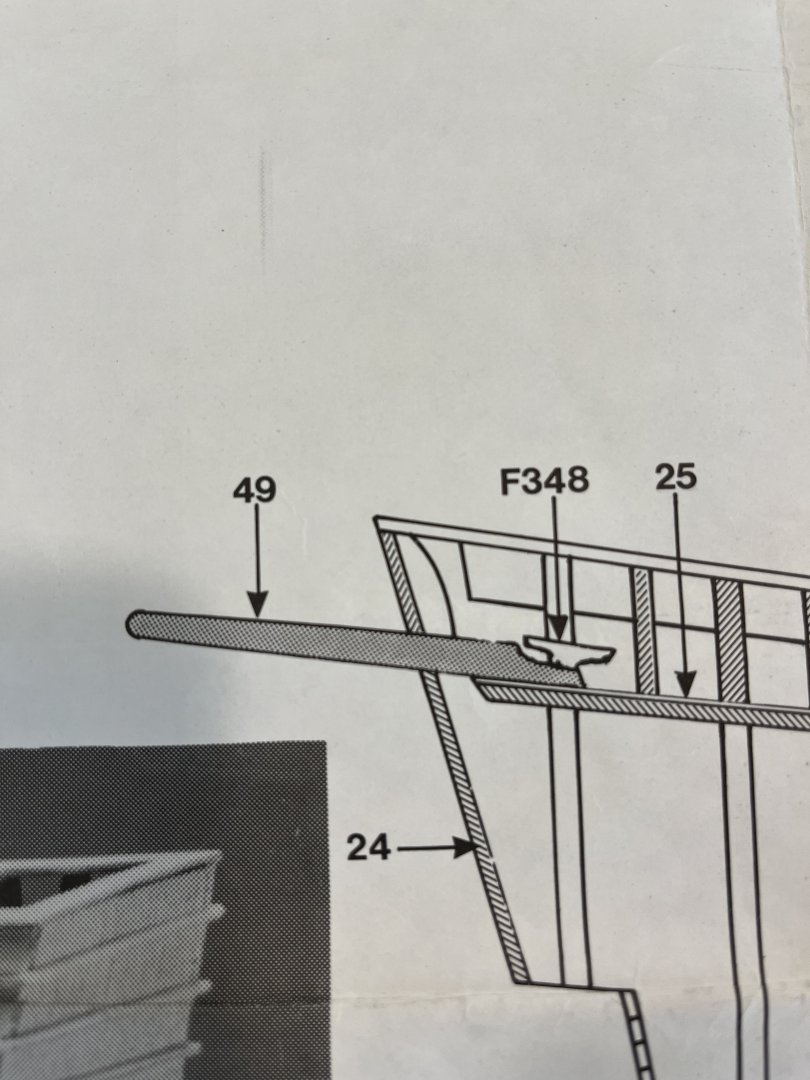
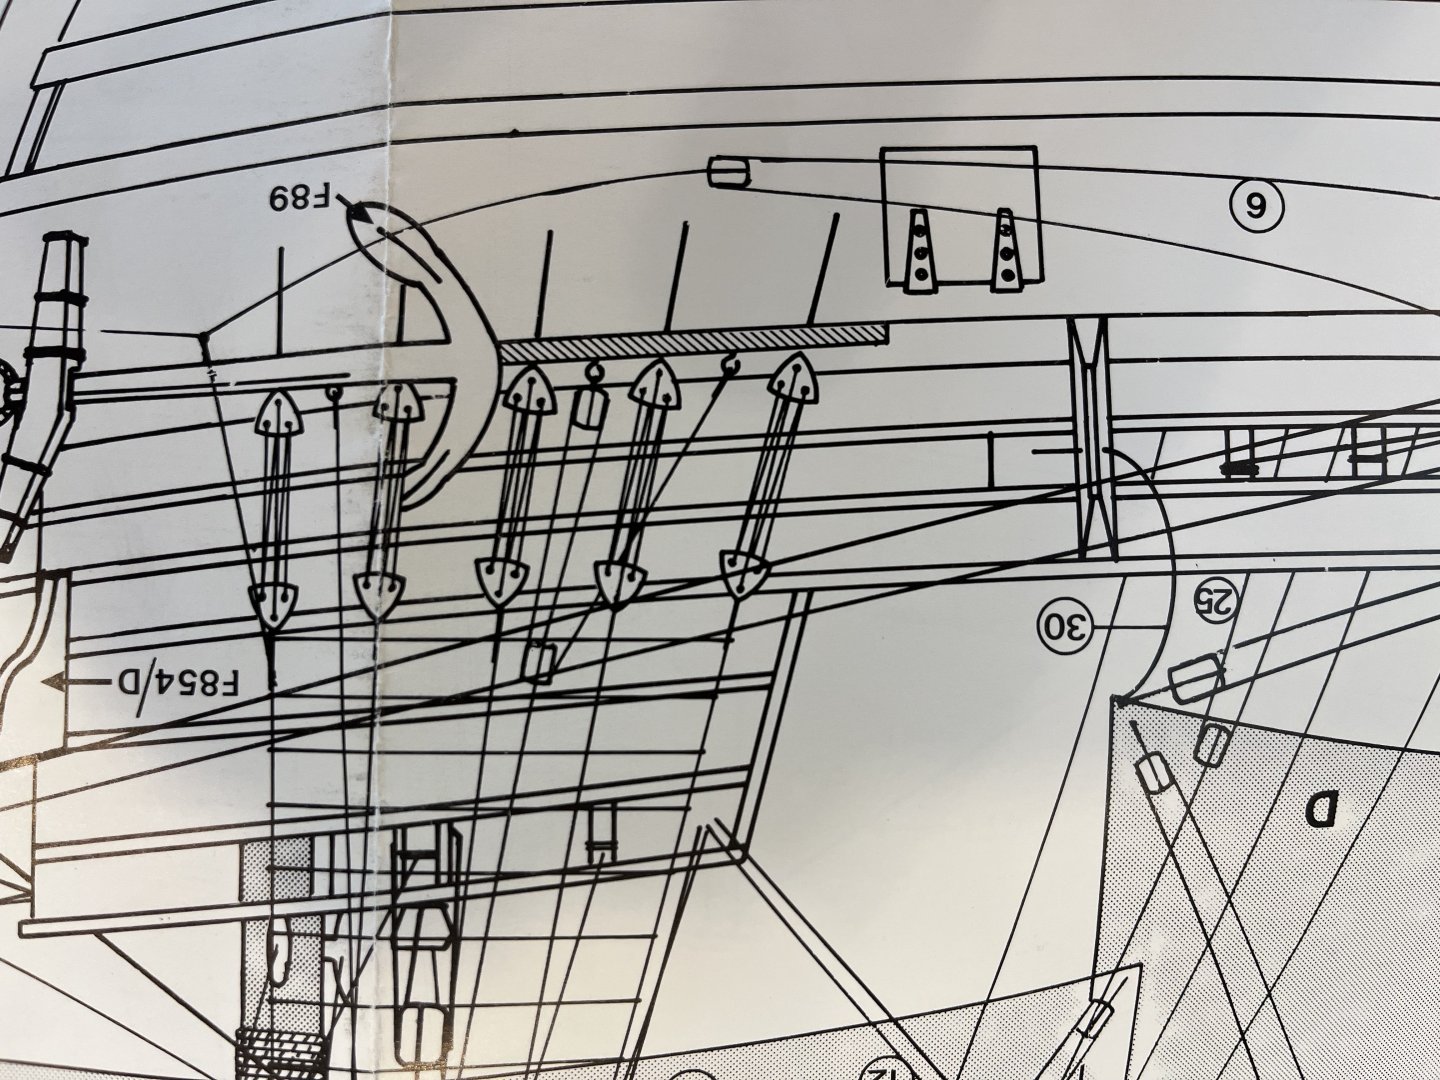
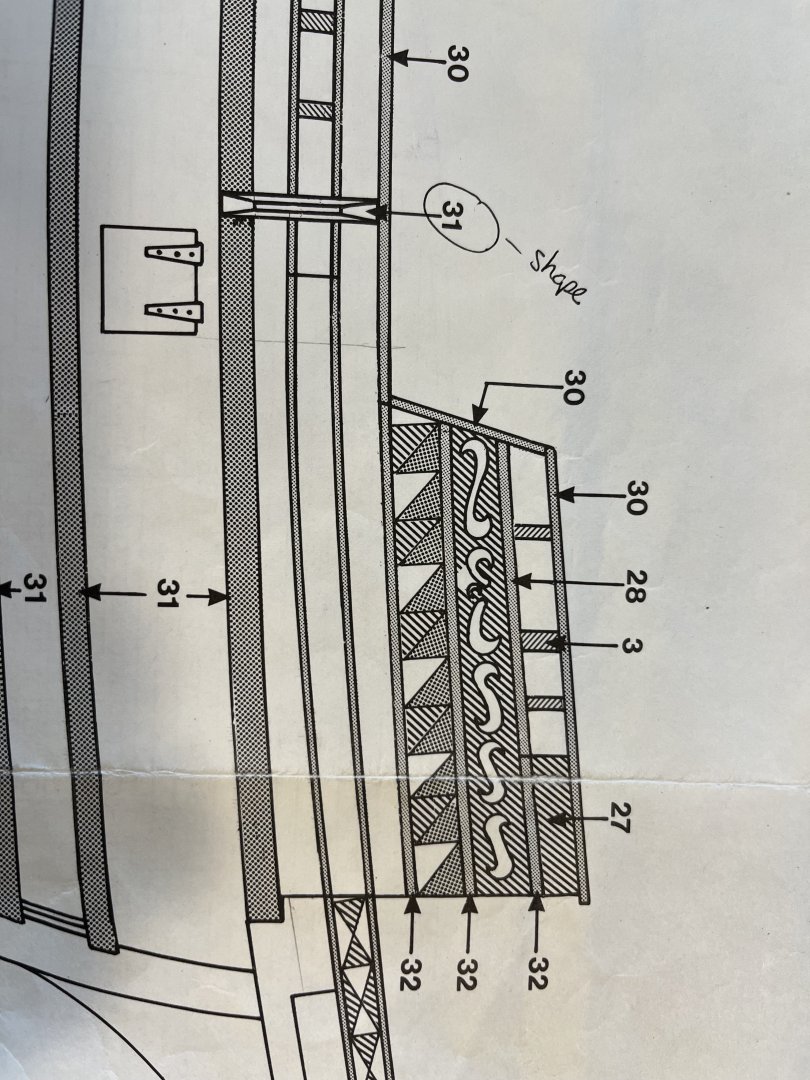
I was looking at the supplied drawings to see where to locate the stern spar that protrudes out the back. Maybe I missed something but it seems to be inline with the bulwark extension. Not sure if the error is in the drawings or the construction of the hull. I could position it to one side of the extension or just butt-join it to the hull. Ideas? Also in the realm of unclear instructions… the drawing shows a part running vertically across some of the strips (#31) which is supposed to be shaped to a bit of a longitudinal peak but the wood is the same size as the ribbing strake and I am also expected to run a sheet through it that is tied off to #30 in the drawing. sorry about it being upside down….. Not sure if anyone can tell me more about this part 31 and whether they have it or if not, then how is the sheet run? Thanks for looking. Dave
-
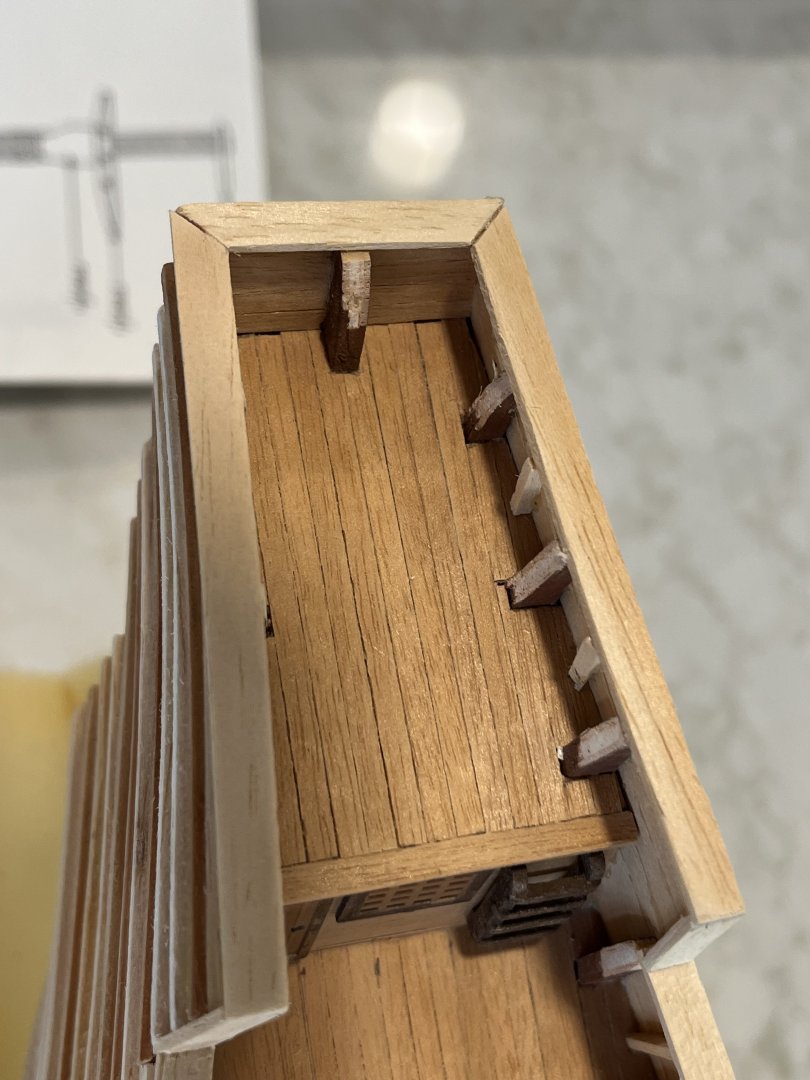
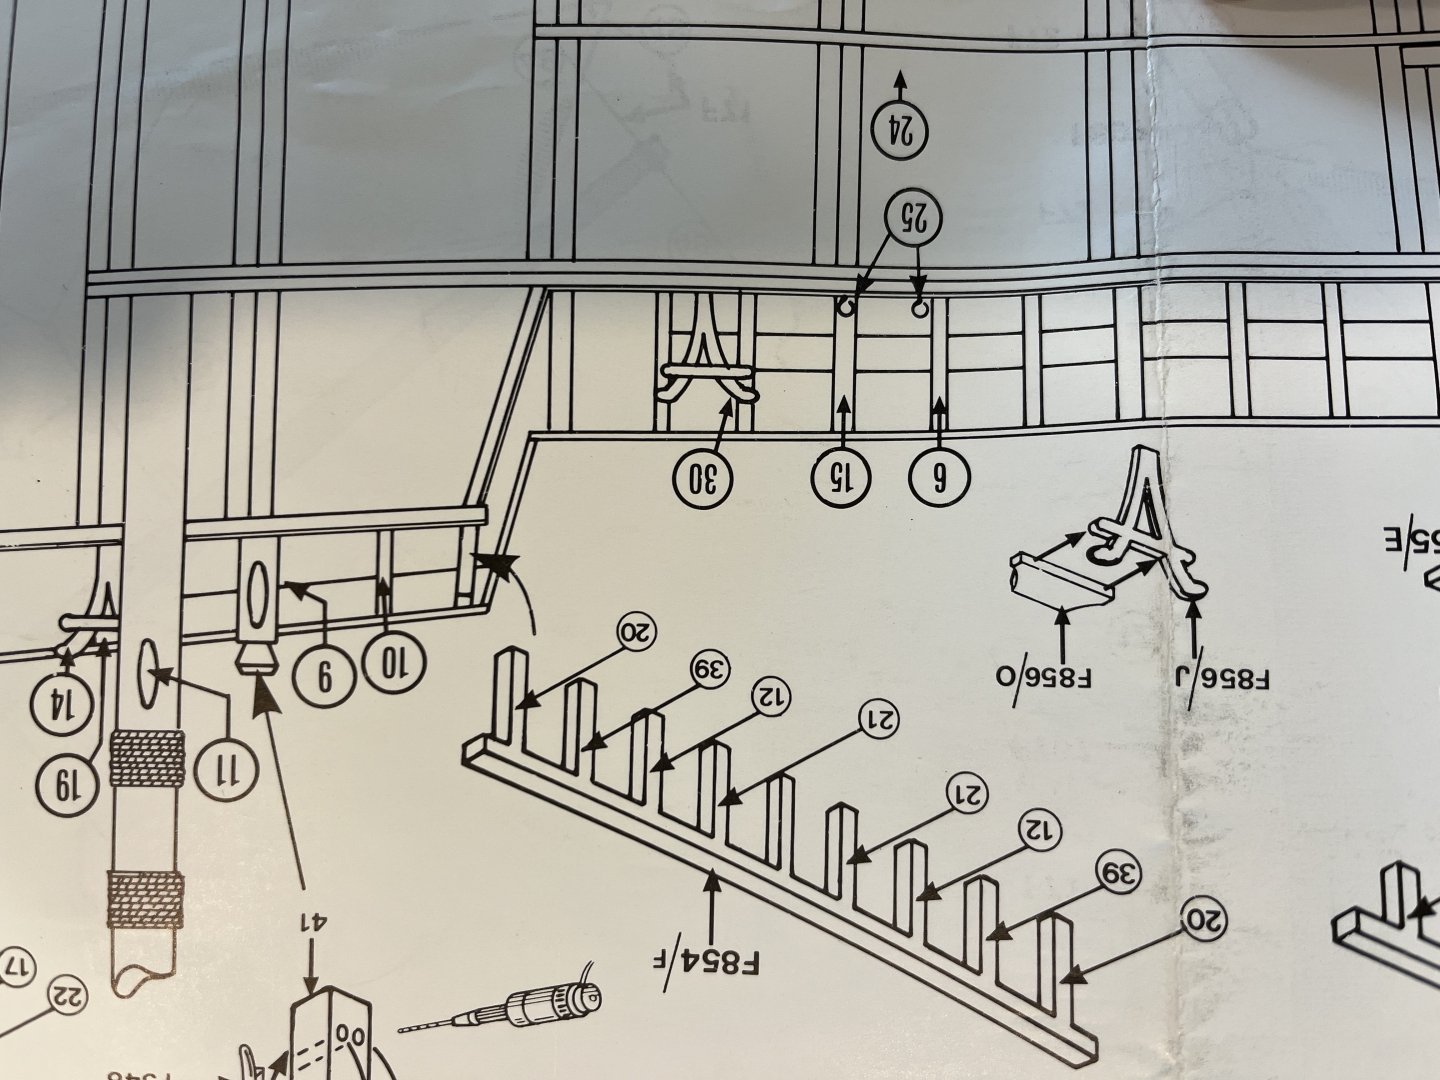
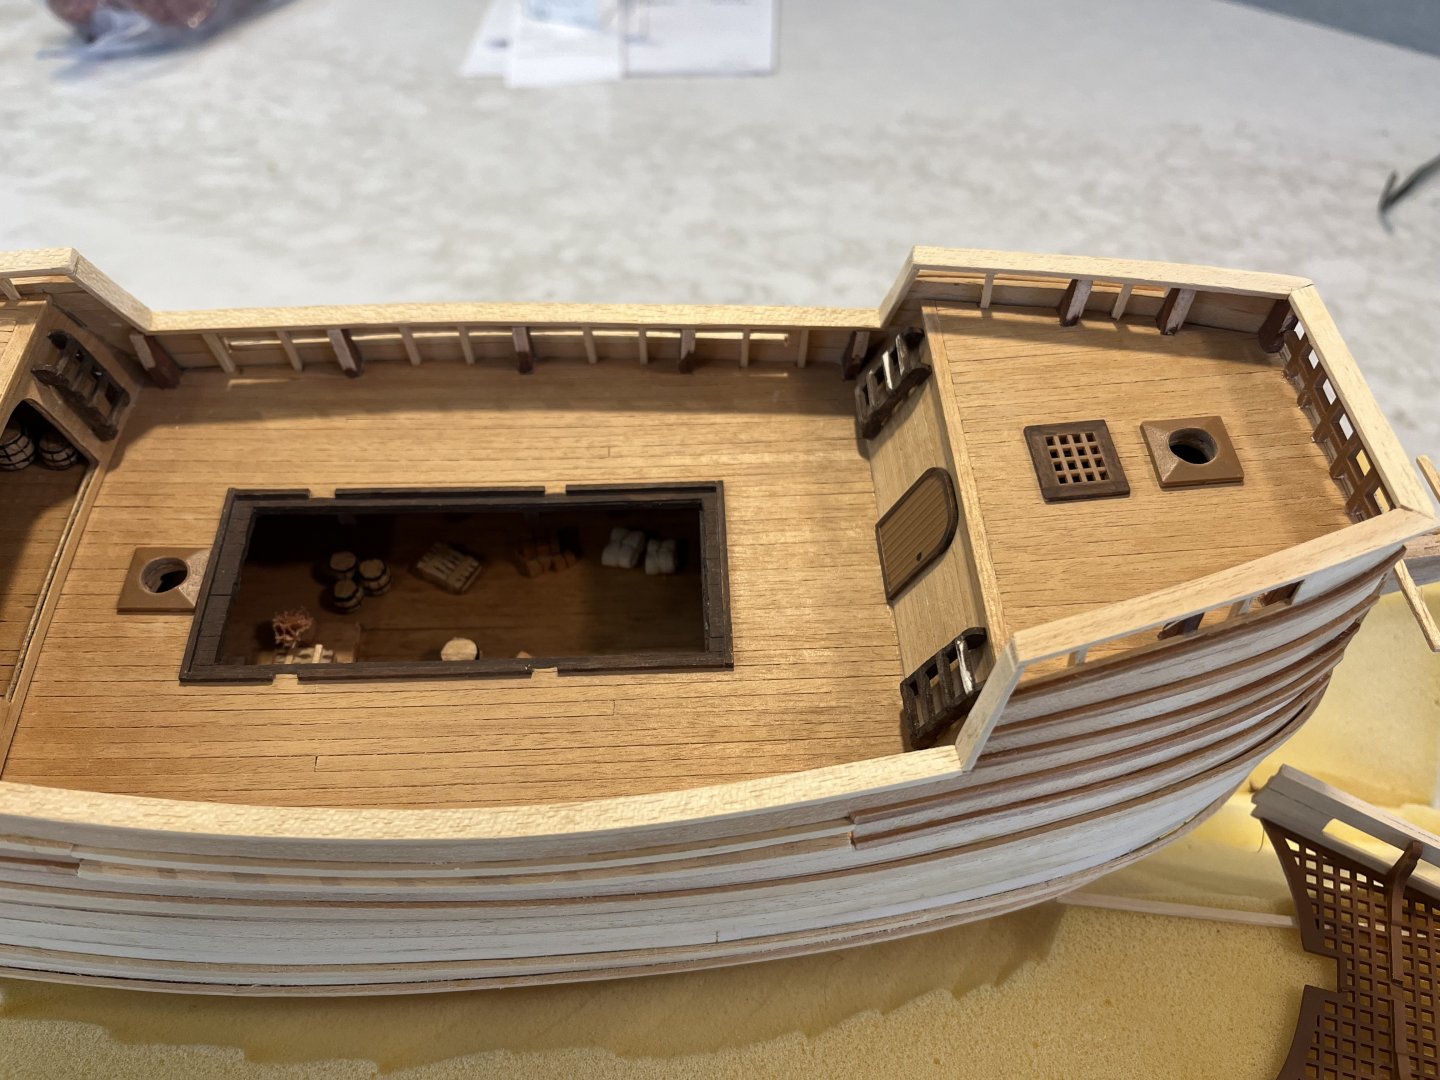
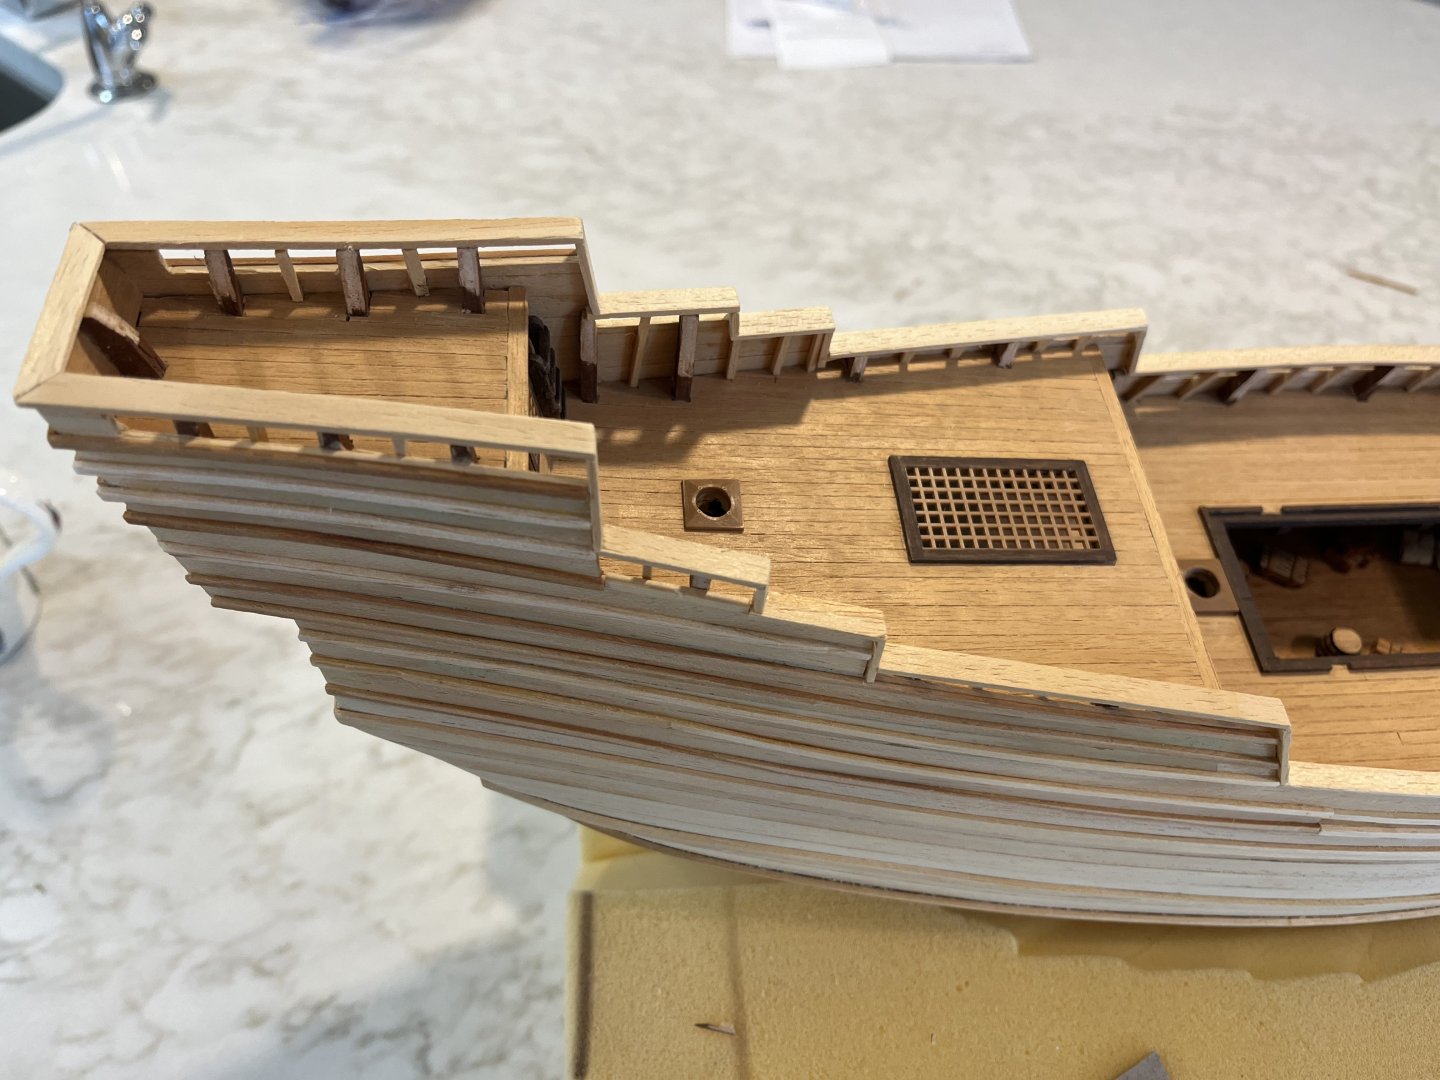
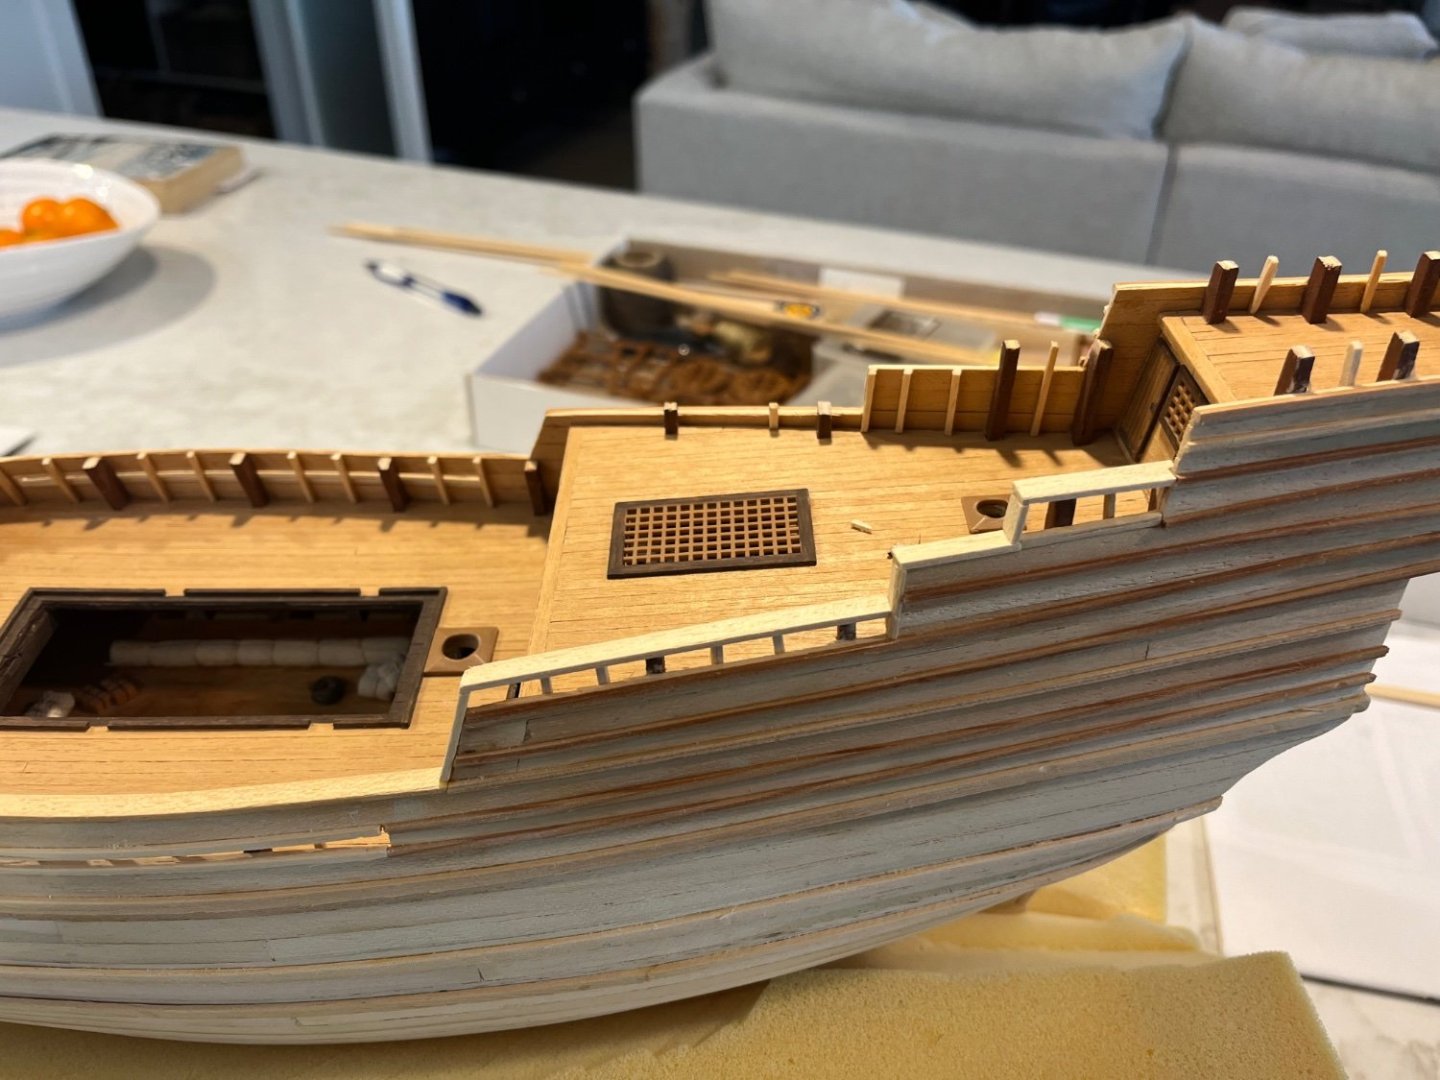
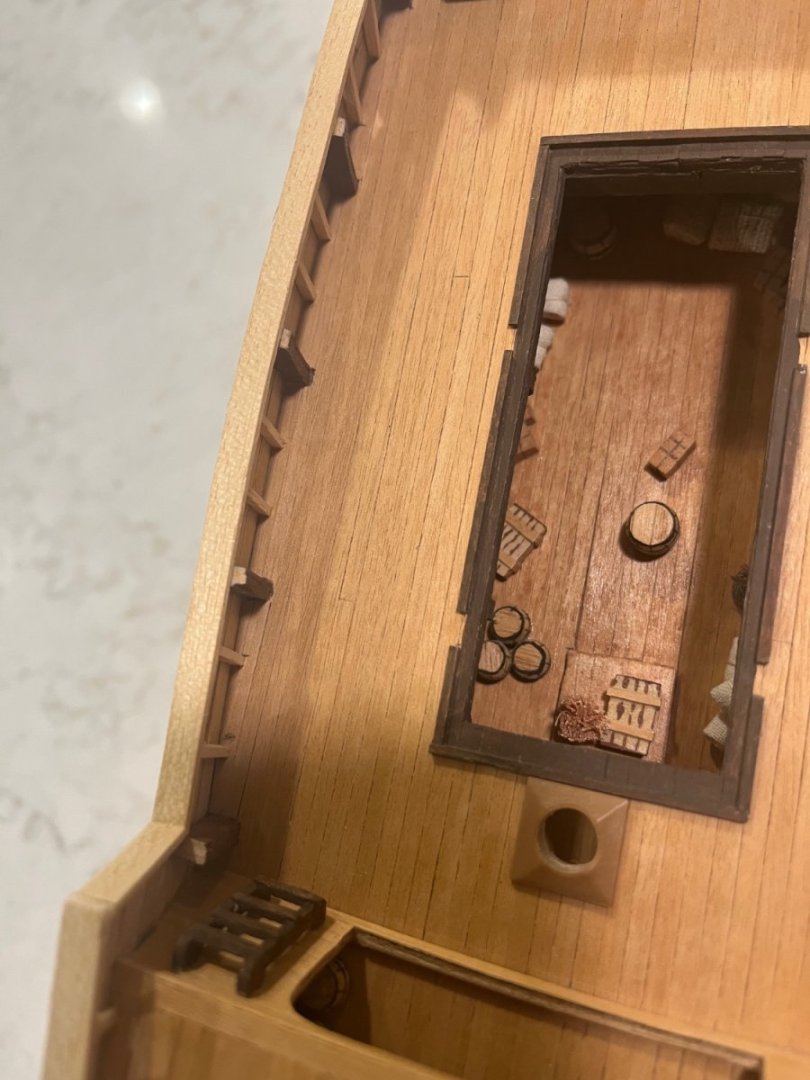
Railings done. I think that the shaving of the bulkhead extensions worked well. Once painted it will be unnoticeable. Next I have sea ladders to add, anchor davits, the spar out the stern, chain plates and some deck stuff. I’m also trying to figure out what to do with the life boats. They are plastic but I don’t know if I’m up to scratching them from wood. Anyway, thanks for looking. Dave
-
Fabulous build! I will have to go back and see the whole log. Cheers, Dave
- 197 replies
-
- Whaling Bark
- Charles W Morgan
-
(and 1 more)
Tagged with:
-
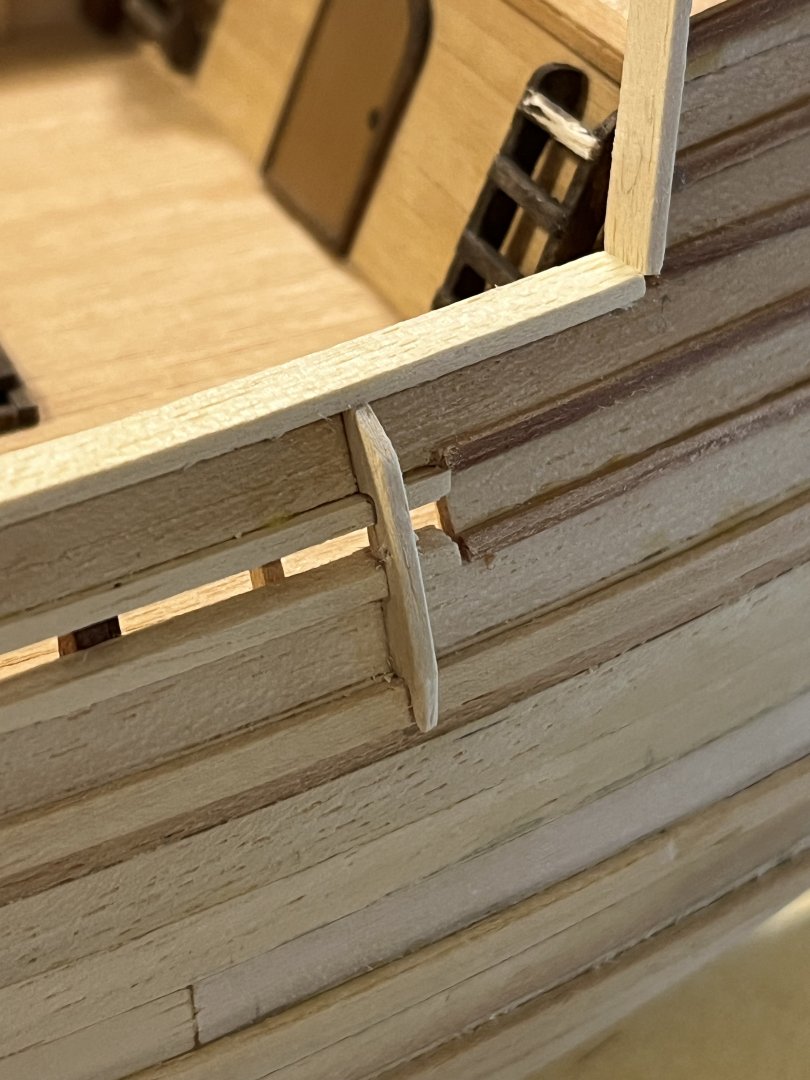
On the subject of things not fitting…. I see that the railing strips provided are not wide enough to cover the bulkhead tops and overhang the hull planking to match the strips on the hull. Not sure what to do about that. I could shave down the bulk heads so that they don’t protrude inwards or I could remove the railings and put on hull planks (they are a bit wider, but still not wide enough). I don’t know if this was some error by the first owner or just a bad design. Dave
-
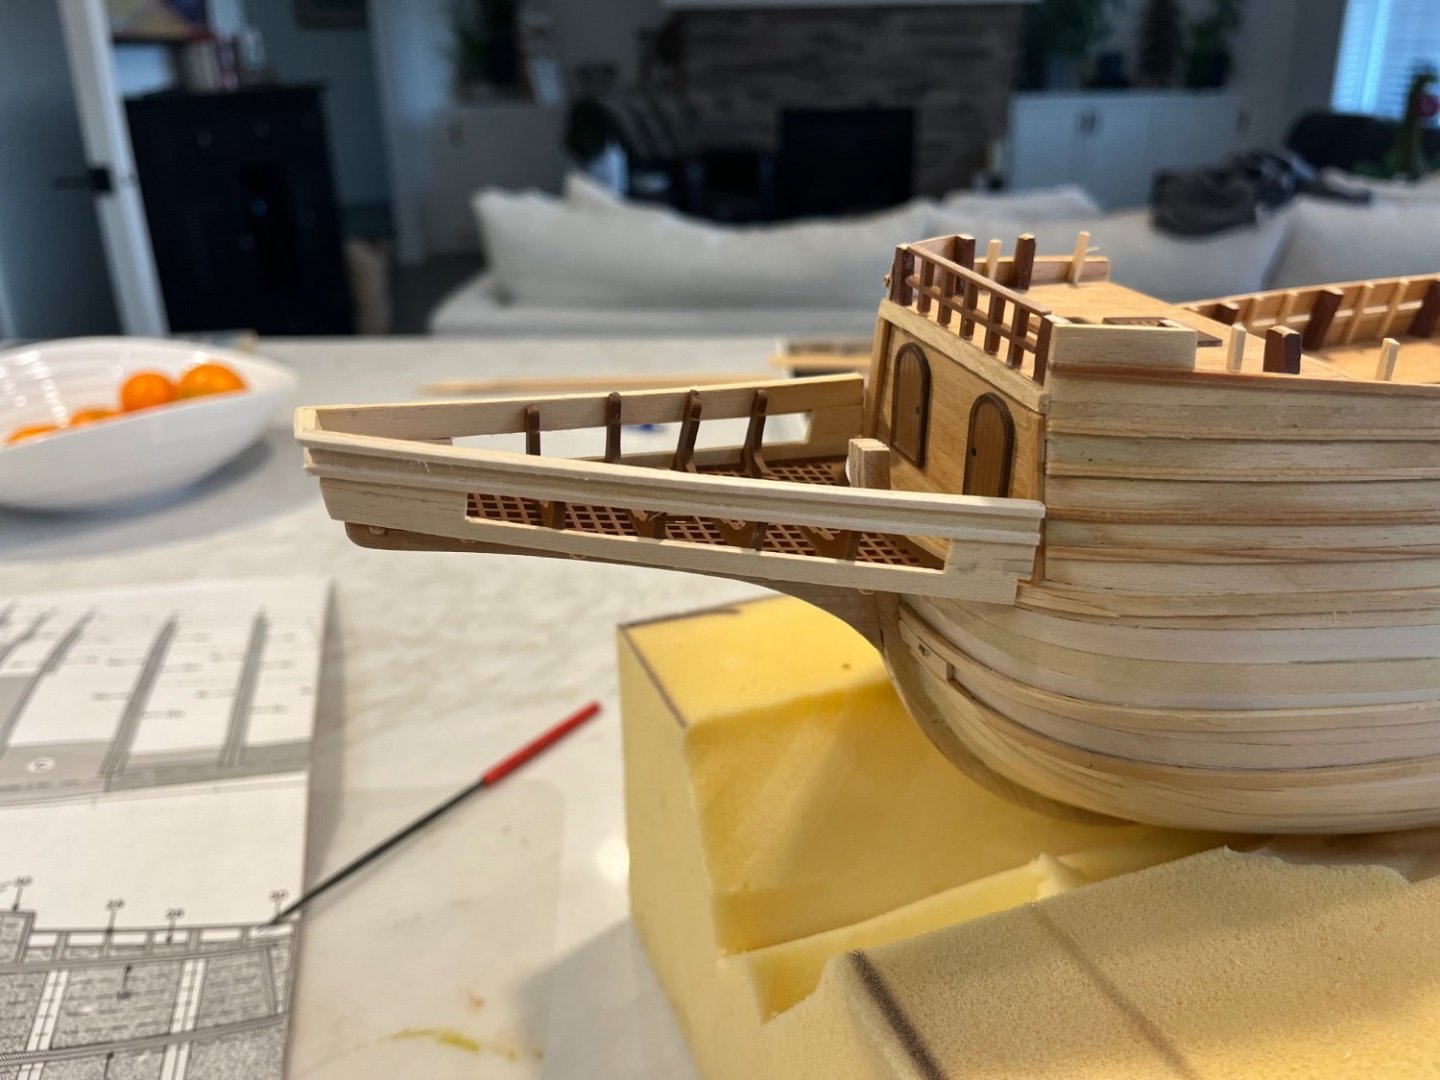
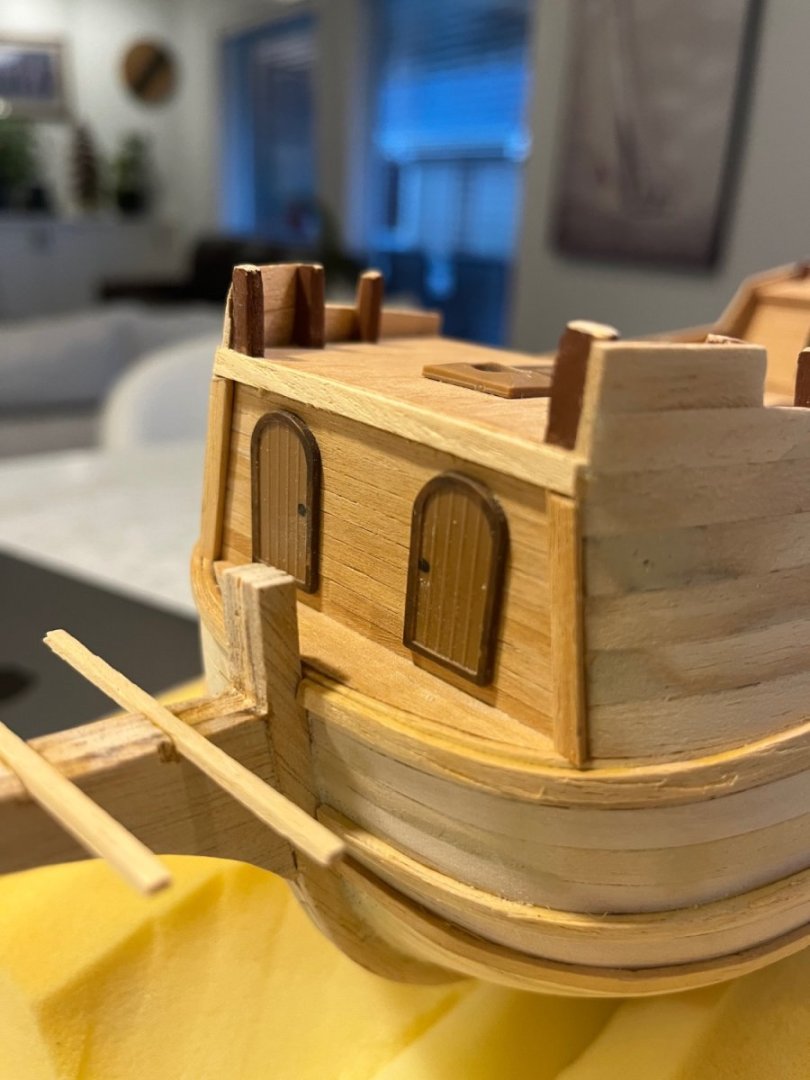
Some success! I re-made the beak out of scrap wood, retaining the plastic grating and support bits. All in all I am happy and it fits OK. I am noticing that the skinny rails that decorate the hull sides do not always line up well. I guess the beak location would have been the determining factor but was made last. The poor pictures in the booklet and lack of any kind of instructions didn’t help indicate what it should look like. thanks for looking. cheers, Dave
-
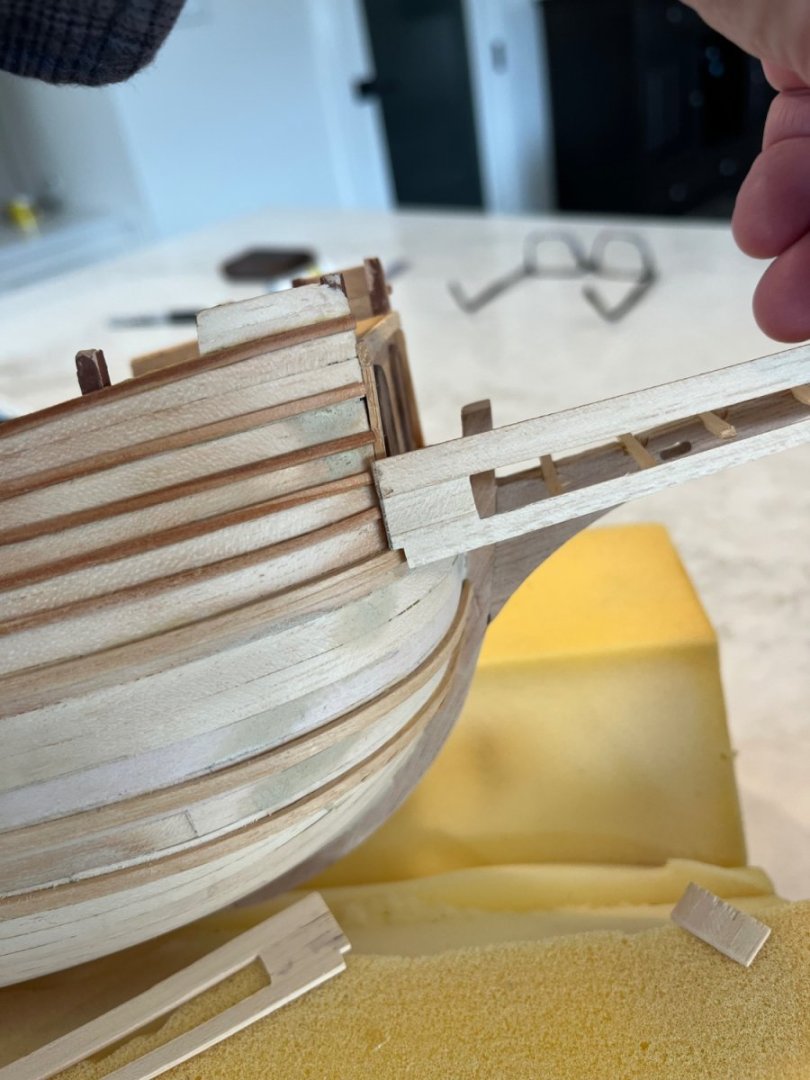
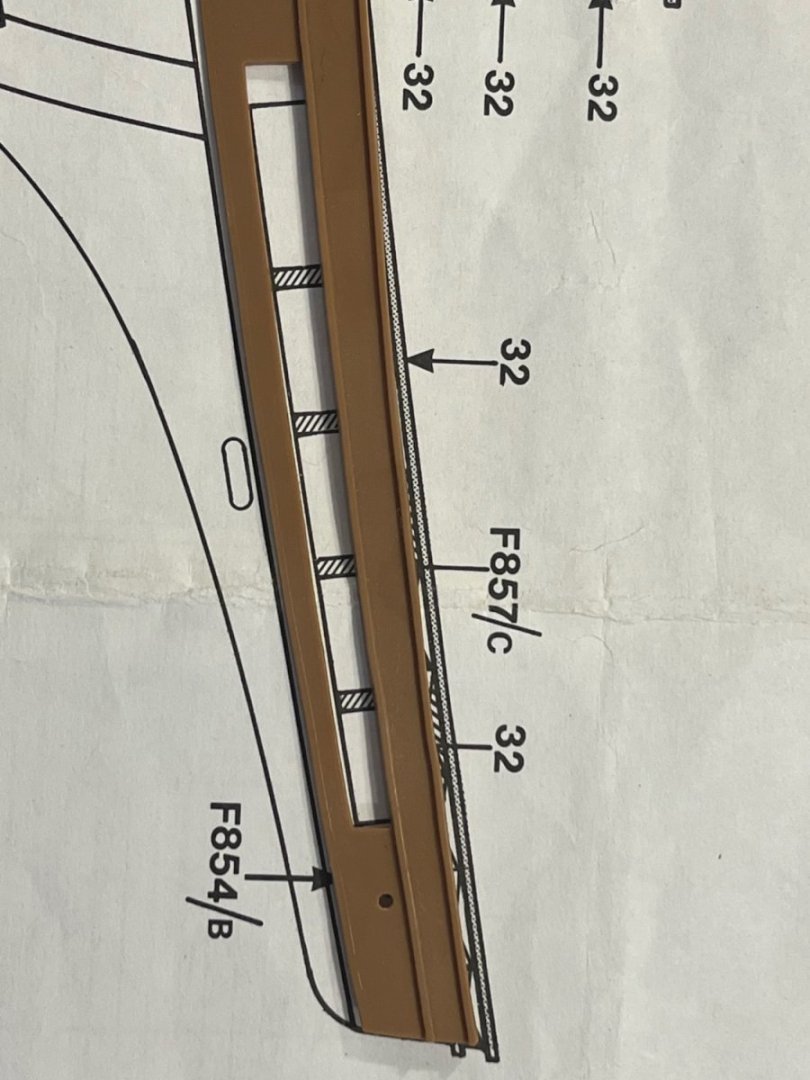
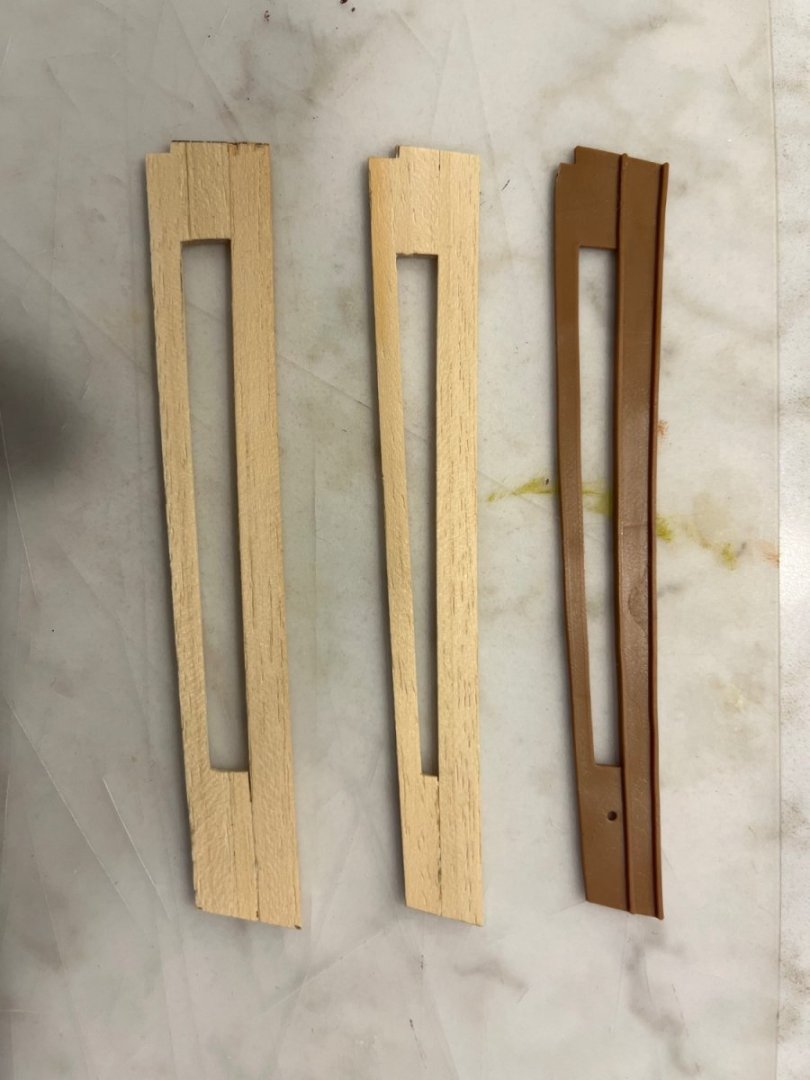
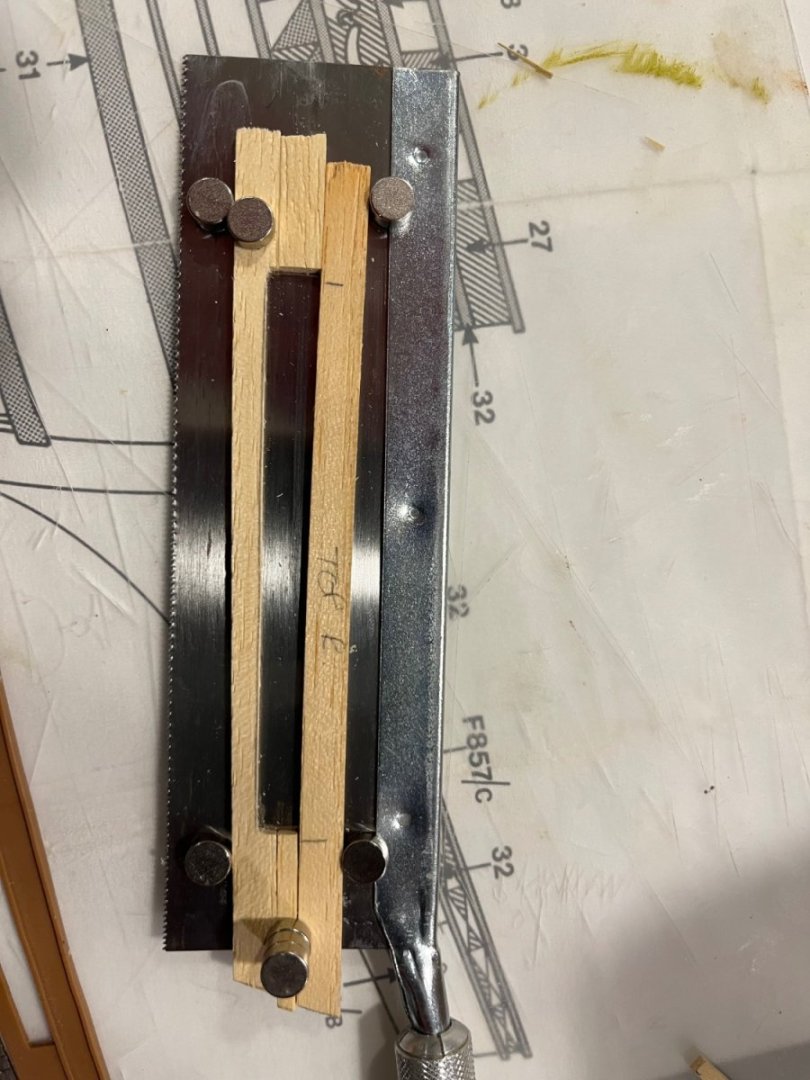
So, when I went to build the beak I found that the sides stood way proud of the planks making up the beak. I compared them to the drawing and found that the plastic piece I used as a pattern was too small. So back to the drawing board. I used my saw and some rare earth magnets to hold the pieces in place as they dried. 🤣 After trimming you can see the plastic part, first wood attempt and final go at it. Definitely happier now. I also added some trim around the front which was on the drawings but seemed to make sense and will help fit the beak, I think. thanks for looking. Dave
About us
Modelshipworld - Advancing Ship Modeling through Research
SSL Secured
Your security is important for us so this Website is SSL-Secured
NRG Mailing Address
Nautical Research Guild
237 South Lincoln Street
Westmont IL, 60559-1917
Model Ship World ® and the MSW logo are Registered Trademarks, and belong to the Nautical Research Guild (United States Patent and Trademark Office: No. 6,929,264 & No. 6,929,274, registered Dec. 20, 2022)
Helpful Links
About the NRG
If you enjoy building ship models that are historically accurate as well as beautiful, then The Nautical Research Guild (NRG) is just right for you.
The Guild is a non-profit educational organization whose mission is to “Advance Ship Modeling Through Research”. We provide support to our members in their efforts to raise the quality of their model ships.
The Nautical Research Guild has published our world-renowned quarterly magazine, The Nautical Research Journal, since 1955. The pages of the Journal are full of articles by accomplished ship modelers who show you how they create those exquisite details on their models, and by maritime historians who show you the correct details to build. The Journal is available in both print and digital editions. Go to the NRG web site (www.thenrg.org) to download a complimentary digital copy of the Journal. The NRG also publishes plan sets, books and compilations of back issues of the Journal and the former Ships in Scale and Model Ship Builder magazines.


