HOLIDAY DONATION DRIVE - SUPPORT MSW - DO YOUR PART TO KEEP THIS GREAT FORUM GOING! (Only 68 donations so far out of 49,000 members - Can we at least get 100? C'mon guys!)
×


LCdr Dave
-
Posts
109 -
Joined
-
Last visited
Content Type
Profiles
Forums
Gallery
Events
Everything posted by LCdr Dave
-
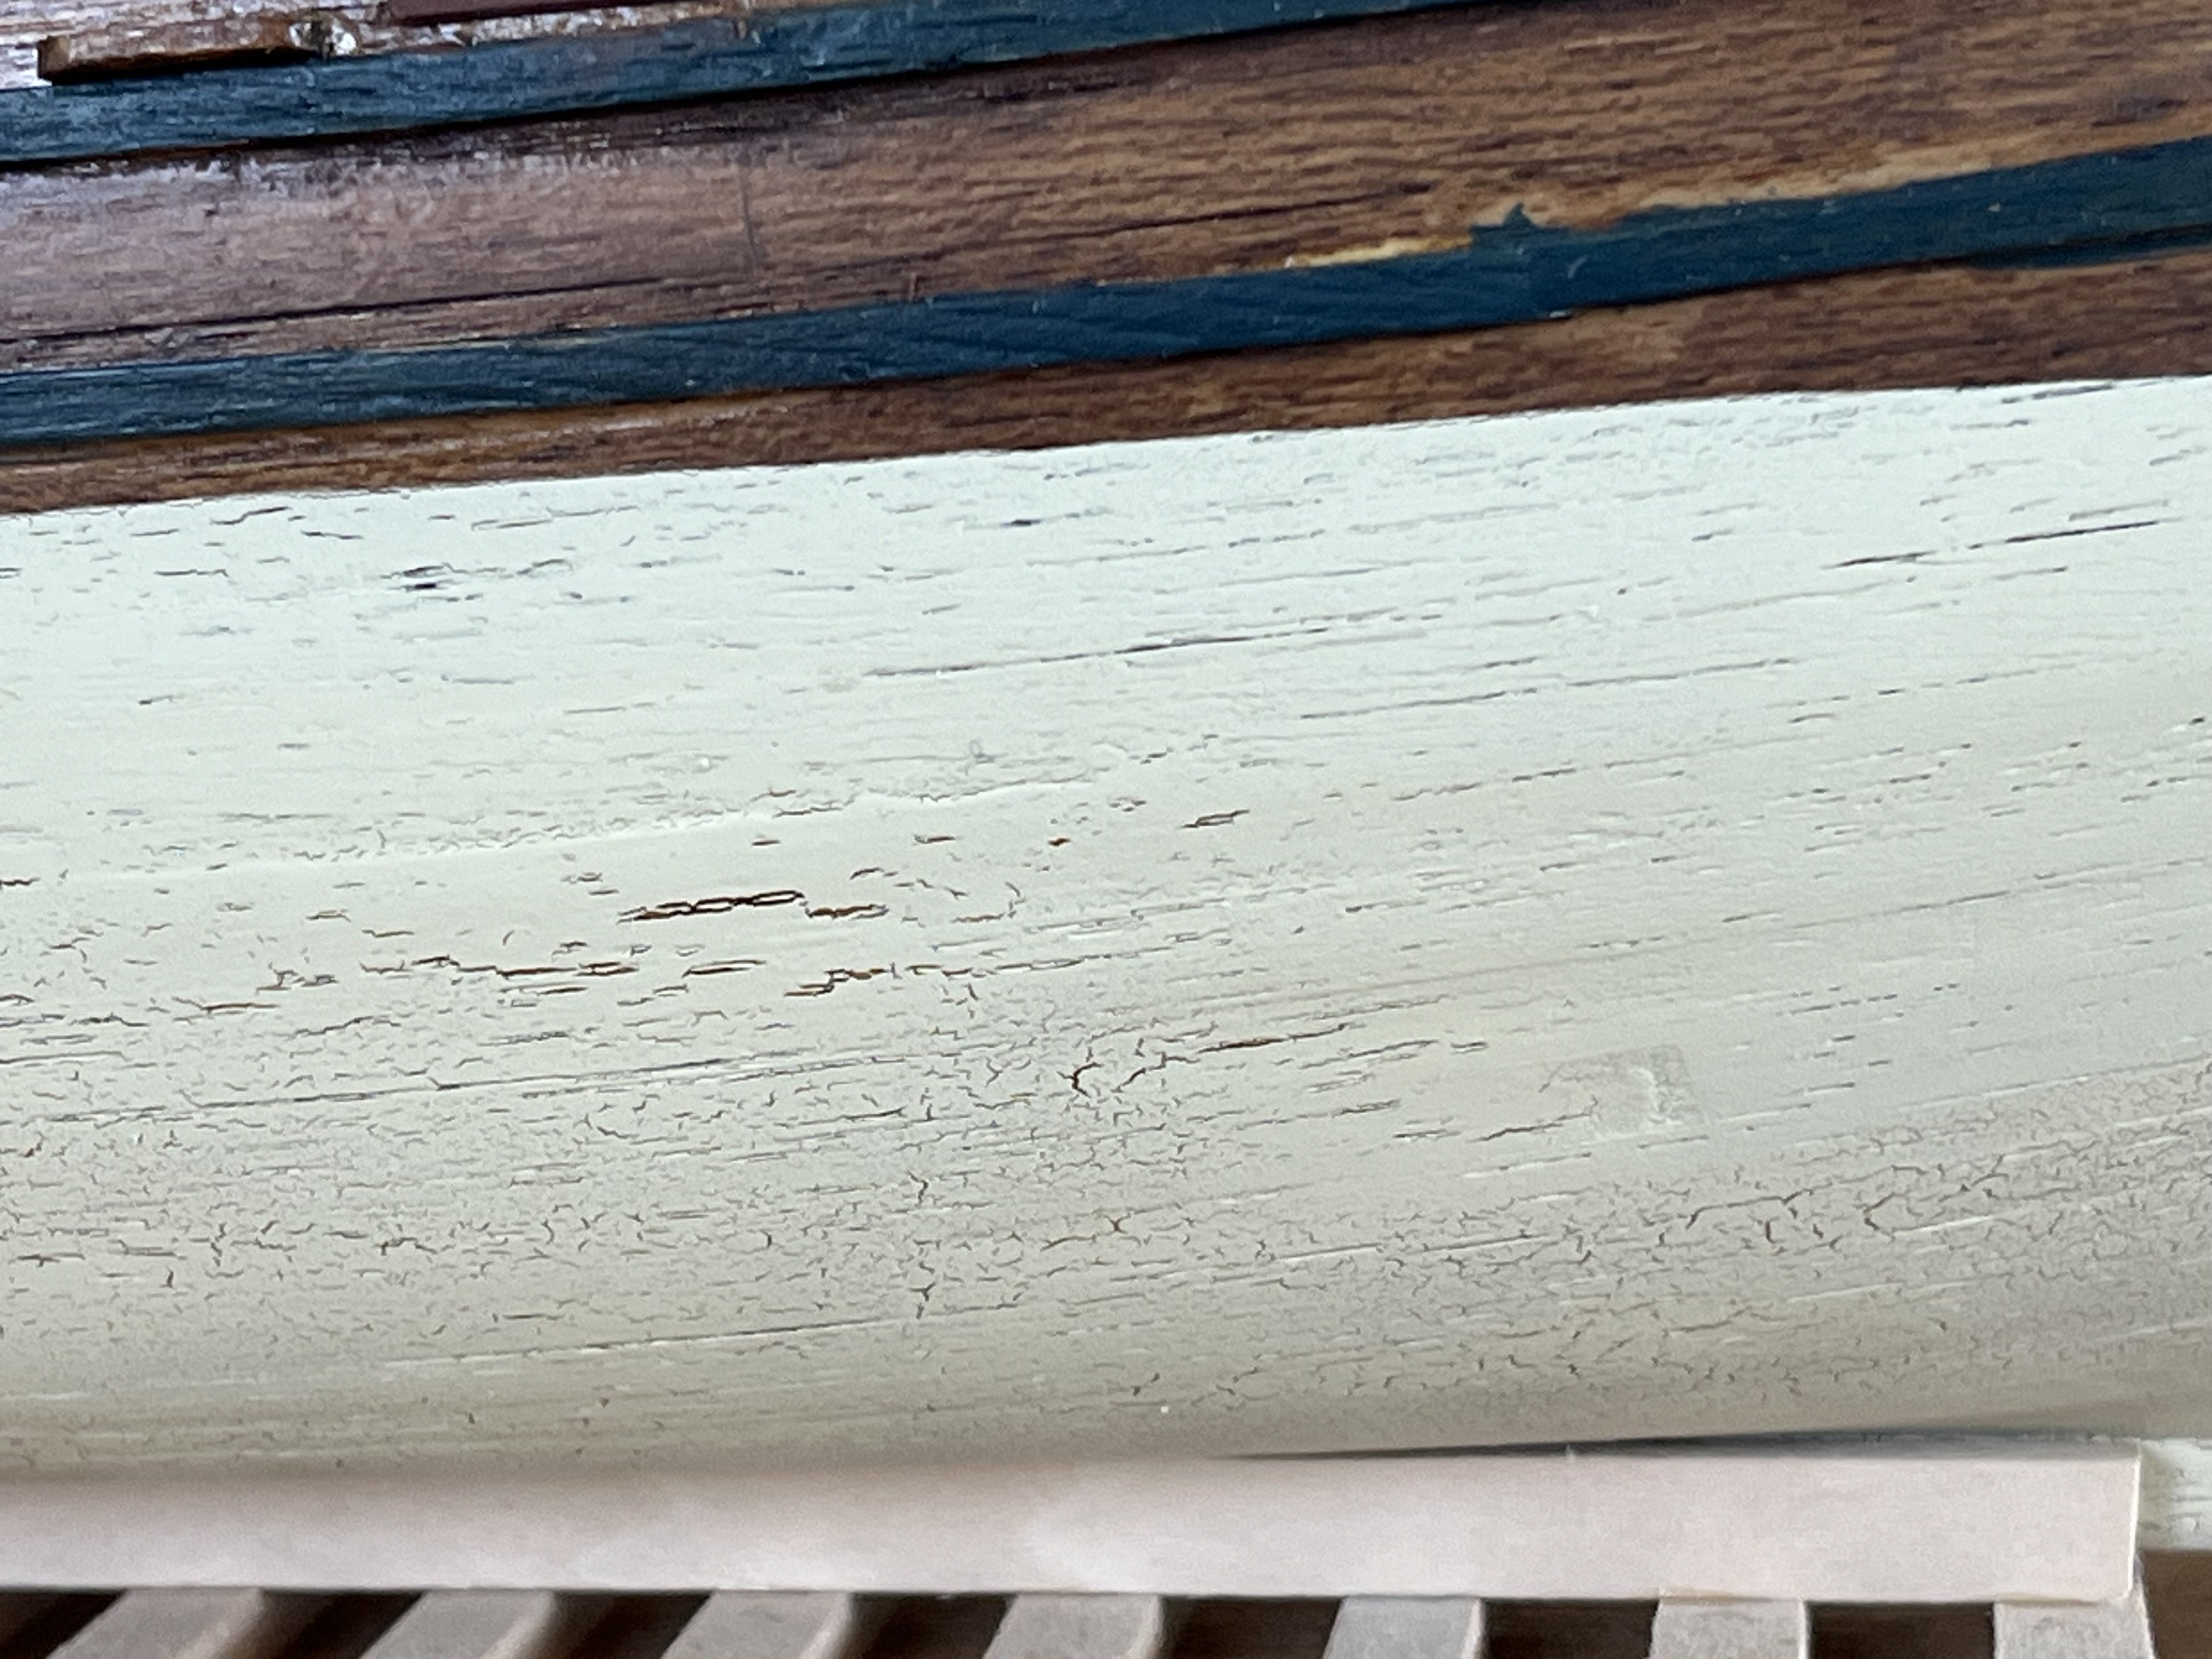
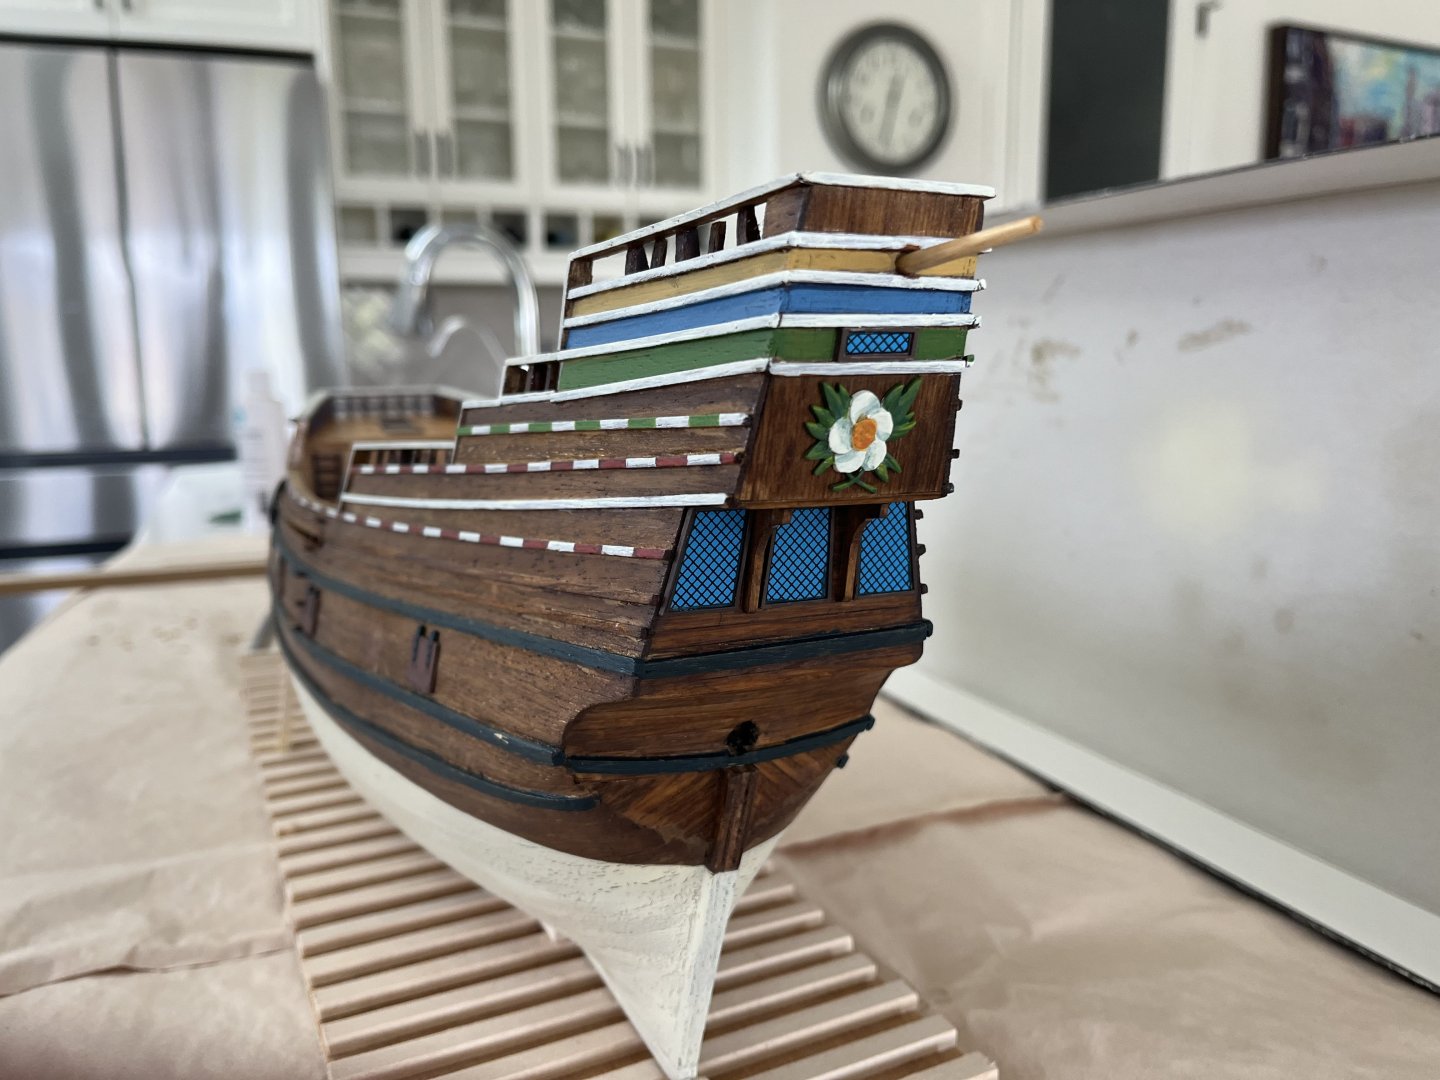
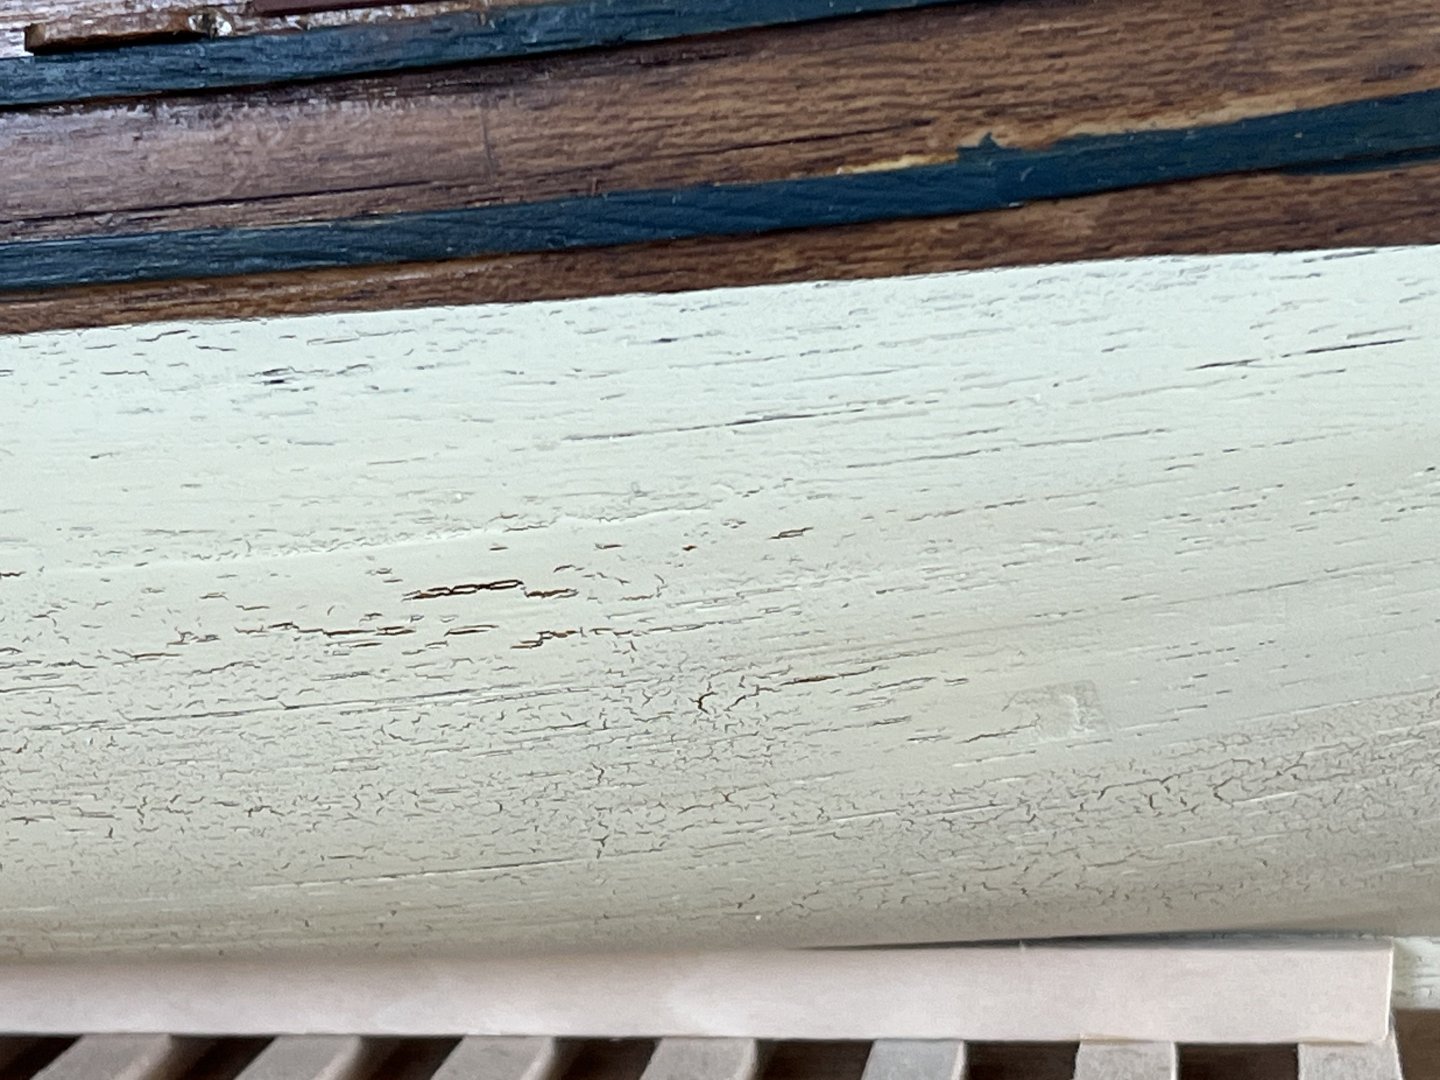
 It seemed I was making little progress until o realized that I have actually come a long way from this last post. I brushed on hobby acrylics (P3 is the manufacturer) for the upper parts. I sprayed Vallejo model air on the hull and, to my chagrin, it crackled. Not sure why but it looks like I will need to take it off and try again. Perhaps it needs to have a primer first or I just brush it on instead of spraying. ☹️ What to do….? thanks for looking Dave
-
Bob, you did a fantastic job and in a short period of time! onwards and upwards. I look forward to following your next build. Dave
-
Just found this despite trying to search for someone else building a Mayflower back in 2022. But it’s never too late. Your build is looking awesome. Cheers, Dave
- 73 replies
-
- 1
-

-
- mayflower
- model shipways
- (and 1 more)
-
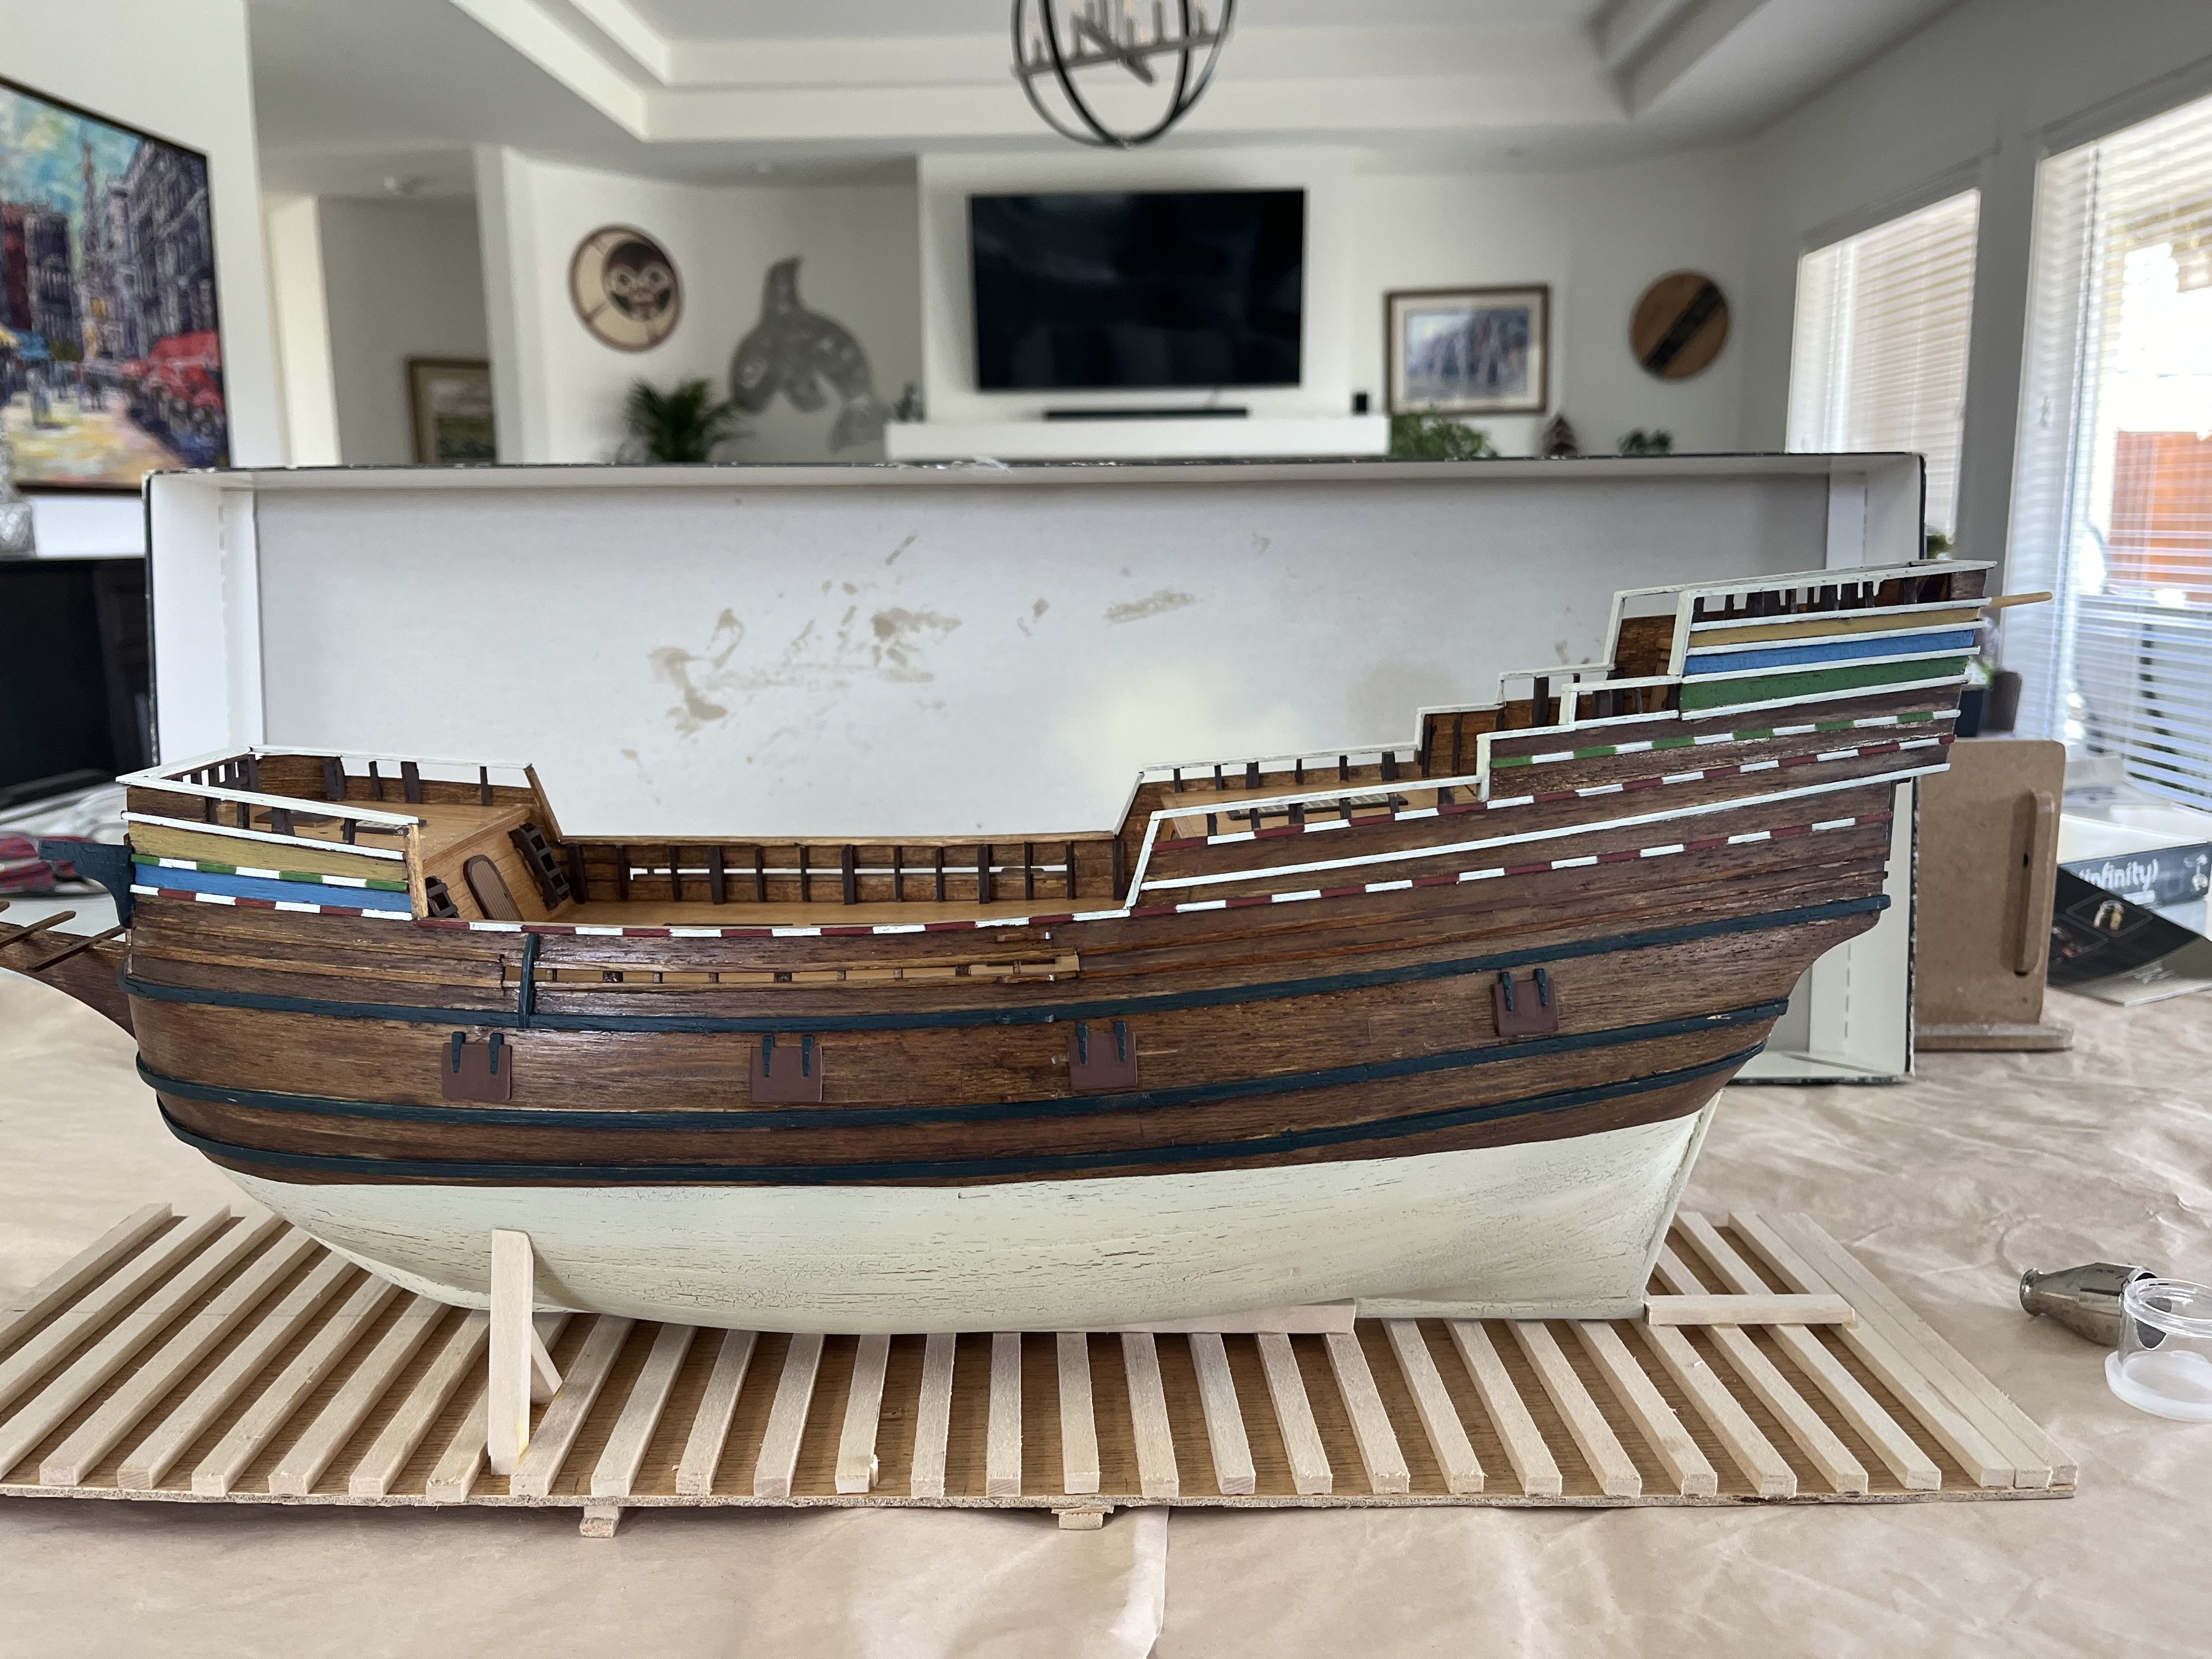
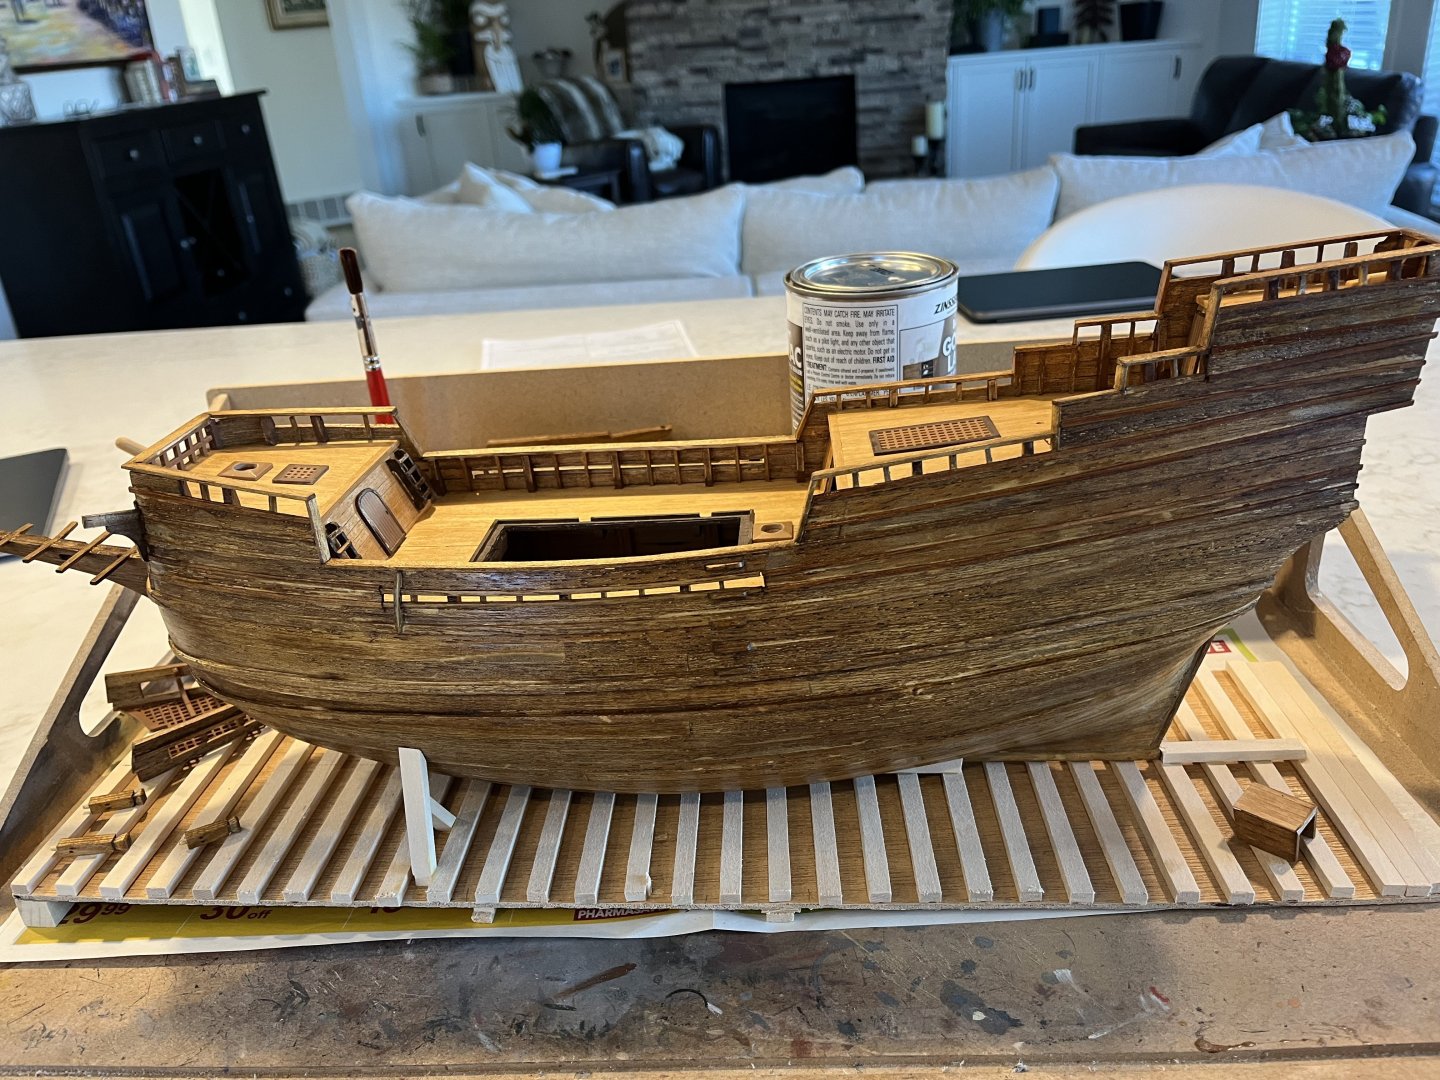
Progress is slow and not very exciting to talk about but I have given the hull some stain (3 coats of mini wax Golden Oak) and a coat of Bull’s Eye Shellac. I will give it a second coat tonight and a light sand and see where to go from there. I noticed that the stain is splotchy due to the different woods and wood filler. It looks worse in the picture but I may just give it a wash of something to even out the colour. Thanks for looking. Cheers, Dave
-
Been thinking ahead to the rigging and such. Realized that I need to get the lifeboats made. I opened up the package that also has the anchors to find that there is only one and not two! Grrr. Not sure what to do there. Dave
-
Looks great! Nice and clean! It sounds as though you painted, rather than stained the brown. I may do the same as I am finding (no surprise) that the wood filler and different woods are taking the stain differently. Keep up the inspiring work. Dave
-
Thank you for all your help and input. I got it figured. Cheers, Dave
-
Didn’t see where I could download it but found a used copy on Amazon for $15. Thanks for the recommendation. cheers, Dave
-
Thanks for the encouragement. Dave
-
Krill4 thanks for the info and nomenclature! I really appreciate it. I will take a closer look but it seems my plan to locate the spar to the right of the extension is not wrong. cheers, Dave
-
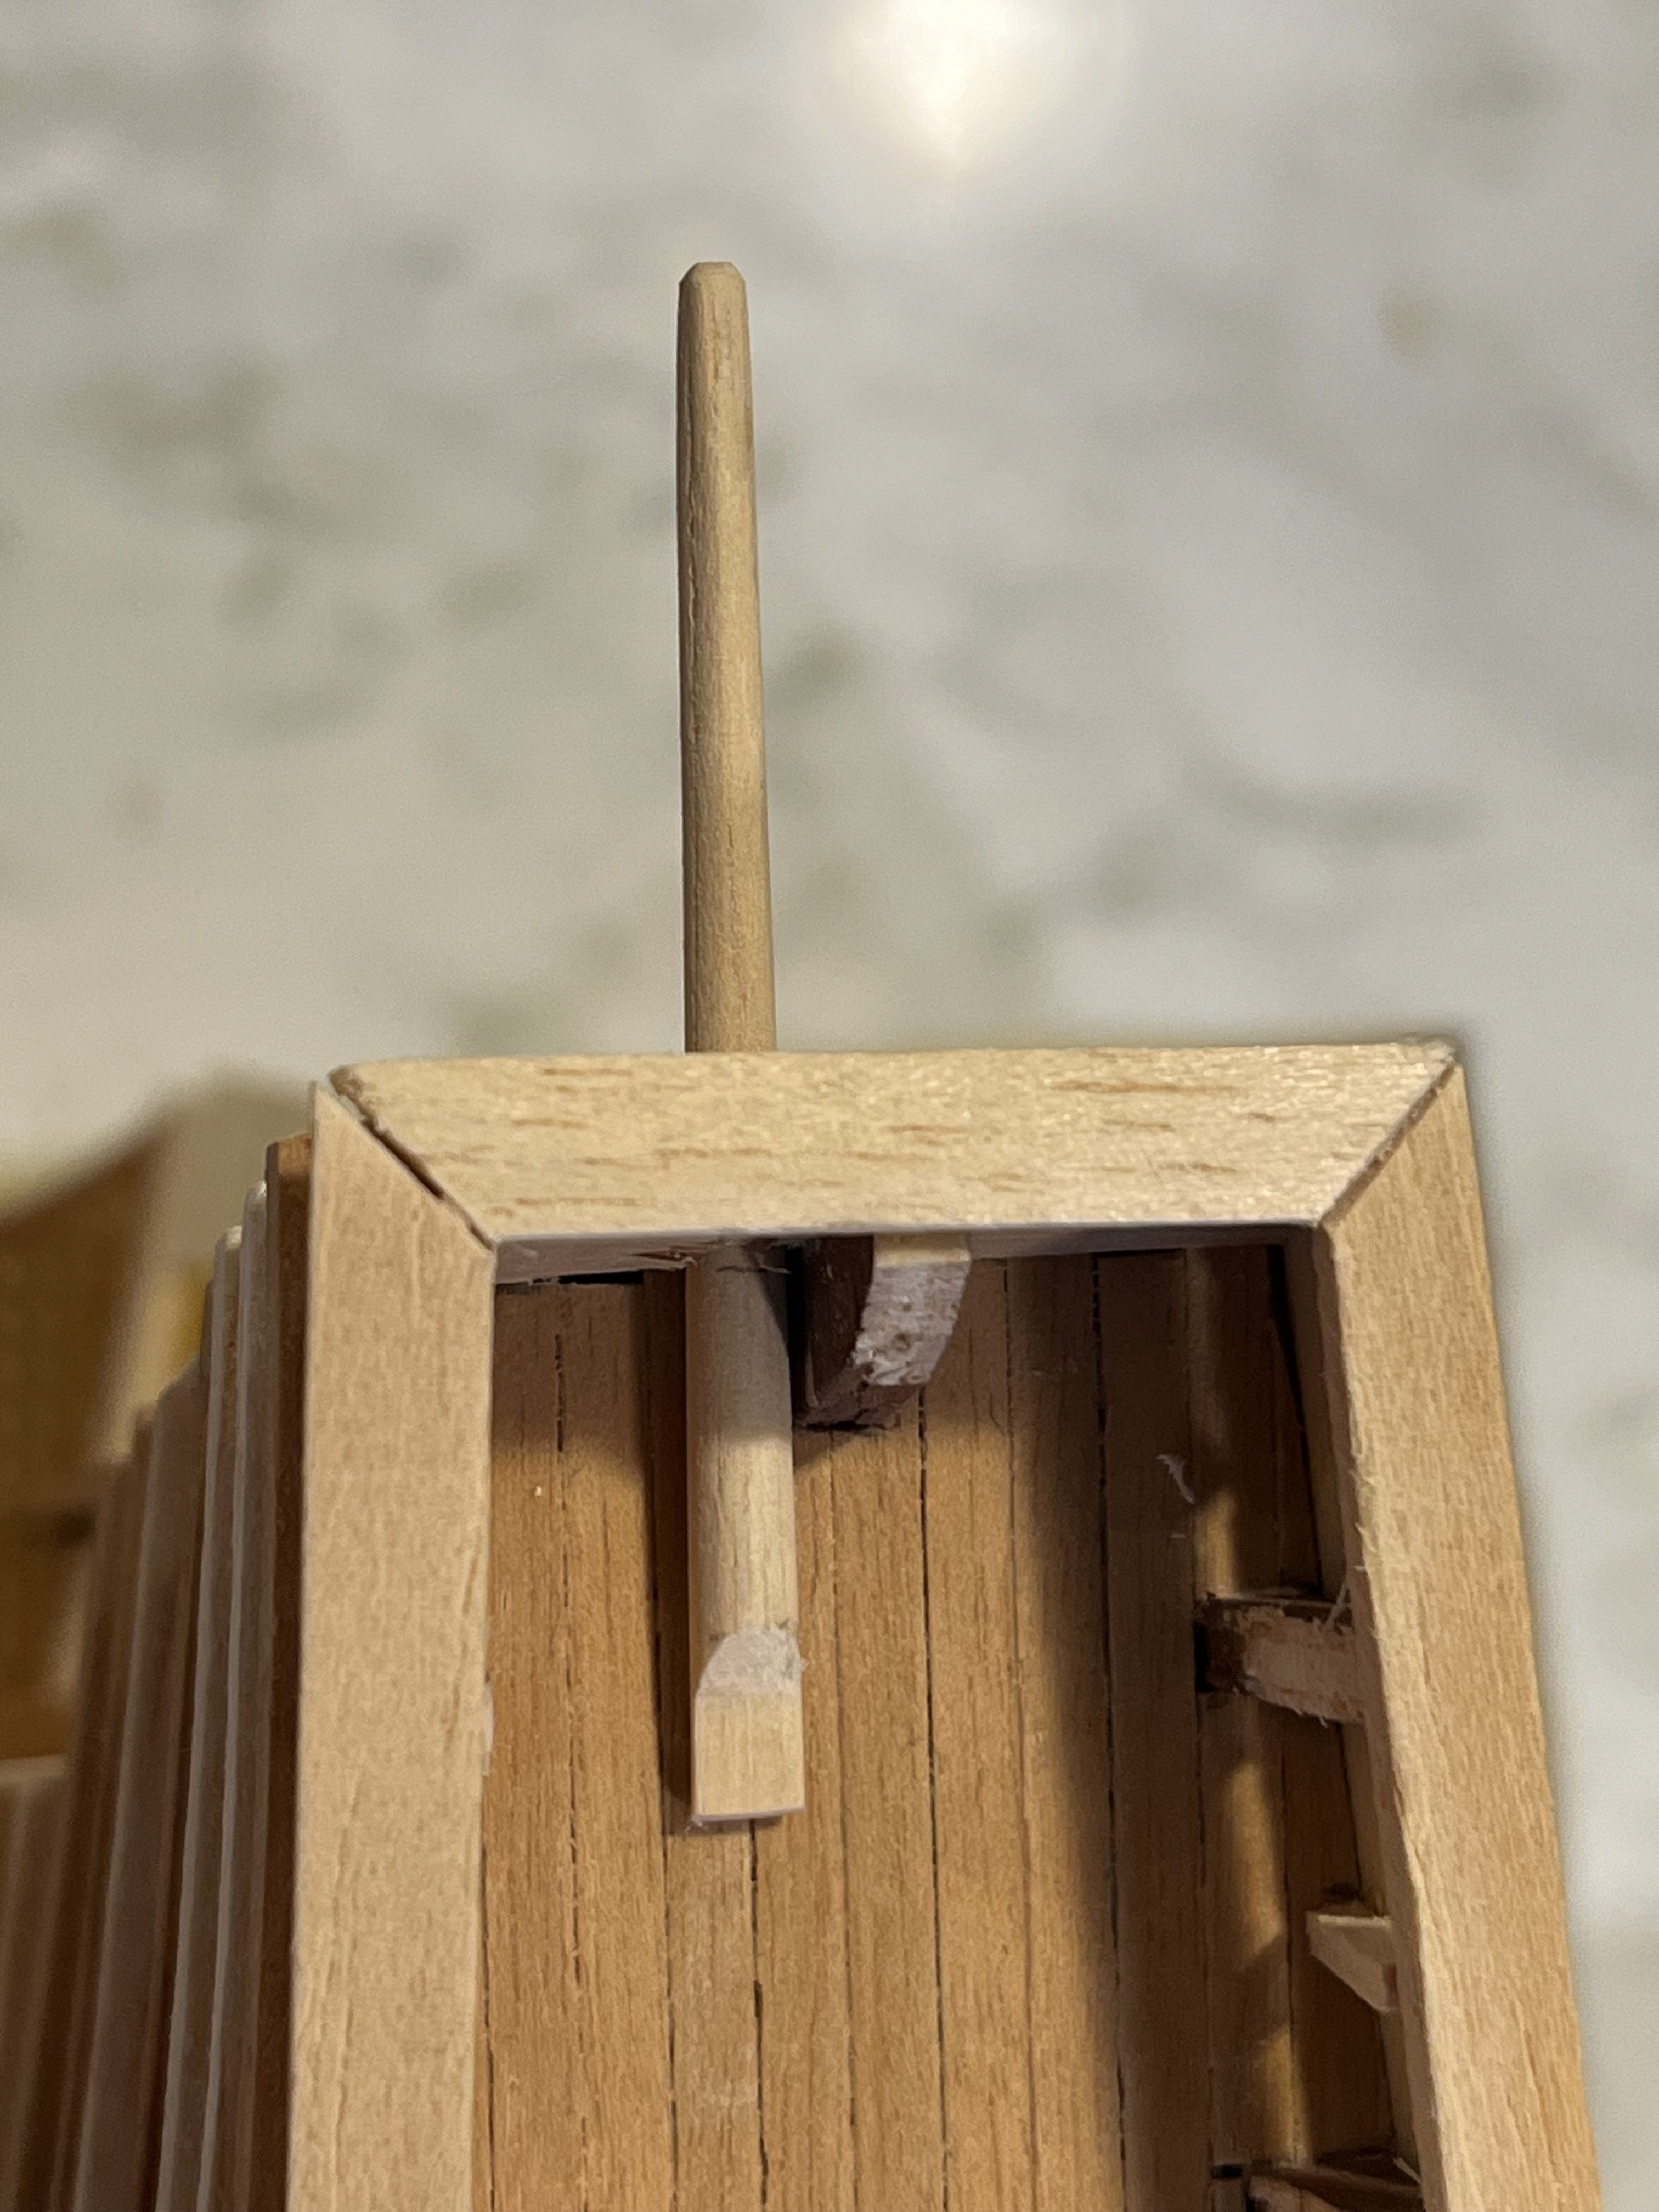
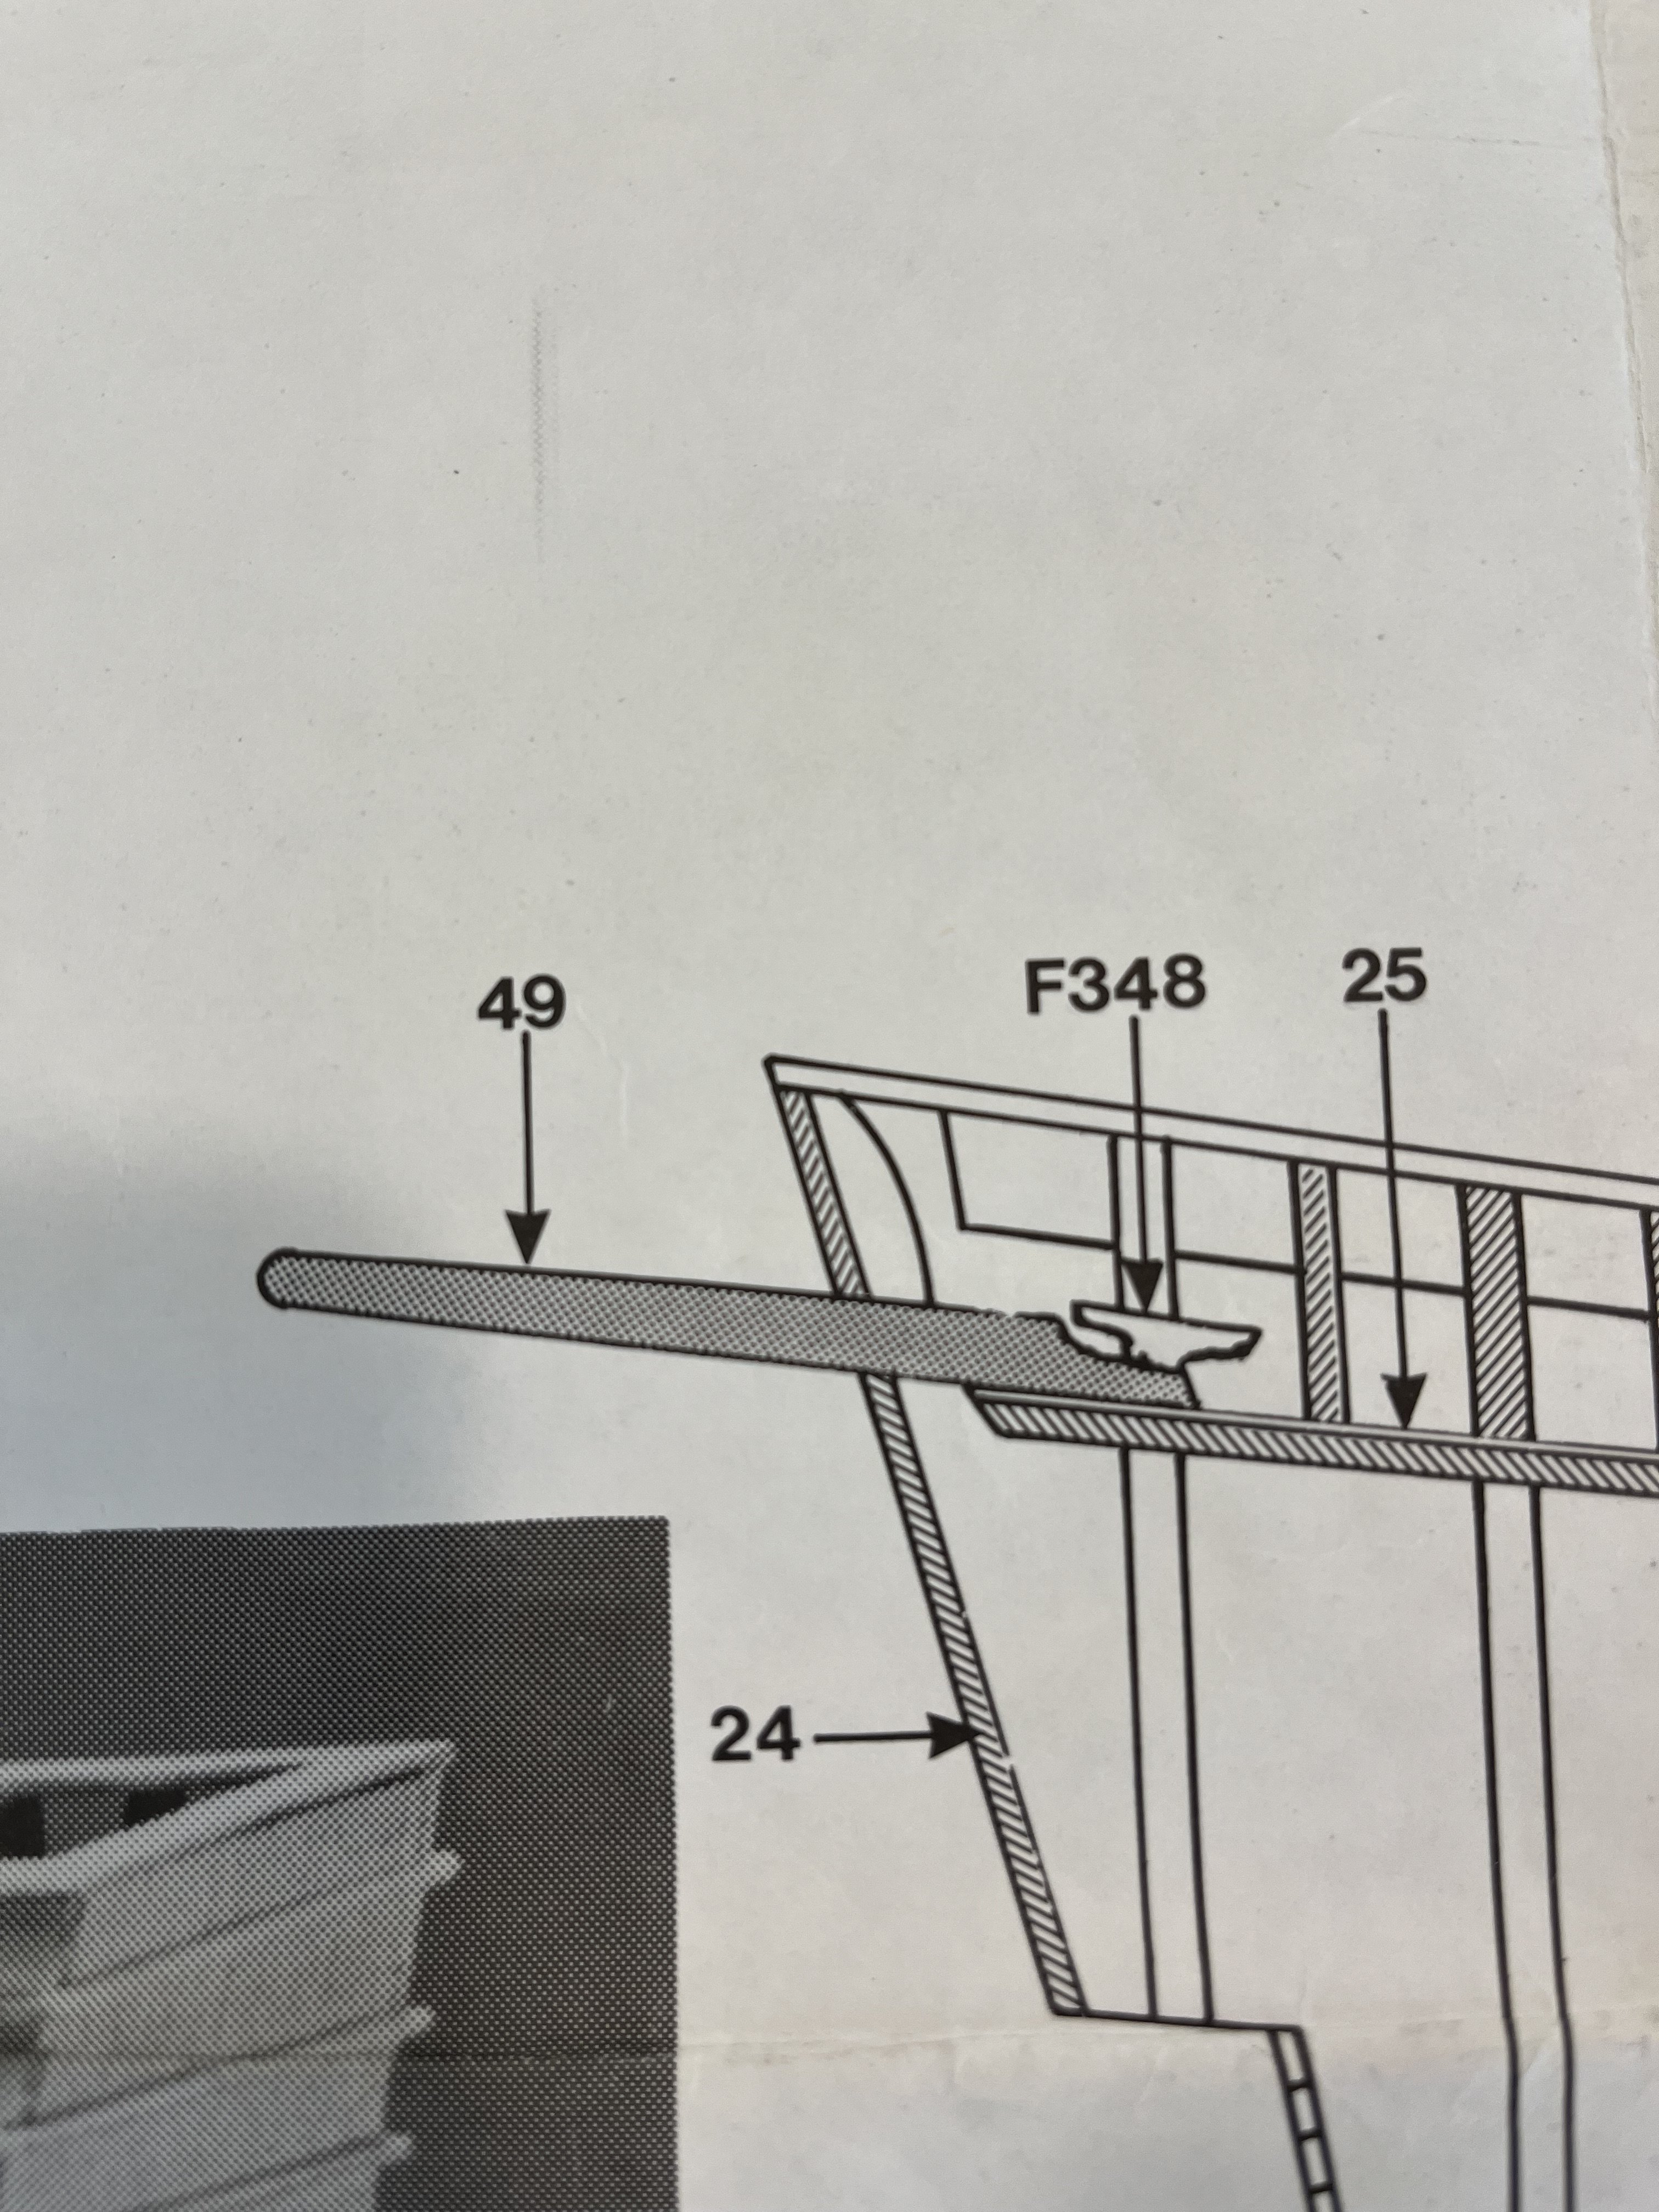
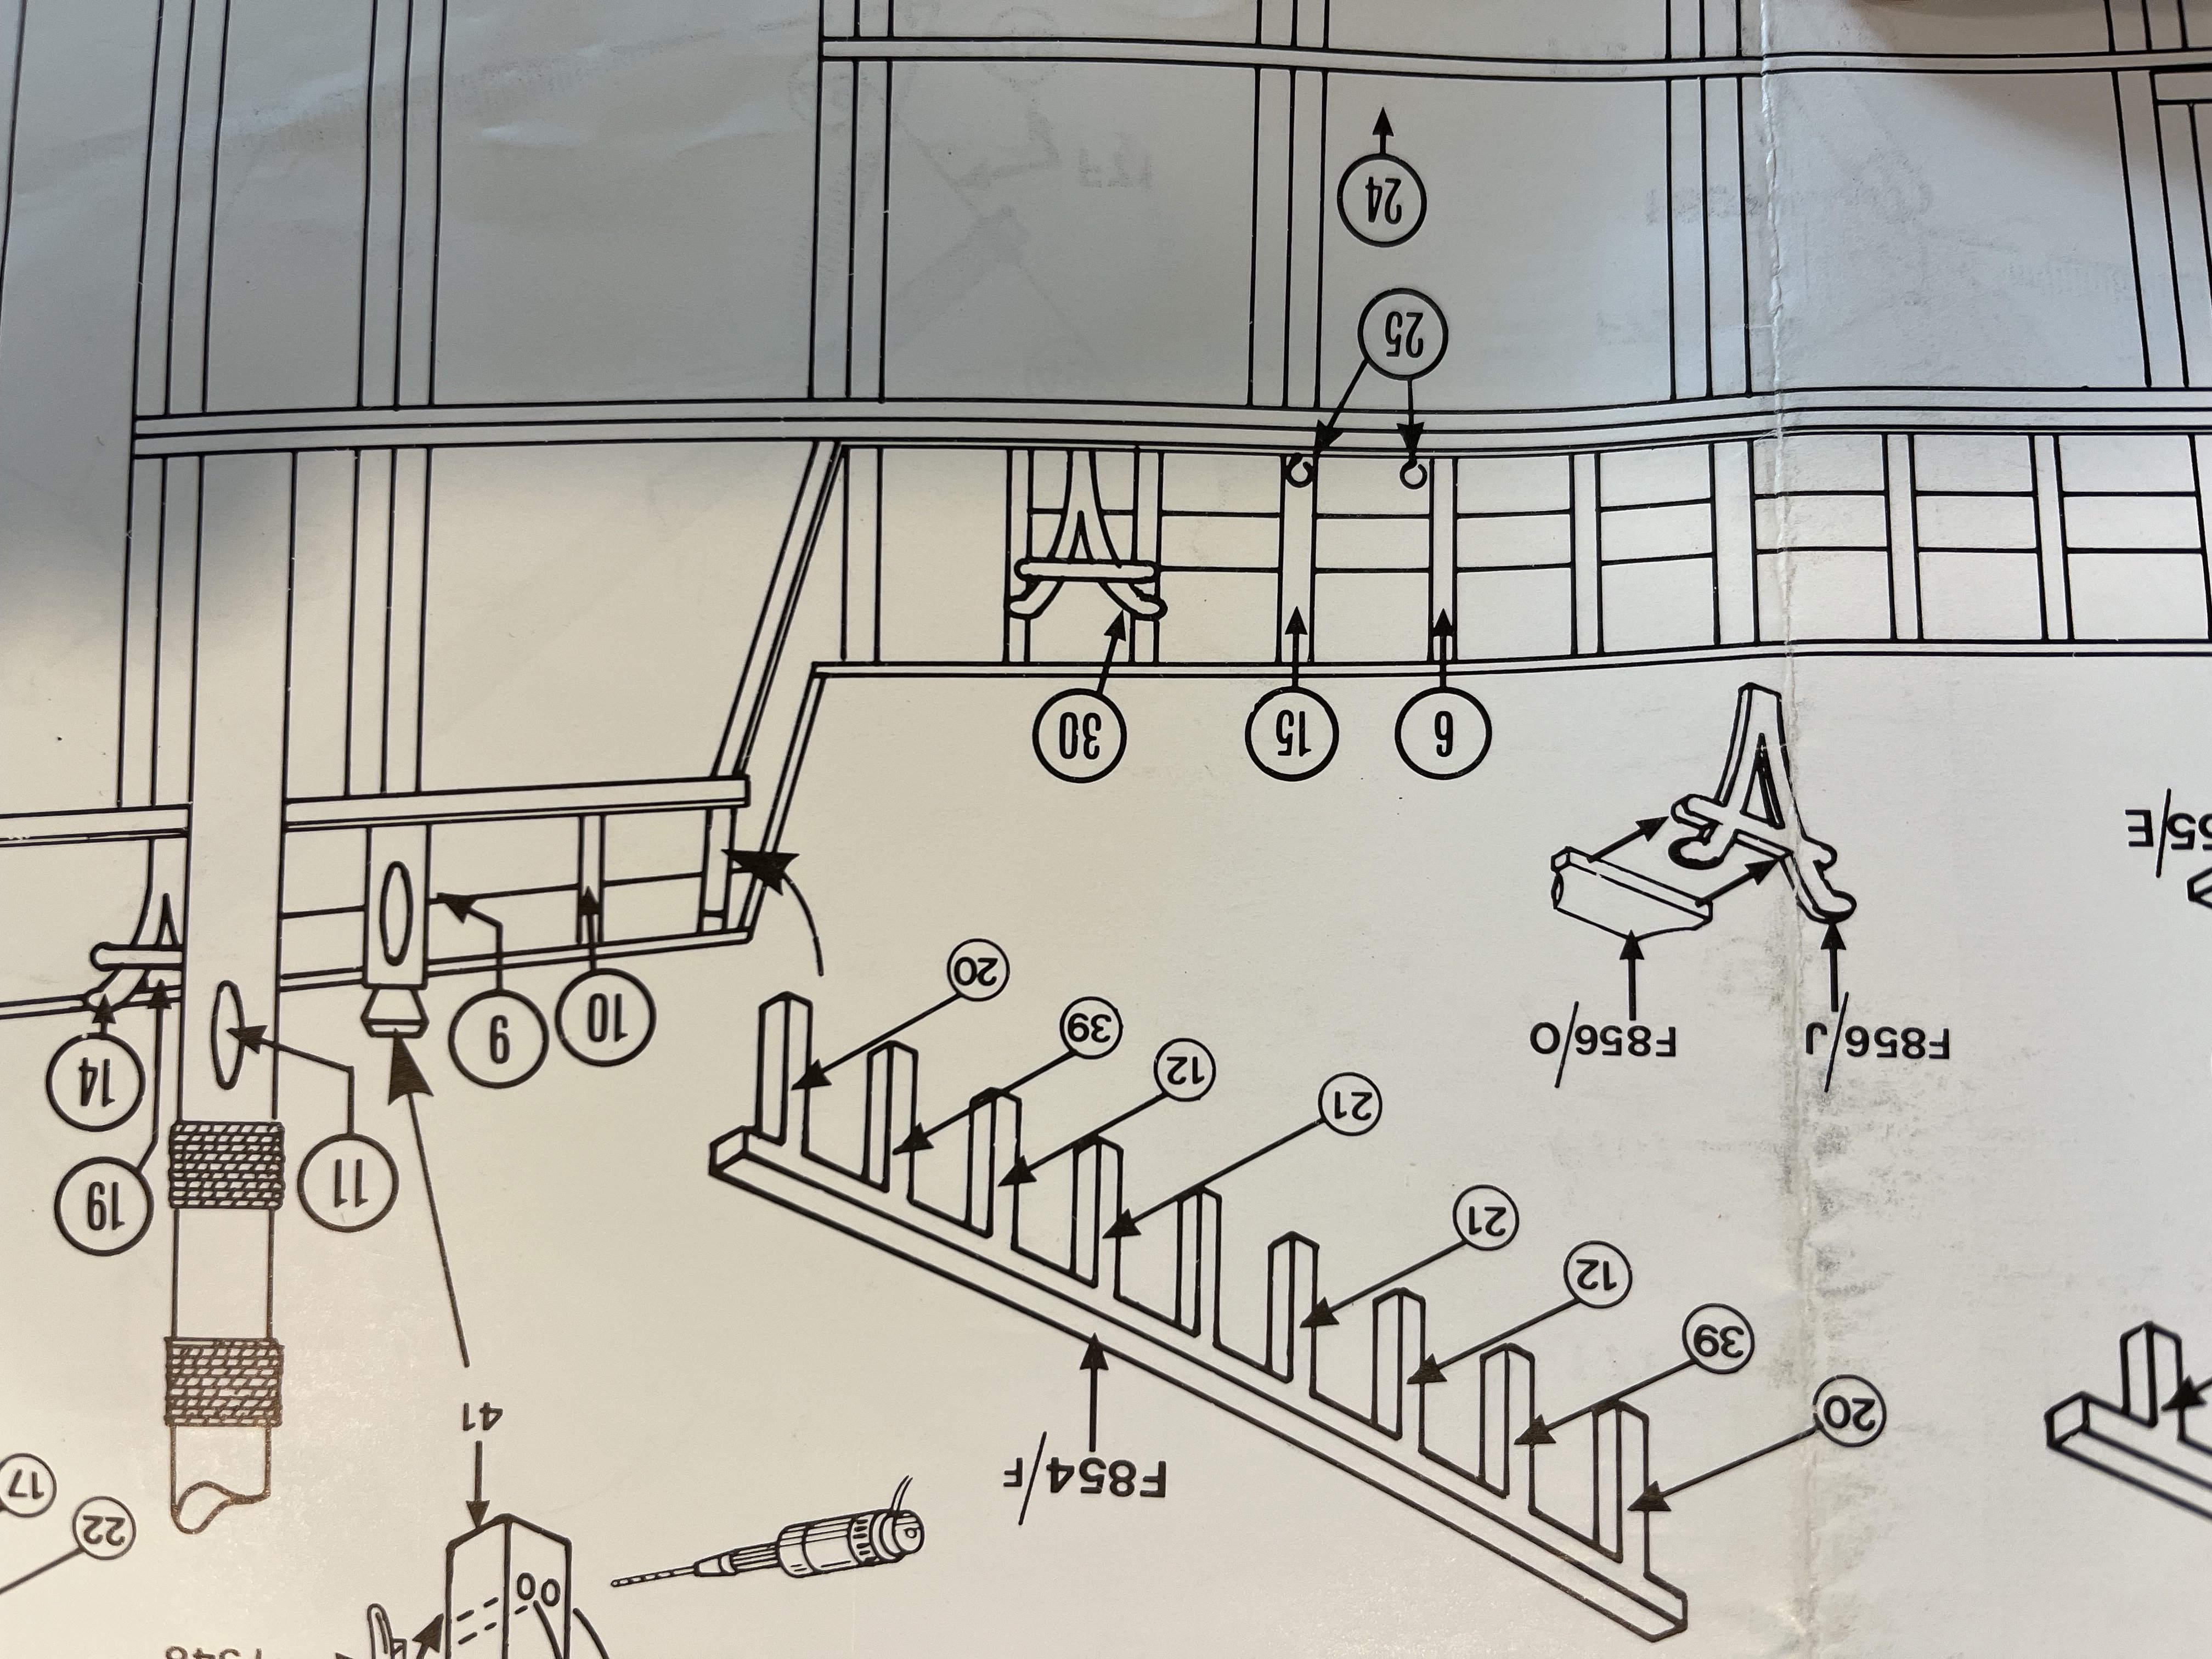
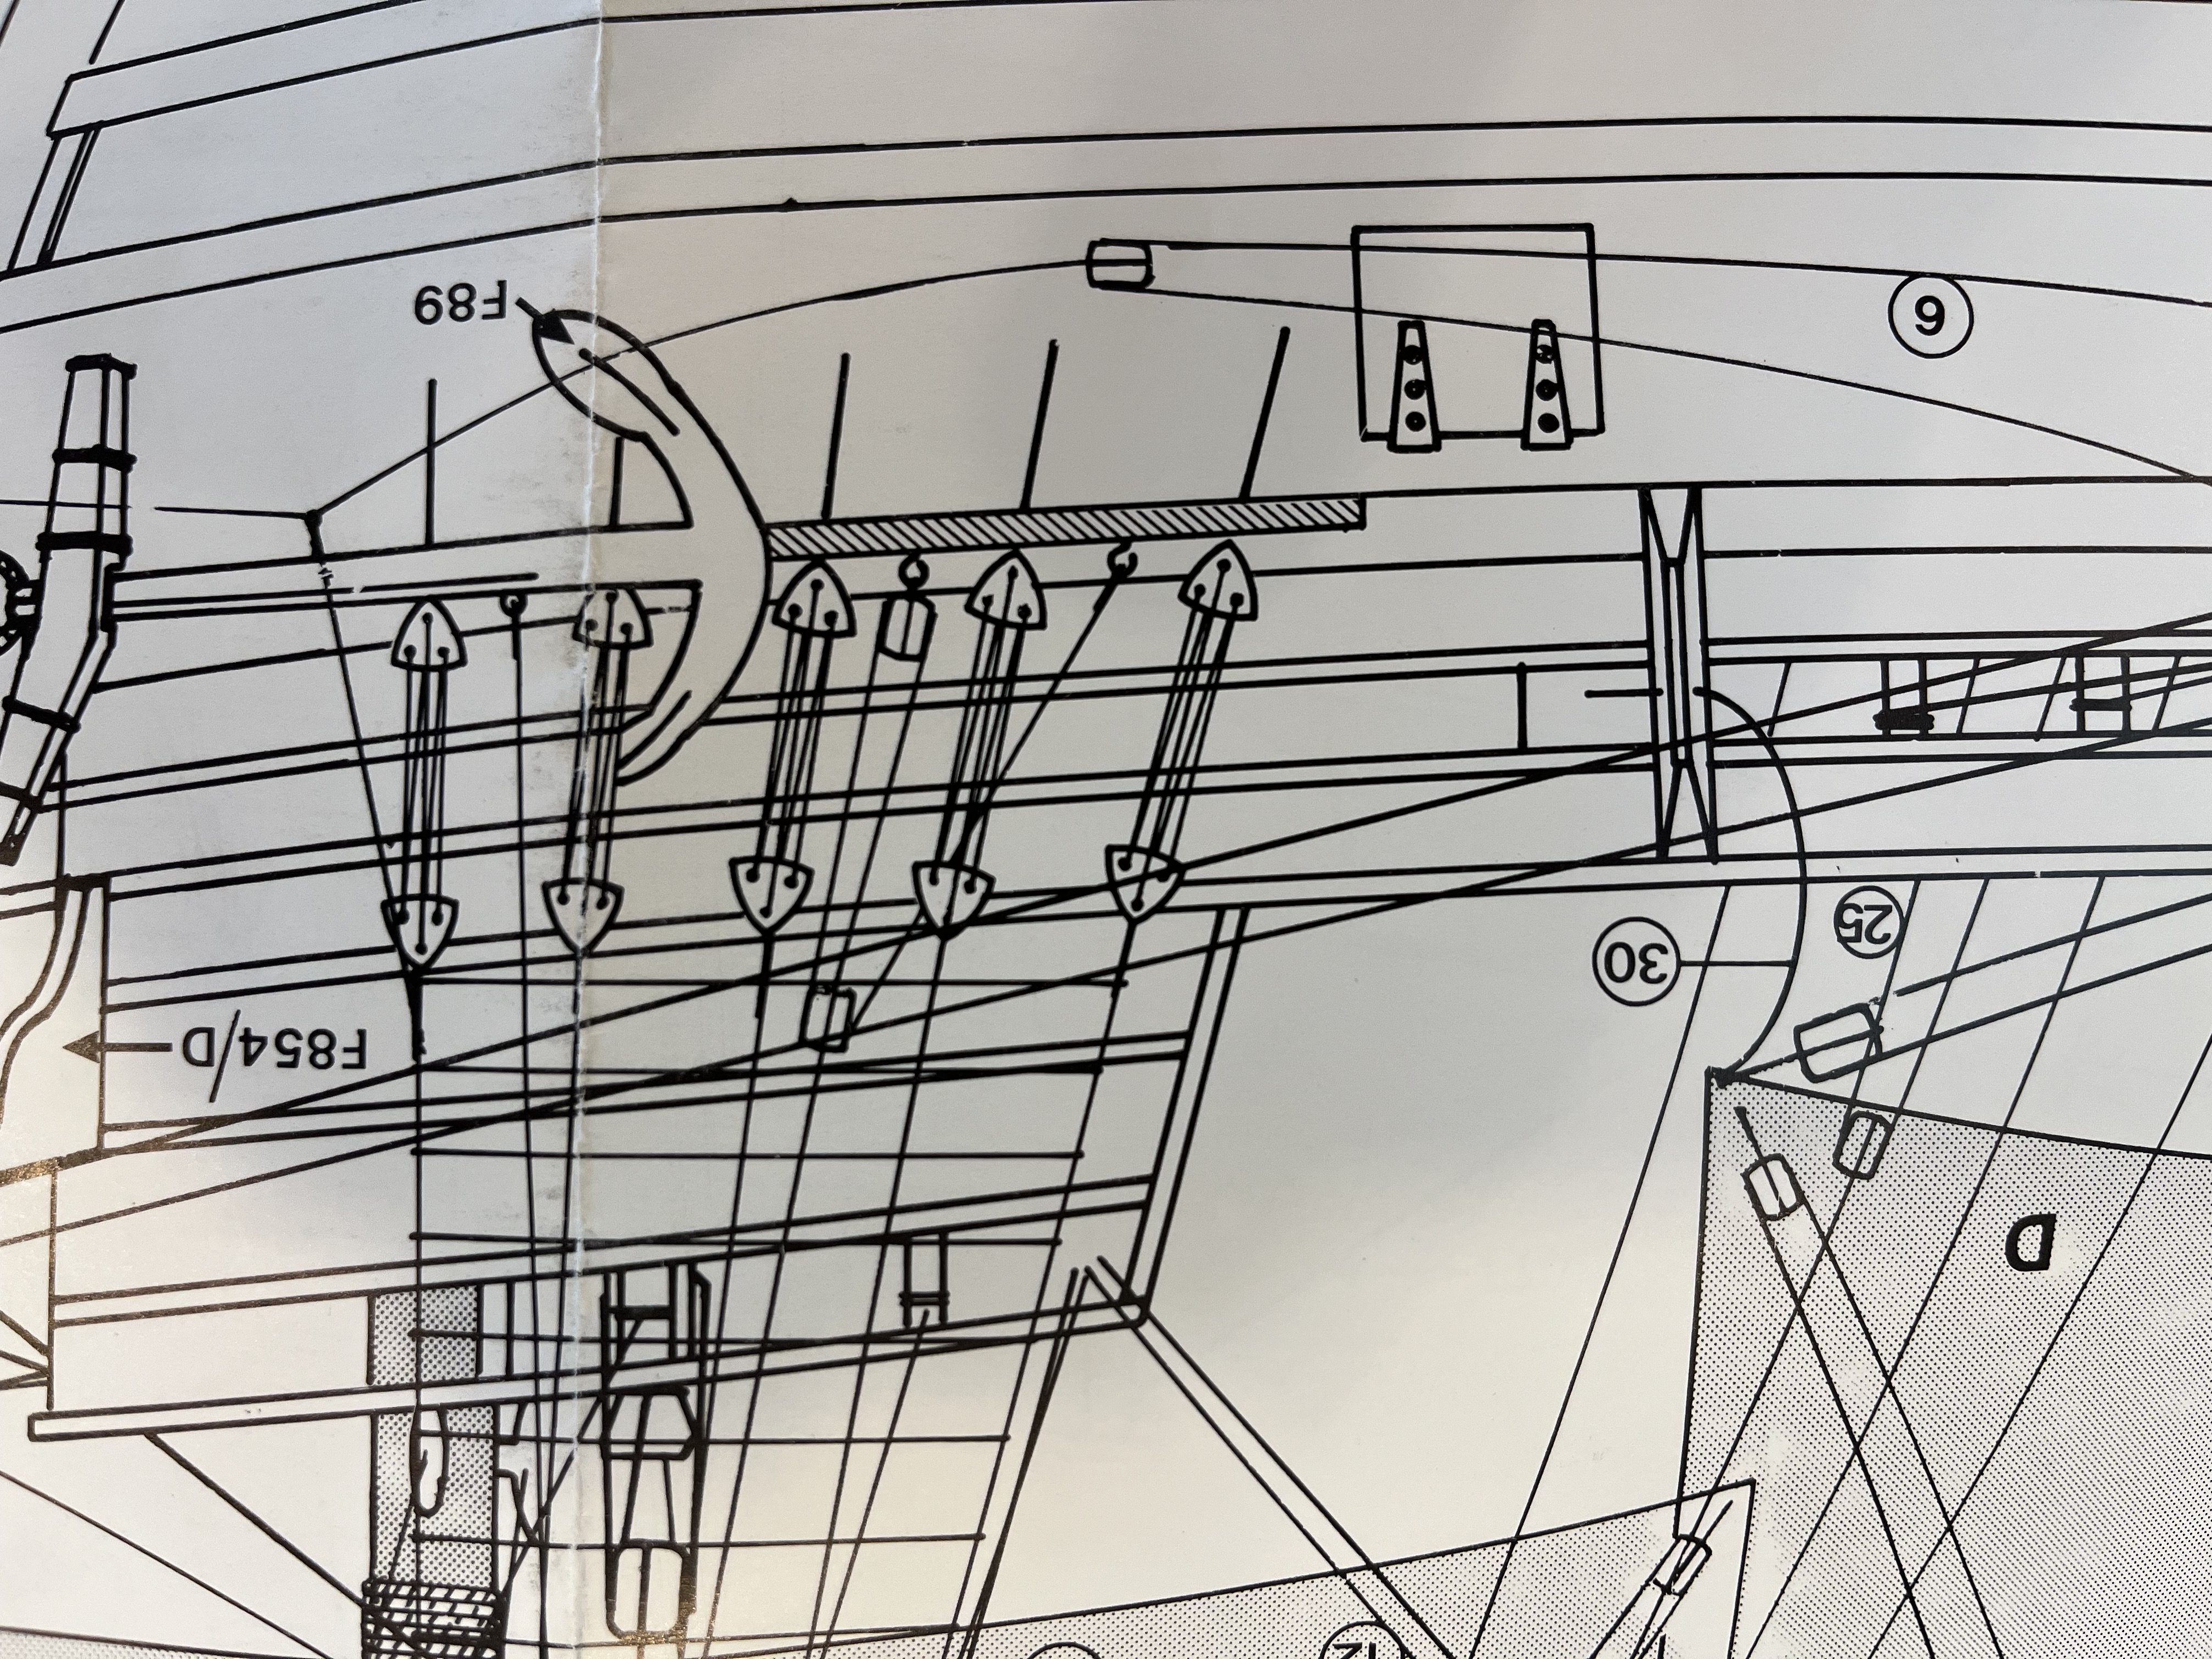
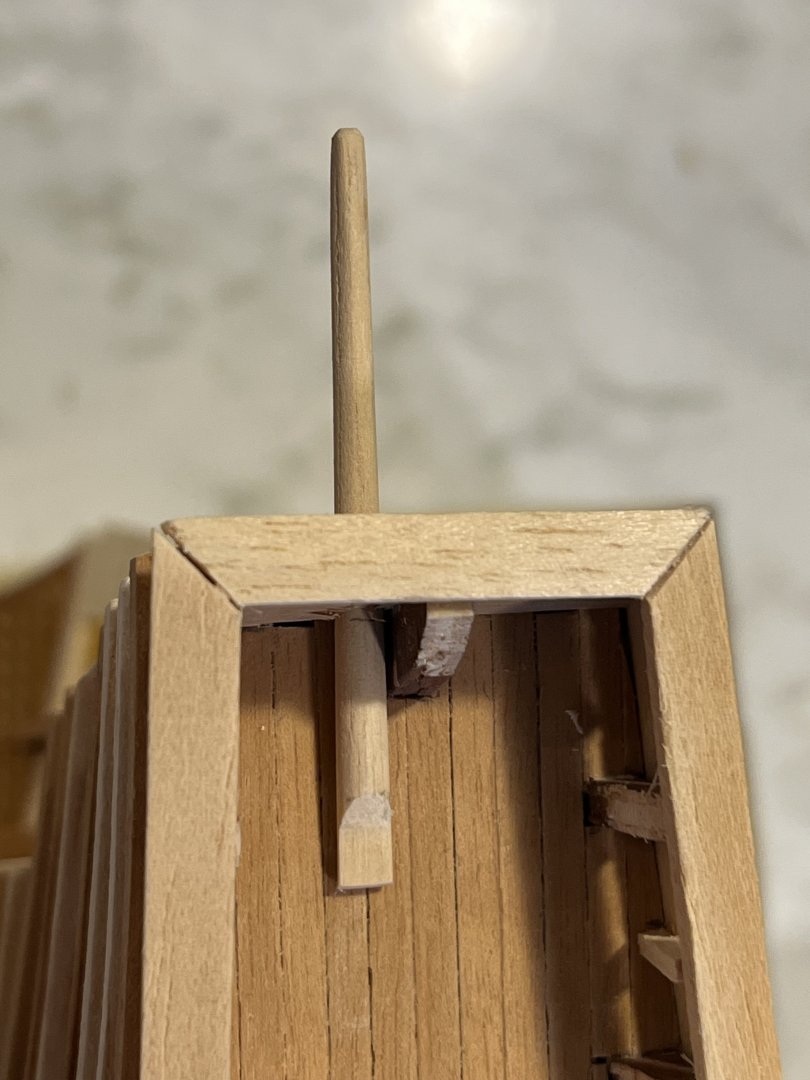
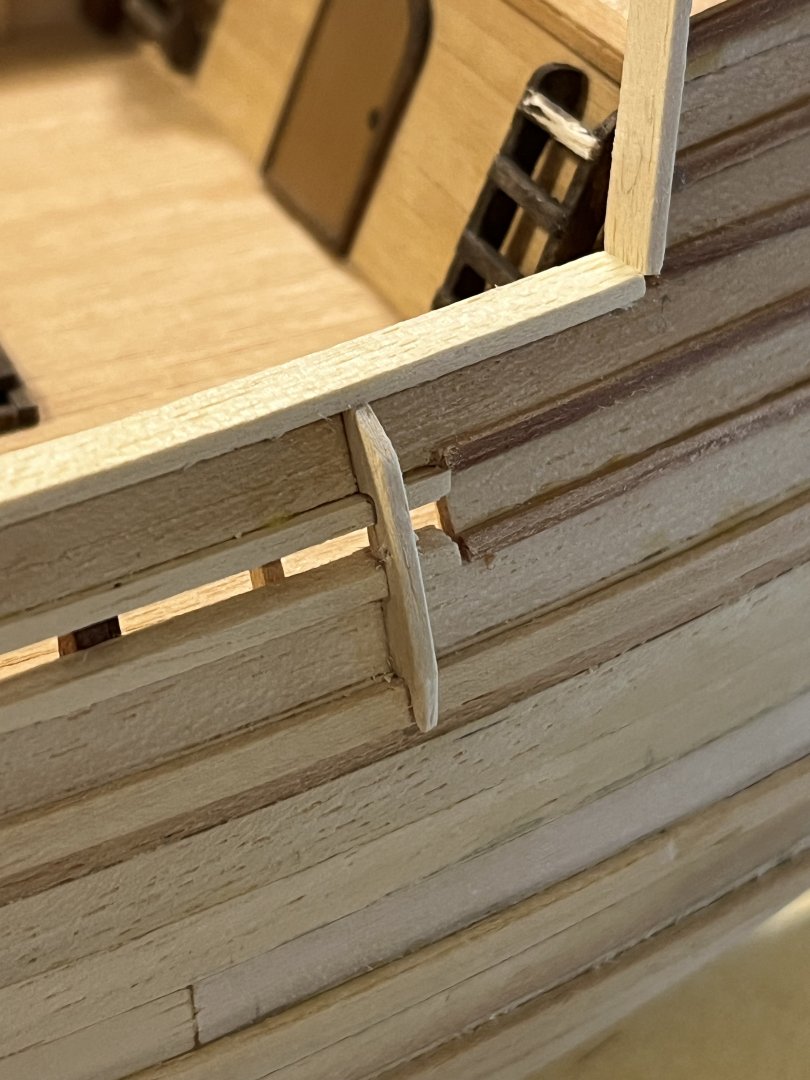
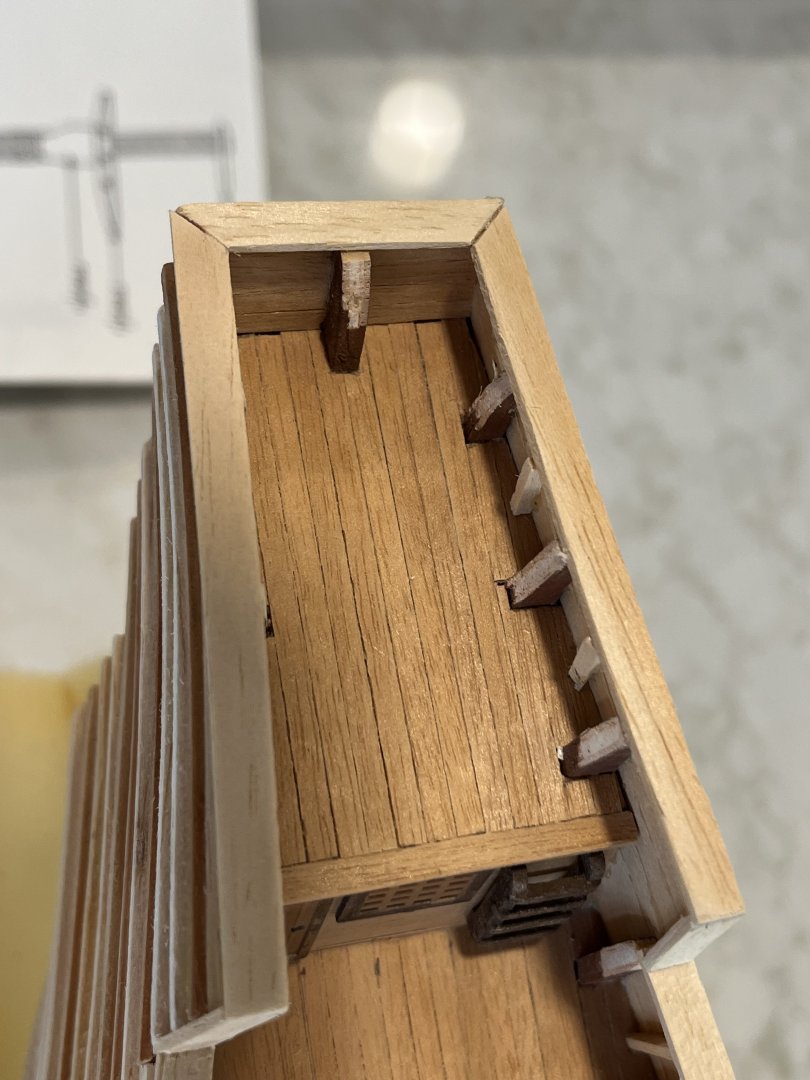
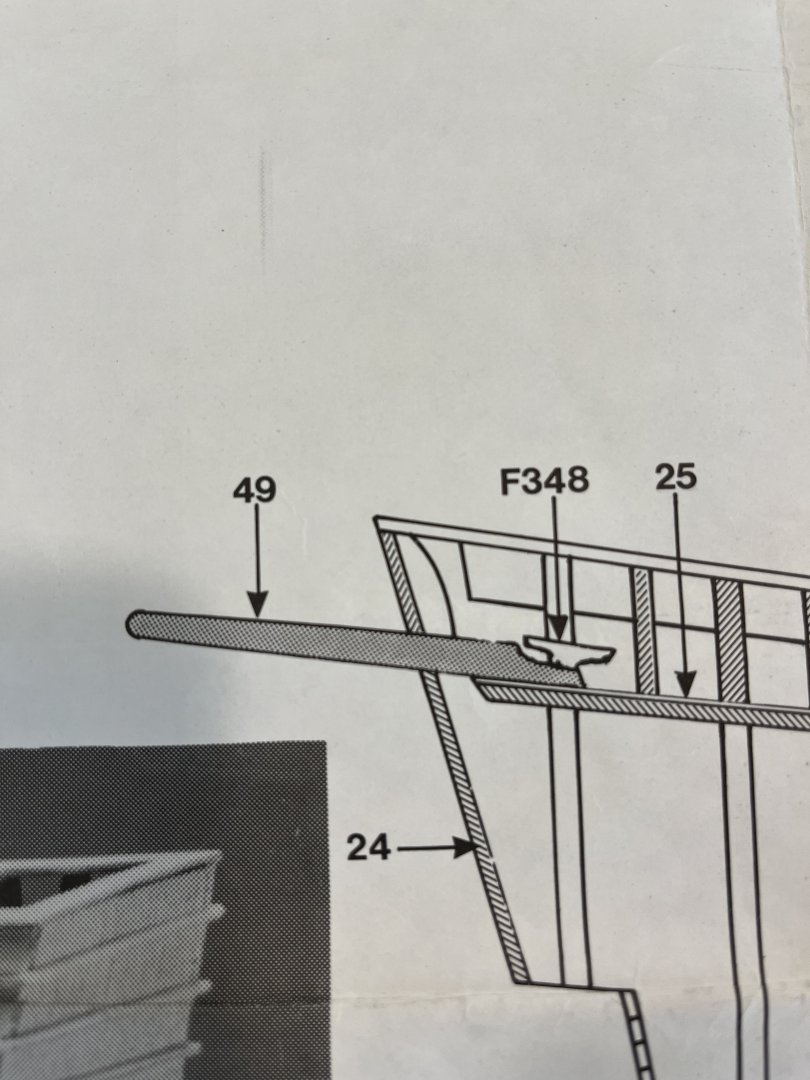
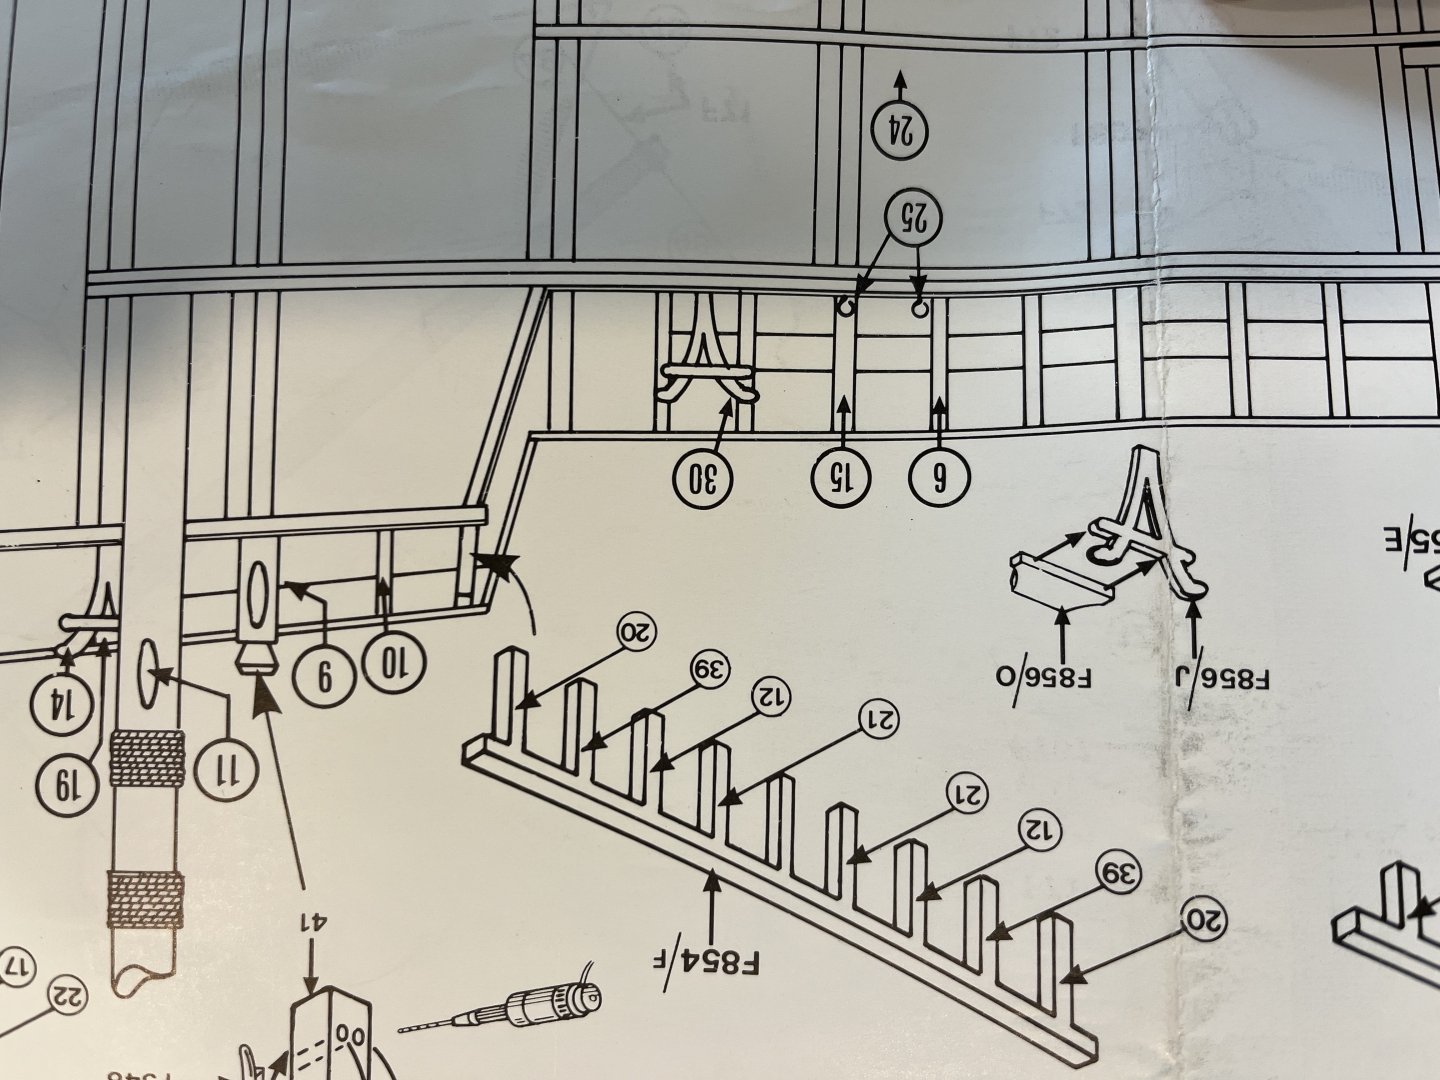
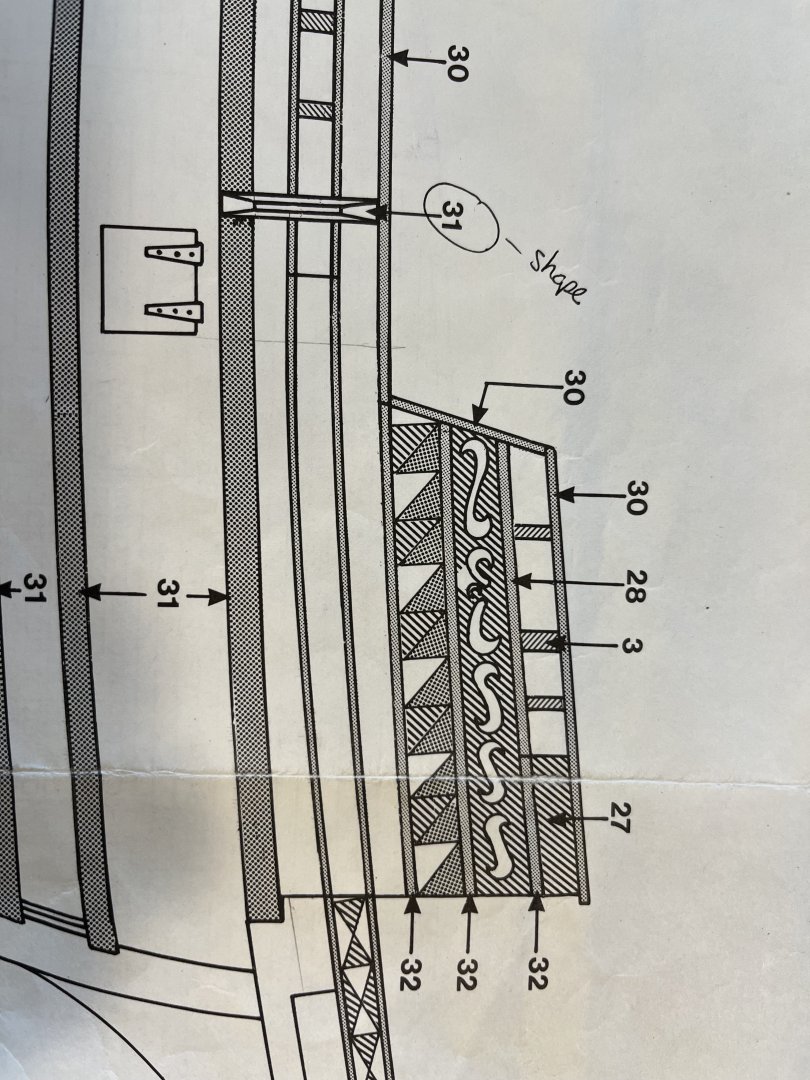
I was looking at the supplied drawings to see where to locate the stern spar that protrudes out the back. Maybe I missed something but it seems to be inline with the bulwark extension. Not sure if the error is in the drawings or the construction of the hull. I could position it to one side of the extension or just butt-join it to the hull. Ideas? Also in the realm of unclear instructions… the drawing shows a part running vertically across some of the strips (#31) which is supposed to be shaped to a bit of a longitudinal peak but the wood is the same size as the ribbing strake and I am also expected to run a sheet through it that is tied off to #30 in the drawing. sorry about it being upside down….. Not sure if anyone can tell me more about this part 31 and whether they have it or if not, then how is the sheet run? Thanks for looking. Dave

-
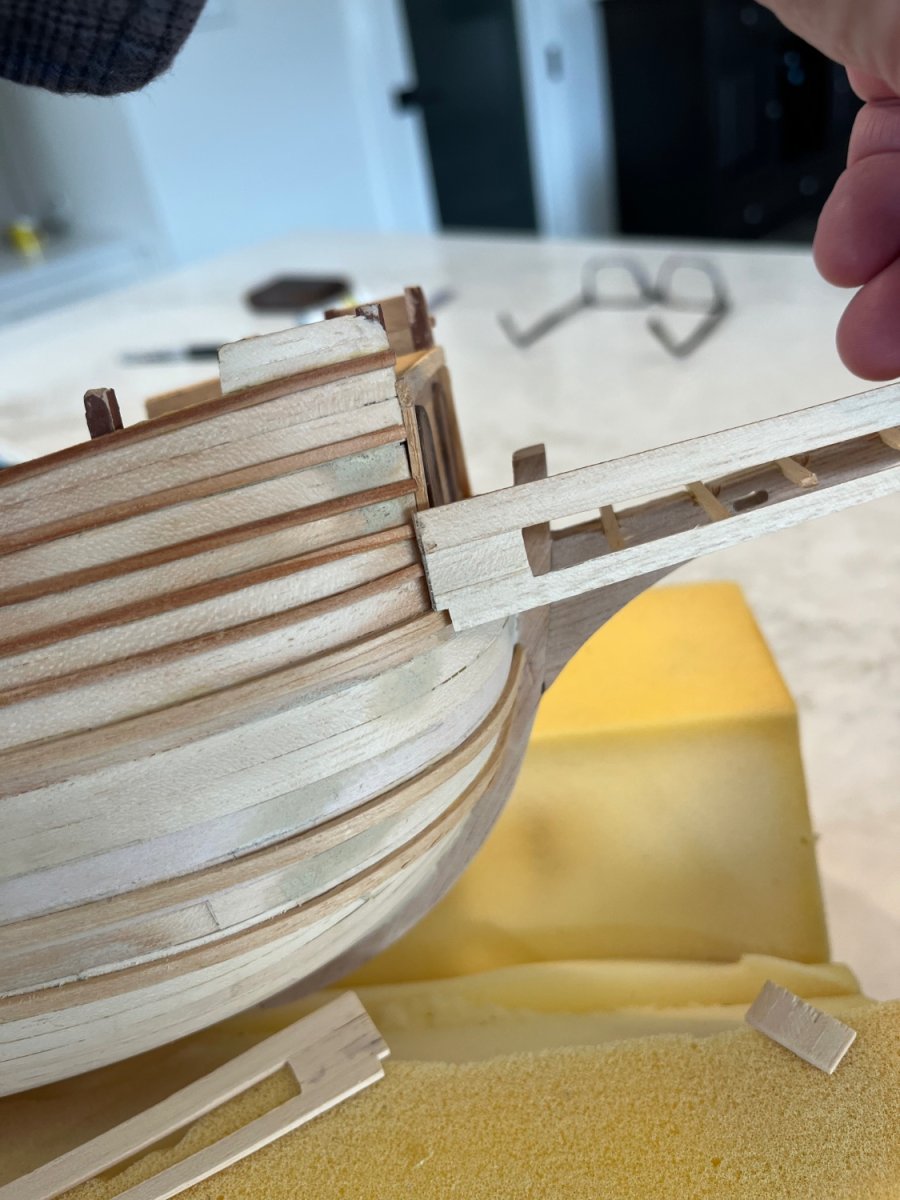
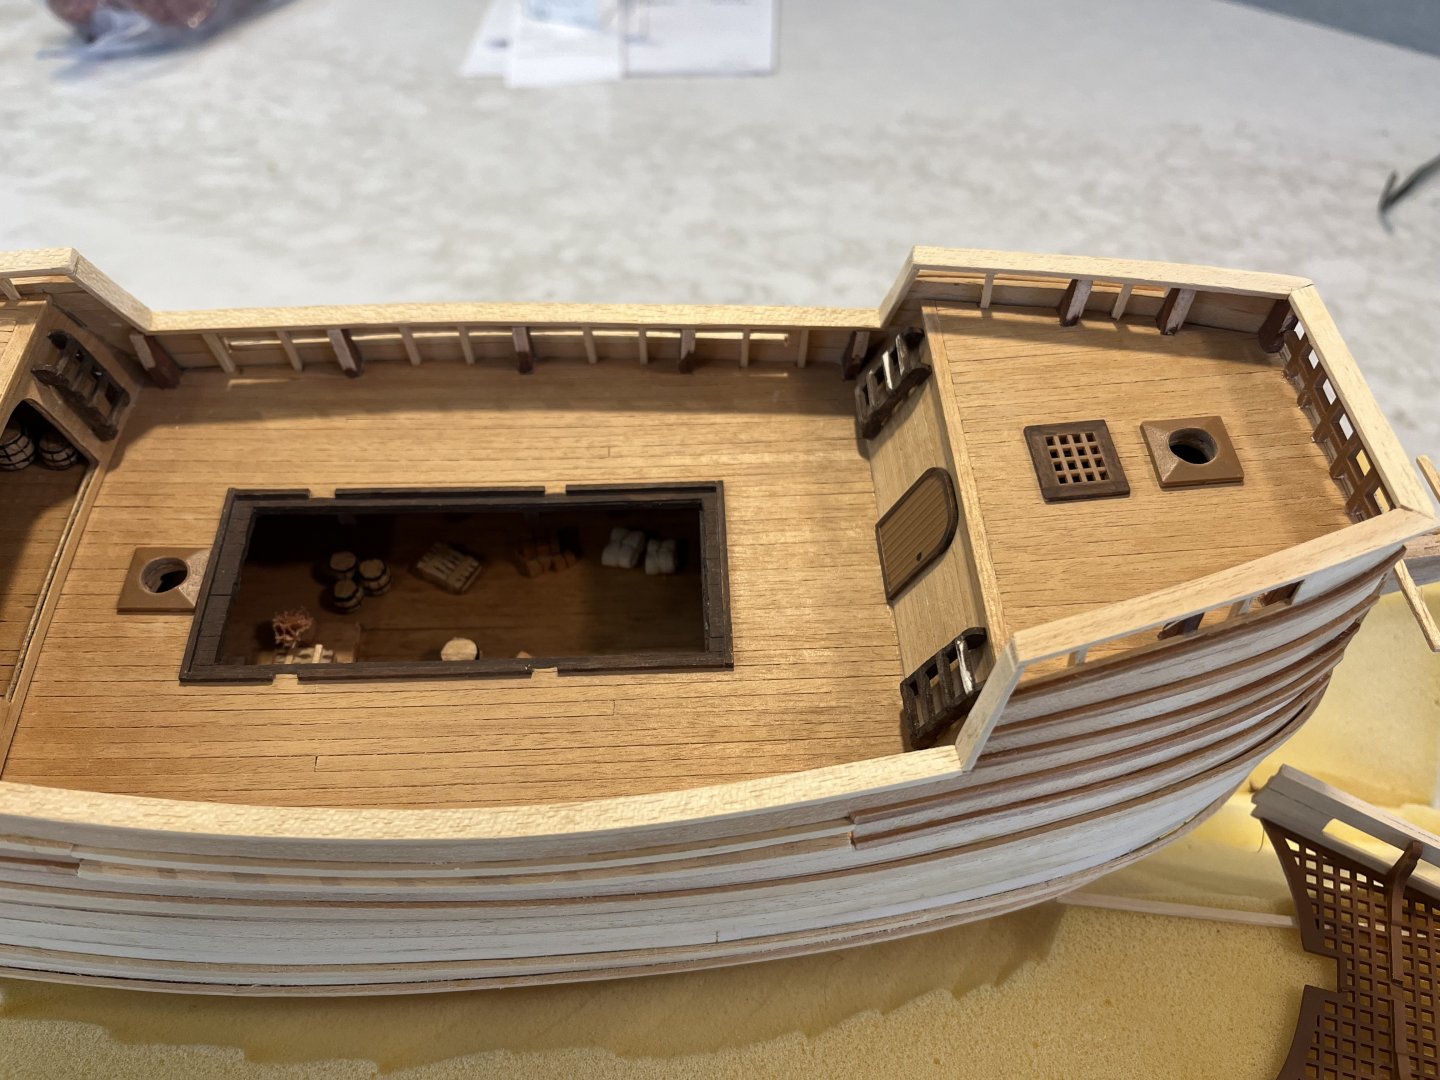
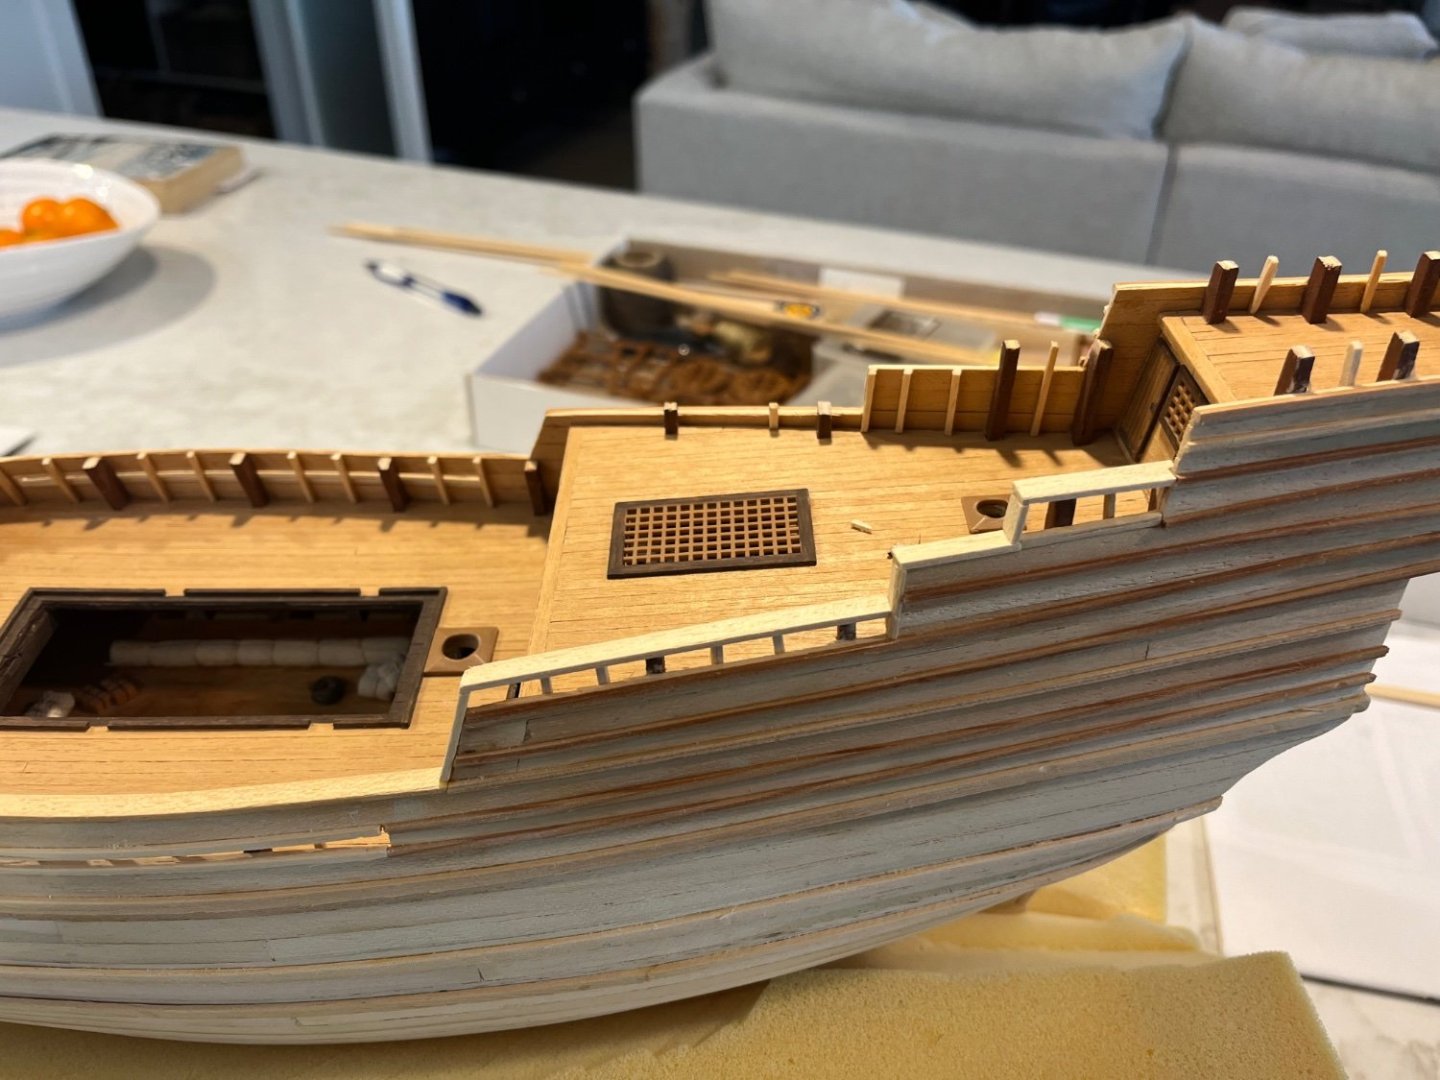
Railings done. I think that the shaving of the bulkhead extensions worked well. Once painted it will be unnoticeable. Next I have sea ladders to add, anchor davits, the spar out the stern, chain plates and some deck stuff. I’m also trying to figure out what to do with the life boats. They are plastic but I don’t know if I’m up to scratching them from wood. Anyway, thanks for looking. Dave

-
Not to hijack your post, but I’m having a hard time figuring out where the rigging goes in some cases. I also seem to have parts (or lack parts) compared to others. If you don’t mind I might be able to message you separately and you may have some insight. cheers, Dave
-
Looking great. So clean! My Billing Boat Mayflower has so little info, I can’t wait to see how you deal with some of my issues. Cheers, Dave
-
Fabulous build! I will have to go back and see the whole log. Cheers, Dave
- 200 replies
-
- 3
-
-

-
- Whaling Bark
- Charles W Morgan
- (and 1 more)
-
Thank you gentlemen! I opted for the shaving down of the bulkhead extensions (thanks for the terminology). I think once colour is introduced and the rigging is strung, it will be less noticeable. David, thank you for the kind compliment. cheers, Dave
-
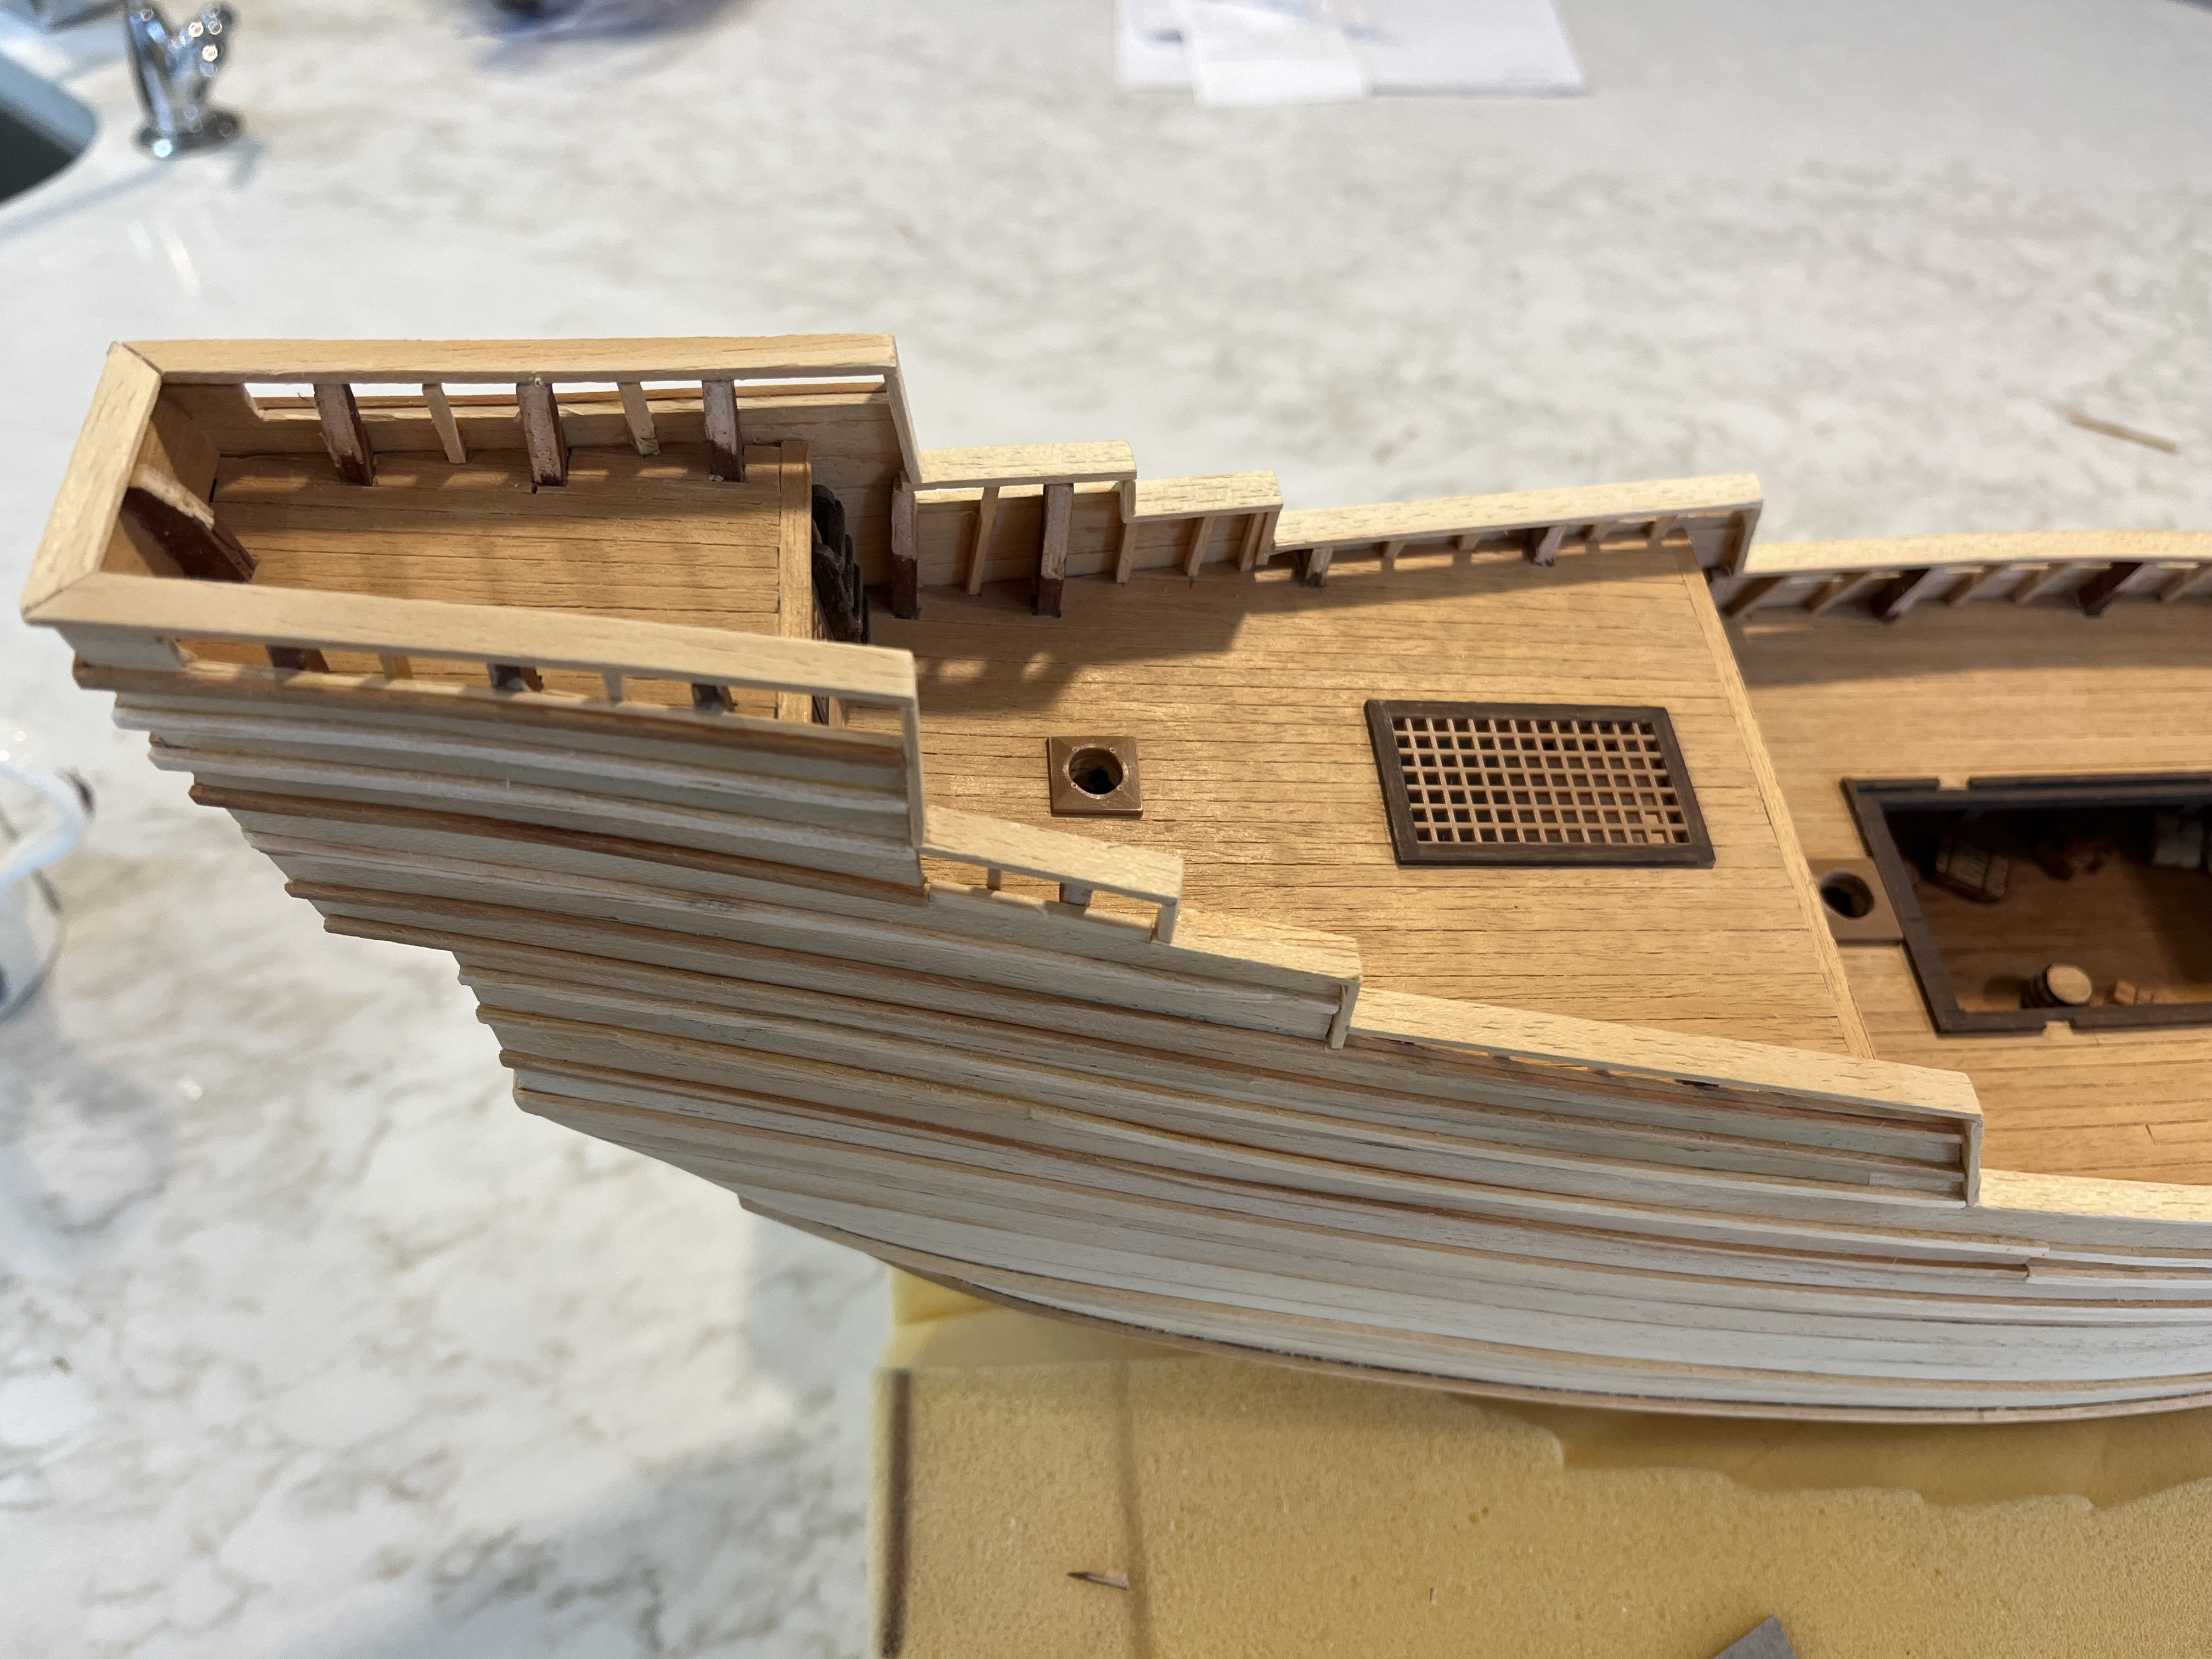
On the subject of things not fitting…. I see that the railing strips provided are not wide enough to cover the bulkhead tops and overhang the hull planking to match the strips on the hull. Not sure what to do about that. I could shave down the bulk heads so that they don’t protrude inwards or I could remove the railings and put on hull planks (they are a bit wider, but still not wide enough). I don’t know if this was some error by the first owner or just a bad design. Dave


-
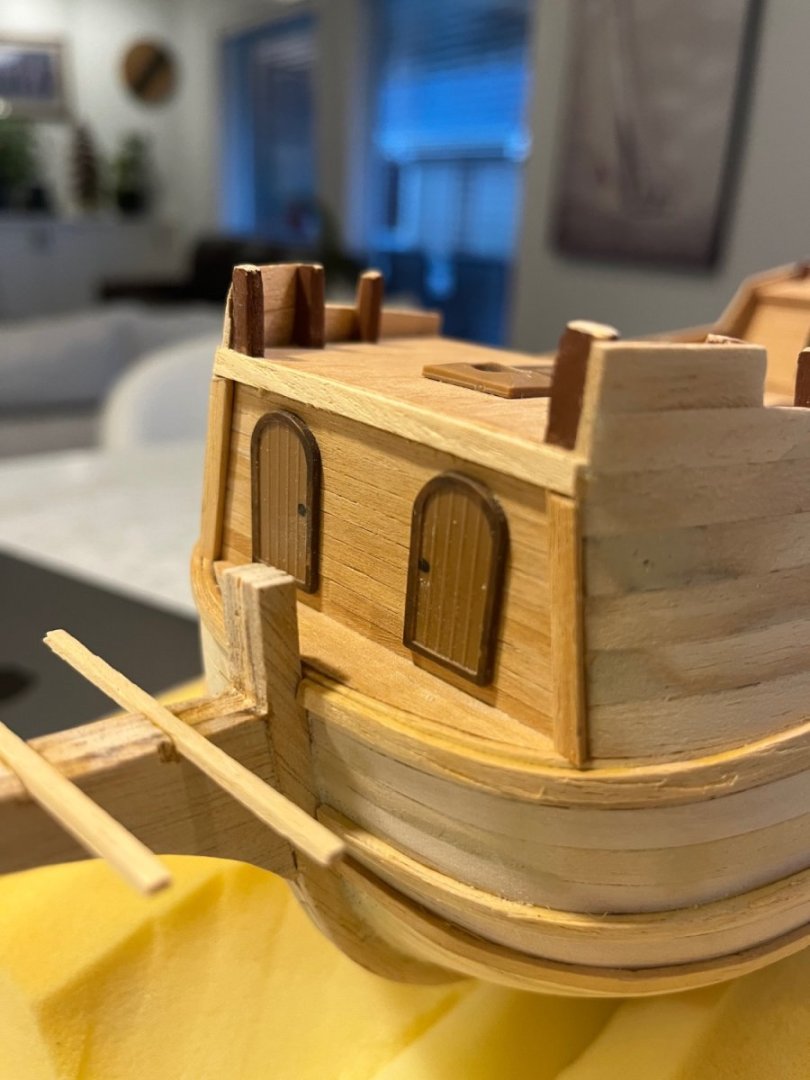
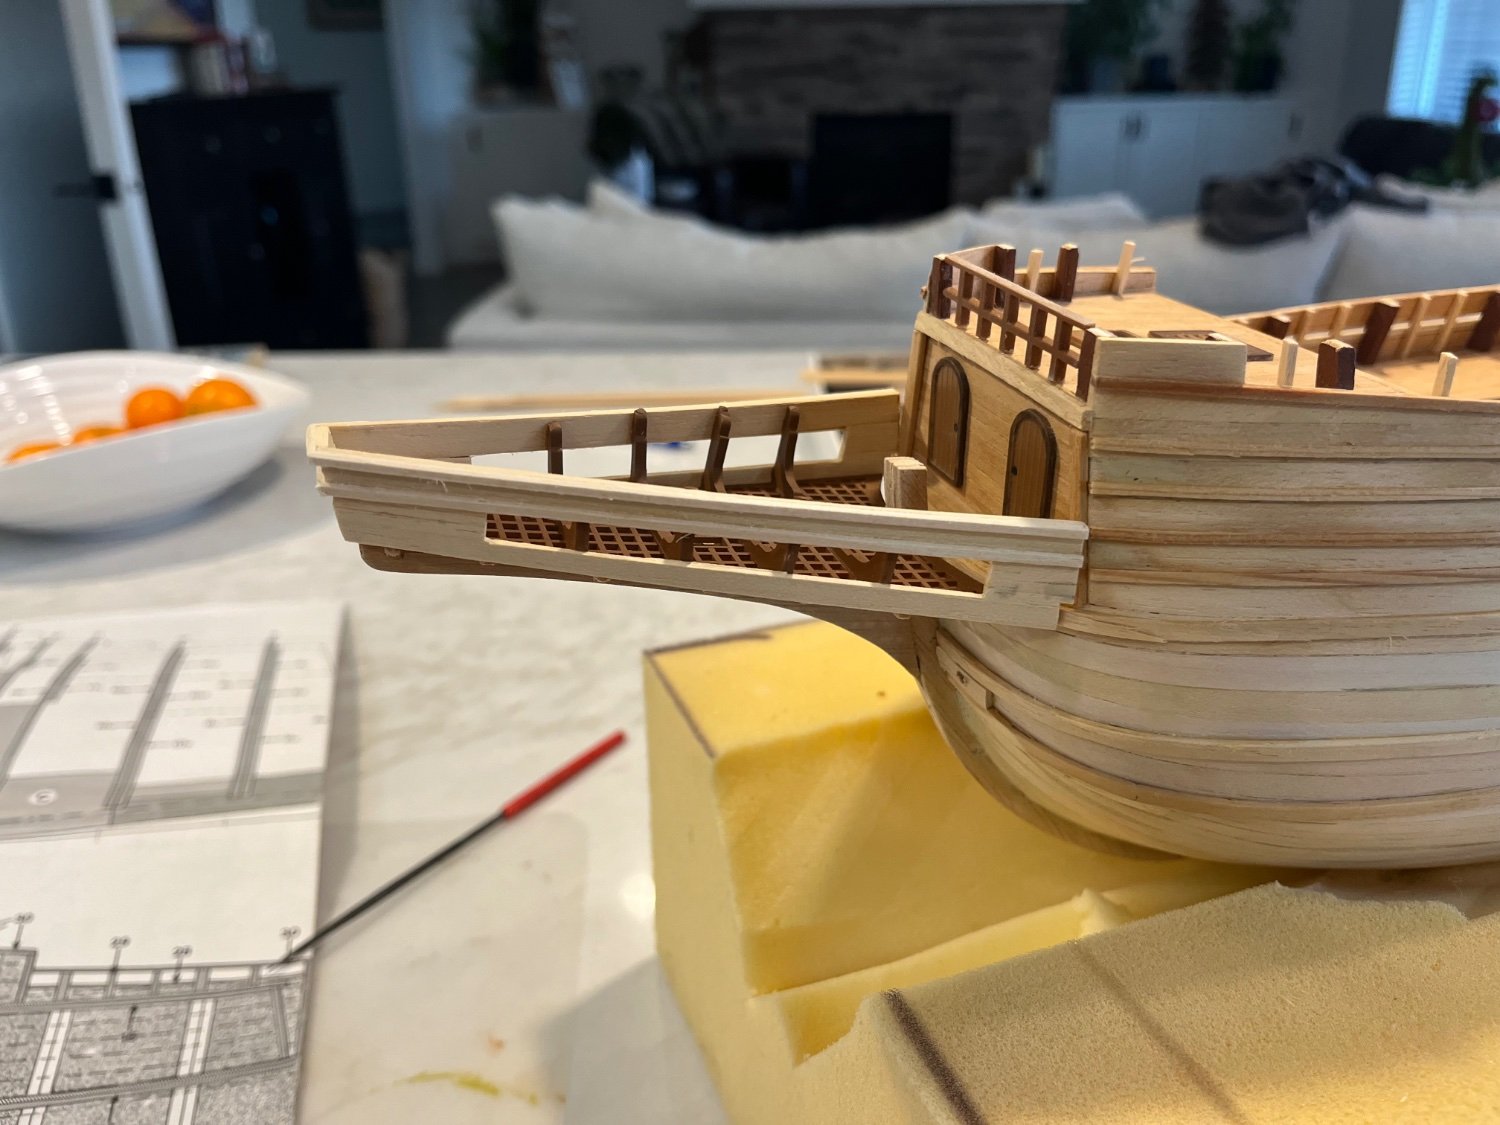
Some success! I re-made the beak out of scrap wood, retaining the plastic grating and support bits. All in all I am happy and it fits OK. I am noticing that the skinny rails that decorate the hull sides do not always line up well. I guess the beak location would have been the determining factor but was made last. The poor pictures in the booklet and lack of any kind of instructions didn’t help indicate what it should look like. thanks for looking. cheers, Dave


-
That is looking great! You are whipping off those rat lines like nobody’s business. Dave
-
Looking great! Dave
-
Looking great! I too, have some errors that I am hoping will get buried in the mass of detail thrown at the viewer. LOL. Dave
-
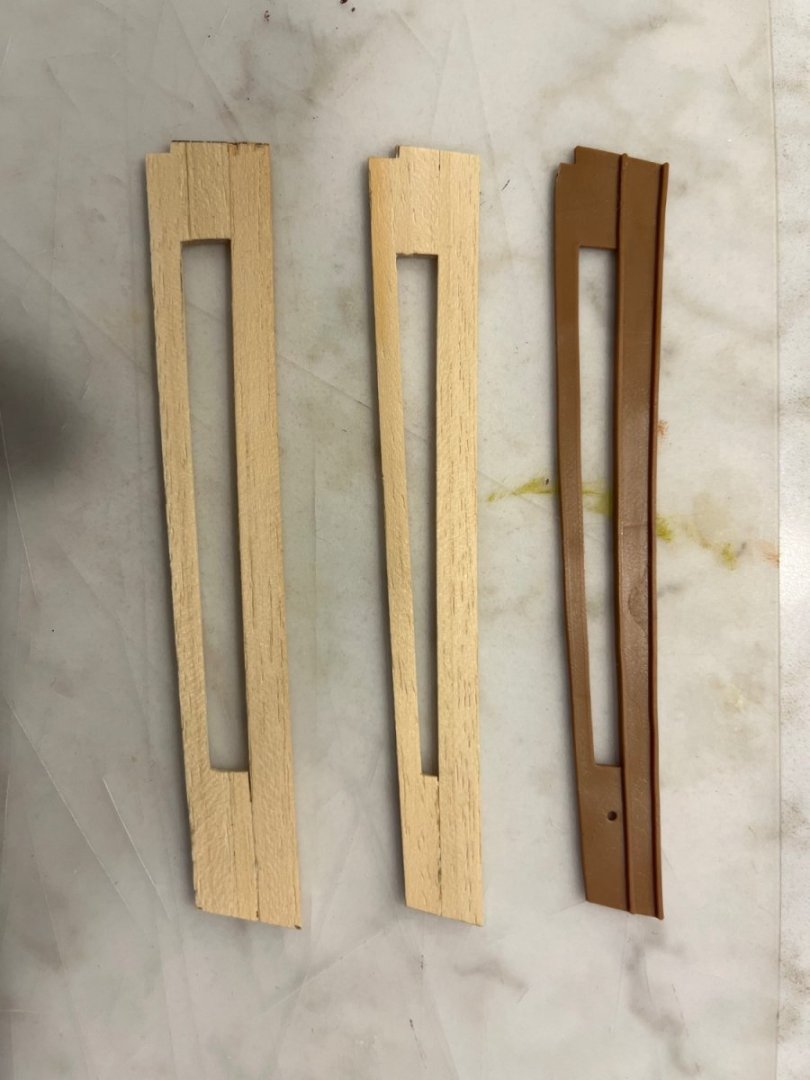
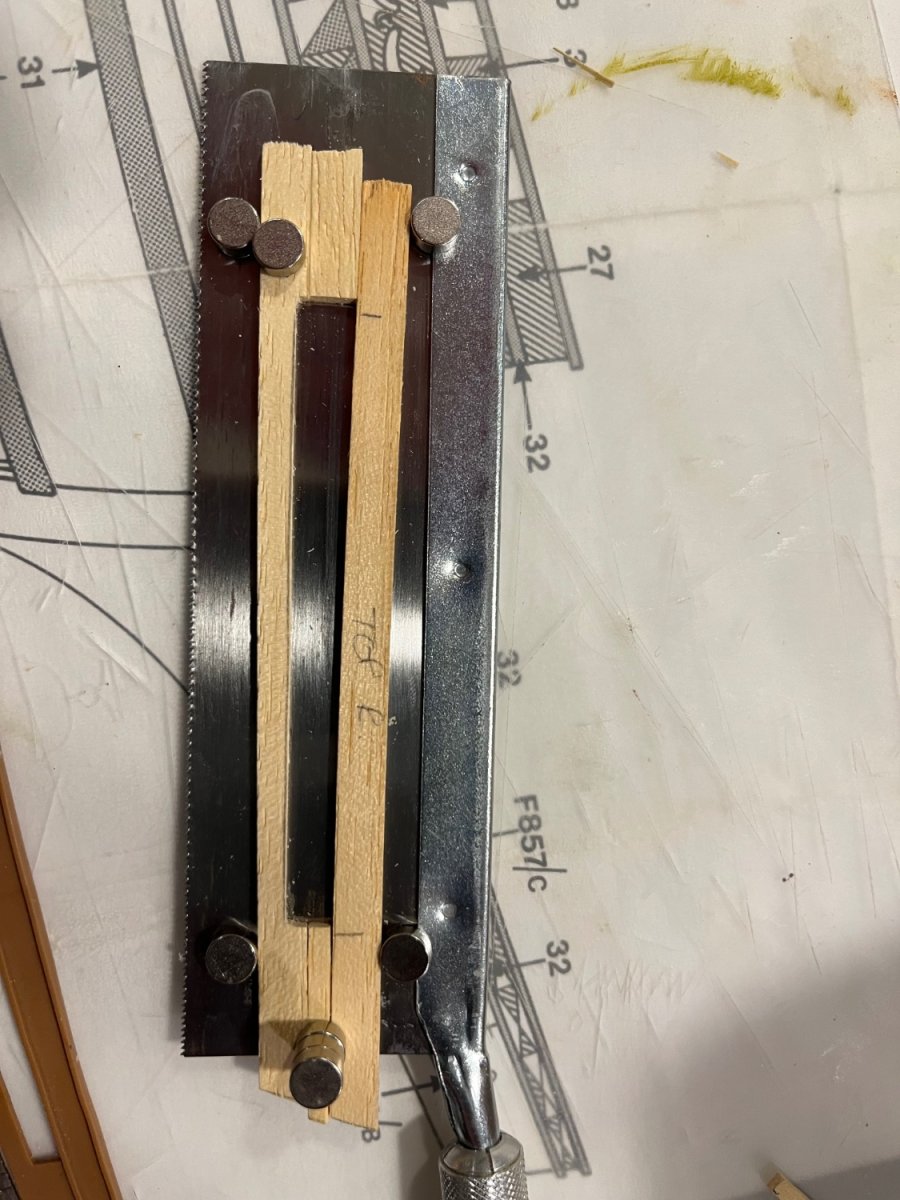
So, when I went to build the beak I found that the sides stood way proud of the planks making up the beak. I compared them to the drawing and found that the plastic piece I used as a pattern was too small. So back to the drawing board. I used my saw and some rare earth magnets to hold the pieces in place as they dried. 🤣 After trimming you can see the plastic part, first wood attempt and final go at it. Definitely happier now. I also added some trim around the front which was on the drawings but seemed to make sense and will help fit the beak, I think. thanks for looking. Dave