-
Posts
406 -
Joined
-
Last visited
Content Type
Profiles
Forums
Gallery
Events
Everything posted by Patrick Matthews
-

3d printing process
Patrick Matthews replied to henrythestaffy's topic in 3D-Printing and Laser-Cutting.
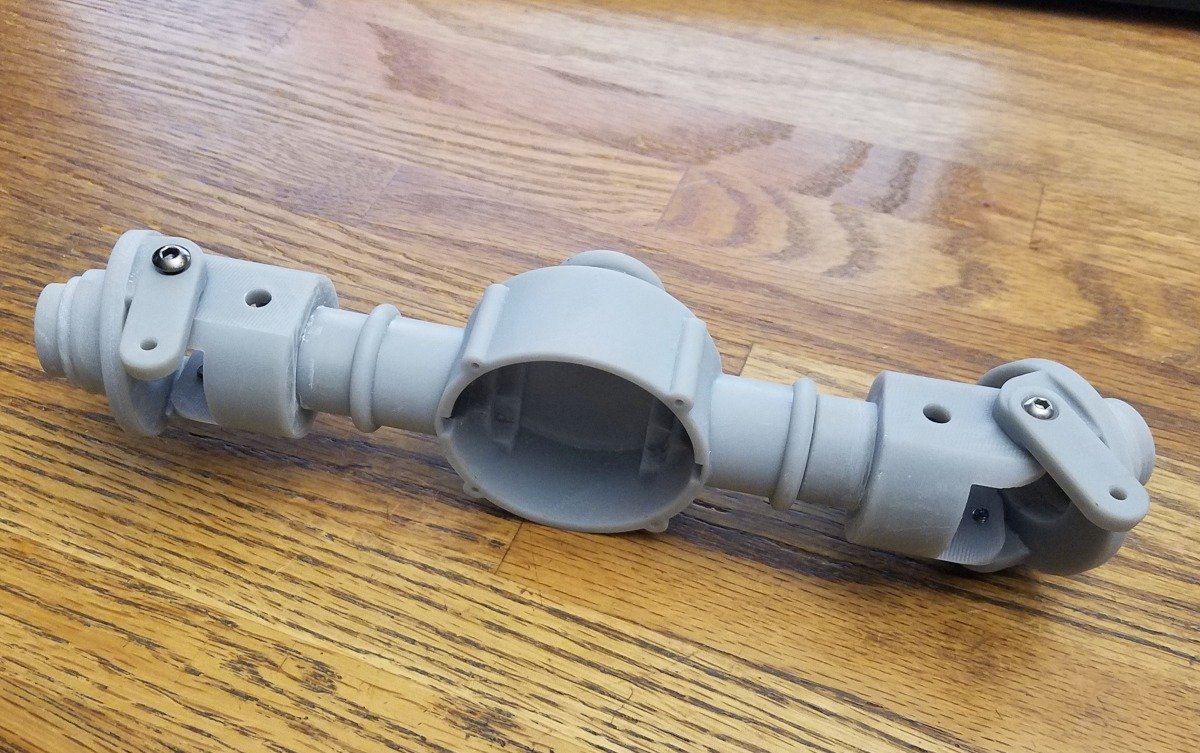
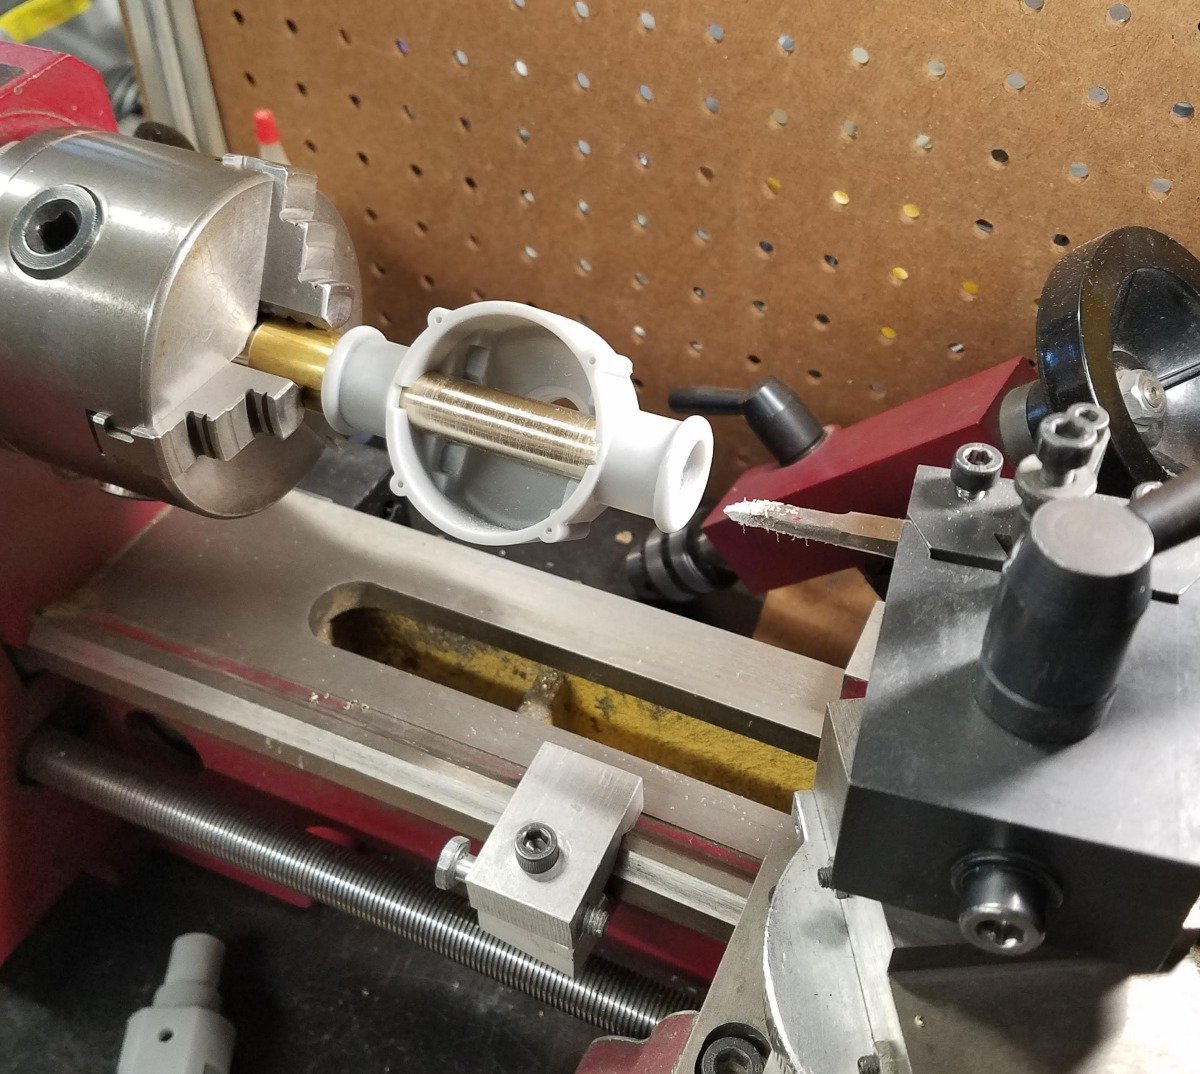
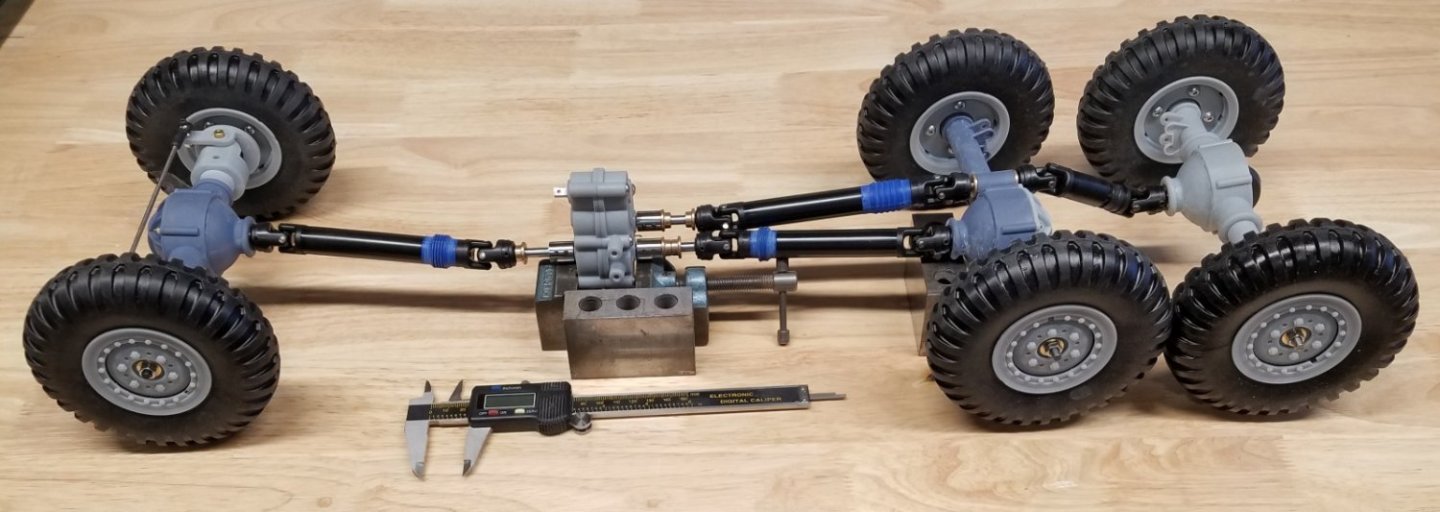
Accurate? More accurate than anything we whittle in wood! Smooth? As with wood, allow all surfaces to be sanded or scraped smooth. Molded plastic parts from Tamiya are smooth, but those steel dies have been laboriously polished to achieve the smoothness. Someone is going to do the work somewhere. For precision parts, I treat printed parts like metal castings... which need to be machined for precision work. Here's a 1:8 scale DUKW axle printed in pieces on a little Photon Mono. Parts were machined for fit and for bearings, and glued together. Works fine. -

3d printing process
Patrick Matthews replied to henrythestaffy's topic in 3D-Printing and Laser-Cutting.
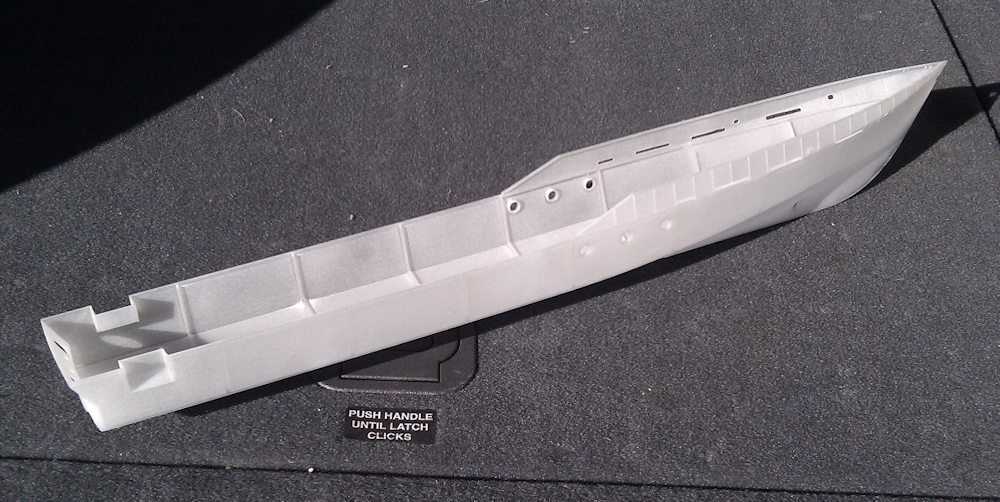
Multijet printing at Shapeways has just gotten more and more expensive, to the point I avoid it now in favor of my home resin printers. Never did an entire hull in it, would be thousands of dollars, and in many pieces, because the platform isn't so big. I did do a 27" hull in one piece on a big industrial (true) SLA machine, but that was through a special relationship that no longer exists... -

3d printing process
Patrick Matthews replied to henrythestaffy's topic in 3D-Printing and Laser-Cutting.
Phil- re: the white crud... it's a totally different process, with resin droplets being spritzed (like from an inkjet printer head) onto a wax support base. When done, the wax is (mostly) washed away, leaving a free part with no supports. But all surfaces that were in contact with the wax look frosted, while the top side is clean and smooth. Illustration depicts the wax support (red) under one of my chain-stopper sprues. -

3d printing process
Patrick Matthews replied to henrythestaffy's topic in 3D-Printing and Laser-Cutting.
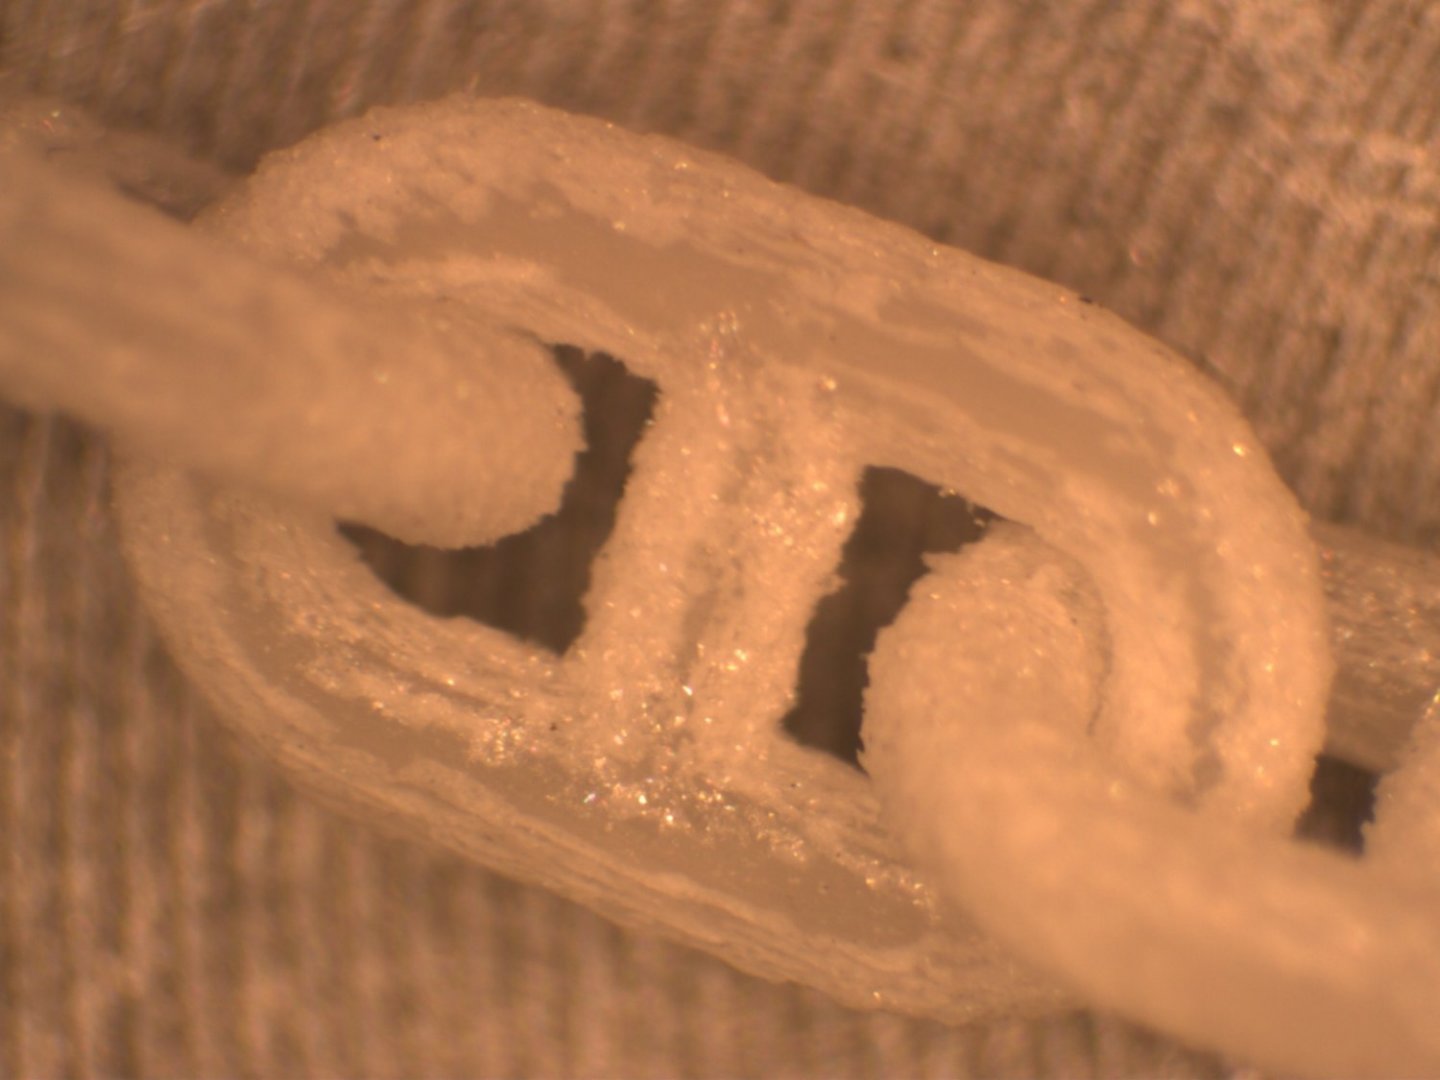
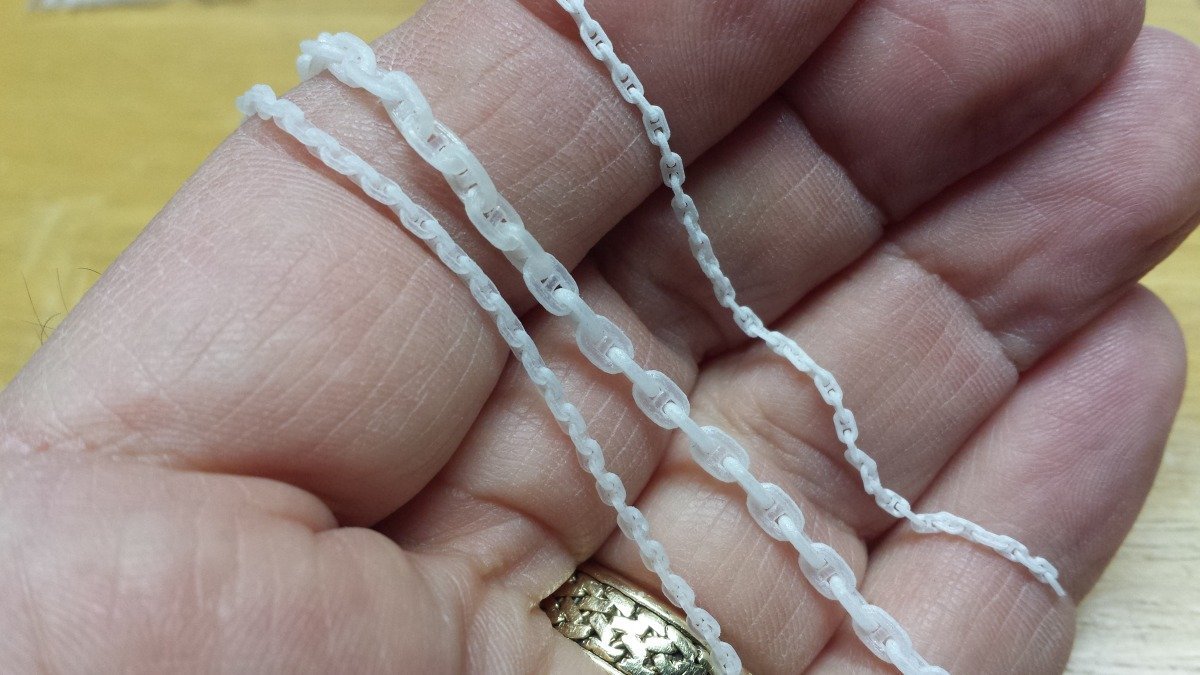
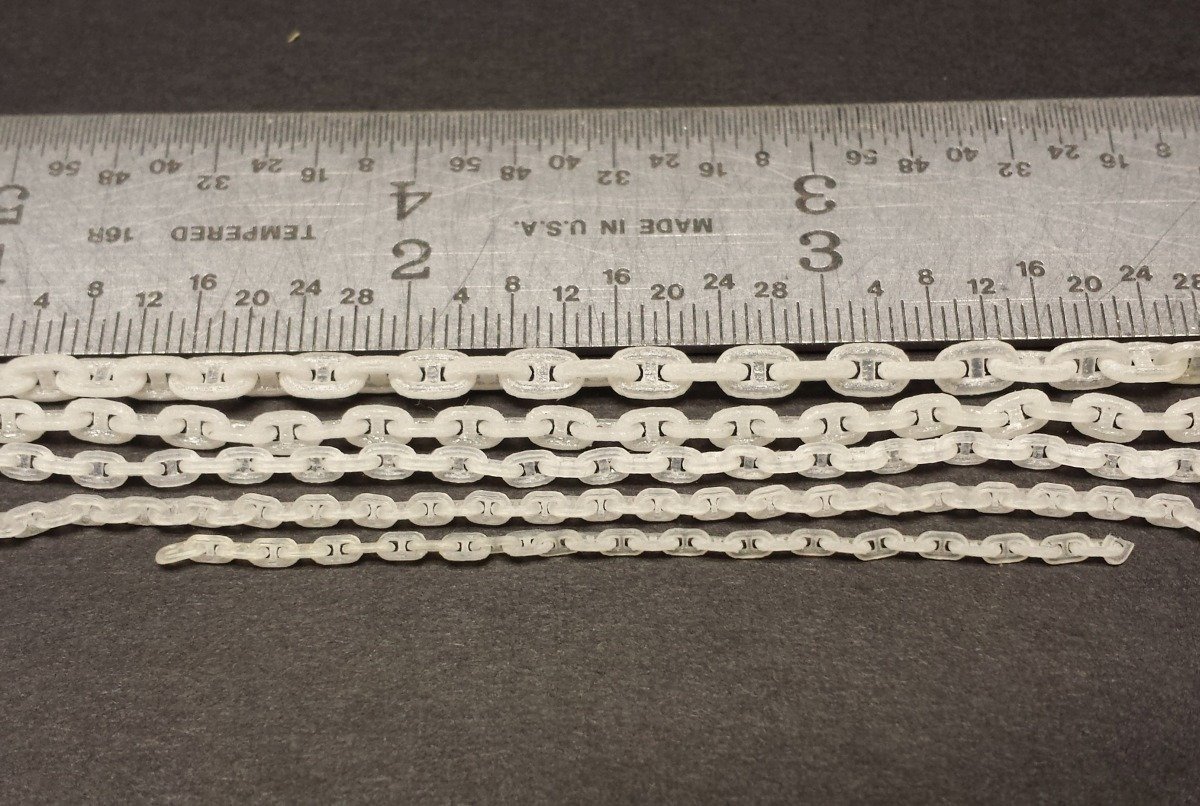
You're a brave man, Doctor. I've done that small a chain with Shapeways, as their Multijet process uses wax supports, not the integral supports we're forced to use on home printers. Sadly, the Shapeways process proved to be too difficult for them to control. They even told me that they used my chain as a test for their machine prophylaxis! But they couldn't keep it up consistently, so the chain usually arrived fused. I've never seriously considered trying it with integral supports- too much nipping and clipping of brittle supports on delicate parts, and I wanted to have a commercial go at it. The smallest chain below is the same size as yours... so congrats on making it happen! BTW, I was able to print chain in lengths of about a meter at Shapeways. I was limited by the number of links, or actually the number of STL file facets, for which Shapeways had an arbitrary limit in order to control file sizes. I was getting down to optimizing the number of facets in each link! The macro image shows the odd wax and/or unexplained crystal gunk that is found on these multijet parts. -

Brass piano hinges
Patrick Matthews replied to Chariots of Fire's topic in Metal Work, Soldering and Metal Fittings
As discussed above, the hinges from Dumas and Micromark are a good bit bigger than what what we're searching for. Thanks, PM -
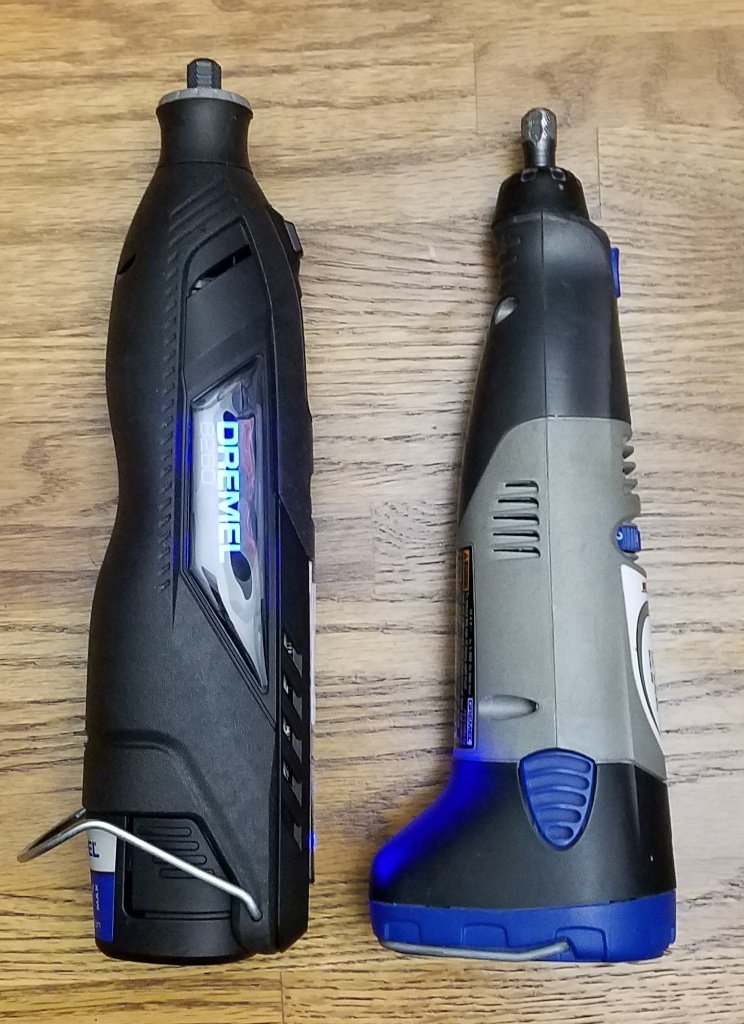
In another post on rotary tools here, I mention that I'm a free-range modeler. Unlike a dentist or a jeweler working in one tightly defined area, I need my rotary tool all around my 8 foot workbench... flex shaft tools and even cords don't cut it! So I'd be lost without my cordless Dremel. And lost I was for a few days, as my 15 year old Dremel 800 just died. So I rationalized why it was worth it to pop for Dremel's new top of the line model, the 8260-- it's an oft-used tool, and I use it more than my nice airbrush which cost about the same amount... so there. Just received it today, and- uh oh. It's a beast. It's huge. It has great features- a 12v Lithium battery and a brushless motor- good stuff! But it's huge. I mean, look at the thing. My old 800 fit in my hand nicely, and even with its funky looking battery, it was well balanced. This thing is fatter and clunky to hold, and it's HEAVY. 21 ounces vs. 14 for the old 800. It's longer, and has that silly end cap at the business end to get in the way of everything. Luckily, the svelte cap from my defunct 800 can be swapped in. But its bulk will likely cause issues getting into tight areas. The Dremel literature shows this thing chopping off rebar, I'm sure it could. I looked into other cordless offerings, and they're either discontinued or just too wimpy for my needs. The 800 was just right. I even looked at Proxxon... their cordless unit is even heavier! No thanks. So now I'm rationalizing why I should keep the new 8260 instead of returning it. New 8260 on left, the dead 800 on the right. Yes, the Dremel name lights up. And it even has Bluetooth so you can use your smart phone to check on the battery charge (whaaat??) My 800 was always right there ready to use, anywhere on this huge bench.
-
I vote for the block plane. Turn a square into an octagon, lean into it a bit to make the taper, and so on until it's round and tapered enough. Goes quickly. Finish with sanding or scrapers.
-

3D Printed Plank Cutter
Patrick Matthews replied to spill50's topic in Modeling tools and Workshop Equipment
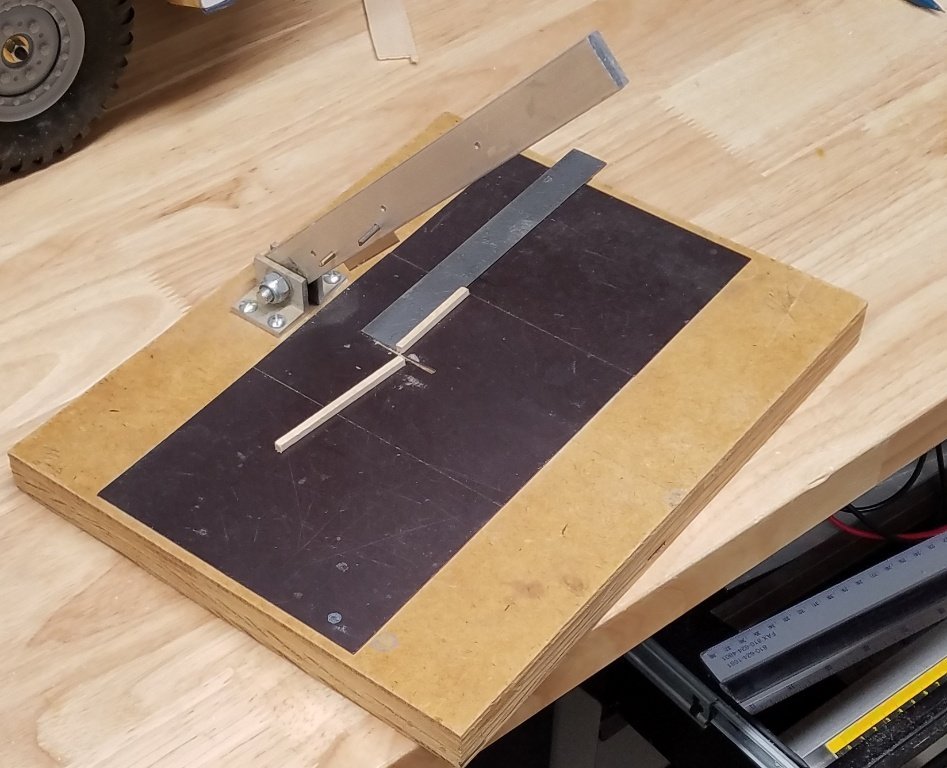
Nice! Most of these choppers use the single edge blades, strong, sharp and easily sourced by the hundred. Consider that the work surface will get chopped too, a deeper and deeper canyon will develop. On my 20 yr old home grown chopper, I use magnetic sheets to secure a steel rule when needed. It's about time for me to change it... -

Variable speed dremels
Patrick Matthews replied to Laggard's topic in Modeling tools and Workshop Equipment
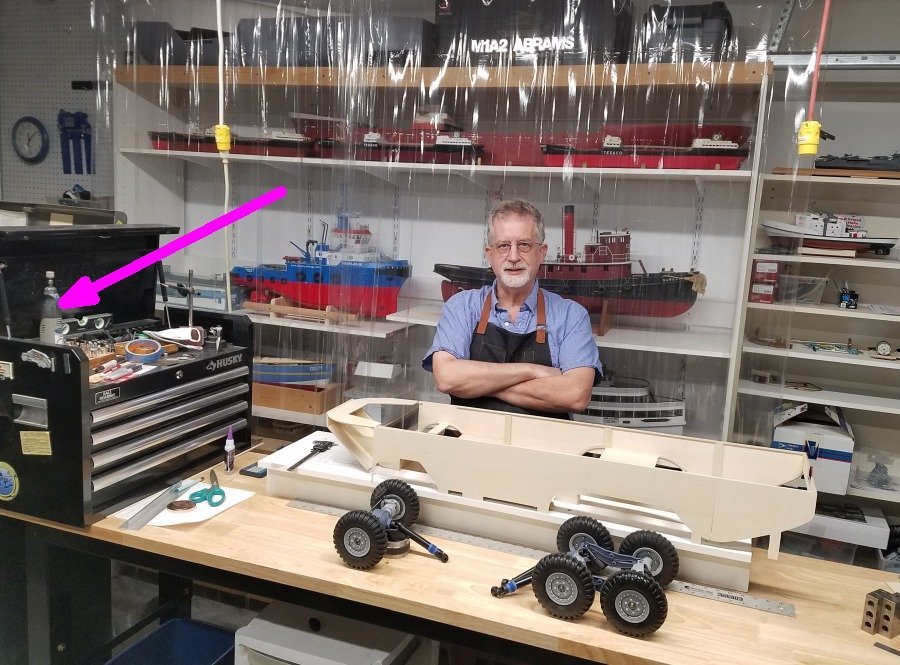
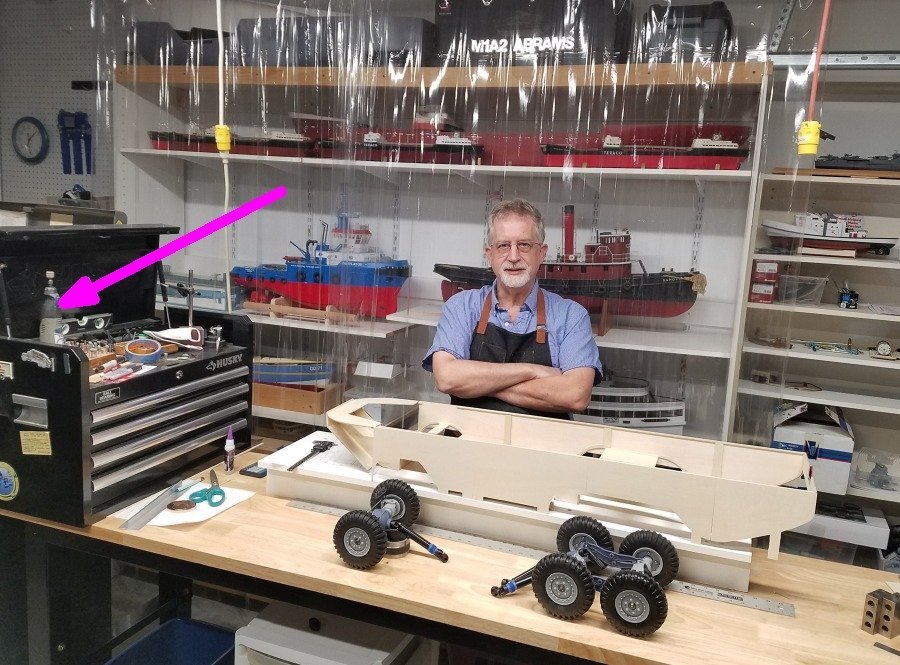
A couple related topics: Corded vs. cordless, handheld vs. flex shaft. I appreciate the merits of a Foredom, and the lower cost of corded units vs. cordless... but unlike a jeweler and to a lesser extent a display ship modeler, I'm a free-range modeler... have to be, when models are 5 and 6 feet long! I'm up and down the bench, working from above and below, and I'd be lost without my cordless rotary. My trusty Dremel 800 cordless just died after some 15 years service, so I just popped for Dremel's new top of the line unit, the 8260. 12v, and brushless for better efficiency/longer battery life, yay. Do I need the Bluetooth communication capability so I can use my smart phone to check on the battery condition? Uh, no. And did I choke just a bit on the price, knowing that throw-away rotaries can be had for one Andy Jackson? Uh, yep. But then I thought about how important this tool is to me. Even made me remember one day as a kid trying to get started in serious model railroading, when I was hanging out in the local model train shop, having a bull session with the owner and another regular customer. "What's the most useful tool to own?" I asked. The regular said he'd be lost without his Dremel! And then I looked at how much I paid for a decent airbrush... the new Dremel is on par with that. So the trigger got pulled and I'm just waiting on the package to arrive. Desperately waiting, because in the meantime I'm spending scores of minutes whacking on things by hand when the rotary would take care of the job in seconds! In the picture below, my defunct cordless Dremel is highlighted while I pose with the latest big project. -

Brass piano hinges
Patrick Matthews replied to Chariots of Fire's topic in Metal Work, Soldering and Metal Fittings
?? Yes I do have a mill, but I think you're thinking of the wrong holes. I'm talking about through the "knuckles" or barrels, where the hinge pin goes. That would take at least a 3 inch long drill bit of only 0.025" diameter, and even if such exists, it wanders off center as it goes deeper. -

Brass piano hinges
Patrick Matthews replied to Chariots of Fire's topic in Metal Work, Soldering and Metal Fittings
Nope, it is 10mm wide, I'm after more of the 5mm wide stuff. -

Brass piano hinges
Patrick Matthews replied to Chariots of Fire's topic in Metal Work, Soldering and Metal Fittings
I'll let you wonder! Based on my experience with such hinges on plastic boxes, and the fragility of these tiny parts, I'll pass on trying it. -

Brass piano hinges
Patrick Matthews replied to Chariots of Fire's topic in Metal Work, Soldering and Metal Fittings
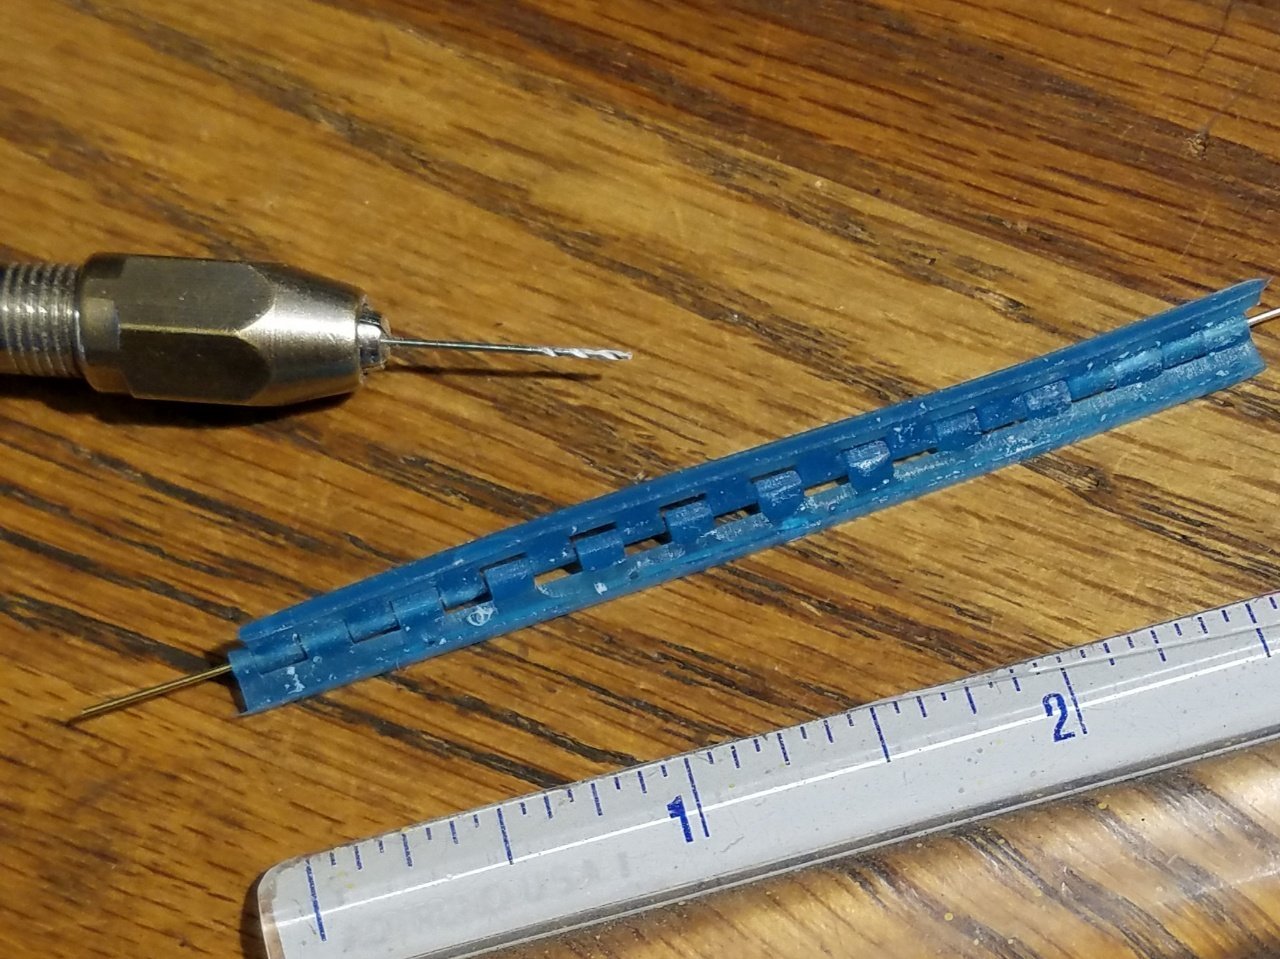
The .8mm refers to feature size, like wall thickness. More applicable at commercial printers like Shapeways. With my new home resin printer and high strength resin, I'm comfortable with 0.5mm (0.020"). Any smaller might print but is too delicate to handle. I just tried printing a short piano hinge, about 1/4" wide (open), with 0.020" wall thickness. The biggest problem is that holes tend to fill up, and there's no practical way to drill them out beyond about 1/2" at either end. Even if I had a long drill bit (with 0.025" diameter), it goes off center after drilling a couple eyes. -
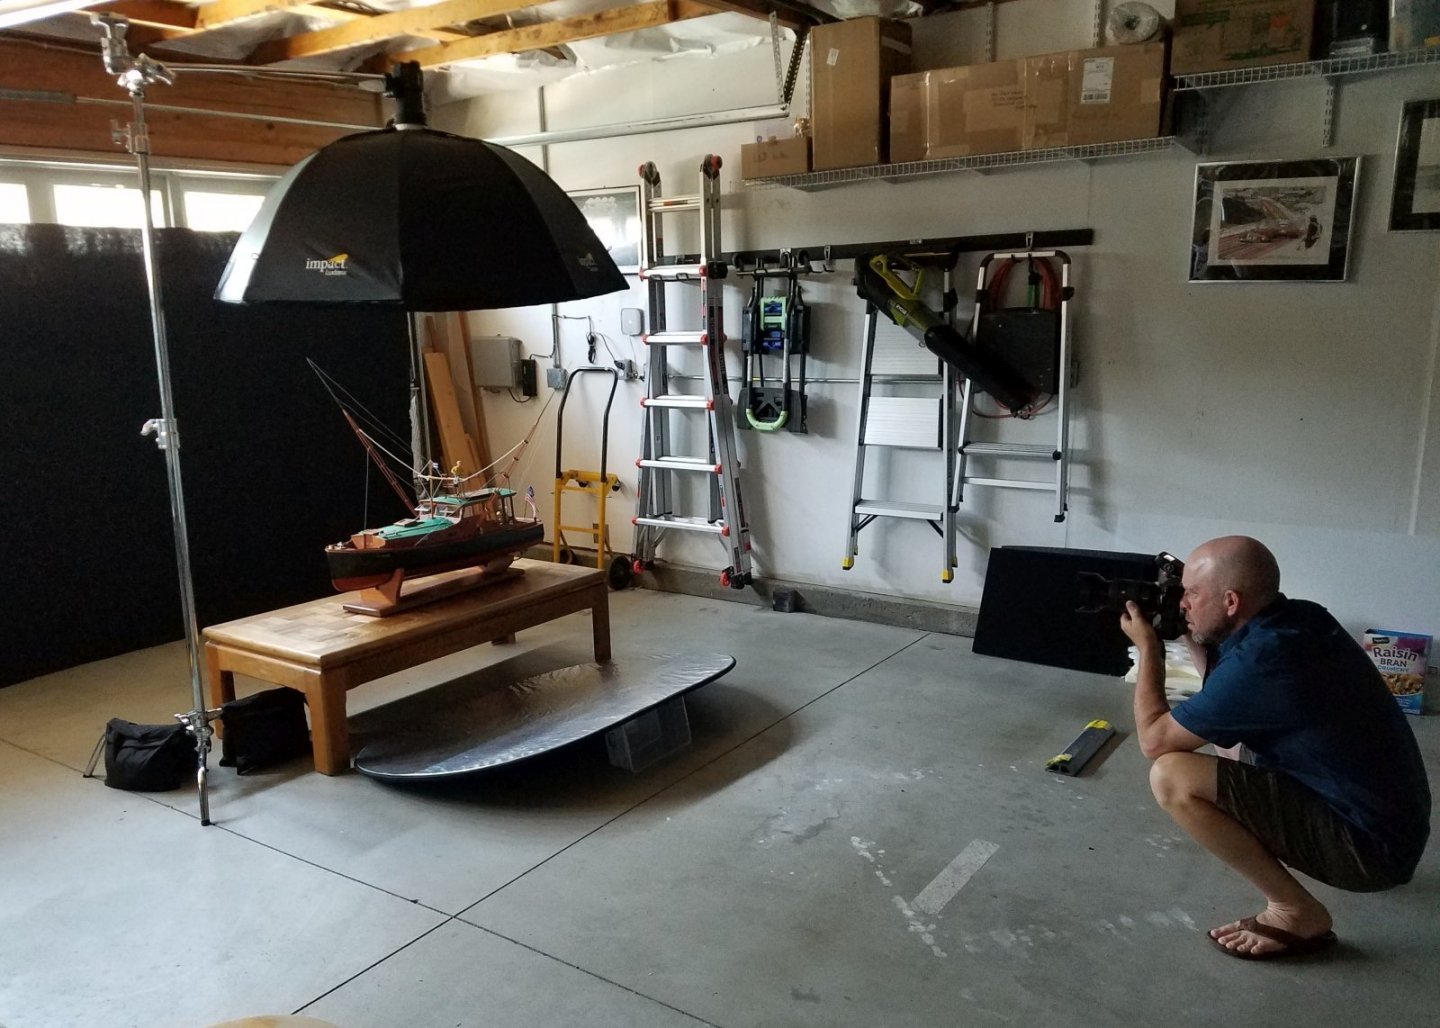
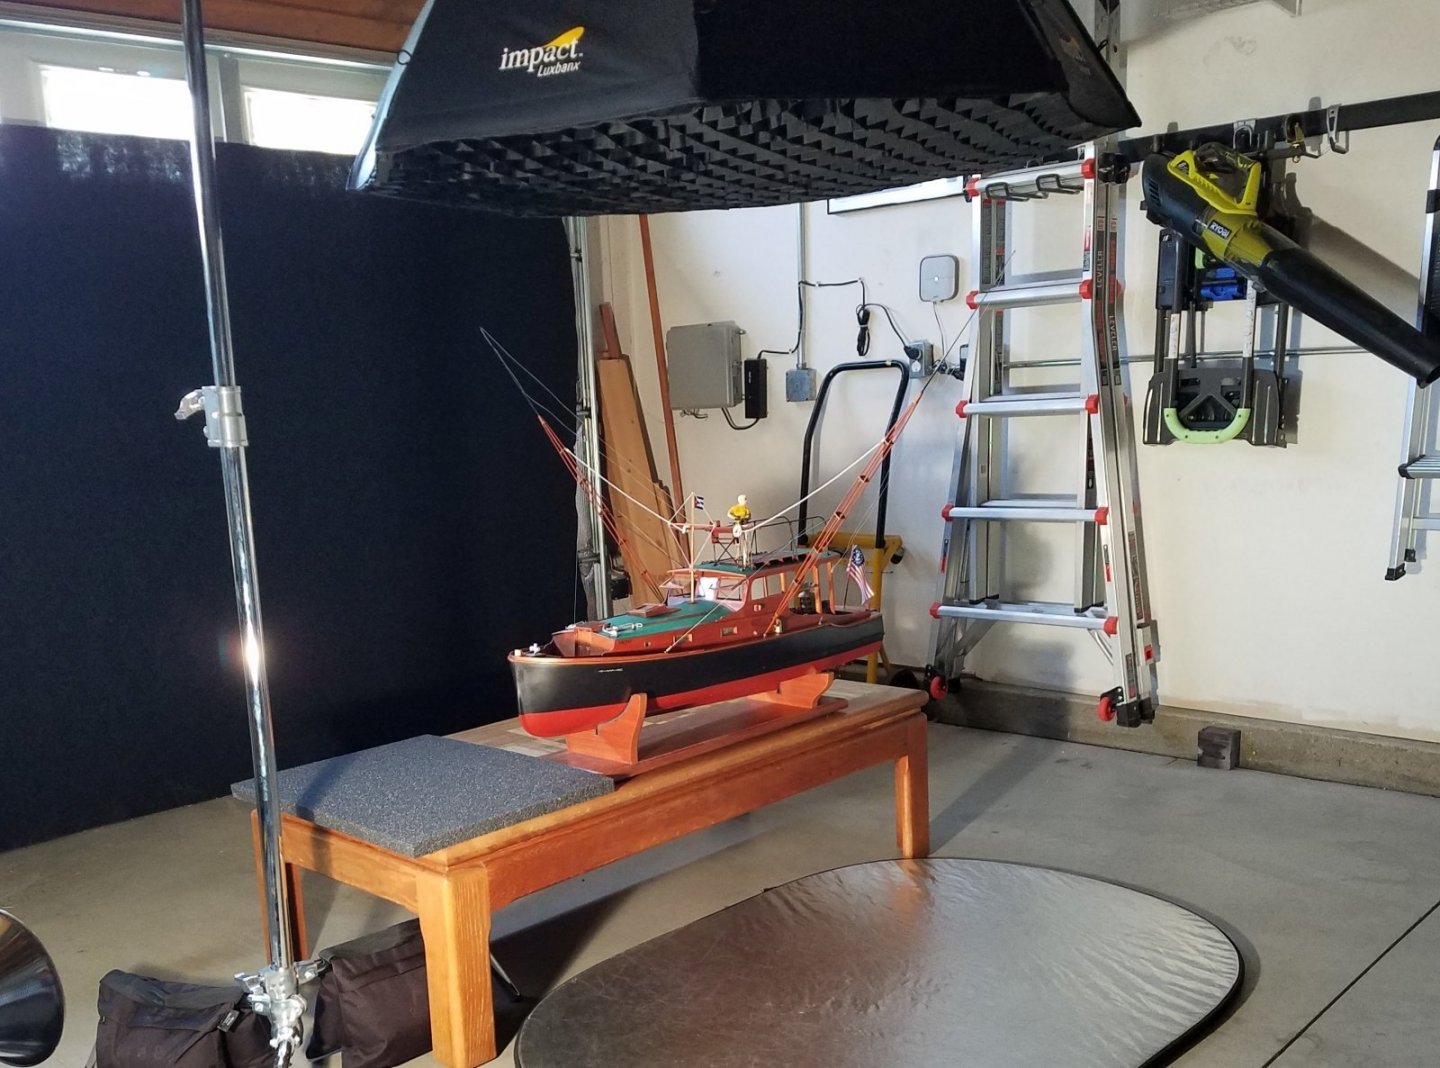
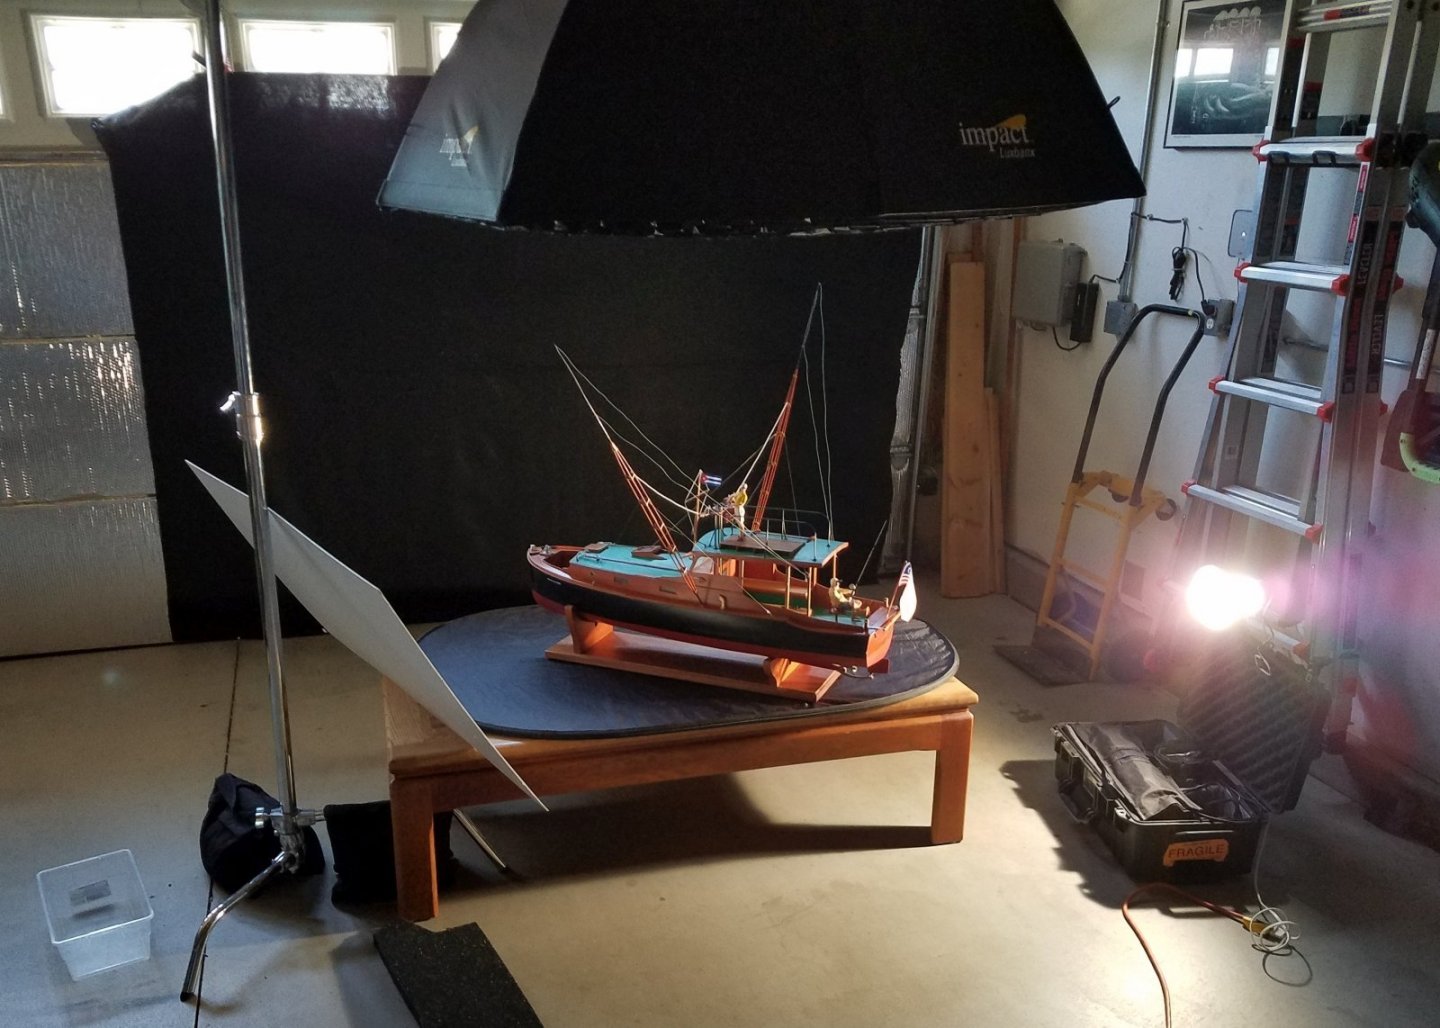
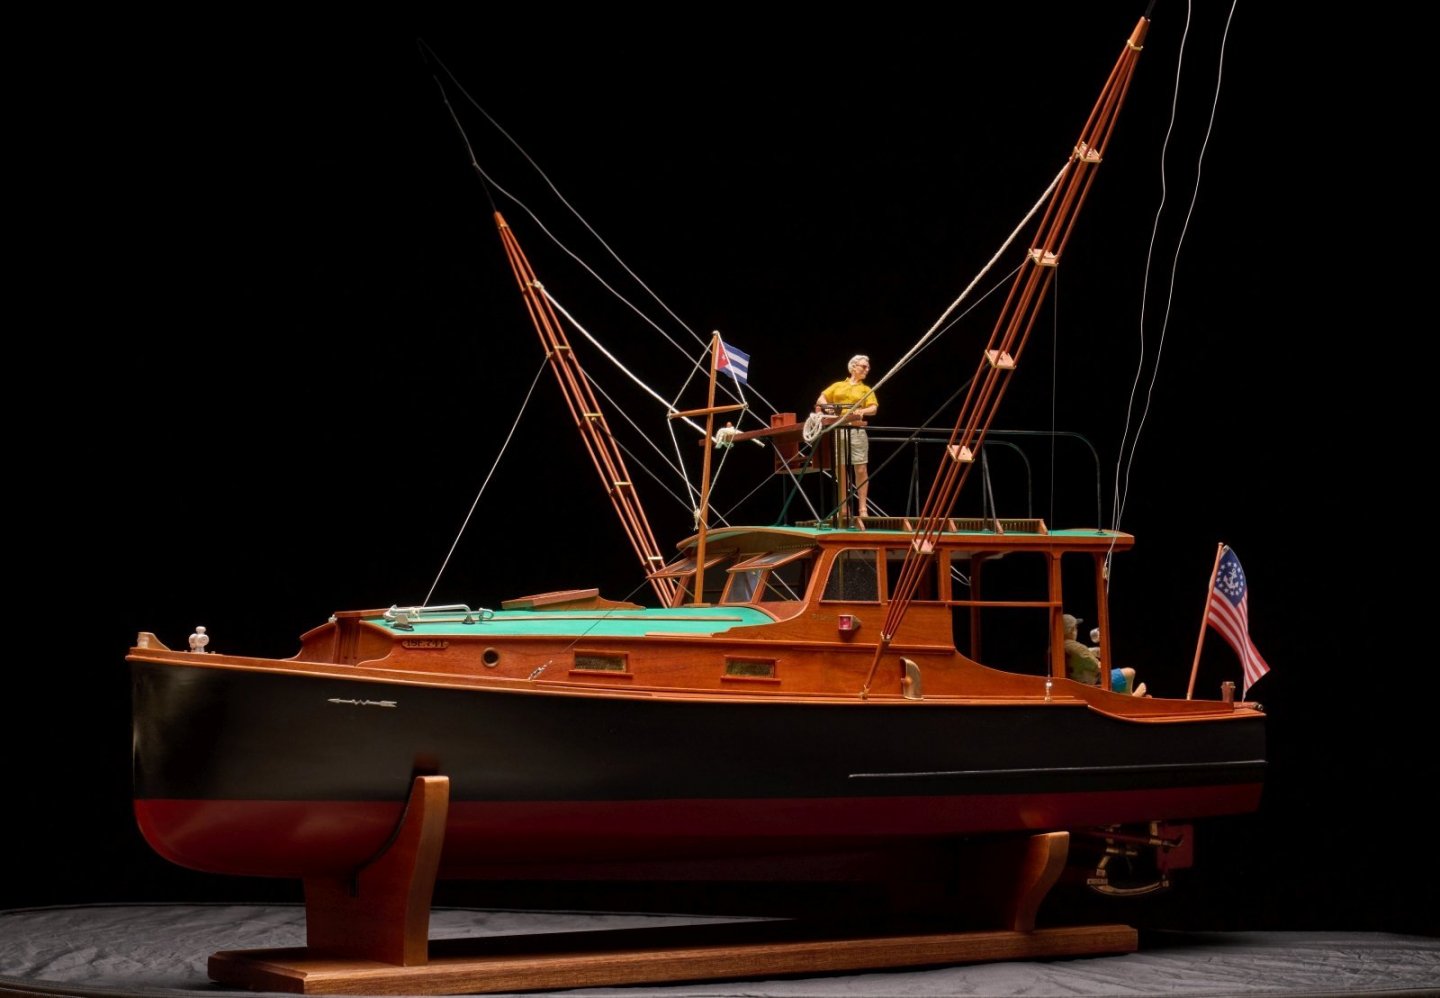
I've taken plenty of photos of my models, mostly in-process on the work bench. Sometimes I'll make an effort to take some beauty shots, always with so-so results. But my brother, who is a pro photographer, showed me some tricks using my PILAR model. Am I likely to pick up the same tools he has? Not too likely, but a lot of it actually isn't too much of an add, assuming you already have a decent camera. My impromptu lesson took place in my garage, with a big piece of black fabric for a back drop, and a coffee table to hold up the model. The main "tool" was a soft box- a big umbrella like thing with diffusers and a strobe inside. This was arranged over the model to rain soft parallel light down from above. We played with a reflector panel to get some bounce-fill, and even resorted to an old photo flood to fill in a dark spot. The process had a lot of trial and error: take a shot, examine it, adjust the lighting, it was all magic to me. It was hardly a complete studio, but we made do with it to get some decent shots. See more in the scratch build gallery under PILAR. My brother Wil doing his thing in the garage: Better view of the soft box and reflector: Using an old flood to fill in: ... to get results like this:
-

3d printing process
Patrick Matthews replied to henrythestaffy's topic in 3D-Printing and Laser-Cutting.
There are various ways to handle and store the IPA. First, realize that the used IPA will contain uncured resin after a wash. And therefore, it stinks like resin. So you want a good seal on your container. I use plastic pickle jars: https://www.amazon.com/LOCK-HPL933BT-Pickle-Container/dp/B06WD1F7HD/ I don't own a wash/cure, too much bother. You can use the IPA several times no problem. Maybe keep two jars for 1st & 2nd wash. You can leave the IPA in the sun to solidify dissolved resin, then strain with coffee filters. Some invest in distillers to get the best cleaning of the IPA. -

3d printing process
Patrick Matthews replied to henrythestaffy's topic in 3D-Printing and Laser-Cutting.
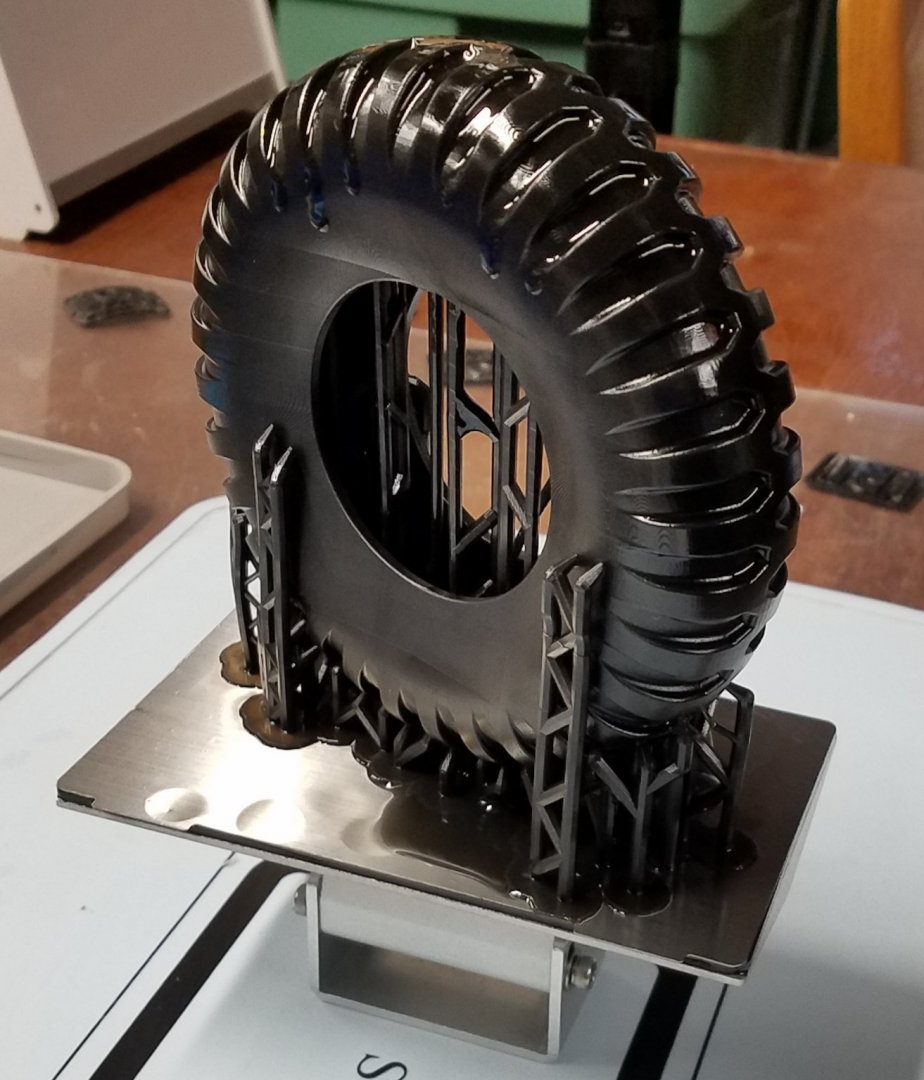
re: Water Washable... proceed carefully. It is NOT OK to wash parts in the sink and down the drain! Your wash water, containing uncured resin, needs to be treated like hazardous waste. I only use IPA, it's just not a problem. High volume users may have more to deal with, but there are techniques, read up on it. My latest part, and it's marine related- for a DUKW! A 5" OD tire printed in flexible resin: . -

Brass piano hinges
Patrick Matthews replied to Chariots of Fire's topic in Metal Work, Soldering and Metal Fittings
3d printing, even in metal, is no substitute for fine brass work. 1/32" [.8mm] is about the smallest dimension you can print, and that's too fragile to be practical. And it looks nothing like the polished brasswork on the engine hatch of a Hackercraft! -

3d printing process
Patrick Matthews replied to henrythestaffy's topic in 3D-Printing and Laser-Cutting.
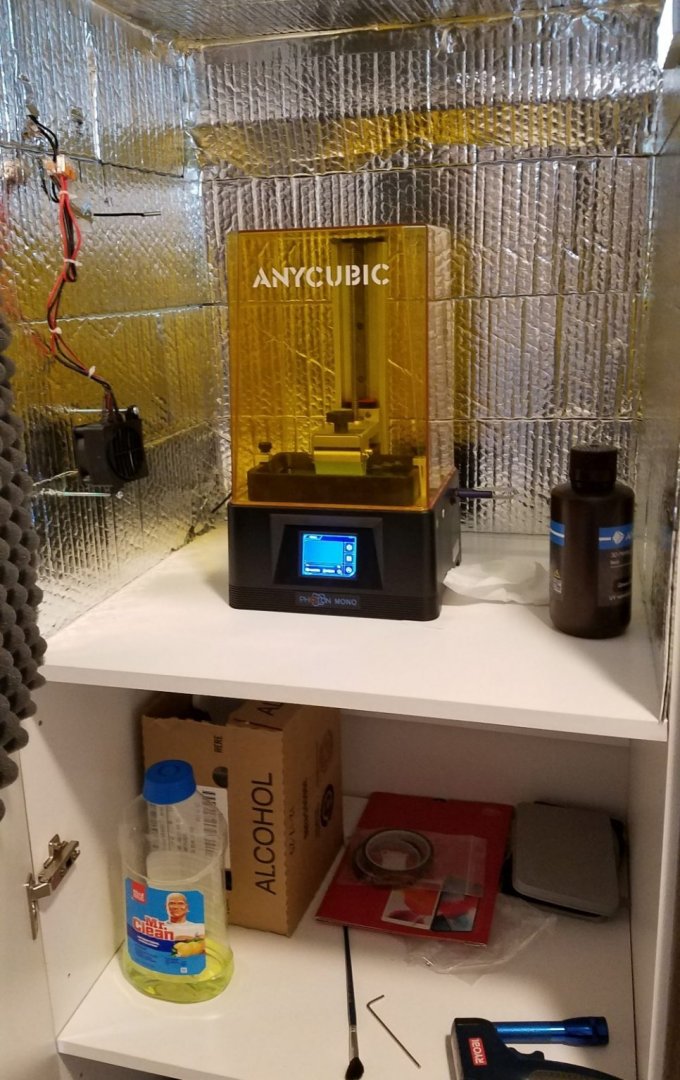
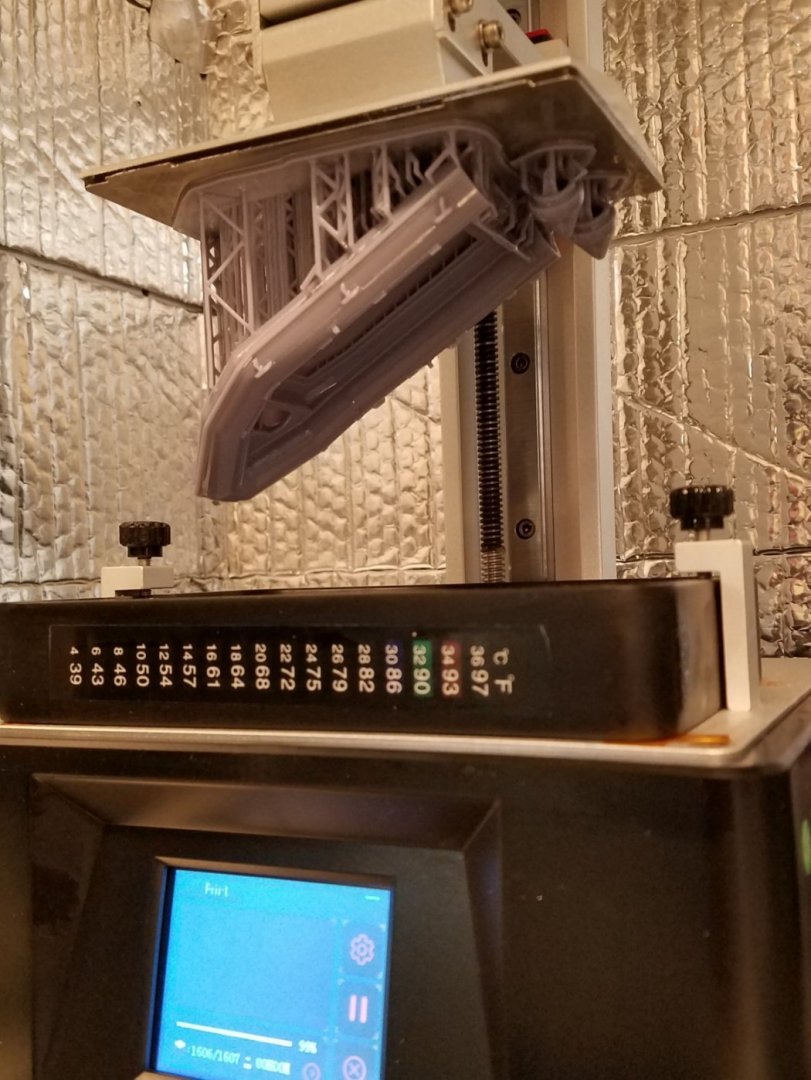
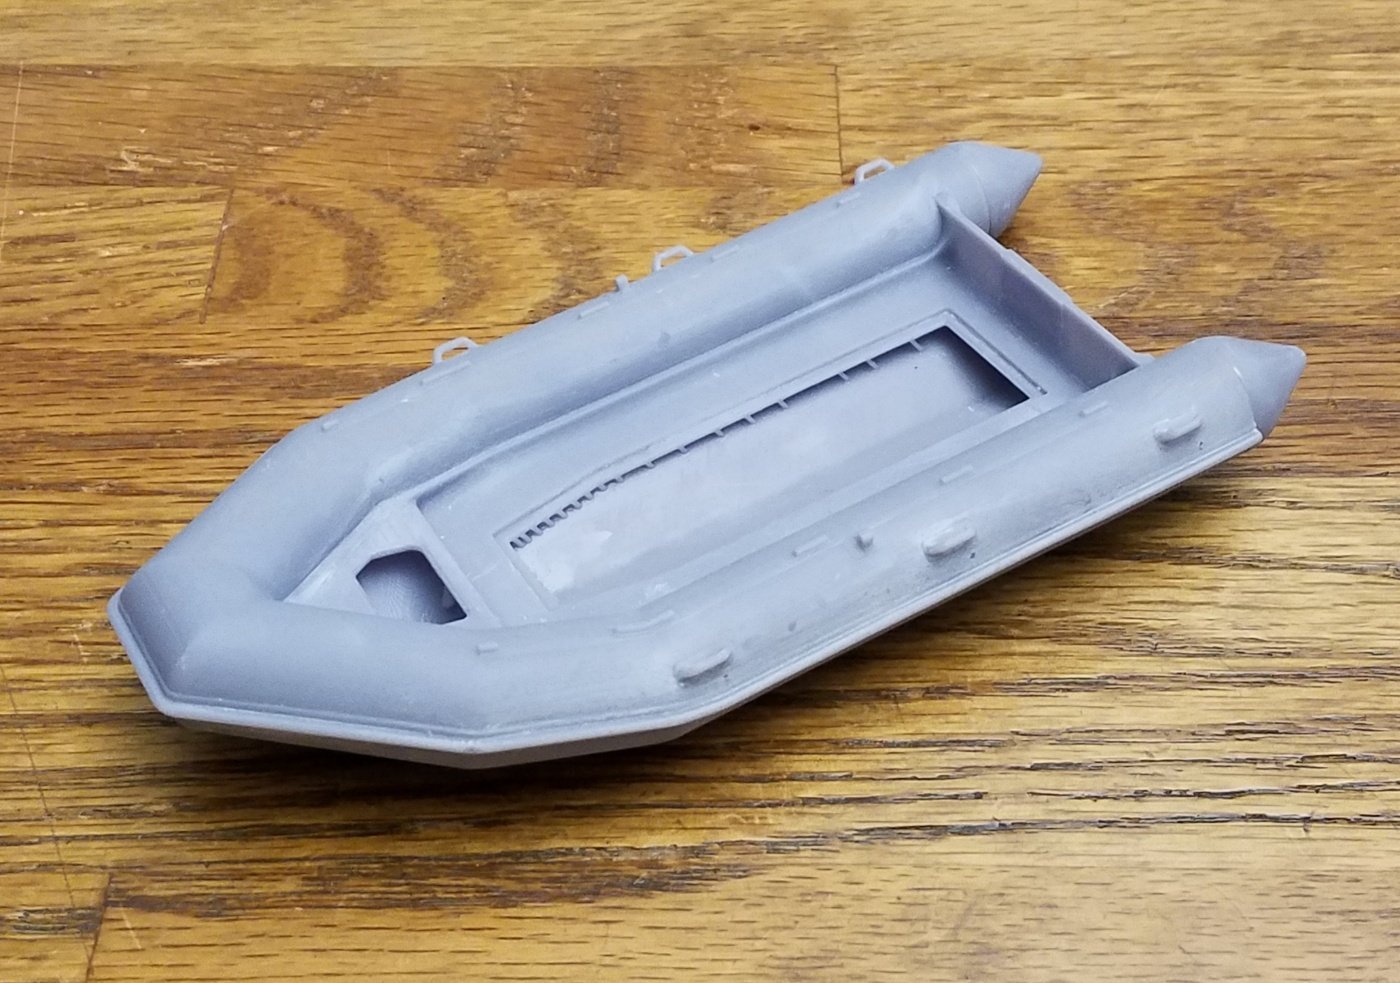
I have done A LOT of 3d printing, mostly with fine detail parts sourced through houses like Shapeways. Whenever someone asked me what kind of printer I had, the answer was NONE- because affordable home printers had such horrible resolution and finish. Don't mess with the overhead I said, let Shapeways do that, and you'll get better parts to boot. That's different now, with the new bottom-up LCD resin printers. And now I own one! My little printer and a typical part: -

Brass piano hinges
Patrick Matthews replied to Chariots of Fire's topic in Metal Work, Soldering and Metal Fittings
I was gifted some of those, and used them on my Pilar model. Wonderful stuff, I measured it at 3/16" wide (= 5mm). Can't find it anywhere, not even a mention of who made it before. -

Correct Propeller RPM
Patrick Matthews replied to Senza Timone's topic in RC Kits & Scratch building
There's a whole book to write regarding preparations for RC use, all best done before getting too far along... not only motor and prop, but prop tube and bearings... ballast, how much and where to put it... battery choice and how to mount it... wiring... steering linkage and servo... access to EVERYTHING, as everything needs to be serviced... and super important, waterproofing. I would never consider floating a wood planked hull that doesn't have a fiberglass outer skin (and not just resin- actual glass in there). -

Alternate Views
Patrick Matthews replied to Patrick Matthews's topic in CAD and 3D Modelling/Drafting Plans with Software
Thanks. F360 is as bad as the others, not only for the learning curve and hull lofting, but also its basic competence. But it's free and I make do, with a fair amount of cussing. -

Alternate Views
Patrick Matthews posted a topic in CAD and 3D Modelling/Drafting Plans with Software
A trend in CAD design is to get away from dependence on paper drawings. For while we had "CAD is the Master", which meant "we'll give you a paper drawing, but you need to build to the 3d model in the CAD file"- for example, working directly from that model to create CNC tool paths. And now we even have "CAD IS the drawing", where you get no paper at all! Fusion 360 seems to lean that way- it has powerful 3d modeling and CNC elements, but they really dumbed down the 2d print making capability. To the point where you really have to jump through some hoops to make a traditional ship drawing that bench-top model builders can use. But I figured out those hoops. And- I'm finding that I can easily add views that might not be included on traditional drawings, where the old draftsmen actually seemed to worry about how much paper they used. Here are some examples, with isometrics, starboard AND port side views where it matters, and body sections drawn to both sides (no need to wrassle with flipping paper templates inaccurately around the centerline!). These examples from my San Francisco fireboat project. Full "E" size drawings will be posted soon, these are thumbnails: Body sections on BOTH sides: Isometric views: P&S views of the asymmetrical cabin door layout. And front and back, too: And a traditional view: -
Discussed in more detail up in Plans Research, but I've been modelling the 1945 Santa Fe tug "Edward J. Engel" in Fusion360. The purpose of the model is mostly just to pin down the overall shape and component placement, based on existing fuzzy prints from period marine engineering journals. Much can be improved, and I hope to do so. The model as drawn is not suitable for 3d printing, but I have put it up on GrabCAD for free. You can spin it around and download it at: https://grabcad.com/library/edward-j-engel-1
-
With recent changes by Autodesk, the free version of Fusion360 can't save files to DXF, which you could use in most laser cutters. The paid version will allow this though- you make your sketch, generate solid parts from that, make a 2d drawing from the solid, and save an appropriate view as DXF. Regarding the print shops- you can have confidence in their printing ability the first time through. Unlike with the cheap filament printers, their processes are robust and well dialed-in. But yes, you do need to design a good part to begin with! And you need to be familiar with the main types of printing, which each have their benefits and challenges.
About us
Modelshipworld - Advancing Ship Modeling through Research
SSL Secured
Your security is important for us so this Website is SSL-Secured
NRG Mailing Address
Nautical Research Guild
237 South Lincoln Street
Westmont IL, 60559-1917
Model Ship World ® and the MSW logo are Registered Trademarks, and belong to the Nautical Research Guild (United States Patent and Trademark Office: No. 6,929,264 & No. 6,929,274, registered Dec. 20, 2022)
Helpful Links
About the NRG
If you enjoy building ship models that are historically accurate as well as beautiful, then The Nautical Research Guild (NRG) is just right for you.
The Guild is a non-profit educational organization whose mission is to “Advance Ship Modeling Through Research”. We provide support to our members in their efforts to raise the quality of their model ships.
The Nautical Research Guild has published our world-renowned quarterly magazine, The Nautical Research Journal, since 1955. The pages of the Journal are full of articles by accomplished ship modelers who show you how they create those exquisite details on their models, and by maritime historians who show you the correct details to build. The Journal is available in both print and digital editions. Go to the NRG web site (www.thenrg.org) to download a complimentary digital copy of the Journal. The NRG also publishes plan sets, books and compilations of back issues of the Journal and the former Ships in Scale and Model Ship Builder magazines.


