wmherbert
-
Posts
292 -
Joined
-
Last visited
Content Type
Profiles
Forums
Gallery
Events
Everything posted by wmherbert
-
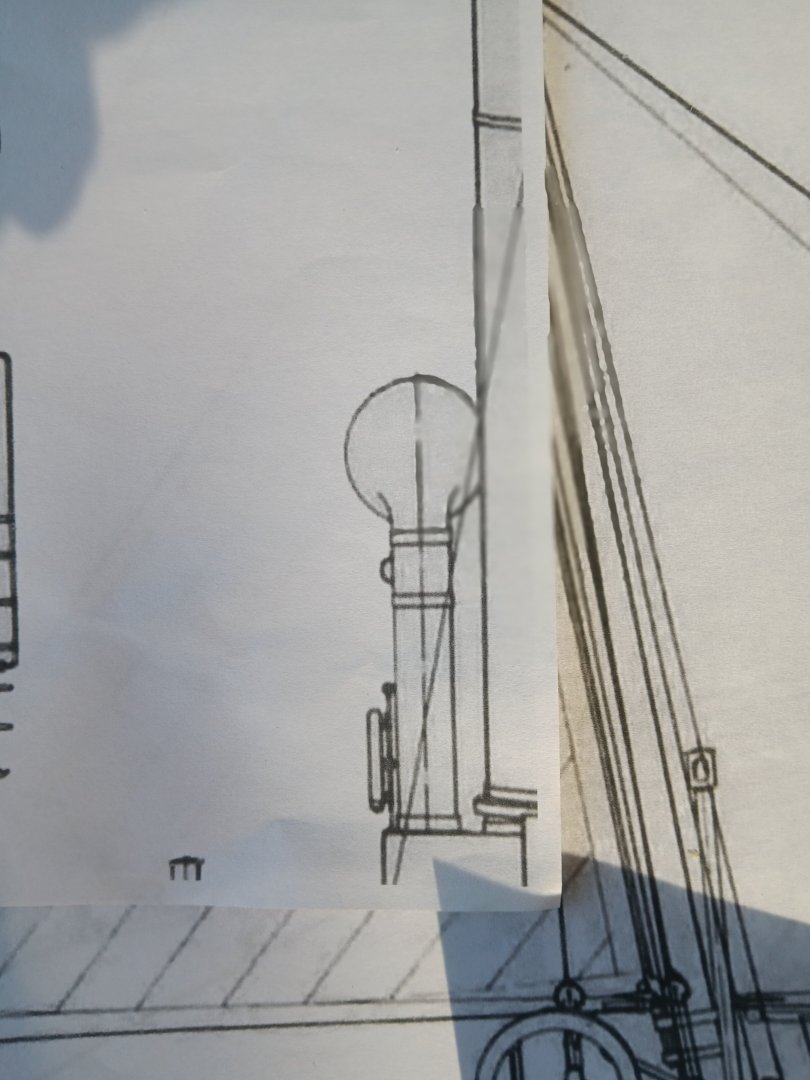
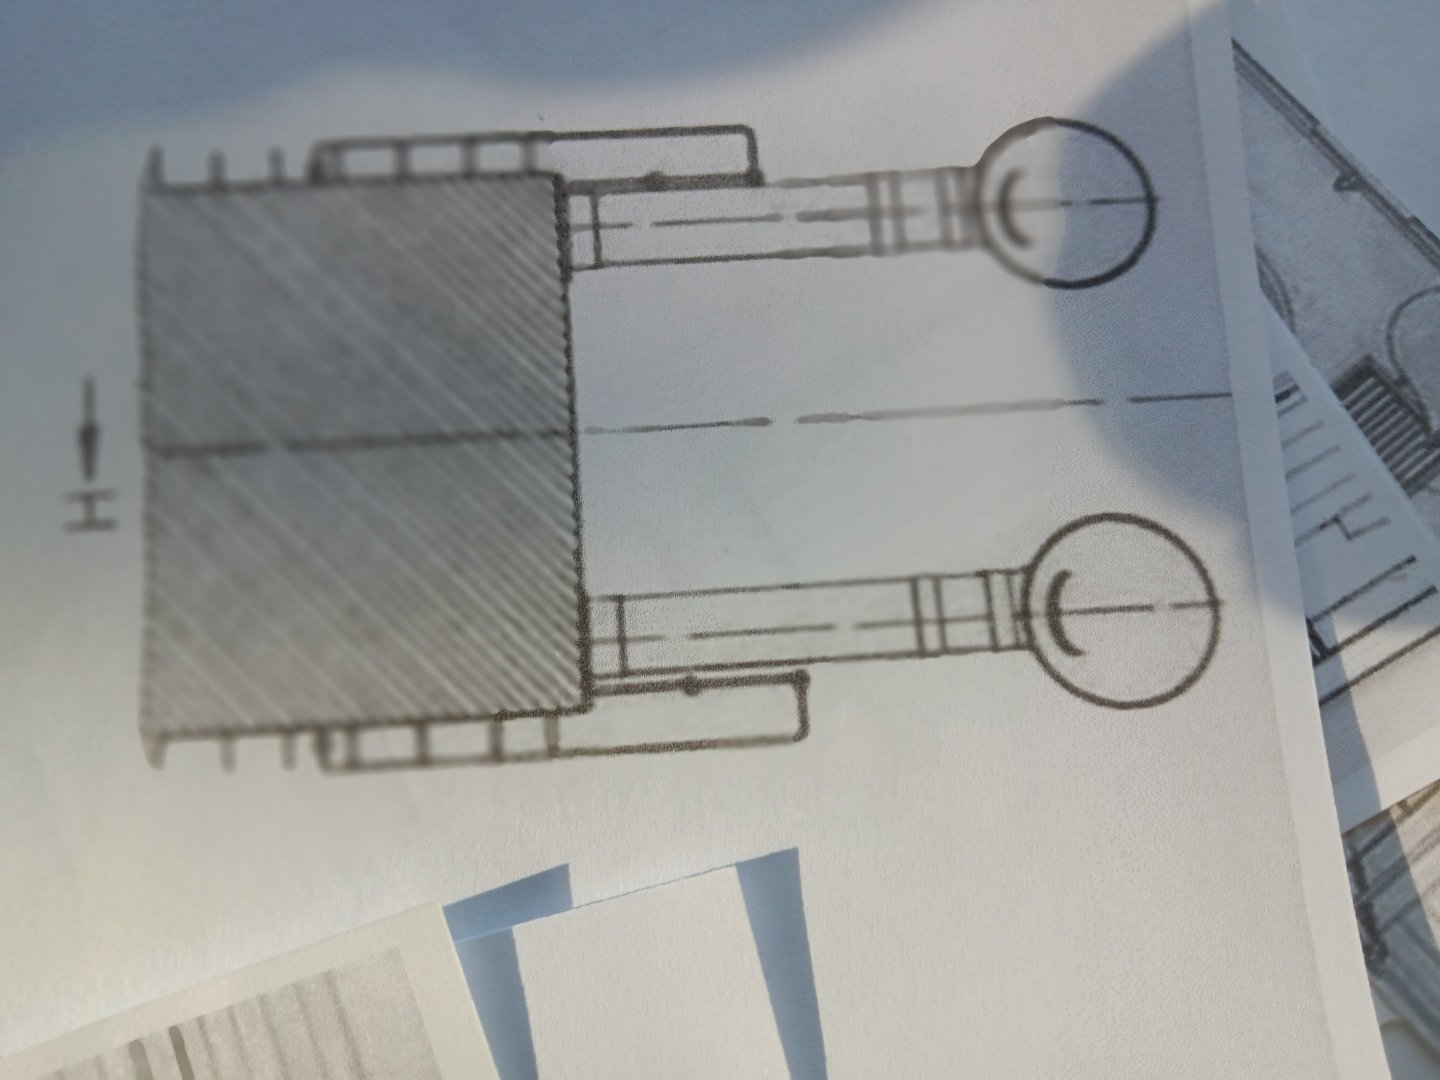
Hi, I'm working on a scratch built steam trawler and I need a couple of larger cowl vents. I have a friend with a 3D printer if I could find a program file for one or could order them from someone who makes them. Any suggestions would be greatly appreciated. For reference My trawler is 1:48 scale and vents are about 2.5 inches high. Bill
-
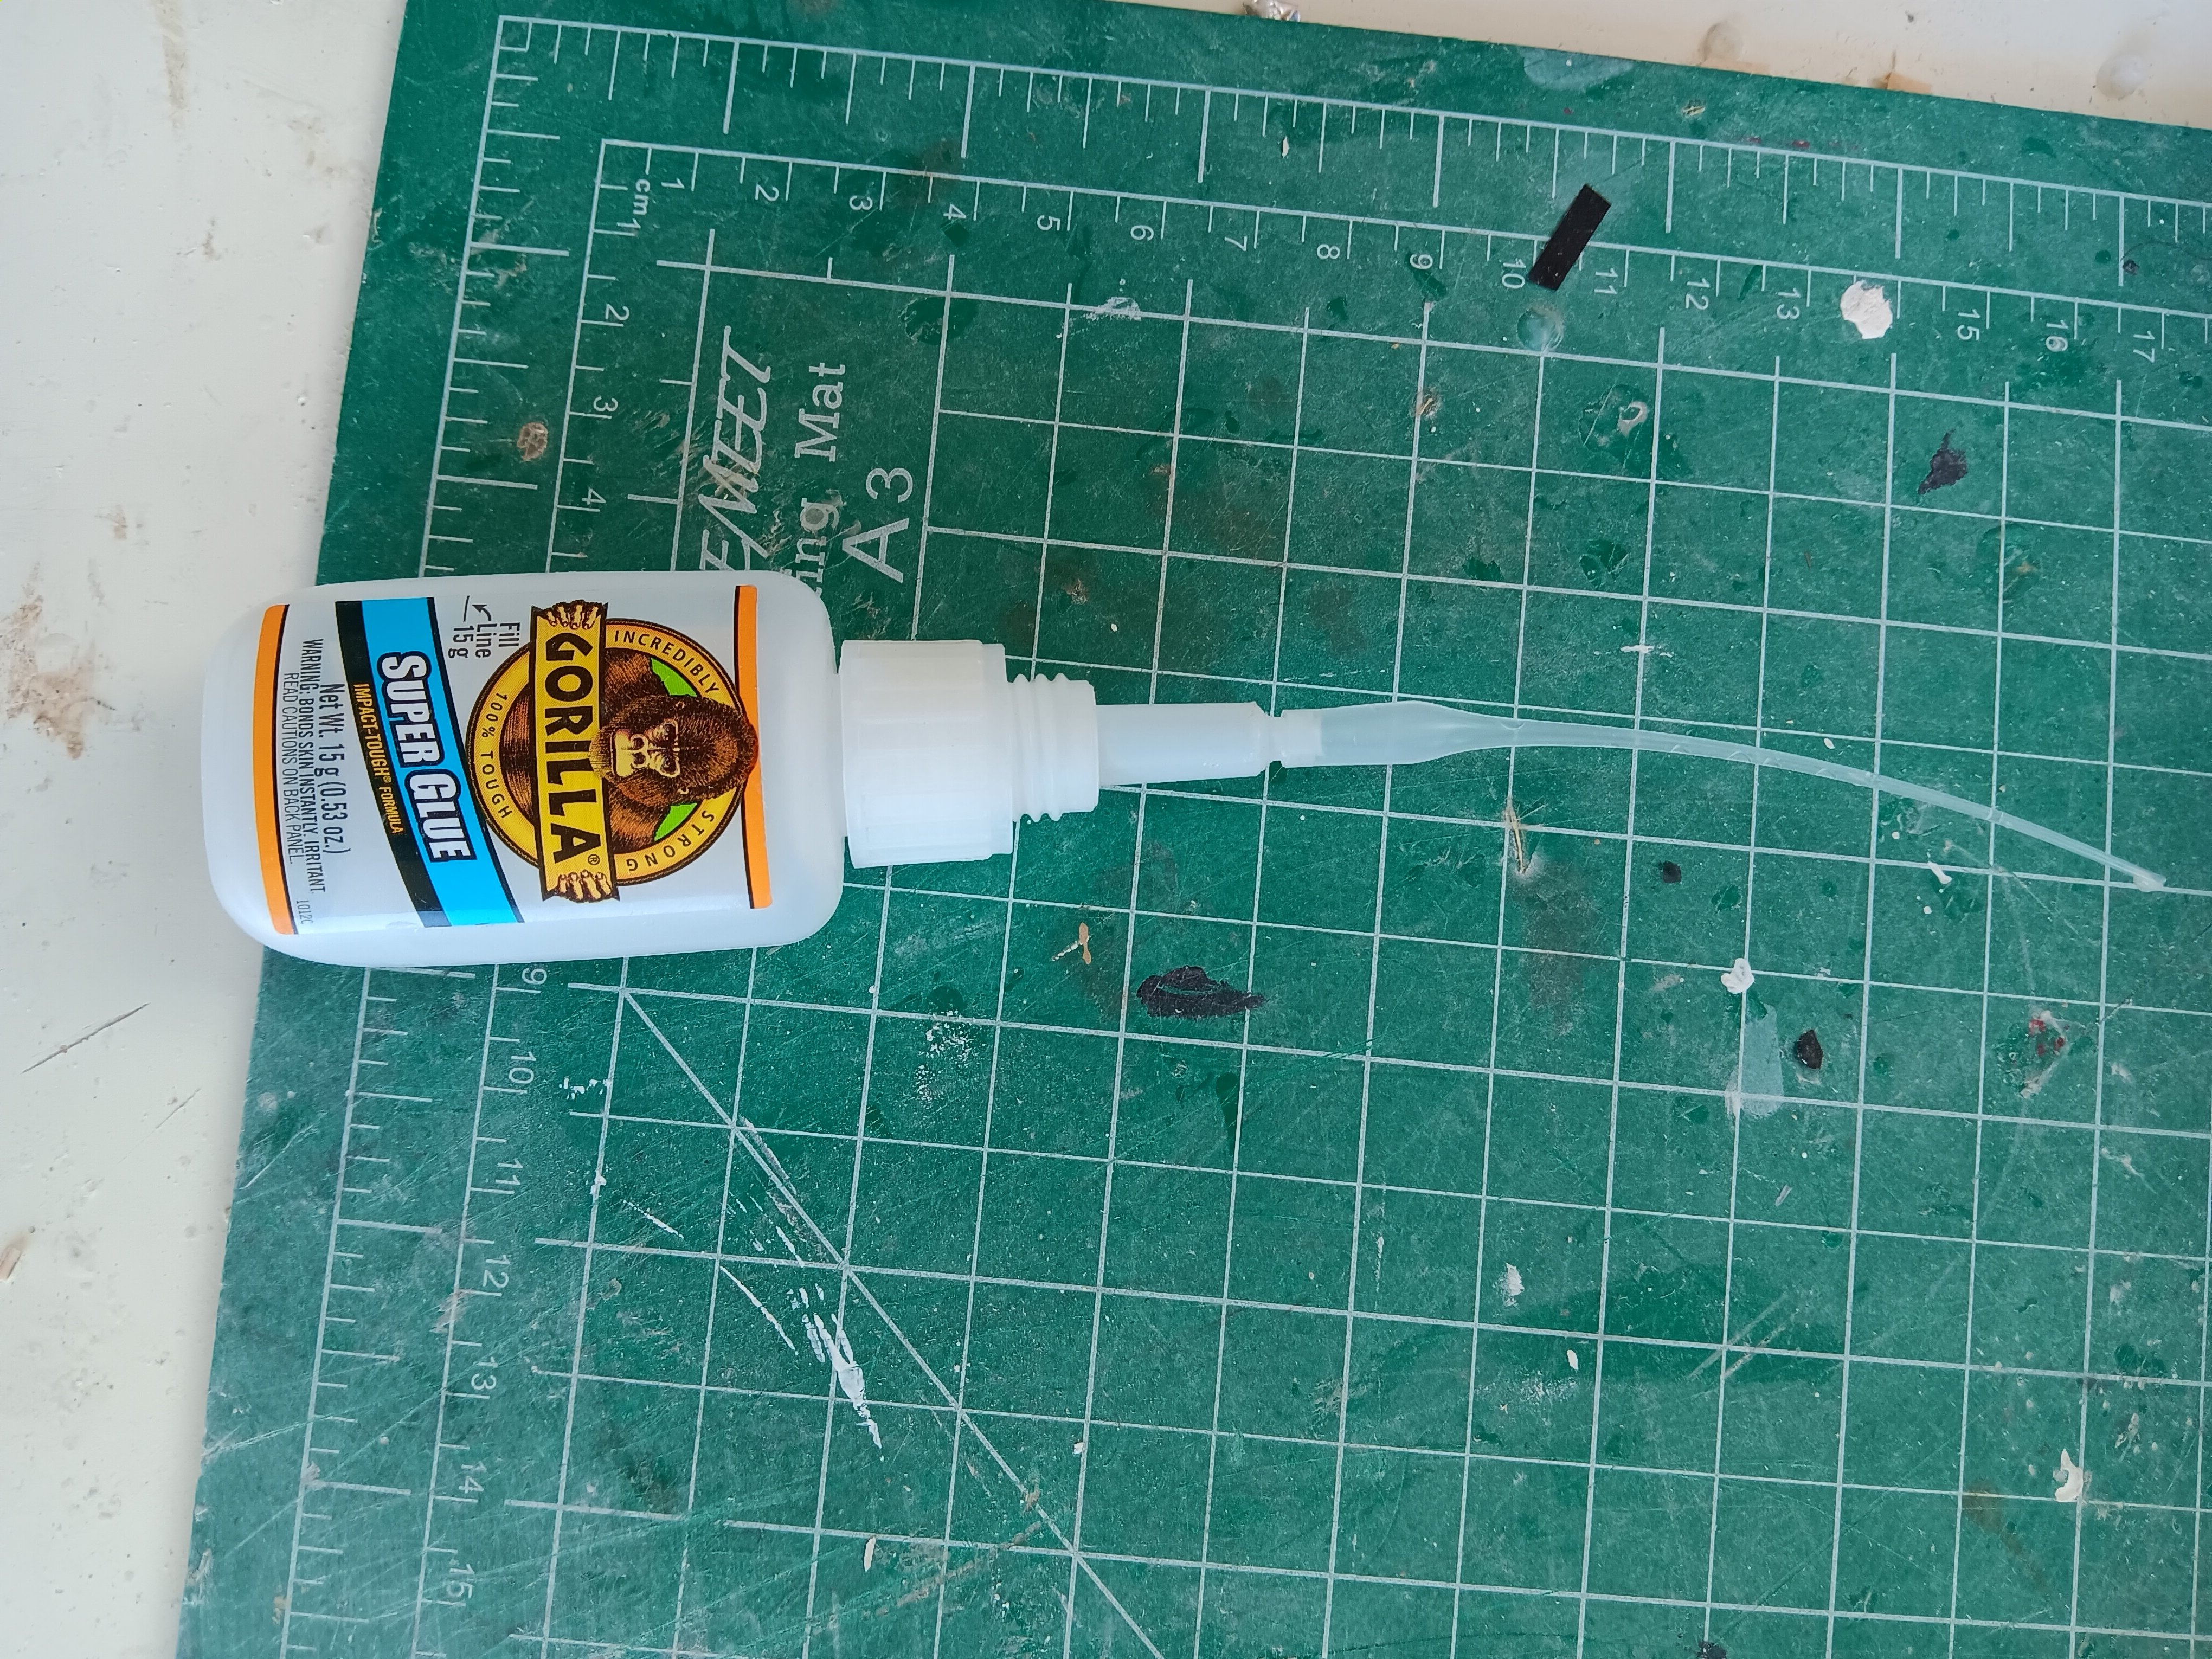
CA (cyanoacrylate) "super glue"
wmherbert replied to Dr PR's topic in Modeling tools and Workshop Equipment
Key for me is using the very fine tips I bought on Amazon. A ton of them for very little money. I get rid of the cap and just use a nozzle. I leave it on between uses. Even over night. If it clogs I just cut a tiny bit of the tip and it's ready to go. Bill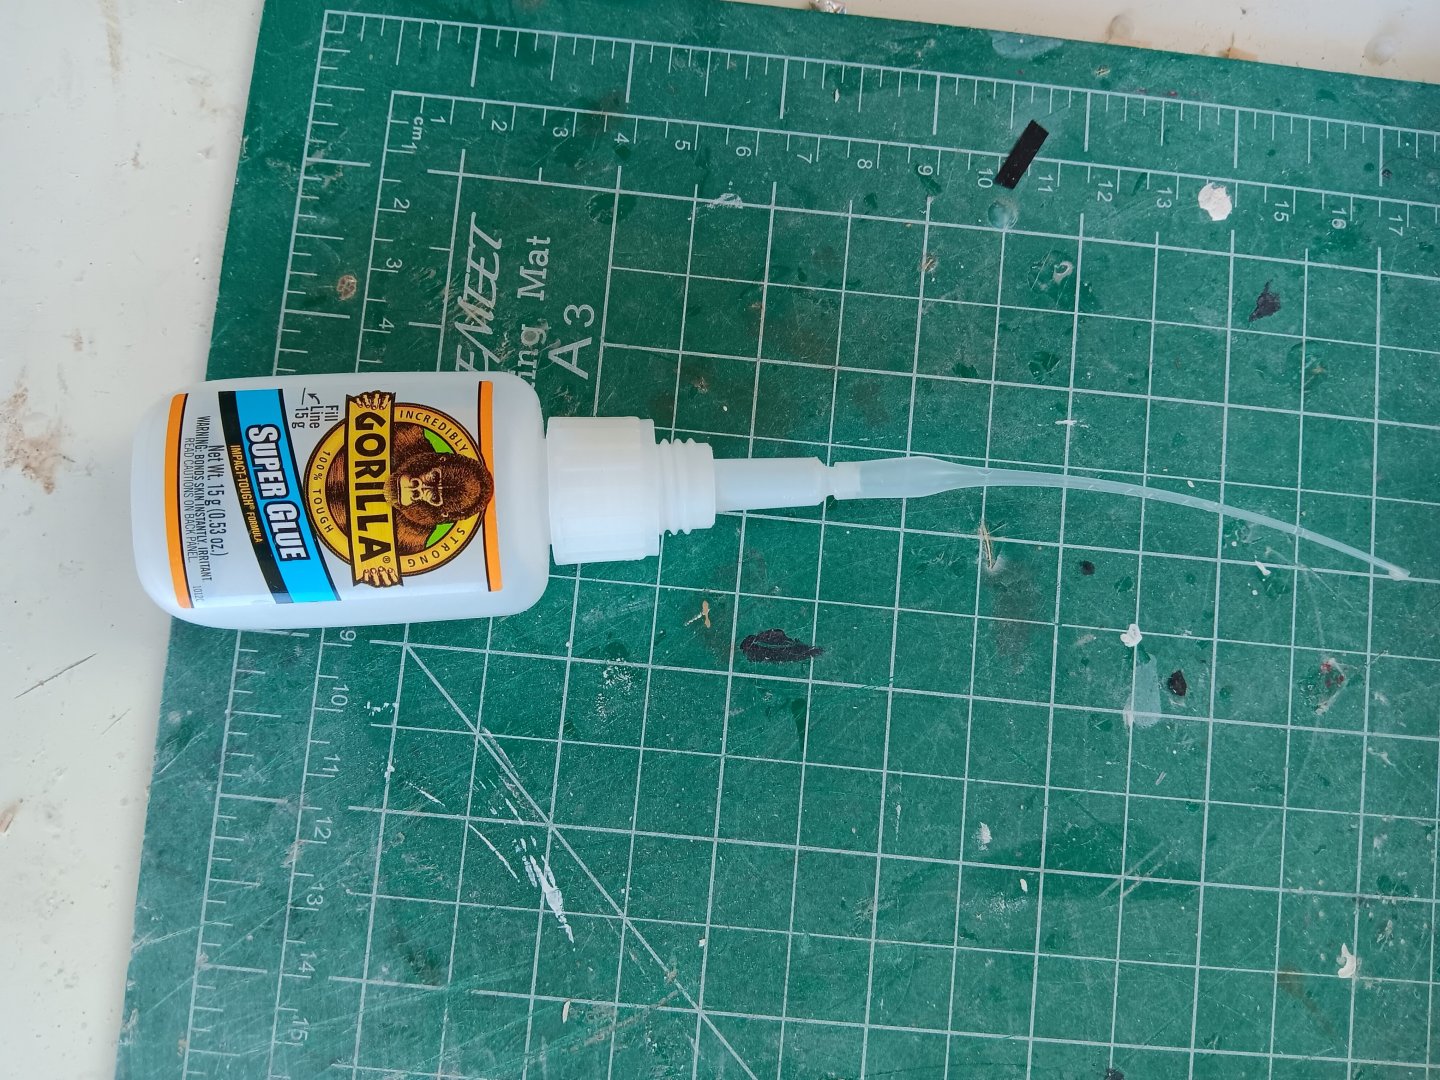
-
I Have an Itch to Scratch
wmherbert replied to SaltyScot's topic in Modeling tools and Workshop Equipment
Finding good plans with the detail you need is more important than any tools you might think you need. A scroll saw from harbor freight was all I added to what I had. Bill -
Mark, I personally wouldn't worry too much about it. Rake angles change the center of effort of the sails forward and aft. They would have been adjusted to the skipper 's preference. Different skippers, different ballasting, different stretch in sails as they aged, etc., different rake angles. What you have will be accurate and look terrific. Bill
-
I just usually cut up pieces of clear plastic packaging. Glue with CA. Have to careful to not smear the glue on the plastic. I glue to the backside of the opening . I don't try to cut an exact fit into the opening. Bill
-
Best White Wood Glue For Ship Building
wmherbert replied to OldeManToad's topic in Modeling tools and Workshop Equipment
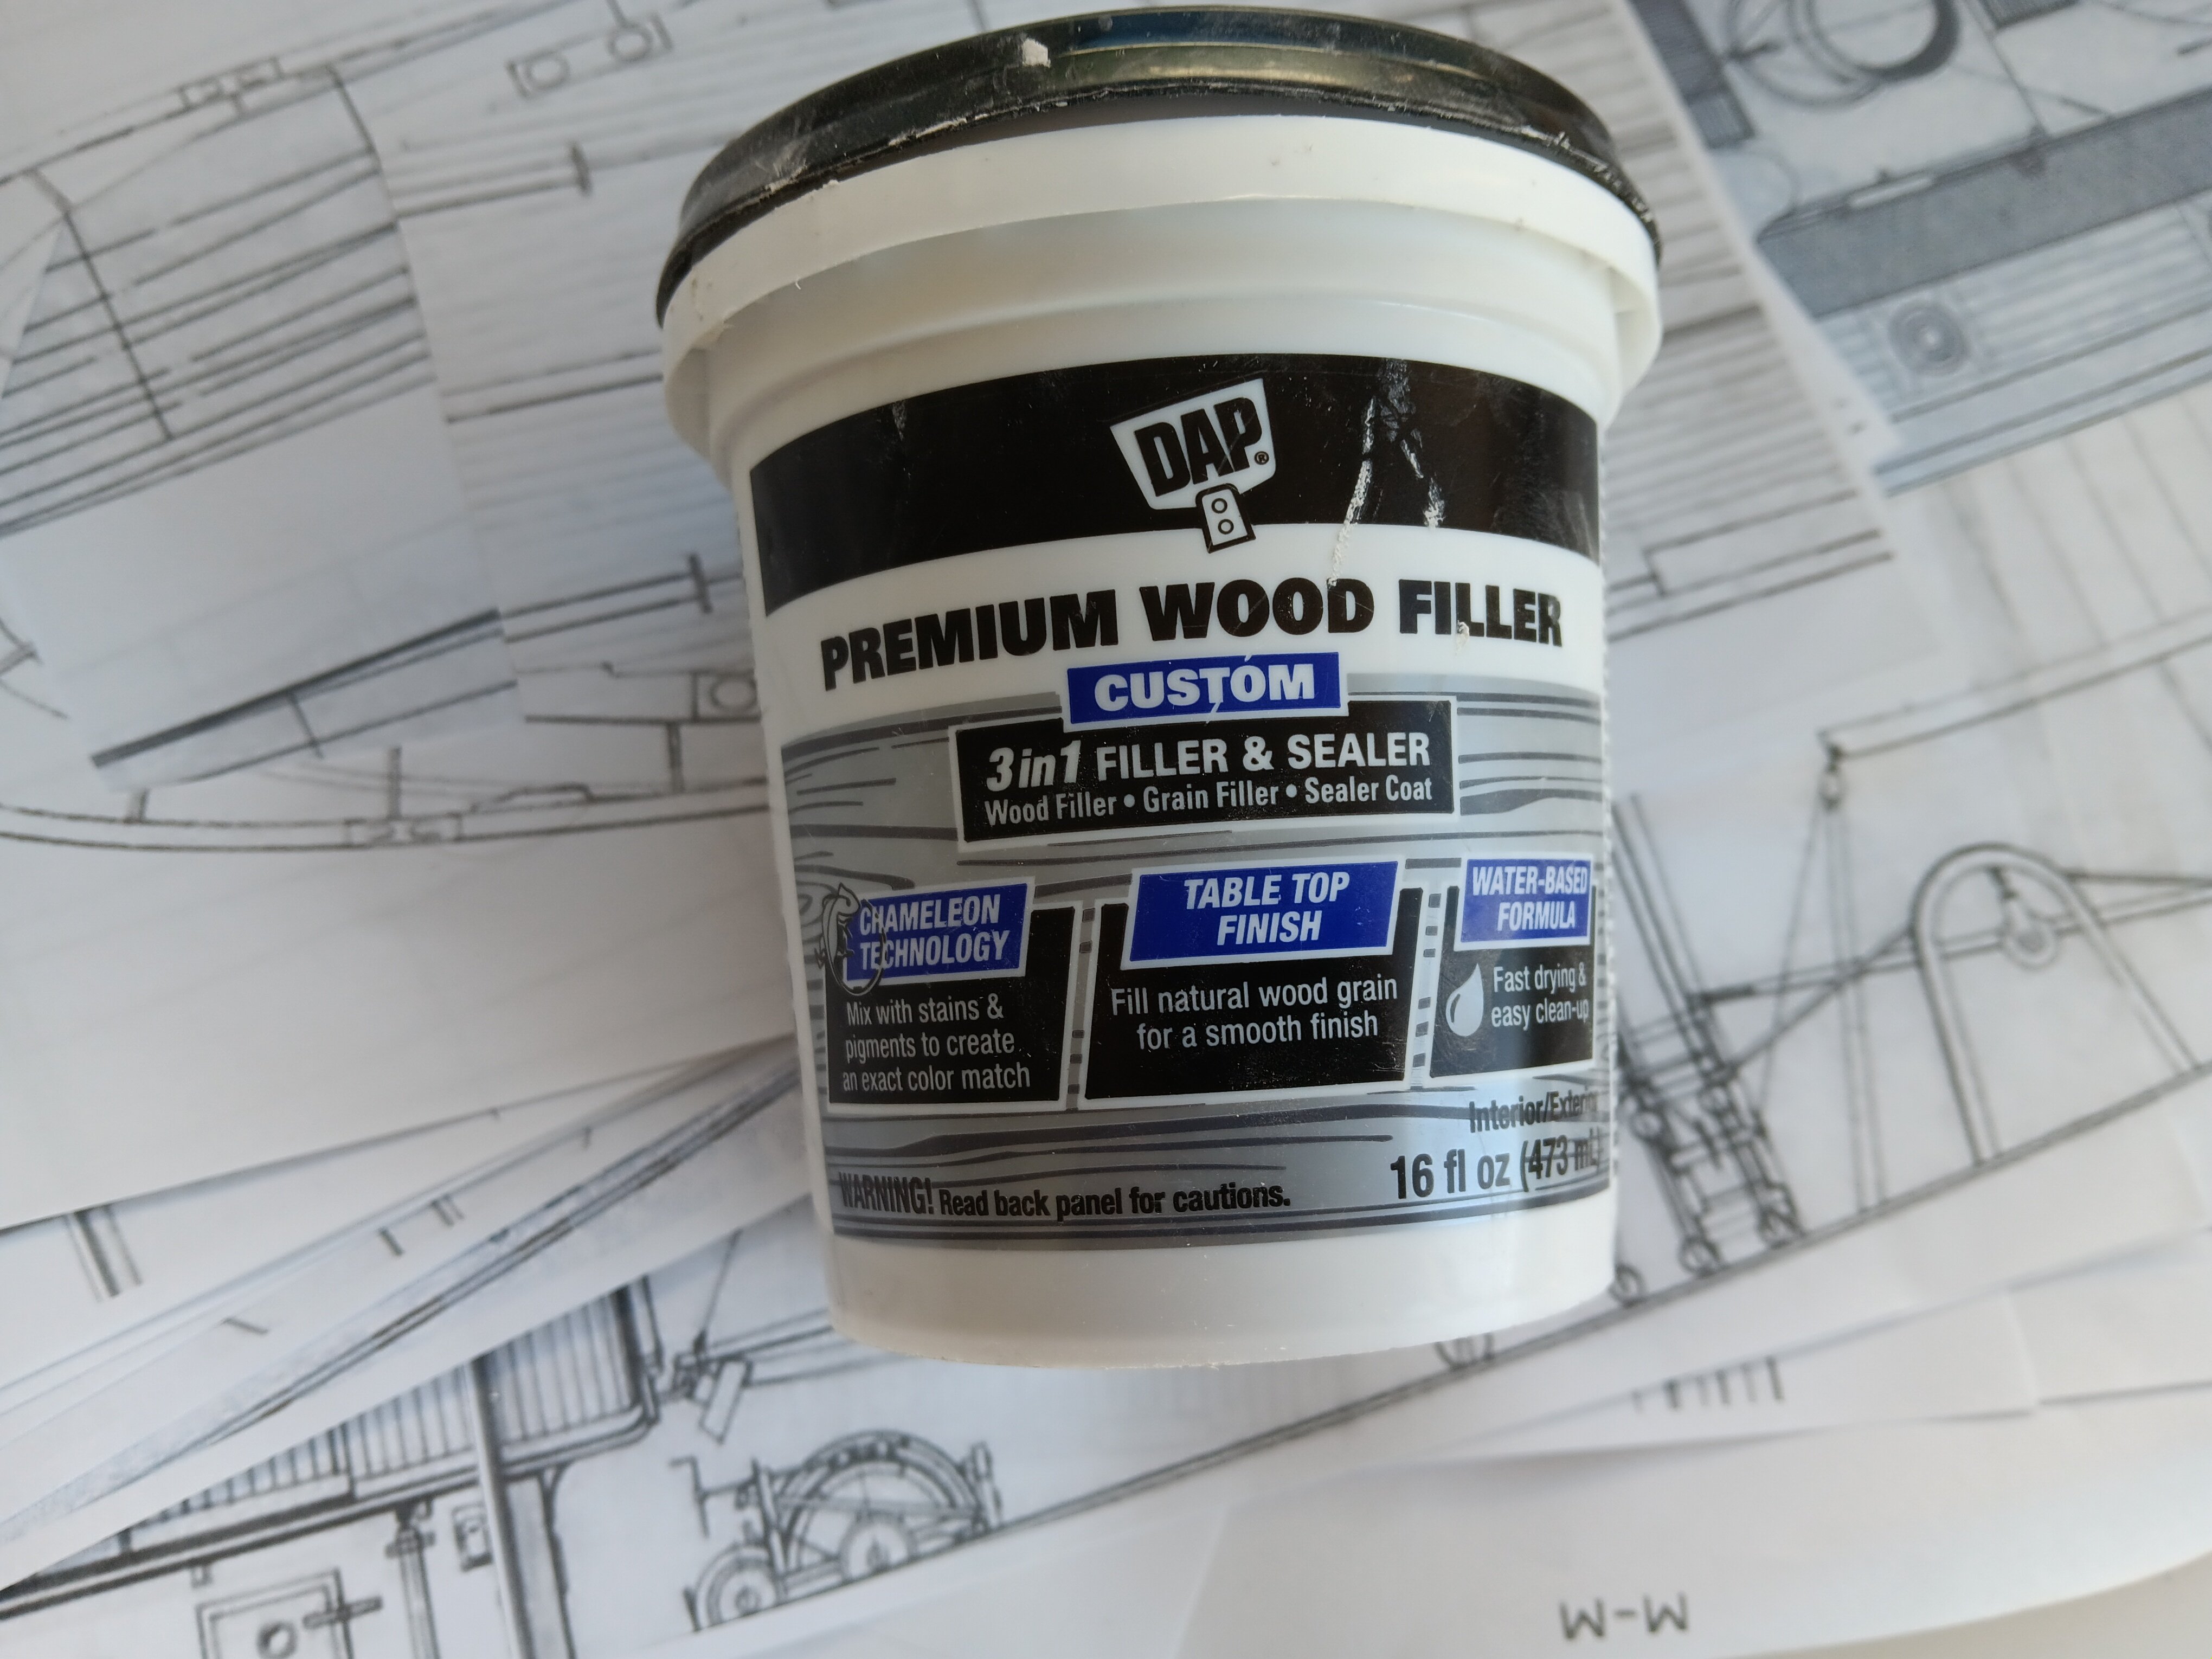
As far as a filler I use this dap product which I think works very well. Sands out perfectly.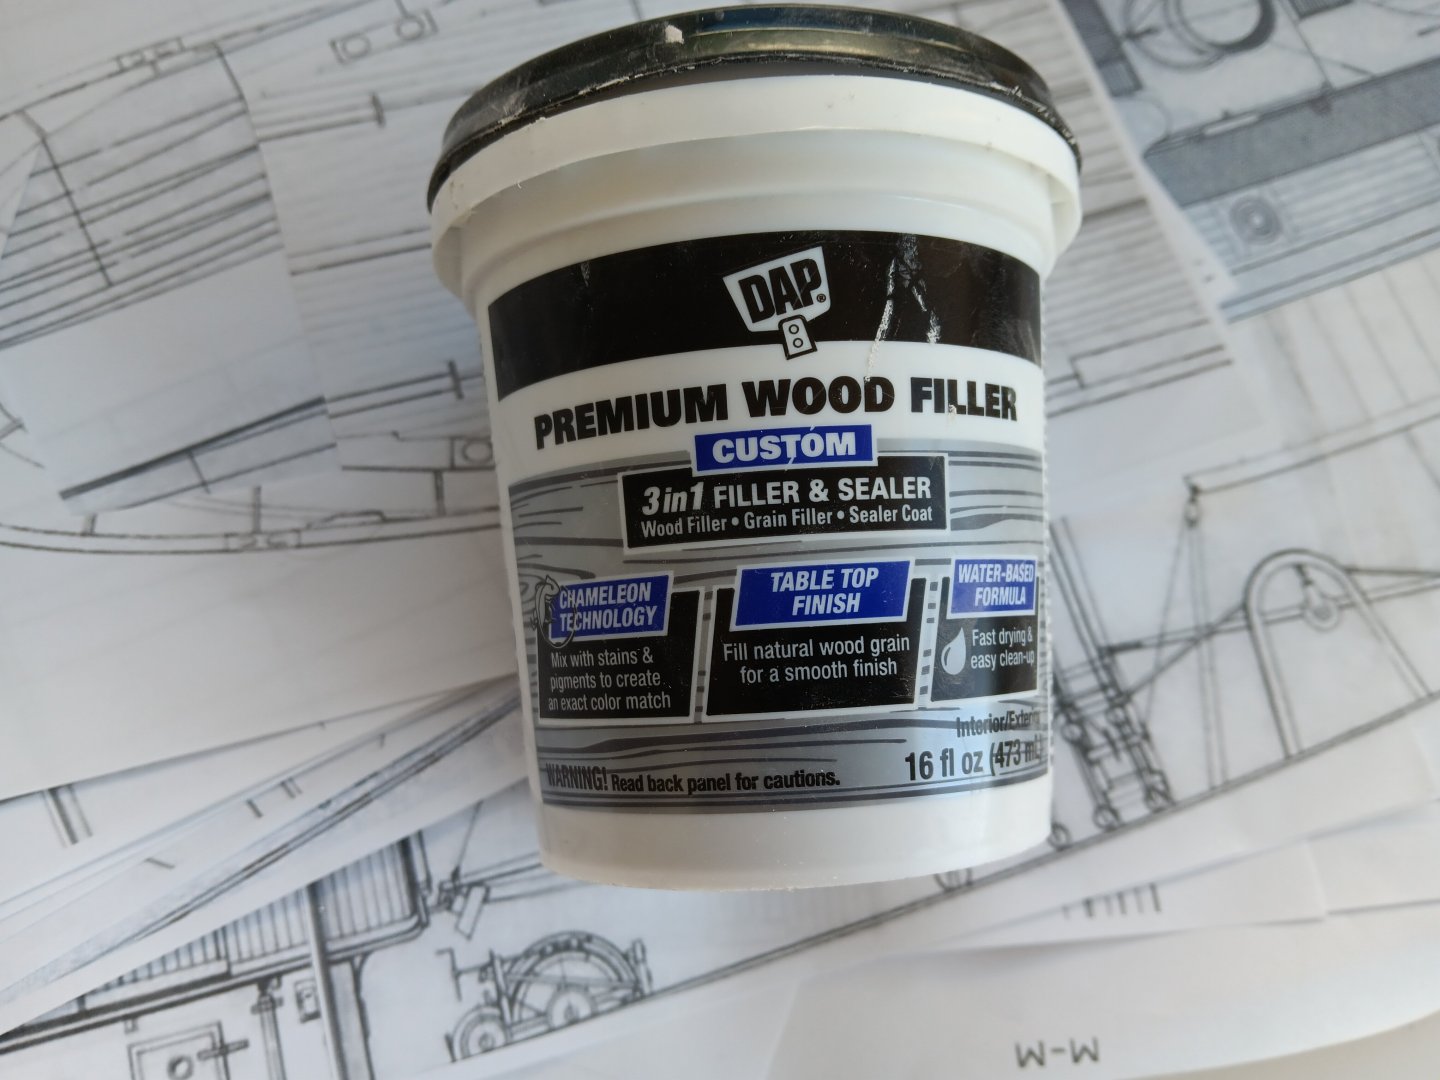
-
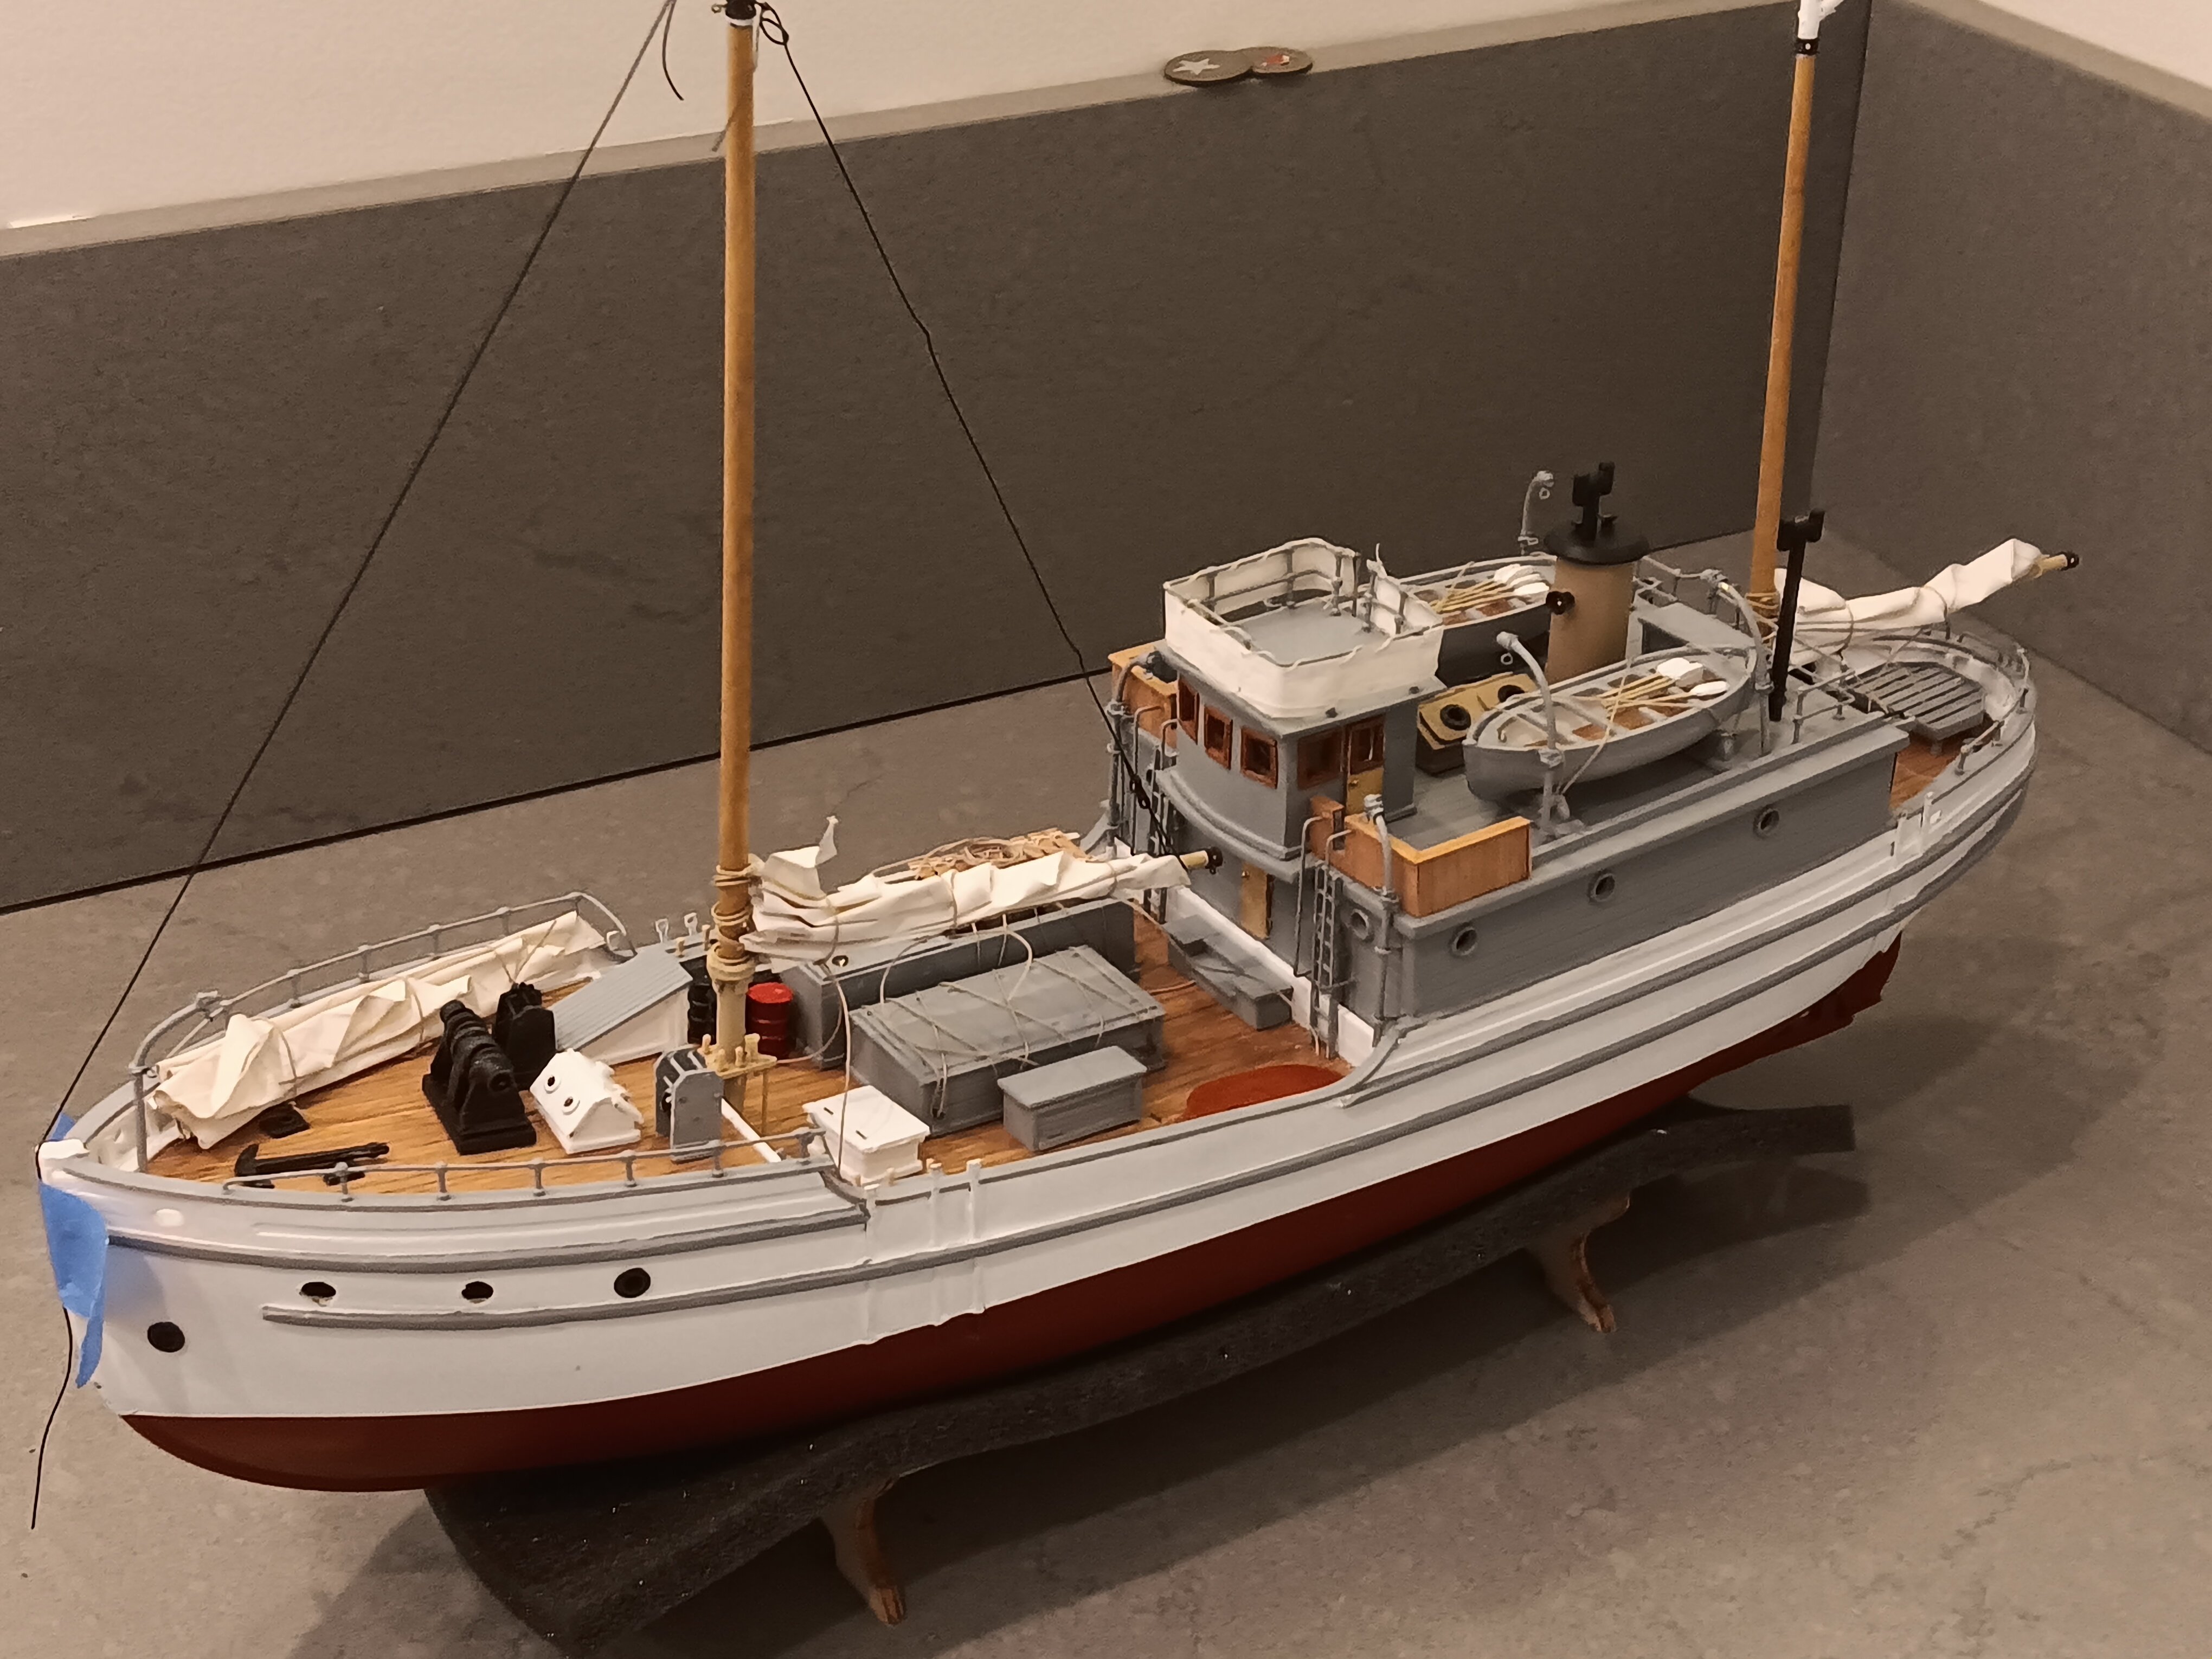
Welcome. I've built that old kit and it came out very nice. If you would like message me and I'll send some photos and some thoughts. Bill
-
Nice work!. Just thinking about working at that scale makes my eyes ache! Bill
- 165 replies
-
- 2
-

-

-
- Red Jacket
- Marine Model Company
- (and 2 more)
-
Deck Cleats
wmherbert replied to hof00's topic in Discussion for a Ship's Deck Furniture, Guns, boats and other Fittings
And never run through an eye bolt and then tied to something else. Always there would be a block. -
Deck Cleats
wmherbert replied to hof00's topic in Discussion for a Ship's Deck Furniture, Guns, boats and other Fittings
I am confused too. Lines are never tied off to an eyebolt. There would be a block attached to the eye bolt and then the line through it would be tied off to a cleat or pin. -
I've never tried needle threader since it seemed the hole had to be big enough to get two diameters of line through. I've always just drilled out hole so one line could get pushed through. I use a little CA on the thread , wait a few moments and then snip the end at an angle. I use the CA on about the last 1/4 inch. But maybe it's not the best way and I should try the needle threader Bill
-
I see old Gjoa kits come up fairly often on ebay
-
Paul, Great to see your build log. I have been gathering plans etc for a build in a month or so when I finish my current build. I'm looking forward to following along. I also had figured on a 1:72 scale. I really prefer 1:48 but it would have been way too big. Bill
-
What was your technique?
-
Looking very nice. How are you determining the amount/shape of each ribbing? Overlaying each plank and marking the intersectionsof the waterway and the plank? How do determine the angle of the long cut on each plank? Bill
-
Welcome. Just remember you're in this to please yourself, no one else. Just have fun. Bill
-
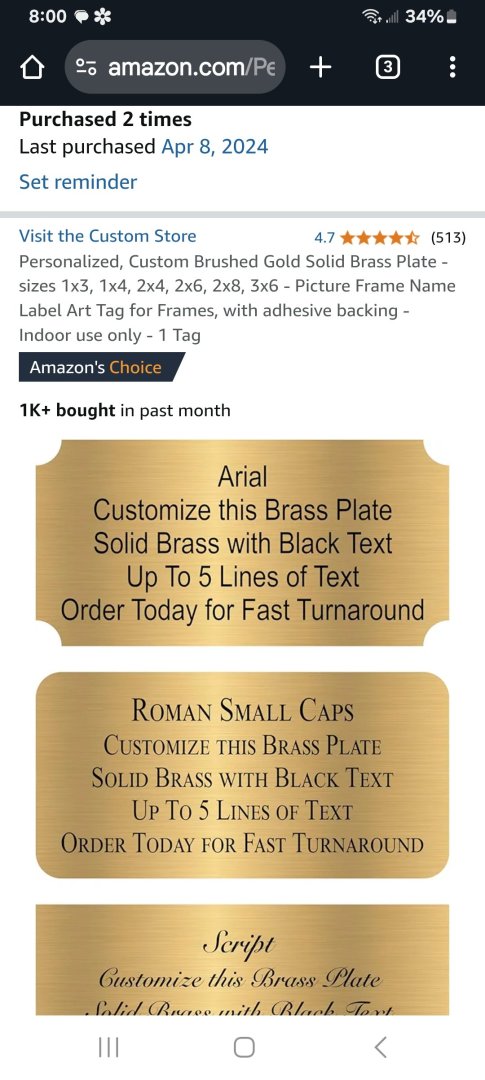
I buy these on Amazon. $5 you can combine different ones so only pay for one shipping. They have always come quickly. Good service. I've bought about 12 so far
-
Welcome. My suggestion is henriette Marie by billings boat. Has all the stuff you do on more complicated builds but not too much. Also realitevly quick. Took me about 40 hours. Instructions not very good but plenty of help and advice here. Also it's a pretty ship. Bill
-
It's looking really nice. I'm looking for a scratch built project. At 1:48 it would be a nice size for me. Do you think if I bought the plans I could enlarge them to 1:48 and use them for a build? I've thought about doing this on some card models but don't really know how how feasible it is. It would open up a lot of choices in ships. I've done 3 or 4 scratch built models from museum plans and have wondered how feasible it would be from card model sheets. Bill
-
Nice job. Your plates and rivets came out great. What is a NWSL riveter tool? even Mr. Google couldn't help me. Bill
-
Gorgeous work. One question: how do you slice the tubing used for the potholes? Bill
-
Absolute beginner here - new to ship modeling
wmherbert replied to AlanR's topic in New member Introductions
I think one consideration that is not mentioned much is that any model takes a lot of time. I think it's really important to pick a ship that you really like. I would choose a more difficult model that I really liked over an easier one that didn't get me excited. Remember you have to look at this thing for months as you work on it. -
I second all of the above
-
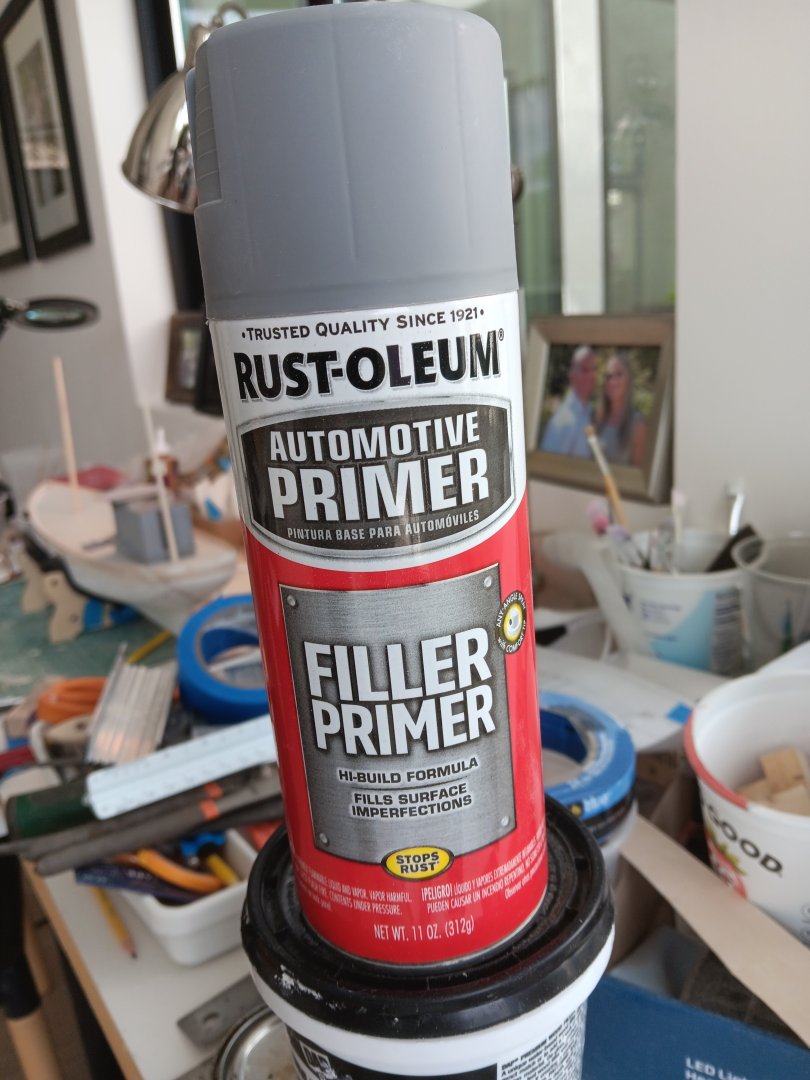
I use this over bare wood, such as planking. Let dry over night, then 2nd coat. Again dry over night before sanding. Then putty sand and then color coats. Sanding with 220 or 320 between coats.