wmherbert
-
Posts
292 -
Joined
-
Last visited
Content Type
Profiles
Forums
Gallery
Events
Everything posted by wmherbert
-
Nail pusher nightmare
wmherbert replied to Beginner's topic in Modeling tools and Workshop Equipment
Hi, if you are using that for hull planking please understand that it is not necessary to use the nails. I never have, I just use glue and clamps. I wouldn't be surprised if most modelers do not use them. I would be curious. Bill -
Finish of the Waterway
wmherbert replied to RossR's topic in Building, Framing, Planking and plating a ships hull and deck
I've always painted the waterways the color of the bulwarks rather than matching deck finish. I don't know if that is correct but it certainly is easier. Bill -
I like wipe on poly. I usually use satin. I paint it on with a brush so I can control the edge and then wipe with a rag. Use some blue tape to mask off where you don't want it to go. Bill
-
Thanks Vaddoc , I'll find a lot of uses for these! Bill
-
Where did you find the plumbing parts you used for potholes? Bill
-
Looking for 3D printed cowl vents
wmherbert replied to wmherbert's topic in CAD and 3D Modelling/Drafting Plans with Software
Still looking but for my next build. Any help appreciated. Bill -
This works great
-
I did not double plank my hull. I did take a series of photos of the building process as well as kept track of the time each step took if you are interested. It's a nice model to build even with the typical Billings instructions or should I say, lack of instructions. Bill
-
Here's one Bill

-
Ship base display advice
wmherbert replied to mastic's topic in Painting, finishing and weathering products and techniques
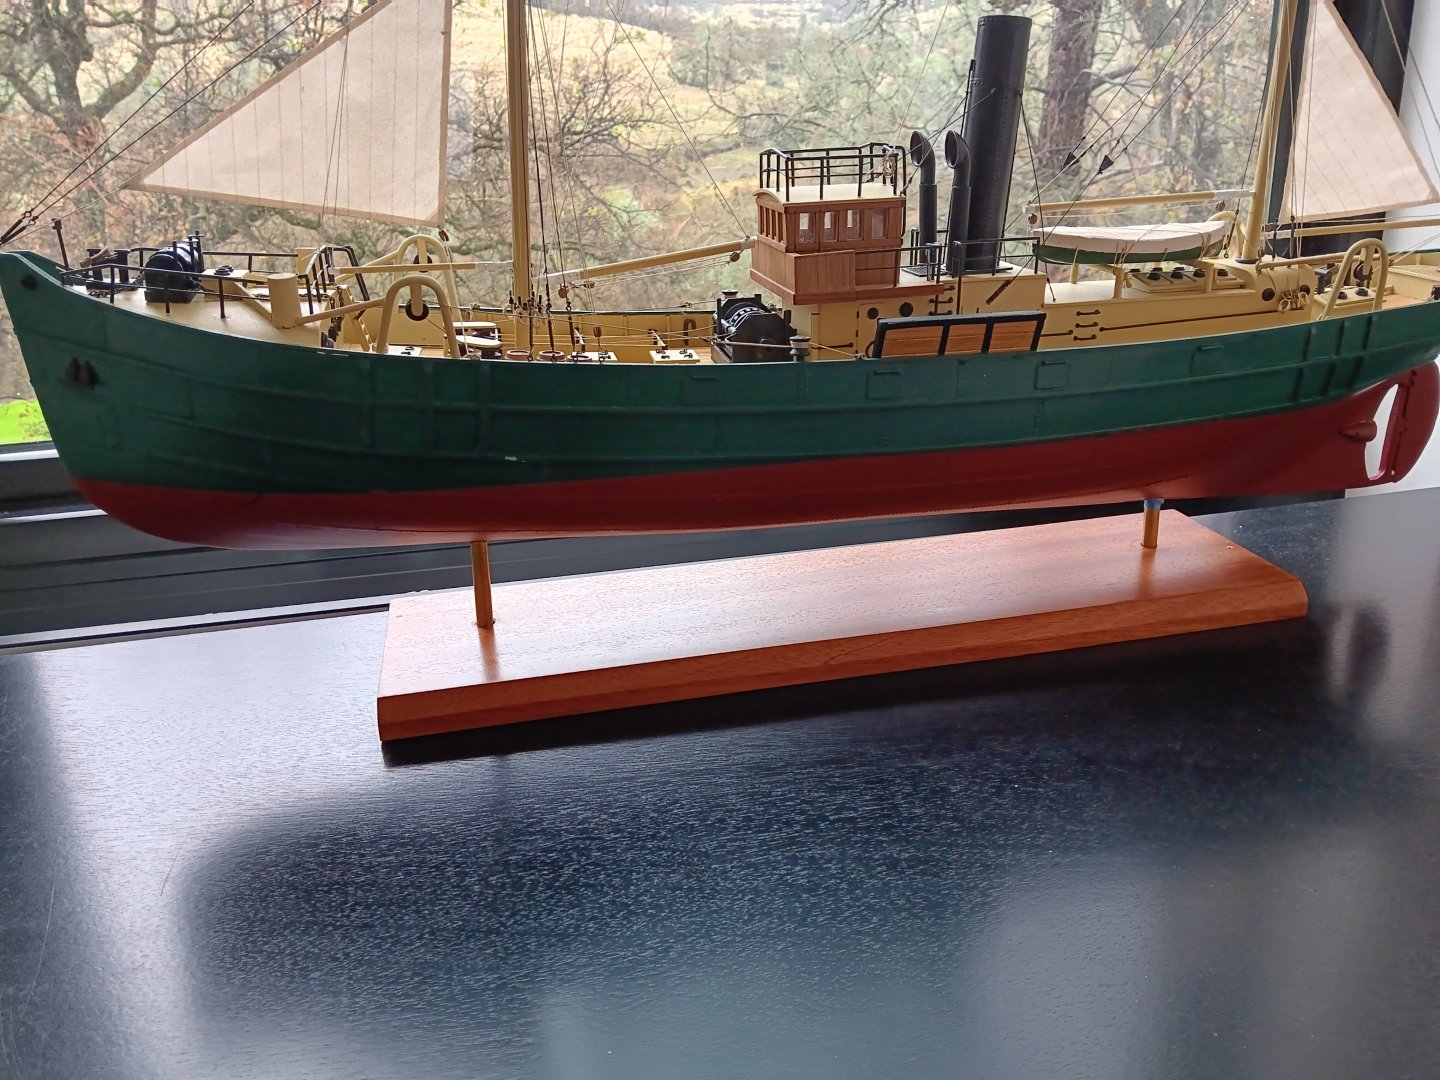
One question i have for people using pedestals is how do you adjust them so that the waterline is horizontal if the keel is not parallel to the waterline , for example I think most keels have some dead rise so if you used same size pedestals the ship would be tilted up or down when mounted. Using brass tubes like I do I can cut tubes to different lengths to get waterline level. I have always been curious about how modelers do that with pedestals. Bill -
Well , just did a little Google search which i should have done before and i see some life rings have a 13 inch inner diameter, and a larger size have 23 inch. So there you go. I guess the navy ones were for really small saliors (haha) Bill
- 490 replies
-
- 1
-

-
- minesweeper
- Cape
- (and 1 more)
-
This has been fun to follow along. One question. Life rings on my boat had a inner diameter big enough for a man to slip in to. I've never see actual measurements for life rings (if indeed they are some what standard) but I think mine were more like 18 inches inner diameter and about 30 inches outer diameter. Just curious, Bill
- 490 replies
-
- 1
-
-
- minesweeper
- Cape
- (and 1 more)
-
Ship base display advice
wmherbert replied to mastic's topic in Painting, finishing and weathering products and techniques
I drill a hole up thru the keel where I want the supports to be and insert and glue in a stiff wire. I use brass tube to mount it on. Those I drill a hole and glue into a wood base. Then I fill the tubes with Jen weld epoxy and before it sets I lower the hull and wires into the tubes. Oh and I usually file the tube end to fit the keel. Of course you need to sure to get tubes the right lengths so that waterline is level and to secure model with something while epoxy dries. I put some extra blocking when framing to strengthen the places where the wires will be But I think you could drill the holes for the wire after boat was complete if you had help and were careful. And keels are usually wide enough for the wire hole drilling. I hope this all makes sense. Bill
-
Yes thank you Bill
-
This build keeps getting better and better. Do you have any tips on making bends in styrene rod? Due to lack of soldering skills i have been making hand rails etc from styrene. But getting bends is tricky. I gently heated spots to get a bend which can work but is hard to control. Many time I've had to make 45 degree cuts and then glue to get a 90. Any suggestions would be greatly appreciated. Bill
-
Doing a beautiful job. One question are you using a mini table saw to cut the small strips? Trying to get uniform strips of say 1/32 × 1/16 is quite difficult for me. Any tips? Bill
-
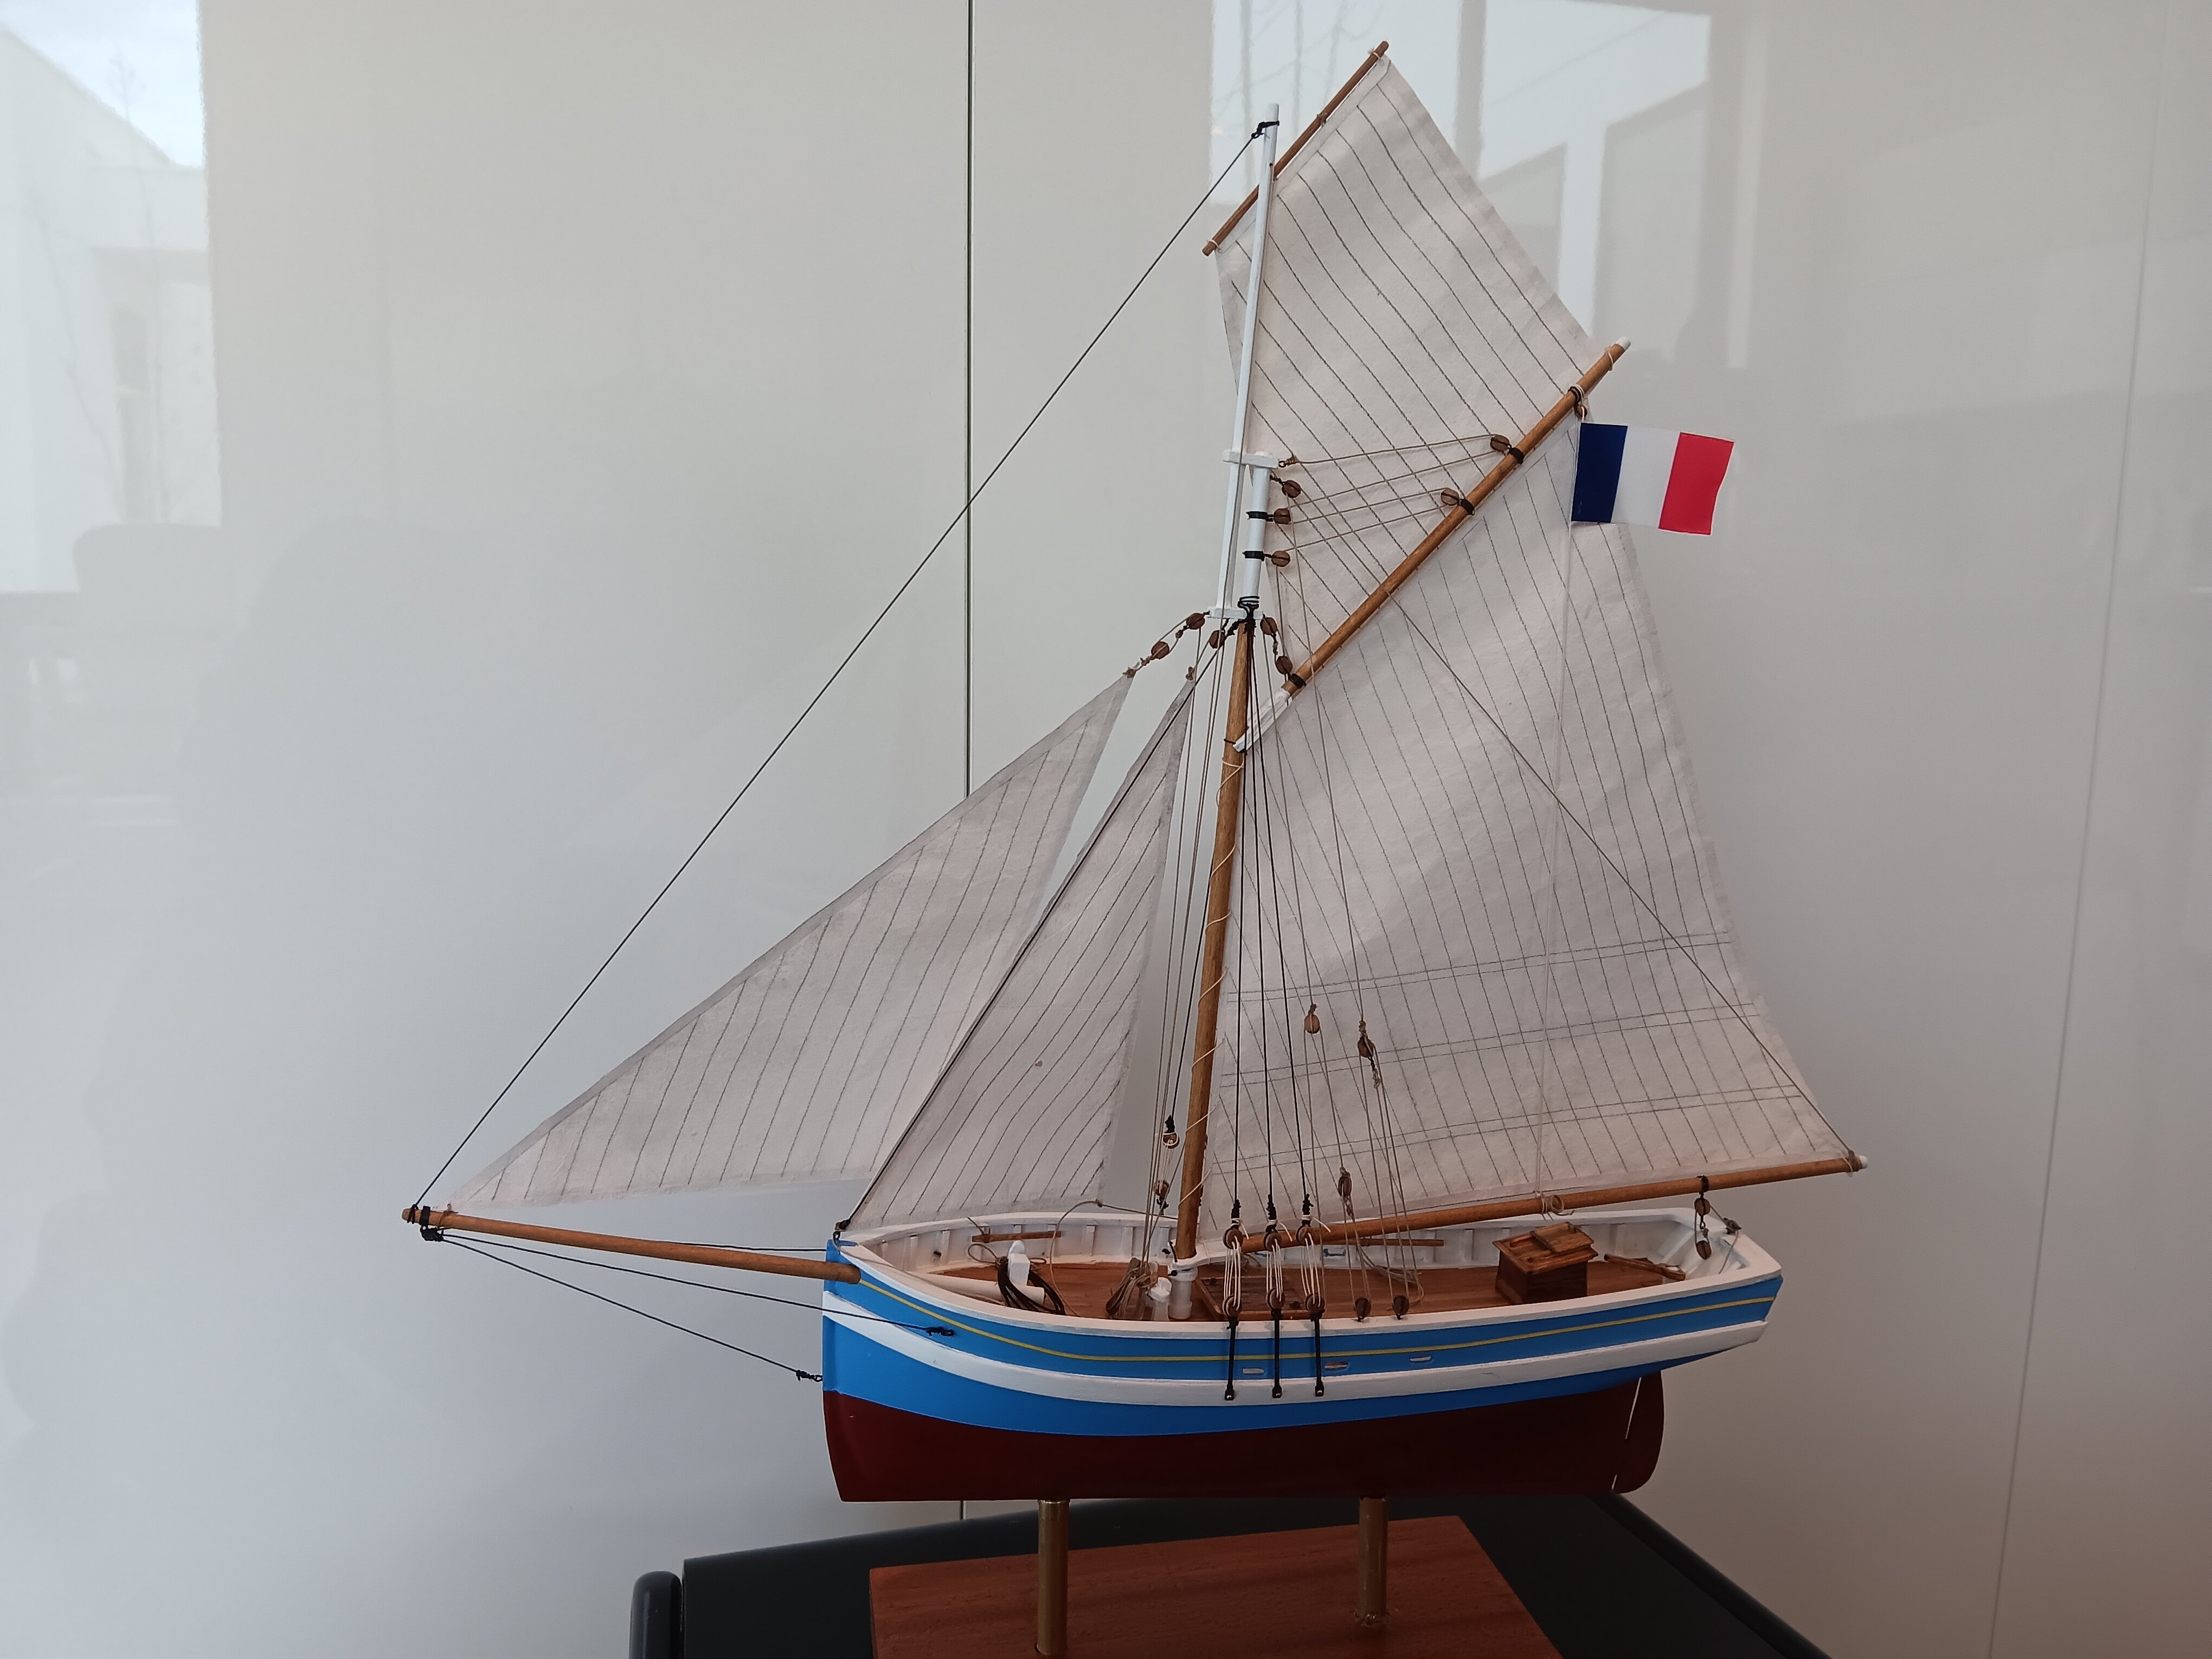
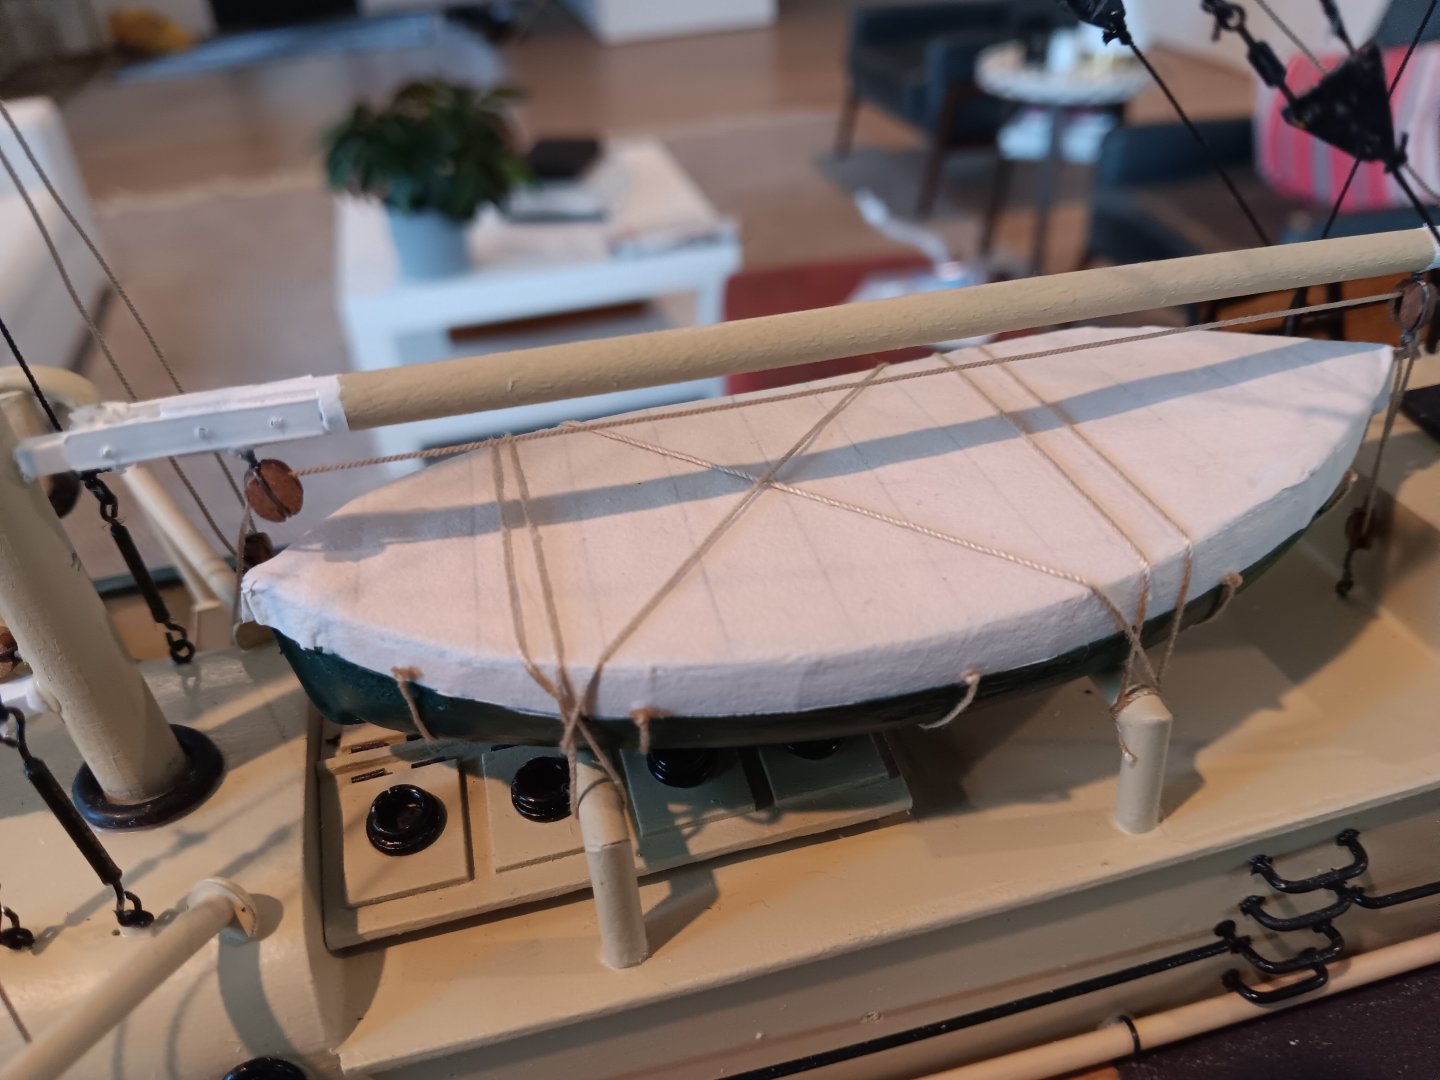
Your build is coming along very well. Here was my attempt at a cover using silkspan. I cut it oversized so it would hang over the sides a bit. I wet it down to fold and bunch it up. Then I glued a long strip of silk span along the edge around the boat. Trying to look like a sewn piece. Then attached some thread as tie downs. The trick is getting the material that folds over the edge to not bunch up too thick. I have 4 to do on my current build so I am interested to see how your method with the triangular tabs works out. Bill
-
The stair jig is a marvelous idea. Thanks. It's little ideas like this one that make reading building logs so worthwhile. Bill
-
Planking disaster
wmherbert replied to sgrez's topic in Building, Framing, Planking and plating a ships hull and deck
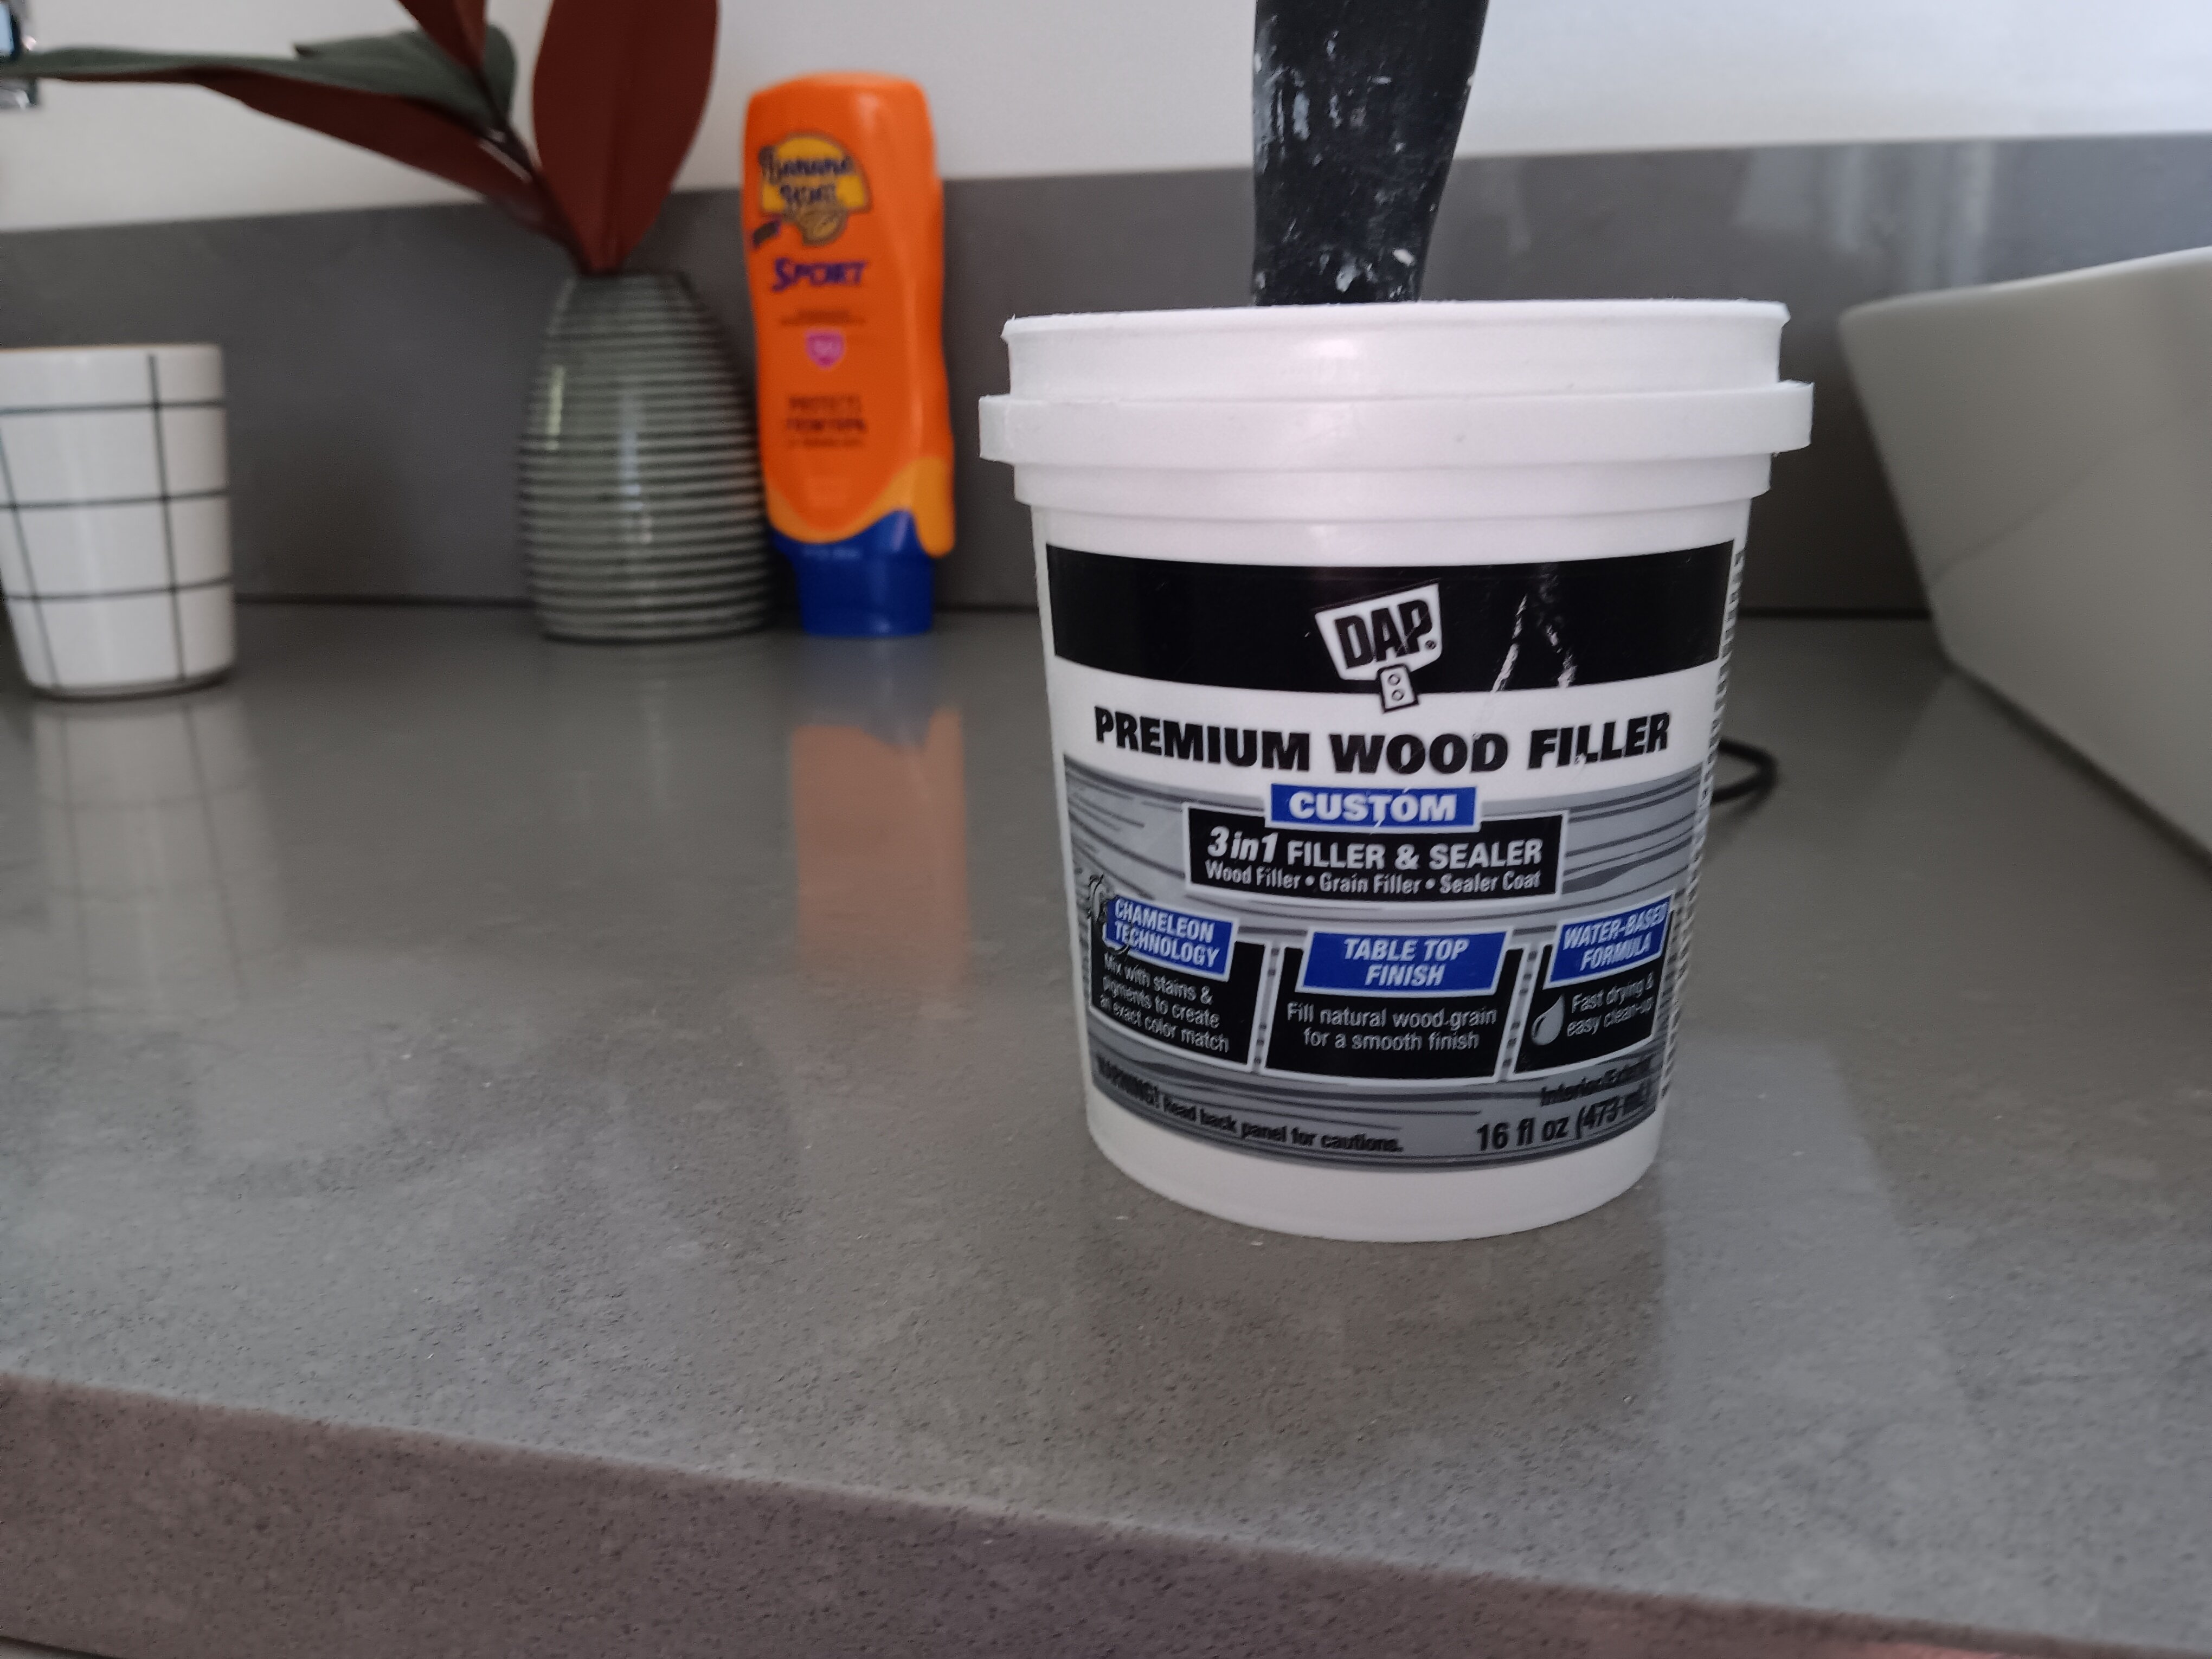
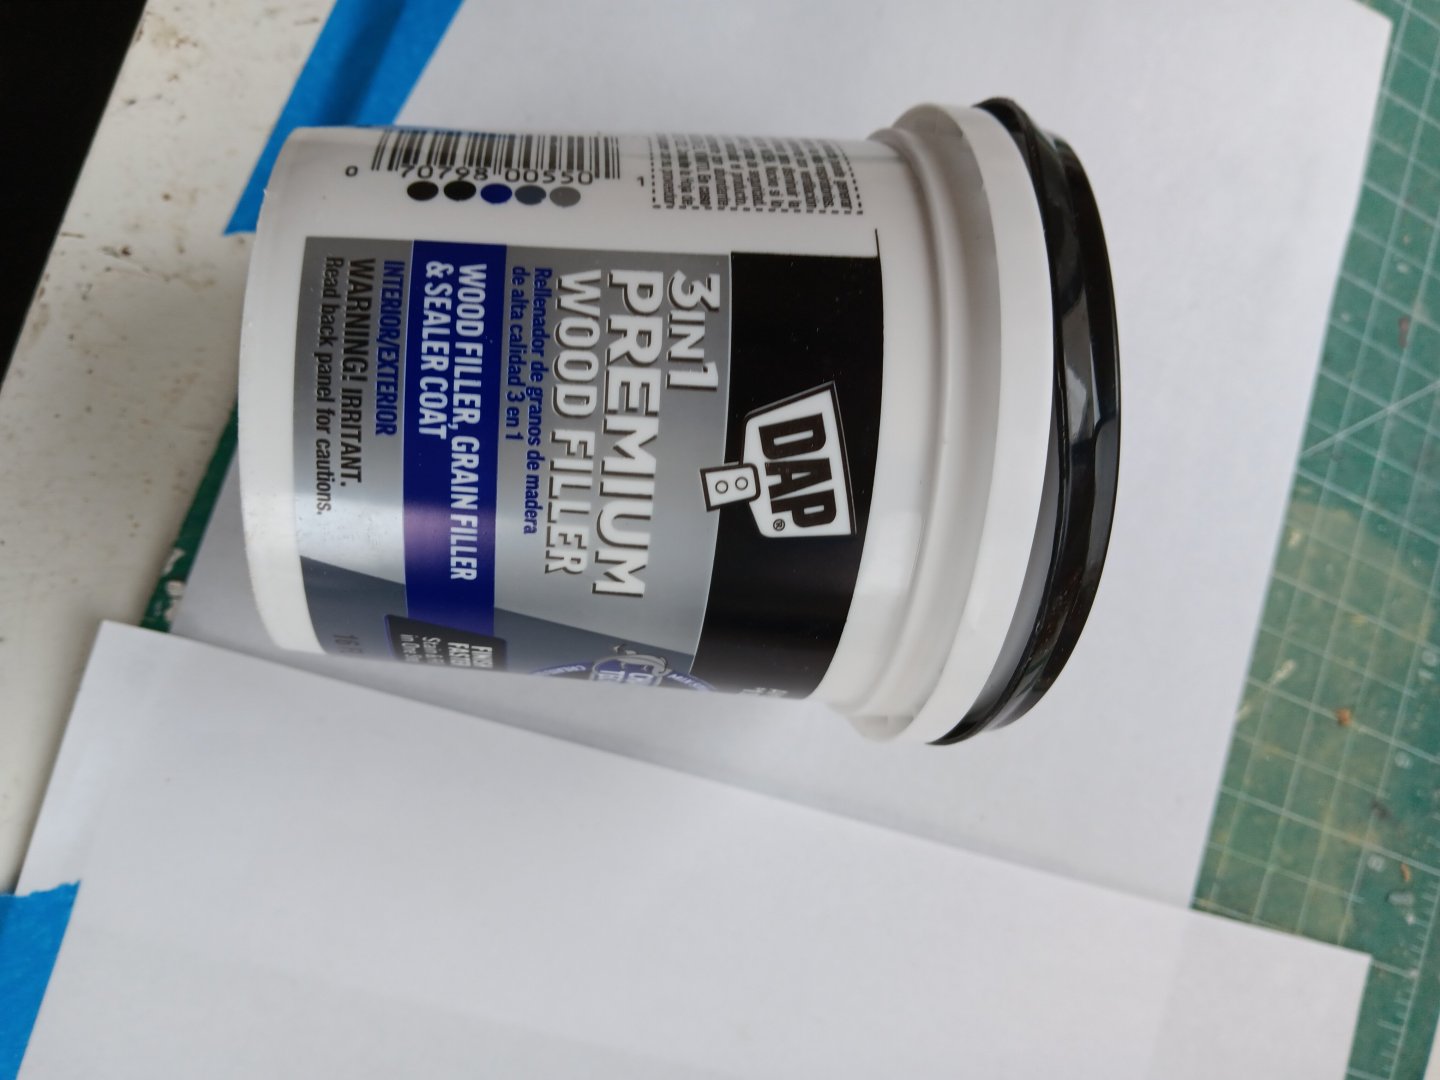
My personal savior. Works great. Sands easily. Let dry thoroughly before sanding. Bill
-
Planking disaster
wmherbert replied to sgrez's topic in Building, Framing, Planking and plating a ships hull and deck
Hey, that's no disaster. For first time to me it looks really pretty good. You're going to cover it all with second layer. After a smoothing sanding of first layer and the practice of the first layer I think it will come out great. Don't be discouraged, you should see some my planking jobs! Bill -
Chuck I'm confused about making bolts from fishing line. Could you show an example sometime? I'm really enjoying this build. Always picking up some tip or another. Thanks. Bill
-
Well. Whatever the problems it came out quite nice. Bill
- 68 replies
-
- 3
-
-
- Sanson
- Artesania Latina
- (and 2 more)
-
Beautiful job! It's been very enjoyable watching the quality of your workmanship. Bill
-
Bulwark Posts
wmherbert replied to Jackie's topic in Building, Framing, Planking and plating a ships hull and deck
Adding bulwark planks is the way to go. If there aren't going to be any try clamping a piece of planking to each post ( or as many as you can ) to support them as you sand. Also if you line up the top of the temporary plank to the right height it will be easier to get them all even. Bill