wmherbert
-
Posts
292 -
Joined
-
Last visited
Content Type
Profiles
Forums
Gallery
Events
Everything posted by wmherbert
-
David, I too wanted to add timberheads and like you had a few of the bulkhead extensions break off as I was sanding the hull. But I just glued a small scrap to the deck with a dab of CA and then glued the bulwarks to the deck taking care to not get any glue on the extensions. After everything was dry I cut off the extensions. Now I am gluing a 1/16 x 1/16th strip along bulwarks just below the rail to match the actual ship. I made waterways out of 1/32 material and decided to lay them on top of the planking since photos seemed to show them thicker than the deck planking. Anyway this made deck planking very quick since they would run wild under the waterways. No exact cutting. What hawse pipe fitting did you find?. I also want to add one to the stern and cover the existing ones. Now on to the timber heads. Which seem to have different spacing forward, at the waist, and aft. Not sure if I'll do that or just put them all the same. Bill
- 64 replies
-
- 1
-

-
- St. Roch
- Billing Boats
- (and 1 more)
-
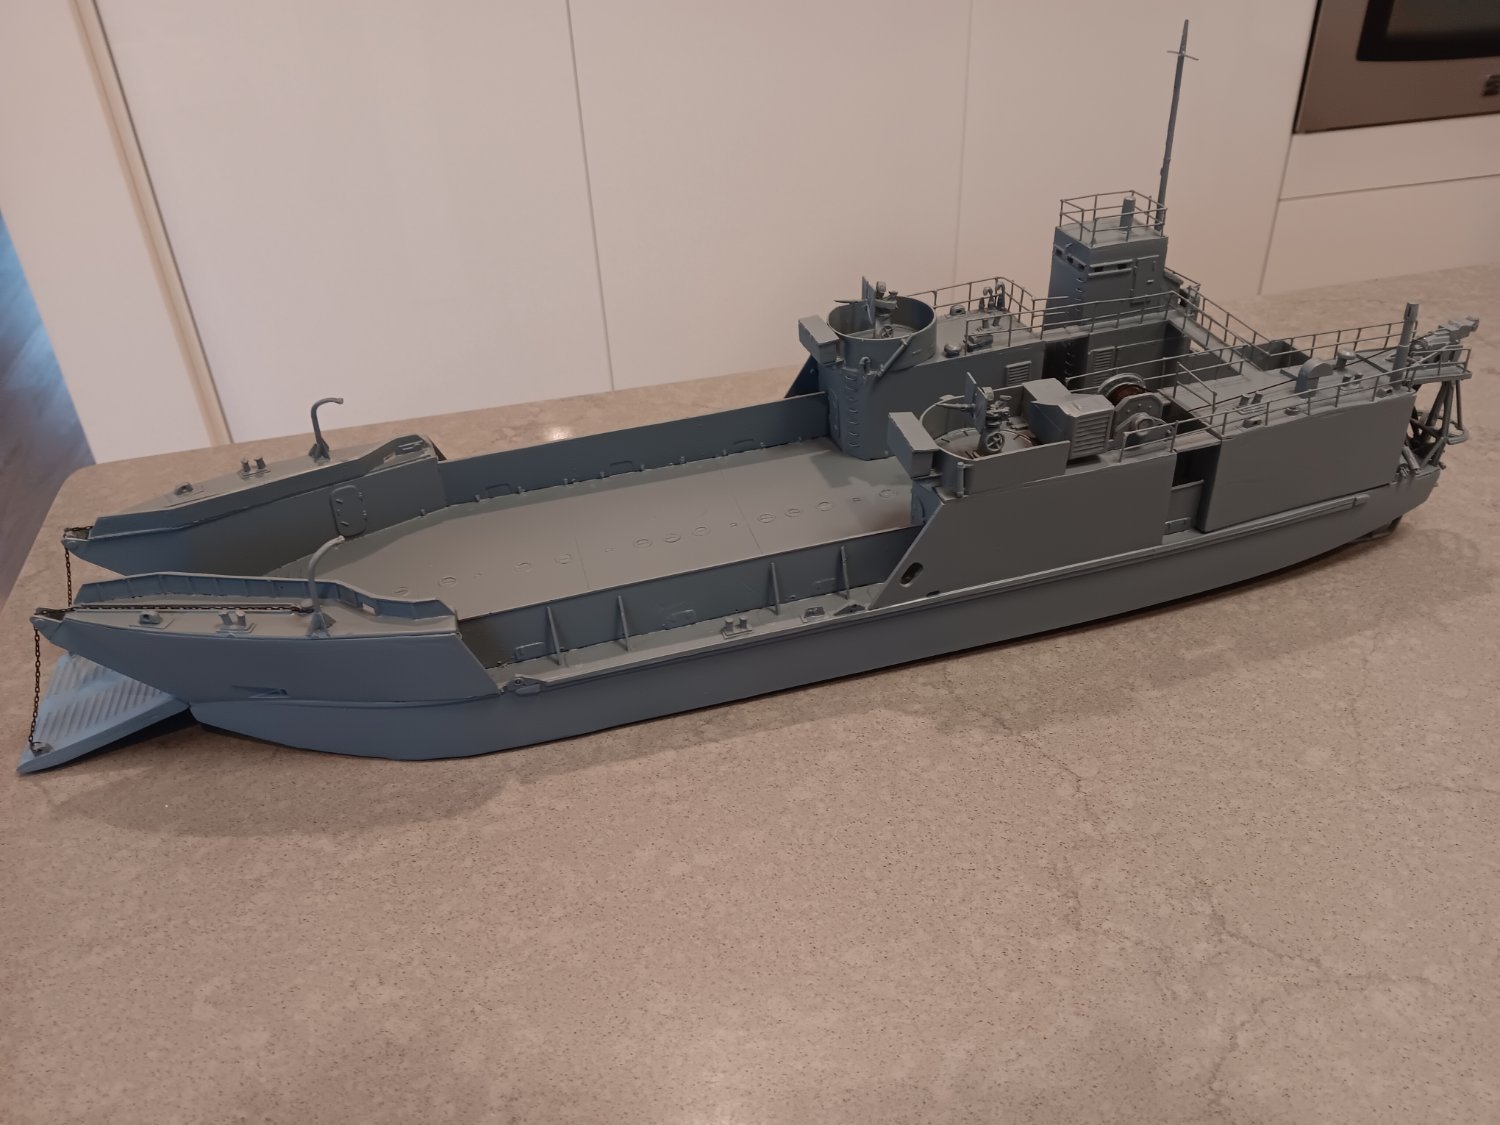
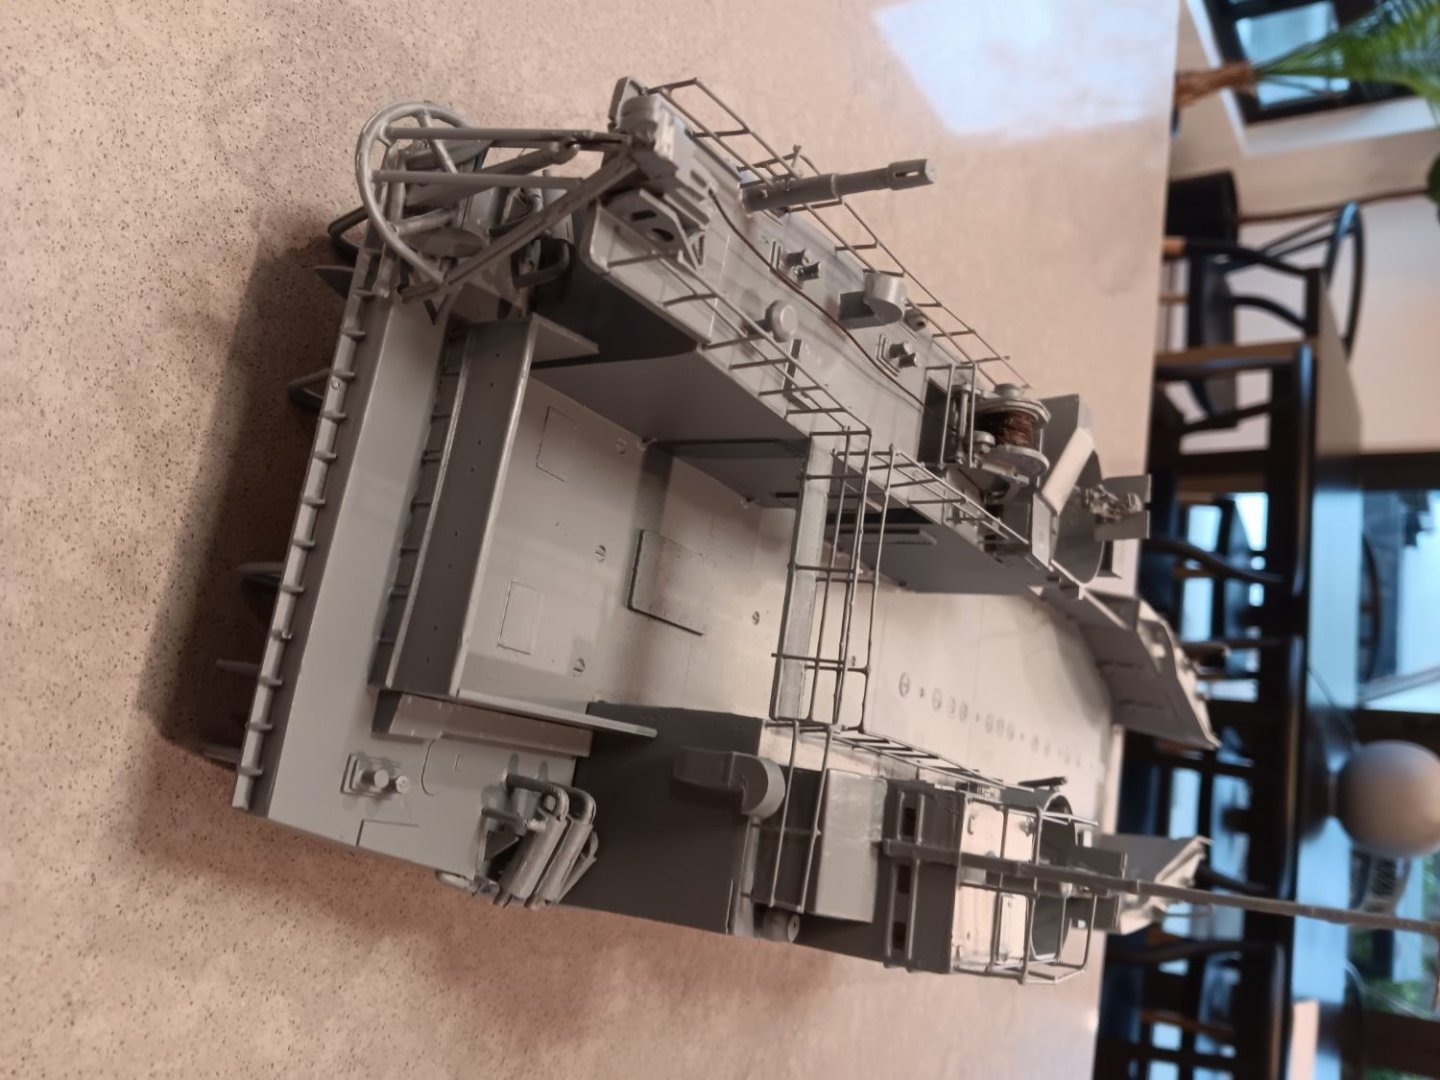
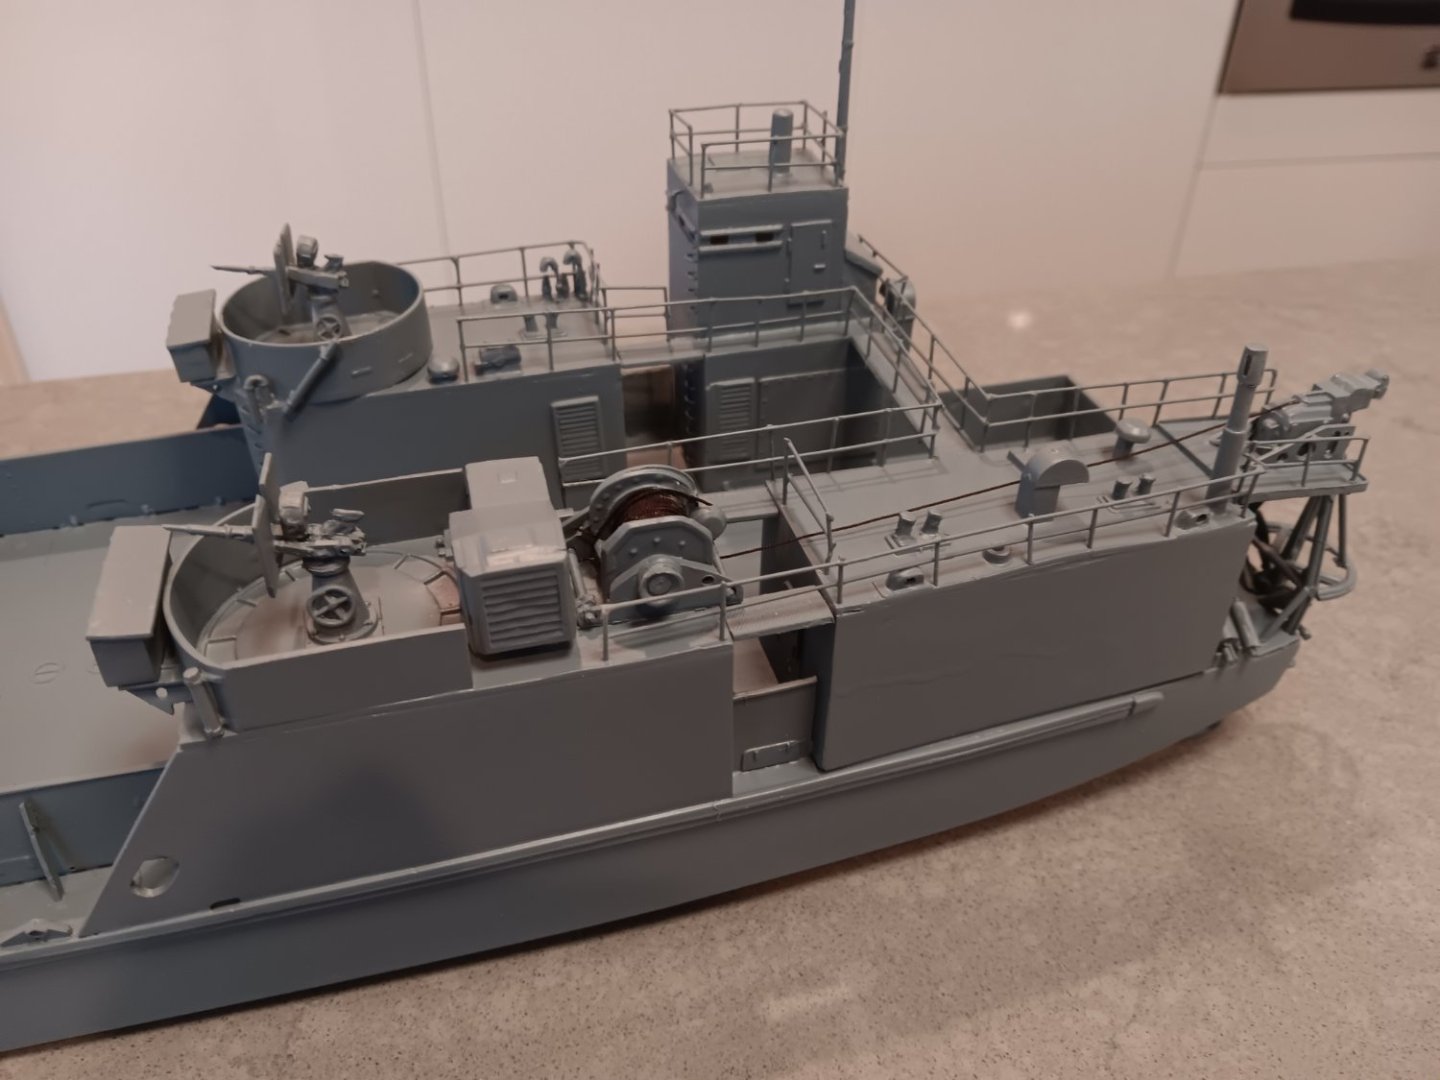
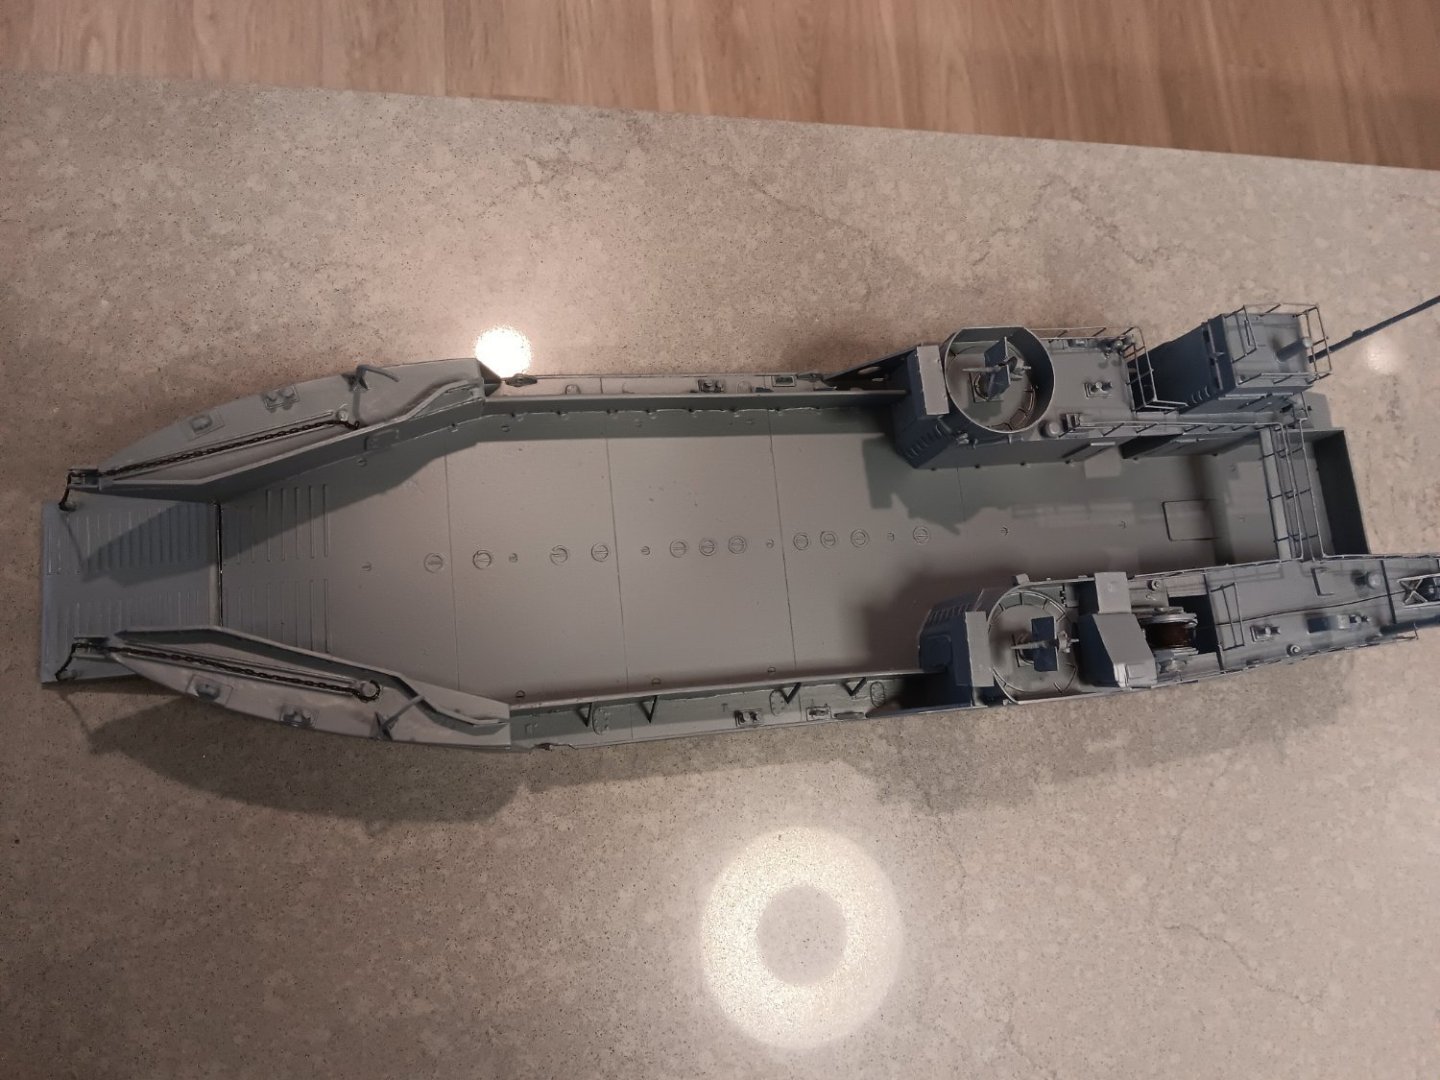
Just saw this build. I just finished a kit LCT mk5. Built in 1944 in california in 3 months in 3 pieces and then shipped to new guinea for the invasion. 3 pieces off loaded and then joined together. My father skippered the lct1302 as a 22 year old. I built the kit thinking of him. Interesting how the design changed over the course of the war. Bill


-
Hi, check out David Lester's build log of the st roch he has just started. There is a link to the maritime museum 360 virtual tour. It's great. You can look all over the ship and even has a measuring tool so you can figure actual dimensions of everything. Quite a resource. I'm just starting the st roch too so I'll will be following along closely. Looks like you've made a great start. Bill
-
David, it will be fun to compare notes. I measured the timber heads at about 7 inches wide and 3 ft 6 in on center. I also like adding trim details to the deck structures. However my models have been mostly 1:48 so I admit to being a little nervous about doing that at 1:72. Old eyes/old fingers. Sometime tell us where you are getting davits etc. I have used bluejacket blocks before and liked them at 1/4 inch scale and found them difficult at 1/8 th scale. I planned on adding waterways too. I traced them off deck before starting on hull. I used 1/32 box wood and plan on laying deck and then placing them on top of the decking because it seems like they are raised above deck on the 360 views. I am just started fairing the hull so about the same point in the build as you. Bill
- 64 replies
-
- 3
-
-
- St. Roch
- Billing Boats
- (and 1 more)
-
I have just started the st roch as well. Thanks for the tip about the museum virtual tour. It shows everything and has a tool for measuring what ever you want. I could easily measure the size and spacing of the buwarks timberheads. I have wanted to eliminate the model's widely spaced ones with more accurate ones but could never find a photo that showed them hood enough for scale. What changes are you thinking about? Bill
-
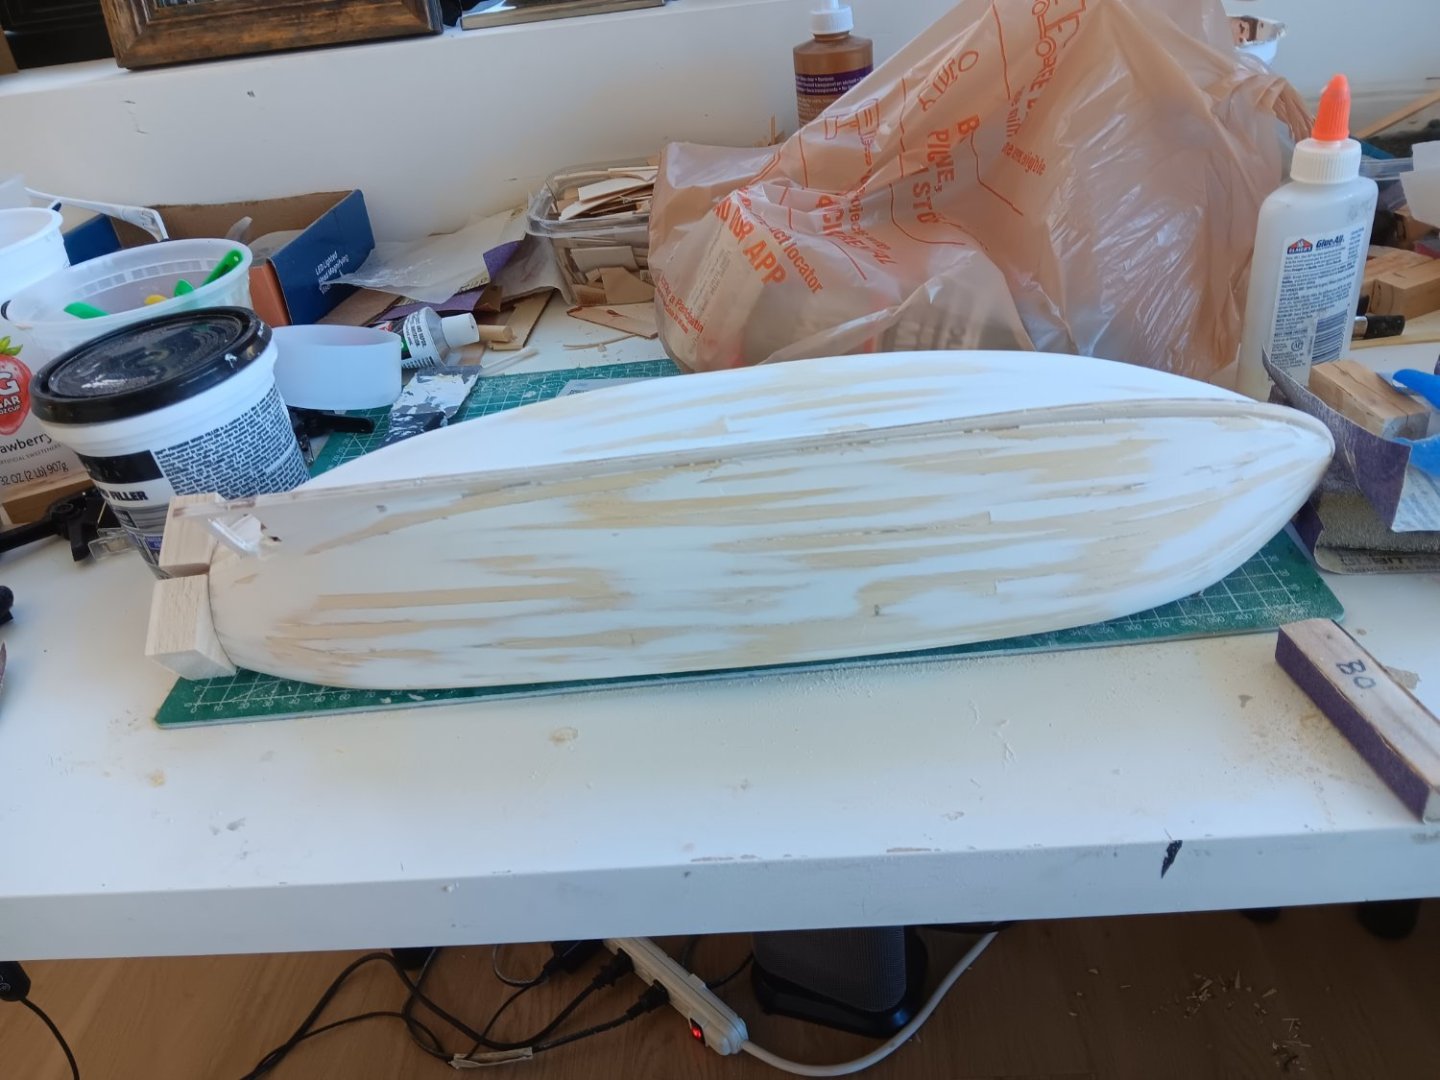
I agree with Keith. The first 2 0r 3 planks starting at the deck usually go on pretty easy. When they get hard skip down toward the turn of the bilge and run one that lays nice and easy. Then do one along keel and then fill in the ones between. I'm no expert at all but I've always gotten a smooth paintable hull. Albeit with sometimes a lot of putty and sanding. I know I will never be as good as a lot of guys are but I can live with that. Planking to me is just something you need to get done with so you can move on to the fun stuff. Bill
-
kit review SMS Sleipner by Hamburger Modellbaubogen Verlag
wmherbert replied to ccoyle's topic in REVIEWS: Model kits
What do you think about buying this kit and then enlarging the sheets to a bigger scale and using them as plans for a scratch built model? I find a lot of appealing card models that would be interesting to do as scratch built models. How feasible and any copyright issues? Bill -
Trust me. Putty, sand, paint and hull will look great. My models all have painted hulls and I've never done a second planking. Beautiful planking is a real skill. Certainly one I don't have. Bill
-
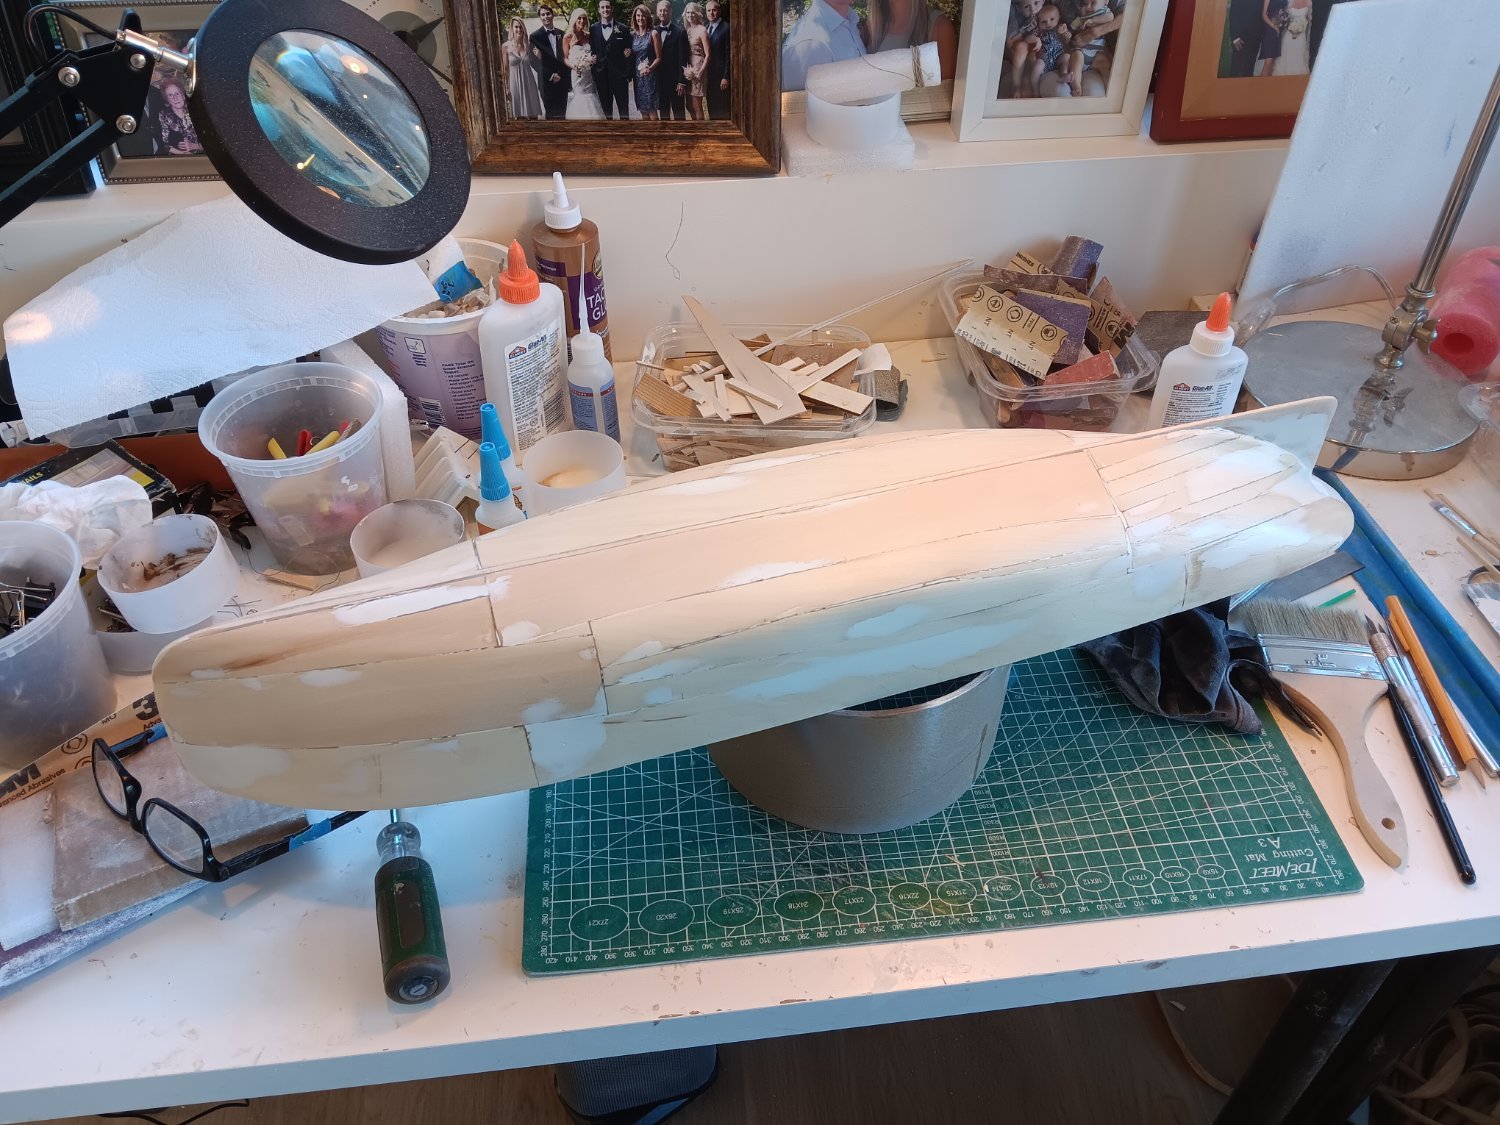
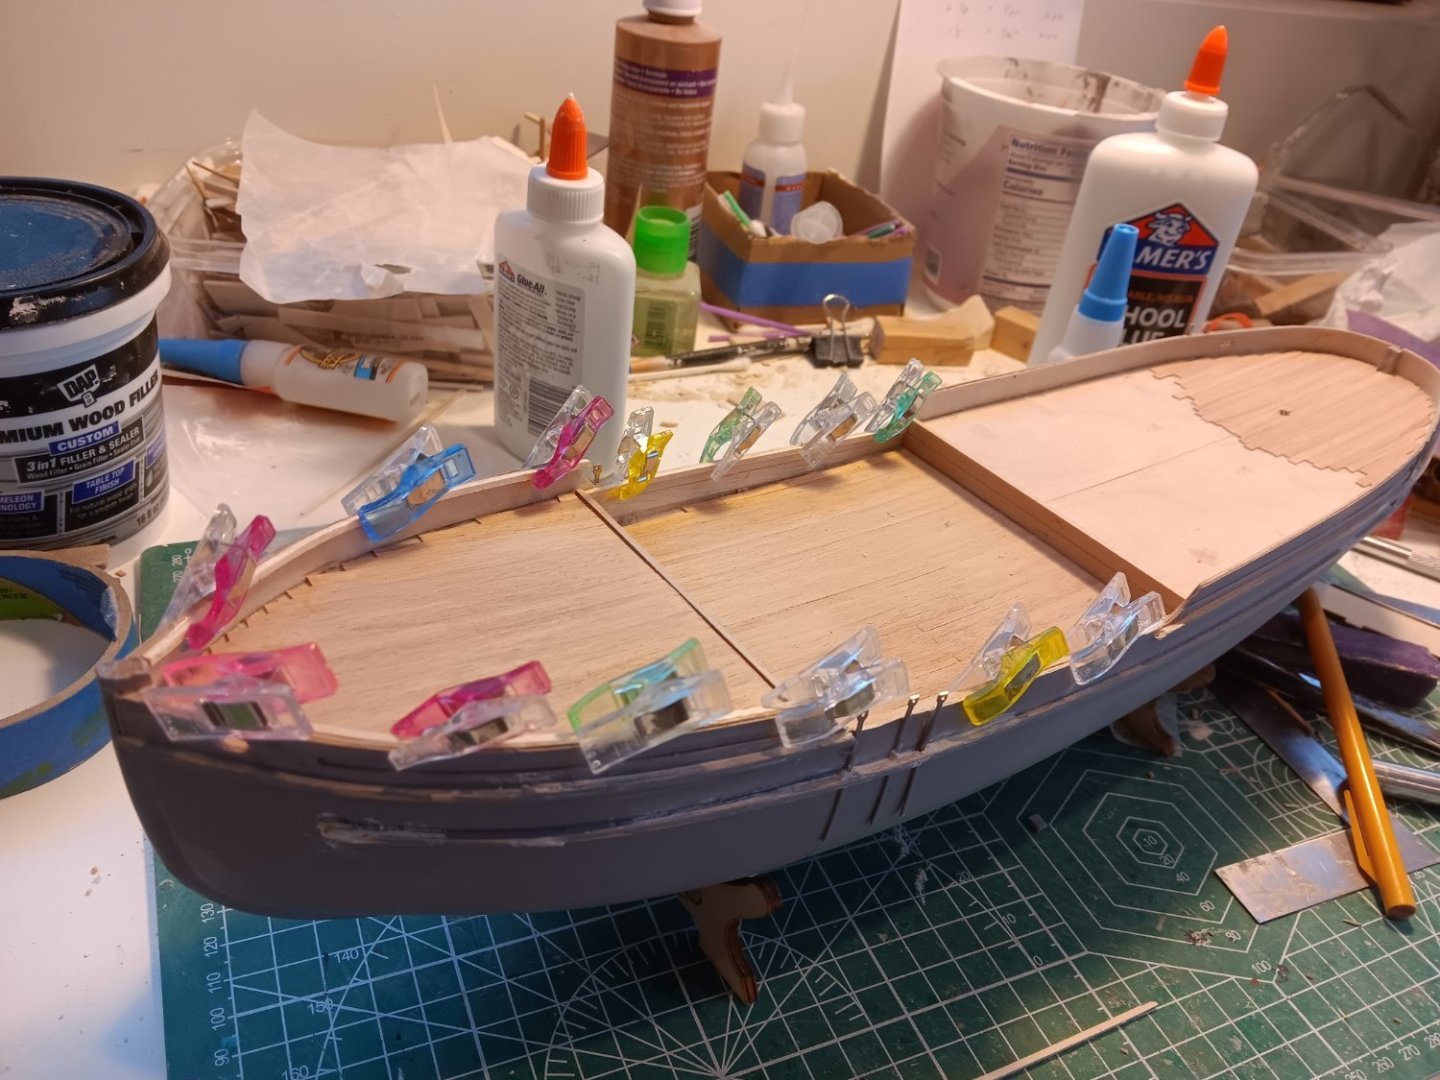
I just finished a scratch build tug at 1/4 inch to foot. The hull was about 26 inches long. Since hull was going to be painted I tried using the widest planks I could. As you can see some were 1.5 inches wide along the bottom and the middle topsides. The stern took narrower planks but they were still over 1/4 inch. A midships there were only 4 planks total and at the front third only 3 planks total. All and all it made the planking much faster and way easier to fair. And when done and painted you can't see anything except a smooth hull. Just an alternate thought. Bill

-
Searched but couldn't find the answer. How can I rotate photos that I post? Bill
-
WW2 navy ship colors?
wmherbert replied to wmherbert's topic in Painting, finishing and weathering products and techniques
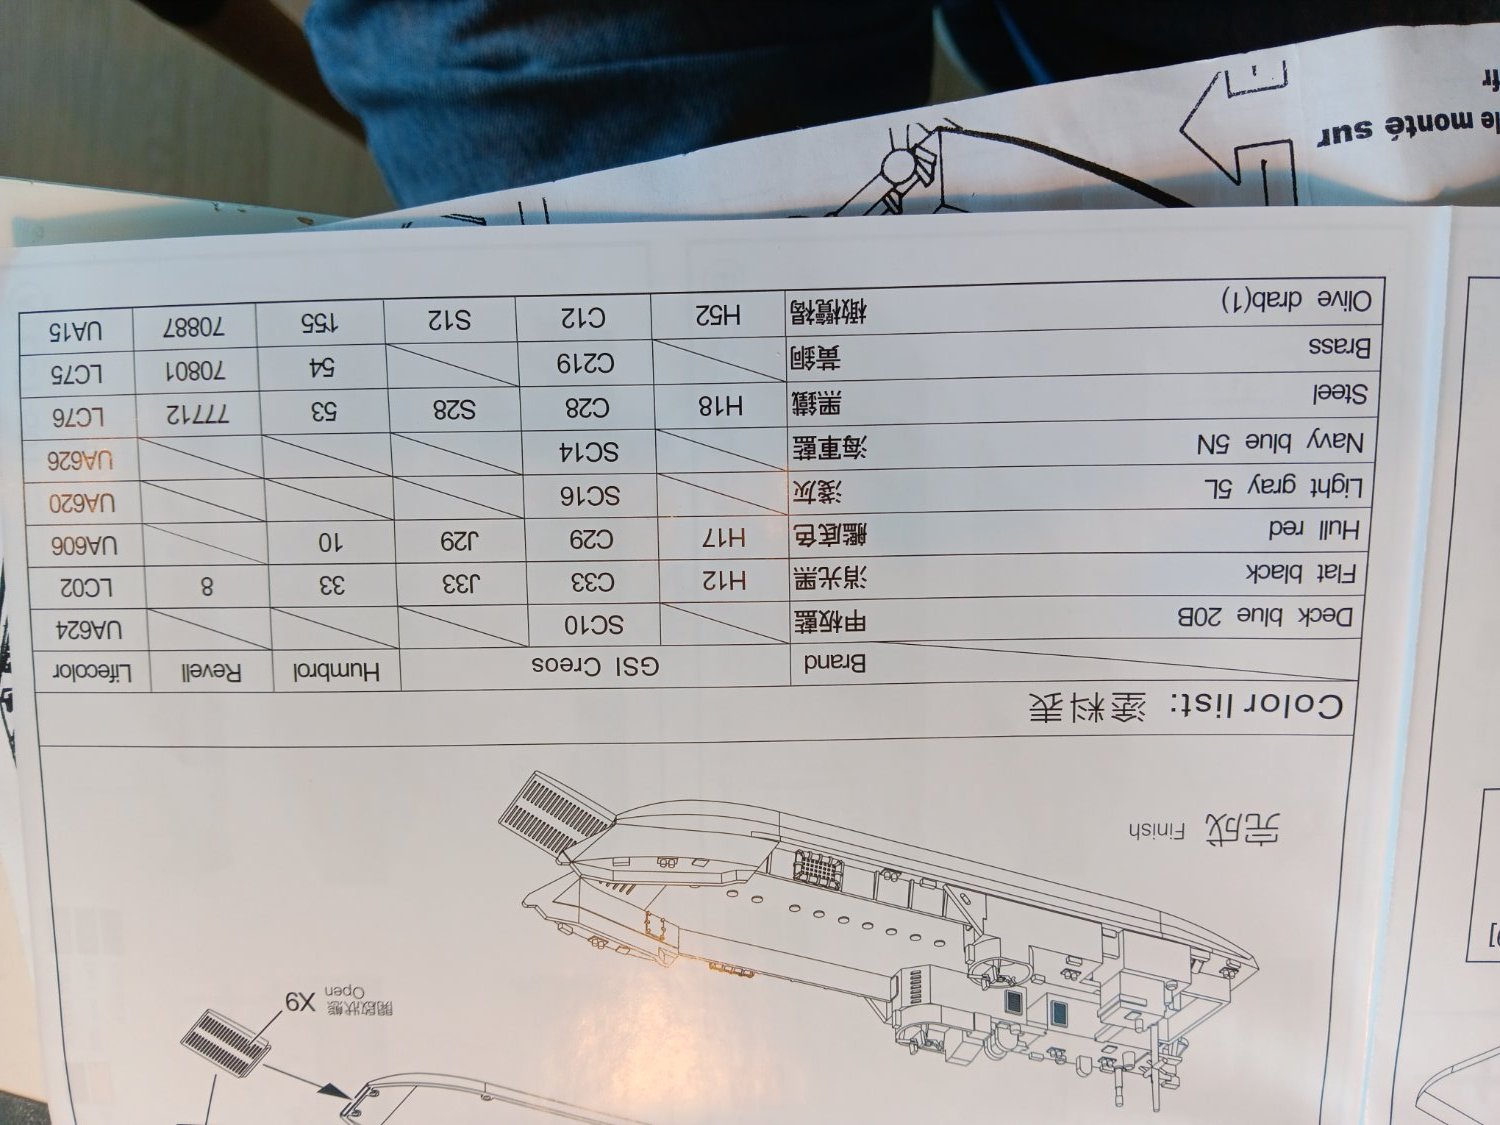
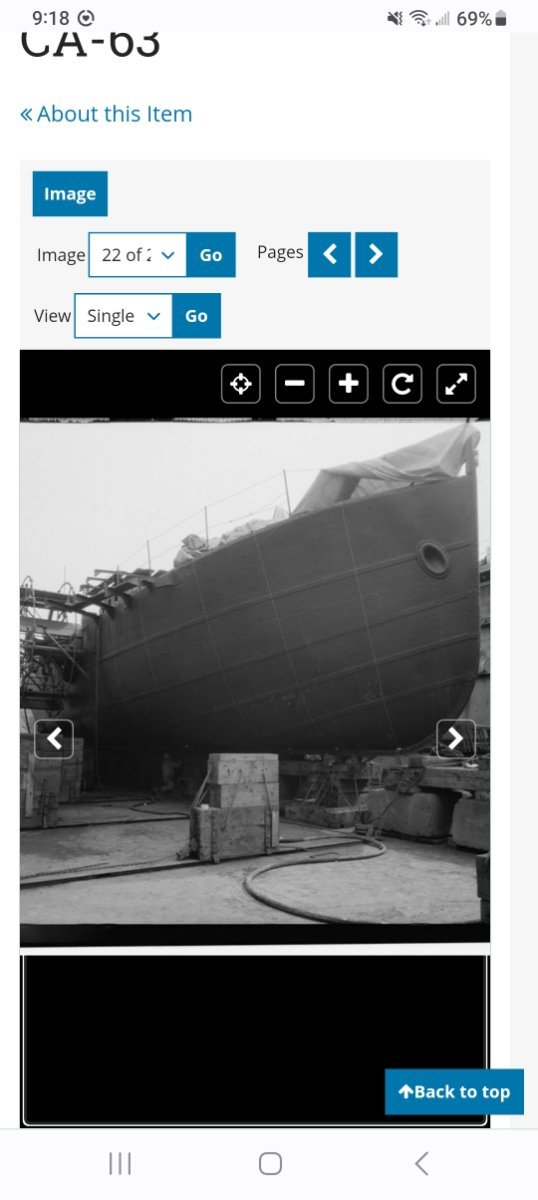
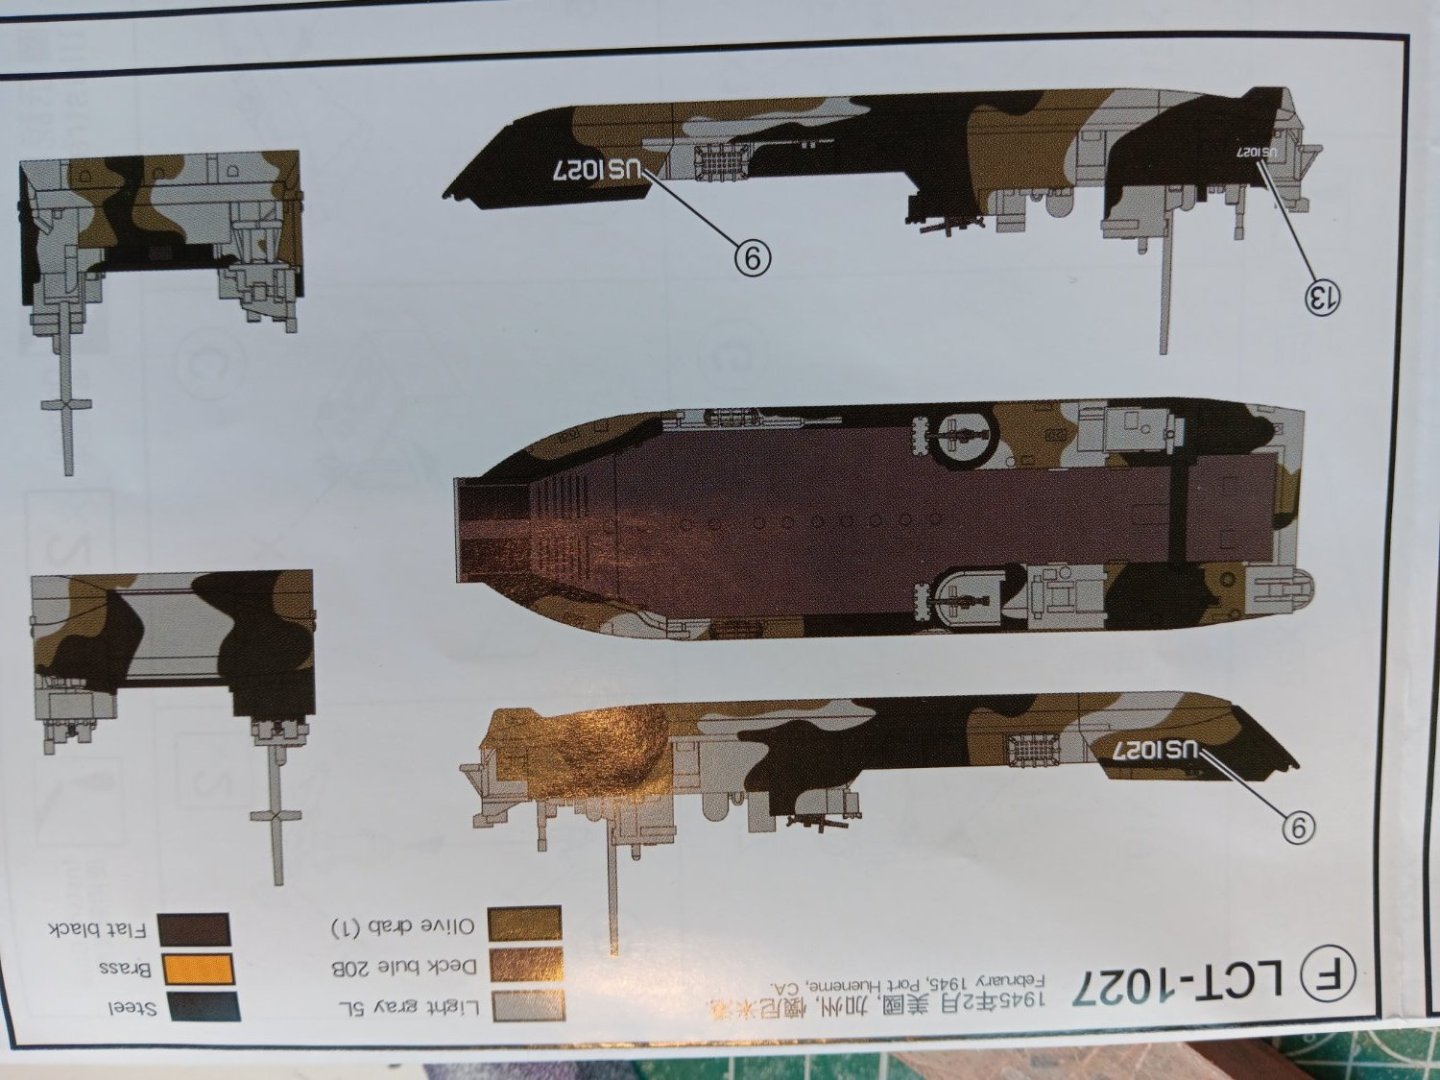
Alross2 thanks for the info. I checked the site and got some more information on lct 1302 and one additional photo. I have some of my dad's photos but unfortunately everything I've found has been black and white and none even show a pattern. On an old kit I found there is a color scheme with some color names that is the best I've been able to find. I'll try to trace down the paints. Since I don't have an air brush I will have to brush the paint, I guess masking off one layer at a time. Never tried that before so should be interesting. Bill
-
Hi, I'm working on a WW2 landing craft tanks ,LCT, which my father skippered in the Pacific in 1944. I'm trying to find the appropriate paint. Is Tamiya AS-8 Navy Blue the correct color? I read that LCTs were painted a blue in the Atlantic and a green in the Pacific theater. I don't have an airbrush set up so will have to use spray cans. Any help would be appreciated Bill
-
Welcome. I'm sure everyone here can point out things that they wished they did a little better on a model. I just try to do each one a little better as my experience and skills improve. And the reality is that you will spend many hours building a model that even your best friend won't spend more than a minute or two looking at. So just relax and enjoy the process and try to gain skills as you go along. Bill
-
Looks great. I'm always amazed at how much difference little last things like line coils make. Bill
- 122 replies
-
- 1
-
-
- Artesania Latina
- Pen Duick
- (and 1 more)
-
Very impressive! Any idea how many hours for the standing and running rigging? Bill
-
Thanks. When printed you would have white letters on a black background around the letters right? So you would trim a rectangle around the letters and the black background would go over the black on the model. Does that show up against the model black paint? Do you seal it? Bill
-
I need to do white letters on a black background for my ship's name. I can see how i can print black letters on clear decal papers and I have seen white decal paper but can't see how I could print white letters. I've been searching the forum and I'm sure it's in here somewhere but would really appreciate some help. Bill
-
Remembering to drill out blocks before installing them and to run a little CA glue on ends of lines before trying to push them through blocks really helped me. Bill
- 152 replies
-
- 2
-
-
- Flirt
- Vanguard Models
- (and 1 more)
-
Here's a 1914 hull. Tug is 100ft long so this looks to be from about 50 ft away

-
You did a beautiful job. Congratulations
-
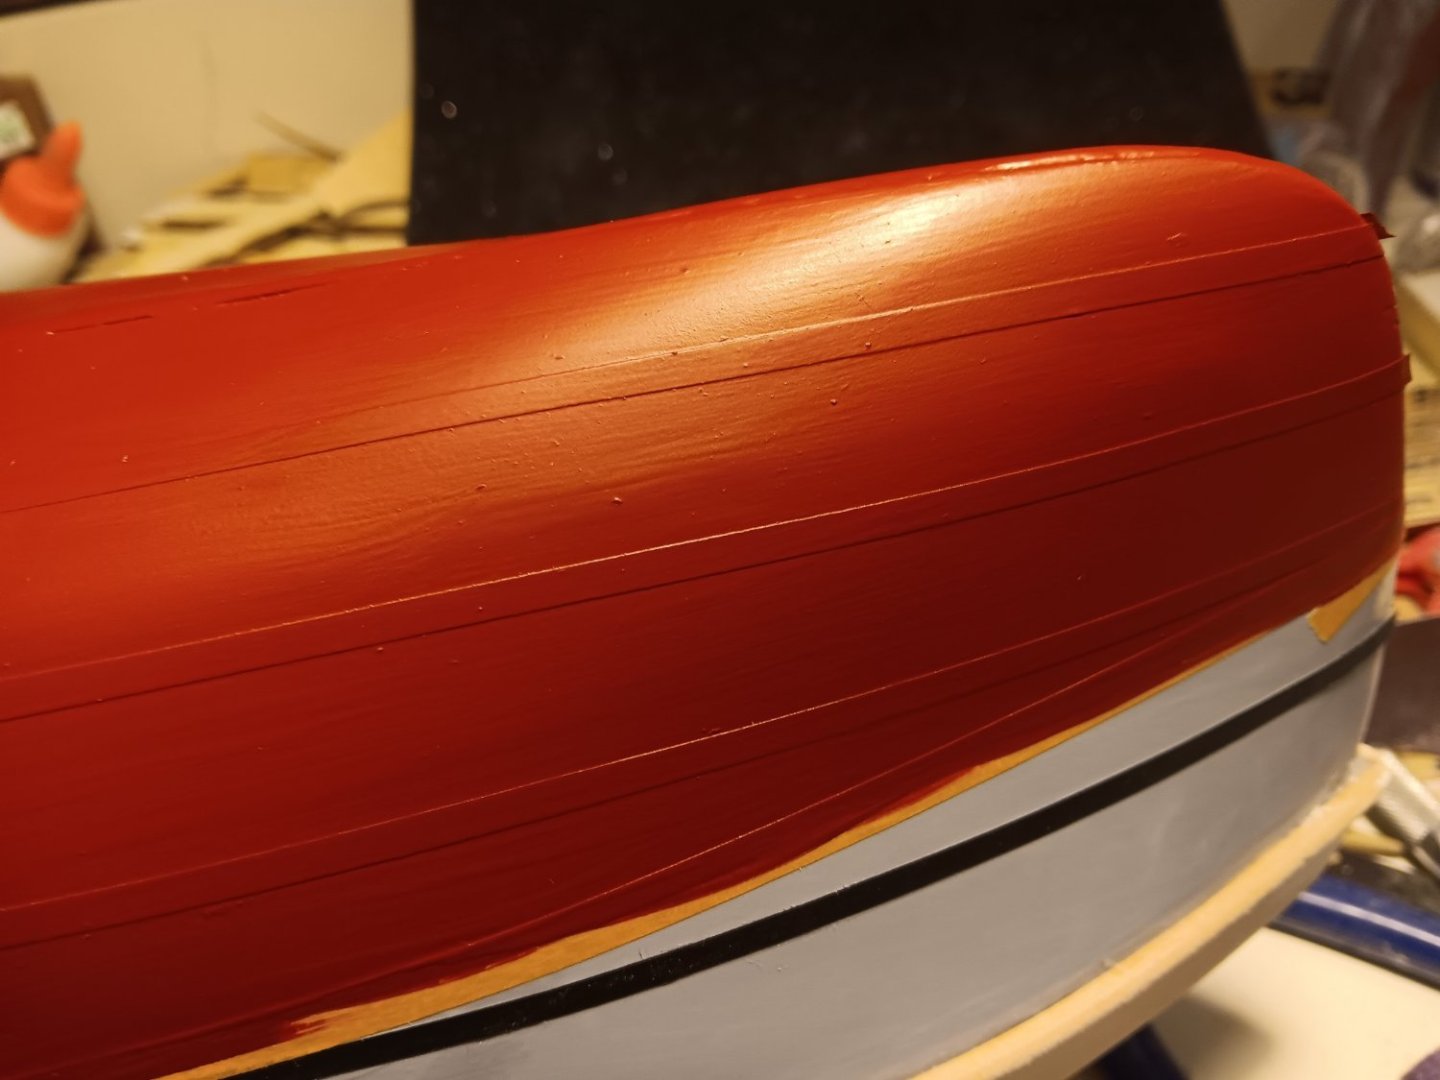
I have thought the same. I owned a 88ft 1920 riveted hull schooner. From 100 feet rivets were not visible but overlap places were. So on the paddle wheel tug (1:48) I'm building I laid strip of auto pinstriping along hull and then painted over to give the feel of the plates. Bill
-
Looks great. What do you use the spray for? Bill
-
Stepping the mast with a plum bob...two questions.
wmherbert replied to HardeeHarHar's topic in Masting, rigging and sails
I do glue the masts with PVA while doing the adjusting . And then when glue is dry I tie down temporary shrouds down to the sides of the model to steady them until actual shrouds are installed. Bill