wmherbert
-
Posts
292 -
Joined
-
Last visited
Content Type
Profiles
Forums
Gallery
Events
Everything posted by wmherbert
-
Very slick. Nicely done Bill
-
Welcome. One great thing about this hobby and MSW is being able to share with fellow enthusiasts from all over the world. Wouldn't it be nice if the world were all just one big happy group like it is here? Maybe there's hope. Bill
-
Interesting idea. It would be possible to buy long enough ones to go all the way around the hull to cinch planks tight. Getting clamps to work, particularly at the ends Is always a challenge . Especially as the spaces start getting tight. Bill
-
I'm curious . How are you using the cable ties? Bill
-
Search "wrinkles in silkspan" in everywhere for some ideas. Bill
-
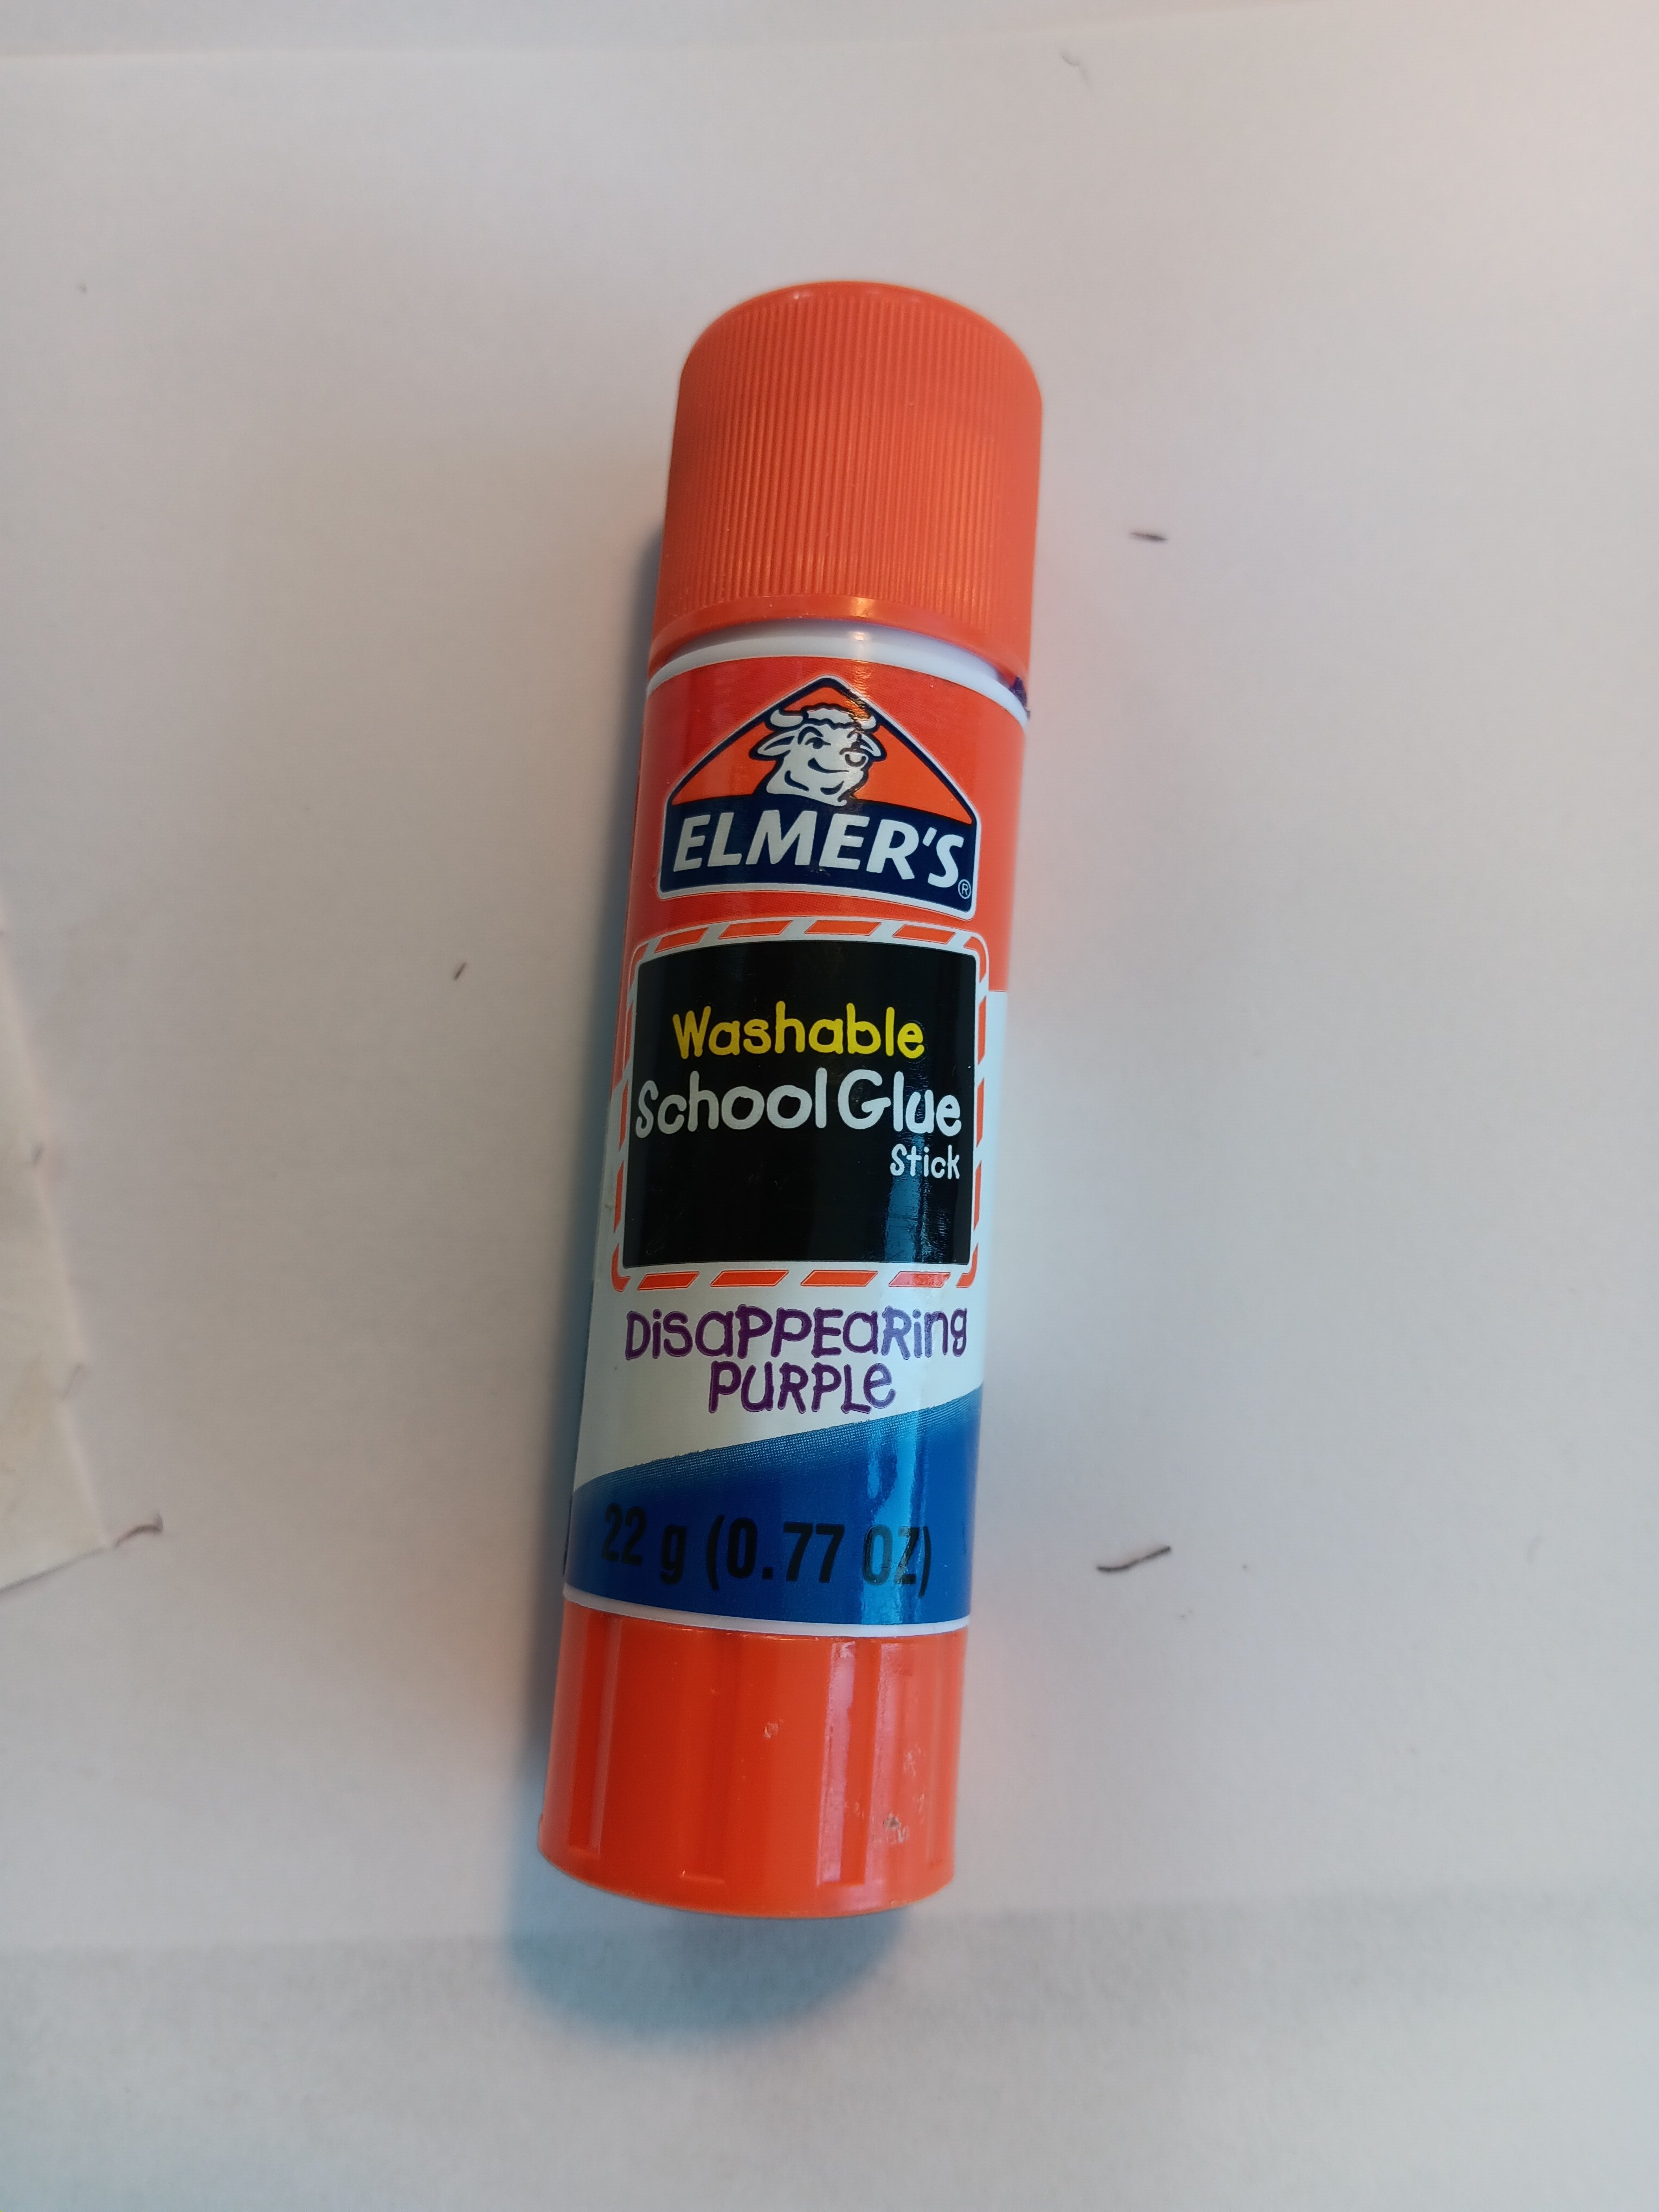
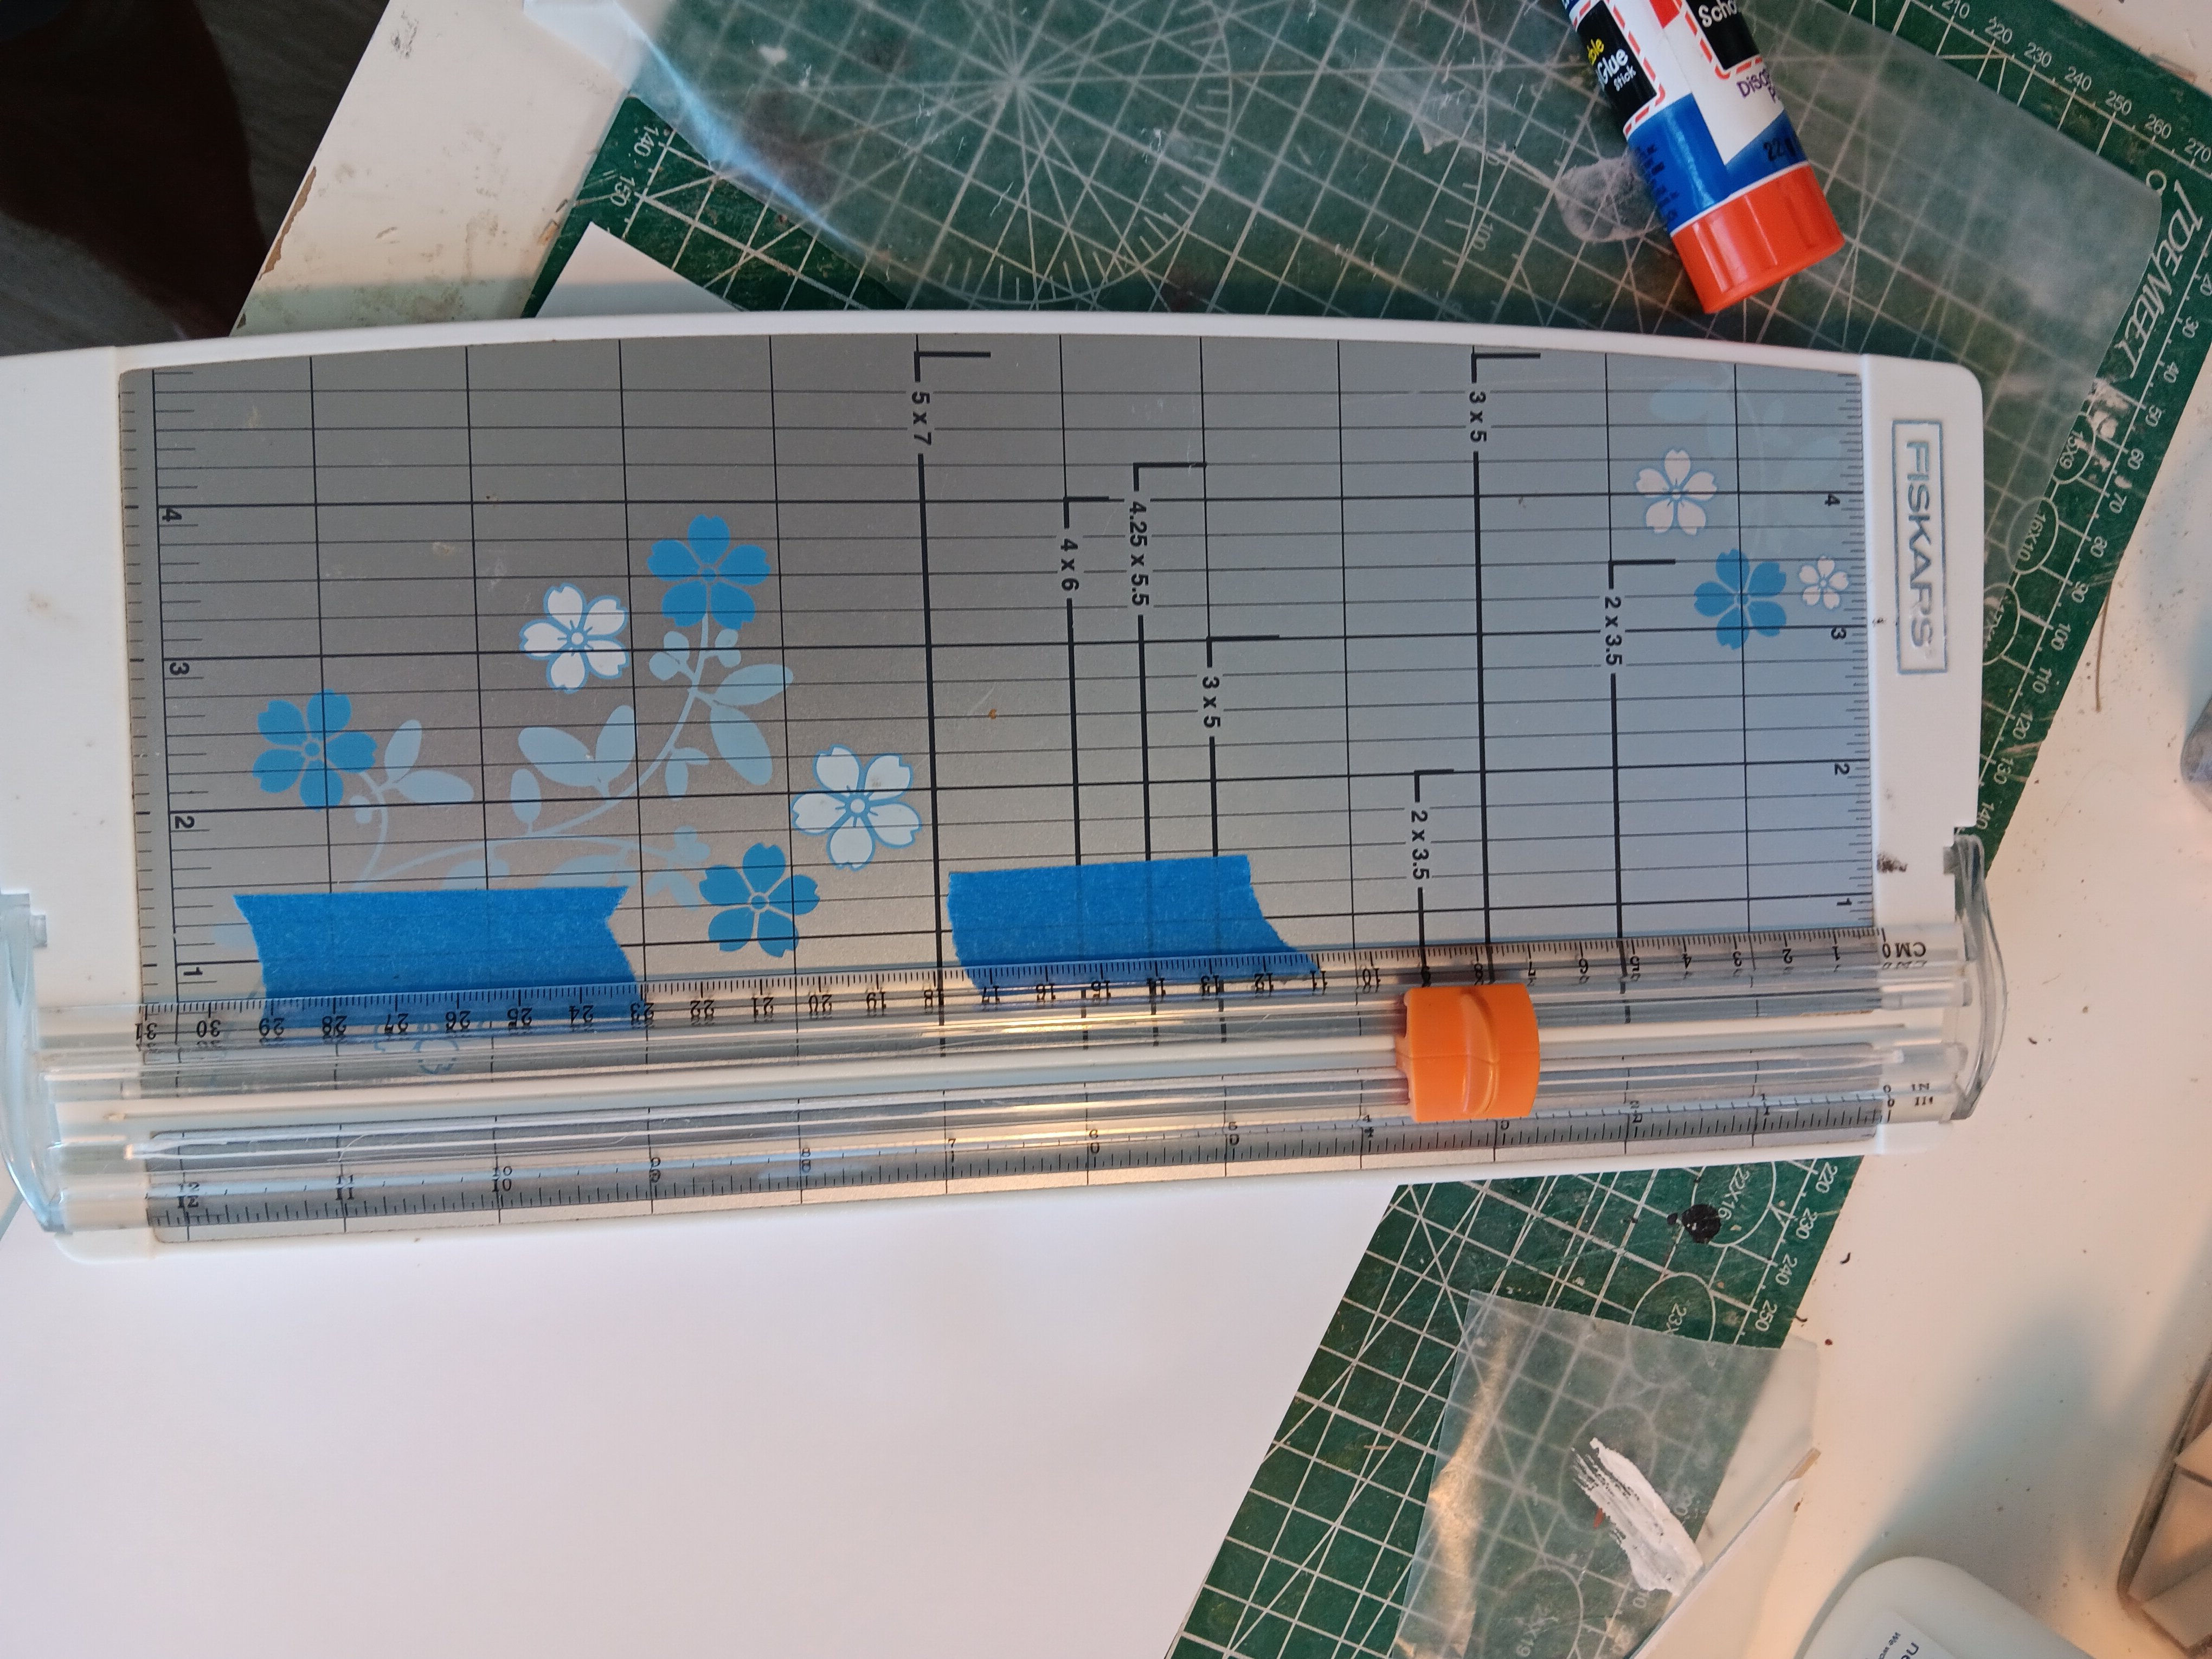
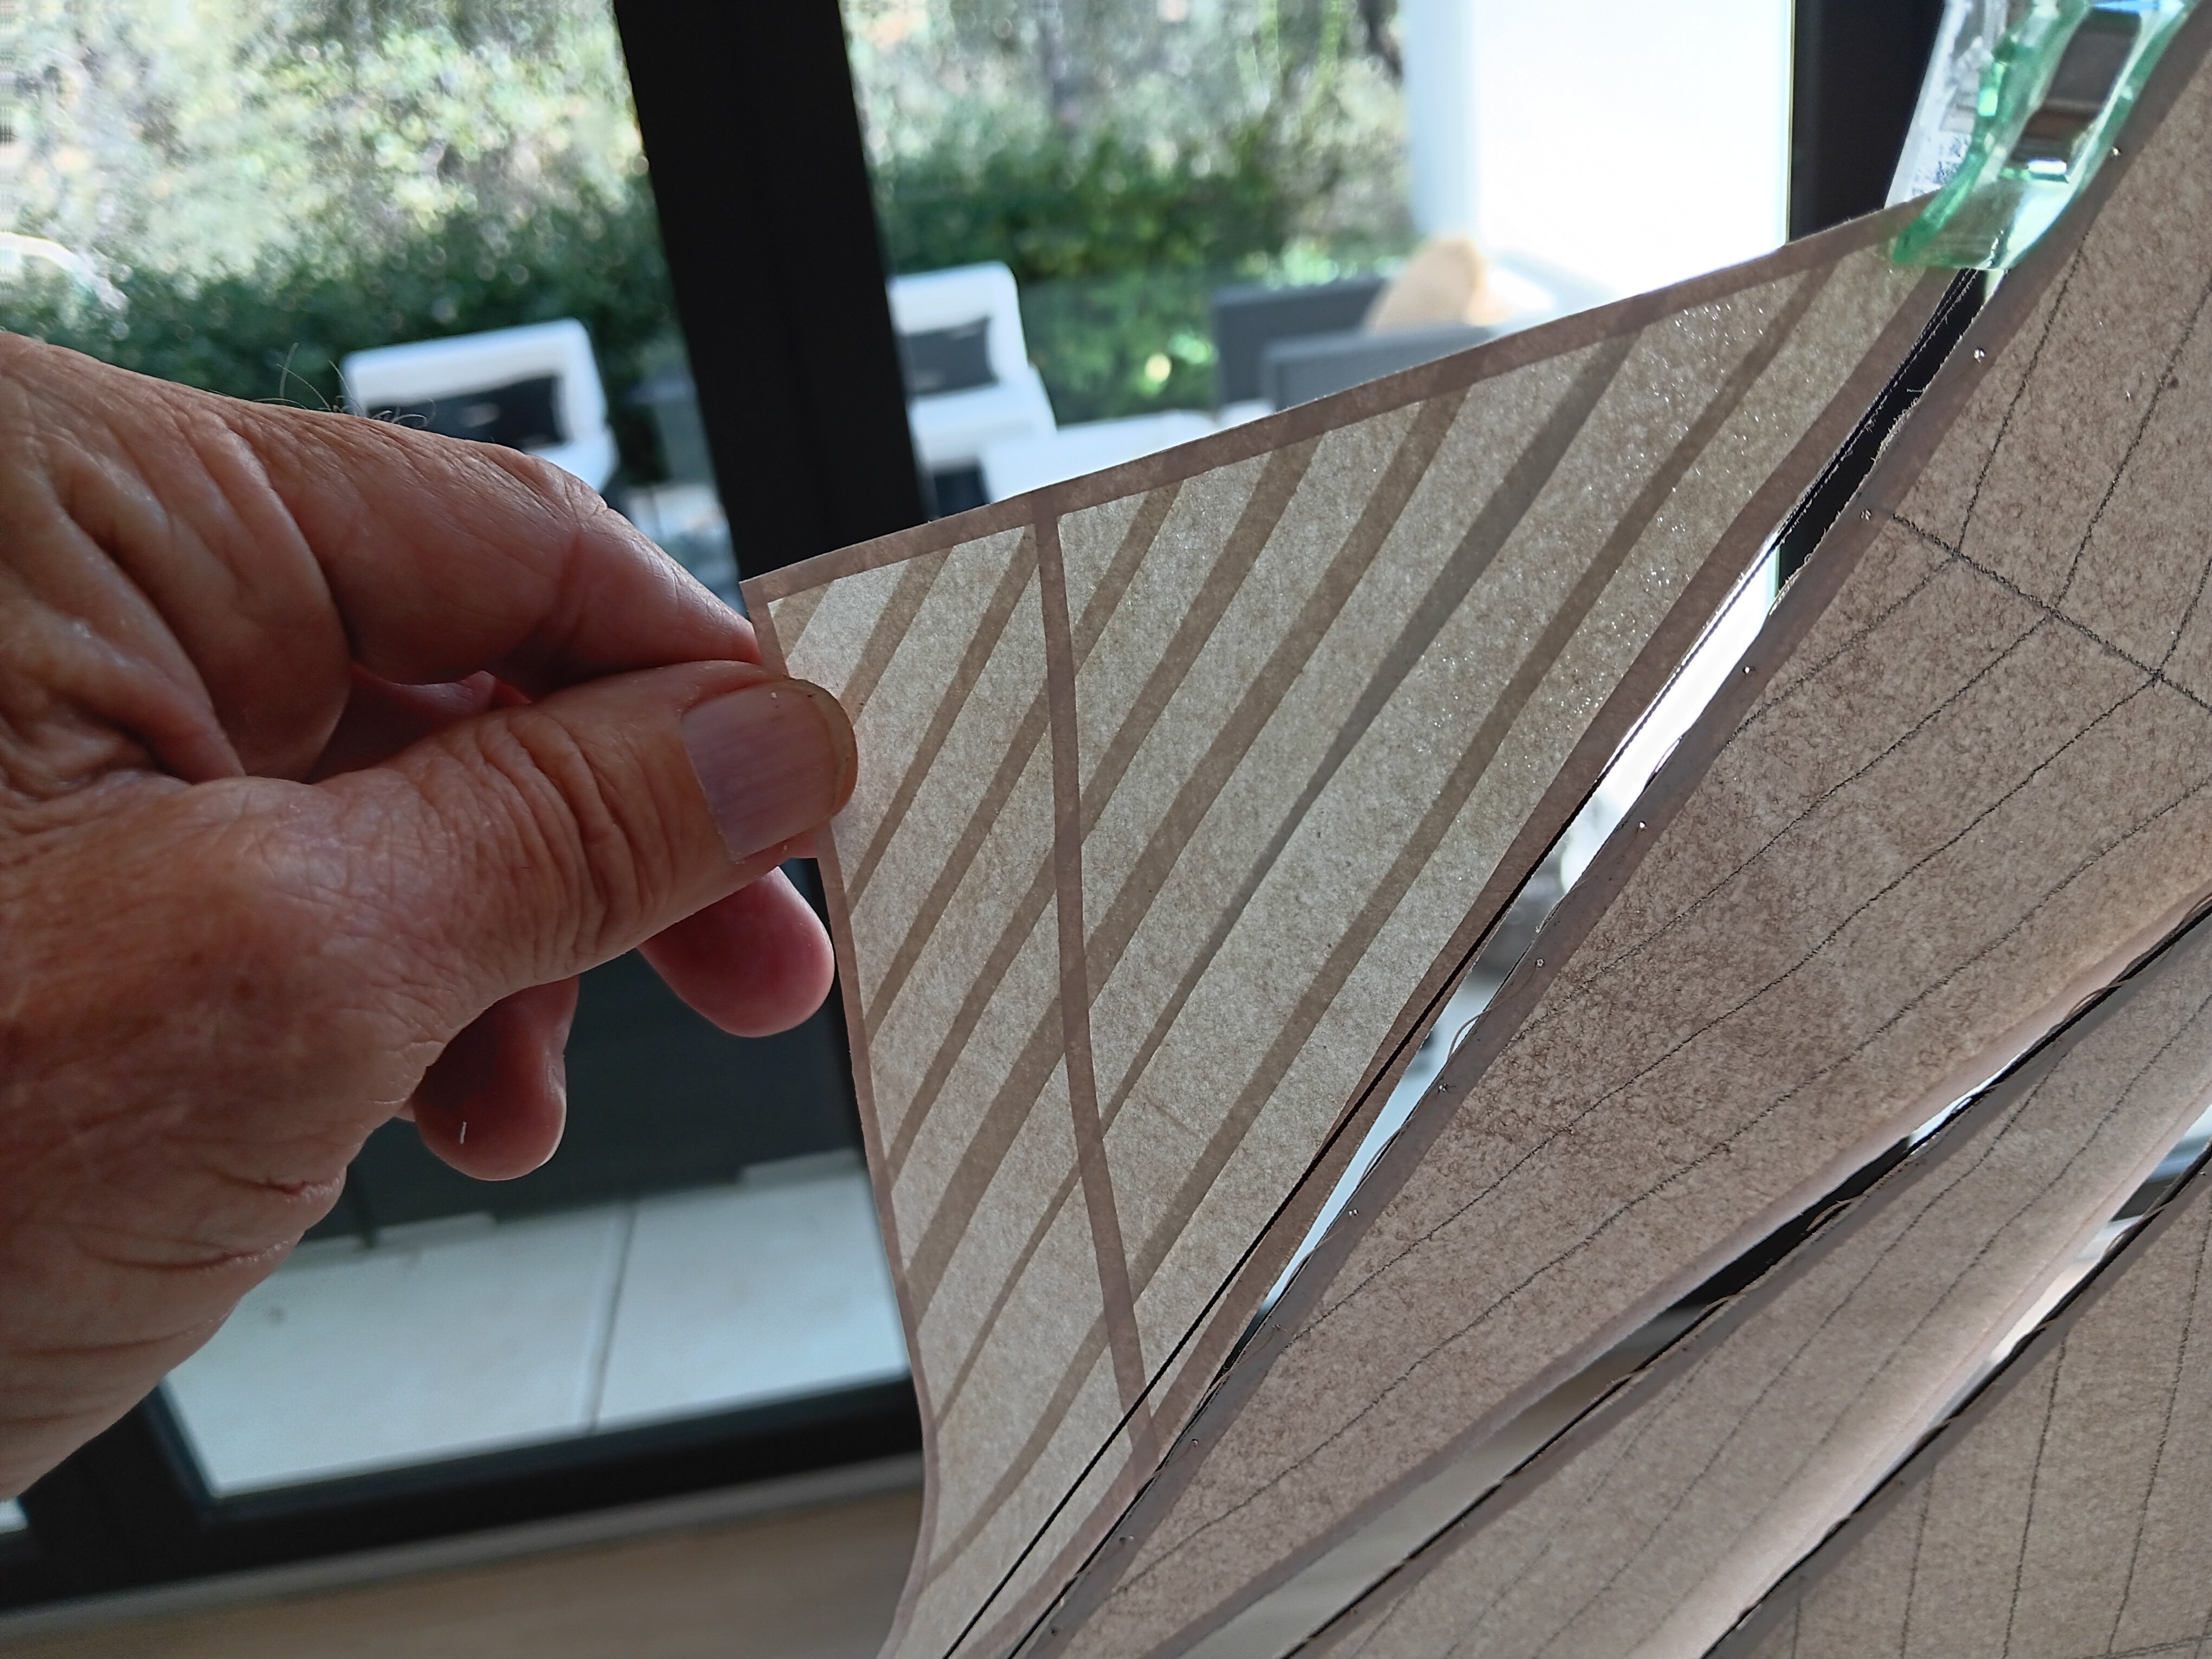
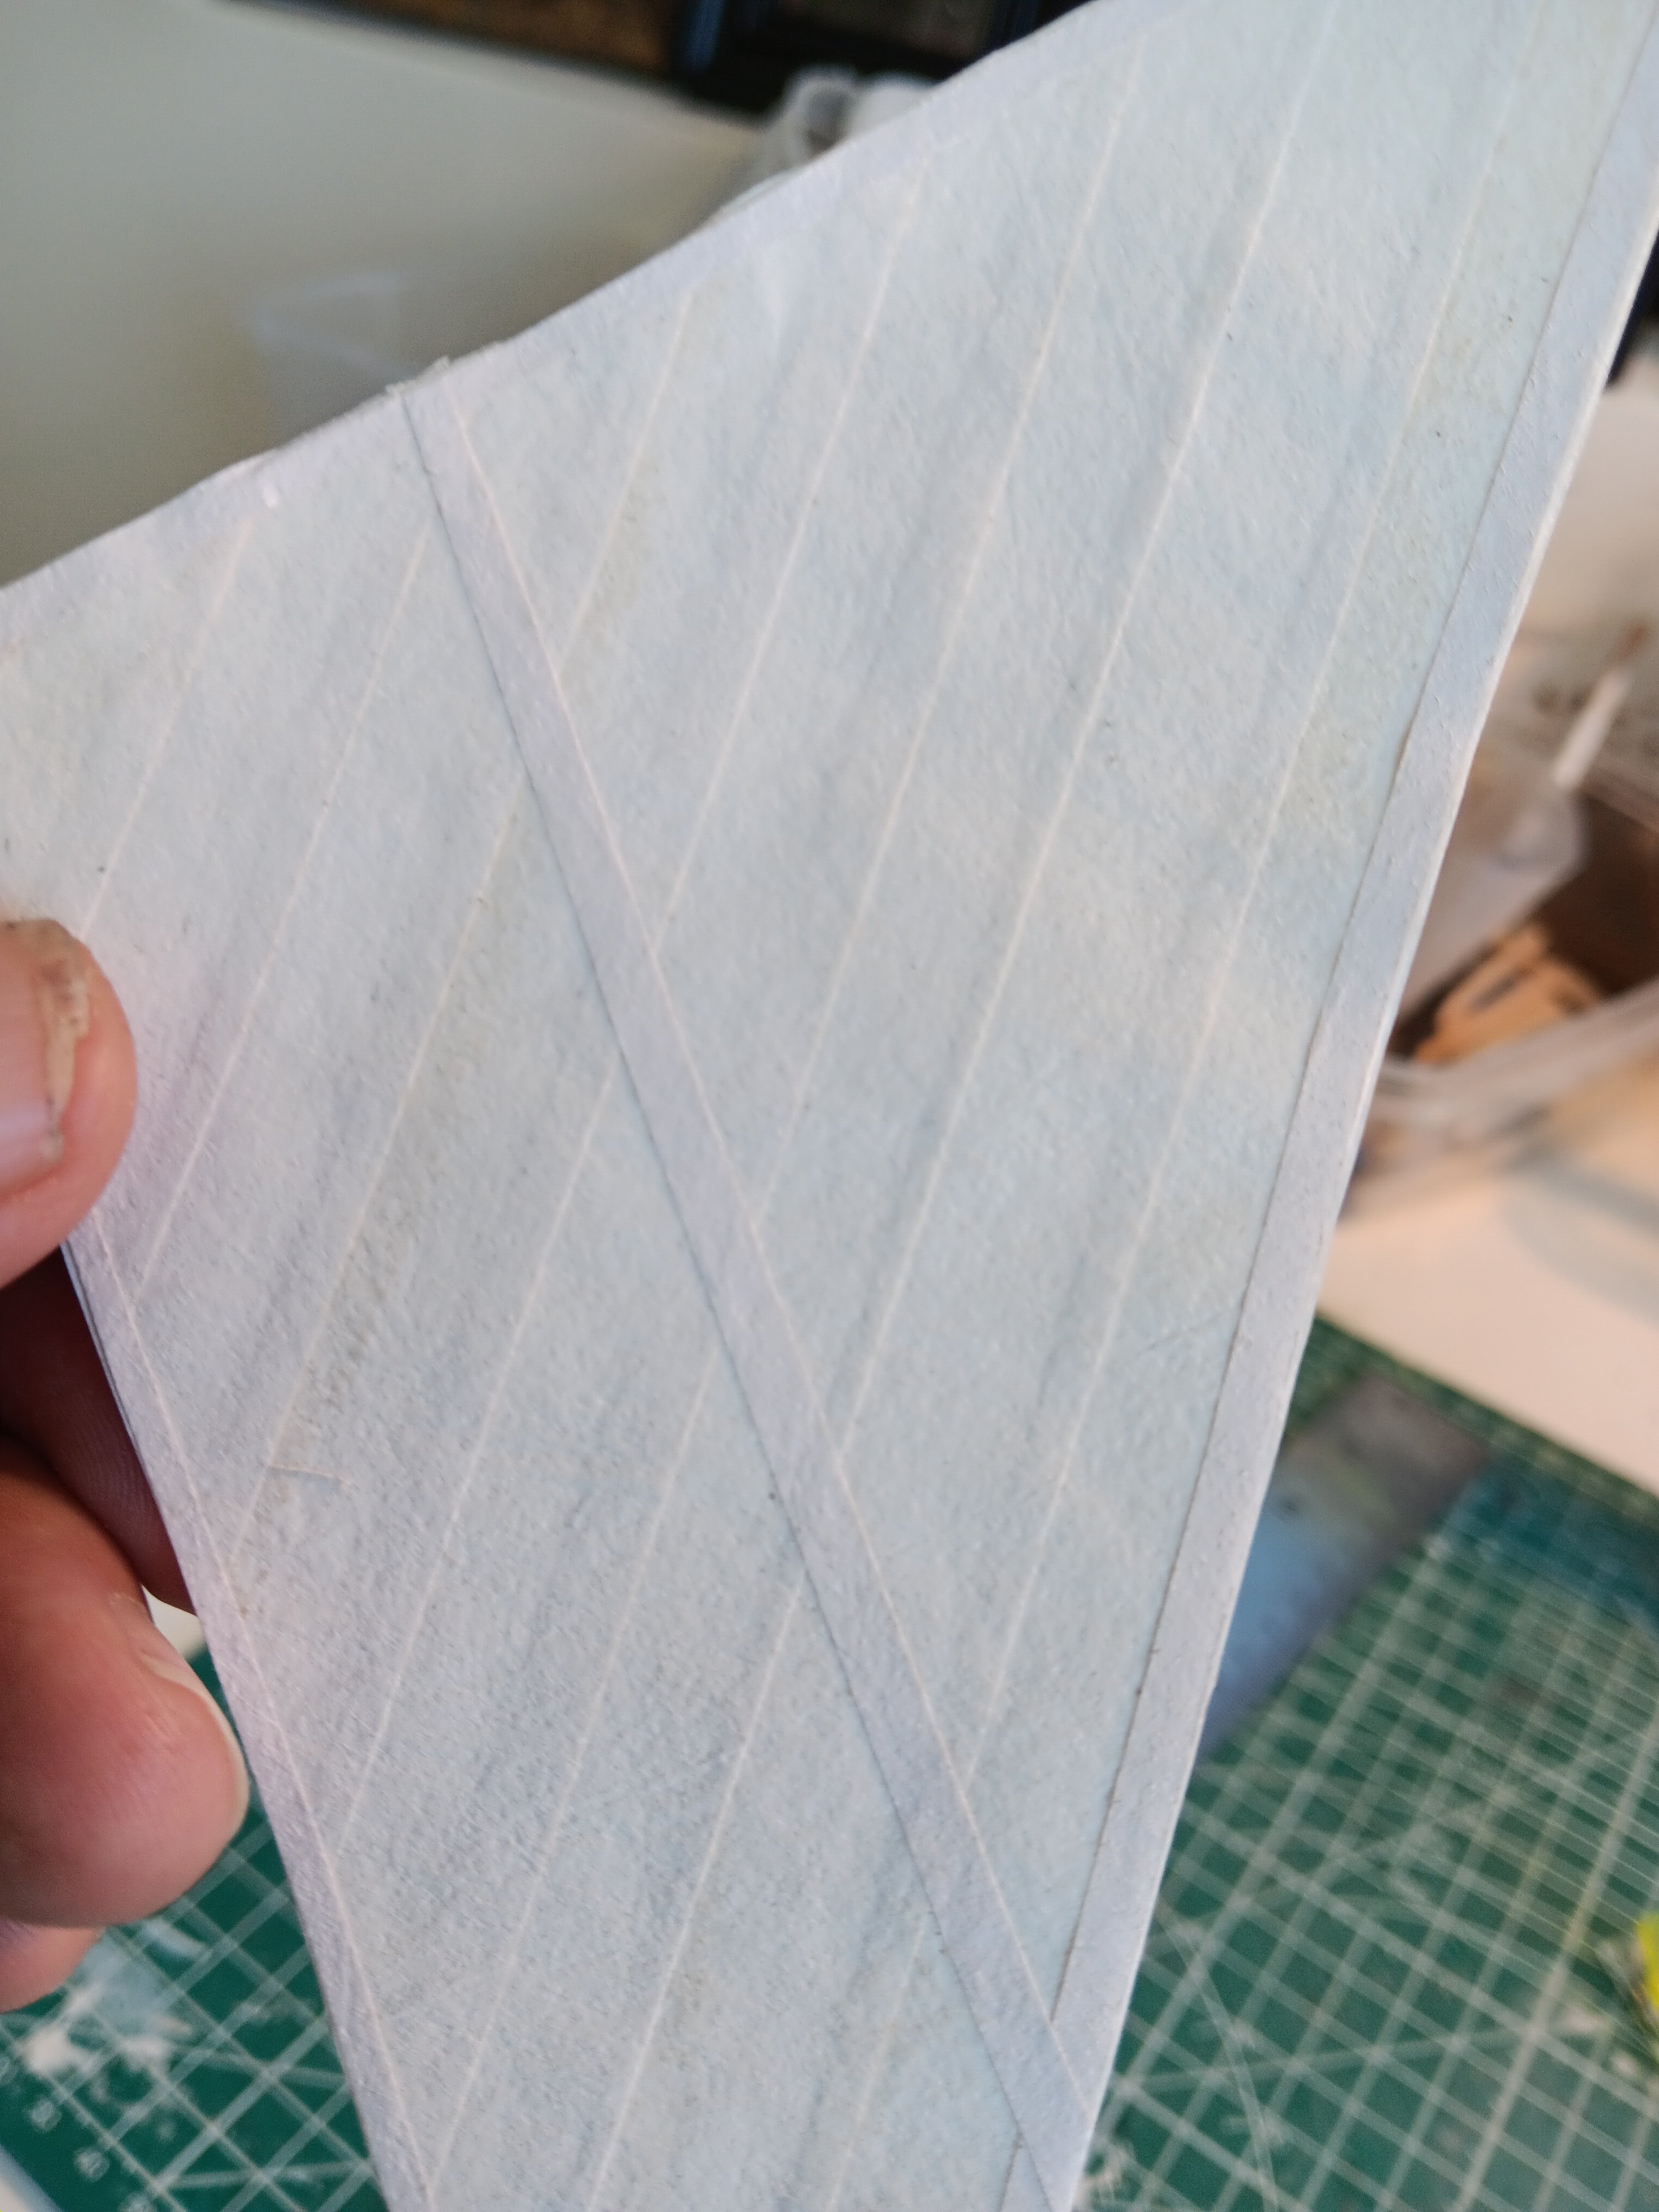
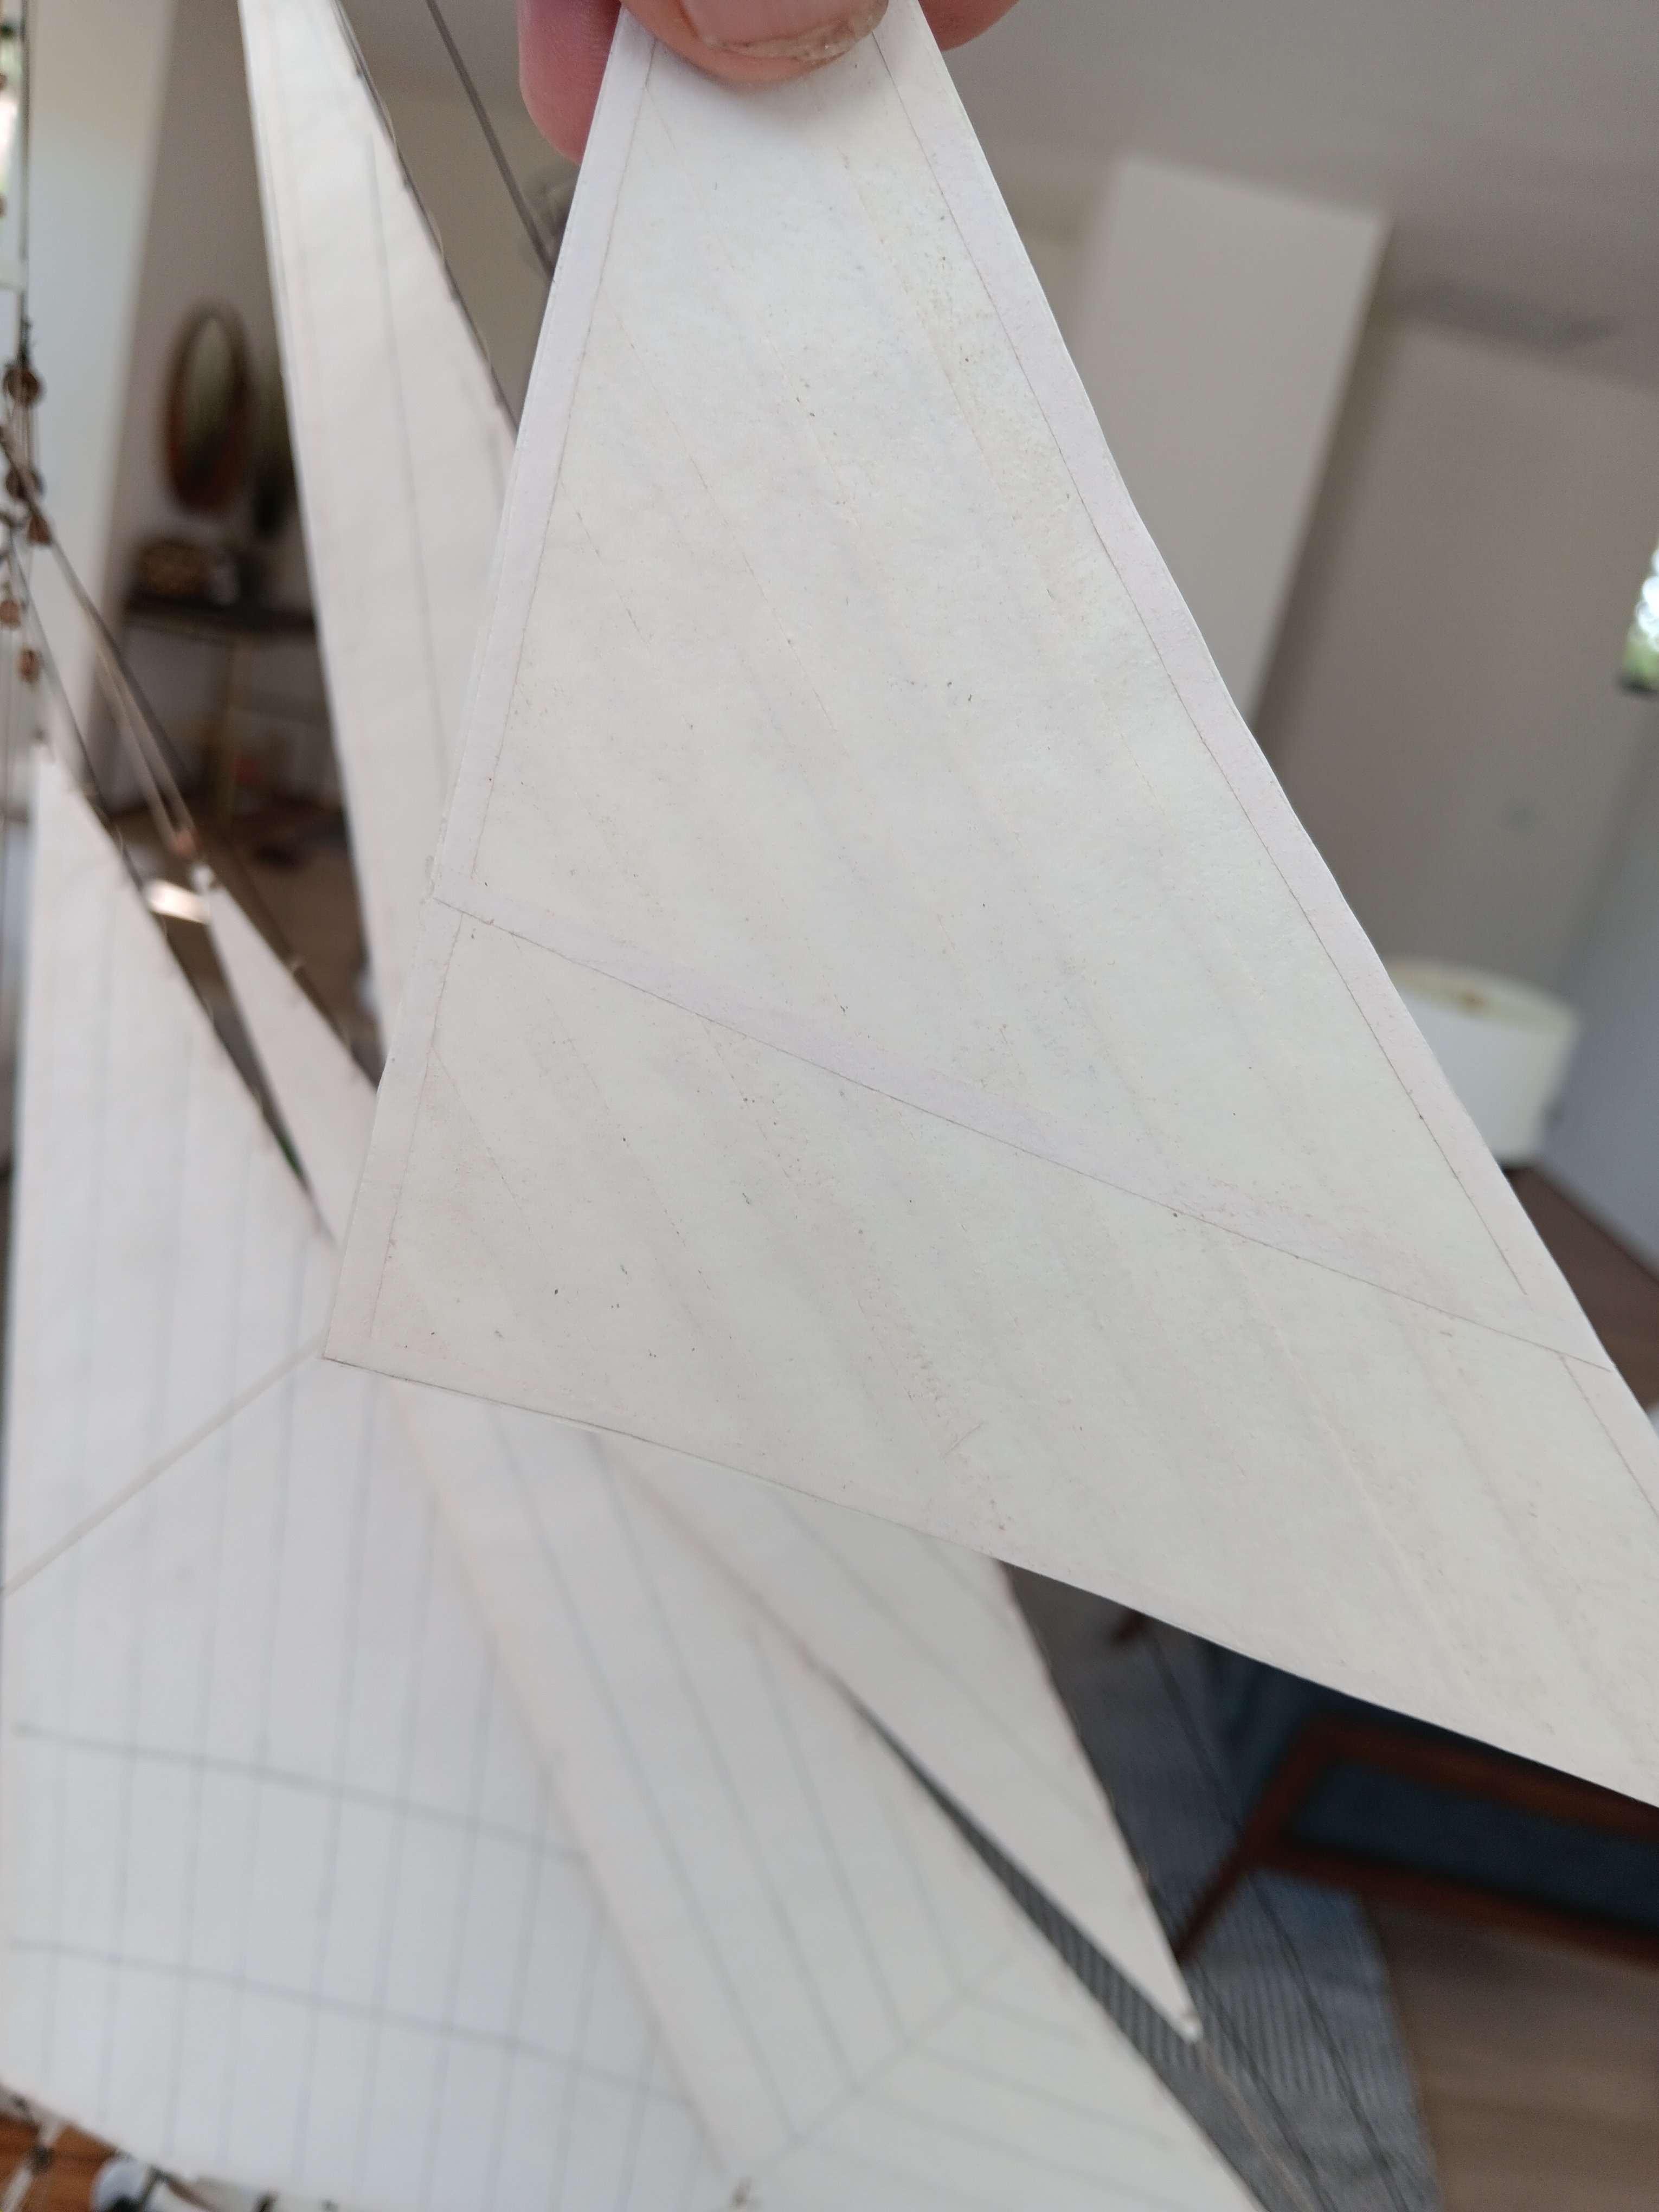
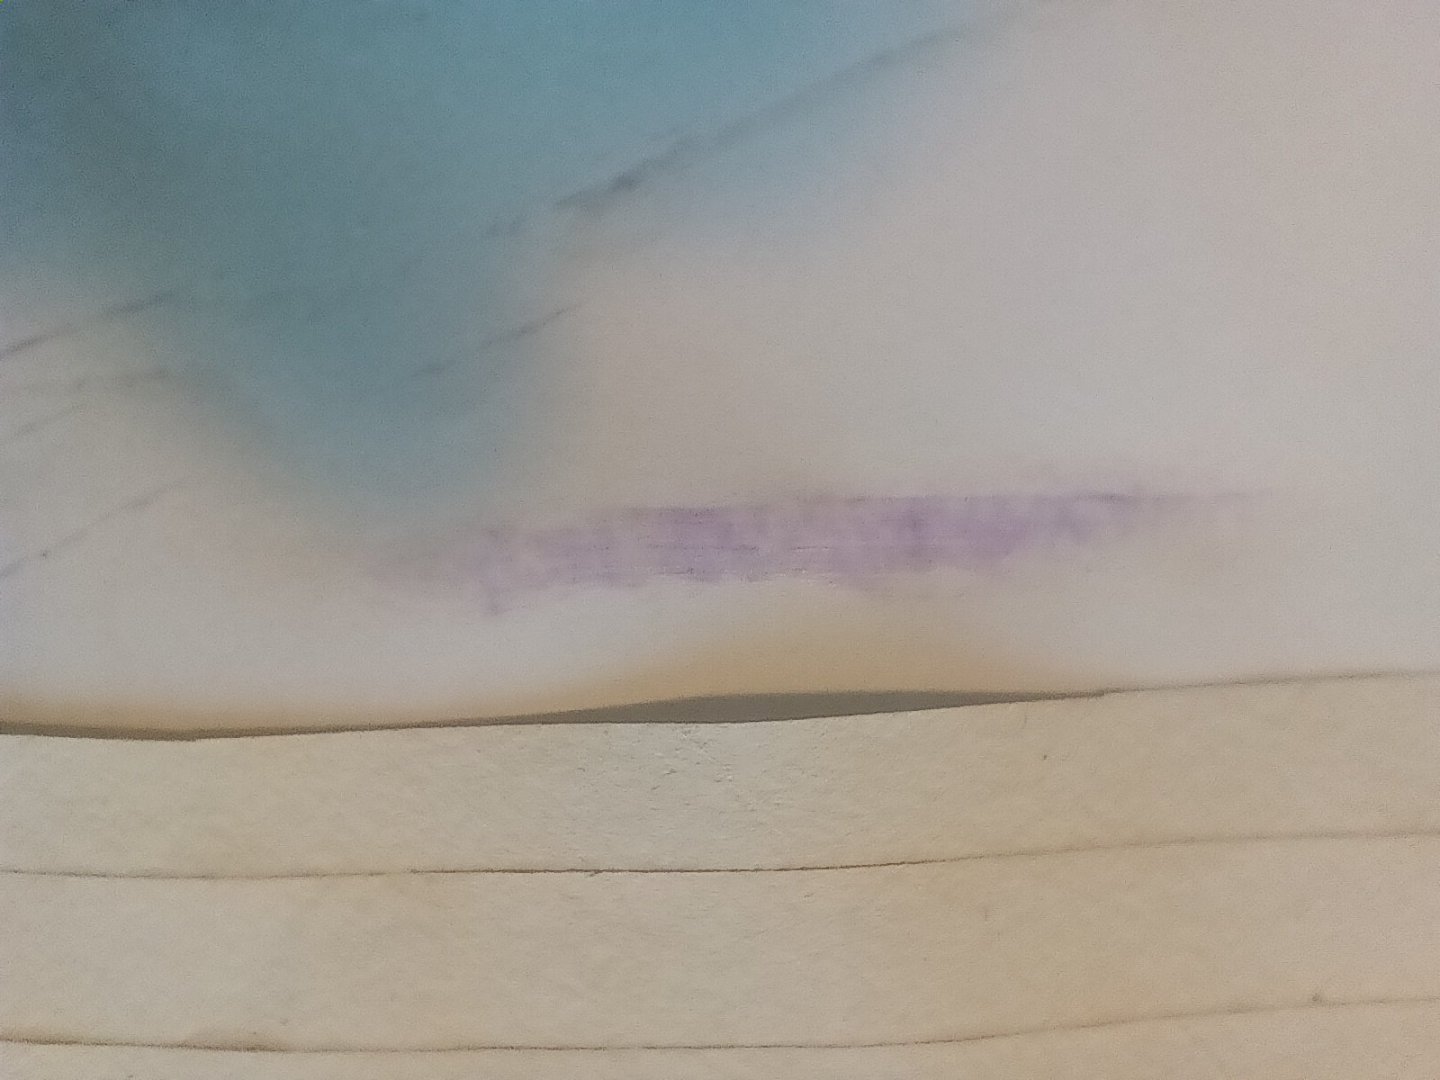
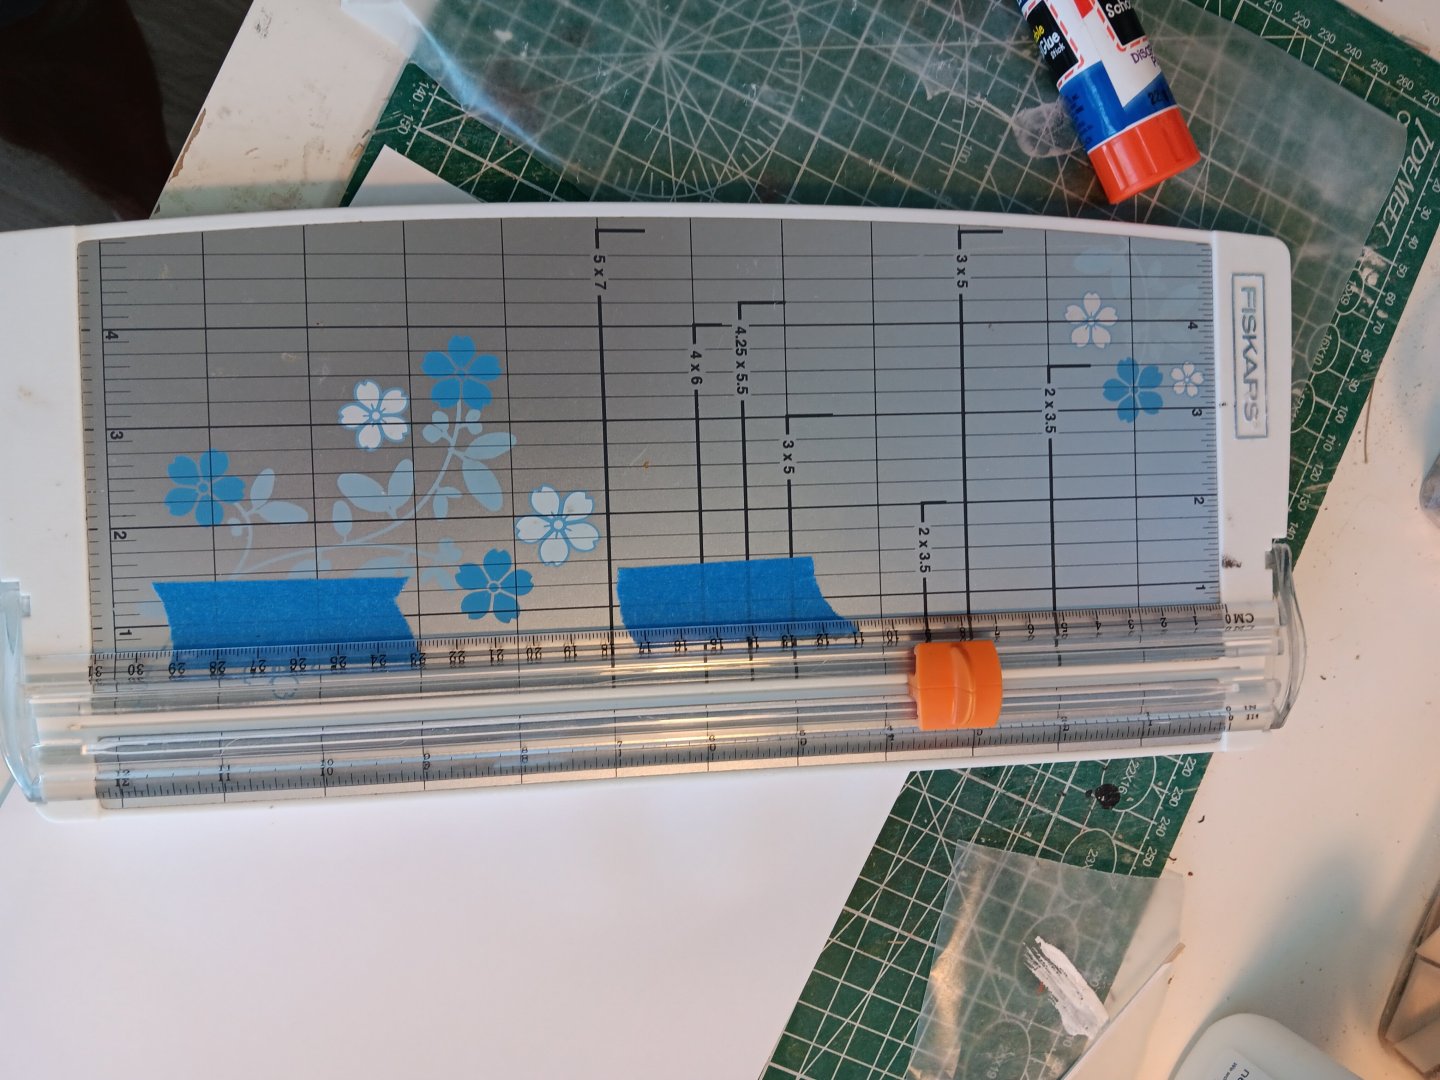
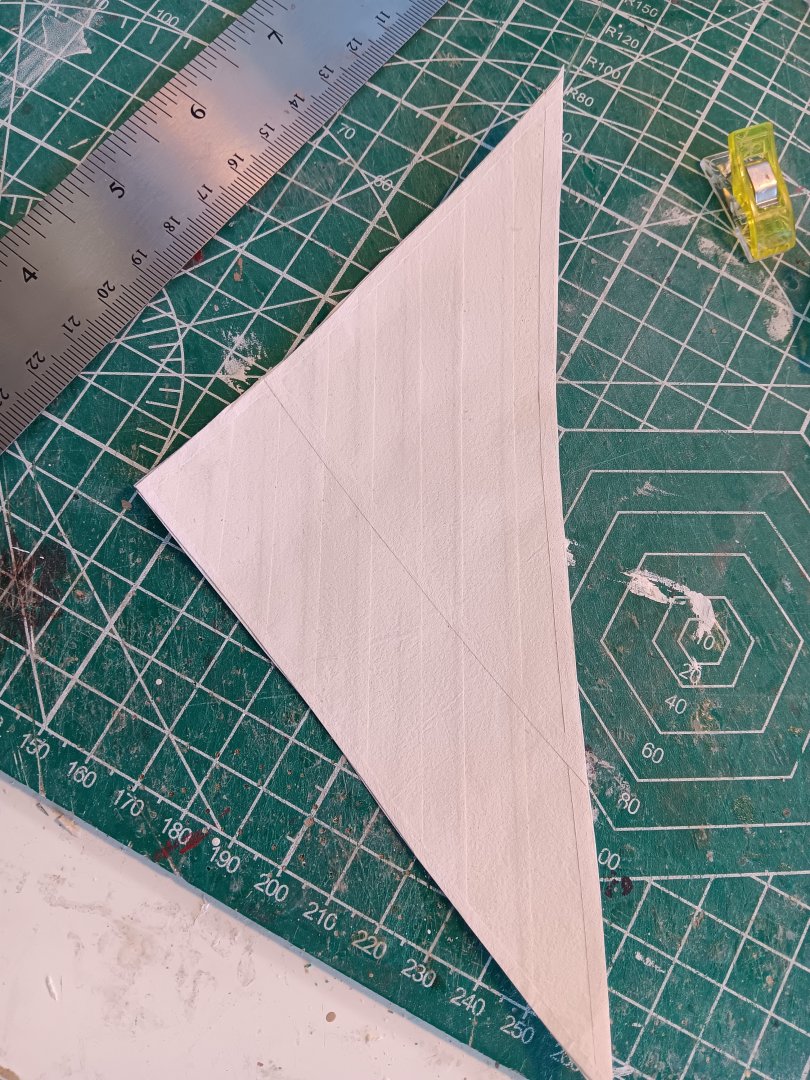
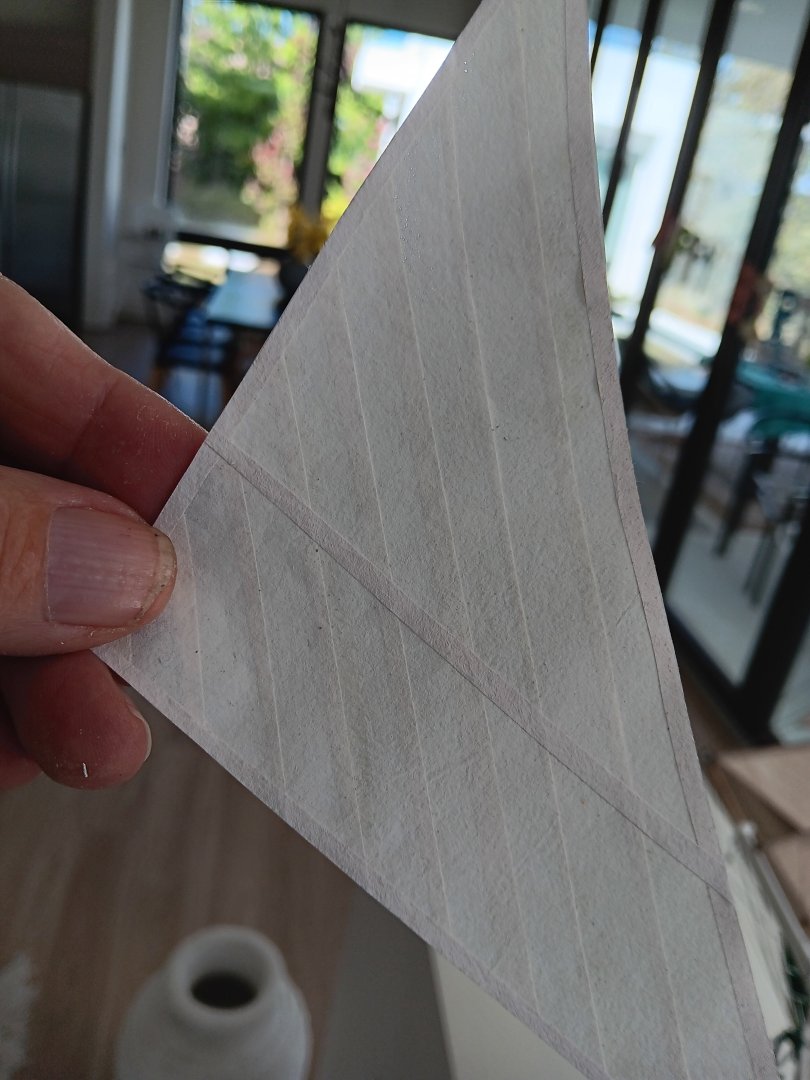
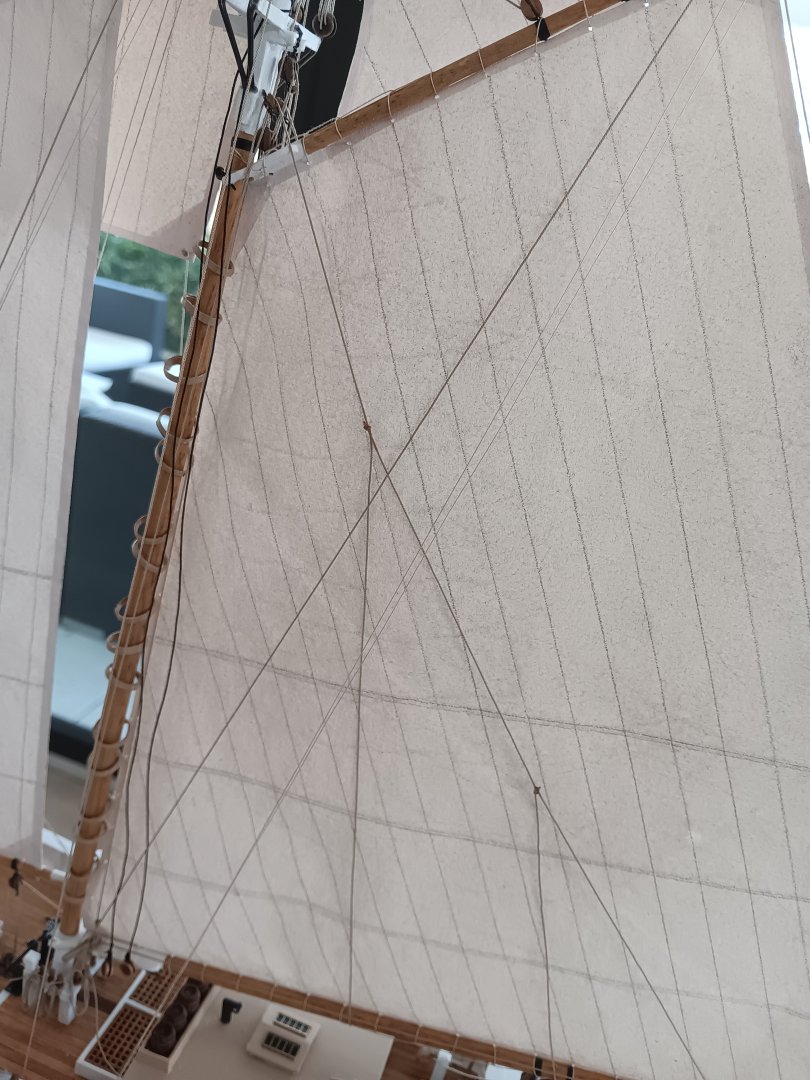
For two reasons I've been trying different sail techniques. First. I'm retired and second. I'm waiting for some Syren line to arrive so I can finish my Flying fish model. So with nothing else to do I tried a couple of sails with various methods. I took painted silkspan and cut a bunch of 1/2 inch strips . I used a cutter of my wive's from her school teaching days. Works well to cut both the wide and narrow strips. I then used glue stick to coat the overlap edge. And then lapped them to make the sail. I used glue stick to glue the edges and also the reefing line on the sail. The glue stick comes out purple and was easy to coat the overlap edge. I found I needed to make sure I had a nice uniform coating. Any extra glue just disappeared as it dries. Doesn't leave any noticeable residue. I tried first just the one layer of strips. No middle sheet or strips on the back side. Only thing I noticed was if lit from behind the seams were pretty dark and noticeable. So then I tried adding a middle sheet of un painted silkspan and then then back side strips. I did this because if light was coming from behind the sail I thought the overlaps seemed too dark. With light from the front it looked fine. So I'm a little uncertain about which way I would go. But I did learn that the glue stick worked fine. It's still a little bit of a toss up to me whether this method is better than the pencil lines. The pencil lines look good with light from either side. So maybe what you like best would just depend on how the model is displayed. Bill


-
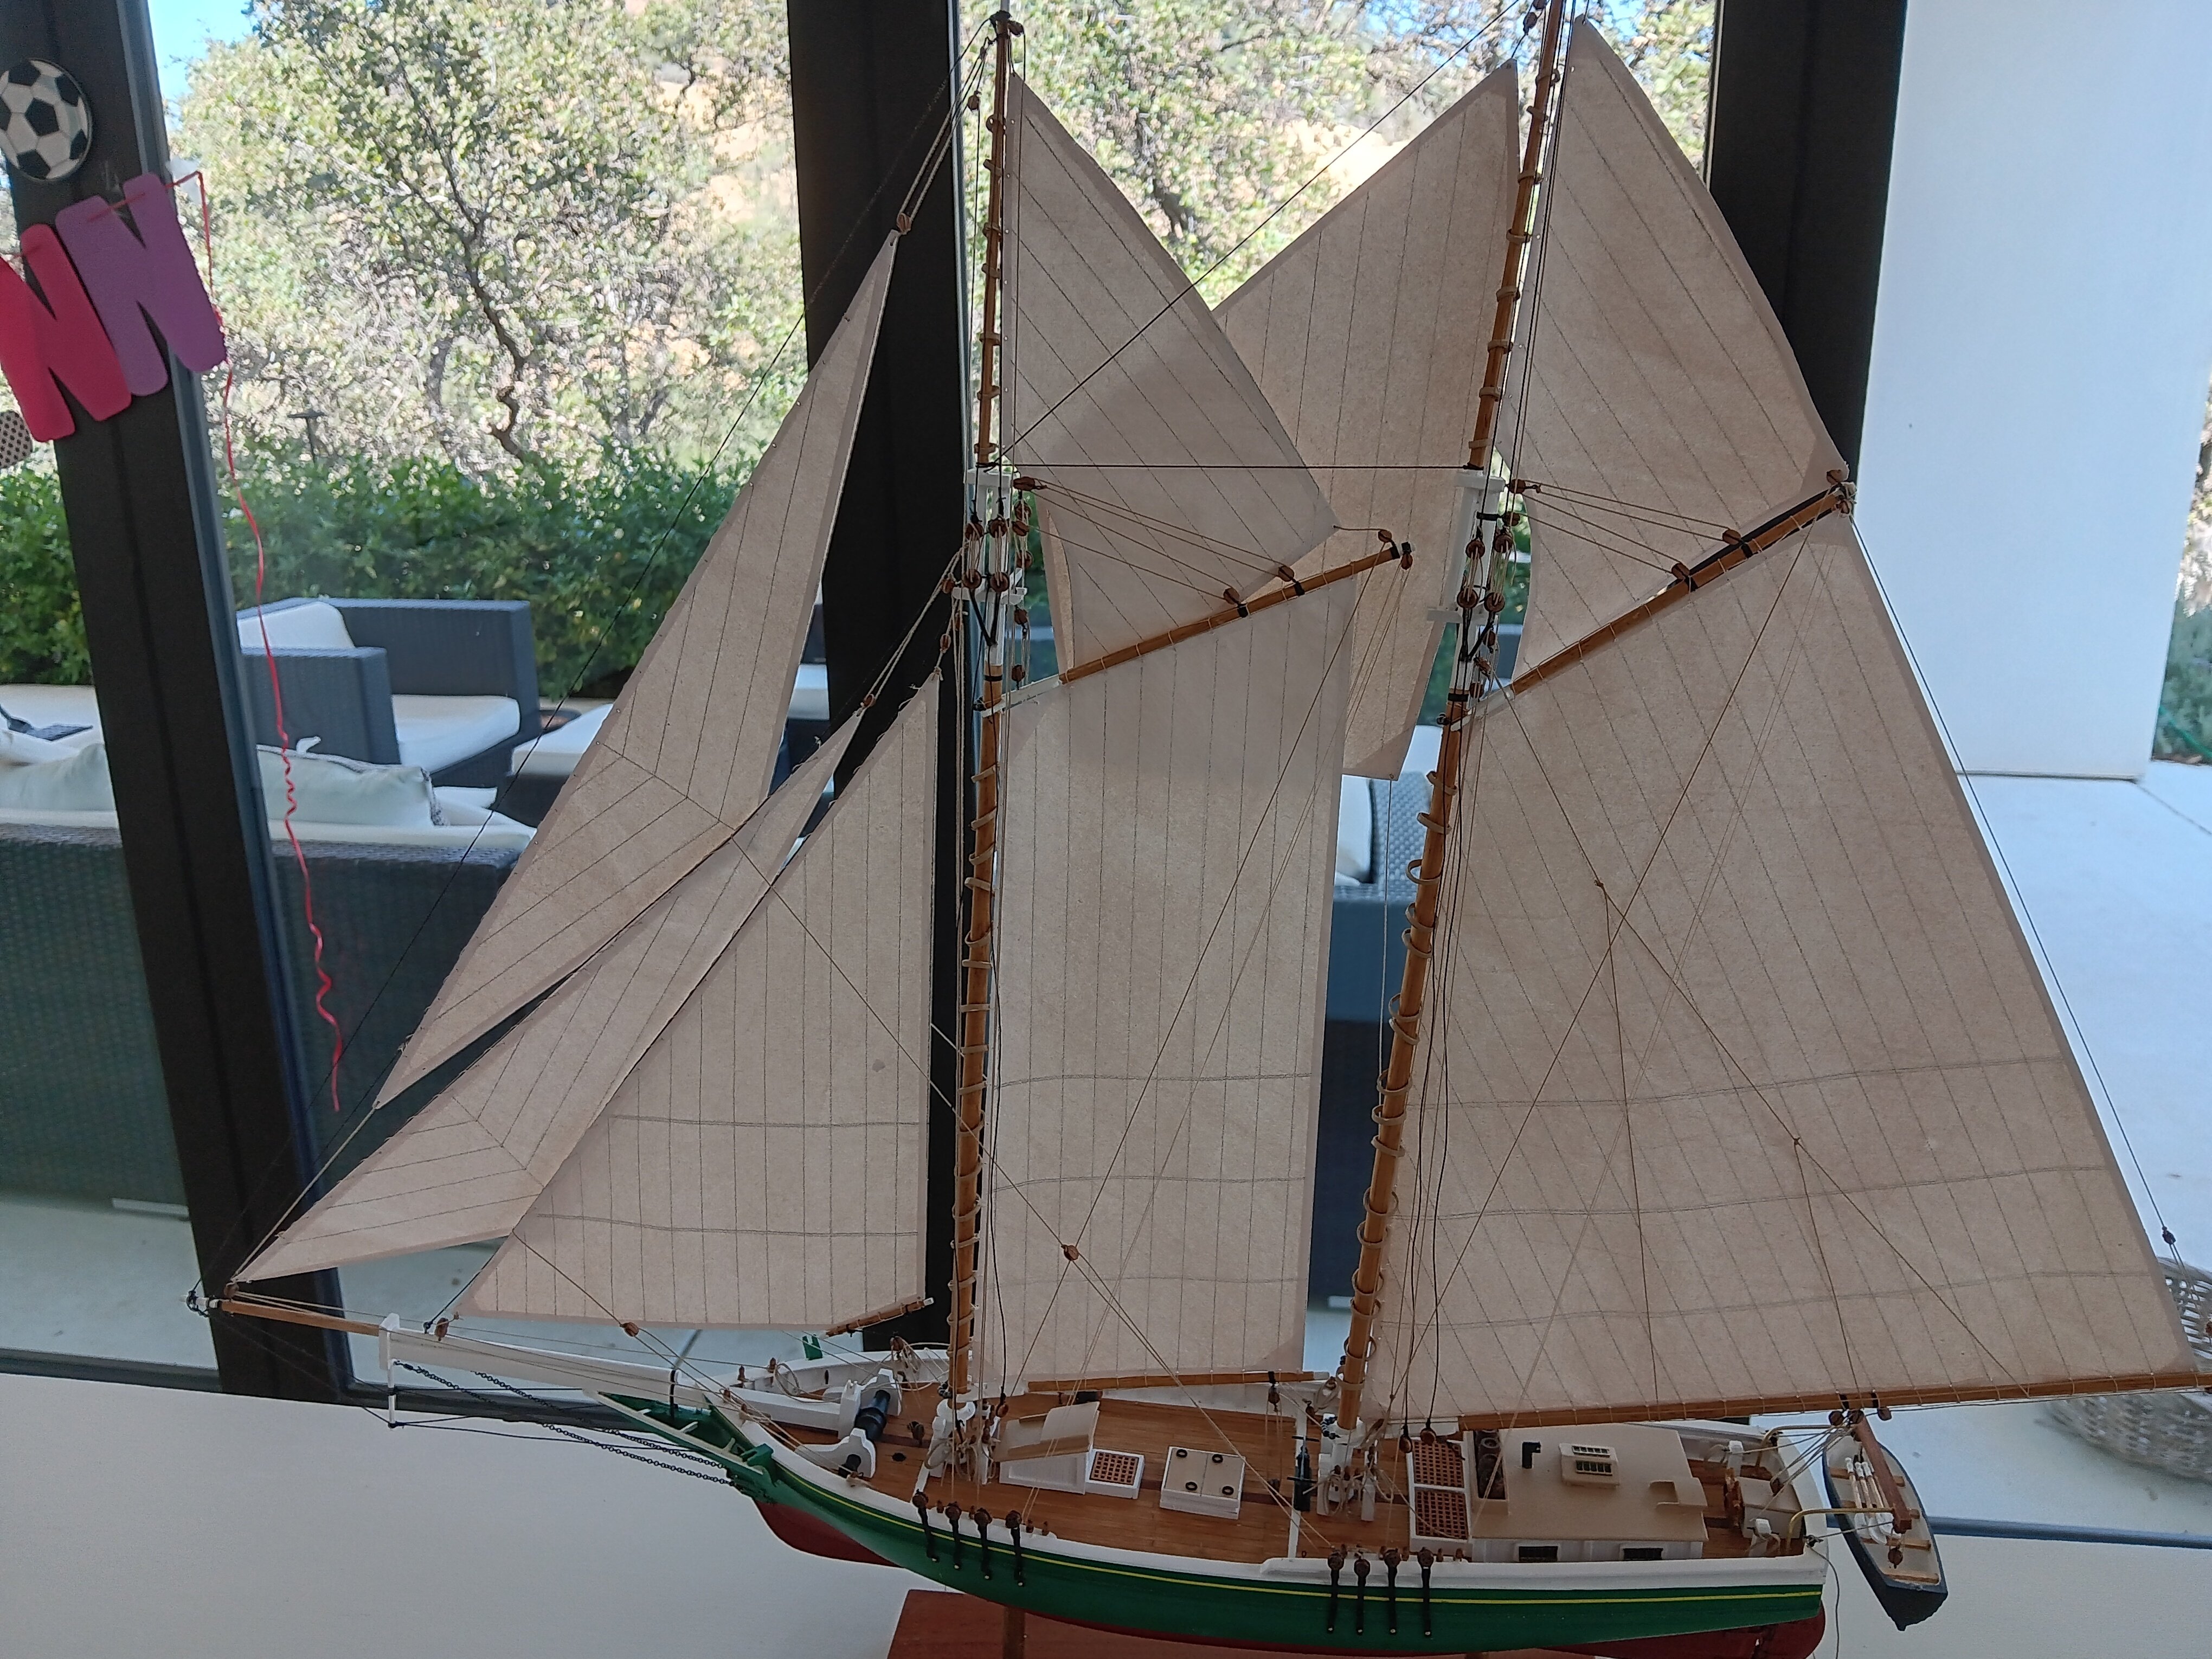
I, as a fan of sails on models (at least on the ships I've been building) do encourage everyone to give it a try. I think silkspan or what ever we want to call it, ends up more in scale than cloth. But to each his own. I was quite undecided about doing the sails the first time. Models with just rigging look great and I was worried about screwing it up. I think unless something is done well it's better just leaving it off. But my first attempt turned out well. Ditto for the next model. Went back and forth whether to add the sails and then was very happy I did. Now I attach sails to masts. Hoops. And boom and gaff with the masts off the model. Top sails too if they have hoops. After masts installed I add the jobs and top sails. This made doing the sails much easier for me. As you can guess I've been making usually schooners with simple rigging. On a ship with furled sails I think I would try to do those as well off the model. And as far as tall ships with square sails those are beyond my skill level and I'm not sure whether sails add or detract. At any rate try some sails . You can always remove them if you are unhappy Bill
-
I had to look up ruling pen. Never had heard of them. I guess you would paint the silkspan first and then mix a slightly darker color for the ruling pen. I assume painted on one side only? Bill
-
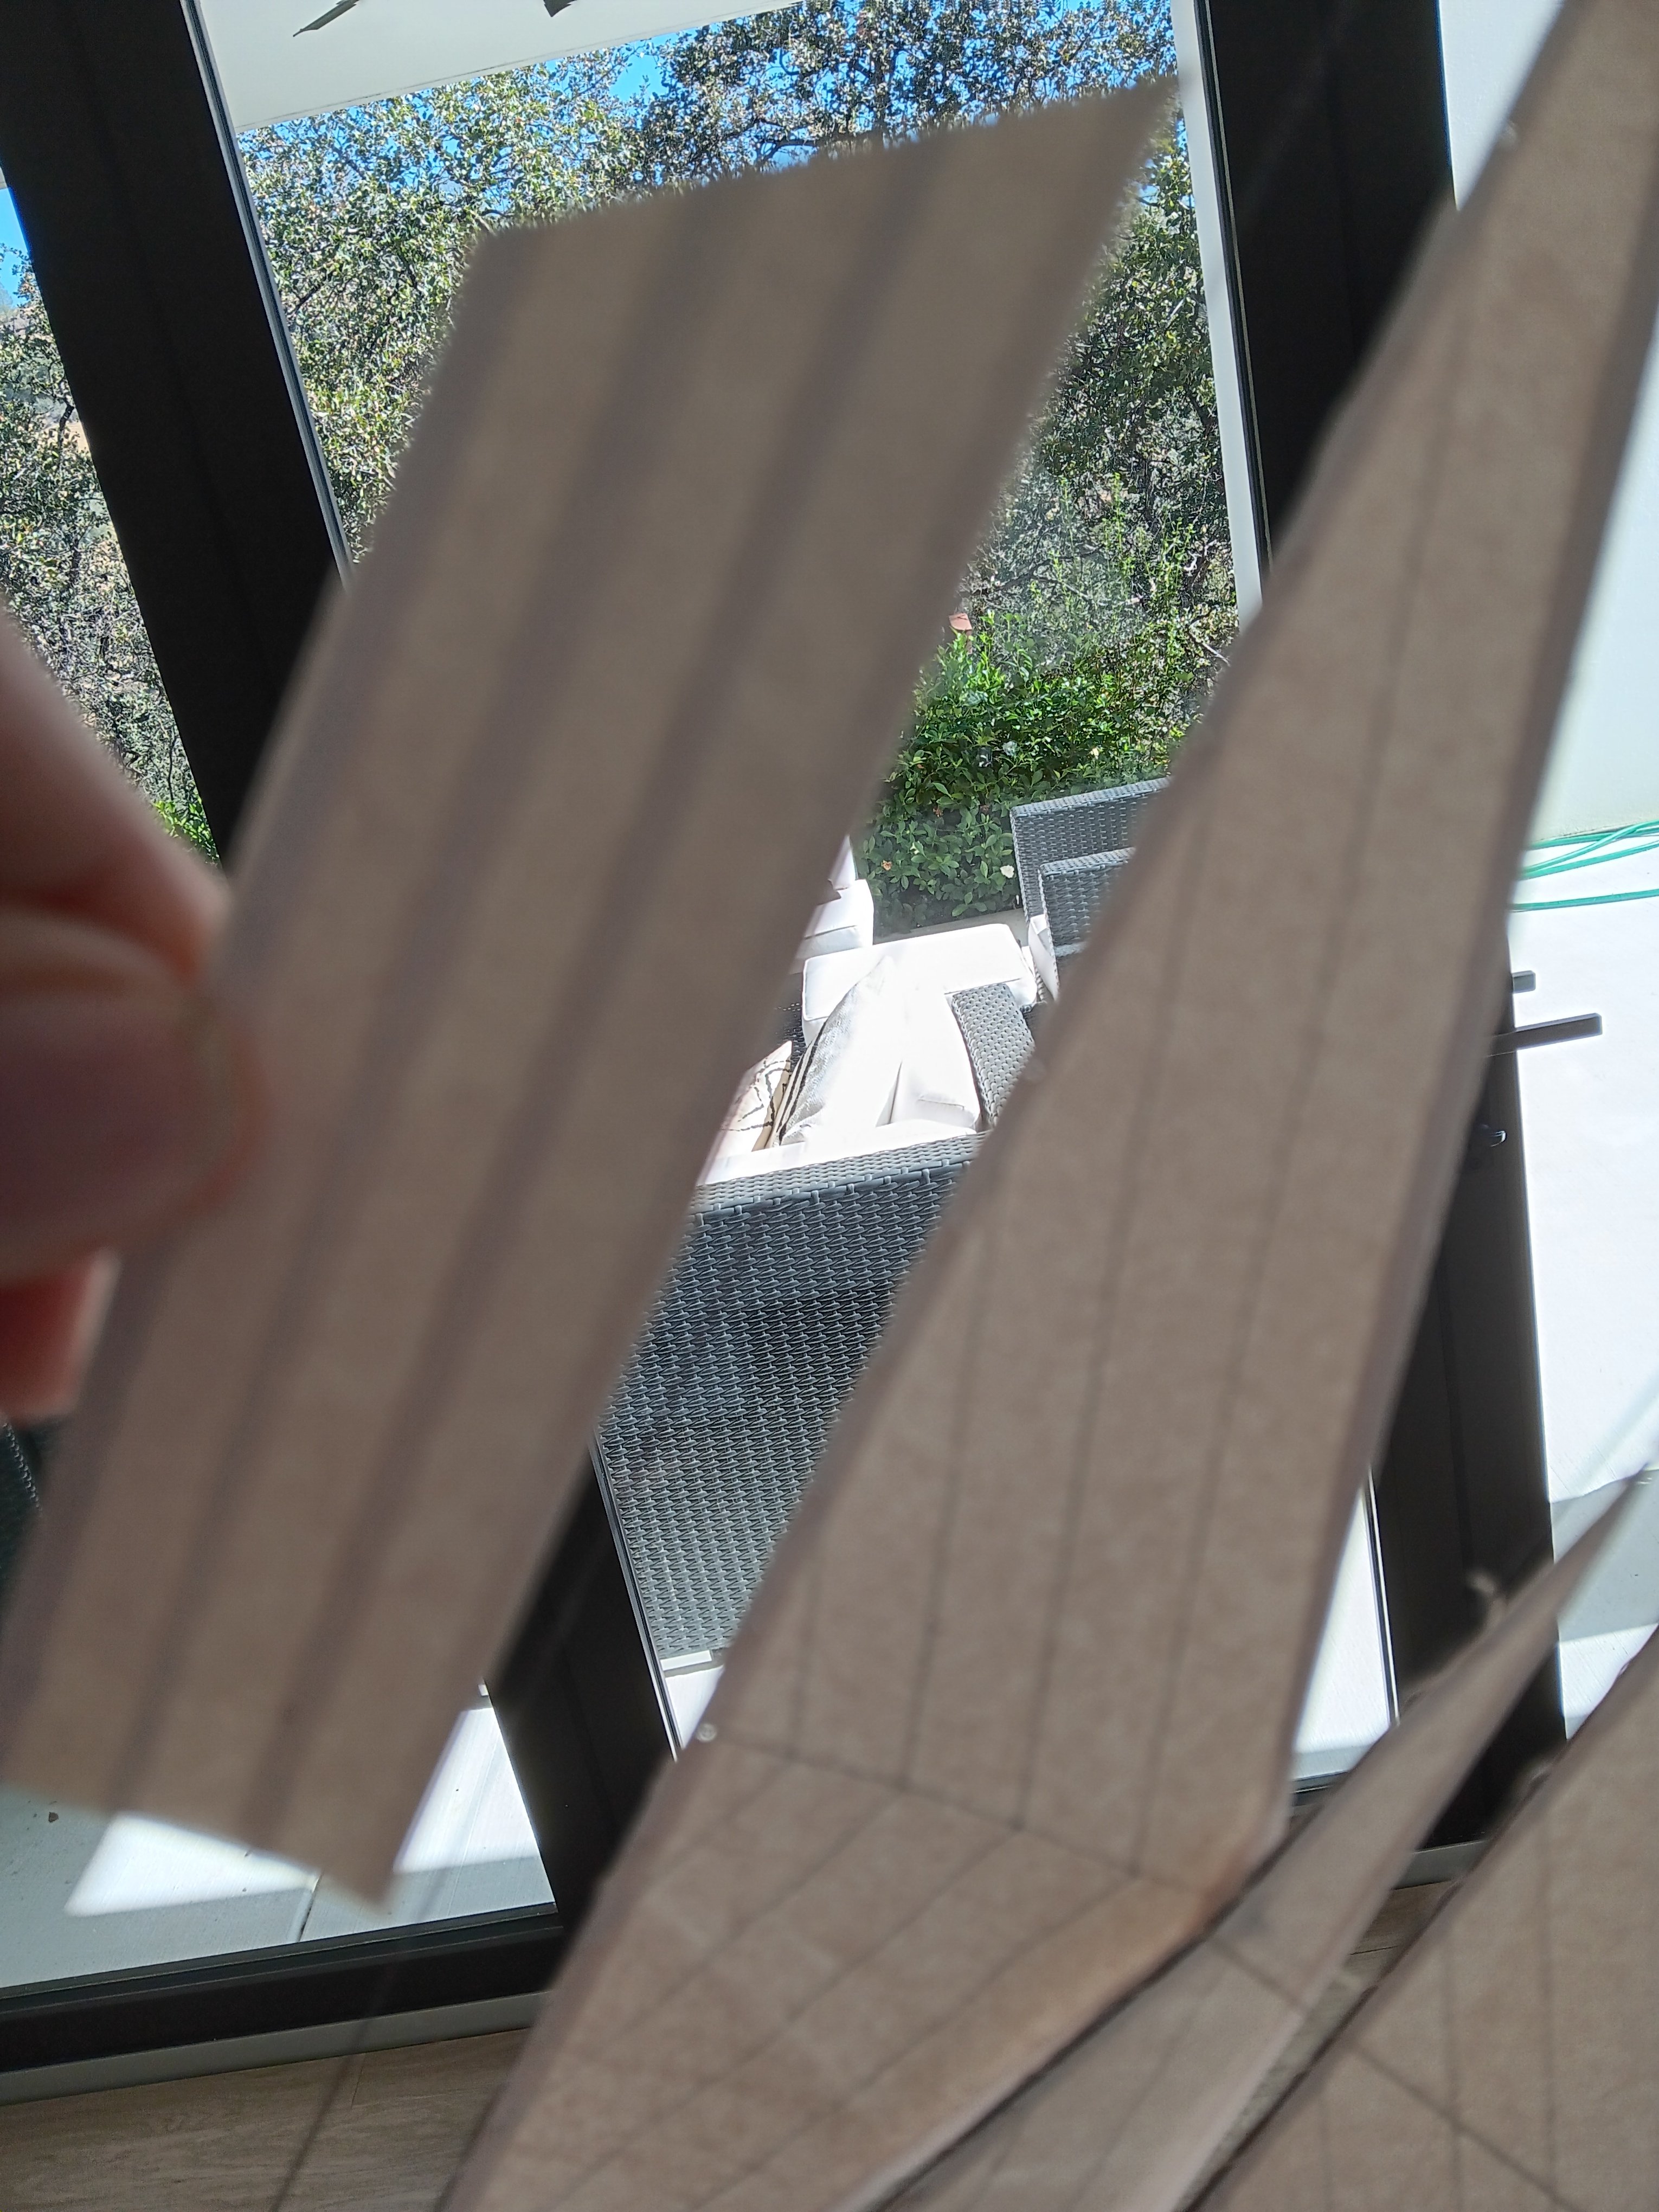
A very nice result as well. How did you keep a uniform width for the painted overlap? Here's about as good I can do with pencil lines on my current build. I will keep experimenting too since for me the sails make a lot of difference Bill

-
Very nice indeed. I'm a little unclear about how you did the color. It appears you completed the sail entirely first. How and what did you do for the color? The sample I made up I used some left over silkspan that I had painted like Laurie shows. But silkspan I think would be easier to assemble if it was unpainted. Another question. I was a little concerned that 3 layers of paper was starting to get too thick and might start to seem out of scale. What did you find? Bill
-
I just tried Andrew's method with a quick little sample using glue stick to experiment a little. It all went together quite easily. Getting an even overlap is a little tricky on the first side but matching it on other side is easy. It's difficult to see in this photo showing the result versus the pencil line method but I think it does look more realistic. I think if you get into a production line making strips and have middle sheet cut to rough or exact sail size it would go pretty fast. Bill

-
I hadn't thought about clue sticks. I think I will try cutting carrier piece to exact sail shape and gluing strips on. They alway start parallel to one edge. And then let run over other two sides and trim off after the side is done. Have you had any problem with the longevity of the glue stick? Did you use glue stick for the narrow edge strip also? Bill
-
Ajohnson the painted sail looks really nice. Much more of a weathered realistic look than I've managed. Mine have turned out more like slightly new sails. I think I will try to mottle a little color into my next ones. Using panels glued to a carrier sheet is a really interesting idea. Did you eliminate the pencil lines? Bill
-
Here's my Henriette Marie also. I kept track. kit took 30 hours total. Making sails took 3 hours. About another 1.5 hours installing them. It is a pretty simple kit but sails really don't take very long. Definitely worth trying if you never have. Remember they are "sail" boats. Haha Bill

-
I'm a fan of sails on my models. I've been using silkspan and I thought I would pass along a few things I've learned. My models have been mostly schooners at 1:48 scale. One had sails furled , the rest set flying. About 7 total. I basically follow Tom Laurie's video with a few modifications. It is extremely hard to remix a new batch of paint to match what you originally used if you need more. So what I did was to get the color I wanted, painted it on some silk span and then took it to home depot and had them color match it and the make up one of their small sample jars. It's not expensive and I can get more made up when ever I want and sails all match and I waste less paint. I use a 50 50 mix of PVA and water to brush on where I'm laying the edge strips and then lay the strips down and smooth out with my finger. I don't use his iron method. Then when dry I gave each sail a quick ironing to smooth out the puckers that happened when they dried. I also use a little mat knife with break off tips to do all the cutting so I can keep a really sharp edge. I draw on the silk span with a #6 pencil that I keep with a sharp tip using sand paper. I have a portable drafting board that makes drawing the many panel lines easy. it is easy to get small tears in the paper. So always paint more silk span than you need. To trace the lines on the other side I tape the sail to a window and then trace over the lines from the other side. I'm sure others here have some other ideas but this has what helped me. Silkspan sails I think look better than cloth and are really not hard to do. So don't be afraid to give them a try. Bill
- 50 replies
-
- 12
-

-

-
First timer introduction and needing some advice
wmherbert replied to Stuka's topic in New member Introductions
Oh. And I forgot to add. It's 1:50 scale. Another plus in my opinion for starting out. Bill -
First timer introduction and needing some advice
wmherbert replied to Stuka's topic in New member Introductions
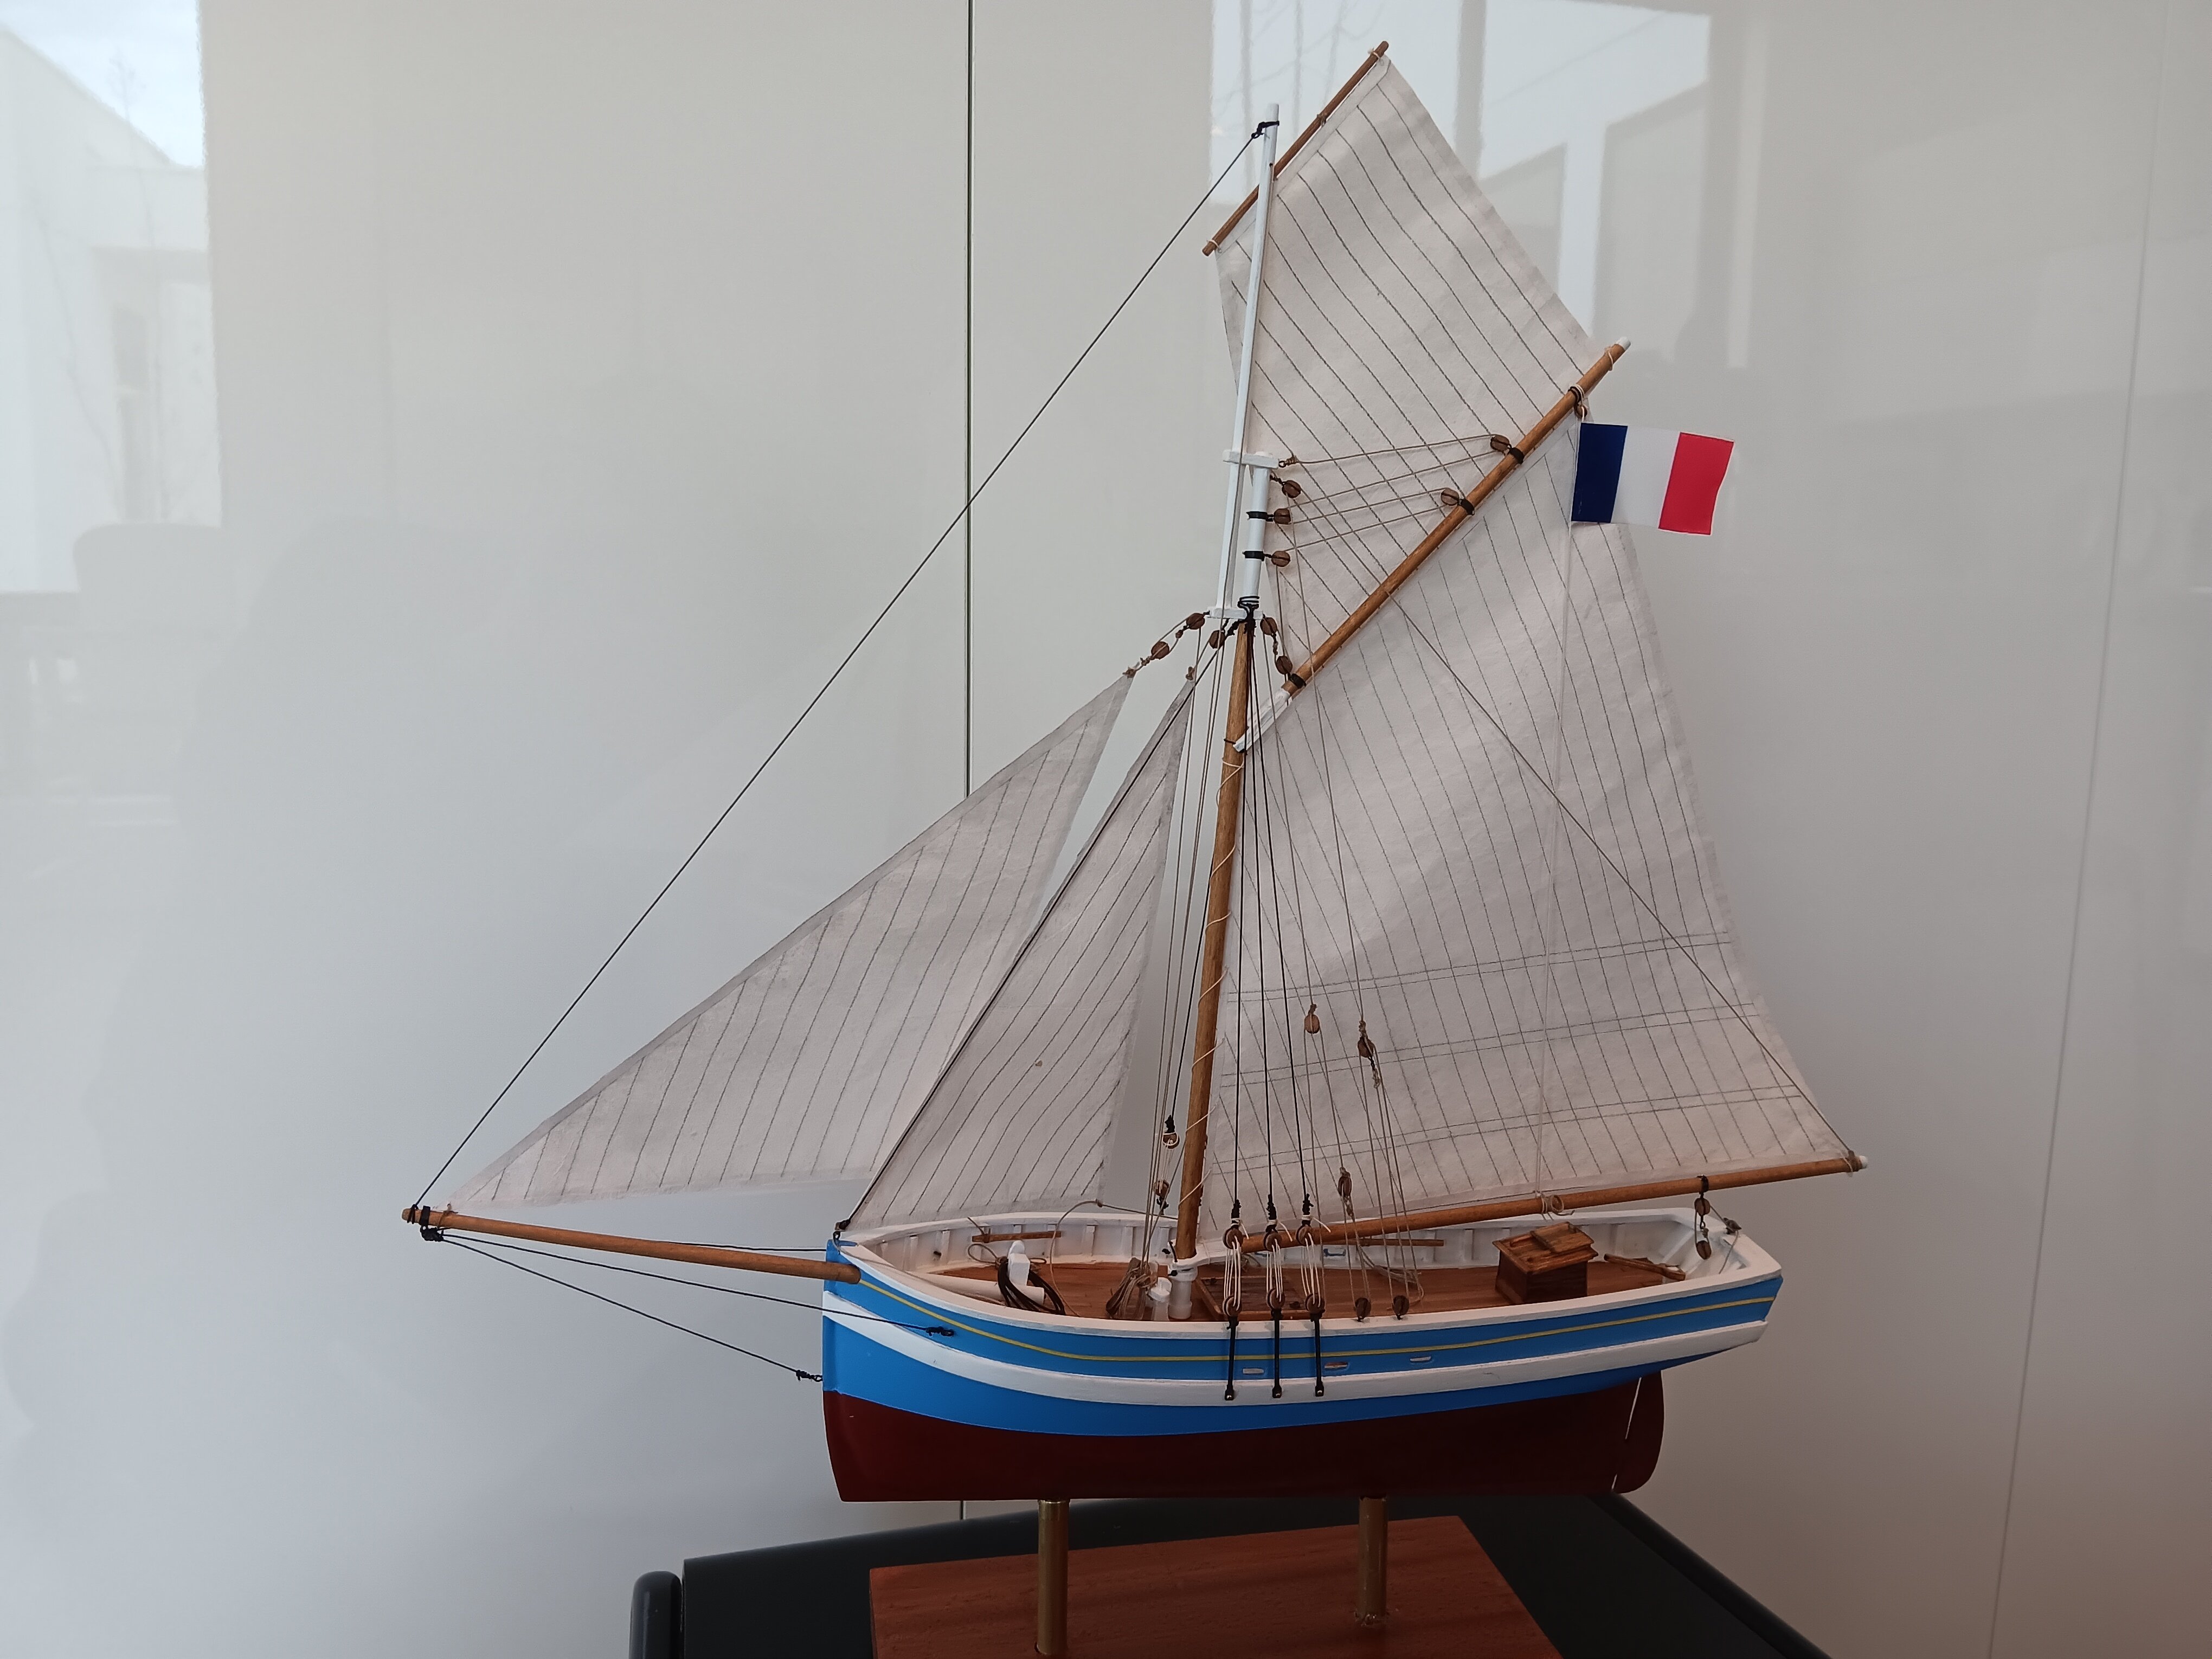
Welcome. For my two cents I would check the billings boat kit, Henrietta-marie. I think it's a very good first kit. It's a pretty boat, has a little but not too much rigging, a hull to single plank,and . .not expensive. That said it has lousy instructions but it's a simple build so I think a beginner can figure it out, especially if you start a build log here . I built it as a break after a larger project and kept rough track of the hours. Took about 40 hours including silk span sails. That to my mind makes it a great first boat. Bill -
I too struggle with those stupid coils. And I keep at it because they really add alot. I have three completed models still awaiting the last few coils. My latest method is to tie/glue the line to the pin leaving it long. Then a make a coil between two nails and tie one end of the coil with fine same color thread. Secure knot with dab of glue. Trim thread. Then pass line through the coil and then loop the line over the pin and cinch up. Some times I'll coat coil with diluted white glue to hold it together. Looks realistic and has been my most successful method. ( but I still hate those videos of guys making them so effortlessly) Bill
- 152 replies
-
- 1
-
-
- Flirt
- Vanguard Models
- (and 1 more)
-
Welcome. And a thought, check out making sails from silkspan. No sewing and very nice results
-
One method that works for me: I rig the throat and peak gaff halyard and topping lift with the mast and boom and gaff laying flat on a table off the boat. Then I place the sail and tie the mast hoops and rig the sails to the boom and gaff. Makes it so much easier. Everything stays in place while tieing and running lines. Then I'll set the masts with temporary shrouds until I get all running rigging close to the masts done. Only then do I do the stays and shrouds. That way I have much less work inward of the shrouds.
- 282 replies
-
- 1
-
-
- Bluenose
- Model Shipways
- (and 1 more)
-
I would appreciate a reminder of how you made the lifting rings on the hatches. I remember you explained it some where but couldn't find it.
-
Masts and Bowsprit - Glue or Not?
wmherbert replied to Coyote_6's topic in Masting, rigging and sails
I'm in the glue camp. Holds them in the right position. I still tie some temporary lines to hold everything more secure until shrouds are complete. I think trying to do shrouds and stays with loose masts would be incredibly frustrating. I glue the masts. tie temporary shrouds. Then fore and back stays, then running rigging, and then shrouds last. That way I'm working from inside to out. I've found it's easier to do running rigging first without shrouds in the way. But whatever way gets it done for you is just fine. Bill -
David, great job! Your added details to the kit were well worth the extra time and effort
-
Welcome and have fun! Remember that your best friend will not look at your completed model for than about 30 seconds so don't stress over everything. (Or anything) And your daughter will just want to take it in the bath with her. Bill
-
As one who likes sails on these schooners I think you will like the silk span. I used the medium and followed tom Laurie's videos. It was a little tricky figuring out how to get rid of the fold creases before you start. I've done about 5 models with sails so far and have gotten a little better on each. And did my first furled sails on my current build . My advice is to attach as much of the sails to the masts and spars off the model as possible and to double check the given sail patterns from the kit against your actual model.
- 184 replies
-
- 1
-
-
- Bluenose
- Model Shipways
- (and 1 more)