


ddp
-
Posts
244 -
Joined
-
Last visited
Content Type
Profiles
Forums
Gallery
Events
Everything posted by ddp
-
 ran into that problem with the unintentional side venting when i modified a single engine Honest John missile( about 4ft in height) with 1 D series rocket engine to a 3 D series engines to get more height. i made a cone to fit over the combine tops of the 3 motors that goes into a tube leading to the parachute & removeable nose cone. so when the ejection charges of the 3 motors went off, the charges goes thru the cone into the tube causing the nose to pop off & deploy the chute to bring the whole rocket hopefully safely to the ground, supposedly. it did not work like that but worked like how the real Honest John worked. it was a night launch so i connected the voltage probe so that it's light came on, inserted it into the nose cone of the rocket so it glowed thru the green paint of the nose cone & launched the rocket. you can see the light of the nose cone & the 3 rocket motors push the rocket vertical for a few hundred feet til the motors stopped running then see the whole rocket with the light on in the cone come speeding down to the ground a few hundred feet from the launch site were it impacted the ground hard & destroyed the rocket. the parachute did not deploy because when the 3 ejection charges went off into that cone, instead of going thru the tube to the parachute, the blast from the charges bounced of the inside of the cone & vented thru the openings caused by the shape of the 3 motors in a circular shape with the base of the cone venting backwards not forward so no force to pop the nose cone off & deploy the chute. if i had plugged those openings then the rocket might have worked properly but we will never know. when the door is closed when launching your rocket, is the door lid causing the rocket to go on an angle as the lid brushes against the rocket as the rocket leaves the silo whereas with the door already open, the lid does not brush against the rocket as it leaves the silo therefore the rocket goes vertical?
- 49 replies
-
- 1
-

-
- Type 26
- City Class
- (and 2 more)
-
it is the center of gravity & center of mass you have to worry about as they determine if the rocket flies straight or spin out of control. are you lining the inside of the missile launcher with something that is flame resistant as that rocket exhaust will most likely burn thru the bottom of the launcher into the inside of the model ship causing it to burn or become a submarine?
- 49 replies
-
- 1
-
-
- Type 26
- City Class
- (and 2 more)
-
Propeller shafts of WW2 warships were generally painted to protect against corrosion and marine growth, rather than left as bare metal. The exposed sections of the shaft that were underwater were typically treated with the same anti-fouling paint used on the rest of the lower hull.
-
remember to paint the prop shafts the same color as lower half of hull as the shafts were never left as bare metal but painted.
-
have you test fired 1 of those rockets even using Estes igniters to see if fly straight up without spinning out of control due to incorrect location of center of gravity as i've seen that happen & 1 guy got hit in the chest by his own rocket? use to launch model rockets back in the late 1970's while in high school. still have some rockets & motors.
- 49 replies
-
- 1
-
-
- Type 26
- City Class
- (and 2 more)
-
if those are ciws mounts on either side of the ship's funnel, i hope they change the locations with 1 above the bridge & the other ontop of the hanger as current locations do not have a good arc of fire do to ship's structures interference of arc radius.
- 49 replies
-
- 1
-
-
- Type 26
- City Class
- (and 2 more)
-
DD-390 USS Ralph Talbot Booklet of General Plans (1944) https://archive.org/details/dd390bogp1944 DD-392 USS Patterson Booklet of General Plans (1944) https://archive.org/details/dd392bogp1944 http://www.navsource.net/archives/05/386.htm
-
just incase you do not know of this site. http://www.navsource.net/archives/05/139.htm http://navsource.net/
- 38 replies
-
- 1
-
-
- Pillsbury
- Clemson-class
- (and 1 more)
-
is the main deck glued to the hull as the heli-pad should not be sticking up like that?
-
Ian, which escort carriers are those?
-
Trevor, remember that the Halifax harbor front would be dated to about 1917 as that entire area had to be rebuild due to the largest non-nuclear man made explosion when a ship carrying 17,000 tons of ammo & other explosive materials blewup.
-
look at the bottom of the search light in that circle & you'll see 2 dotted lines to that spar. whether those lines go to the top of the spar or not i do not know. is that "wooden" cask actually wood, painted metal or some other material? what time period does it show the spars & casks & is it same time period as your model?
-
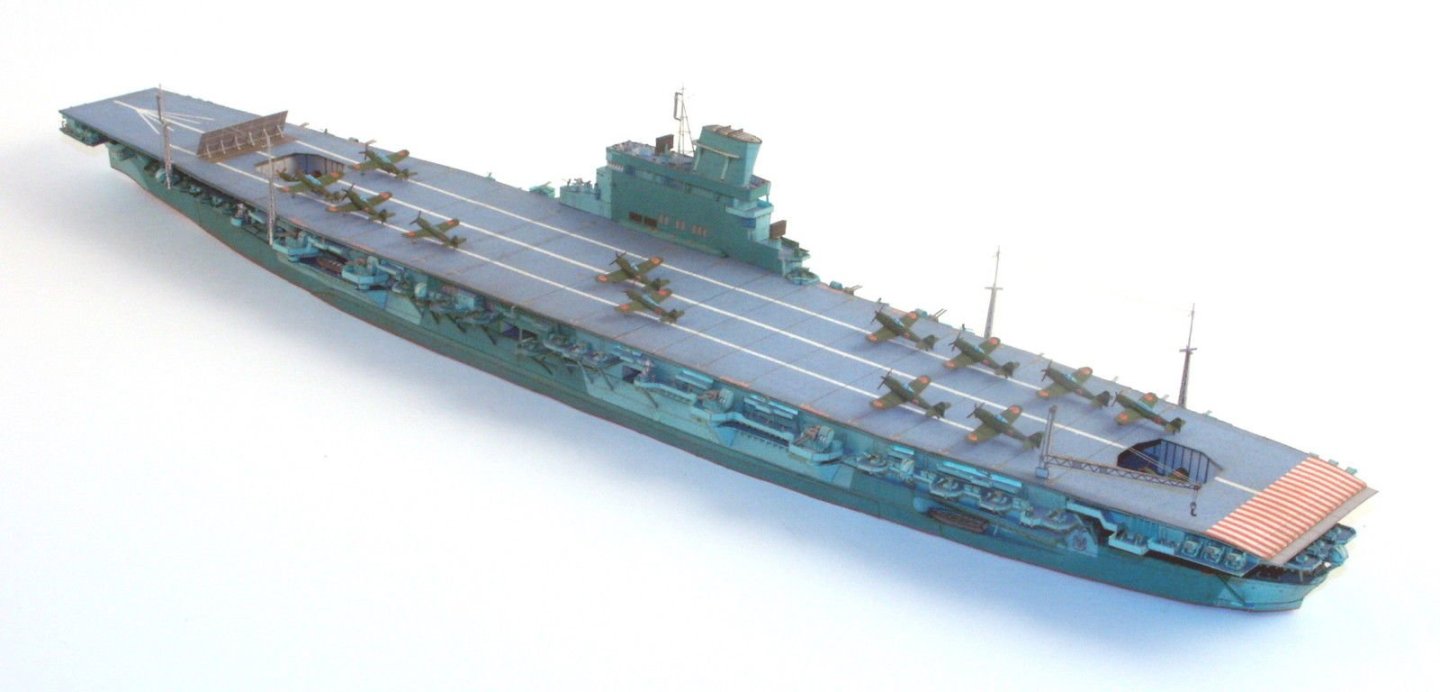
Baker, the funnel is actually leaning out so the ship's exhaust gases do not interfere with flight operations especially for the aircraft landing on the flight deck from astern.
-
i thought it was supposed to be white walls on the inside with purple floors with pink polkadots & grey on the outside?
-
even overspray on the steering servo?
-
what are the bluejacket railings made from, pe, 3d printed or what? the canvas can be made from tissue paper then painted same color as vertical side of superstructure.
- 38 replies
-
- 1
-
-
- Pillsbury
- Clemson-class
- (and 1 more)
-
what material are you going to make the 2 prop guards out of?
- 38 replies
-
- 1
-
-
- Pillsbury
- Clemson-class
- (and 1 more)
-
is the paint oil based or water based? can try the warm water but doubt it will work. could use another piece of tape sticky side down to try to remove the tape residue.
-
if it is concerning the Alaska then is to late as it should have been wash, dried & sun baked before starting the model.


