Der Alte Rentner
-
Posts
1,018 -
Joined
-
Last visited
Content Type
Profiles
Forums
Gallery
Events
Everything posted by Der Alte Rentner
-
 For what it's worth, the basswood split long before the drill went through far enough to consider throwing it into reverse. Had I been smart, I would have drilled the 3/16" holes first, then cut the lids to their final dimensions. Next time. For sure! Because "next time" 😁, I'll be making them all out of a better Hardwood.
 -
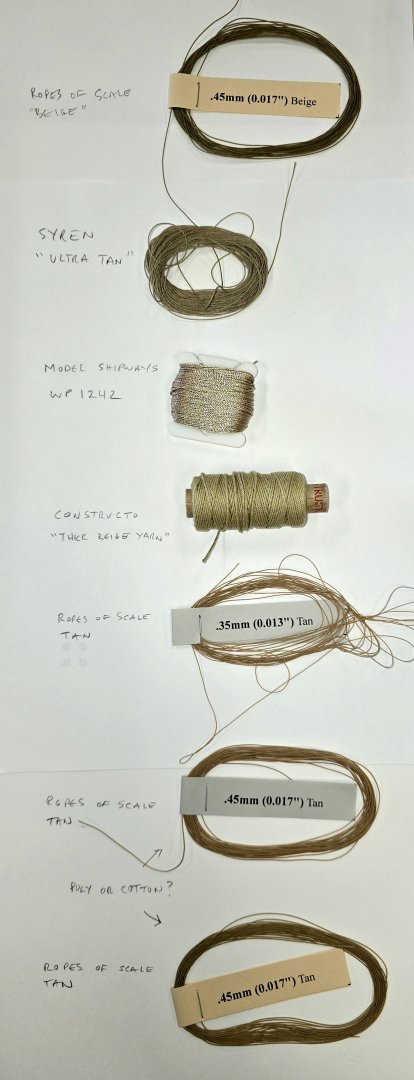
Finally finished the starboard side gun port lids. Two coats of poly already applied, but I'll add a third and fourth on breaks while working on the tackles. Another decision needs to be made. Which color to choose for the tackles? This picture doesn't do the difference in colors justice. These are my options. Note: Ropes of Scale did not identify which of the 45 mm tan lines was their cotton or their polyester version. Also, why is there a difference between the tan on the .35 mm and the two .45 mm ropes? As far as color is concerned. My favorite is actually the model shipways WP 1242. Unfortunately this is too thick to get through the blocks, despite it being specified as the right diameter. My second choice would be the Constructo provided yarn, which likewise won't go through the blocks.
-
Sorry, I forgot to answer this in my last reply. Yes, indeed, I put waste wood behind the pieces being cut. Unfortunately the drill itself catches on the Basswood and sucks it up. Note: I had no problem with the one 1/16" drill. It's the 3/16" drill for center hole that proved problematic. Rookie mistake? This was not quite the same problem with the boxwood. In that case the grain of the boxwood split as I was drilling that Center hole. Part of the problem with the basswood is that I took the 3/32" material that the gunport lids came from to try to make the replacement pieces first. I've made this point several times in the past, but I'll double down on it now. The materials that come with this kit are abysmal. Had I known that at the onset, I would have replaced everything with boxwood on day one. Or chosen contrasting hardwoods to achieve the finish that I'm hoping for.
-
Sadly no. I cut the holes after I fabricated the rectangular pieces. Lesson learned. Thank you. And Gregg, you're wise to use anything other than Basswood on the Constitution. I've used almost none of it after I did the hull. And in retrospect I wish I'd known to do it for the hull.
-
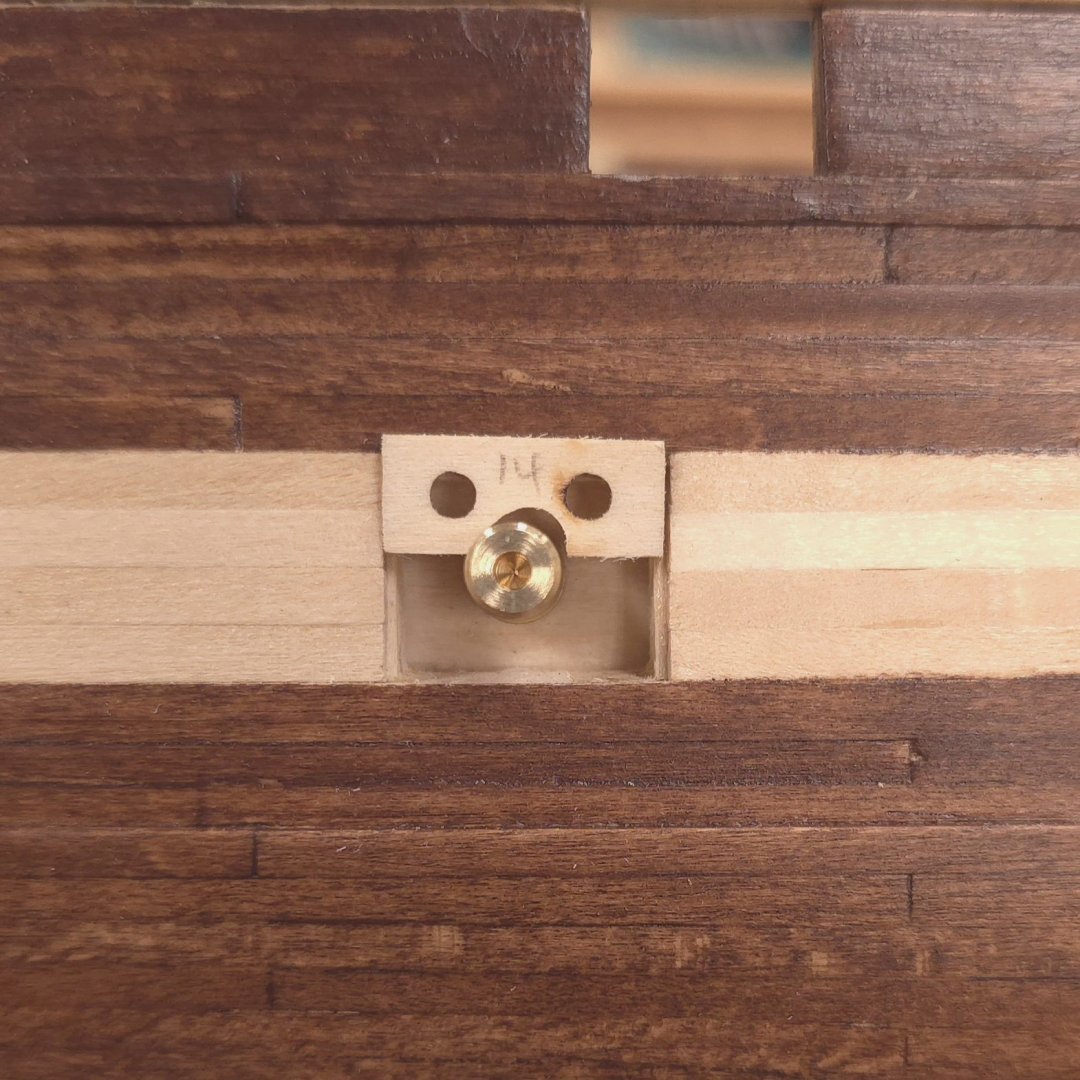
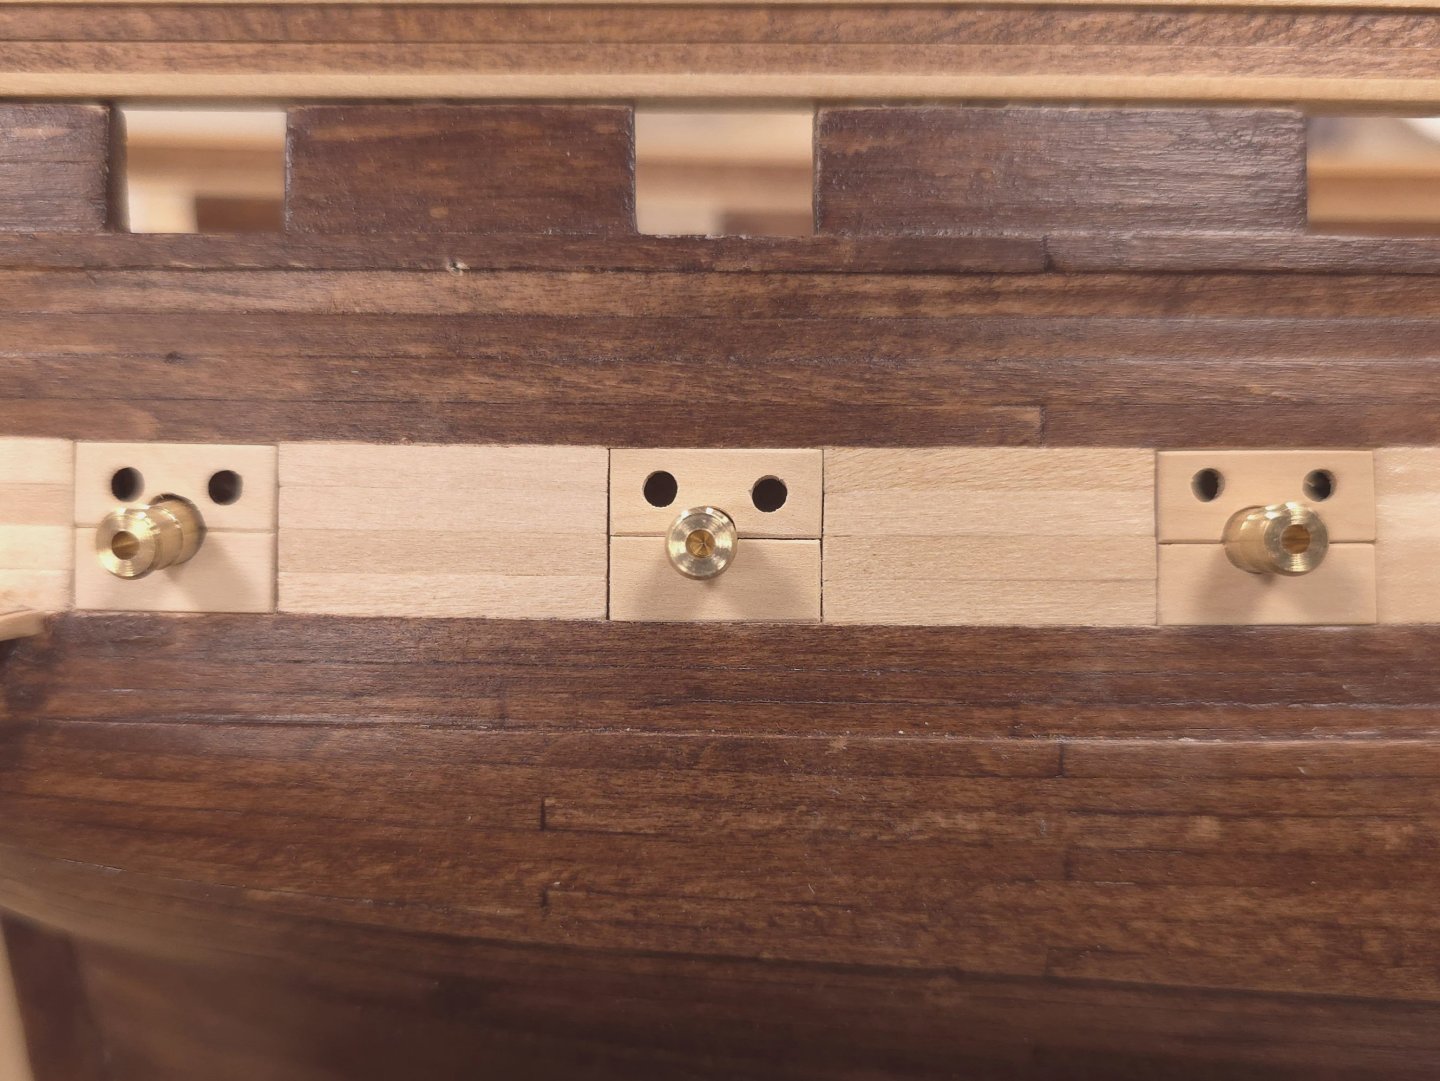
Oh snap! I'm on the last three gun ports on the starboard side. Out of the blue, the holes for the false cannons are off center, fore and aft, by 1/32". While that doesn't sound like a lot, it's a chasm the size of the Grand Canyon in this scheme of things. Looks like I'm making three custom gunport lids.. My bad for not sticking with the scheme of doing one cannon at a time. I might have seen the offset before I glued the barrel in. At that point I could have made an adjustment to the hole on the back panel. They're solidly glued in now, and I can't see trying to break them out. Oh well... 🙄 I can't believe how many times I've had to remake these pieces out of Basswood - everyone a fail. No matter how careful I was with the drills, the 1/16" thick Basswood just kept splitting. I finally switched to boxwood, and I lost two of those in the drilling pass as well. But in the end, I got it done. I had hoped to get the hinges on today, but I'm calling it. Happy Independence Day to one and all.
-
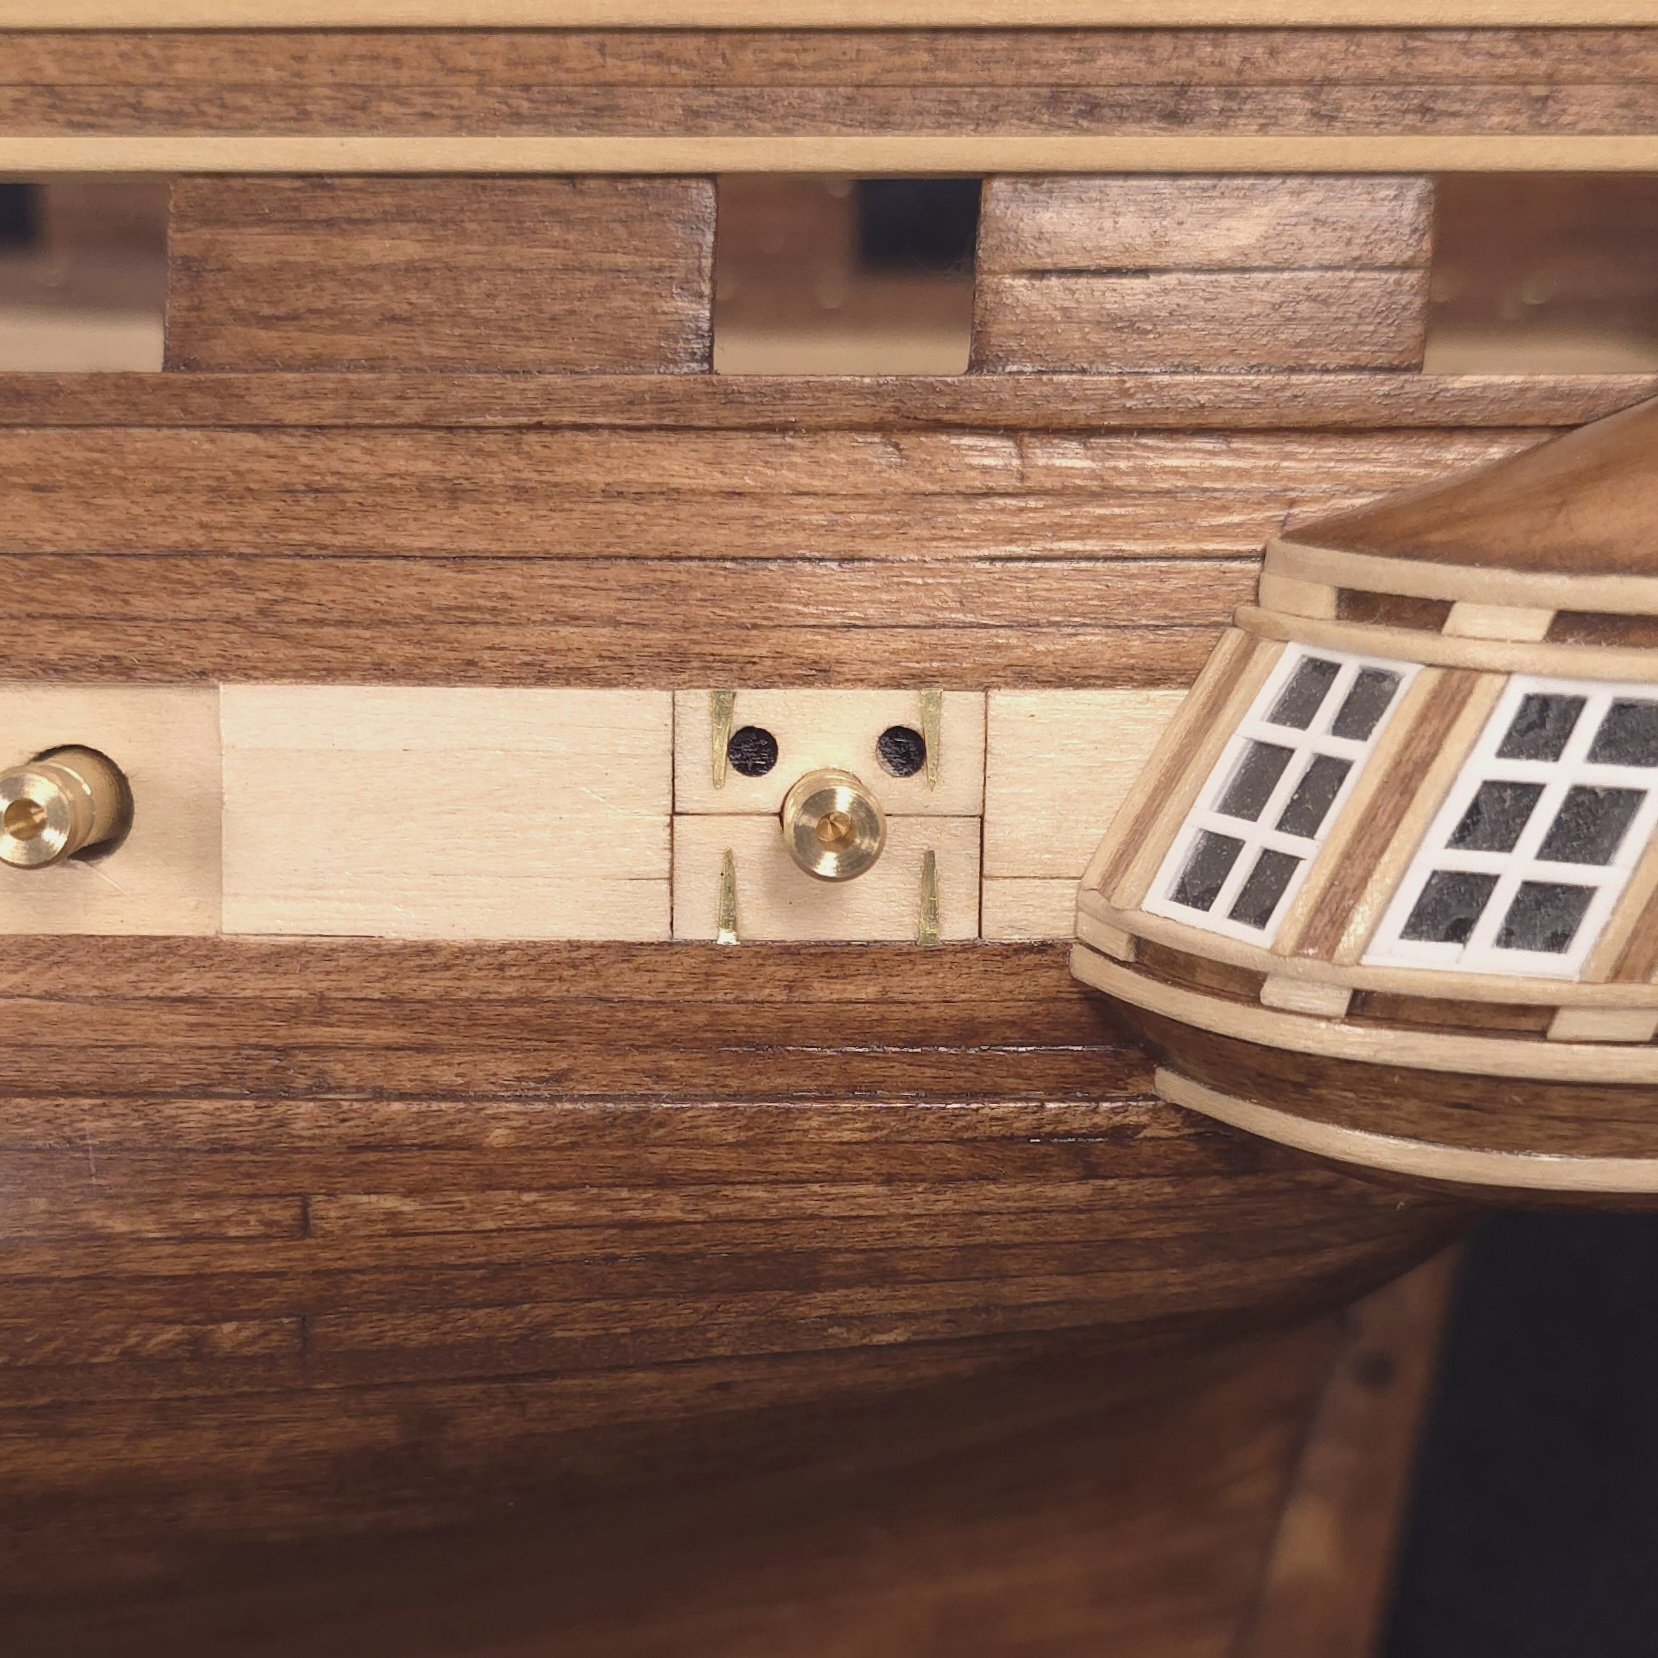
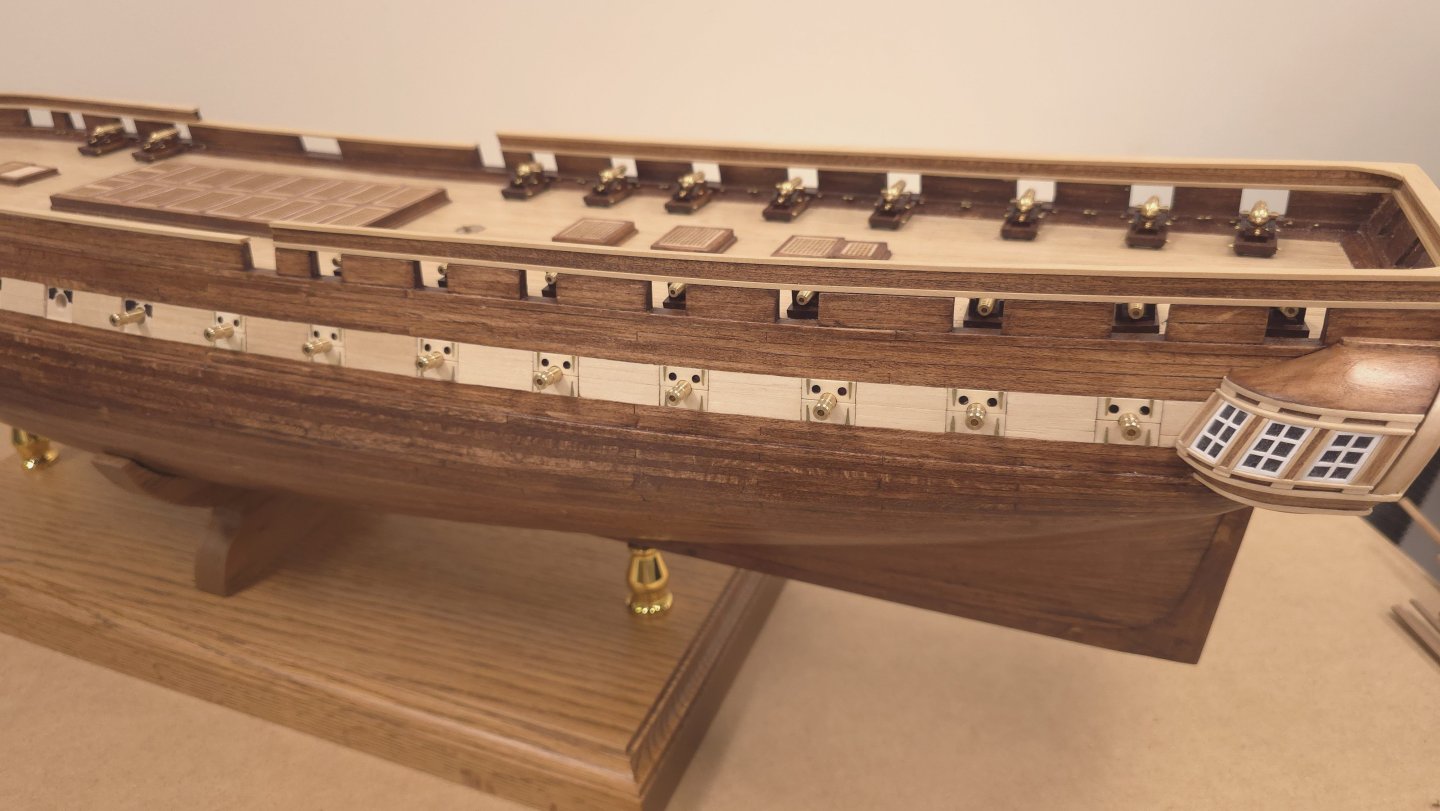
No, I did not. If you go back earlier in my build log, you will see that I chose two different methodologies for creating the supports for the false cannons. Because of my filler block approach on the port side, leaving the lids open would not have led to a pleasant result. Look at the opening to the left of the Canon below. Lids up? I don't think so.. One plus to doing it this way is that with the filler block, gluing on the lids was a piece of cake. Not so on the starboard side where I've got the thinnest lip around the border of the opening. Furthermore, I always thought that the open lids would be subject to too much damage while handling the hull for other work. If Ever I attempt a second pass at the USS constitution, it will be at a much larger scale, and following the footsteps of everyone else with the black and white scheme. But let me get past this one first..


-
13 ports left to go. Port side done, as well as three on the starboard side. I just got a notification that the ropes of scale package arrived at home. So I'm out of here for today. Two more days at the shipyard to finish the starboard side, and I can return to rigging the tackles.

-
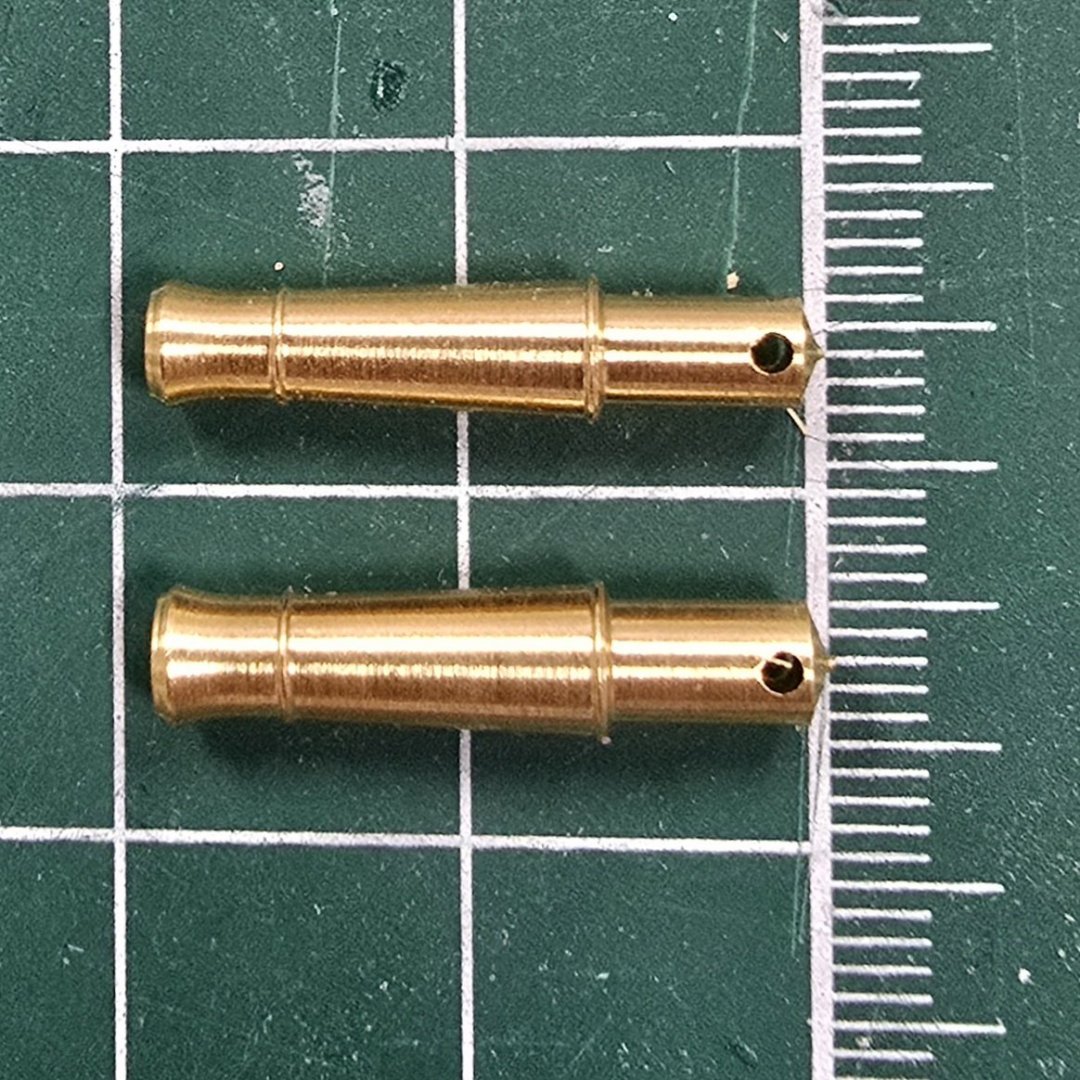
Gregg and Jon, I took my magnifying glasses off, put my regular glasses back on, and determined that I can live with the slightly smaller barrels. Thank you for your thoughtful feedback. Gregg, I love canary wood and have a supply of about 8 board feet on hand. If, for whatever reason, you strike out on the wood that you ordered, reach out to me and I can send you a piece. To all, It turns out that there's a minor advantage to the smaller barrels, I don't have to trim the center hole on the gunport lids as I had to for the larger barrels. If you're wondering why it's taking me so long per gunport, it's that, despite the fact that I used a pair of gunport lids as spacers when I did the planking and therefore in theory should have resulted in perfect fits now, in practice every single pair of gun port lids requires trimming to fit properly. Add to that, fitting the hinges and adding three coats of clear poly.. fiddly work? - gotta love it! 🙄
-
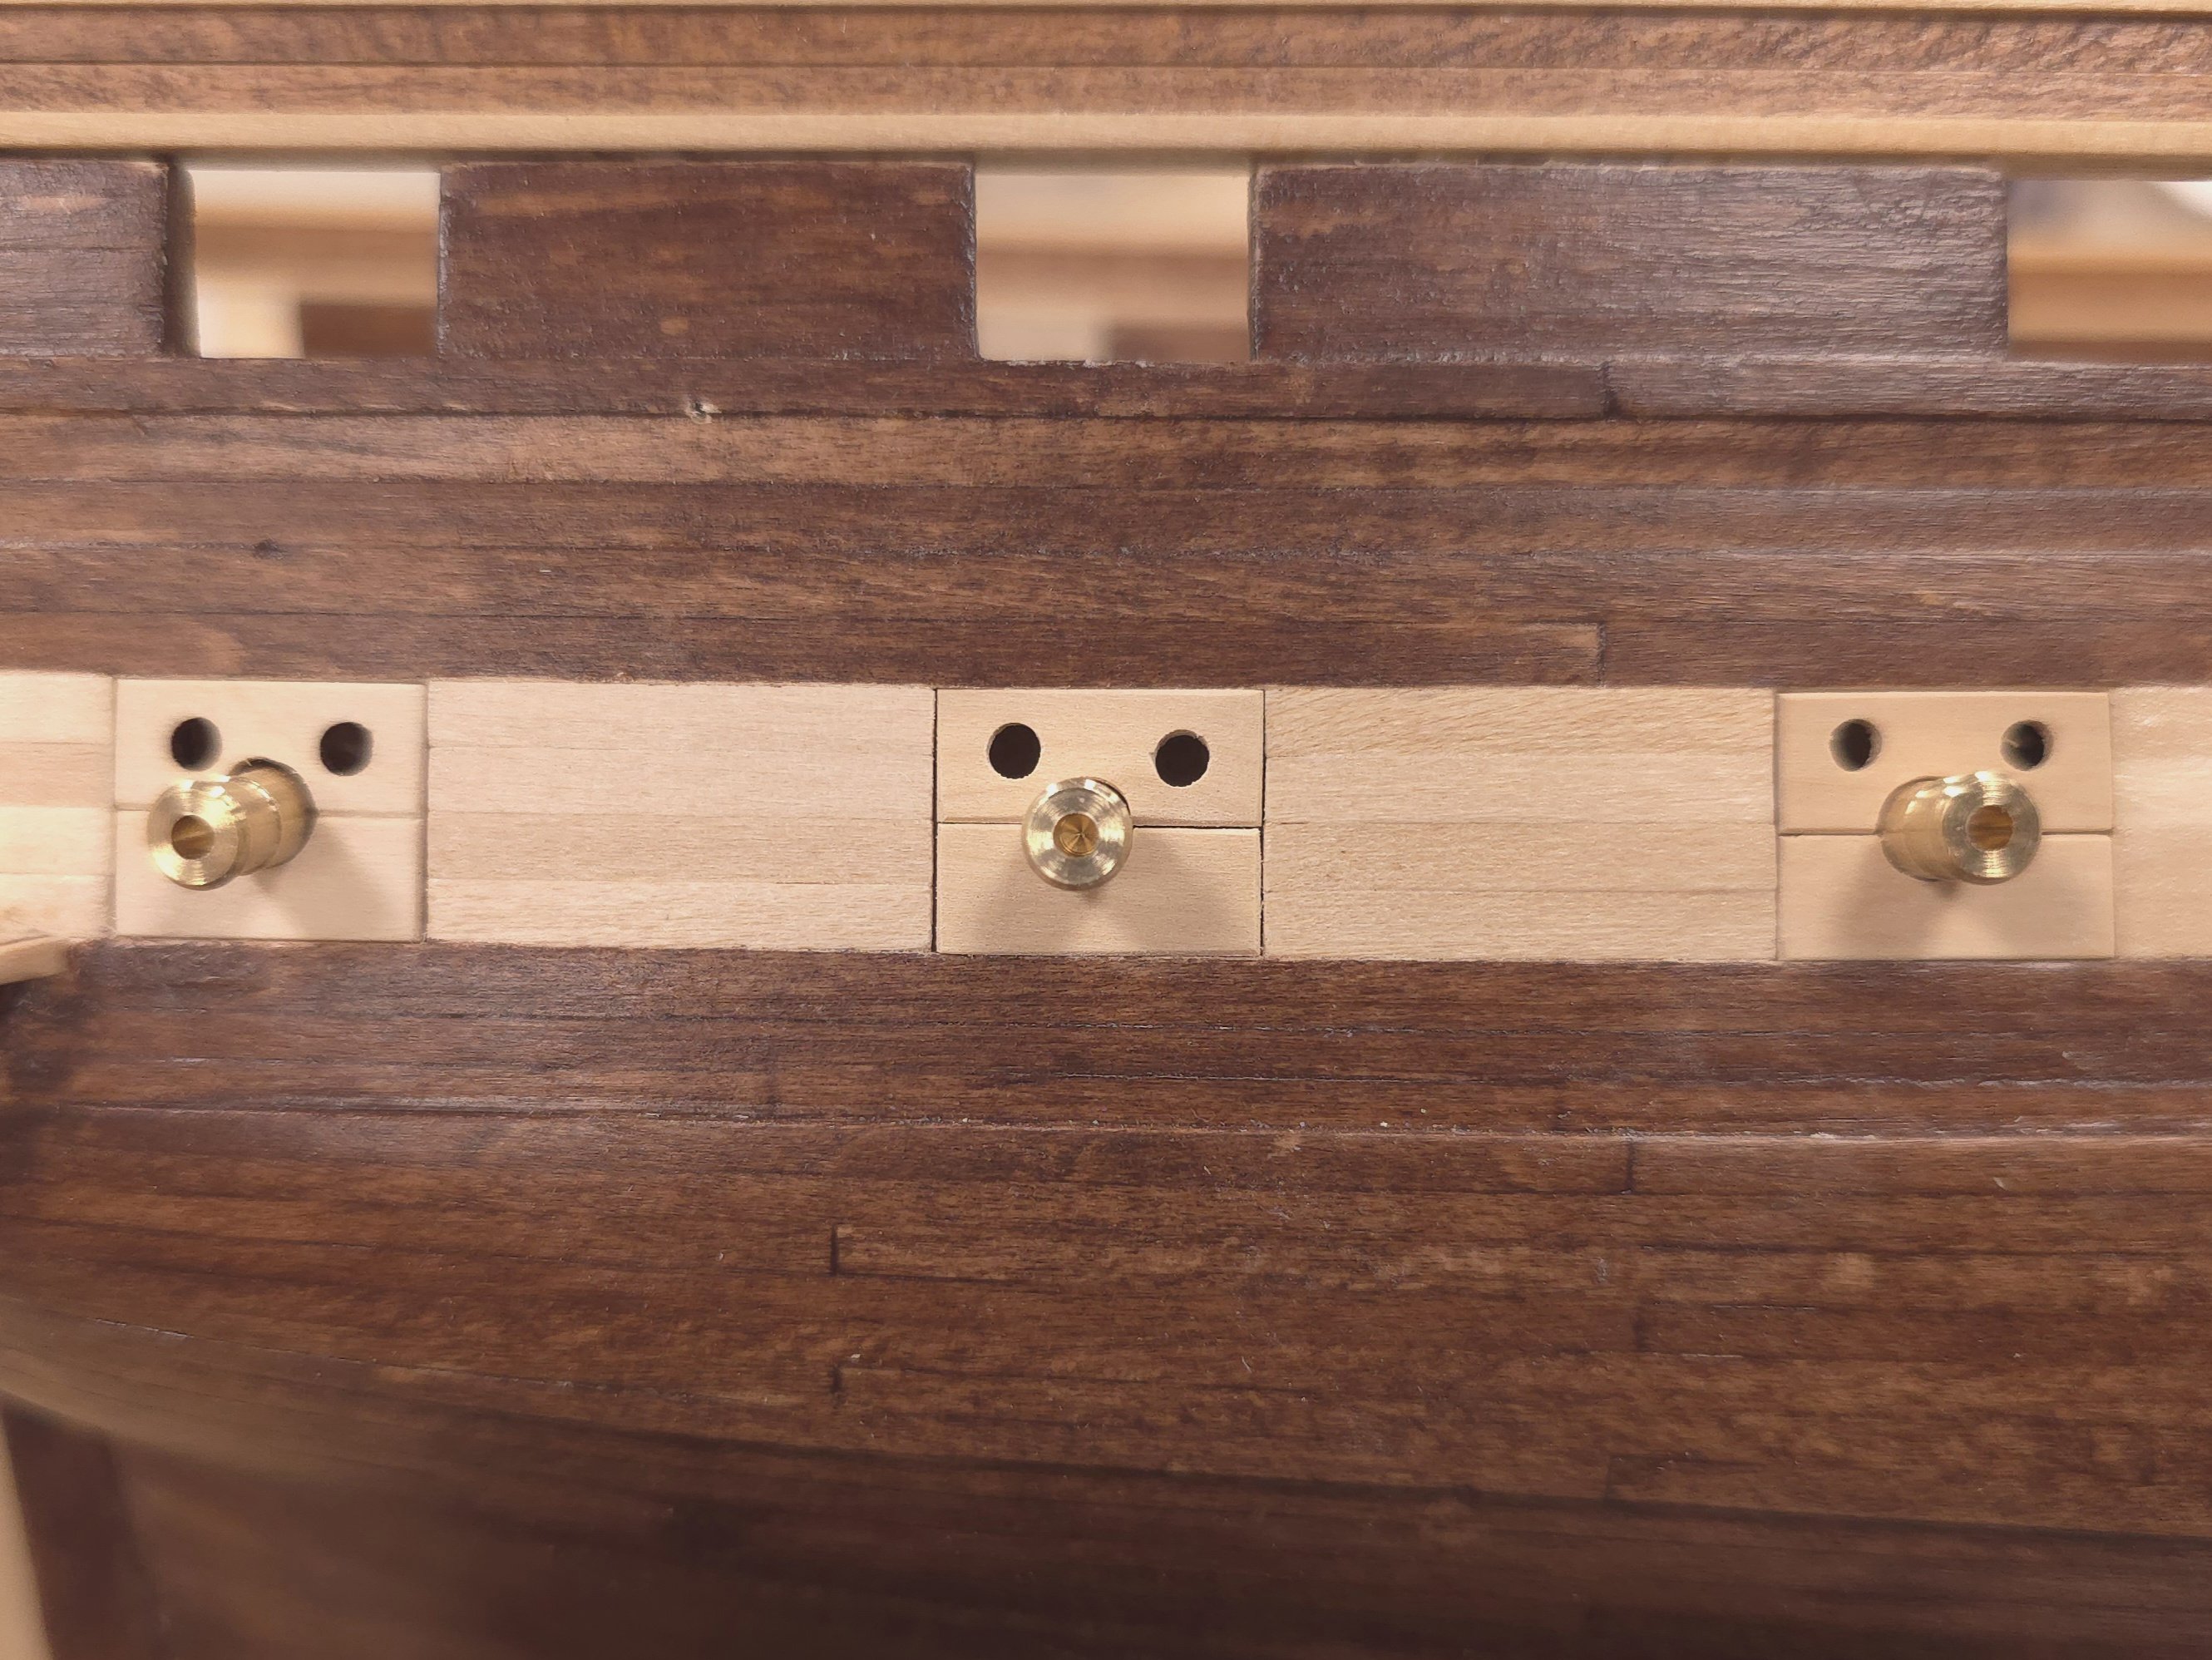
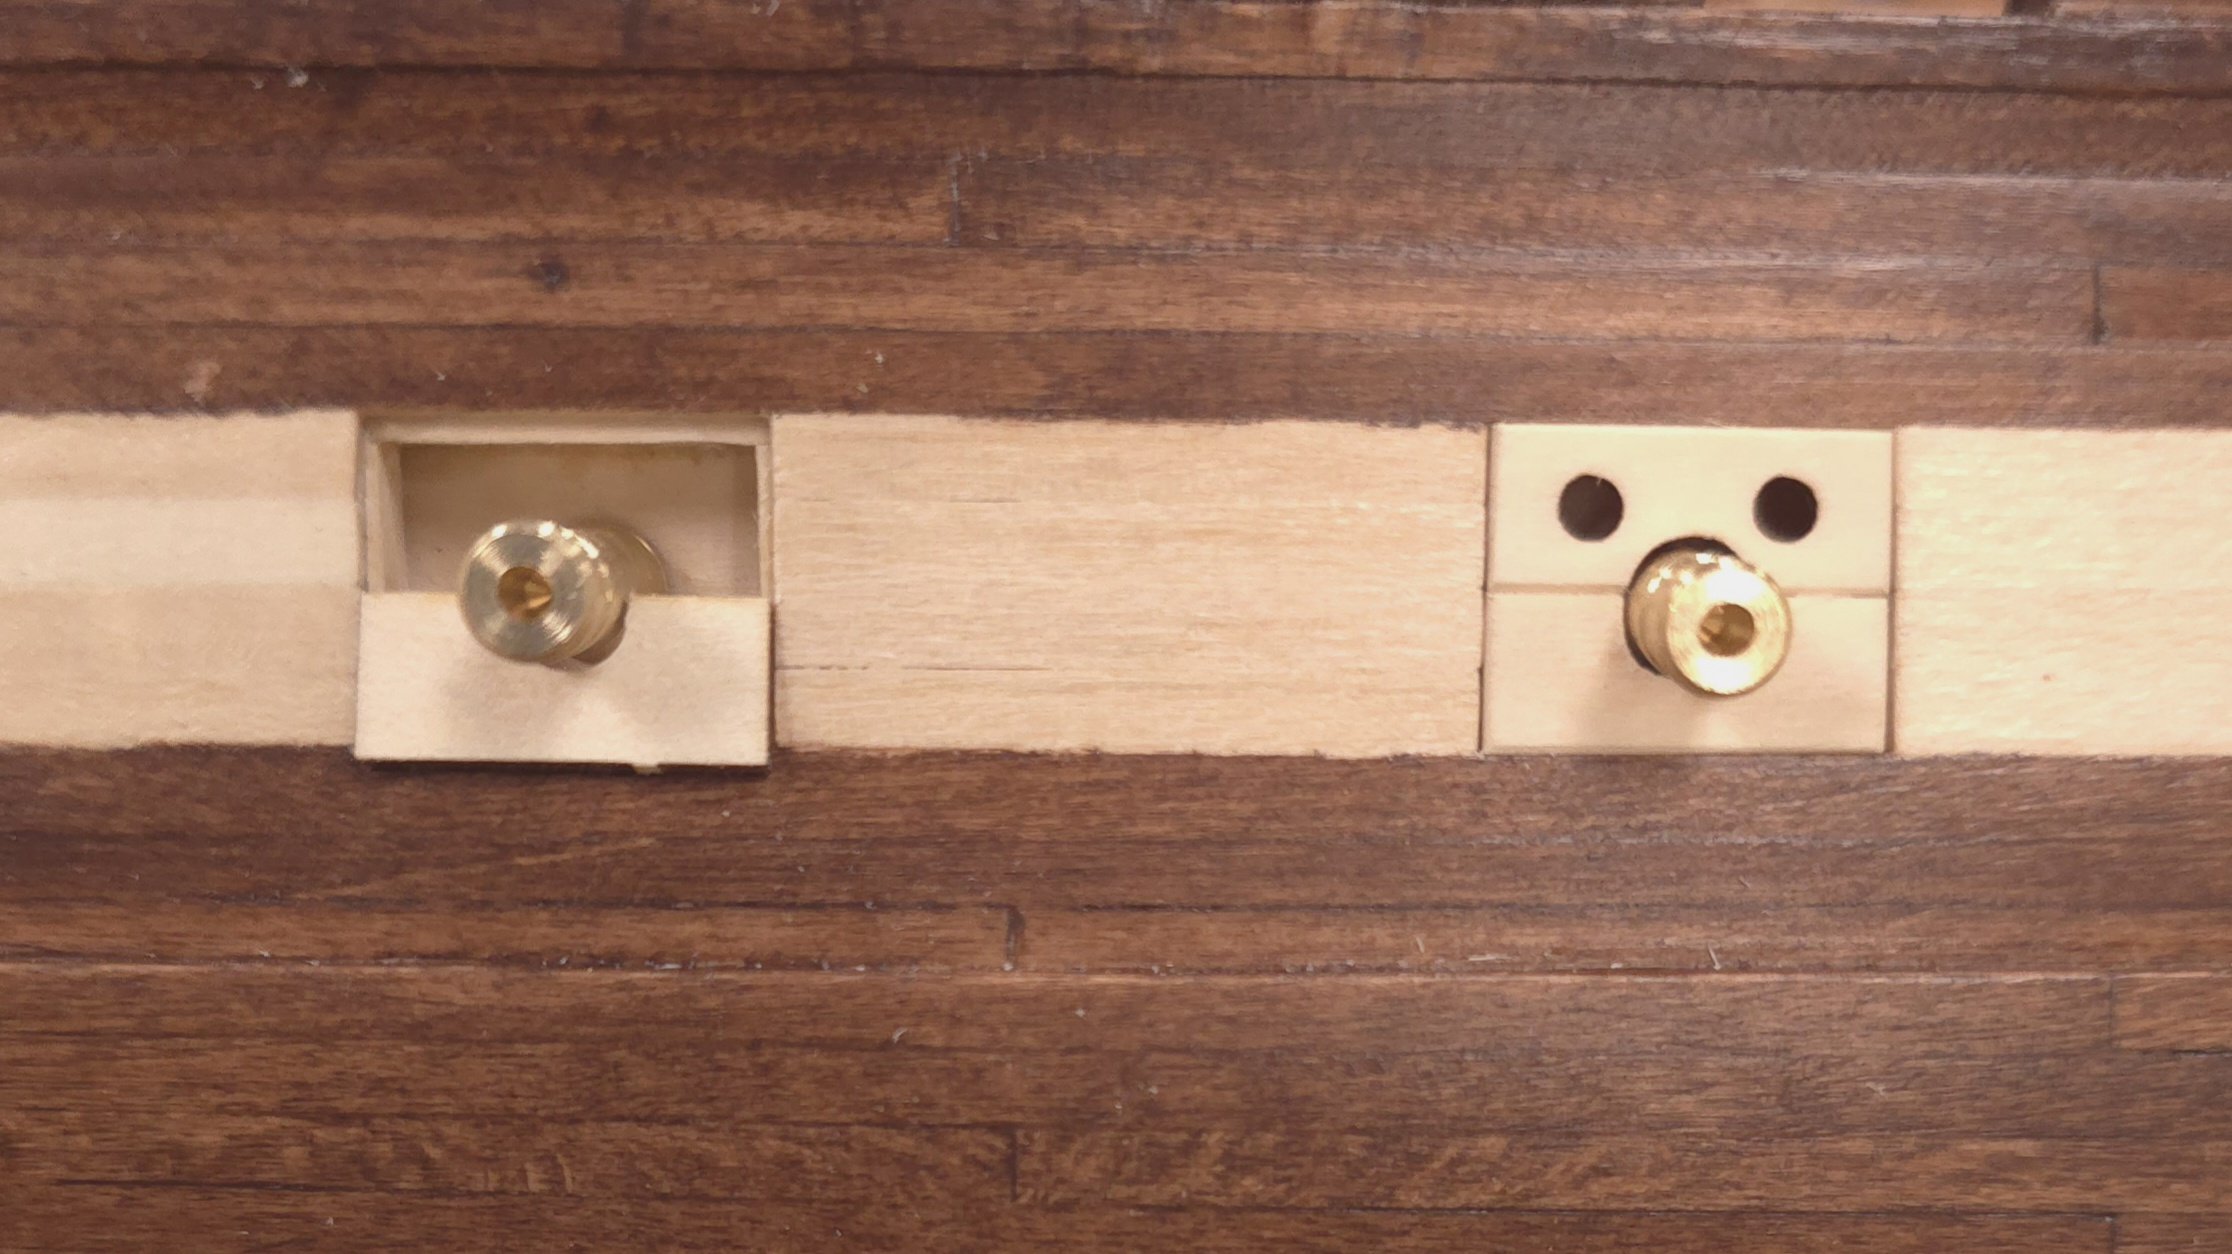
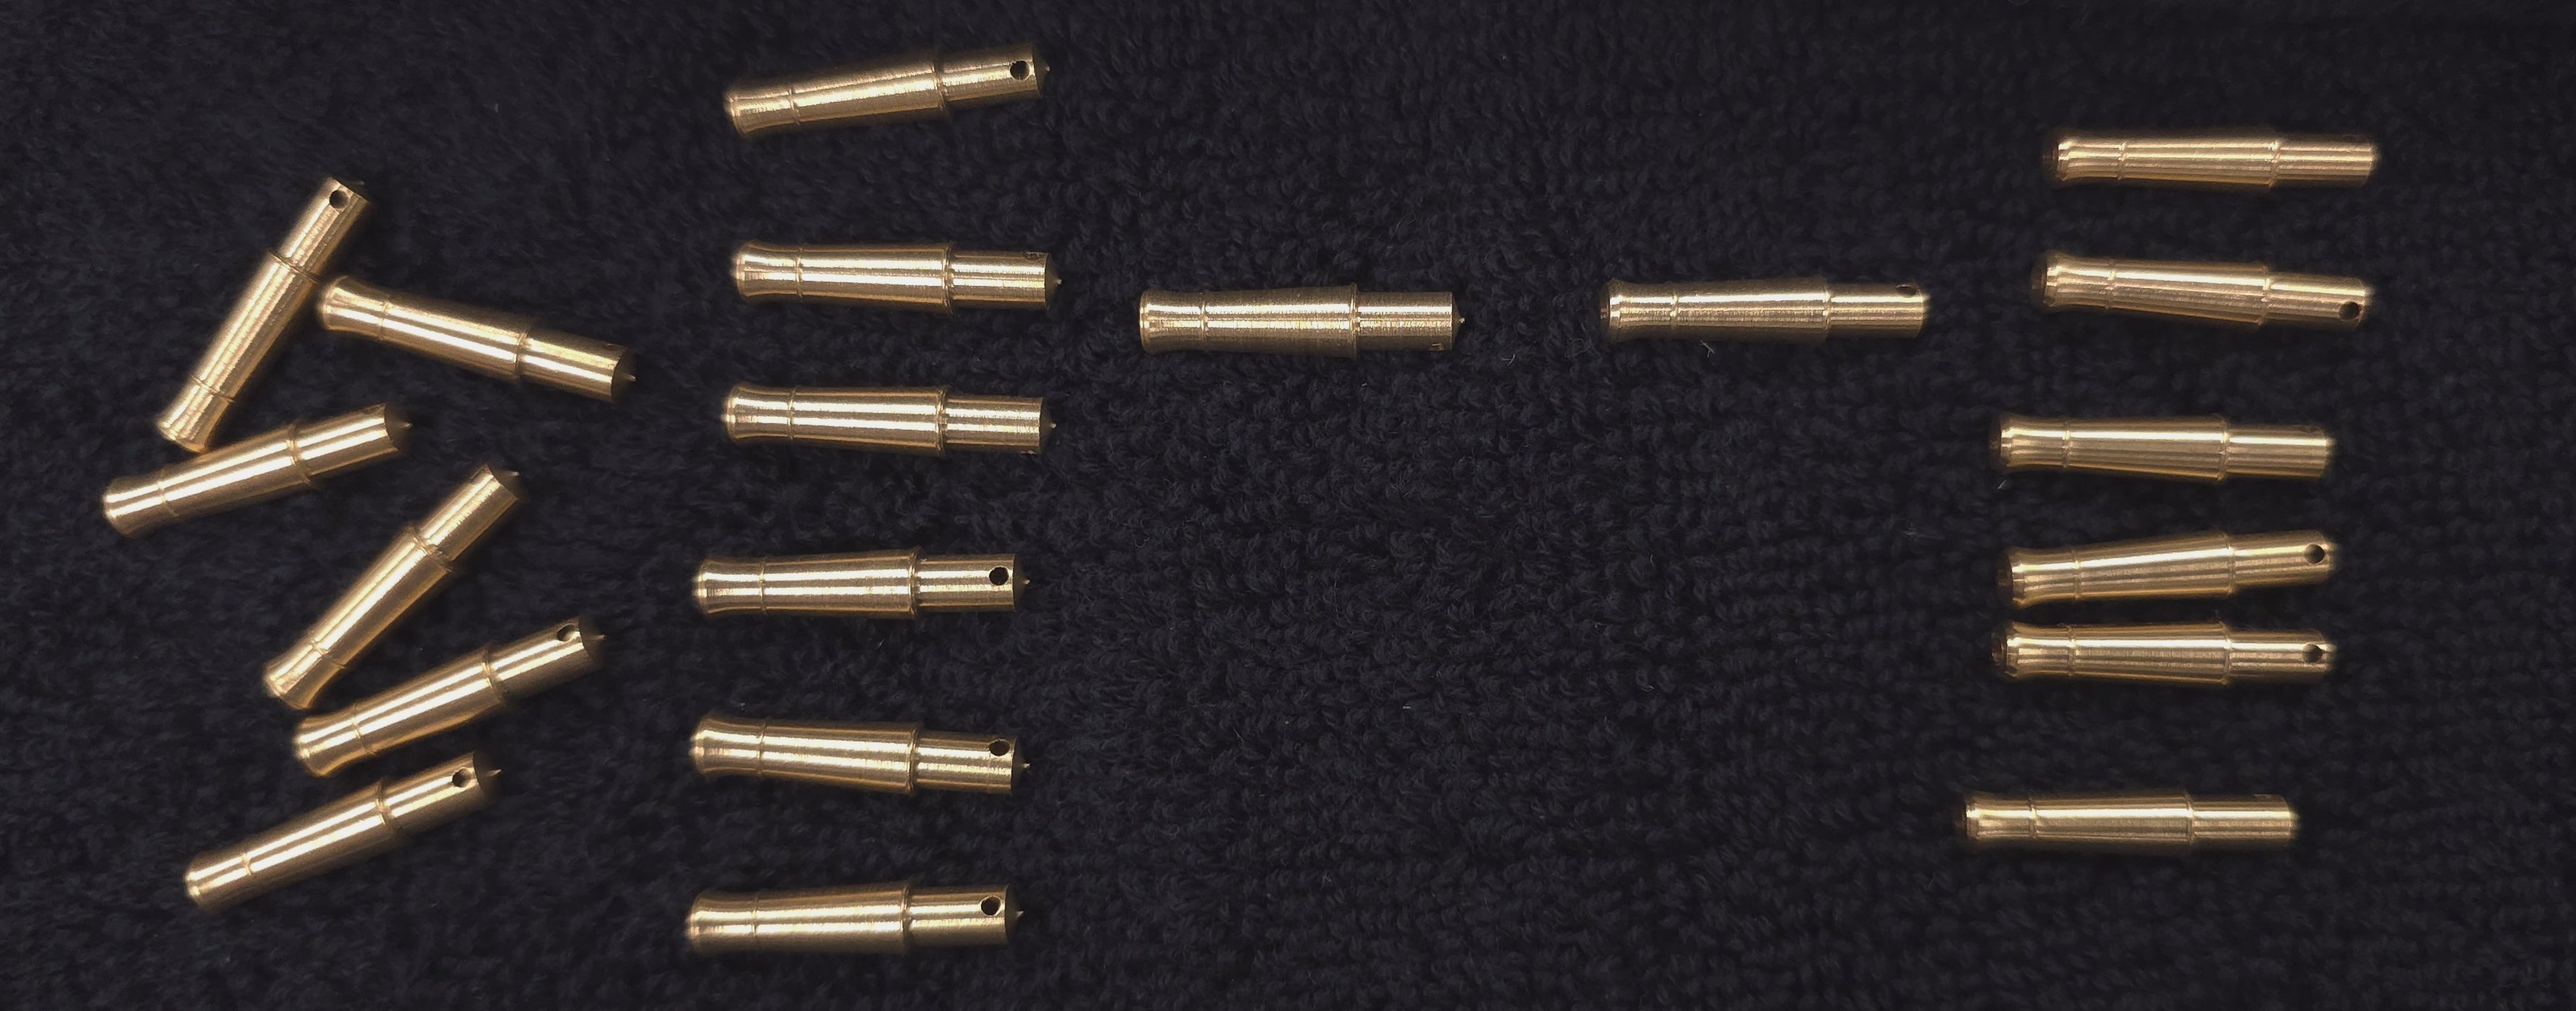
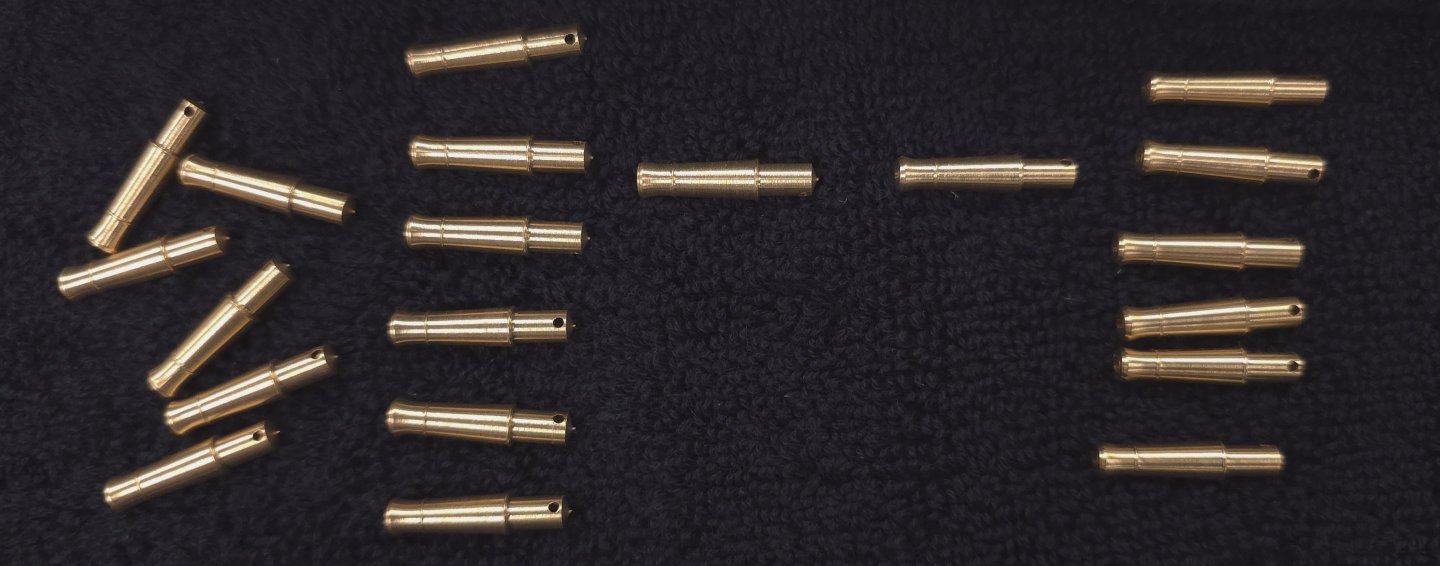
I'm rolling 7s today. 7 hours at the shipyard today. 7 false cannons and gunport lids added. Then 7 undersized false cannons discovered in that order from the Czechoslovakian company placed ast year. Aaaargh! I drilled 11/64 inch holes to accommodate the barrels. It wasn't until today, as I was gluing them into the hull, that I saw the first one that was 5/32 inch in diameter. That wouldn't be so bad, but the rest of the barrel is narrower than the others as well. Making the opening in the gun lids a smidge too large. Maybe the Casual Observer won't notice. I'll try one tomorrow. The good news. Getting there.. You're not really going to see much difference here, but the group of seven on the right are smaller diameter than the ones on the left. Maybe here?
-
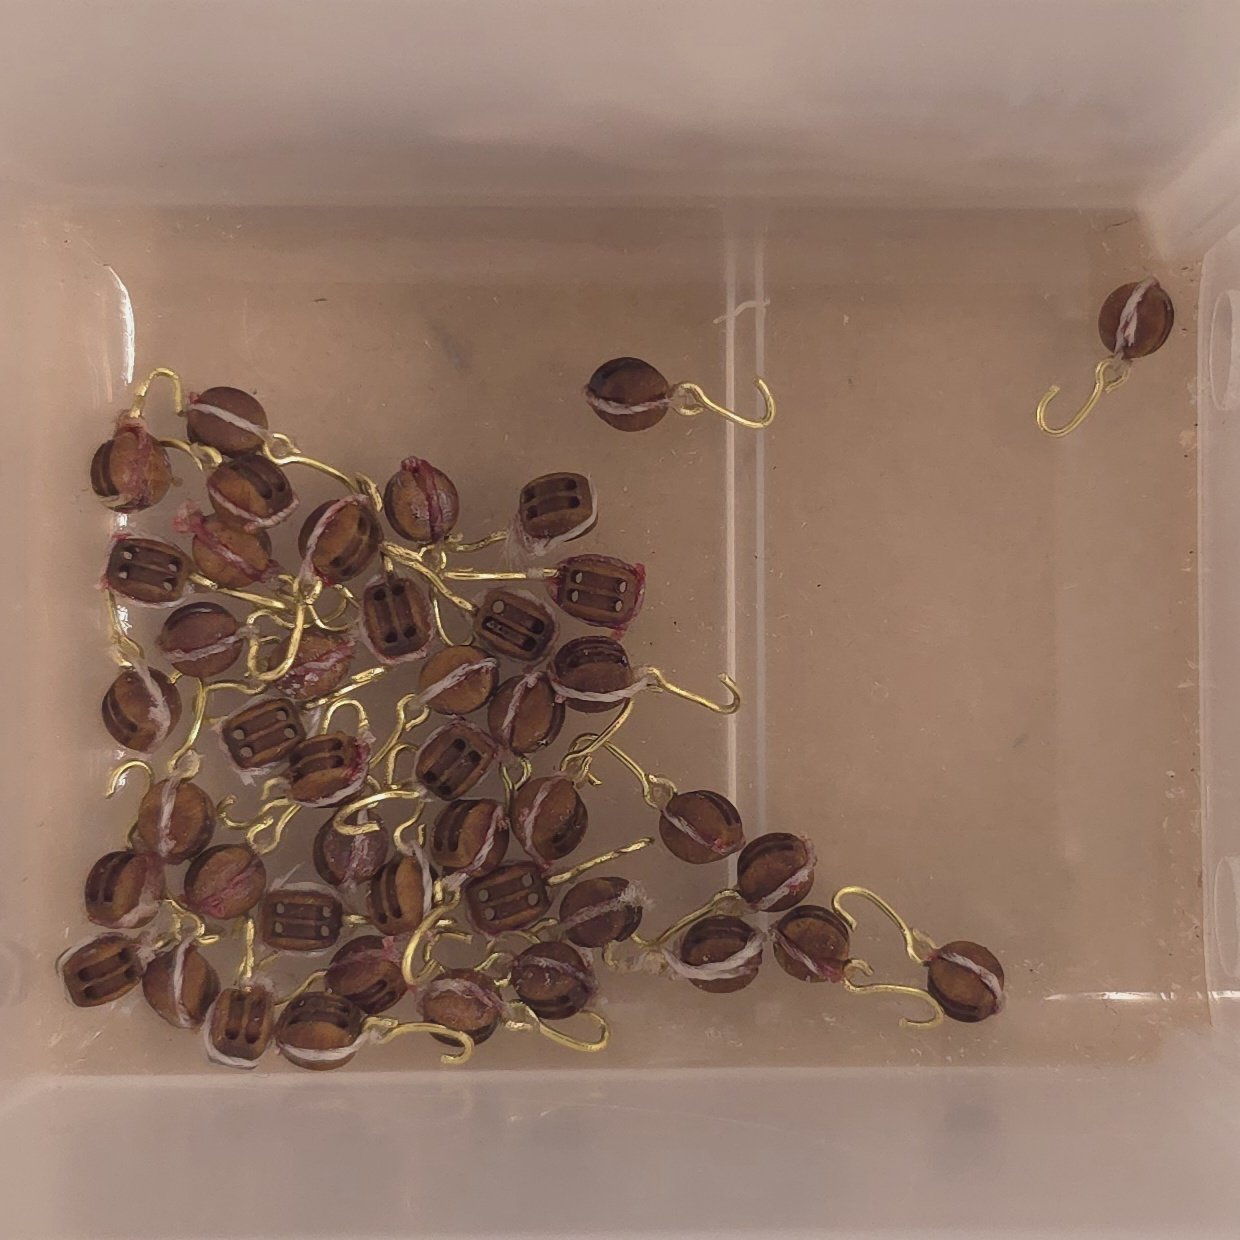
Today I finished all the double blocks for the spar deck tackles, and made more hooks for the single blocks, which I'll rig after the .45 mm tan rope arrives from either Ropes of Scale or Syren, whichever gets here first. So, my attention turned to things undone. One thing I can do in the meantime is start work on the gun deck's false cannons and gunport lids. At first I thought putting the hinges on the gunport lids would be too much effort, but it turned out to be manageable after all. I did have to scrape off the paint and primer that I put on when I thought I black was the color of choice. One down..


-
I like what I got, but I'm not sure how I got the beige cotton confused with tan polyester when ordering the .45mm. Maybe I wanted to see the color difference between the two and didn't notice the difference in materials? Oh well.. Because I have more cents than sense, and I like the tan polyester, I just ordered the .45mm and am spending the premium to get it in one day. Thanks for the nudge..
-
End of June update: Work continues on making hooks and rigging them to single and double blocks for the gun tackles. I'm almost done with the double hooks, but just having received some rope from Ropes of Scale, I thought I'd divert to a little comparison exercise. Tan ropes came with the model shipways kit - WP1241 and WP1242. The larger of the two, the WP1242, looks pretty good, but won't fit through the holes in the blocks. At the other end of the scale we have the WP1241, which frankly just doesn't cut it. Too small. The plans call for .45 mm for the tackles. I did get some .45 mm rope from Ropes of Scale, but it's beige. I'm not exactly loving the color, but if memory serves, that's the only color other than black that I could get from them. I just ordered some from Syren Model Ships Company which looks to be more tan than beige in the photos. So, it's too early to make the final decision of which to use. However I need to make the decision soon because this is what gets rigged to the single blocks.

-
My belt sander uses narrow strips of sandpaper - about 1". That camber you're referring to is fairly shallow and is easily shaped on the belt sander. I keep the sandpaper well worn, so it's not aggressive and it's very forgiving. With the tiny drum element on the Dremel, I'd be worried about putting dents into the camber. Throughout my build, I have used a drum sander to great effect, but for this instance, I don't think you can beat the belt sander. I guess it comes down to which tools you have the most experience with. I still don't know how Bob Hunt managed the results he did with the curved X-Acto blades - in places where a fish tail or straight chisel (IMHO) was my preferred tool. BTW, I'm talking about this: not this:


-
Ah! So, the Dremel is basically being used like a drum sander. In the instance where Jon has removed the spar deck beams, I think I'd prefer to use my belt sander. Not having "kit bashed", I don't know if removing the spar deck beam is part of the process. The belt sander would be useless if it remained. In the end, use whatever gets you closest to the finish line (double entendre intended).. My point in bringing up Ken's carrier decks had more to do with his needing to compensate for the thickness of the carrier decks themselves. He had to trim the beams another 1/64" because he used 1/64" plywood for them. (Ken's logs: page 4, post 95 and page 13, post 369) One of the reasons I thought his approach was preferable was that he could plank the decks off of the hull, not merely to avoid the use of filler blocks..
-
Been there, done that, brought home the t-shirt. 😉 As for trimming the gun deck levels with Dremels and a Dremel stand, I'd like to see some details on that when you get around to doing it. My thoughts were gravitating to a router table solution, maybe using a guide registered on the parallel edge of spar deck. Not having a Dremel tool or stand, I can't really picture what you'll be attempting. Before you get too far along, I'd suggest you take a look at XKen's build to see if you might want to consider using a carrier deck to facilitate deck planking later. If so, you might want to trim off some more material to accommodate the thickness of the carrier deck. I retrospect, I wish I'd done that and spared myself the chore of filling all the gaps between the bulkheads with filler blocks. Ken's post is on Page 4 post #95.
-
USS Constitution by mtbediz - 1:76
Der Alte Rentner replied to mtbediz's topic in - Build logs for subjects built 1751 - 1800
Thank you for posting, Mustafa. I took particular note of your mentioning that these channels were temporarily placed with pins. I was wondering how I would keep them solidly affixed to the hall. As usual you provide the answer before I even asked the question. -
USS Constitution by mtbediz - 1:76
Der Alte Rentner replied to mtbediz's topic in - Build logs for subjects built 1751 - 1800
You can always count on Jon to deliver the goods! Thanks from me to Jon too, I'll be tackling these myself soon, hopefully before Mustafa reopens his shipyard in September. -
USS Constitution by mtbediz - 1:76
Der Alte Rentner replied to mtbediz's topic in - Build logs for subjects built 1751 - 1800
I'm sure Jon will chime in on this momentarily, but for my part, I cannot believe that there are no drawings in the plans in the MS kit. Unfortunately I'm not at home to be able to check. So Jon? What say you? And Mustafa! You're supposed to be on vacation. How am I ever going to catch up to you if you keep working through your summer break? 😁 -
I could not have said it better myself, Mustafa. And I am 100% in your camp. Go for it Jon, I'll be watching from the sidelines..
-
So, why are we not seeing a build log?
-
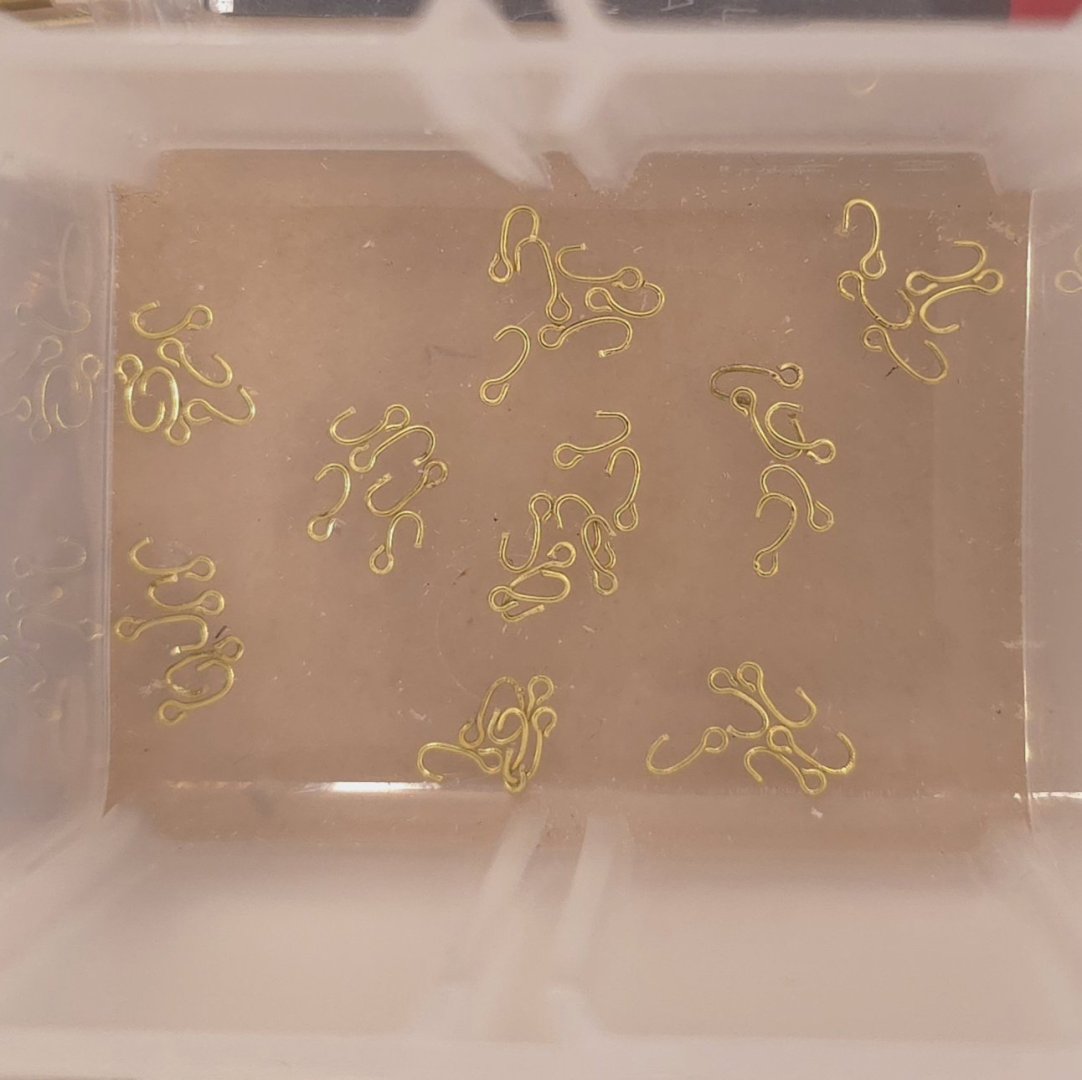
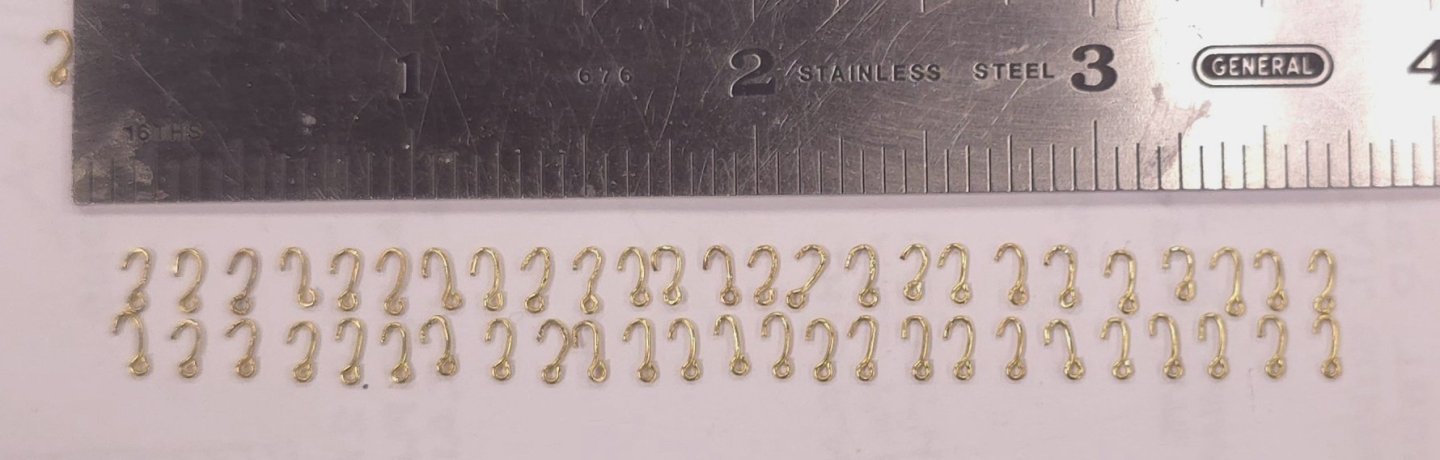
My road trip begins on Thursday. So, I'm preparing a little travel kit to keep me occupied in the off hours on that excursion. By hook or by crook, I will be productive 😁. I spent a couple of hours at the shipyard today making more hooks than I'll need for the double blocks I plan to strap them to.
-
Yes, indeed. Let's have a look at your plan for the spar deck planking. Tapered planks? Or straight?
-
USS Constitution by mtbediz - 1:76
Der Alte Rentner replied to mtbediz's topic in - Build logs for subjects built 1751 - 1800
I was wondering why you installed the curtains a little bit above the actual gun port. Now I see why, to give you room to glue the lids in. Exceptional work as always, welcome back, even if only for a few days. -
My vote is for the DRI! But, since this site is dedicated to Model Ships, I feel obligated to encourage you to return to the Constitution first. Either way, I look forward to future posts.
-
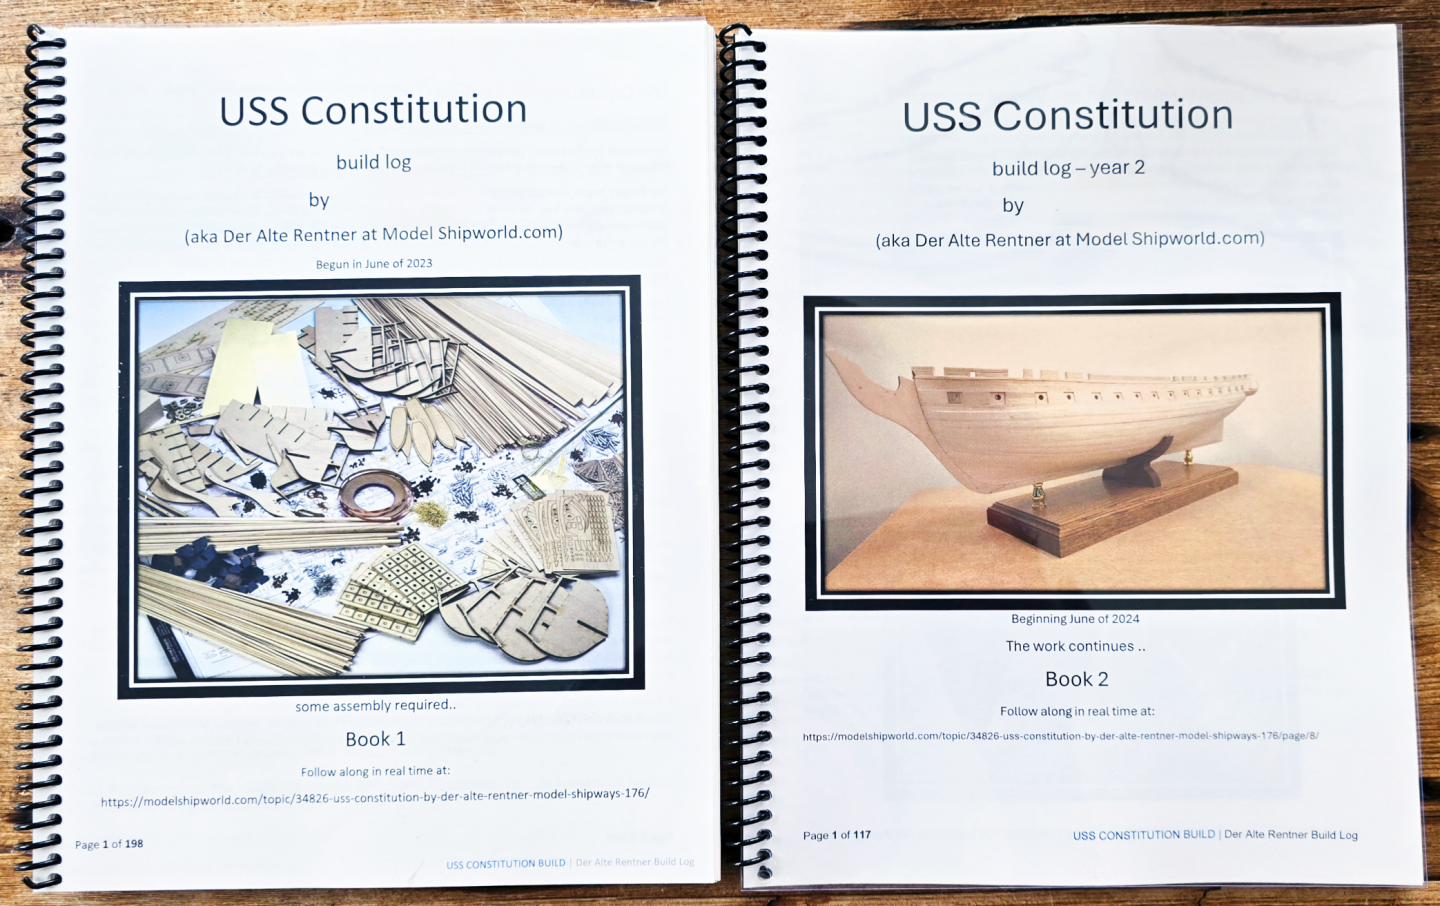
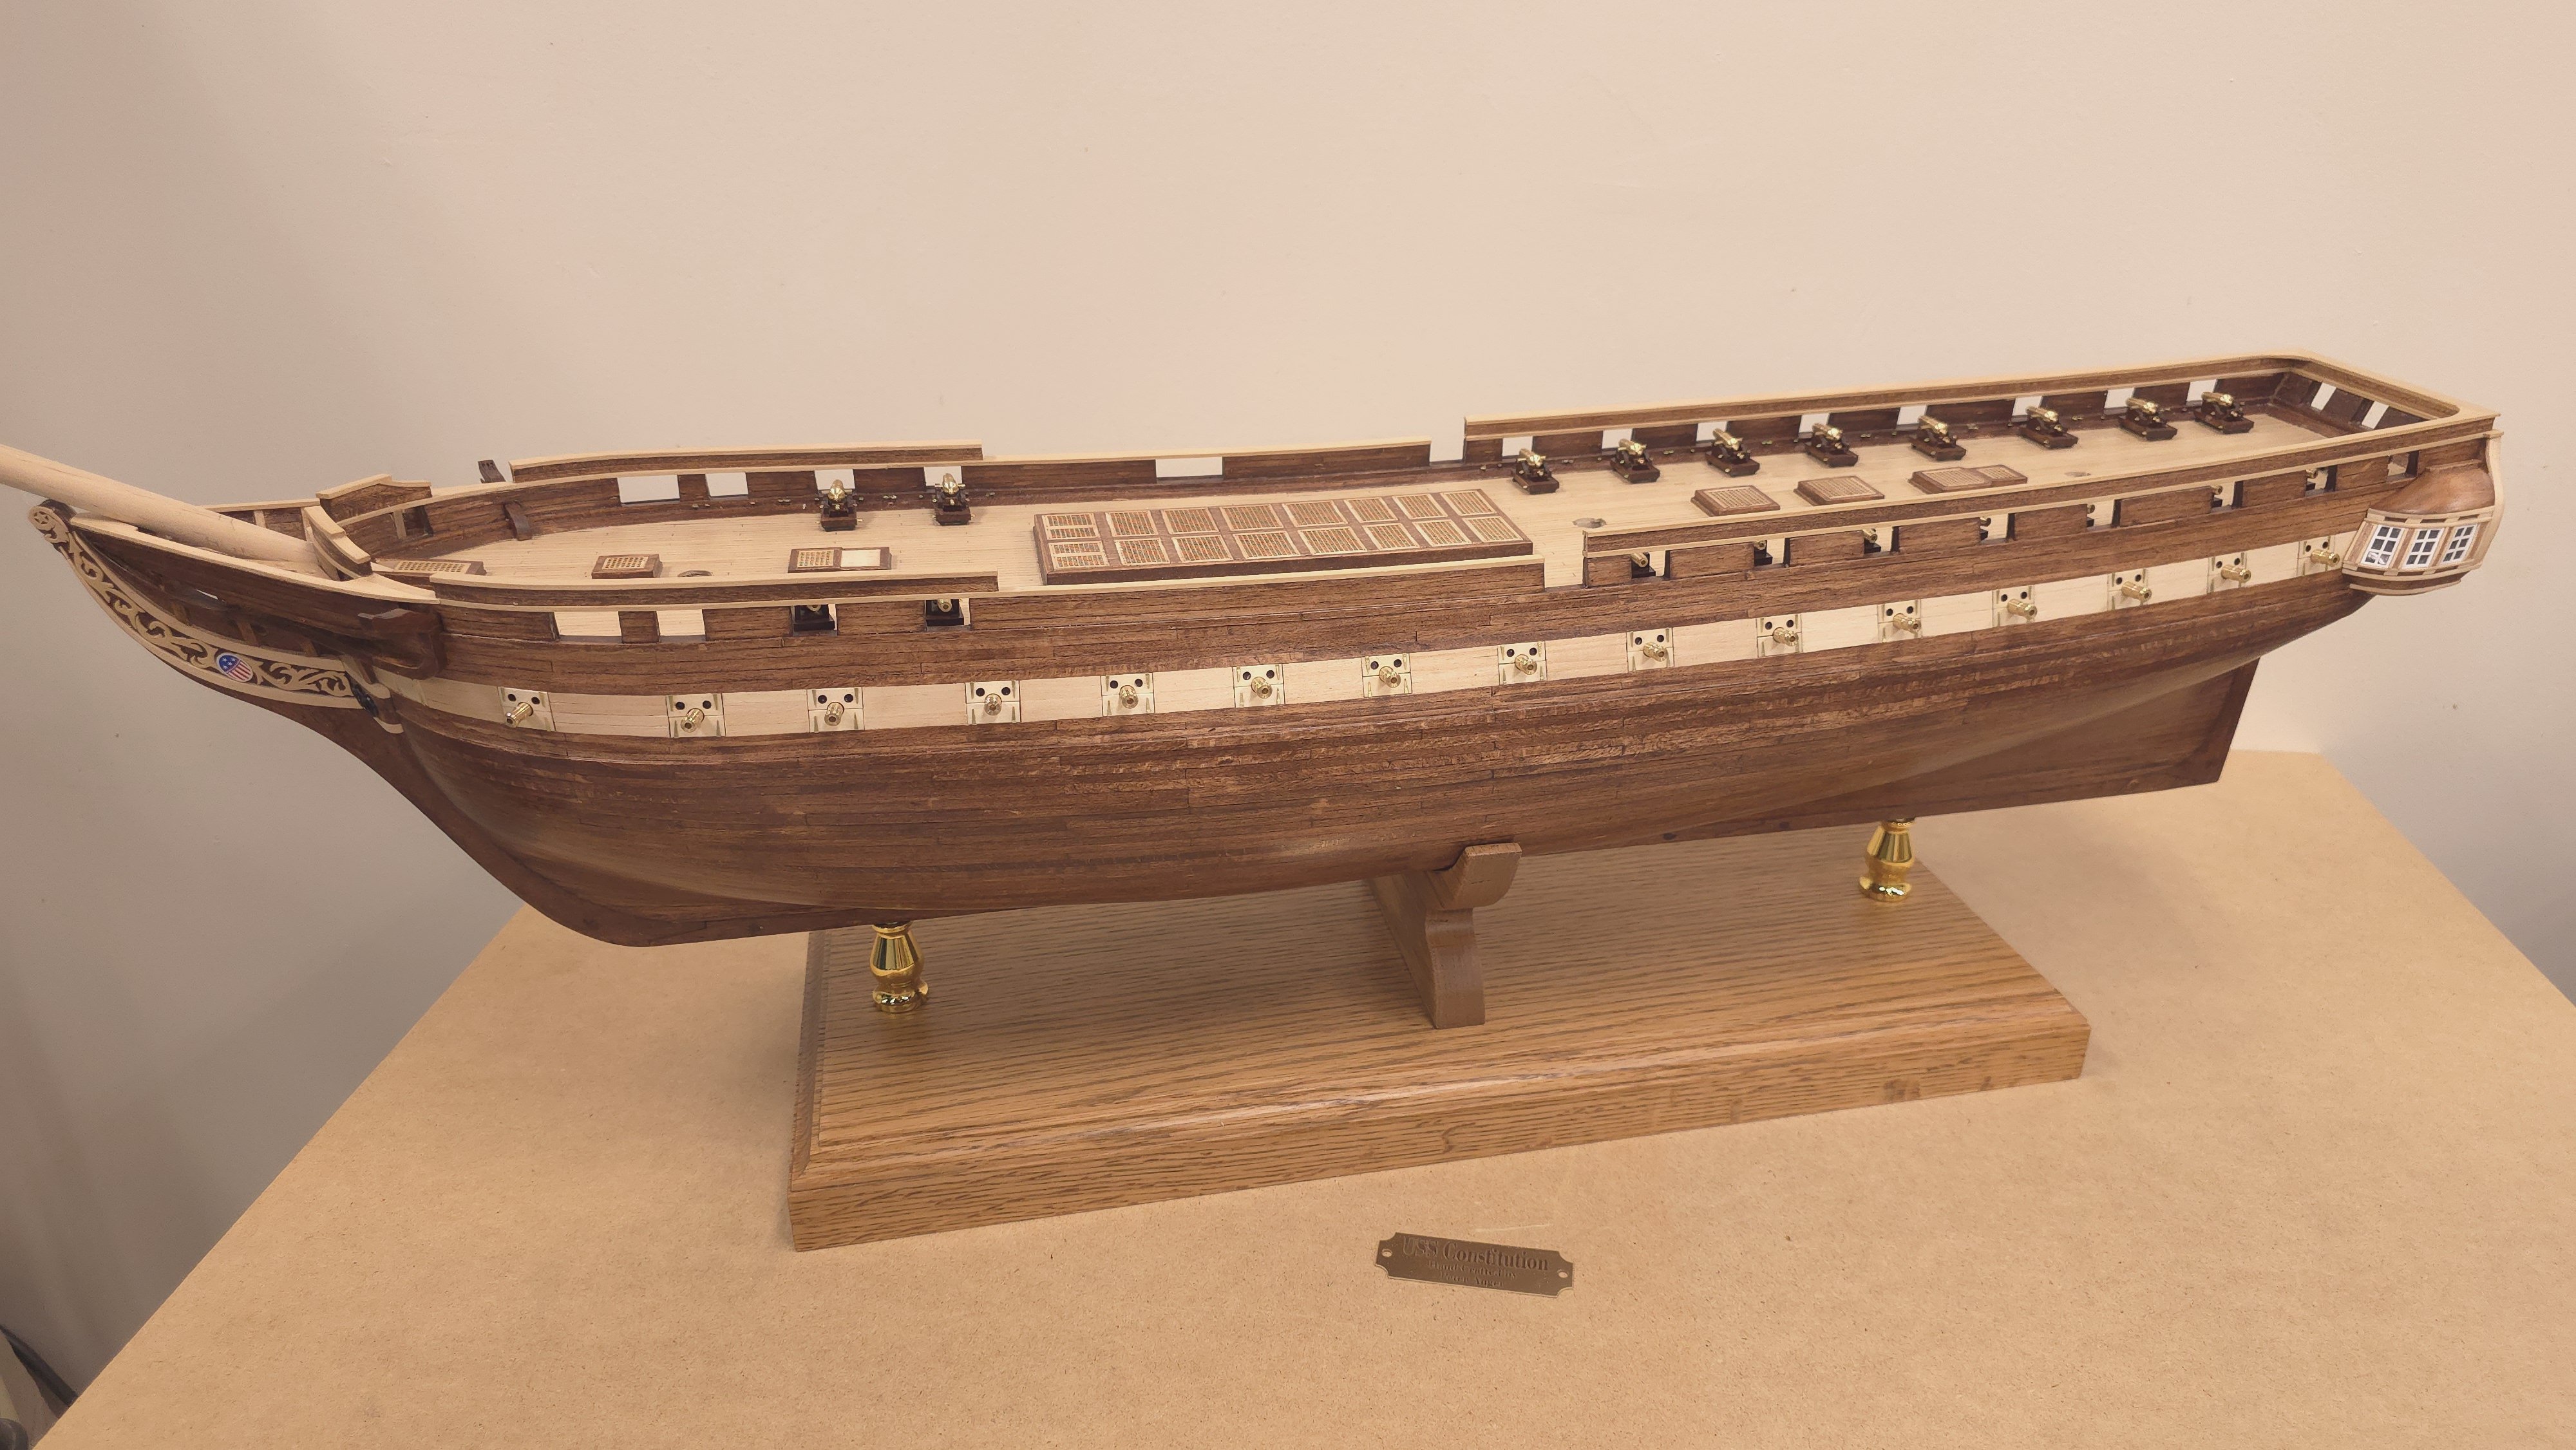
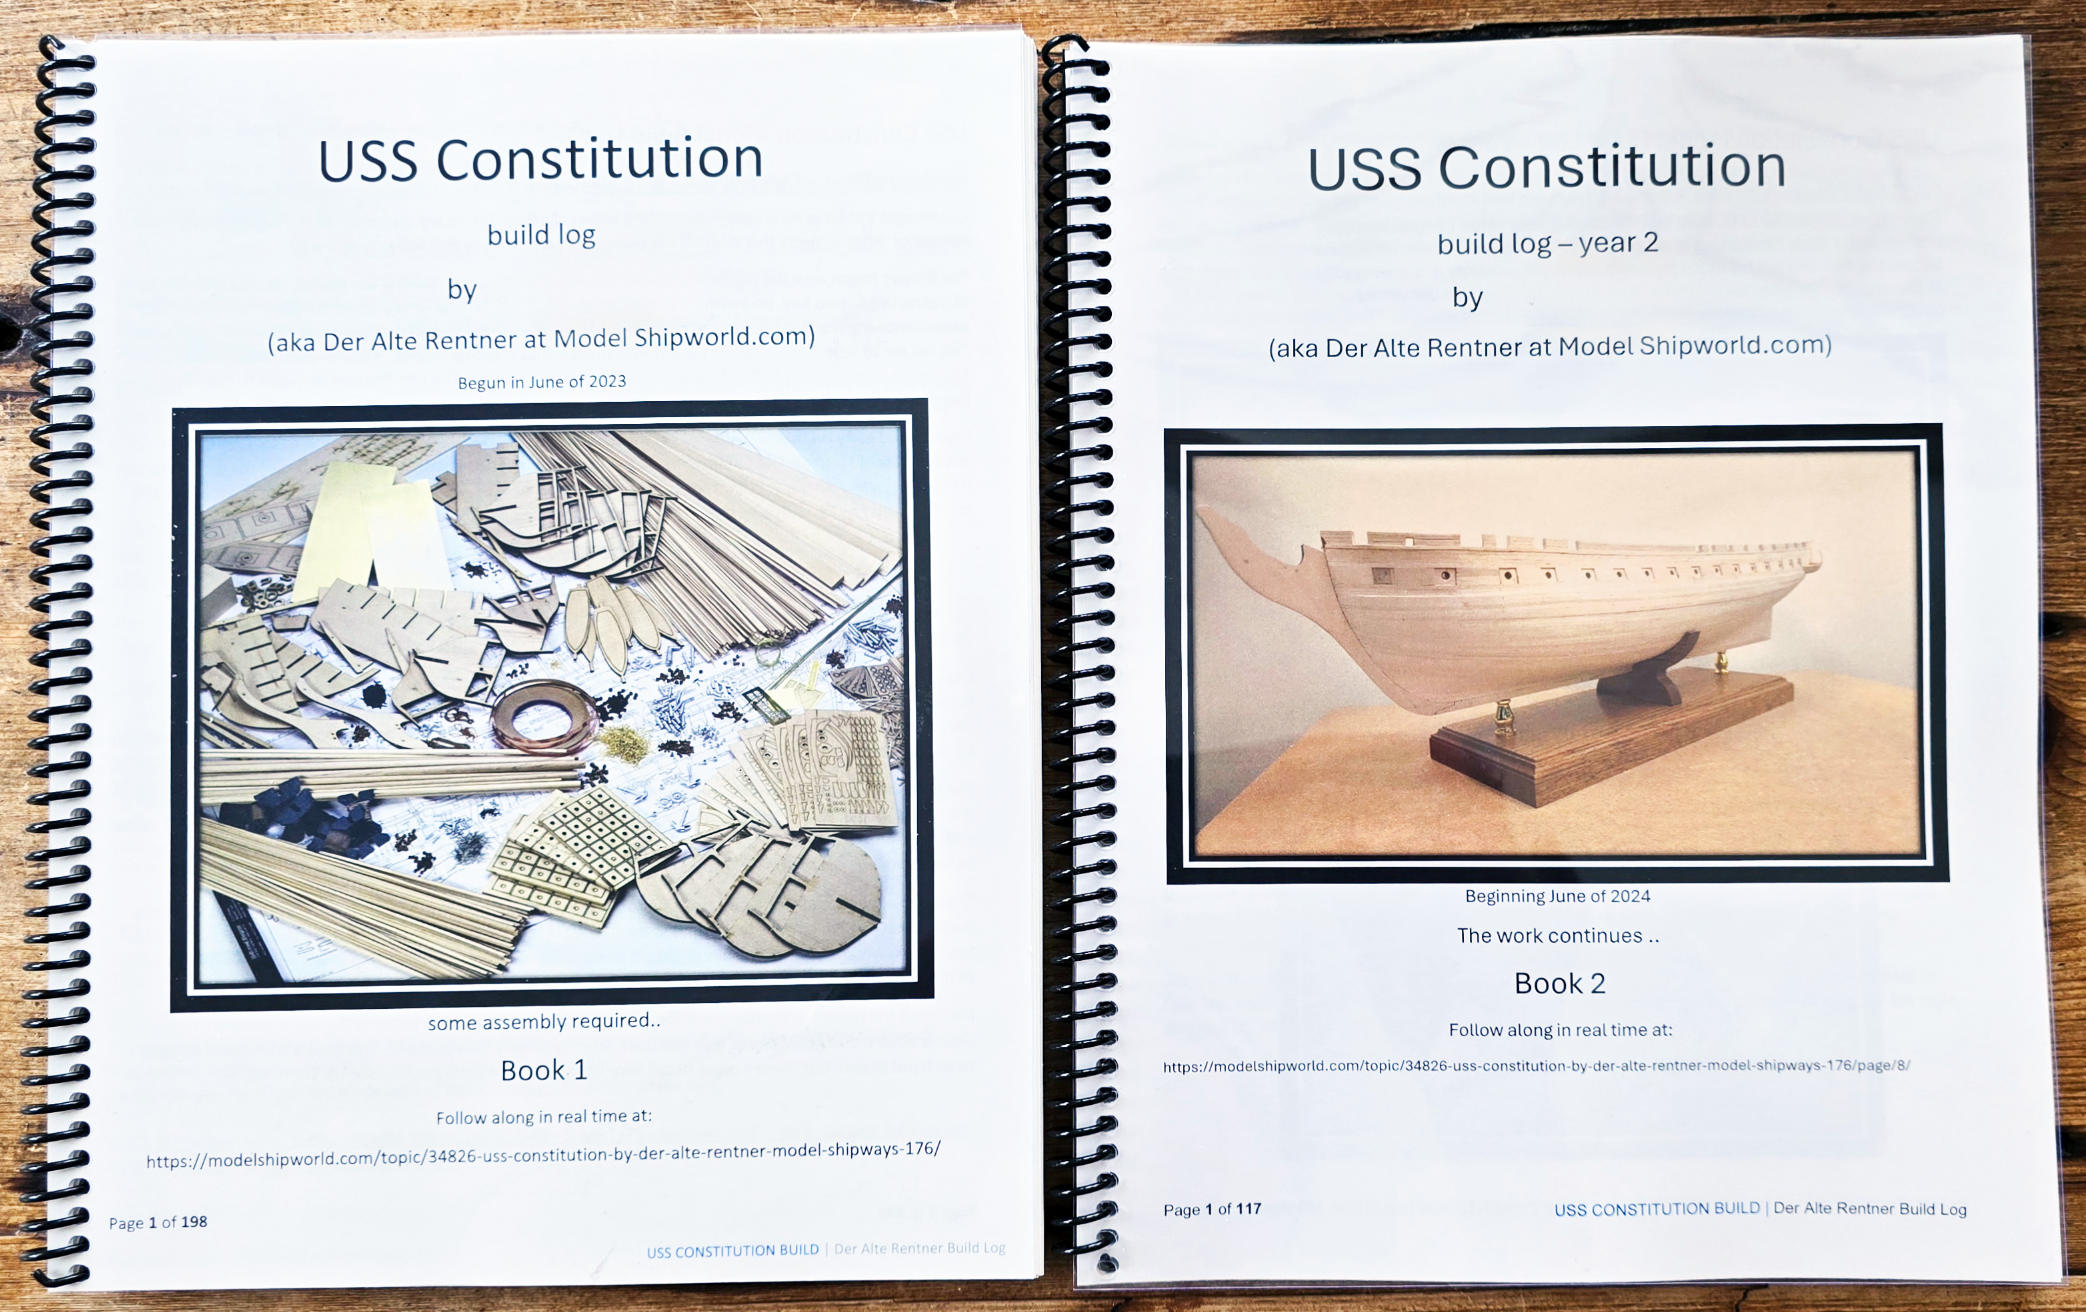
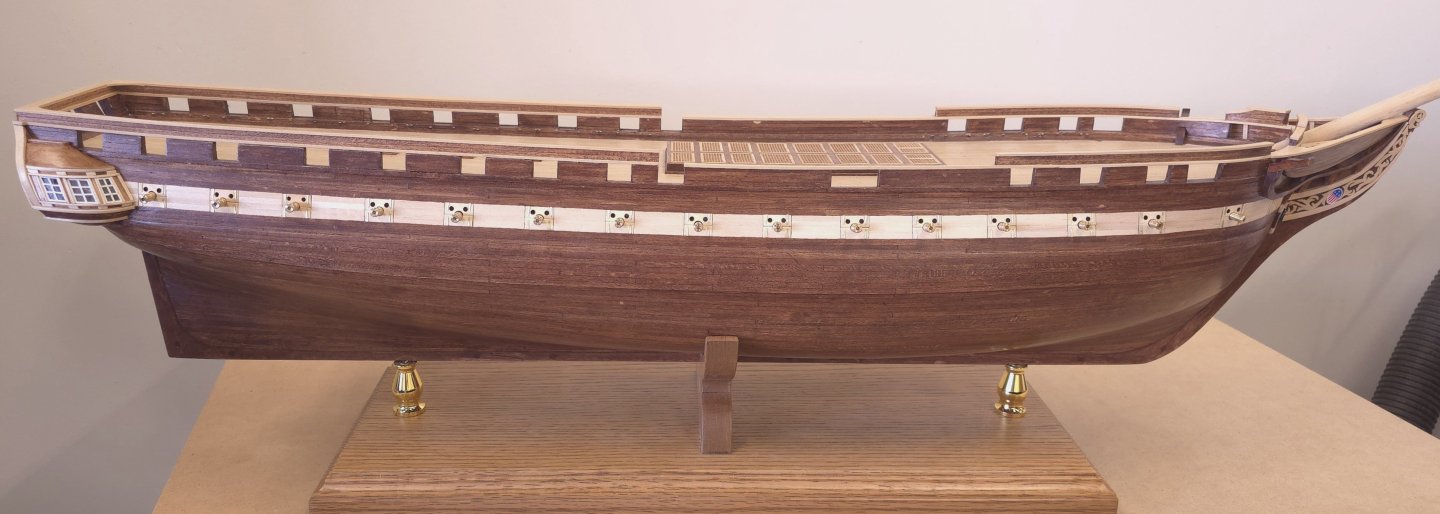
Remember my comment that there wouldn't be much to post for a while (20 or so posts ago 😁)? Yesterday, I spent the entire day publishing volume 2 of my build log (meaning, I printed two copies and shared the pdf with a few close friends). That marked two years under my belt at this! With some travel plans upcoming, and a lot of repetitive block construction in the works, I will likely be less "visible" here until July. Though, like most builders on summer sabbaticals, I will be checking in to see what's up elsewhere. So, with this: I bid you all auf wiedersehen P.S. In case you're wondering, the cover shots are the state of the project at the beginning of the year in question.