Der Alte Rentner
-
Posts
1,045 -
Joined
-
Last visited
Content Type
Profiles
Forums
Gallery
Events
Everything posted by Der Alte Rentner
-
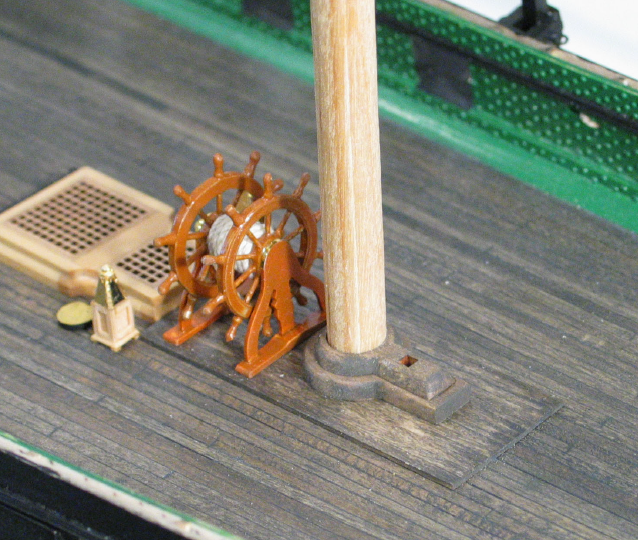
 Sigh.. How did this happen? I'm going to have to dig through my own build logs to try to figure out why the gap between the mizzen mast and the hatch just forward of it is about a quarter inch too narrow. That's the second hatch that ended up in the wrong place. 😕 I realize that I'm probably the only person in my sphere who would notice this, but it's just plain aggravating. Nothing I can do about it now.. But I am taking a break from the shipyard today to lick my wounds.
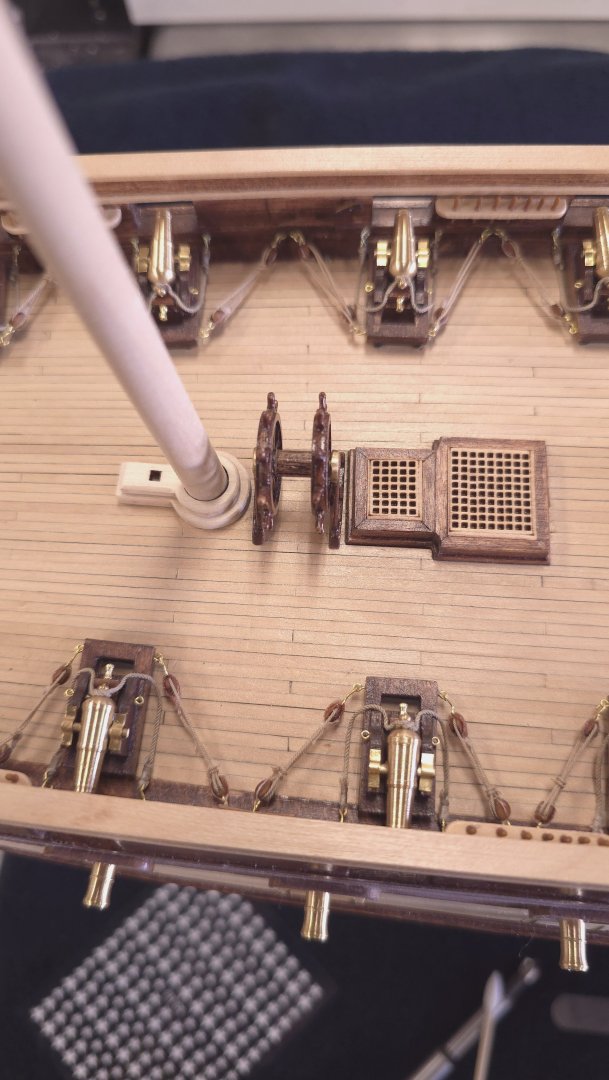
-
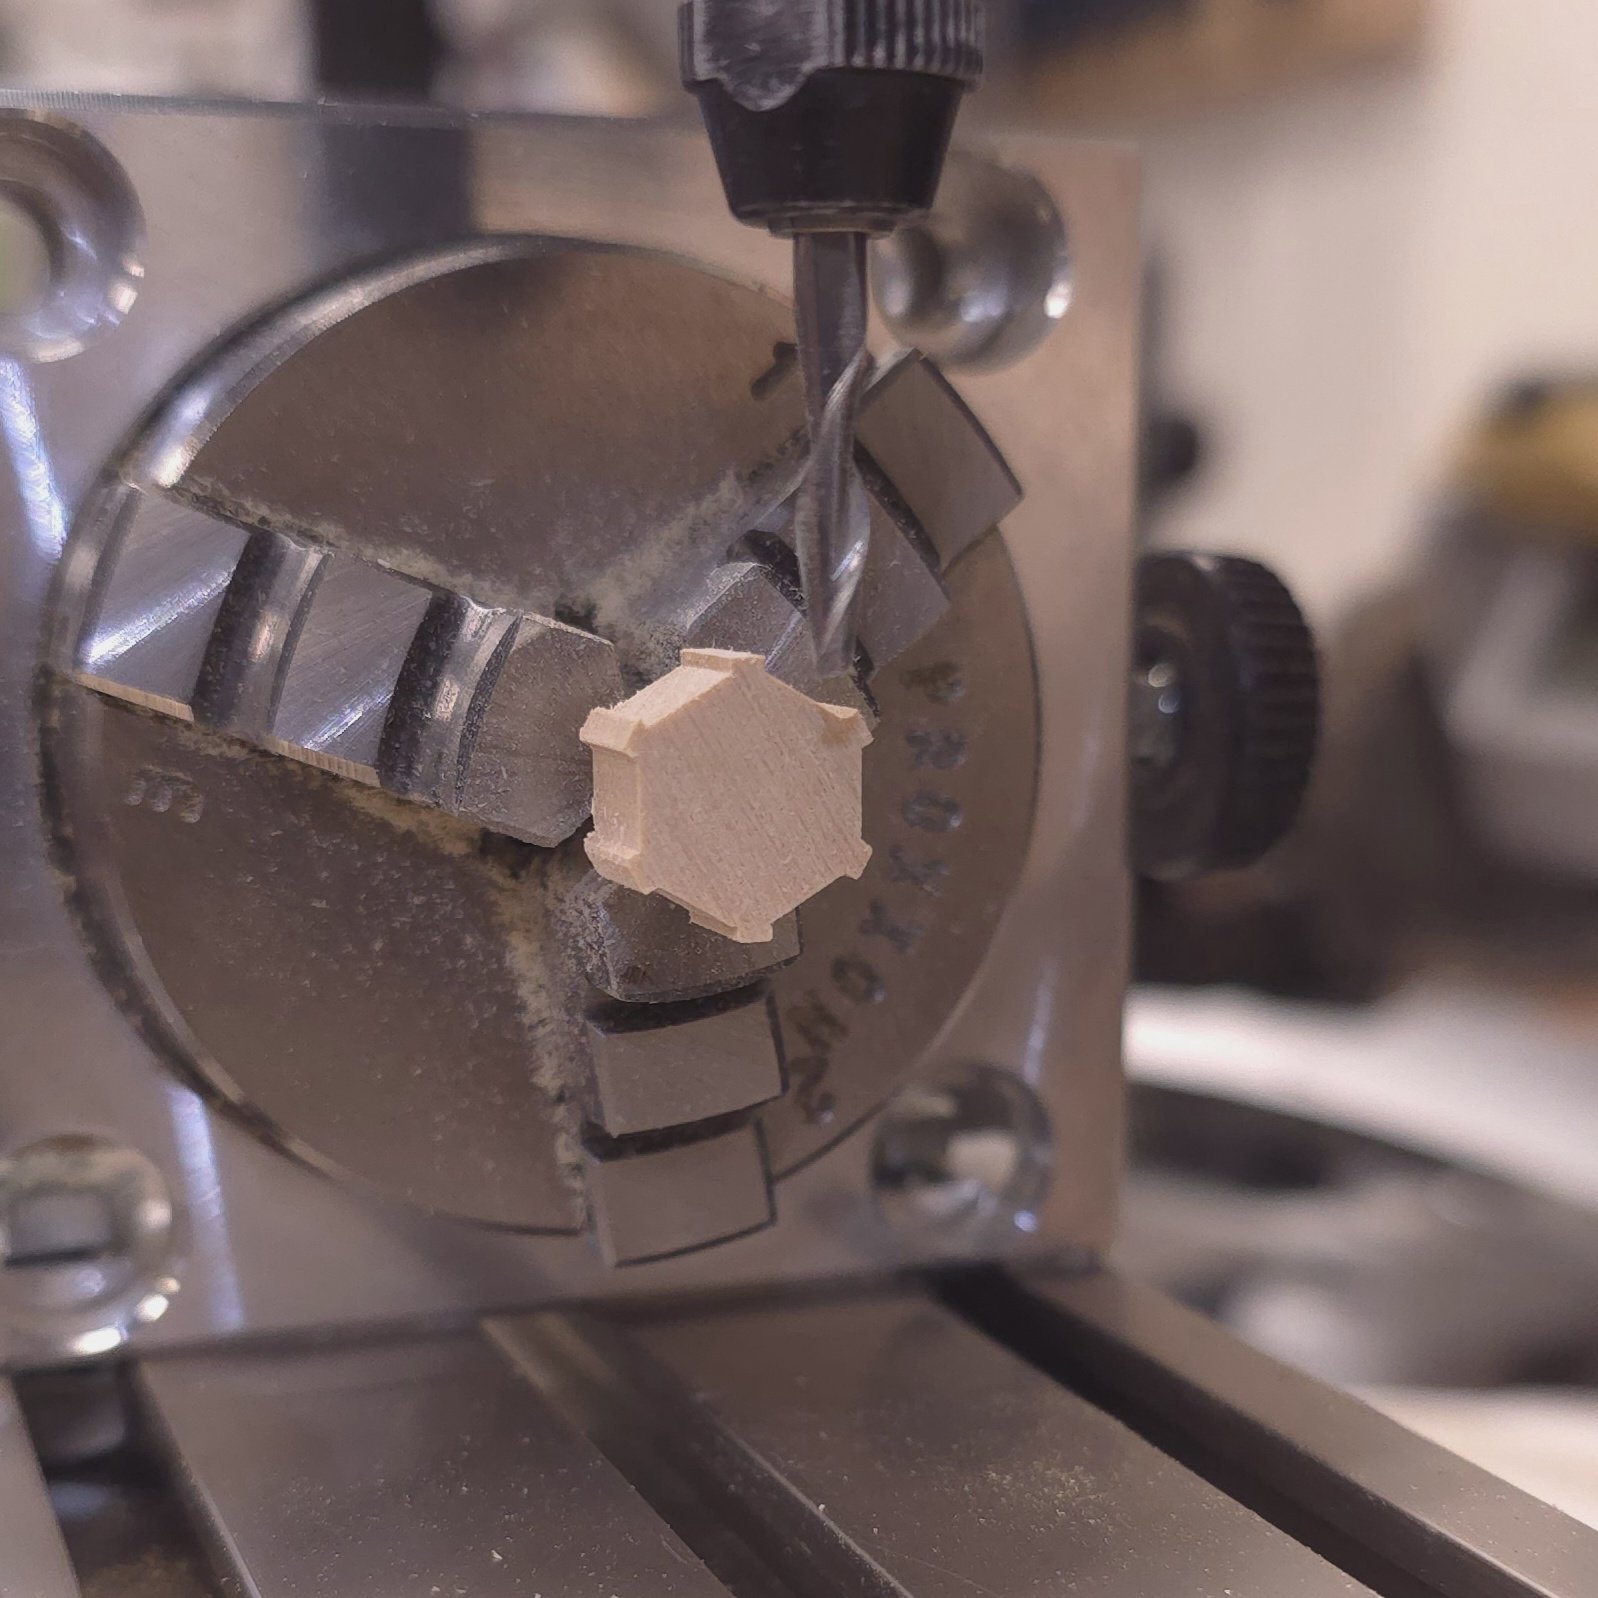
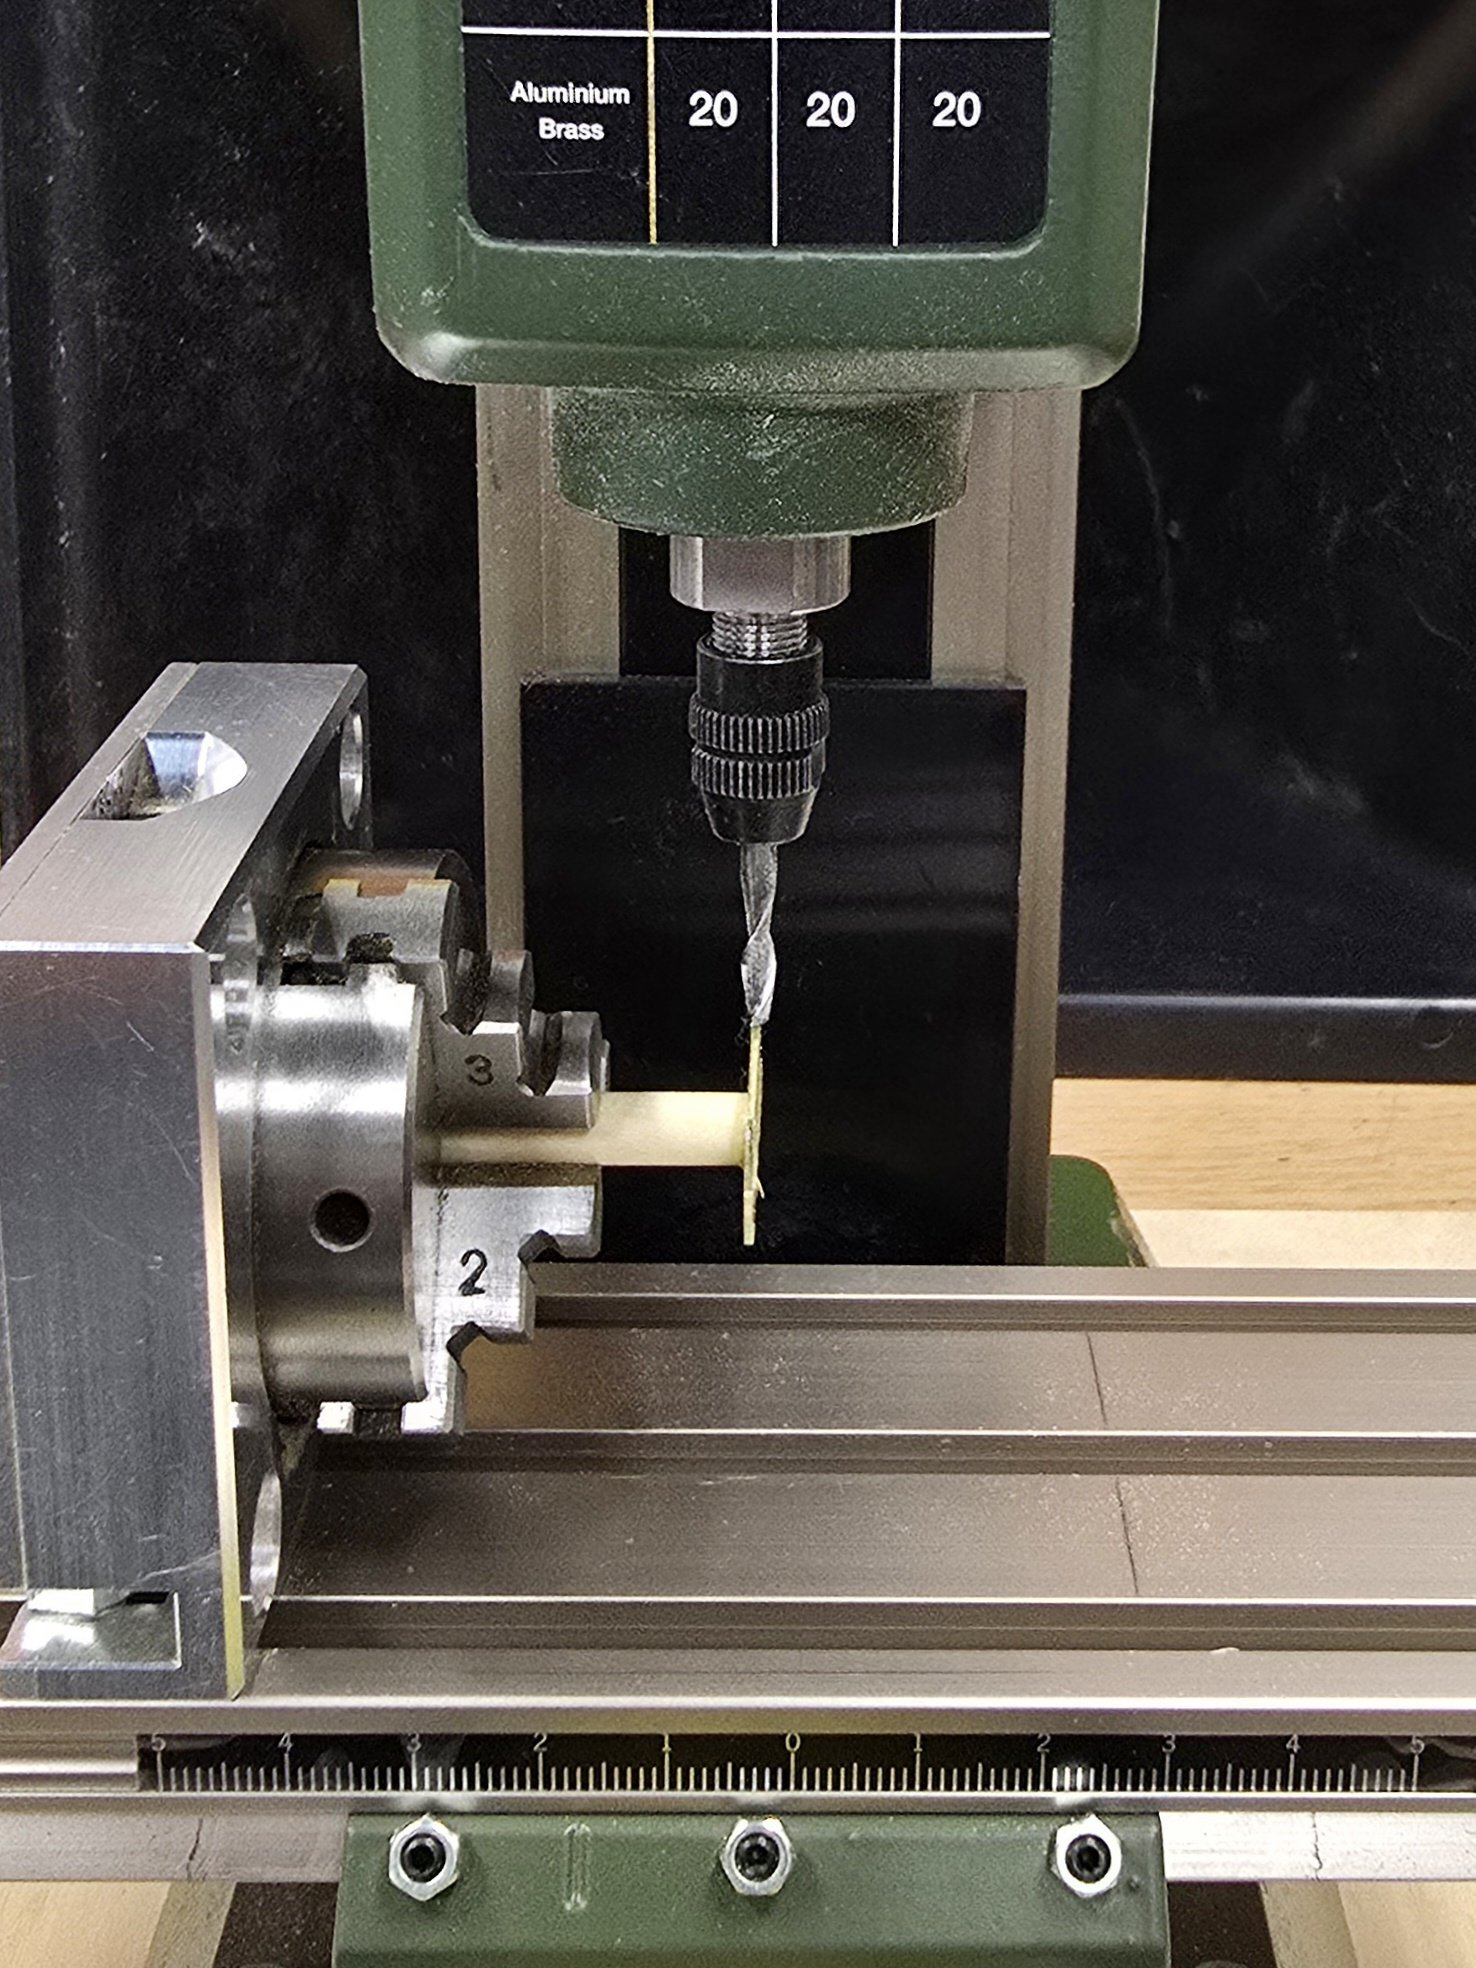
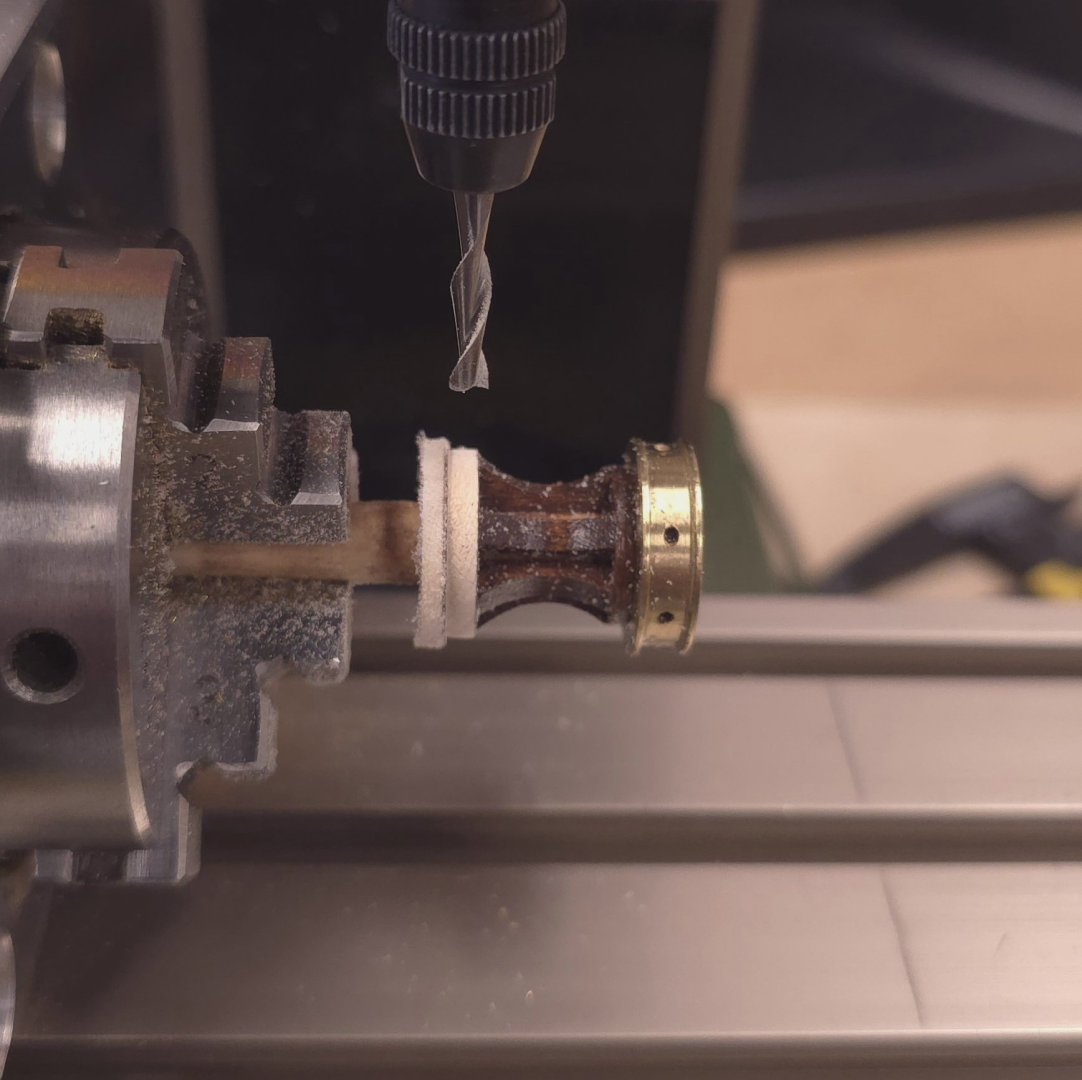
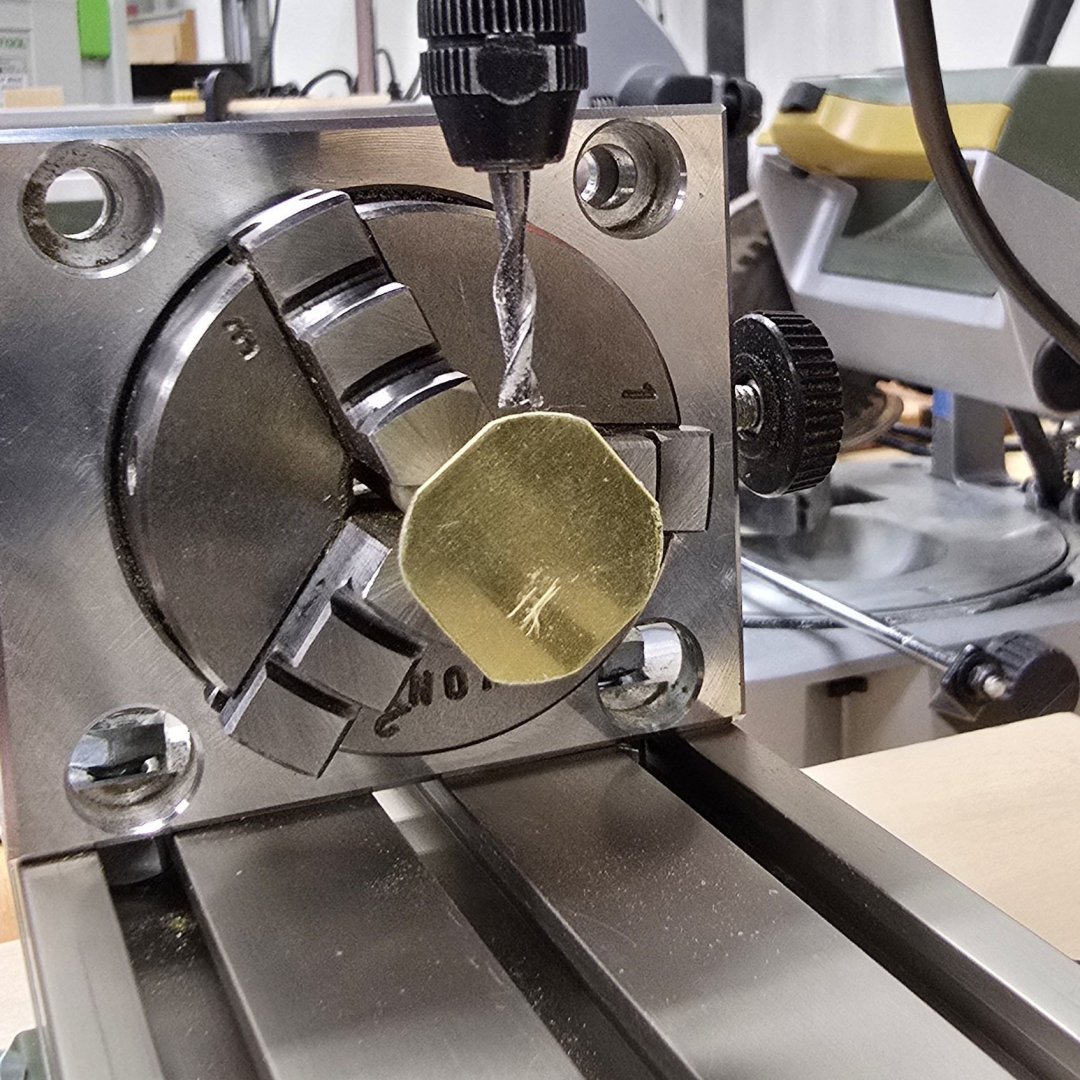
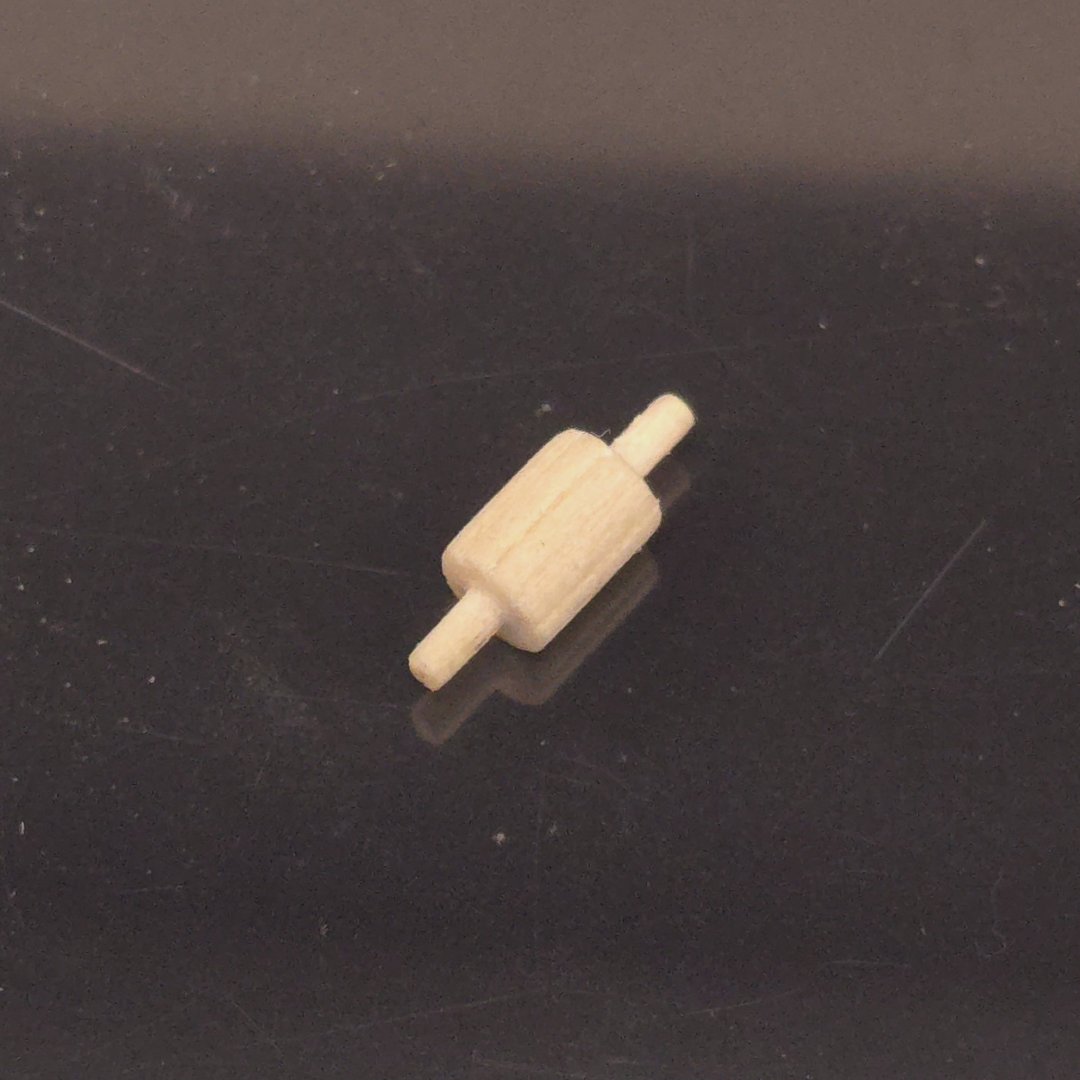
Getting closer.. Compound angles are proving to be a small challenge. Yet I managed to overcome the first obstacle. If anybody is wondering, I started by gluing a 5/32" dowel into the center of a 1/4" tall by 1/2" square blank of boxwood, after first drilling a 5/32" hole into the center. I then used the dividing attachment on the mill to turn that square into a disc. So then I had a 1/4" tall cylinder of 1/2" diameter. Consulting an AI agent (Grok) on the math, and learned that I needed to whittle off 57° to get the correctly shaped facets. Now I have to figure out how to angle the dividing attachment 33° with a wedge, and fasten it securely to the mill's table, so I can mill down into the facet to rough out the space for the window panes. Plan B? Paint black trapezoids instead. Note: This milling was dicey work. I had to make many shallow passes coming down from the top to avoid vibration that caused the bit to gouge the facet's surface. In retrospect, had I figured out how to attach the divider at 33°, coming straight down with the bit would have been a better proposition.


-
I have a feeling that is going to change very soon..
-
To all, I wanted to get that little detail on the steering wheel supports, but was dreading the thought of trying to hand paint or cut two stars out of brass foil. I found just the thing on eBay. I wish I'd found this resource earlier, because two of the available sizes of white stars are a perfect match for the stars on the transom. I could have spared myself the fiddly work of fashioning those out of styrene.


-
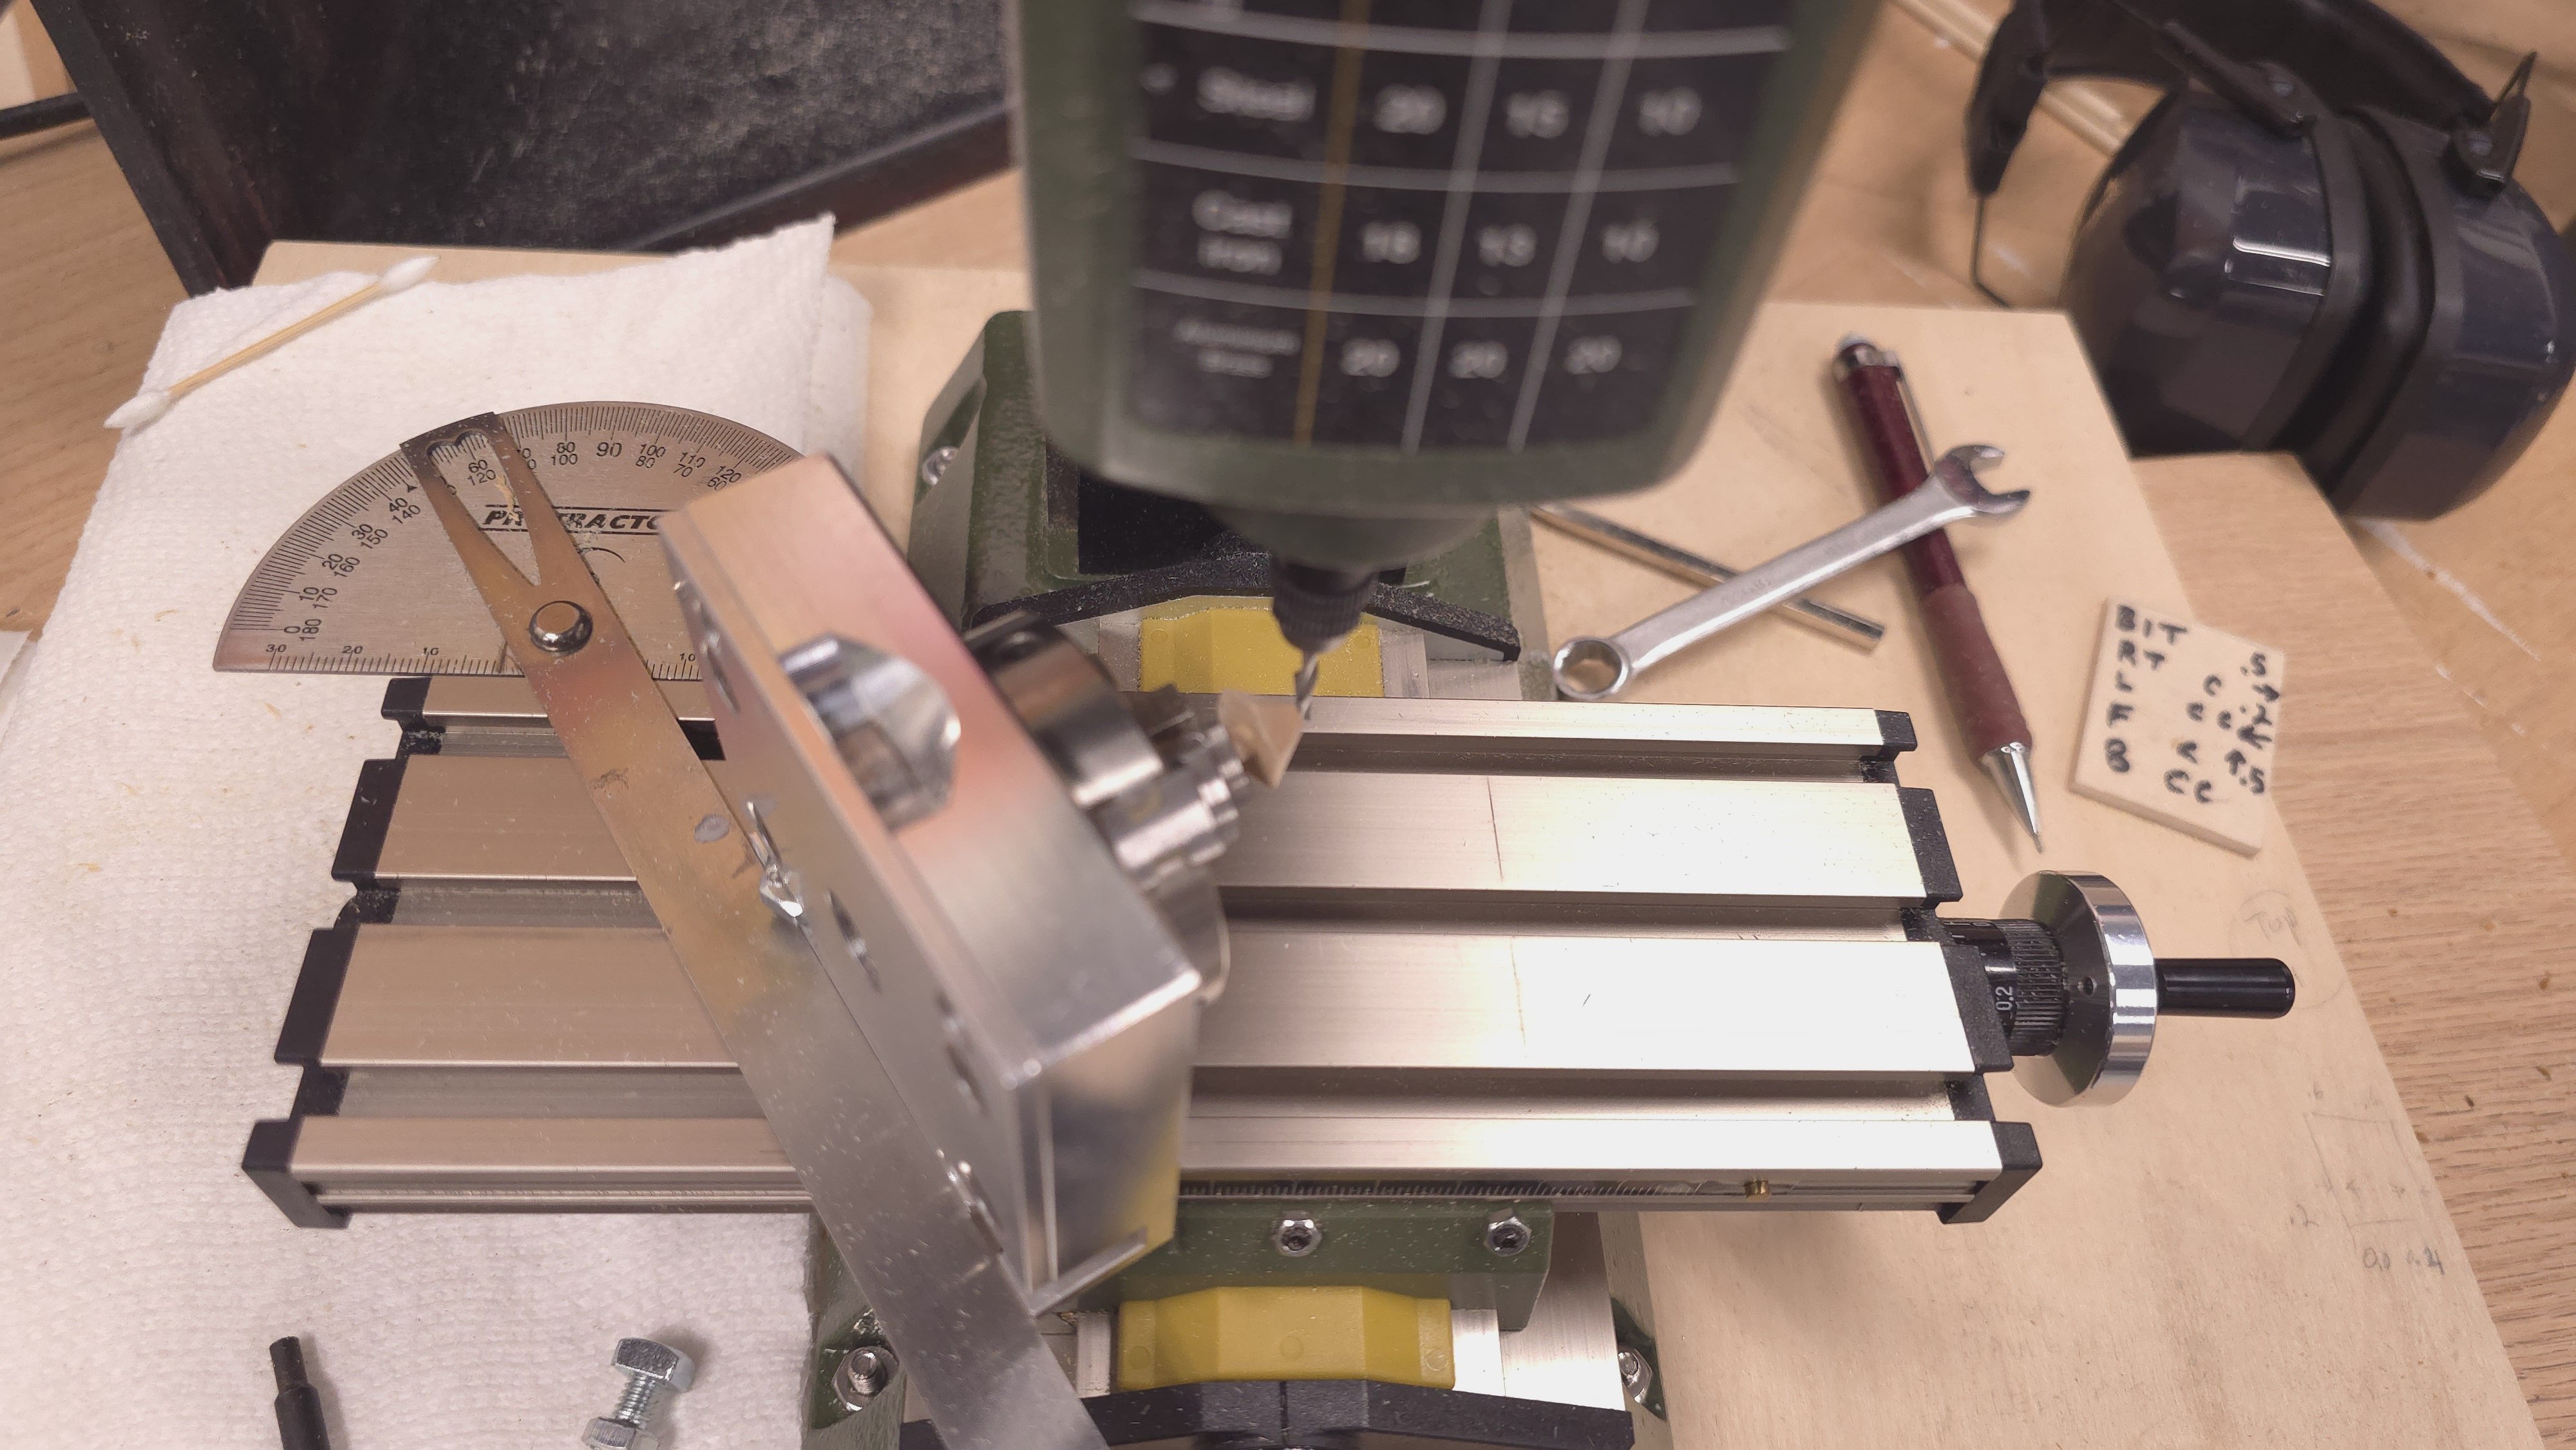
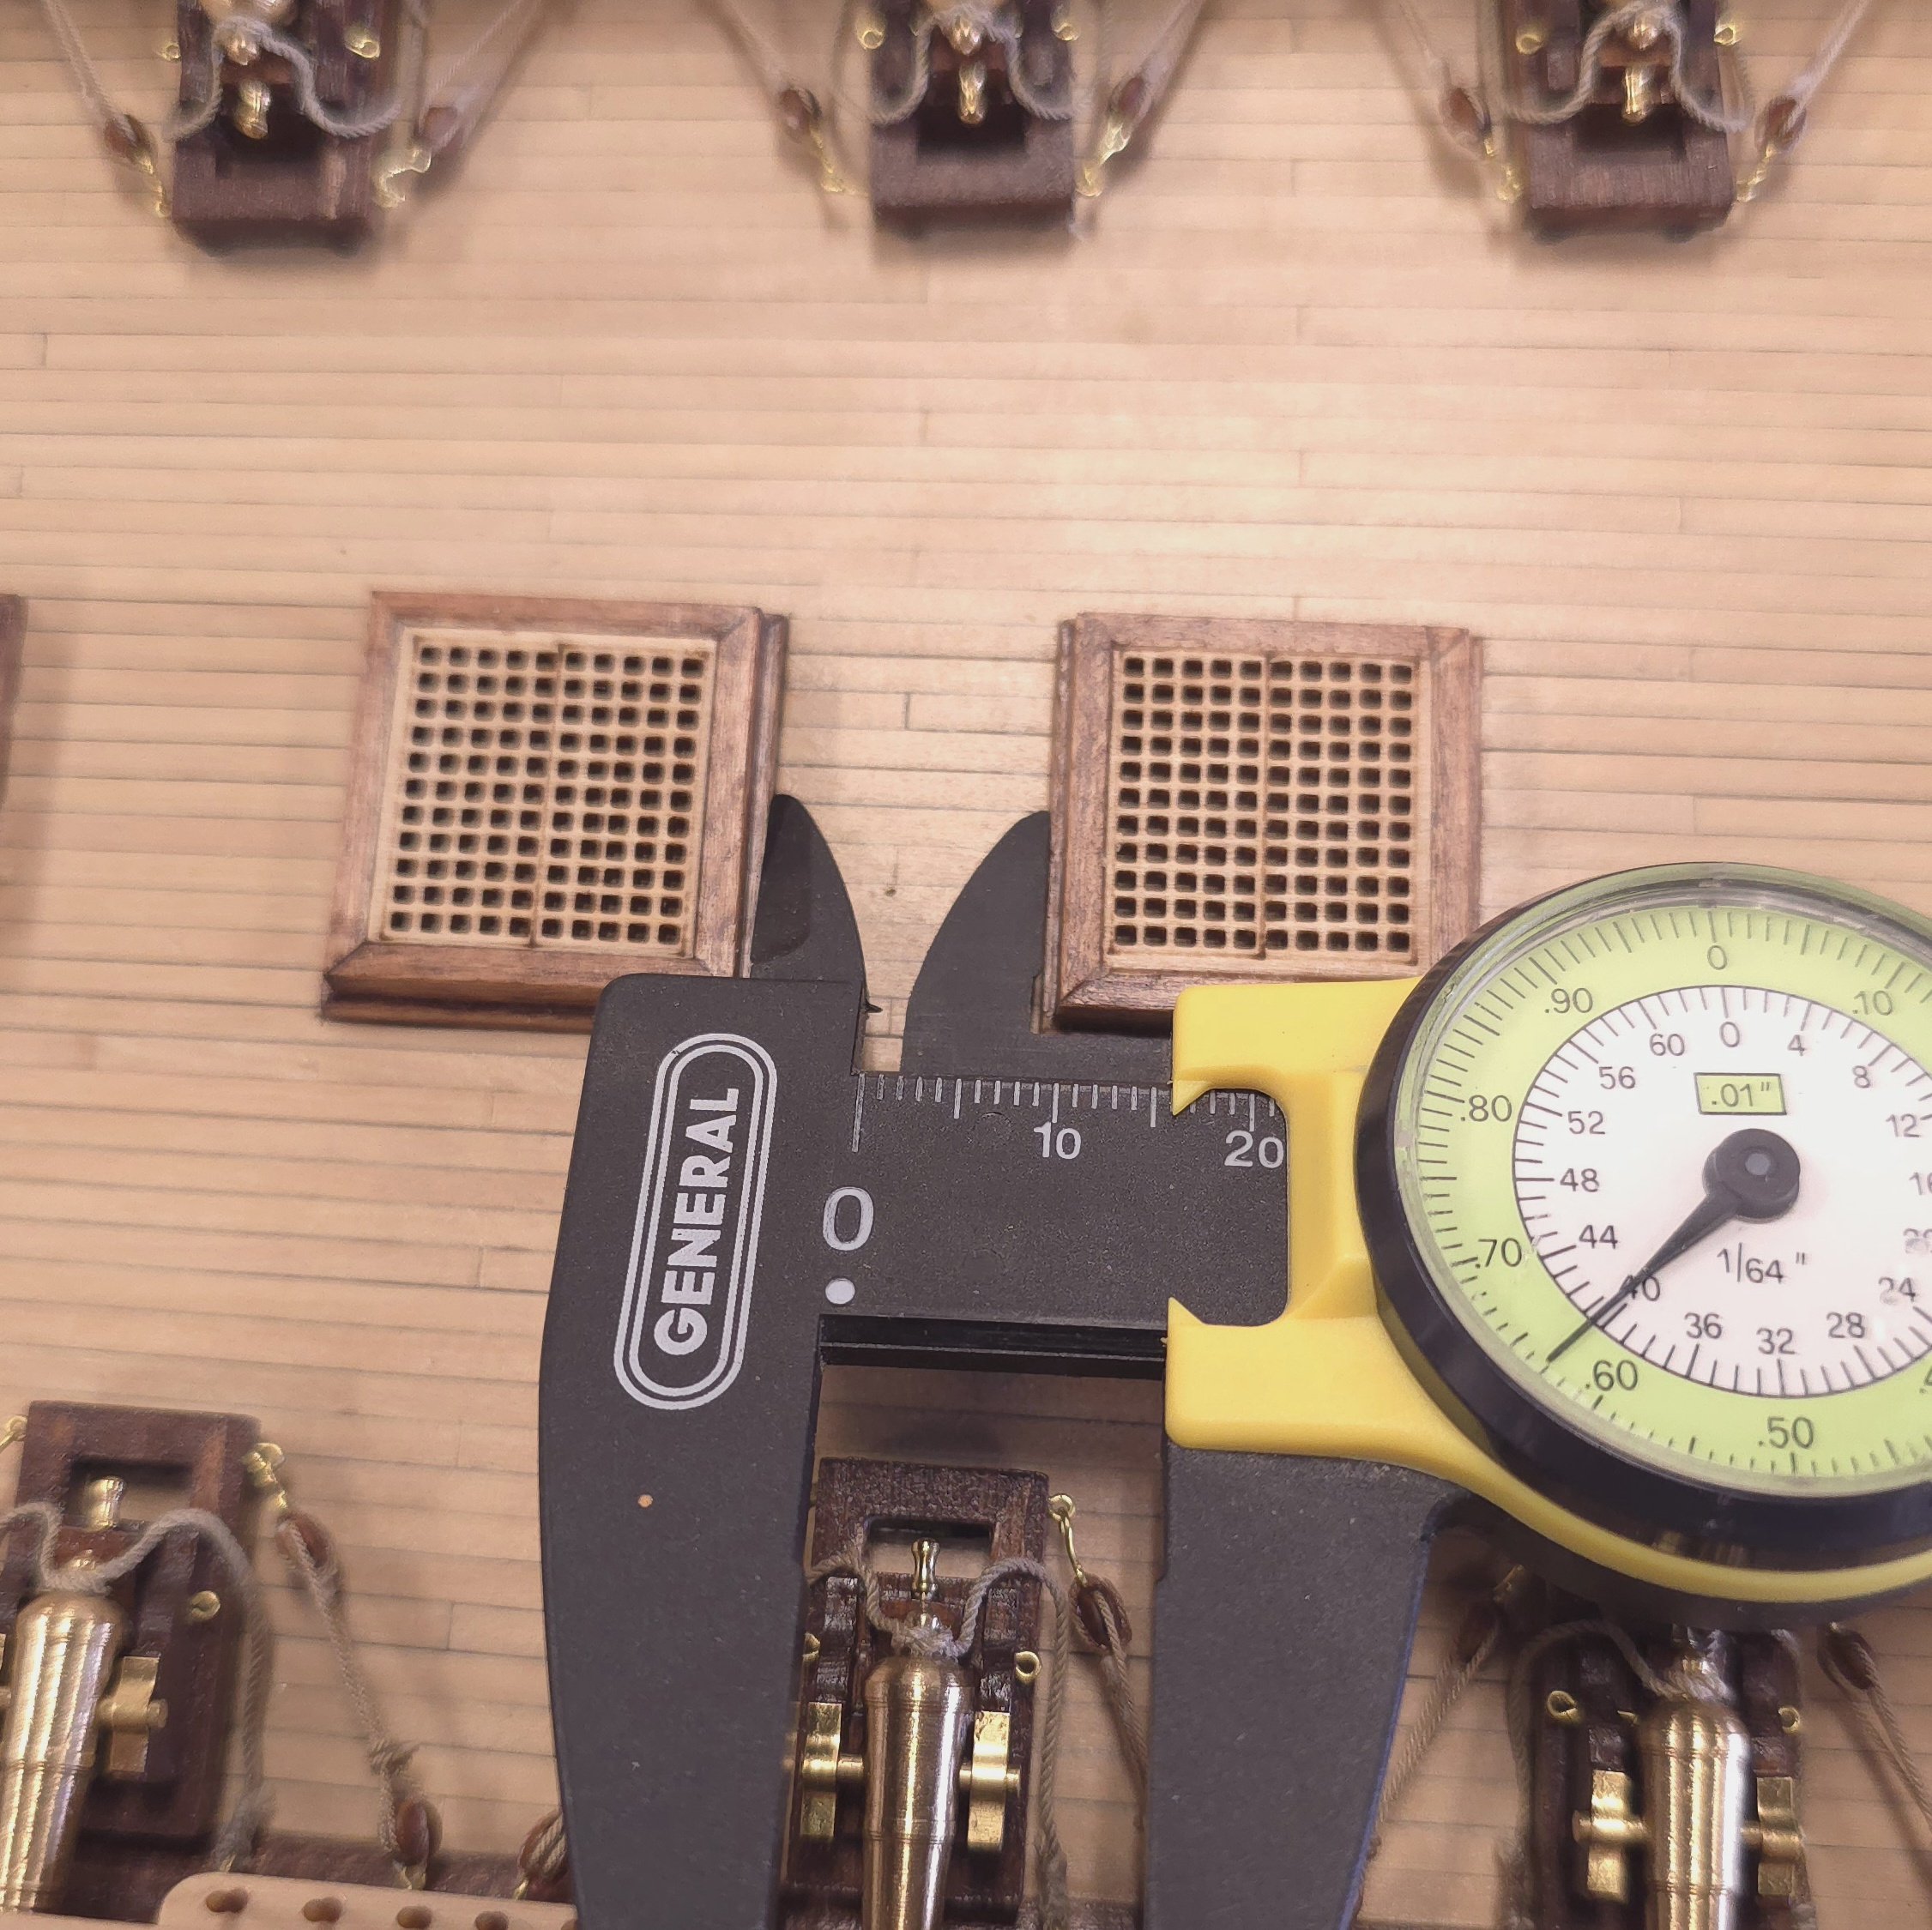
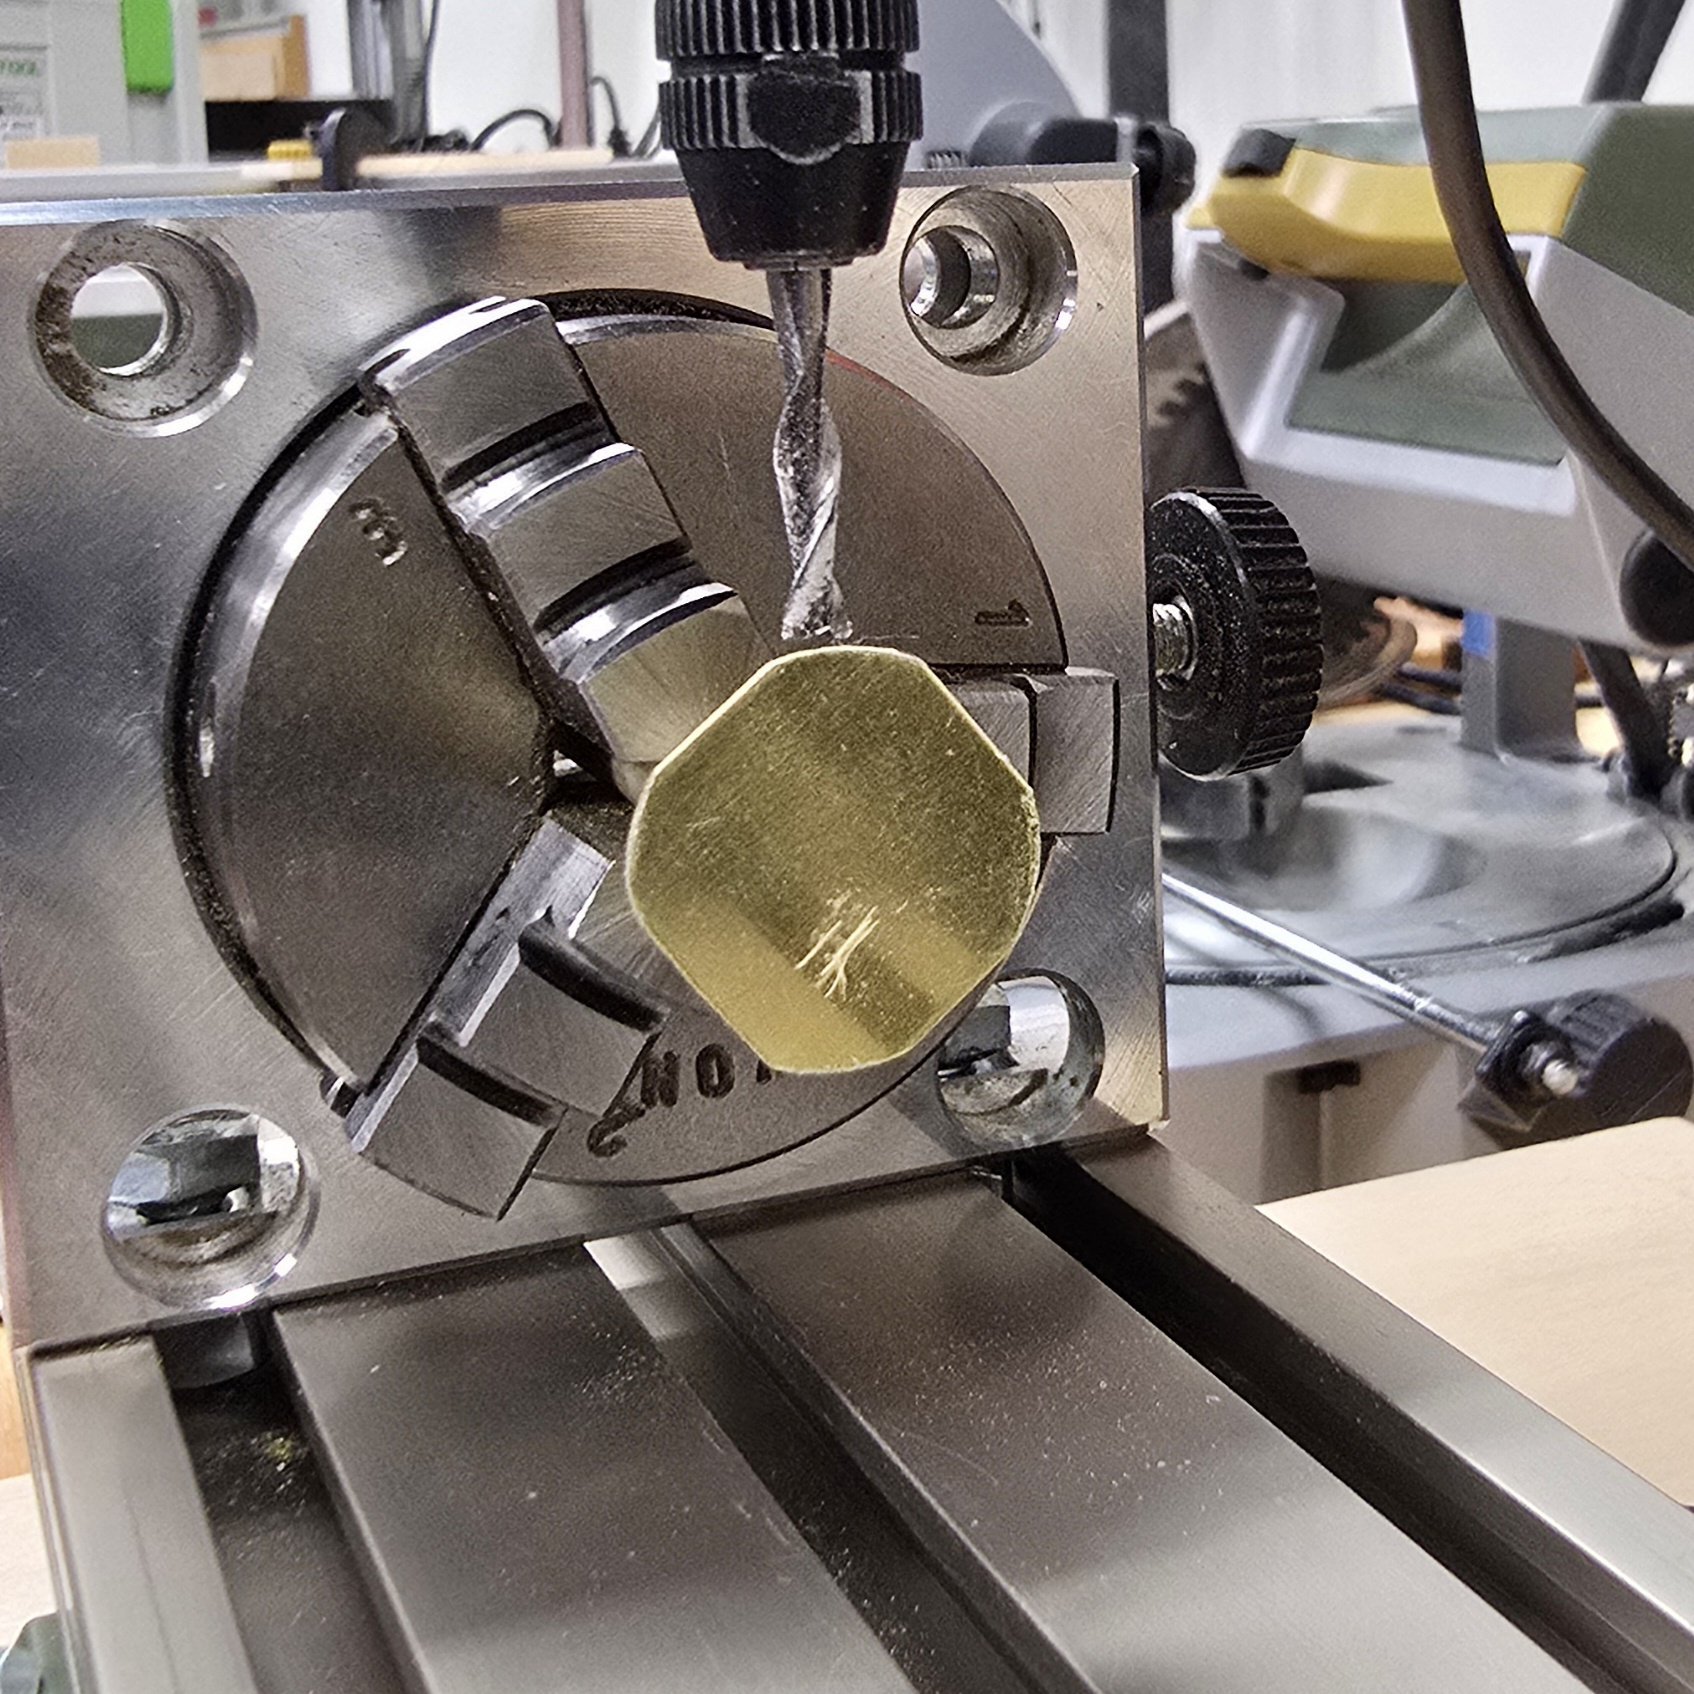
Oh snap! How on Earth did I miscalculate the distance between the two harches when I installed them on the spar deck? The gap between them is supposed to be 3/4 of an inch. I've got 5/8 tops. I'm glad I didn't cut off the excess dowel on the capstan. I can still mount the assembly on the lathe and reduce the diameters of the disks that comprise the base. Rather than unpack the lathe, yet again, I used the milling machine to reduce the diameters of the base - just enough to be able to squeeze the capstan into the gap. As long as I've had the milling machine going, I started work on the bottom half of the skylight. Gotta love the dividing attachment! I started by centering a dowel into a half inch square chunk of quarter inch boxwood. Then I worked myself from the outside in, rotating the dividing attachment 60° at a time, until I arrived at a width of 7/16" across the flats. Repositioning the attachment vertically, I carved out slots, flattened the points, then did some fine tuning to get 90-degree angles at the points.


-
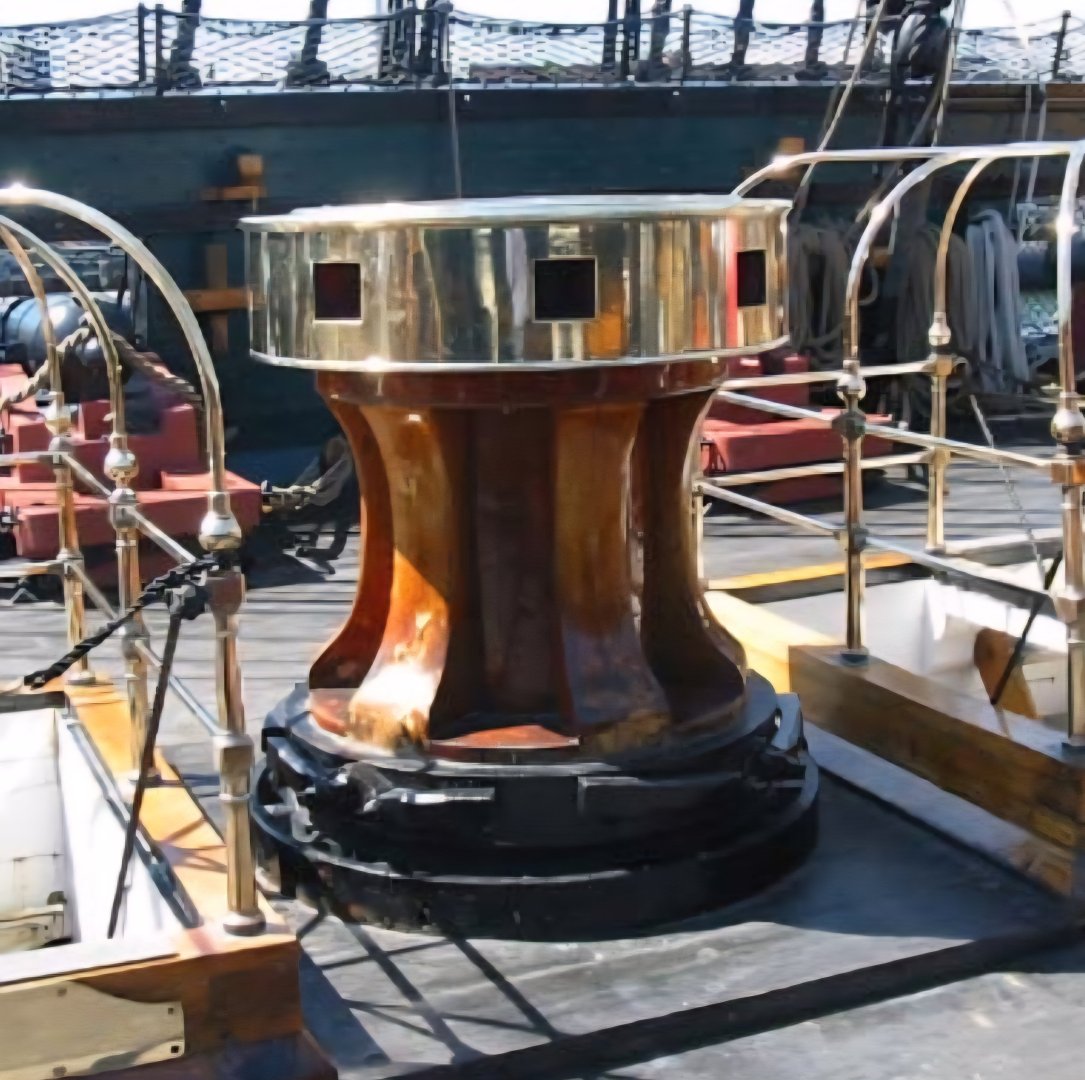
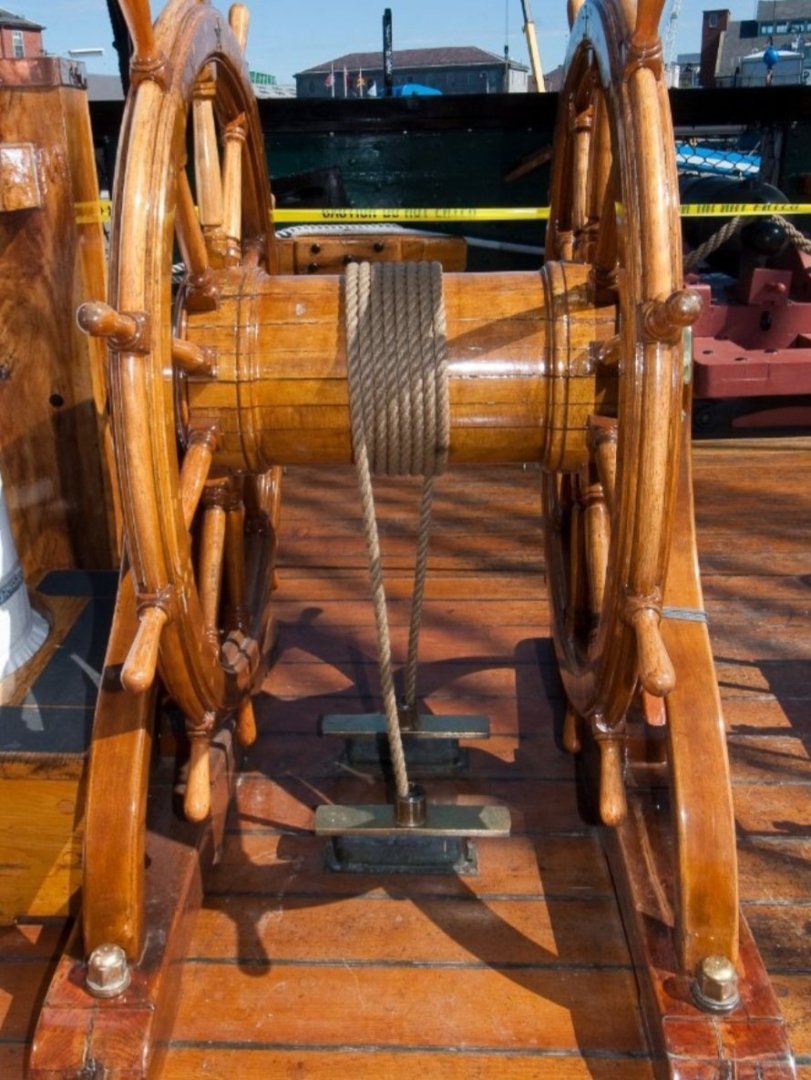
To say nothing of the fact the binnacle is completely different than in any other photos I've seen. I noted also that the star on the wheel support is not shiny polished brass. Making me think I may skip the task of making a pair from scratch. Thanks for sharing the photo!
-
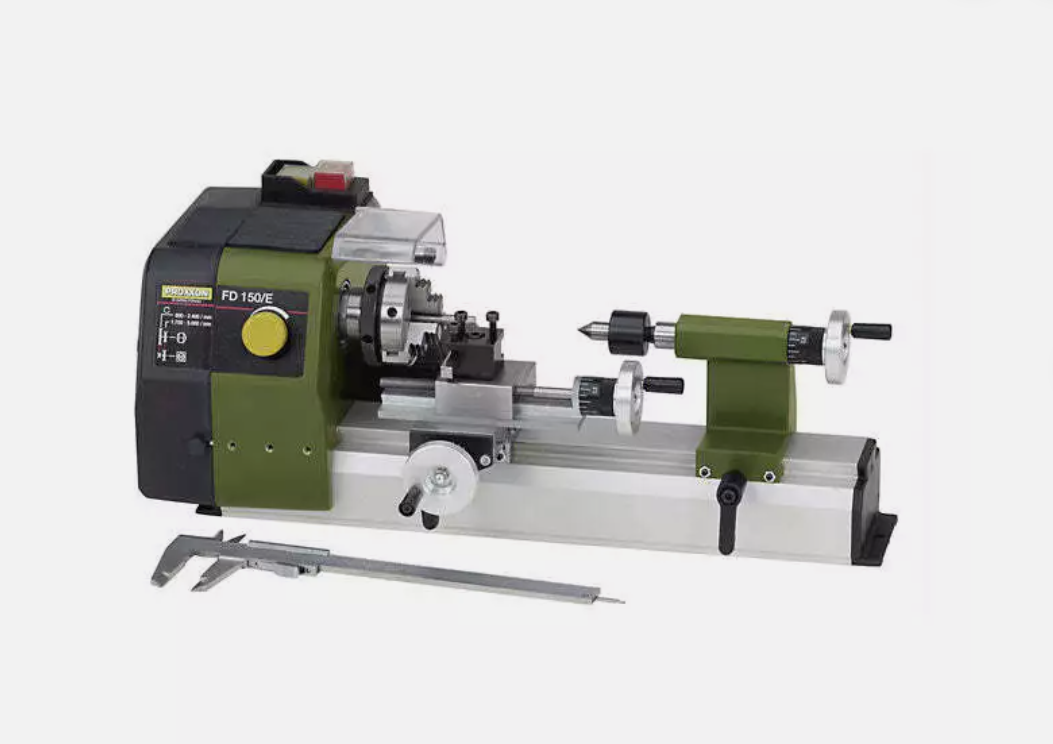
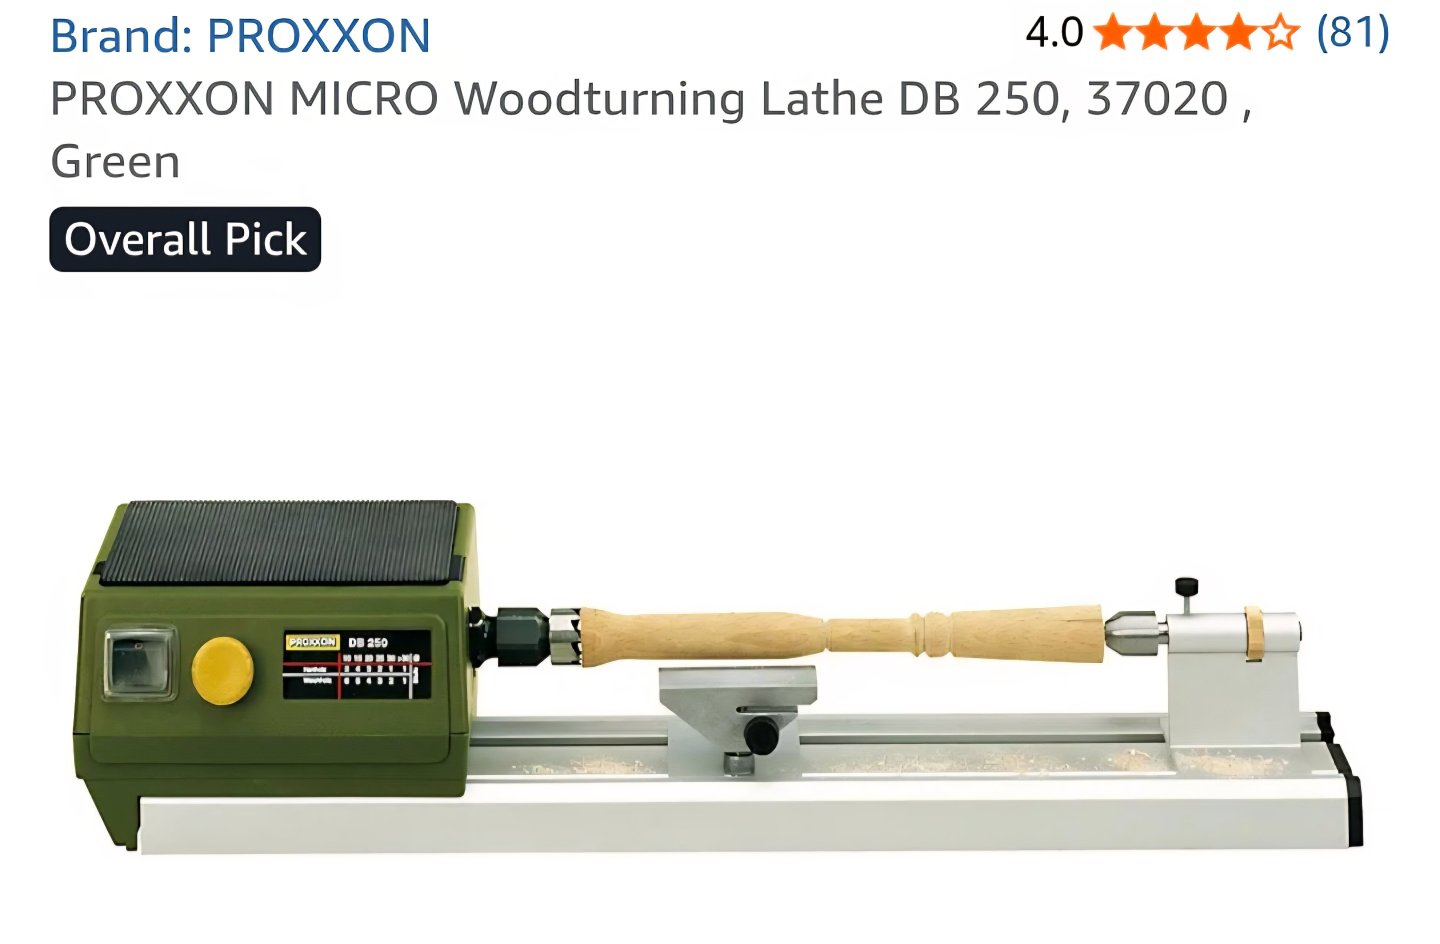
I think the lathe will really pay off when it comes time to taper the spars. Be aware though that you'll probably want to also purchase chucks for the lathe, and these aren't cheap. The DB 250 doesn't come with them. In retrospect, I might have been better off spending just a few more dollars and gotten the FD 150 instead, which seems to include the chuck and has indexed feed controls, which would be better for working with metal rods. FYI, the three jaw chuck that Proxxon sells for the lathe LOOKs to be the same as the one that's part of the dividing attachment for the mill. It is not! I thought I could spare myself the cost of the the second chuck, but noooooo.
-
Ha! Sorry, no. I was referring to the extra layer of decking on the spar deck, at the mizzen mast, on top of which the wheel resides, at least according the the MS plans and the Bob Hunt Practicum. I took my lead from XKen, and opted to omit this "feature". I'm still a few weeks from starting the masts and "fighting tops" you so thoughtfully provided photos of. First, I have to populate the spar deck with sundry furniture and fixtures, then on to the channels and chain plates. (I can't wait to see how Mustafa tackles those).
-
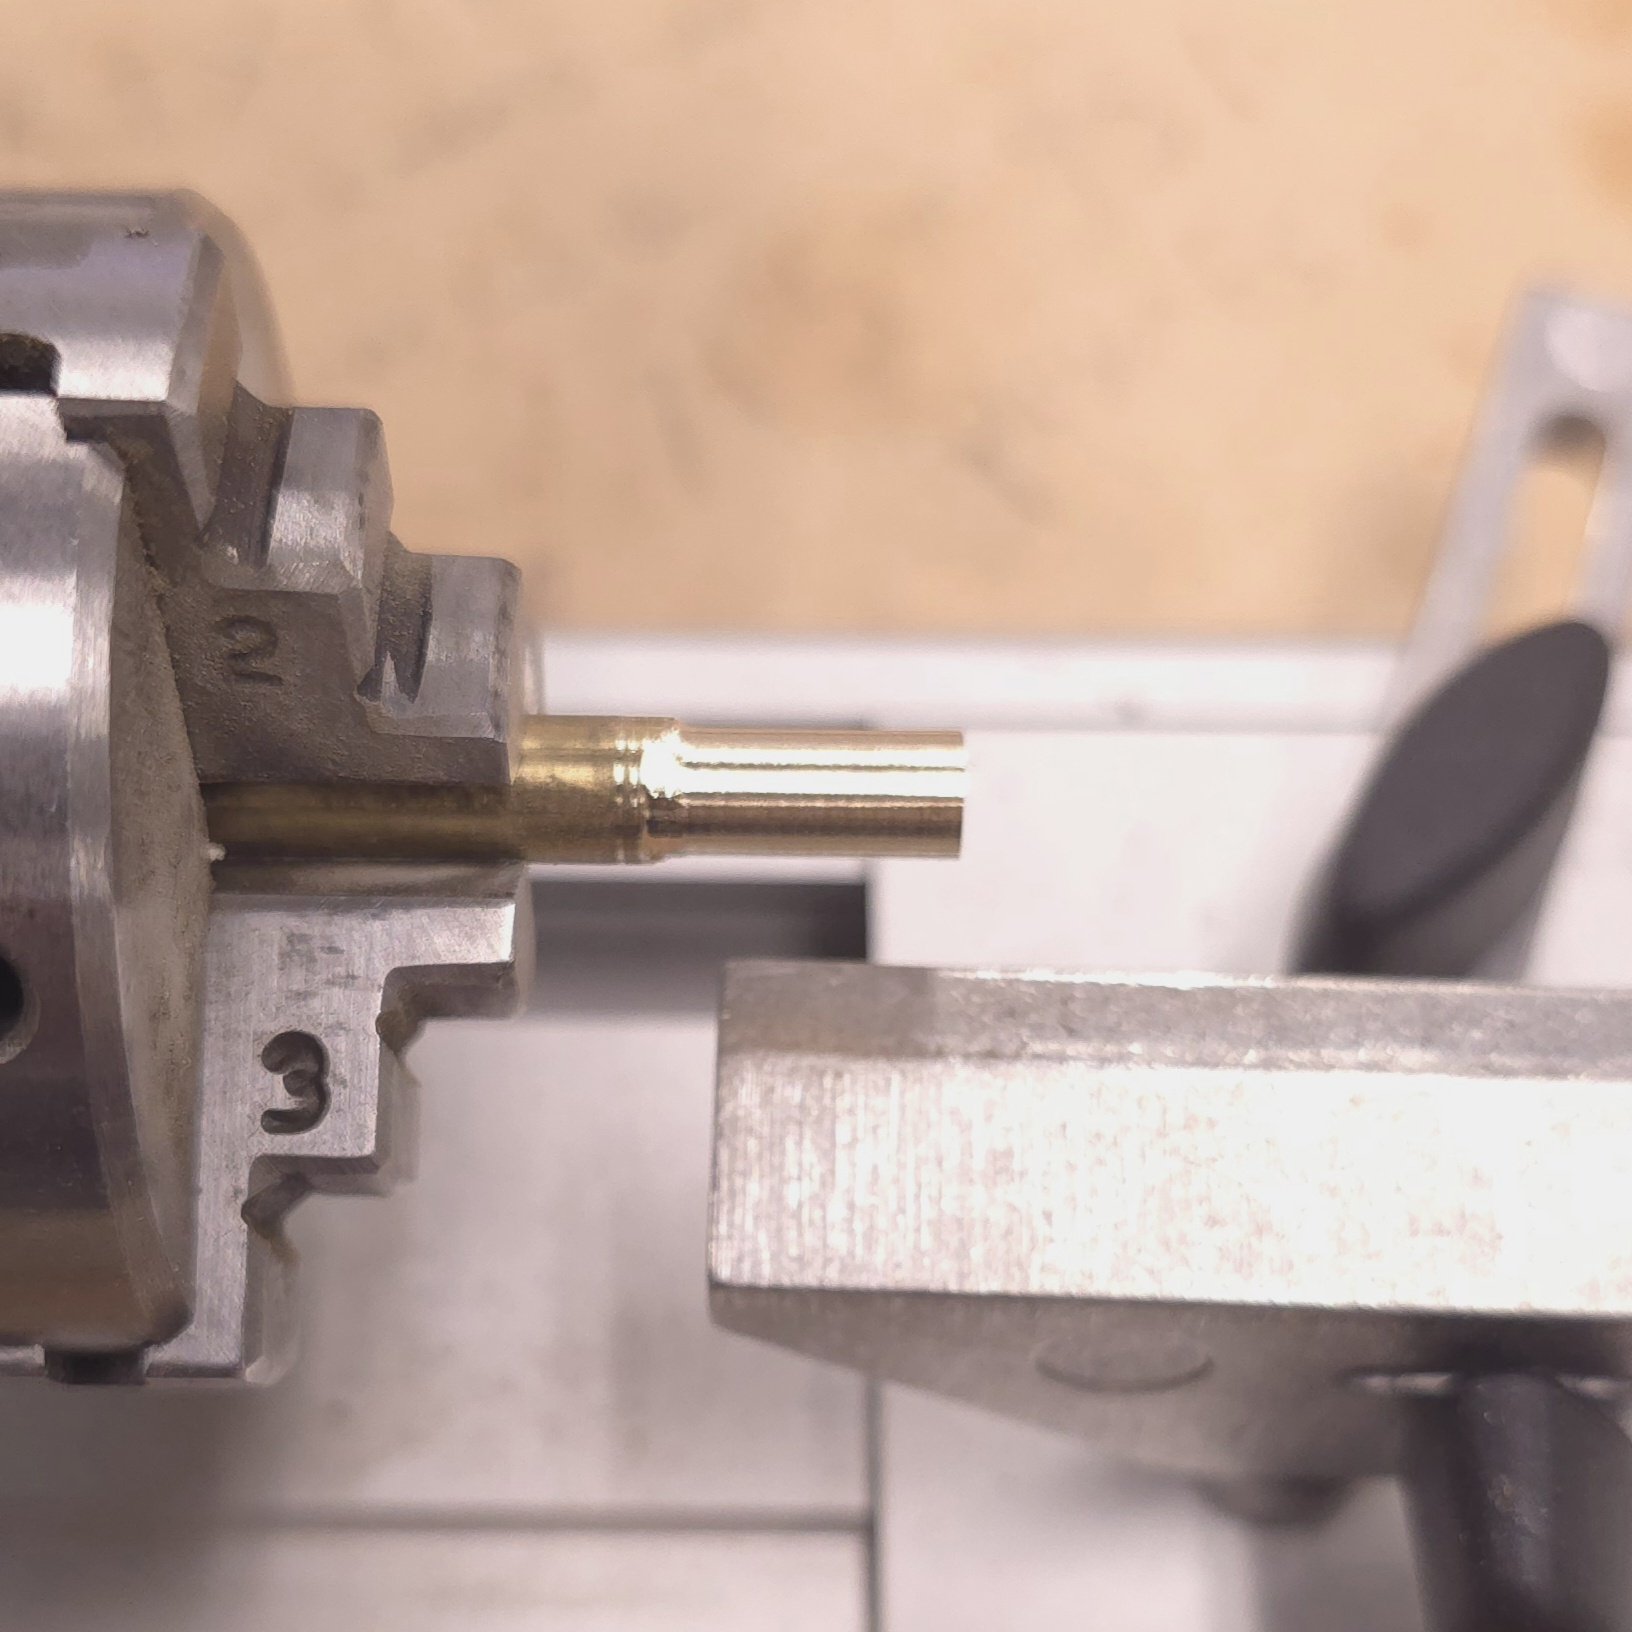
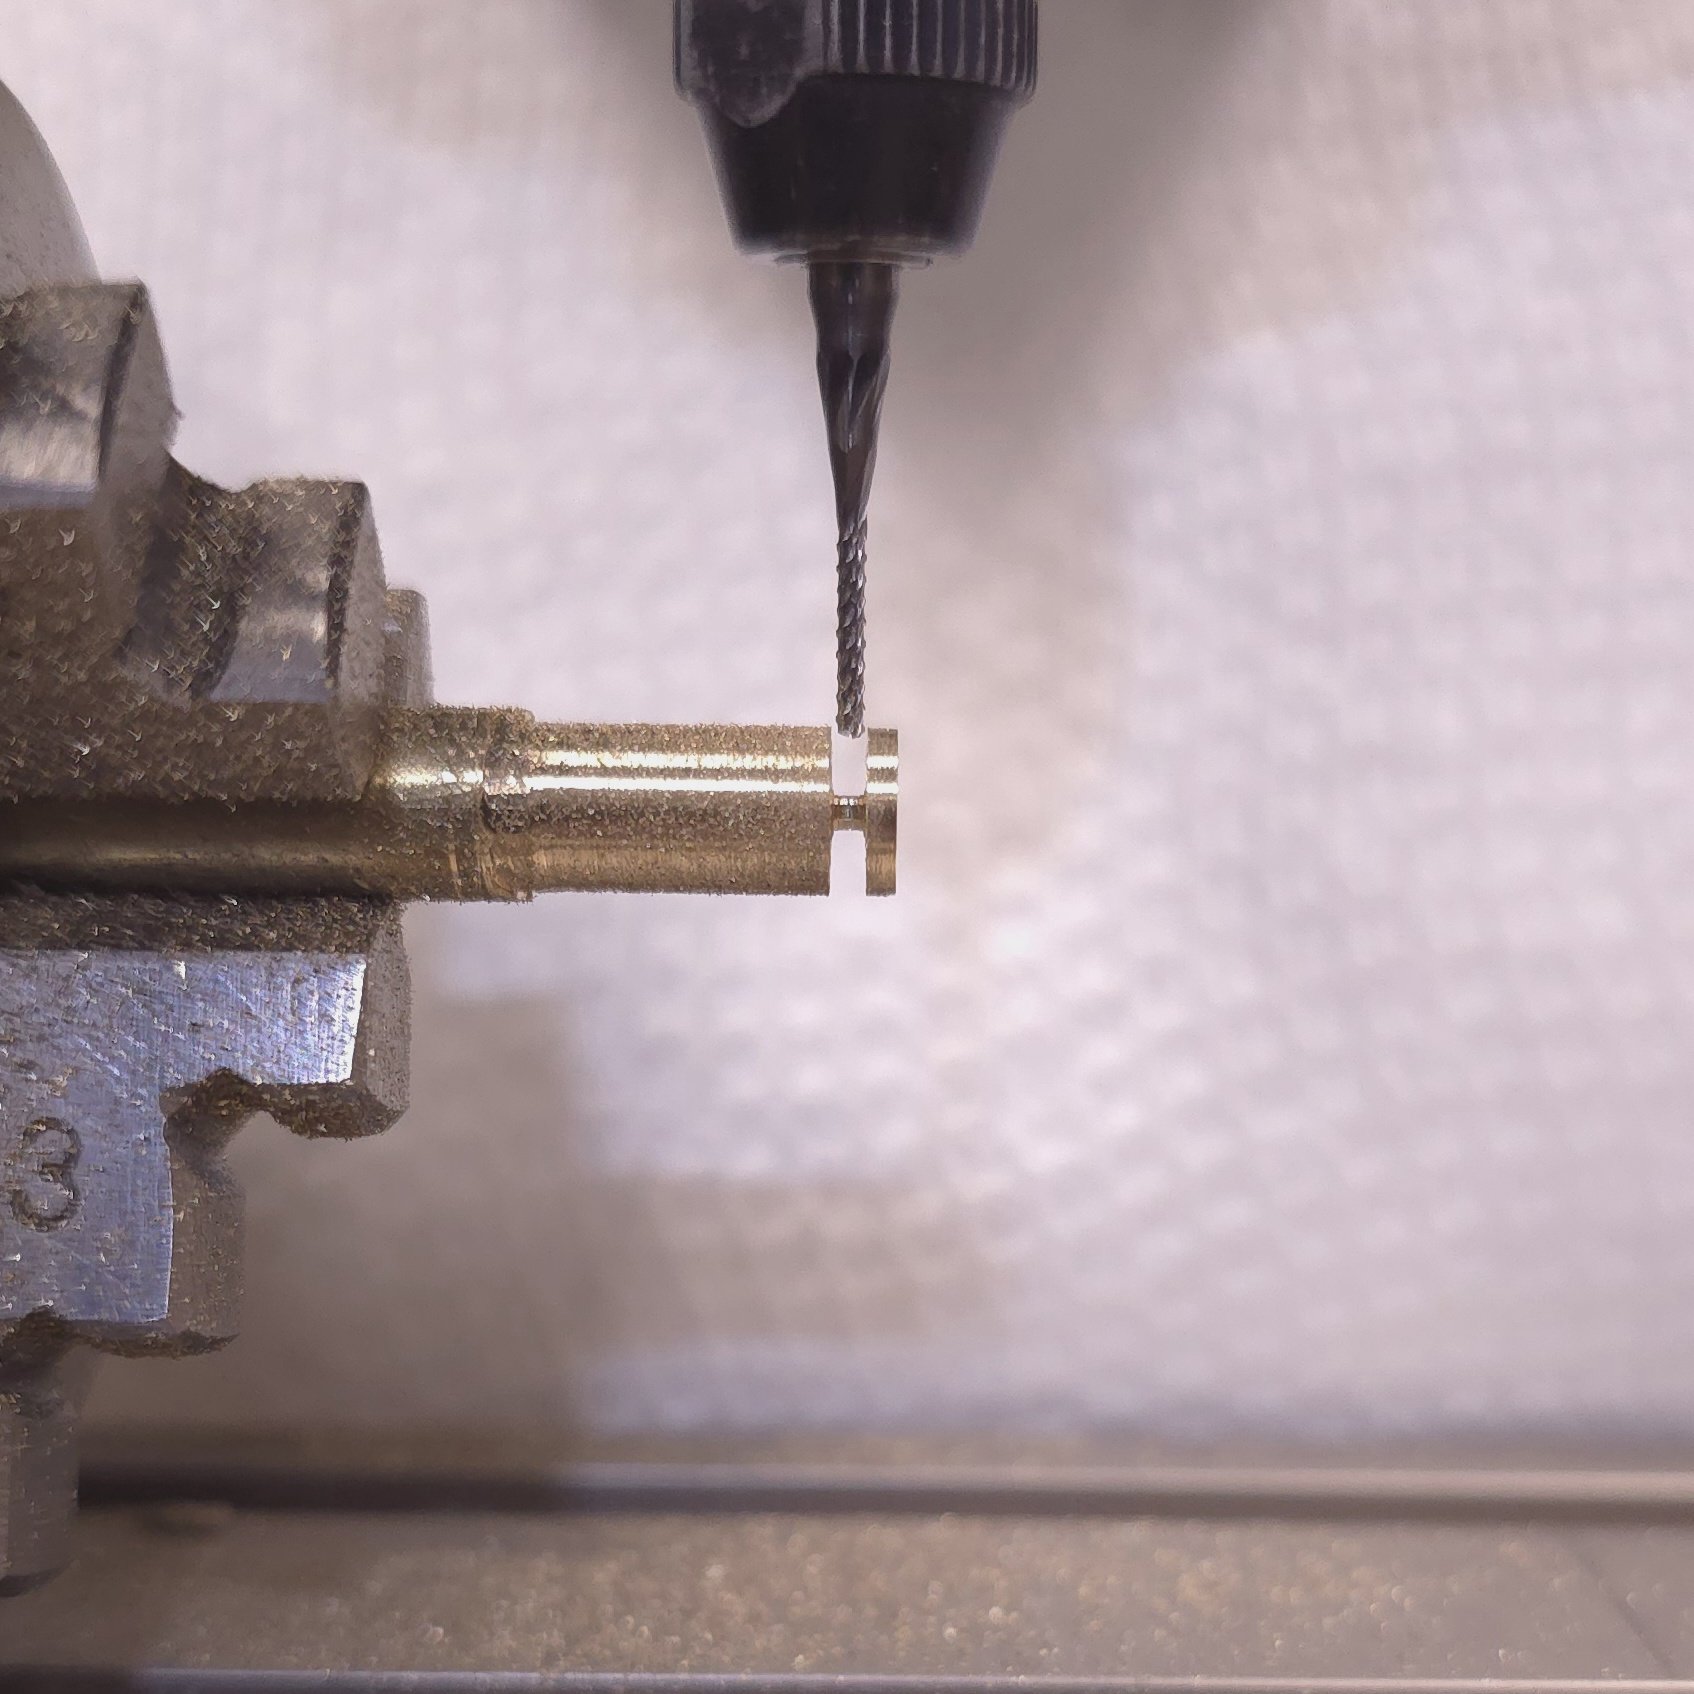
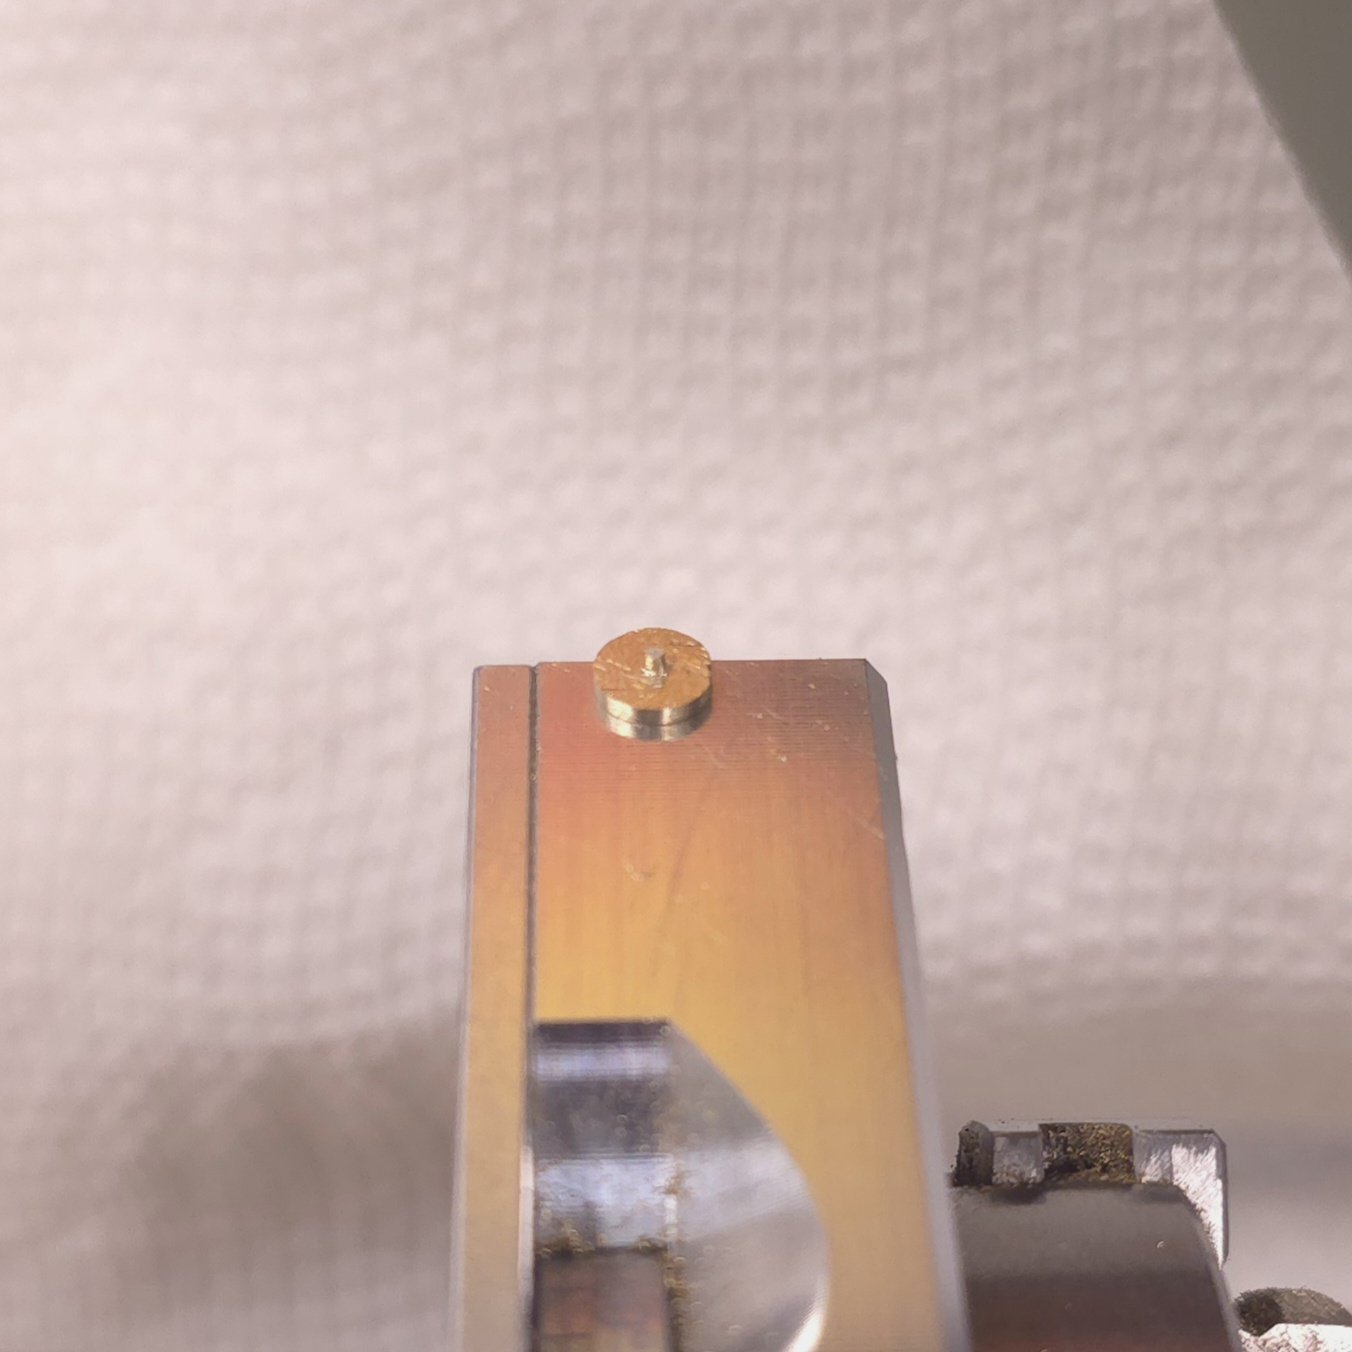
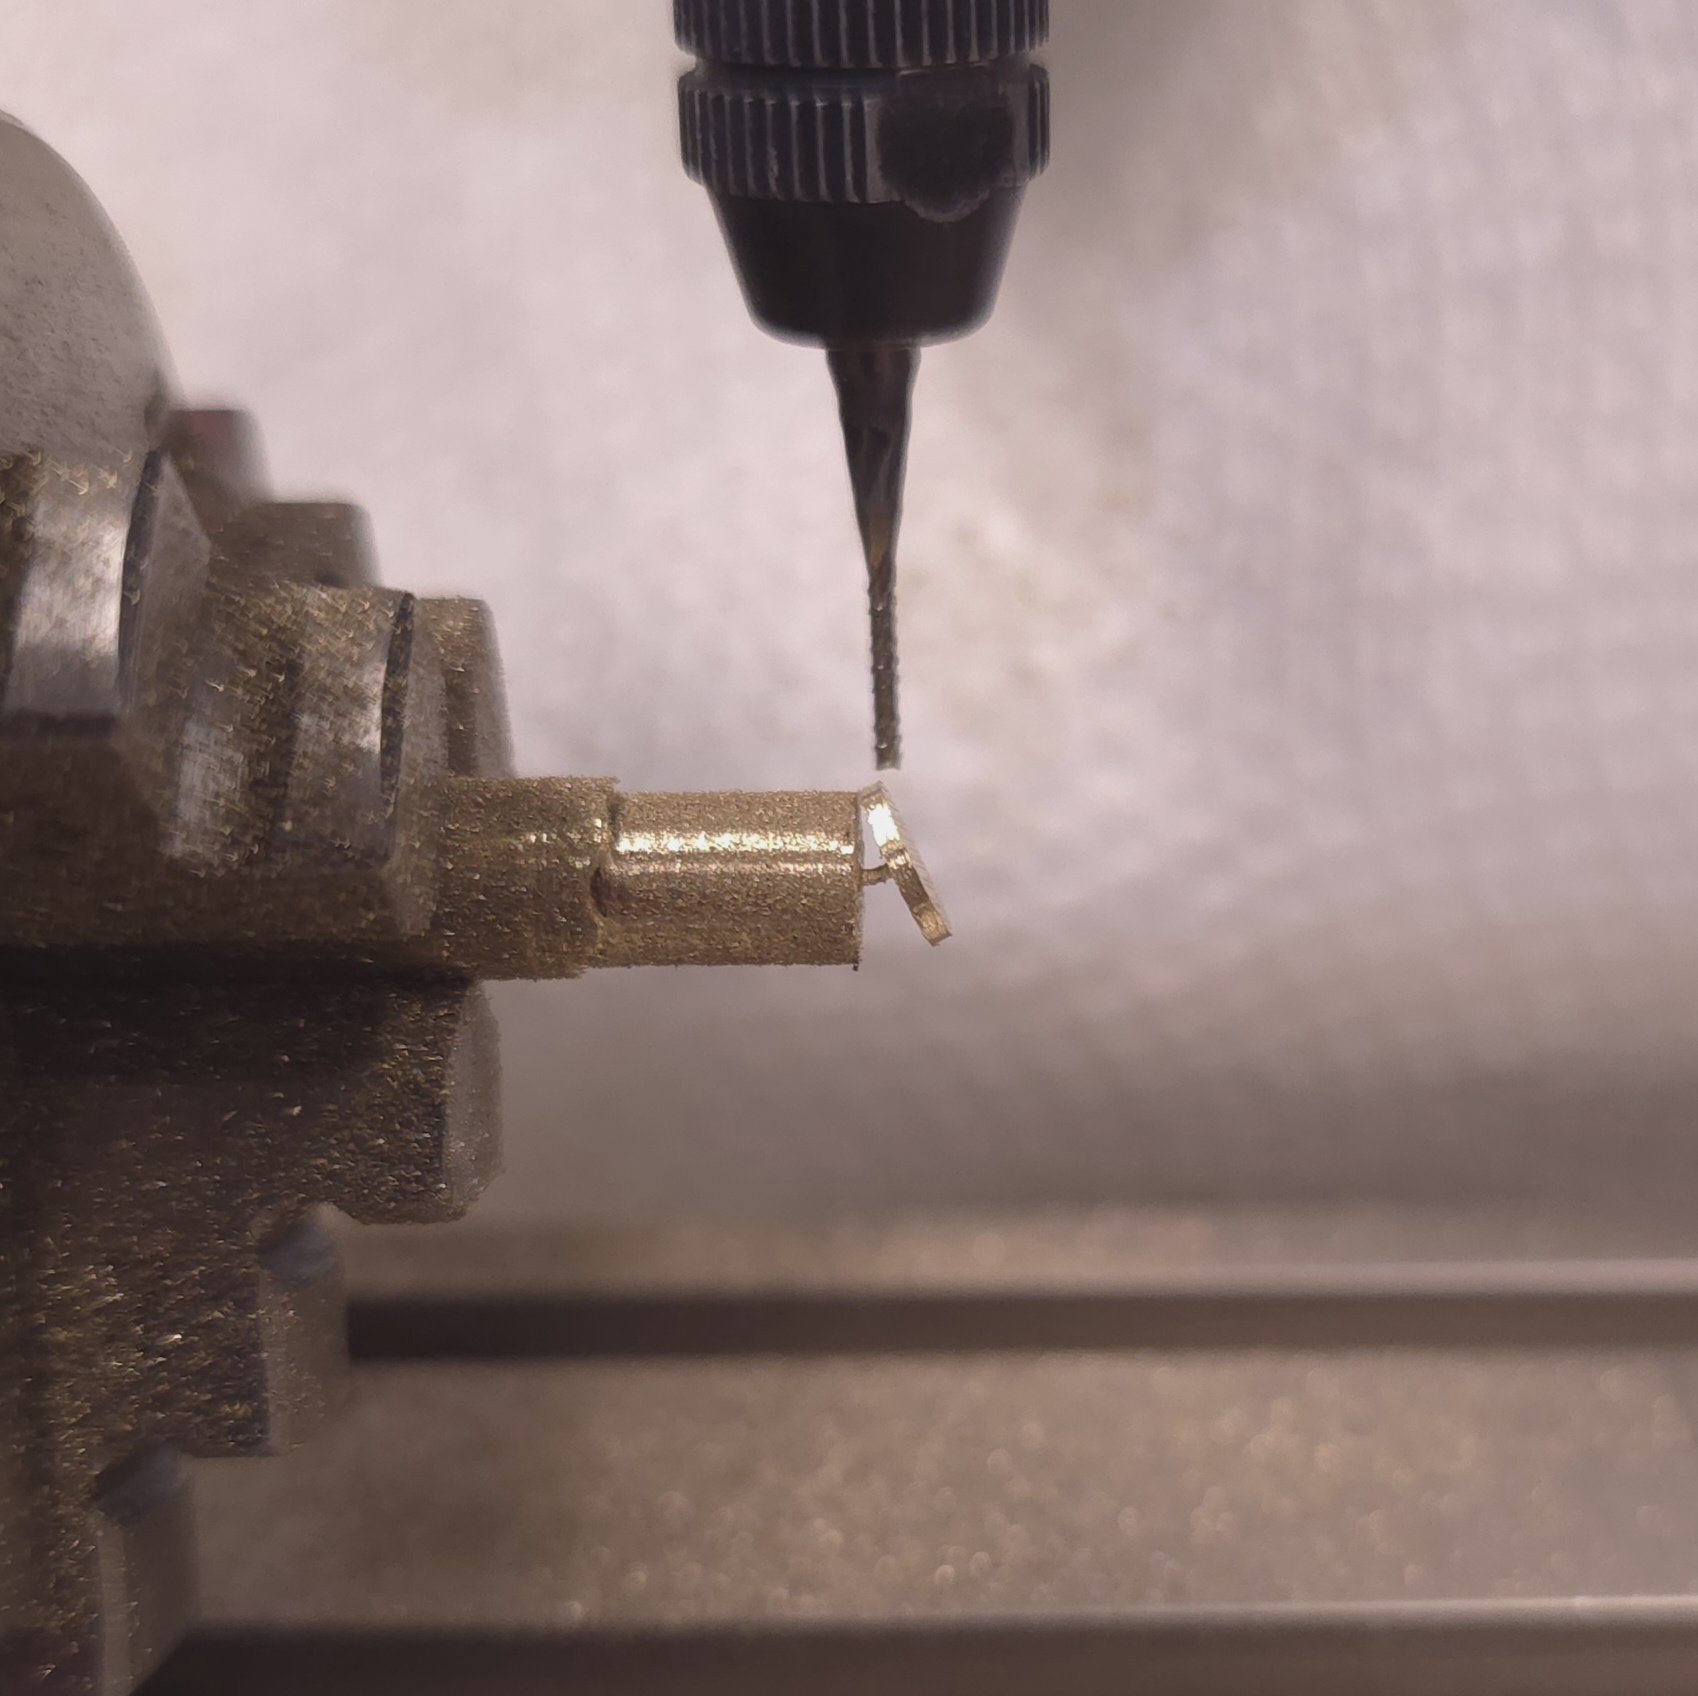
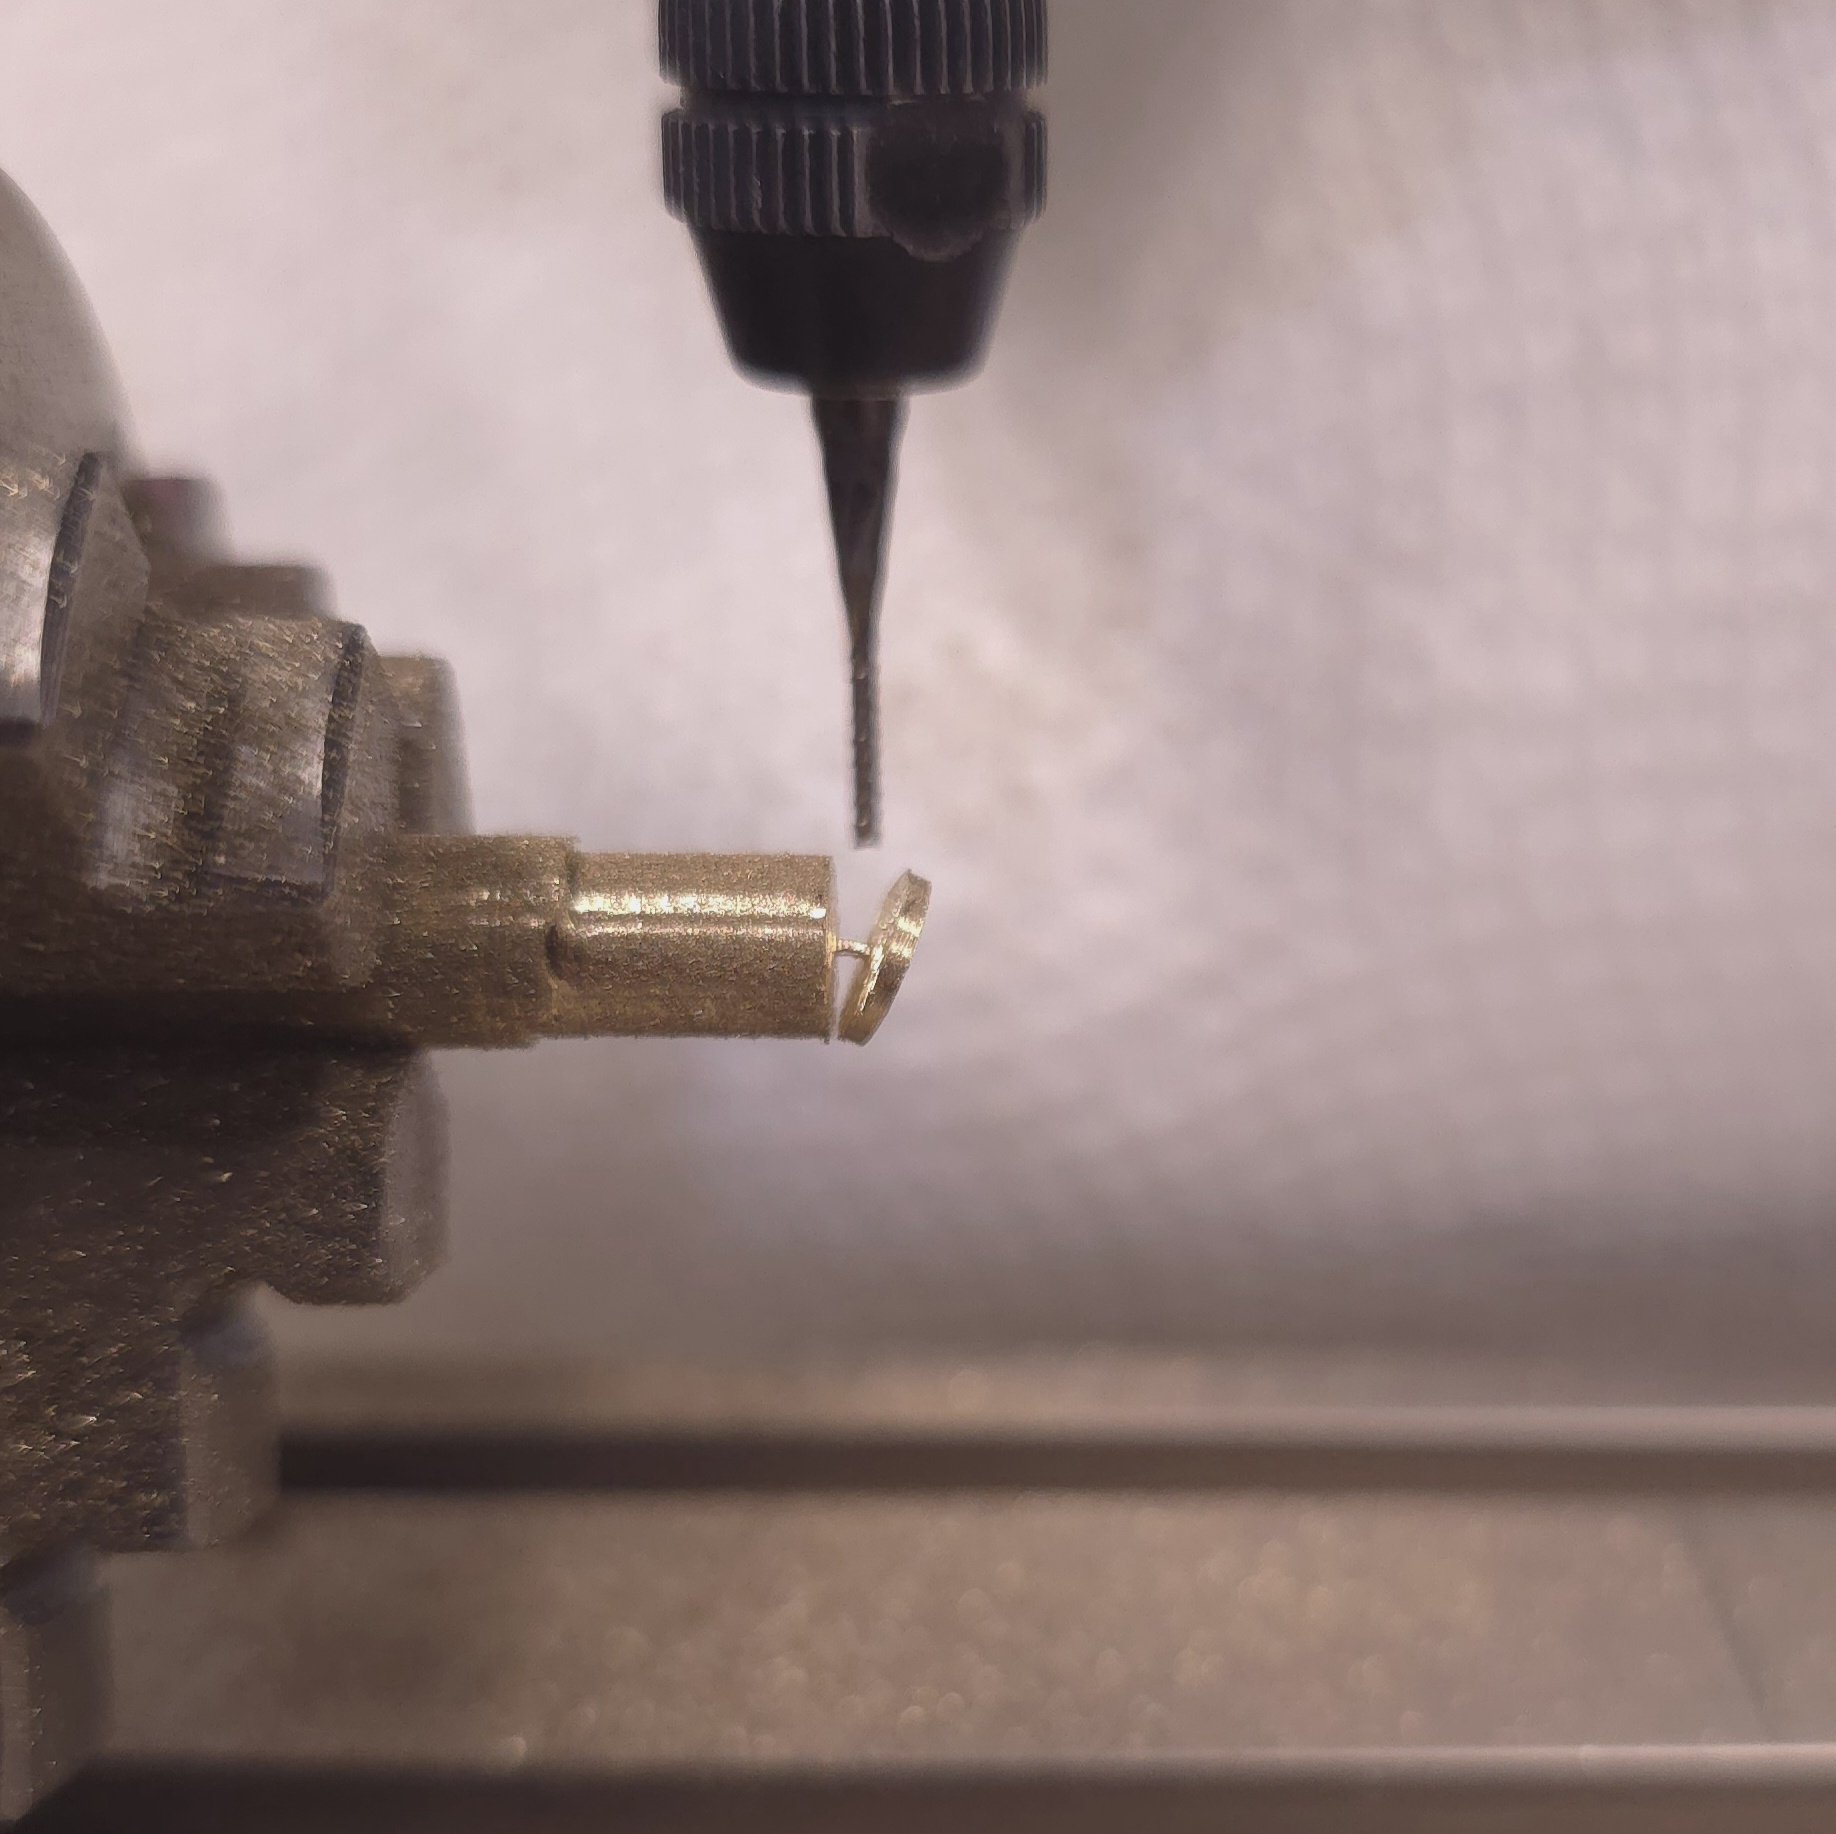
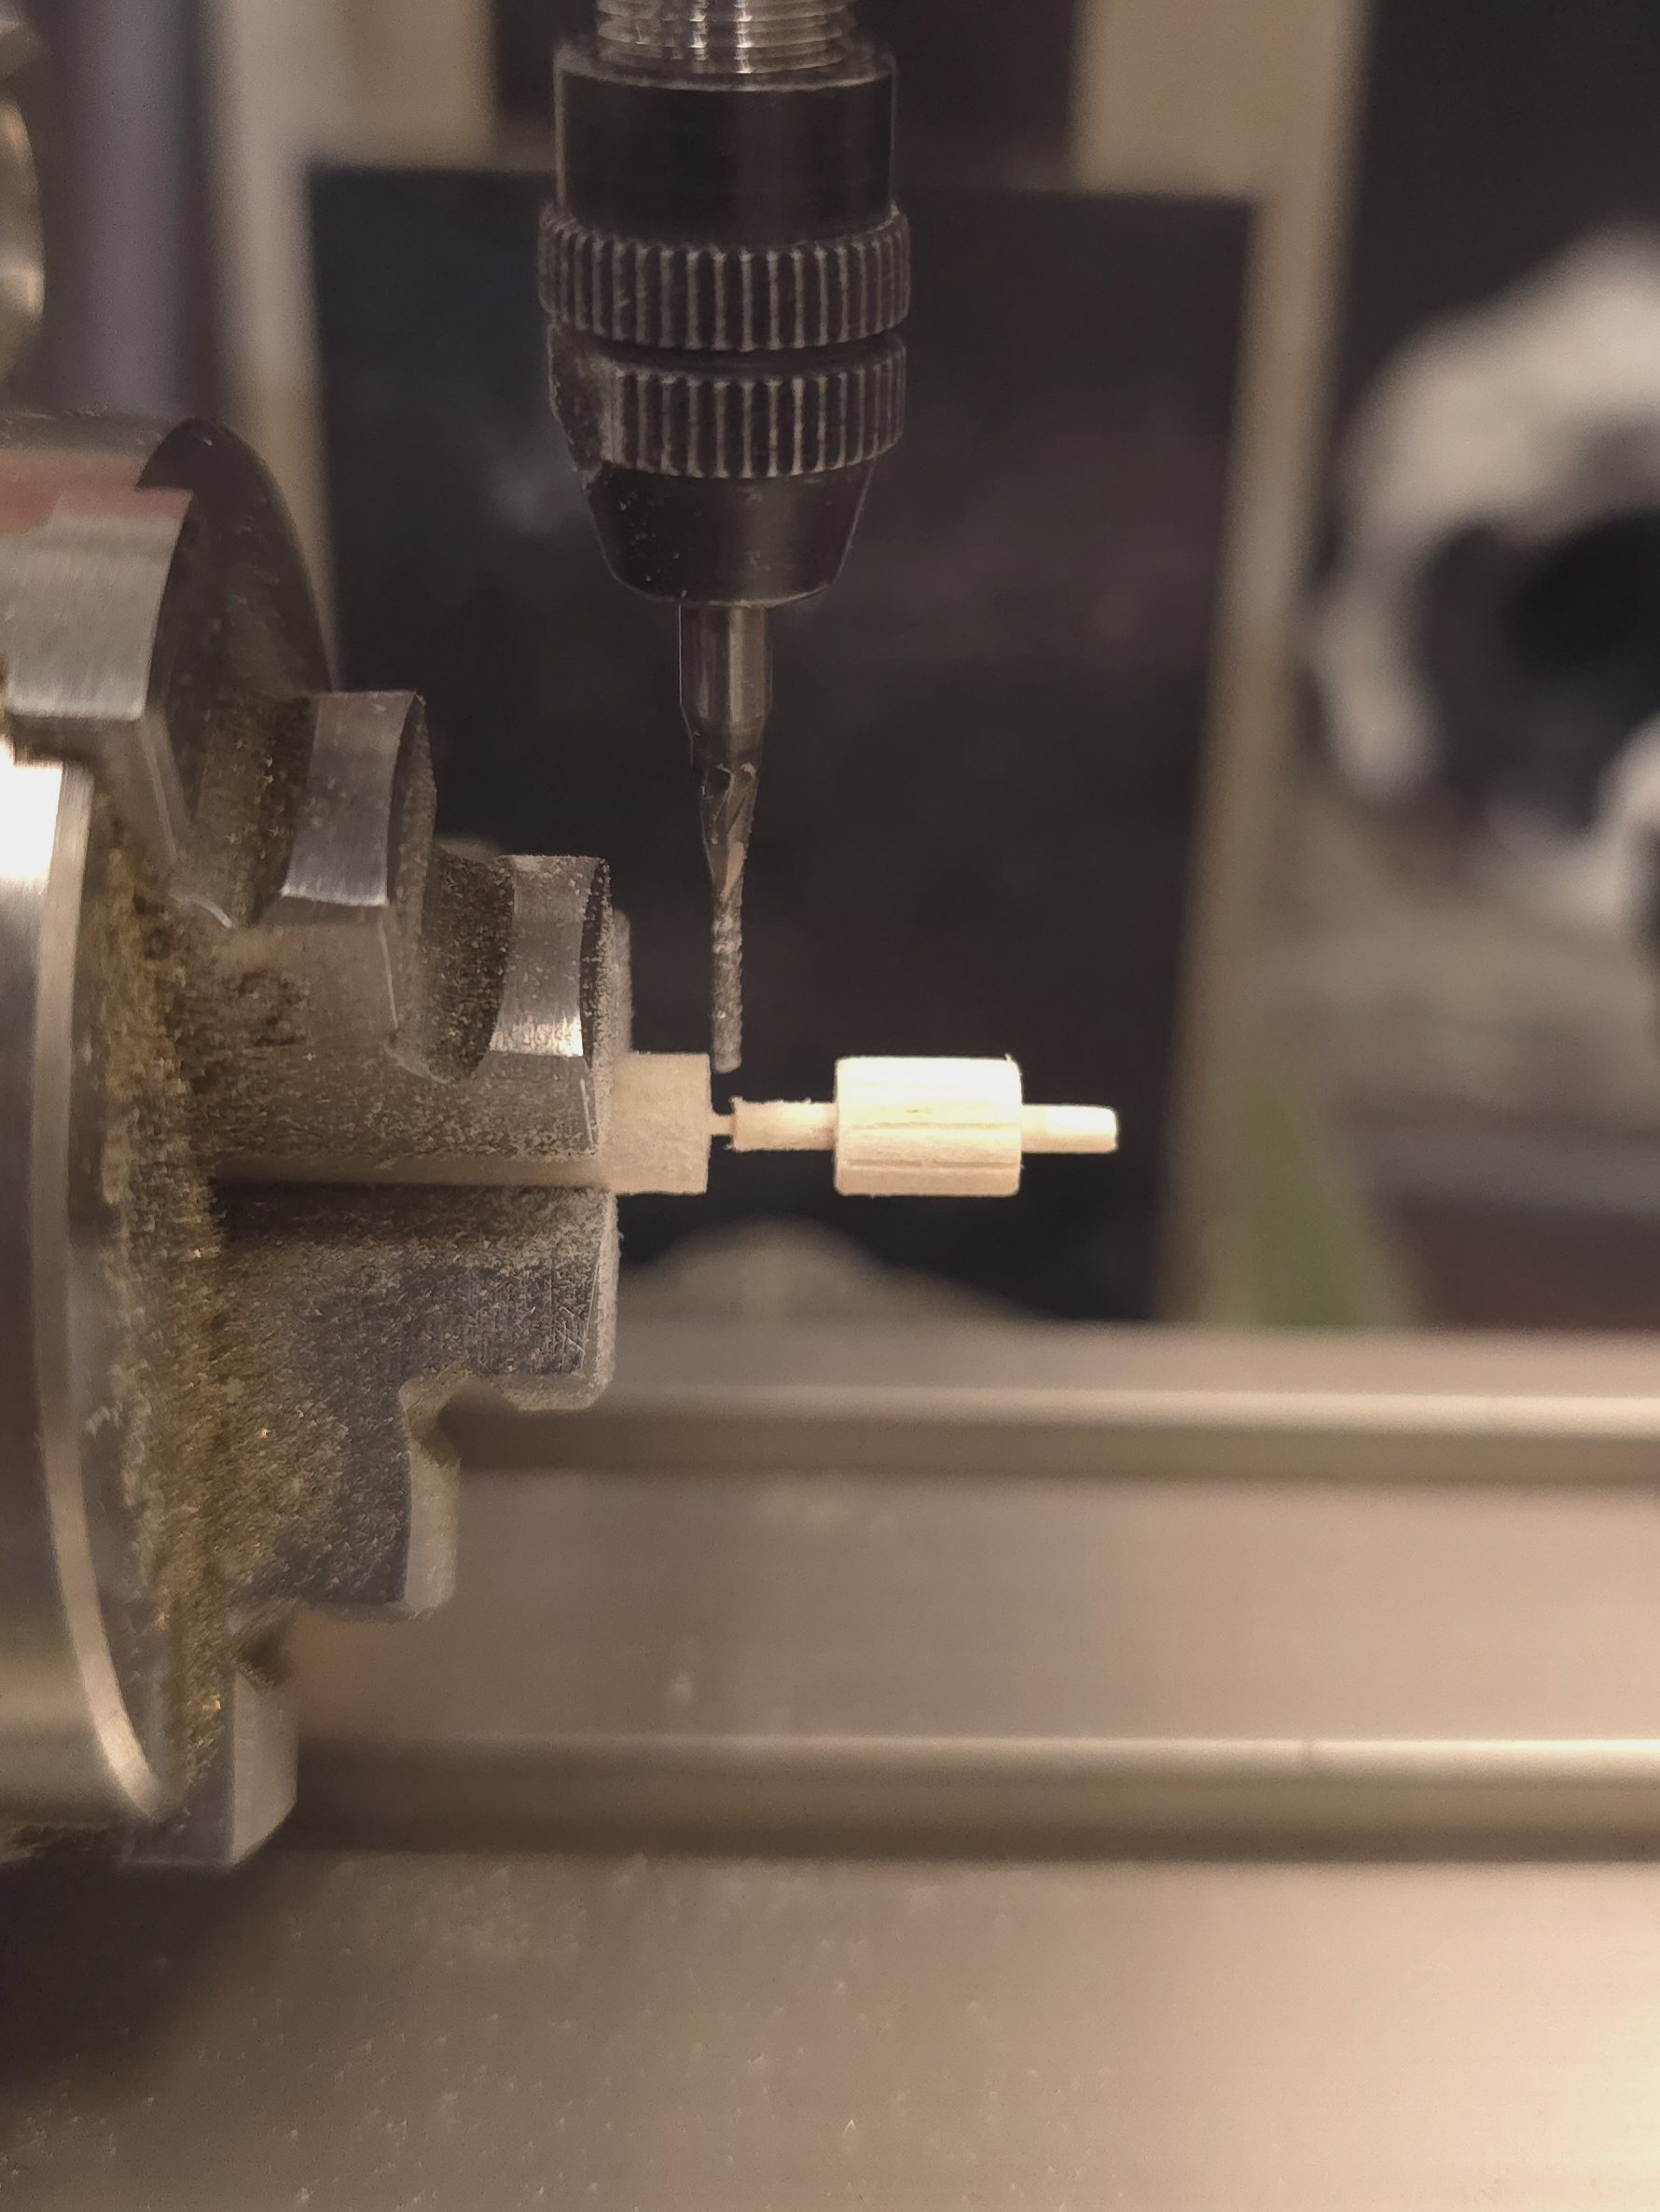
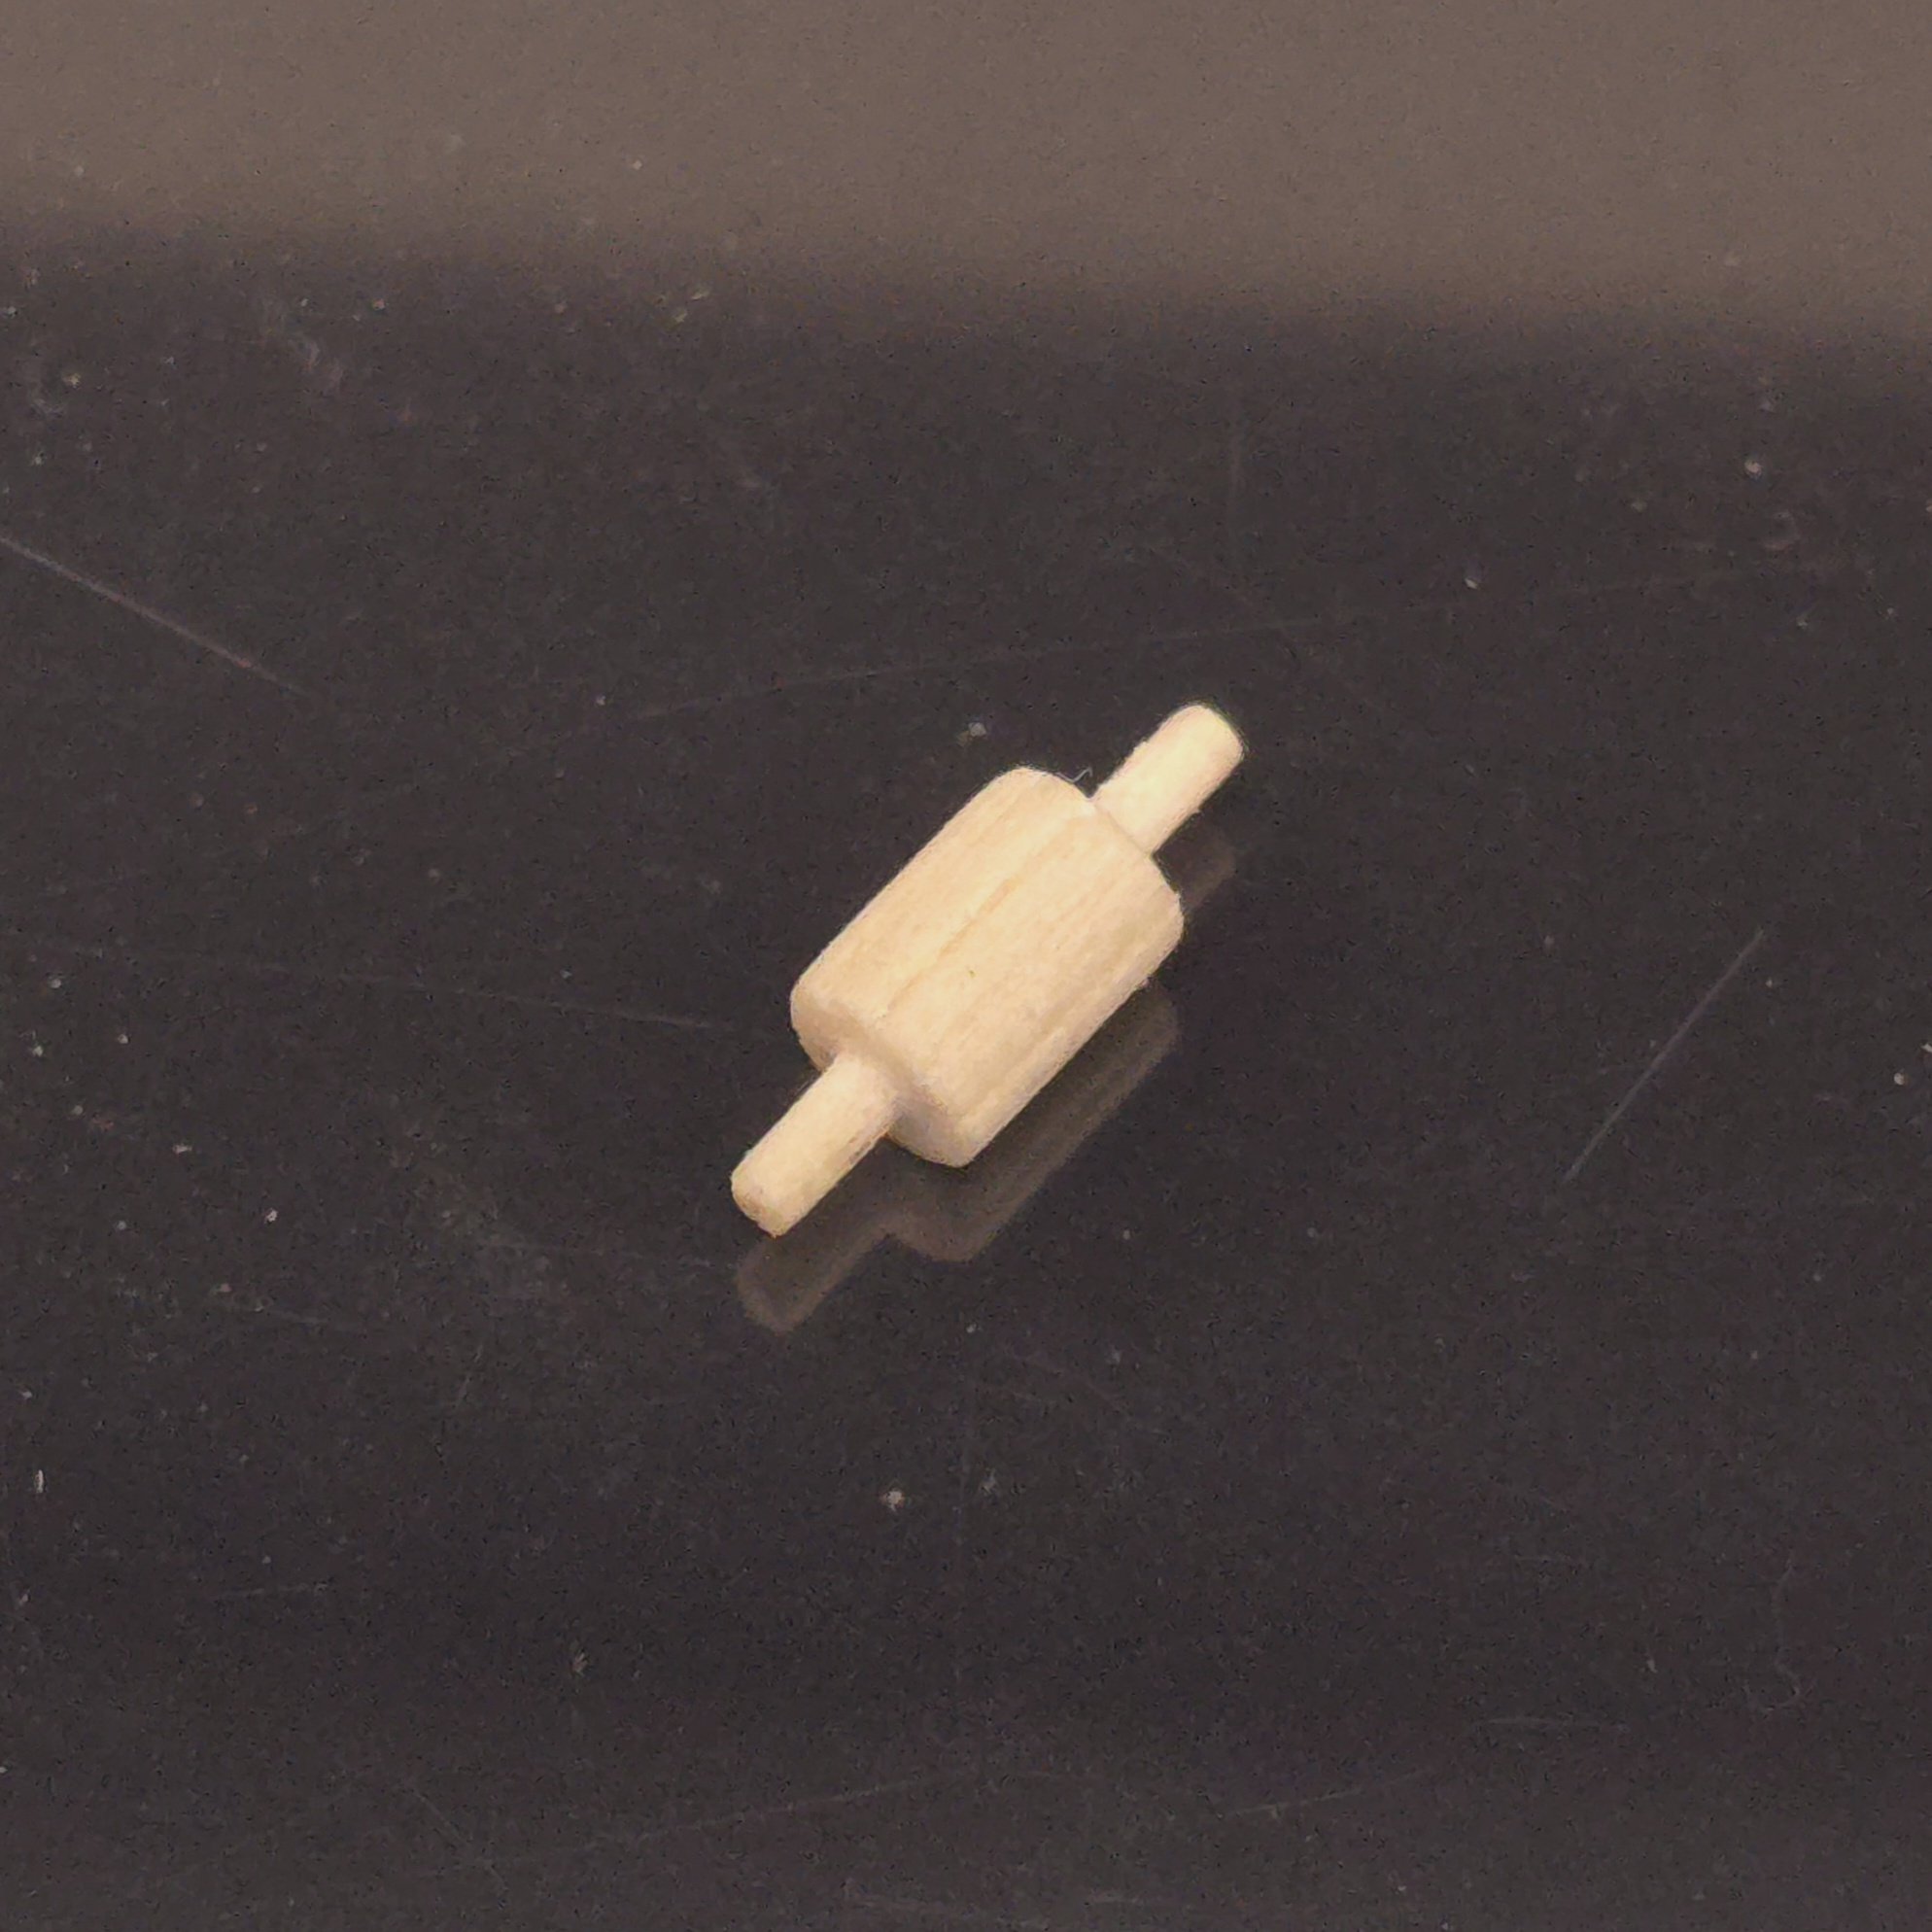
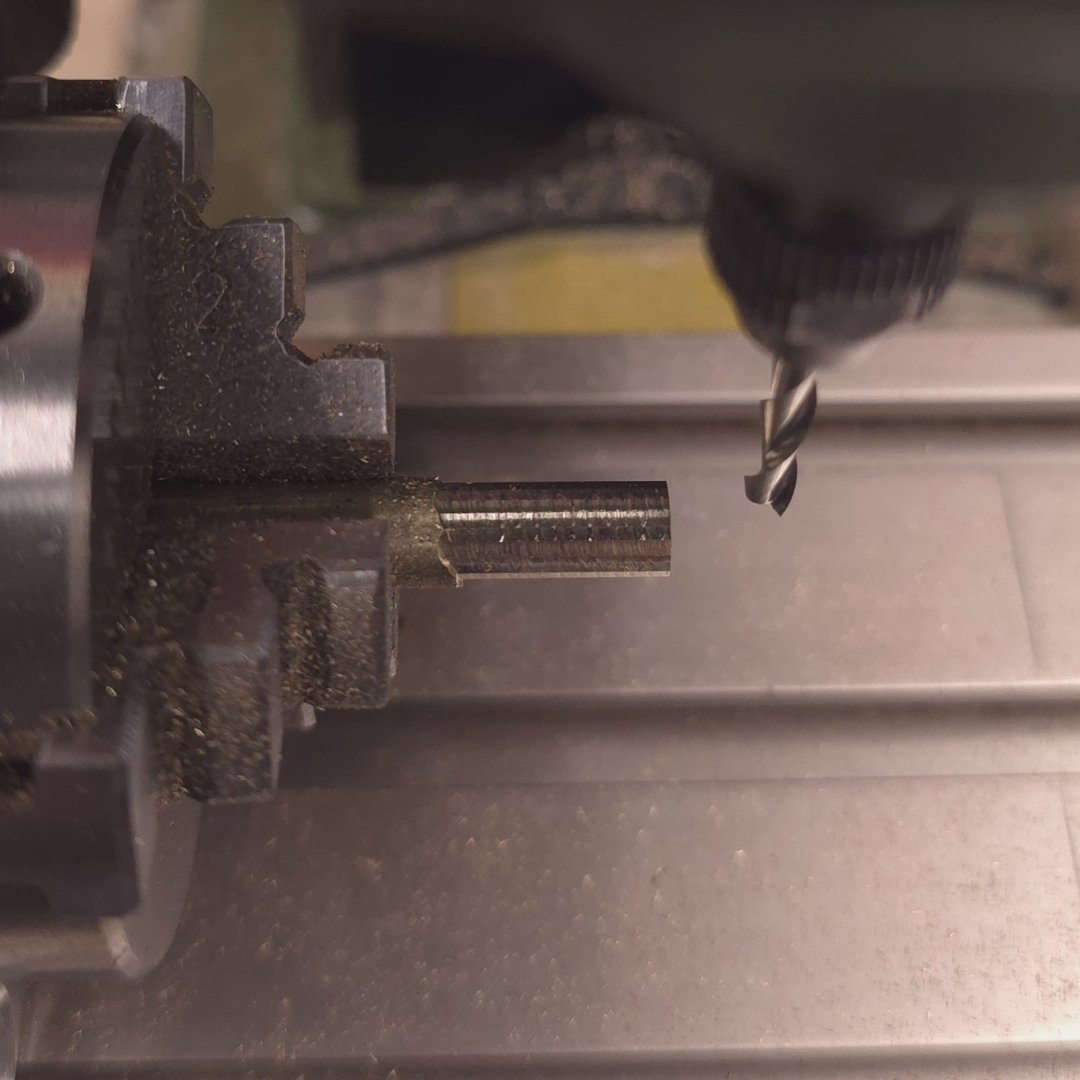
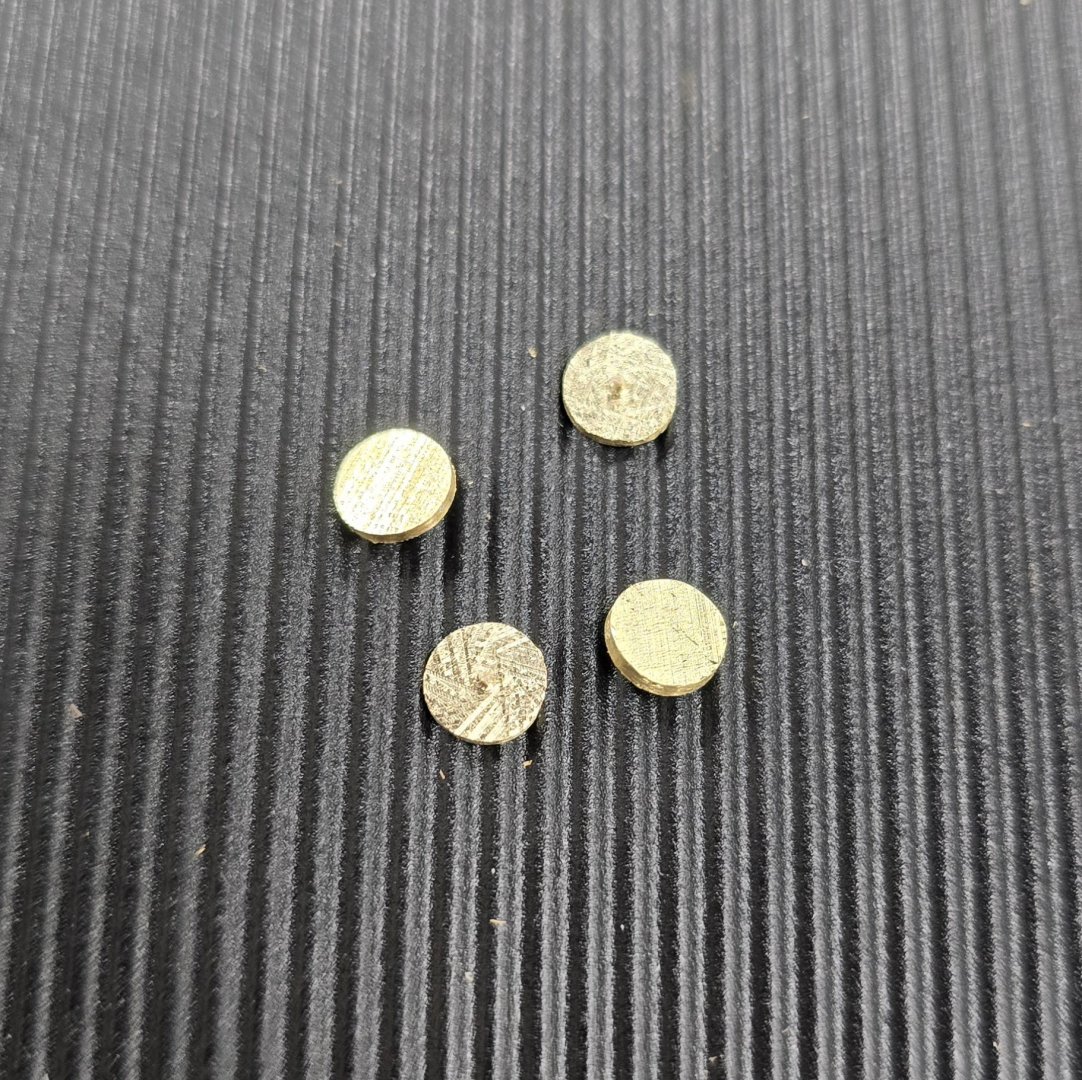
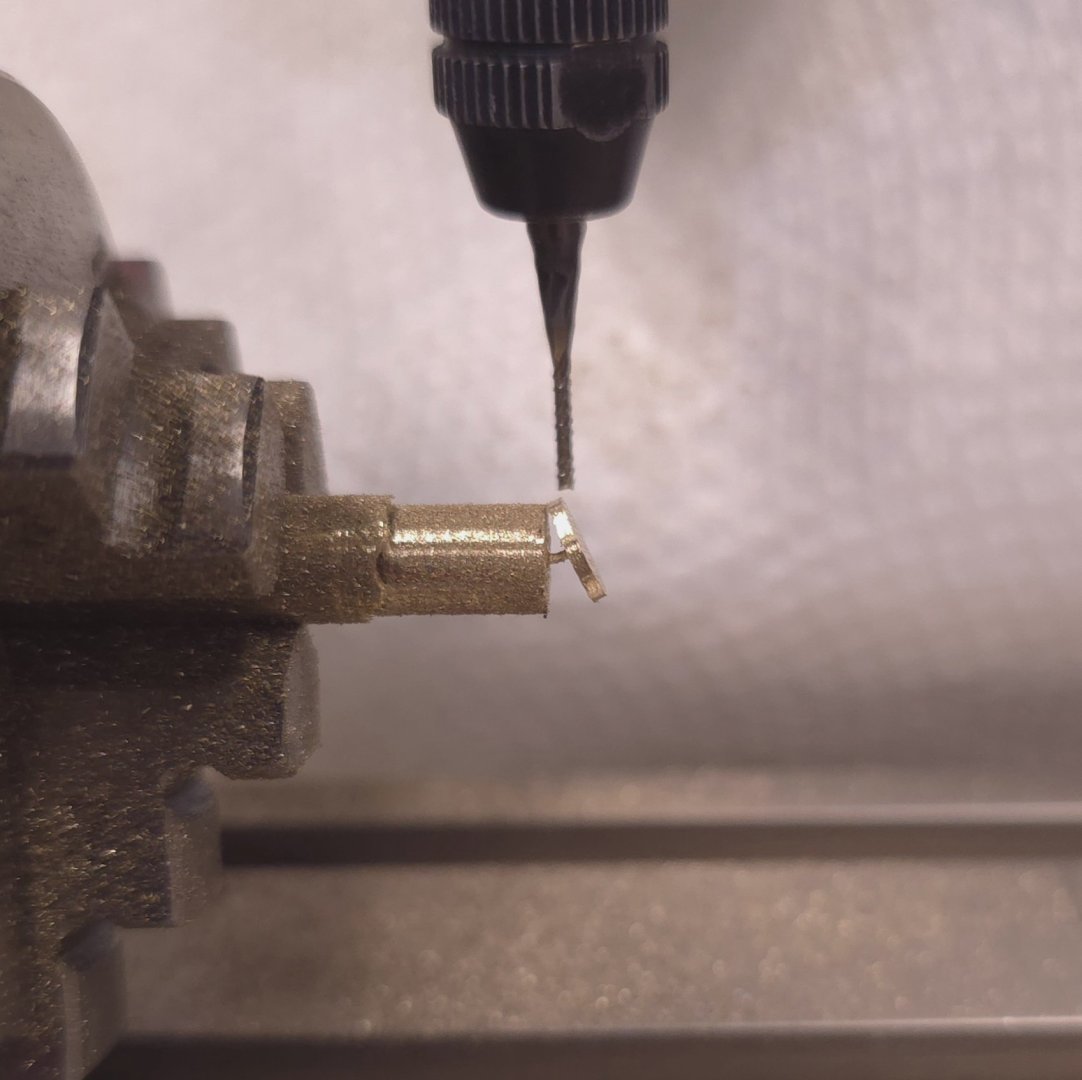
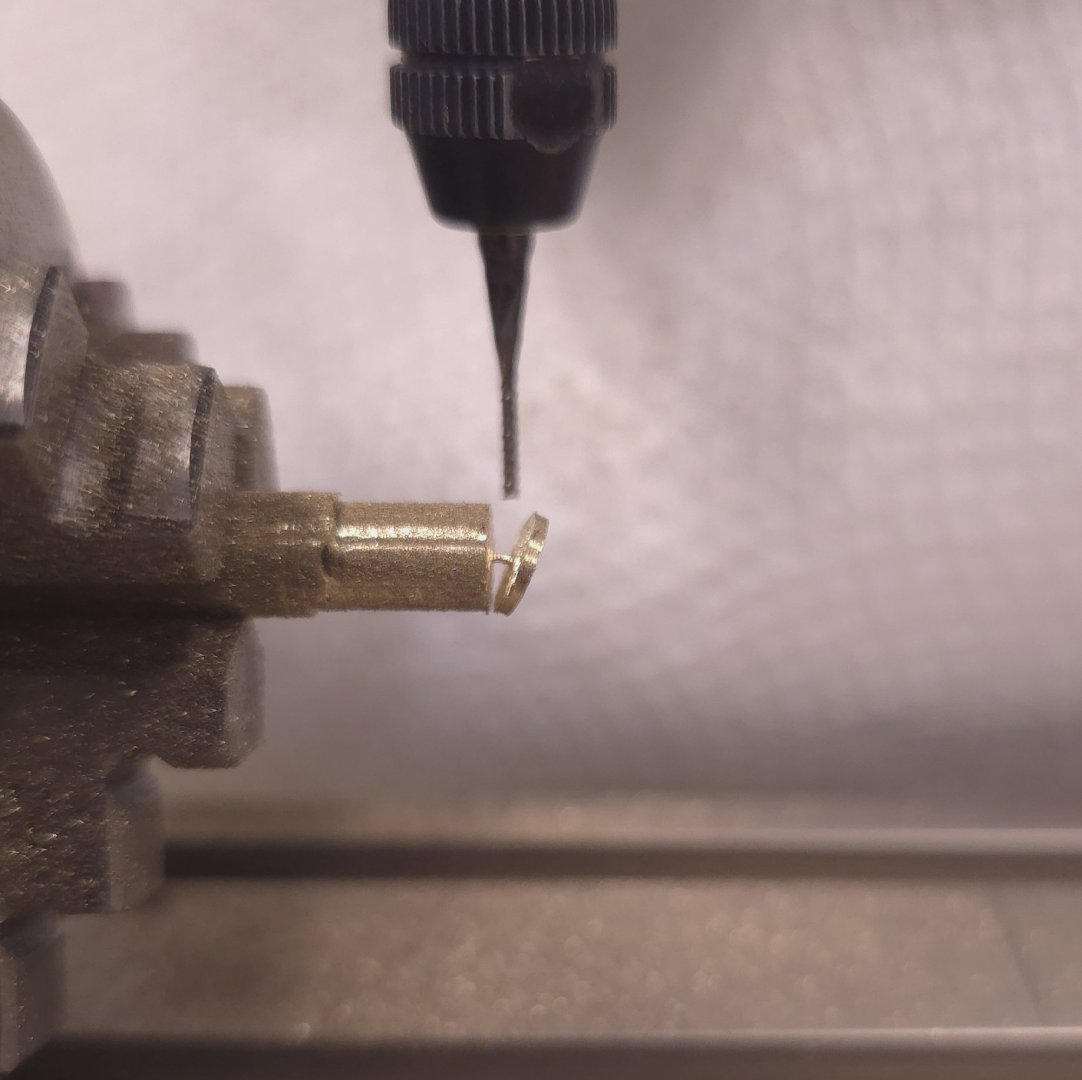
I just packed up my lathe, thinking I wouldn't need it for a while. Wrong! Ammo scuttles. Fortunately, my dividing attachment was still mounted to the proxon mill. This was my starting point. I reloaded some quarter inch brass stock, cleaned off the end, then milled the diameter down to roughly 7/32" from 1/4". Using multiple passes right to left, I rotated the dividing attachment roughly 30° at a time, locking the chuck down after each rotation, while I milled half inch long segments. Transfering the stock back to my lathe, I used files and sandpaper to smooth out the rough edges, checking the diameter frequently with my Vernier caliper to make sure I didn't stray from the 7/32" diameter. Then back to the mill to slice off 1mm thick rounds. I left roughly a .5 mm diameter axle, which was strong enough to keep the piece intact while milling, but malleable enough for me to break it off. I left the little nibs alone, and plan to use these as locating pins when gluing the scuttles to the spar deck. P.S. Geoff, no need to respond to my previous post. I've decided against the mizzen platform.


-
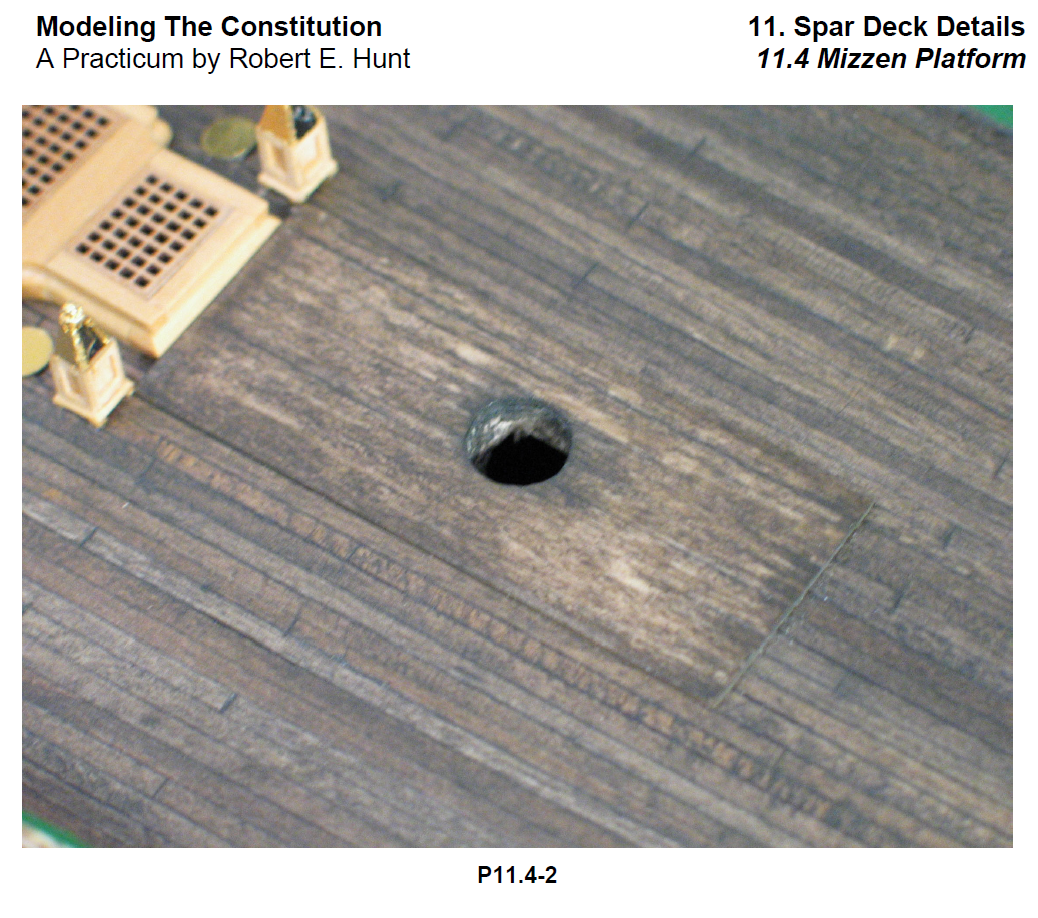
Geoff, as long as I have your attention, can you tell me how many planks you used for the mizzen platform? Hunt used 14 ea. 1/16" x 1/32" X 2 5/16". However, the plans make it look like I should be using nine pieces. Looking around at other notable build logs, I see that while you have the mizzen platform, Xken does not. Also, revisiting photos of the actual wheel that I've seen recently, the mizzen platform is absent as well. Now I'm thinking, why bother? Thoughts? By the way, every time I consult your build, I walk away even more impressed. Will we someday see progress towards your finishing the rigging?
-
I did attempt to use a square file to make the square openings, but the amount of pressure I would have had to apply risked damaging the brass band. What I may do at the very end, is to manufacture the poles that go into those holes and show the capstan ready for use. But at this scale, with naked eyes, the difference between round and square is barely noticeable.
-
Both are Proxxon products. The lathe is the DB 250. The dividing attachment is this. Part 24264.

-
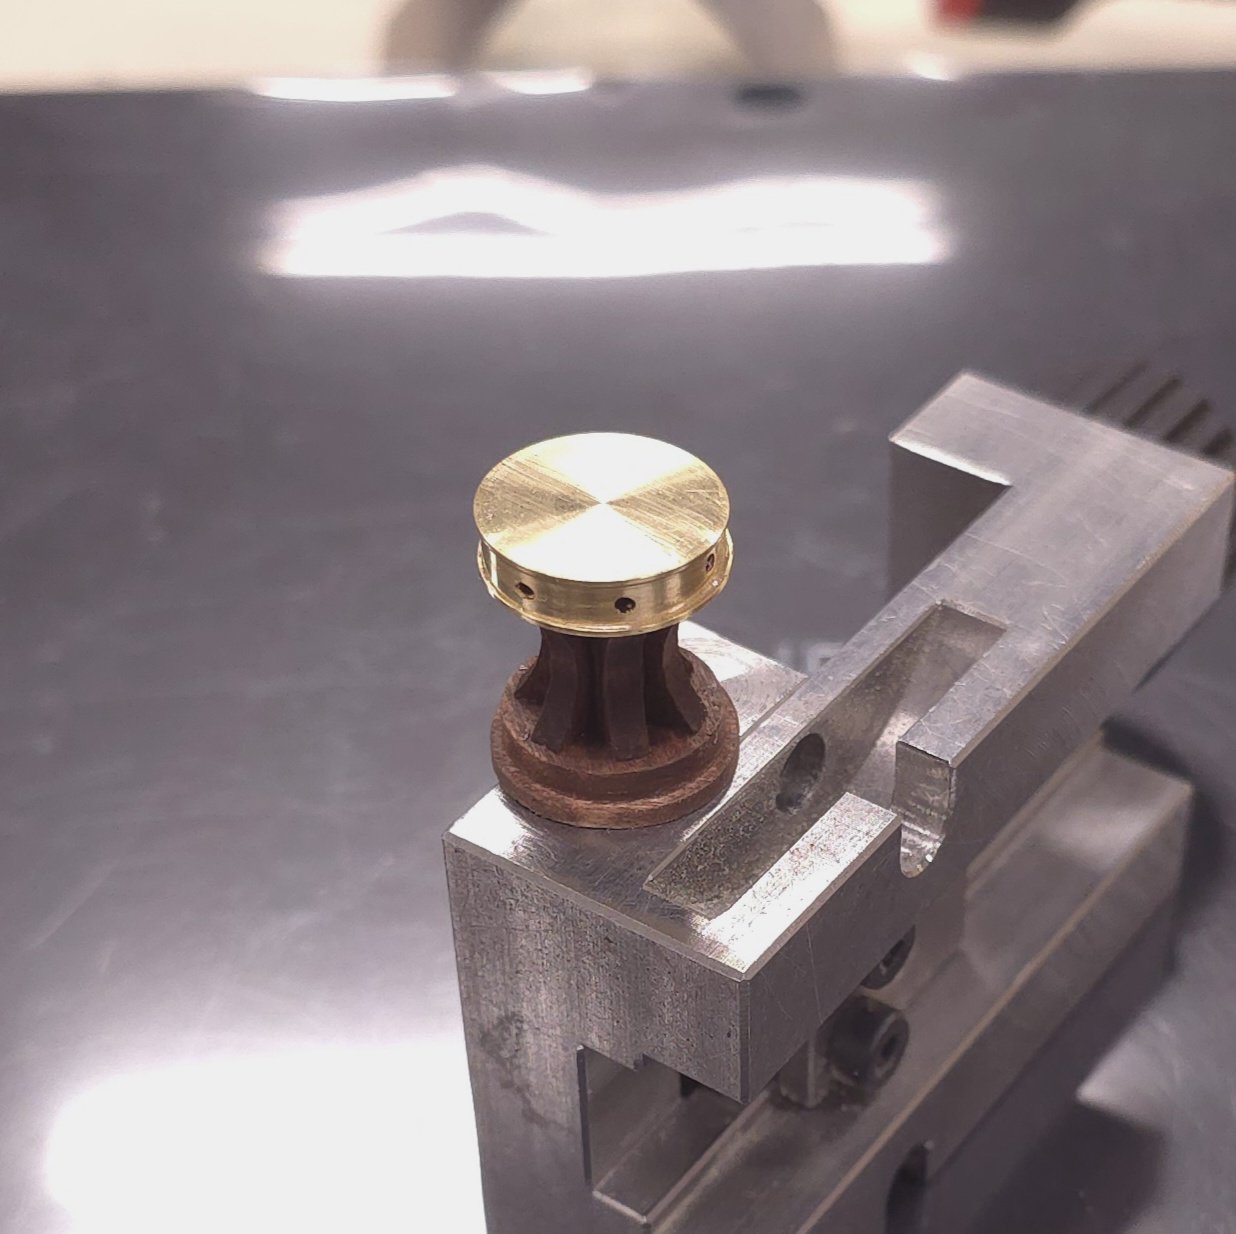
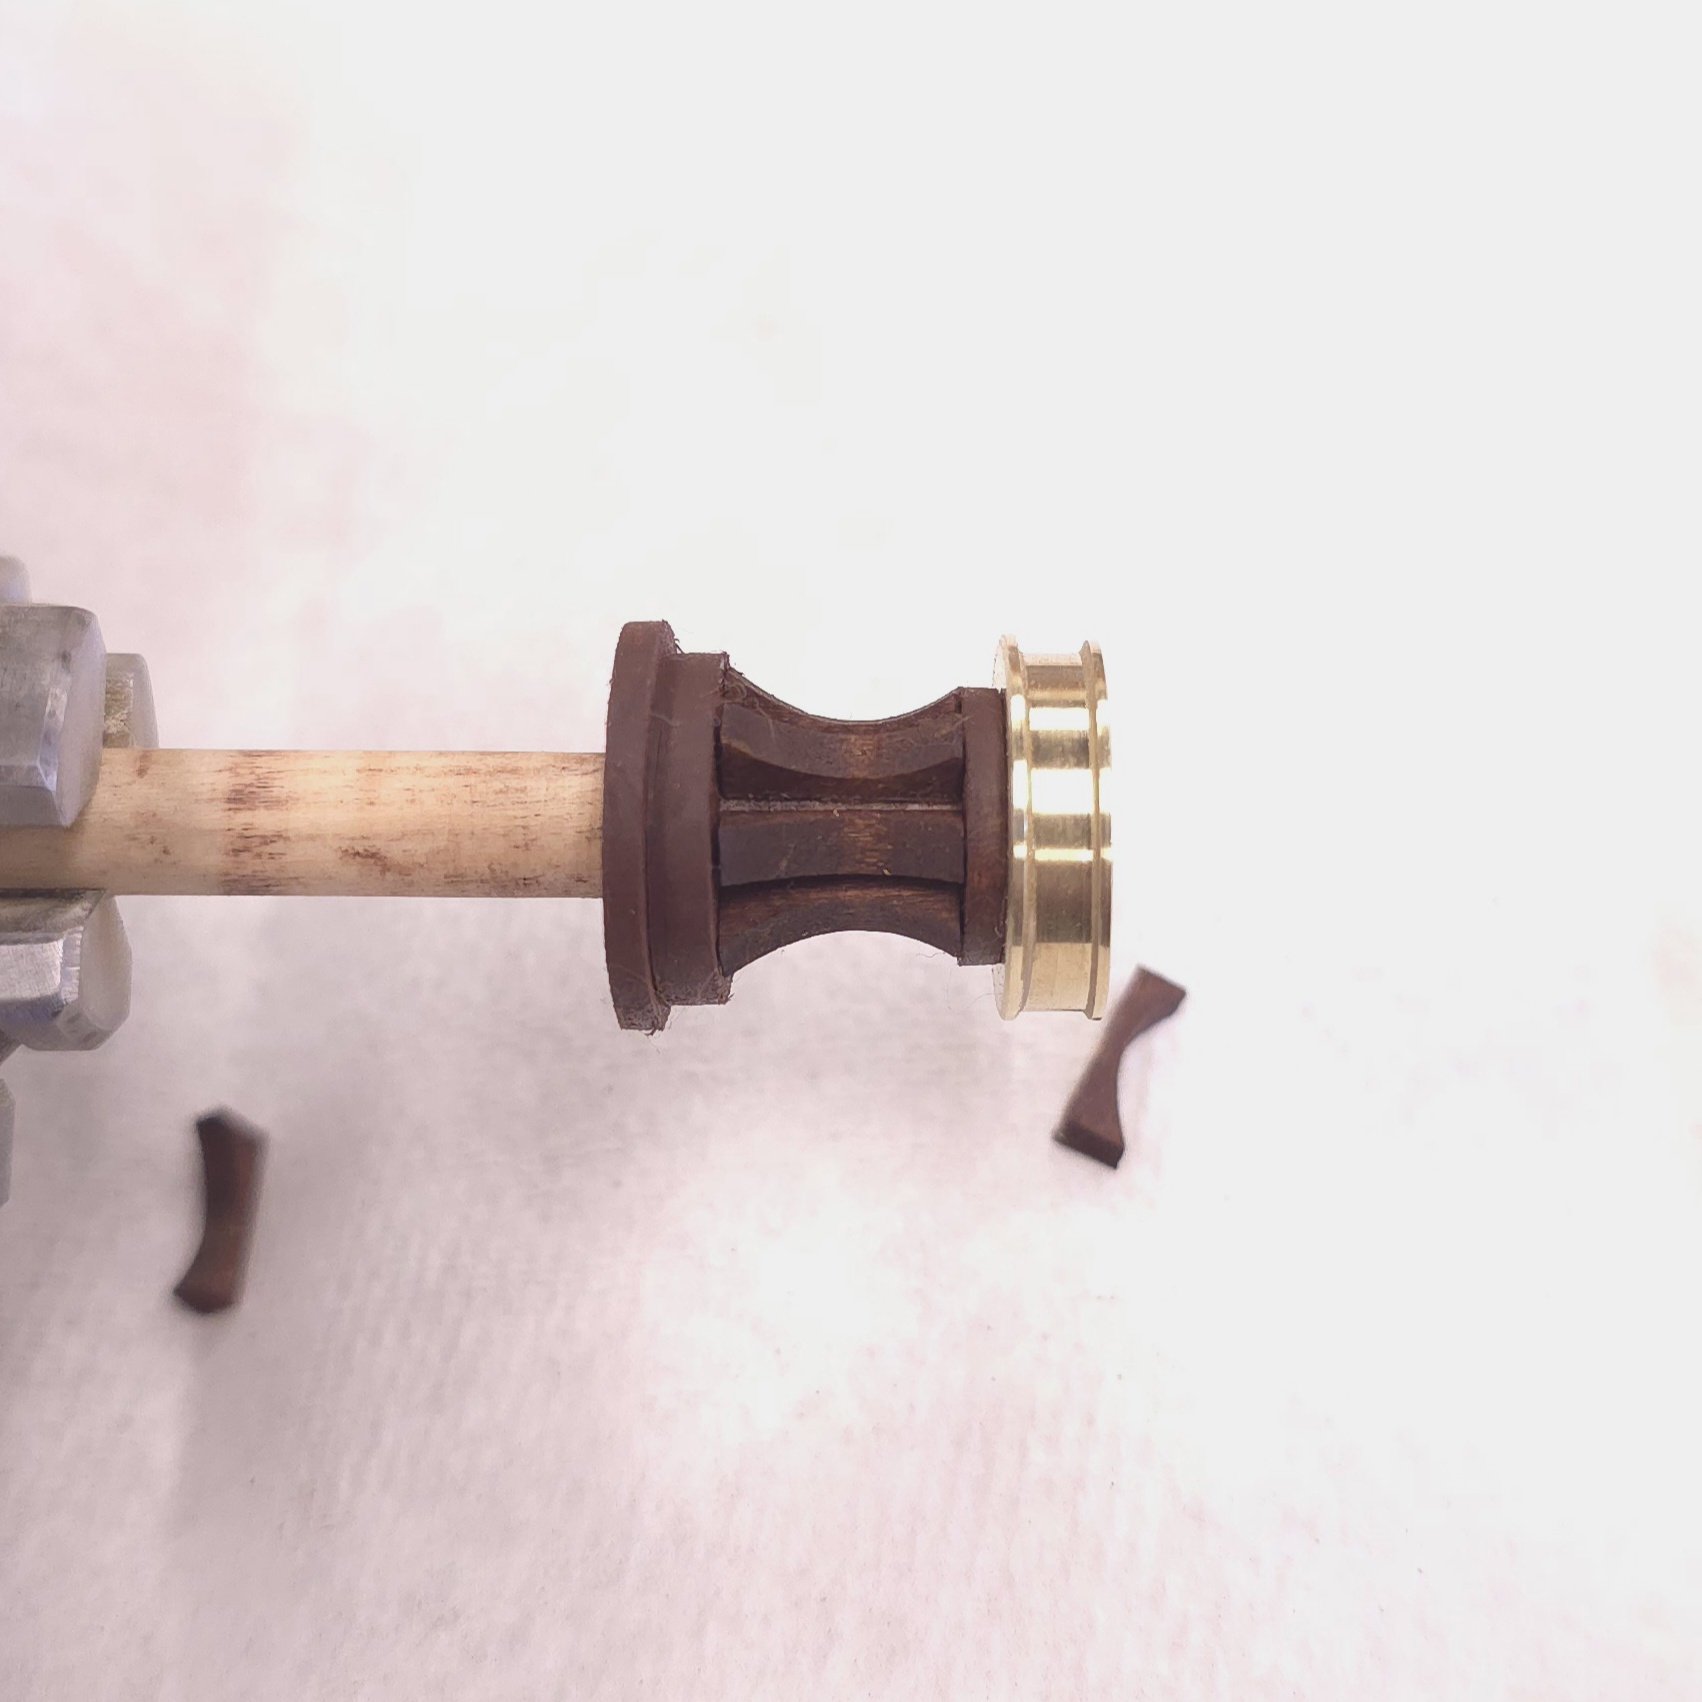
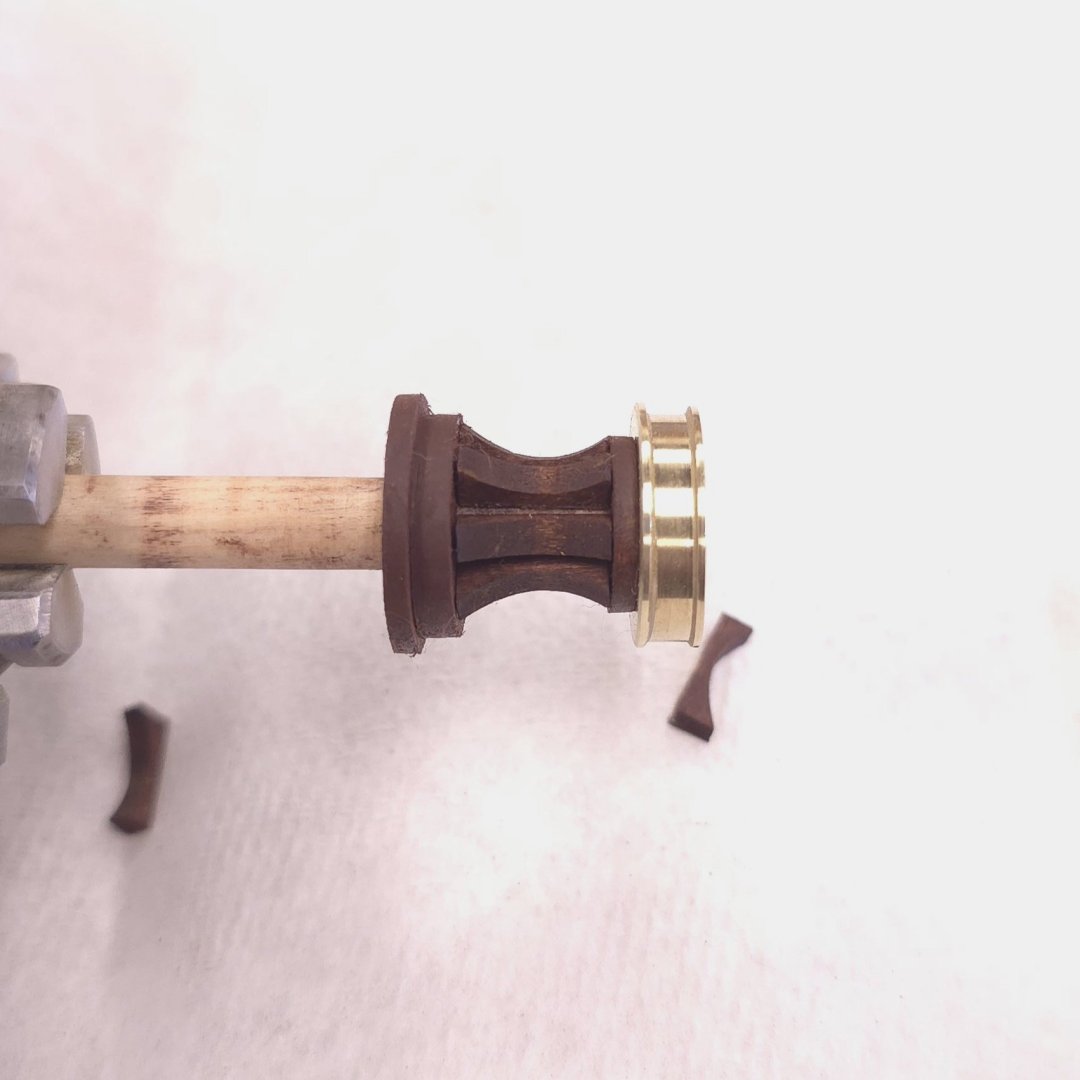
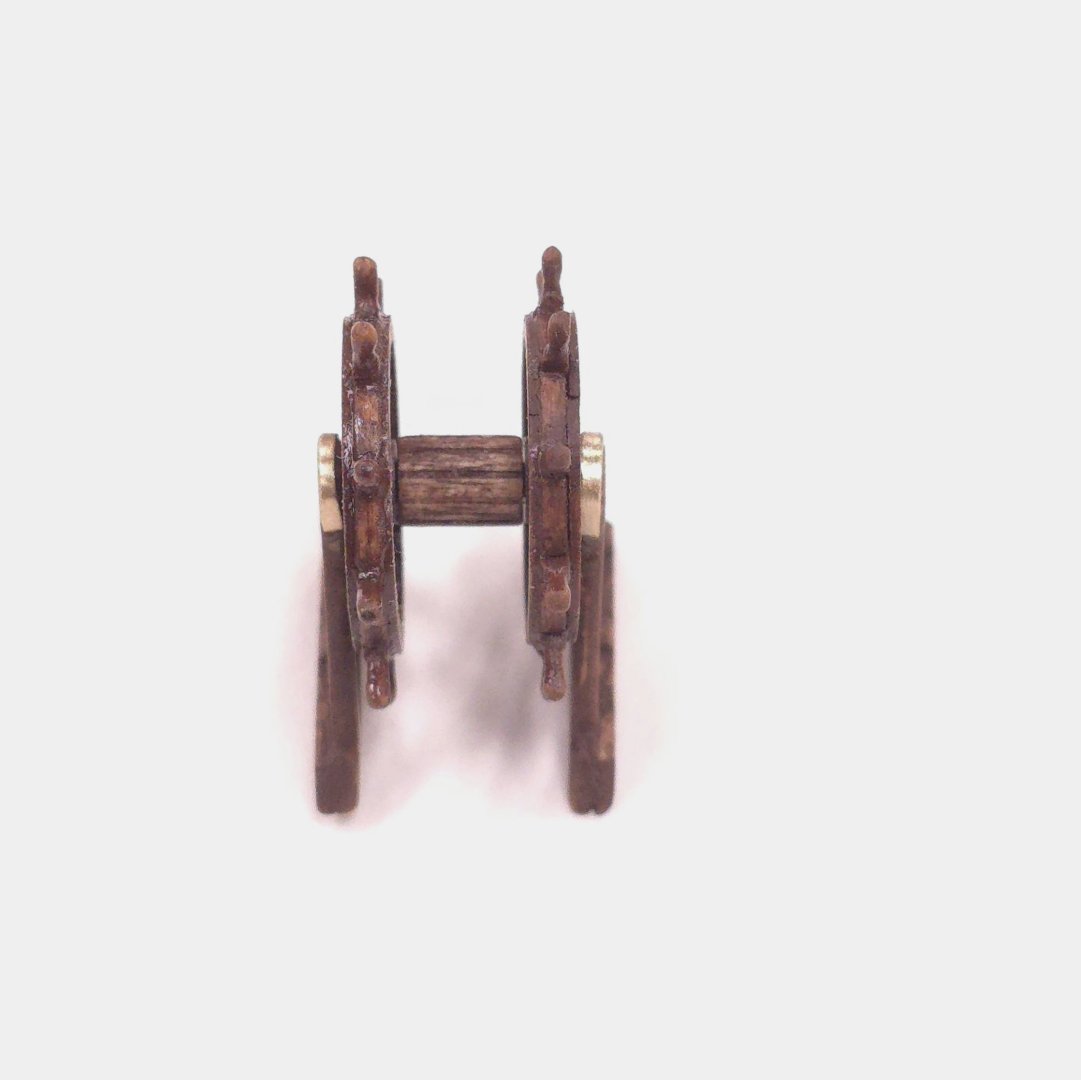
Because we just jumped to a new page, I'm going to include this photo of the nearly completed capstan. I'm going to go with a semi-gloss or gloss clear poly, especially on the brass, so as not to lose the luster.

-
As I said to jon, the lathe is a nice-to-have, but the dividing attachment for the mill adds an enormous amount of functionality. However, tools, especially good ones, do add up.
-
If you plan to be modeling much longer, I would certainly recommend investing in the dividing attachment for the proxon mill. It's nice to have the lathe for some things, but if I only had to have one, I would forgo the lathe. That dividing attachment gives you a whole lot of additional capability with the mill.
-
USS Constitution by mtbediz - 1:76
Der Alte Rentner replied to mtbediz's topic in - Build logs for subjects built 1751 - 1800
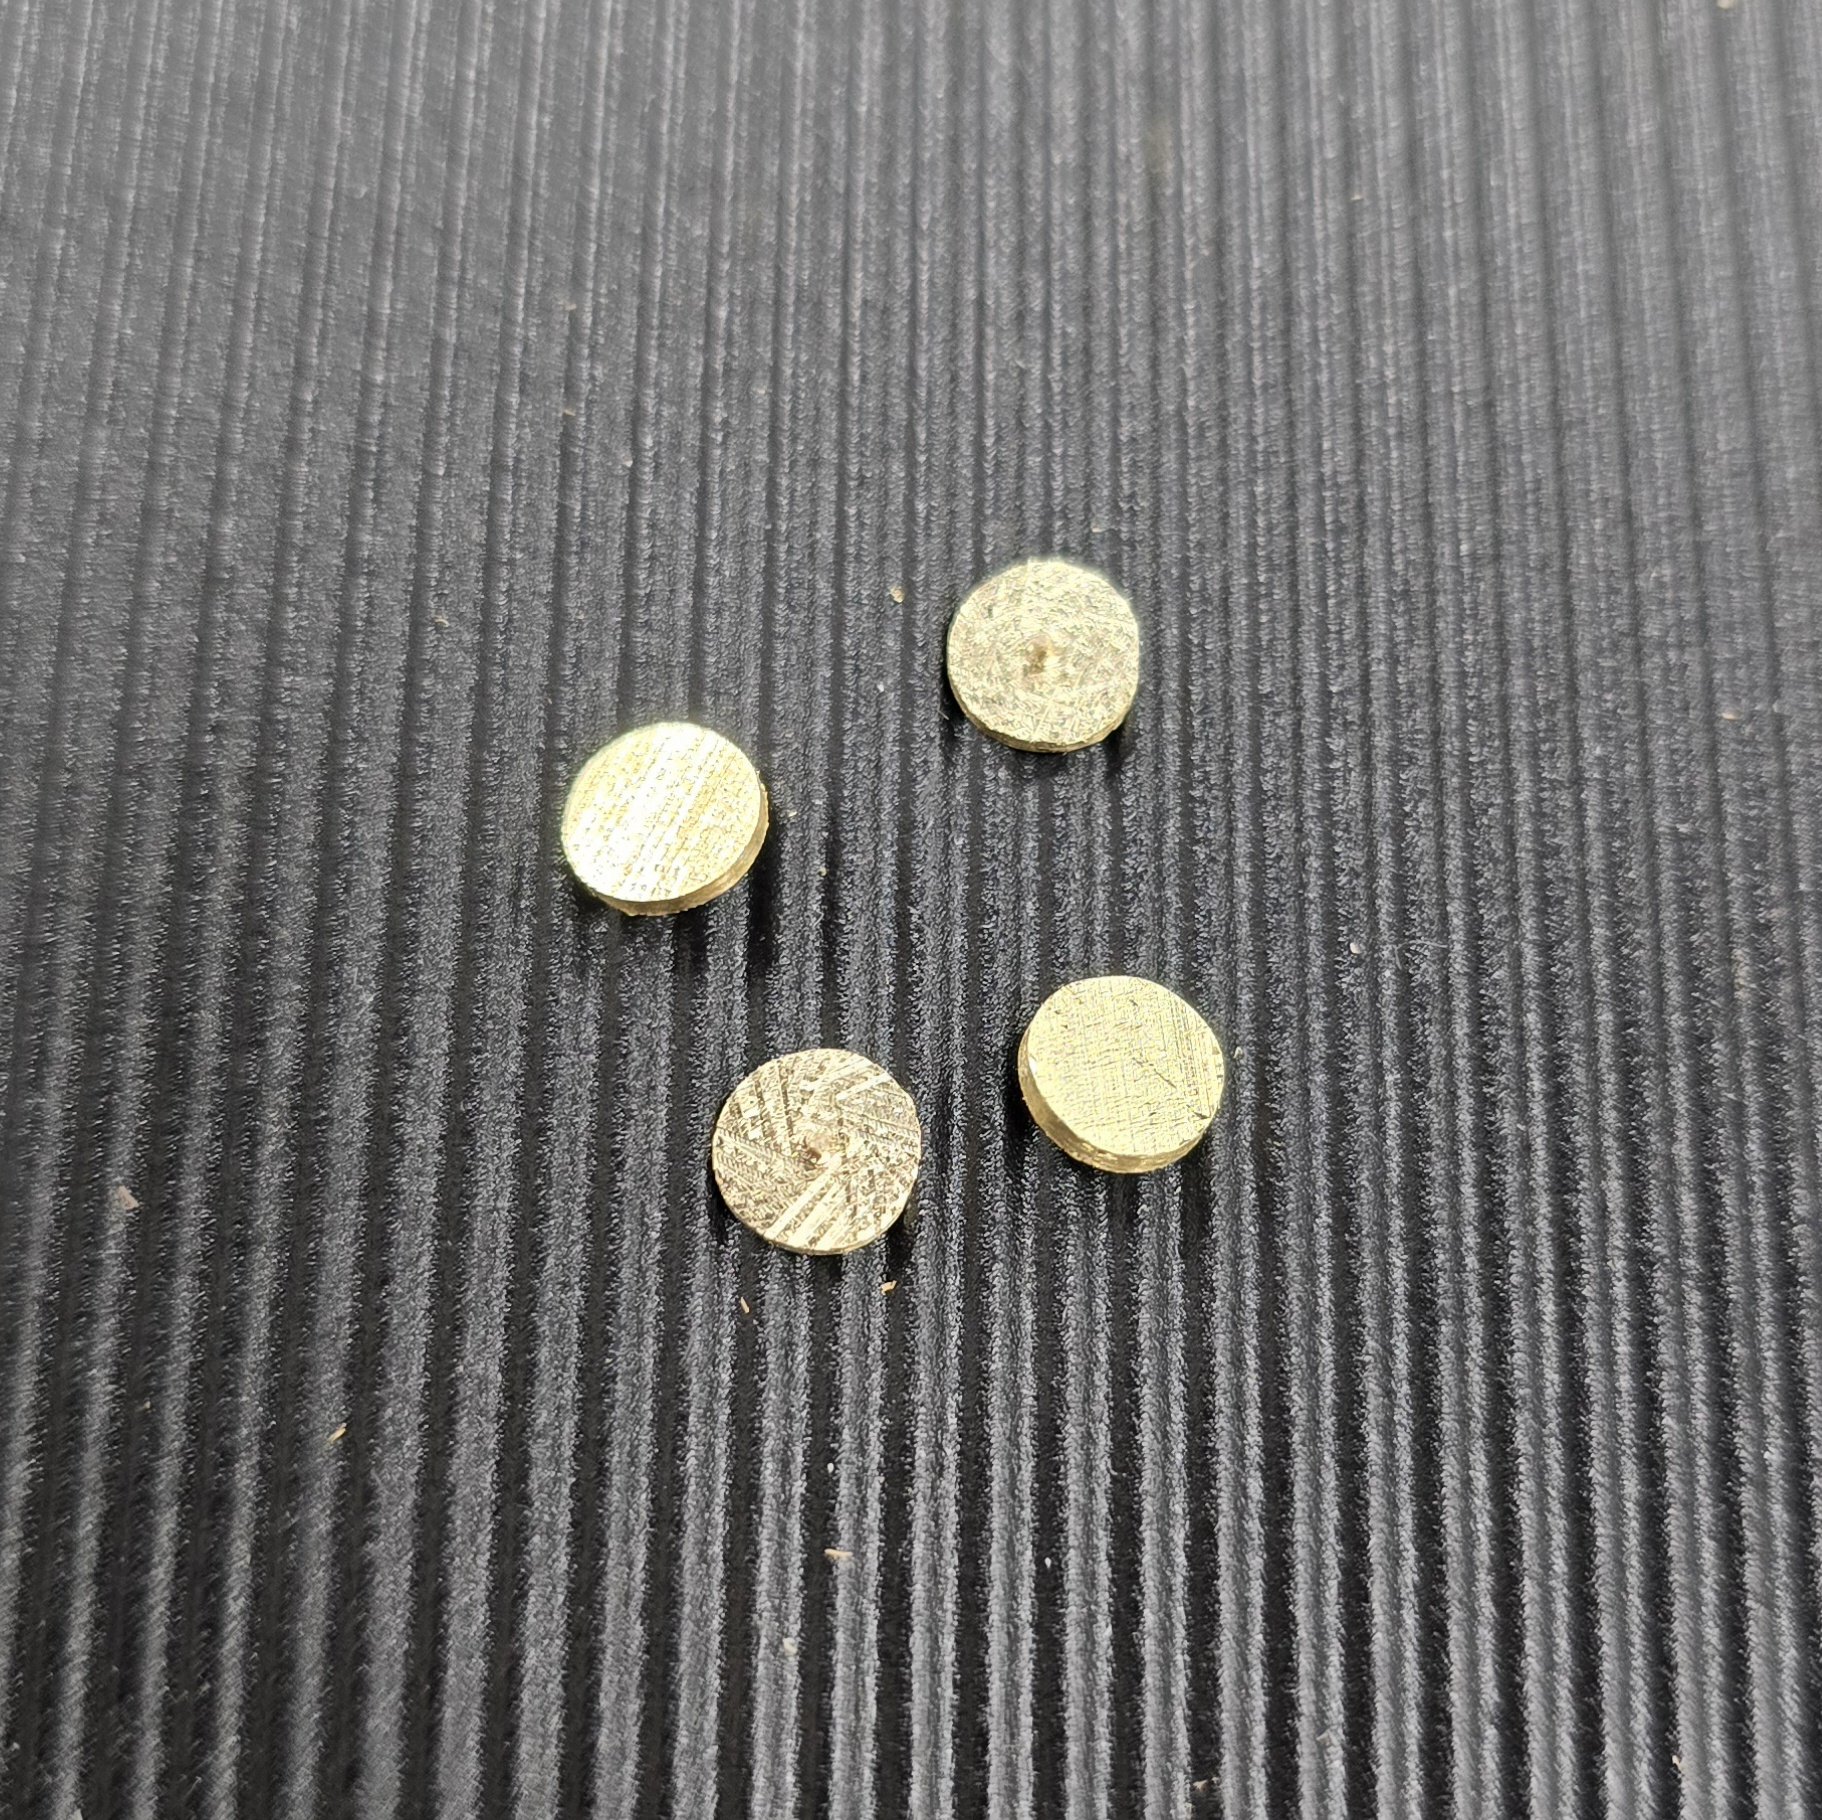
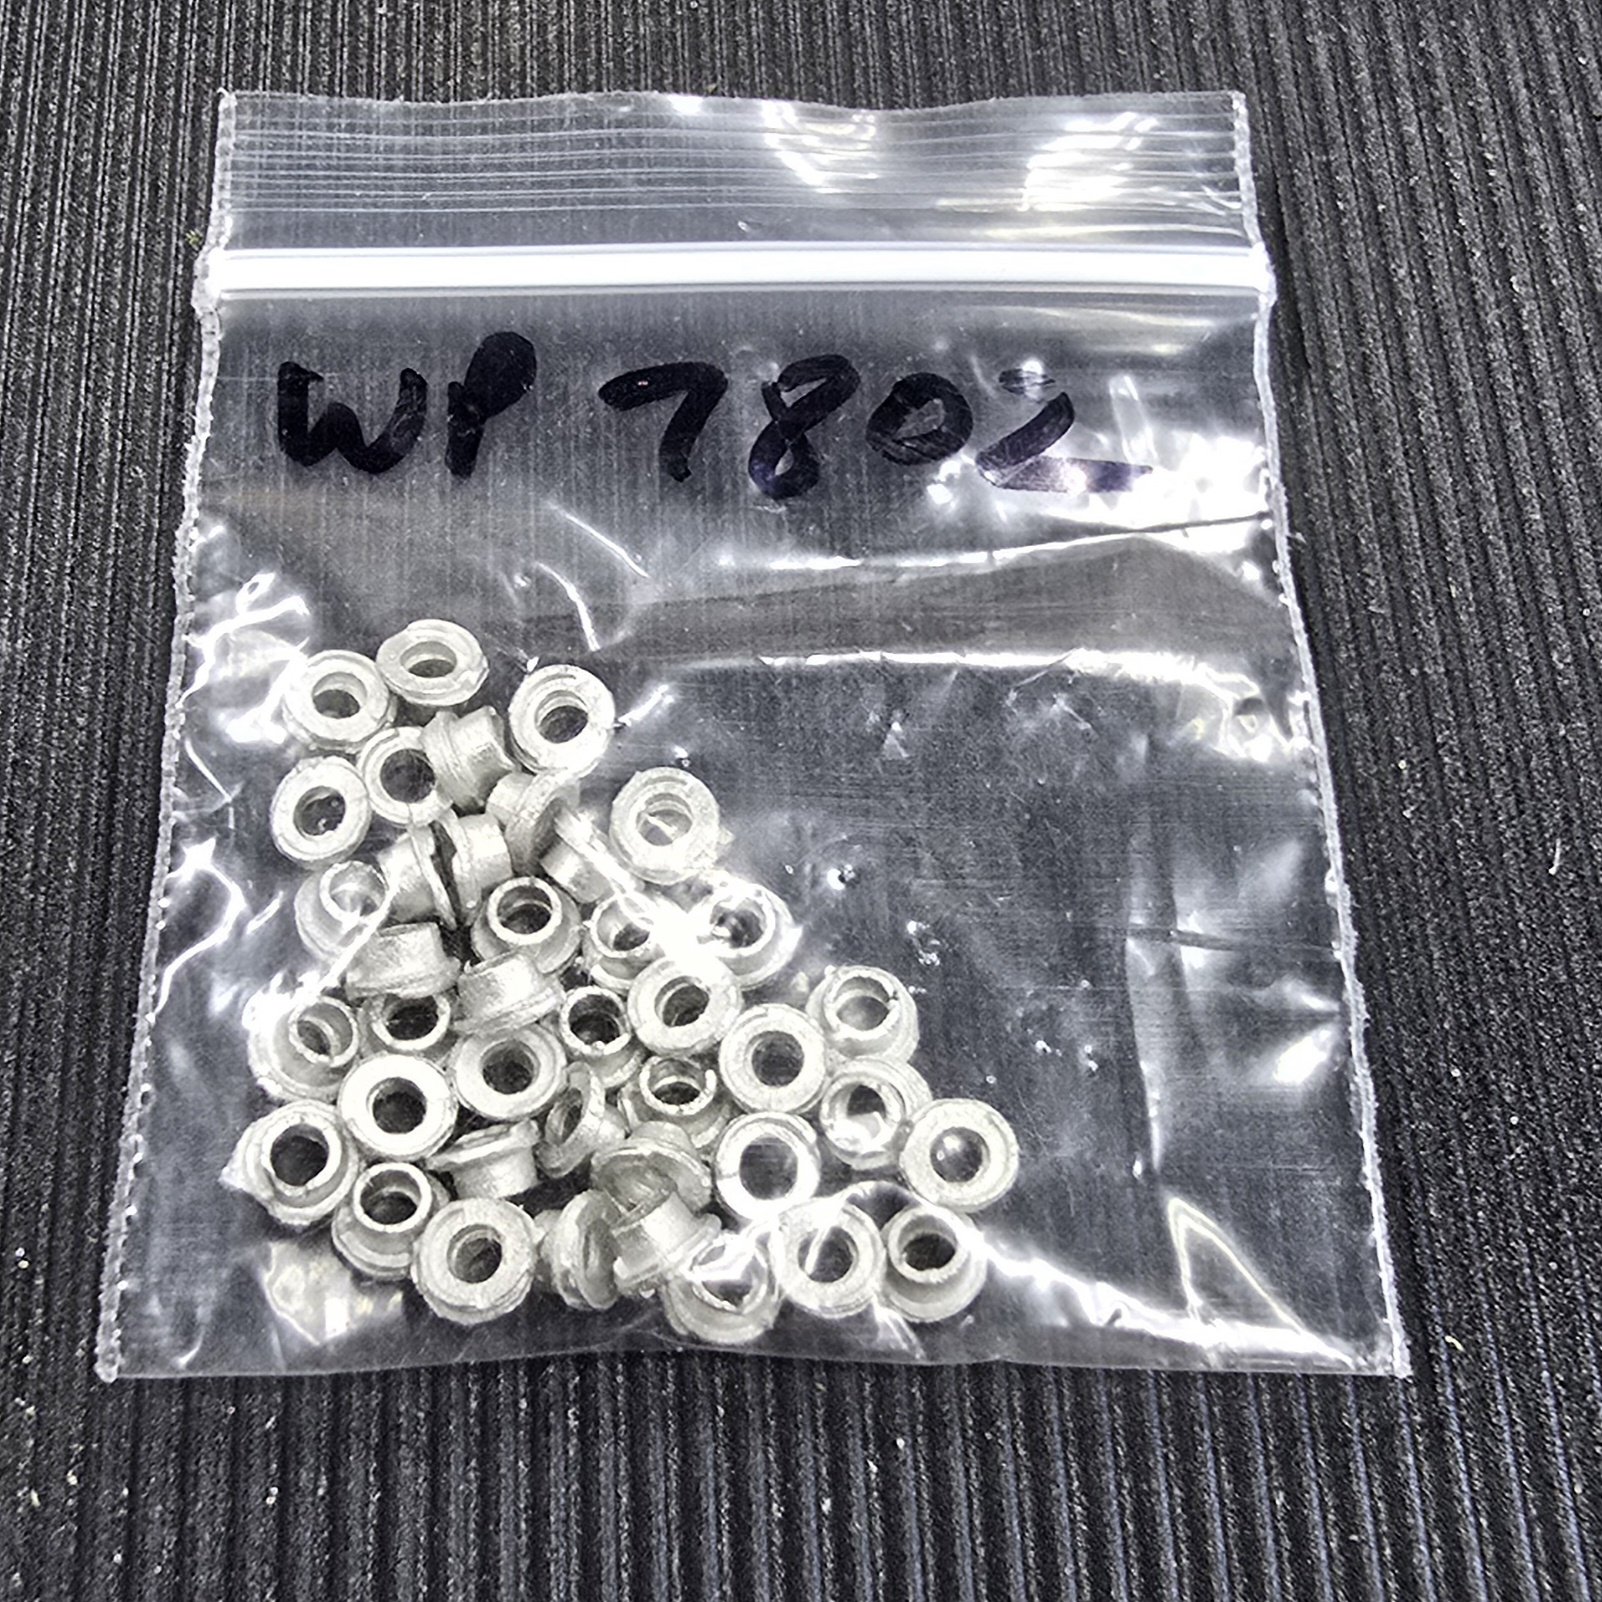
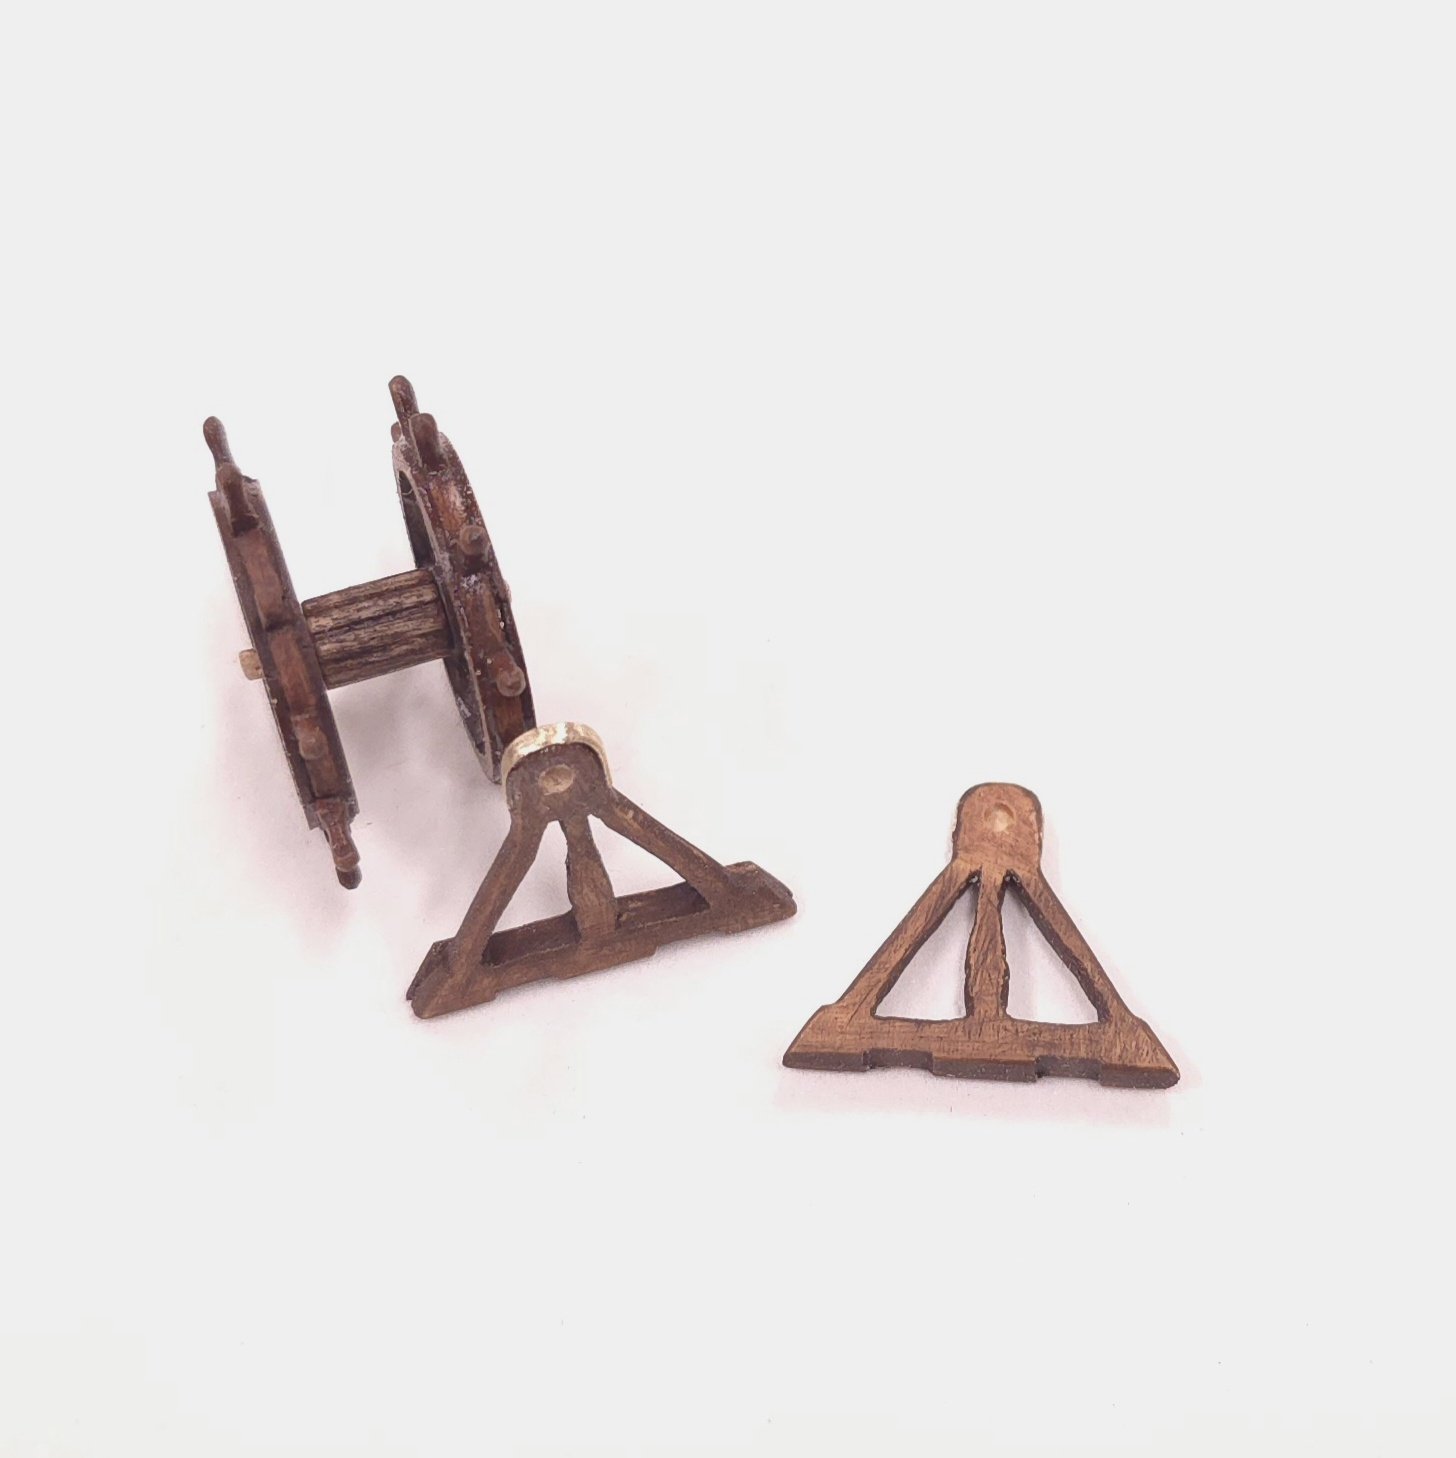
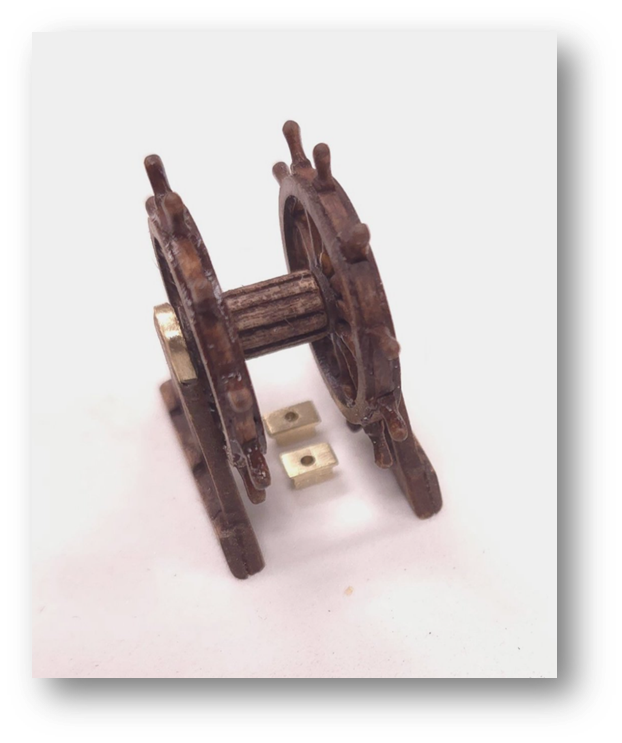
You mean these? If, like the rest of the modeling universe, I was going to paint these black, yes, I could use these misshapen slugs. But since I'm going for brass, I'd rather spend the 12 bucks and save myself the labor of cleaning these things up and painting them gold or brass. As for contacting model expo, I'm still awaiting a reply for a request I made 2 years ago. (I'll have to check my records to see what exactly that was about, but I've moved on.)
-
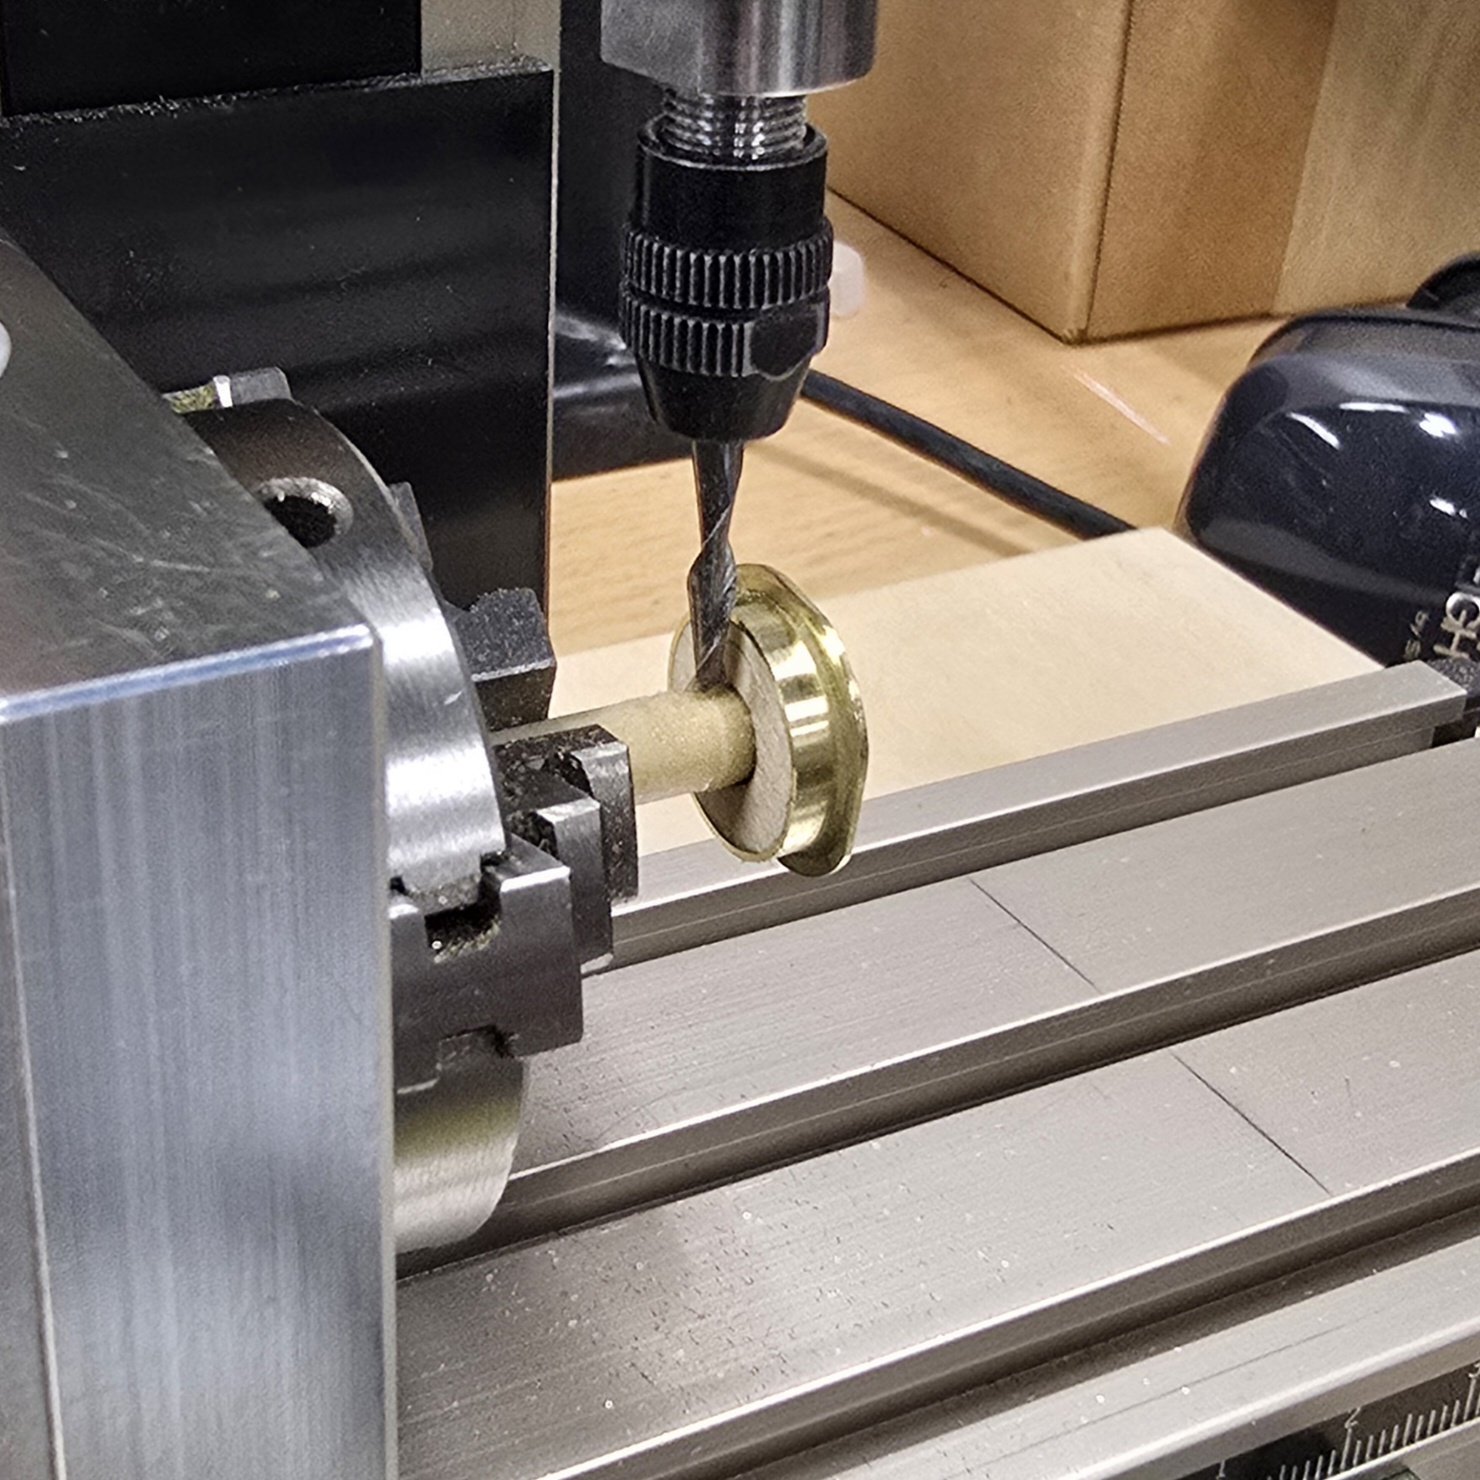
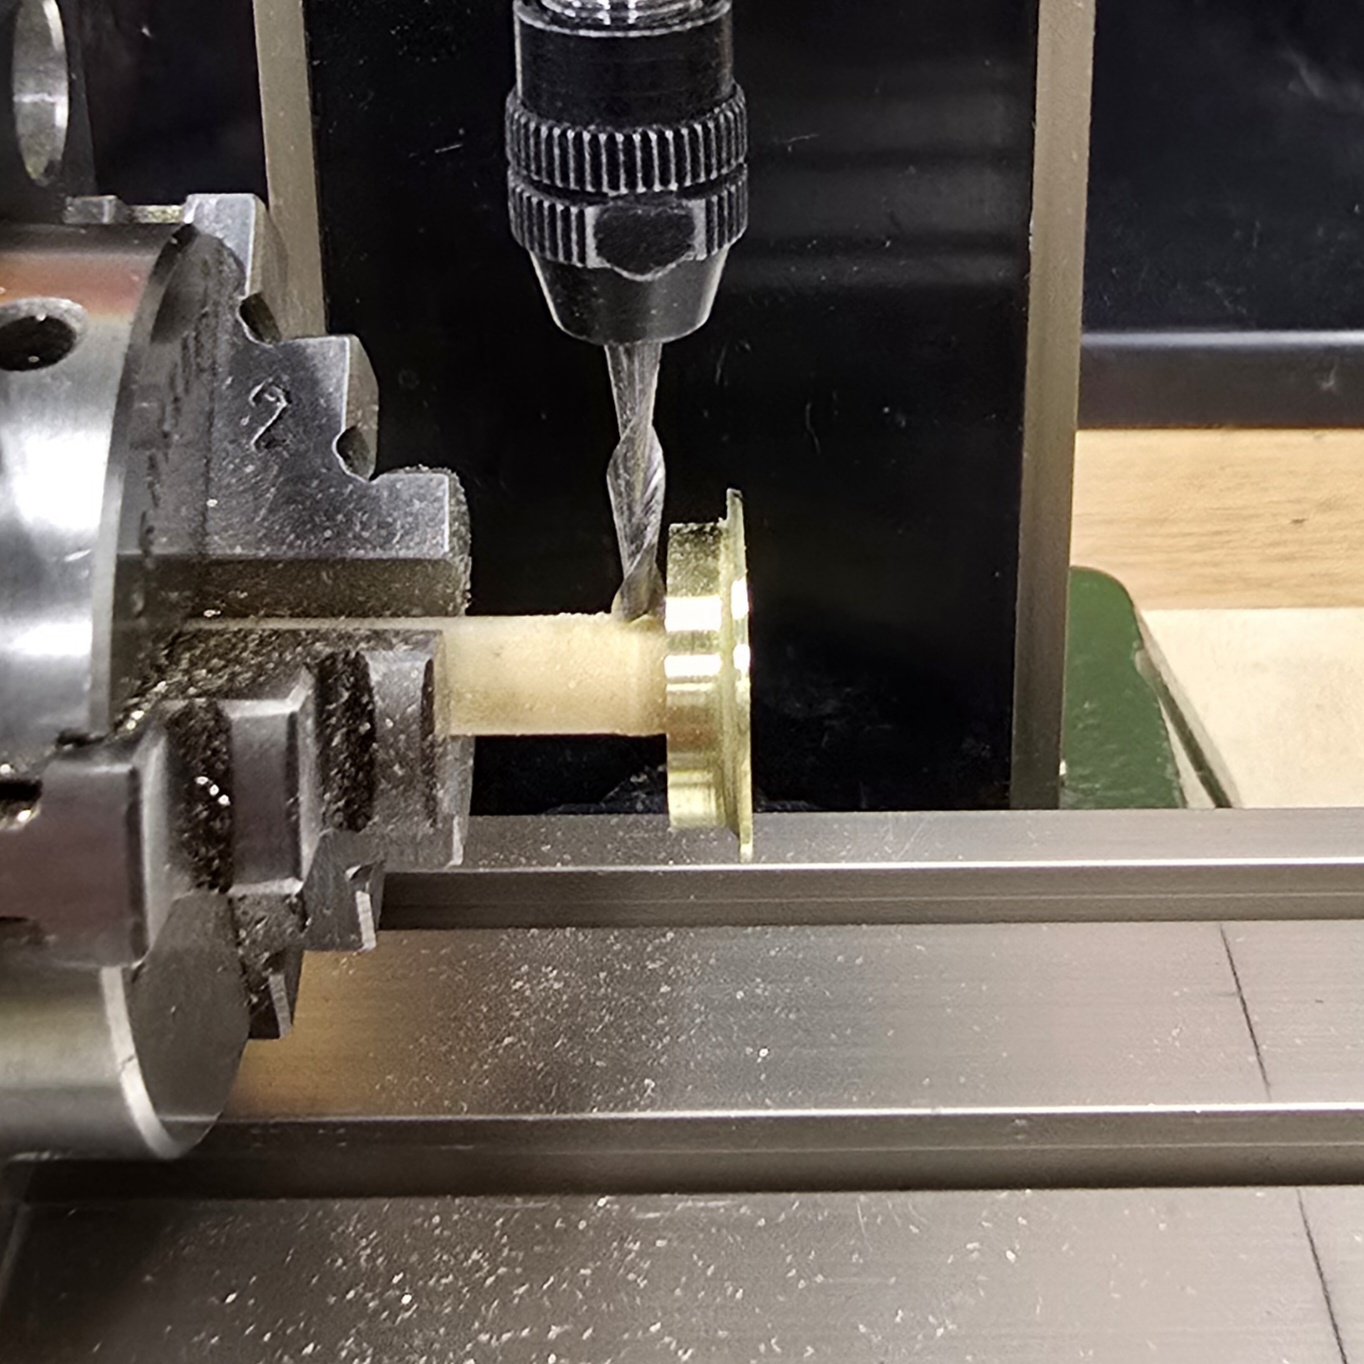
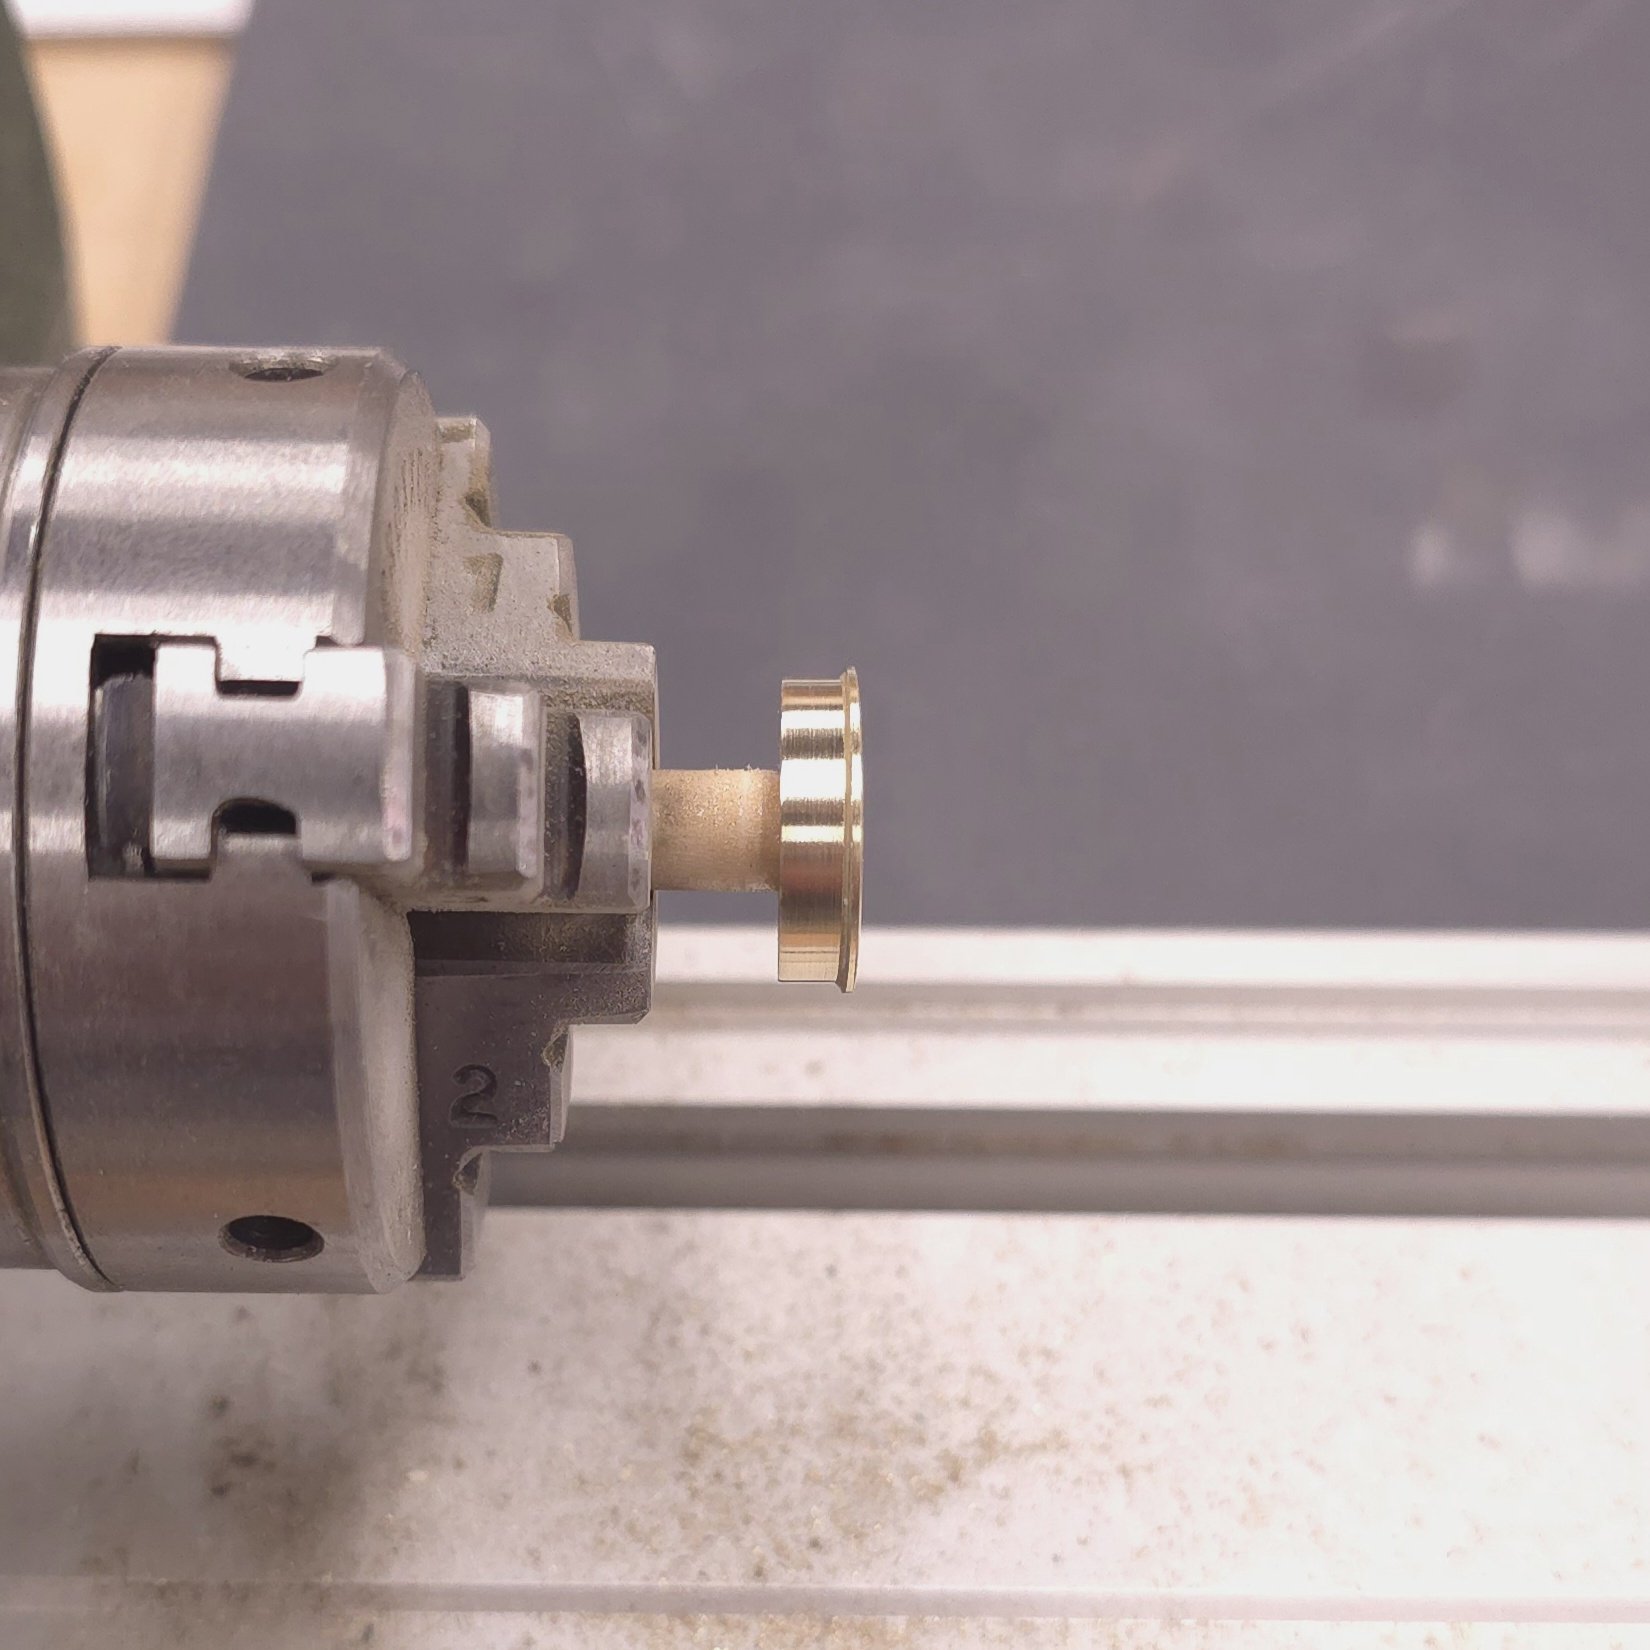
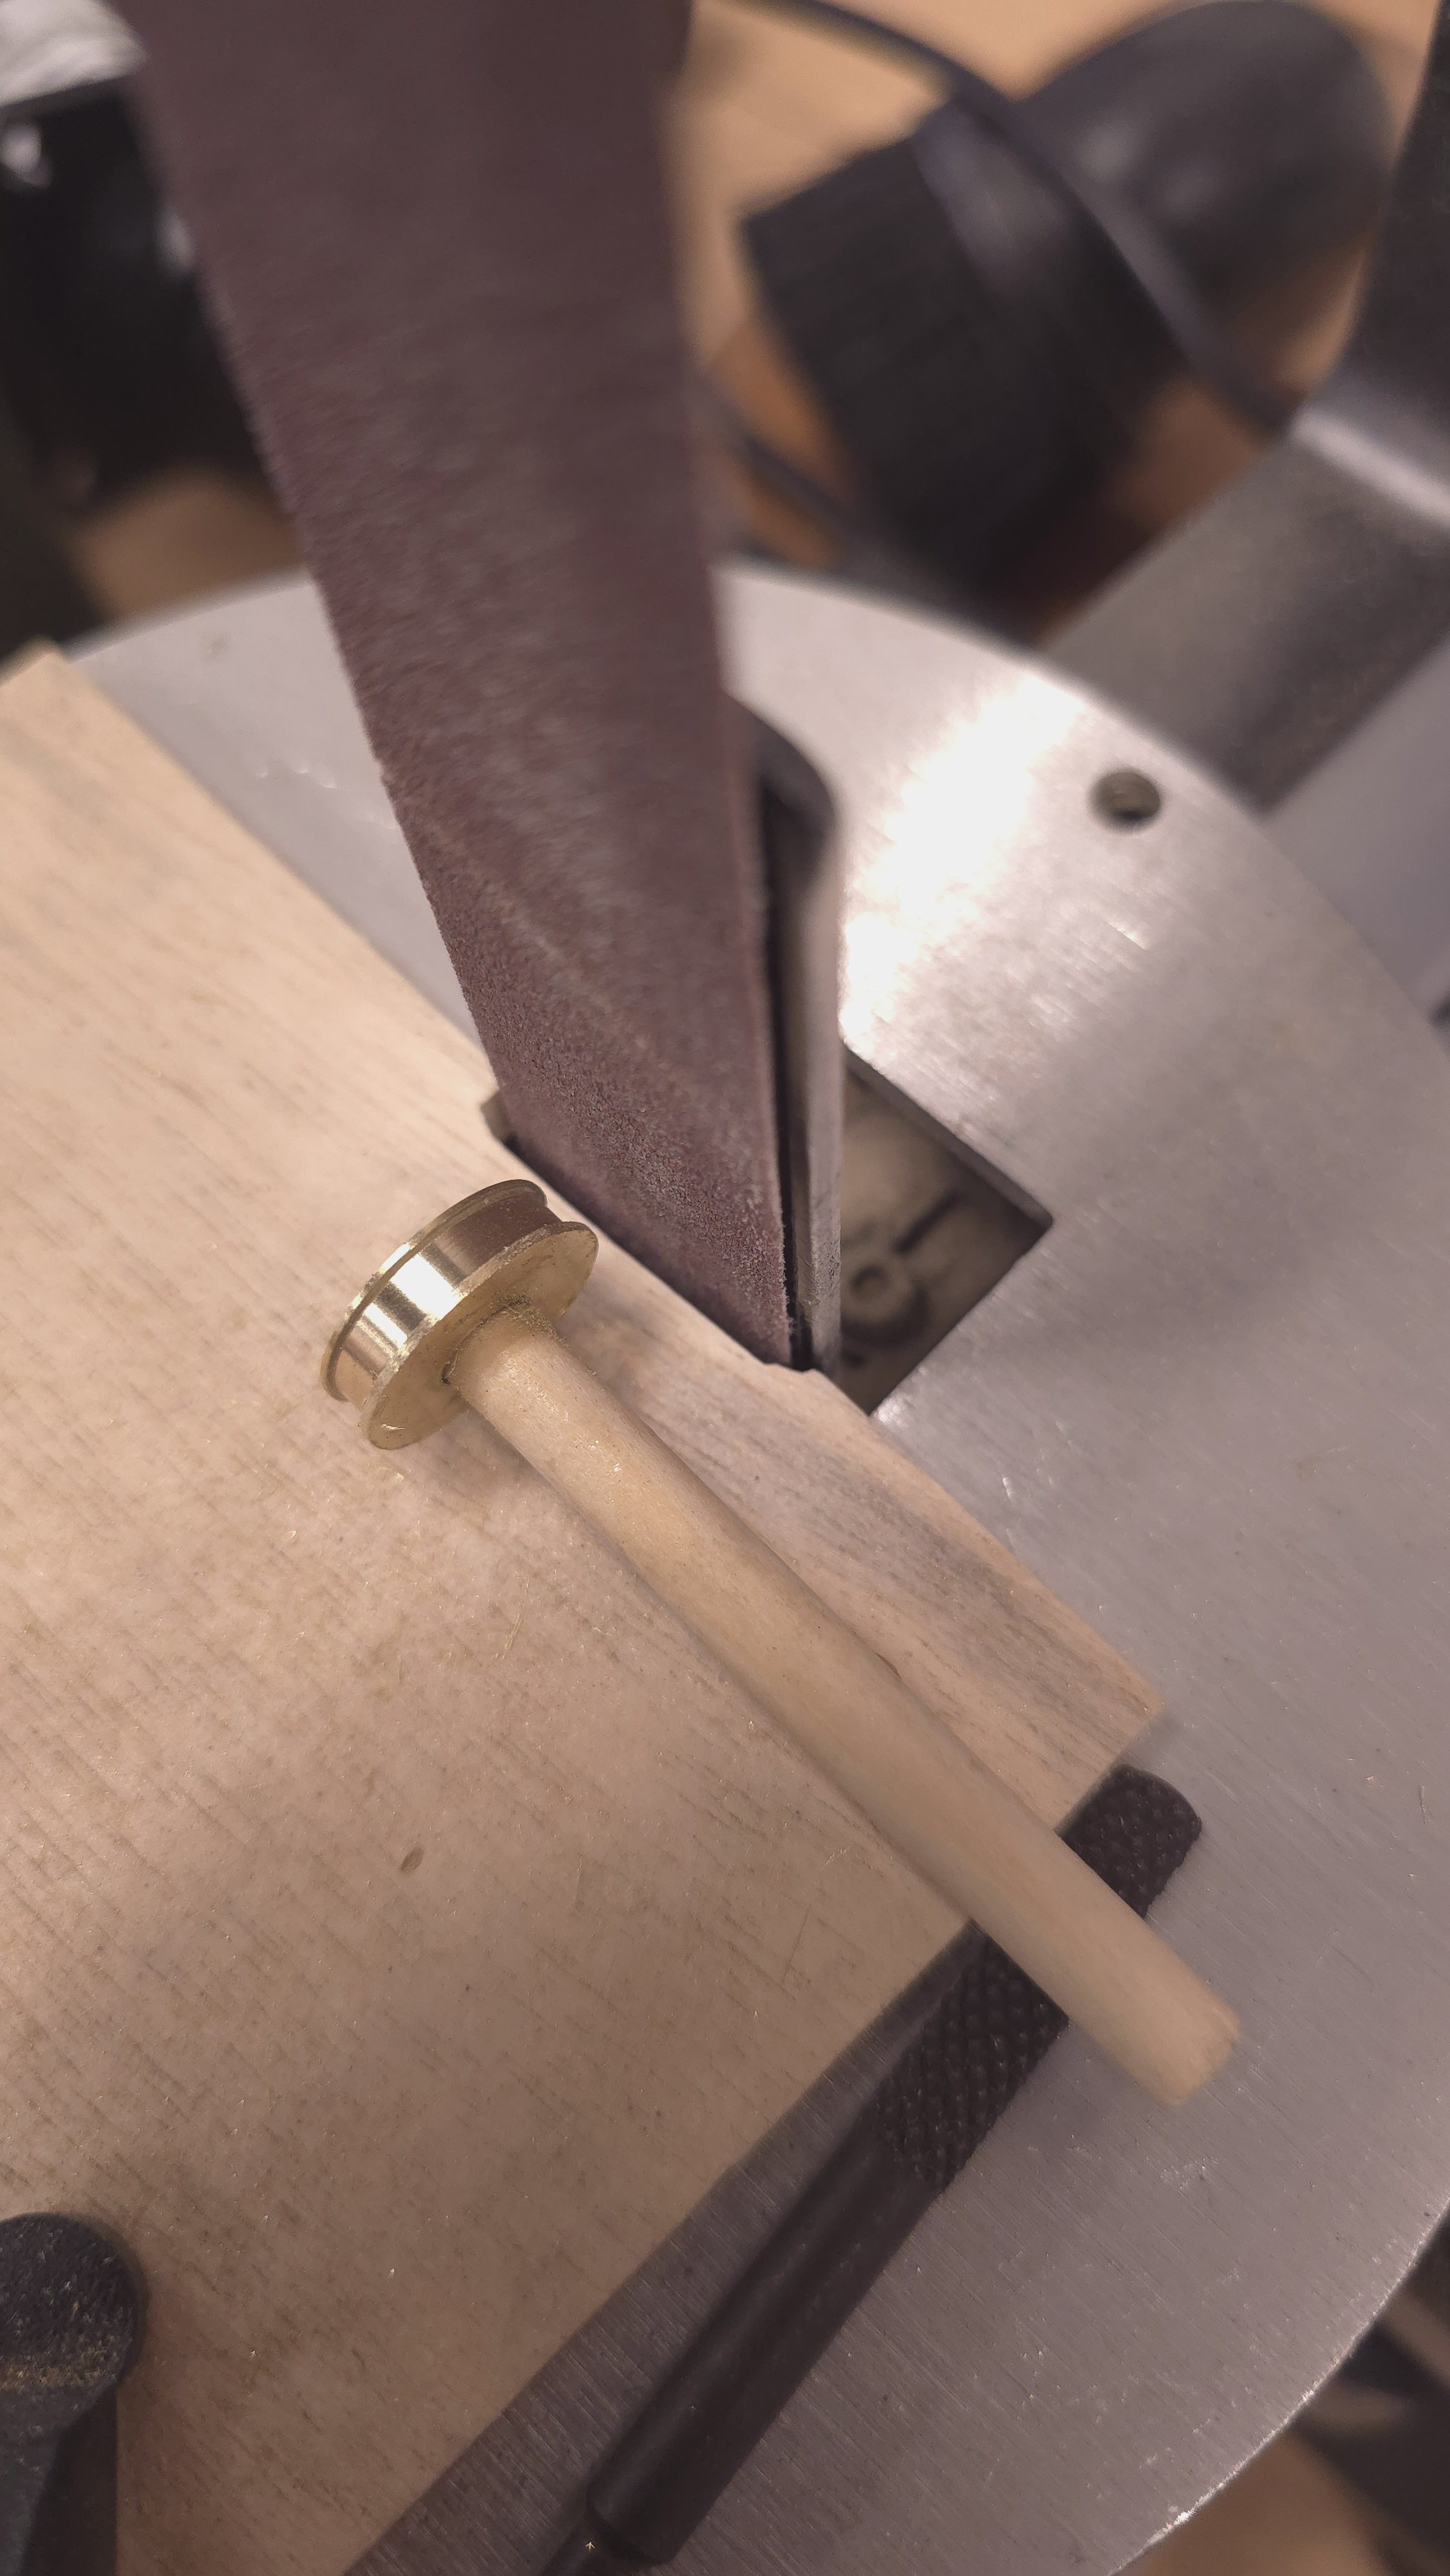
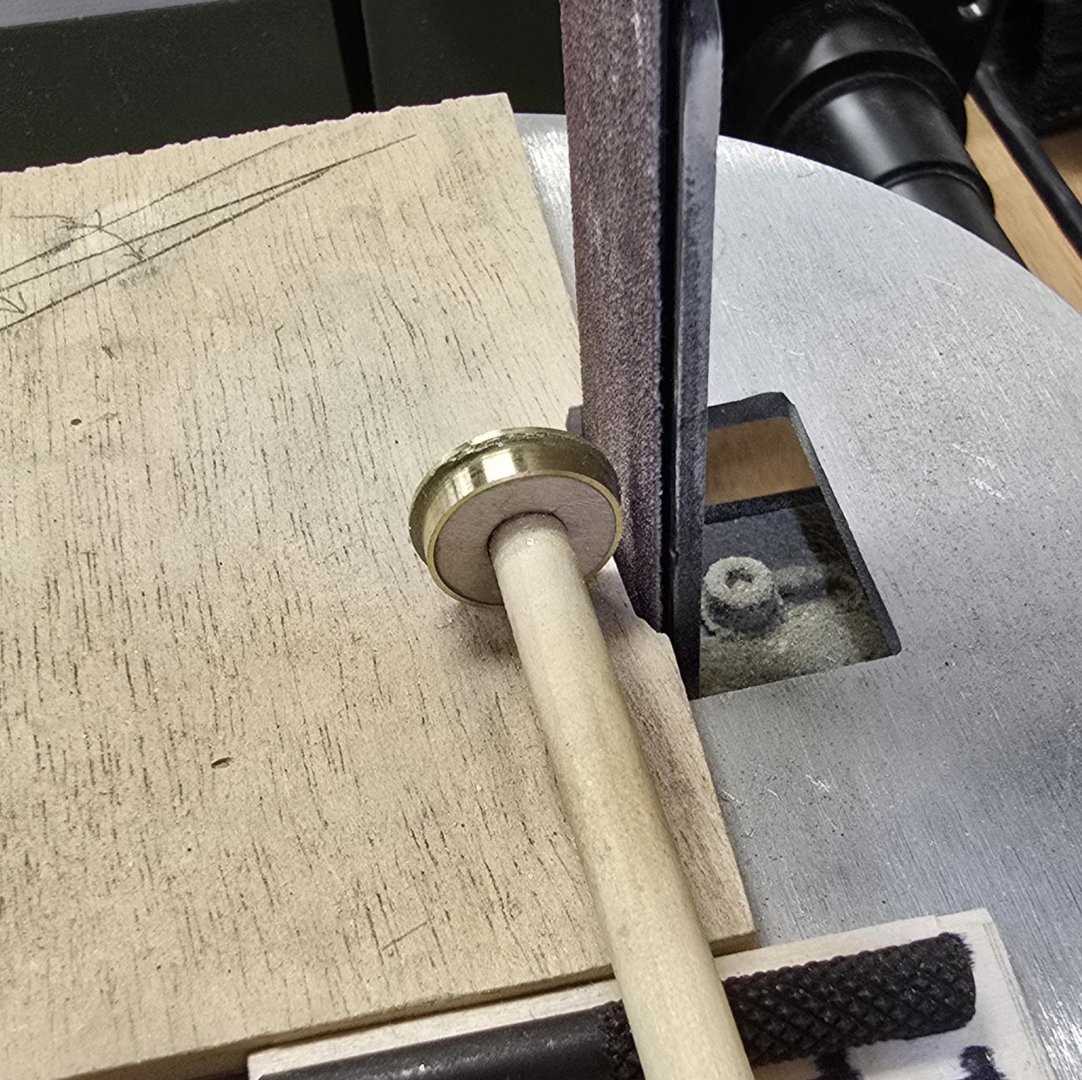
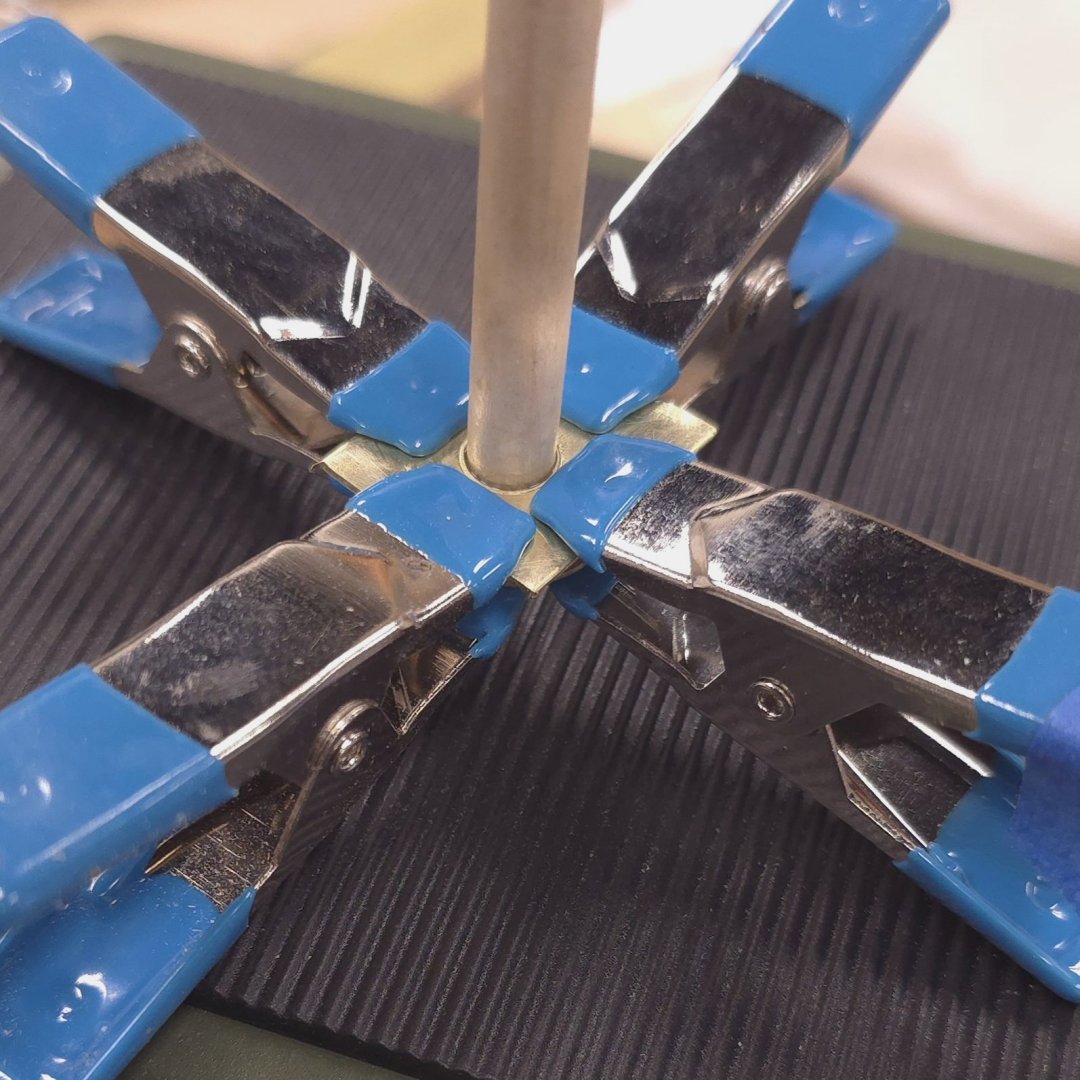
The goal: The process: I forgot to mention this when I first posted this, and I failed to take photos of the intervening steps. but: I fitted a brass ring around a wooden disk, drilled a hole the diameter of the dowel, and epoxied the brass covered ring onto the dowel and against the as yet unrounded brass plate at the end of the dowel. This substantially increased the strength of the assembly and permitted unfettered milling. Get close to the final diameter with the disk sander. Fine tune on the lathe. Ready the bottom disk. Rinse, repeat. Stain, and get ready to assemble. I've got to wait for the stain to dry before I glue the wooden pieces to the rest of the capstan assembly. Then I'll mill the holes in the brass ring above the whelps and attend to finishing touches.


-
USS Constitution by mtbediz - 1:76
Der Alte Rentner replied to mtbediz's topic in - Build logs for subjects built 1751 - 1800
and they would match my color scheme! Thanks for sharing this with Gregg. I shall benefit, yet again, from your input. ..but then again, nothing is ever easy. Checking for "2.4mm hole brass grommets" online, the closest I could find to your specs were eyelets for 2mm and 3mm holes. And, of course, flange diameters are not provided in the specs. I suppose being .4mm too small beats being .6mm to large. I suppose a $12 investment in 200 of these won't break the bank, and it beats having to file, polish and spray paint the parts that came with the kit.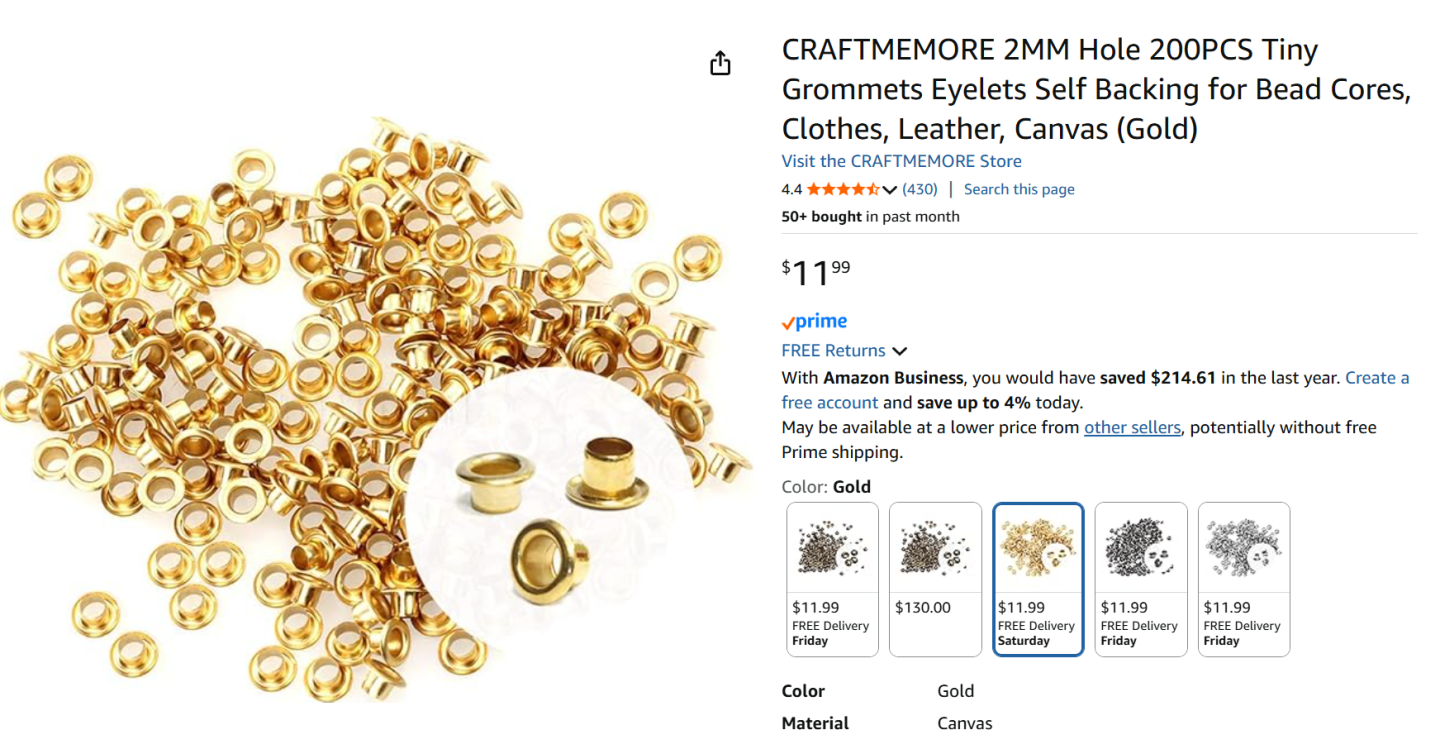
-
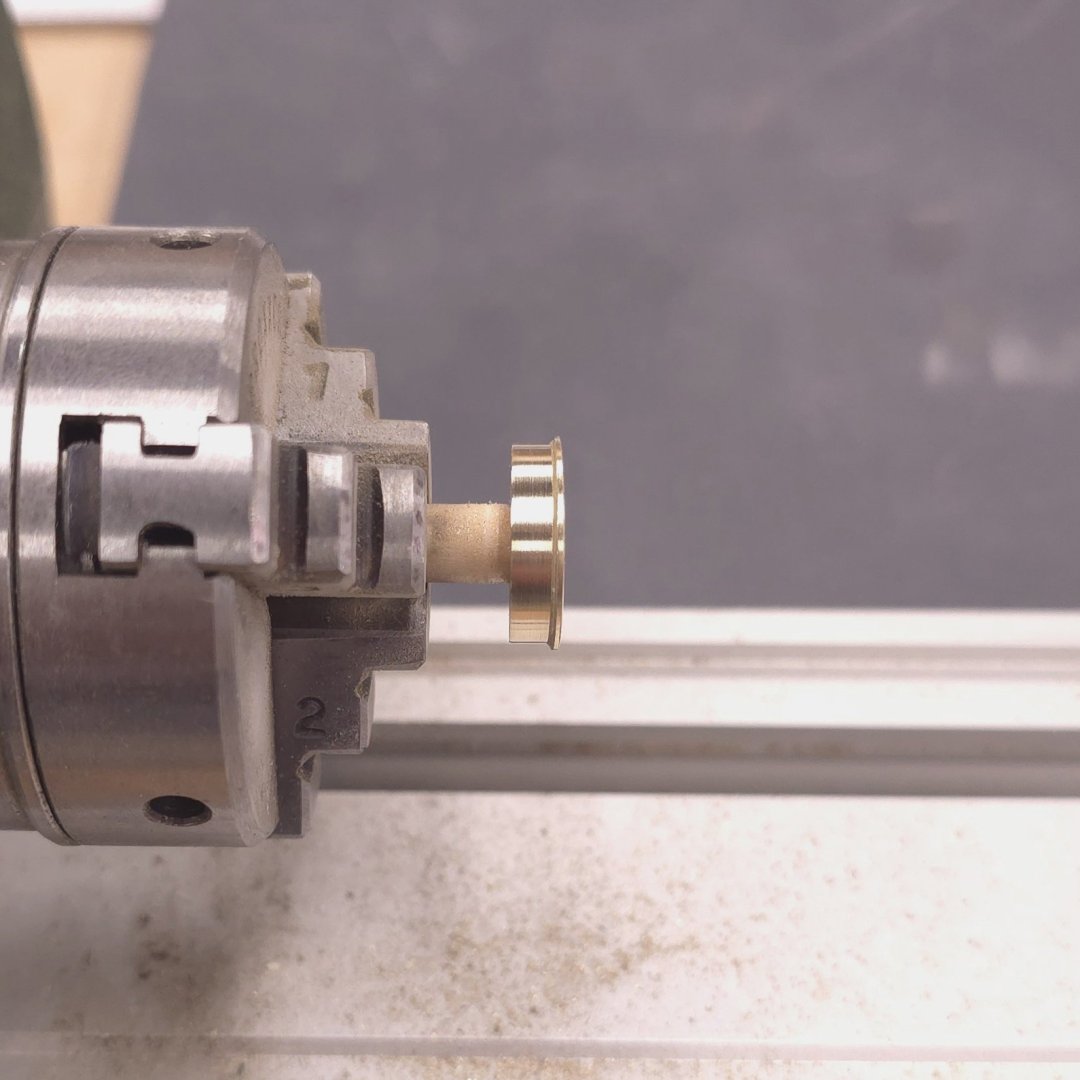
I'm going to try a radical approach in making the capstan. I'm starting from the top and working my way down. I tried adhering the brass blank to the wooden dowel with C/A glue first, but it did hold well under the stresses of milling. I did get fairly far in the process of rounding the corners, but the brass plate kept separating from the dowel. Consulting my AI assistant, I was advised to try G Flex epoxy. I didn't have any of that, so am trying the Bob Smith 5 minute epoxy that I have on hand. I just applied it and I'm going to let a cure overnight. The results you see were from the experiment with c/a glue.

-
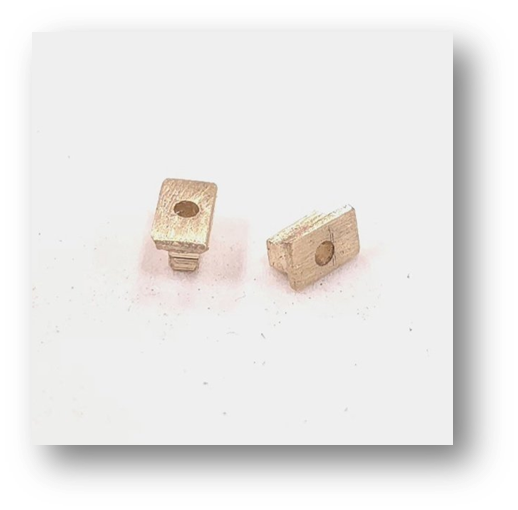
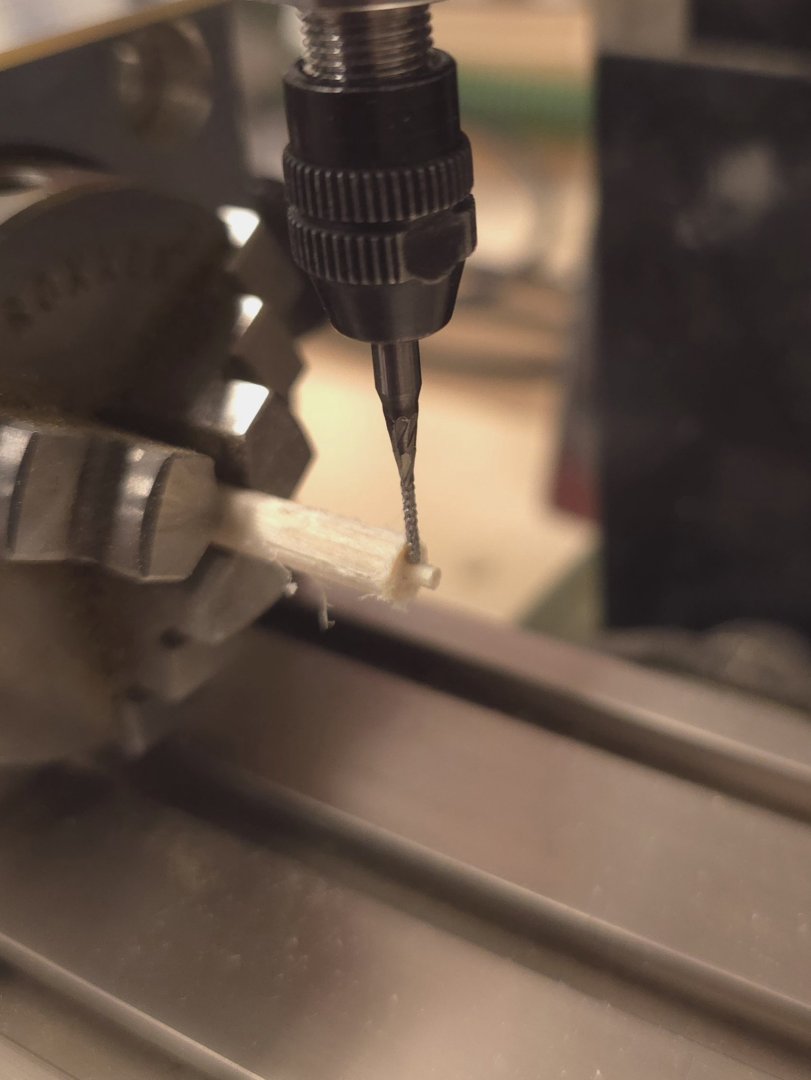
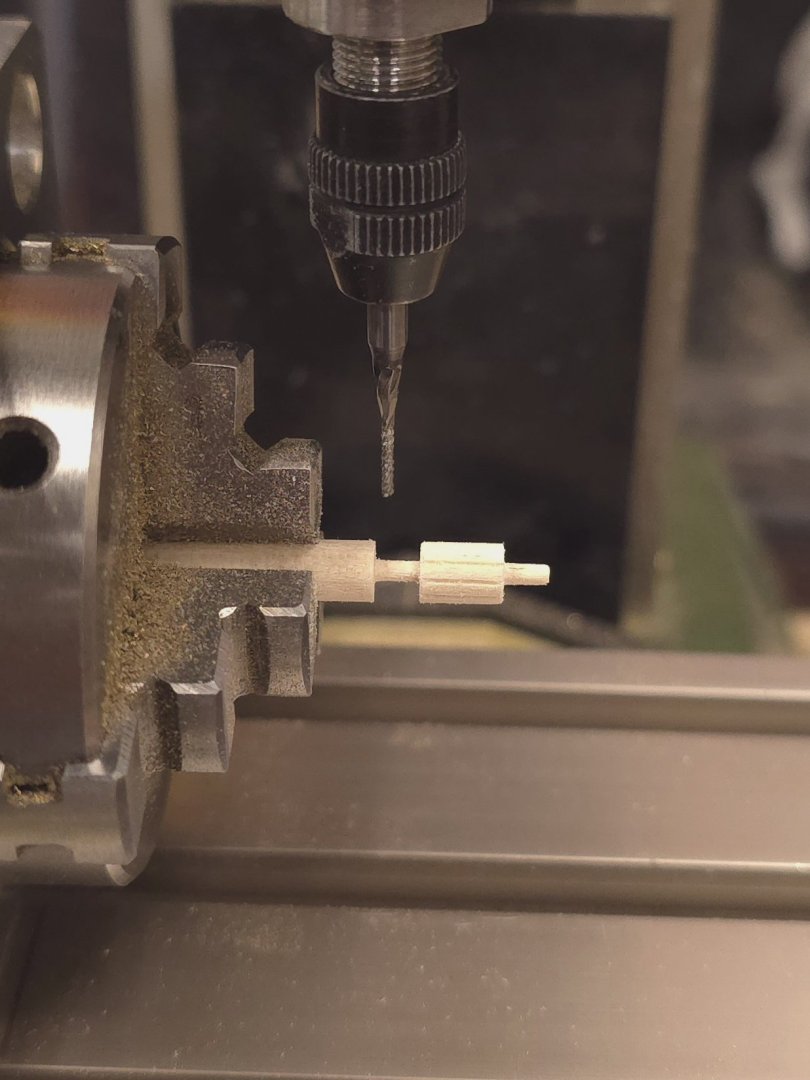
Each one is a solid piece of brass. It's all just a matter of careful setup on the mill. That dividing attachment makes for effortless rotation of the brass stock. The rest is just a matter of milling away the material that isn't part of the fairlead. Also drilled the hole using the mill. It's quite easy to figure out the indexing. Use high speed on the mill, have sharp cutters, and feed the material slowly. It's almost as painless as working with boxwood. I began by milling a 3/16" square shape roughly 1/2 inch long at the end of a 1/4" diameter brass rod. I wish now that I'd taken photographs of the milling process for these. I thought doing so might be perceived as being repetitive, after all the detail on the binnacles. Similar effort for both..
-
Using similar techniques with the Proxxon mill, I fabricated the brass "fairleads", as identified by X's A/I assistant Grok, for the steering wheel rope. Close enough to the real thing? It is for me.
-
They are quite the adventure.. File this tip away for when you "treat" yourself to that project: When attaching the spokes, use double sided tape to hold the hub center and the rim in place on the jig that comes with the Syren kit. That's the only way you're going to get the spokes glues in place. This was not spelled out in the instructions.
-
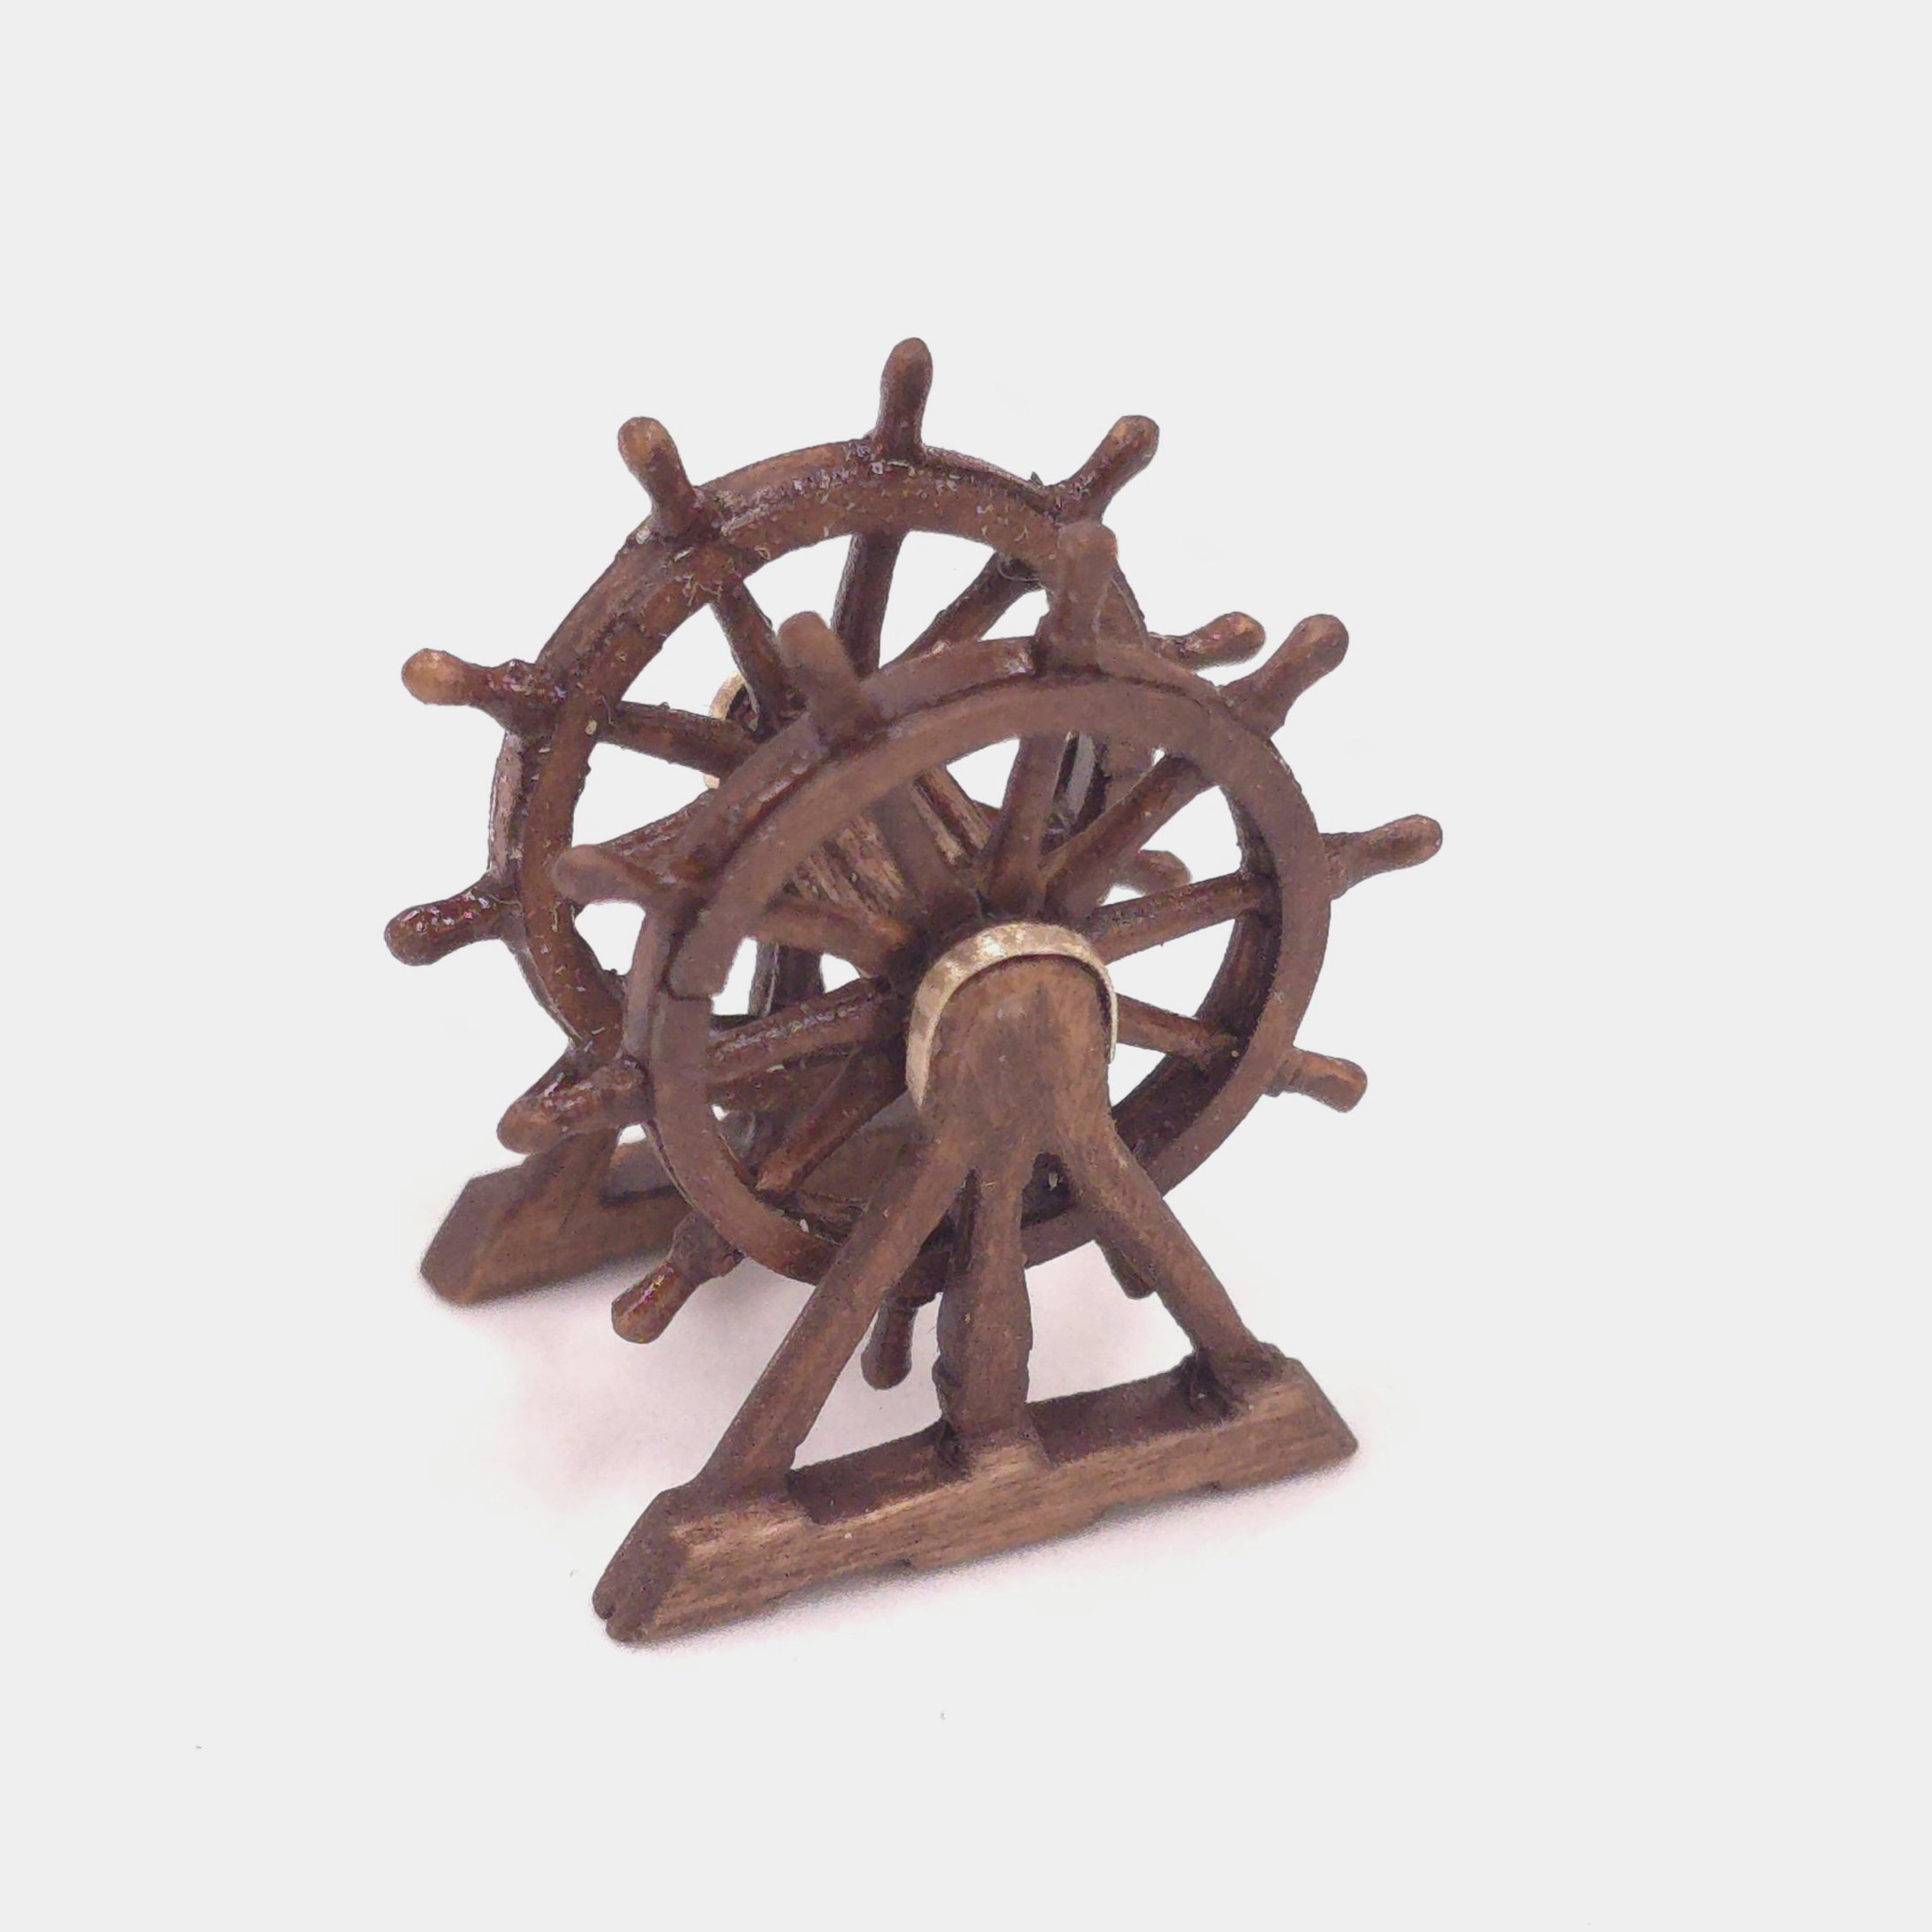
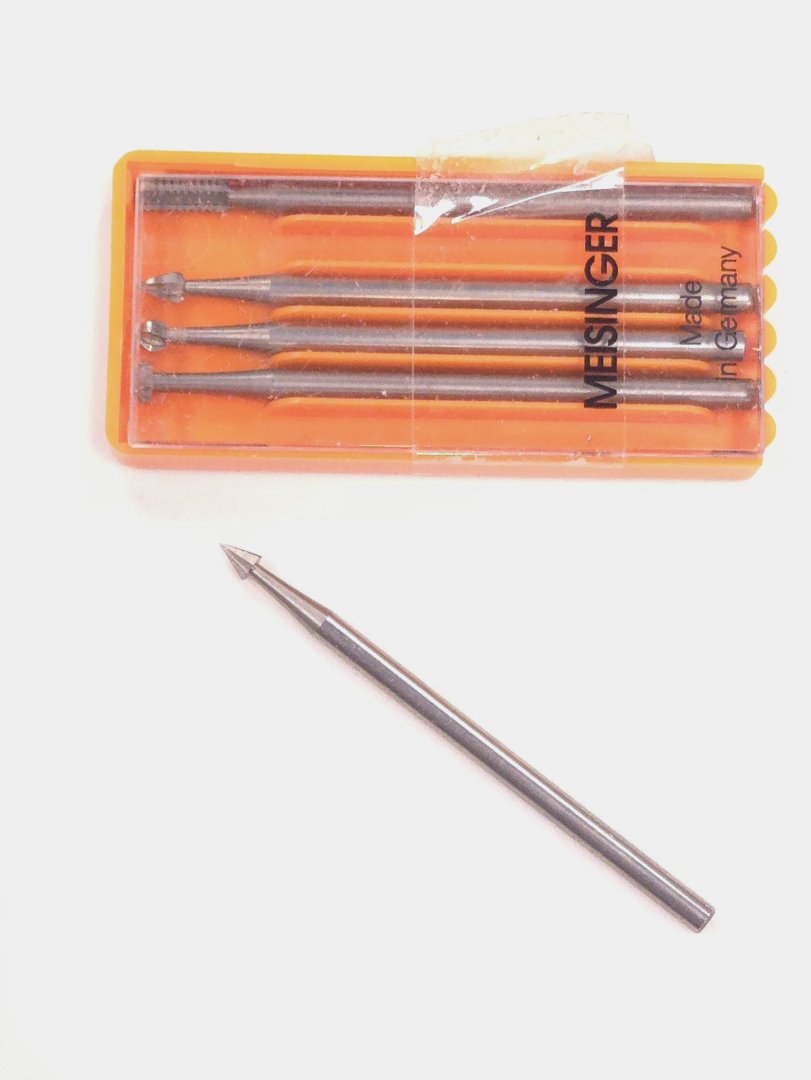
(This is a post-post question. Does anybody know how to format photos in these posts, so that they look good on both a cell phone and a desktop PC? This post looks great on my PC at home, but I just called it up on my phone and the formatting is completely different.) A little clean up and some poly, the wheel will be, for the most part, done. Still to do would be the little brass sleeves where the wheel rope would disappear below deck. A little tip: you can manually rotate the divider attachment for the Proxxon mill with the cutter spinning in place to effectively turn the divider into an ersatz lathe. Using this bit, and rotating the Proxxon divider 36-degrees at a time (locking it in at every step), I milled the detail grooves into the wheel hub. Again, using the dividing attachment like a lathe, I turned the axles on the hub. (Now, Grok informed me that the hub s/b called the axle. If so, I turned the axles on the axles..) Nothing's glued yet, and, as I said, some cleanup needs to be done to tidy the wheel assembly up,


-
Blast! I still haven't caught up to you. Oh well, it's a marathon (at least for me) not a sprint. Enjoy your remaining days off. 🙂
-
That seems to me to be quite unconventional. Is there a reason you chose the "meet in the middle" approach? Did you use tick marks and math? or just eye-ball it?