Der Alte Rentner
-
Posts
1,045 -
Joined
-
Last visited
Content Type
Profiles
Forums
Gallery
Events
Everything posted by Der Alte Rentner
-
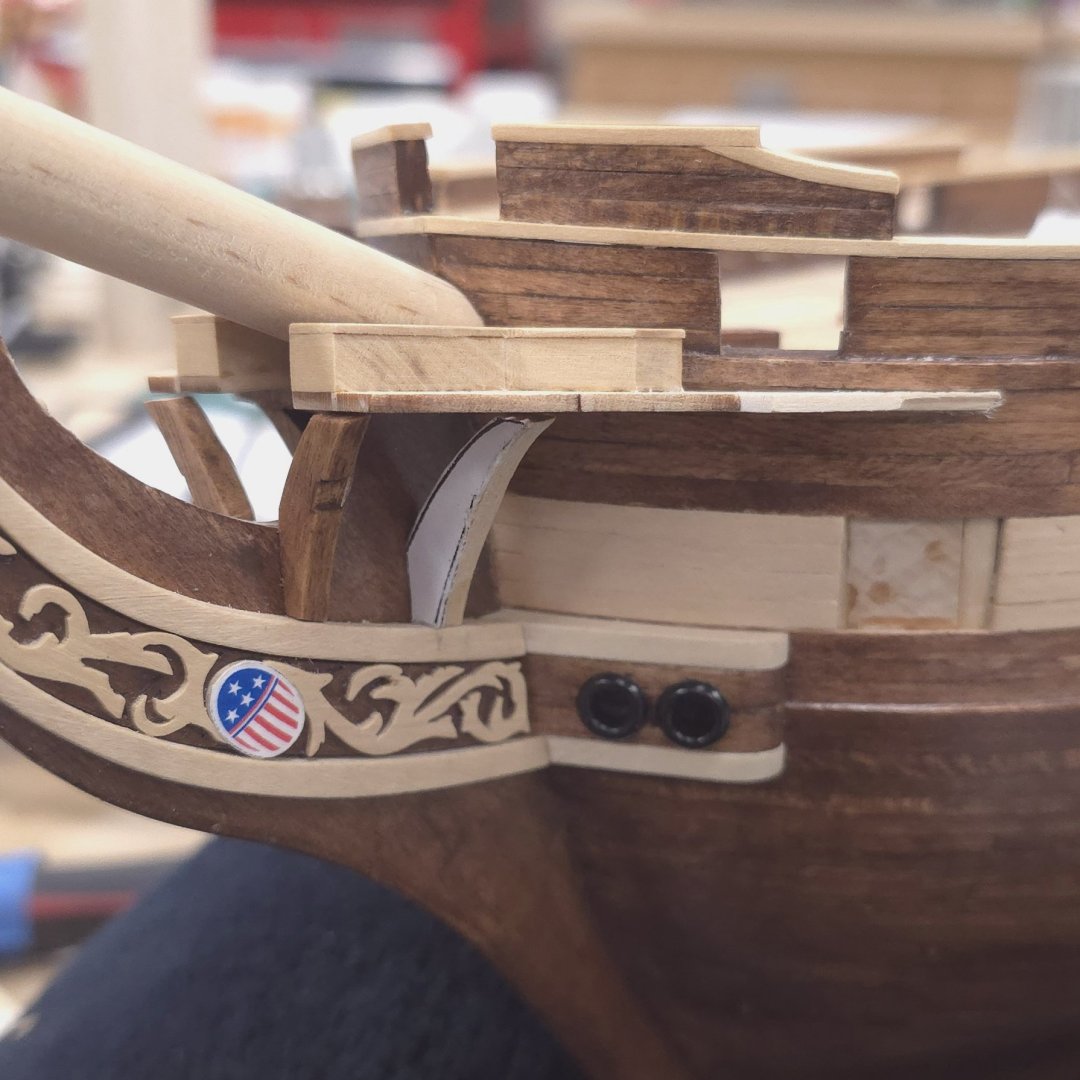
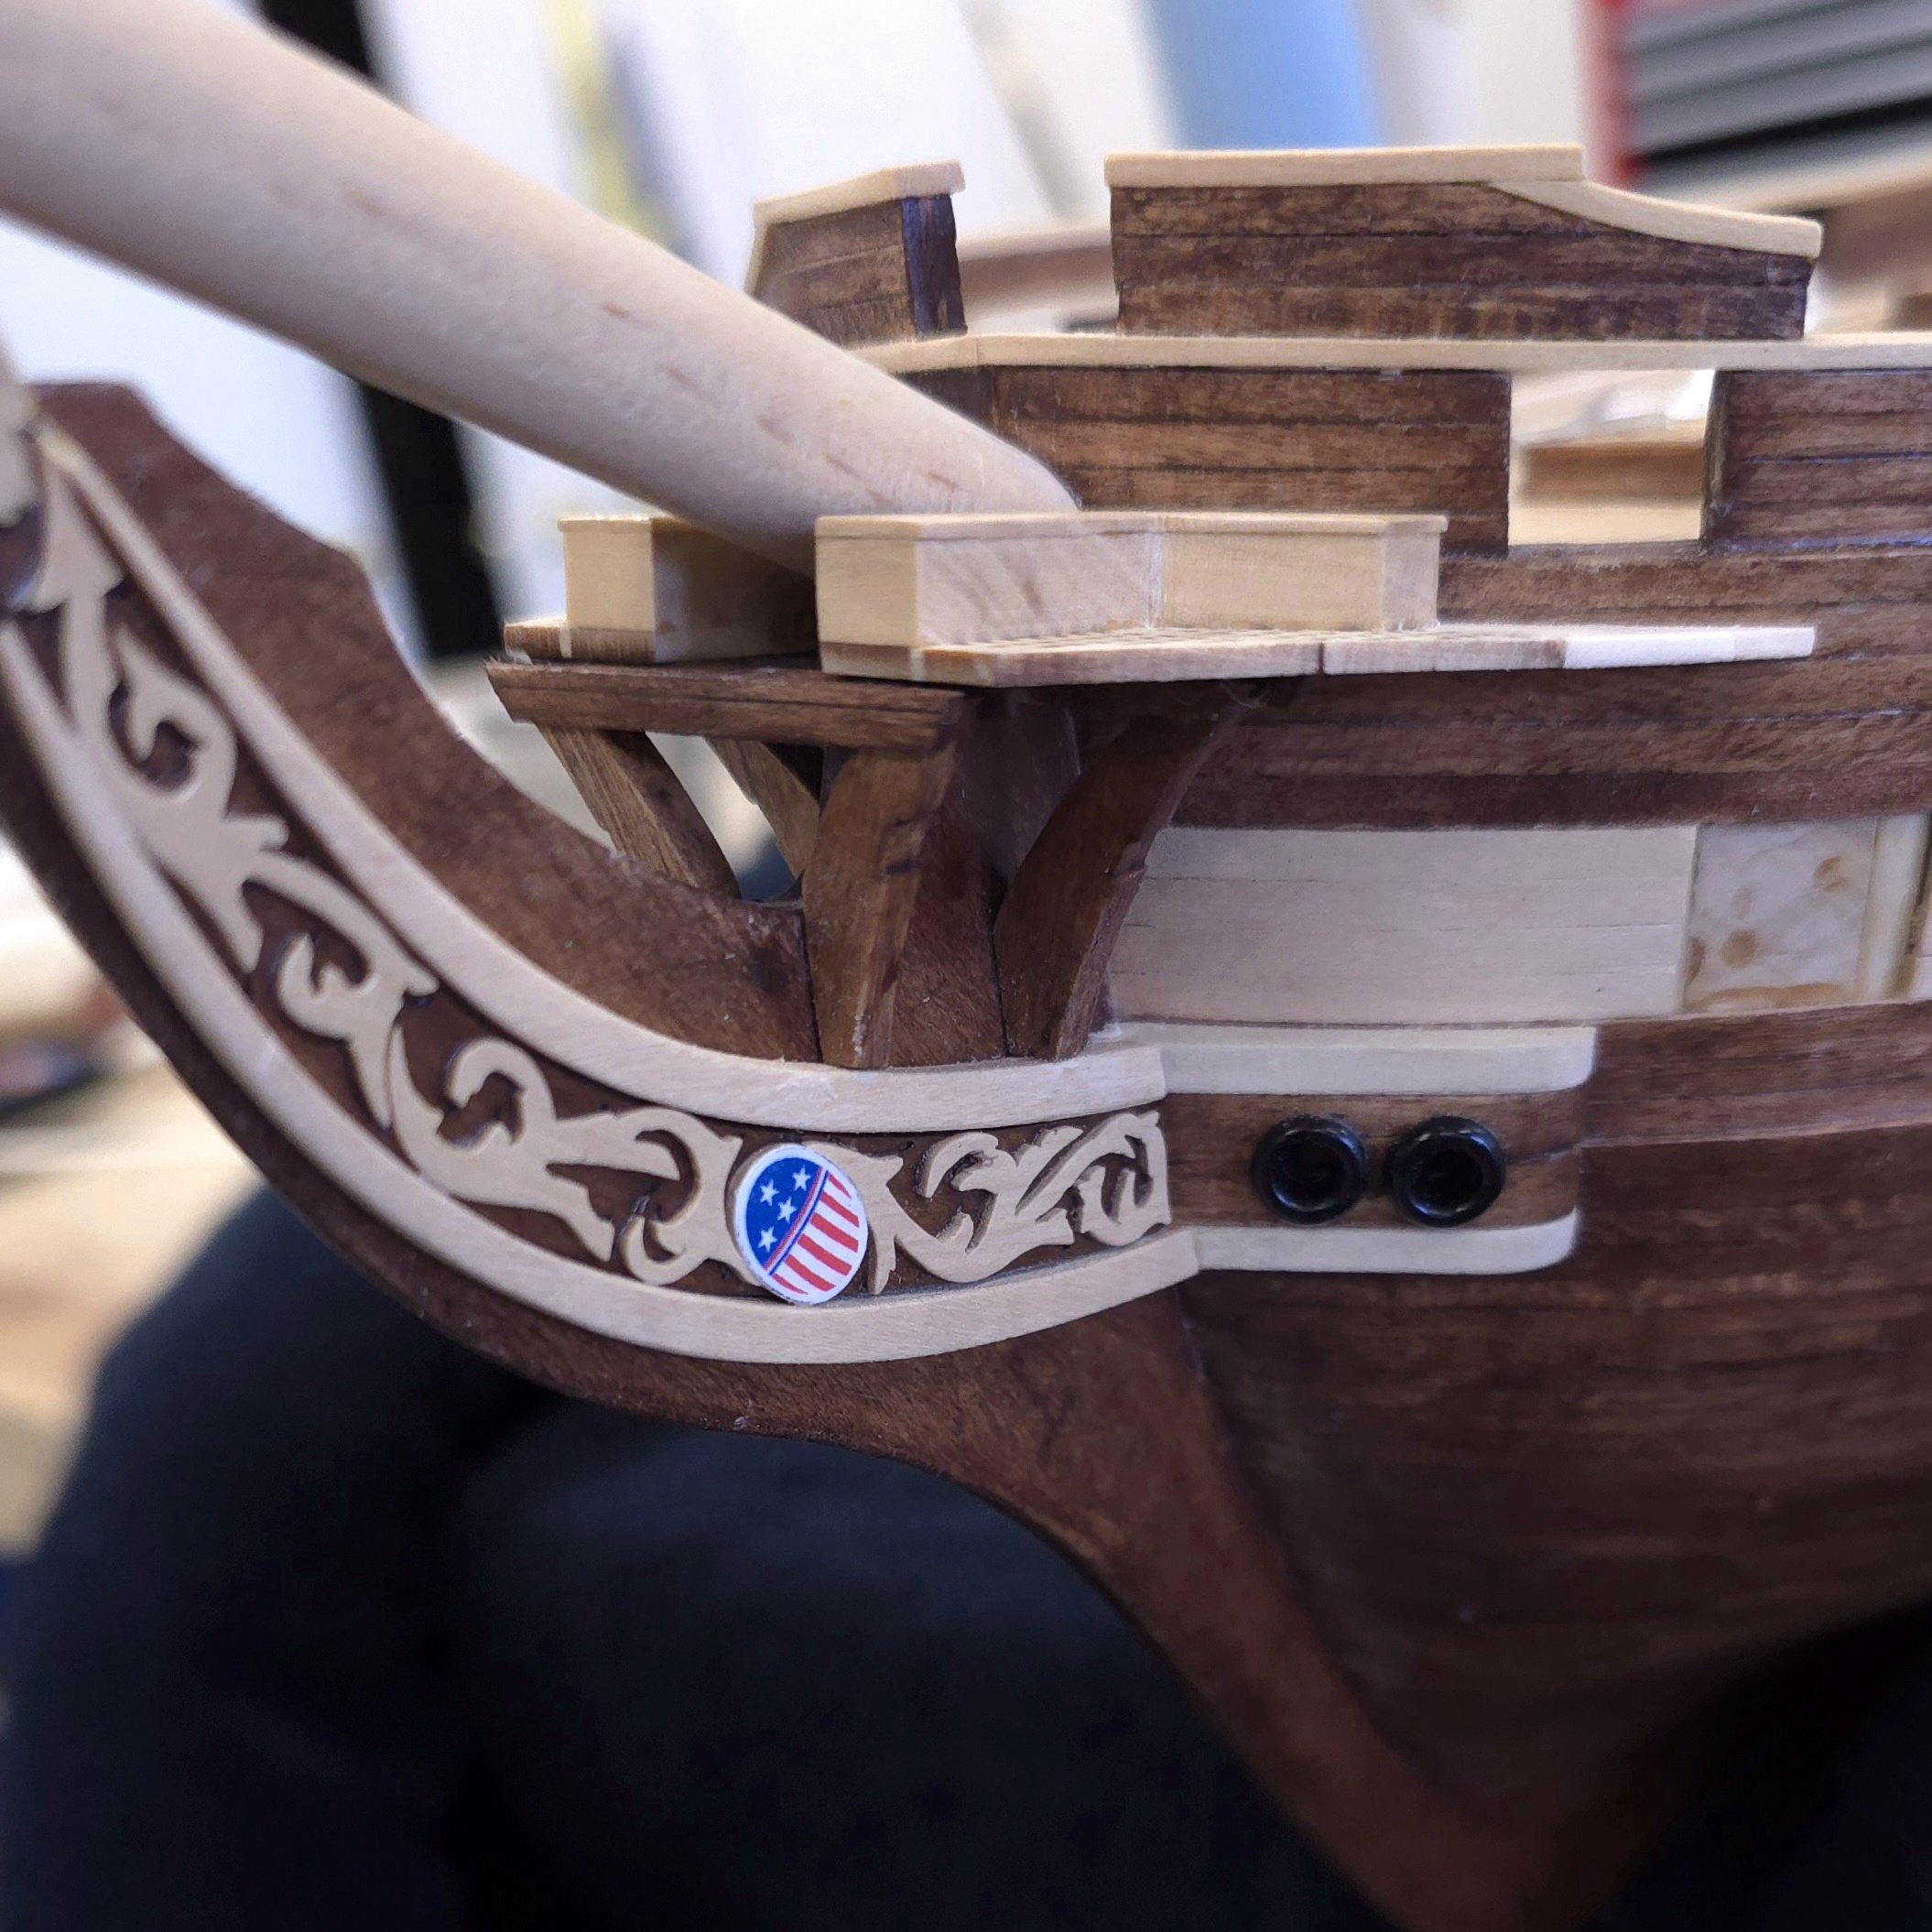
 I'm glad to see you got some value out of the kit's components. Looking sharp there. Um, what's the pin(?) with the red ball at the end, and what's it used for?
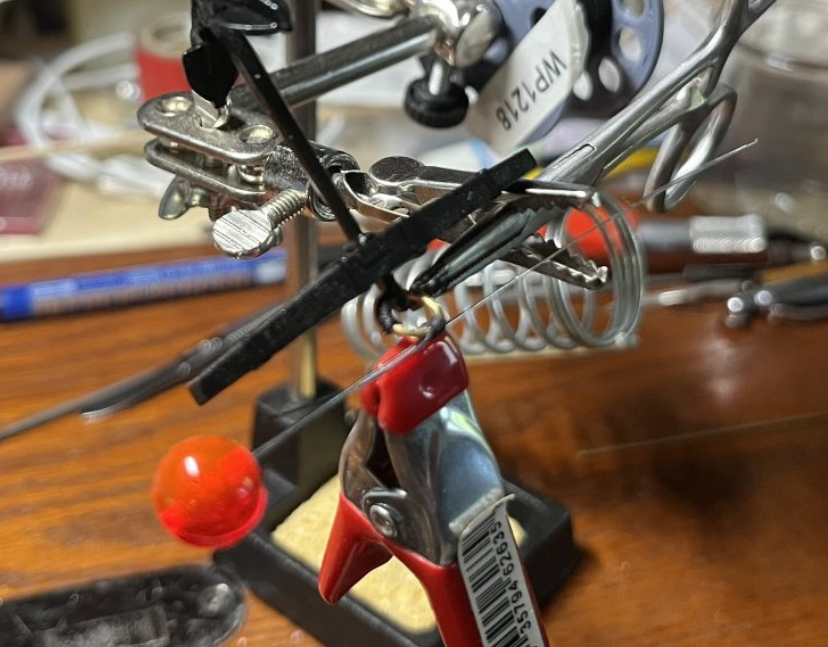
-
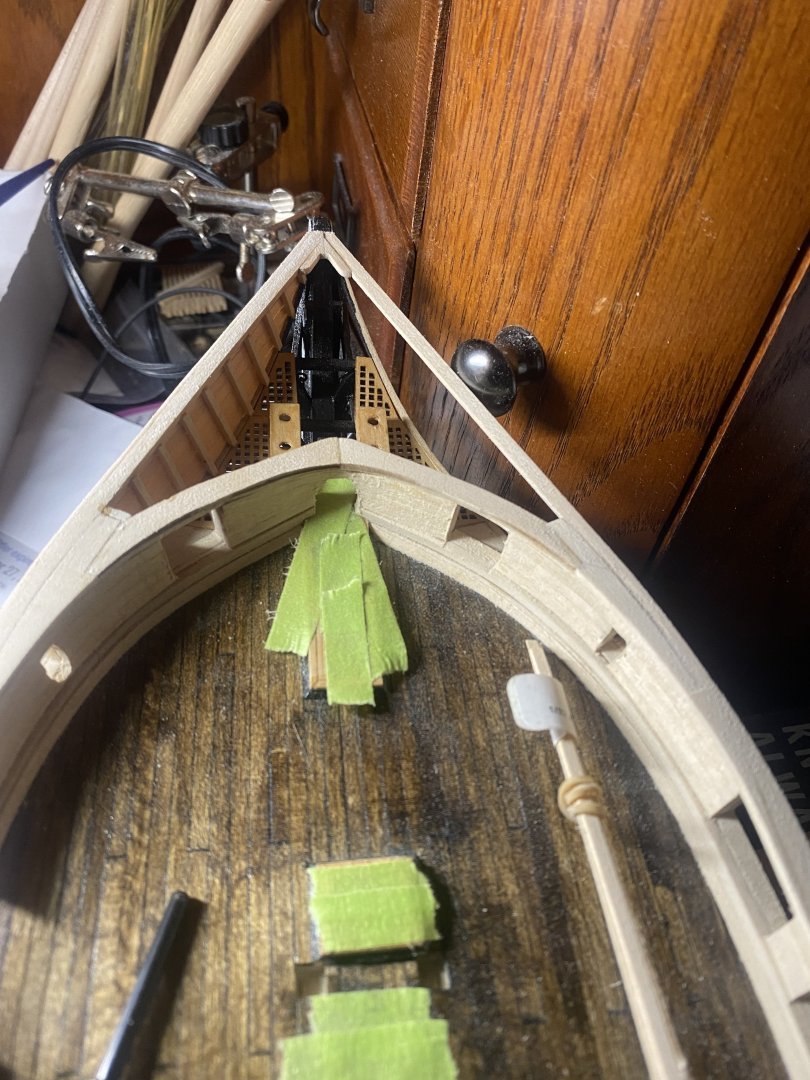
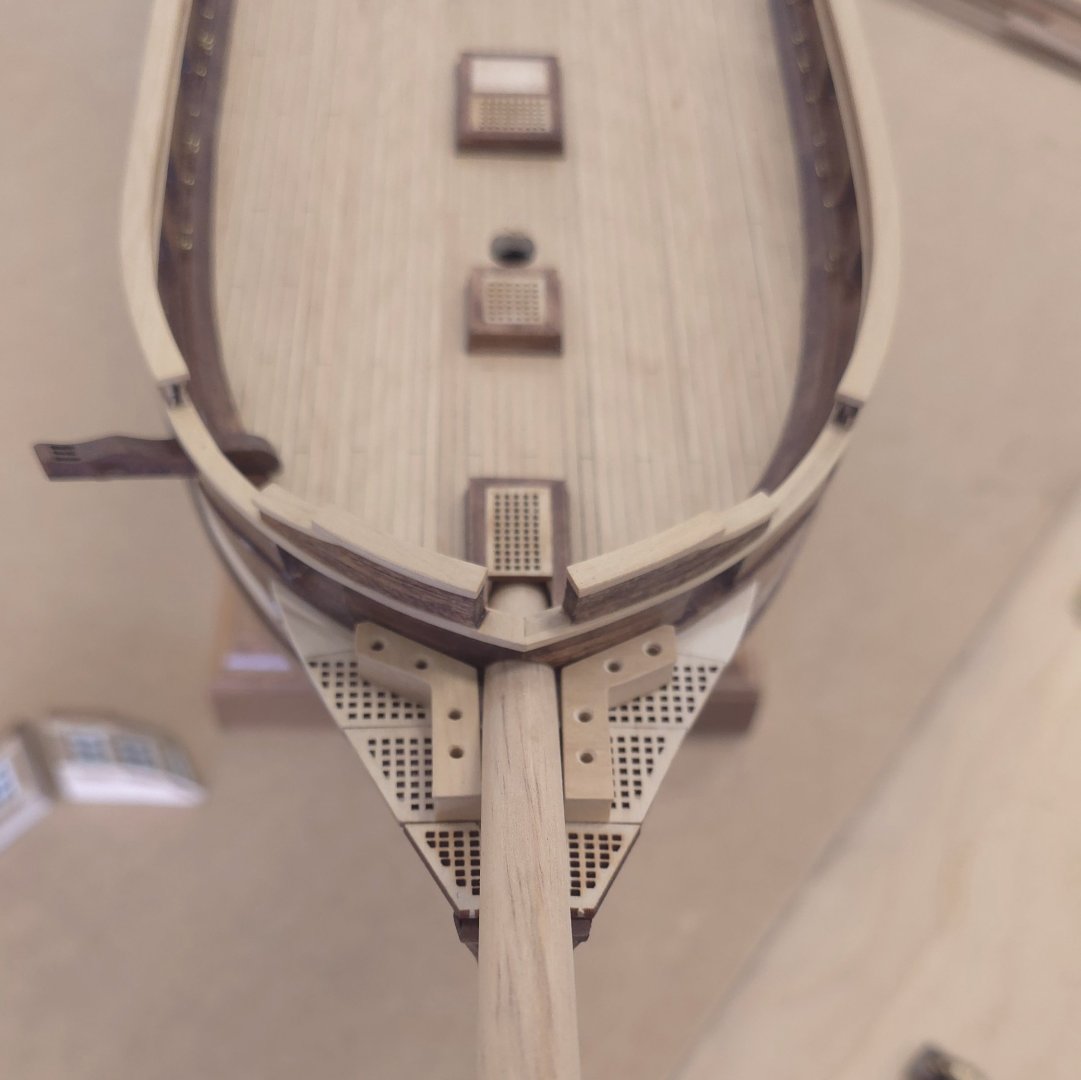
Though not visible in the photos below, I did check to see where the gammoning would be on the bowsprit and I believe there will be plenty of room to pass rope between the head and the bowsprit. So, no worries on that front. Meanwhile, work begins on the port side.. (As an aside, this dividing attachment is a pretty crappy accessory for the proxxon MF 70 mill. It would be nice if the rotary base would accommodate the small proxon vise instead of having these ridiculous Jaws. At least I got one thing accomplished using the tool.)


-
USS Constitution by mtbediz - 1:76
Der Alte Rentner replied to mtbediz's topic in - Build logs for subjects built 1751 - 1800
And you have every reason to be happy with the overall look. Splendid work! -
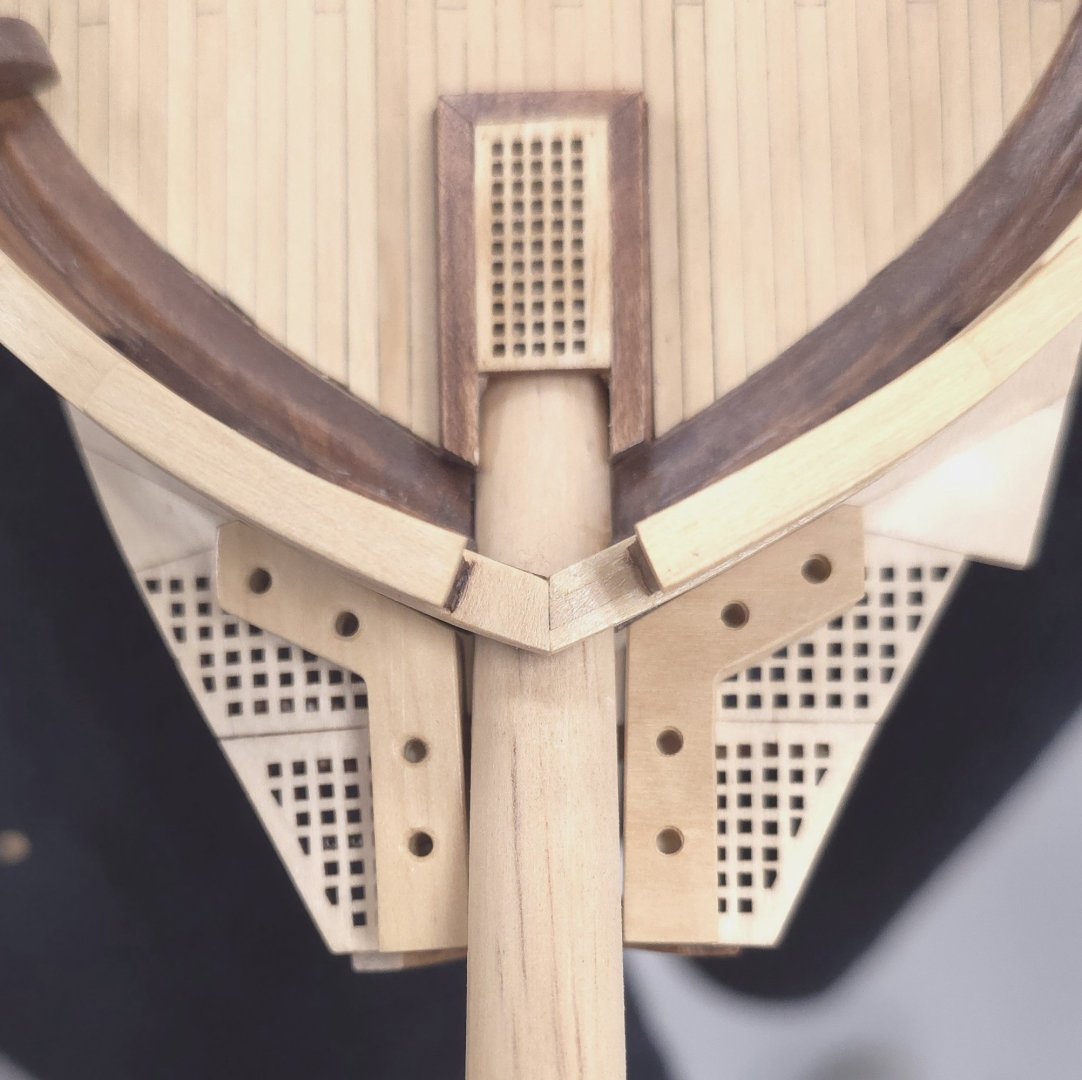
Exactly what I did, Thomas. In the end, the planking strengthened the entire structure. All's well that ends well. Starboard side done. Now I get to relive the entire adventure on the port side. Oh joy! 😁 P.S. Once again, a photo shows me something I didn't see with my naked eyes. I have to redrill the Gammon holes, preferably before I plank the port side. And yes, Mustafa, rope gammoning is correct. I've seen several references to it online and at this website. Finally, before anyone asks, I have no idea why I put dowels in those holes in the stem..

-
Hey, that's a great idea! If I get that far.. Today was very frustrating. While gluing in the first plank, those "plank stiffeners" came loose at several points along the lower head rail. I pieced things back together as best I could and hope that subsequent planks serve to reinforce the structure. My choice to stain these parts is coming back to vex me yet again. It's oil based and covered with clear matte poly, but given the small surface areas at the mating points, the joints are extremely fragile. If things go south, the gammons will be the least of my worries.. Thanks again!
-
Well, well, well.. another deficit in the Hunt practicum. There's absolutely no mention of gammoning that I can find anywhere through chapter 12. Now, maybe when I get back to my desktop I can search for the term "gammoning" and see if it pops up somewhere. But frankly, I hadn't even thought about it until you asked. The grates are already glued in. Now that I've seen the gammoning on the plans, it's possible I might still be able to get them in, at some point. If not, I'm going to take a low-tech approach and cheat - perhaps just paint them on the bowsprit, or simply omit them. (For what it's worth, the Constructo kit plans don't even include them.) If I don't cheat, maneuvering the chain is going to be really tricky. Two steps forward, one step back. Along those lines, I am finding it very difficult to glue the plank stiffeners in place. Neither tite-bond nor CA glue is sticking well to the lower head rail. I'm hoping that the planks themselves will afford enough points of adhesion, that the whole structure will stay in place. Make that two steps forward, three steps back? Thank you for bringing this to my attention, Mustafa.
-
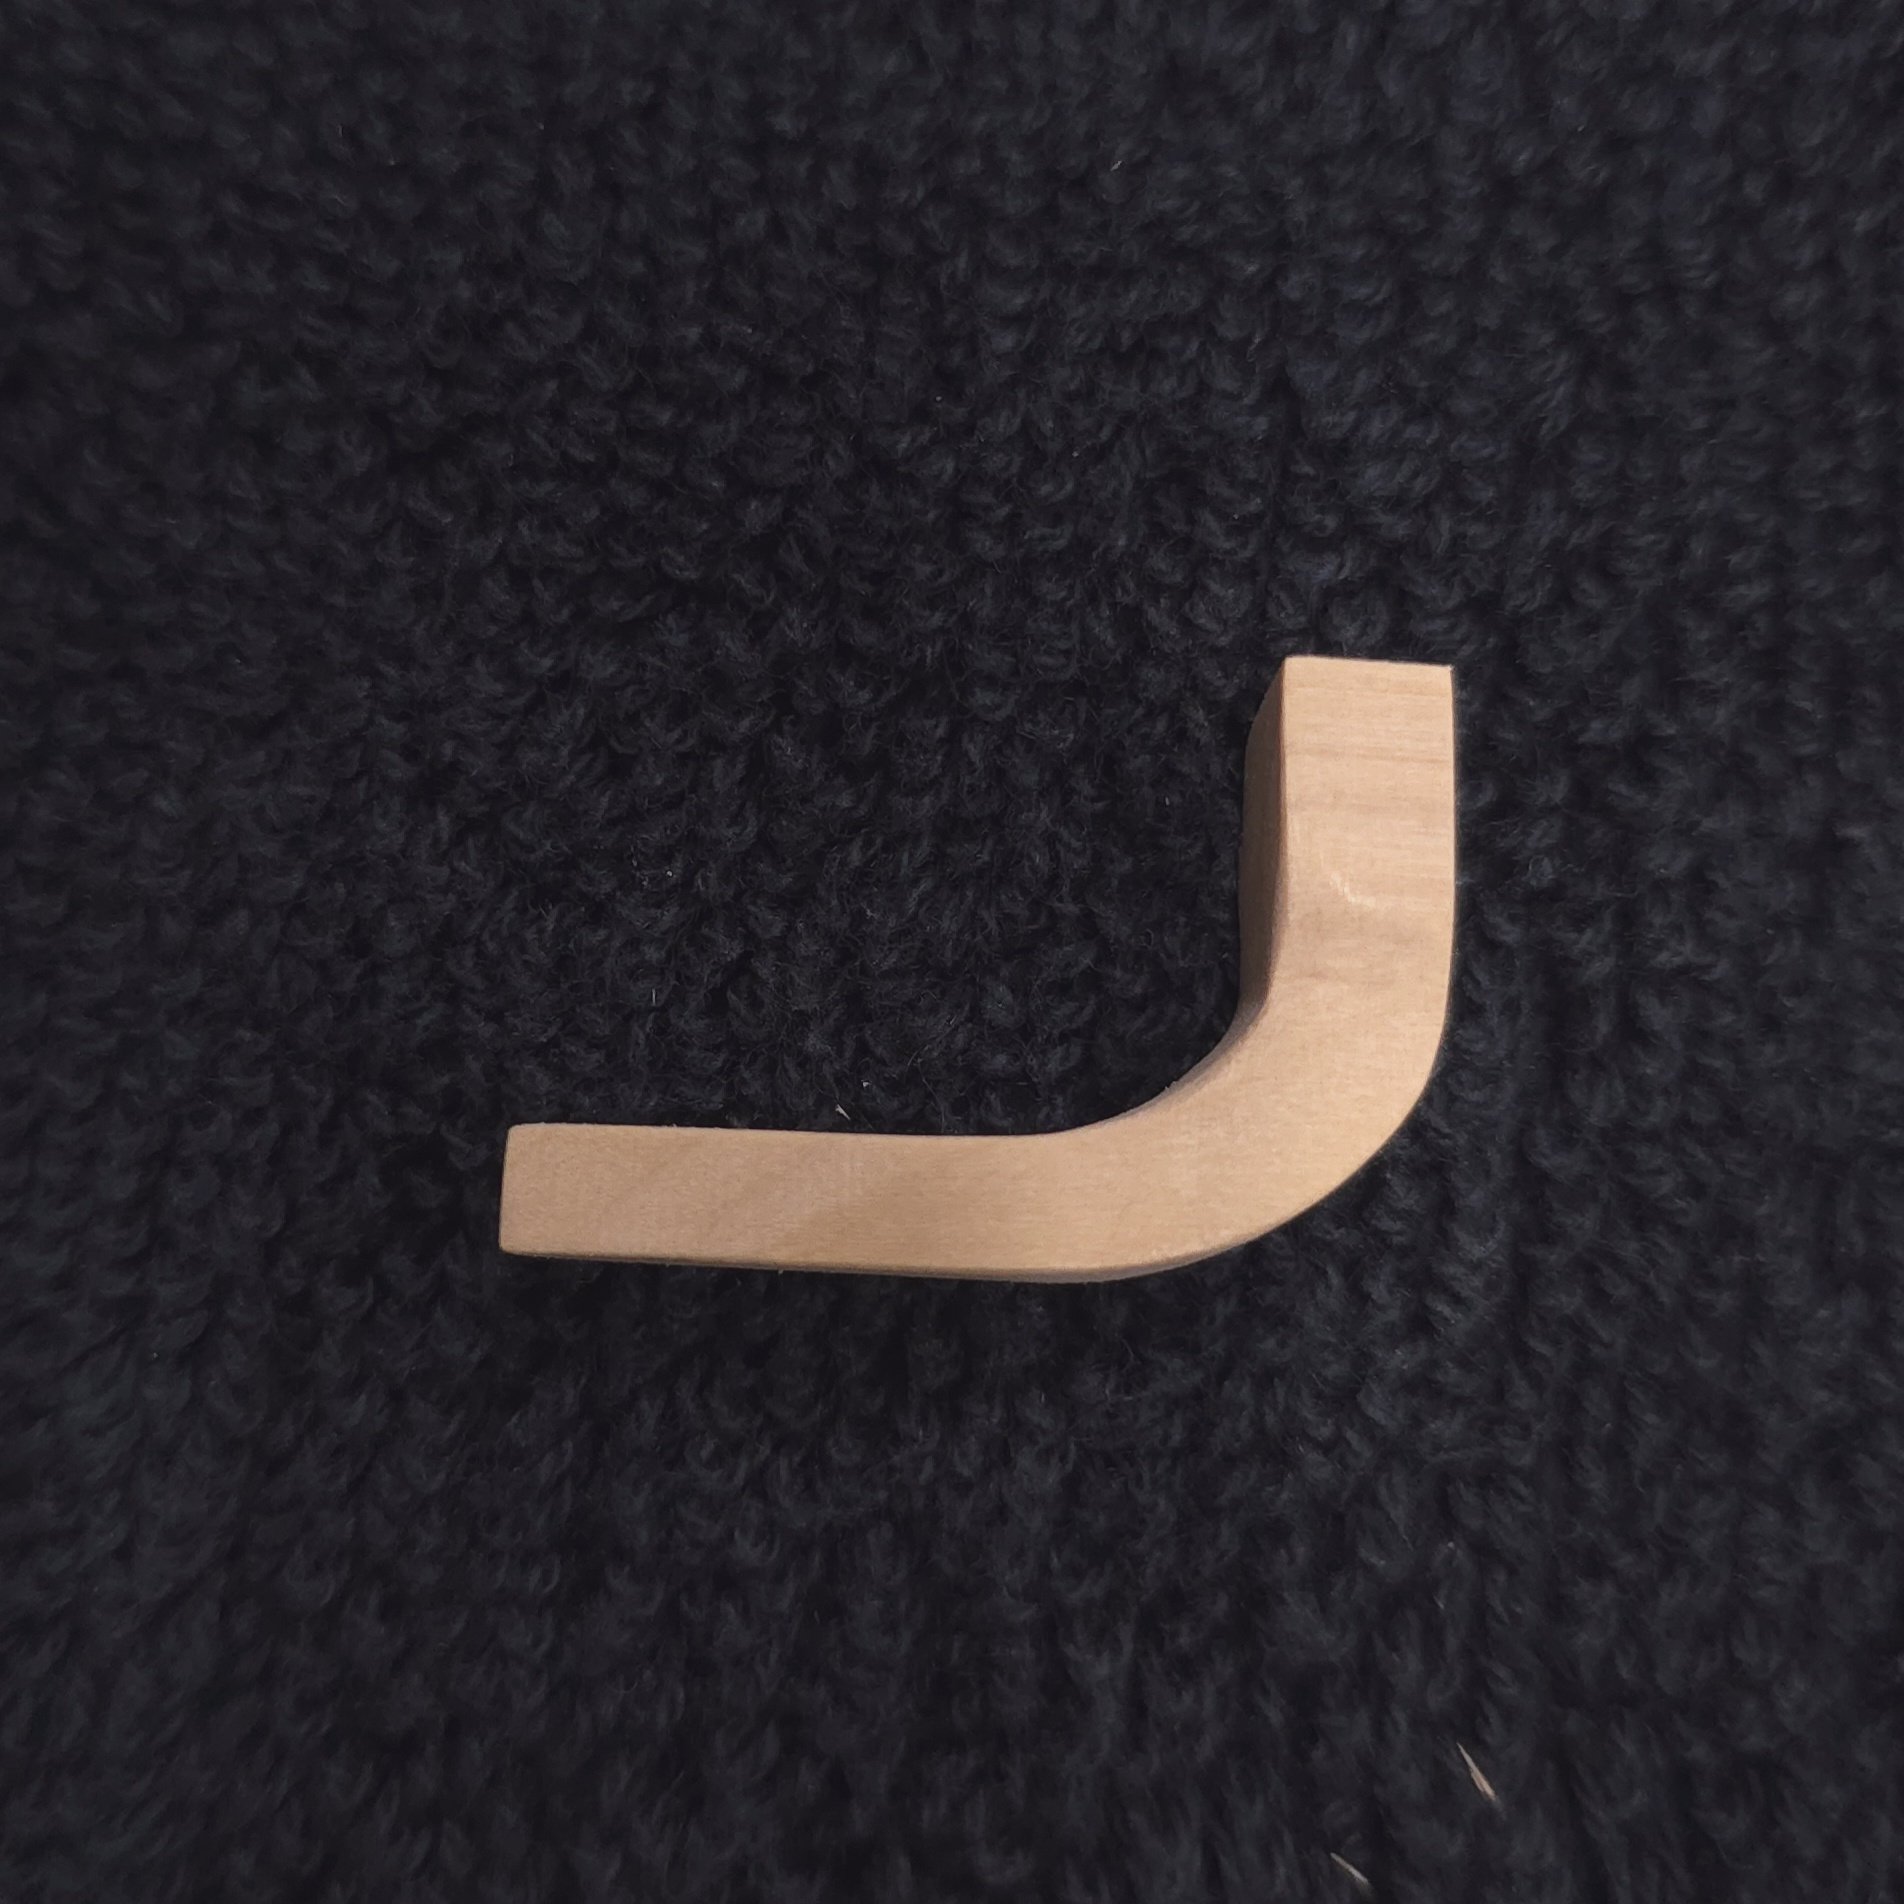
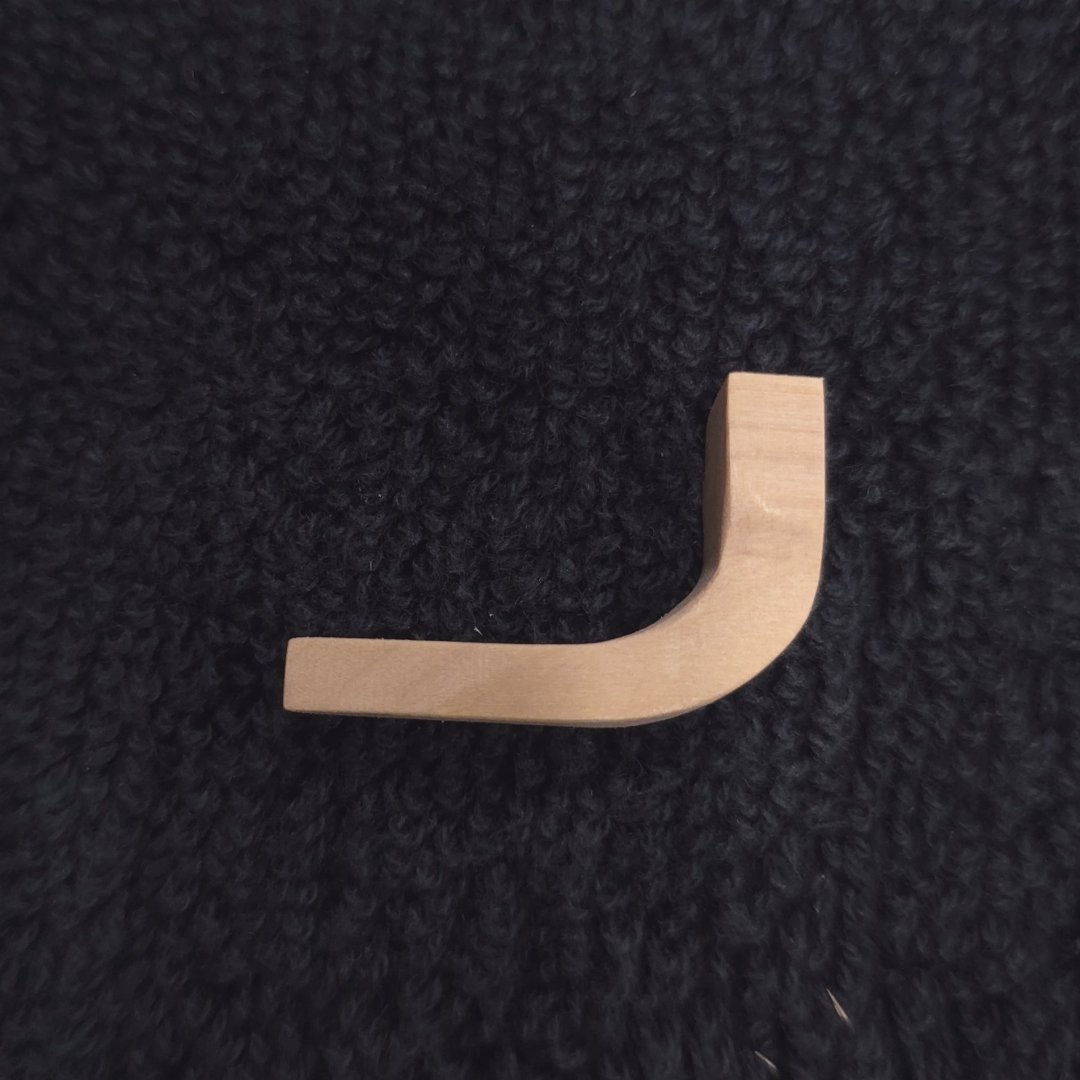
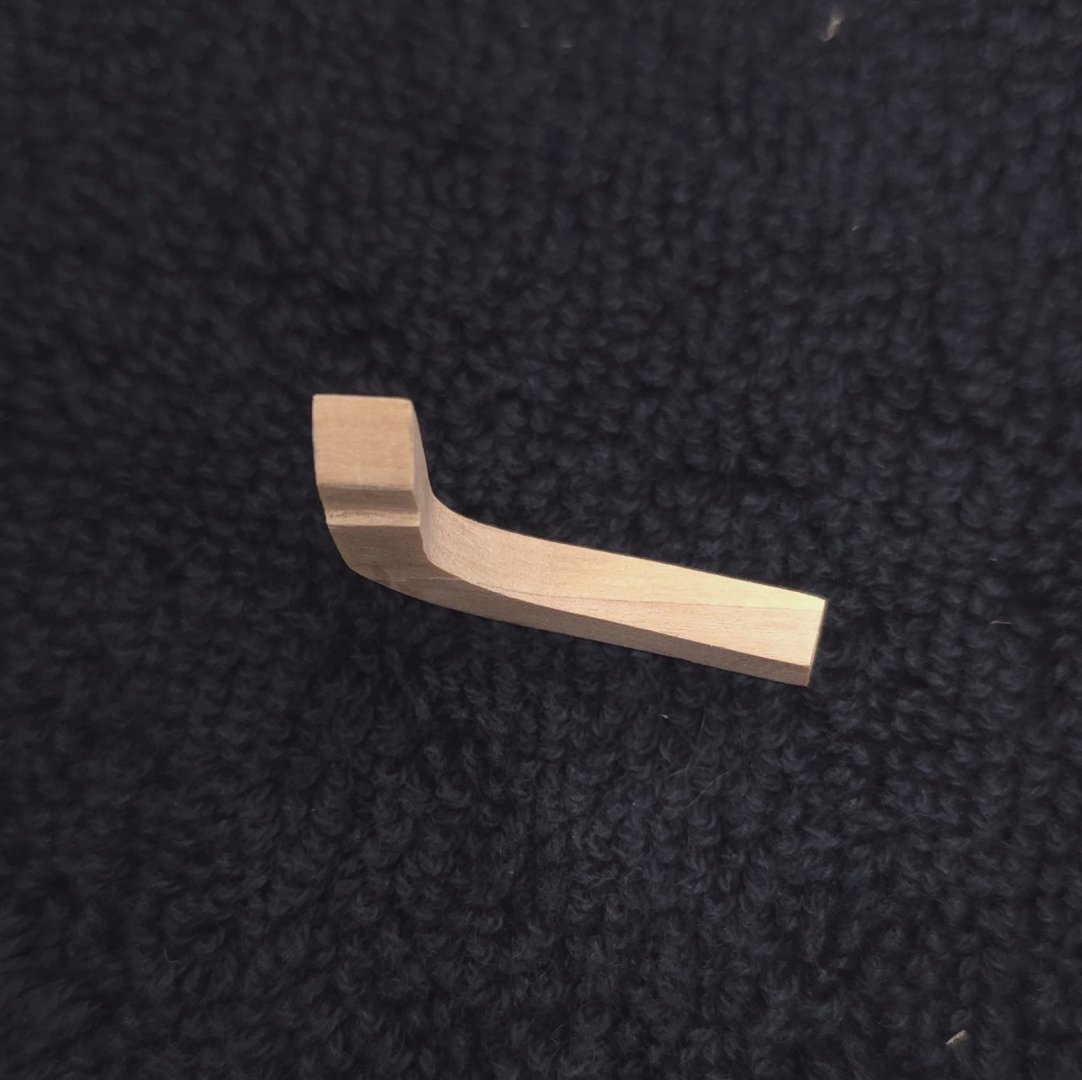
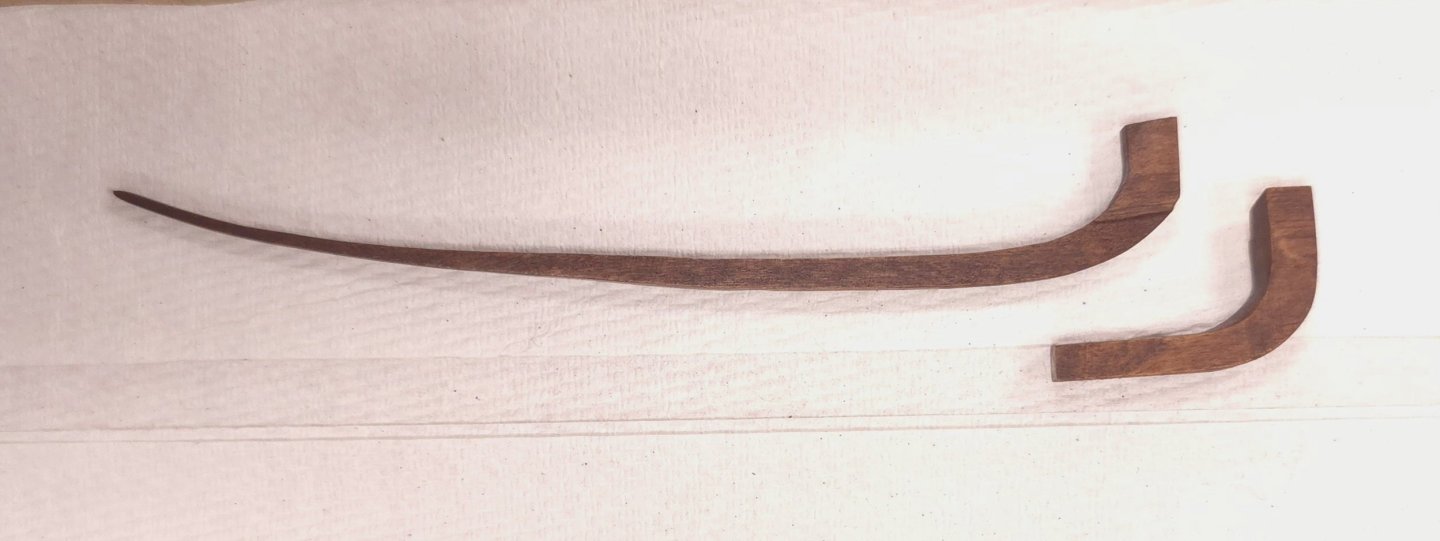
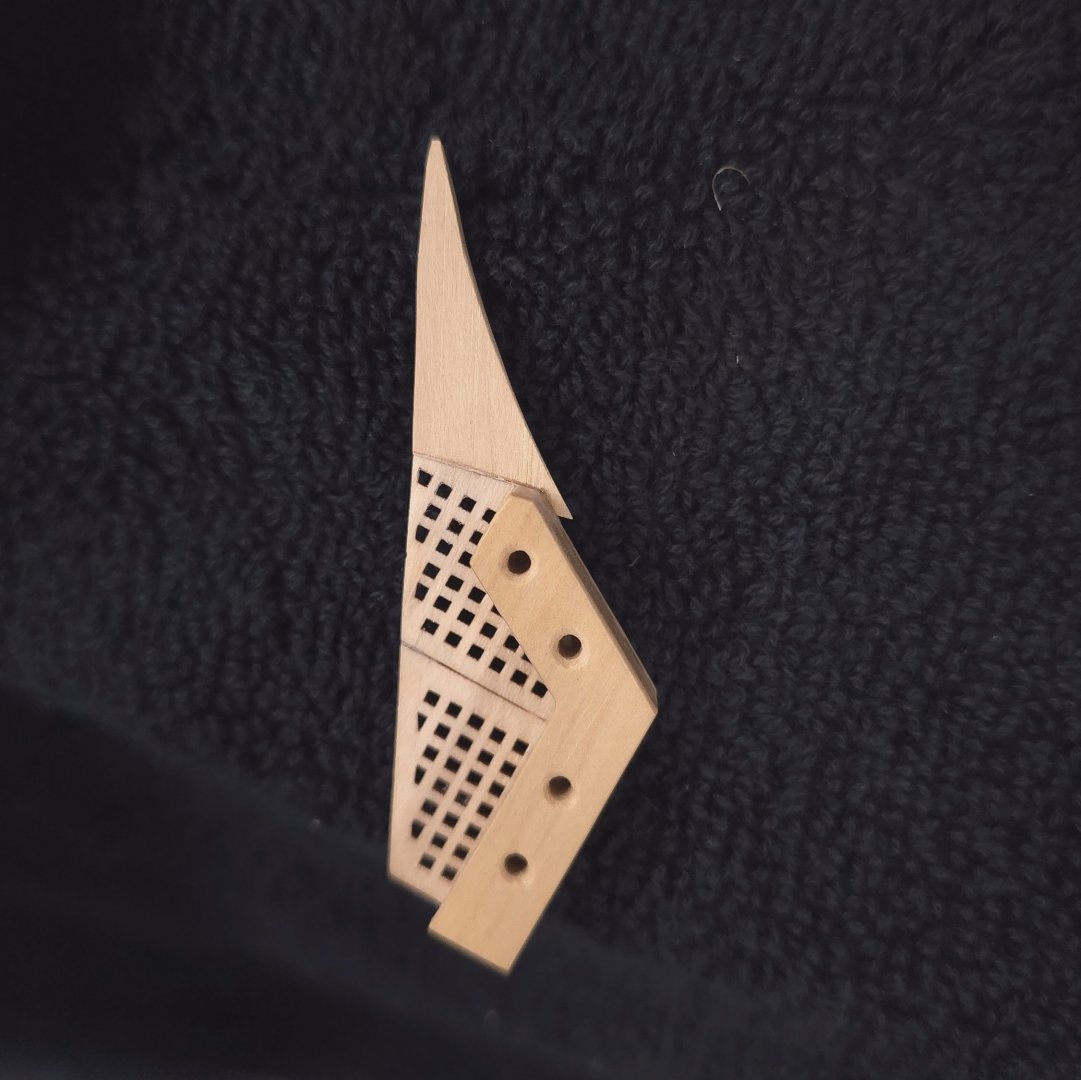
Thanks again, Thomas, for providing that group of pictures a little while ago. This one really helps me visualize how the head and main rails merge. I couldn't quite work that out from the plans. Since my main rail is already in place, I'll have to do a little bit of tweaking to get the headrail and filler piece configured. But now I have a direction. Mustafa and greg, I added the following pictures after you saw this post. In order to do the planking on the starboard side I needed to fabricate the main rail. As long as I was making one, I did both. They are only tacked in for these photos.

-
No sails for me, Mustafa! But I confess, it never occurred to me not to do the rigging. Somehow I think the model wouldn't quite be the same without at least some rigging. But thanks for suggesting a labor saving solution. We will chat about this again in a year.. in the meantime Enjoy your summer off. (And thanks for the stroll down memory lane.)
-
USS Constitution by mtbediz - 1:76
Der Alte Rentner replied to mtbediz's topic in - Build logs for subjects built 1751 - 1800
Mustafa, Looking at the photos submitted by Jon above, I noticed, yet again, that the bumpkin is absent in all but one. And in the one where it does exist, there's nothing is rigged to it. I remember that you said you would add this anyway, but I guess my question is, why bother?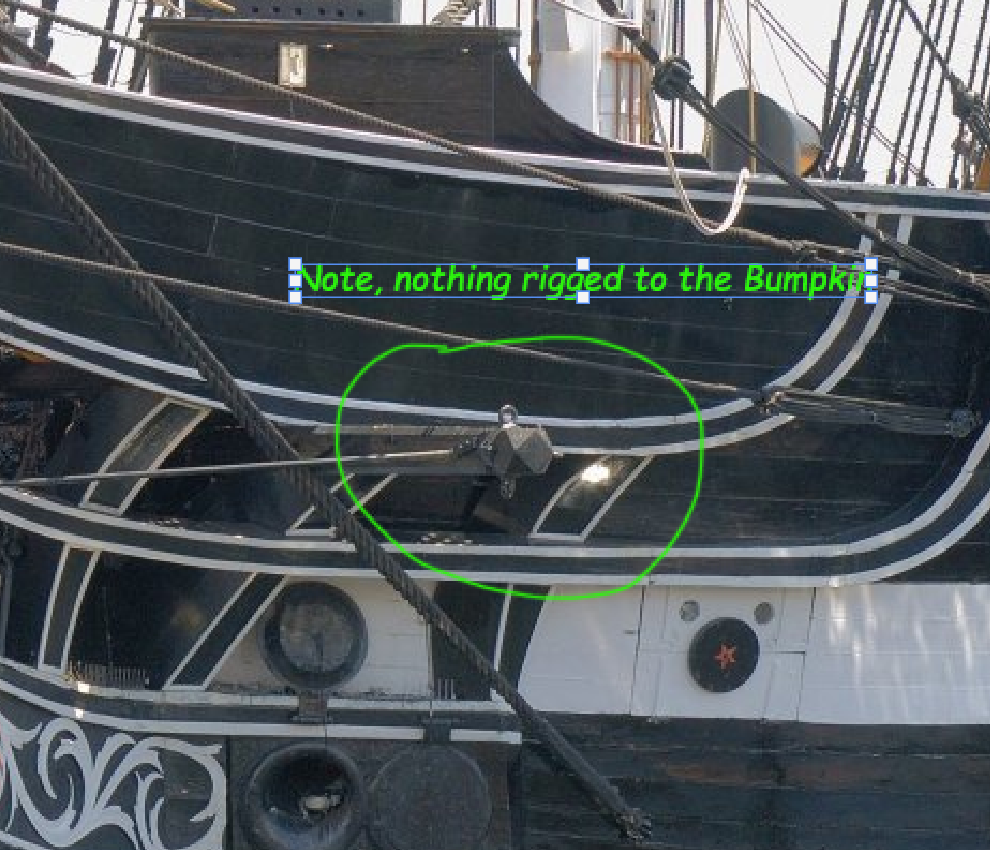
-
The mind sometimes ventures to weird places.. Um, with the entire area planked, where did the effluent go?
-
Sad, but true. Honestly, I can't wait for this struggle to be over. After this, I'll look back fondly on the piece of cake the galleries and windows seem to have been by comparison. I'll be approaching the two year anniversary on this build at the end of June. Oddly, it seems like only yesterday. I hope the entire head area will be done by then so I have a great photo-op for volume two of my hardcopy log. Thanks for checking in Thomas.
-
That was quite the commitment, and netted admirable results. Congrats.
-
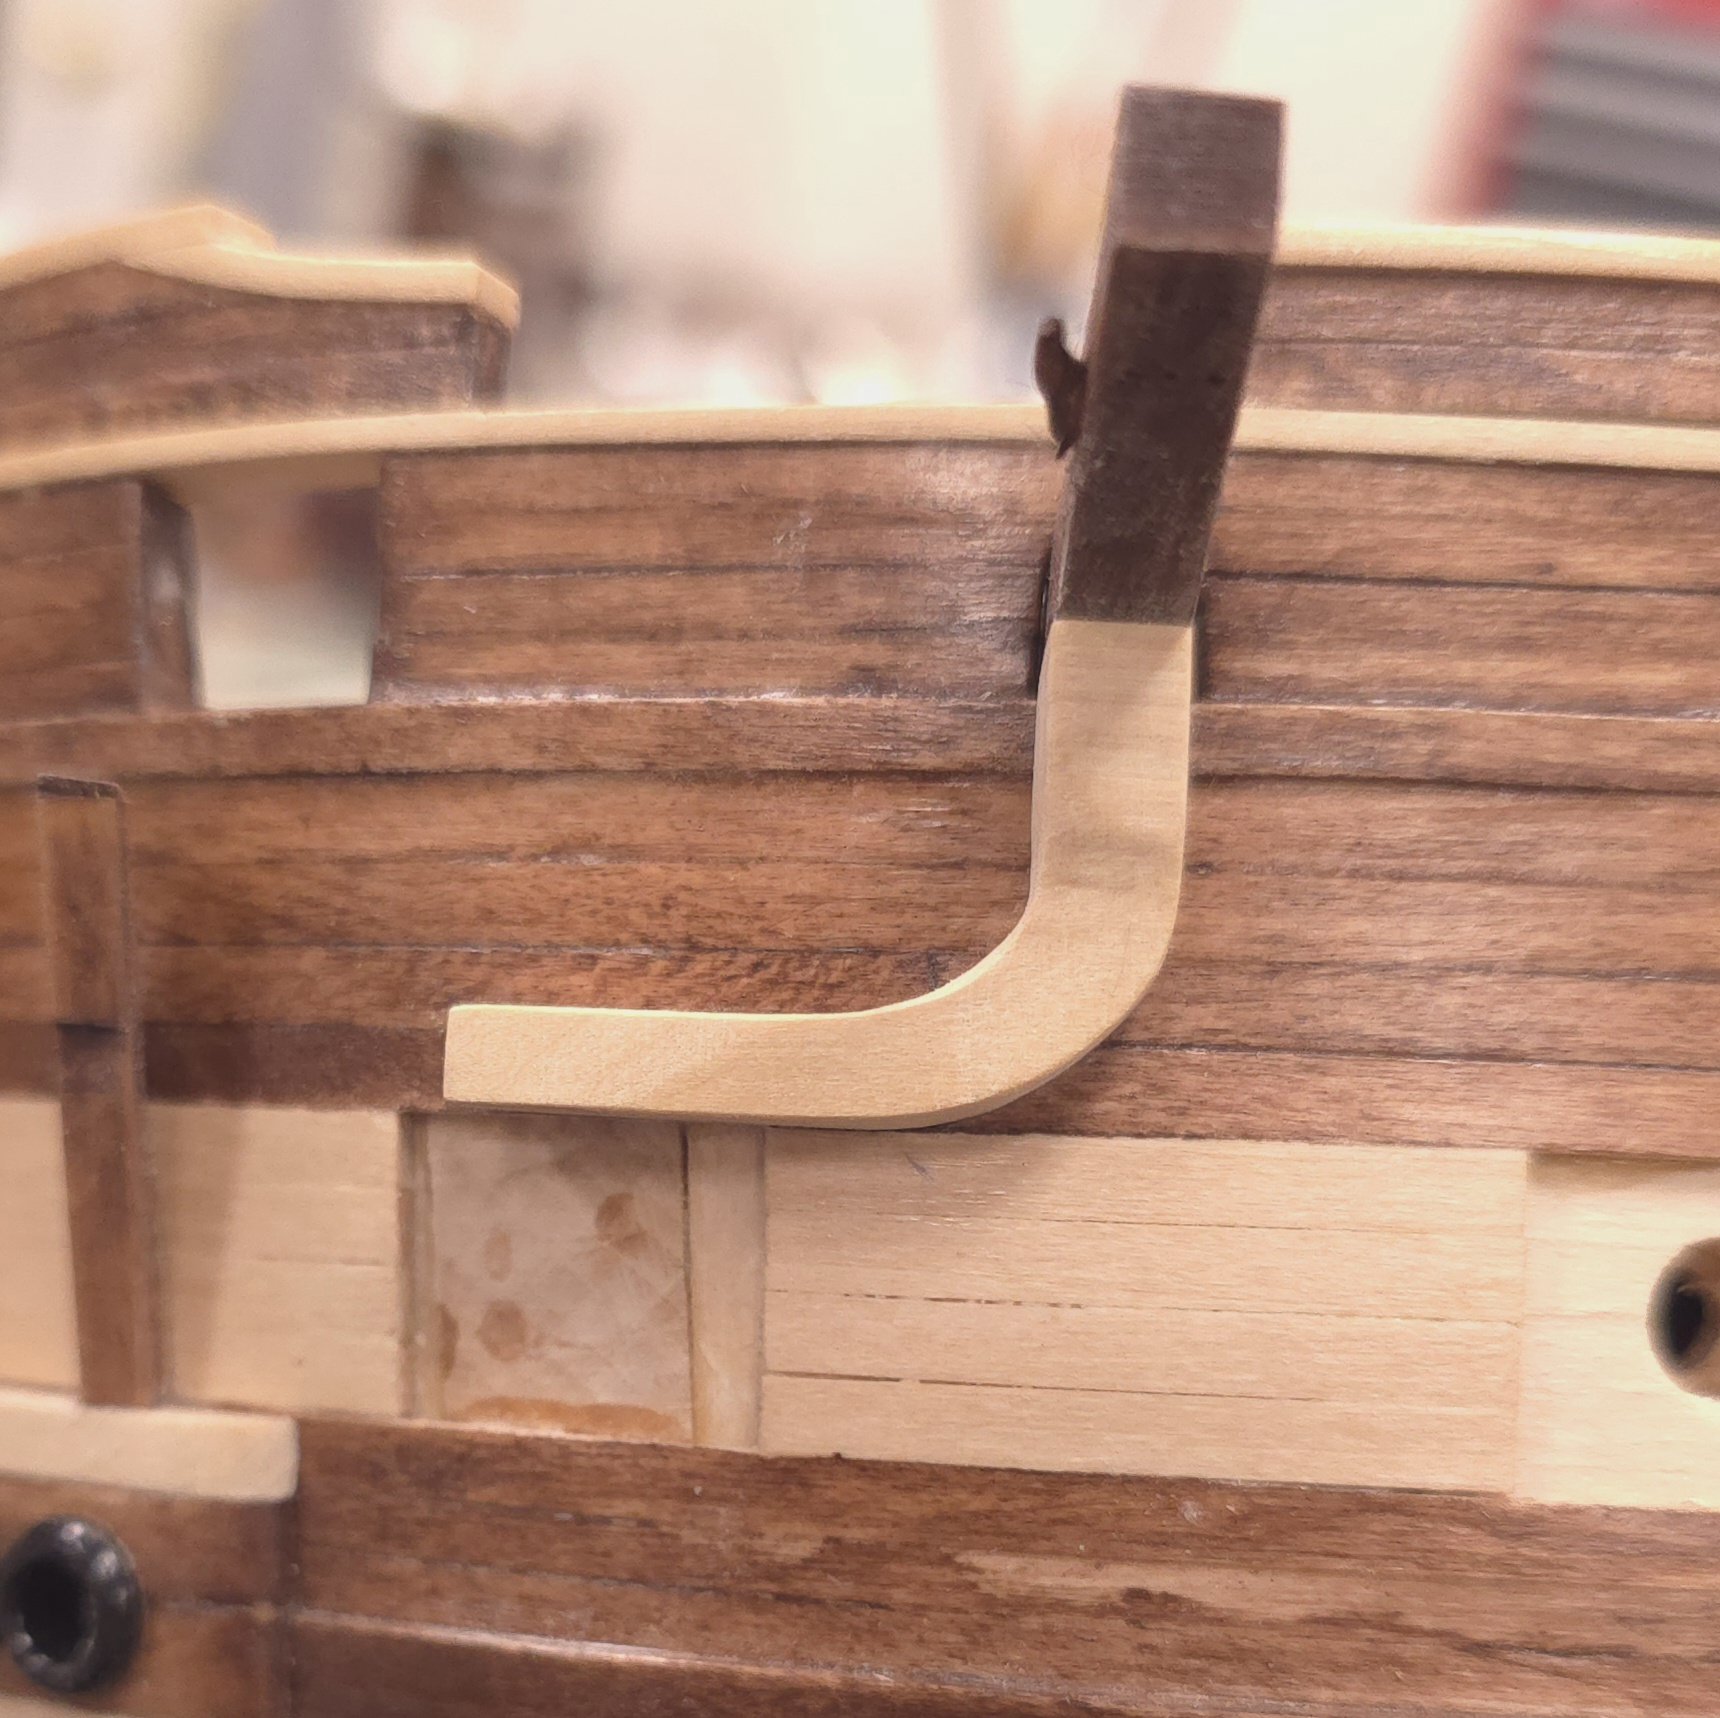
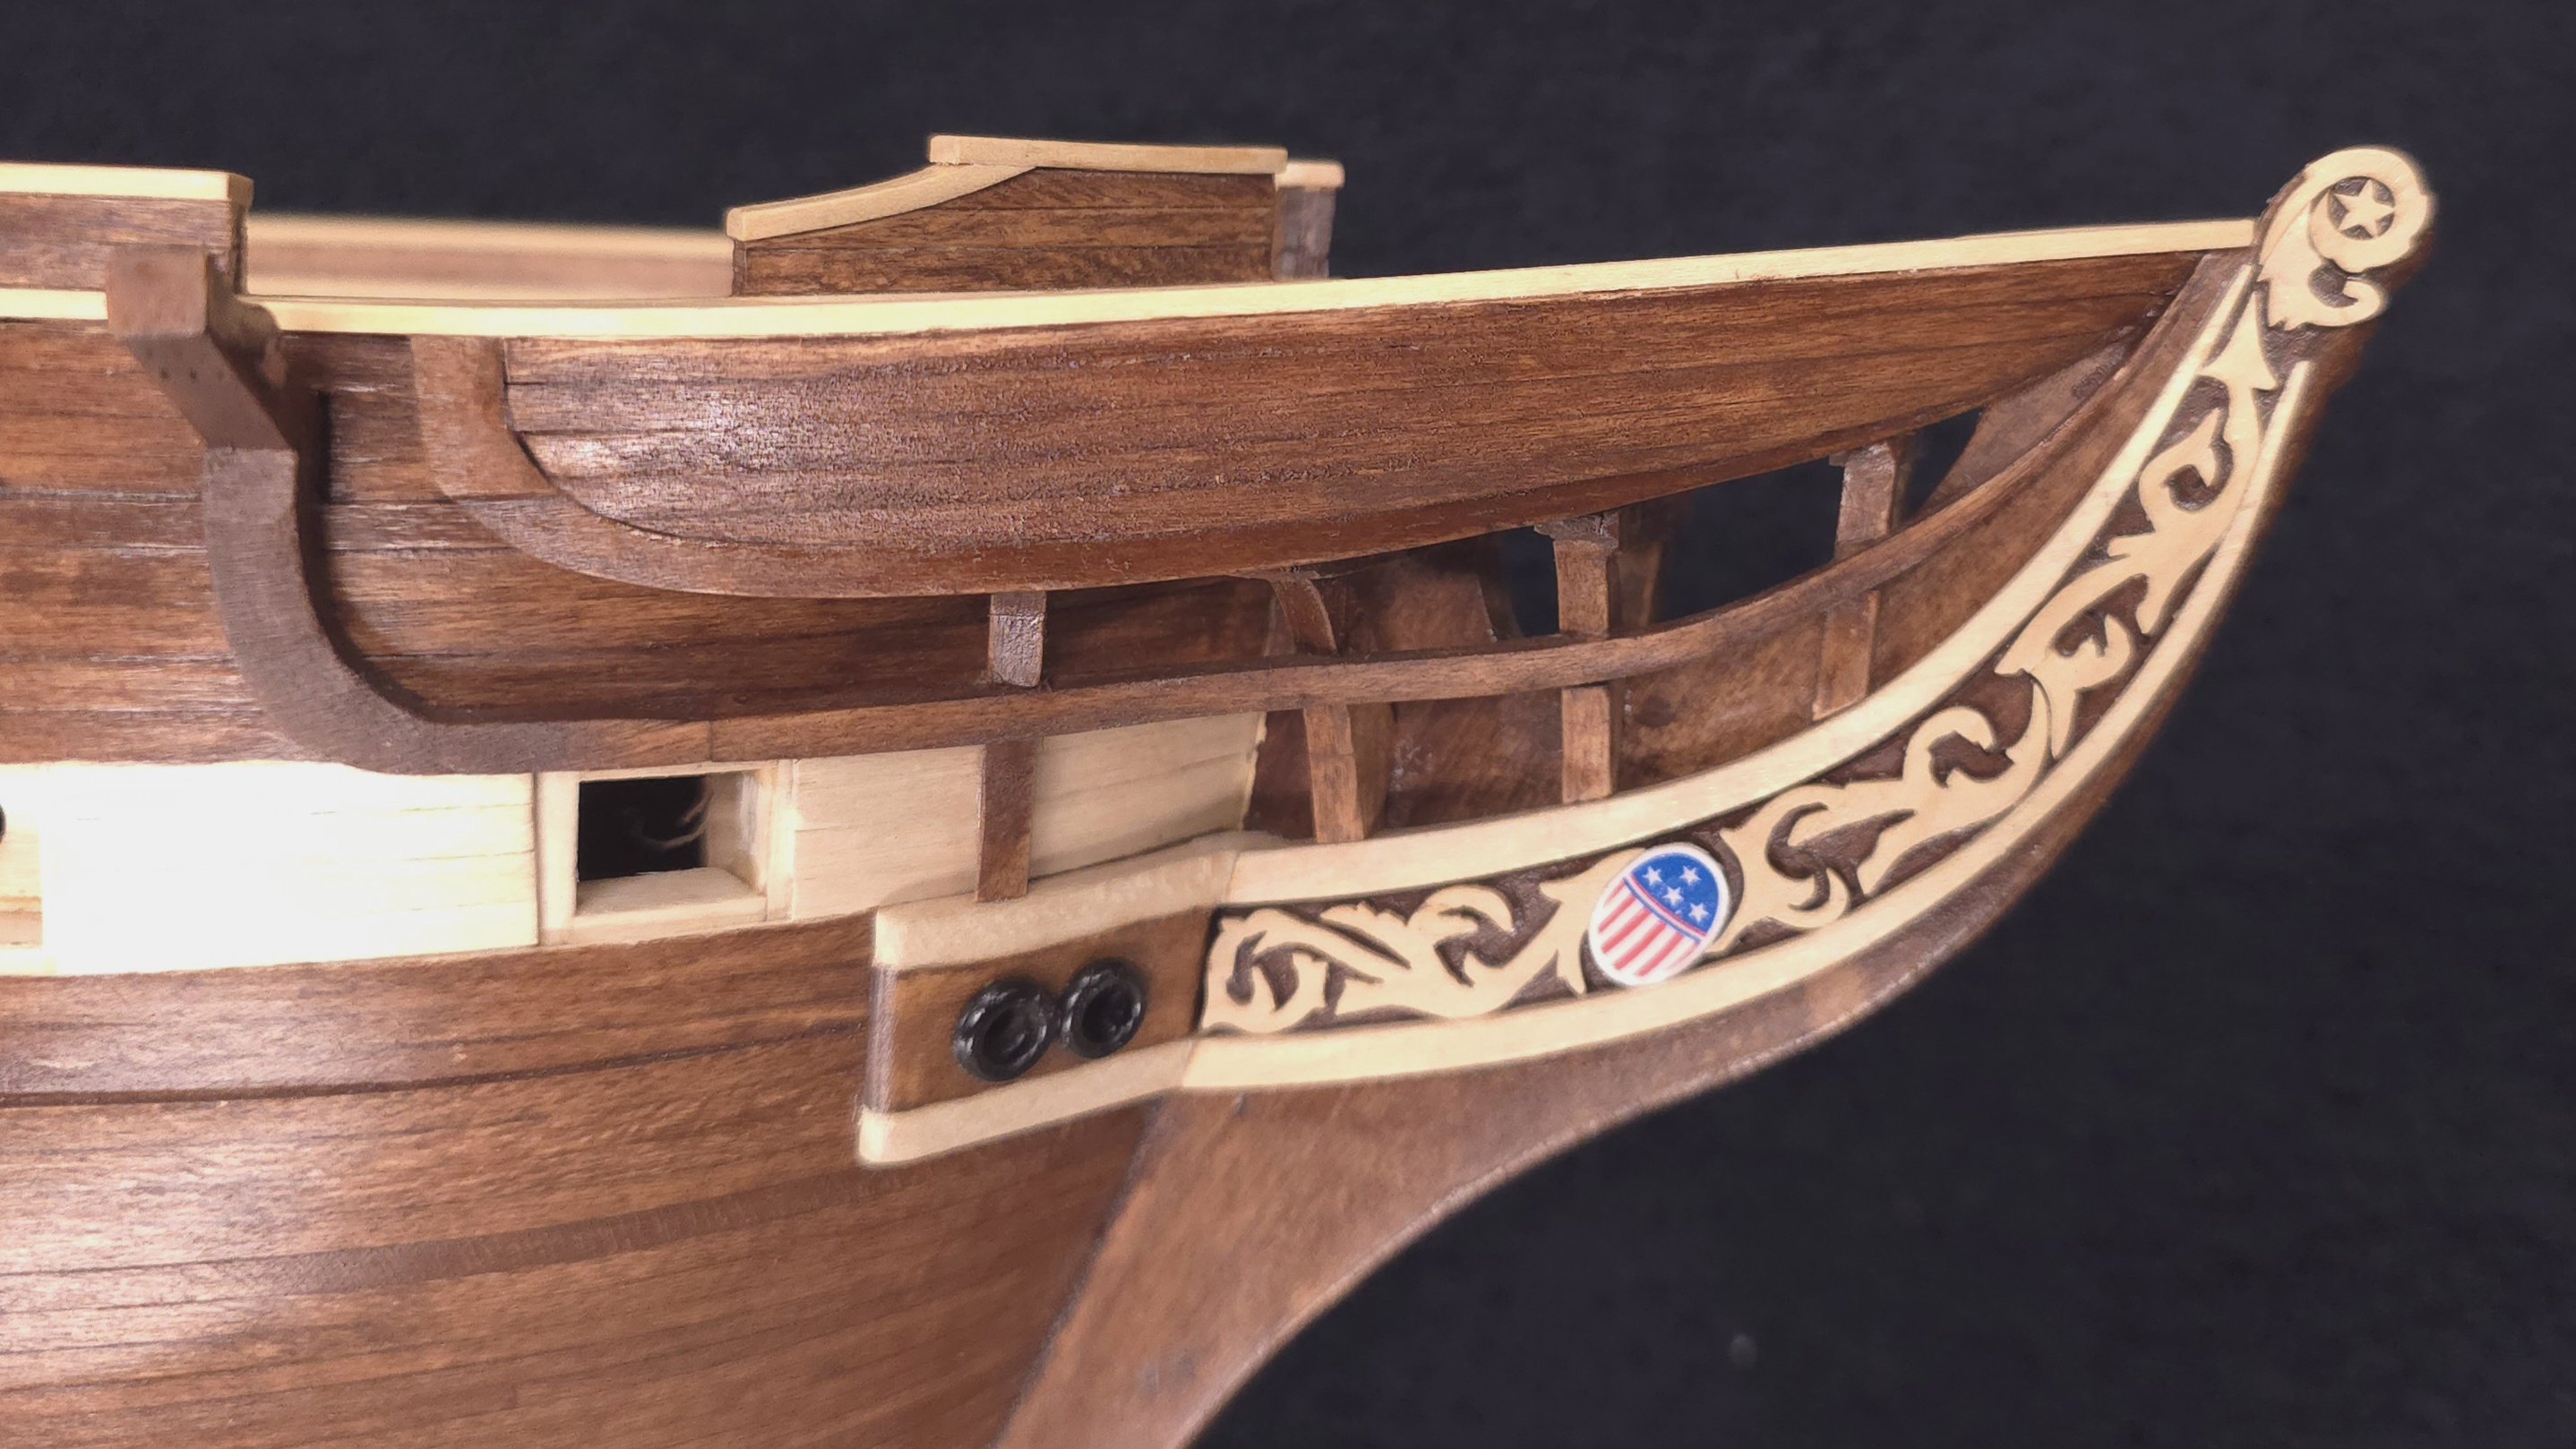
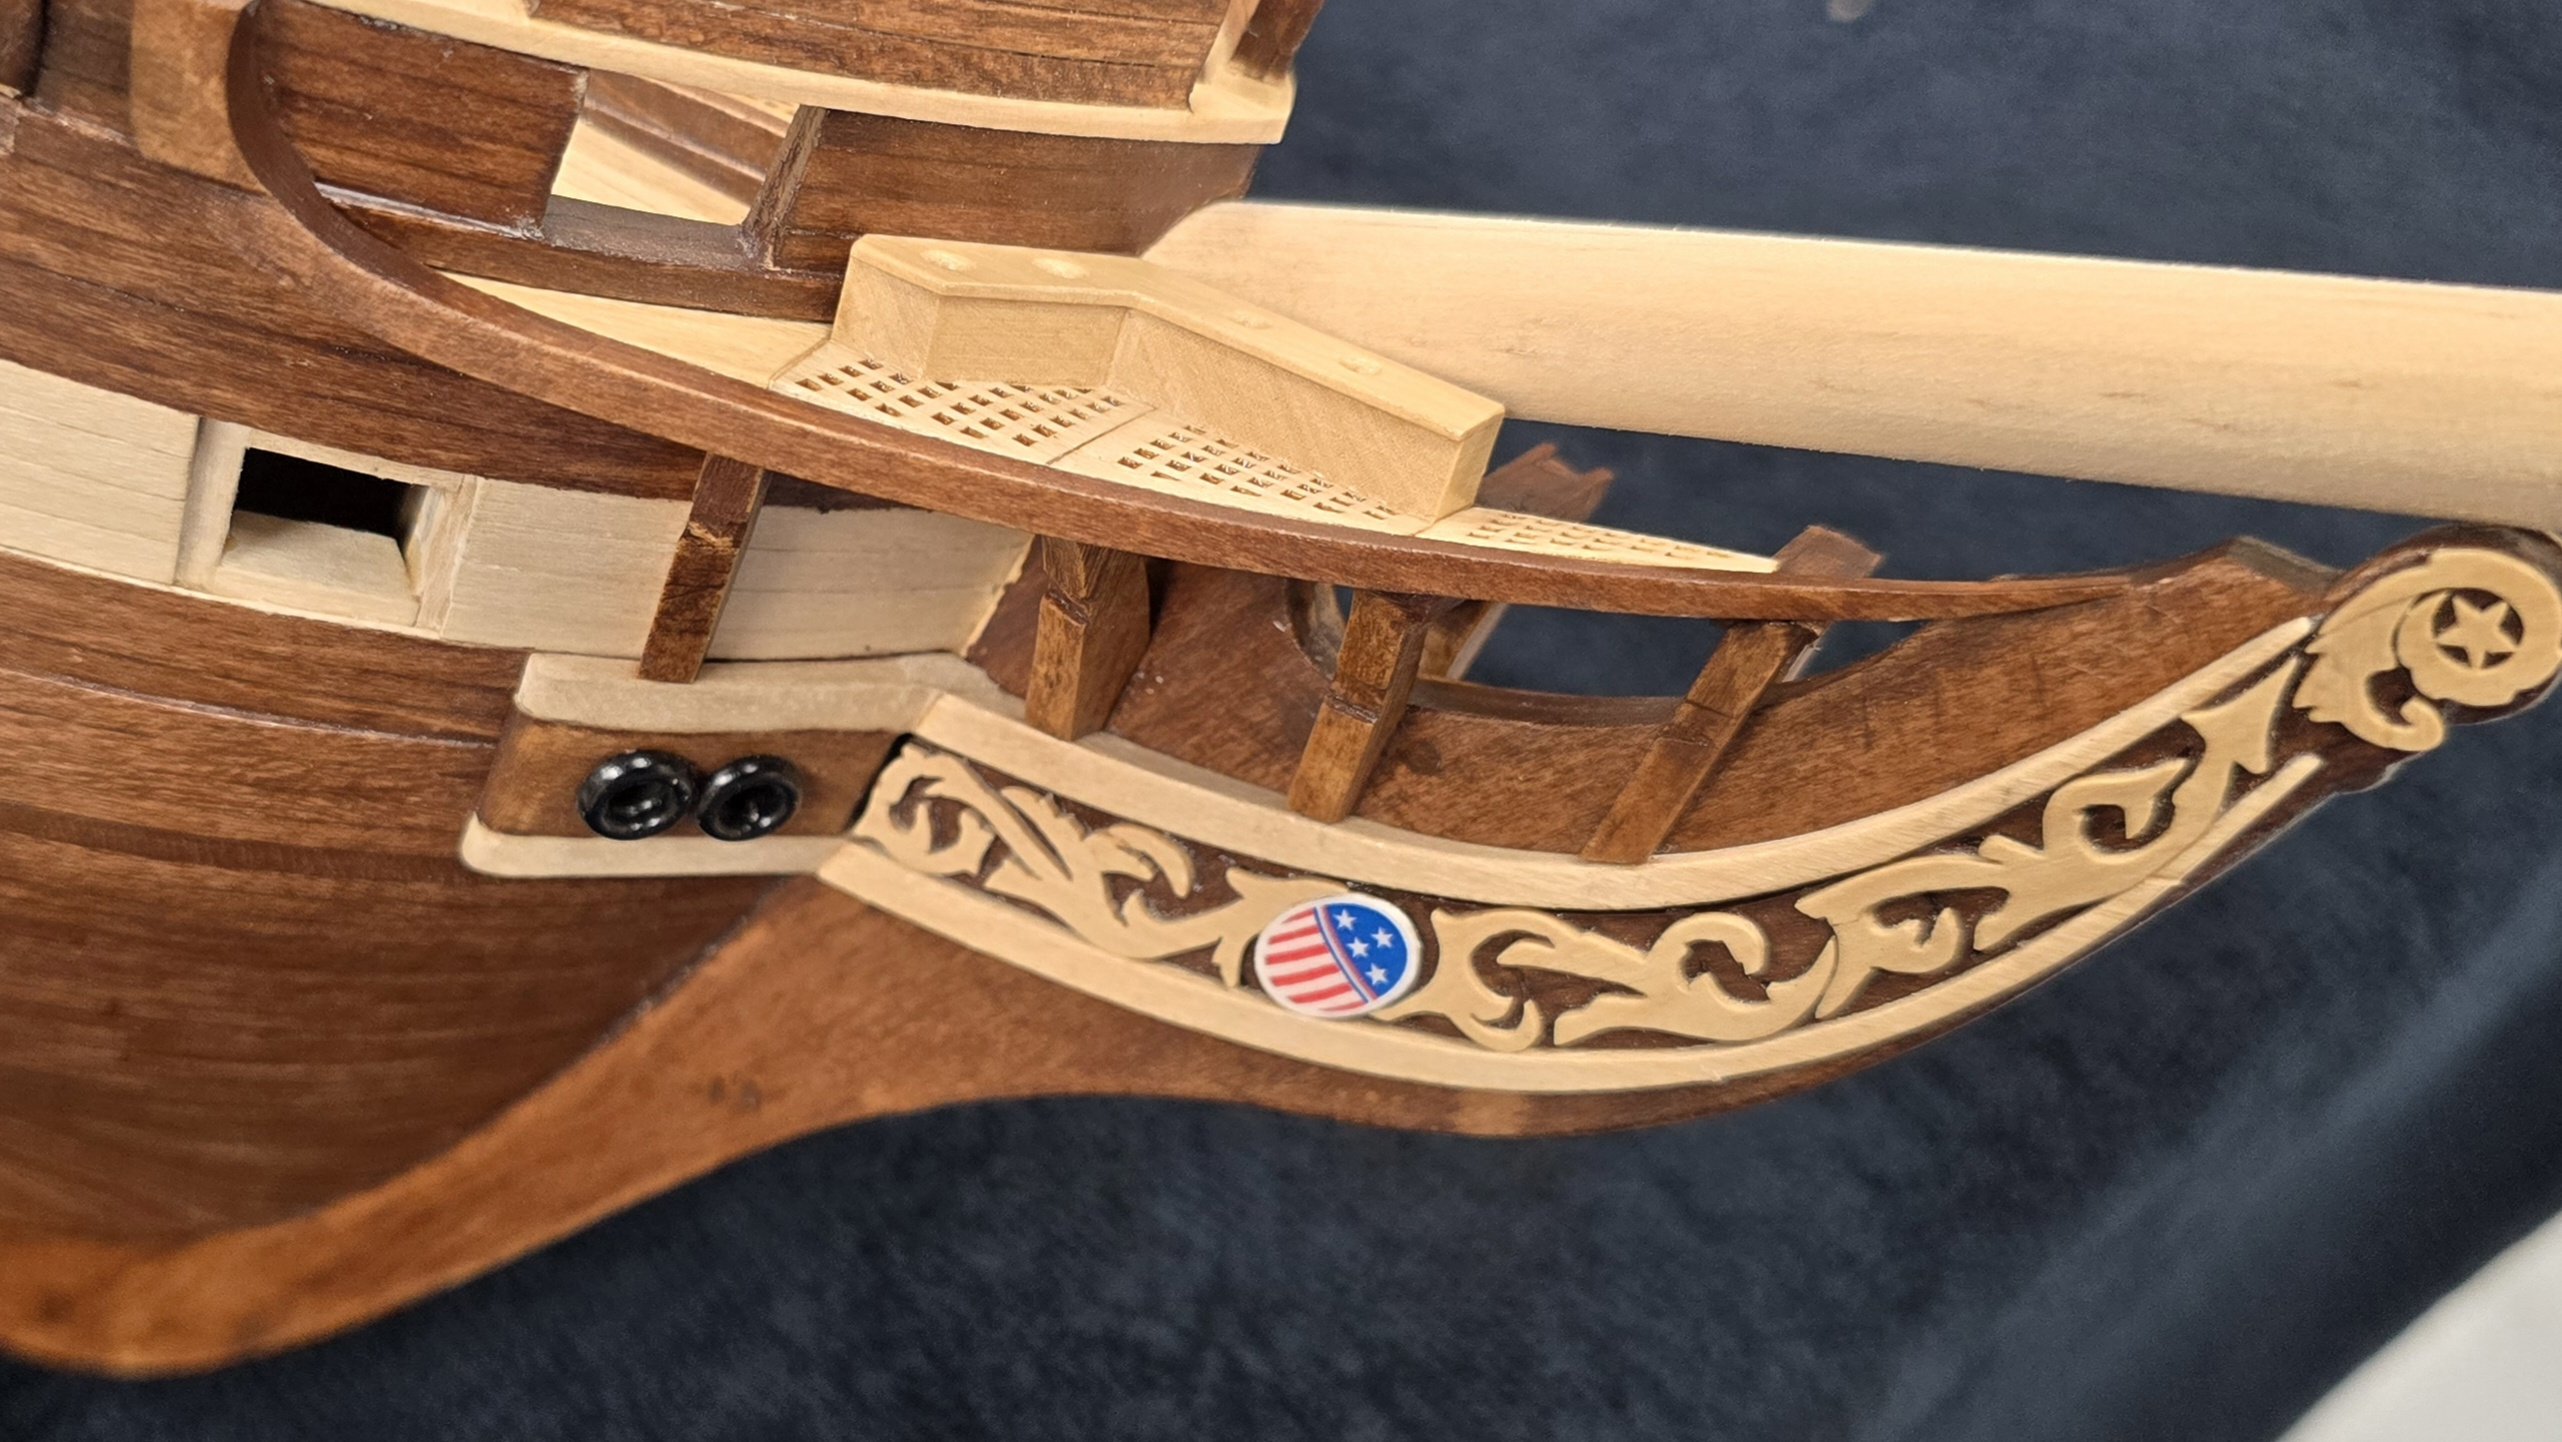
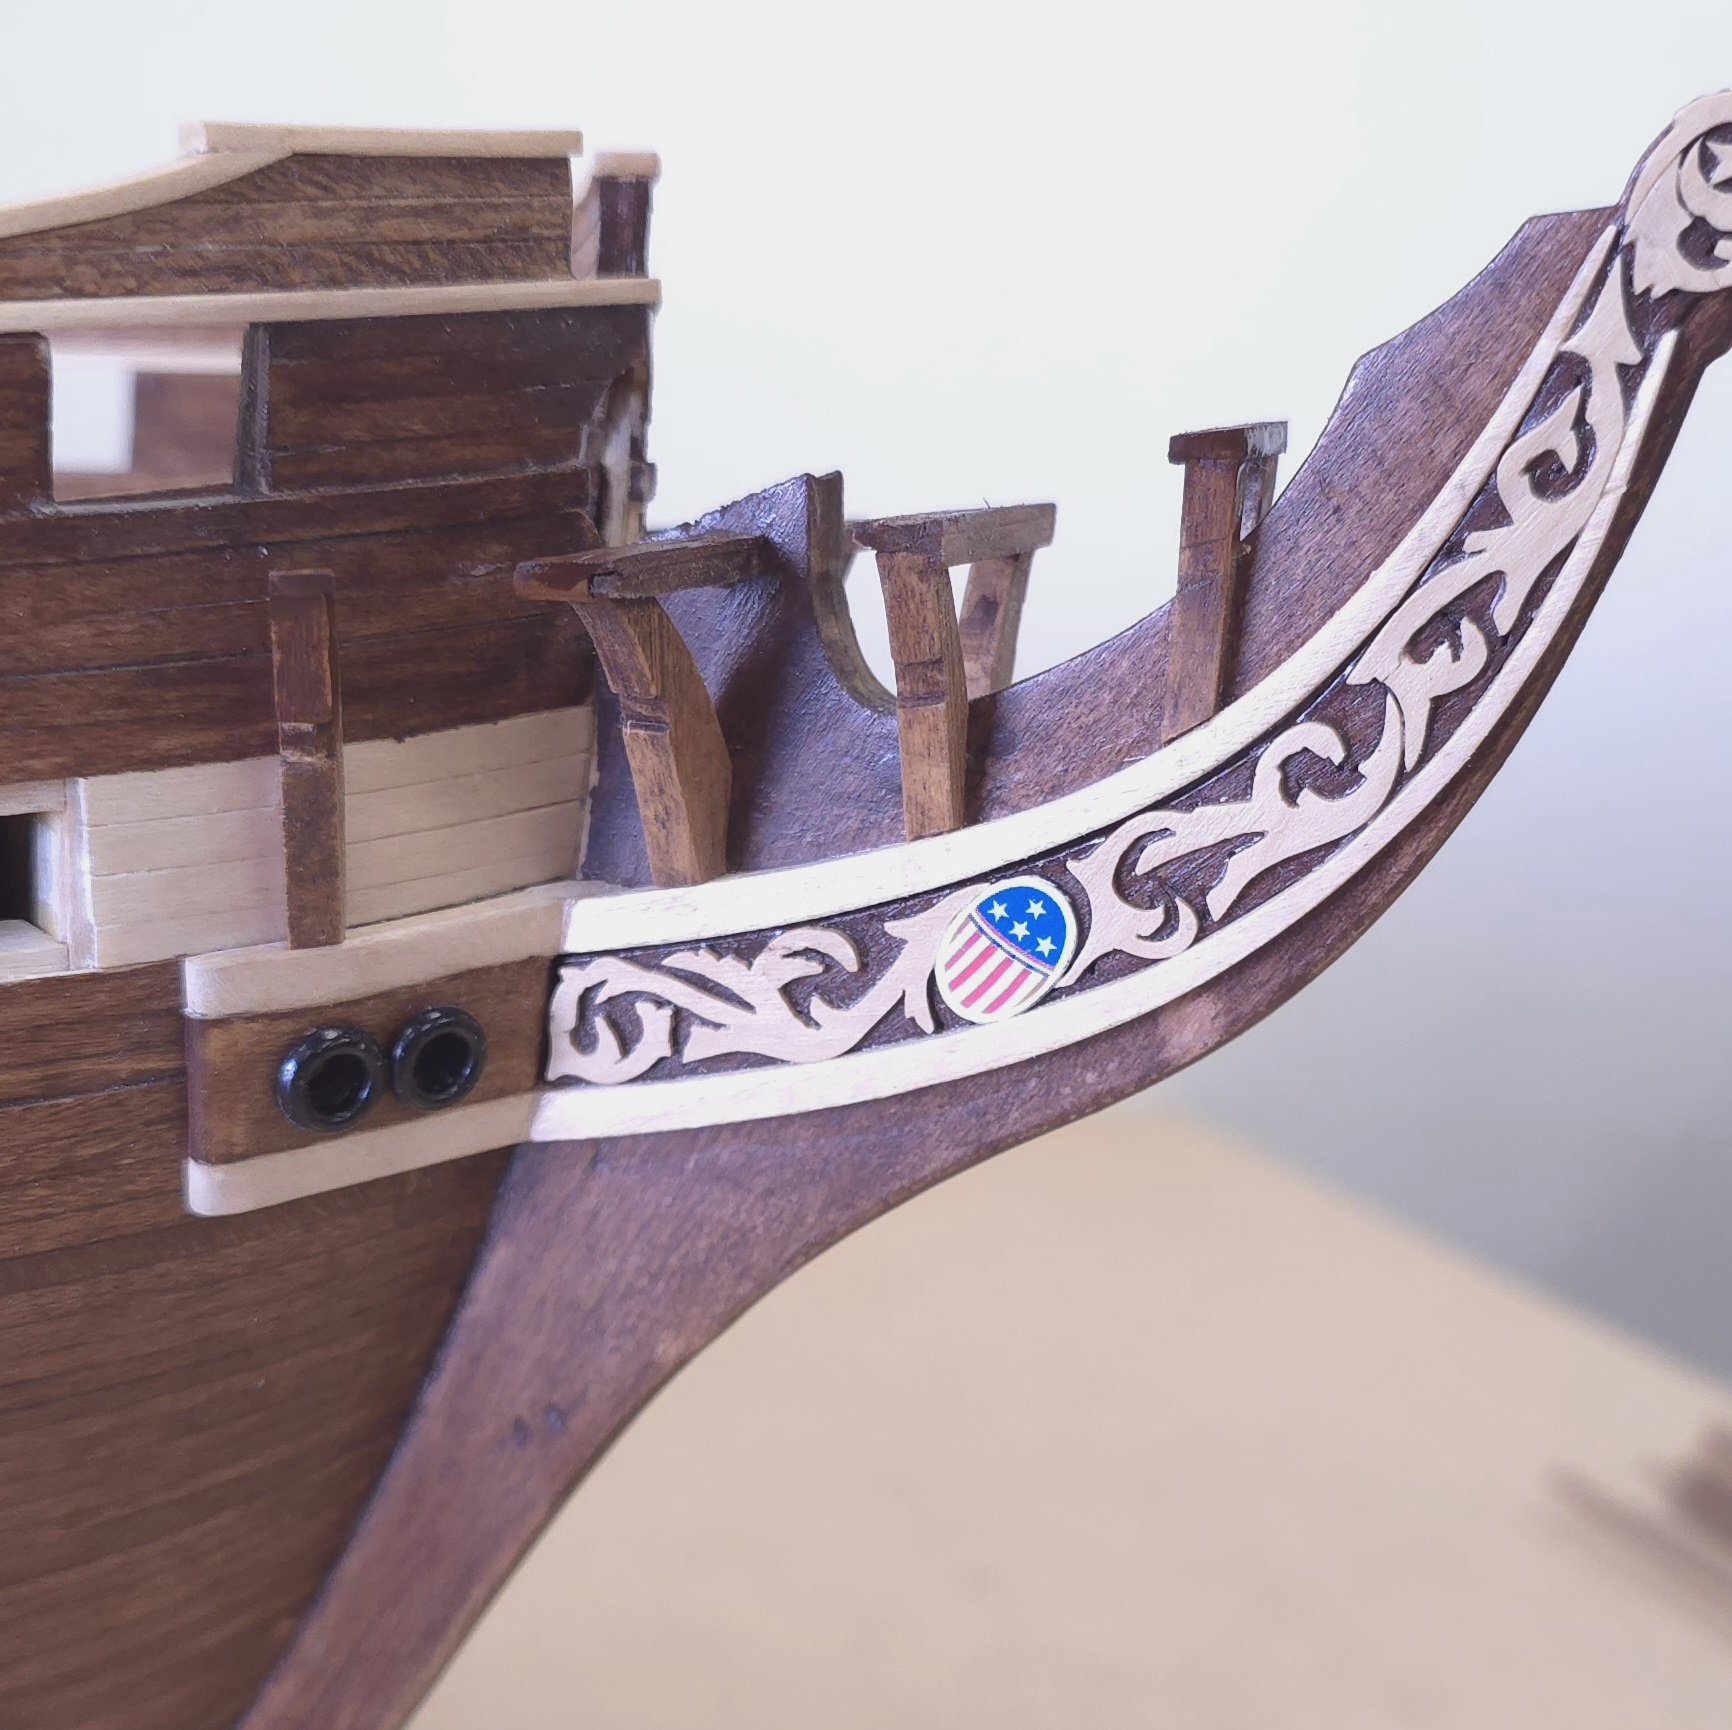
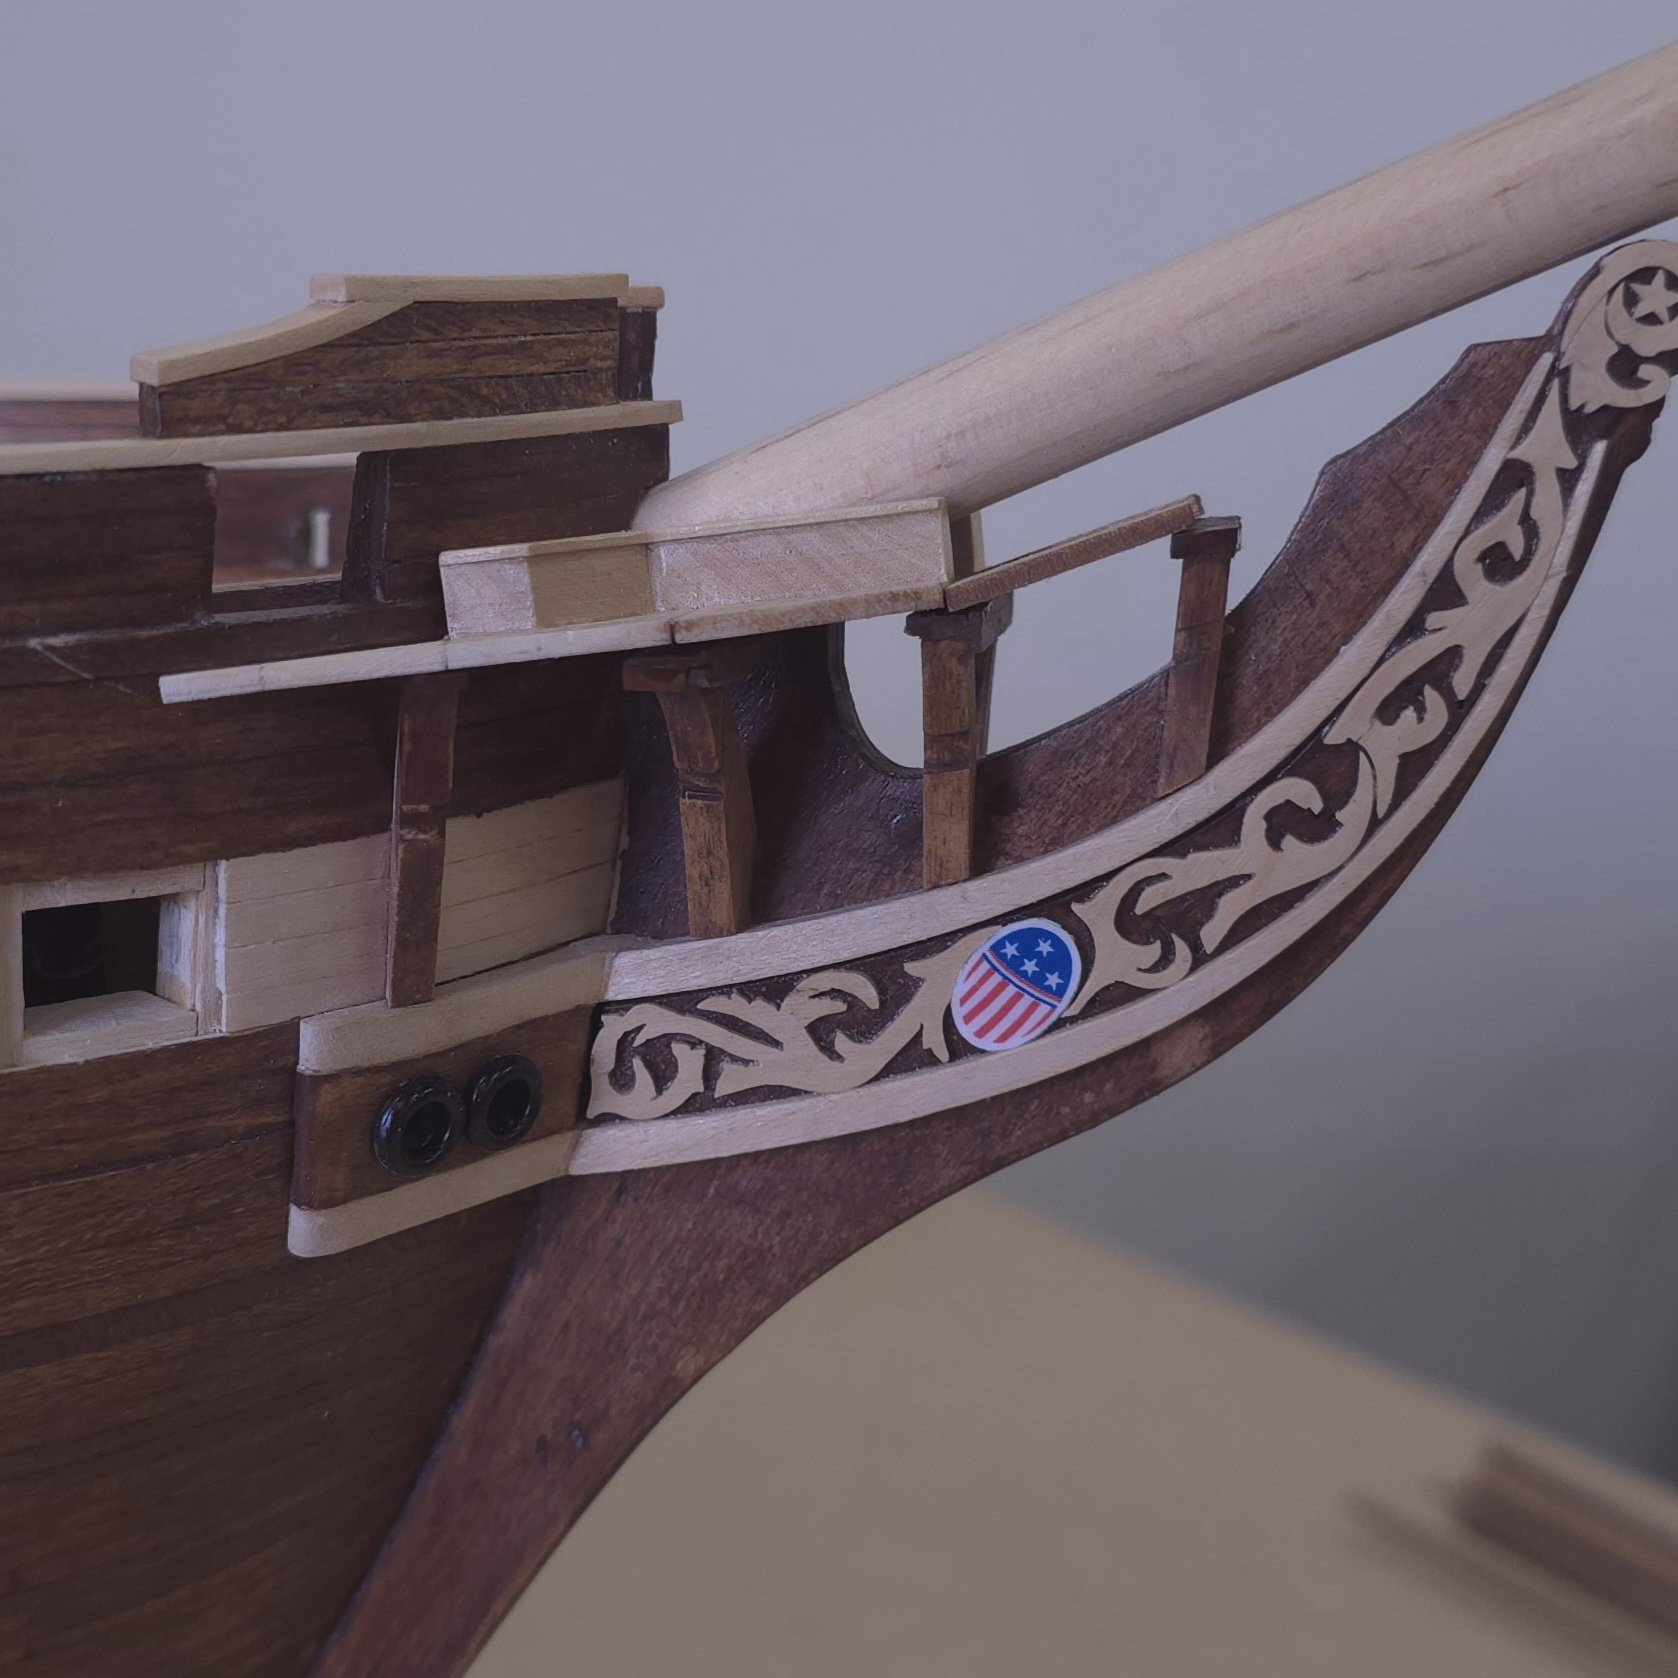
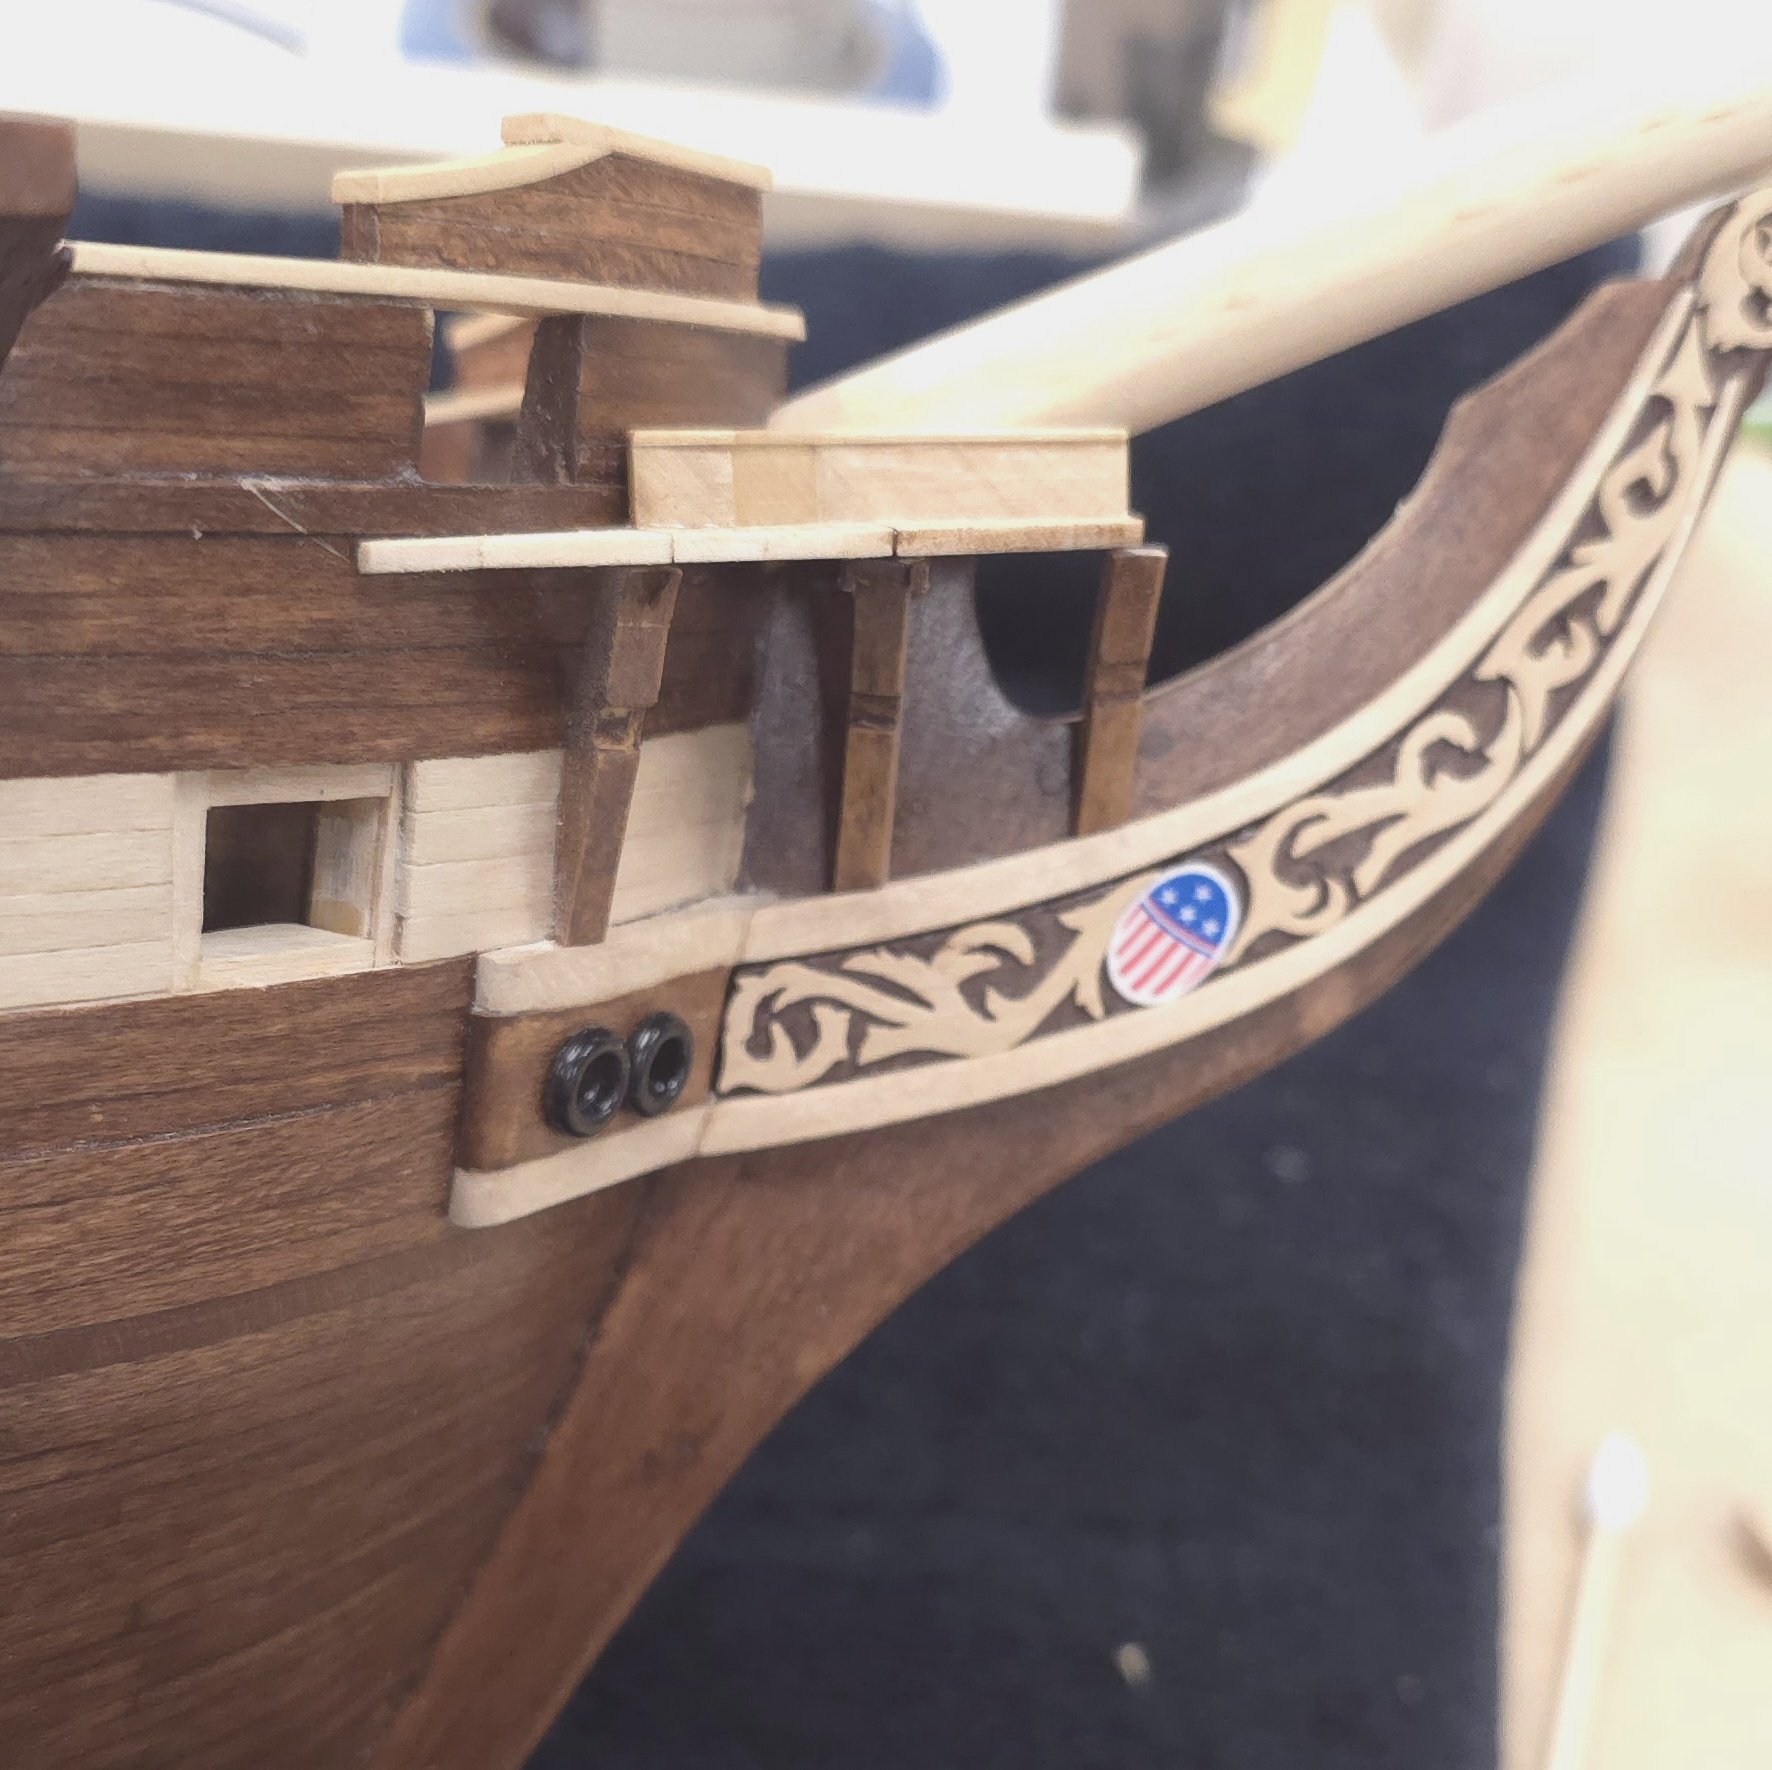
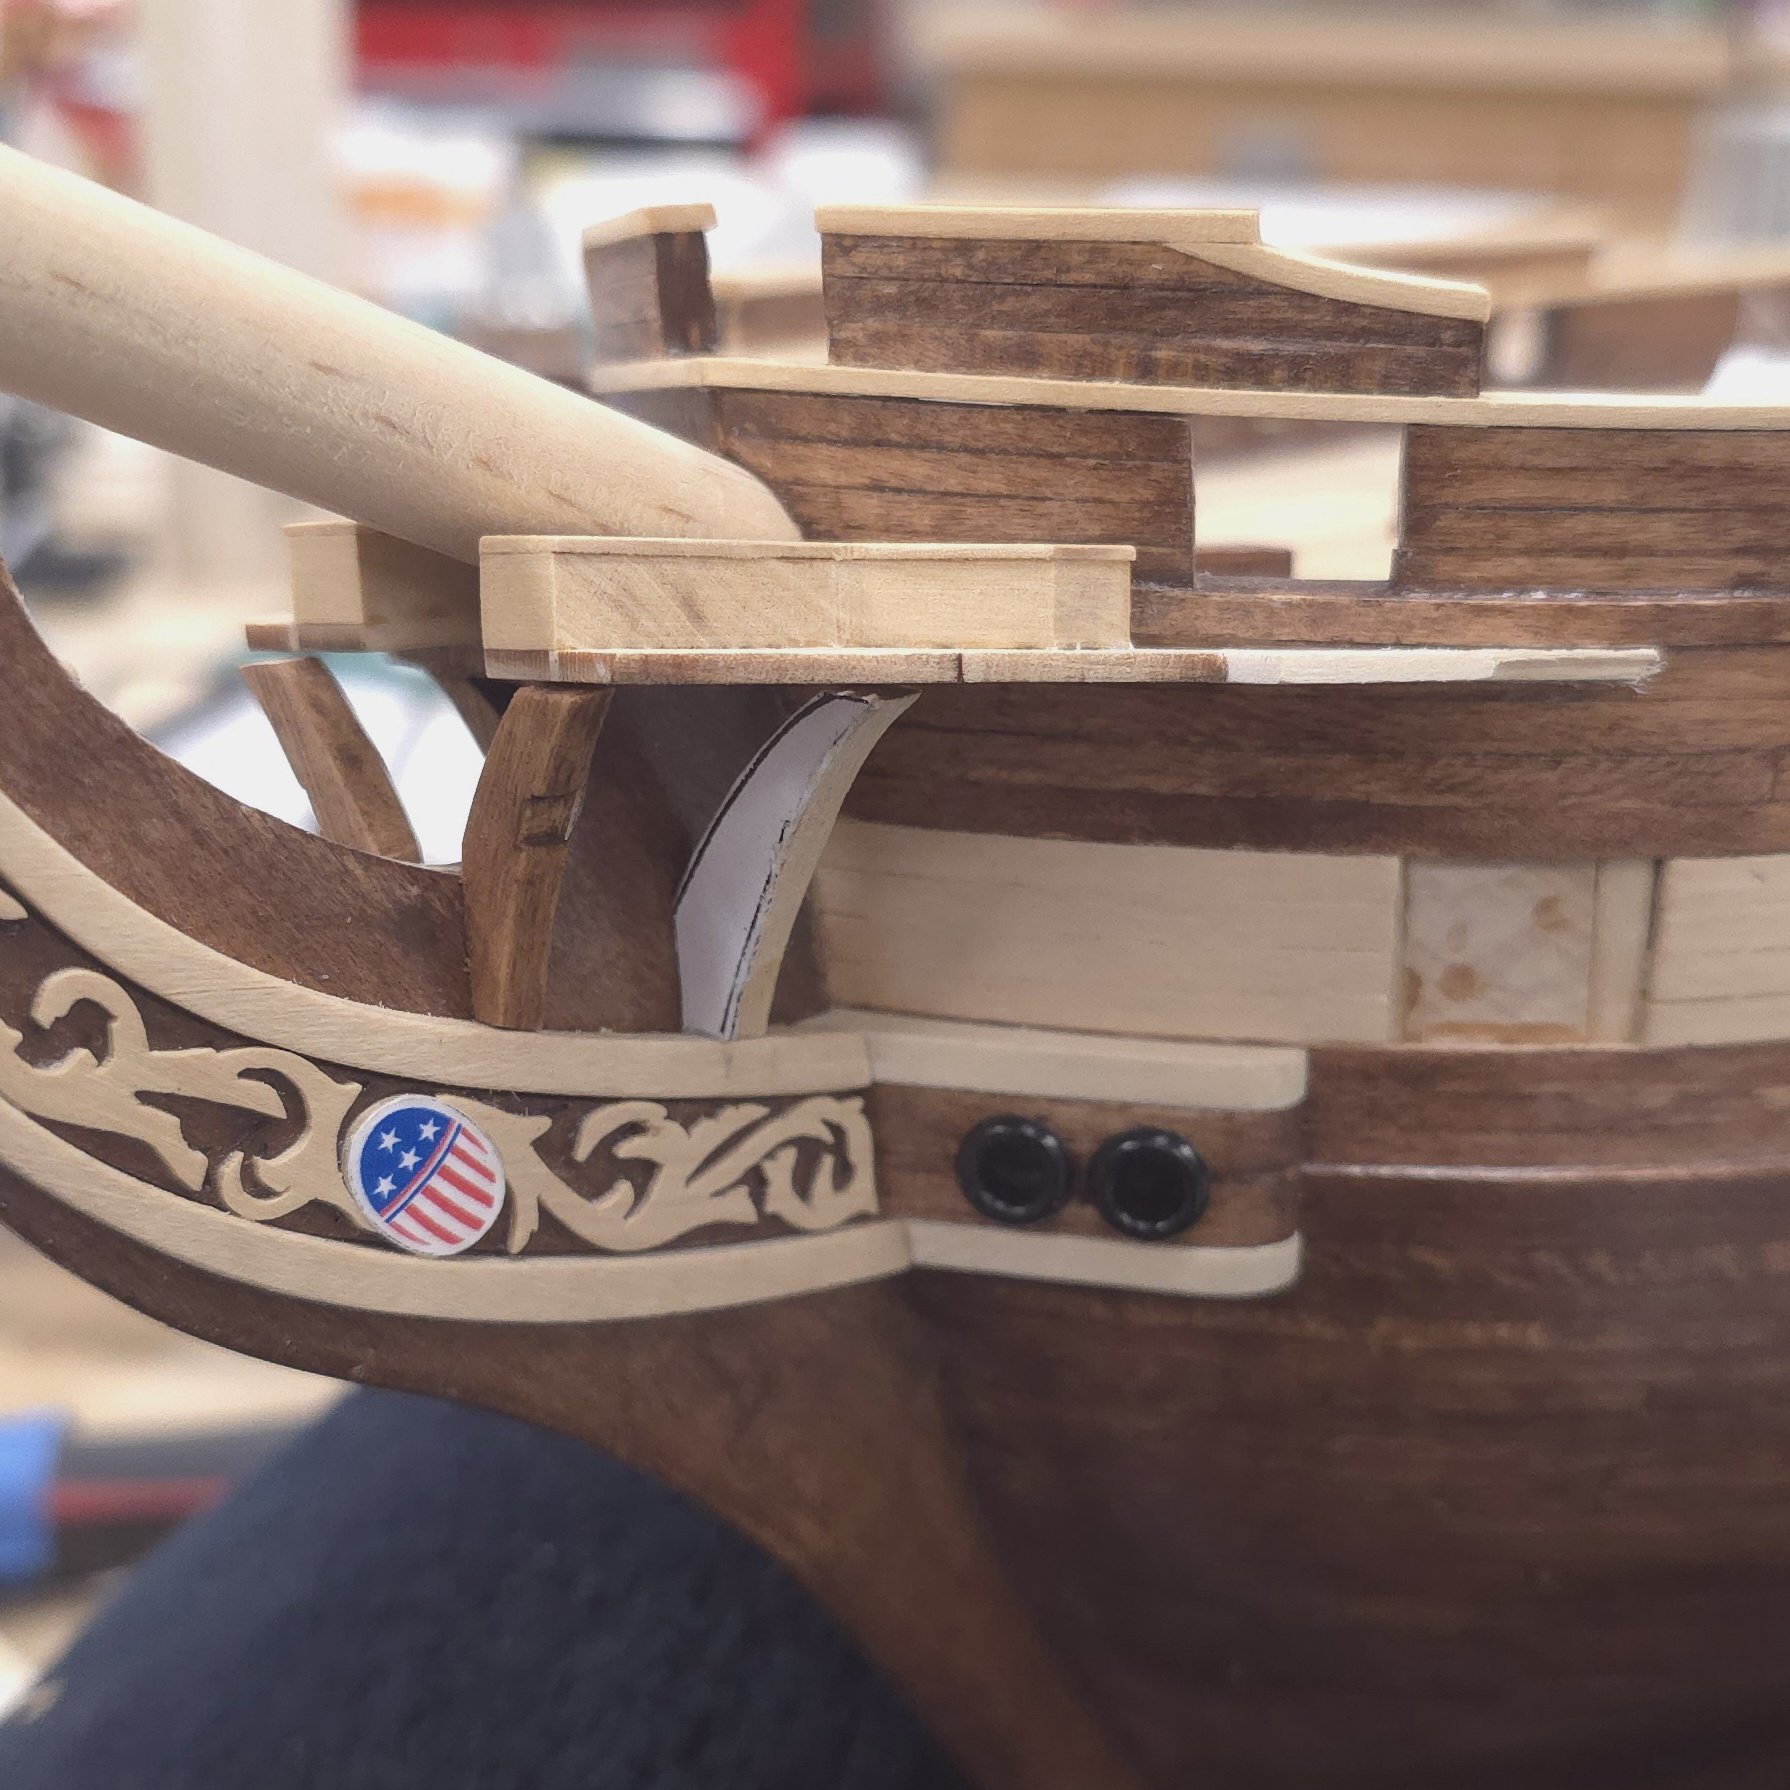
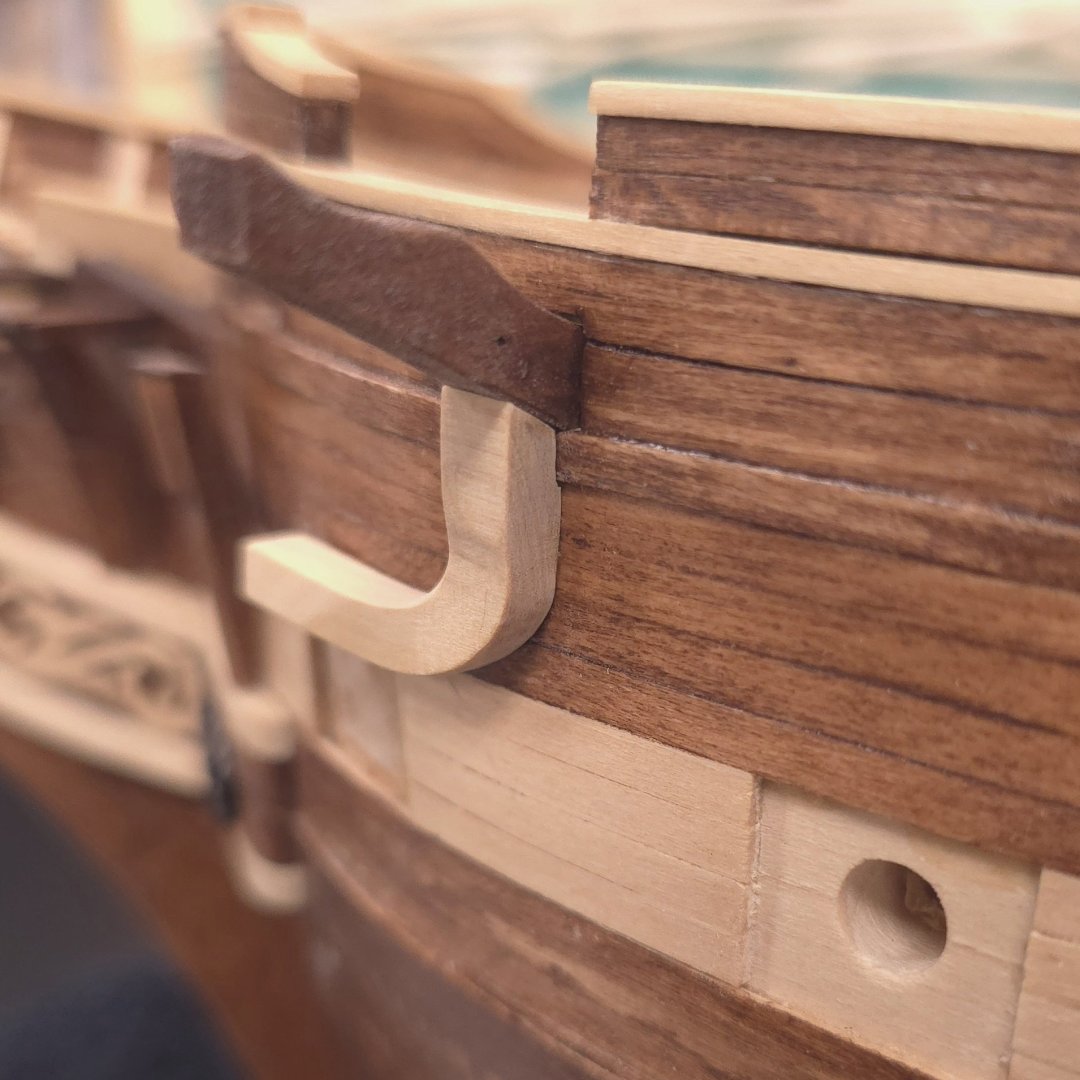
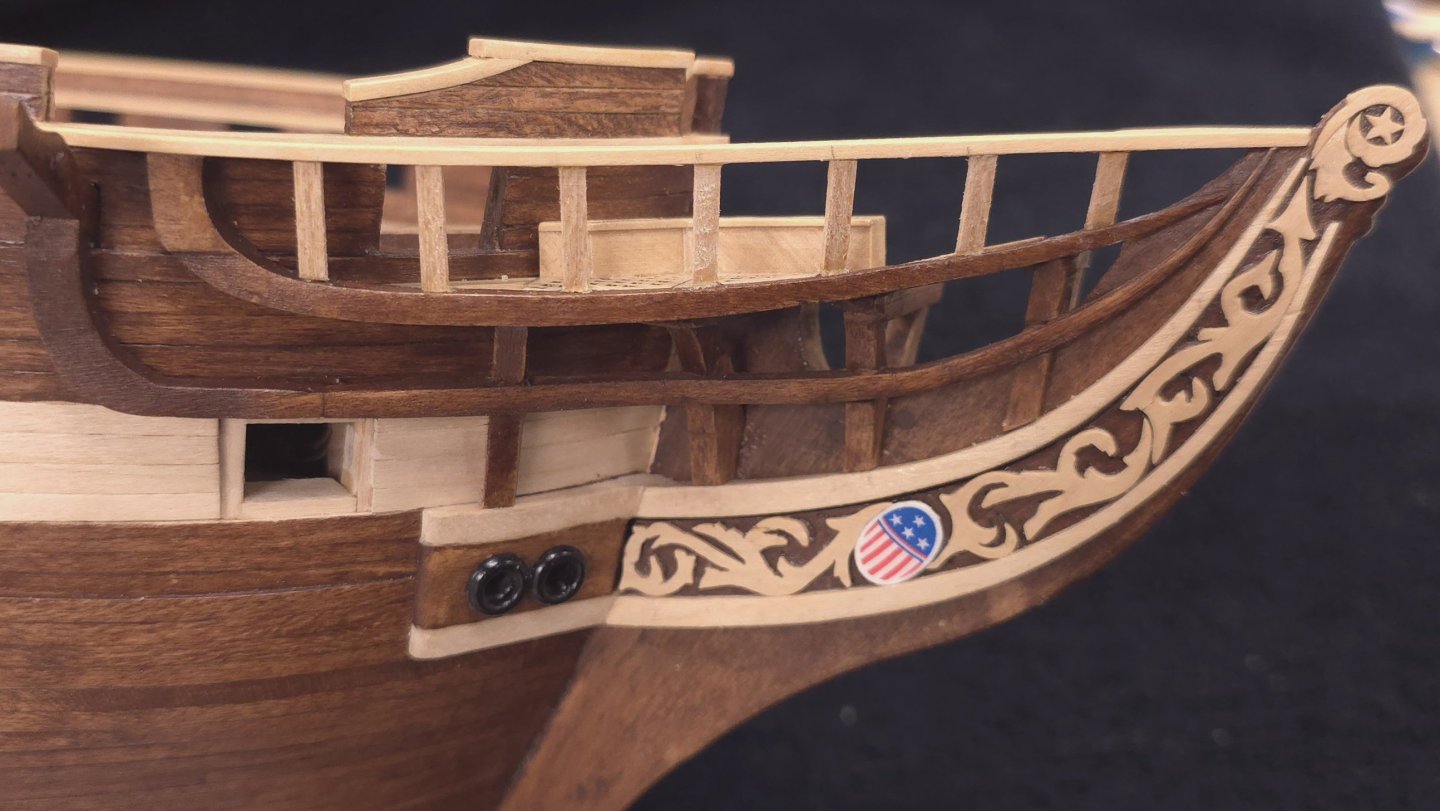
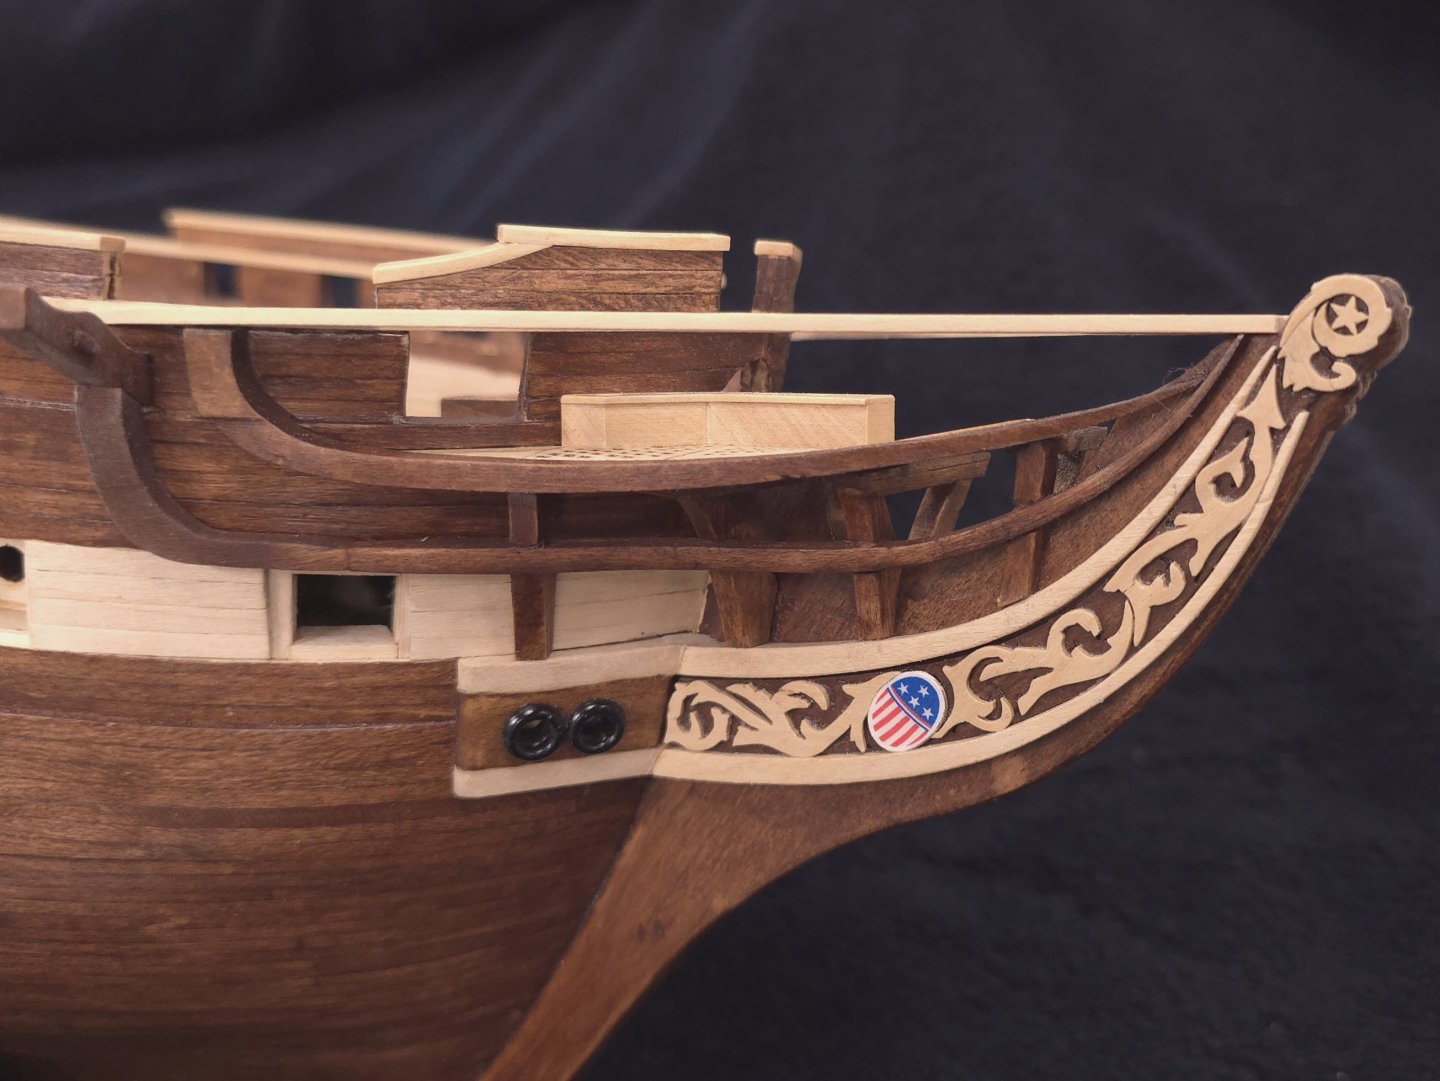
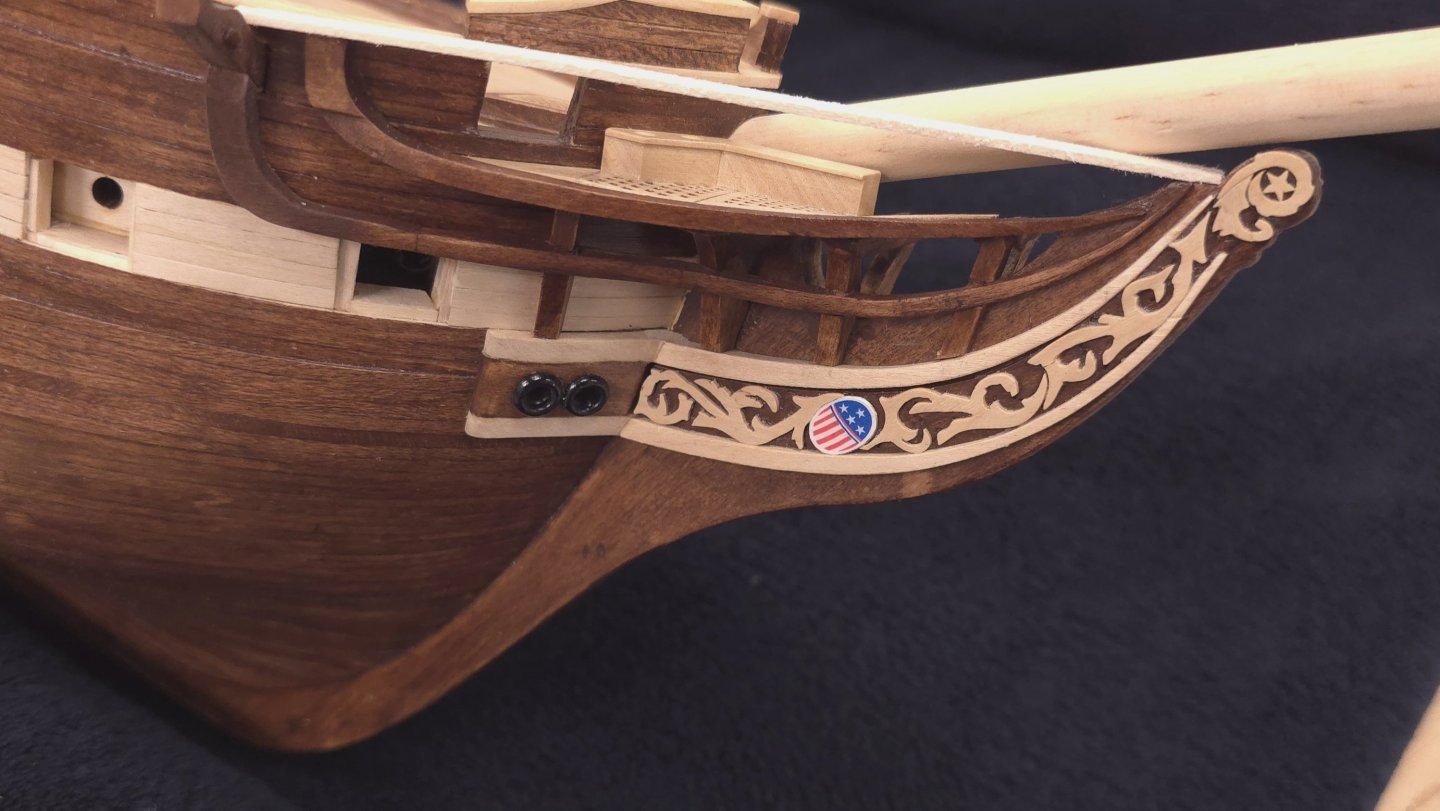
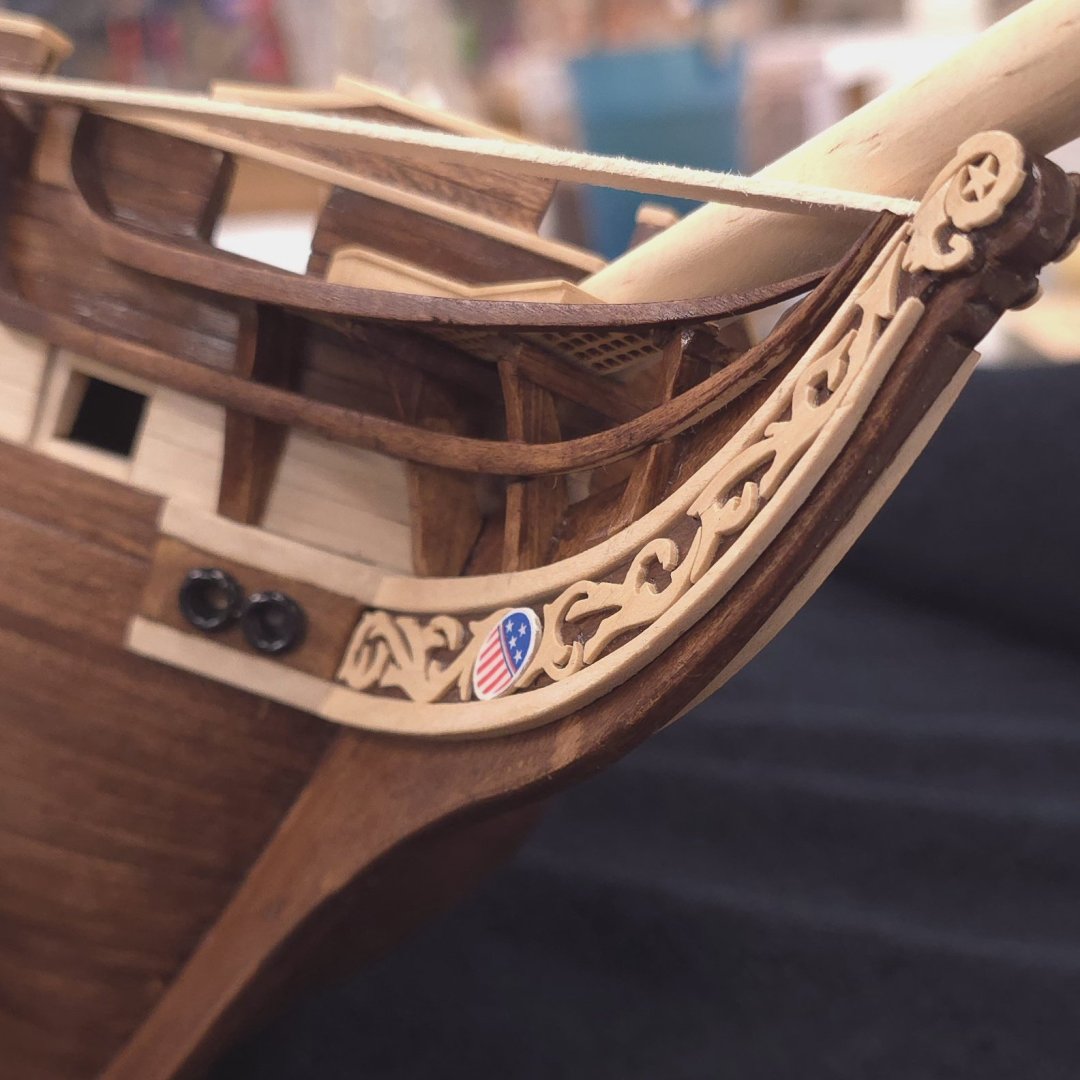
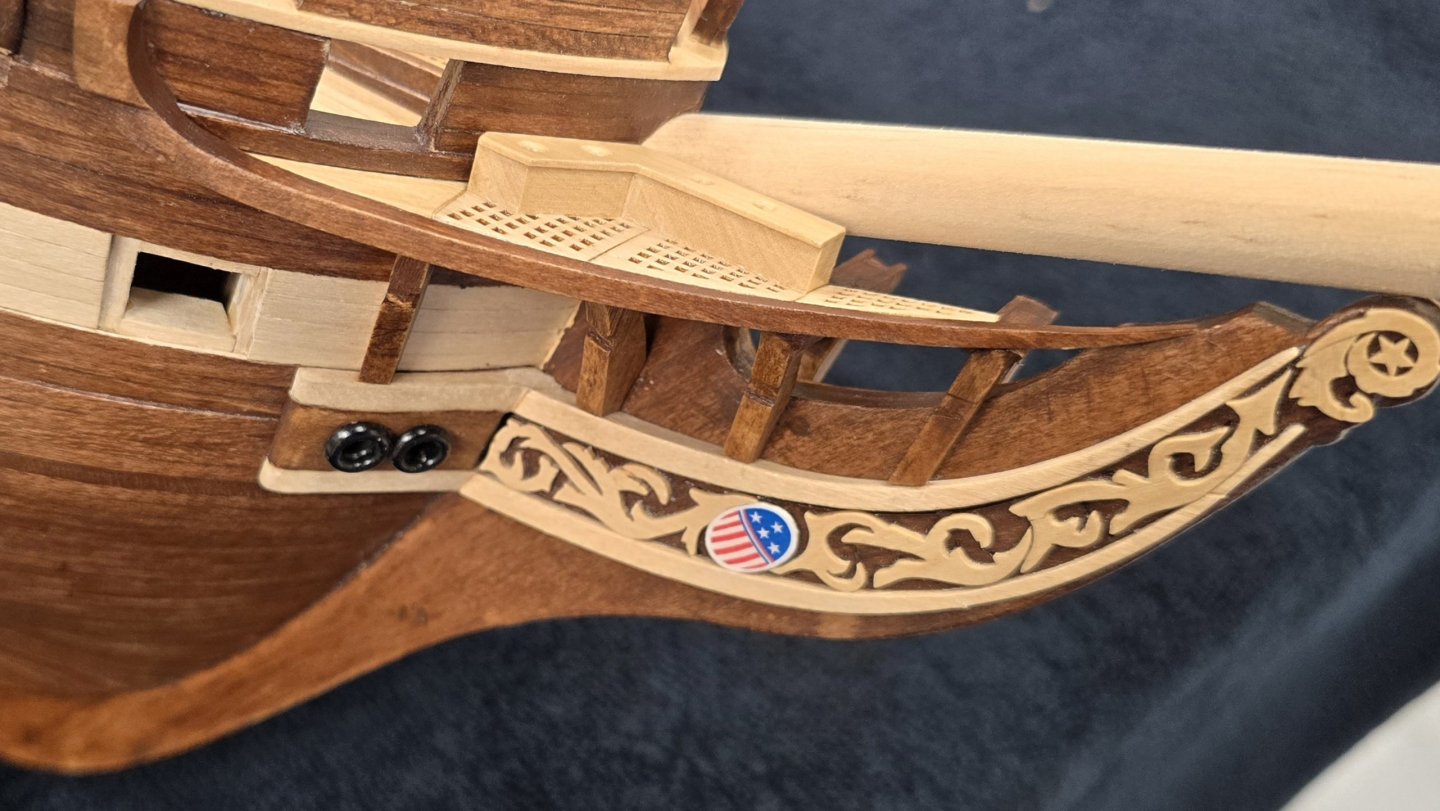
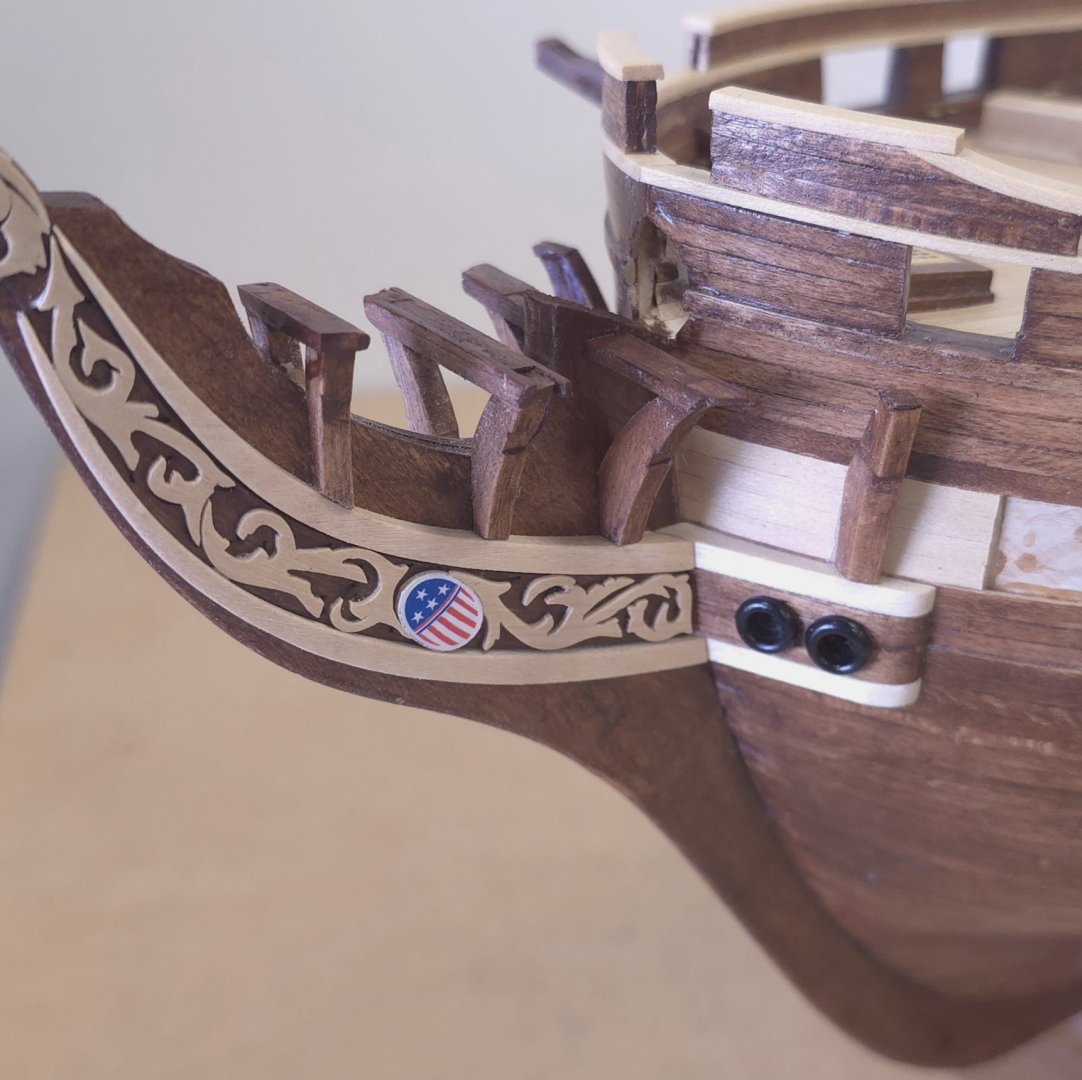
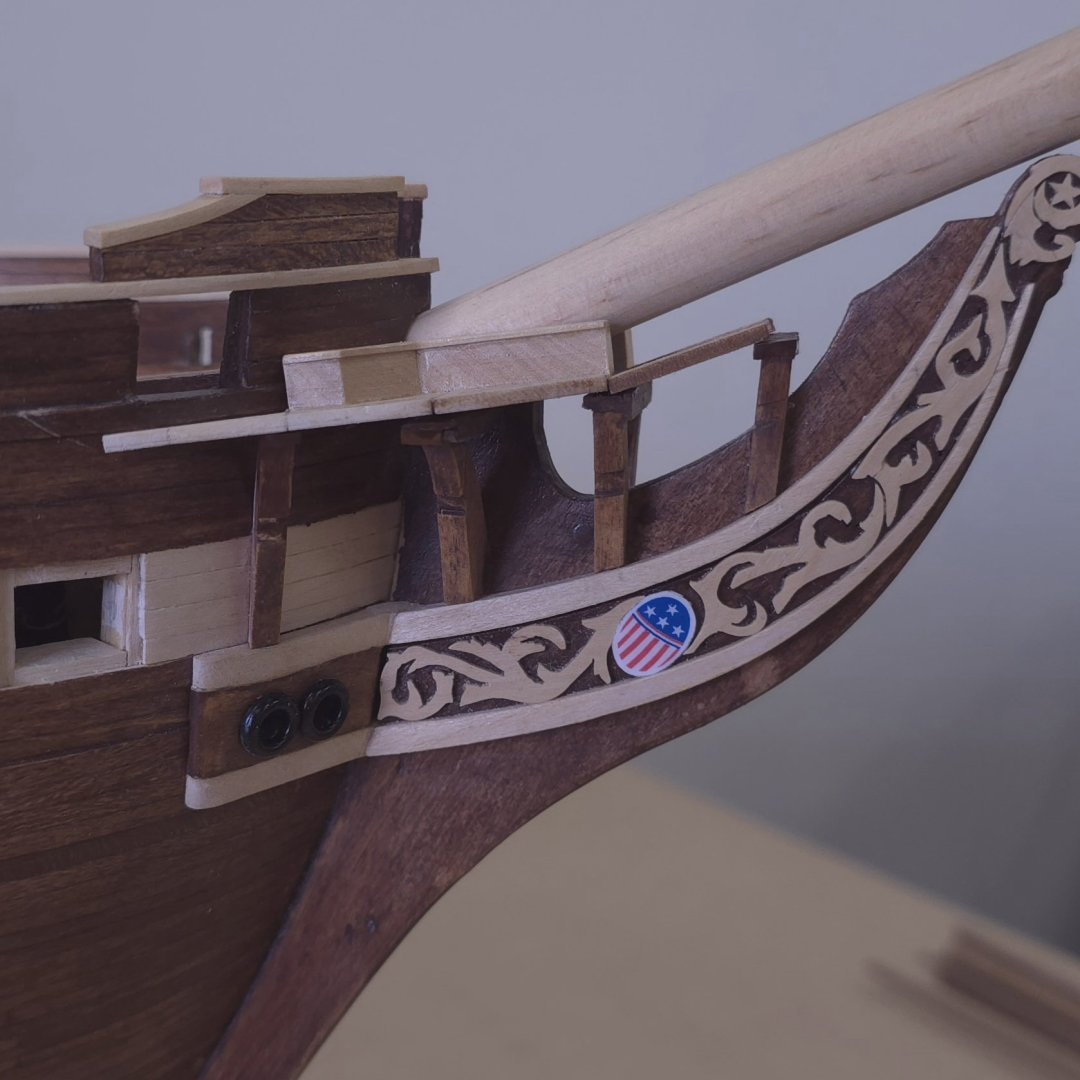
4 hours to install the third rail. I tried three different techniques before I bailed on them and opted for picking a softer piece of wood and just using the plank Bender to shape it. And again, it's amazing what the camera picks up that the eye does not when you're actually working on it. I'm not going to change it, but I'm not 100% satisfied with the shape right above the flag. And! I just noticed that I was a little sloppy applying stain to the bottom of that rail. Oh well.. calling it a day
-
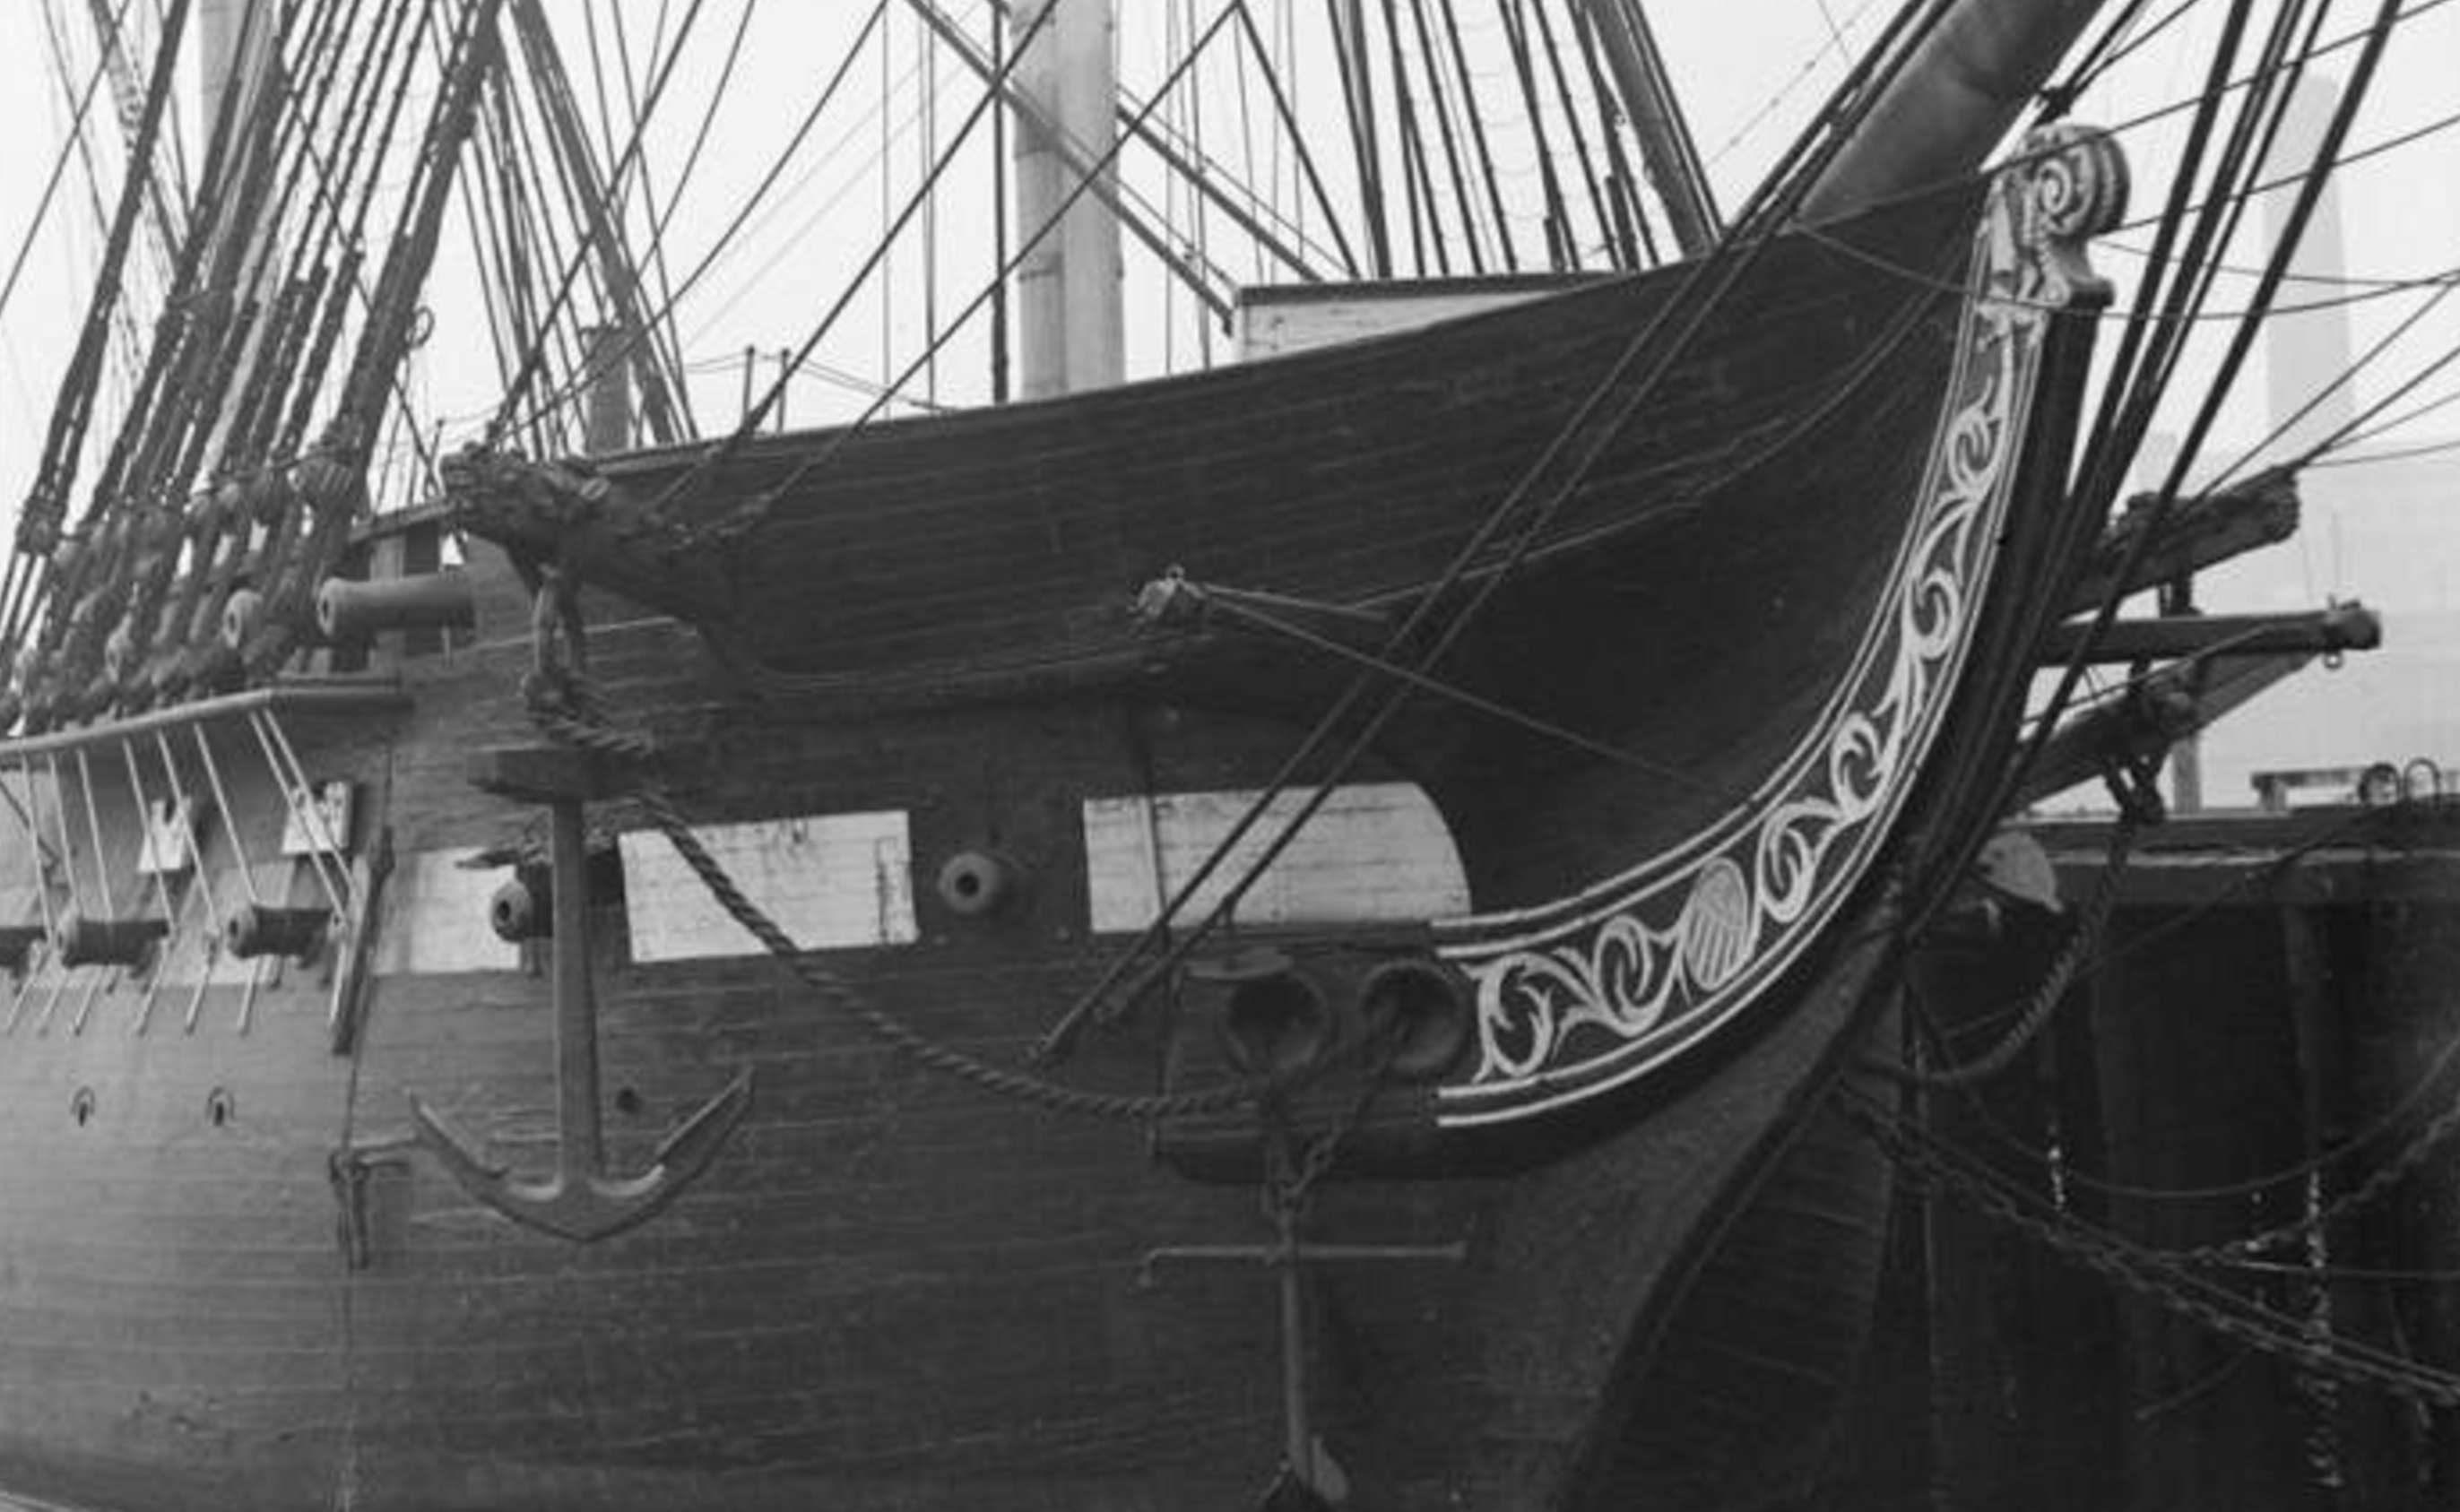
To be clear, I am not planning on doing this, but to contribute to the discussion. This photo comes from KMart's build log..

-
I agree 100%. It would be a disaster. As a plan B in that event, I have seen older pictures of the Constitution where the entire four Peak is planked. No open supports at all. It shouldn't come to that. 🤔
-
Good catch. I deliberately chose to eliminate support number one, figuring that for the millimeter or two distance from the stem, it wasn't worth bothering about. I took a look at how the top rail would fit and decided this would be a good place to end rail number two. Time will tell if there will be some deconstruction in my future. 😁
-
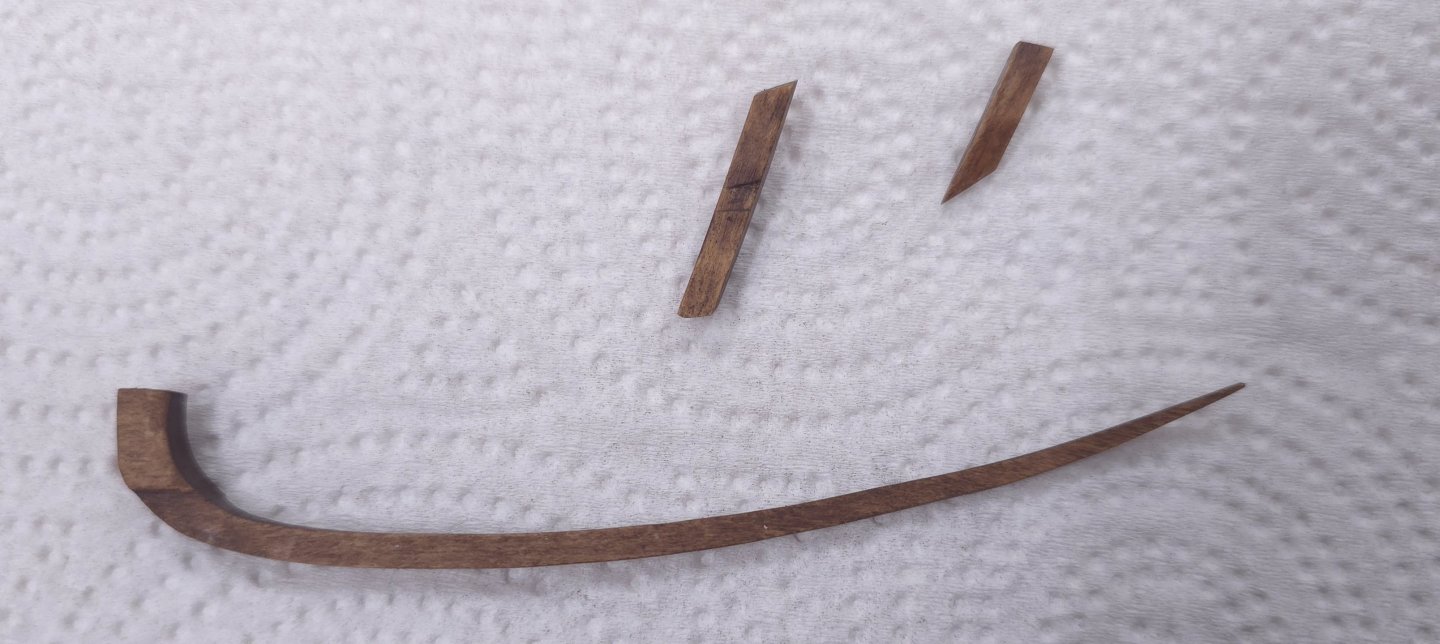
I did come back to finish the starboard side lower head rail.

-
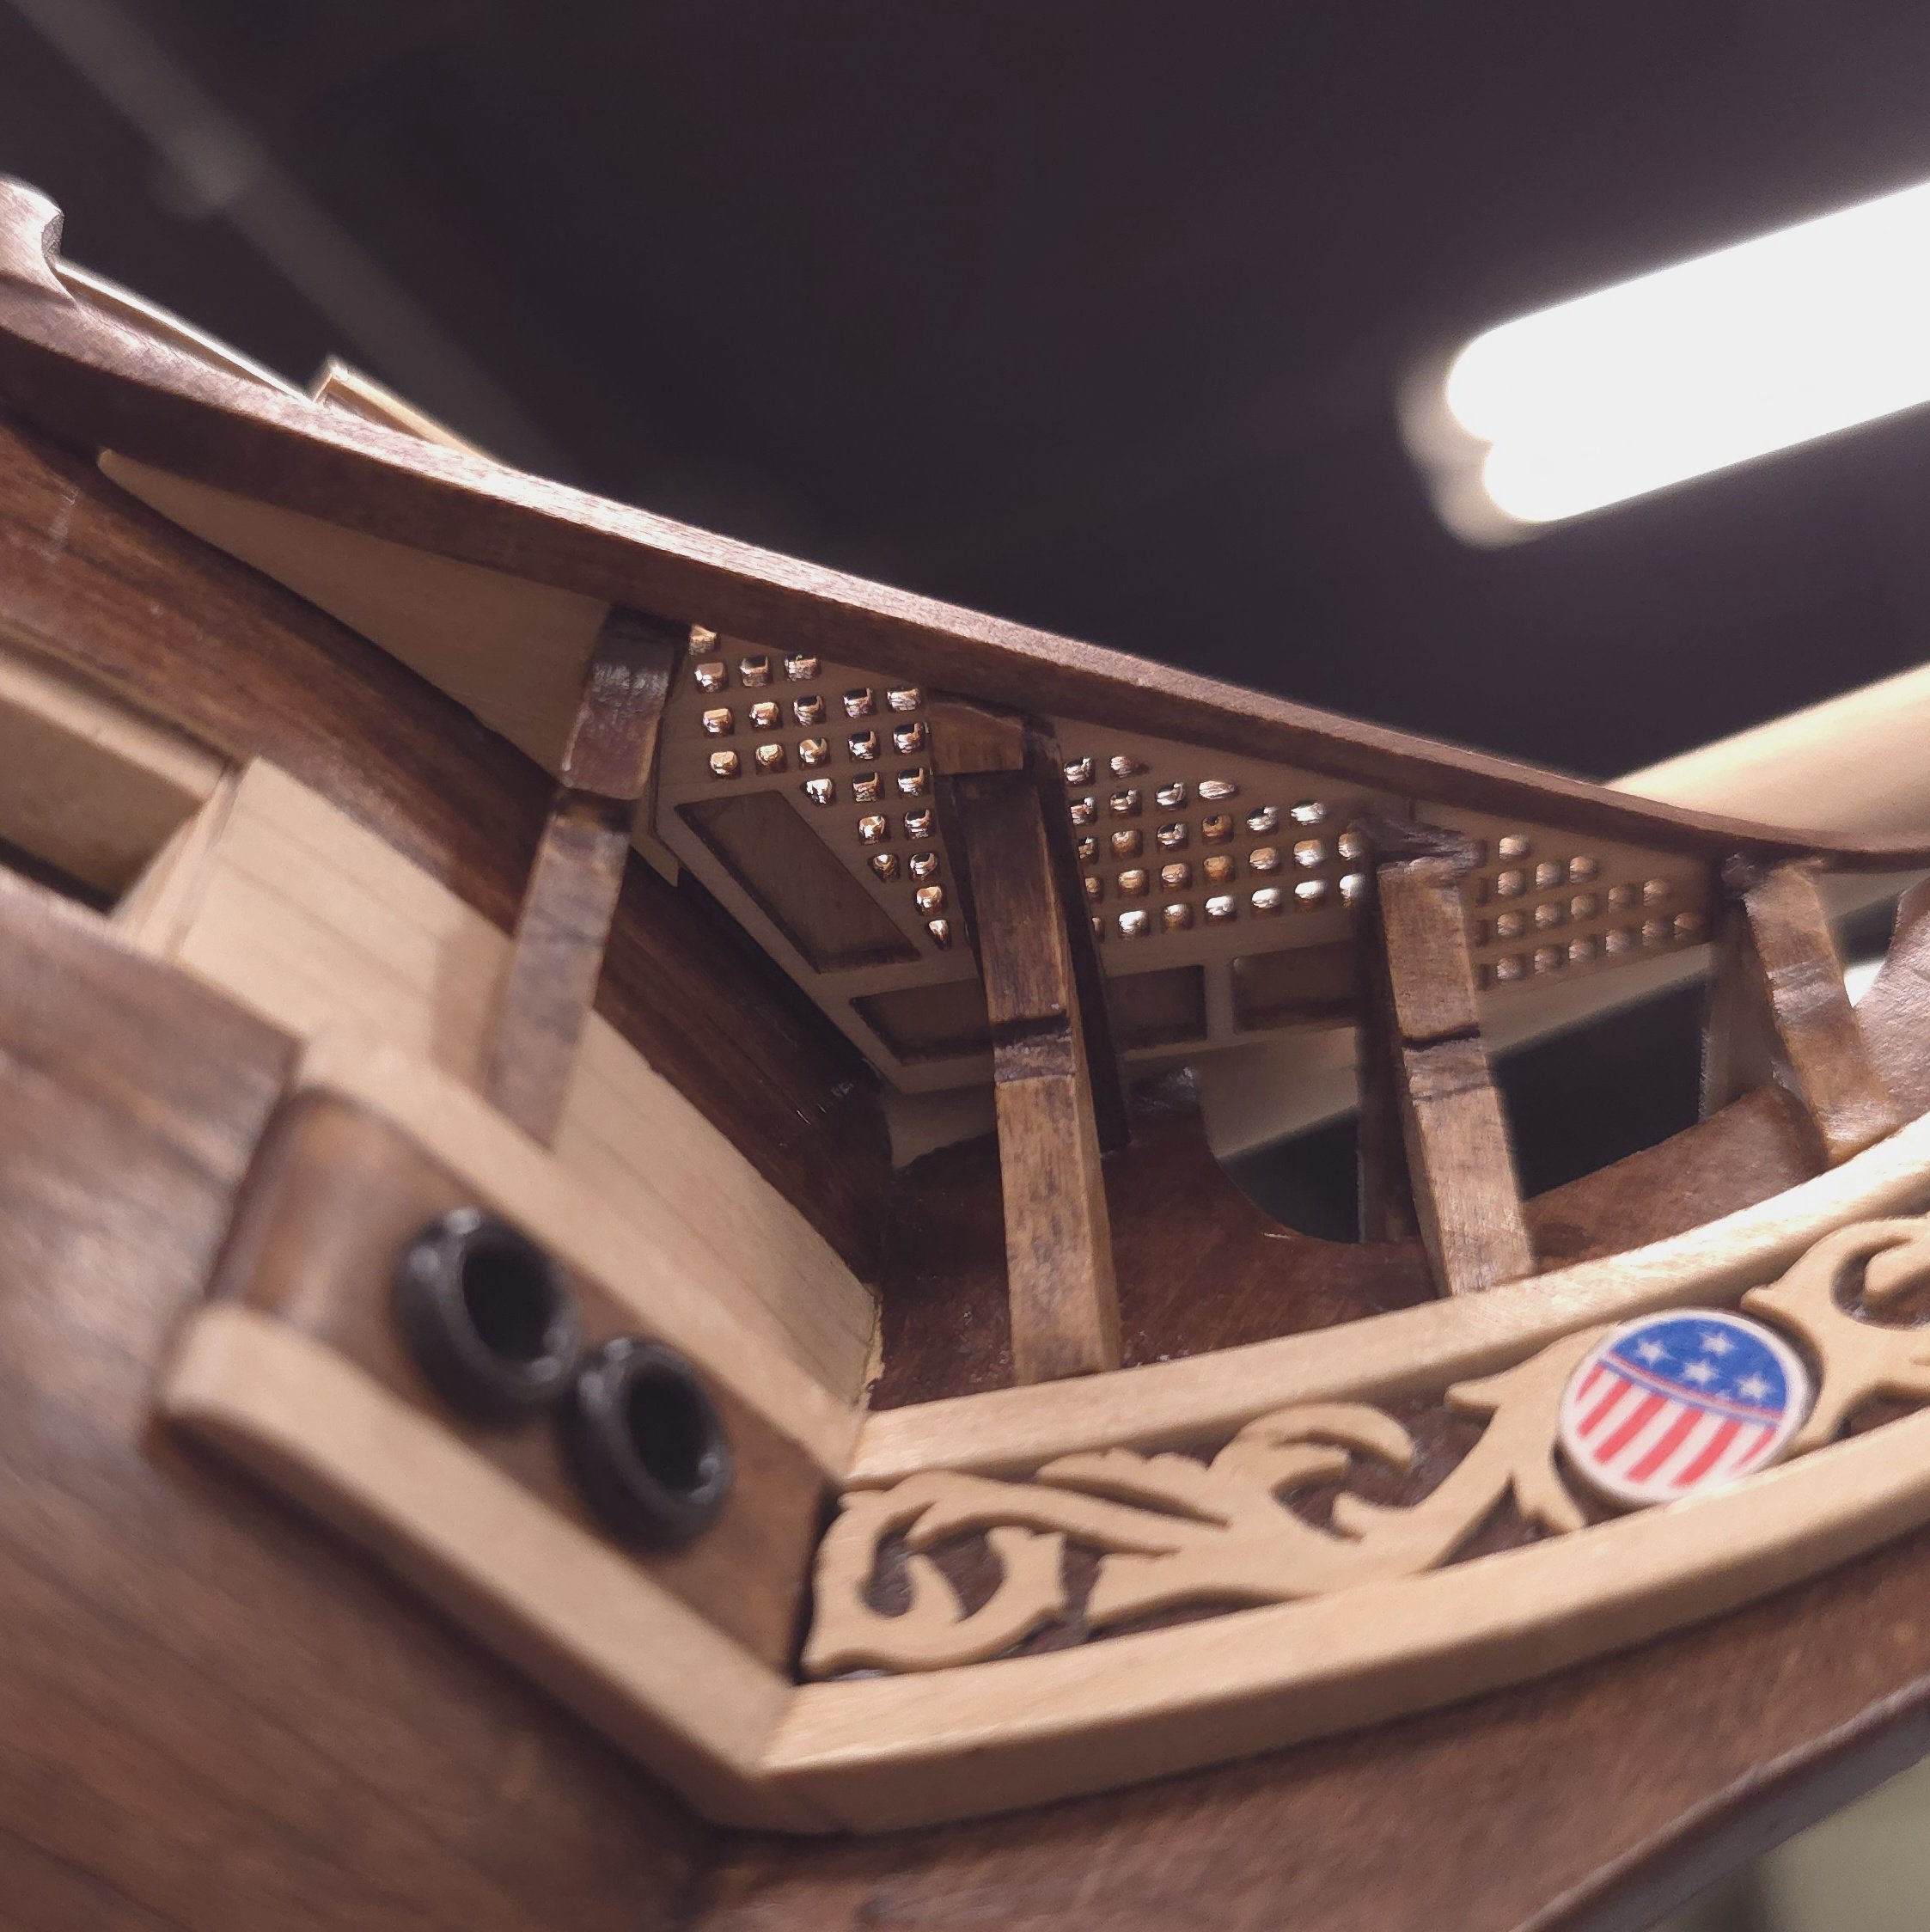
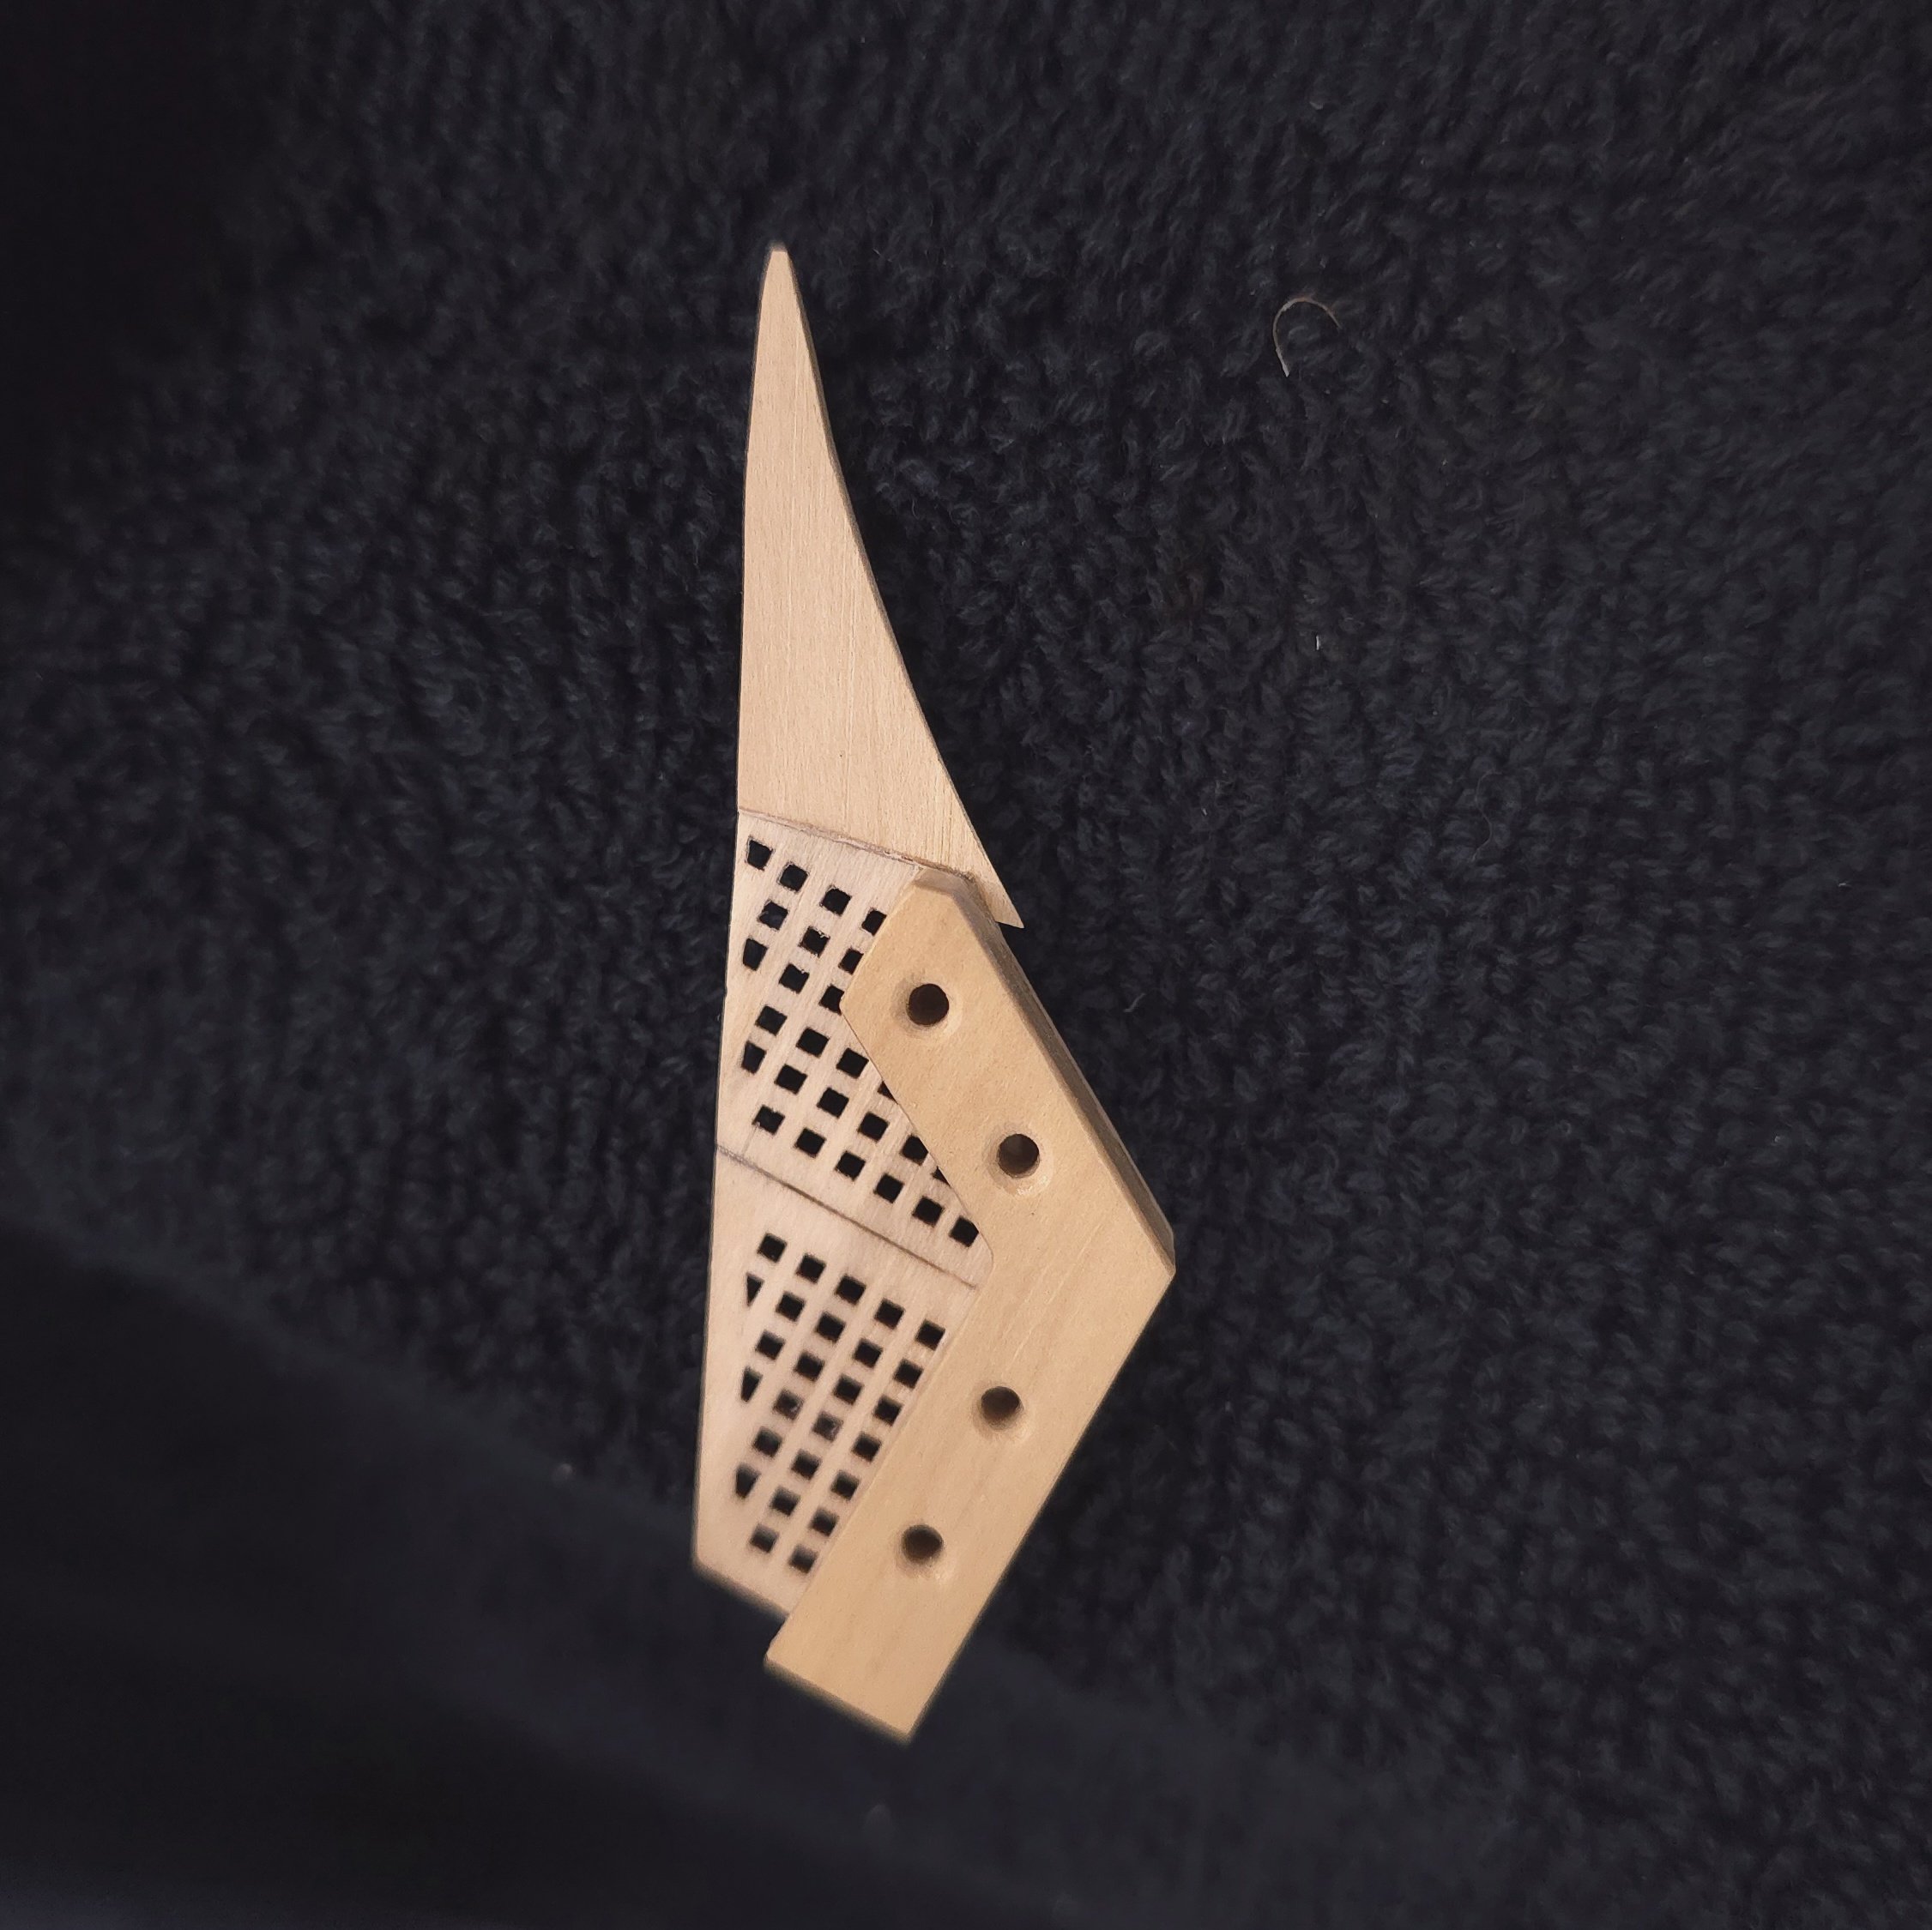
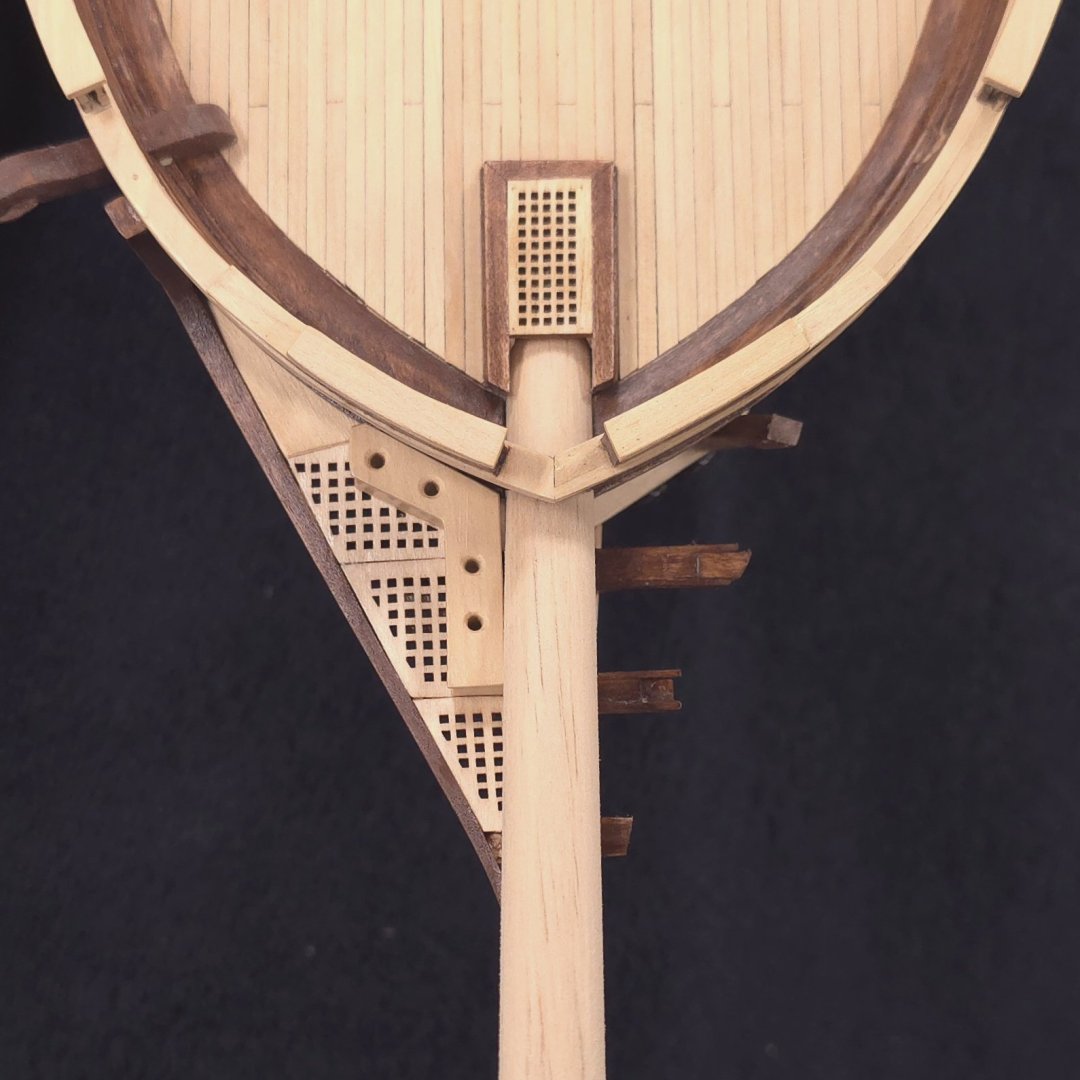
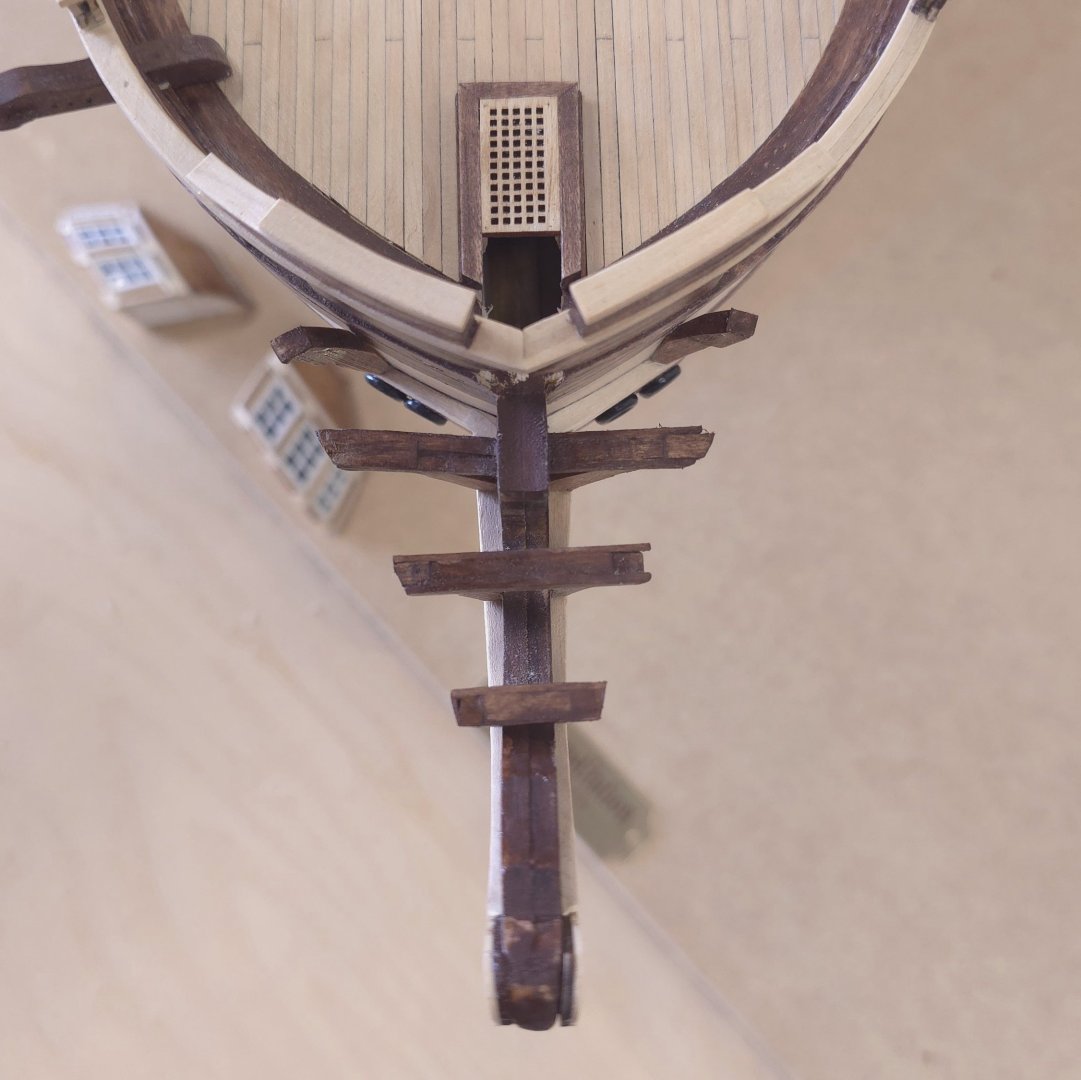
Off to the endodontist, yet again 🙄, in a couple of minutes. Before I go, the most recent modifications. I had to reshape the gratng to get a better fit between the lower headrail and the grating. After doing so, I committed and glued the grating/head assembly to supports three, four, and five. Maybe I'll get back this afternoon and install the rail. Cheers..

-
USS Constitution by mtbediz - 1:76
Der Alte Rentner replied to mtbediz's topic in - Build logs for subjects built 1751 - 1800
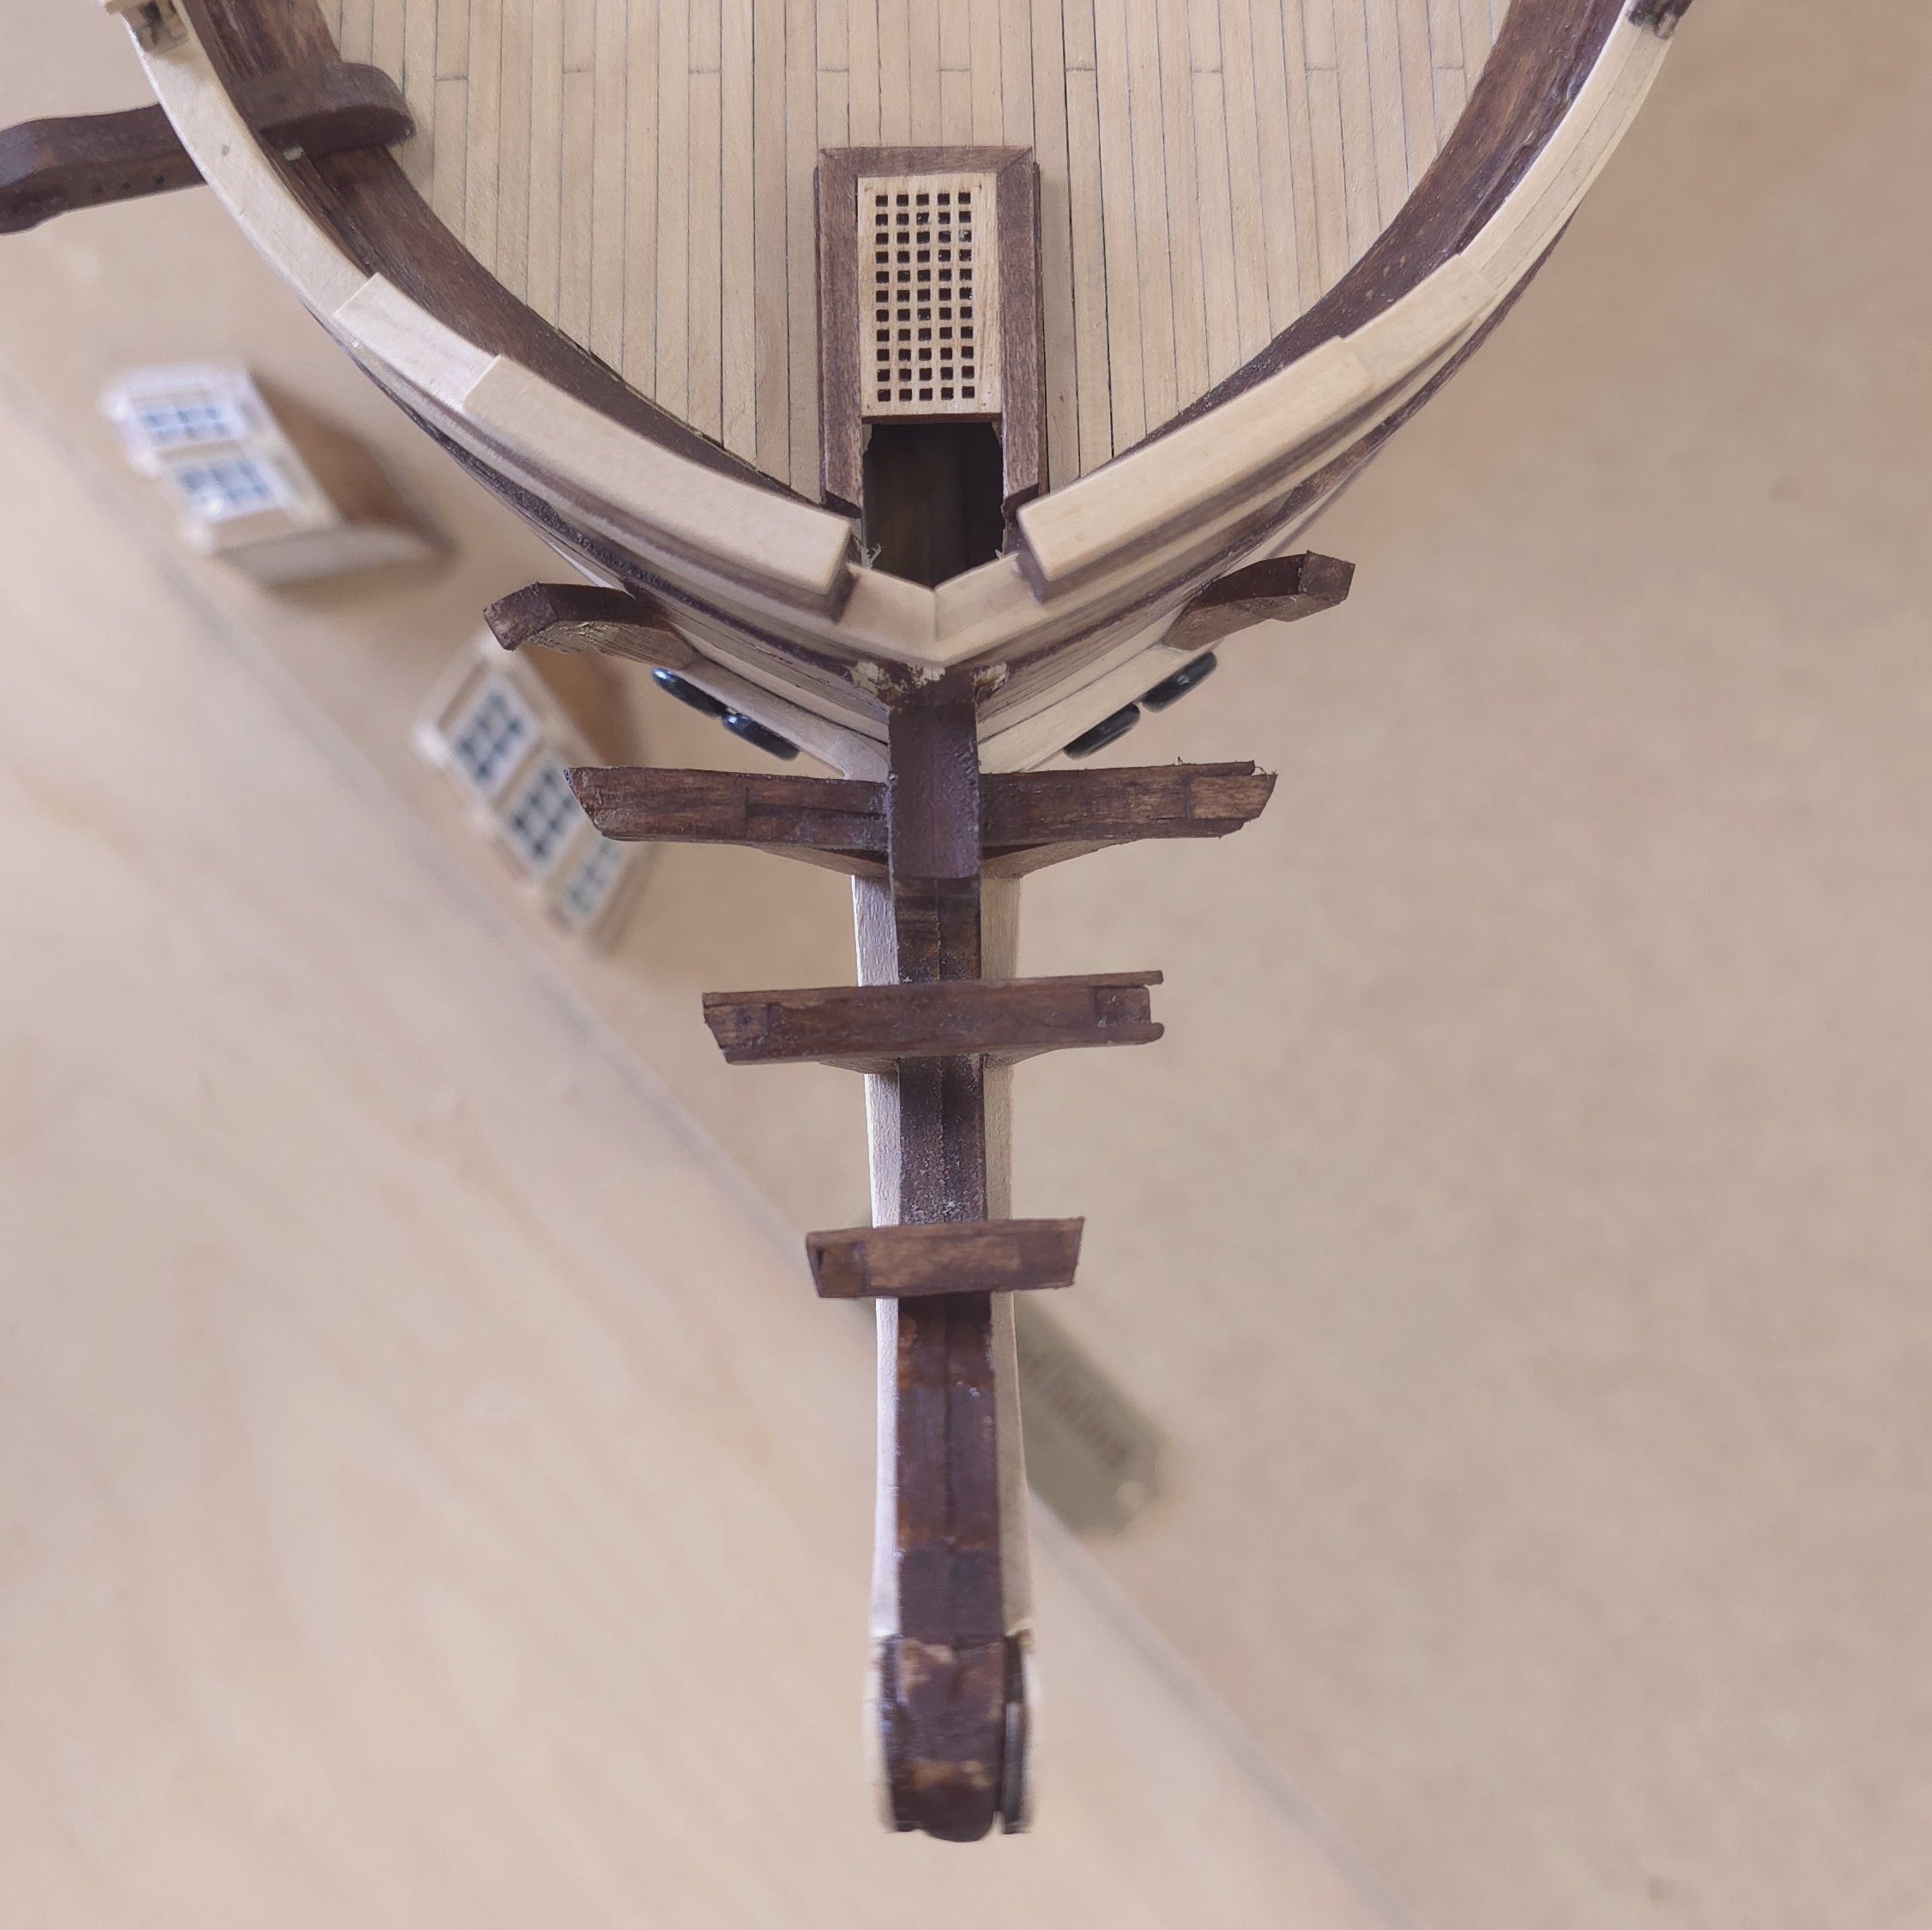
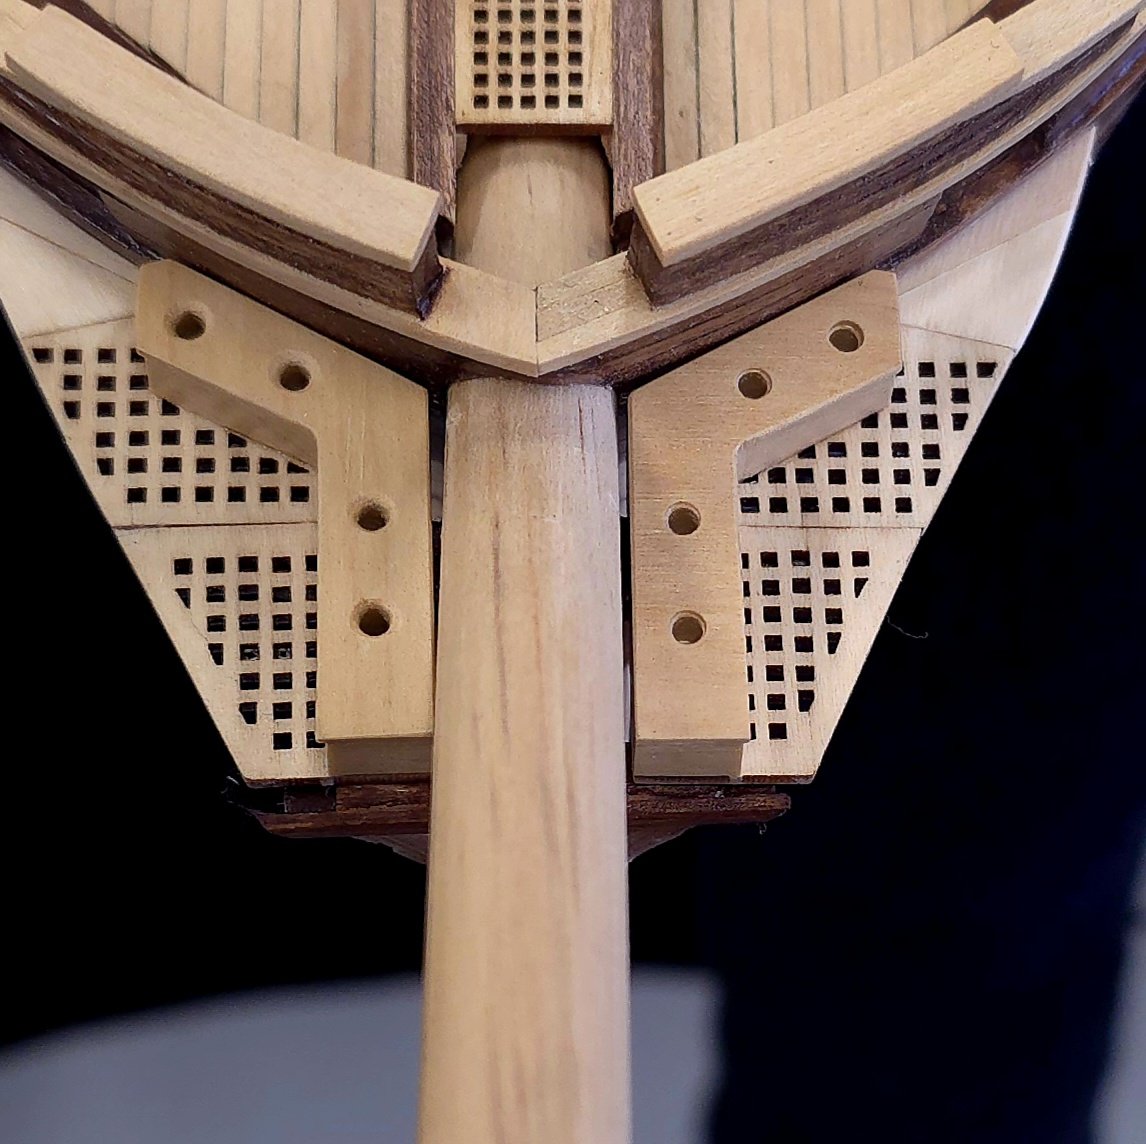
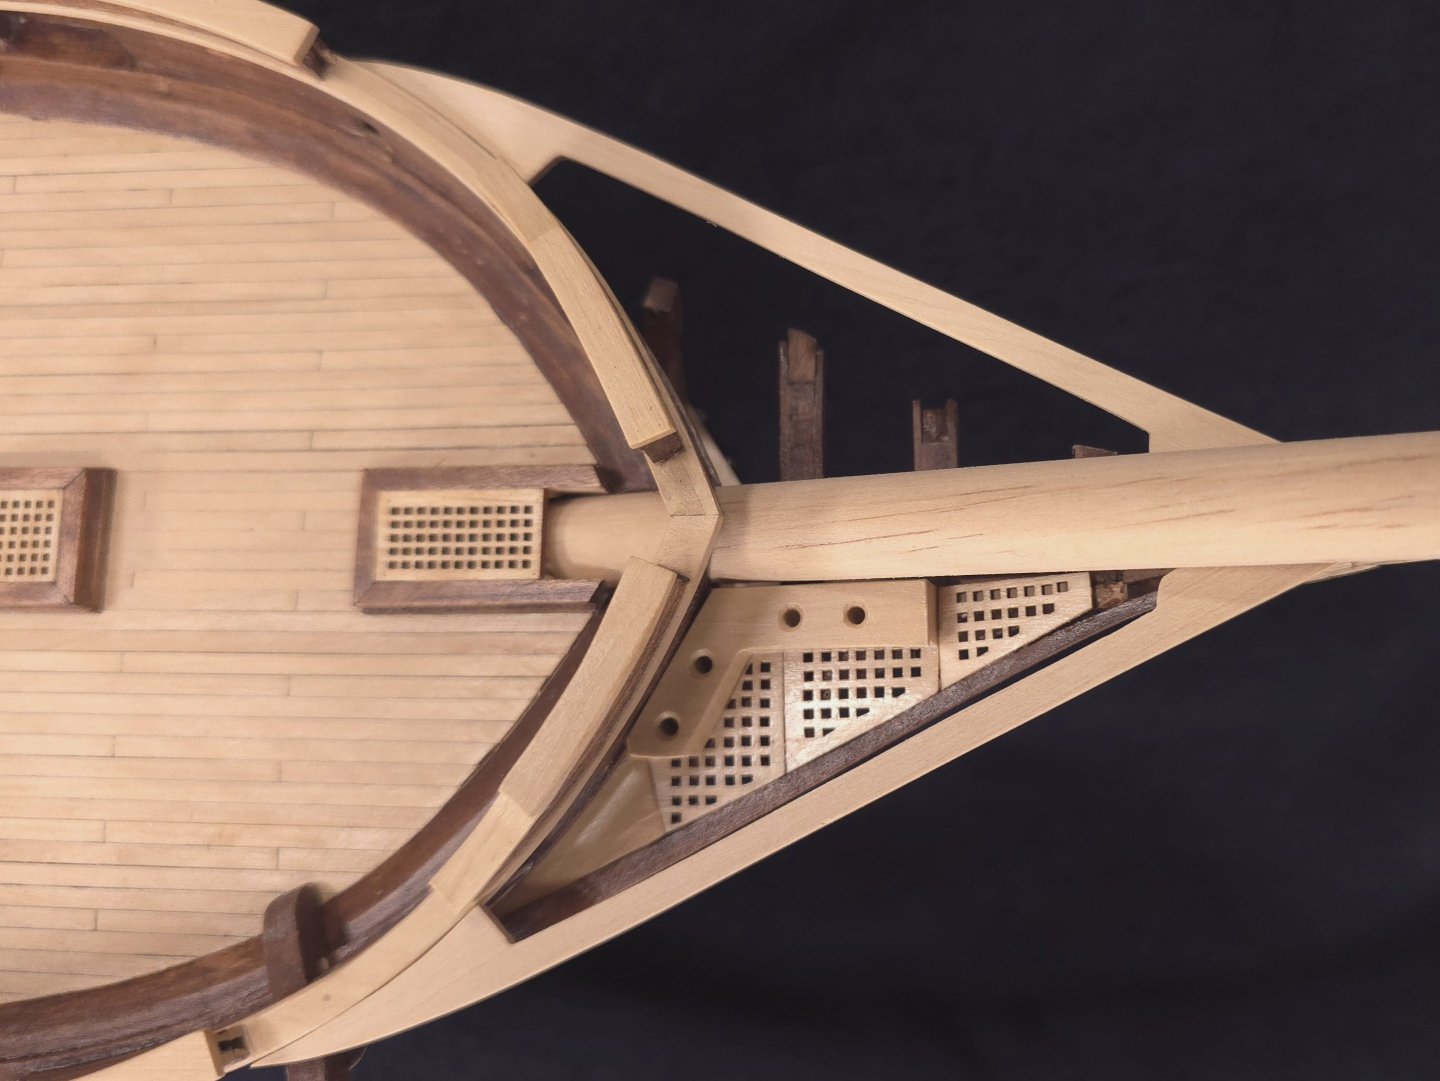
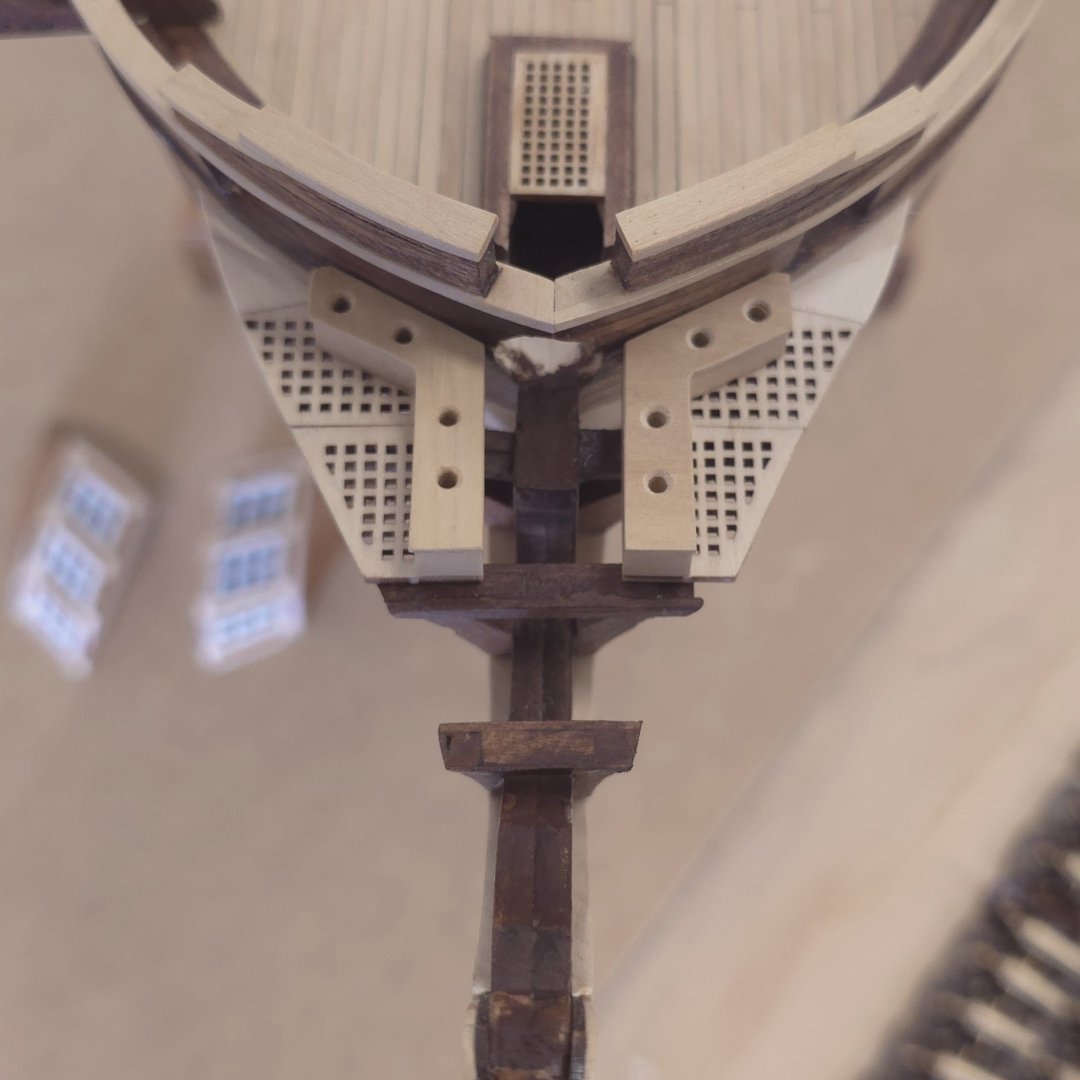
I made mine parallel to supports two and three. I've looked at a million photos, and while there is an argument to be made for a slight angle forward, I thought parallel was the better bet. In part, my thinking was that it should be parallel to joint of the two grates it supports. For that reason, support five would be angled forward. -
I'm reluctant to even post today. Having just seen Mustafa's work on his supports, I'm completely demoralized. However, here's what four and a half hours netted me.


-
USS Constitution by mtbediz - 1:76
Der Alte Rentner replied to mtbediz's topic in - Build logs for subjects built 1751 - 1800
Man! You make it look so easy.. I just spent another 4 plus hours on mine, and the supports don't look anywhere as nice as yours. Great work! -
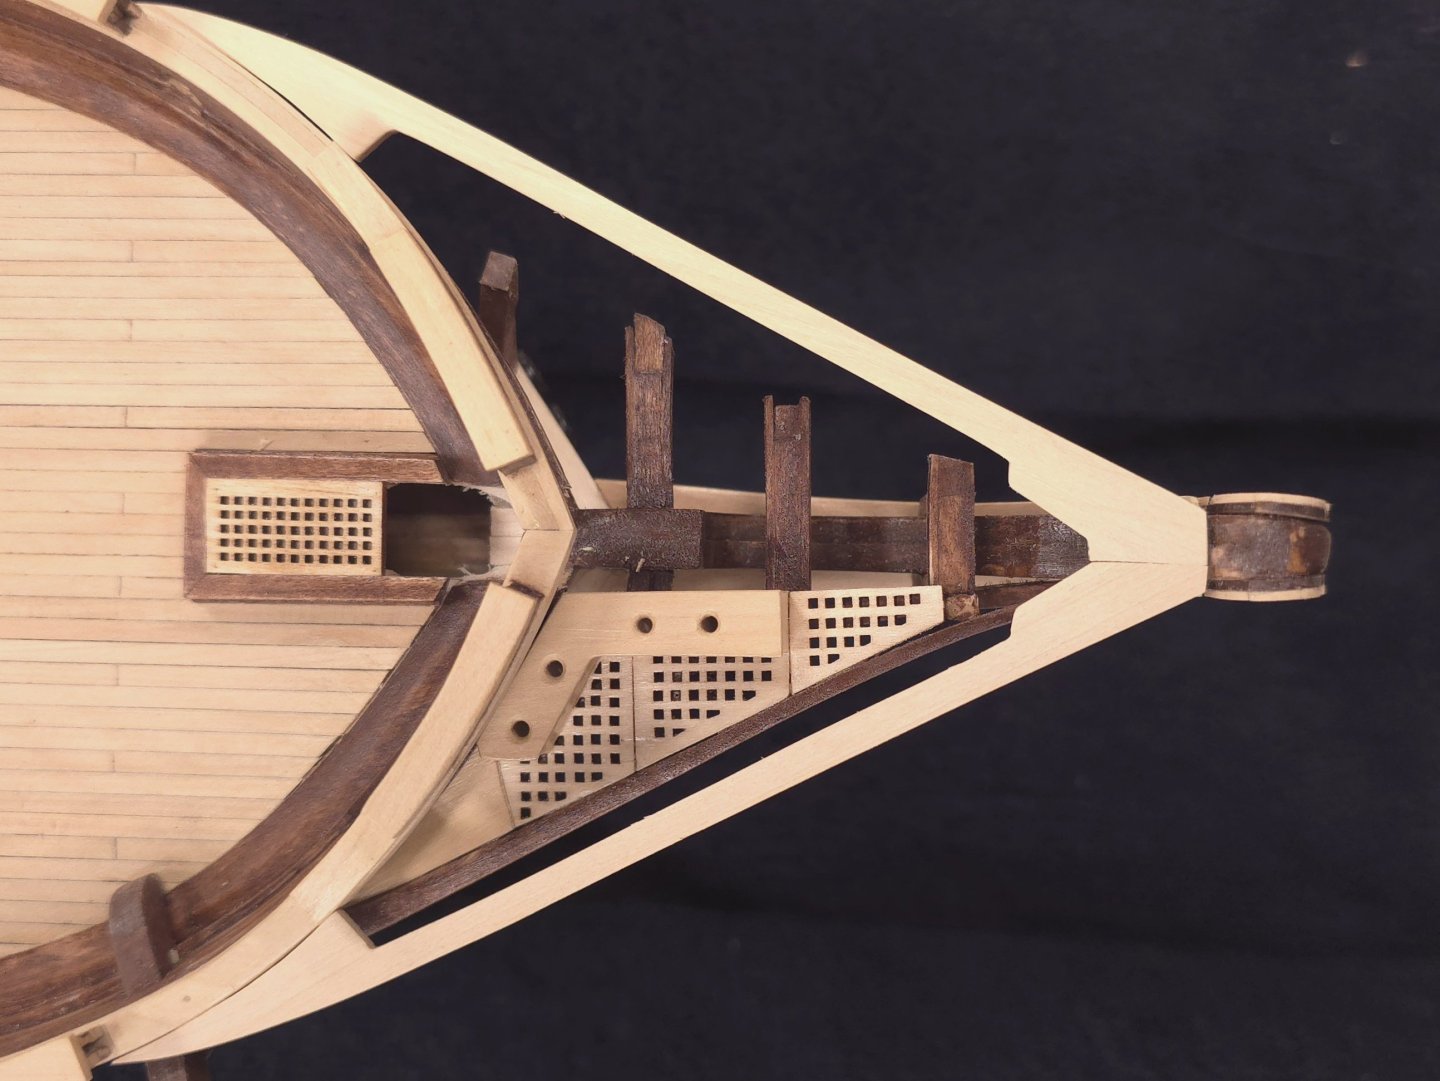
In 24 hours, I'll be installing the last two timbers and the 2nd head rail. (The stain needs to cure). At that point, I'll probably also install the starboard side grating.
-
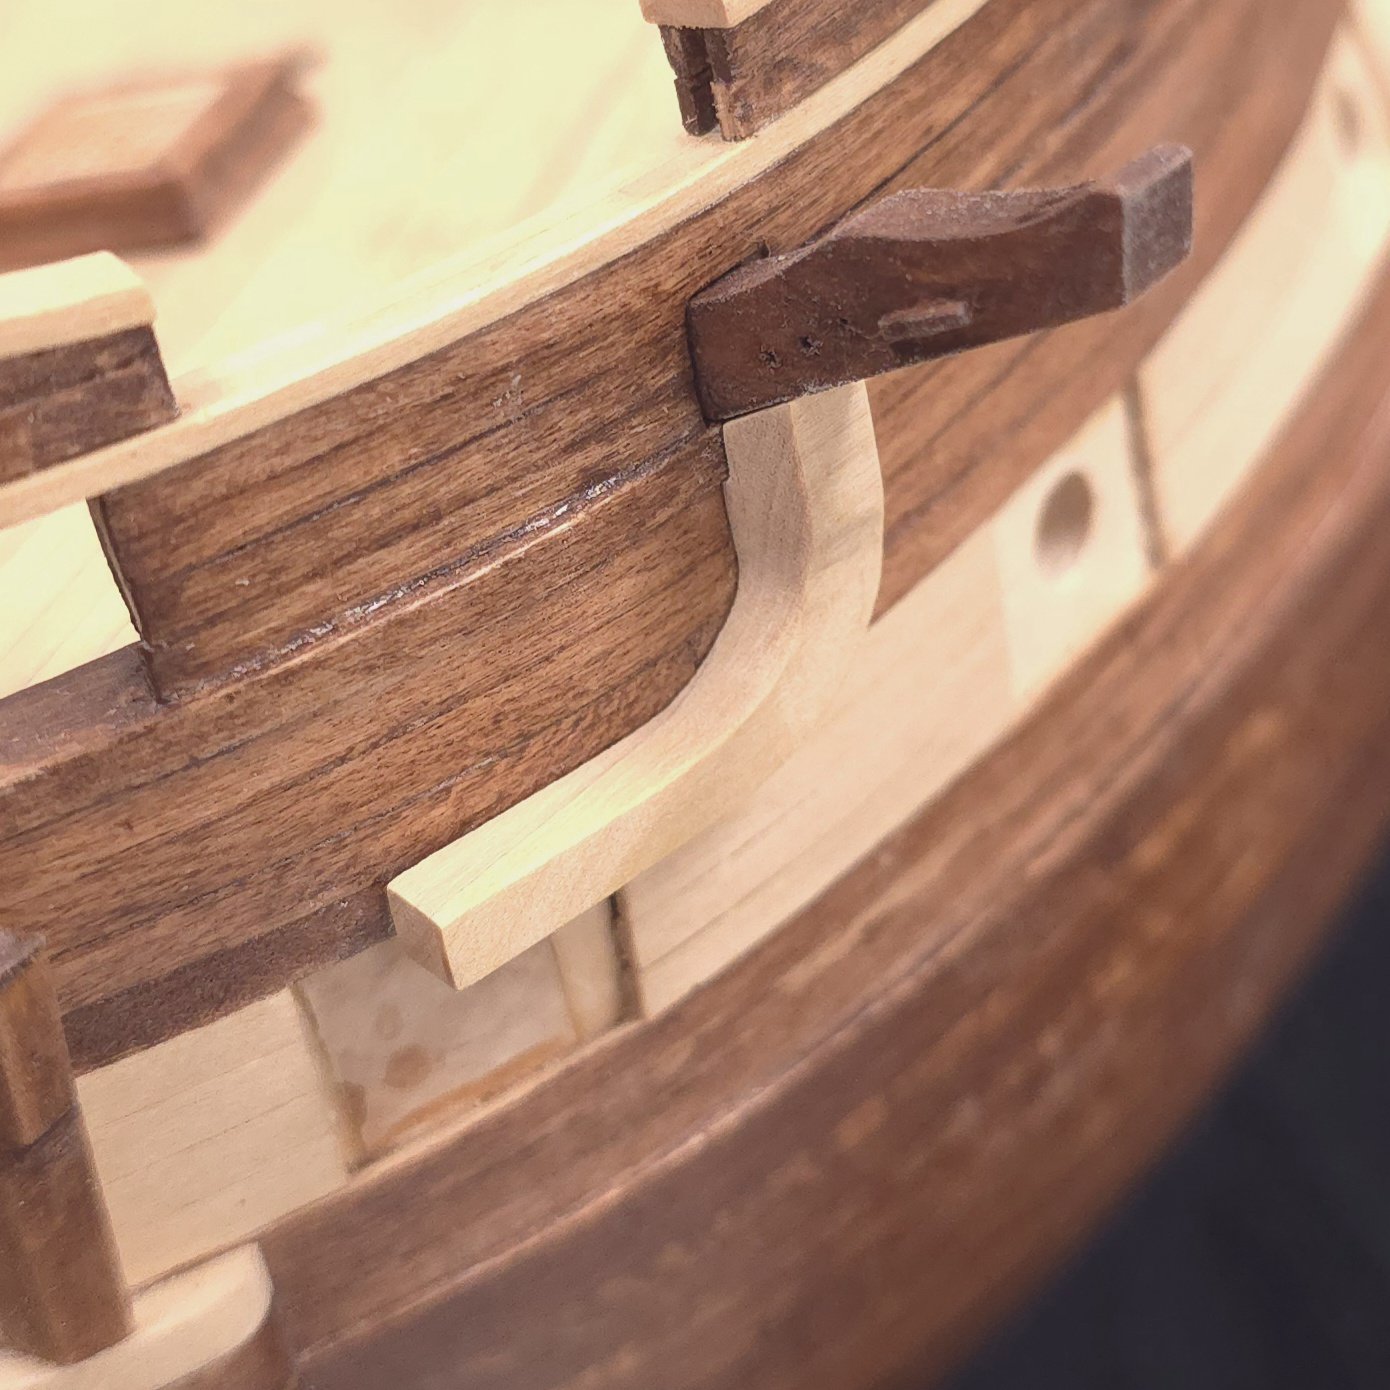
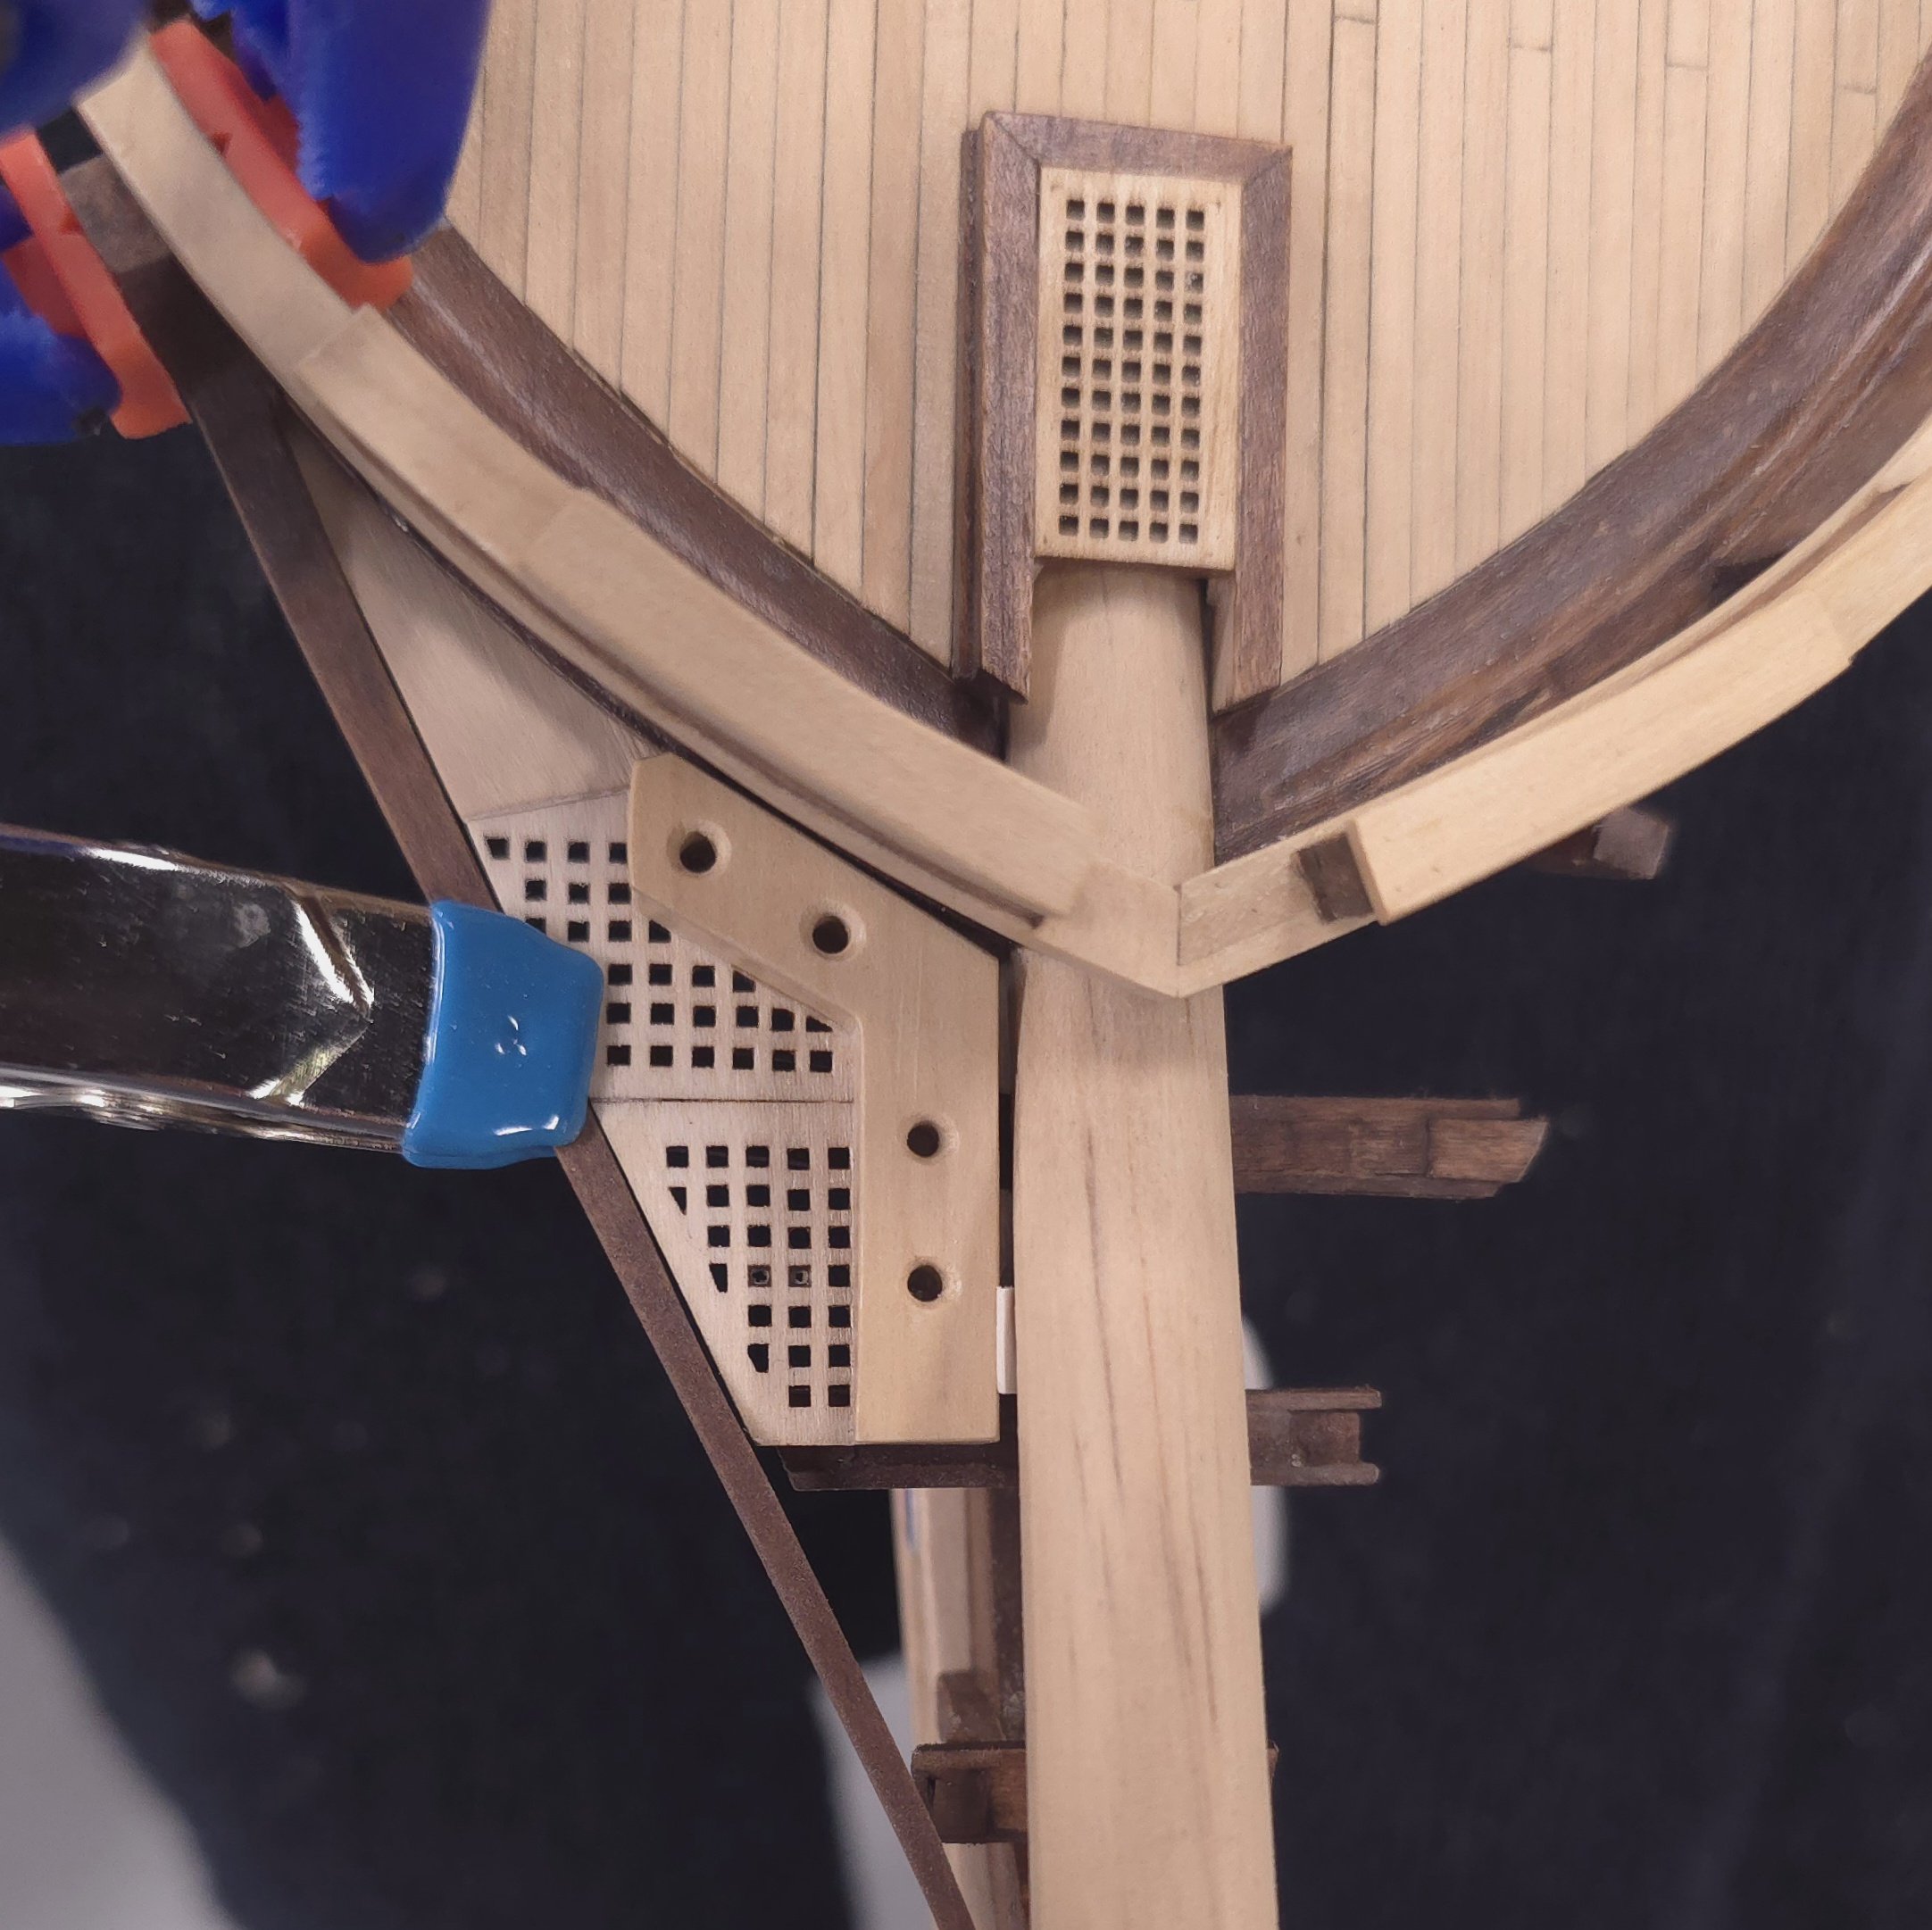
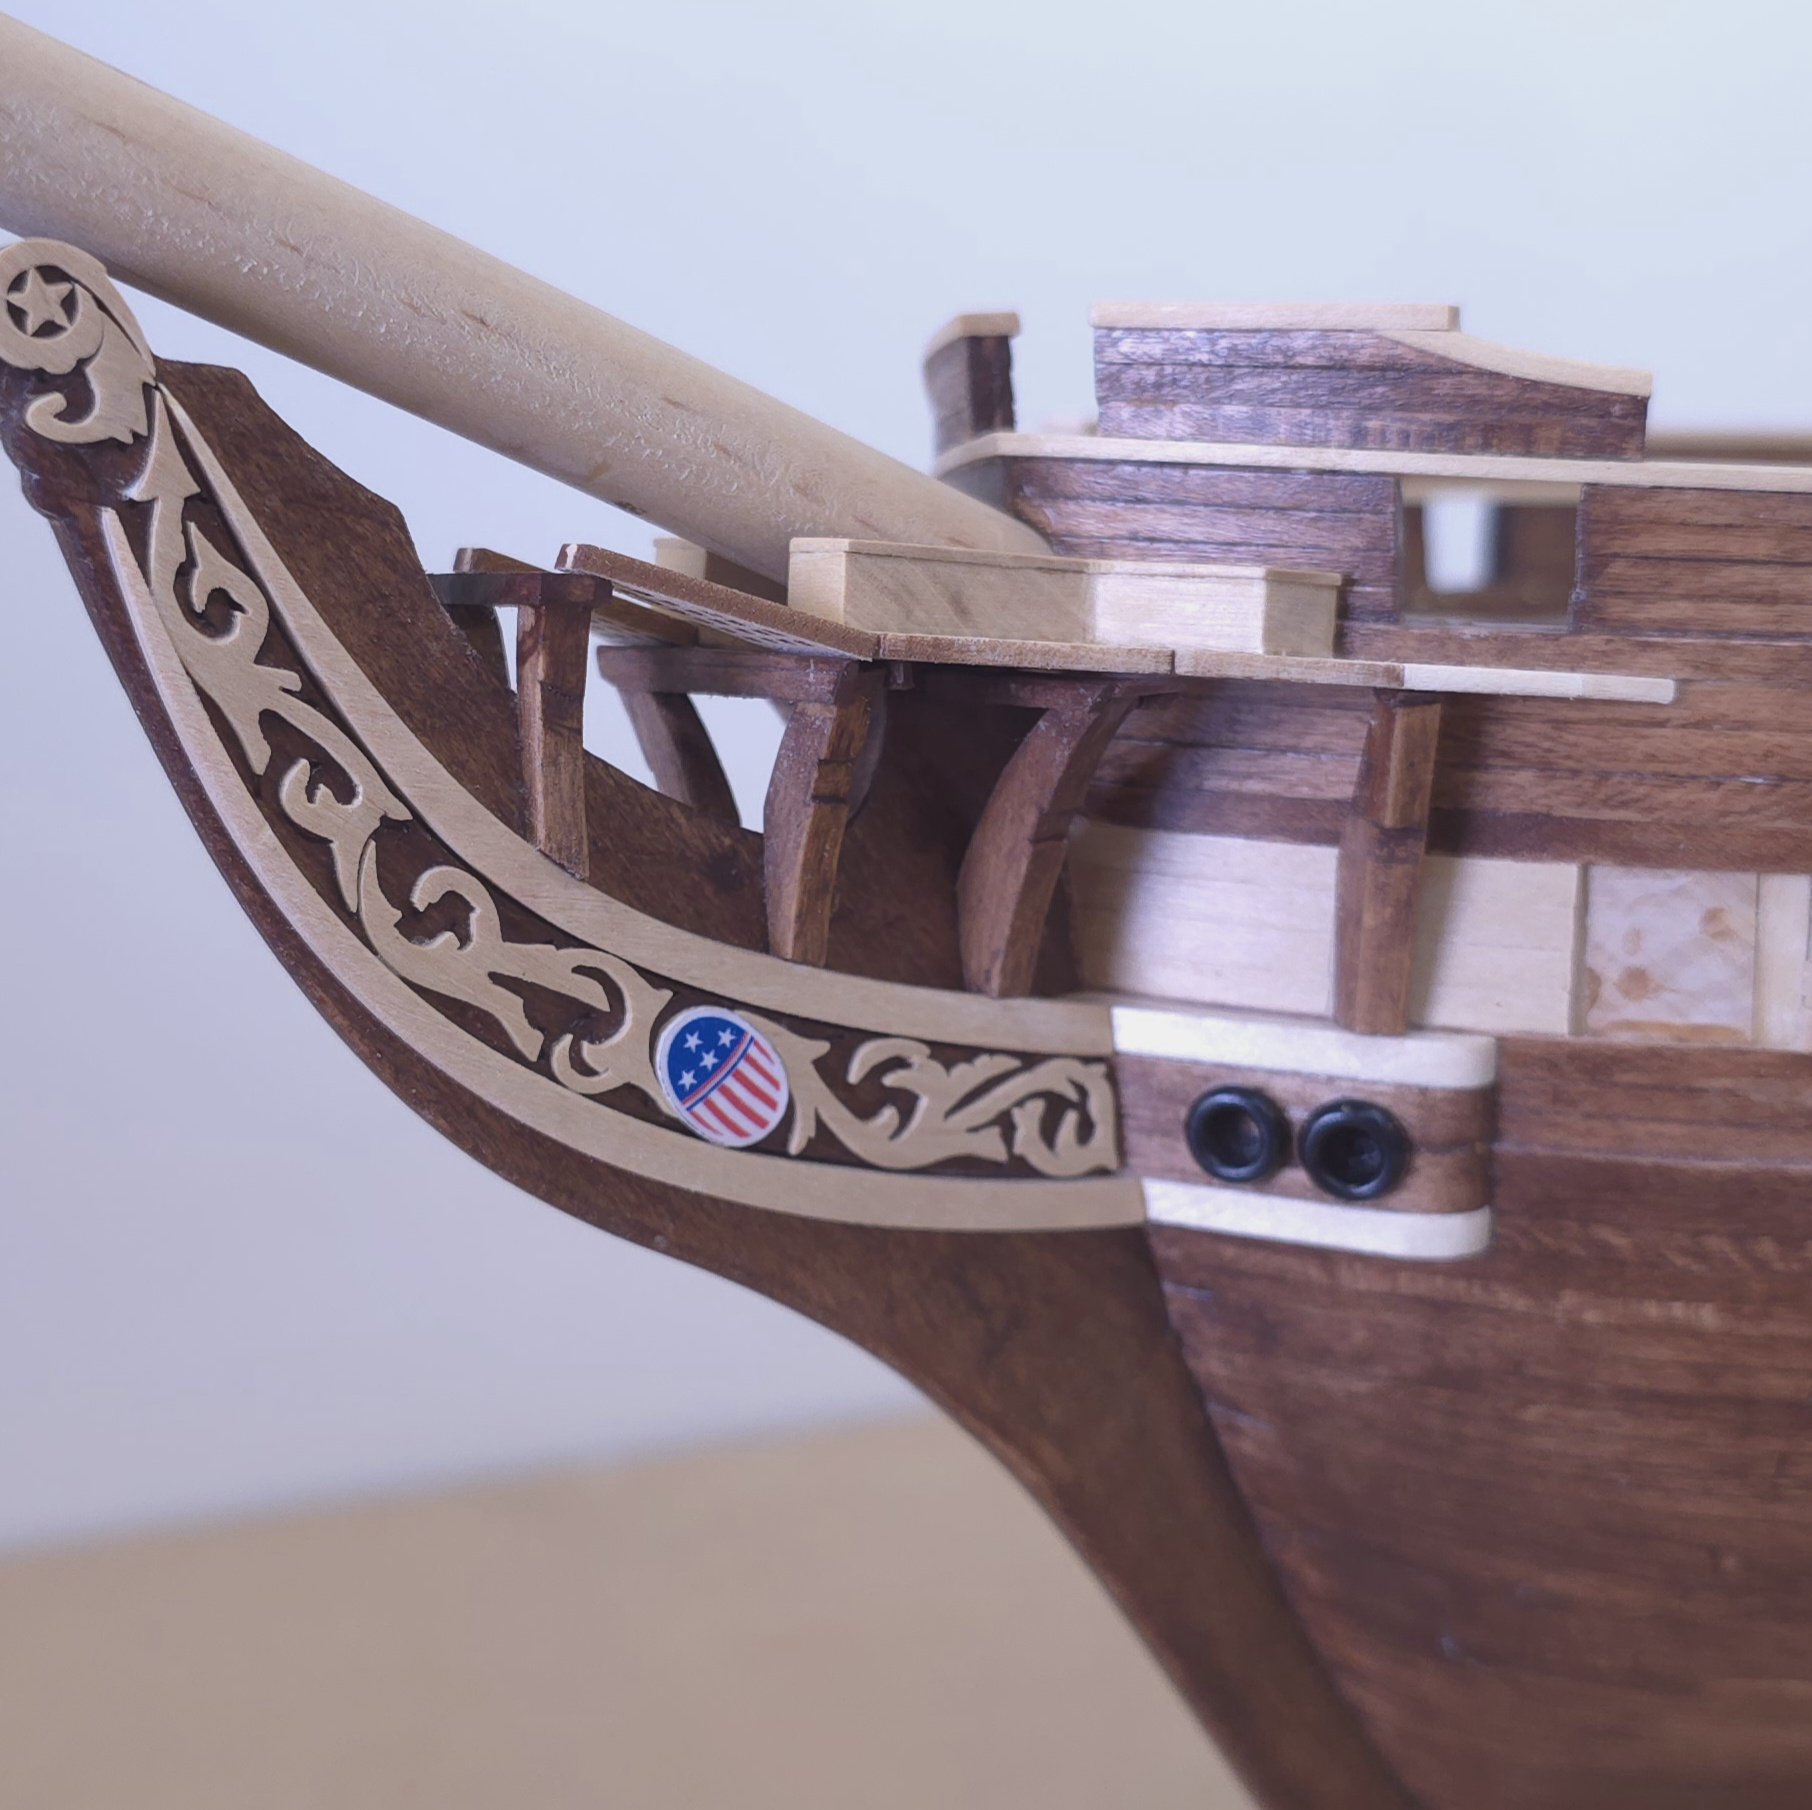
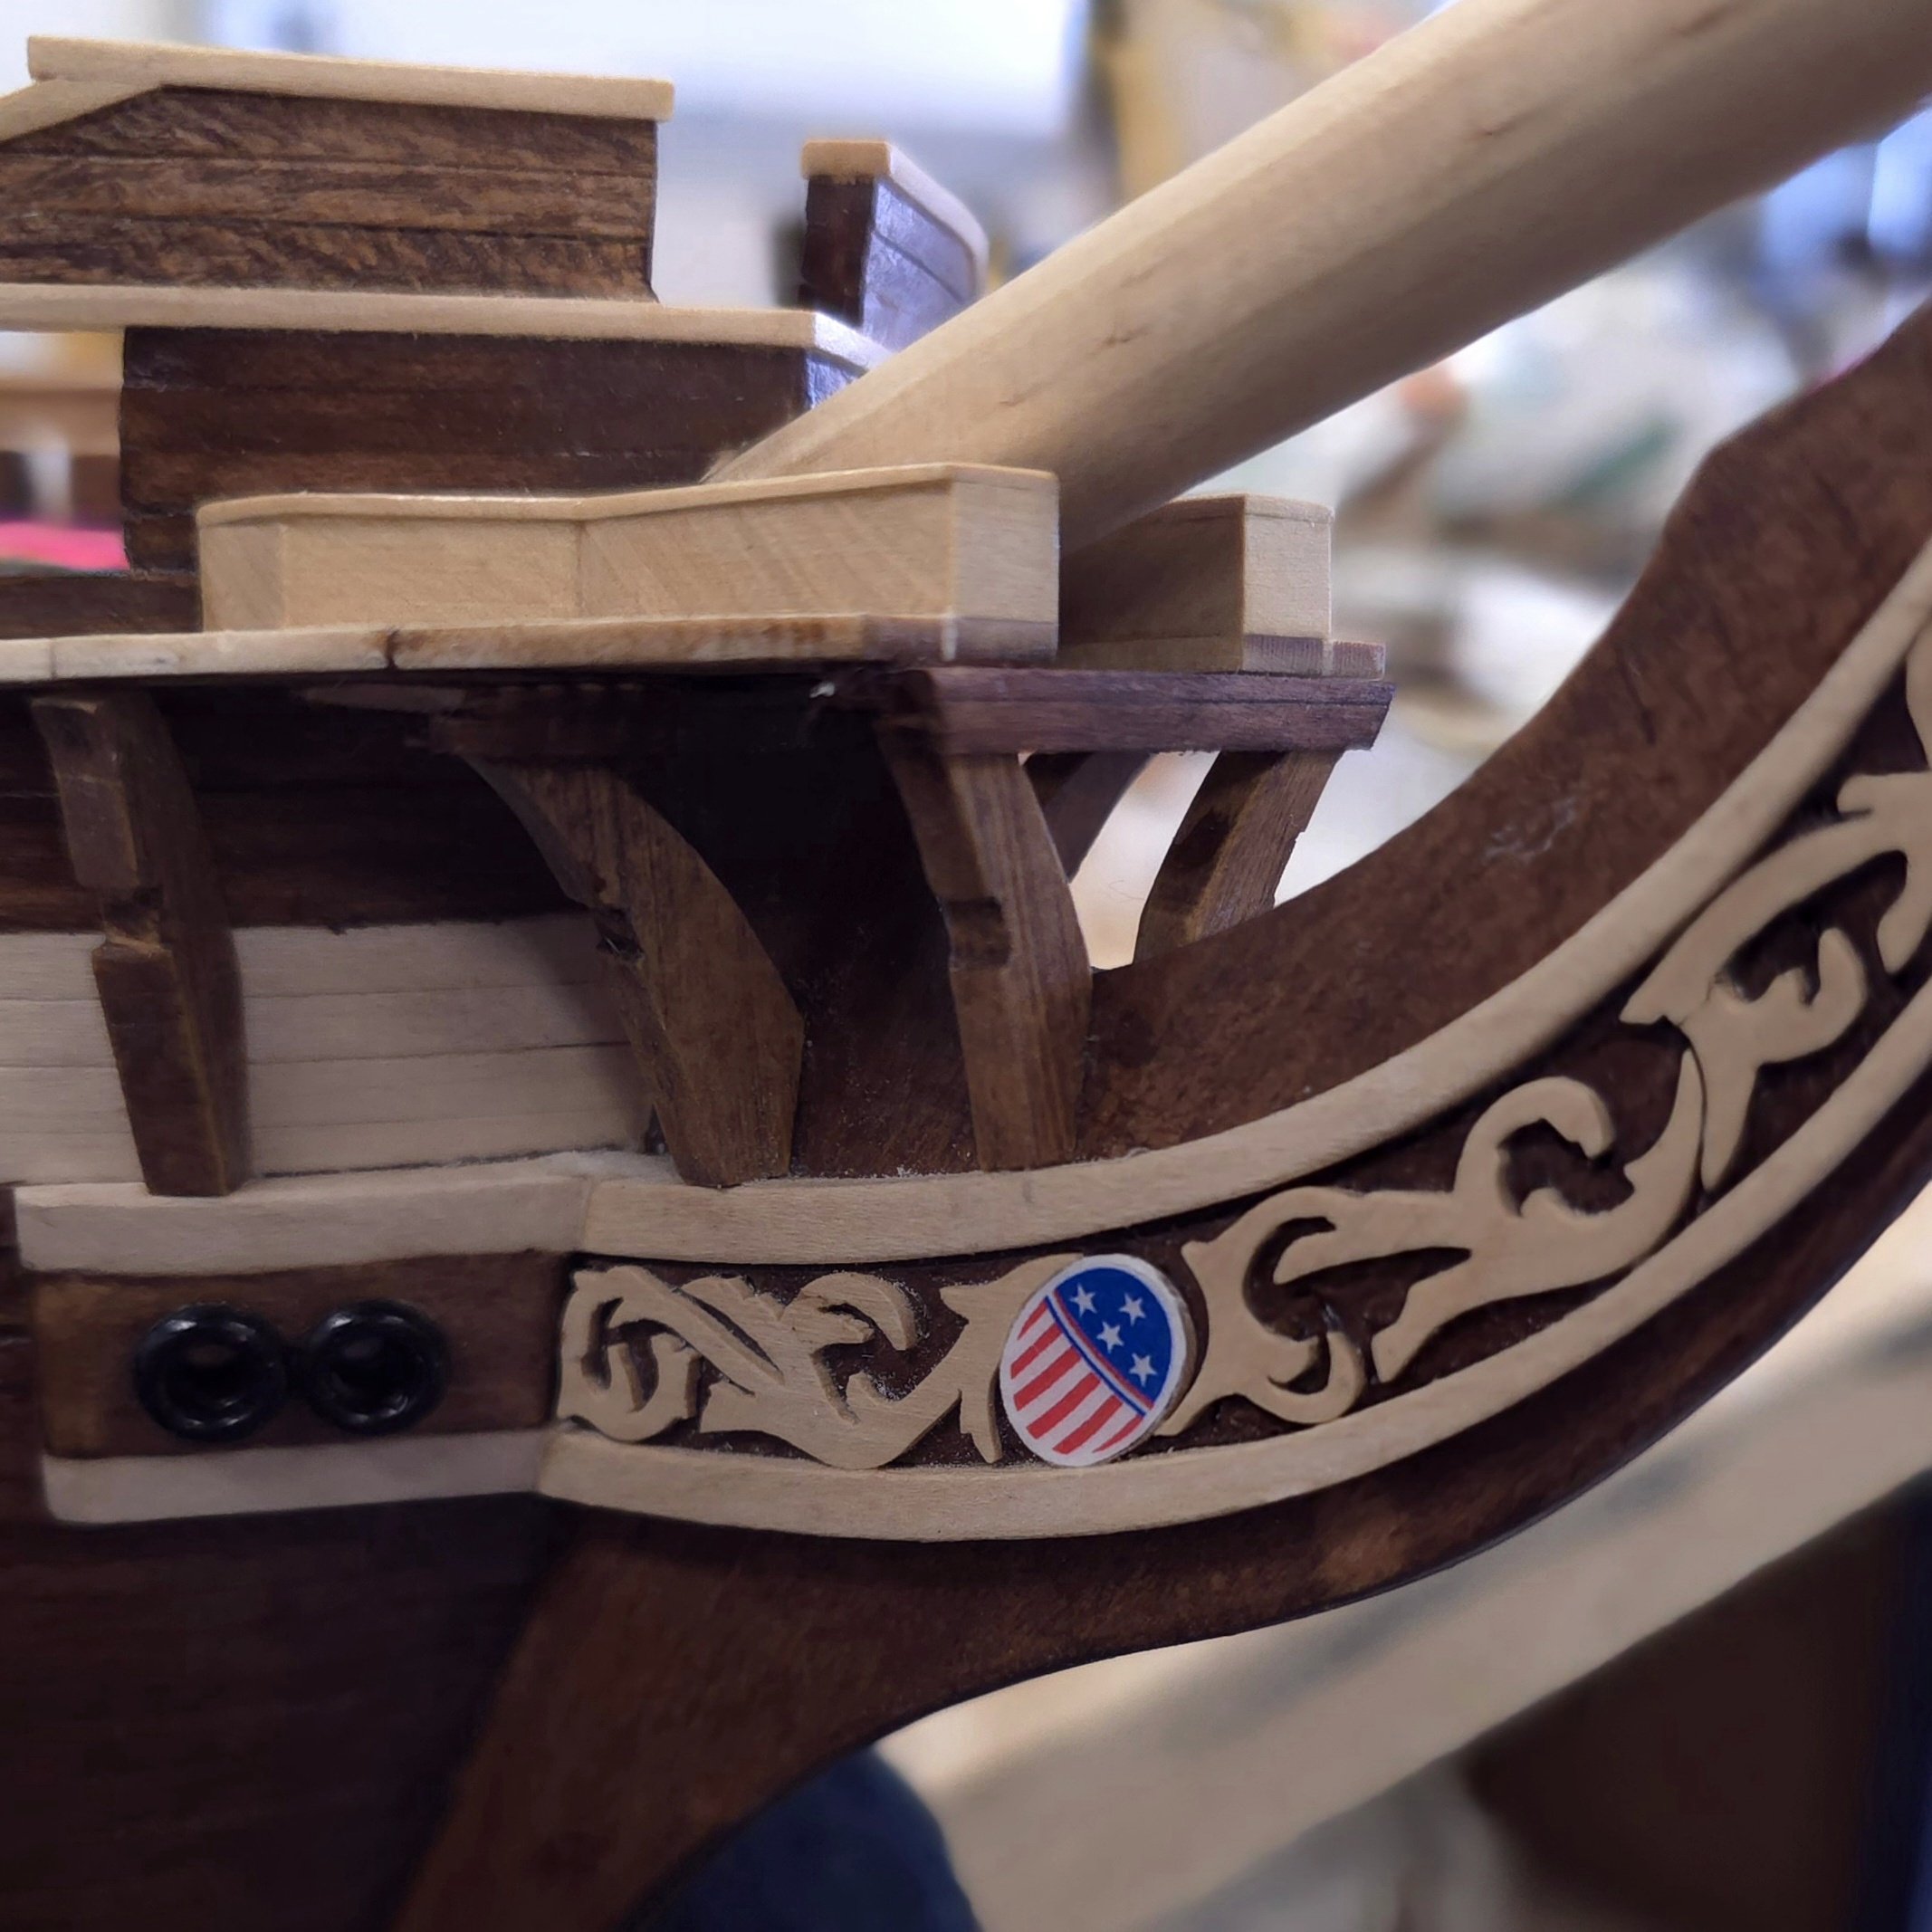
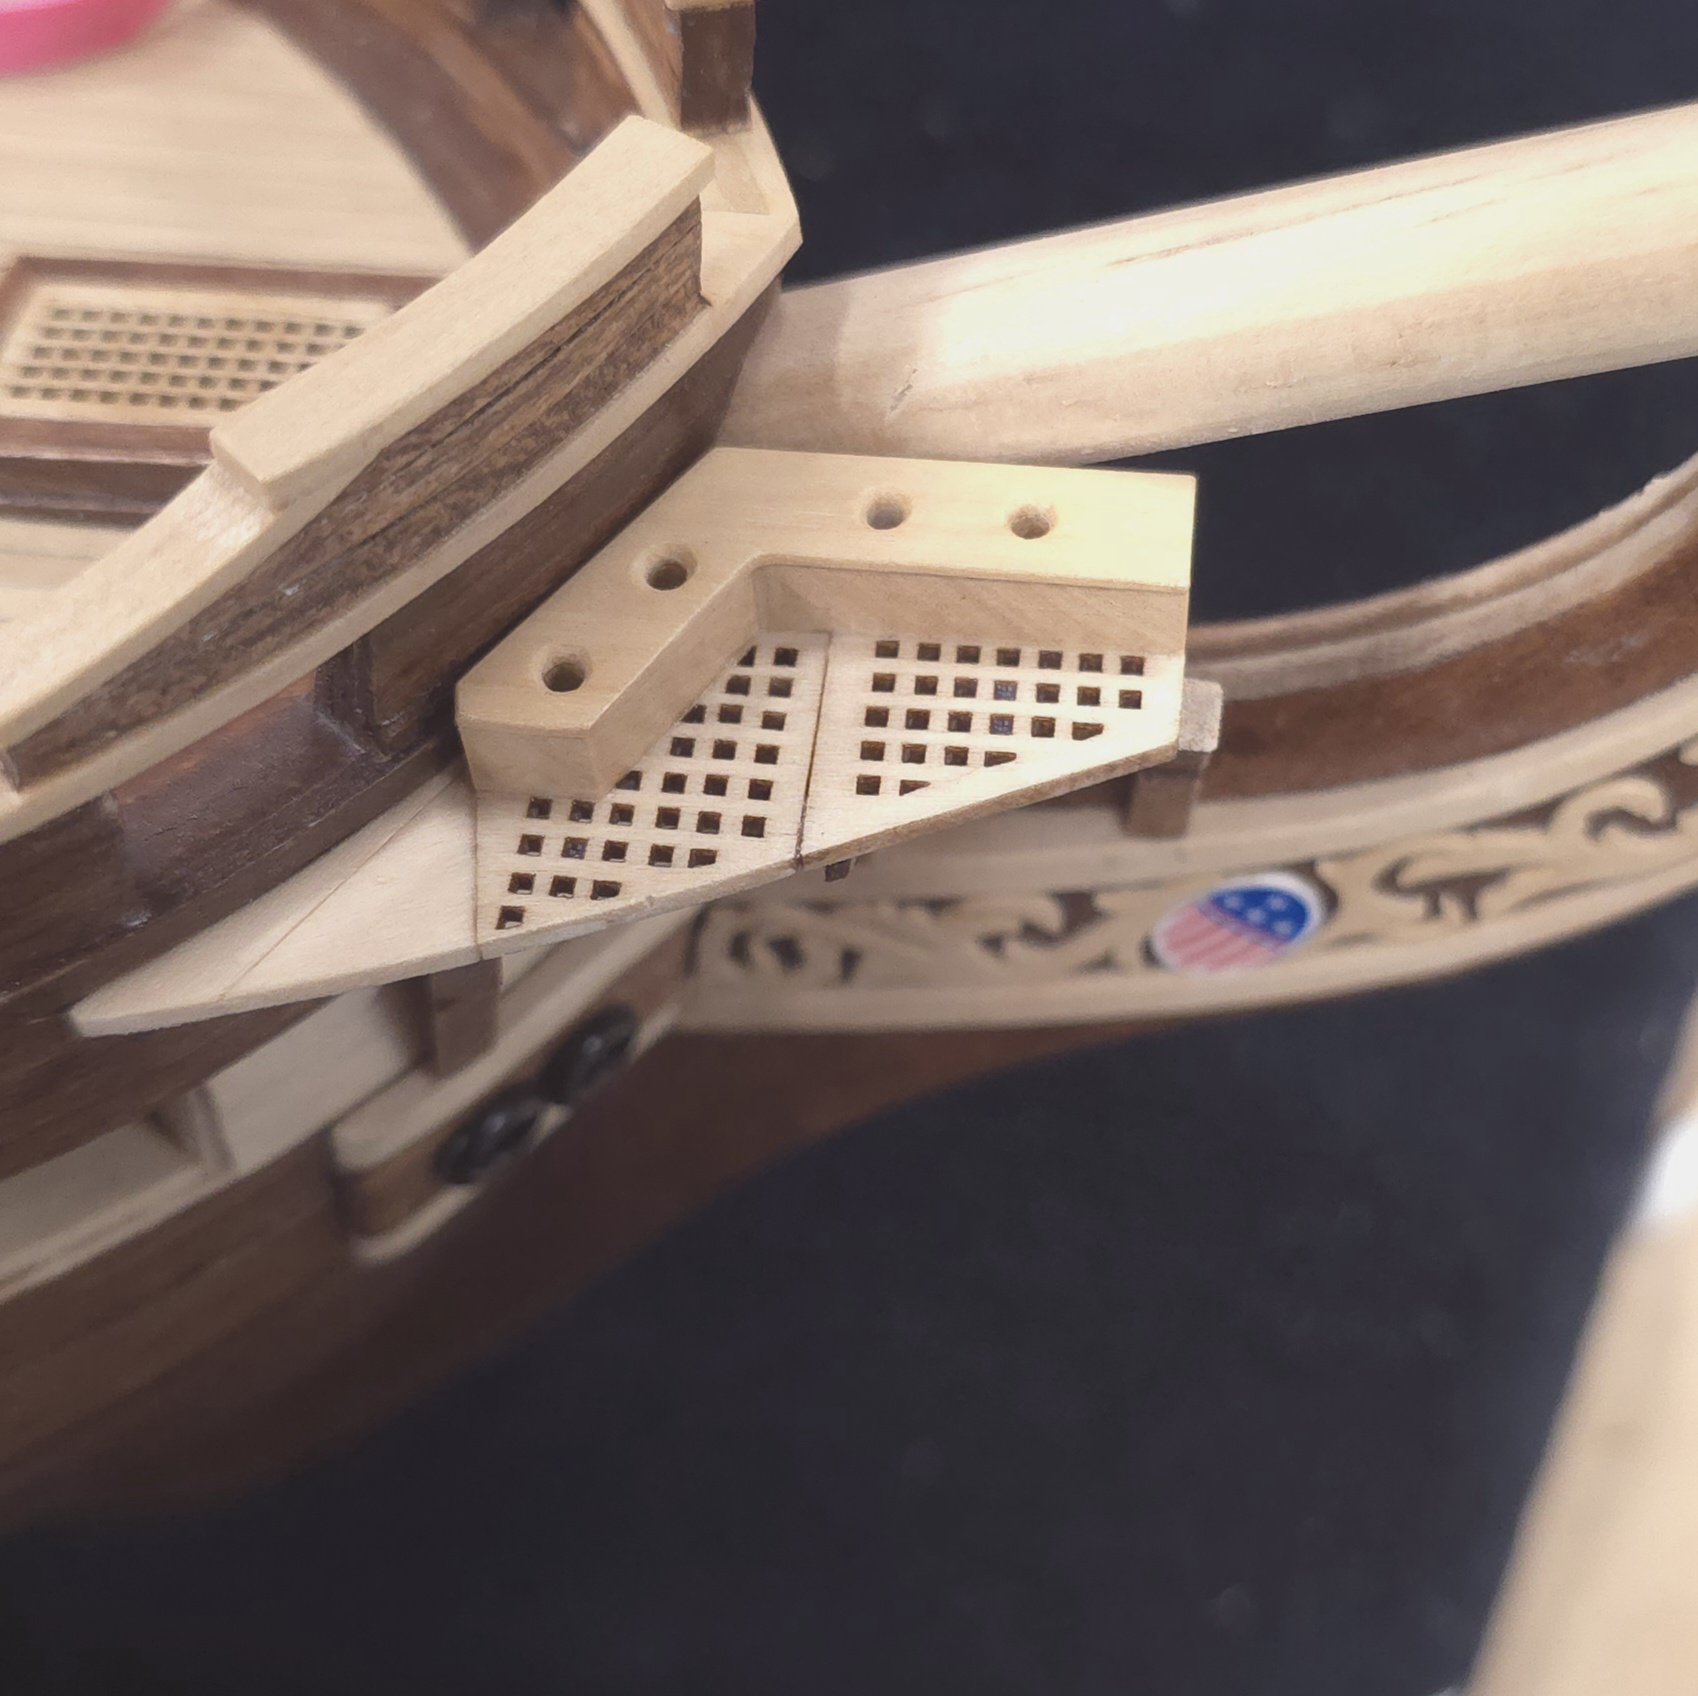
Back to the fiddly bits. Man, oh man, is this time consuming stuff. Also it's amazing what you see in photographs that you don't see when you're working on the parts themselves. I'm going to have to do some tweaking on the little slots for the third rail. There seems to be some disparity in the height of the slot on support 3 on the port side compared to that of the starboard side. Oh well, having fun.. The grating has not yet been glued in. I was waiting for the base support to be fairly solid first.


-
USS Constitution by mtbediz - 1:76
Der Alte Rentner replied to mtbediz's topic in - Build logs for subjects built 1751 - 1800
Inspiring workmanship, as always.. -
So far, I think I'm having better luck. Still a ways from being done, but progress is being made.