


cdrusn89
-
Posts
1,896 -
Joined
-
Last visited
Content Type
Profiles
Forums
Gallery
Events
Posts posted by cdrusn89
-
-
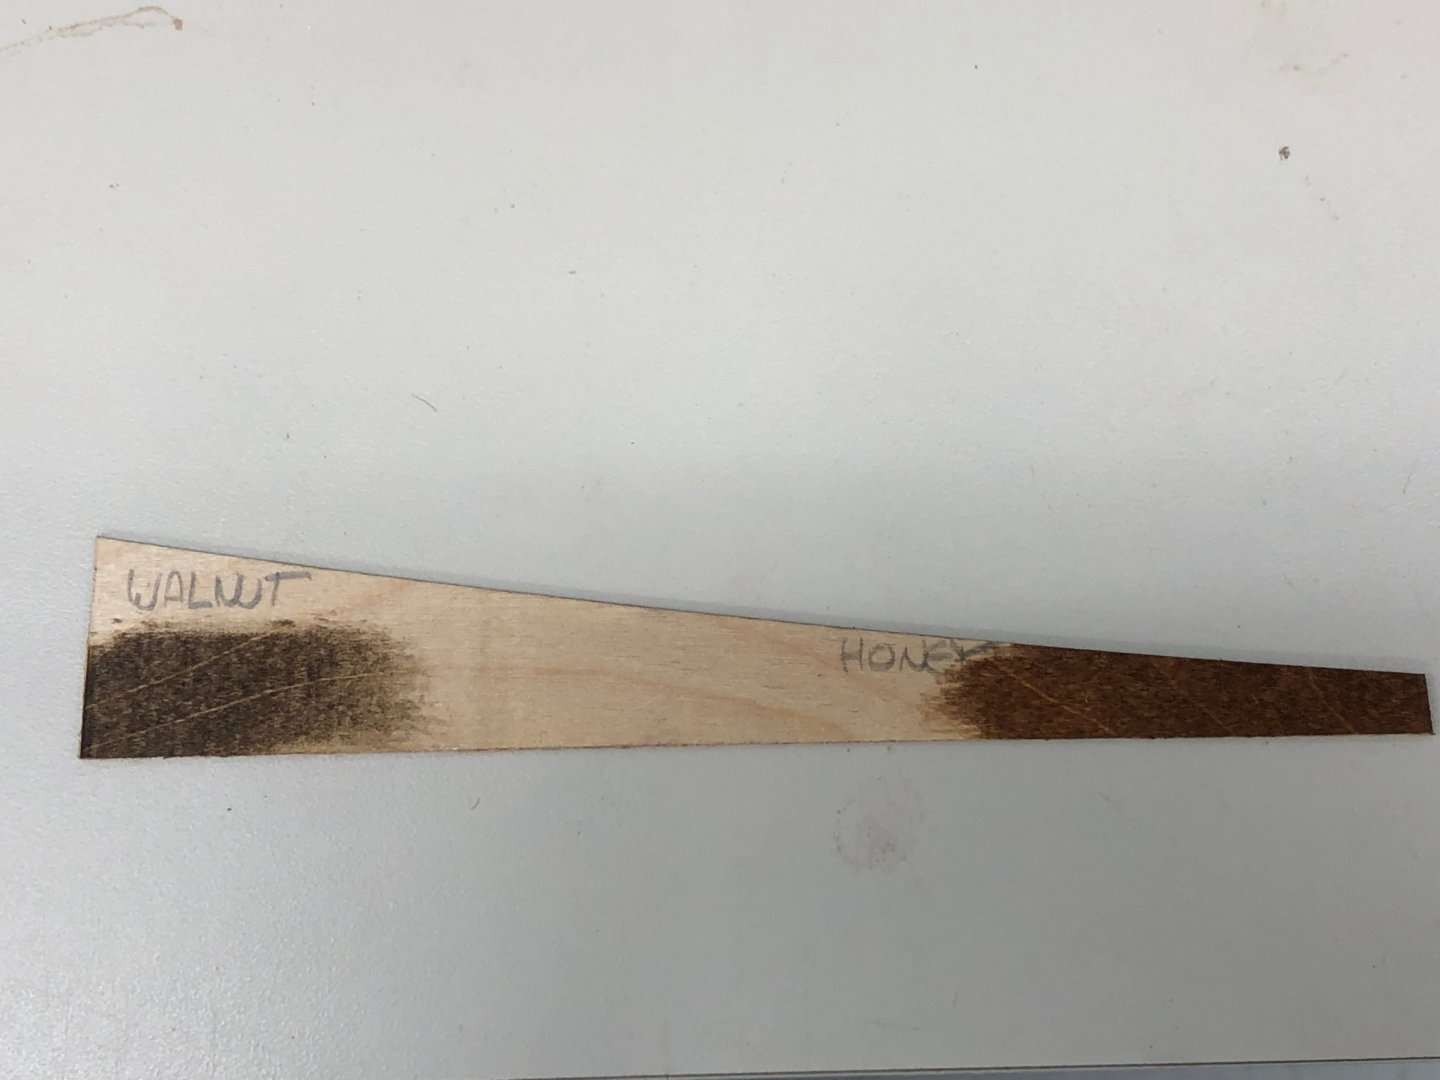
The mast has received its last primer and while waiting to put on the first finish coat (flat white) I started thinking more about the deck and associated pieces. The kit provided handrails, which are attached to the deck 14mm (more or less) inboard from the deck edge planks, are laser cut from plywood that is 1mm thick. That will present somewhat of a challenge since the deck planking is 2mm wide, so there will be a need for 1mm wide deck planks to "fill the gap" where the hand rails are installed. In any event, I think it will improve the look of the model if the hand rails are stained to match the mahogany elsewhere on deck and cut a piece of the plywood to see if any of the stain colors I already have will serve or I need to go get some "mahogany" stain.

- yvesvidal, GrandpaPhil and hexnut
-
 3
3
-
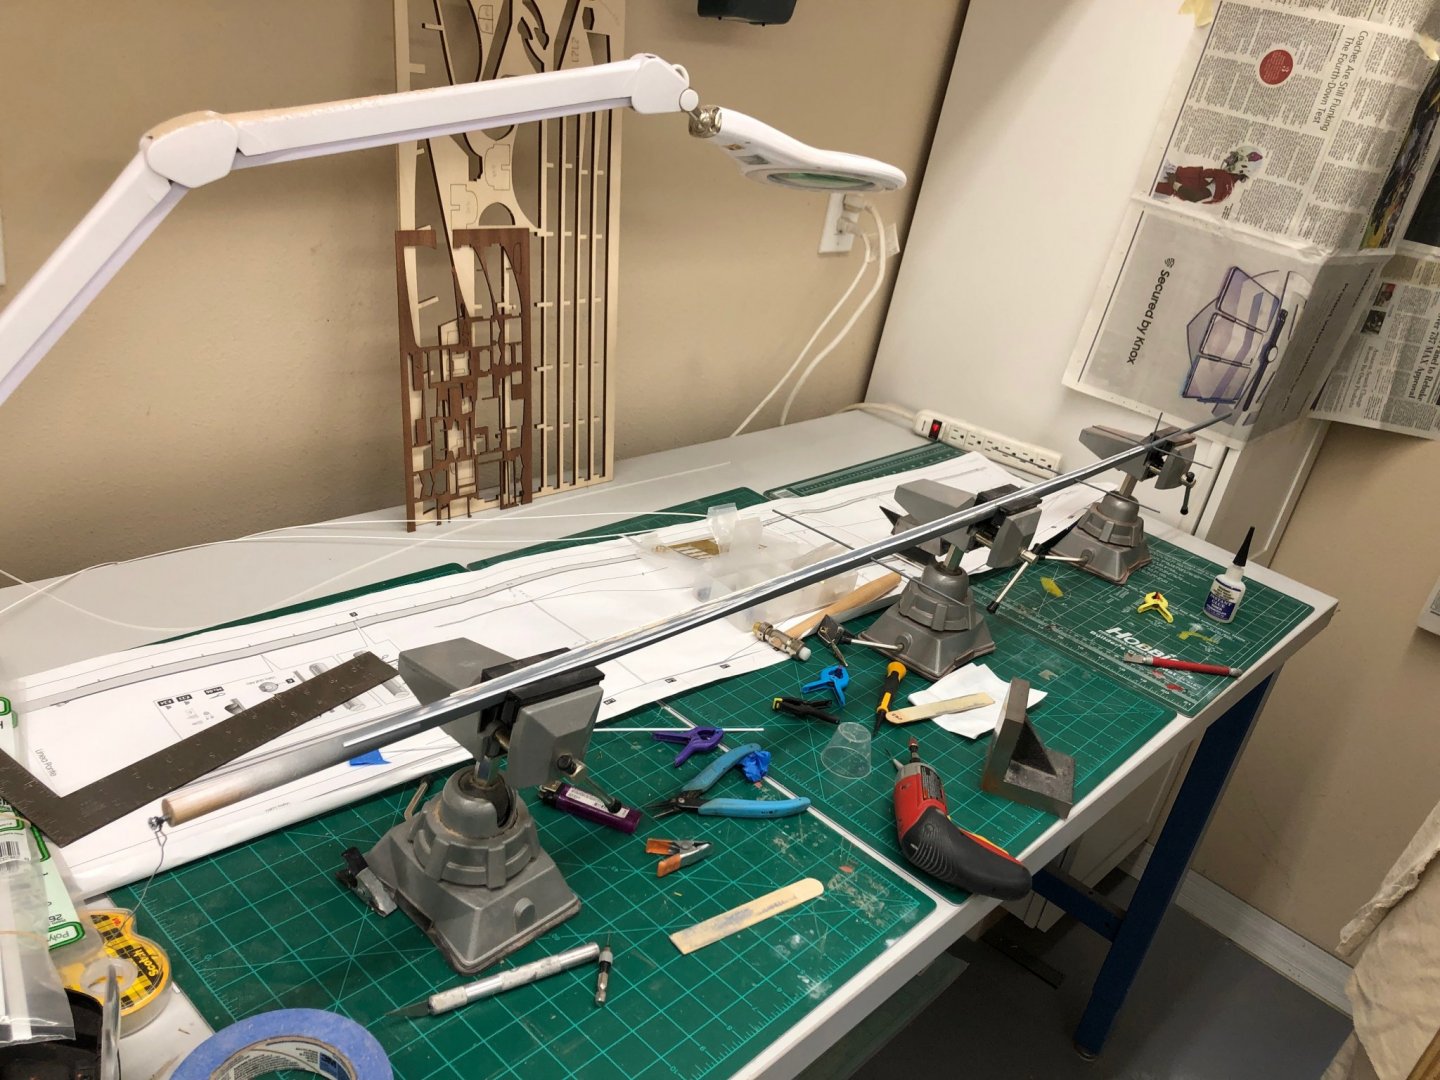
Working on getting the tracks attached to the mast so it can go to the paint booth.
As I have mentioned getting these tracks attached has not been without its challenges. Not the least was how to hold the mast while doing it. I finally held it with the three vices I used to hold the hull when it was being planked. This seems to work okay but it does put the spreaders in a vulnerable position. If I had it to do over I would not add the spreaders until everything else on the mast was done and it was ready for primer/paint.
Here is the mast in the vices and the tracks at the top of the mast.

- KeithAug, yvesvidal and GrandpaPhil
-
3
-
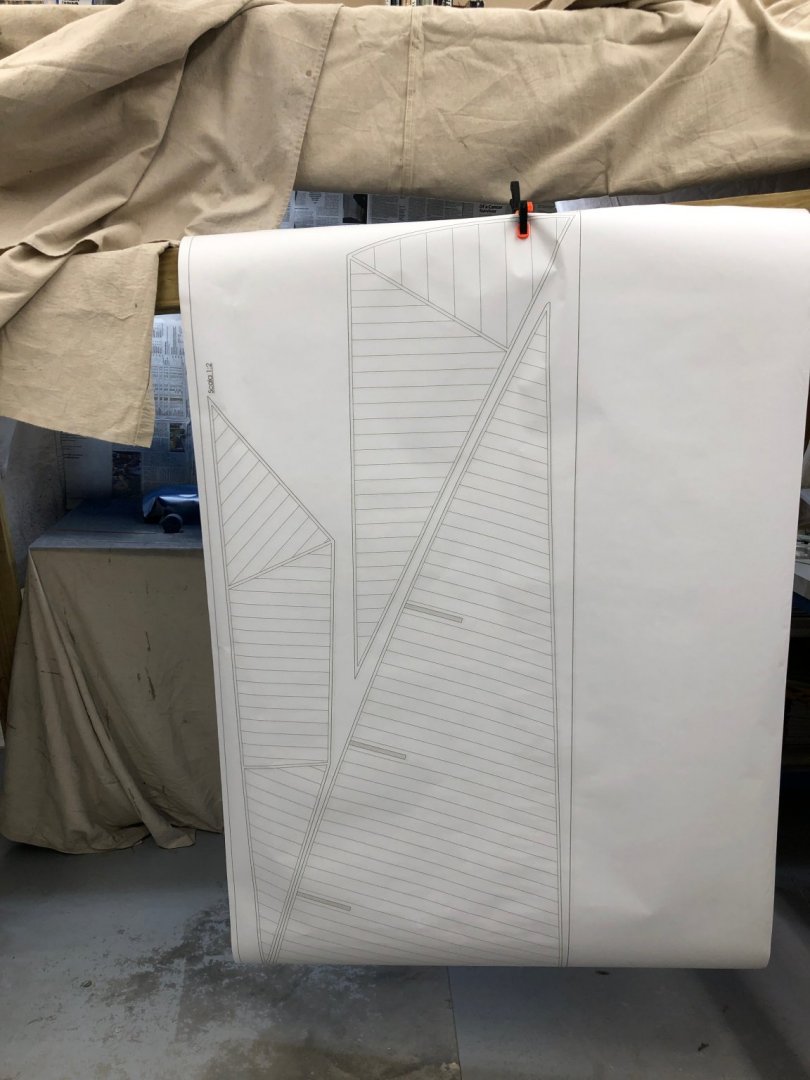
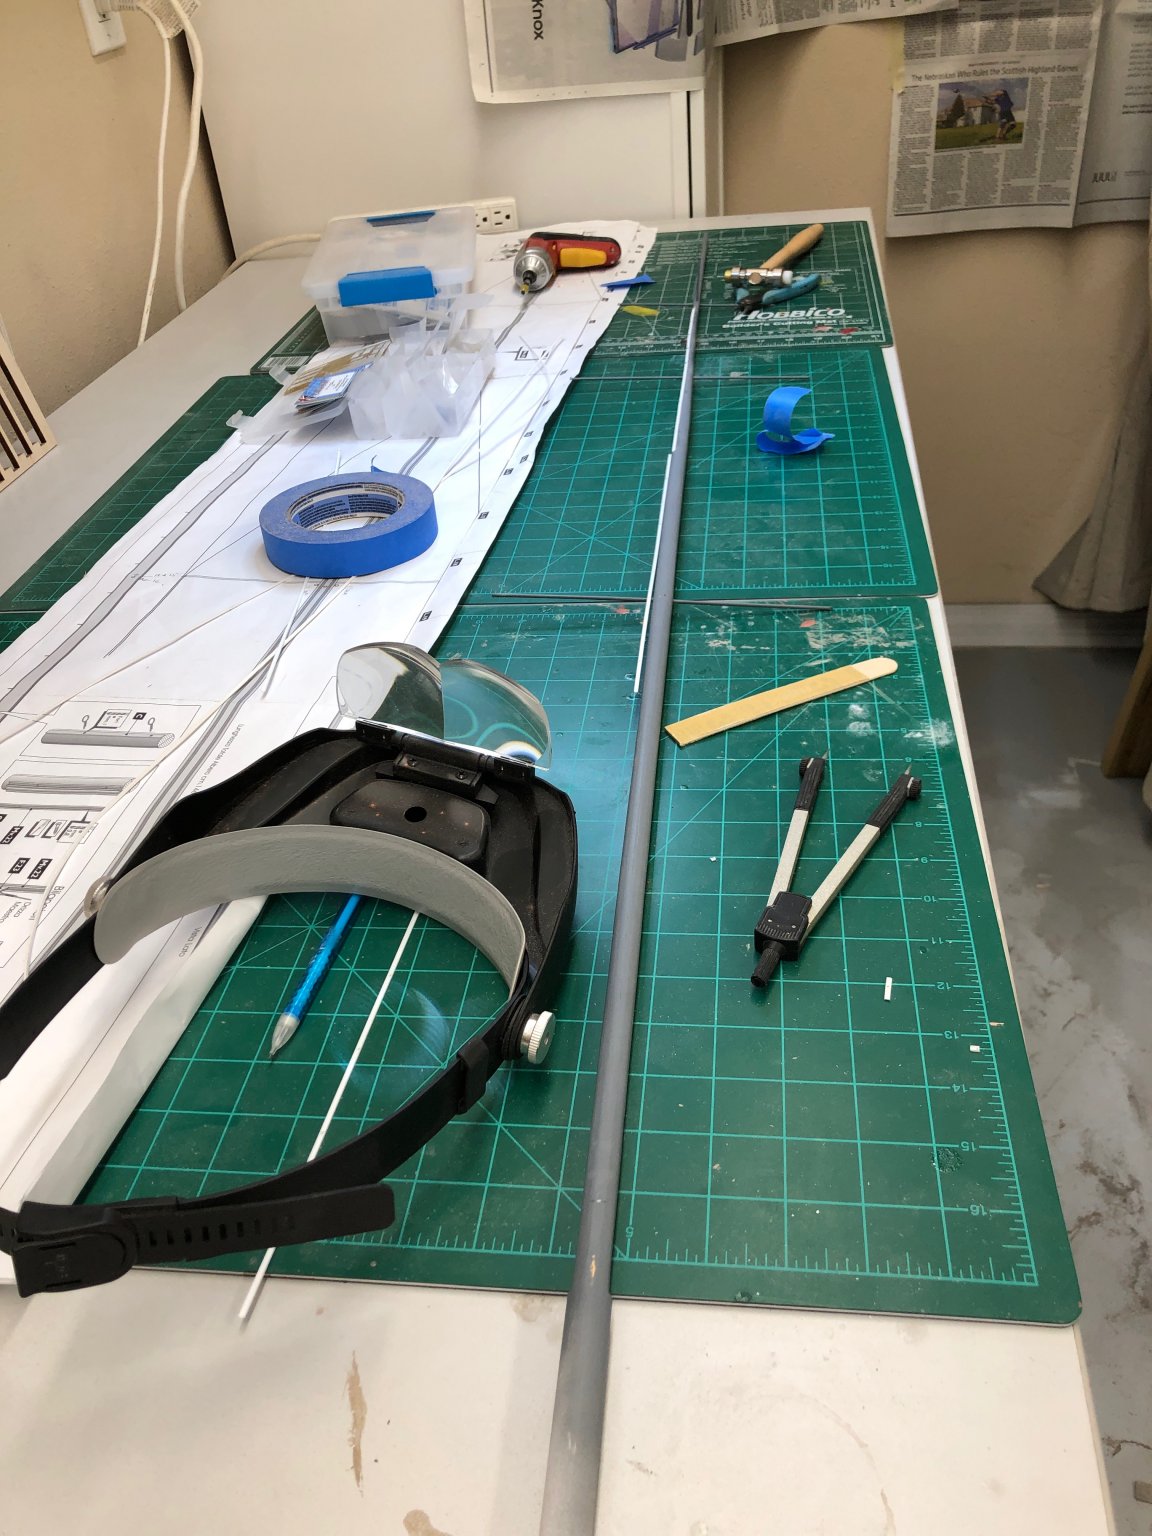
While looking over the drawings I noticed that the plans for the sails are only half size.
I decided that full size would be much easier to work from as no math is required.
So I took the provided plan to a FedEx office shop nearby and had them scan in the sail plan, scale it to full size and print a few copies.
My girl friend thinks she can sew the seams (although the instructions indicate they are drawn on with pencil) so we are looking for some material similar to what is provided with the kit to experiment. At smaller scales I think sewing fake seams is impossibly out of scale but at 1/35 it might not be too "over the top".
Here are the sail plans at full size.
- yvesvidal, GrandpaPhil and hexnut
-
3
-
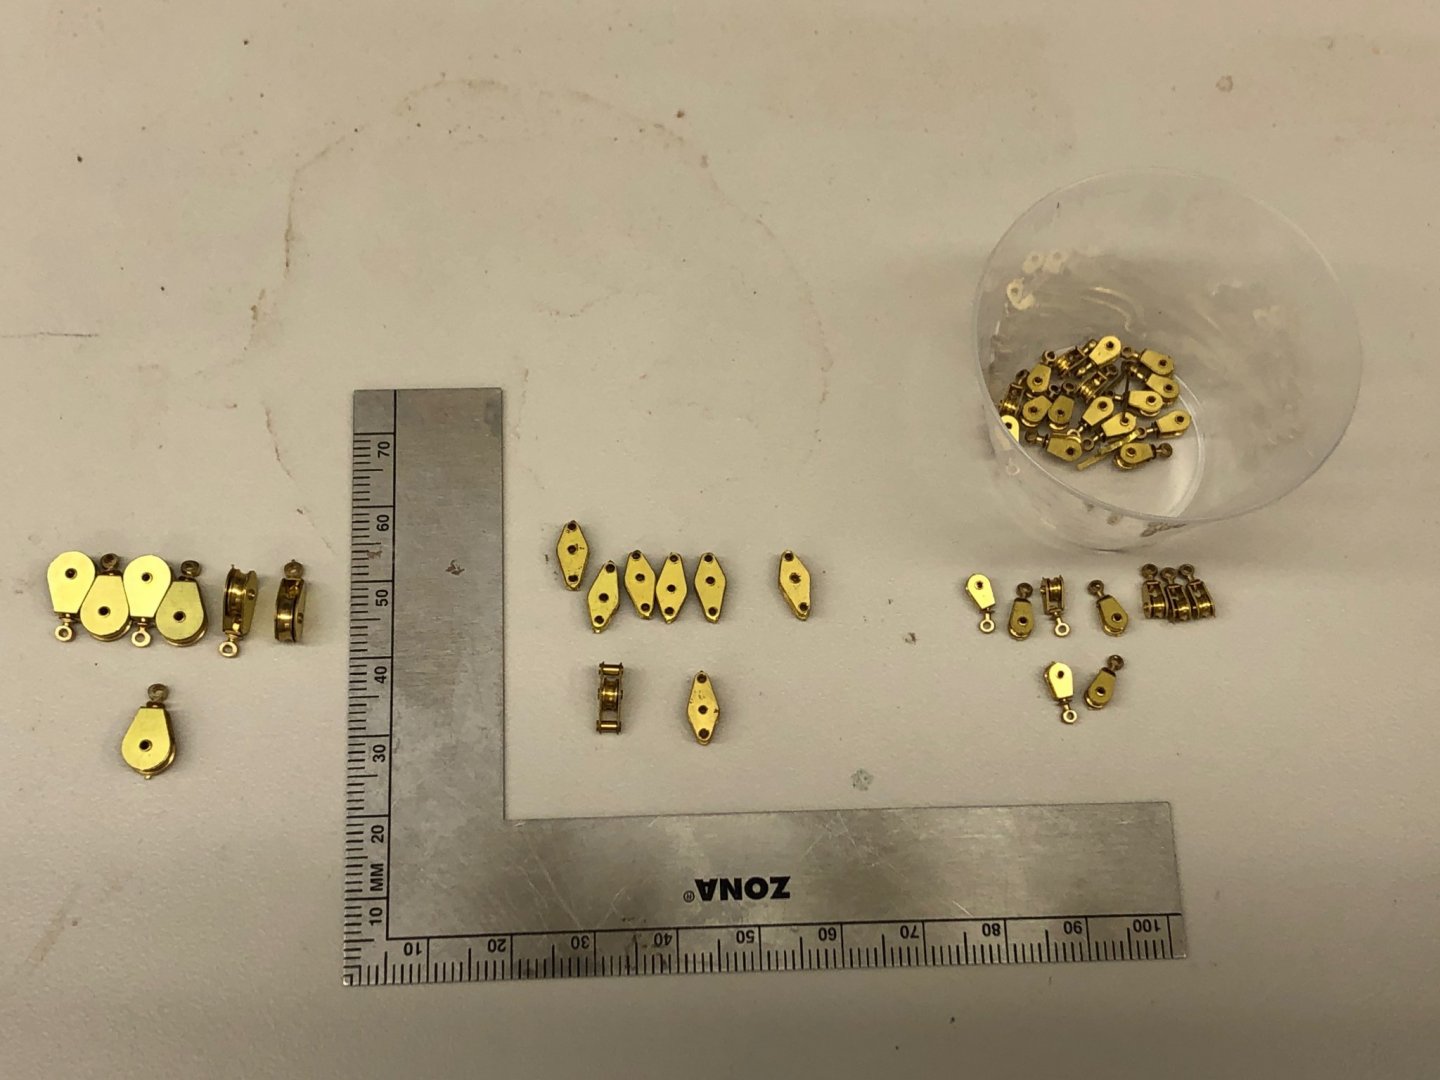
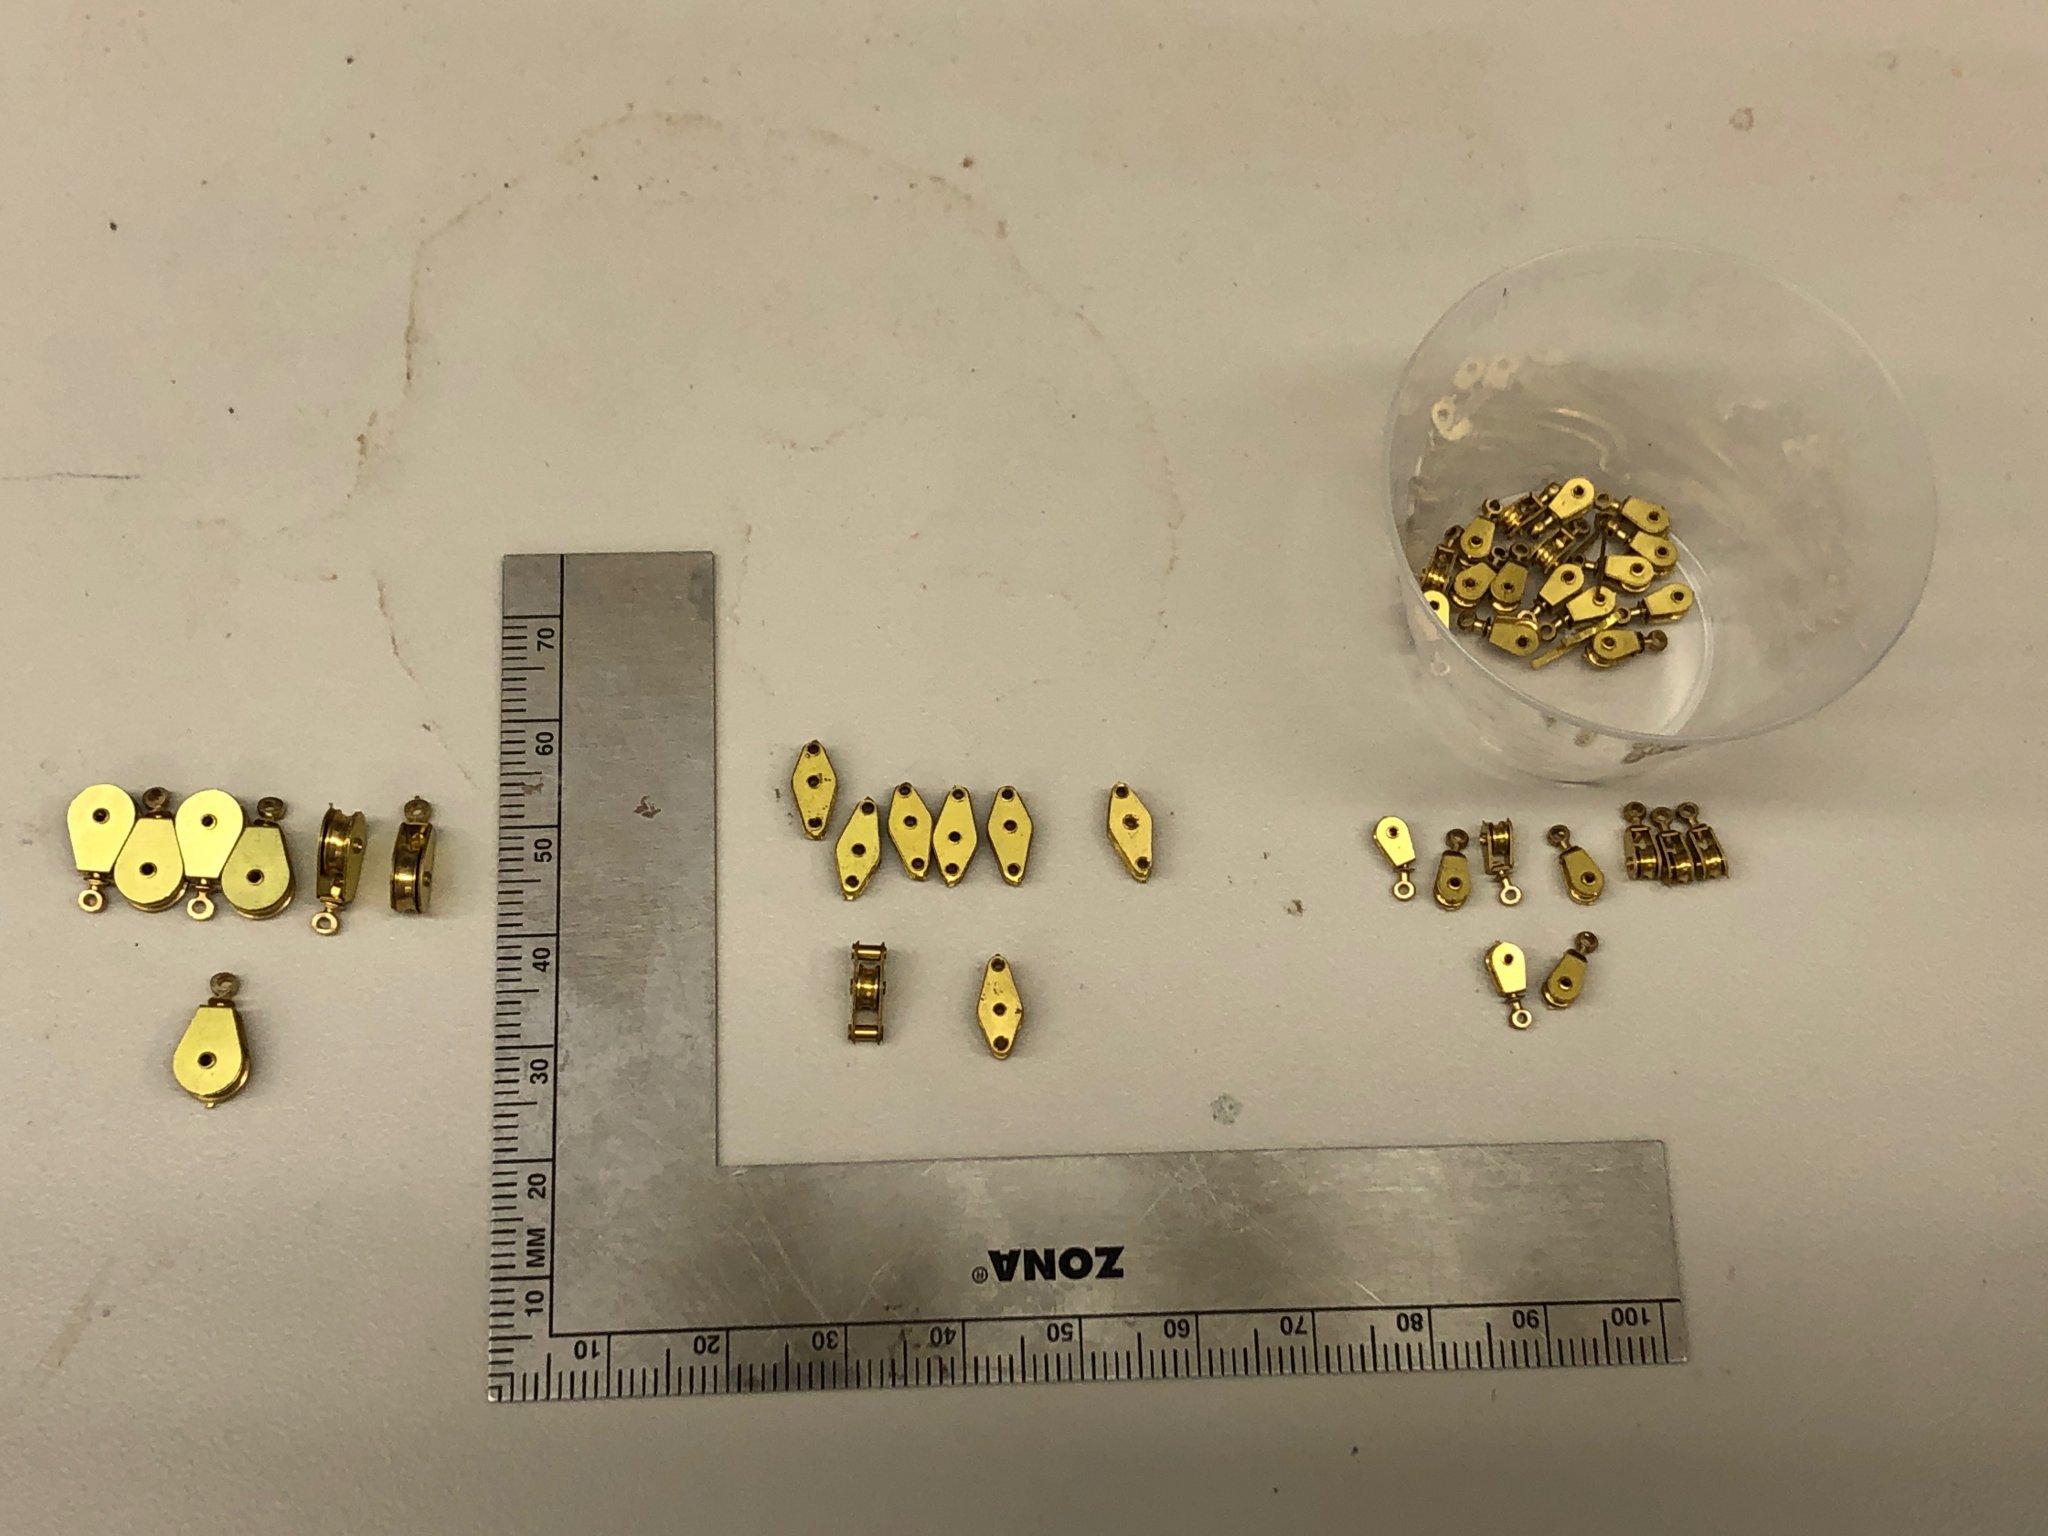
While looking through some some of my collection of hardware I came across a set of brass rigging blocks. I do not remember where (or why) I bought these but I am sure it was 7-8 years ago.
Given the size of the models I usually build I think it unlikely I would ever use these anywhere but on the Endeavour. Luckily I had just done a cataloging of the rigging and blocks required and was able to determine that I had enough blocks of roughly the right size and configuration to meet all of the block requirements so these are the blocks that will be used. All of the sheaves turn and the attachment ring (or those so equipped) actually turns so no worries about attachment orientation.
-
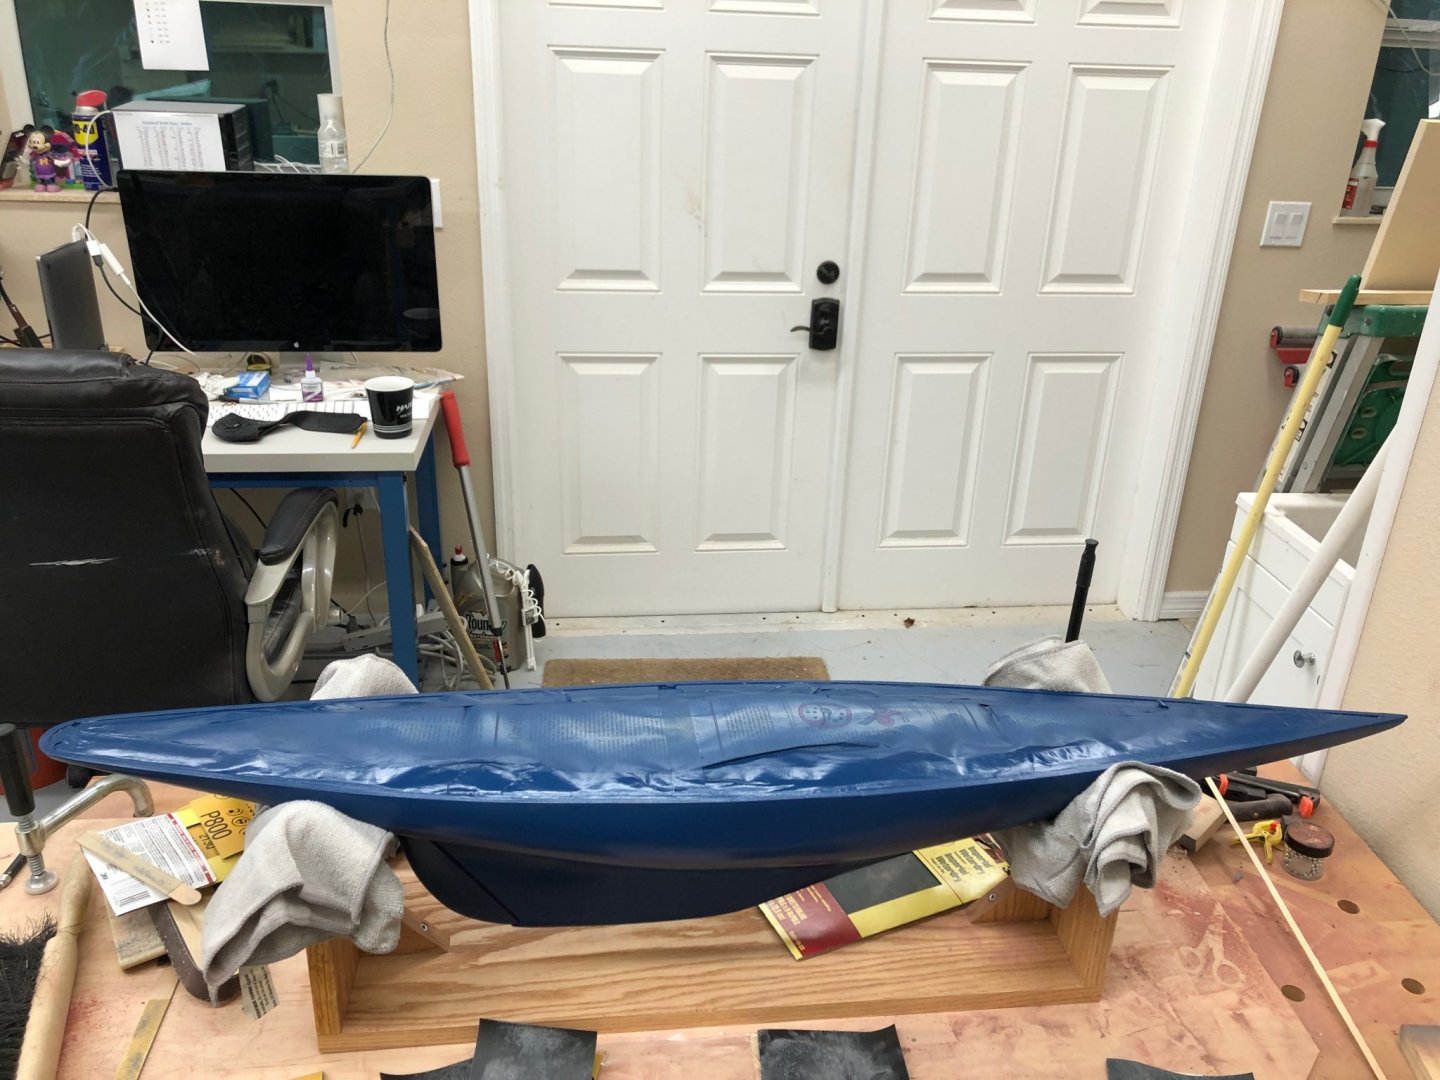
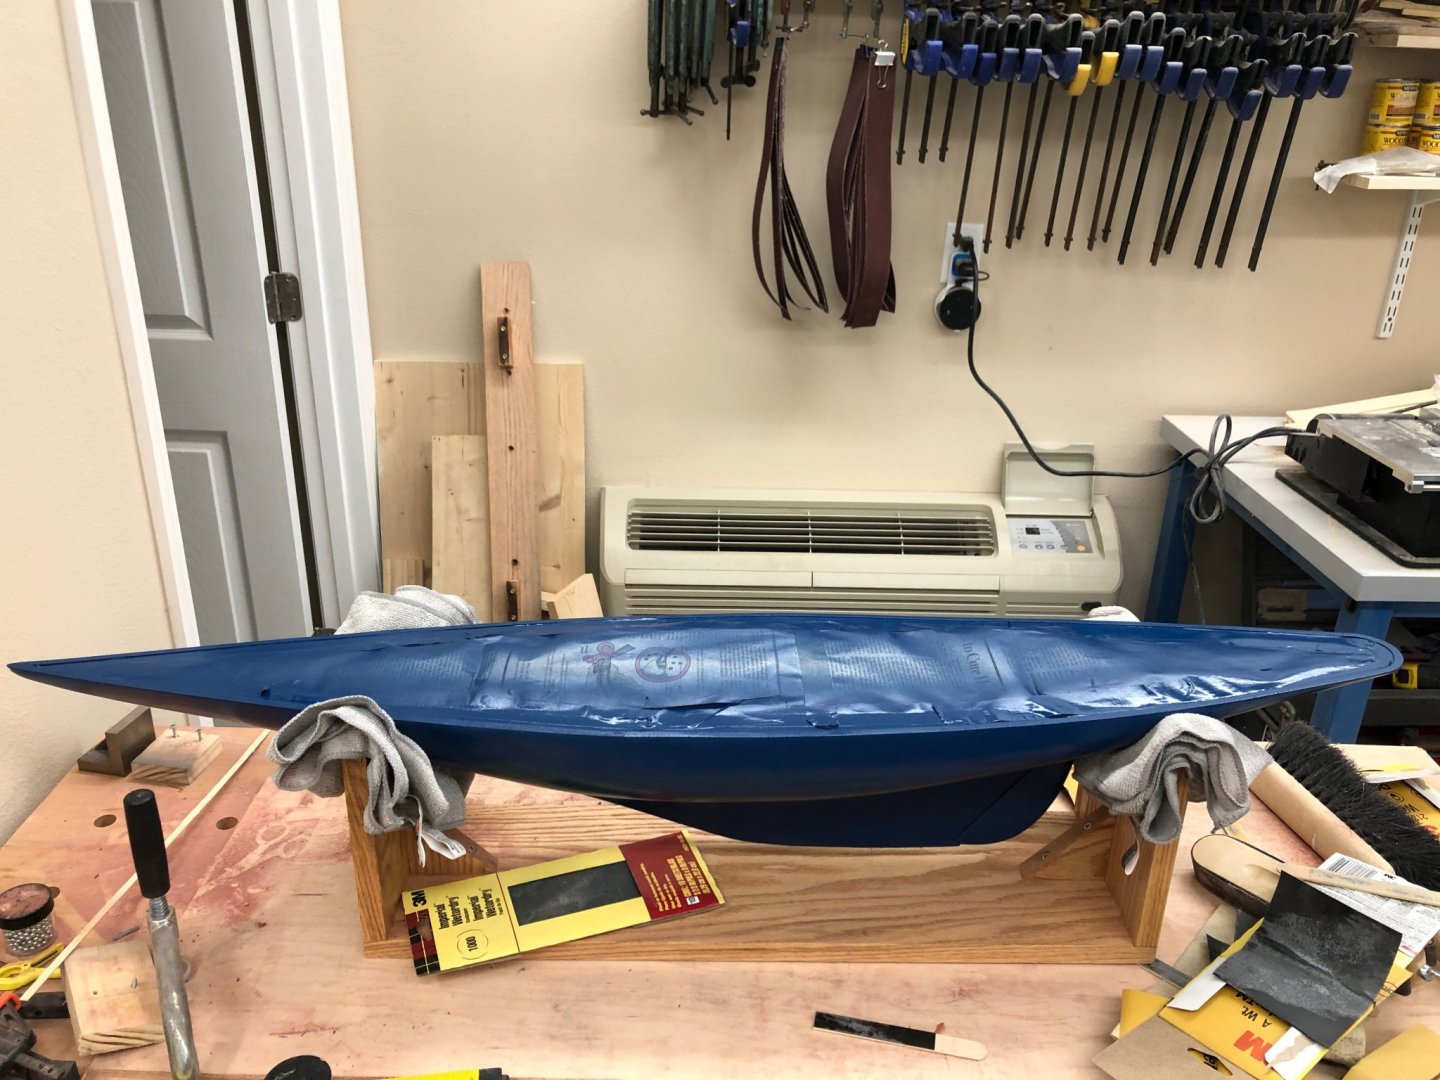
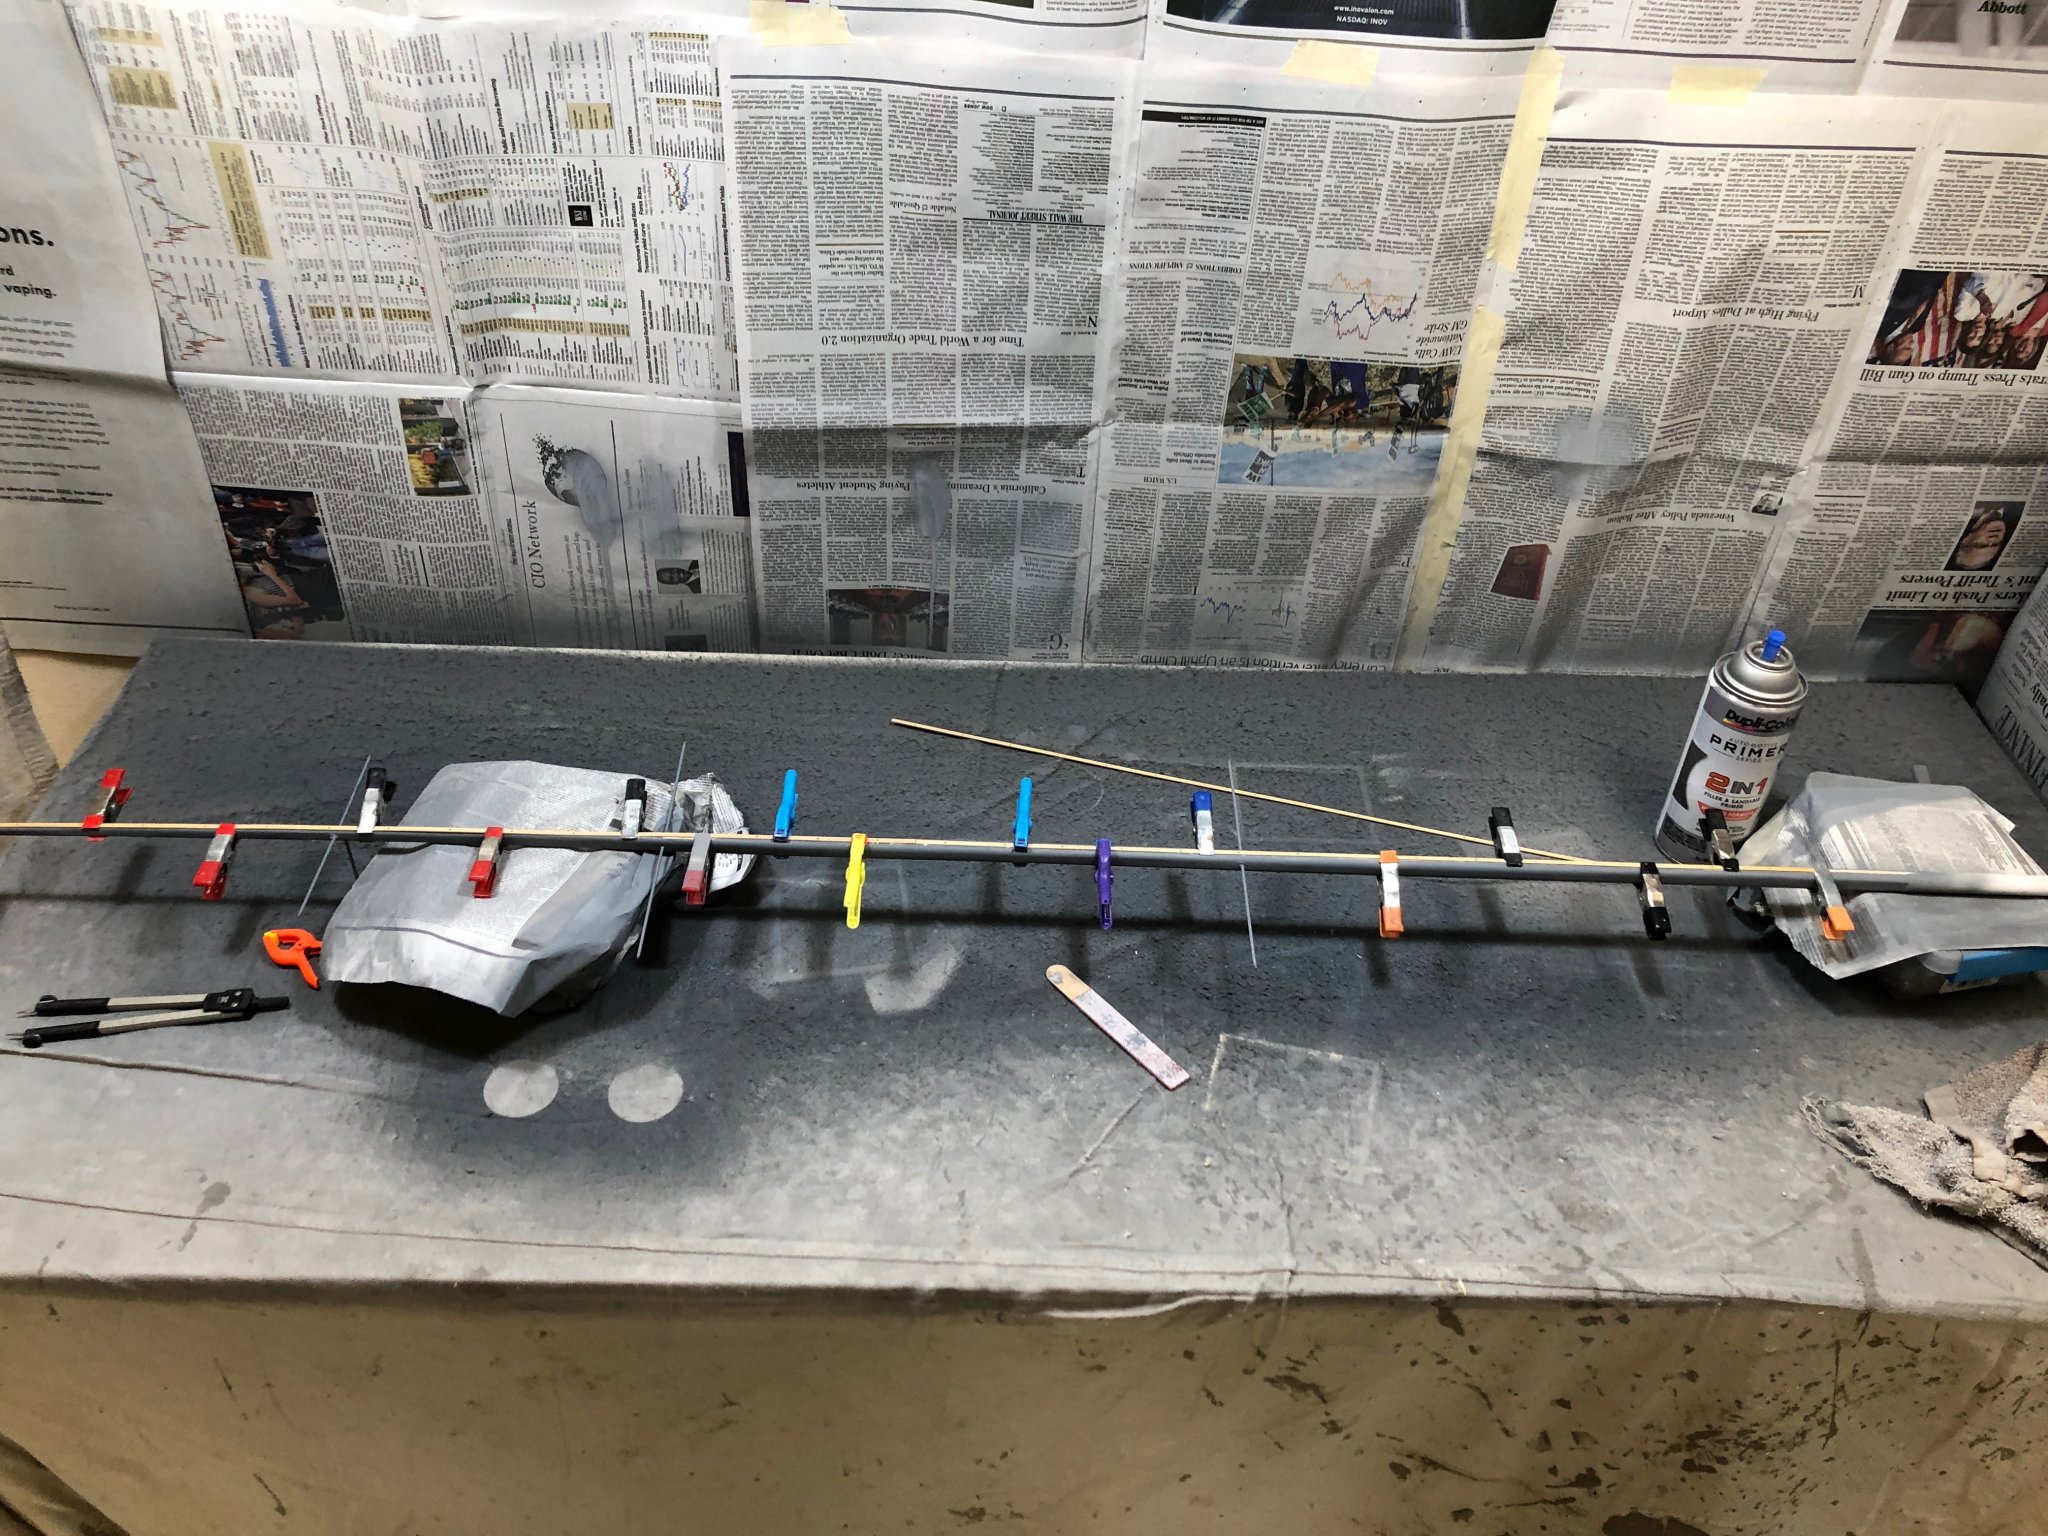
Out of the "paint booth" and waiting the suggested 48 hours for the second coat, then another 48 hours for the clear.
Taking a cruise for a week starting Sunday so only the second coat of blue will get done prior to that.
Working on the mast also. Getting the tracks on the front is proving to be more difficult than I had anticipated. The plastic "C" channel is not as stiff as you might like. A metal track would have probably been a better choice but I am guessing finding something to replace the plastic would not have been easy.
-
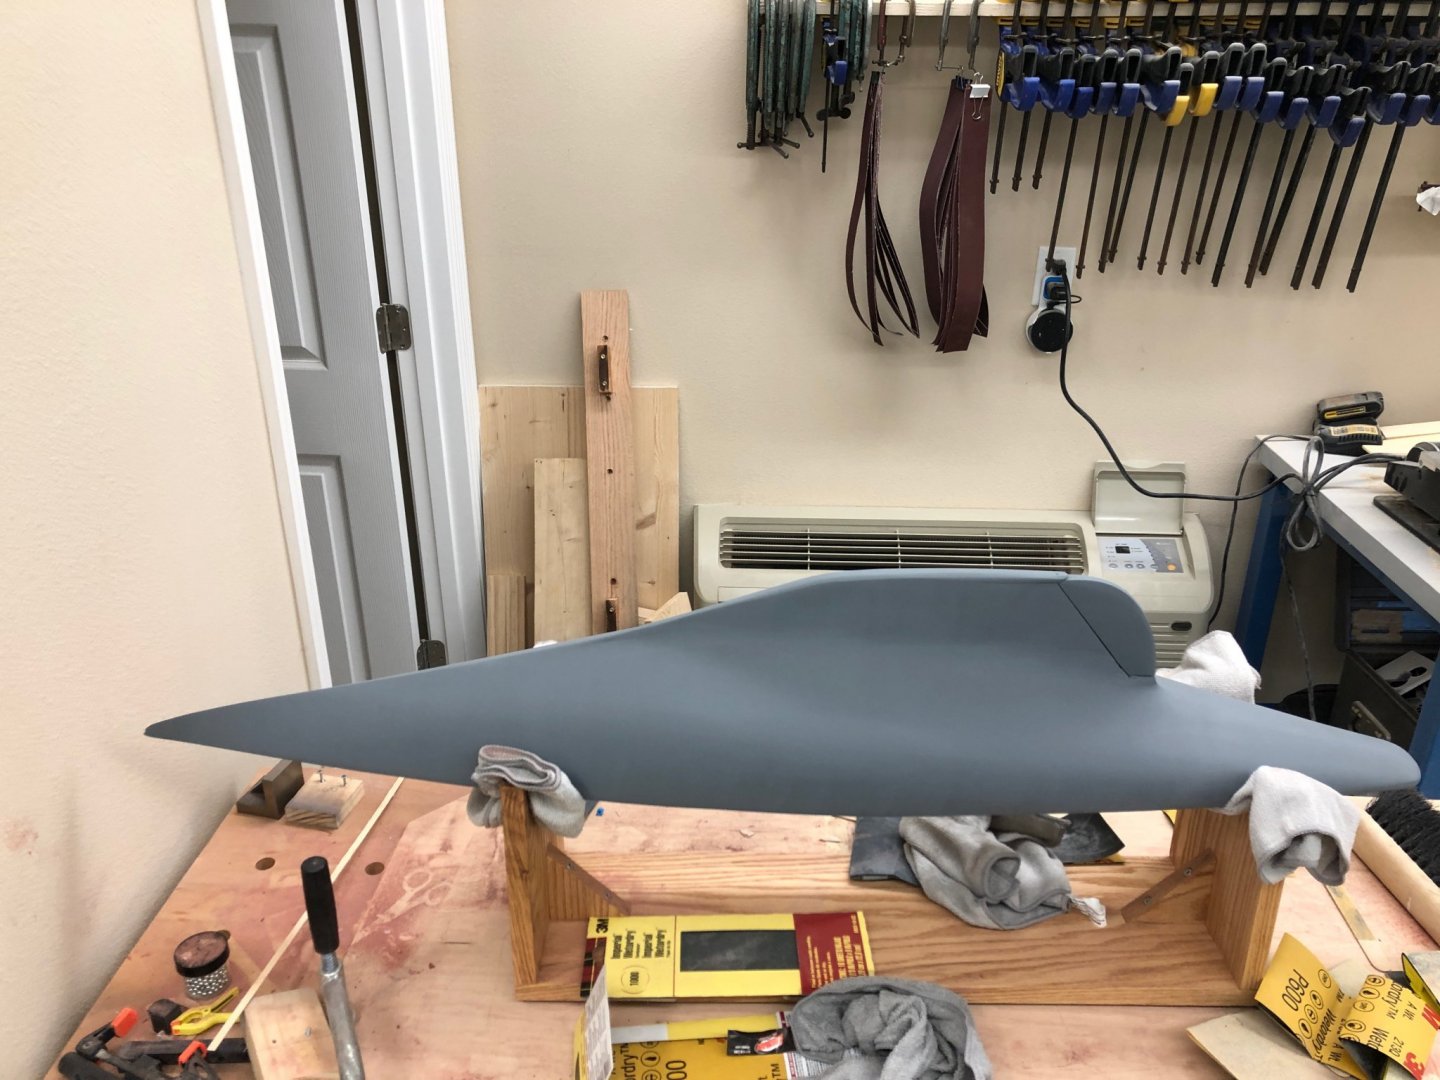
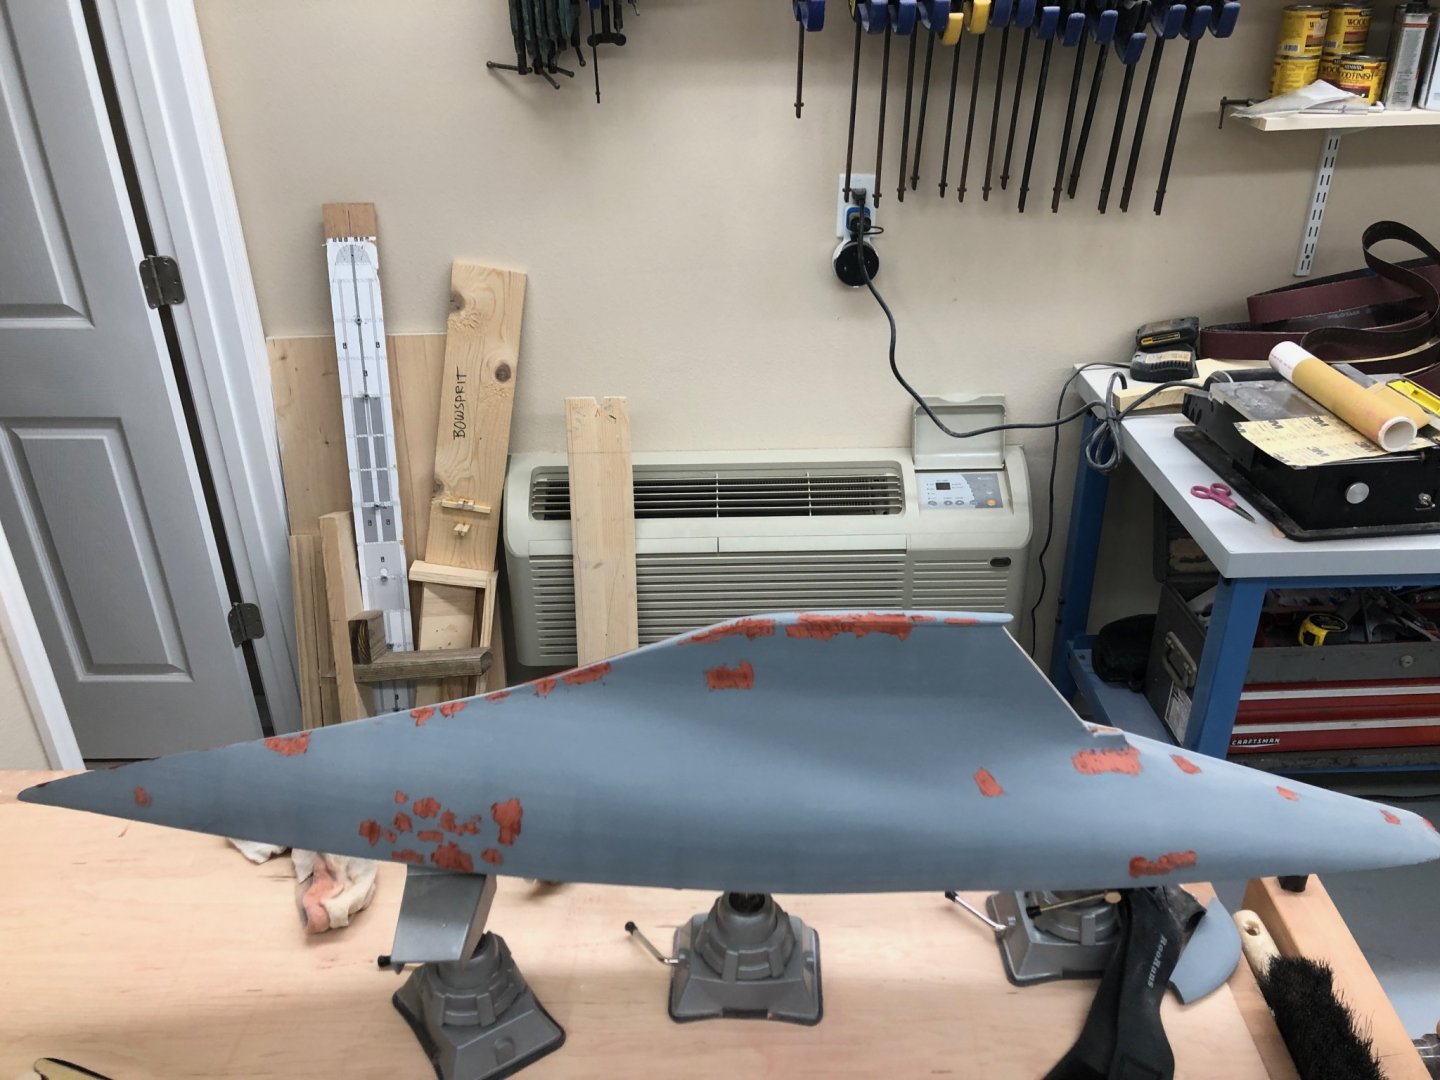
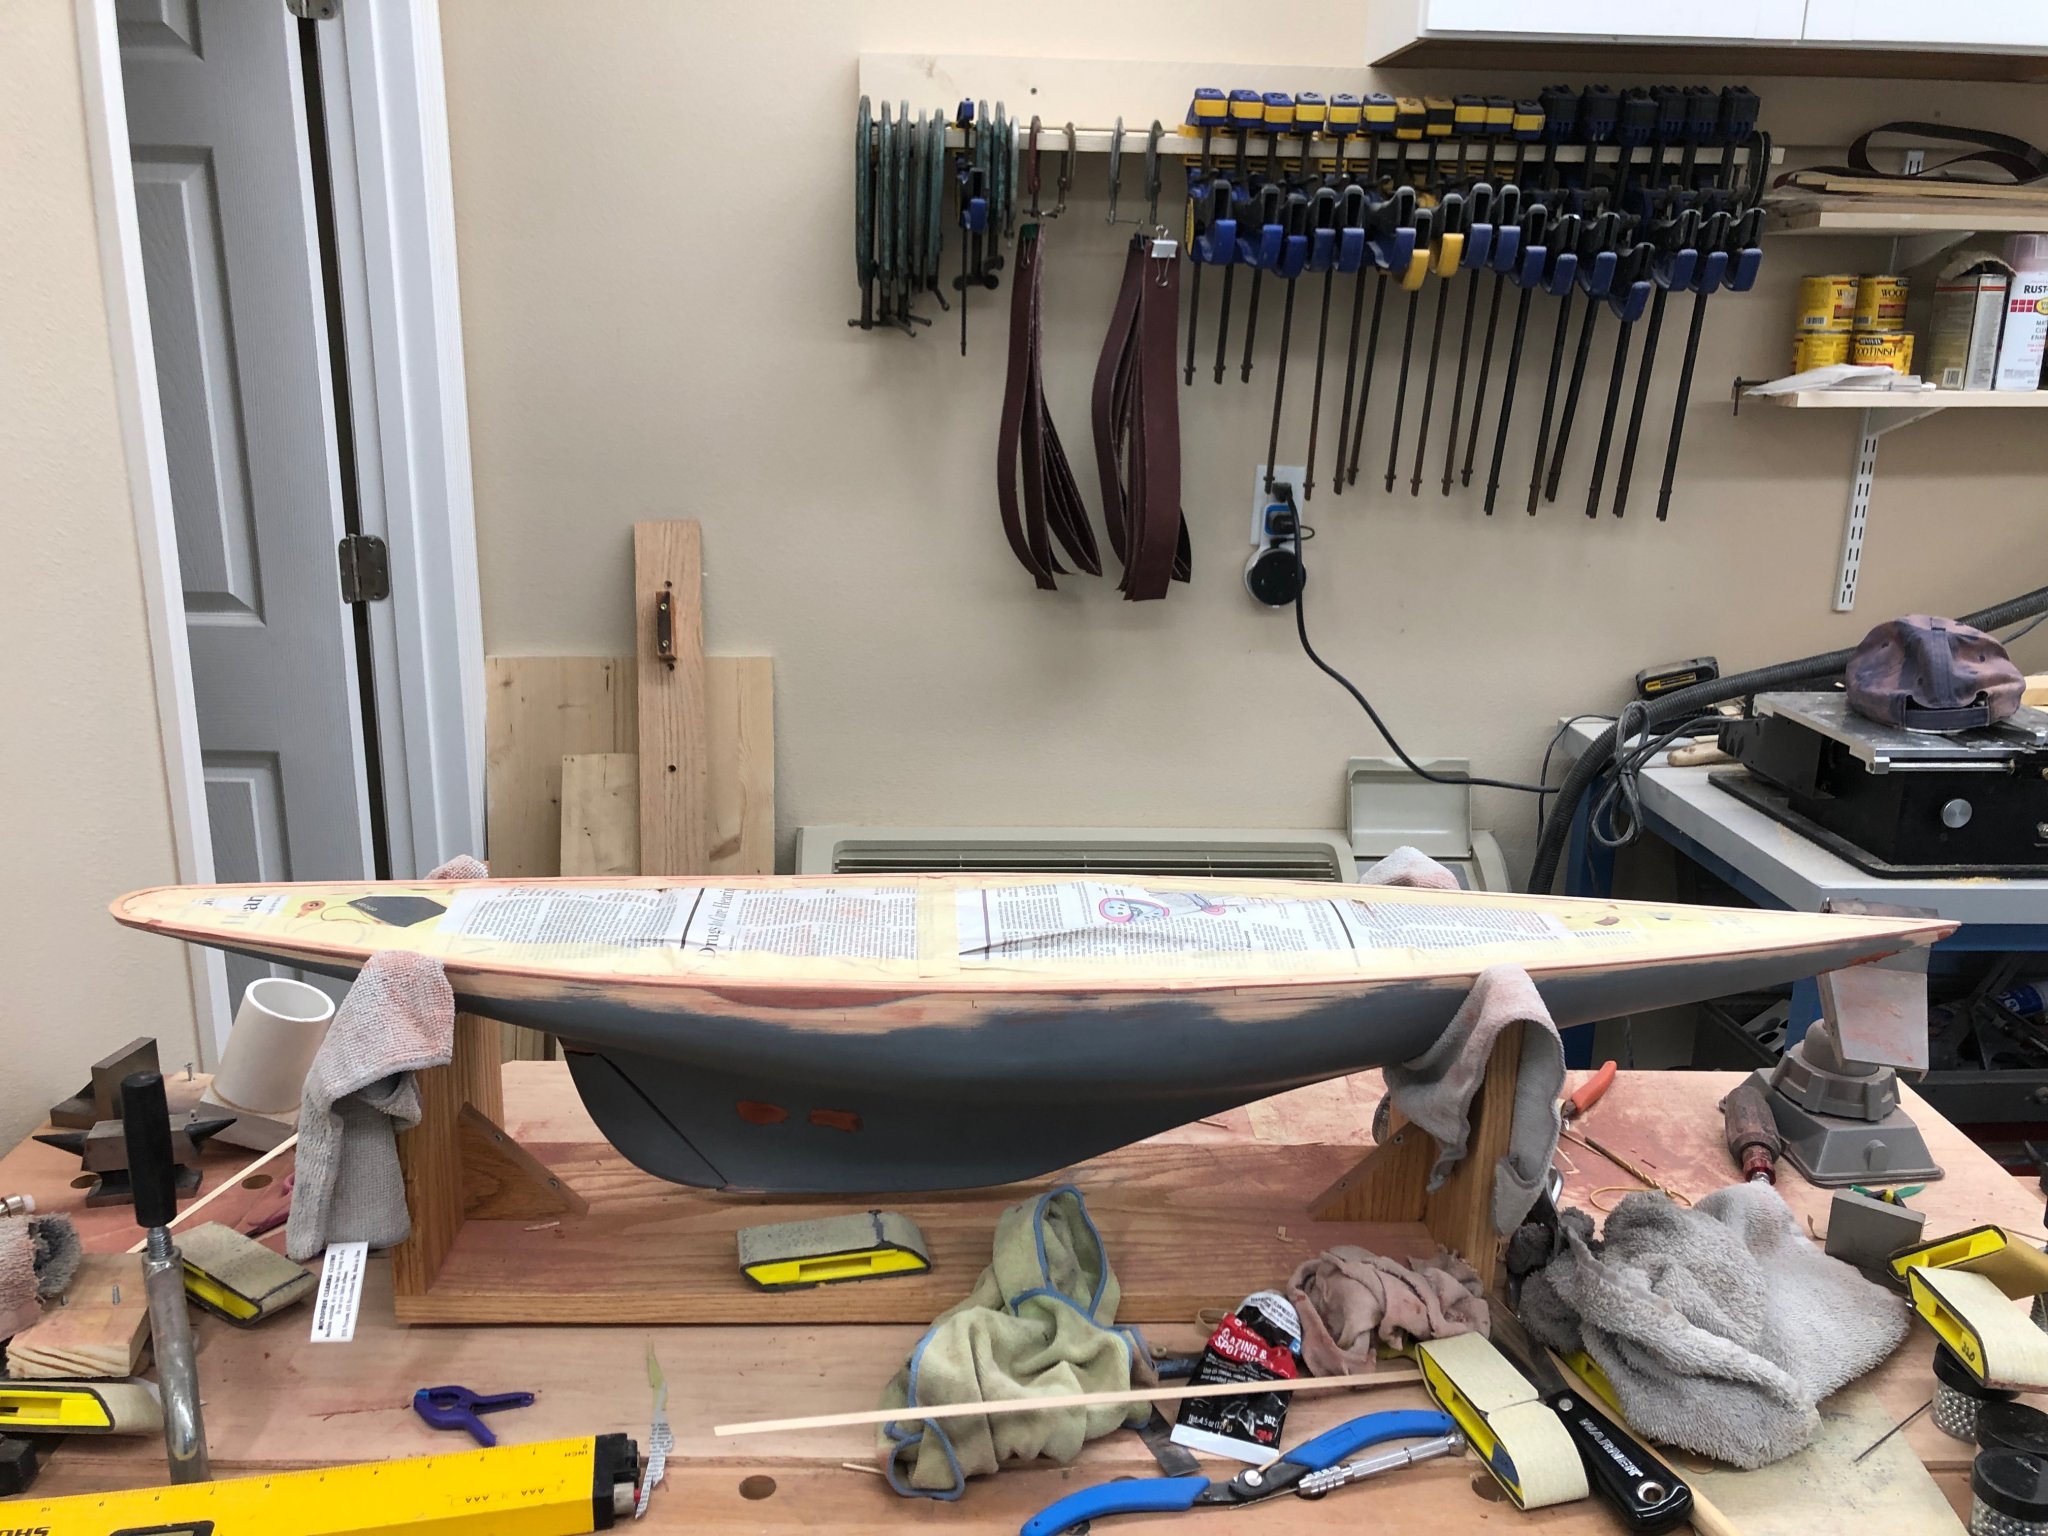
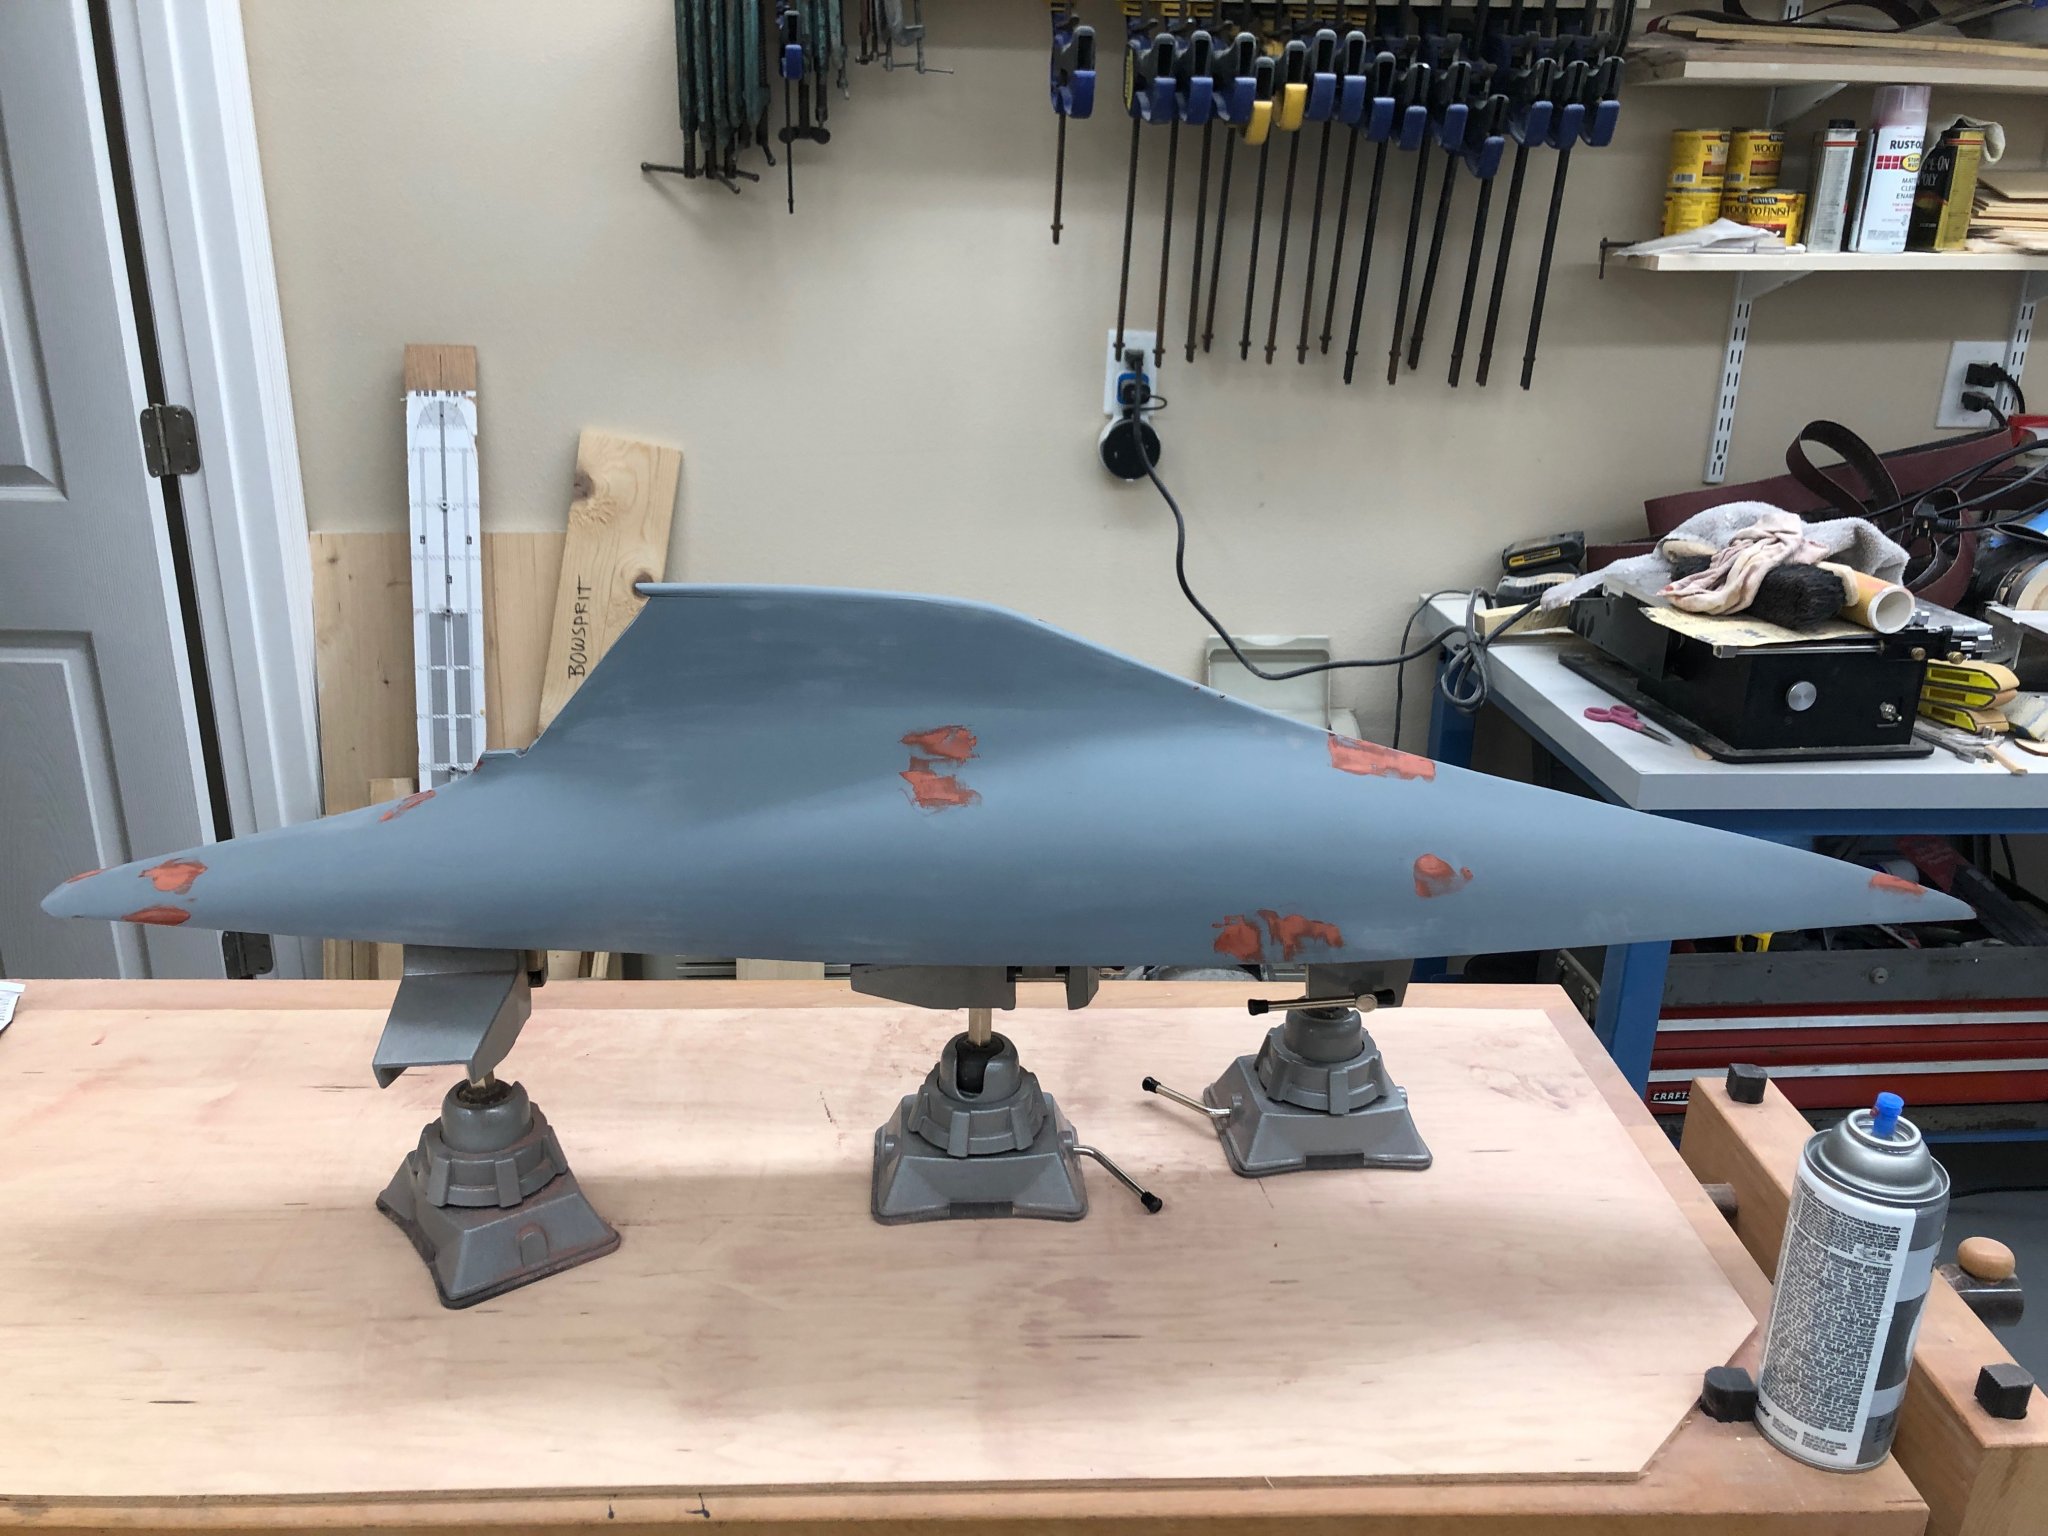
The last (hopefully) round of Bondo has been primed and we are ready for a final sand (800/1000 grit) before we start the the painting "for real".

- GrandpaPhil, yvesvidal, hexnut and 1 other
-
4
-
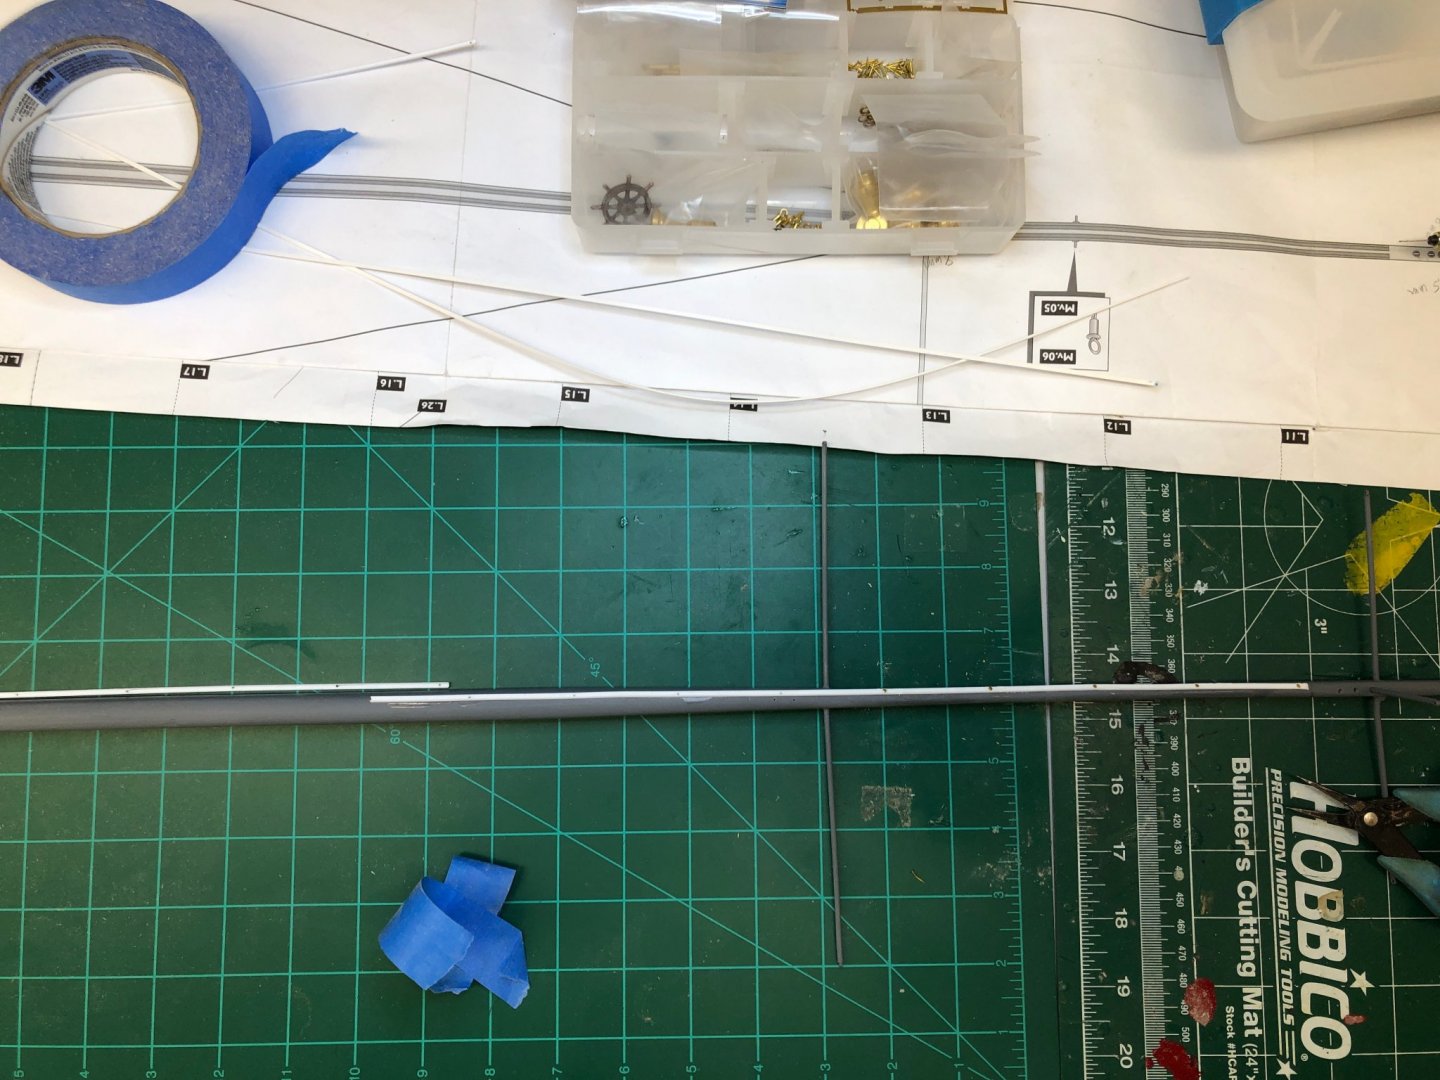
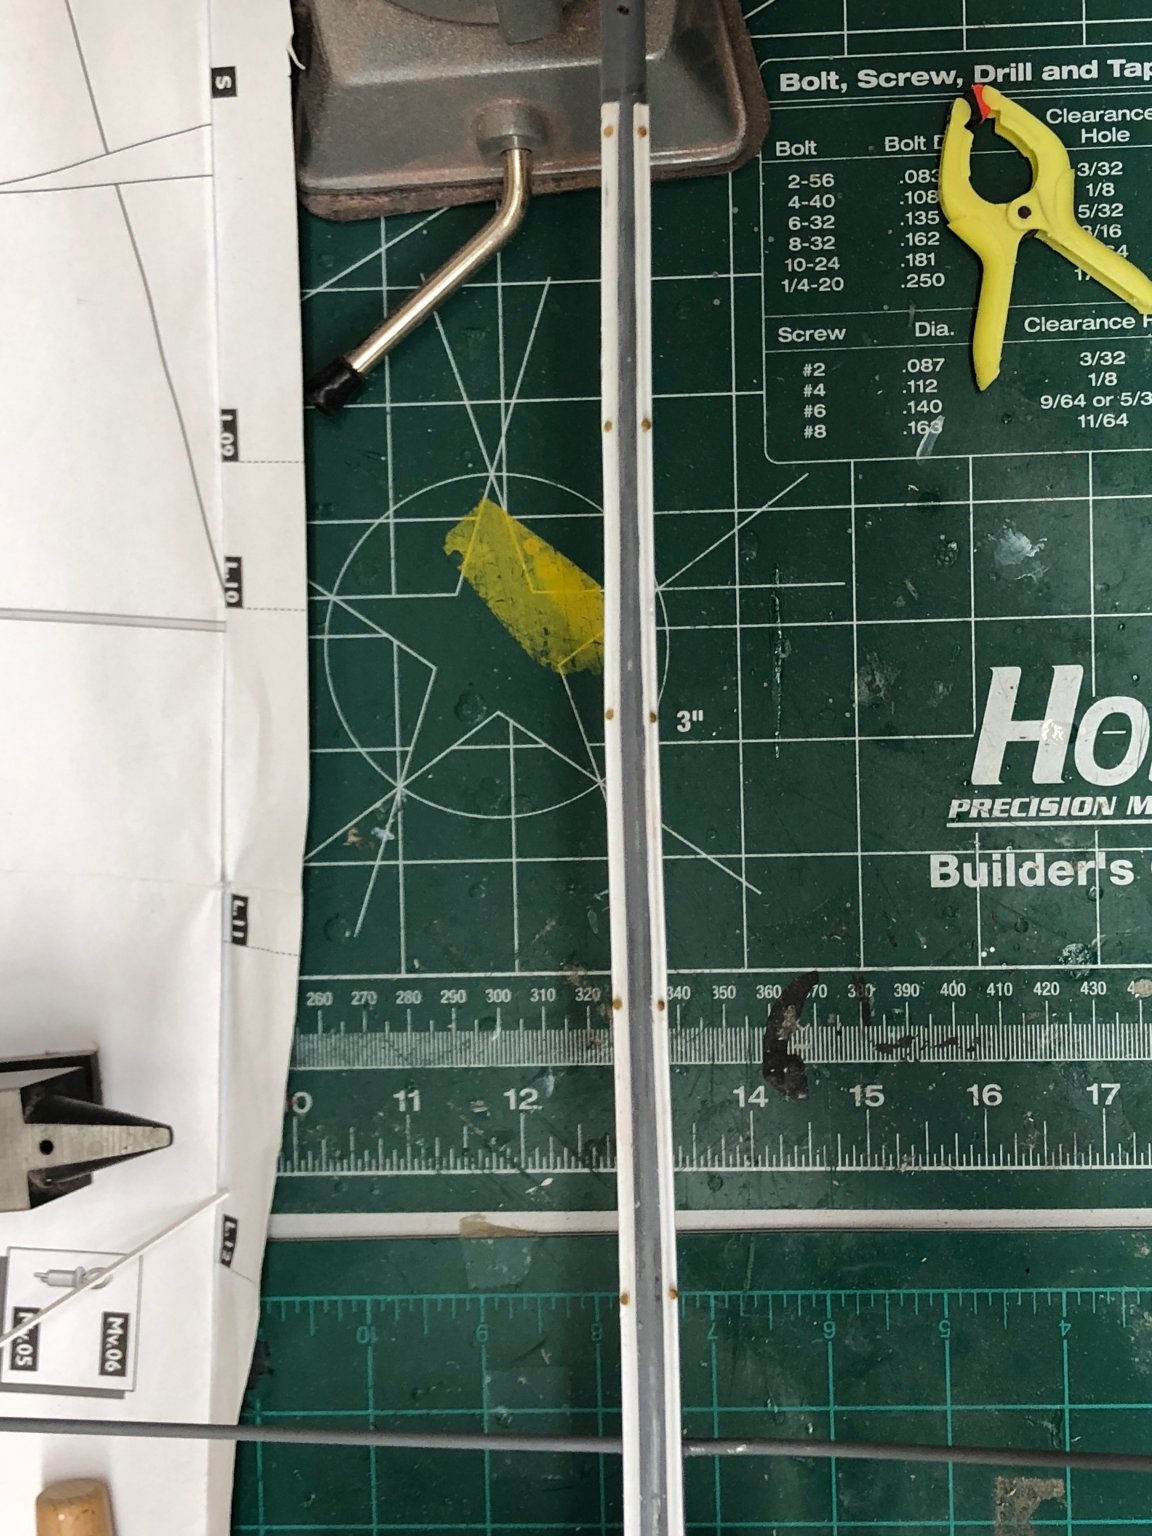
I mentioned that the track provided in the kit had taken a bend since the piece is longer than the box, and just barely as long as needed).
So I took the two pieces supplied and hung a 4 oz fishing sinker on the end and let them hang overnight.
No apparent change, as soon as the weight was removed it returned to a more than 90 degree bend.
Since I have 13" pieces (three required per track) I am going to use them. Getting the shorter pieces mounting is proving more of a challenge than I care for - dealing with longer pieces and wanting to bend is not my idea of a hobby.

-
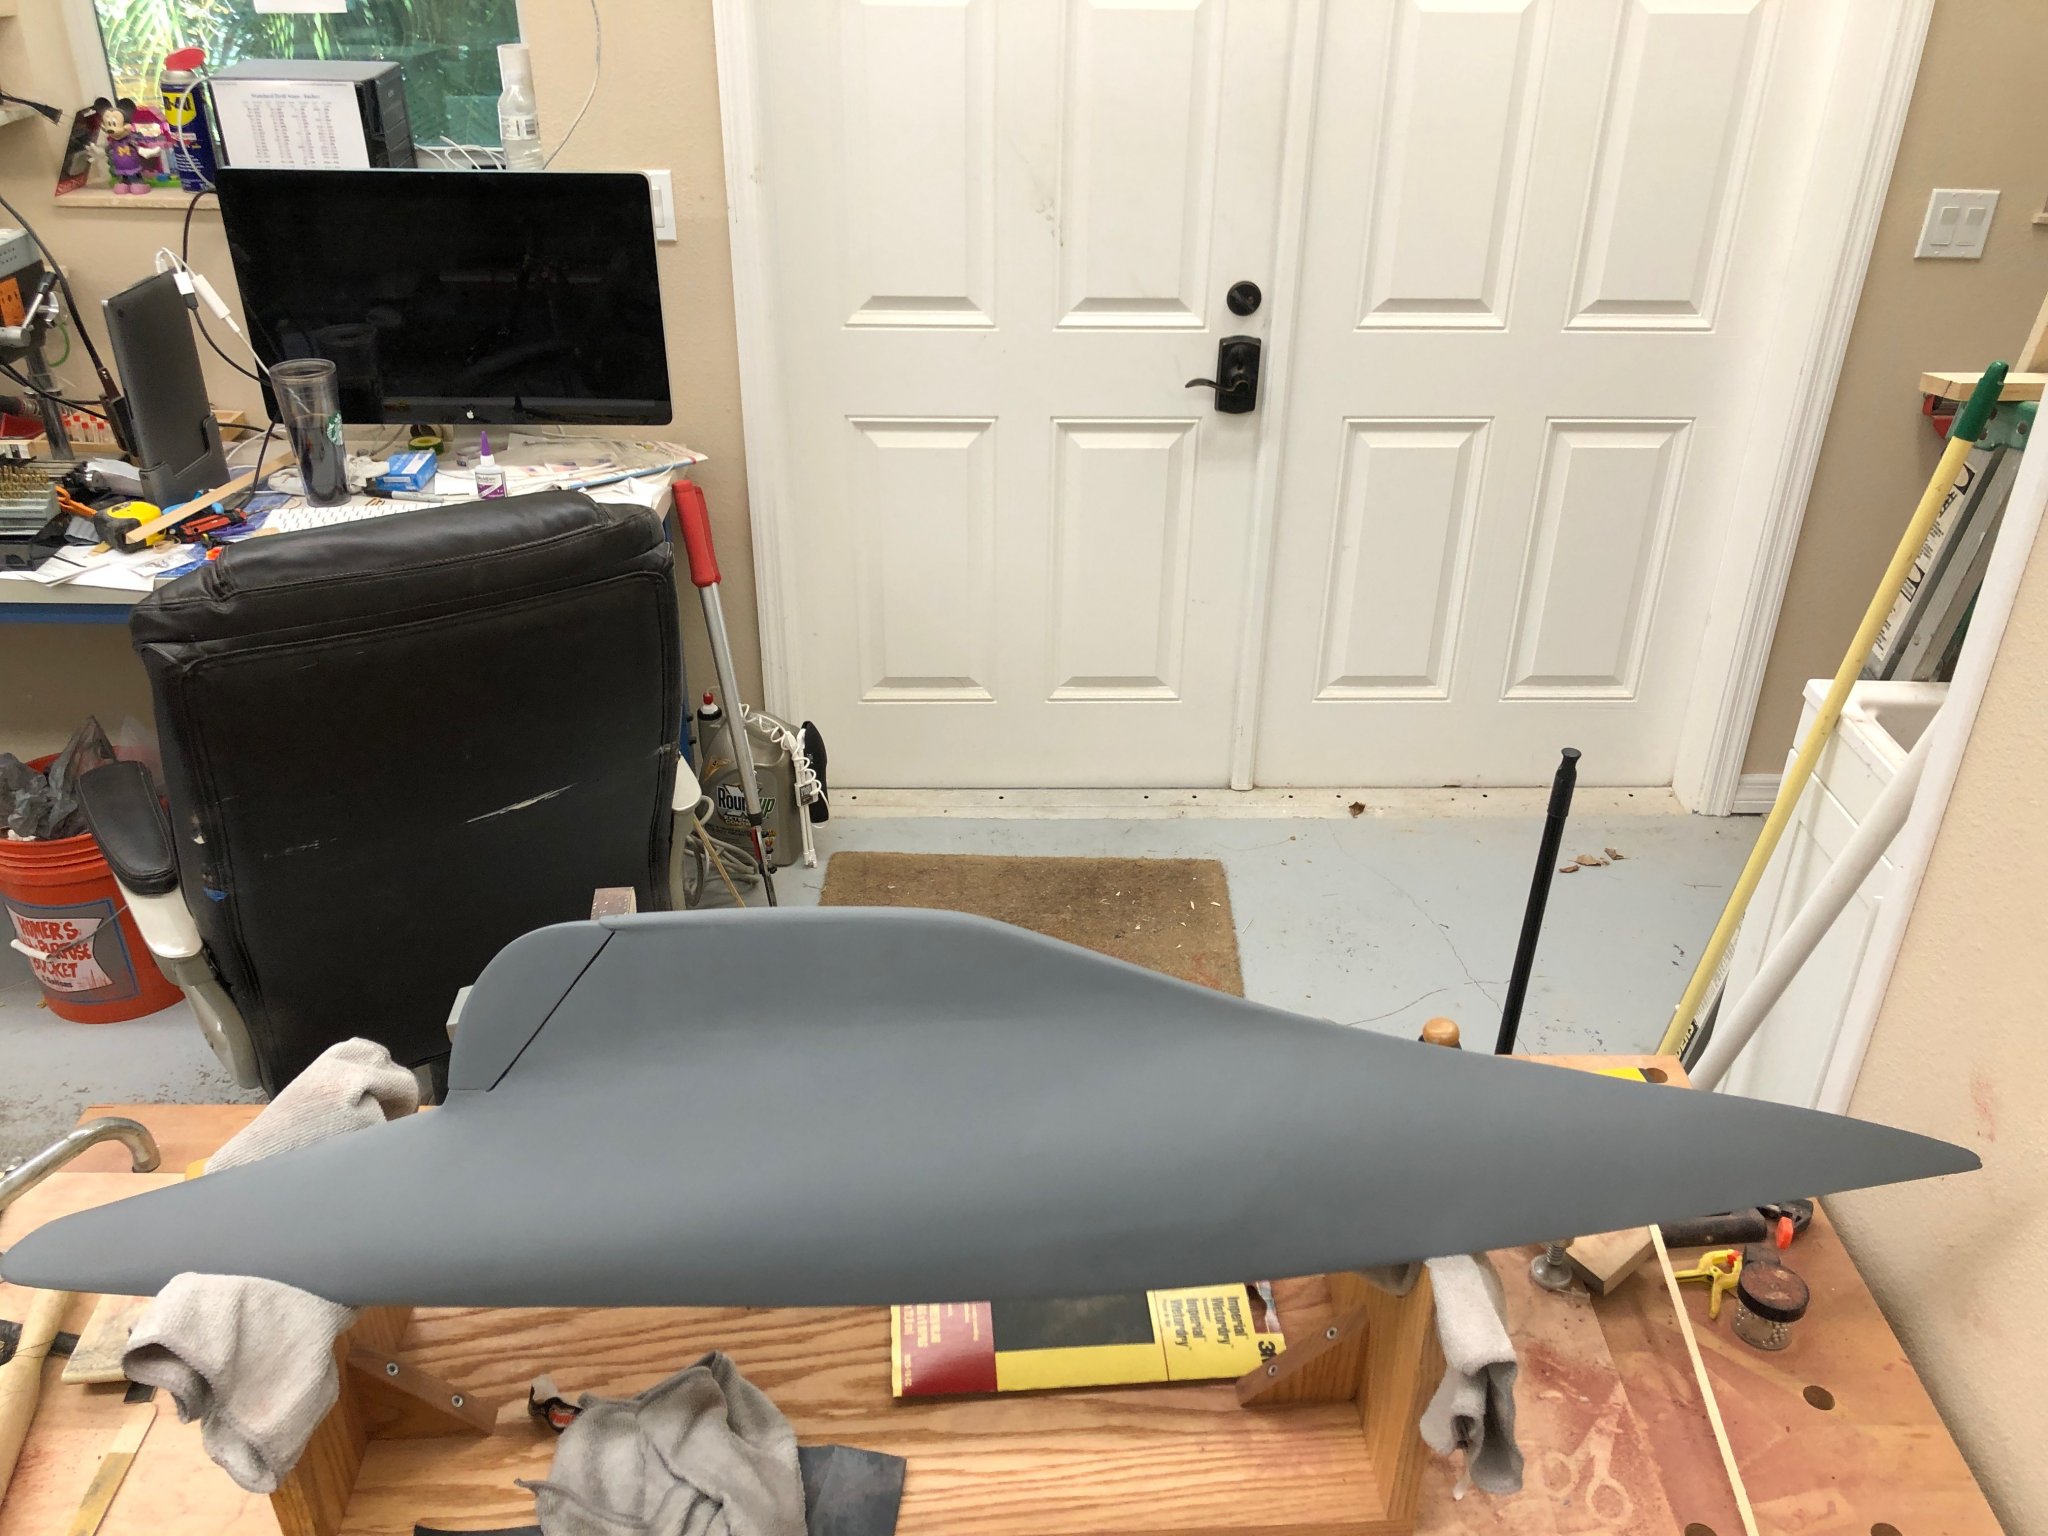
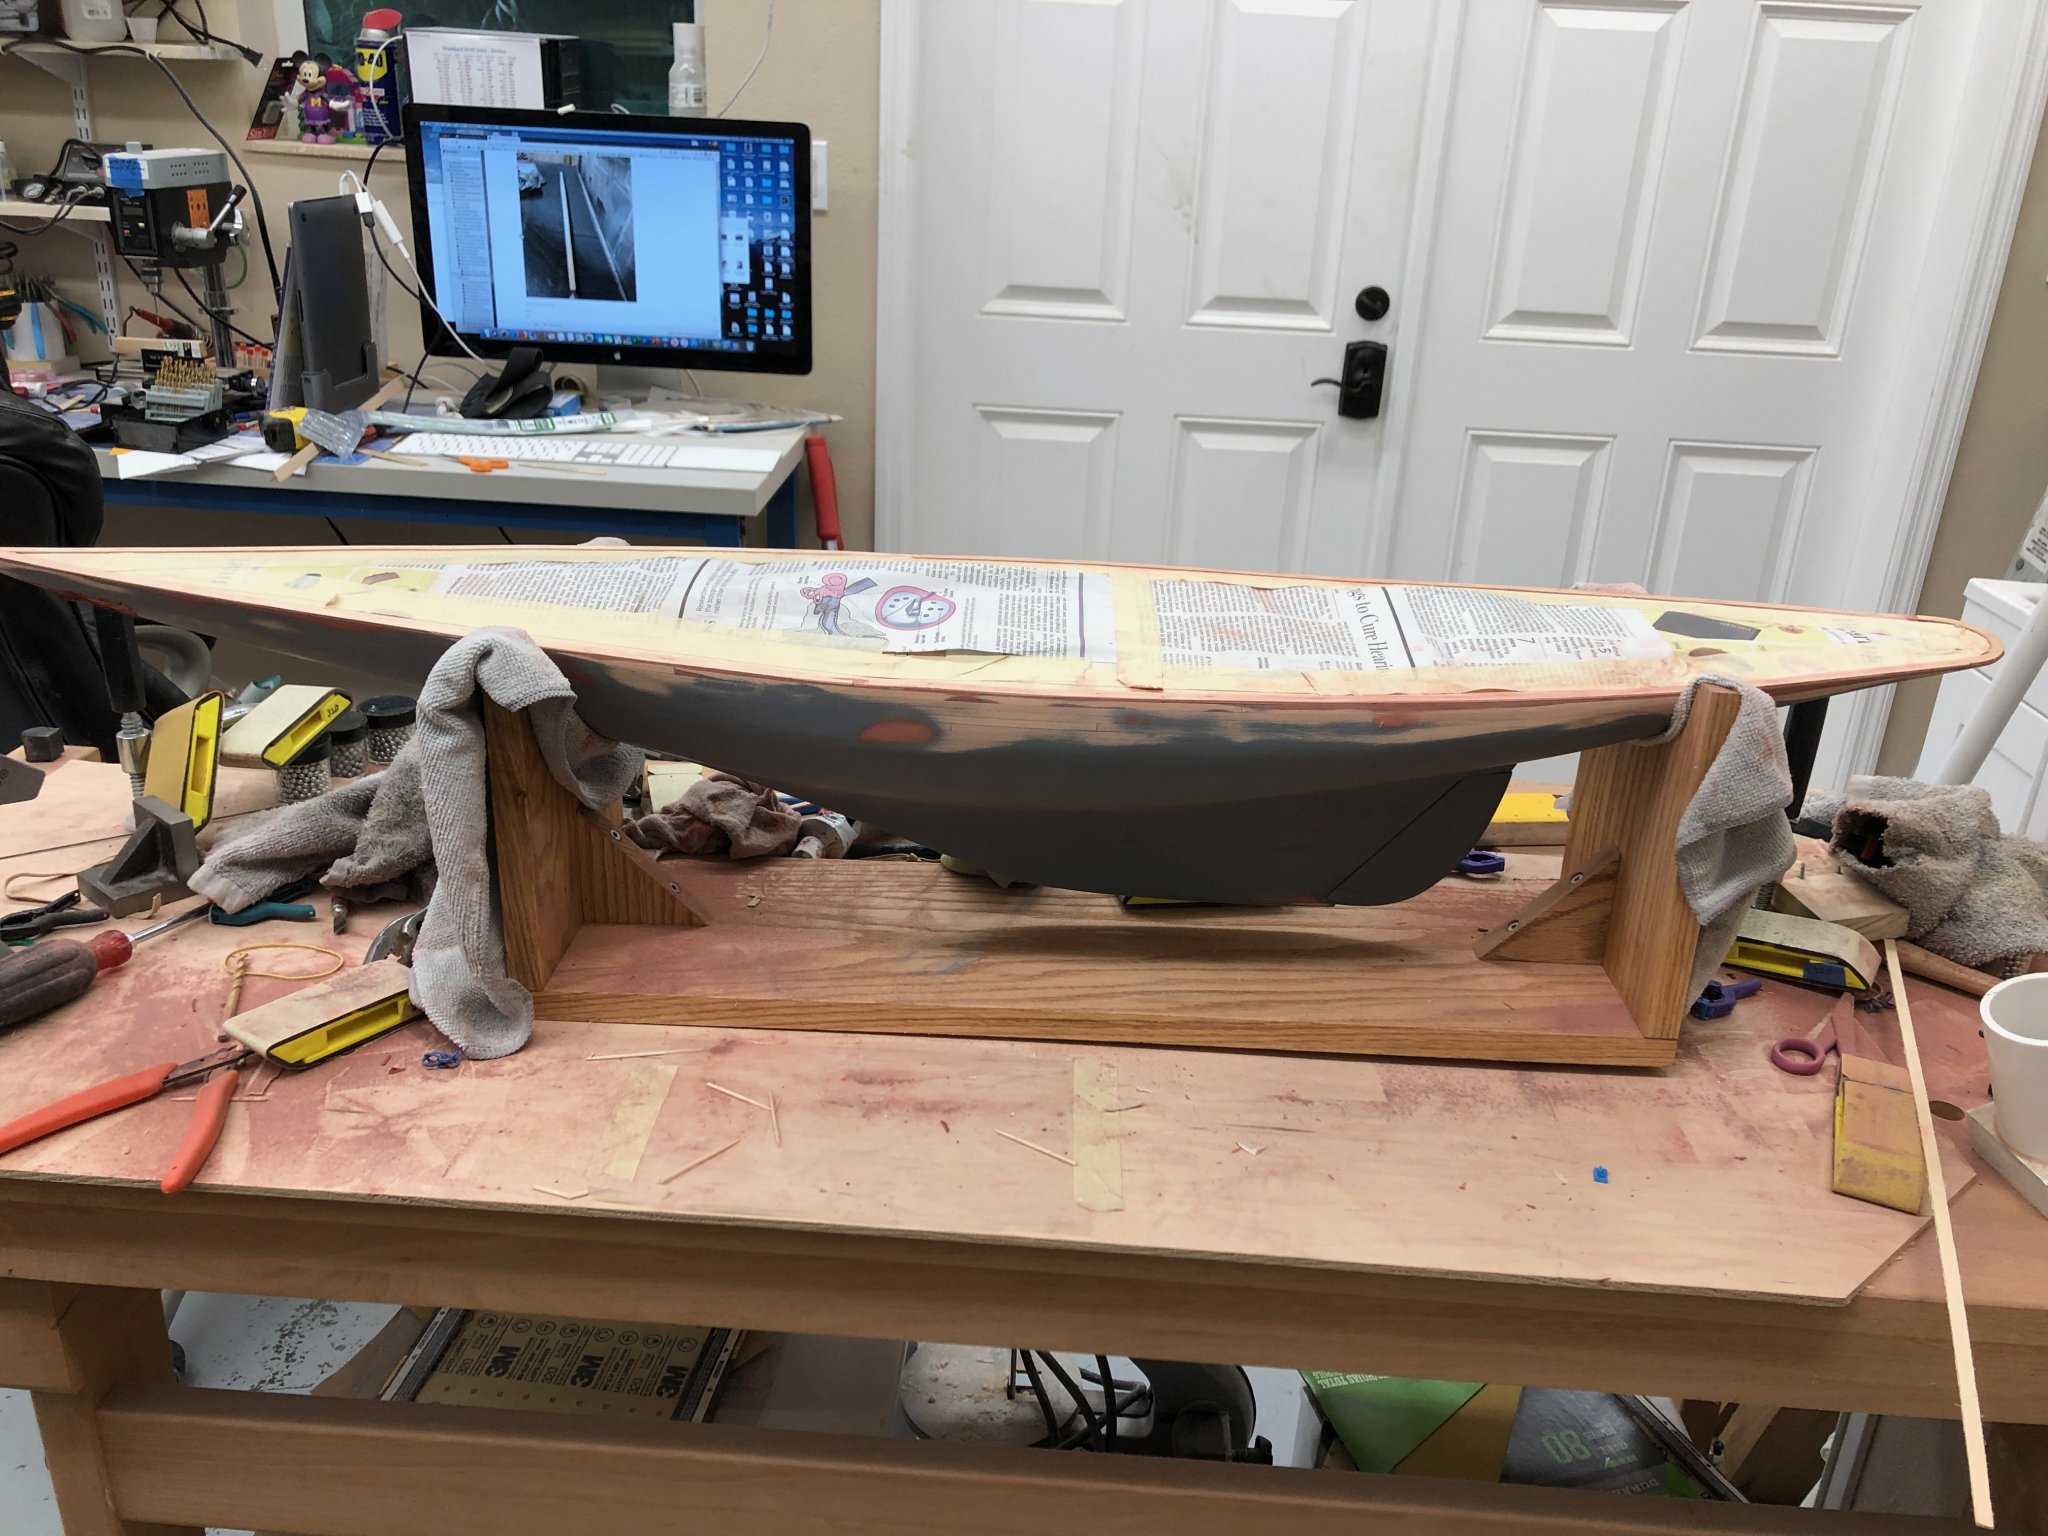
With any luck this should be the last Bondo on the hull. One more spot or two of filler primer and a good overall sand with 800/1000 grit and I should be ready to paint.
Speaking of which, my significant other saw (for the first time) the picture of the model, on the top of the kit box and decided she wants it all Navy blue with the white waterline stripe. I was never really in love with the simulated bottom paint so did not put up much of a fight. Makes things considerably easier too. Paint it all, mark the waterline, add tape and done. With that in mind and the possibility that the dark paint may reveal something I can't live with made me change the paint scheme. Rather than using gloss Navy blue spray paint, I have shifted to flat. The plan is to paint it flat, make and repairs necessary, repaint, mark waterline, apply waterline tape and coat entire hull with spray clear gloss. I have the paint I mjust need the hull ready.
As for the mast, I have the holes drilled out for the eyebolts and have started to add the ople tracks to the front of the mast. Because the lengths of "C" section (that is what Evergreen Scale Models calls it) are longer than the box they come out with a near 90 degree bend. I have the kit material hanging with weights to see if the bend will come out. In the mean time I am experimenting with the 13" pieces that Evergreen sells direct. The plans seem to indicated nails ever 40mm so I have drilled holes to fit the provided nails in the channel. Getting them secured to the mast and in a more or less straight line is proving to be more of a challenge than I expected. The good news is that it will be impossible for anyone to look directly up the mast to check for "waviness".

- GrandpaPhil, hexnut and yvesvidal
-
3
-
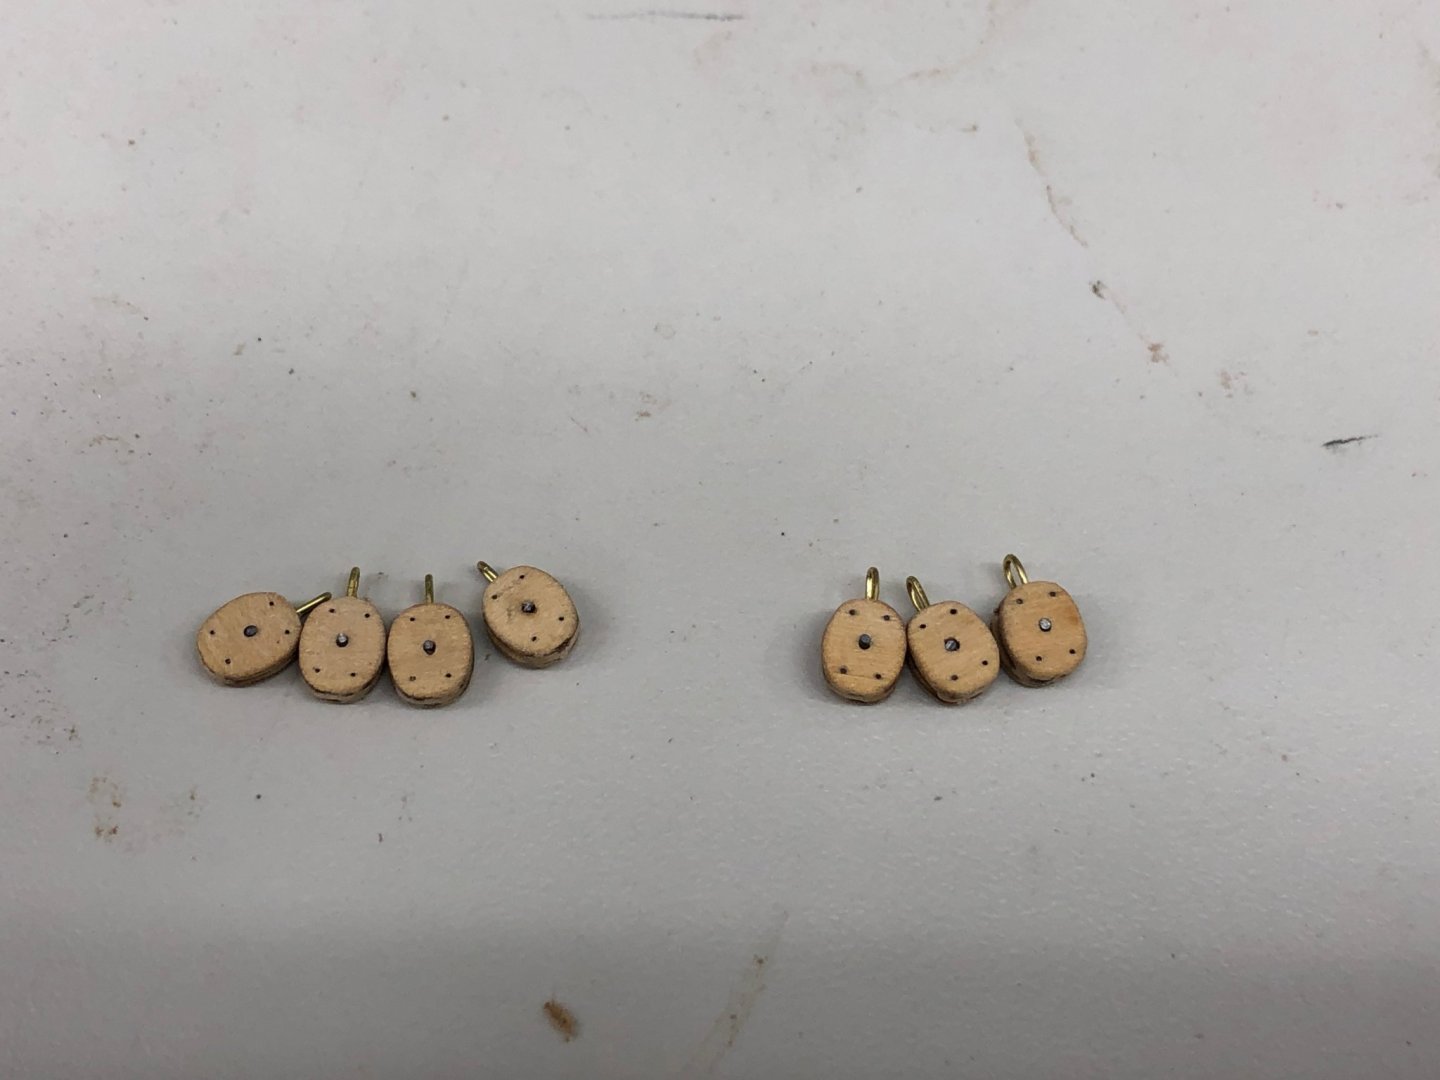
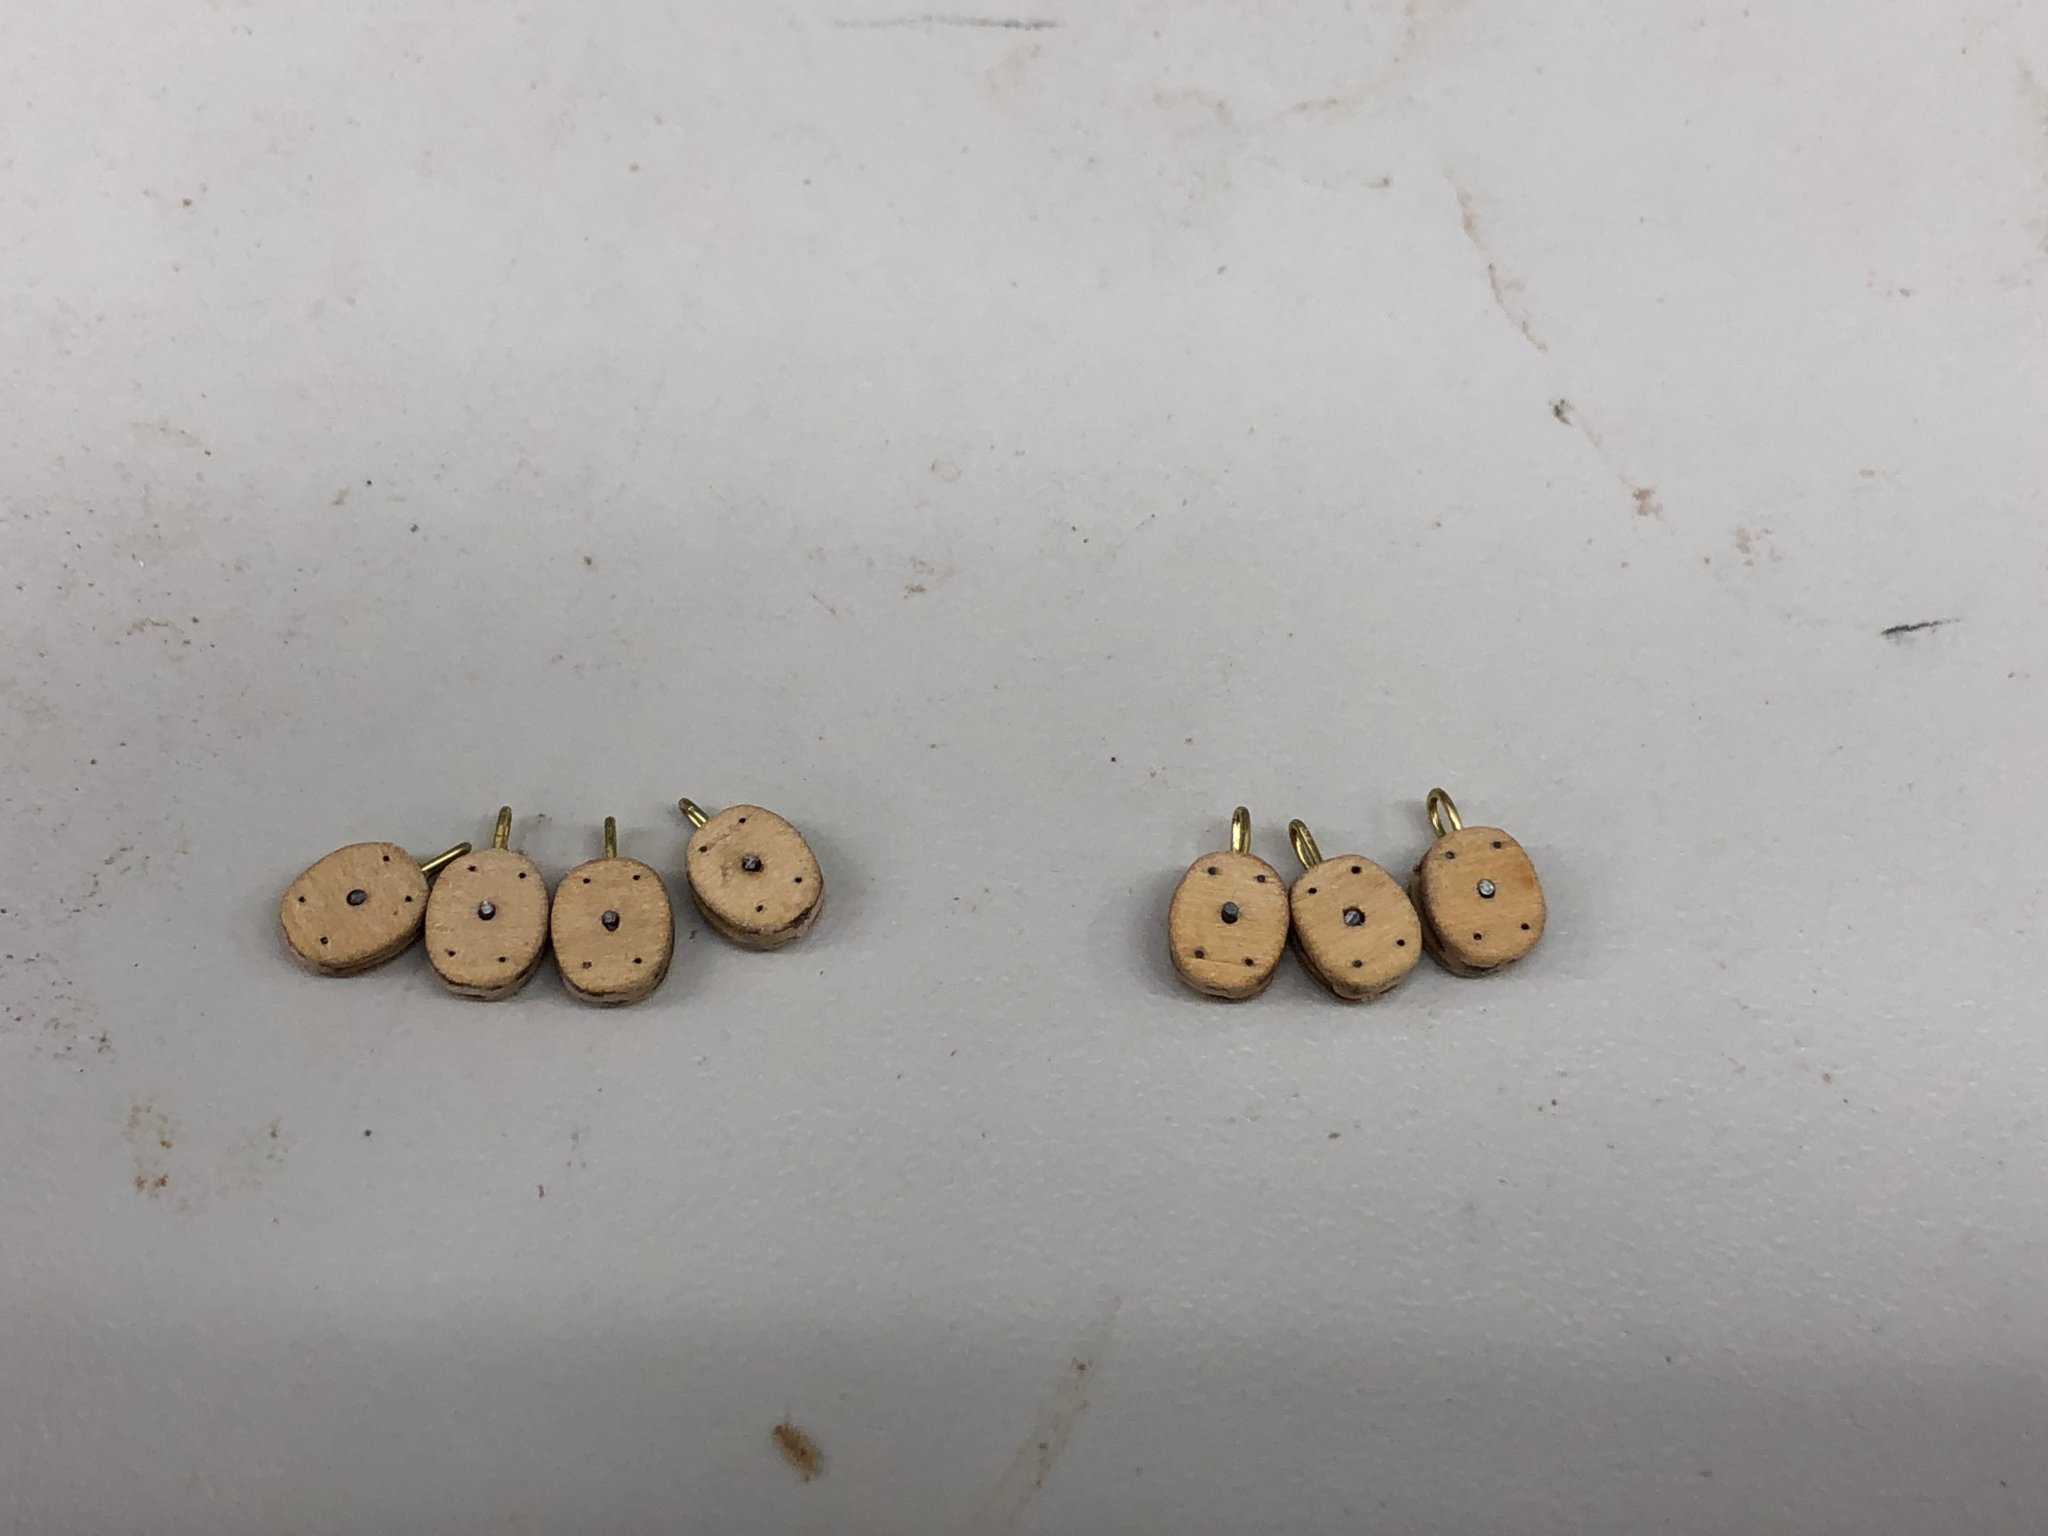
There are seven 7mm single blocks as part of the mainsail sheet tackle. Although the instructions show externally stropped blocks, and the kit provides single hole blocks that must be stropped externally I decide to go with Syren internally stropped 9/32" single blocks. I spent the day watching football and assembling, sanding and getting them ready for varnish and/or stain (I haven't decided which yet). Three go on the boom and four are on deck. I used brass wire for the "hanger" instead of the silver flat strap supplied with the blocks to keep a consistent brass look to the metal onboard.
-
As for the model, I have faired the deck and railing edge together and to the hull and will get another coat of primer on shortly. I decided to mask off the deck so it will take the planking without too much paint overspray getting in the way.
I have the mast on the table to open the holes for the eyebolts on the aft side and to drill the holes for the other 16 eye blots that are required.
I am trying to decide whether to add the polystyrene channels to the forward side of the mast (presumably these are tracks for the "whisker pole" that is carried on deck - not sure why there are two tracks but...). before I hit it with the flat white or installed them after. The instructions indicate that the track are attached with nails (and CA), but it does not show how many or where they are located.
Here is the hull waiting for some last minute Bondo to dry before a final sand and more primer.


- GrandpaPhil, hexnut and KeithAug
-
3
-
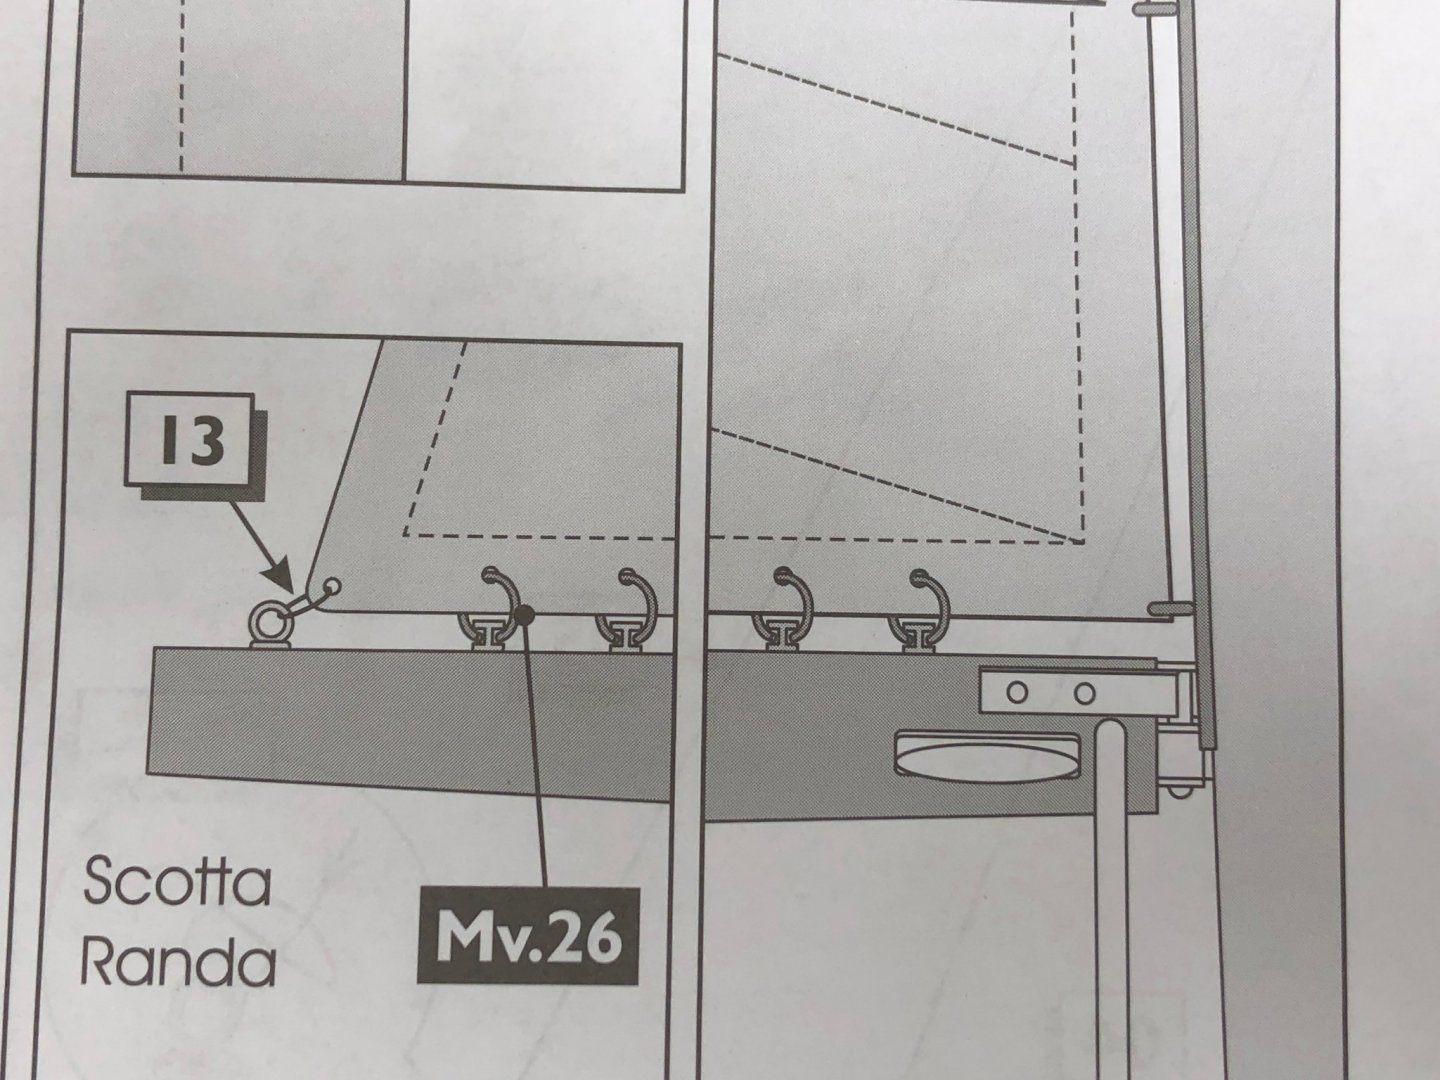
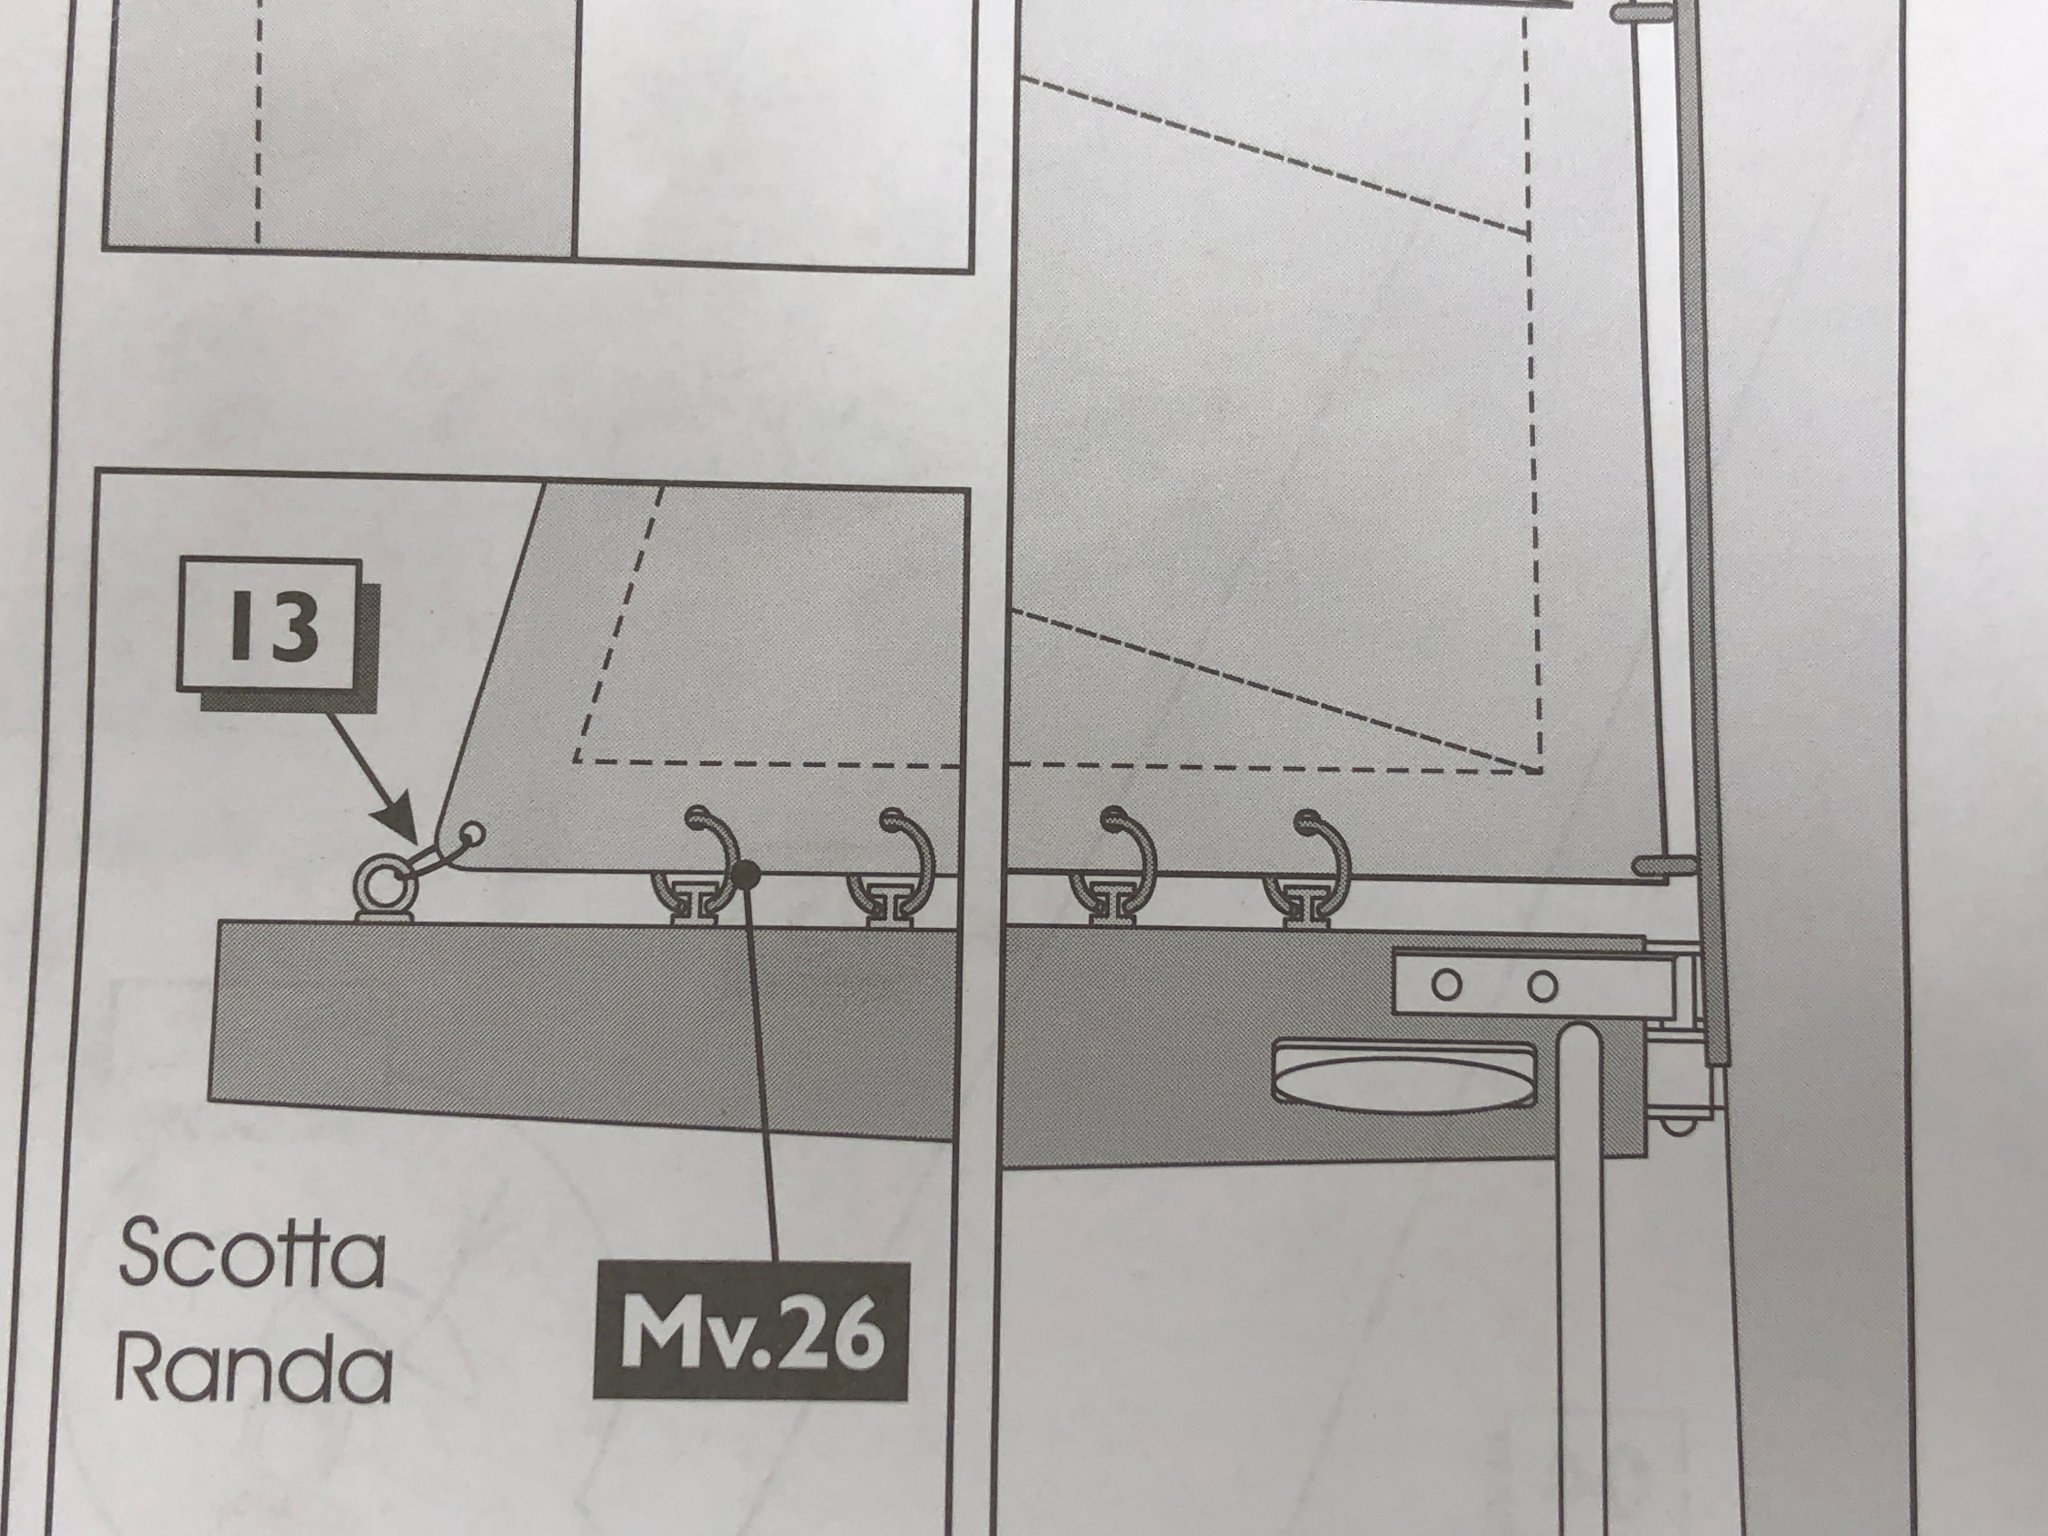
As I was shaping the boom I started thinking about how the main sail is attached to the boom. I am beginning to believe I need to rethink this for my version of Endeavour as this is going to be my first model with full sails. My only other experience with sail was on a gaff rigged schooner and the sails were furled between the gaff and boom on both masts.
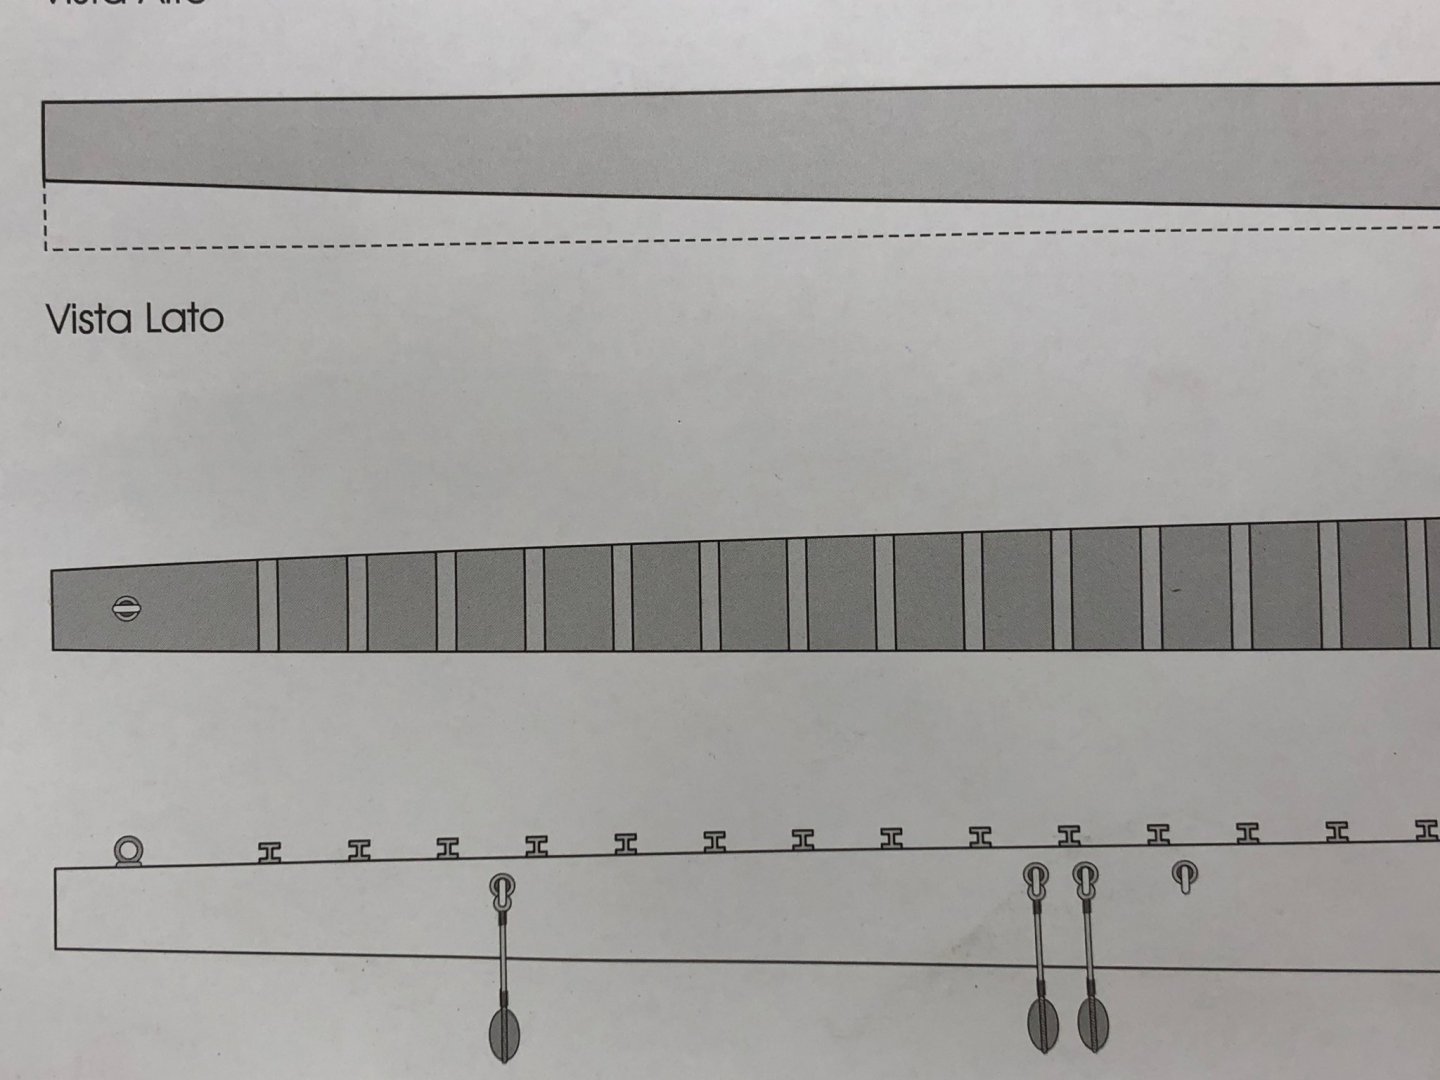
According to the instructions and drawings, there are 58 pieces of "H" shaped plastic channel placed athwart the boom (the picture only shows part of the boom) with (presumably) a hole in the center of each piece. The foot of the main sail is attached to the these 58 shapes with a split ring at each location. Given the shape of the boom (tapered fore and aft) just getting the 58 pieces on the boom evenly and with the hole centered would be a big enough challenge.
I guess I am a little intimidated with the idea of trying to get 58 split rings through 58 "grommets" (or whatever I would use to put 58 holes in the mainsail foot) spaced appropriately in the mainsail. I can easily imagine disaster ensuing.
The picture on the kit box does not show clearly enough for me to be certain they did it as described in the instructions. Blowing up a picture of the box picture might lead you to believe that the split rings are there but not used to attach the sail. It is possible that they used line to tie the mainsail to the 58 channels.
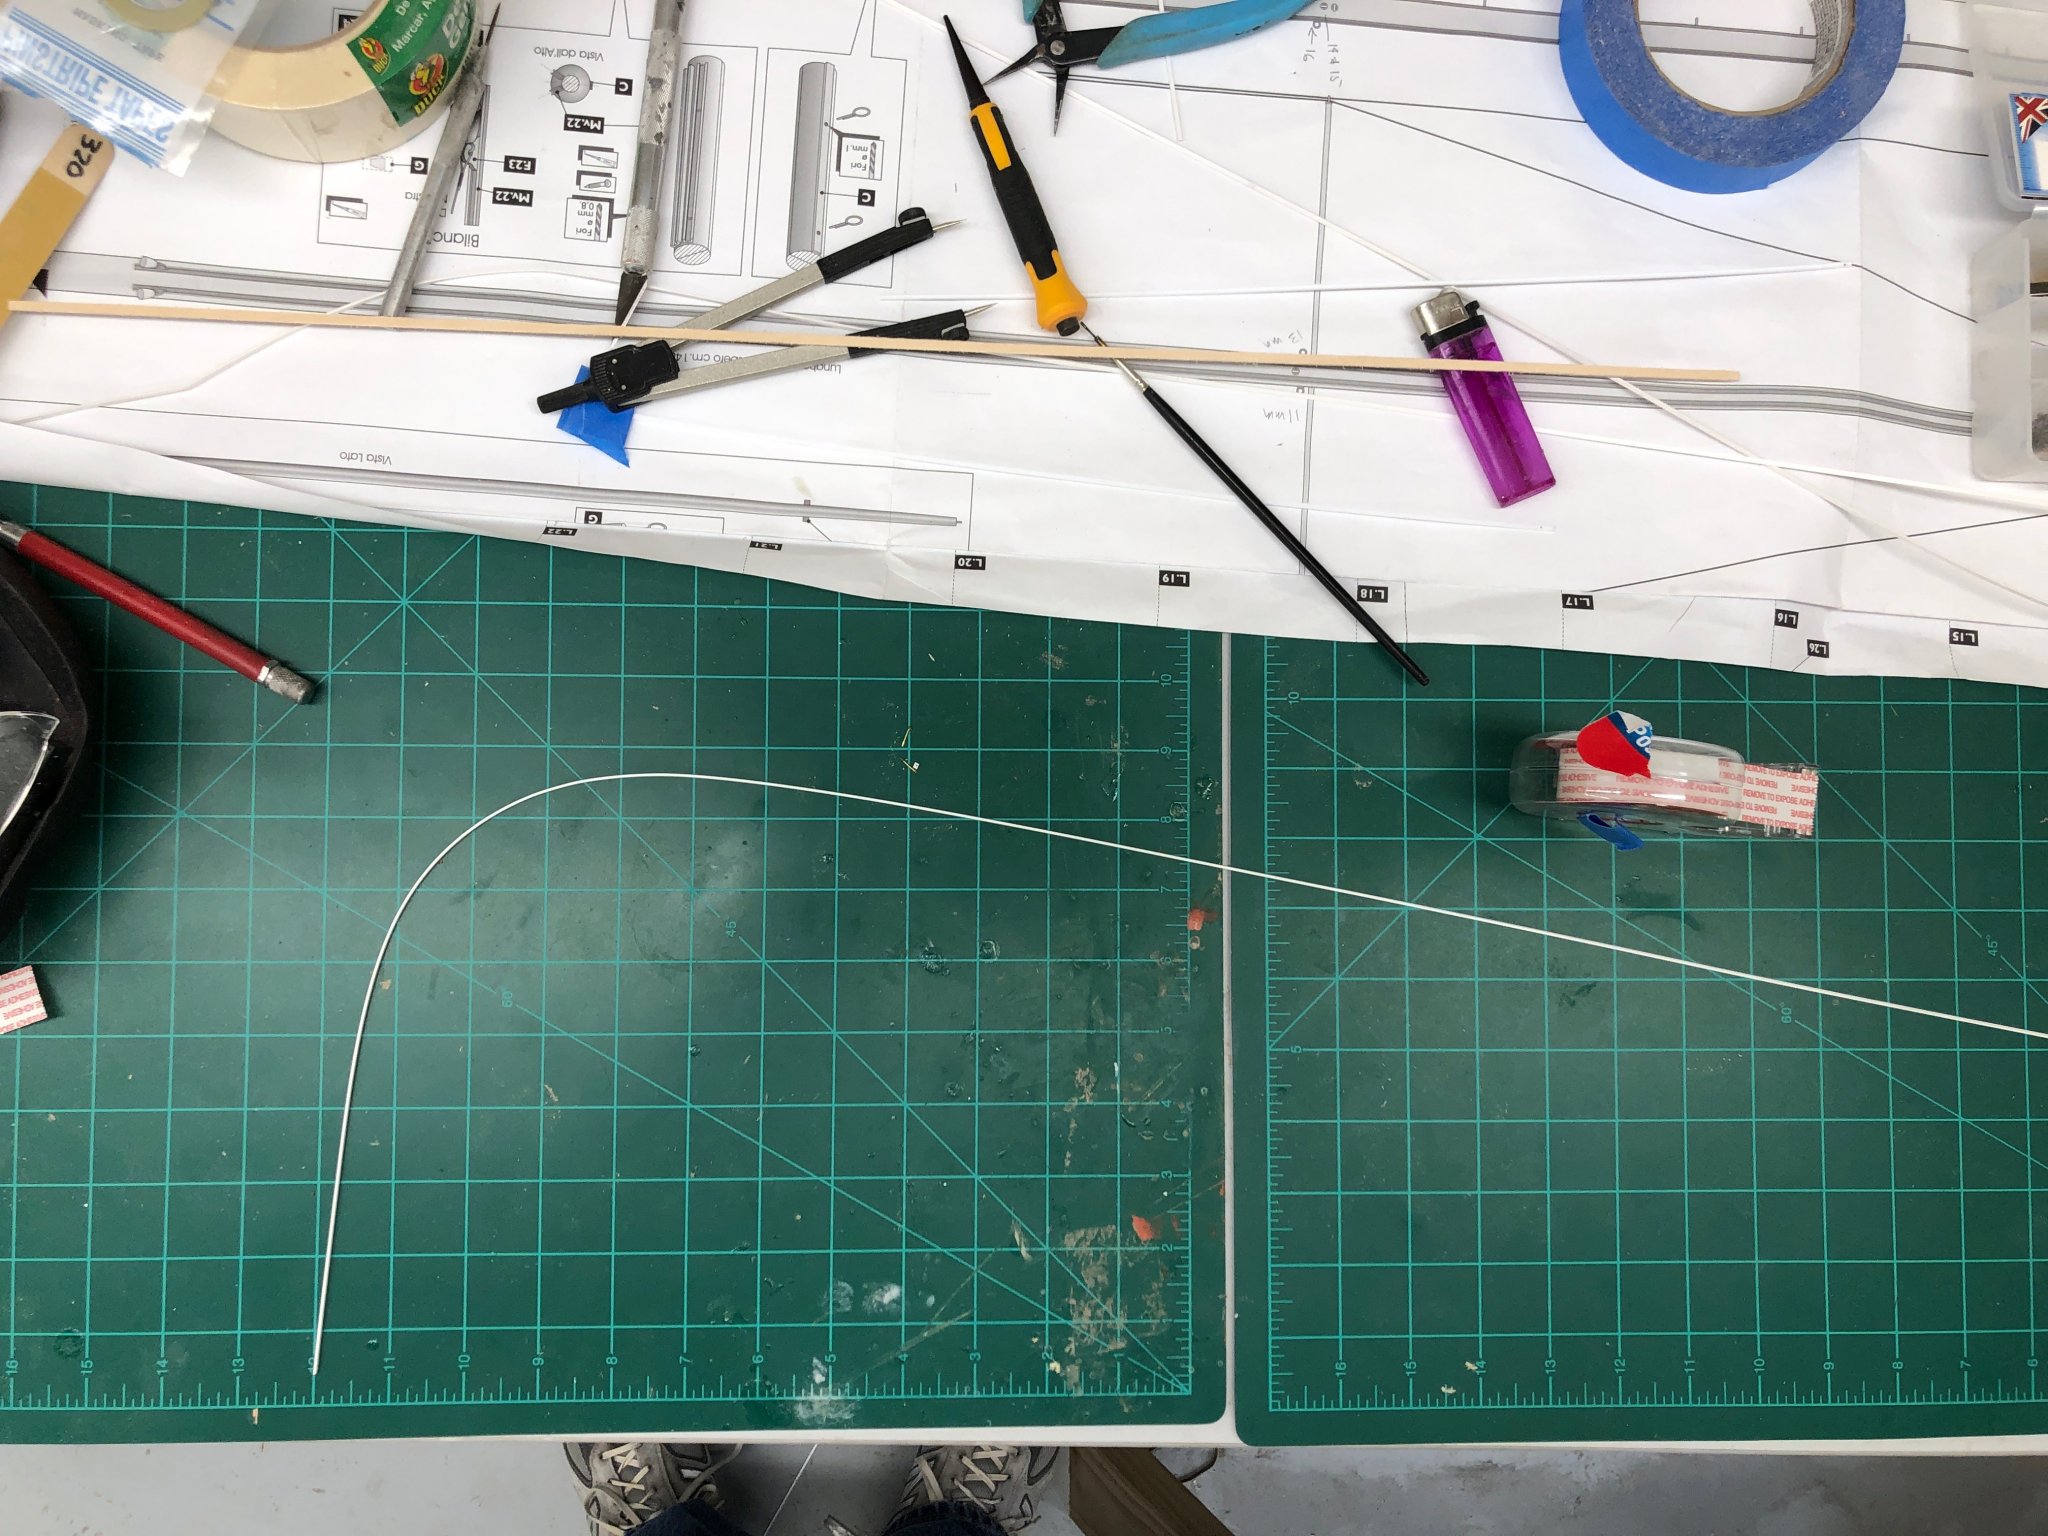
I any event I am considering trying to implement a more "modern" system (like is used on every sail boat I have every been on) a channel on the top of the boom with a bolt rope on the mainsail foot which slides into the channel. I have ordered four different sizes of polystyrene channel and will try a prototype before I make a final decision. I should probably try and fabricate mainsail foot with a bolt rope as well.
I know this is not what Endeavour had but I would rather have an inaccurate representation with sails than a more accurate one without.
- GrandpaPhil, KeithAug and hexnut
-
3
-
I added the "C"plank to the aft side of the mast. Instead of the "C" plank (1 X 3mm) from the kit I used 1/32 X 1/4 boxwood - it is thinner and very slightly wider. I drilled the 40mm spaced holes for the eye blots in the strips before gluing them to the back of the mast. I will have to drill the mast out under the strip to hold the "eye bolt holders" included with the kit but the holes in the strip will show where they are supposed to be. The eye bolts hold the main sail onto the mast but are not installed until the sail is. Here are a picture of the mast in the paint booth and a closeup of the added plank.
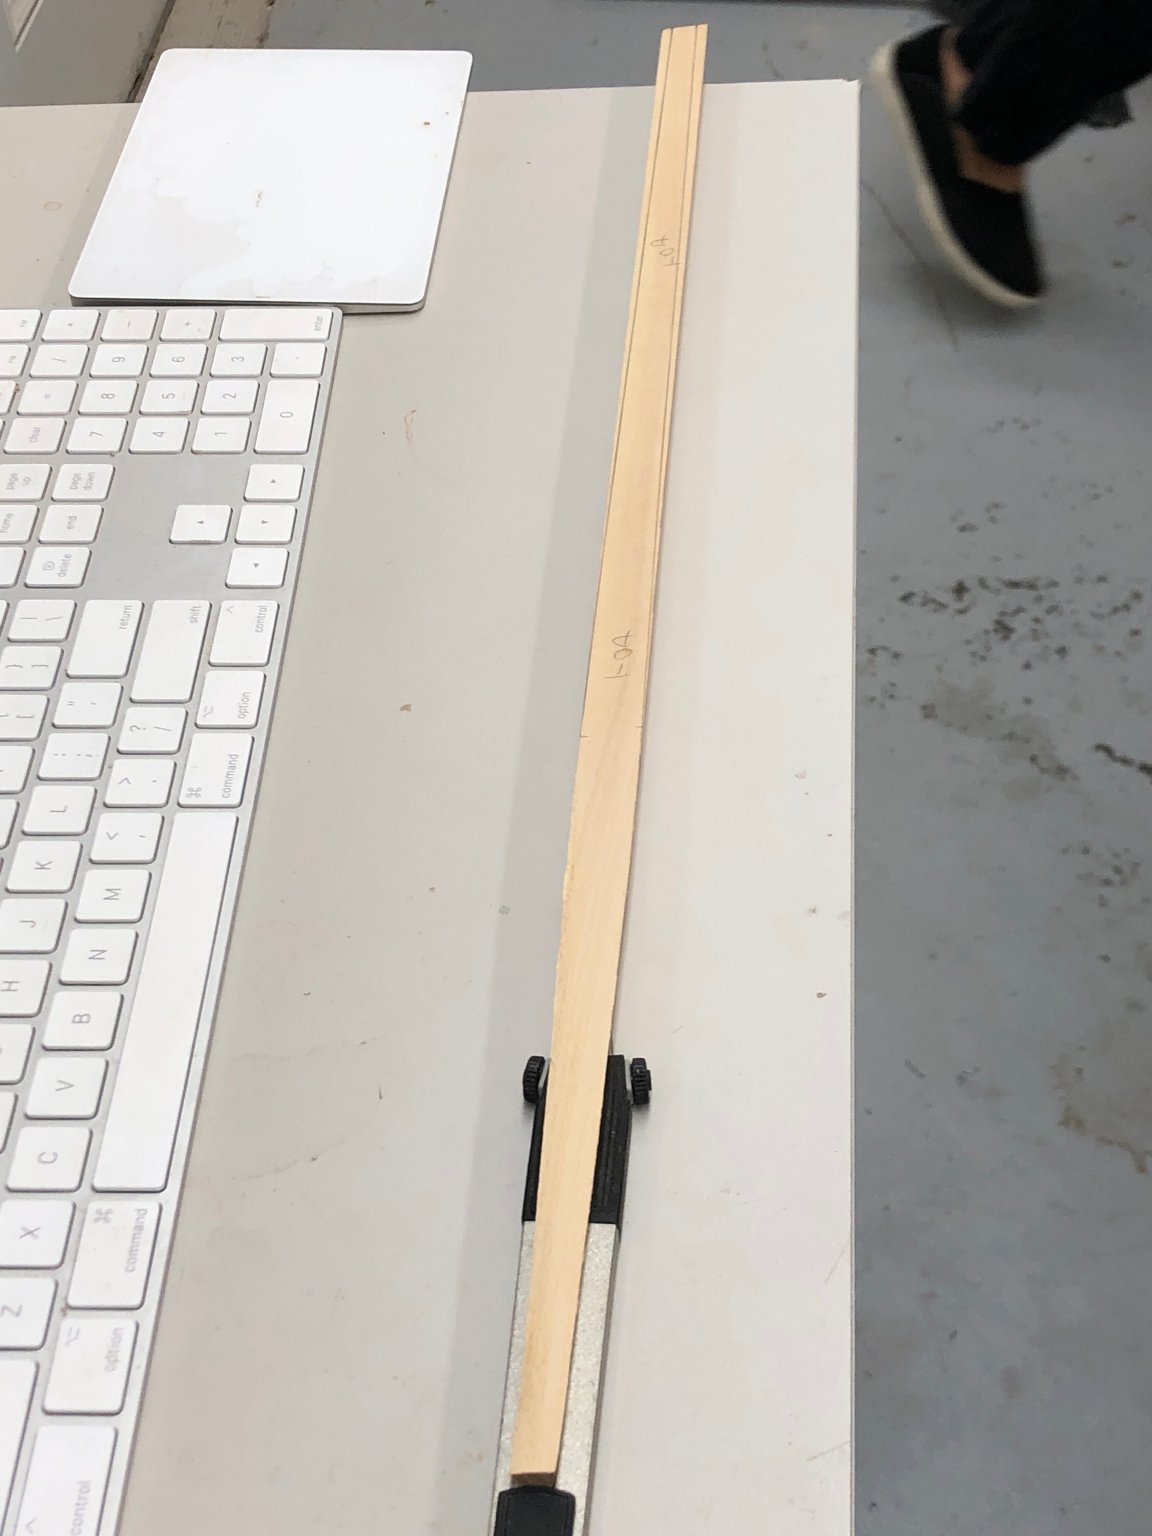
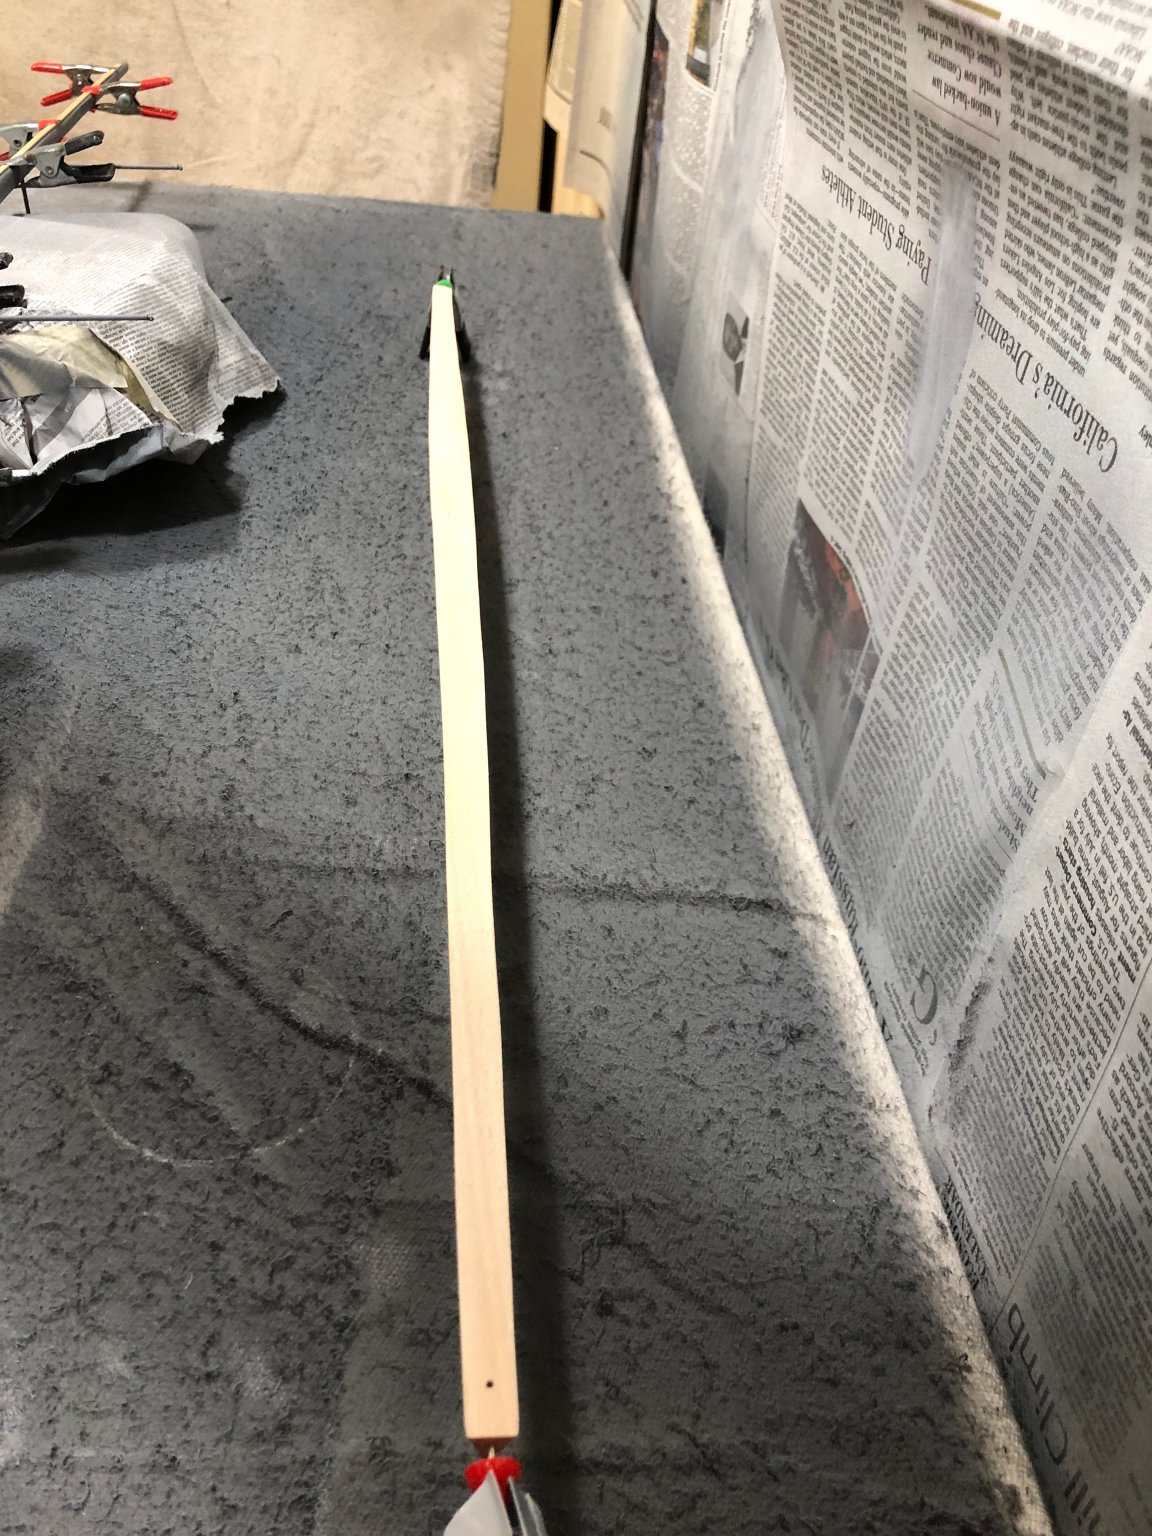
I also shaped the boom. The triangular section piece provided in the kit was not as hard to shape as I had thought. It tapers in both directions (fore and aft) on all three sides from about the one third point. The full size drawing makes it relatively easy to mark what needs to be removed and I did most of the removing with the disc sander. The last few mm were done with sanding sticks. The trickier part is trying to keep things even on all three sides. Here is a shot of the boom with the forward end tapered and the aft end marked for taper and the boom in the paint booth. I also marked and drilled the holes for the eye bolts on the boom.


- hexnut, GrandpaPhil, KeithAug and 2 others
-
5
-
So I used the above approach (soldering rings in the end of the spreaders) tom build the four sets of spreaders/guys for the mast.
I drilled holes through the mast, installed the spreaders and the mast bis in the paint booth getting its first coat of primer.
I counted and there are 16 more eyebolts that go on the mast. I have not decided at this point whether tom install them now and paint the white with the rest of the mast or wait until after the mast is painted and have them brass. My fear with painting them white is the paint may not stick to the brass very well. I have had to repaint eyebolts in the past where the paint came off during rigging.

- KeithAug, yvesvidal and GrandpaPhil
-
3
-
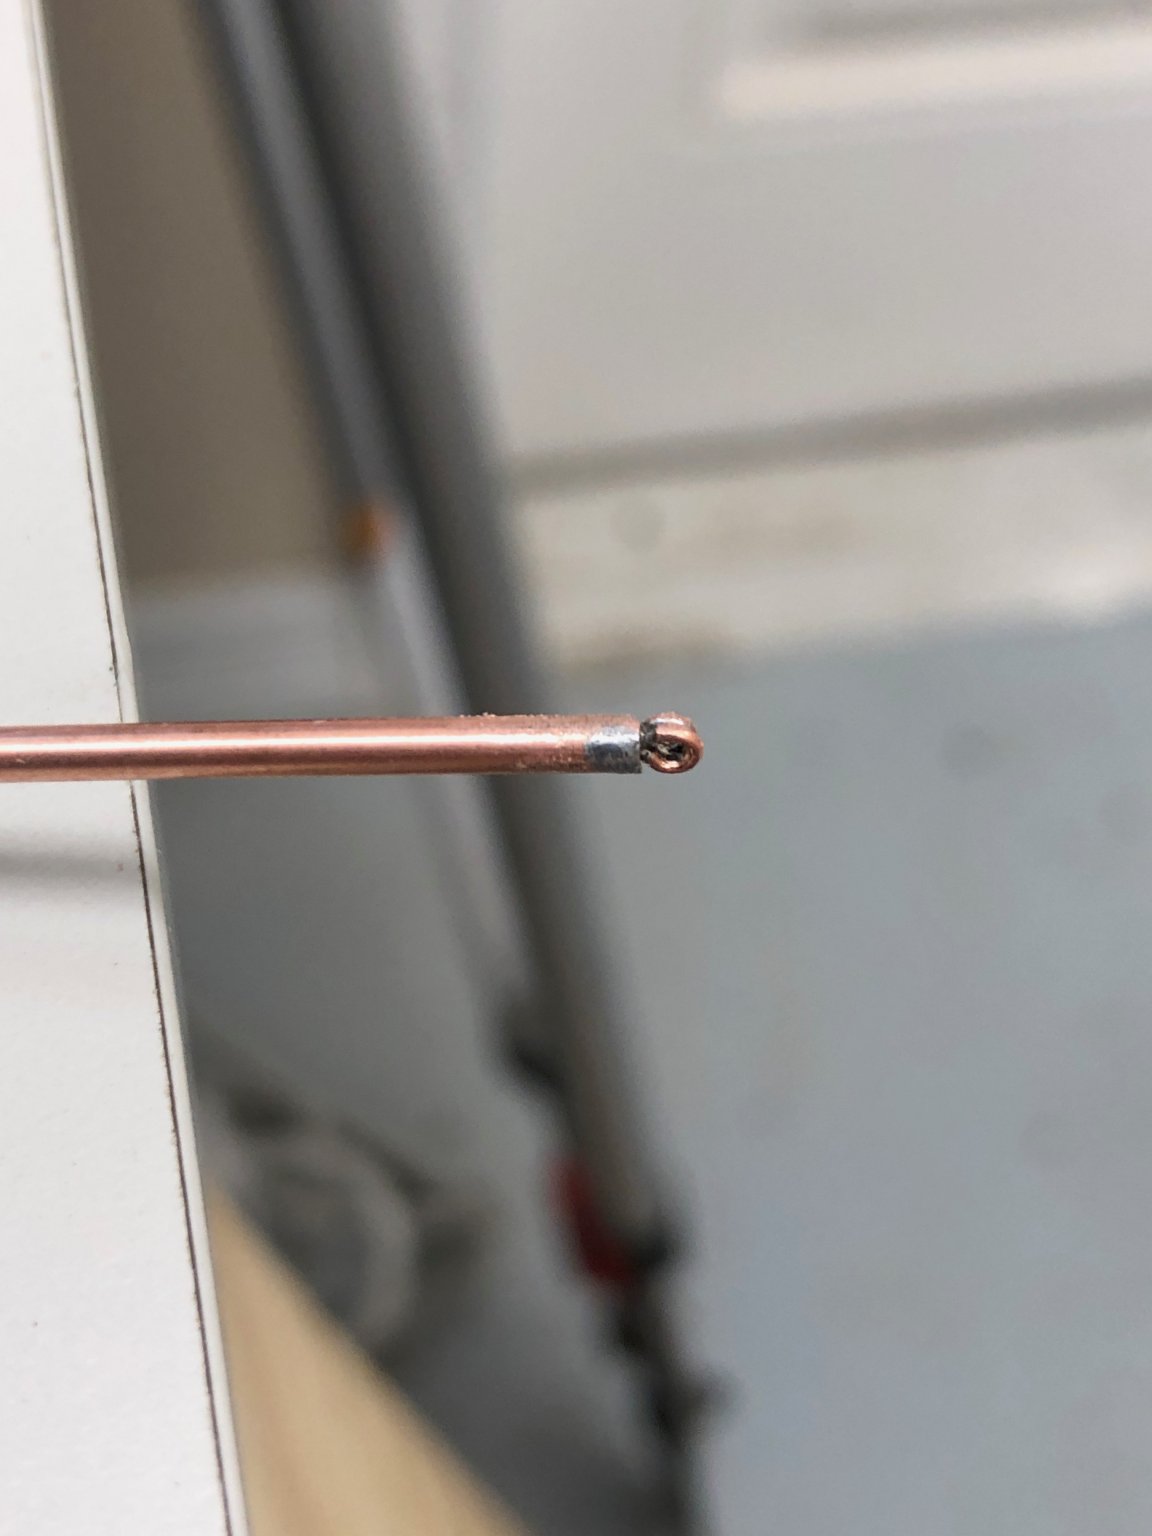
While waiting for the deck glue tp dry I looked at the mast spreaders. The kit provides copper tubing (which be warned is quite soft and easy tom bend, even if you don't mean to) for the spreaders and brass inserts and eyebolts for the spreader ends.
I have some copper eyebolts that I acquired along the way somewhere so though maybe it would b e easier/better to use those in stead of the brass hardware in the kit. Because the eyebolt shaft is much smaller than the opening in the tubing I put two of them in the tubing end and soldered them in. A little filing to clean up the solder and it looks pretty good. It is small enough that it in not wider than the tubing so the spreader ends can be installed before the spreader is on the mast.
In the end it probably doesn't make much difference they are all going to be painted white anyway.

-
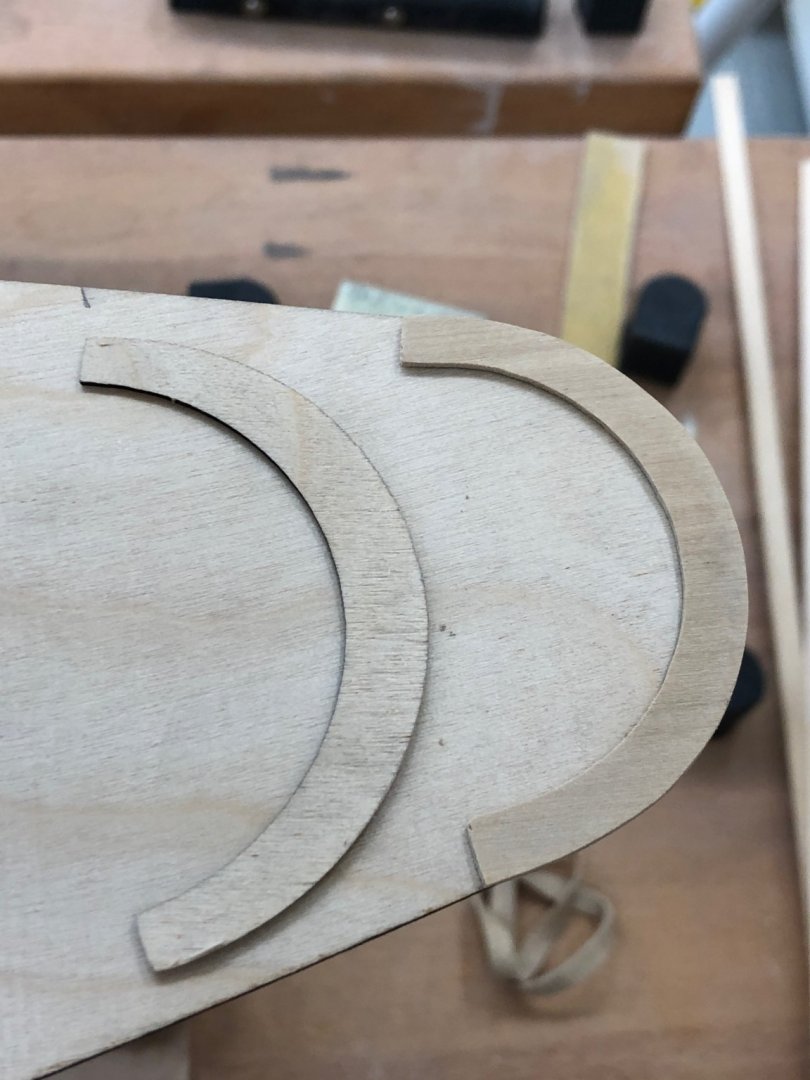
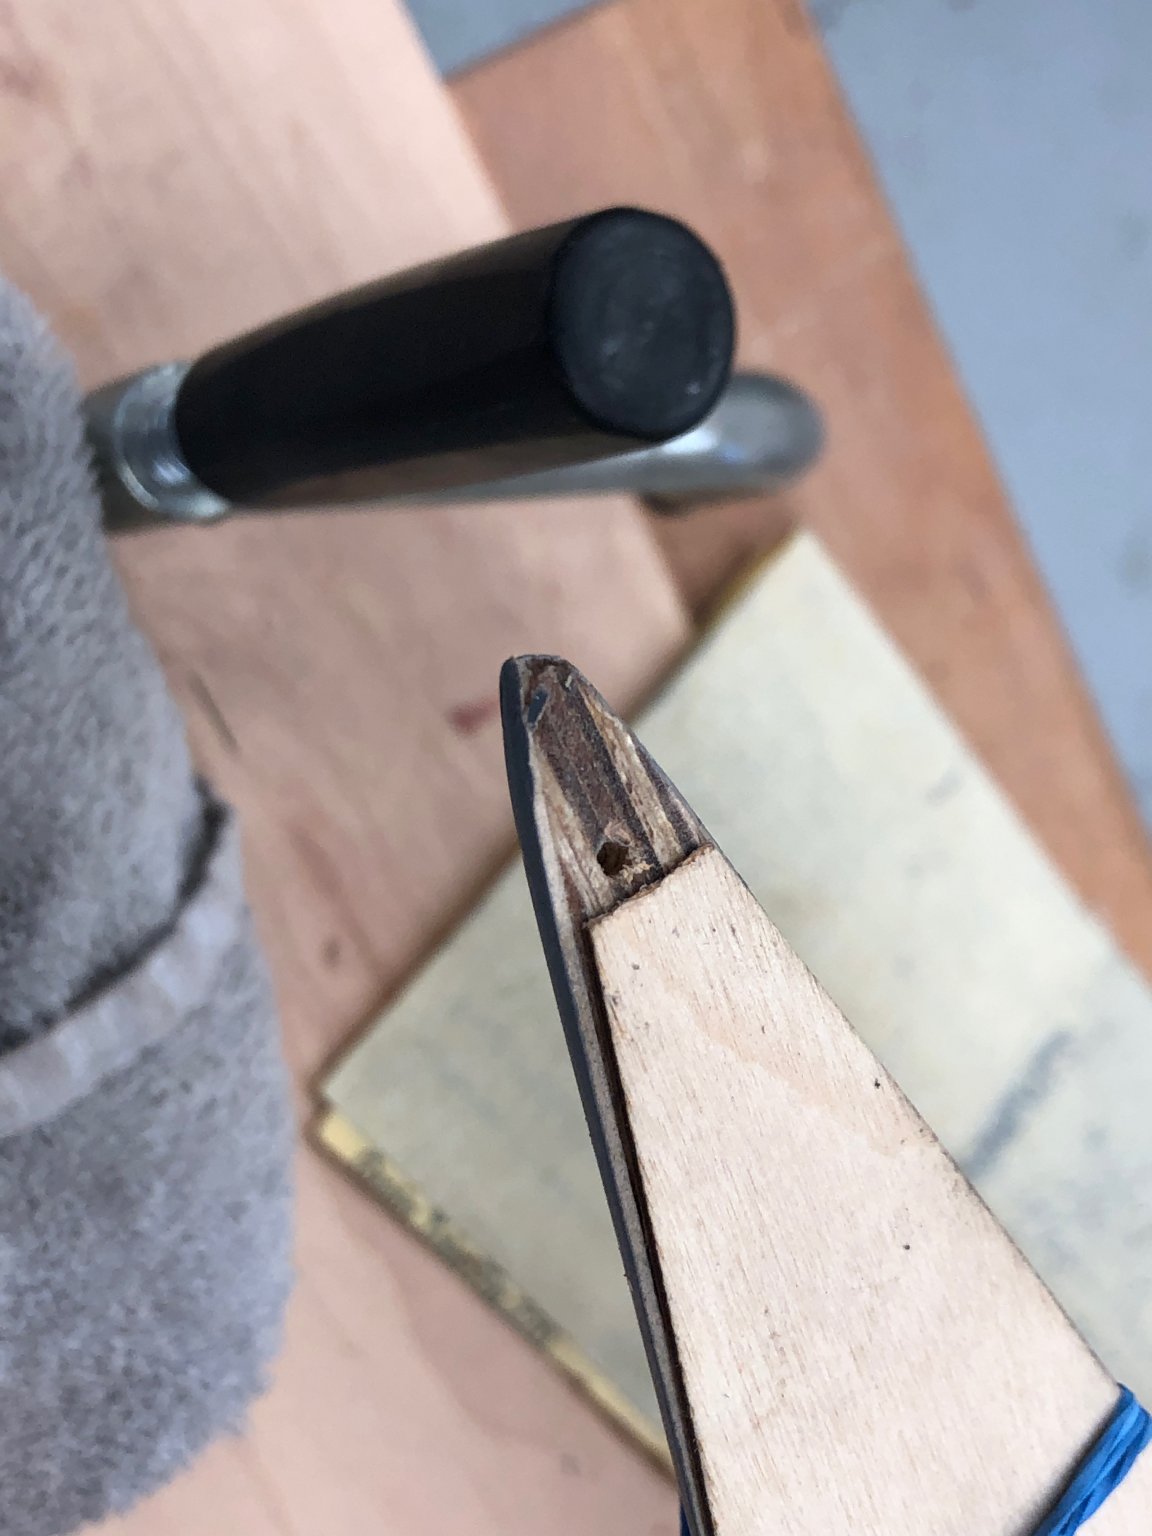
So I took the bull by the horns and since my thickness sander was still set for 1mm I sanded a 1/16 boxwood sheet 2" wide to 1mm and sanded it (disk sander for the outside, Dremel tool on slow for the inside) to fit. Since my edge planks were 1/4" wide (instead of 6mm) I went ahead and made the stern deck edge piece 1/4" wide also. Here it is with the kit provided piece.
- GrandpaPhil and hexnut
-
2
-
So with the new, shorter bow deck I got it glued on using a stub for the mast to make sure it would fit and be vertical athwart ships.
While the bow and amidships sections were drying I looked at the stern with an eye to starting the deck edge installation.
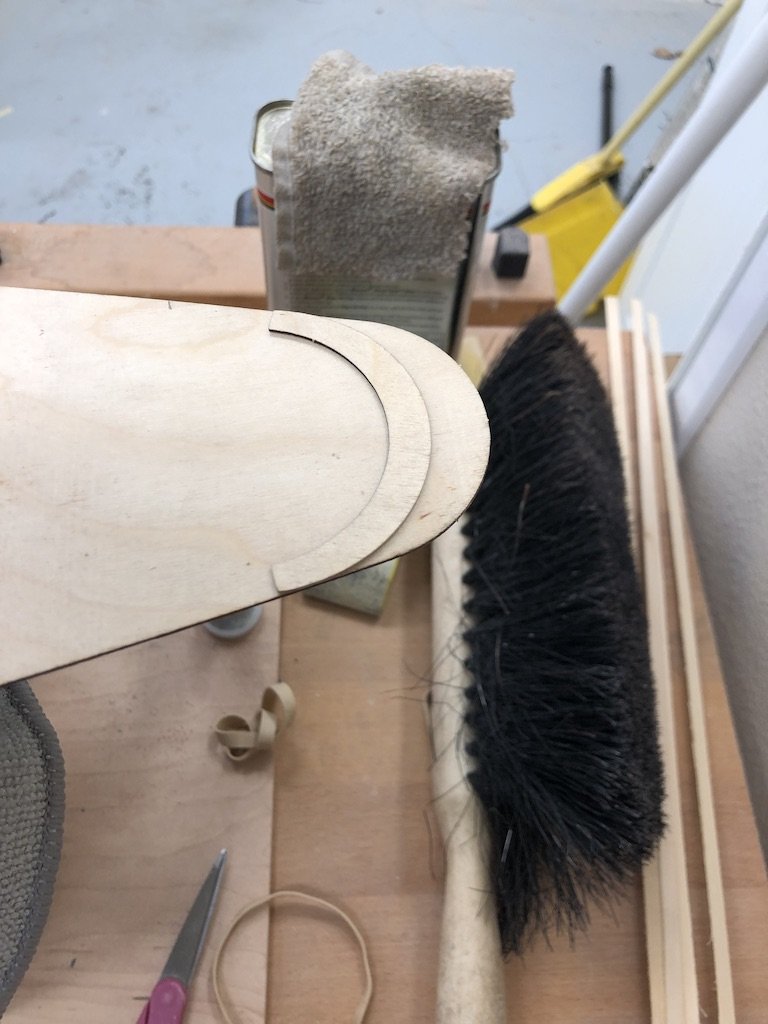
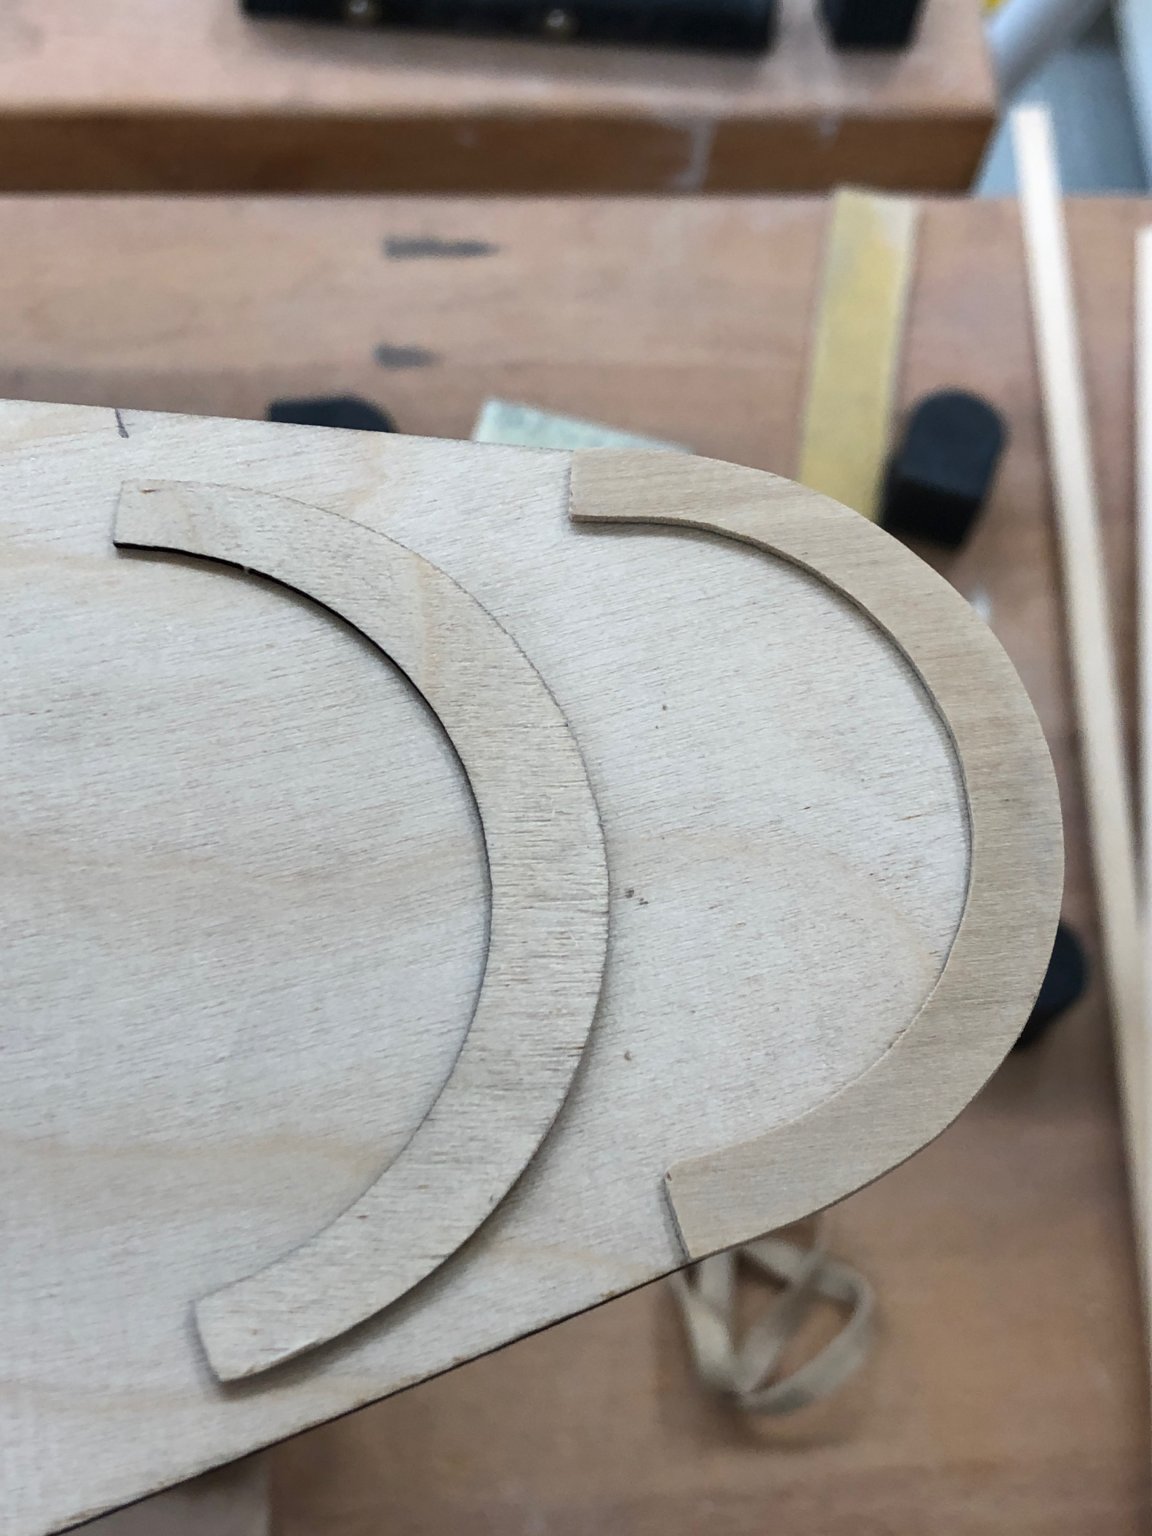
I got the kit supplied stern counter piece and tried to match it to the stern deck to find it is way too large. I did not change the rear decking in any way, just glued it down.
Now it seems I will have to cut a small section out of the middle of the kit supplied piece or make one of my own. One wonders how this happens and why. I am the first to have experienced this?
That and I noticed a piece is missing off the bow deck piece too. No big deal as there is a kit provided piece that would cover this up but I added a piece to keep everything on the same level.


- hexnut, GrandpaPhil and yvesvidal
-
3
-
Fitting the forward deck proved to be a problem. I could not get the bow, mast hole and midships edges to line up (all at the same time). Try as I might somewhere was always off by 2mm or so. The mast has to be truly vertical (port and starboard) so I used that as "truth" and decided to cut the fore deck into two pieces and fit the separately. I will deal with the void between them along with the deck edge. I laid my 48" level down the centerline (before I glued the aft deck down) and there is a slight "wobble" just forward of the cockpit so I think that is the source of the problem. I decided against trying to "fix" that wobble beyond dealing with the fore deck issue.
So I got my big chop saw and cut the fore deck piece behind the mast hole and fit it to the hull.
Here is how it looks being glued up. And shots of the seam at the deck edge.


- hexnut, yvesvidal and GrandpaPhil
-
3
-
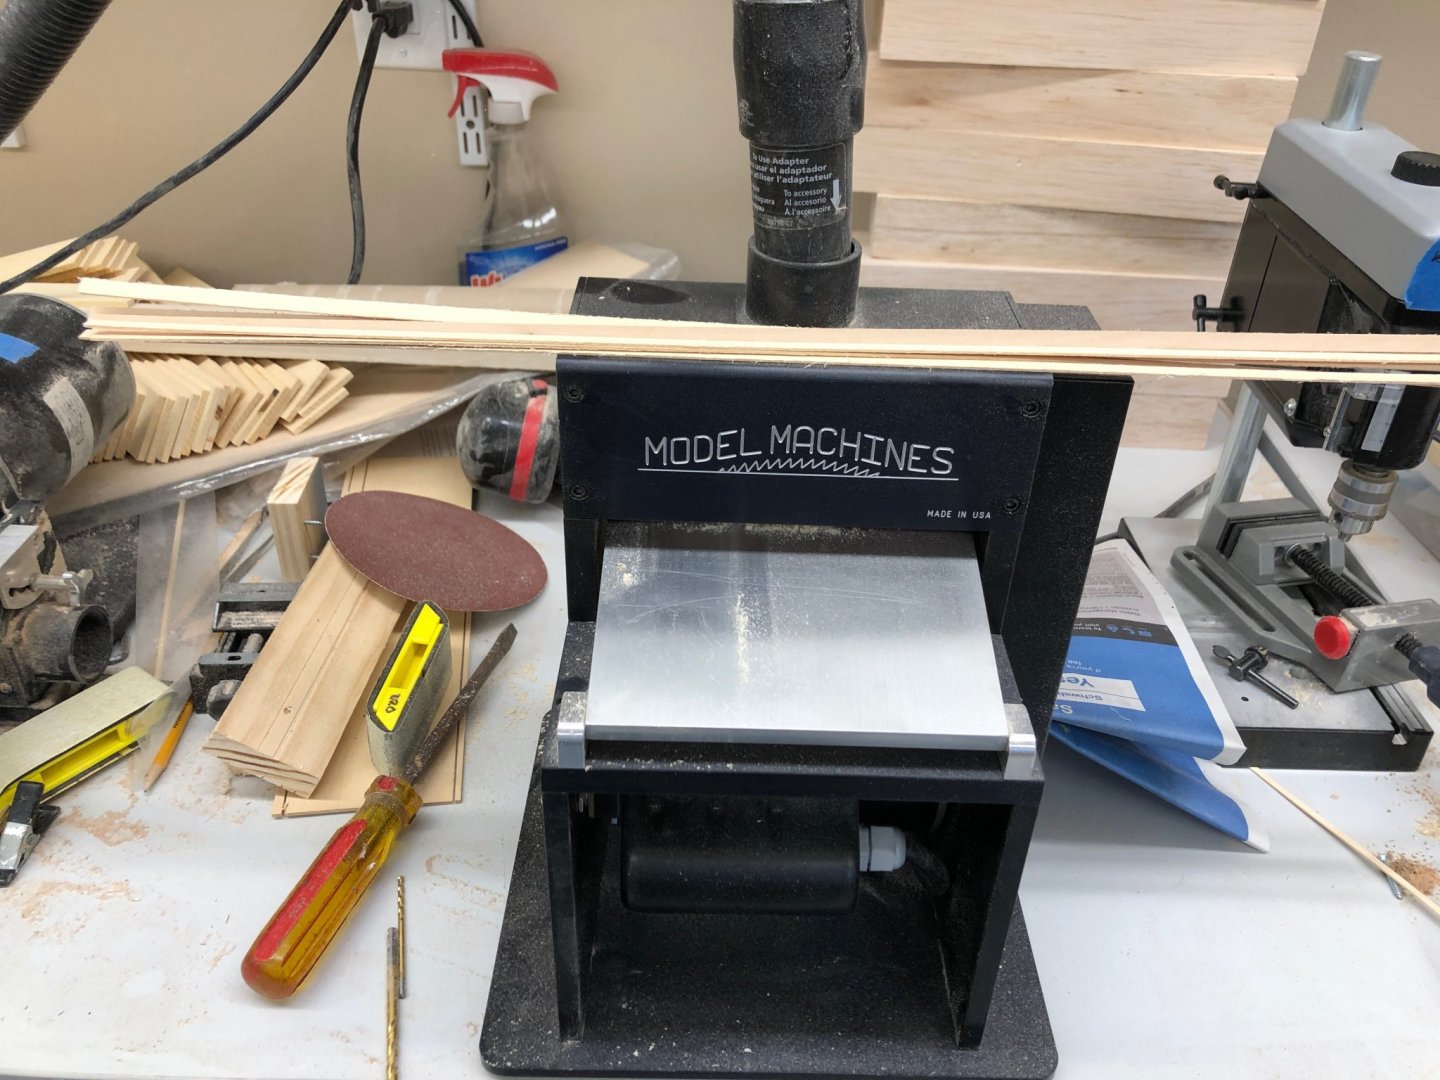
The instructions call for the edge railing to be two pieces of 1 X 3mm planking laid side by side to create a 1 X 6mm edge completely around the deck edge. I am not a big fan of having to glue two pieces together although that would make it easier to bend the planks to fit the hull. So I went to my wood store and found 6 pieces of 1/4 X 1/16 basswood. I also have boxwood but since the deck edge is going to be painted I see little to be gained by using the more expensive wood. Since 6mm equals 0.236" the 1/4" stock should work fine. However, because the kit provides pieces for the bow and stern the difference in thickness (1/16" vs. 1mm) would be noticeable. So, having just gotten a Model machines thickness sander I used it (my first real usage so far) to thin the 1/16 to 1mm.
I measured the pieces after thinning and all were 1mm plus or minus .02mm, very consistent (as expected).
-
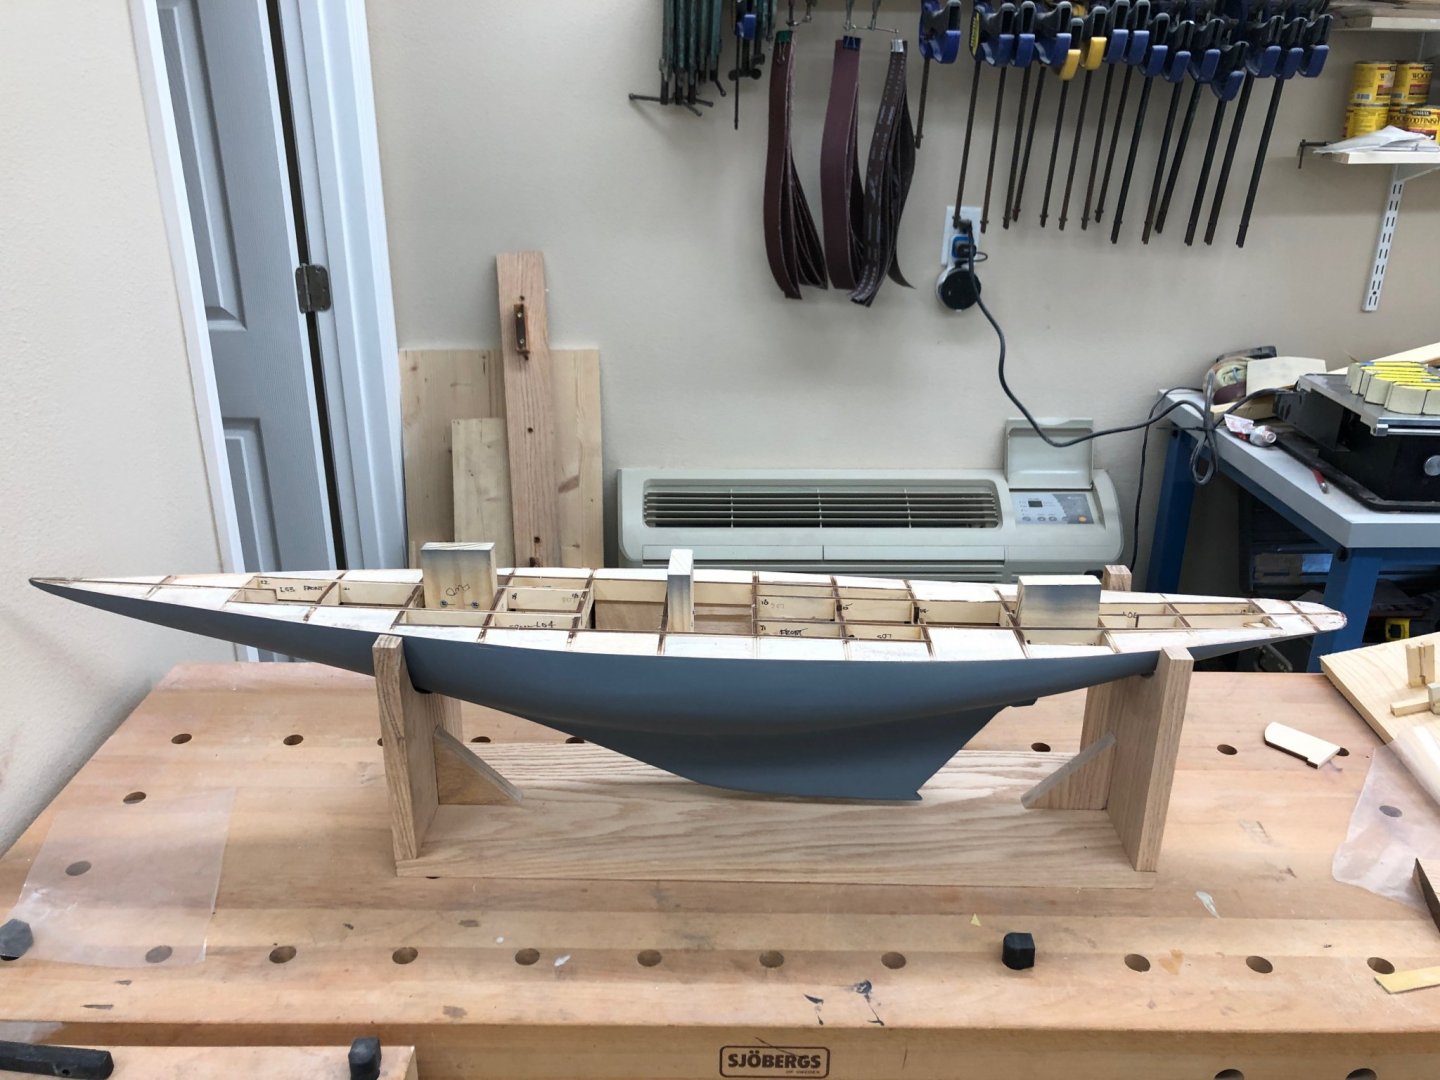
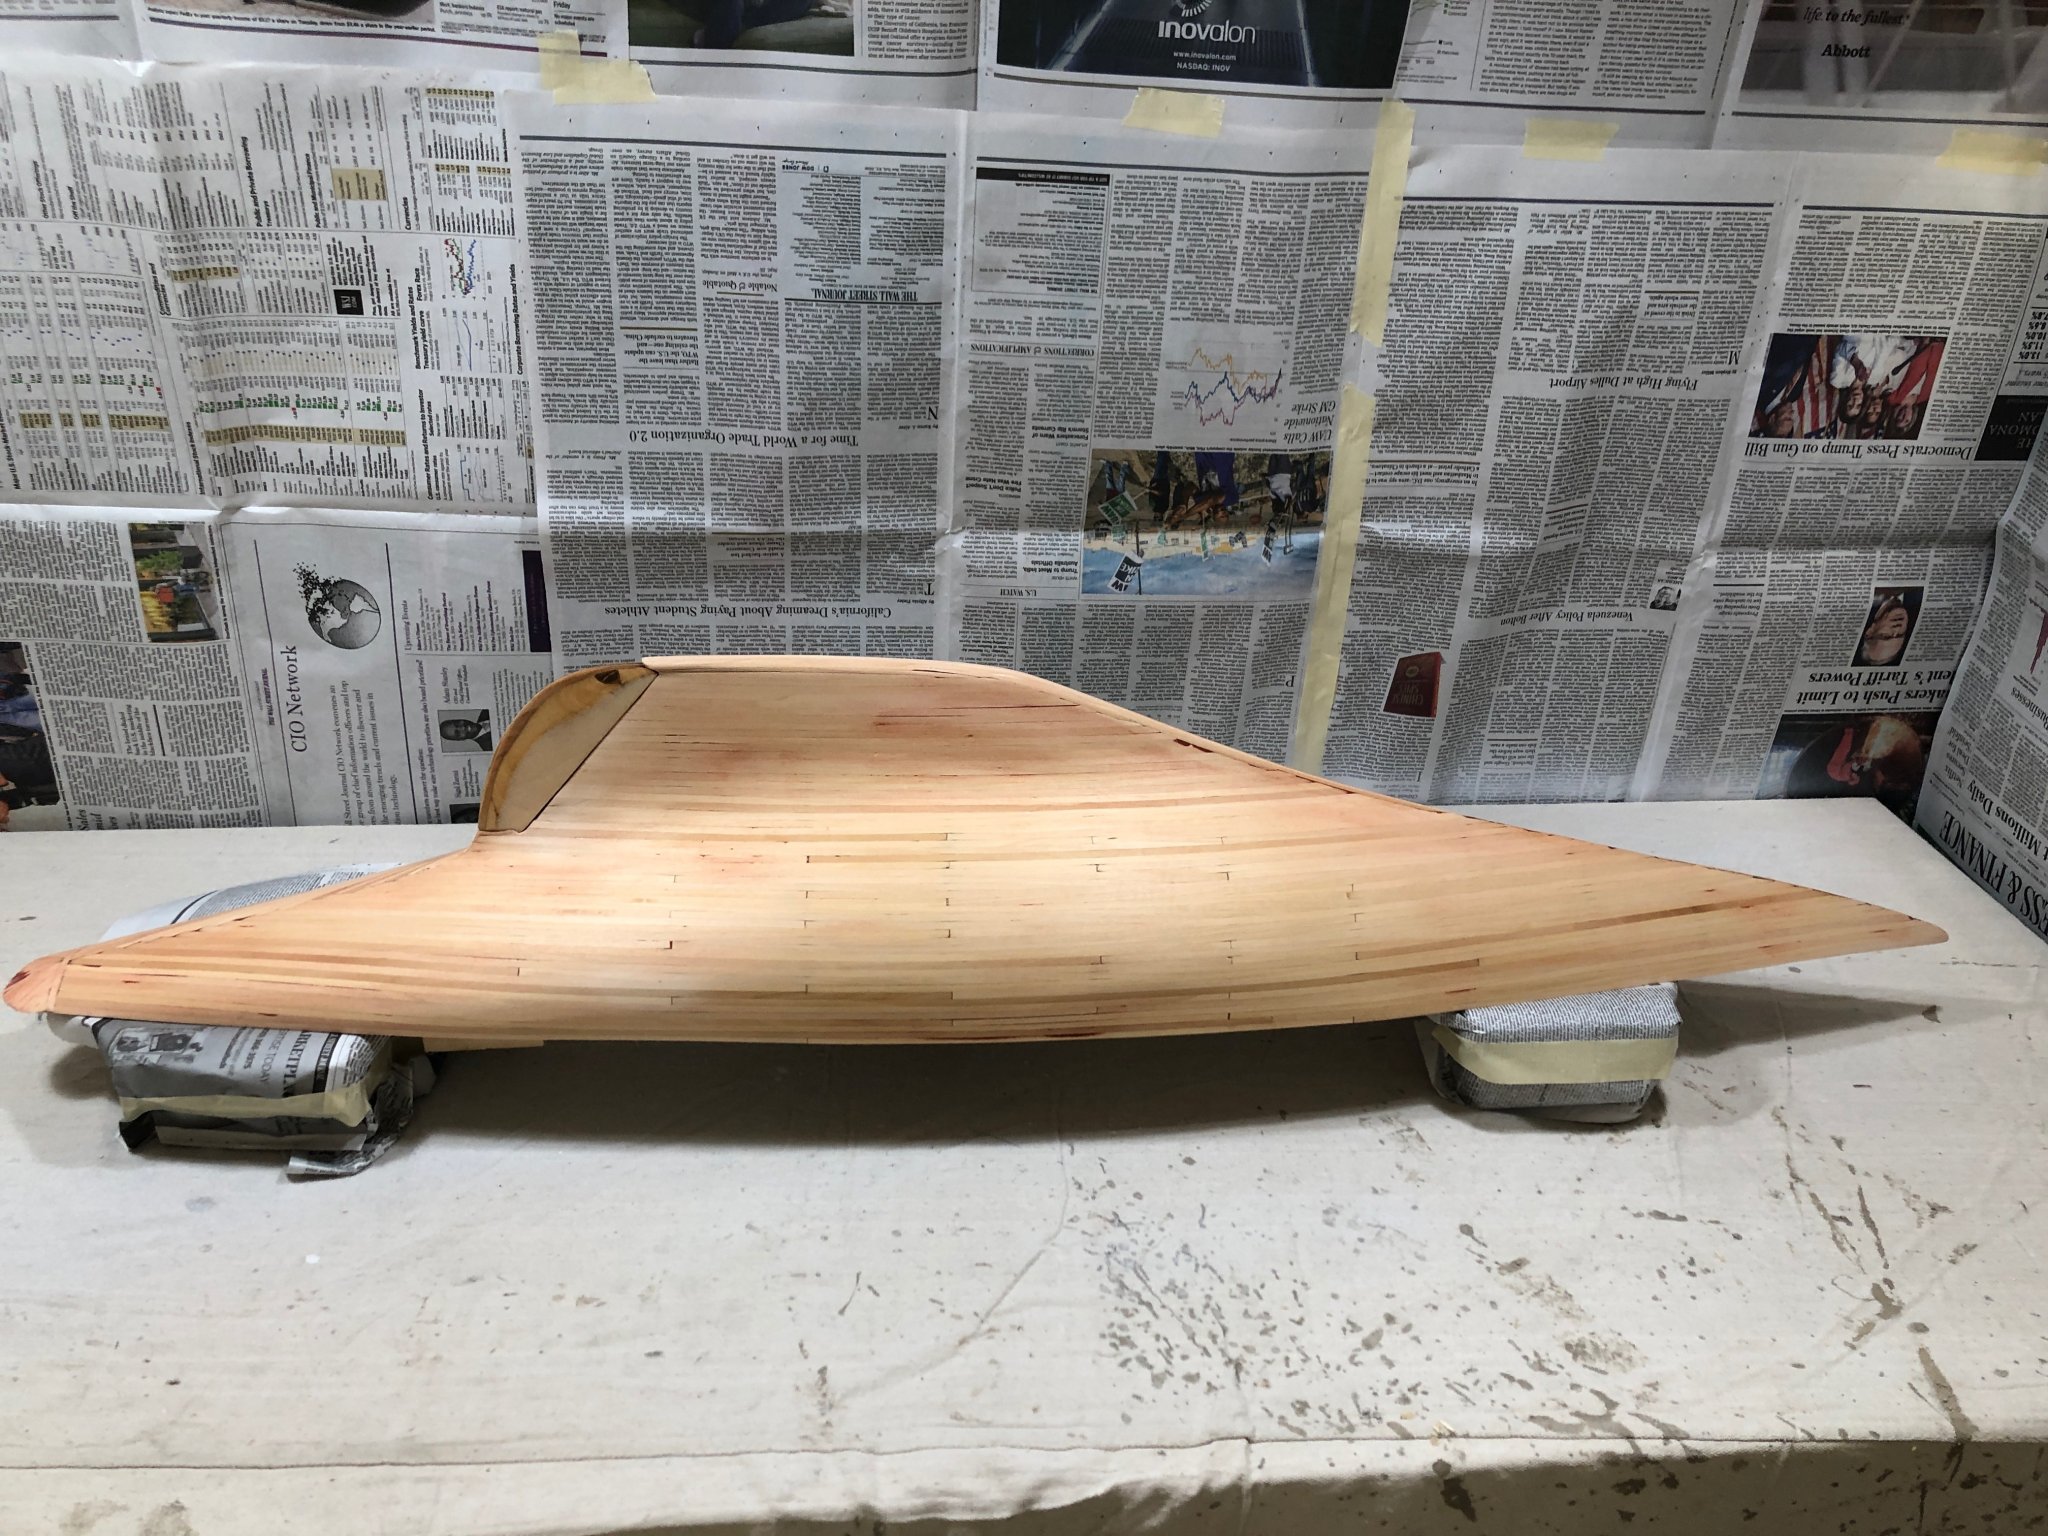
With the hull as good as it is going to get until the deck is attached I decided to proceed in the direction now. There are still areas on the hull which show imperfections but I will deal with them (or not) as I deal with the deck/hull seam and the edge railing.
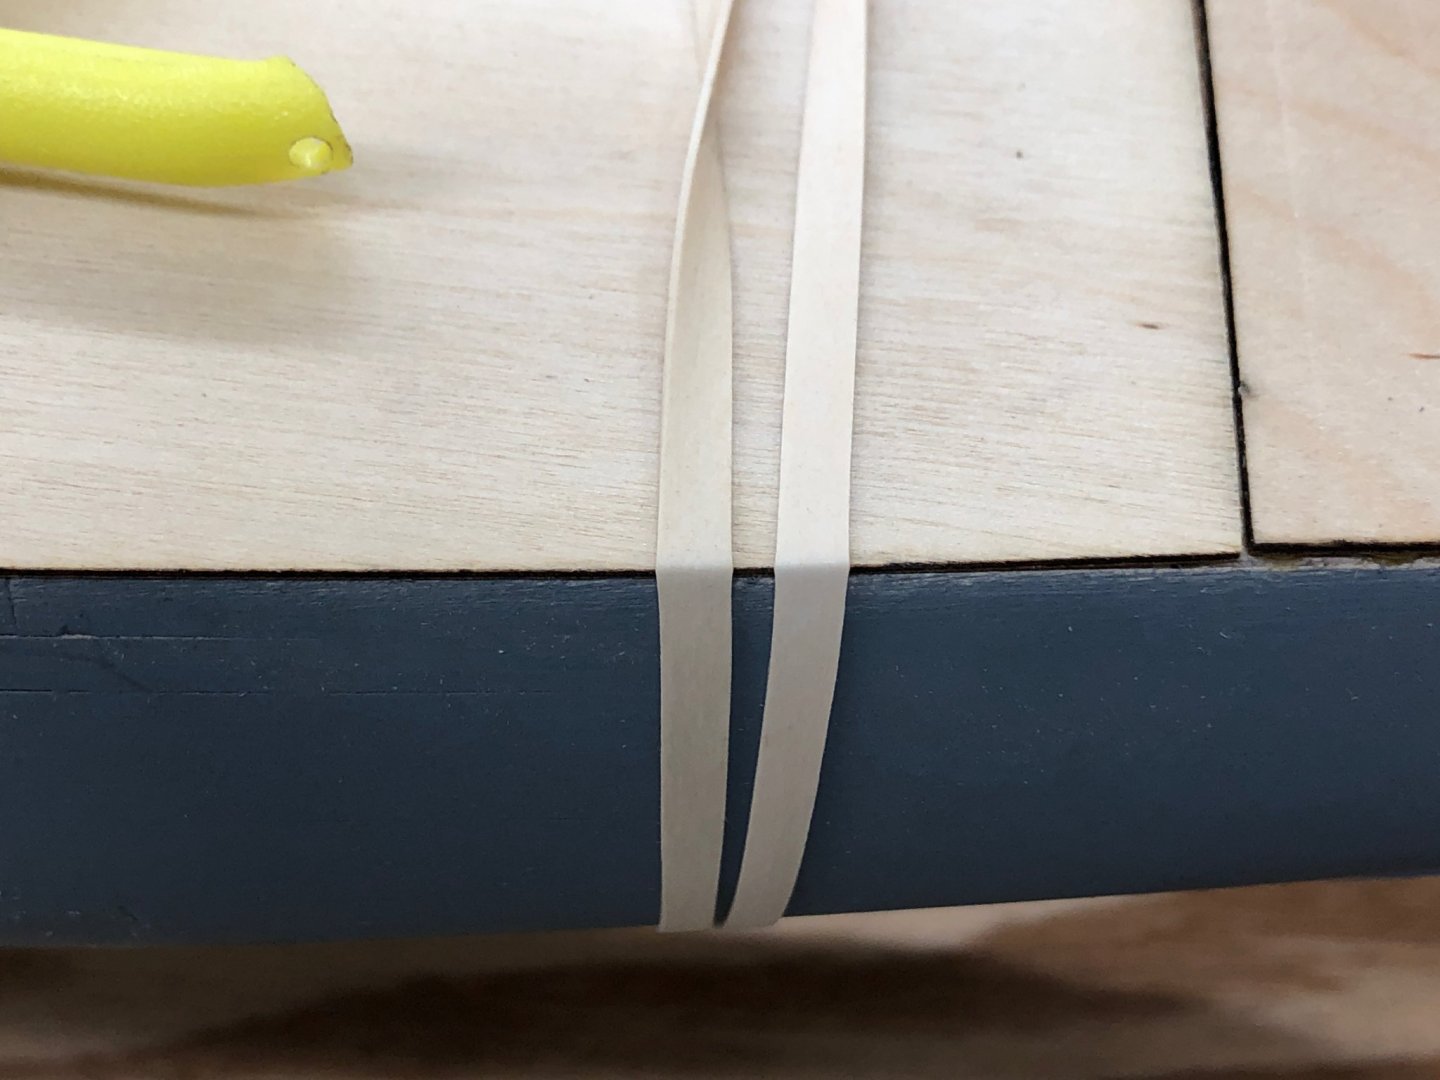
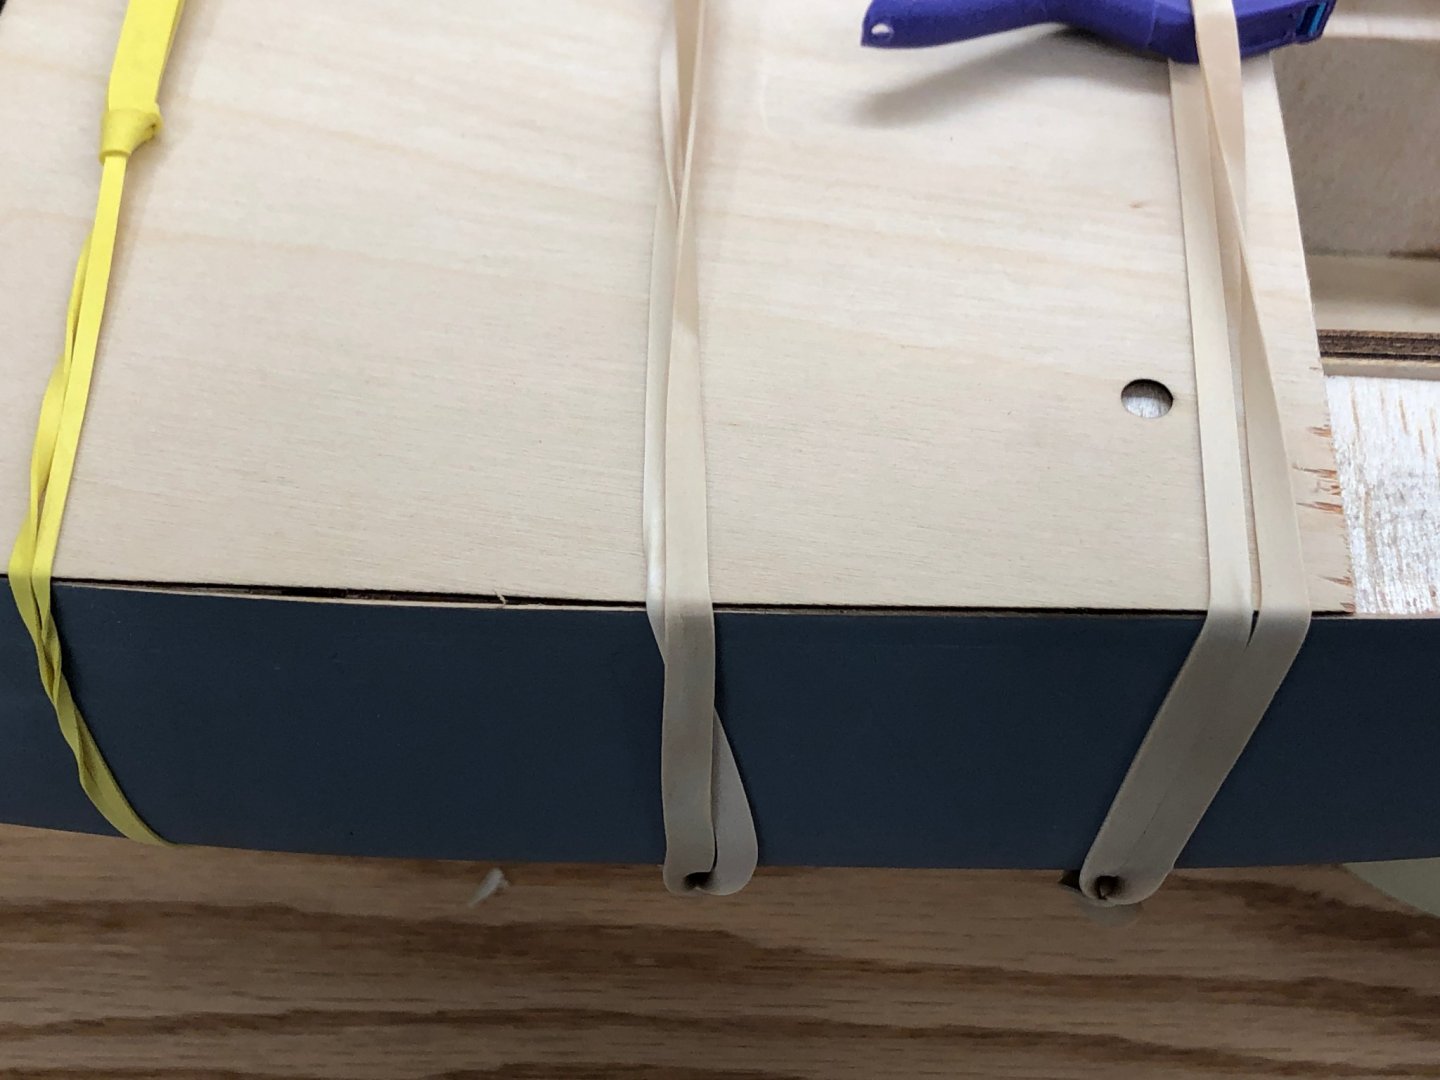
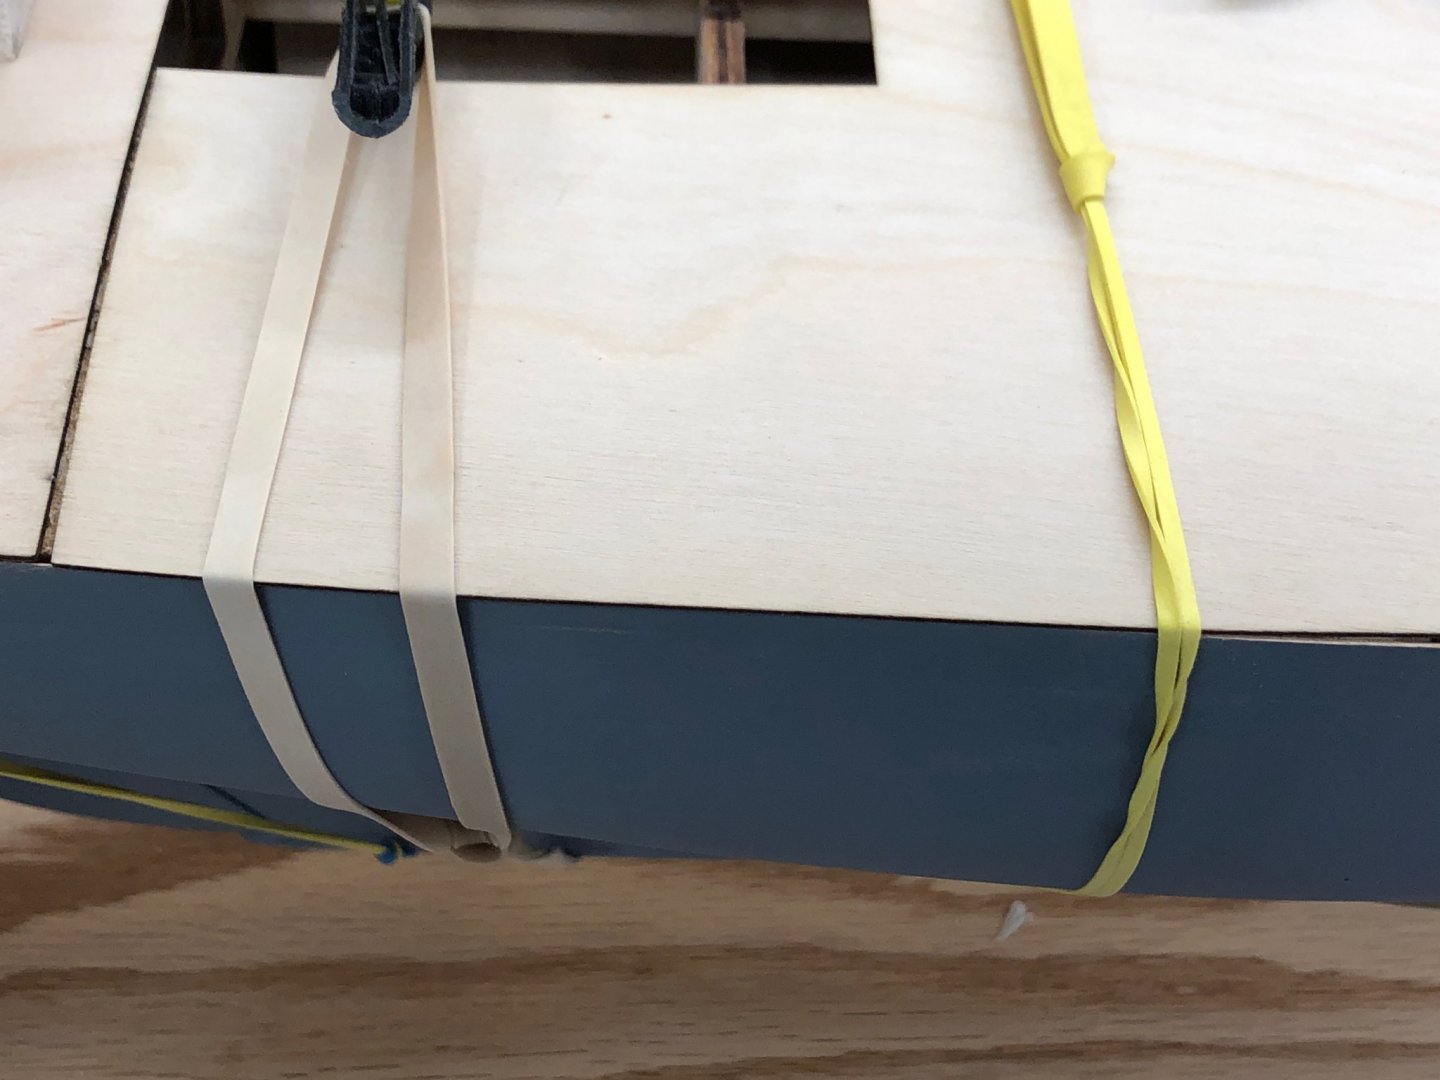
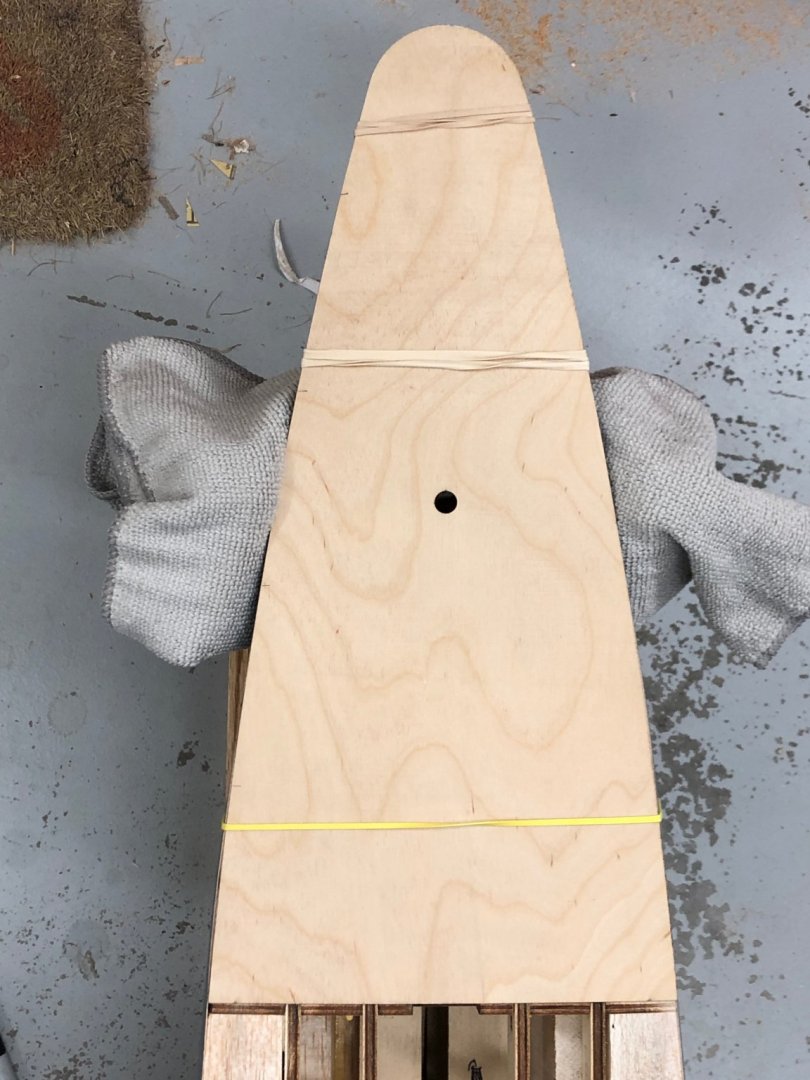
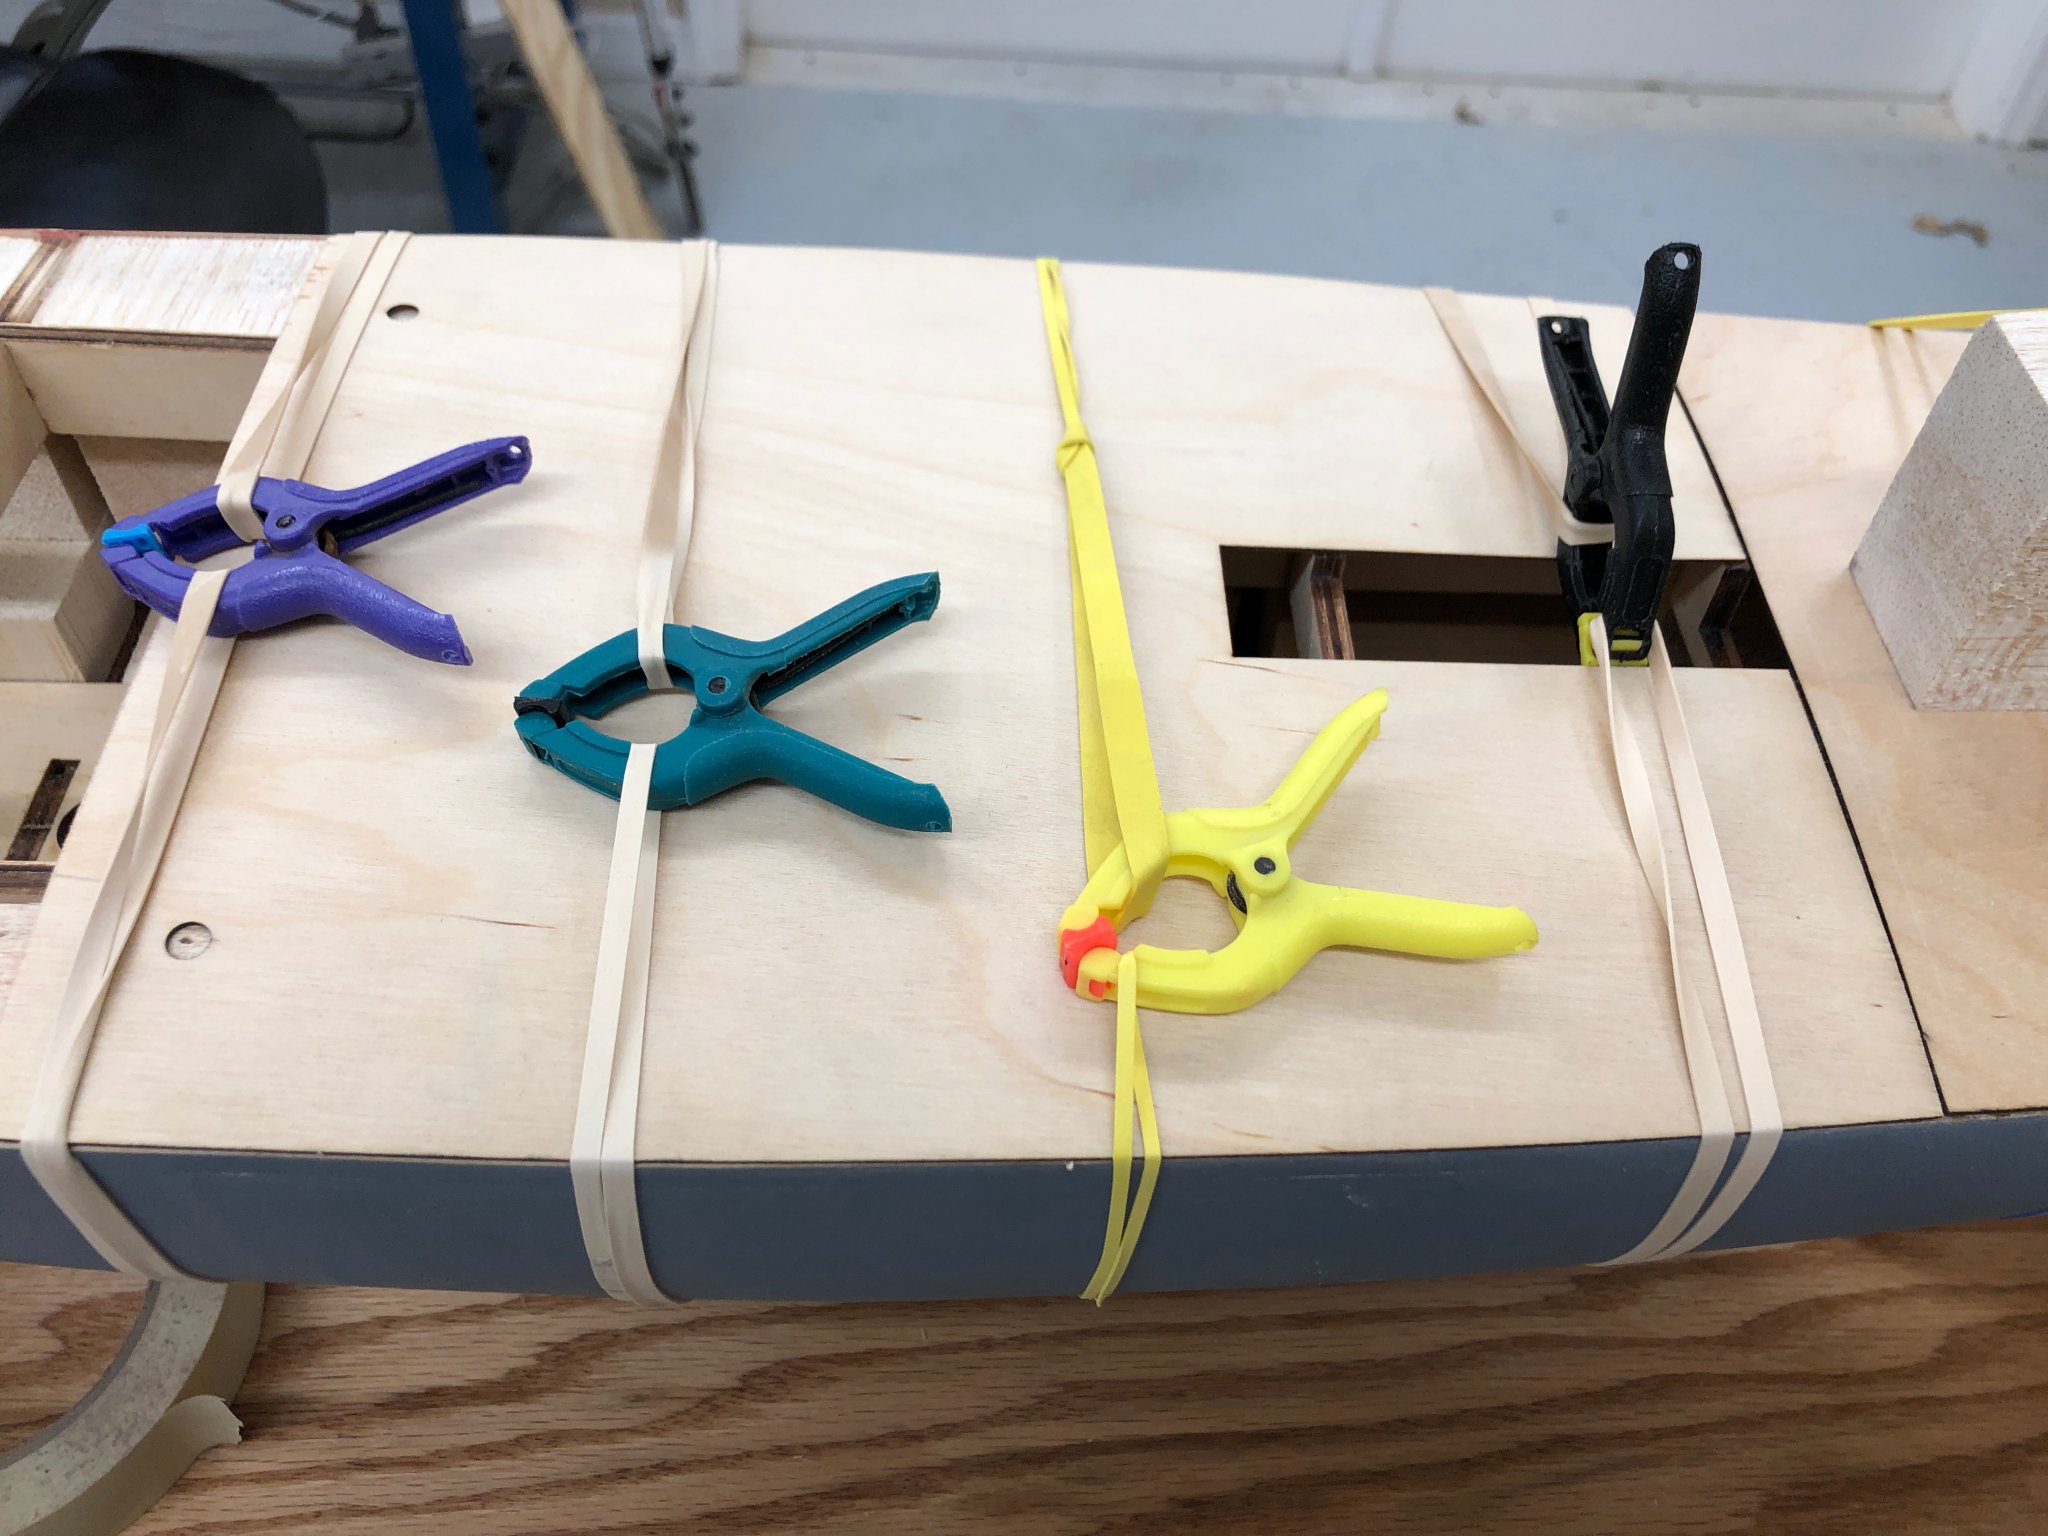
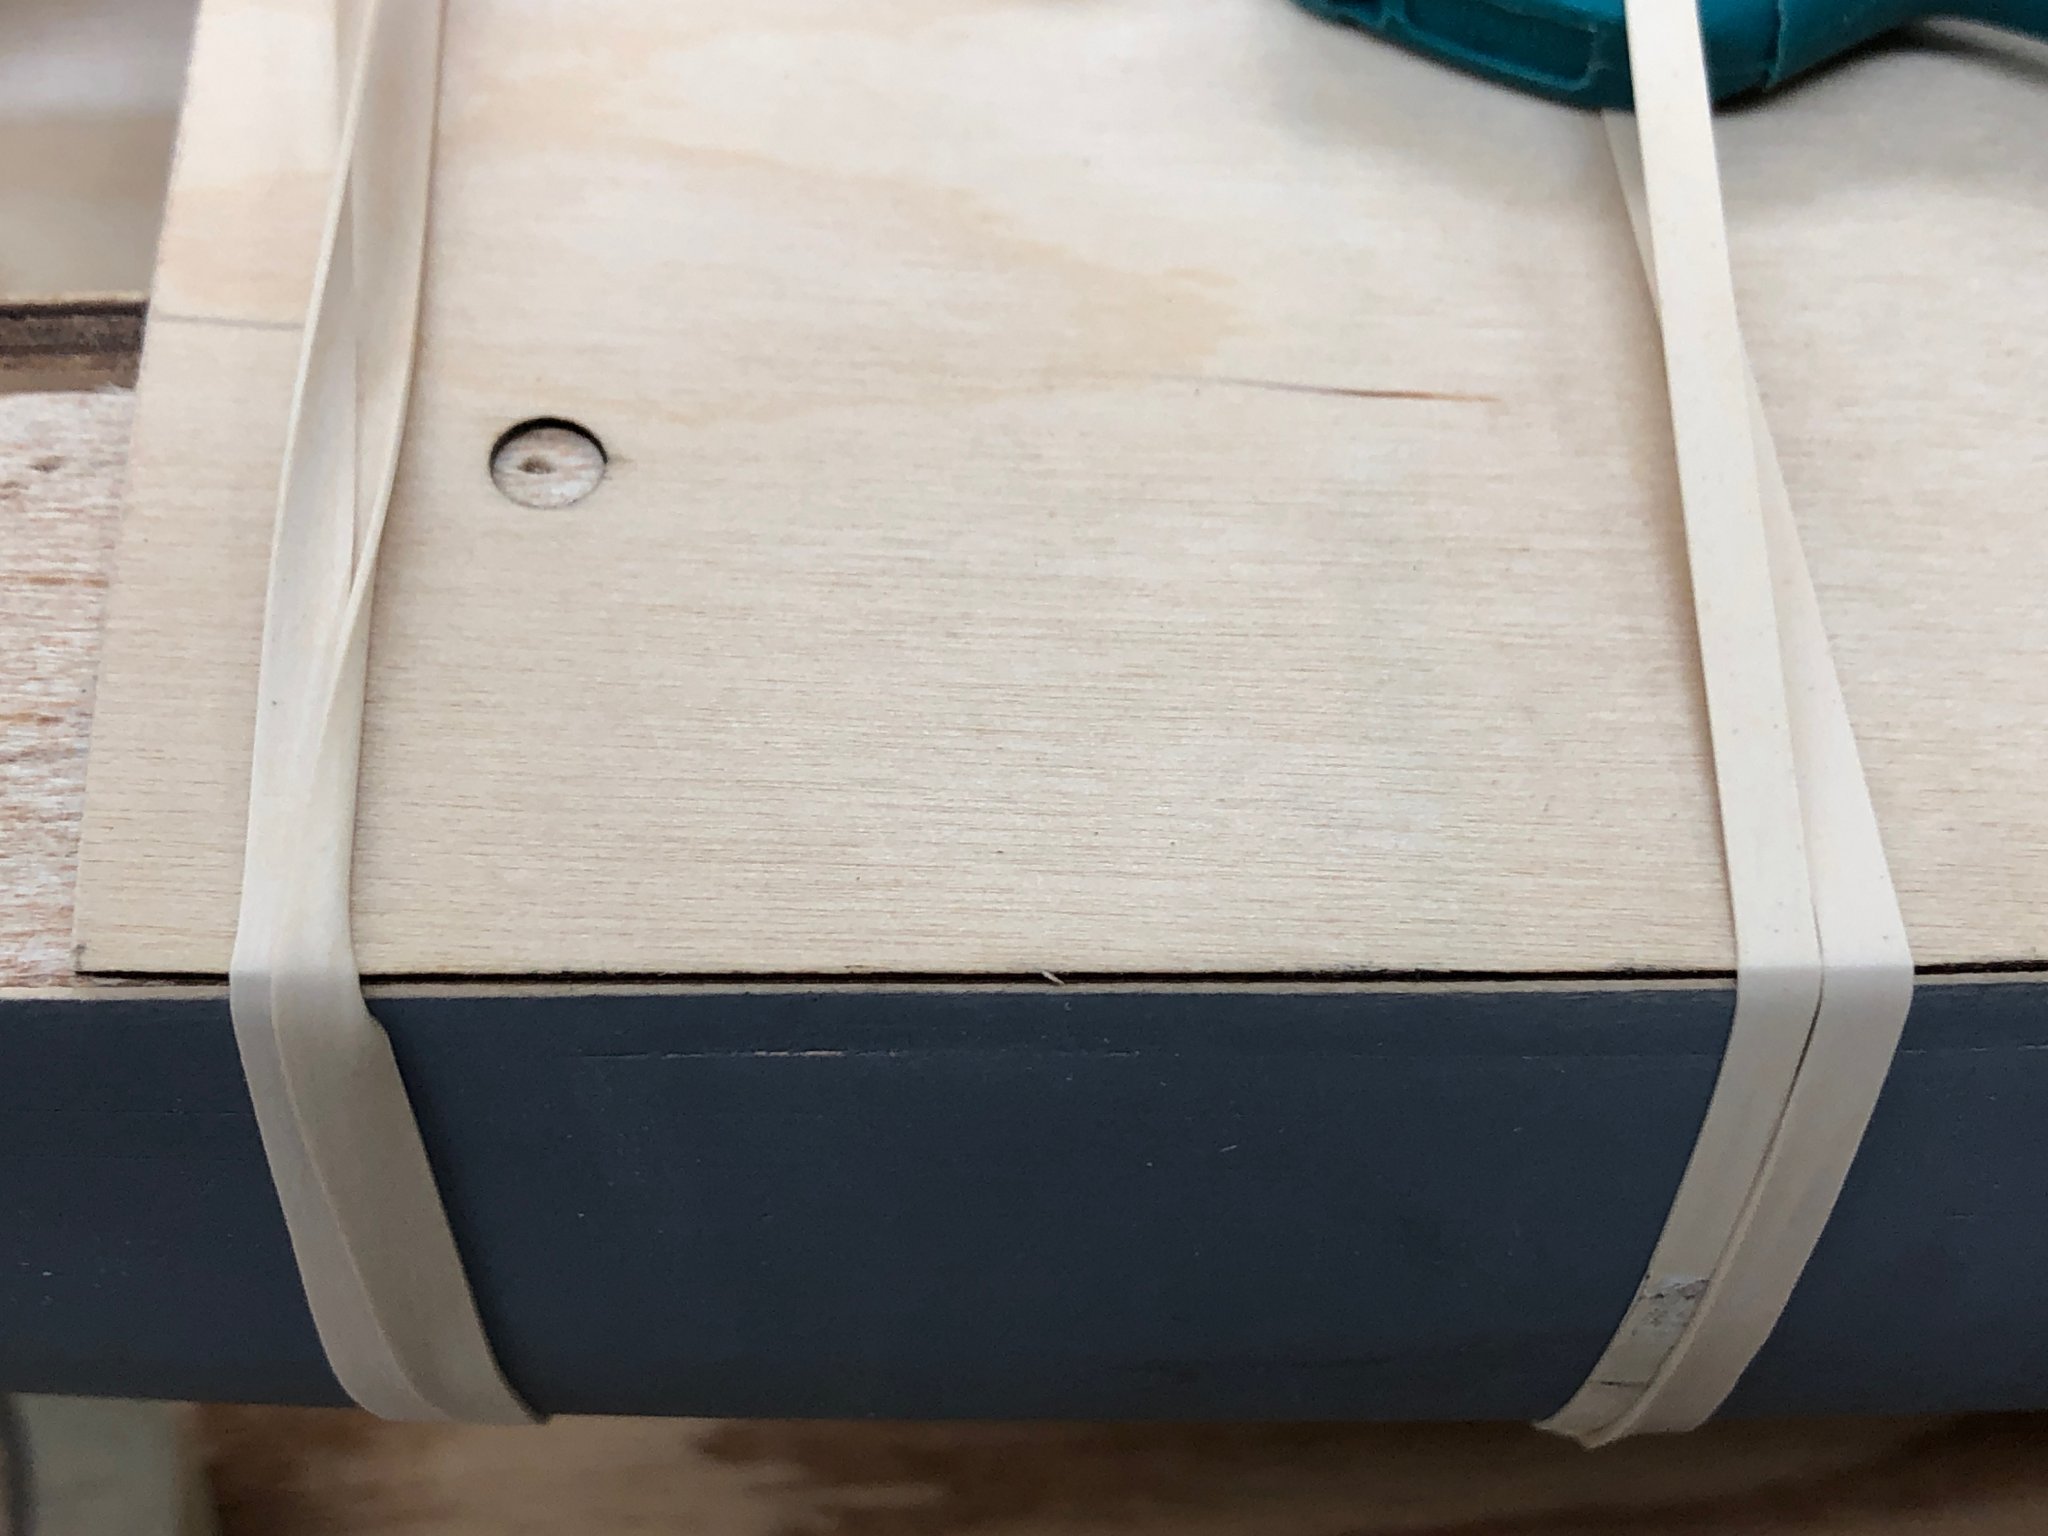
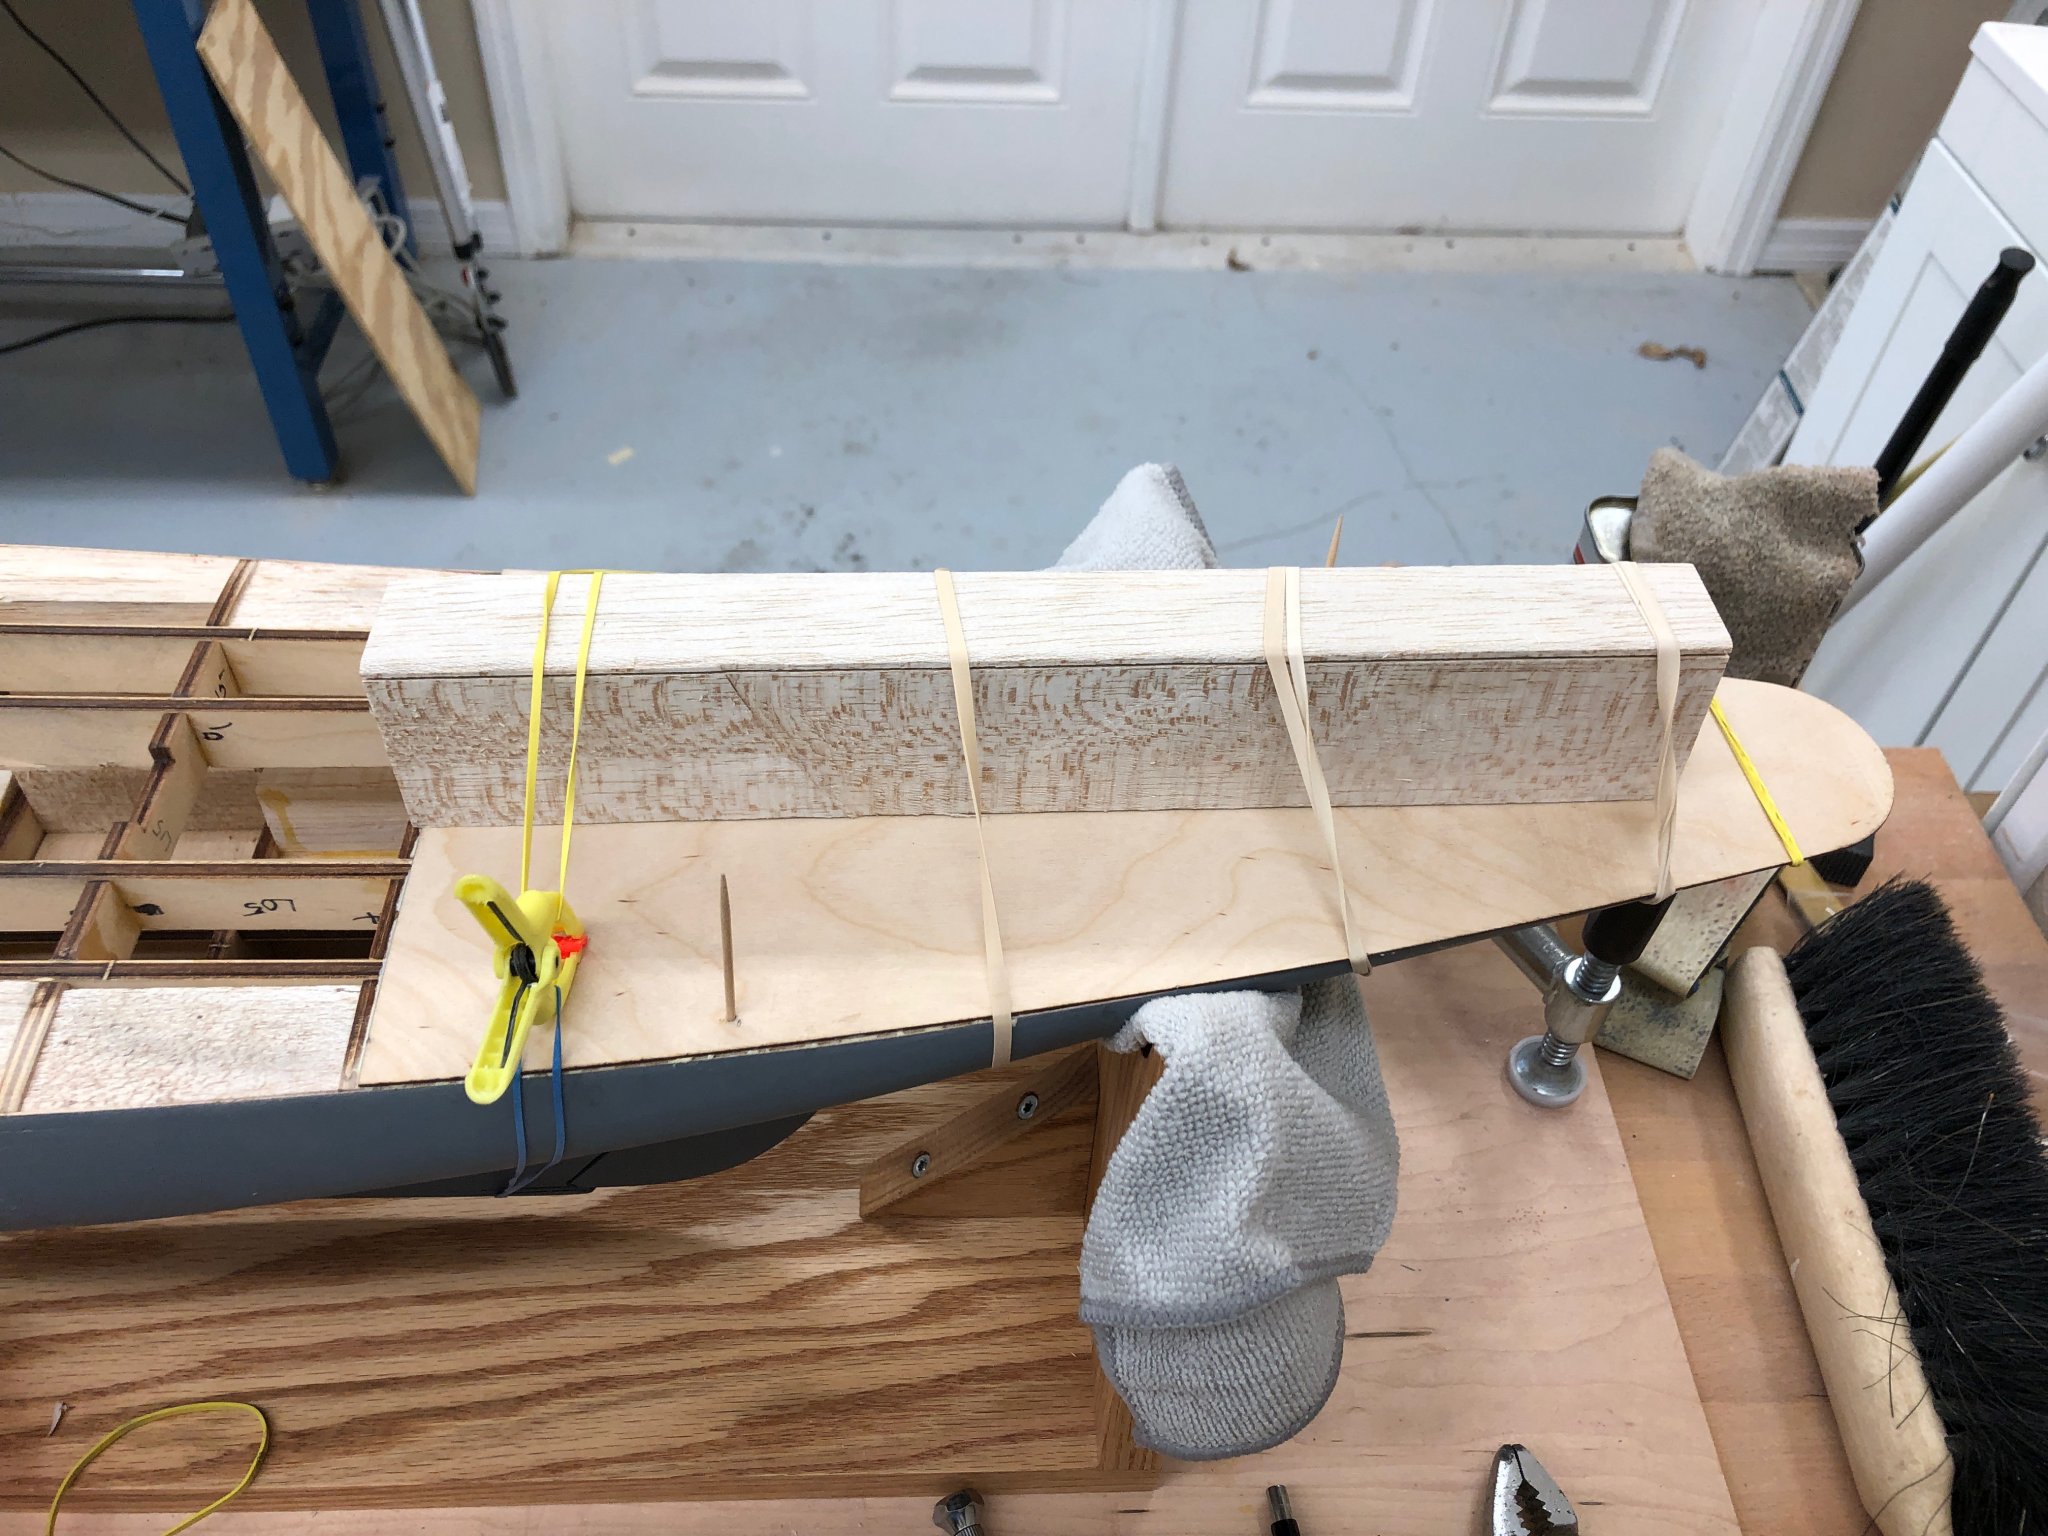
Stern decking fit pretty well. It is just inside the planking (less than 1mm) on the port side but I think I can deal with that when the edge railing is installed. Here is the test fit and with the glue. I used round toothpicks cut to the thickest part as guide pins drilling the holes while the deck was held by rubber bands. I added the balsa block to make sure the center was firmly pressed down.
On to the more interesting and potentially more troubling bow deck.

- hexnut, GrandpaPhil and yvesvidal
-
3
-
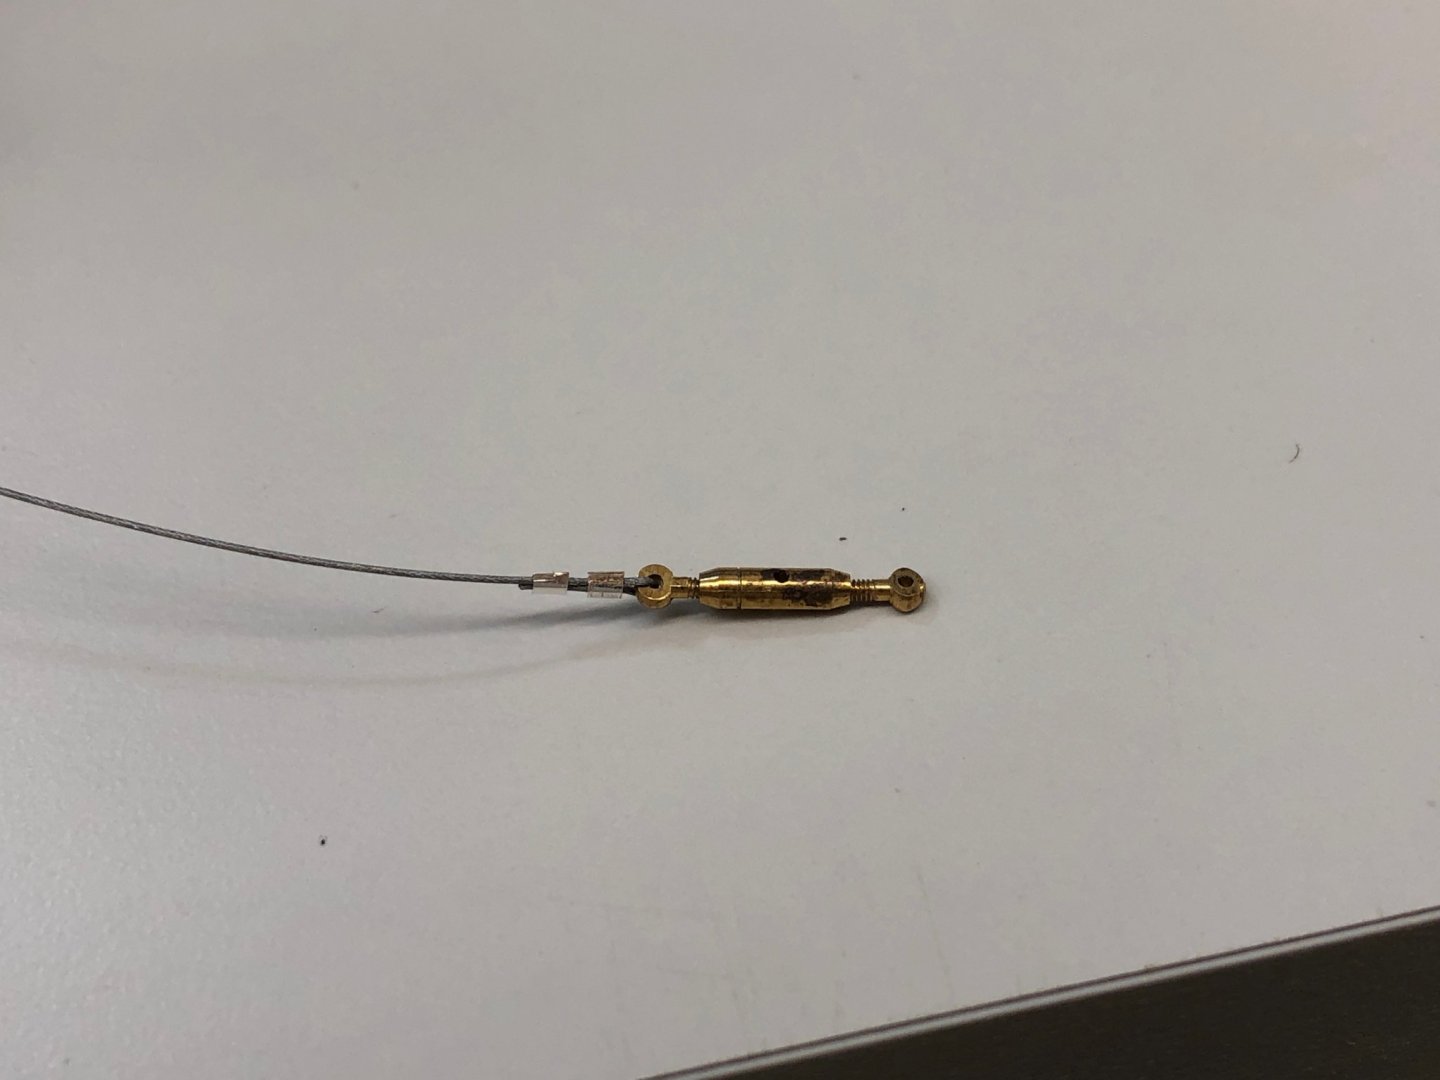
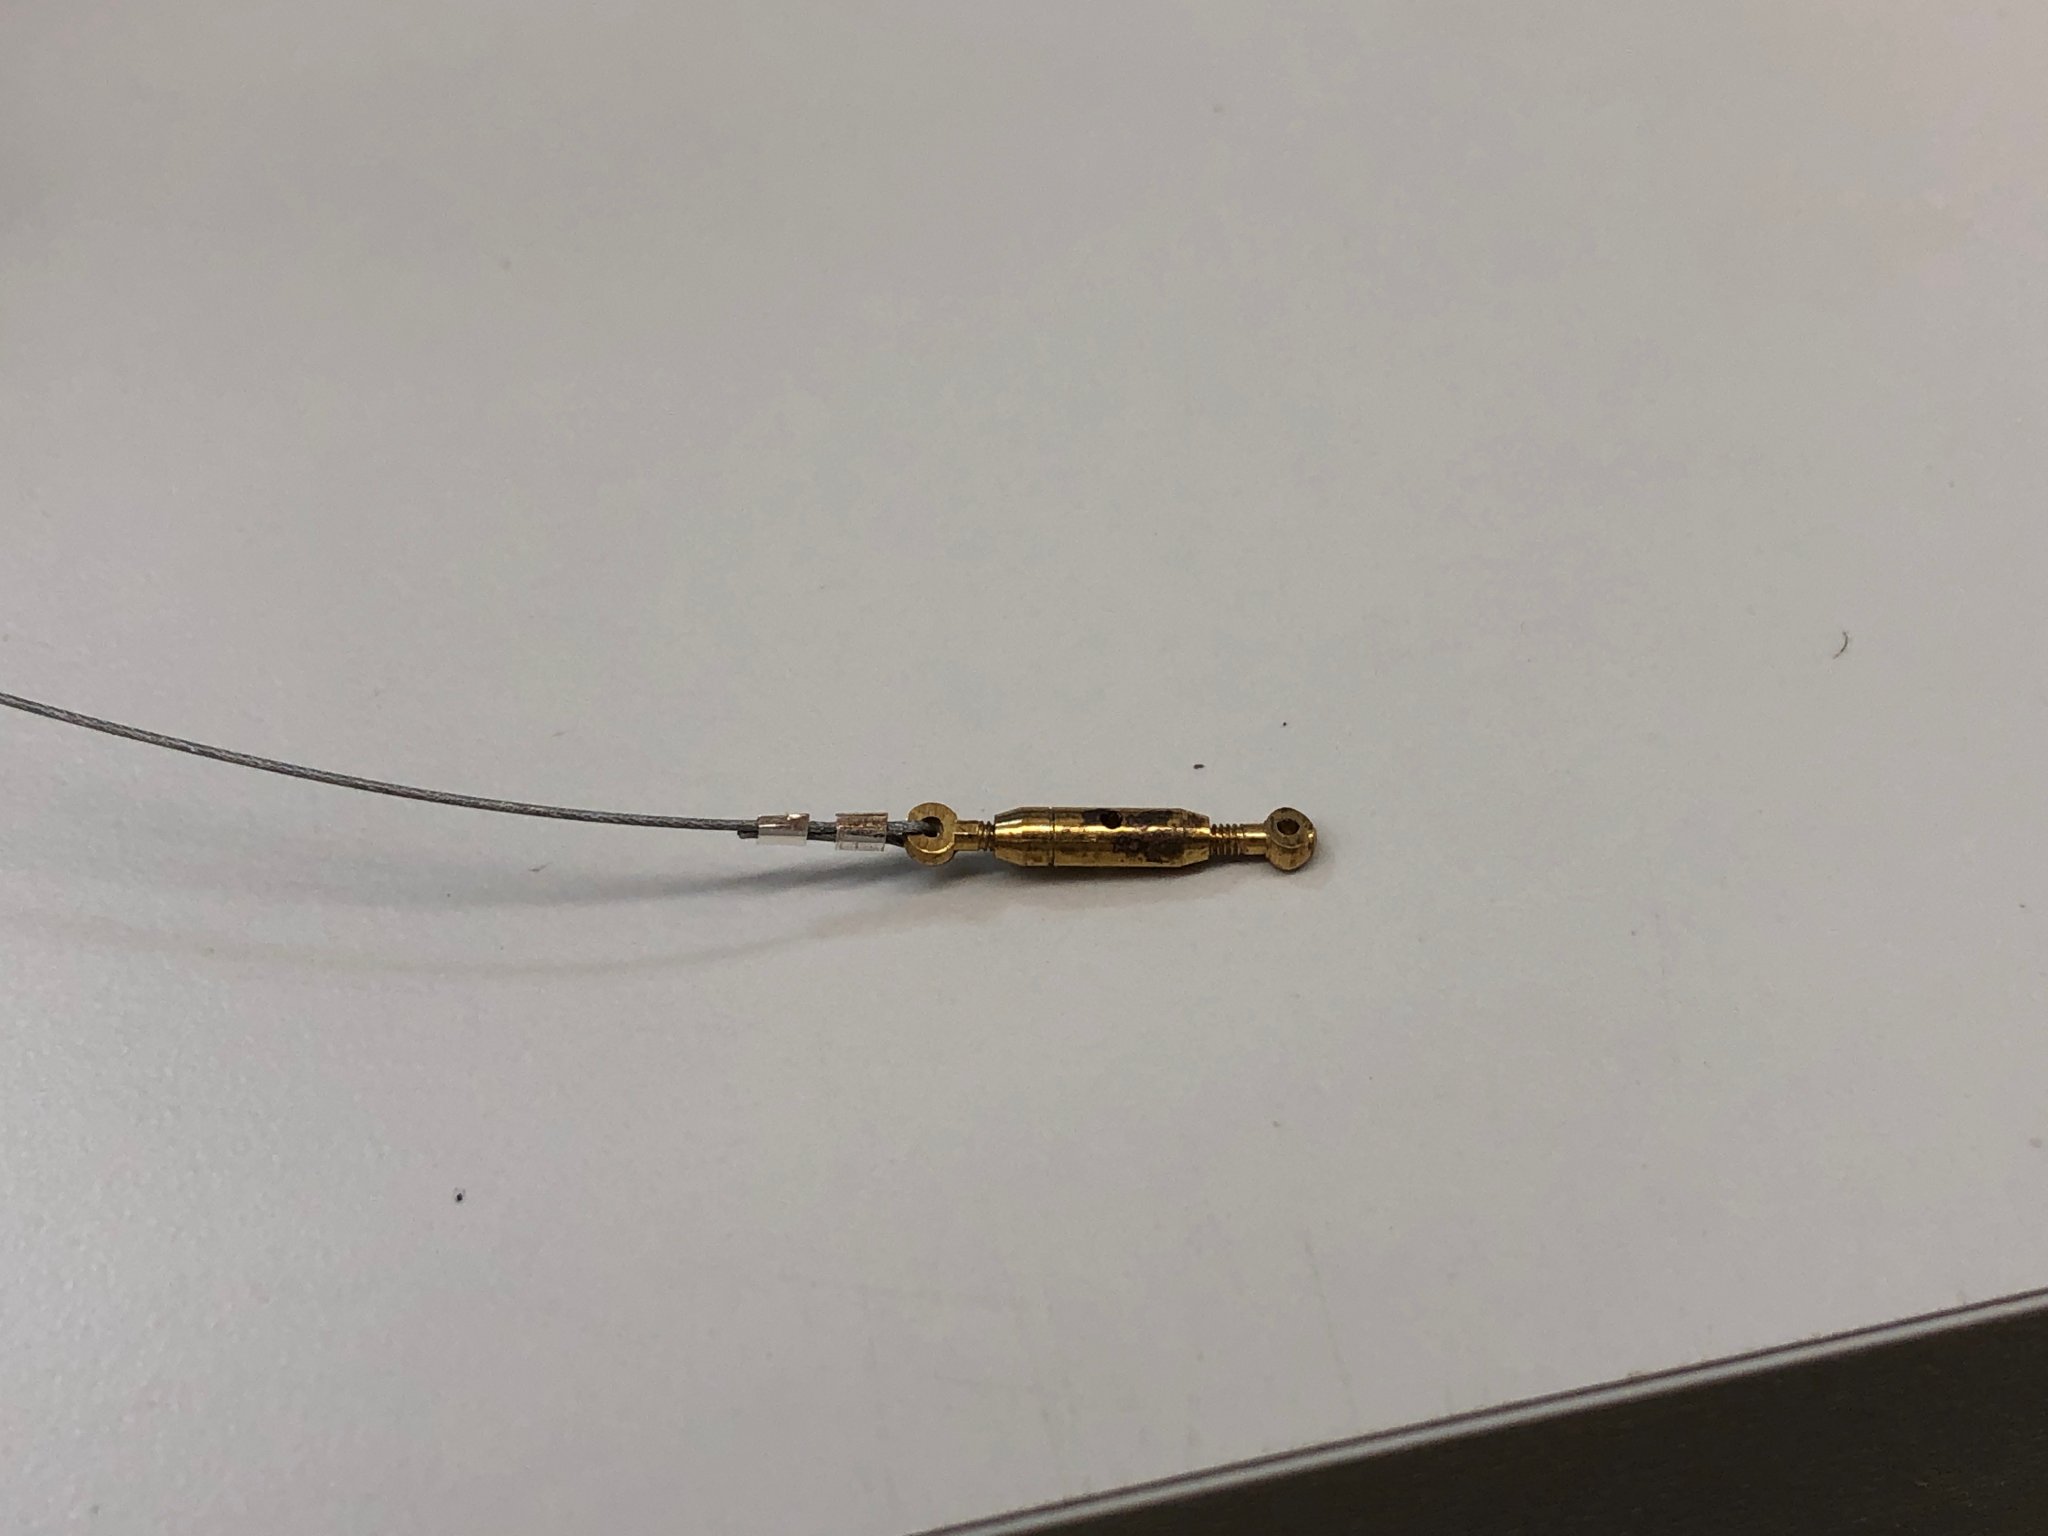
While waiting for paint to dry I experimented with the Beadlon wire (which is plastic covered but you have to look very, very carefully to tell) and the turnbuckles that I had in my "spare parts locker". I have others on order but they are coming from the UK via surface transit (and even that was >$6) so it will be awhile before they get here.
I used the Beadalon provided "swags" to make the attachment and then trimmed some of the excess metal from the swags. Looks pretty goood IMHO.
-
Thanks Keith.
I decided that the stand included with the kit was not going to be as useful as might be desired for installing the deck and the items on the deck so I decided to build a simple cradle to hold the hull.
Here is my first test fit.
- GrandpaPhil, KeithAug, yvesvidal and 1 other
-
4
-
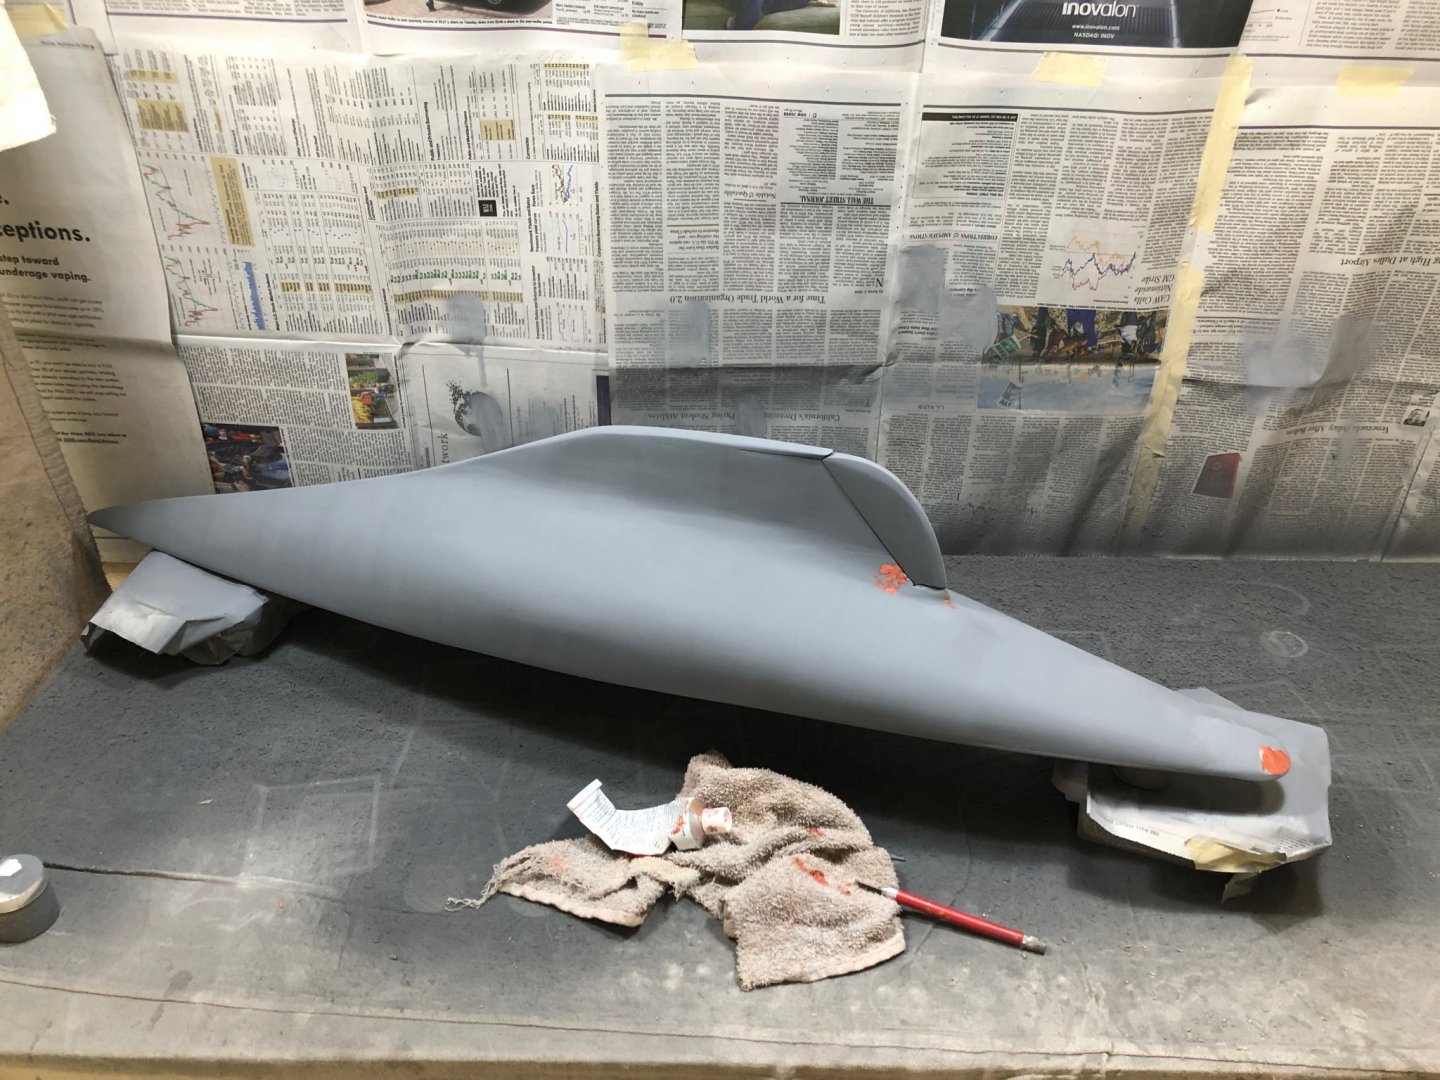
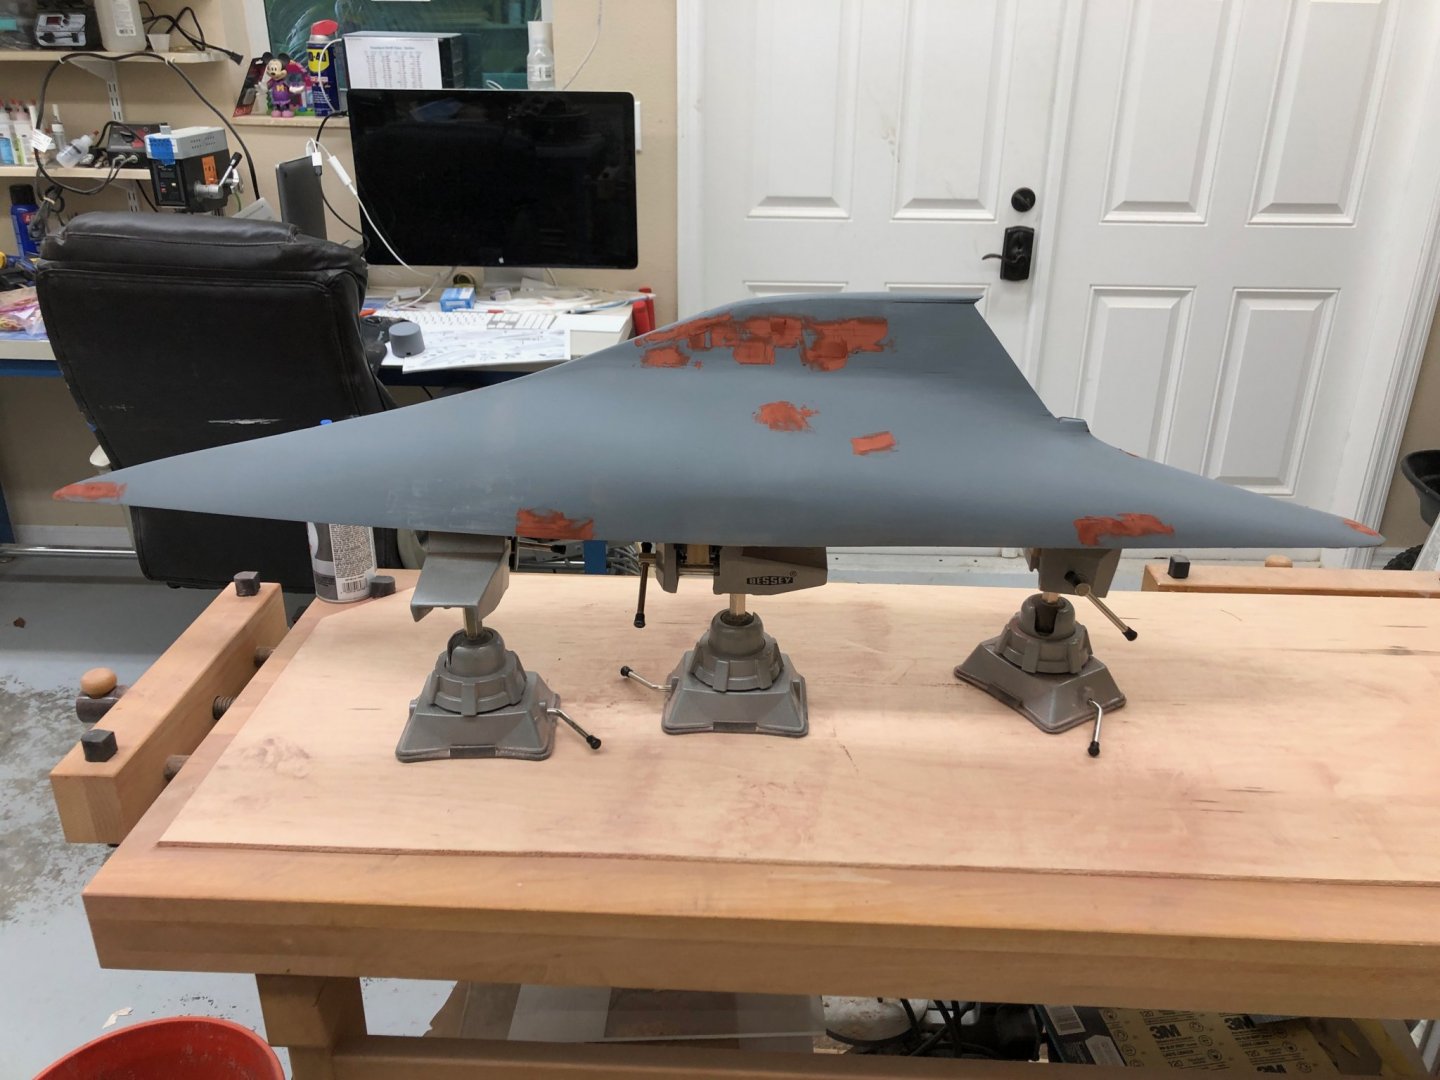
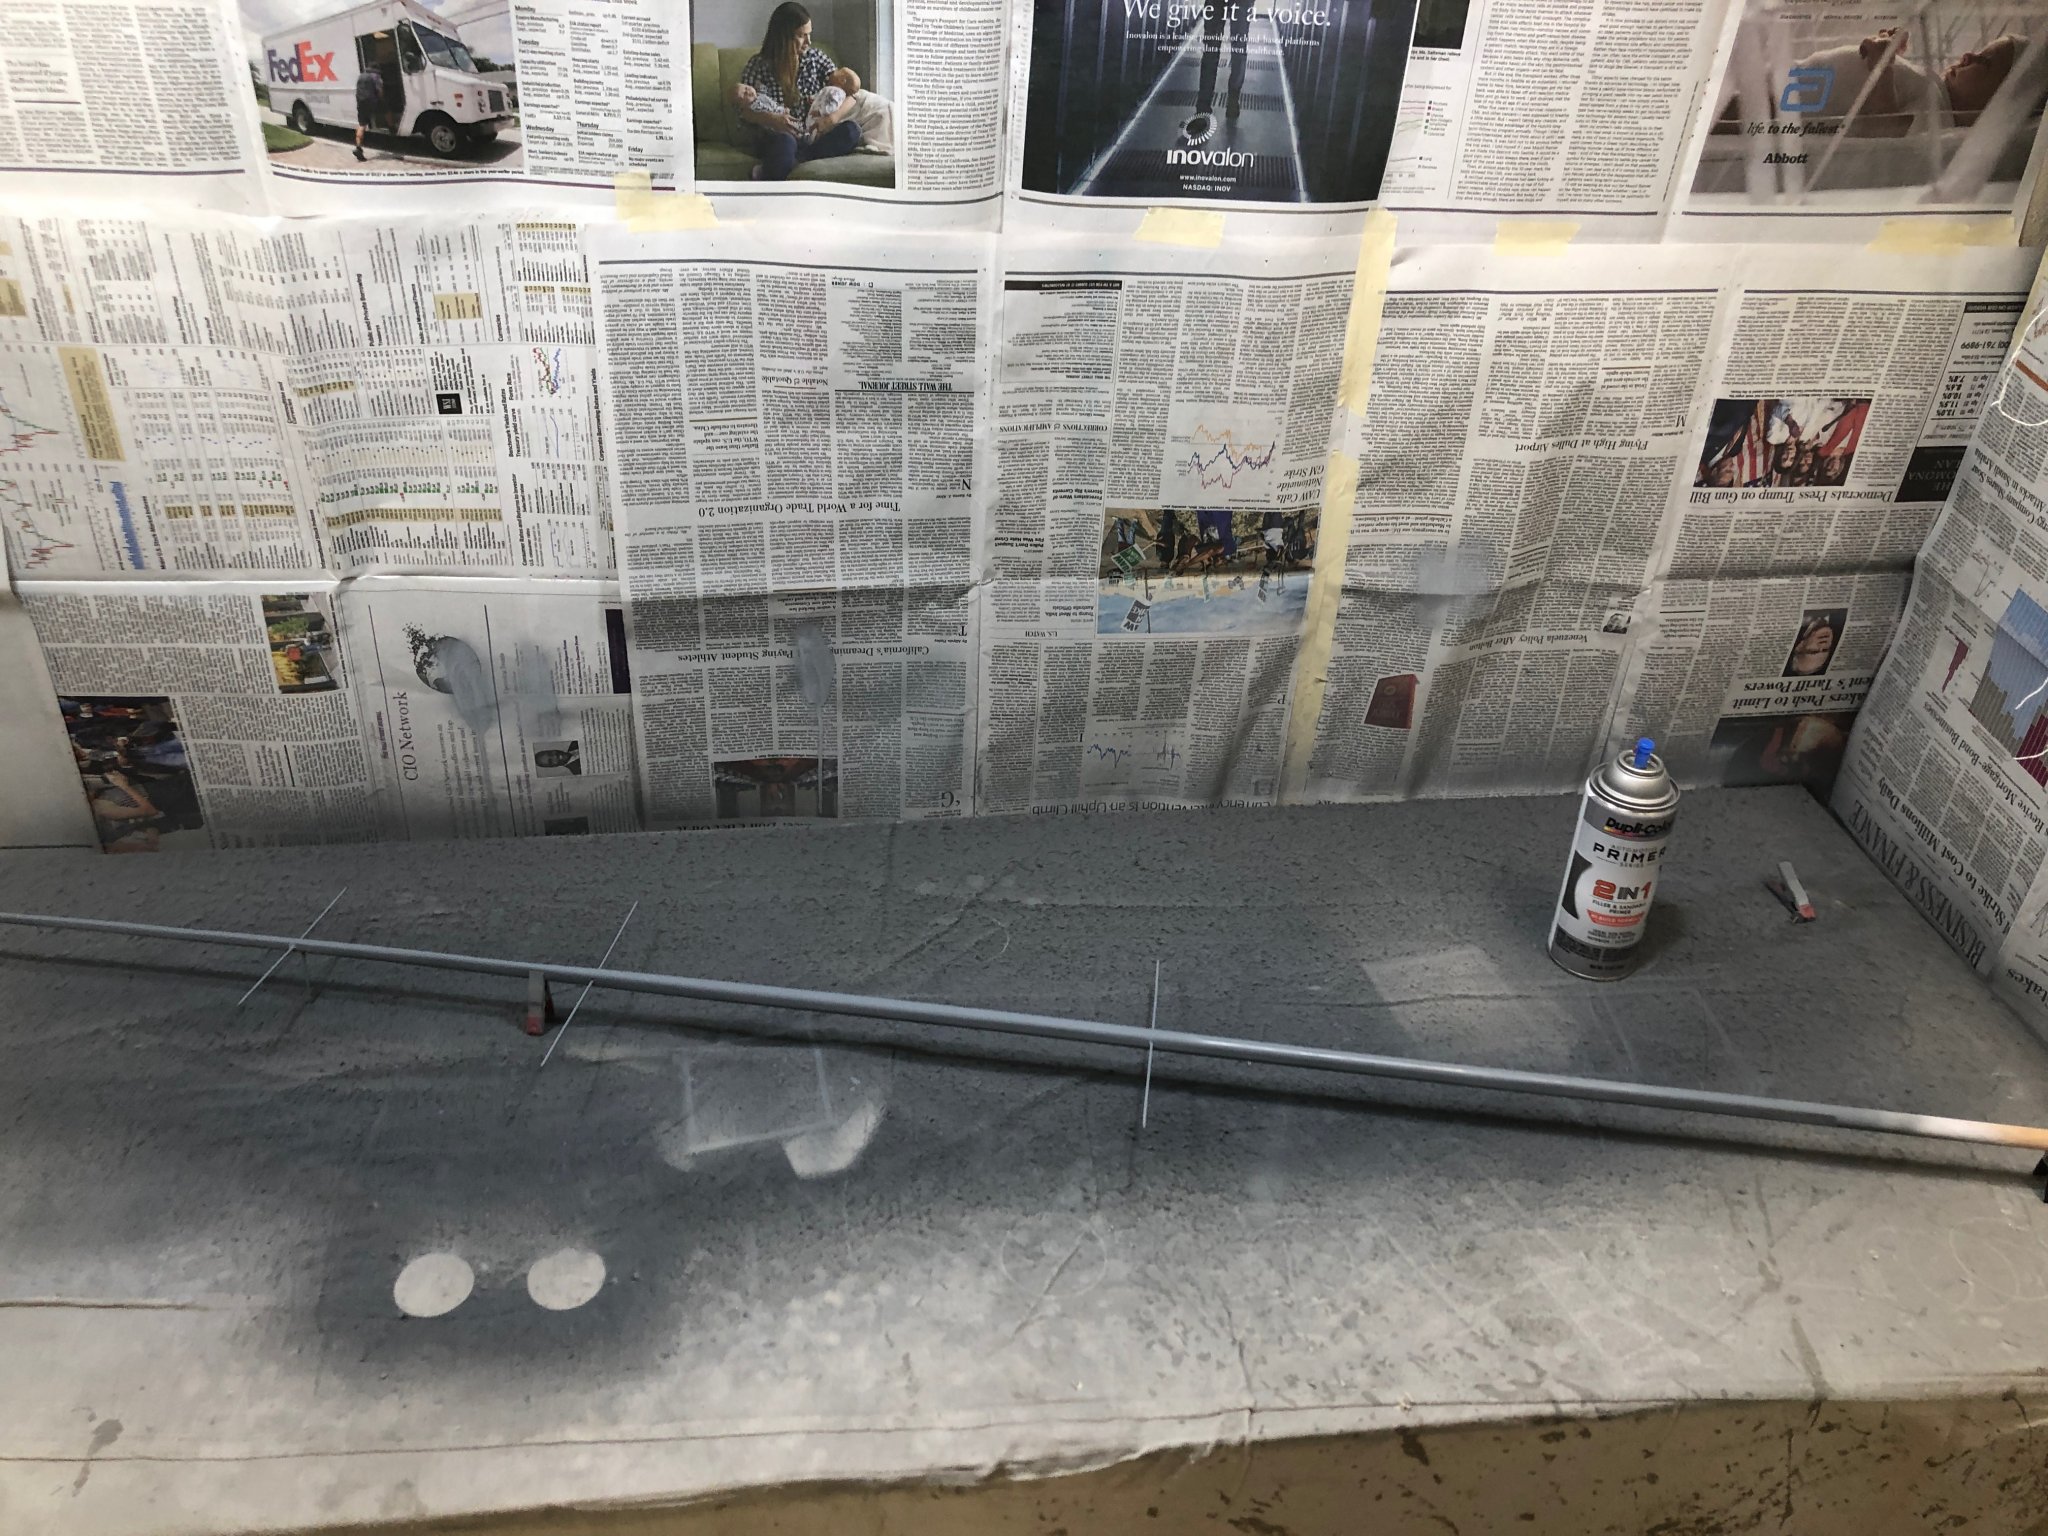
Another coat of primer/filler and more Bondo. At least some of the areas previously filled seem to look okay.
I get two cots from one can of "Dupli-Color Automotive series 2 in 1 filler and sandable primer".
Hopefully the one can I have left should be enough.
If not there are auto parts stores on every corner that do not have a Walgreens, CVS or Rite Aid.

-
First coat of primer and more Bondo.
Hopefully I will. not have to repeat this process more than two or three more times.
After hull is in satisfactory shape I will install the deck and fair them together then add the outer railing which, if I read the instructions correctly, the top and outboard side of which are the same Navy blue as the upper hull.
- hexnut, GrandpaPhil and KeithAug
-
3
-
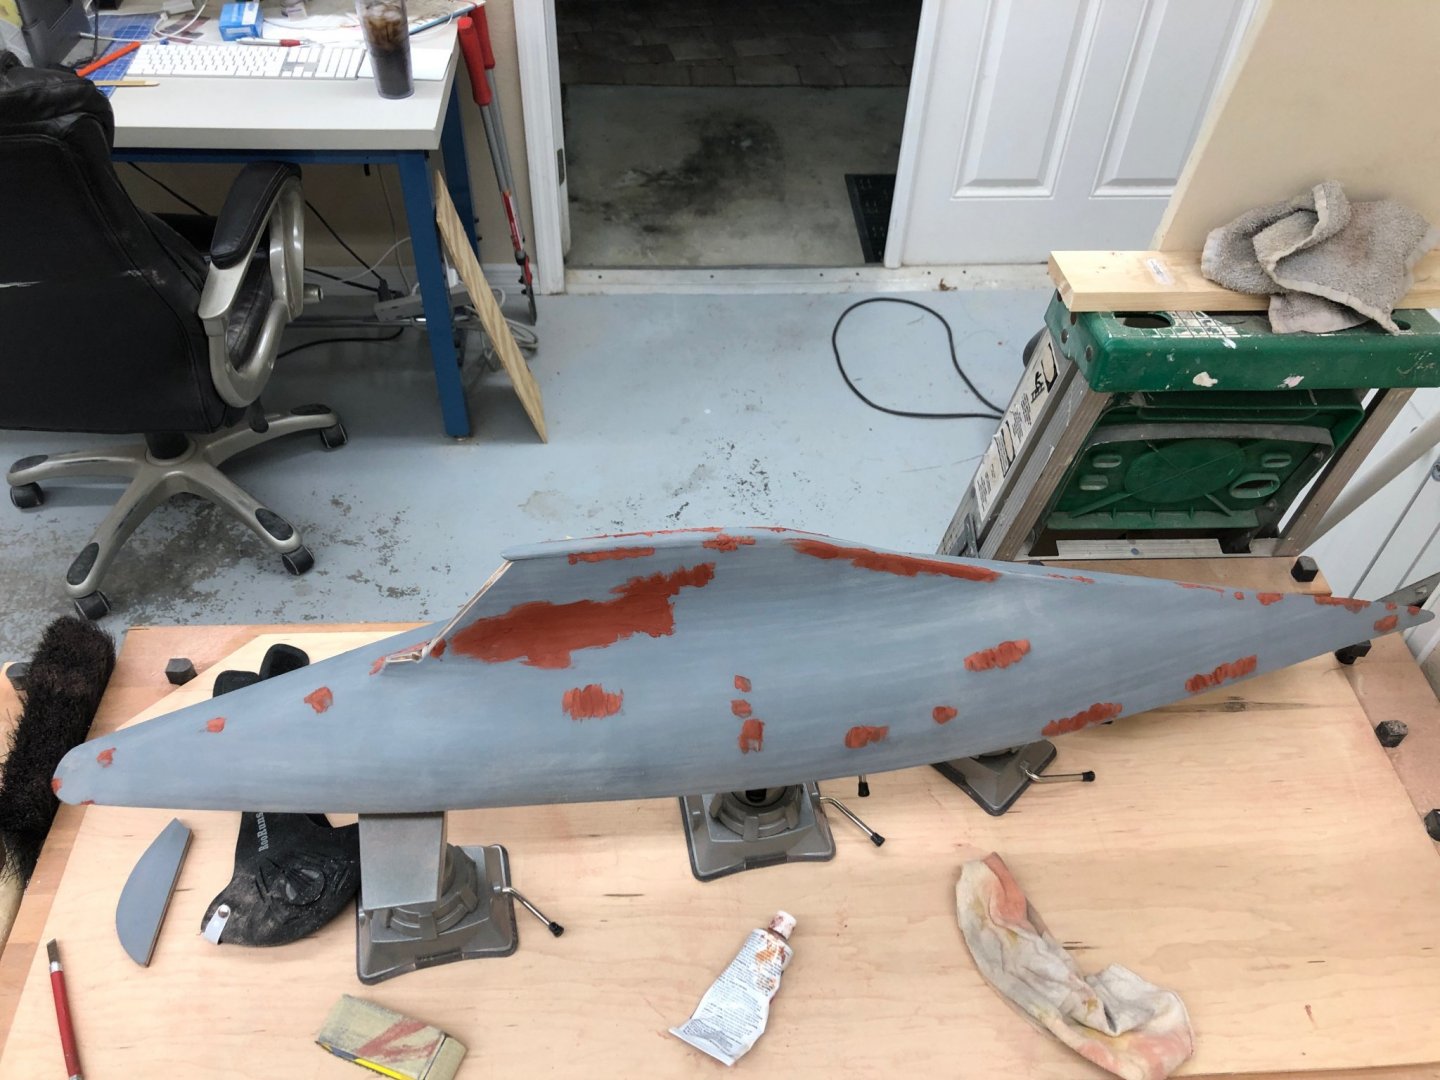
So I added Bondo in places where it was obviously needed and went at it with 120 grit sandpaper. I used mostly an 8" X 2" sanding block that uses 19" long pieces of sandpaper (see picture below) as I want to bridge as many of the frames as I can so I do not distort the lines any more than I already have. I searched to company (Dowl-it) web site but they only sell 2" X 19" strips in 60 and 80 grit. I was able to buy (on Amazon of course) 42" X 2" belt sander belts in every grit up to #400. They came is a set of 12 belts (60, 80, 120, 150, 240 and 400 -, 2 each) for like $20 including tax. So I get two sanding strips from each belt and should have no problem with sanders for the rest of this build.
After the 120 sanding I cleaned to surface with paint thinner and marked all the places where I needed more attention with the sander or more Bondo which I added liberally Then another round with the 120 and another cleaning. Finally I went over everywhere with 220/240 grit and cleaned it again. The hull is n ow in my makeshift paint booth ready for a first coat of spray filler and sand-able primer. I am sure this will show all sorts of flaws and defects which could not see in the wood finish. Hopefully we are down to only 220 and finer paper from here on but my experience has been that the first primer coat shows every little flaw and blemish.
A confession - it appears that I did manage to sand through all the planking on the stbd side at about amidships.


- GrandpaPhil, yvesvidal, KeithAug and 1 other
-
4


Endeavour J Class by cdrusn89 - FINISHED - Amati - 1/35 scale
in - Kit build logs for subjects built from 1901 - Present Day
Posted
I got the turnbuckles I ordered, decided (at least until I see how it looks on the model) to use 22mm ones for the upper shrouds and 18mm for the lower.
I had to use the larger split rings because of the distance from the edge to the hole in the brass "chain plates" provided in the kit.
I am considering changing to brass (actually gold colored) wire for the shrouds instead of the silver I have now. I ordered the gold Beadolon wire in case the silver does not look "right" with the brass turnbuckles (and I have not seen them in anything but brass).