HOLIDAY DONATION DRIVE - SUPPORT MSW - DO YOUR PART TO KEEP THIS GREAT FORUM GOING! (Only 13 donations so far - C'mon guys!)
×


jim_smits
-
Posts
653 -
Joined
-
Last visited
Content Type
Profiles
Forums
Gallery
Events
Everything posted by jim_smits
-
 I'm not horrendously far off actually rigging that part. So I will figure it out and post some pics.
 -
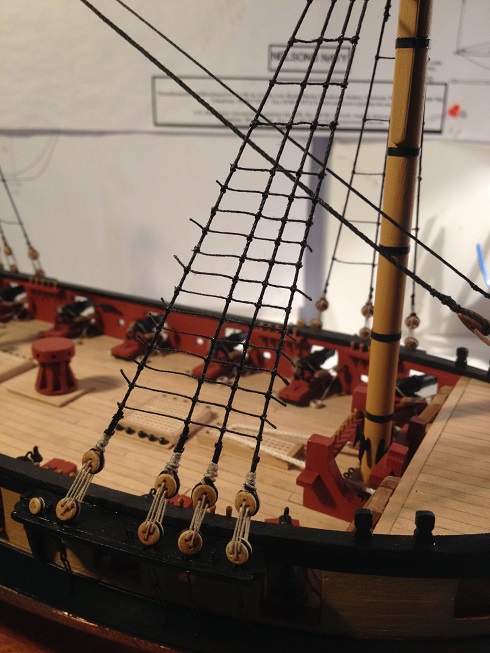
Line 5 should terminate on the cleat an line four should end at a belaying pin. There are only three eyepins at the place on the channel and I read that the hooks and a single block attach to these. The rear eyepin is for a top gallant stay I think. Jim
- 1,144 replies
-
- 2
-

-
- snake
- caldercraft
- (and 1 more)
-
Jason, The way I read the plans, it looked like the cleats for lines 50 and 55 were larger than for line 5. Therefore, I installed the four bulwark cleats at 50 and 55, and two deck cleats at 5. This could be wrong also but hey ho. Jim
-
I will echo Jason here again. Get your channels and pinrails on first. Don't know about Jason but my channels required a couple of friendly taps with a hammer to get the pins fully home both in the channel and the hull.
- 1,144 replies
-
- 2
-
-
- snake
- caldercraft
- (and 1 more)
-
Hi mate, That plan is the belaying plan and the numbers indicate rigging line numbers from plans 5,6 and 7. They are not part numbers. Jim
-
This!
-
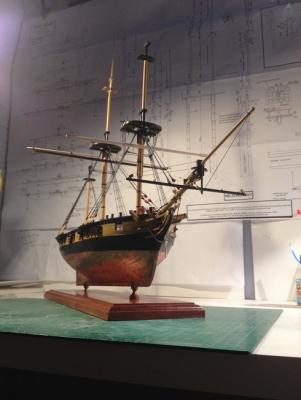
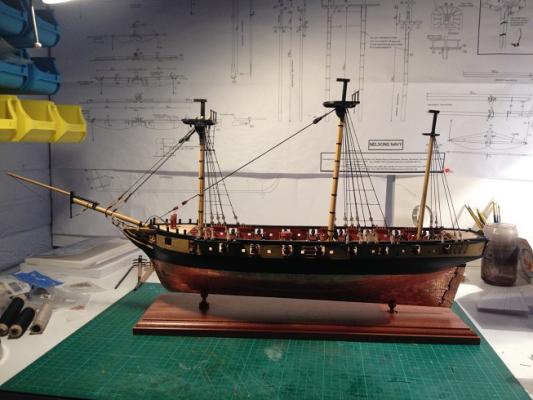
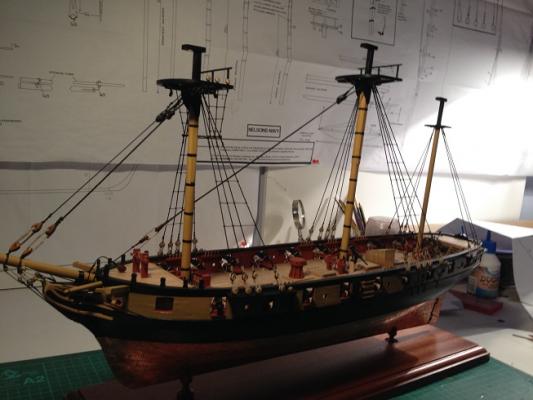
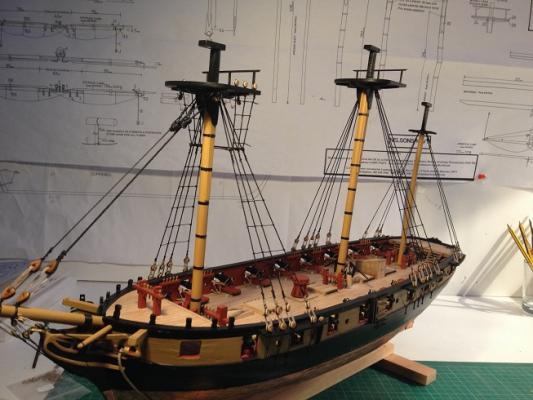
Looking good Jason. It's amazing how much the ship comes alive once the bowspirit and masts are added....!
-
Hi Jason I fitted all the deck fixings before installing the bowspirit and therefore didn't pin it in. If the bracing for the bowspirit is filed to the correct angle then the bowspirit will wedge itself in nicely. A bit of CA and all the subsequent gammoning and rigging and the bowspirit will not be moving anywhere.....! Jim
- 800 replies
-
- 1
-
-
- snake
- caldercraft
- (and 1 more)
-
Thanks guys. Managed to complete the ratlines starboard side of the foremast, only 5 more sets to go. And then it's onto the top masts and another set of ratlines. Joy!
-
Looking fantastic Ray. This build will be essential reference when I take on Diana.
- 536 replies
-
- 1
-
-
- diana
- caldercraft
- (and 1 more)
-
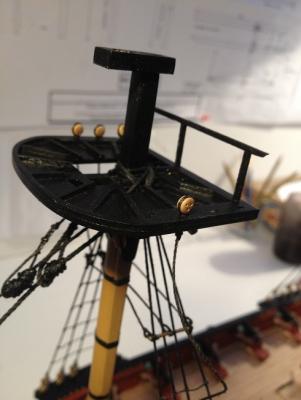
Ratlines still continuing. I think I'm gradually getting better at them but doesn't make them anymore fun to do....! I keep having to tweak as the lines go slack as I put new ones in. Will get there though. To ensure I don't go totally mad, I have taken breaks from ratlines and have done some work on the masts and yards. I have invested in a David Plane, and it has made the job of shaping the octagonal sections far easier. The shaping of the top sections of the masts was quite tricky and took a lot of patience. I will come back to these later with some more detailed images. The Spiritsail has now been fixed in place and mostly rigged in. I have fitted some pins to the masts so that I can fix the yards in place. This now really gives a great impression of how the ship will start to look.
- 412 replies
-
- 5
-
-
- snake
- caldercraft
- (and 1 more)
-
Mort - see the second picture in post #82
-
Hi Mort, The mizzen mast base was included in my kit. It's listed as a part but not on the parts diagrams, but I definitely had it. As for the chain plate brackets, you will only need 18. It is only the larger shrouds connected by 5mm deadeyes that require the brackets. 5 on each side for the mainmast and 4 each side for the foremast. The smaller shrouds connected by 3.5mm deadeyes are pinned directly to the hull. Hope this makes sense. I can show a picture this evening when I'm back from work. Jim
-
Will the Snake group collectively become the Diana group....?!
-
Hi Jason, I also find myself contemplating the next build to go for. My two main candidates at the moment are Diana, as I like the look of the step up to quarter galleries, decorated stern and a gun deck, or Warrior as it is very impressive vessel and having visited it in Portsmouth during the summer. In addition I am considering the mortar vessel convulsion as a smaller cheaper build to test some techniques upon. My eventual target will be Victory but that will wait until I have bought a house in a couple of years. I need more build space!
- 800 replies
-
- 1
-
-
- snake
- caldercraft
- (and 1 more)
-
Very nice Jason! It's good to get the weapon rigging out the way isn't it?!
- 800 replies
-
- 1
-
-
- snake
- caldercraft
- (and 1 more)
-
As Jason said, don't worry about the capping rail exact positioning. They were a pain to do and as long as they look sensible and are pinned to the bulwarks then all should be well.
- 1,144 replies
-
- 1
-
-
- snake
- caldercraft
- (and 1 more)
-
Hi Stergios, The pillars came as seperate items to the board and therefore can be placed wherever you like. I pinned one to the board and sunk the other to get correct waterline. Same effect could be had with different height pillars but couldn't find suitable ones in stock. I had to file the jaws pretty extensively with my dremel to get a correct snug fit to the keel though. Jim
-
It's one of the Hardwood Mounting Bases by Amati. Comes ready varnished.
-
Cornwall Model Boats - do a search for 'mounting' and all the bases and pillars will be returned.
-
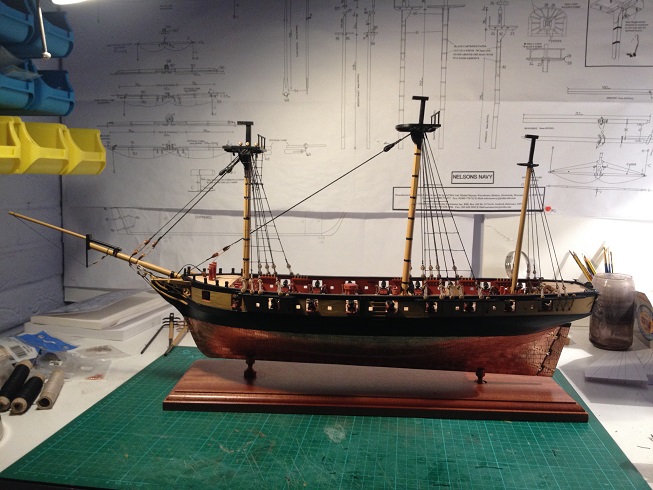
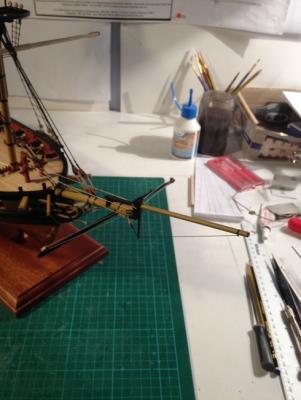
I have now upgraded the base for the ship to it's final display base. Ordered a base and a couple of mounting pillars. Had to inset the rear pillar to ensure that the water line was level. Pleased with the result. I have taken a minor break from ratlines to fit the main mast stays. Fitted the main stay to the bowspirit and main mast. Just need to follow up with the preventer stay.
- 412 replies
-
- 4
-
-
- snake
- caldercraft
- (and 1 more)
-
Ratlines continuing......

-
Looks great Jason! It's funny I was looking at my cat heads in exactly the same way the other night.......
- 800 replies
-
- 1
-
-
- snake
- caldercraft
- (and 1 more)
-
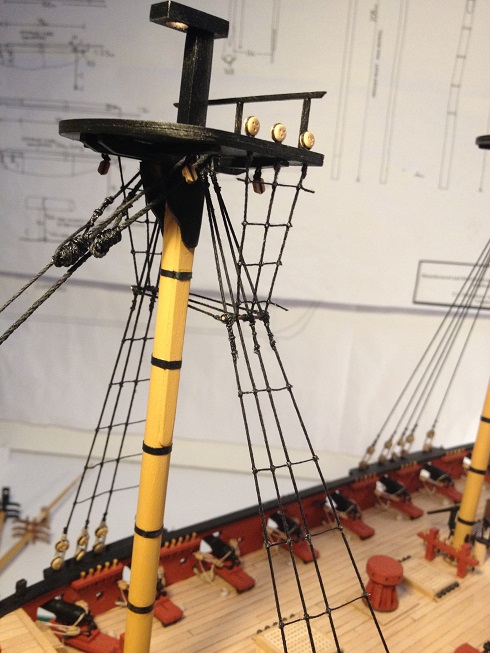
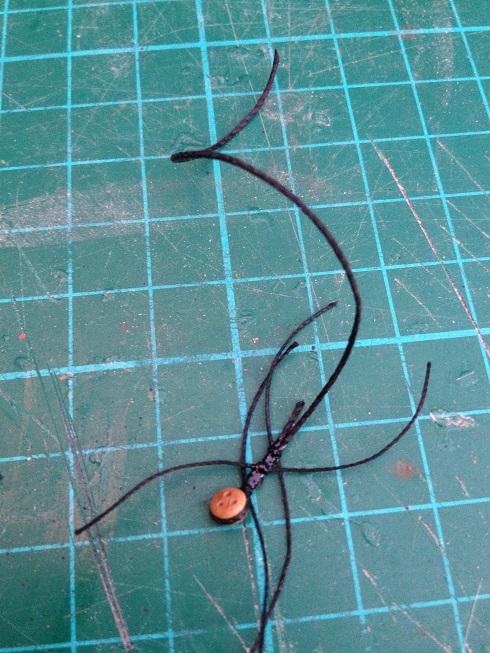
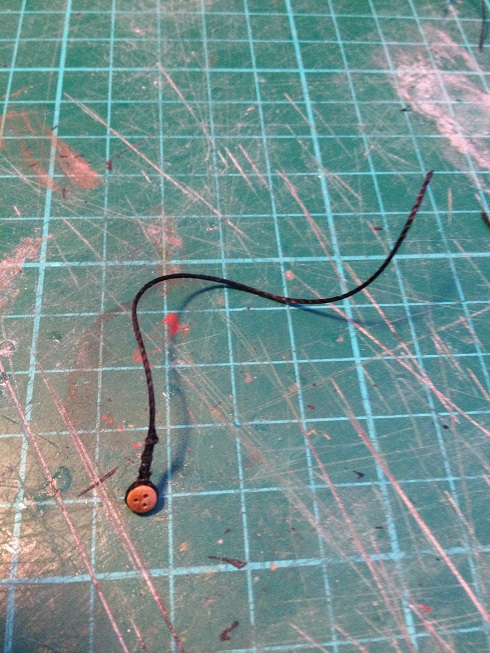
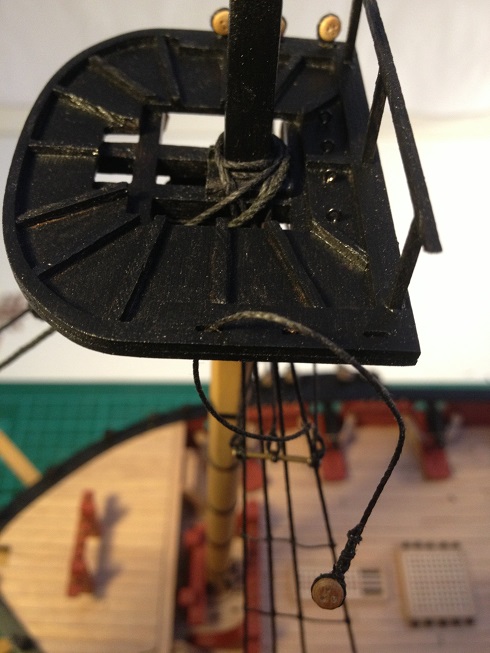
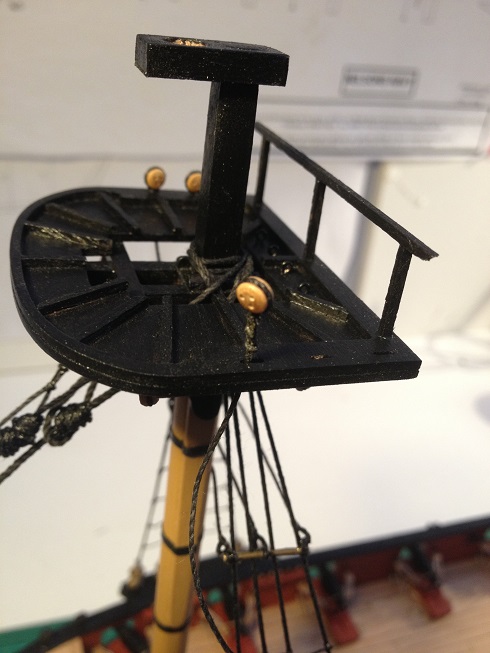
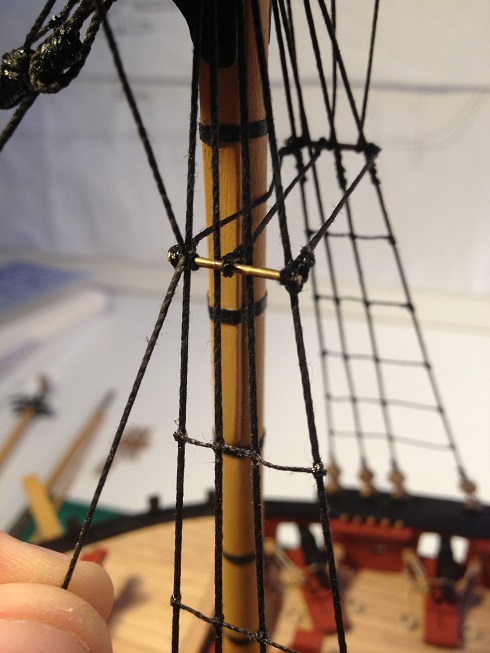
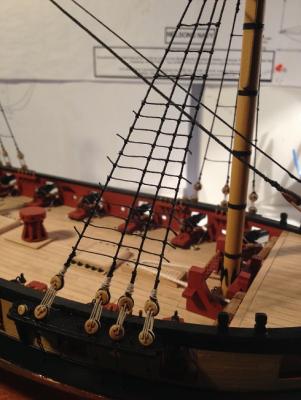
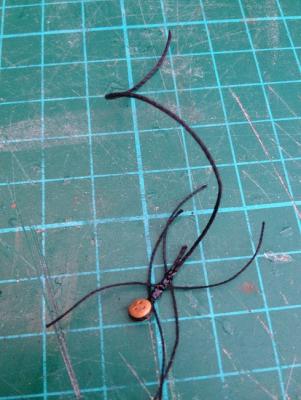
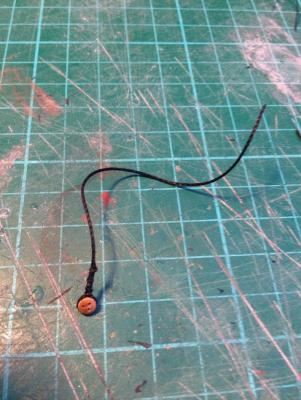
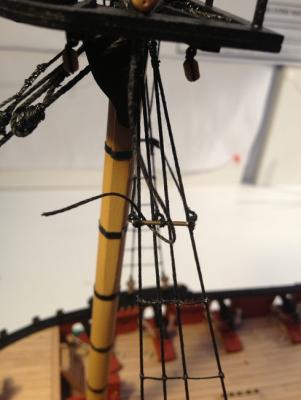
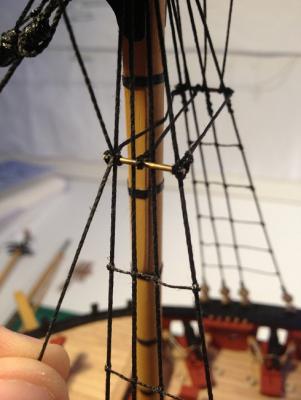
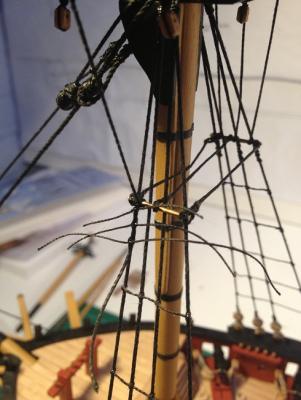
As promised I have installed the port side futtock shrouds. Firstly, as per main shrouds sieze a deadeye using 0.75mm thread and 0.25mm thread and cement. Allow to dry and then trim. Thread through one of the gaps in the platform. Pull down to the seizing. Being very careful at this point, pull the seizing through the gap. You may need to remove and sand a little further. Thread the trailing length around the bar. Pull taut. Then seize to the main shrouds ensuring everything remains nice and taut. Cement in place. Repeat as necessary!


- 412 replies
-
- 3
-
-
- snake
- caldercraft
- (and 1 more)