jim_smits
-
Posts
653 -
Joined
-
Last visited
Content Type
Profiles
Forums
Gallery
Events
Everything posted by jim_smits
-

Mechanical Solar System by jim_smits - Eaglemoss
jim_smits replied to jim_smits's topic in Non-ship/categorised builds
Augie - fair enough! I'm still right though Landlocked - it's £6.99 a week so around £350 overall bhermann - if you're interested it published by Eaglemoss I think Brian - not sure if it was the same kit you made but this is made from solid and plated brass and looks excellent so far -
Mechanical Solar System by jim_smits - Eaglemoss
jim_smits replied to jim_smits's topic in Non-ship/categorised builds
Not wishing to enflame but I agree with the downgrade. Pluto is one of dozens in that same area and isn't even the biggest..... -
Mechanical Solar System by jim_smits - Eaglemoss
jim_smits replied to jim_smits's topic in Non-ship/categorised builds
The kit actually includes Ceres between Mars and Jupiter and Pluto and Eris out on the edge. Although it looks as though Pluto does not cross inside Neptunes orbit. -
Mechanical Solar System by jim_smits - Eaglemoss
jim_smits replied to jim_smits's topic in Non-ship/categorised builds
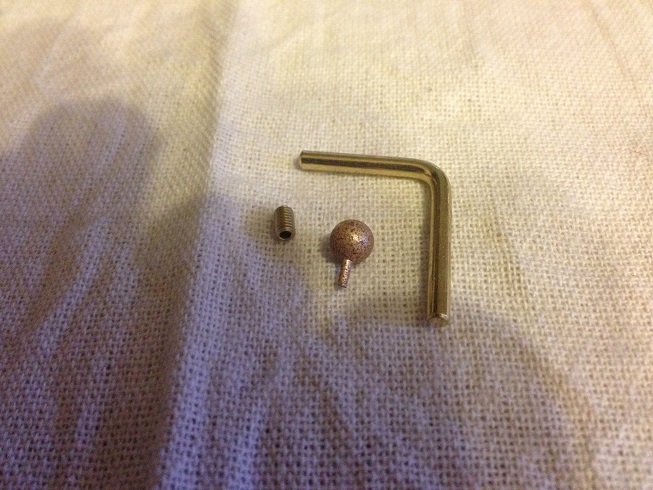
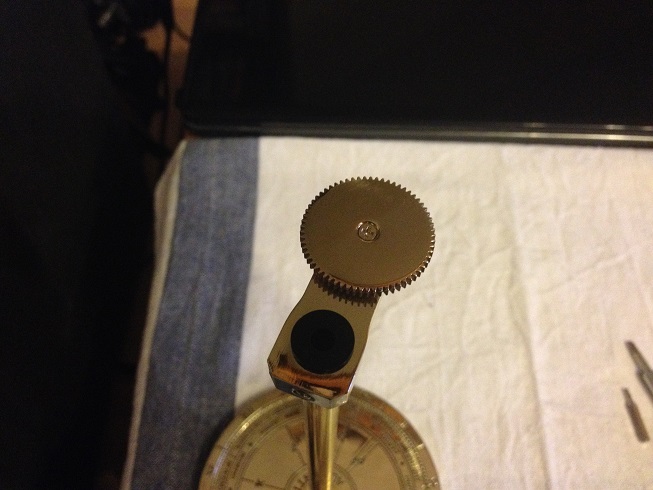
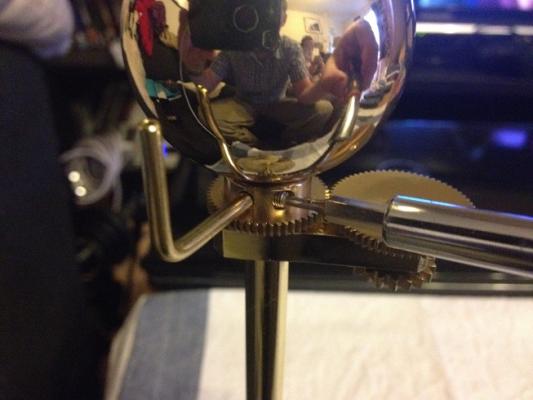
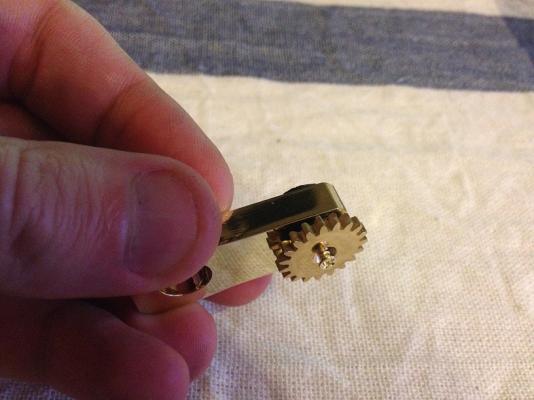
Mercury can now be added to the build. The support arm is inserted to the main drive gear just below the Sun and fixed in place with a grub screw. Mercury is then inserted into the top of the support arm.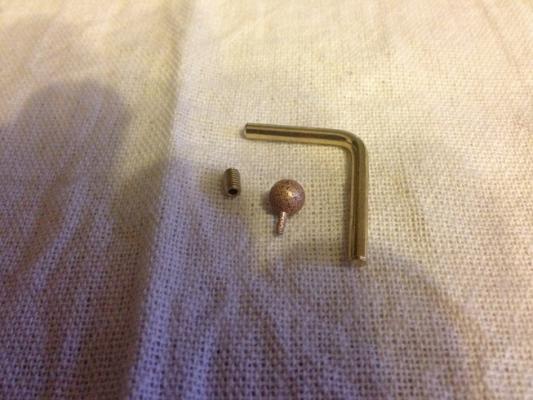

- 103 replies
-
- 10
-

-
Mechanical Solar System by jim_smits - Eaglemoss
jim_smits replied to jim_smits's topic in Non-ship/categorised builds
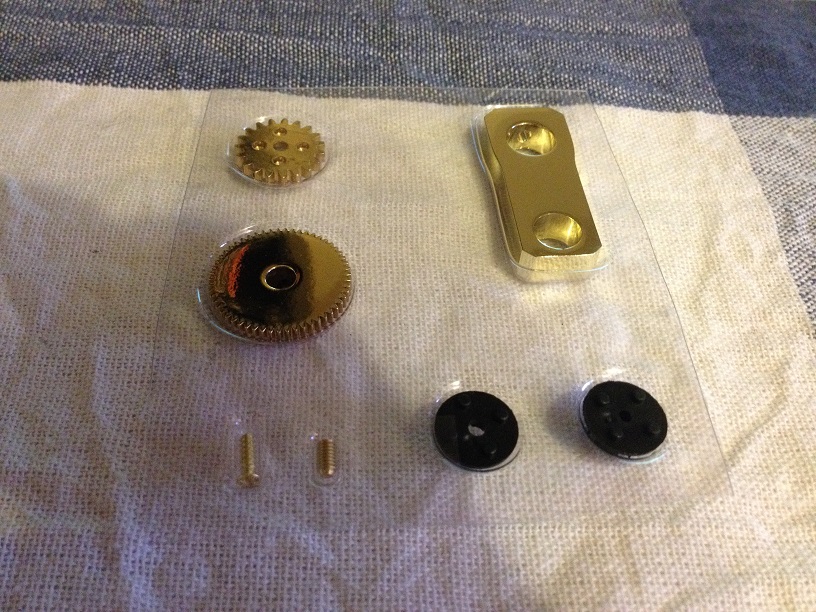
Hello! The next lot of parts have arrived and I will be able to update the Orrery to add Mercury and Venus. First step is to finish off the Venus gear arm. Firstly, a second gear wheel is attached using a screw and then the gear arm is fixed to the main support with a grub screw.


-
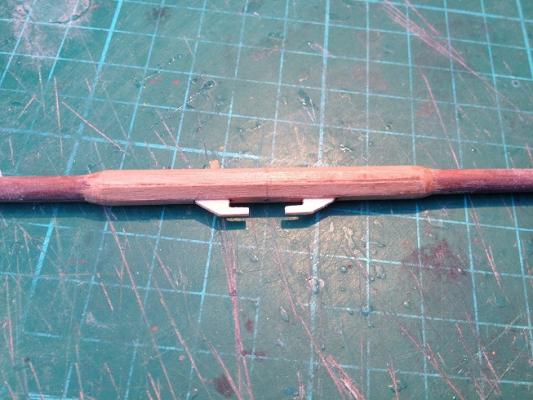
I have produced a number of yards now for my Ballahoo and Snake builds. Whilst I have managed to create cleats for the yards, I have never been happy with the materials and technique I used as it always felt like more of a bodge than a proper method. So far I had used basswood or walnut but these both often split or crumbled. I tended to drill and carve out a hole in the yard to anchor the cleat into and glue with cyano. I would interested to know what materials other modellers use and how they attach the cleats to their yards.
-
Mechanical Solar System by jim_smits - Eaglemoss
jim_smits replied to jim_smits's topic in Non-ship/categorised builds
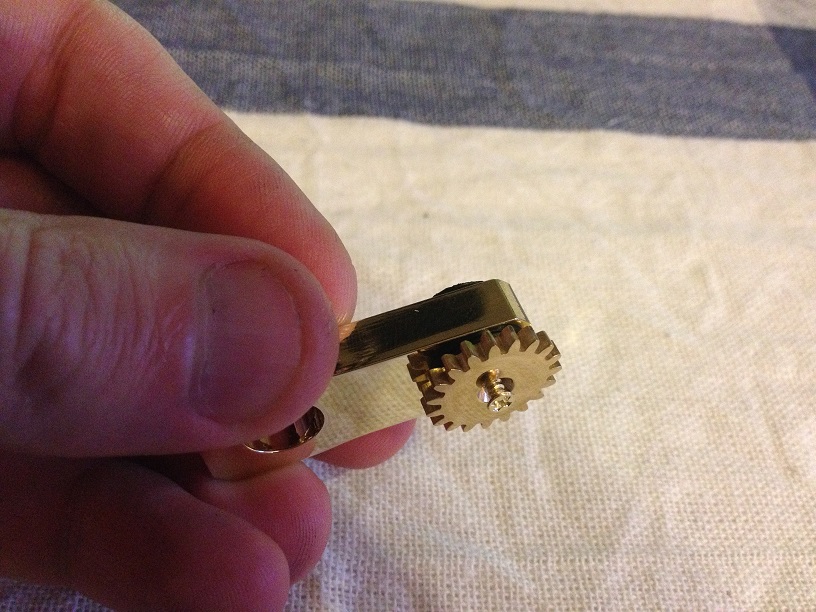
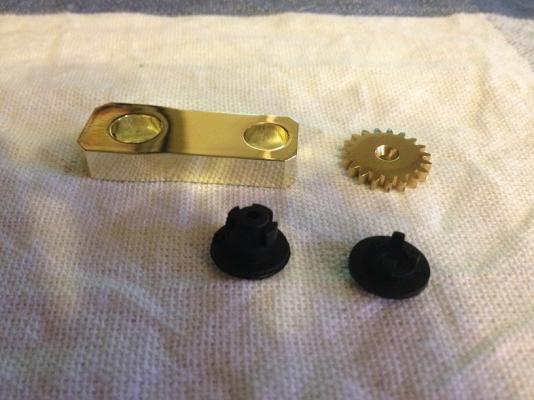
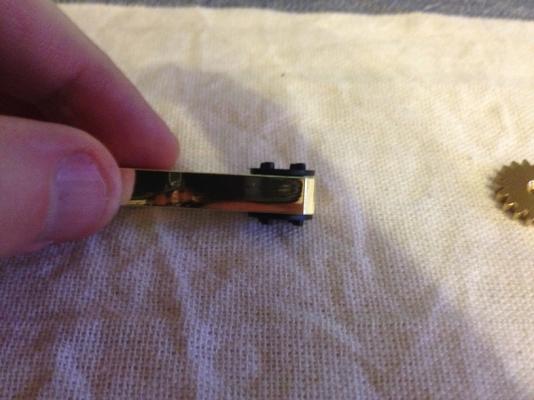
Finally part of the gear arm for Venus can be added to the support column. There will be two gear wheels attached but the second will be sent in the next batch. Two interlocking pieces of plastic are used to hold the gears in place with a tapping screw. Attached the first gear and awaiting the second. The gear arm is currently loose on the support column as, again, the grub screw to attach is sent with the next batch. Well, that's the first set of parts used and the basic structure is in place. Got to wait a month now for the next parts, but the mechanism should start to come alive then!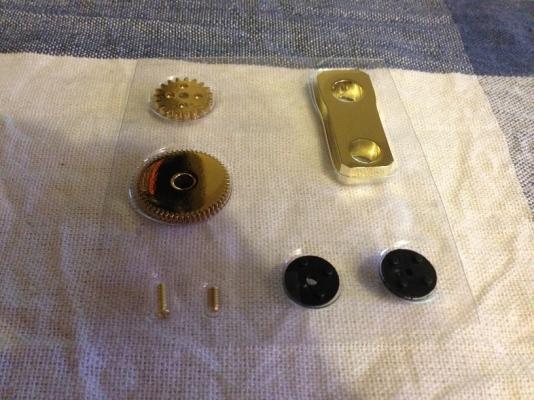
- 103 replies
-
- 10
-
-
Mechanical Solar System by jim_smits - Eaglemoss
jim_smits replied to jim_smits's topic in Non-ship/categorised builds
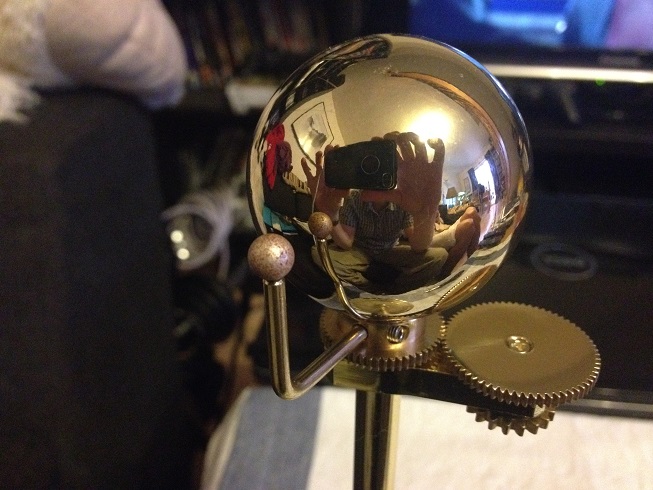
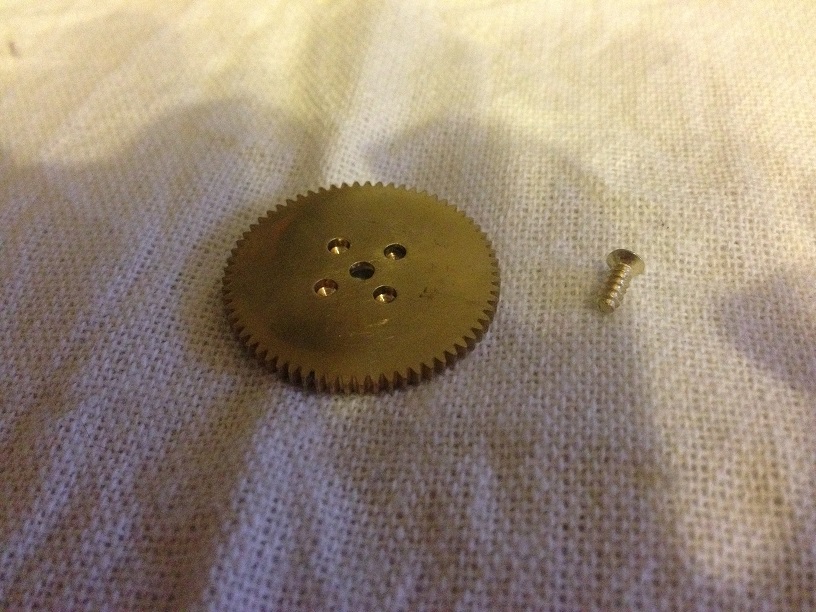
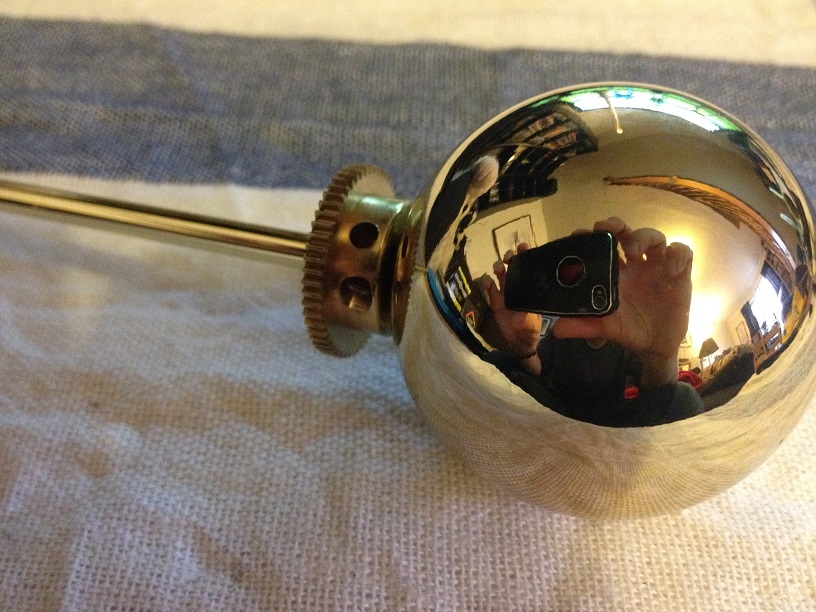
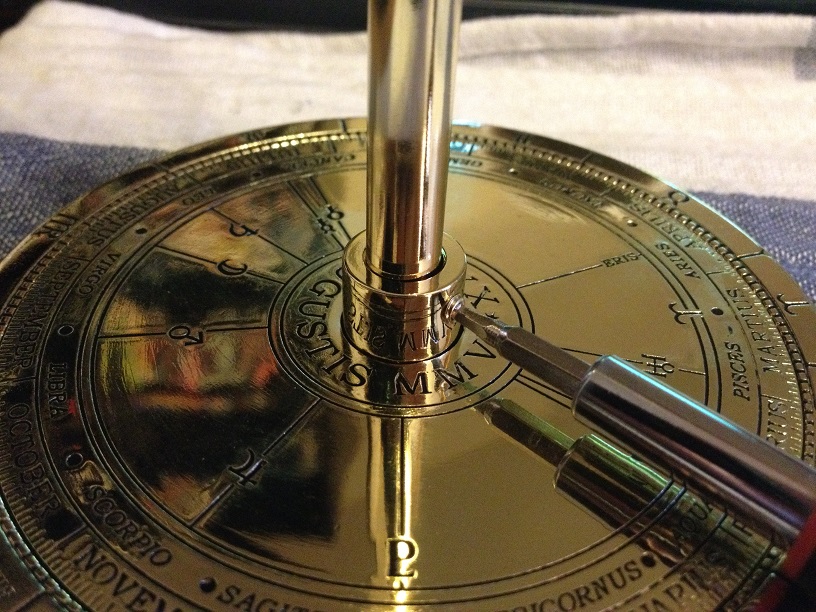
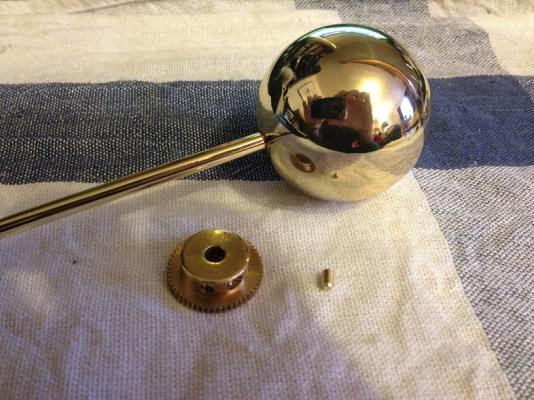
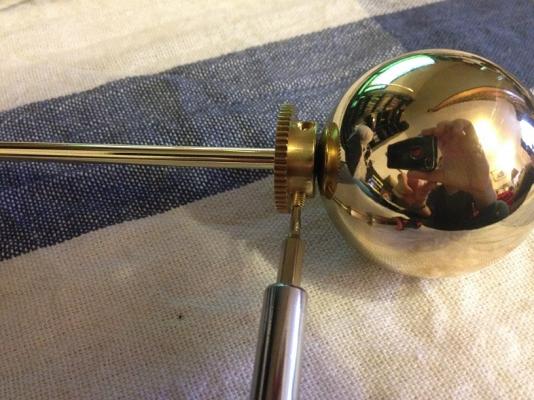
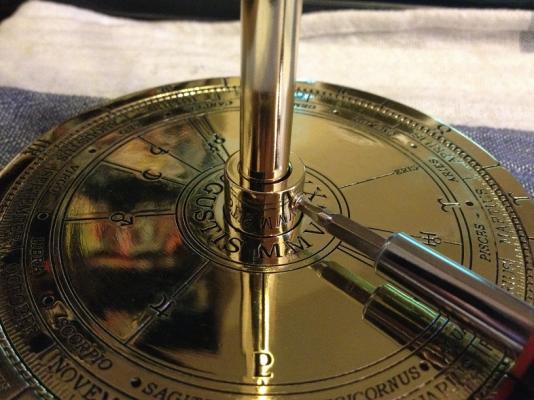
Next stage is adding the drive shaft. At the top of the shaft is the Sun. This is a brass plate and weighs an impressive amount. The sun simply screws onto the top of the drive shaft. After this the driving gear is slid onto the driveshaft up to the sun and fixed in place with a grub screw. This gear also has a couple of holes for attaching the support for Mercury when it arrives with the next batch.


-
Mechanical Solar System by jim_smits - Eaglemoss
jim_smits replied to jim_smits's topic in Non-ship/categorised builds
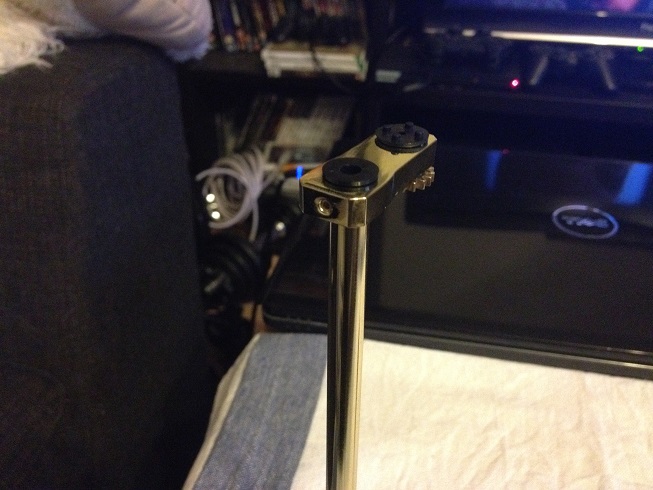
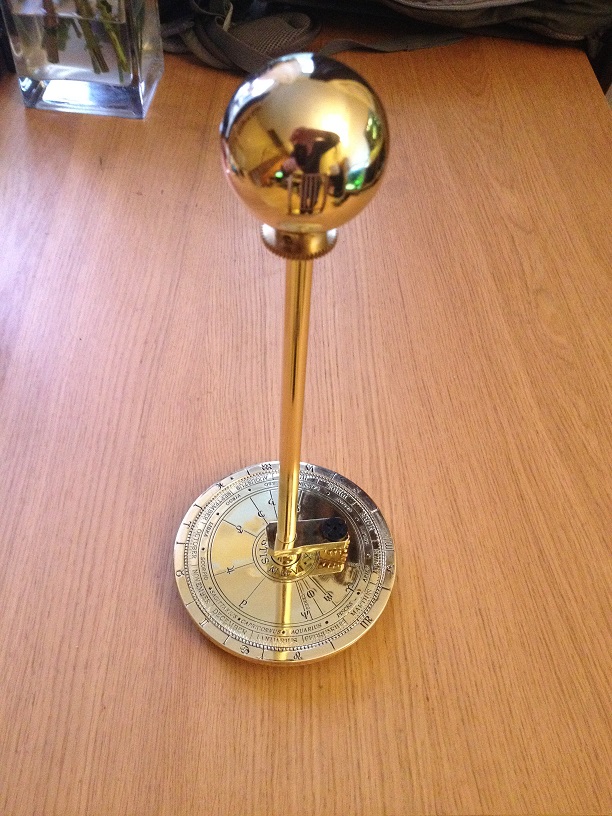
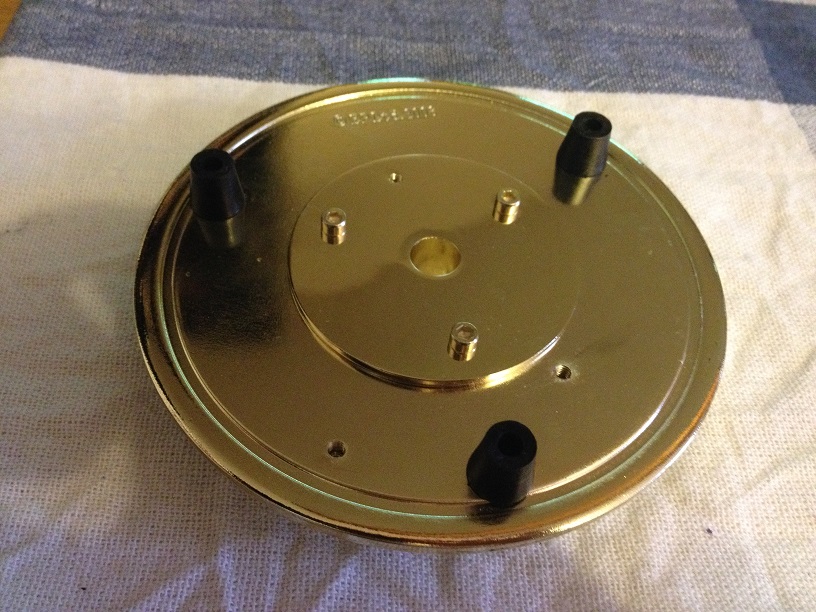
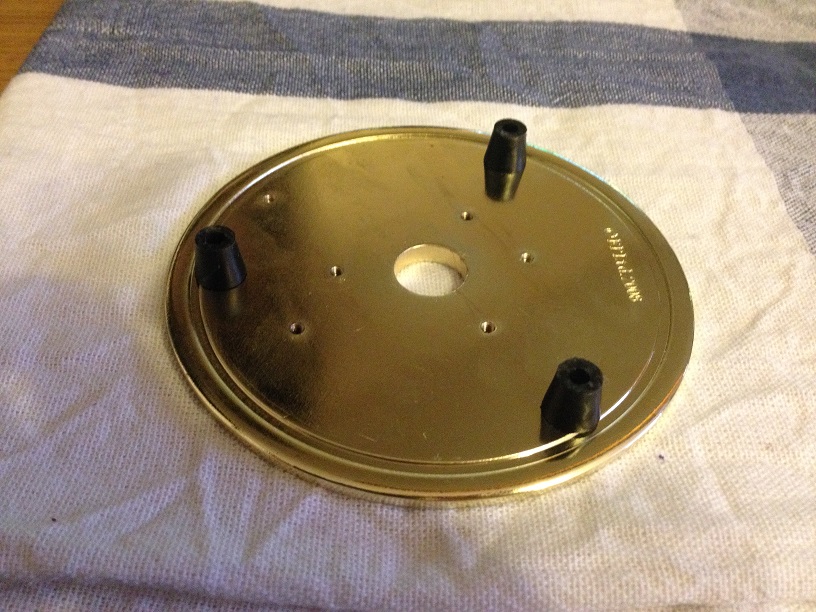
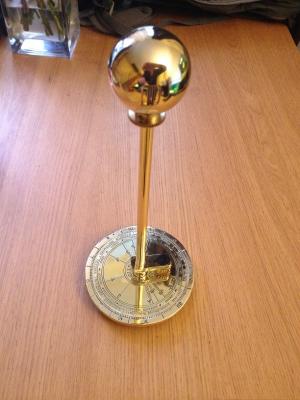
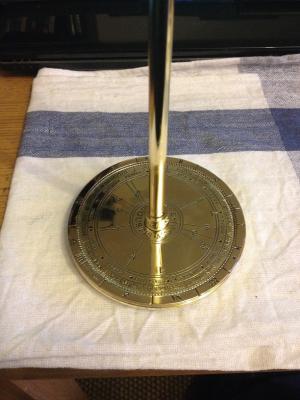
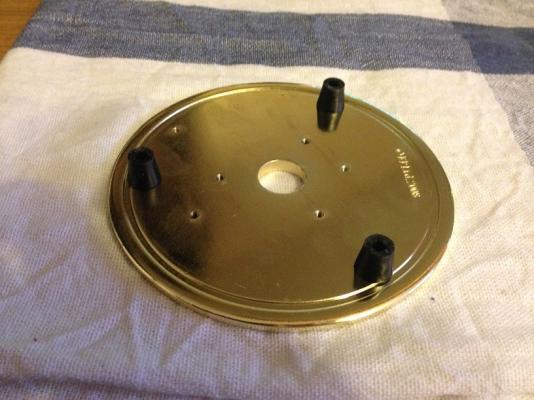
Onto the first real stages of construction with the unpacking of the second week's items. The main column support was attached to the bottom of the base plate with three screws. I'm very aware that the screws are brass and could be very easy to strip so very carefully threaded them in and then tightened with a hex key multitool. Secondly added the main column to the main support, flush at the bottom and then fixed in place with a grub screw. This gives the main support structure for the orrery. After this is the addition of the sun and planets and the various gearing mechanisms.


-
Mechanical Solar System by jim_smits - Eaglemoss
jim_smits replied to jim_smits's topic in Non-ship/categorised builds
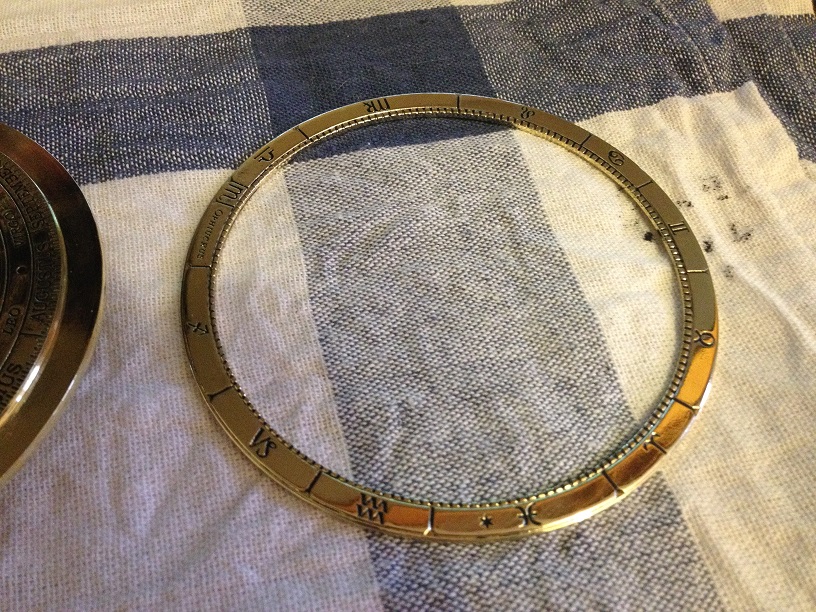
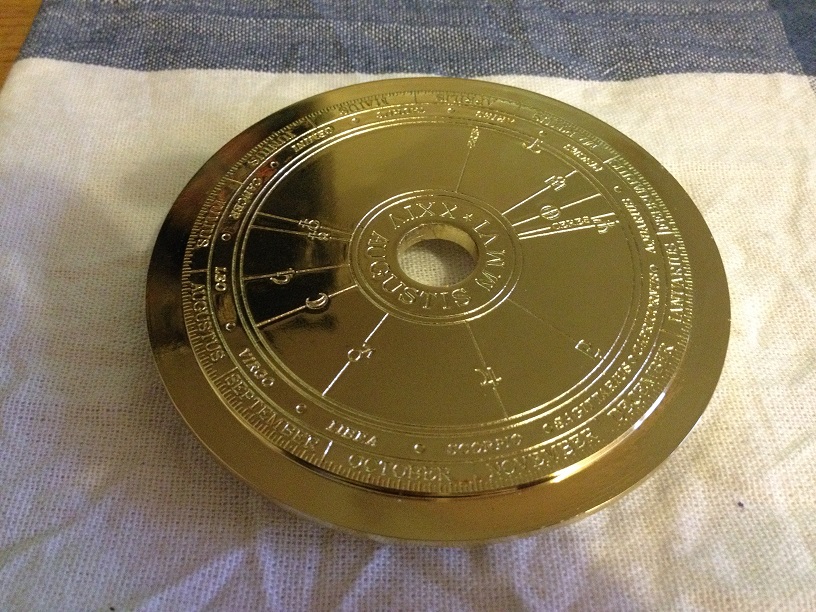
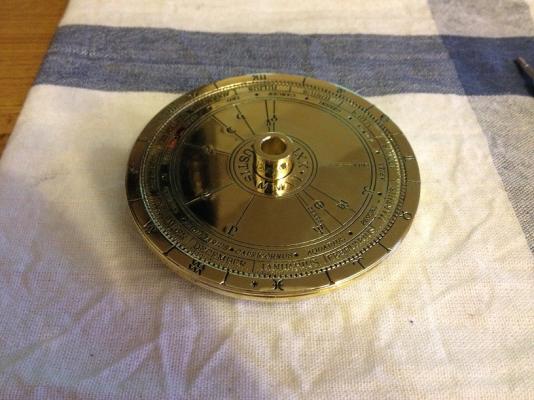
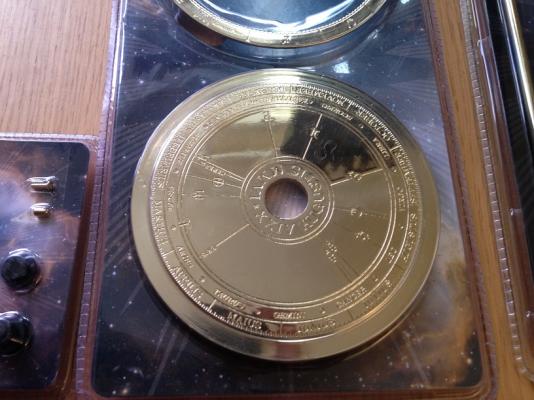
Repeated the boot polish treatment on the calibration ring and again happy with the results. The black really picks out the engraved details nicely.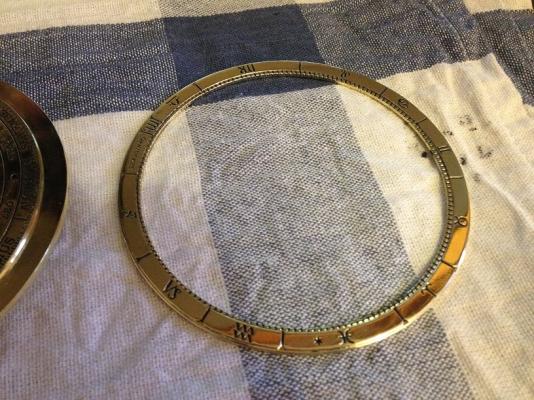
-
Mechanical Solar System by jim_smits - Eaglemoss
jim_smits replied to jim_smits's topic in Non-ship/categorised builds
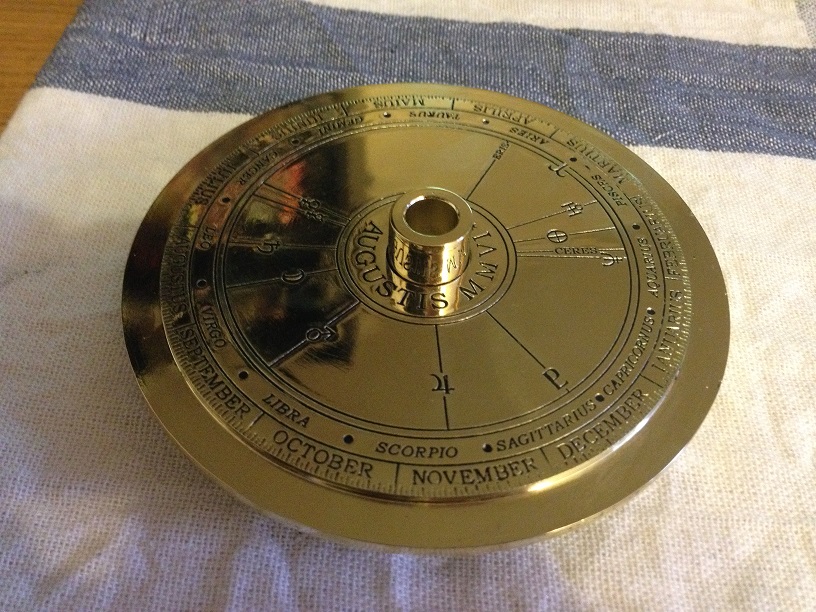
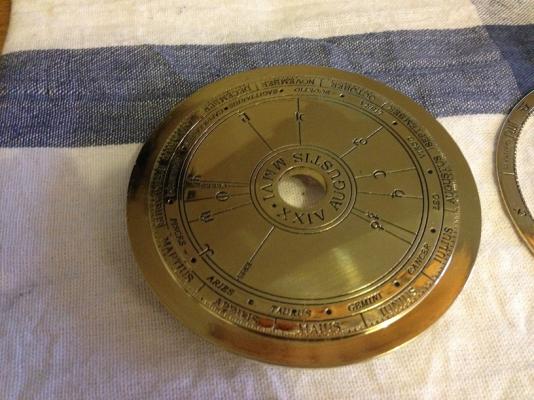
First step I have decided to take, after looking at some advice on Sky at Night forum, is to use boot polish to colour the etched markings in the base plate so that they stand out nicely. Bought a tin of black kiwi polish, and using my finger gently rubbed the polish into the engravings in the baseplate. Once an initial coverage had been applied I gently used a rag to wipe away the excess polish. I'm please with the result but I think it will probably require a couple more 'coats' to get full and proper coverage and get the best detail to stand out.
- 103 replies
-
- 10
-
-
Mechanical Solar System by jim_smits - Eaglemoss
jim_smits replied to jim_smits's topic in Non-ship/categorised builds
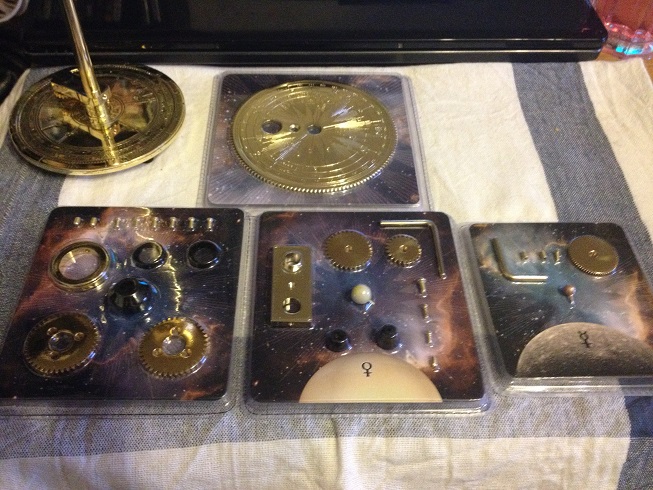
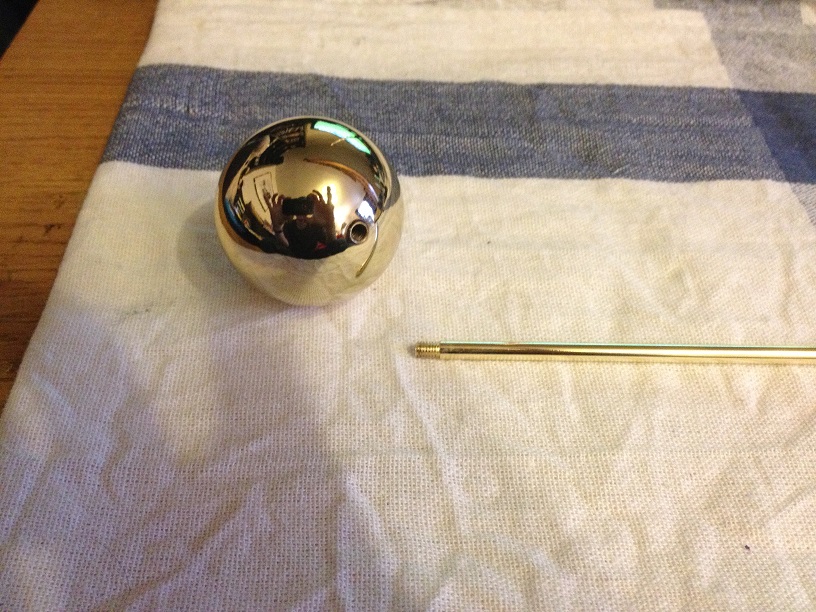
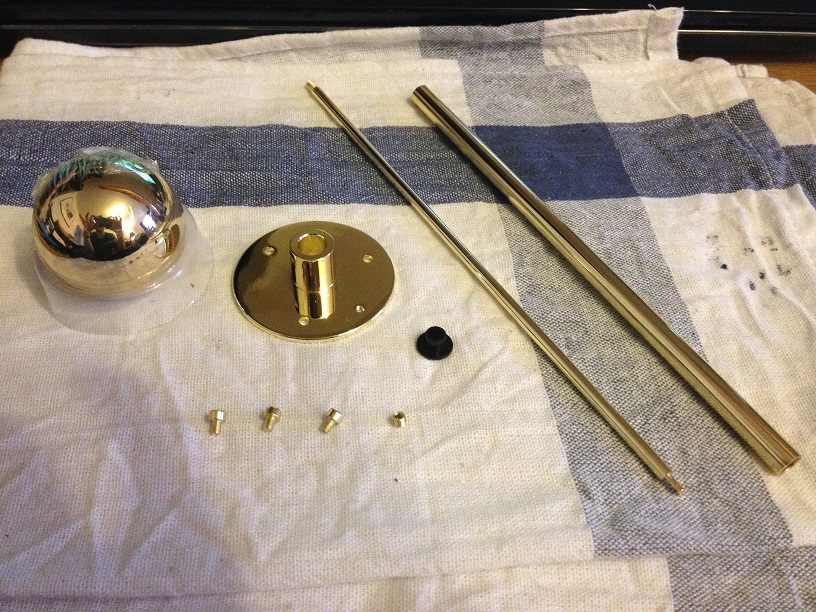
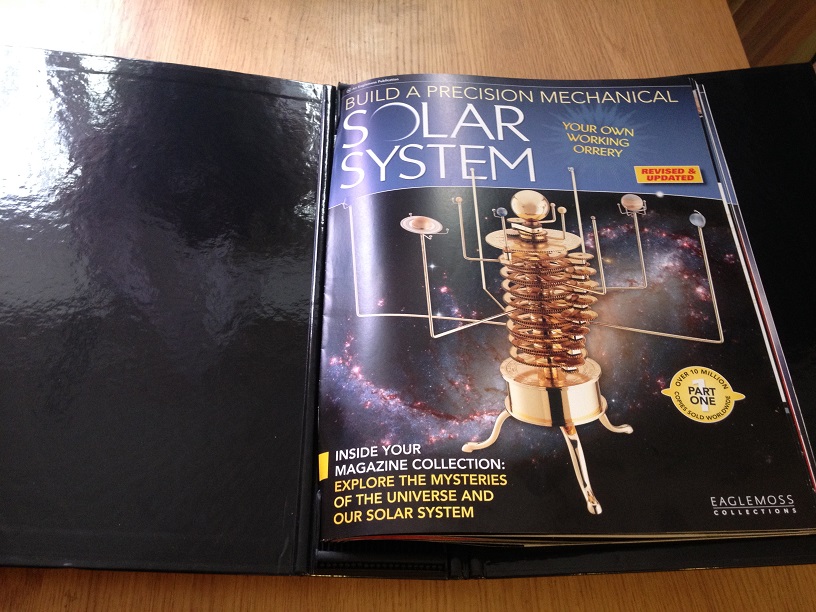
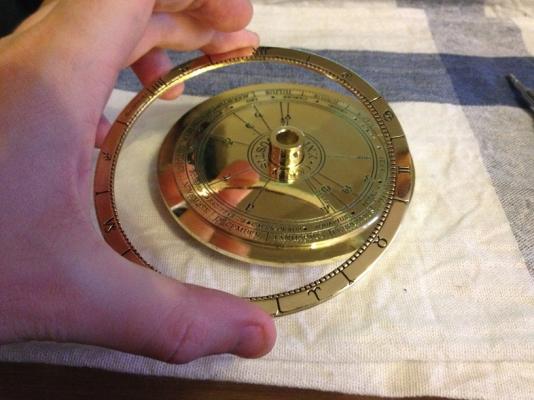
The package I picked up yesterday contained the first three issues and an introductory issue. Each issue comes with a selection of parts that gradually build up the orrery over the year, like the partworks Victory and Bismarck models. All the parts are either solid brass or brass plate, with a few plastic washers and clips. So far looks really good quality. The parts I have received are the baseplate and calibration ring, the central column and drive shaft, the Sun and the start of the drive section for Venus.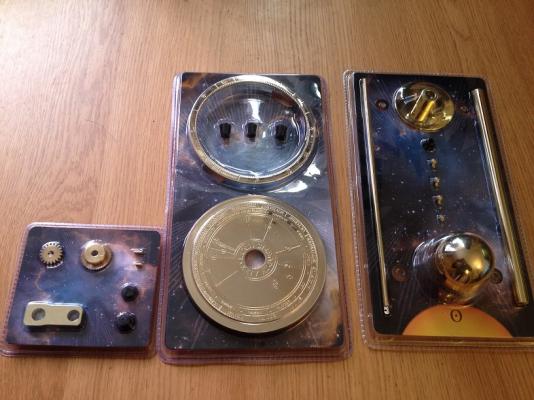
-
Hello all, I've just started collecting a partworks magazine to build a mechanical solar system, so I thought I would start a build log of sorts. Clearly doesn't belong in the ship build logs so I thought I would post it here in the Shore Leave section. Hope you all find it interesting. Its a weekly magazine by Eaglemoss, although they send out batches of four weeks at a time, and should take around a year to complete. I picked up my first batch today.


- 103 replies
-
- 14
-
-
Looking really good Jason. I think we've all discovered errors after the fact. I've just found out I forgot to add the top gallant stays to main and fore masts and now I have to sneak them in amongst the running rigging.....
-
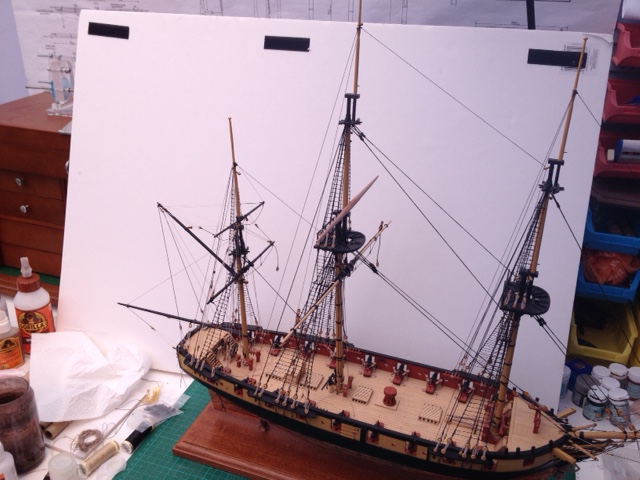
Well, I am still beavering away at my build but I have been very slack in updating my log. In all probability is due to the fact I ant be bothered tidying away everything to take images but I shall endeavor to keep you all updated a bit better....! Anyway. I have added spars to the mizzen and got a good deal of the running rigging in place. I have now moved onto the main mast and I have finished the main sail spar and currently working on the main topsail spar. Find this stage to be lots of mini projects and then putting it all together. Feel like you're not making progress and then suddenly it surges ahead. Quick teaser image. Hope fully more updates to follow in the days ahead.....

- 412 replies
-
- 9
-
-
- snake
- caldercraft
- (and 1 more)
-
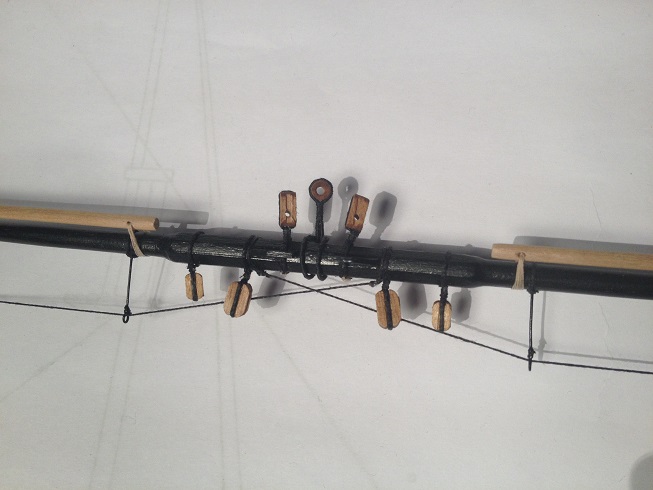
Hi Jason, Best of luck with your rigging. I really ought to post some updates to my build but I am rigging from stern to bow currently. This may or may not be a good idea but I will find out in due course. The main thing I have learnt in this process is all of the extra blocks that need to be rigged to the masts that are not shown on the mast plans, Consequently I am having to add them in situ and this is not too easy. I've got the mizzen 95% rigged with boom and gaff and have now added the main yard with the jeers and slings. Not encountered any major problems with the order I am proceeding but as pointed out by Mike, planning my belaying order would help matters....
- 800 replies
-
- 1
-
-
- snake
- caldercraft
- (and 1 more)
-
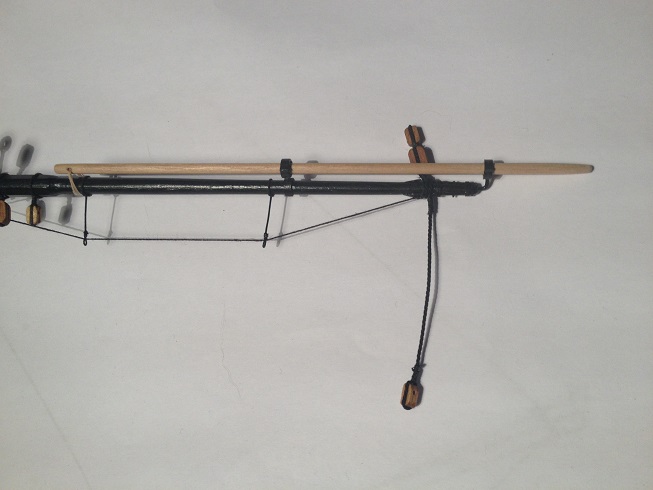
Been working on and off for most of the week but nothing really exciting to report. Another lesson learned about looking at all the plans in advance. Started studying the running rigging plans and the second sheet has a series of blocks stropped to the masts for use with the spars. I have now installed all these extra blocks but been a pain in the butt with all the standing rigging in the way. Would have been nice if caldercraft included these blocks in the mast plans. In addition to this the rigging plan for the boom includes a double block stropped to an eyebolt in the deck near the bulwark. Again, a touch irritating to install with the standing rigging in place. Question for knowledgeable people: What is the best order to rig? Boom and gaff first then the spars or vice versa? I don't want to create issues for myself further down the line.
- 412 replies
-
- 3
-
-
- snake
- caldercraft
- (and 1 more)
-
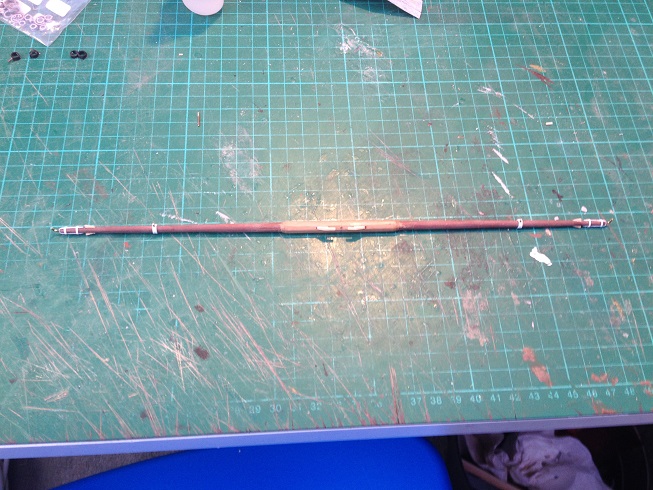
I found I struggled to keep the spars evenly shaped when using a david's plane so figured the best way would be turning. Turning by hand took forever and still introduced some errors, so found using the drill lathe pleasantly easy, if a little noisy......
- 412 replies
-
- 2
-
-
- snake
- caldercraft
- (and 1 more)
-
Cheers carl. Yes, used the lathe and dremel with a sanding barrel. Still haven't got round to fitting the check and bearings so I simply passed the end of the yard through the end plate. I had deliberately cut a few cm extra on each side to allow this. Seemed to work ok.
- 412 replies
-
- 1
-
-
- snake
- caldercraft
- (and 1 more)
-
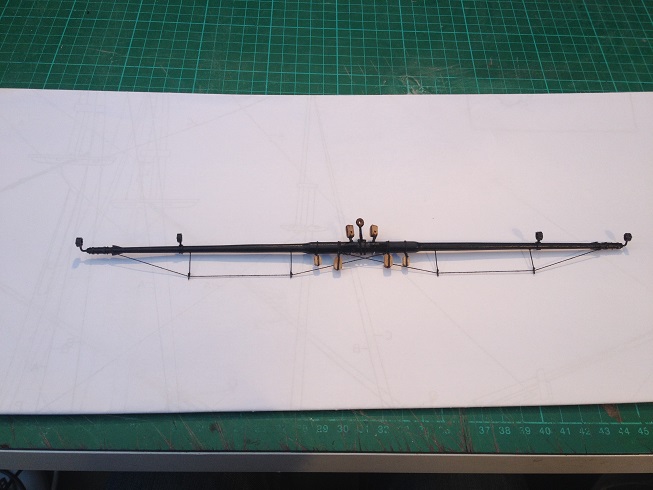
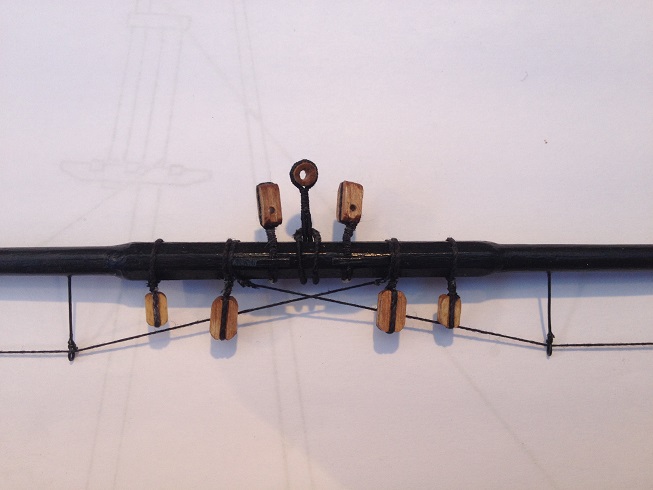
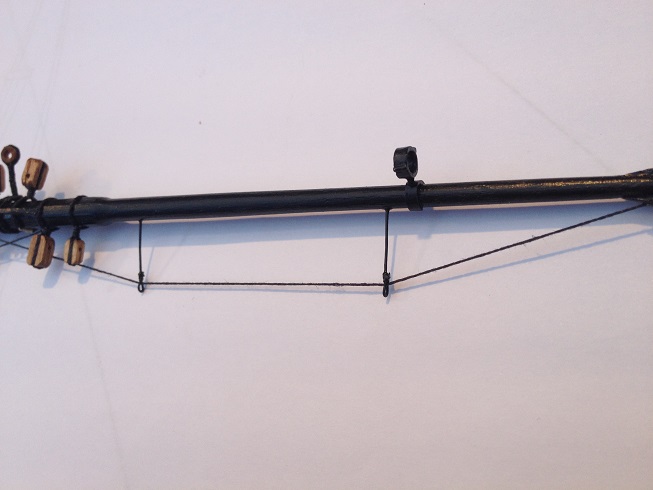
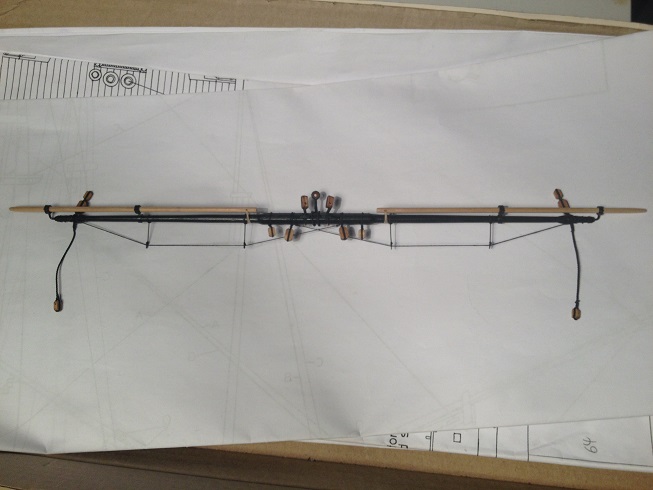
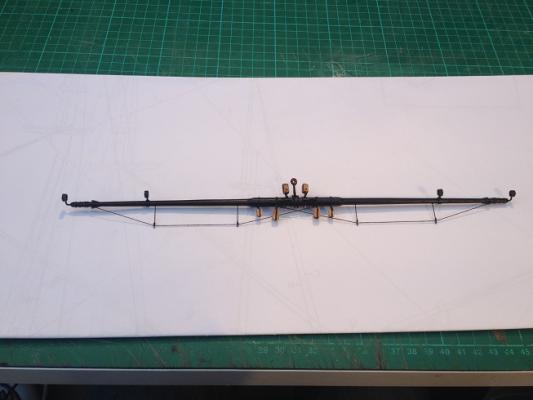
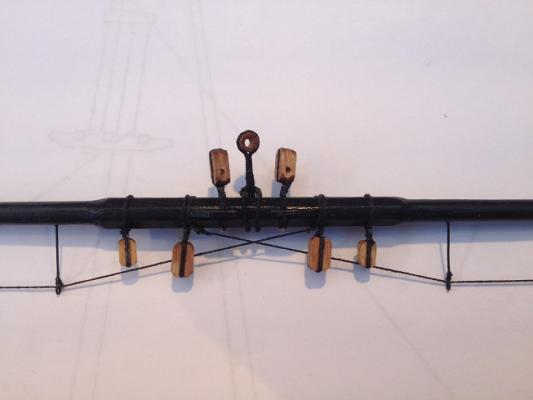
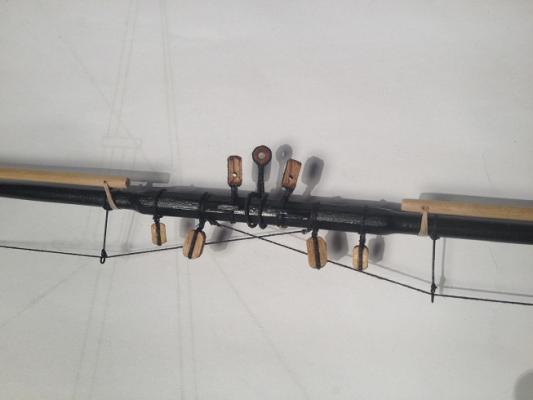
Time for another update. Spent the last week putting together the finishing touches to the main yard. Simulated the footropes by creating stirrups from a lengths of brass wire and a false seizing using guttermann thread. Finally added the footropes themselves using thread. Served a length of thread and seized the ends together to create a loop for the sling. Also seized two jeer blocks to the yard, in addition to all of the other various blocks. Finally, added the stunsail booms and tied them in place to the yard.


- 412 replies
-
- 7
-
-
- snake
- caldercraft
- (and 1 more)
-
Hi Stergios, No after market fittings, just some styrene and basswood to create the cleats. Jim
-
https://www.youtube.com/watch?v=6mXM-oGggrM&feature=player_embedded Although mine doesn't work fully yet.....
- 412 replies
-
- 1
-
-
- snake
- caldercraft
- (and 1 more)
-
Build is looking fantastic Eamonn. The finish looks excellent. Looking forward to the masts and rigging....!
- 1,039 replies
-
- 1
-
-
- ballahoo
- caldercraft
- (and 2 more)
-
Hello! Well after a fairly extended absence I am back. Just about finished my side project of a LED cube, so I have the work table back for ship building. Time to start working on the yards and started off with the main yard. Cut a length of 5mm dowel plus some extra. To form the octagonal centre portion I cut 8 lengths of 0.5mm by 3mm walnut strip. Trimmed and shaped the strips with a bevel and then added to the dowel with CA. Added detail at the ends of the yard with some styrene strip and brass wire. Still need to add the stunsail boom rings, and paint the yard. After that it is onto the fun of added foot rope and rigging.


- 412 replies
-
- 4
-
-
- snake
- caldercraft
- (and 1 more)