HOLIDAY DONATION DRIVE - SUPPORT MSW - DO YOUR PART TO KEEP THIS GREAT FORUM GOING! (Only 13 donations so far - C'mon guys!)
×


jim_smits
-
Posts
653 -
Joined
-
Last visited
Content Type
Profiles
Forums
Gallery
Events
Everything posted by jim_smits
-
 Bump! I only need issue 119. Any help? Thanks Jim
 -
Excellent work my friend!
-
Hi Stergios, Re Boomkins - can't honestly remember when I added them but I simply orientated them perpendicular to the hull and pinned in place.
- 1,144 replies
-
- 1
-

-
- snake
- caldercraft
- (and 1 more)
-
Wedding is 17th followed by mini break away until 25th. Proper honeymoon is then two weeks in November. It's all approaching fast....!
-
Quick update. Just managed to buy three of the four issues I am missing from a user on the Partworks Forum. Only missing issue 119 now! Other than that not a huge load of progress to update you all with unfortunately. I have replanked the stern area as the kit instructions created a highly exaggerated profile which just looked wrong. I need to re drill the port holes again and then look at using some styrene sheet to properly create the amour plating. Been a bit busy with wedding preparations to really do proper work and probably not much will get done for next three weeks or so.
-
Mechanical Solar System by jim_smits - Eaglemoss
jim_smits replied to jim_smits's topic in Non-ship/categorised builds
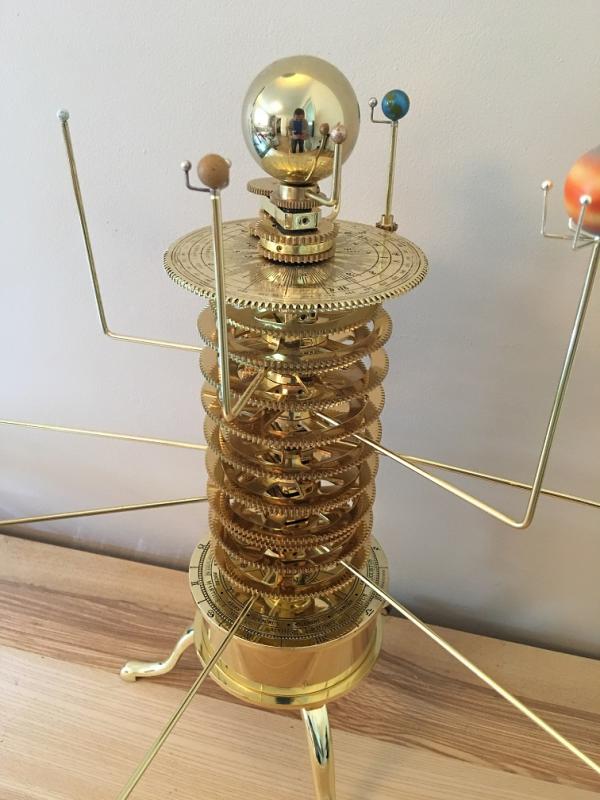
Finally received a replacement allan key to refit the planetary arms. Pugged the orrery into its power source and presto! www.youtube.com/watch?v=HRJ2Gw2hY8g- 103 replies
-
- 10
-
-
Mechanical Solar System by jim_smits - Eaglemoss
jim_smits replied to jim_smits's topic in Non-ship/categorised builds
In the meantime here is a picture of the second model that will be made.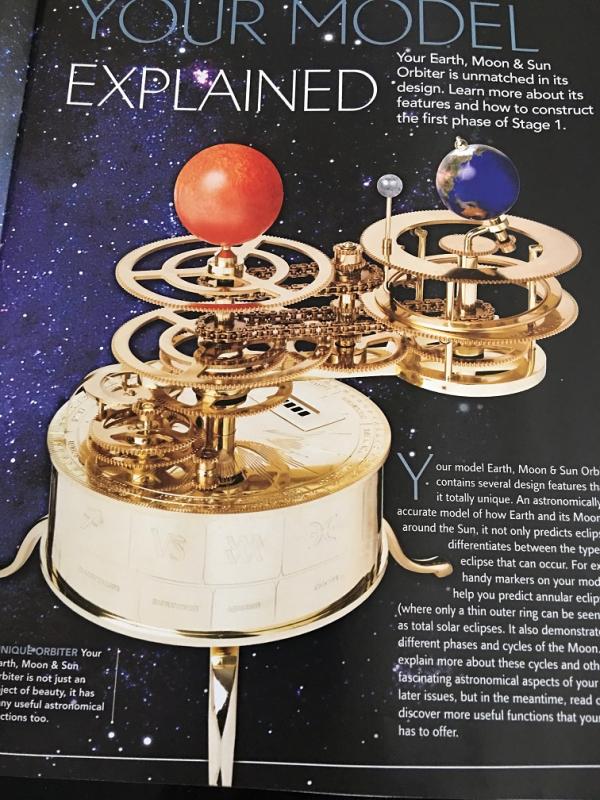
-
Mechanical Solar System by jim_smits - Eaglemoss
jim_smits replied to jim_smits's topic in Non-ship/categorised builds
Sorry for the minor tease but no video for a couple of days. I stripped the entire model to sort out any loose fittings and my cheap nasty Allen key stripped slightly and so I can't fit the planet arms back on. Most of the mechanism can be made with the decent screwdriver Allen and torx adapters that I have but they are simply to short and fat to reach the inner mechanism to fit the planets. Mail order on its way...... -
Mechanical Solar System by jim_smits - Eaglemoss
jim_smits replied to jim_smits's topic in Non-ship/categorised builds
Thanks for likes everyone. I'll post a video tomorrow of it working, just go back from my stag. Also just received the first new parts for the second model in the series, which is a luminary and looks excellent. John - not sure where you are but often kits are sold on eBay in partial or complete sets. Druxey - it will eventually have its own dedicated shelf put up but I don't think a case will be made as the circumference of the model is enormous! -
Good to see you back on the build mate! The tackle for the guns always did seem very fiddly!
- 1,039 replies
-
- 1
-
-
- ballahoo
- caldercraft
- (and 2 more)
-
So that's what a beef Wellington looks like....!
-
Mechanical Solar System by jim_smits - Eaglemoss
jim_smits replied to jim_smits's topic in Non-ship/categorised builds
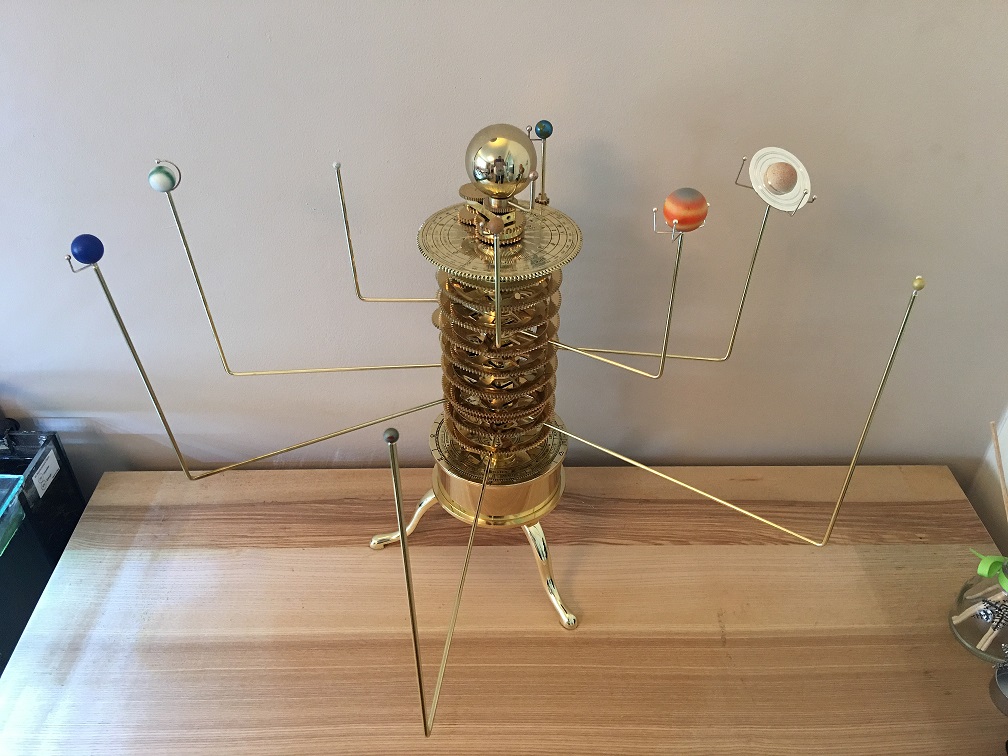
Hi, I'm rapidly nearing the end of the build now. Had a two months of magazines delivered in one go and this has brought to within one issue of completion. All the planets/dwarf planets/minor planets are now in place with the final addition of Eris after Pluto. Also received the motor and gearing system, brass casing and three legs. The only piece now missing is the adapter and plug socket to actually get the unit powered up. It looks cracking though at the moment even when it isn't moving. I will probably disassemble the entire thing and tweak fitting of the plastic washers and gears to ensure smooth operation. Once I have received the adapter in a week or two I ill upload a video for your viewing pleasure.
- 103 replies
-
- 21
-
-
Sandwich Islands....!
-
Prepare PE for painting
jim_smits replied to cog's topic in Metal Work, Soldering and Metal Fittings
I like the blacken-it tip. Be almost like a layer of primer for the brass and I will have many tiny parts on my Hood build. -
Excellent work Jason! So noted for when I take on my next tall ship.
-
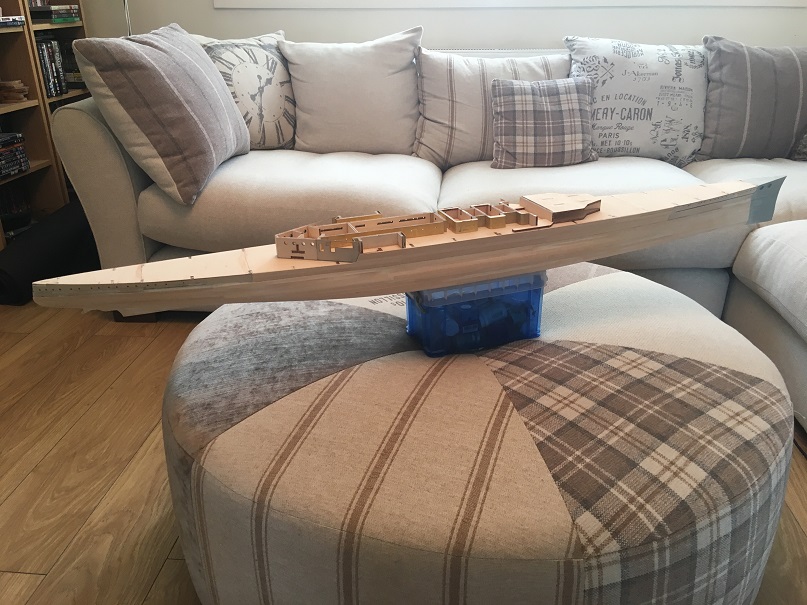
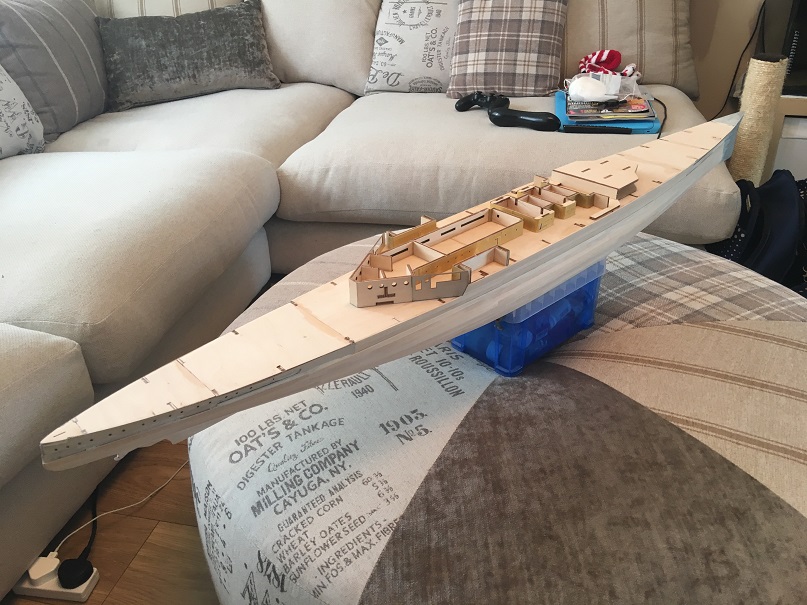
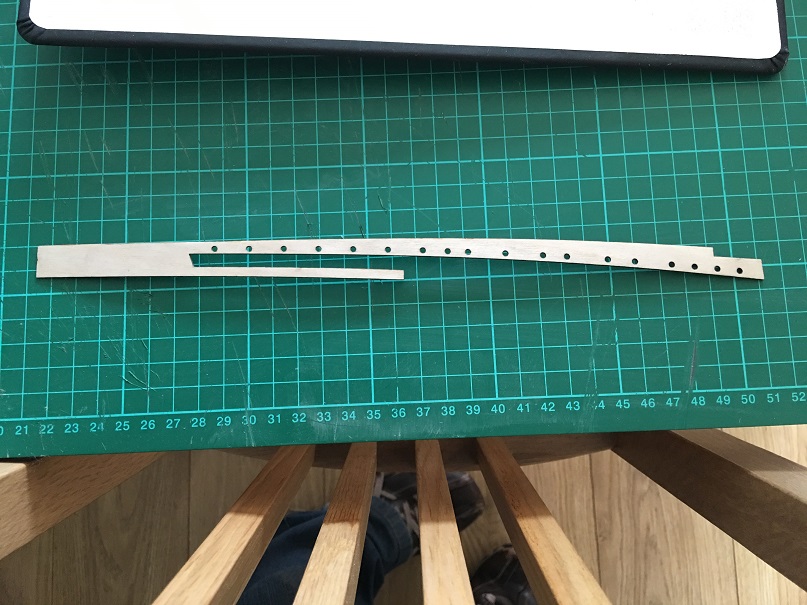
Hello all, It's been a little while so apologies everyone. Very busy with work and life but I've been chipping in with 30 mins here and there most days. I've gone slightly off the order of the magazines and skipped to issues 70 odd to pick up the bow pieces and finish the second planking upto the superstructure. Done huge amounts of sanding and filling and there is a fair bit to go as there are still some bumps and dips to sort before even considering painting. Will also be adding a couple of soaks of diluted PVA to really set the second planking solid and avoid any little chips and dings. I also now need to start looking at the details of the hull and check the dimensions and plating etc. Want to be able to adjust now before too much else has been added. Finally started adding some of the superstructure along with starting on adding some of the photoetch brass. I want to be able to get to the point where the hull and the first layer of superstructure are ready at the same time to be painted all in one go. After that decking and additional details can be added and the decks built up.

-
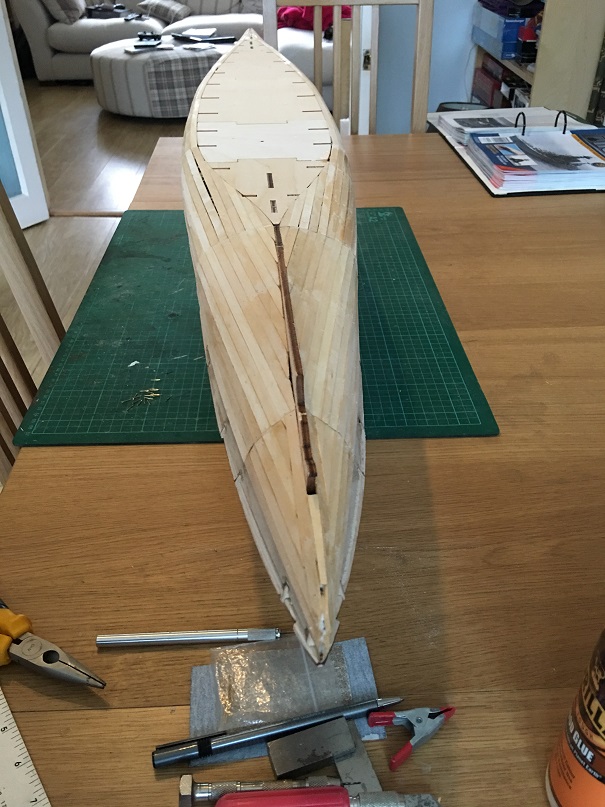
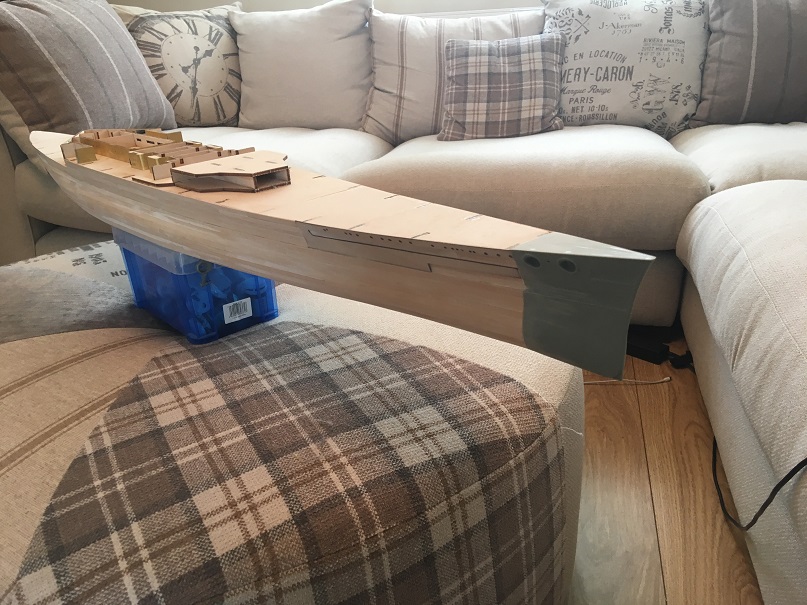
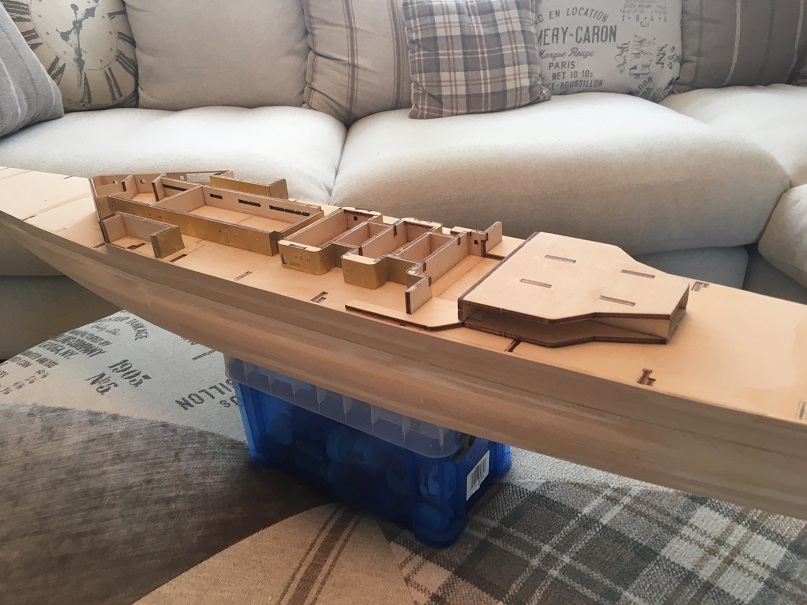
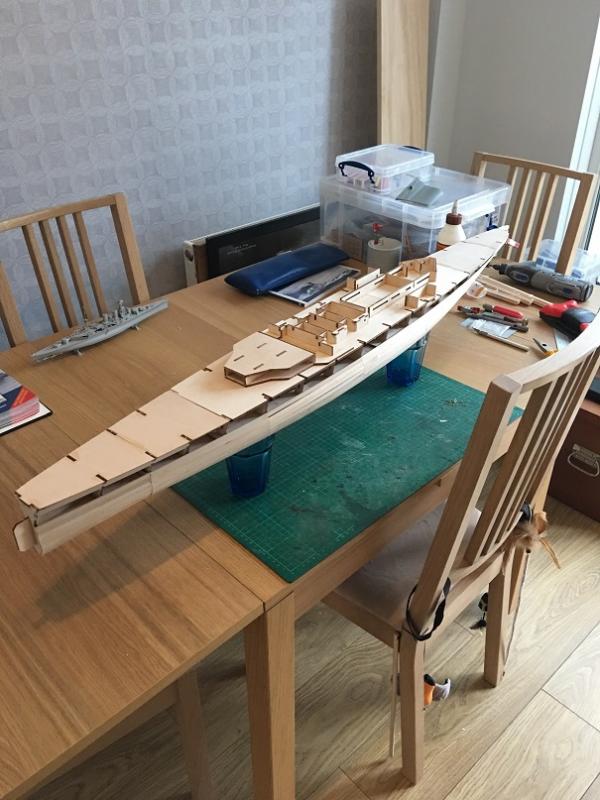
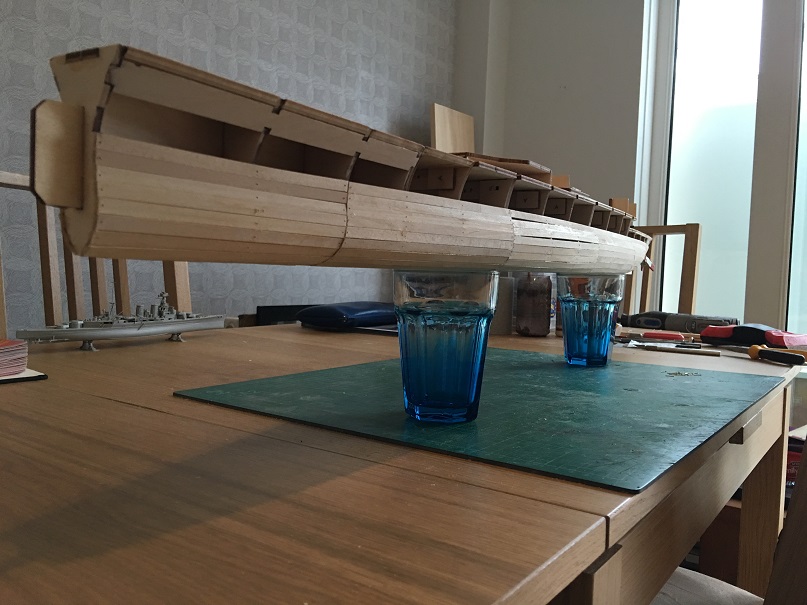
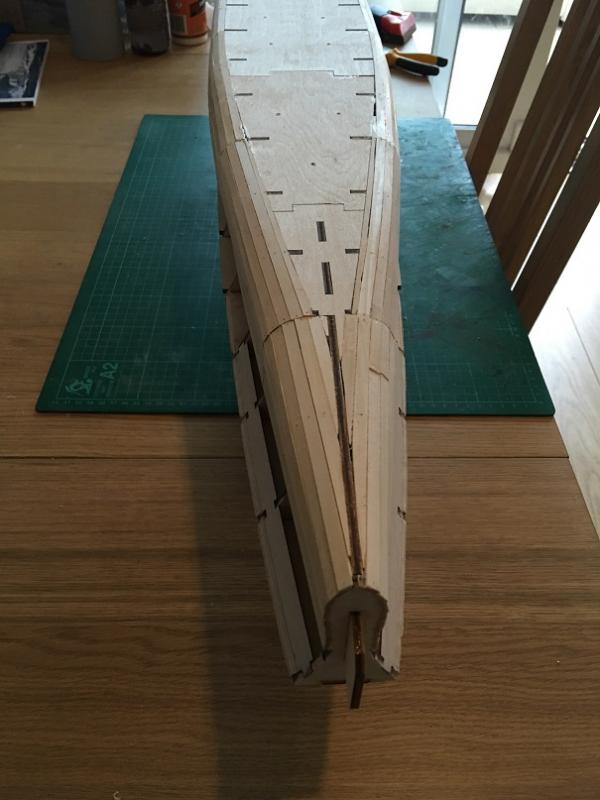
Just to update with some images on the stern area. So first image shows the stern as is, with the first layer of planking in place. The second is the laser cut ply piece in place and the third is the piece in isolation. I need to get hold of some elastic bands and dunk the piece in hot water and get it shaped correctly before I attempt to get it positioned properly and glued. In addition the deck is slightly flush of the frames and where the ply piece would be once it is glued, so need a good sanding down to get the correct height. I really need to start getting the AOTS book out now and start checking the pieces for some accuracy. I'm early enough in the build that I can alter the ship by amending the way I plank and how much sanding and filling is used. Time to get the digital caliper out....


-
Not a large update unfortunately, been busy with work and other commitments but some further planking and filling managed. Next step is to add some laser cut pieces to form part of the bow and stern. I'll add some pictures this weekend. One other update though is that I have managed to order issue 139 & 140 from eBay this morning. Bit pricey but I don't think I can be picky at the moment. Only 119, 132, 134 and 138 to go......
-
I've done a monster session of sanding and filling gaps with PVA. The mix of wood dust and PVA have made for an excellent filler and the hull feels reasonably smooth. It's nowhere near a paint ready surface but given there is a second planking to go it is more than ready for that next layer. I just need to crack out the dremel to finish shaping the deck edges and I can get cracking with the second planking.
-
I've tried the method before with success. The main idea is to soak into the planking and Solidify any remaining gaps, and then a quick sand down to prep for the second planking. The PVA should have no problems binding the second planking.
-
Hi all, It's been a busy couple of weeks both in and out of the shipyard but managed to put in at least a half hour session each evening and some more at the weekends. Next major milestone has been reached and I have completed laying the first planking layer bringing me up to the end of issue 28. Given that there will be second planking over the top I have not been spectacularly precious about making the planking flawless and fit with no gaps. Therefore it has been pretty easy to complete without shaping of planks. However, given the hull is fairly simple anyway it hasn't been an issue and it has been nice to not have to constantly reshape planks and fit stealers and drop planks. Next step will be a combination of a LOT of sanding and filling the gaps with PVA. My thinking here is that the sanding dust should mix nicely with the PVA in gaps to effectively fill them in. After that I will paint the entire hull in a PVA-water mix to strengthen the planking. This should give a solid hull ready for second planking. Hopefully tomorrow wont be as wet as today and I can make a start on the sanding.


-
Not a lot of progress to report from last night. I am now in the prep stage for planking the hull, so lots of sanding of frames to allow smooth flow of planking, and sanding of the deck pieces back to the frames. Even with a sanding block this is taking forever, so I might just bust out the Dremel (if I can find it since moving) and get that to do most of the hard work. Anybody live in Germany? Apparently Hachette are doing the Hood magazine in Germany now.... Anyone able to find out?
-
To slightly paraphrase Chief Brody - We're not going to need a bigger boat.....