HOLIDAY DONATION DRIVE - SUPPORT MSW - DO YOUR PART TO KEEP THIS GREAT FORUM GOING! (Only 13 donations so far - C'mon guys!)
×


Jasseji
-
Posts
604 -
Joined
-
Last visited
Content Type
Profiles
Forums
Gallery
Events
Everything posted by Jasseji
-
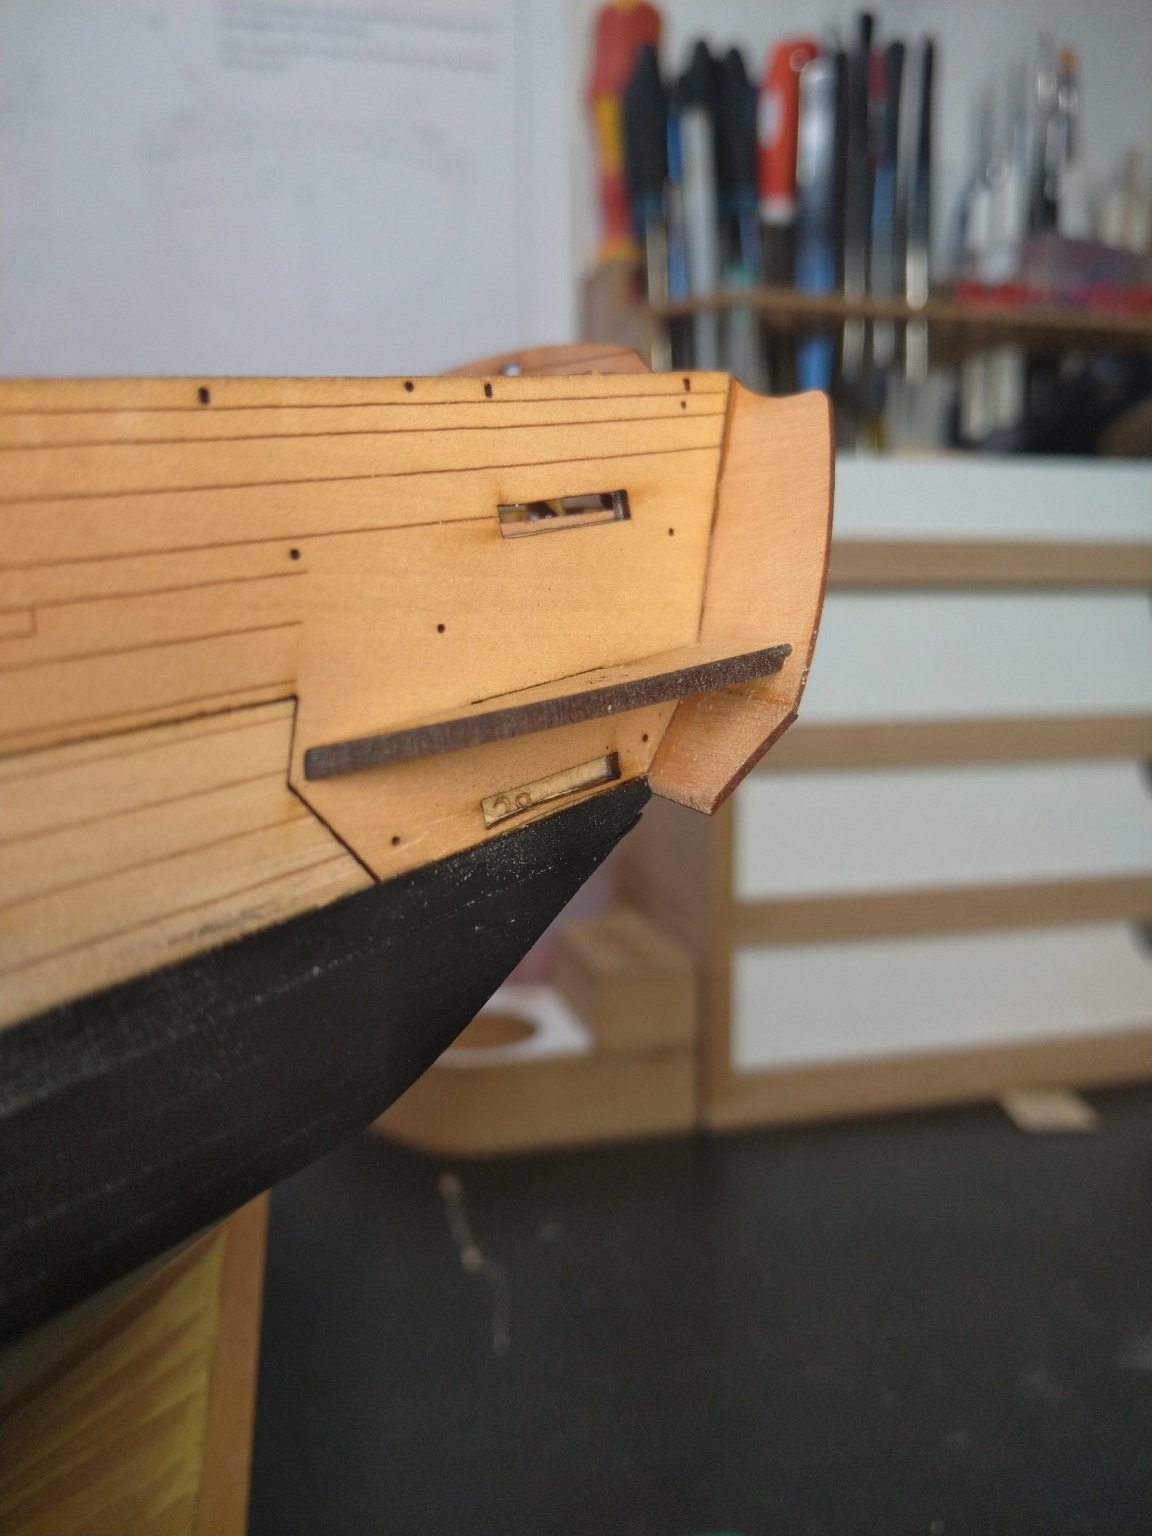
 wait, but your stern fascia is exactly how mine is, now i dont understand completely
 -
wait a sec, lower counter was until the 1st nicks in the stern timbers, upper counter covered the 2nd nick after fitting the counters it looks exactly as in step 197 my upper counter and upper inner fascia are on CA i dont understand how extending the lower counter should help at this stage
-
awww crap, i used CA to glue the Stern Fascia......... also, i already glued one gallery before noticing that. I'm used to follow instructions step by step, and the note about the 2-3mm is on the next page 😕
-
Wait a sec, should the Stern Fascia be higher ? @James H

-
Looking at the Trinc tho (i know she is a later ship) the coppering goes very high, in case of the Sphinx if you go that high, it would cover all of the 2nd Planking:
-
That's the other thing i am thinking about, but coppering wouldnt cover up to the stern counter (or would it ?)
-
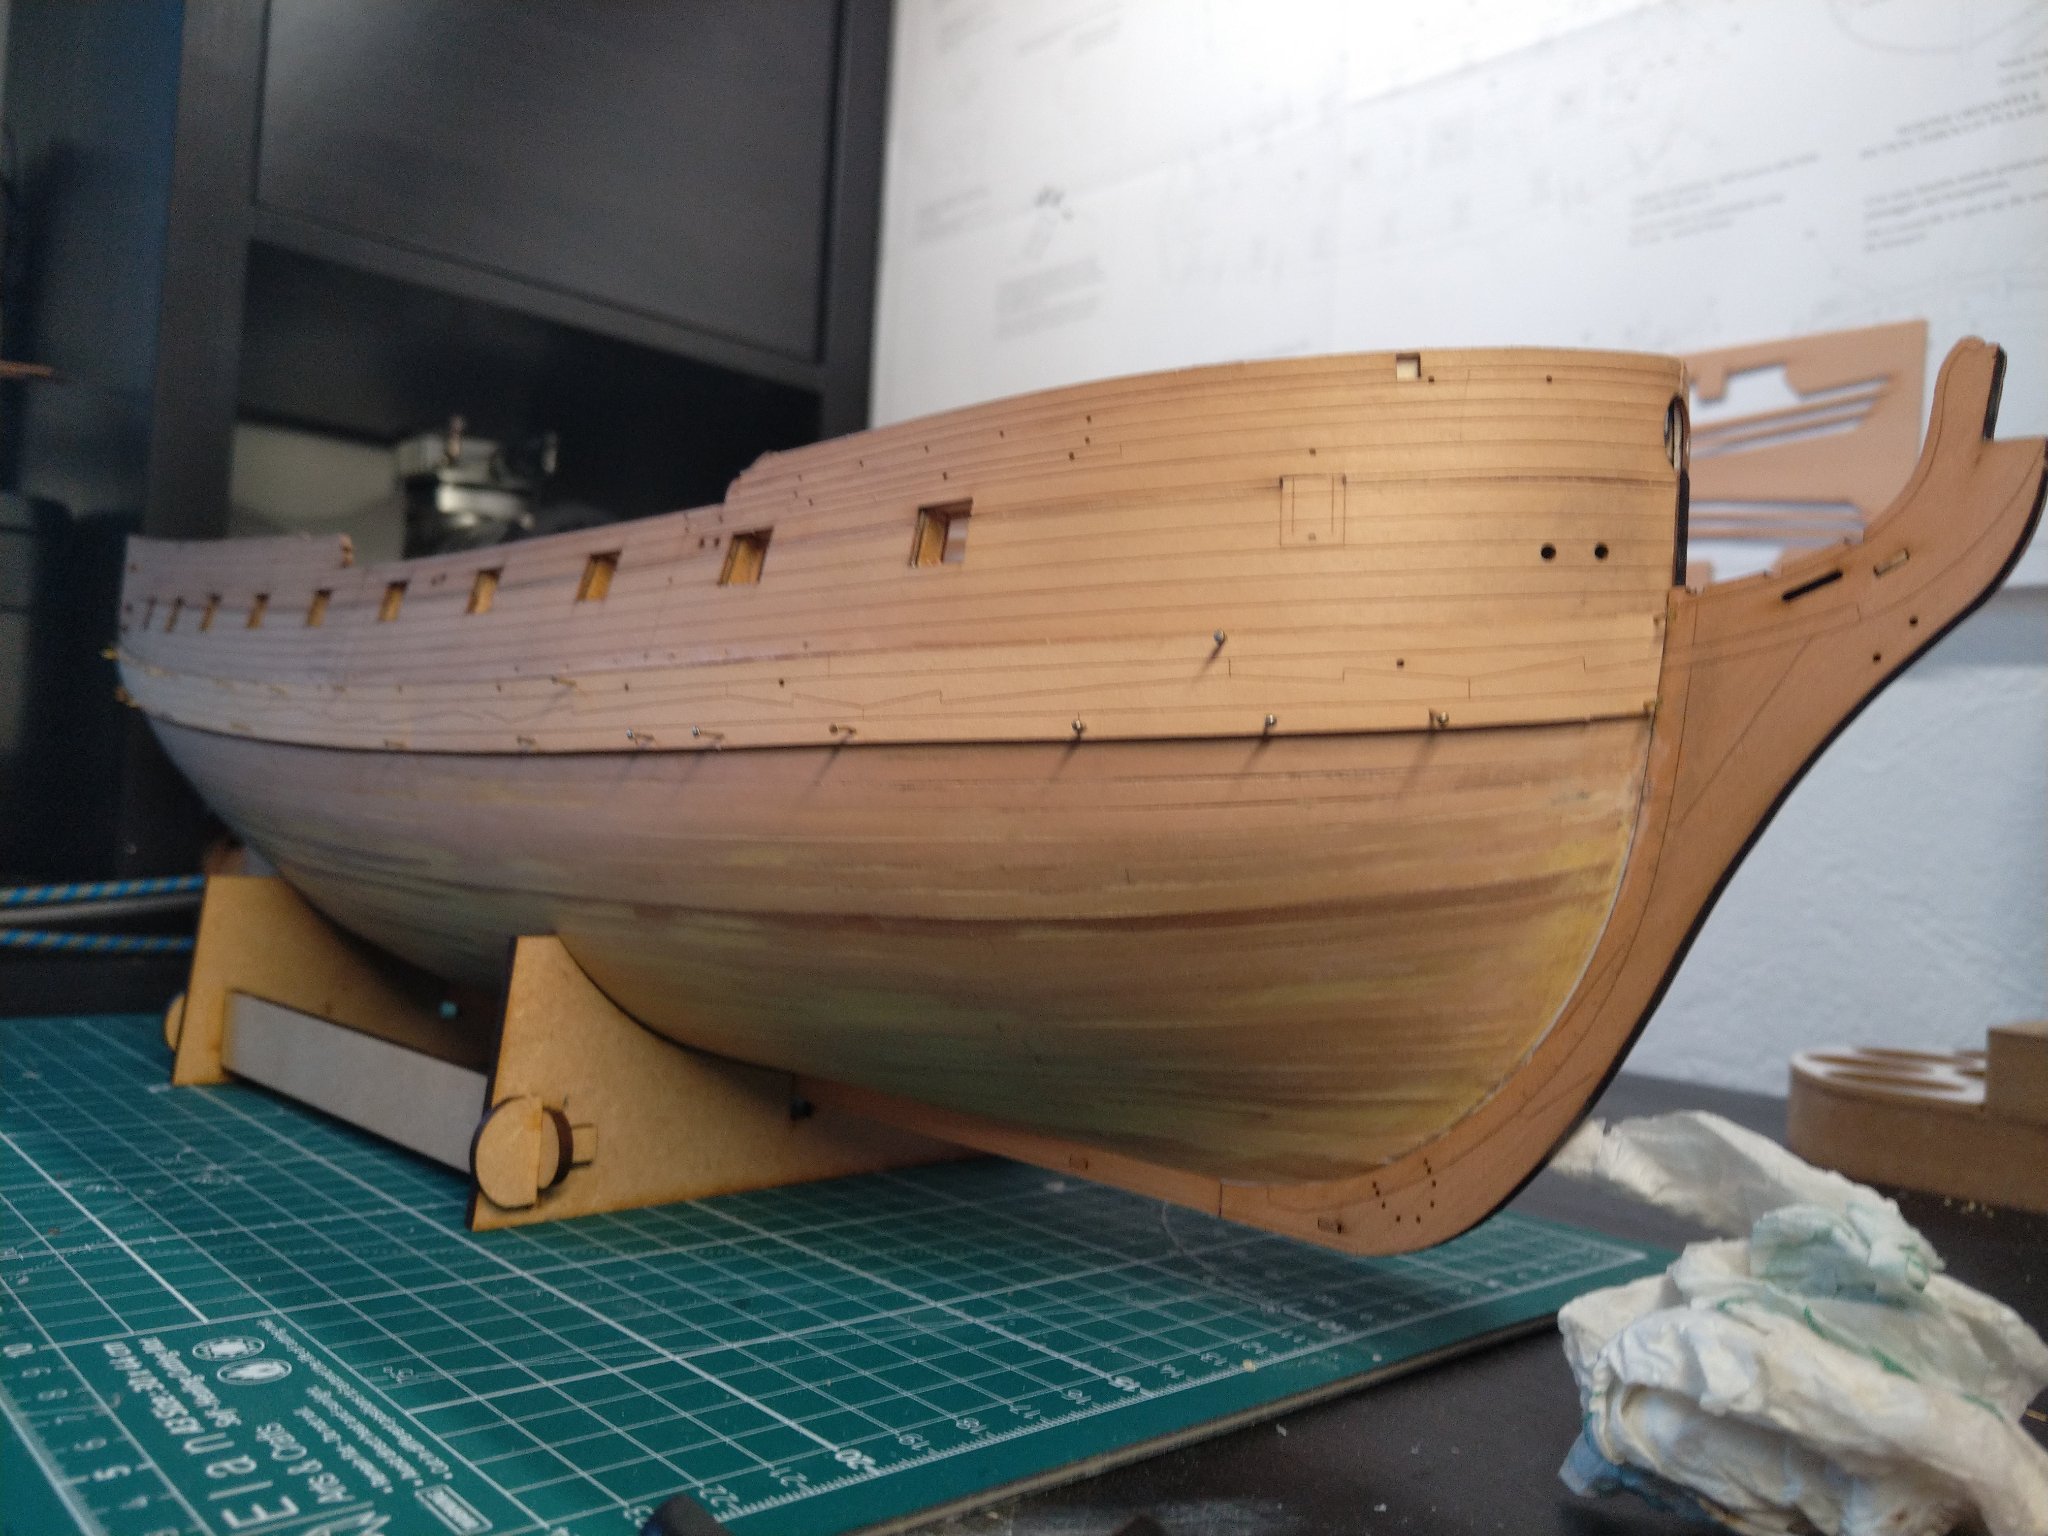
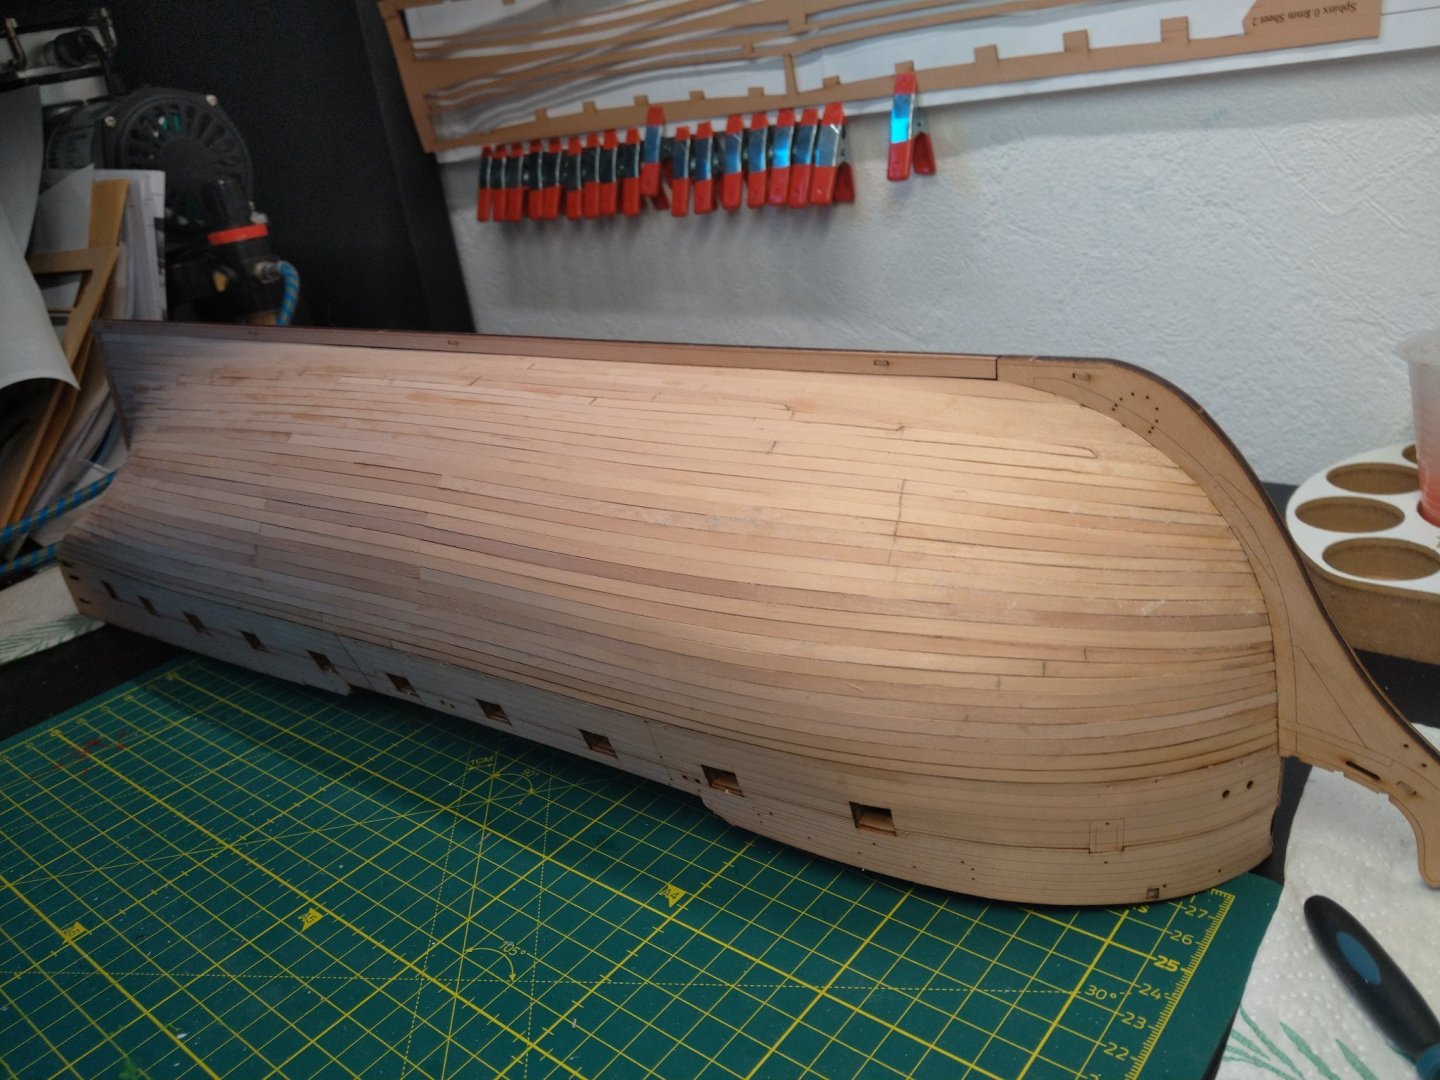
She's looking what misfit she can do, forgot already the scare she got when she fell with the box... Ye, the black wale really adds to the model, this is the port non-display side, moving on to the other but i am already considering if i wouldnt want to paint the whole area below the wales white (there are some places especially at the stern which i dont really like and would prefer to cover them up)
-
Witaj Adam, i am from Krakow but i moved to Germany a few years ago
-
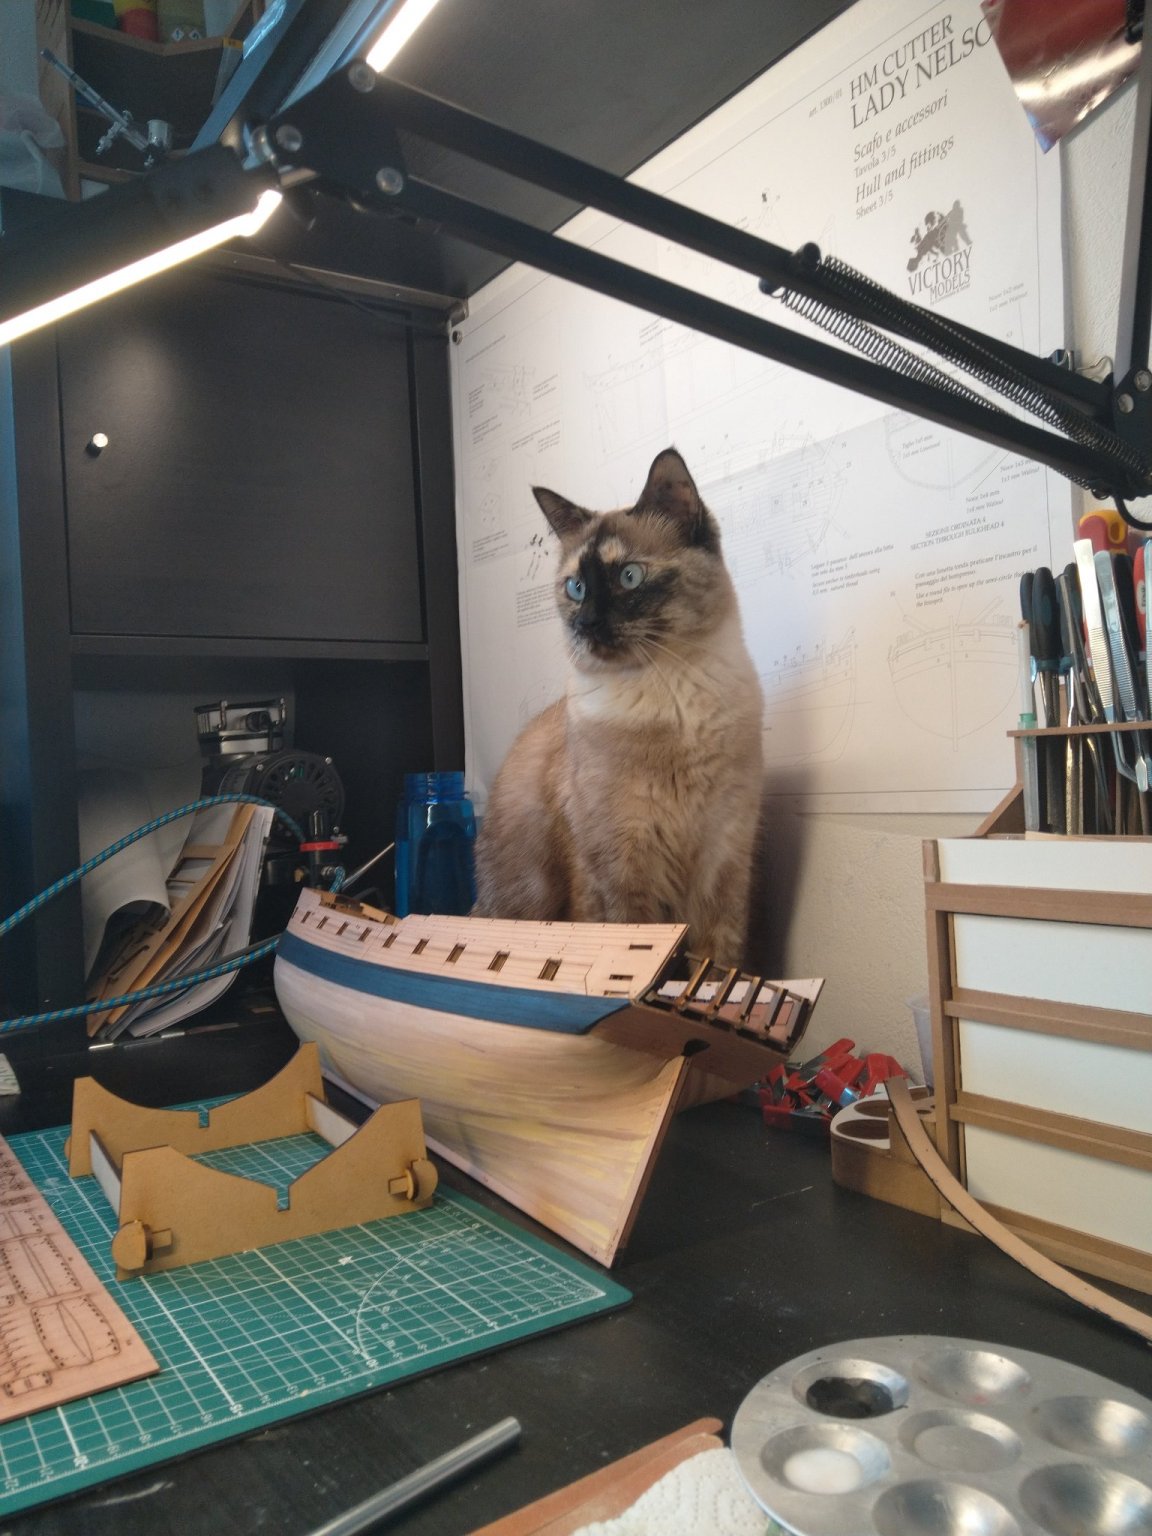
The Moment she starts burning stuff, I'll burn her own fur, That should keep her from ideas
-
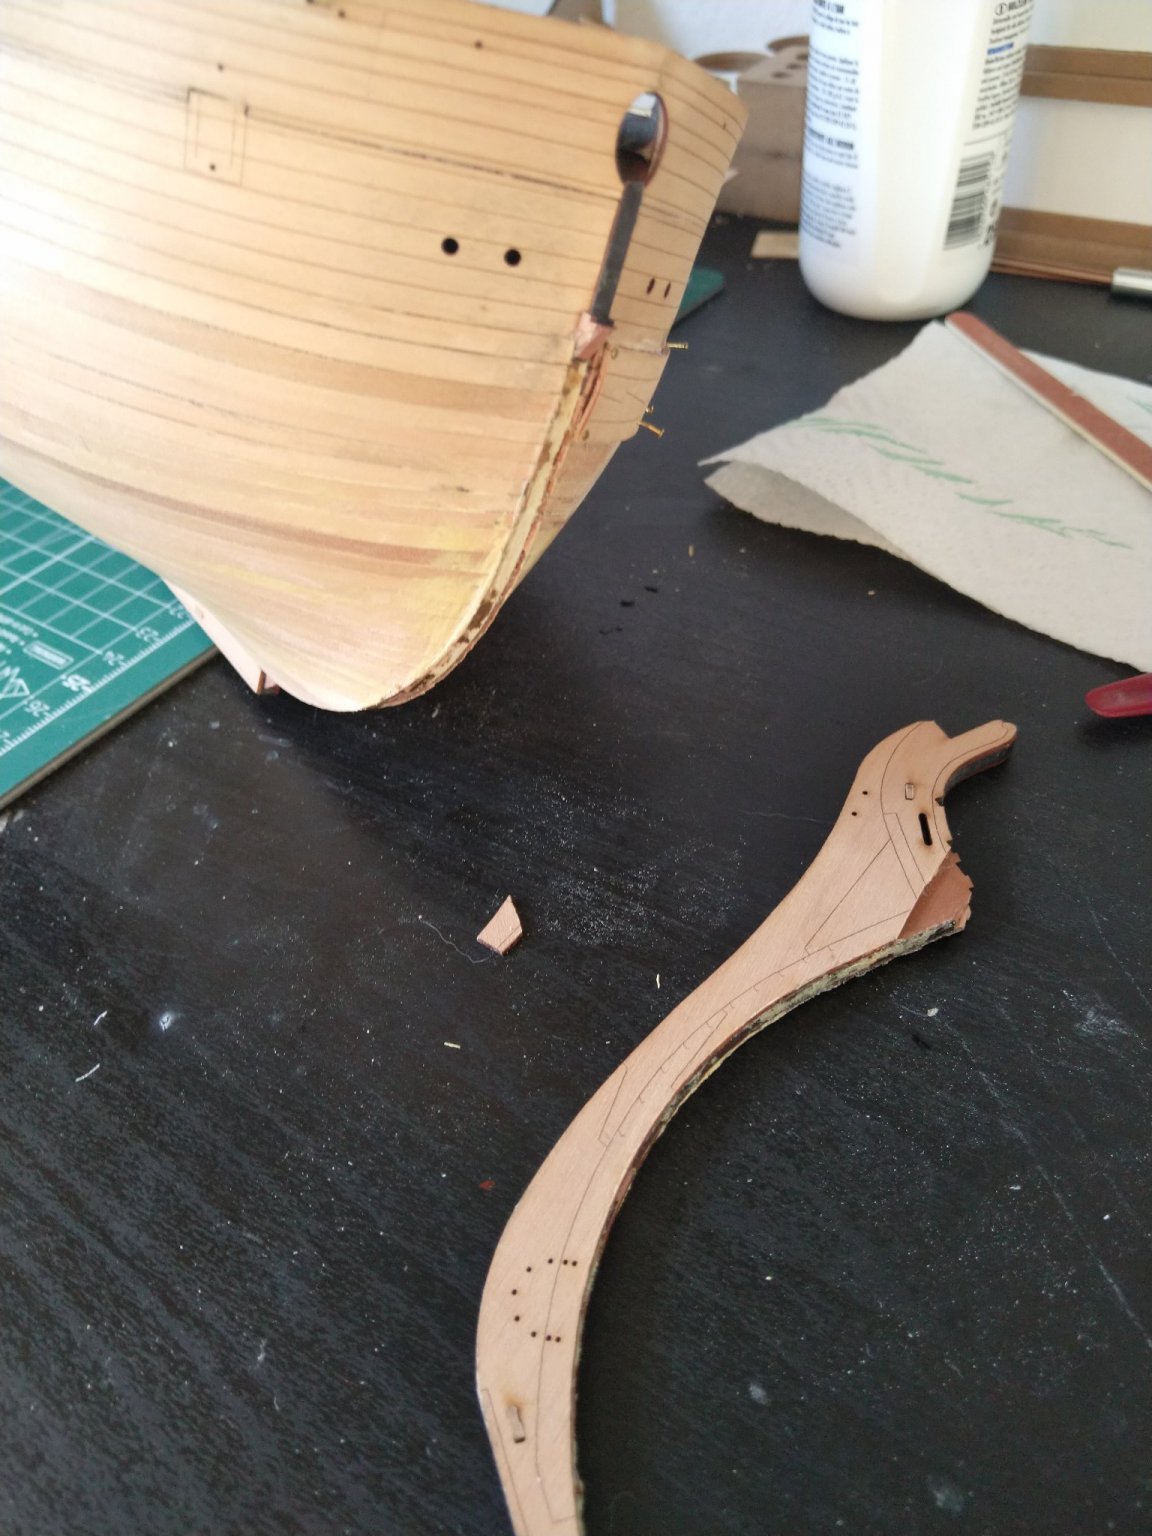
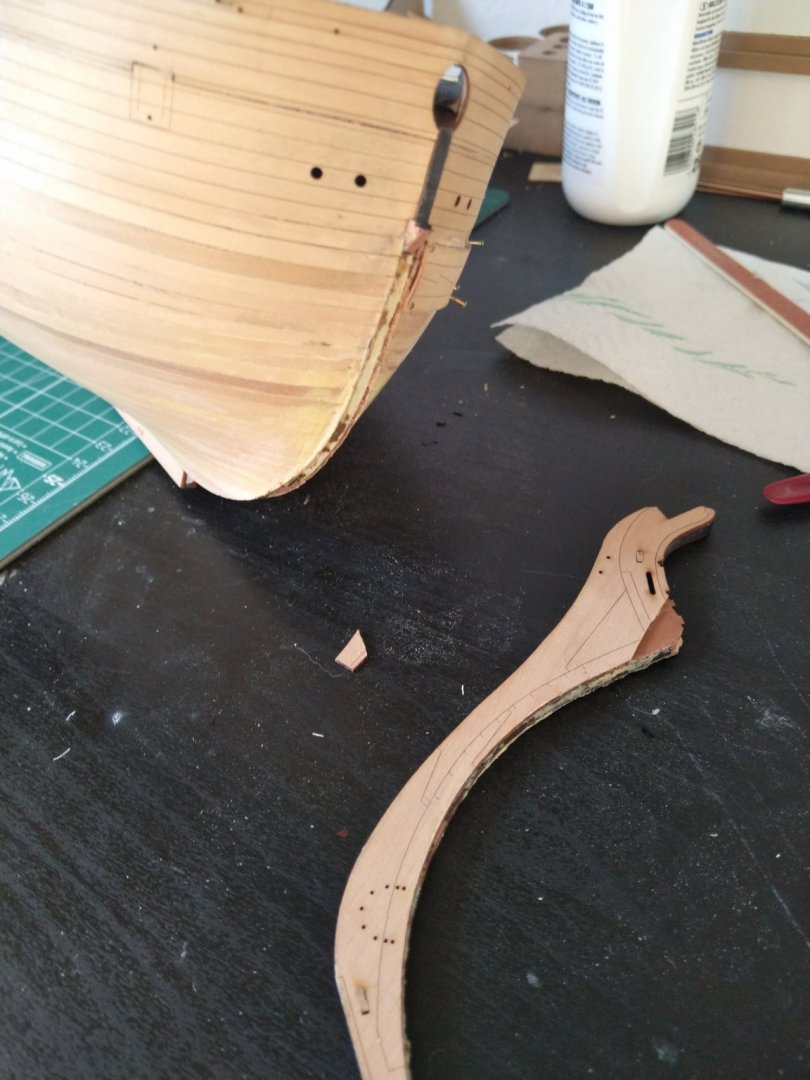
yes, it broke off cleanly, only real damage is the laser-engraved patter on the port side, but i was able to glue it back on and the joint isnt visible. I also did an inventory of the Box contents to see if nothing was damaged, a single plank was indeed from the 22-foot boat but the damage is minor - phew My new 300eur PC/Phone headset wasnt that lucky, it sports some nice scratches now... wales pinned in place on both sides, starboard side looks better (and this is my "display" side) Waiting for CA gel delivery and will let the patterns dry out through the night
-
The cat just threw down the heavy box with all the Sphinx pieces down from the shelf while i was pinning the wale... On the other hand, i did manage to pin the wale pattern in place after having soaked it extensively, i hope i can get all pins out
-
Thanks @chris watton and @James H i will try again to soak and bend, if it doesnt work with just the provided pinholes, i'll add more (although i was hoping to avoid those ugly holes)
-
I understand But that much? It seems to me that that those parts should almost be straight otherwise the bottom Lifts off the hull when I try to force it in place. I will try to re-soak it tomorrow and maybe use an iron to heat it when in place
-
To ilustrate my problem, this is how the pieces seem to Want to be when lied flush to the hull:

-
Yup, Amazon order placed, 2 days waiting. I'll have to re-soak those wales and try to bend them different (actually, seems i need to straighten them)
-
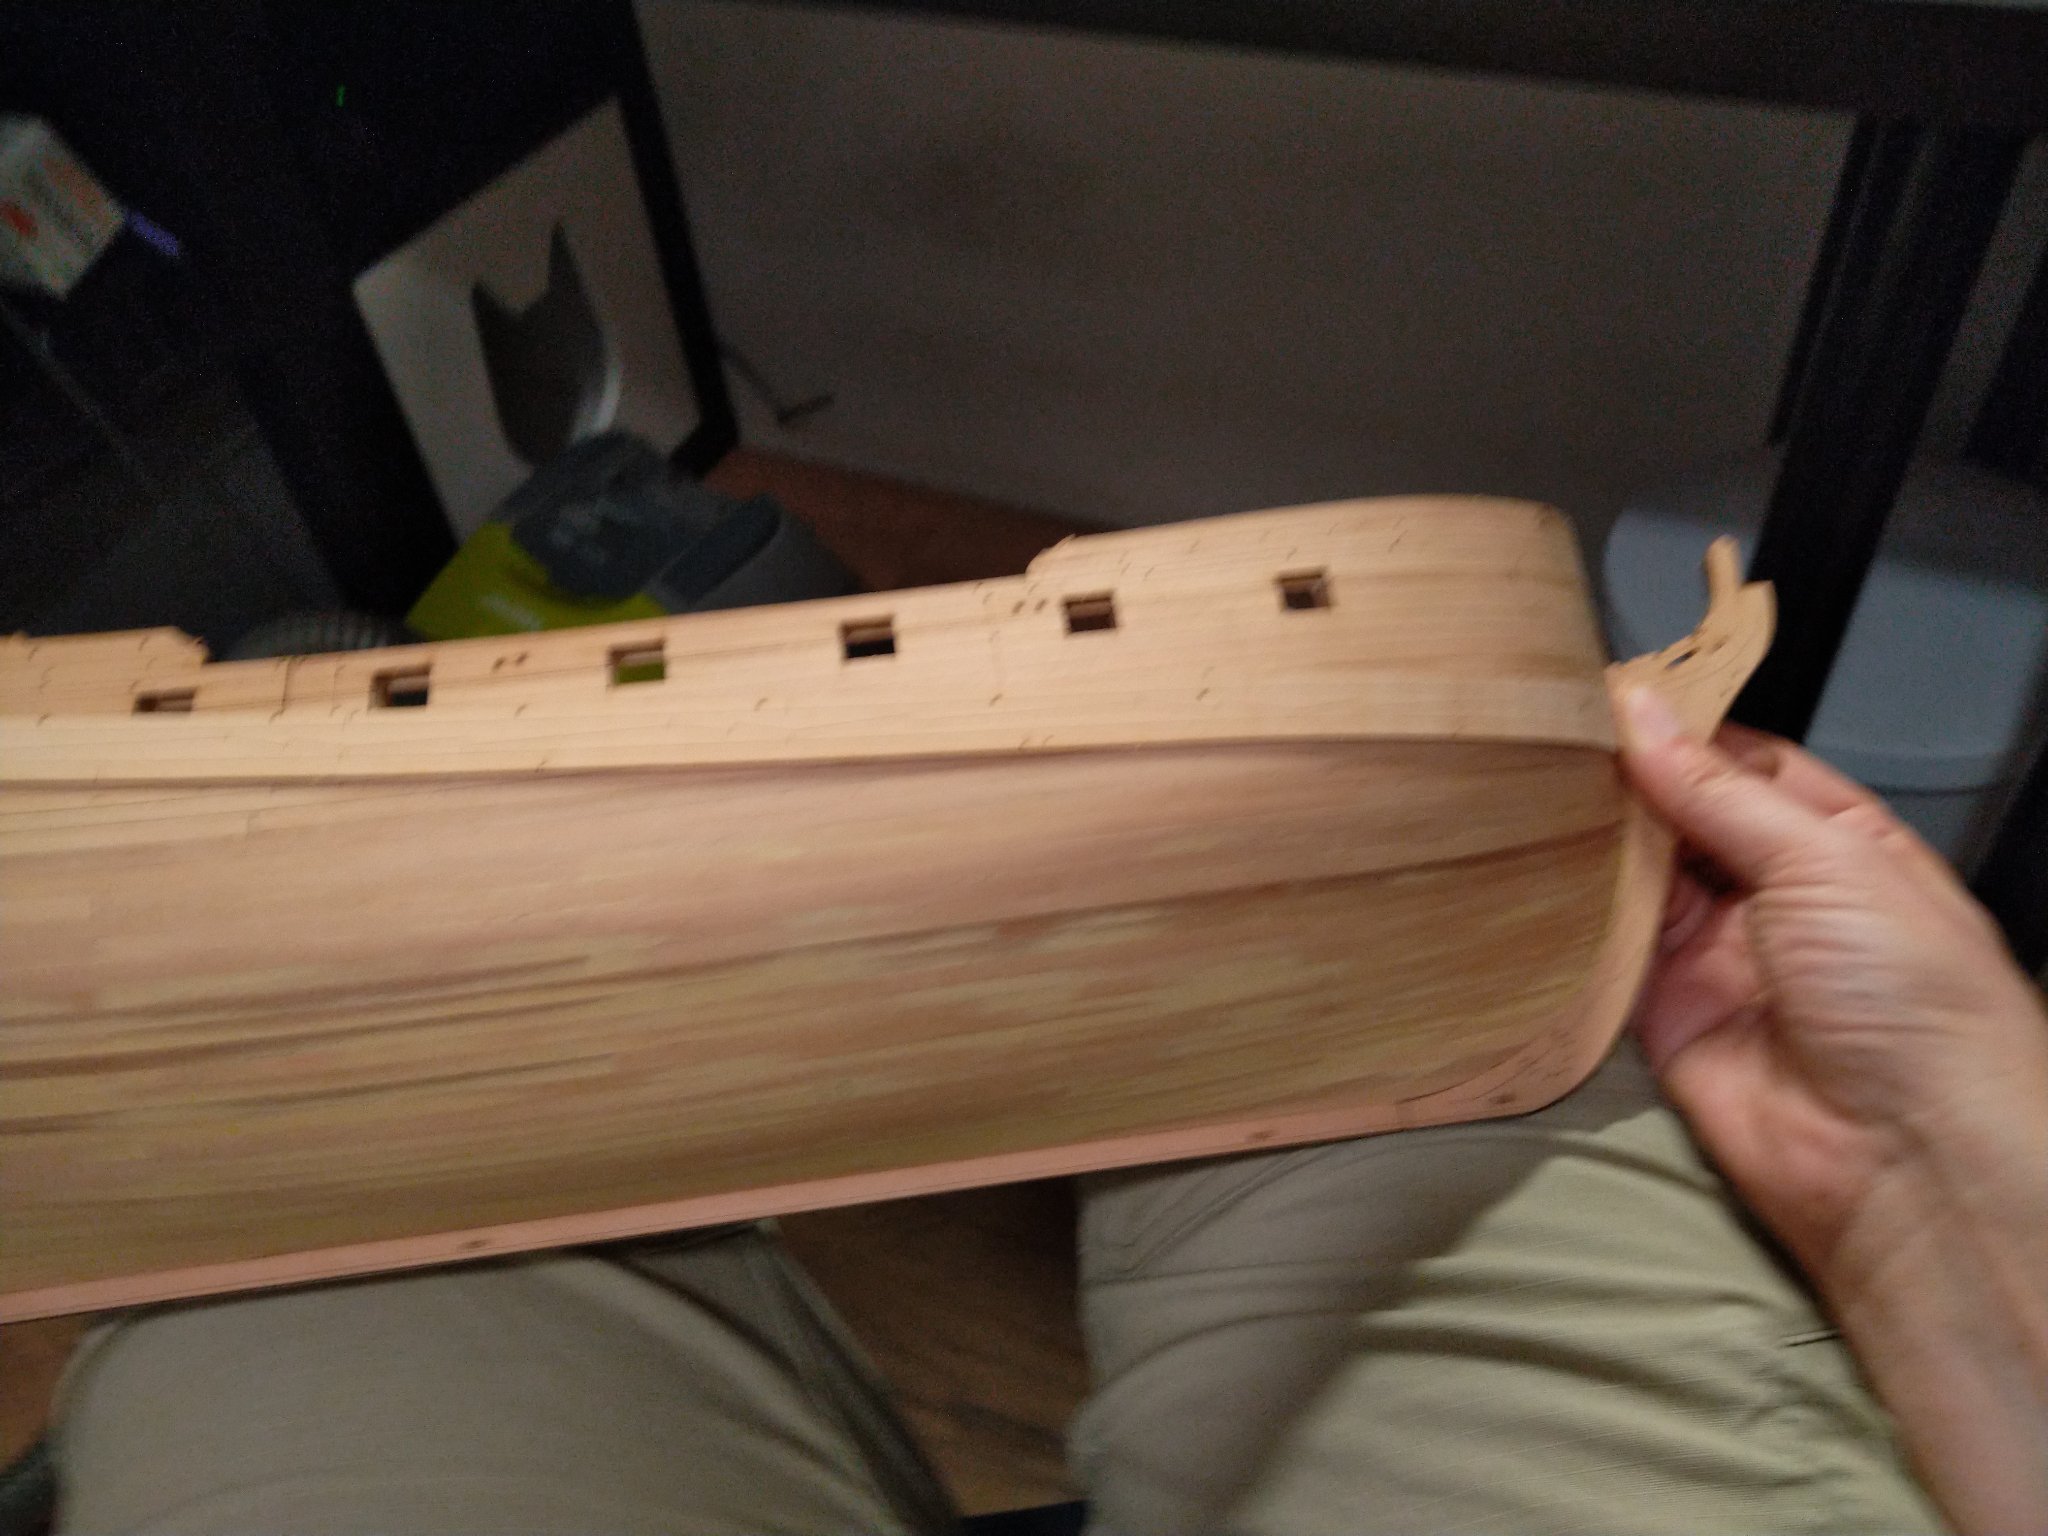
Thank you all, now i am running into the issue, how to attach the wales, i ran out of CA glue and with PVA the strip warps I dont really want to make too much pin holes but i get a "clinkering" effect when trying to place it in the position it should be
-
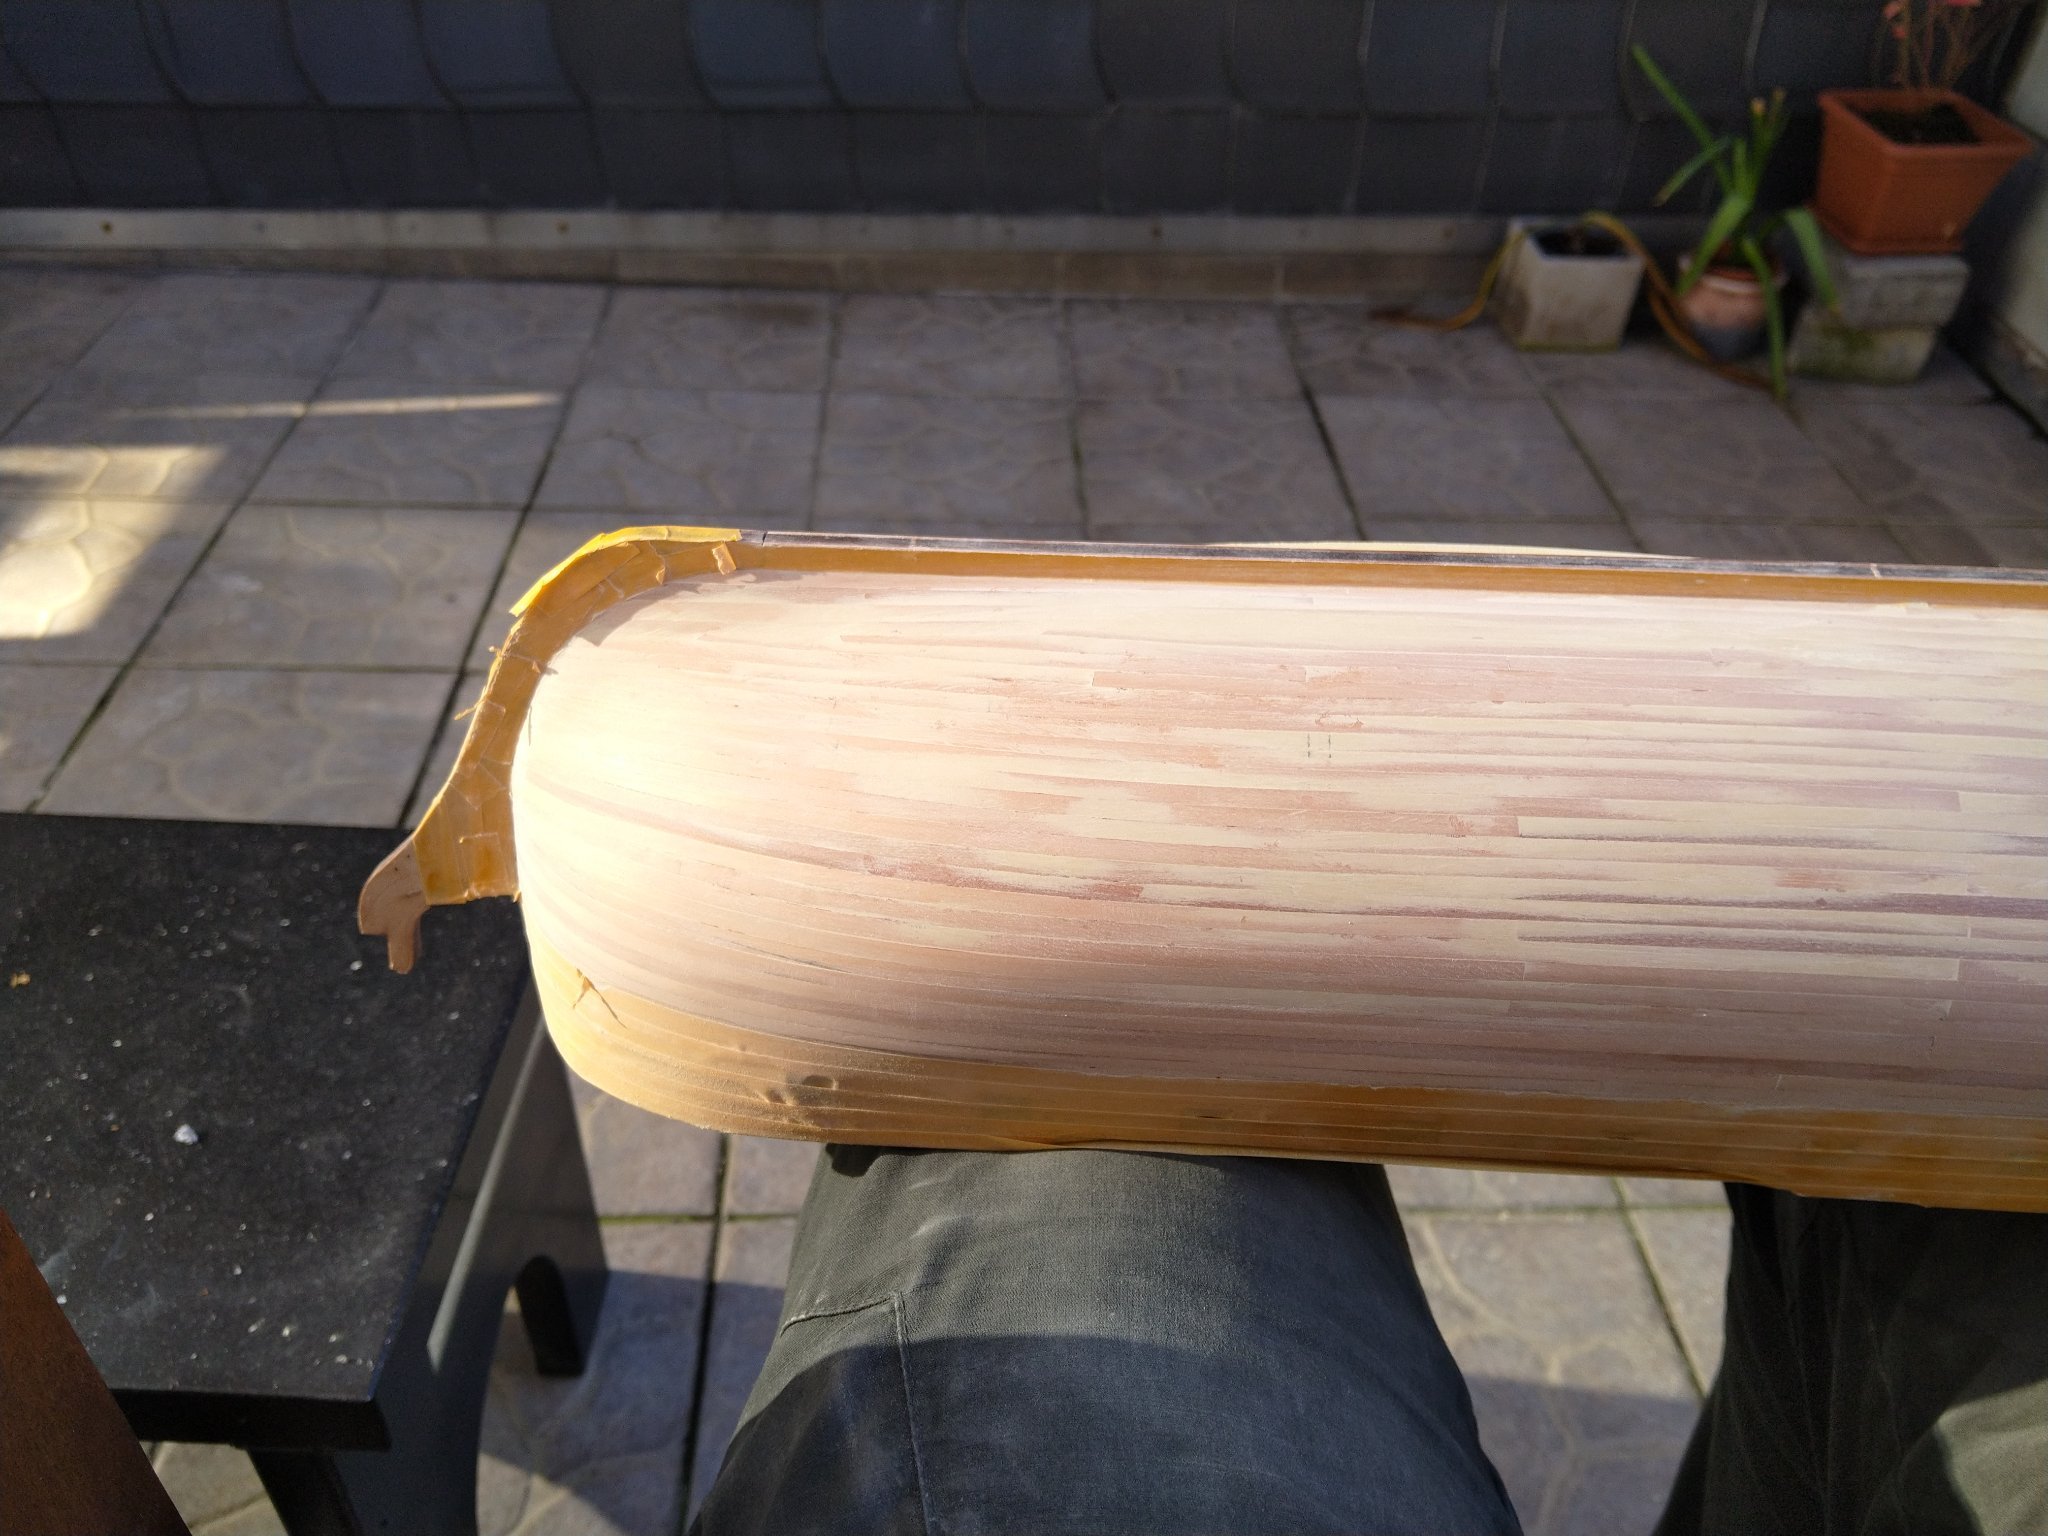
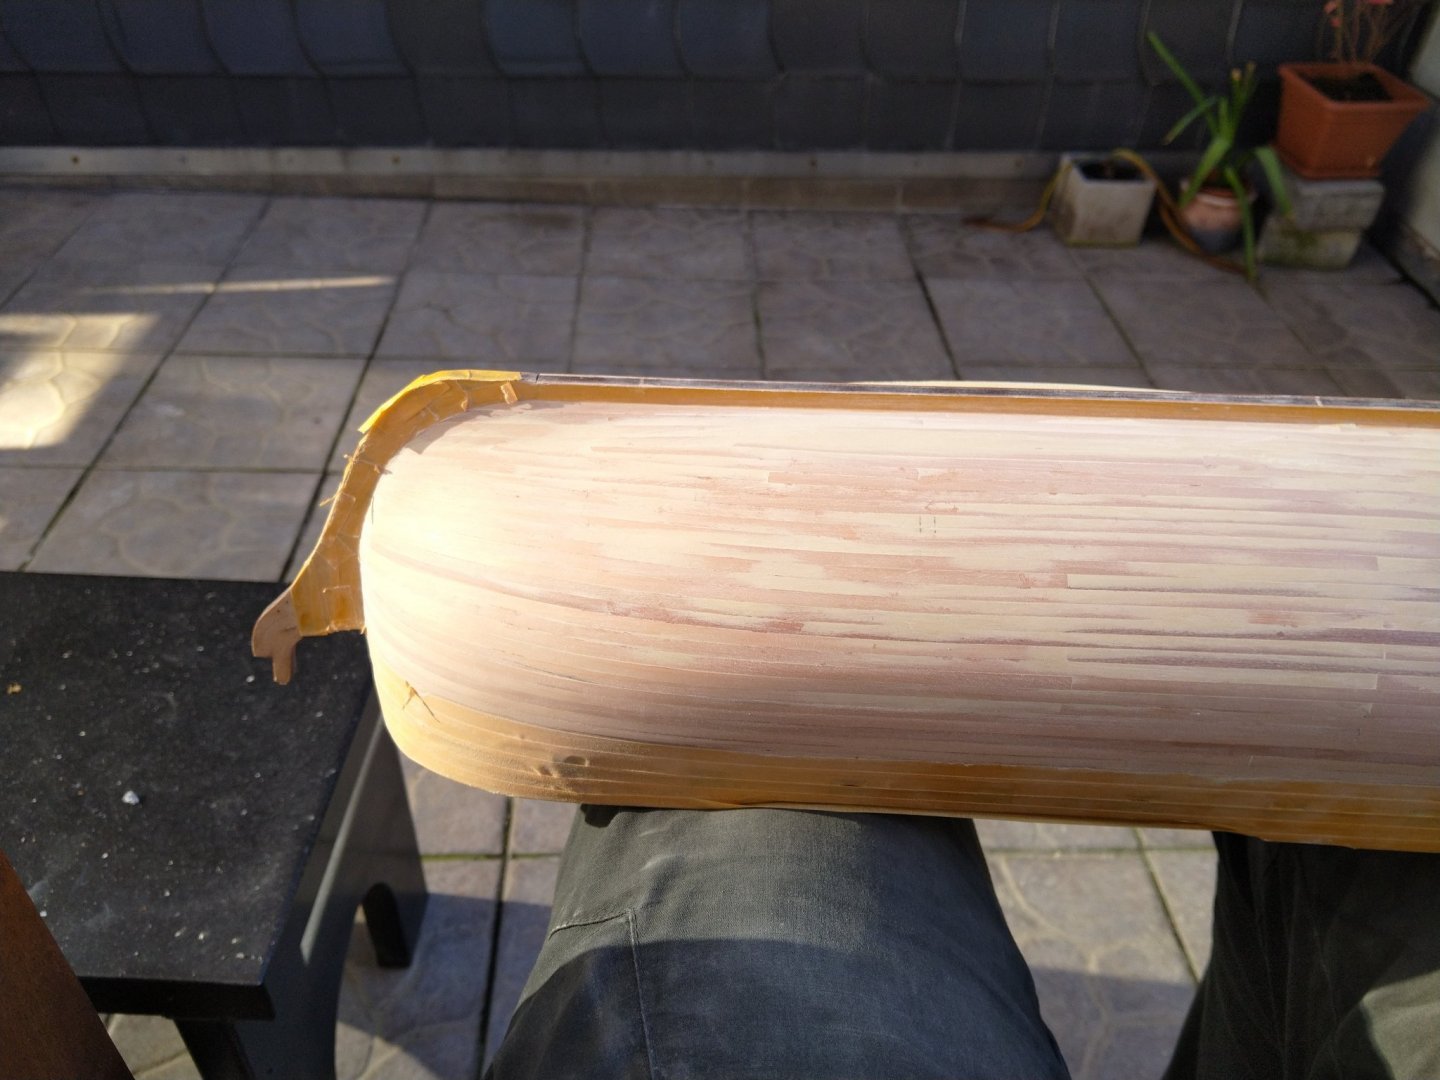
Sanding... Luckily Thats the last major sanding in this model...
-
far from tidy but it will be invisible i didnt show the worst glue spots
-
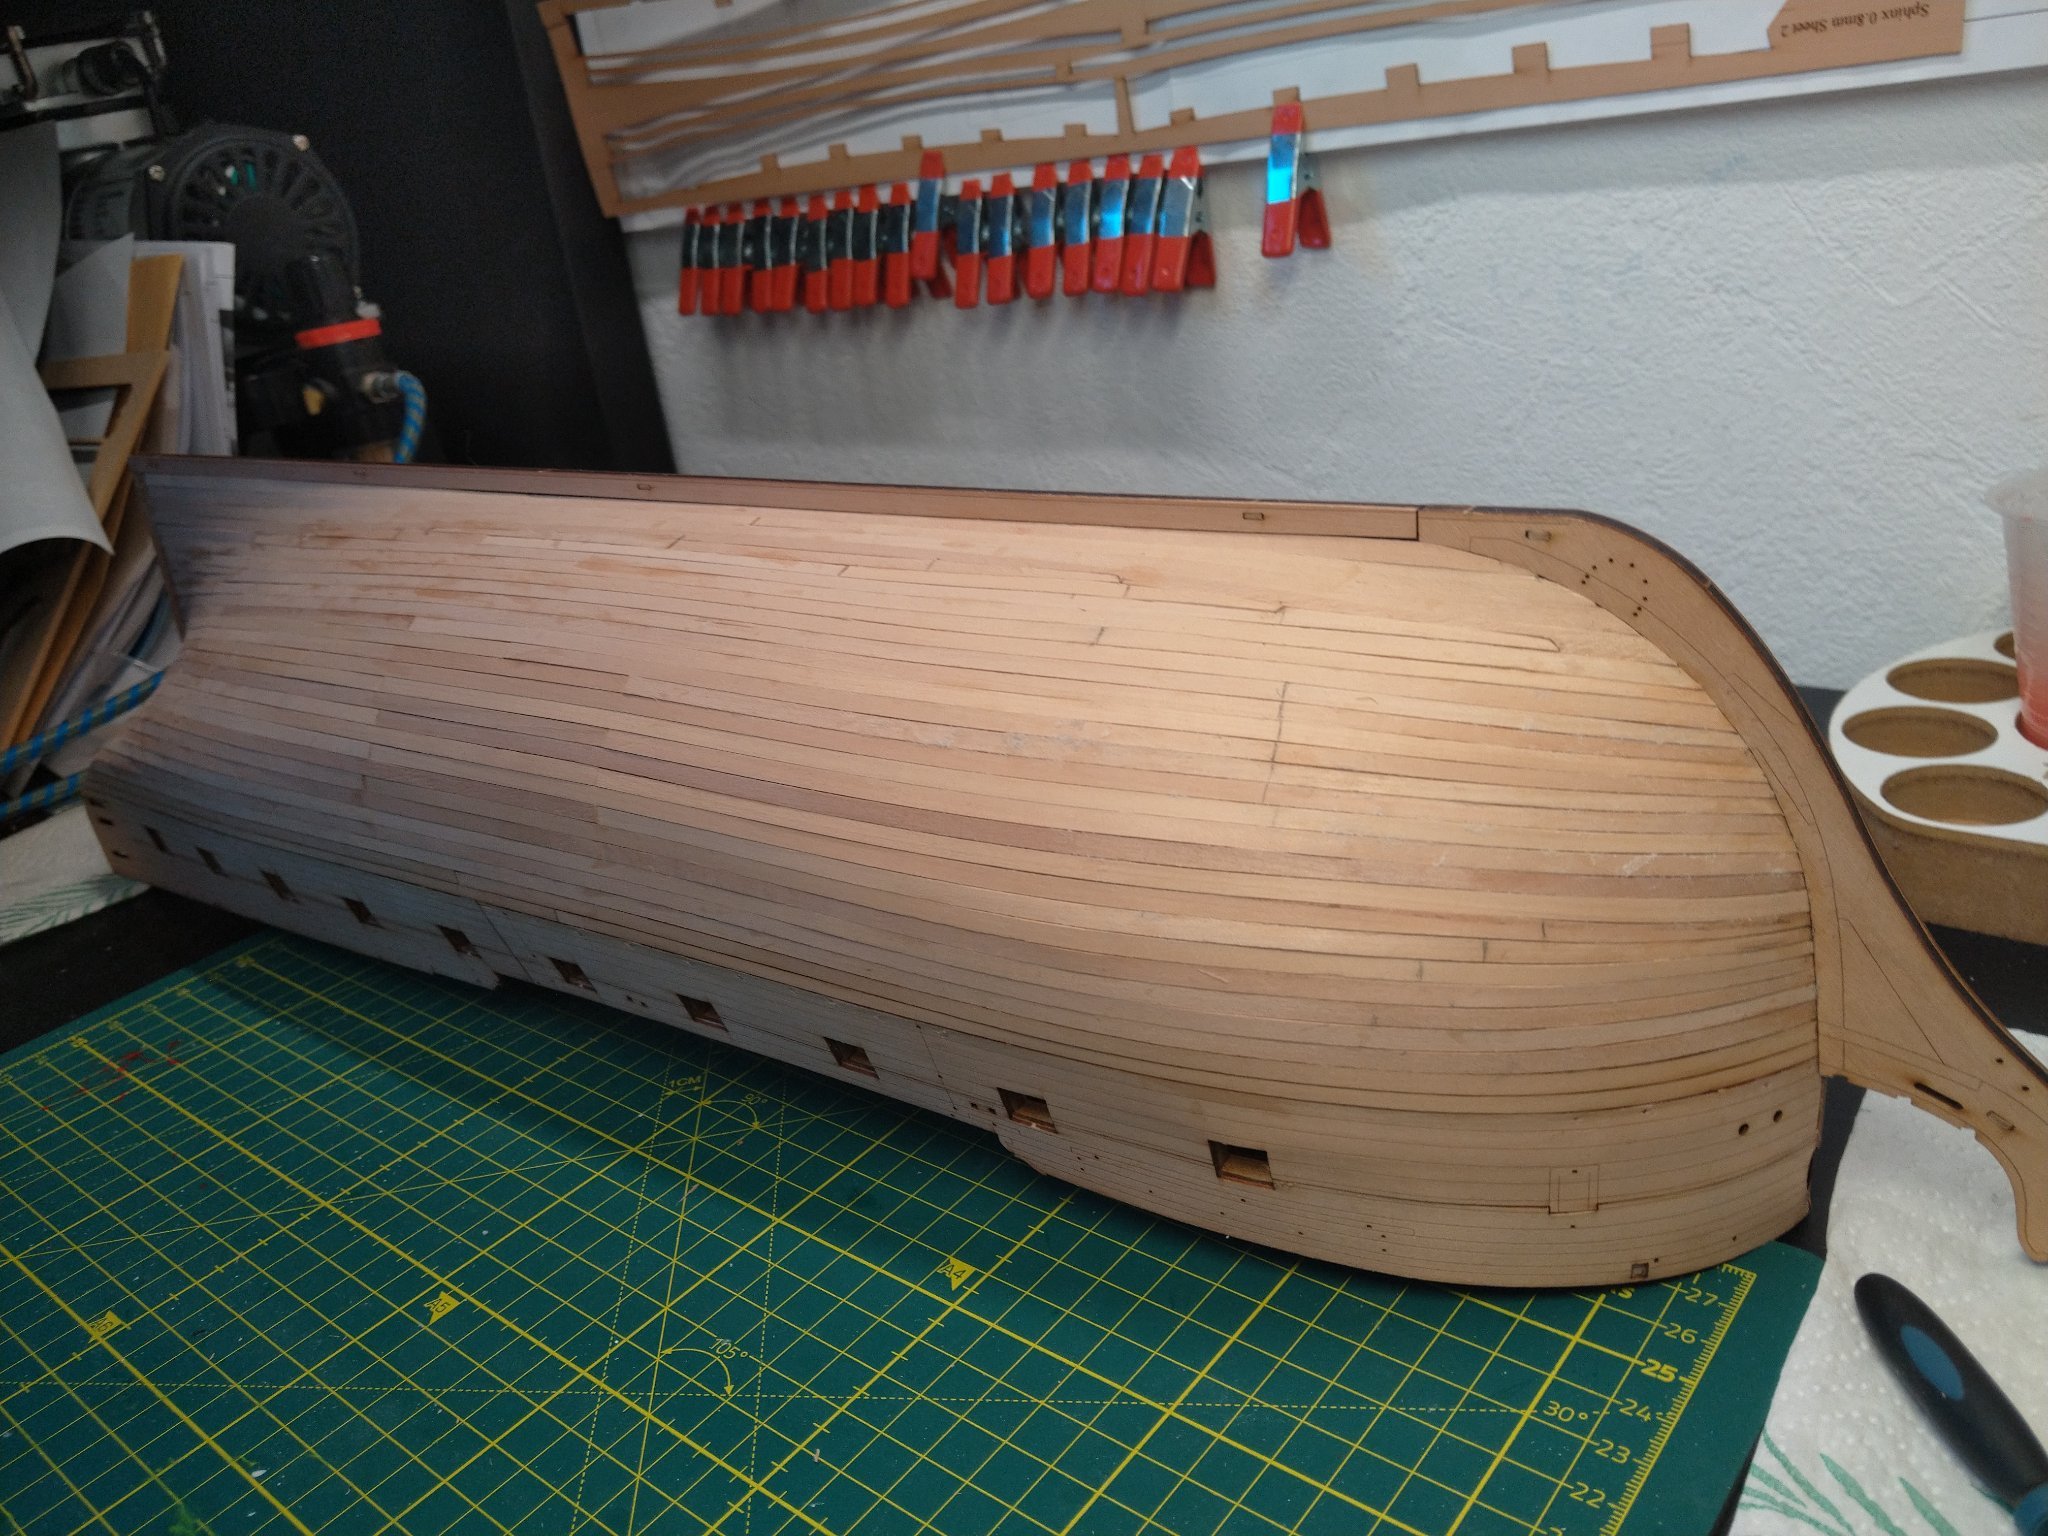
the model comes with a natural rabbet after you do the 1st planking you add the laser-etched thin pieces on the stem and keel - step 155 A rabbet is formed by those pieces
-
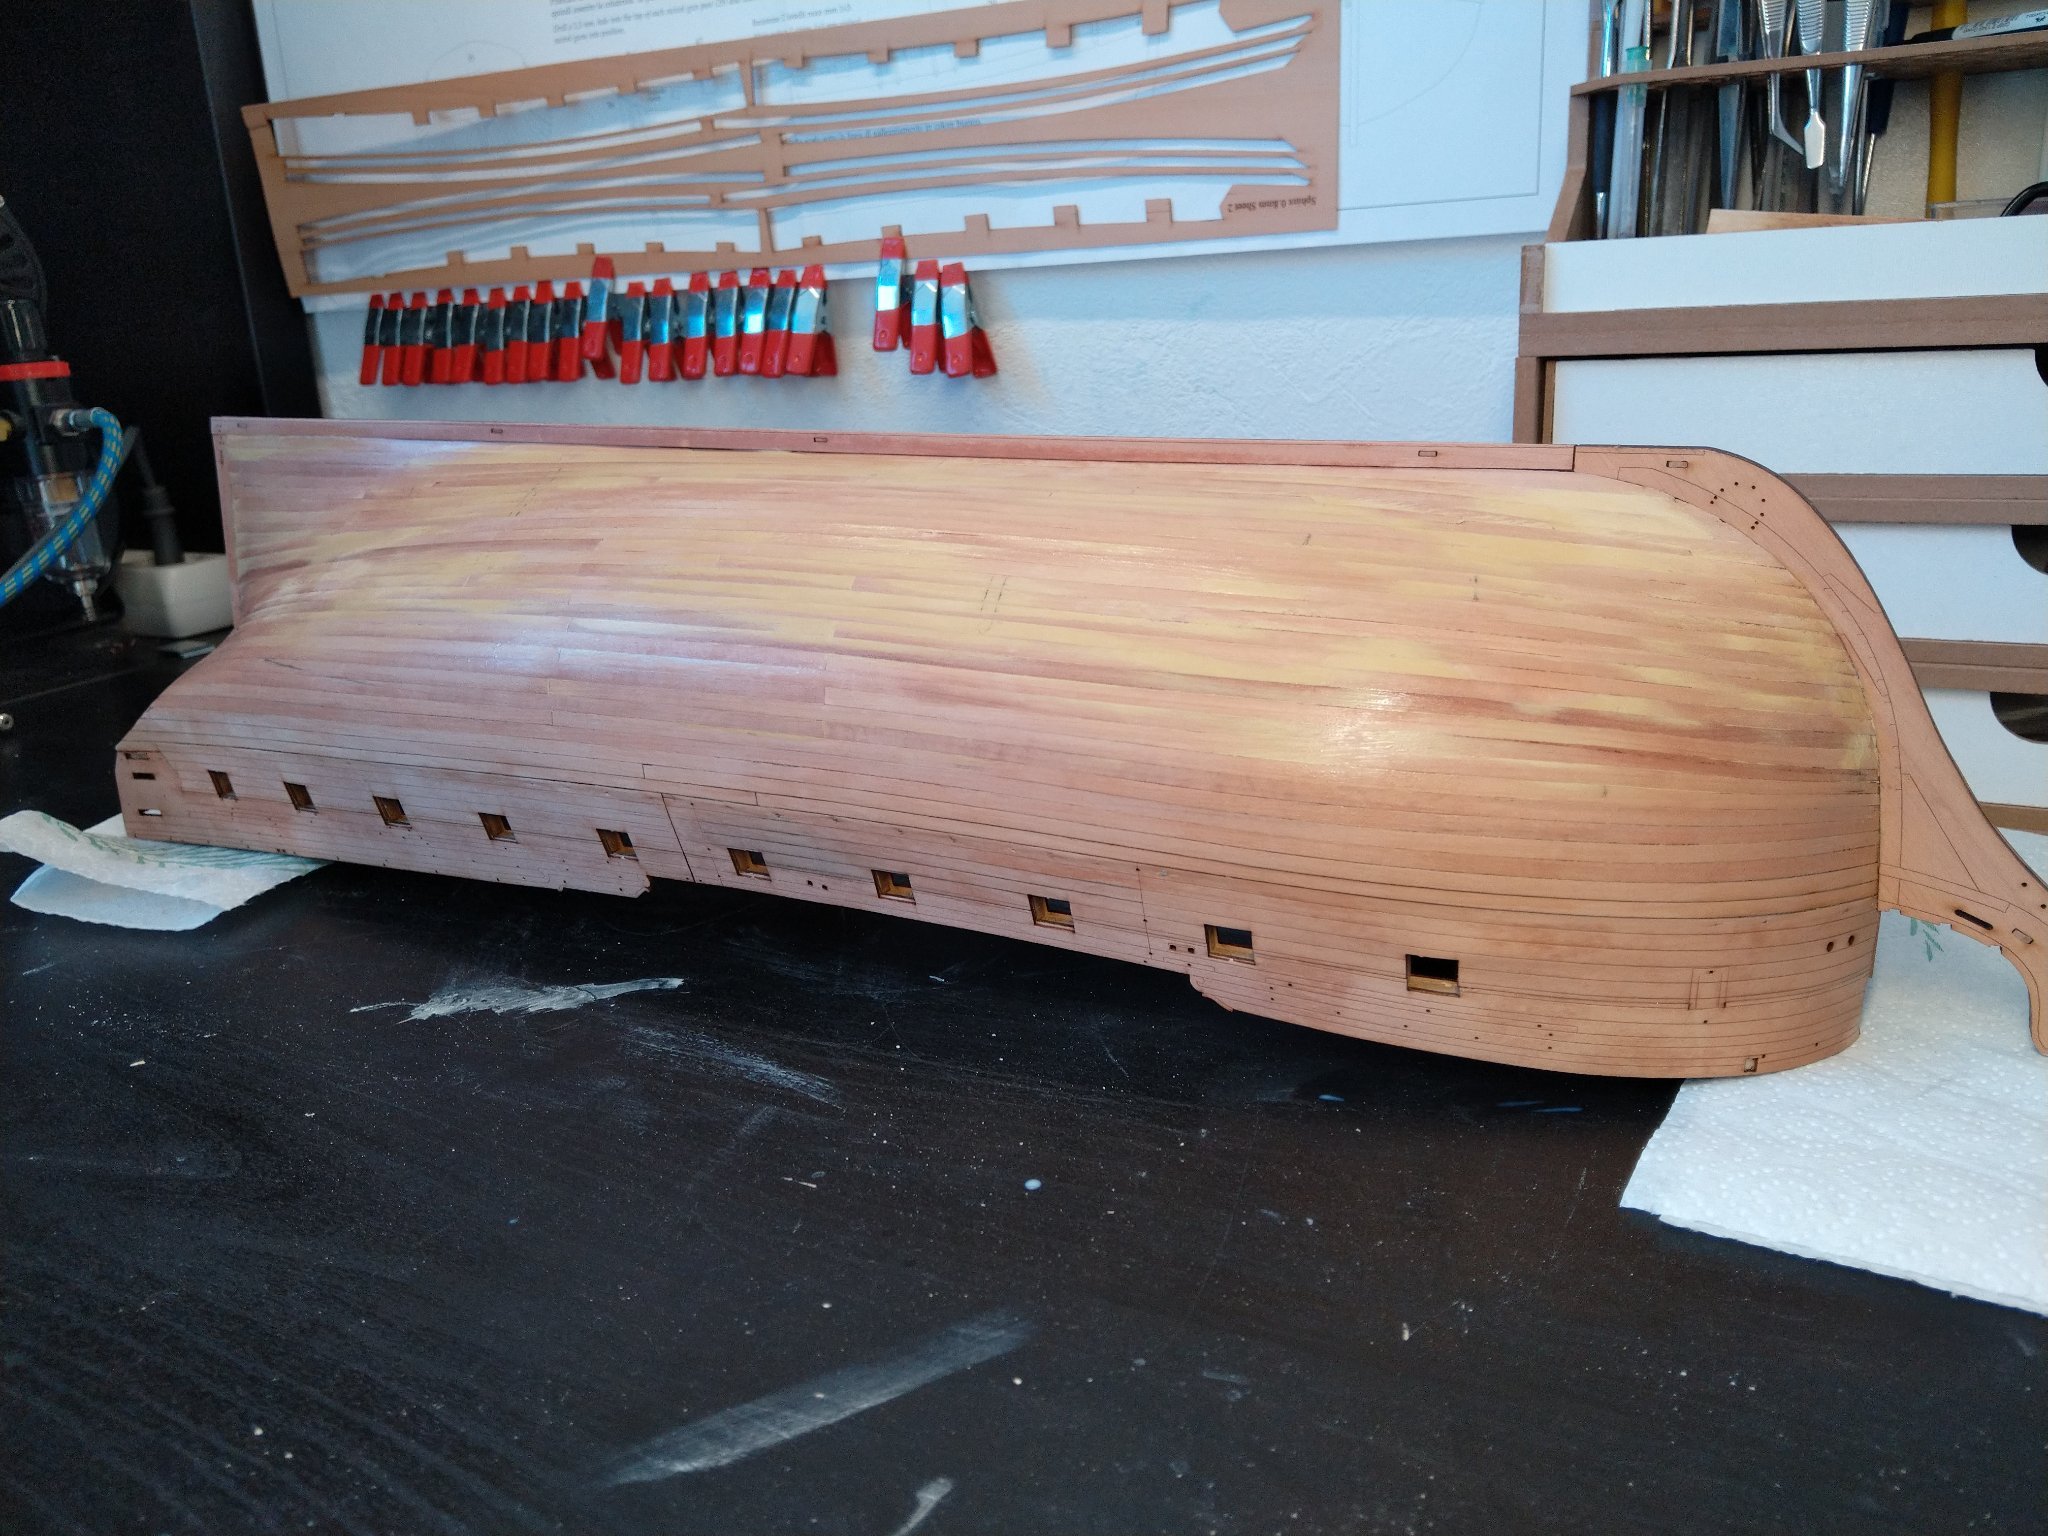
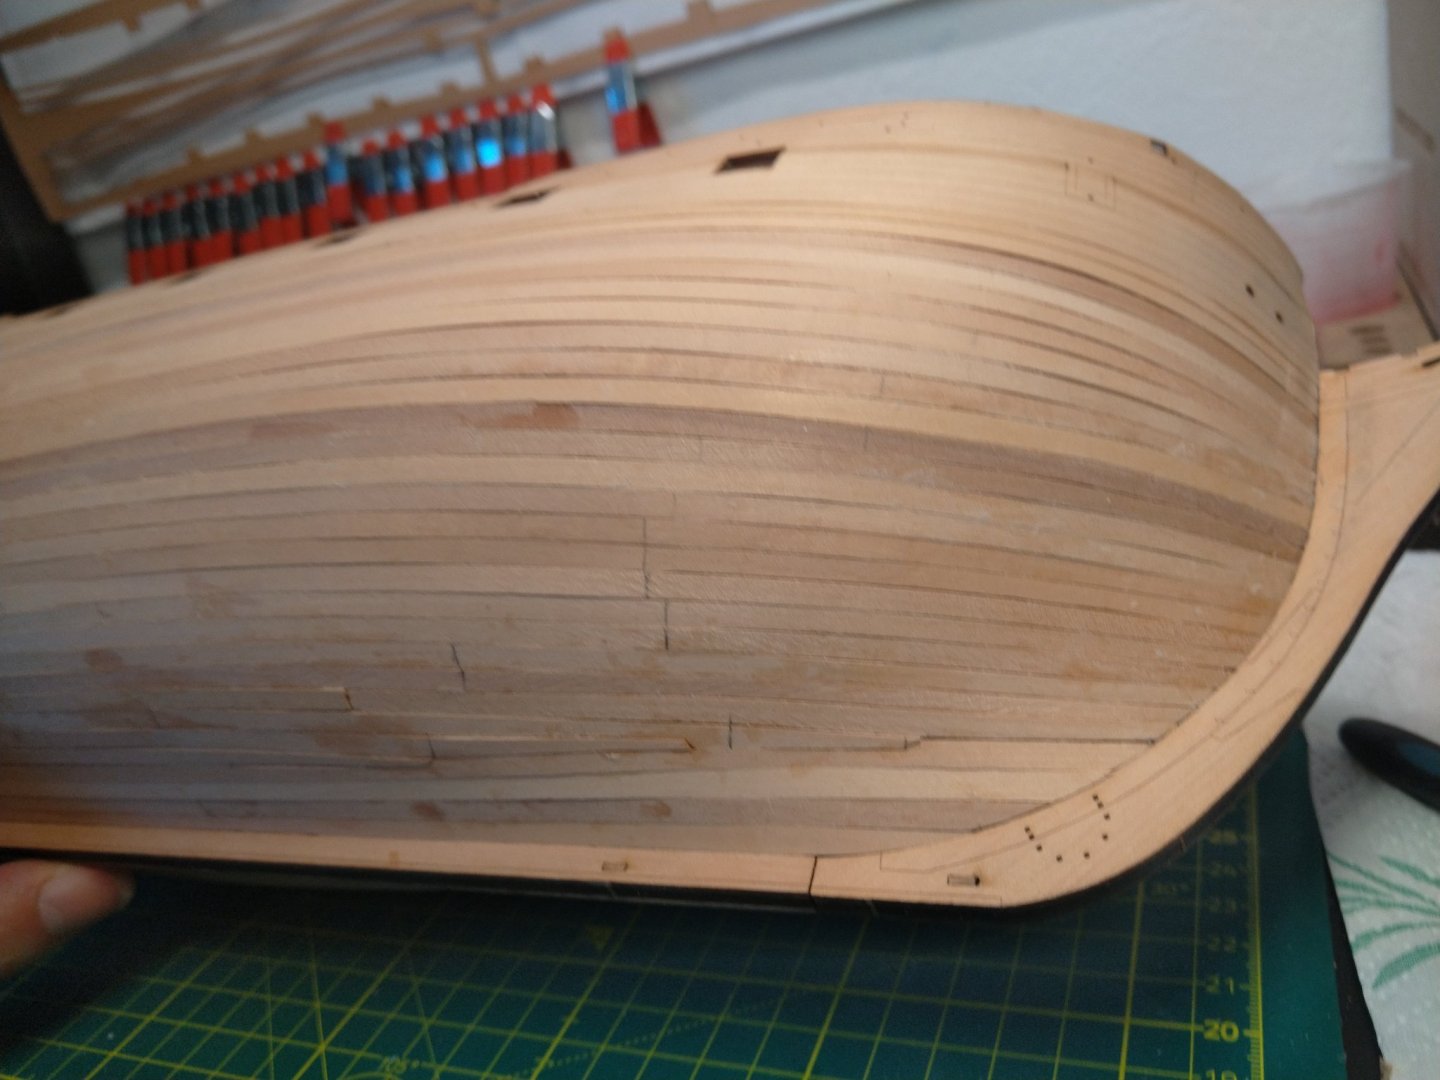
It took me 4 weeks to stop procrastrinating and finally finish the 2nd planking: Now onto the next steps: 1. add filler in big holes 2. paint all with diluted PVA 3. Mask off lasered areas 4. Saaaaand
-
he;s only started the 2nd planking - first you need to put the 2 laser-engraved pieces on each side which for the bulwarks and wales, then you plank from below deck level
- 505 replies
-
- 3
-

-
- vanguard models
- Sphinx
- (and 1 more)
-
Planking Question
Jasseji replied to Malazan's topic in Building, Framing, Planking and plating a ships hull and deck
Cant comment on 2. but i found that it is easier to plank in SOME areas if you cut the plank in half (or do a little "stepping" like one plank to bulhead for instance 6, 2nd one cut at 5, 3rd at 6 etc.) This is helpful especially to separate planks which need to be tapered and bended both on bow and stern (also if you find the plank is screwed up on one end but good on the other end, you dont need to redo it, especially if you do it on 2nd planking and use CA Glue then ripping out a plank is a no-go) Garboard i found doing in one go is best, also when doing planking in invisible areas i do the easier end like 5 planks stepped to different bulheads and then bother with the harder end