HOLIDAY DONATION DRIVE - SUPPORT MSW - DO YOUR PART TO KEEP THIS GREAT FORUM GOING! (Only 13 donations so far - C'mon guys!)
×


Jasseji
-
Posts
604 -
Joined
-
Last visited
Content Type
Profiles
Forums
Gallery
Events
Everything posted by Jasseji
-
 Actually i thinned the deadwood A bit so incliding the planks on both sides it is a total of 4mm thick, i can thin it down to 3mm so it aligns with the Sternpost (do you Remember that the 2nd later of planking is 0.8mm and there is still a layer of 0.8mm dexcorative wood to be added to the Sternpost)
 -
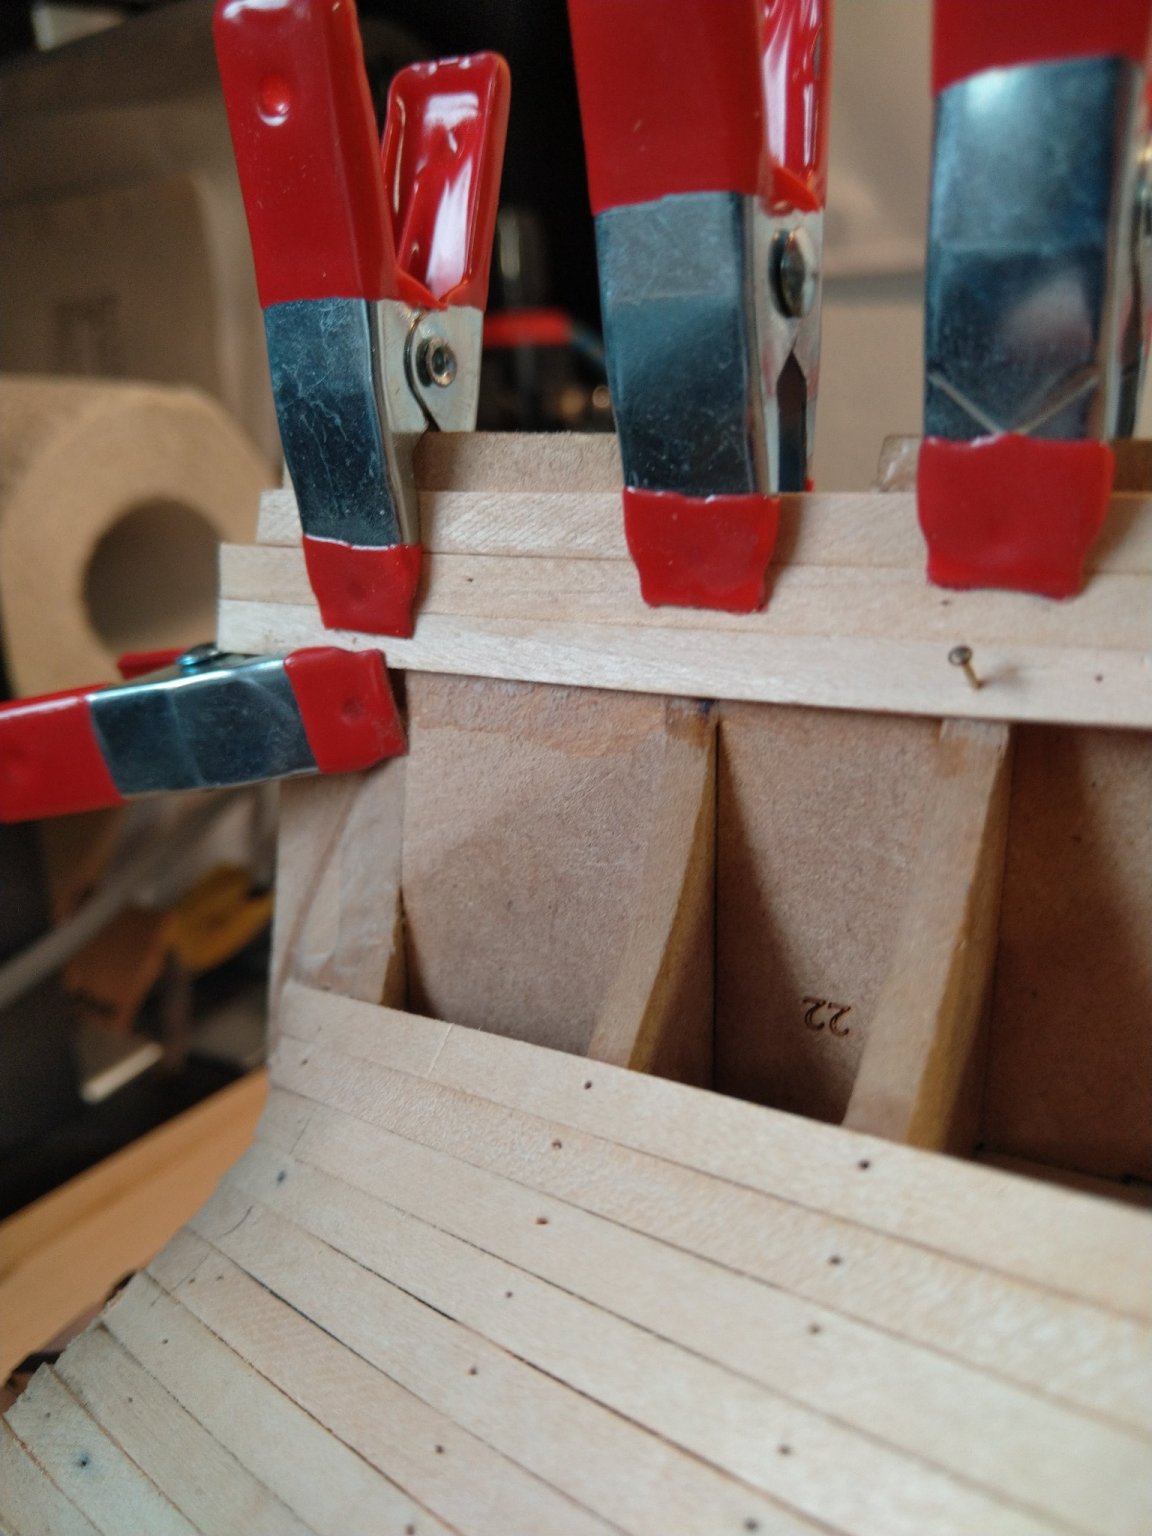
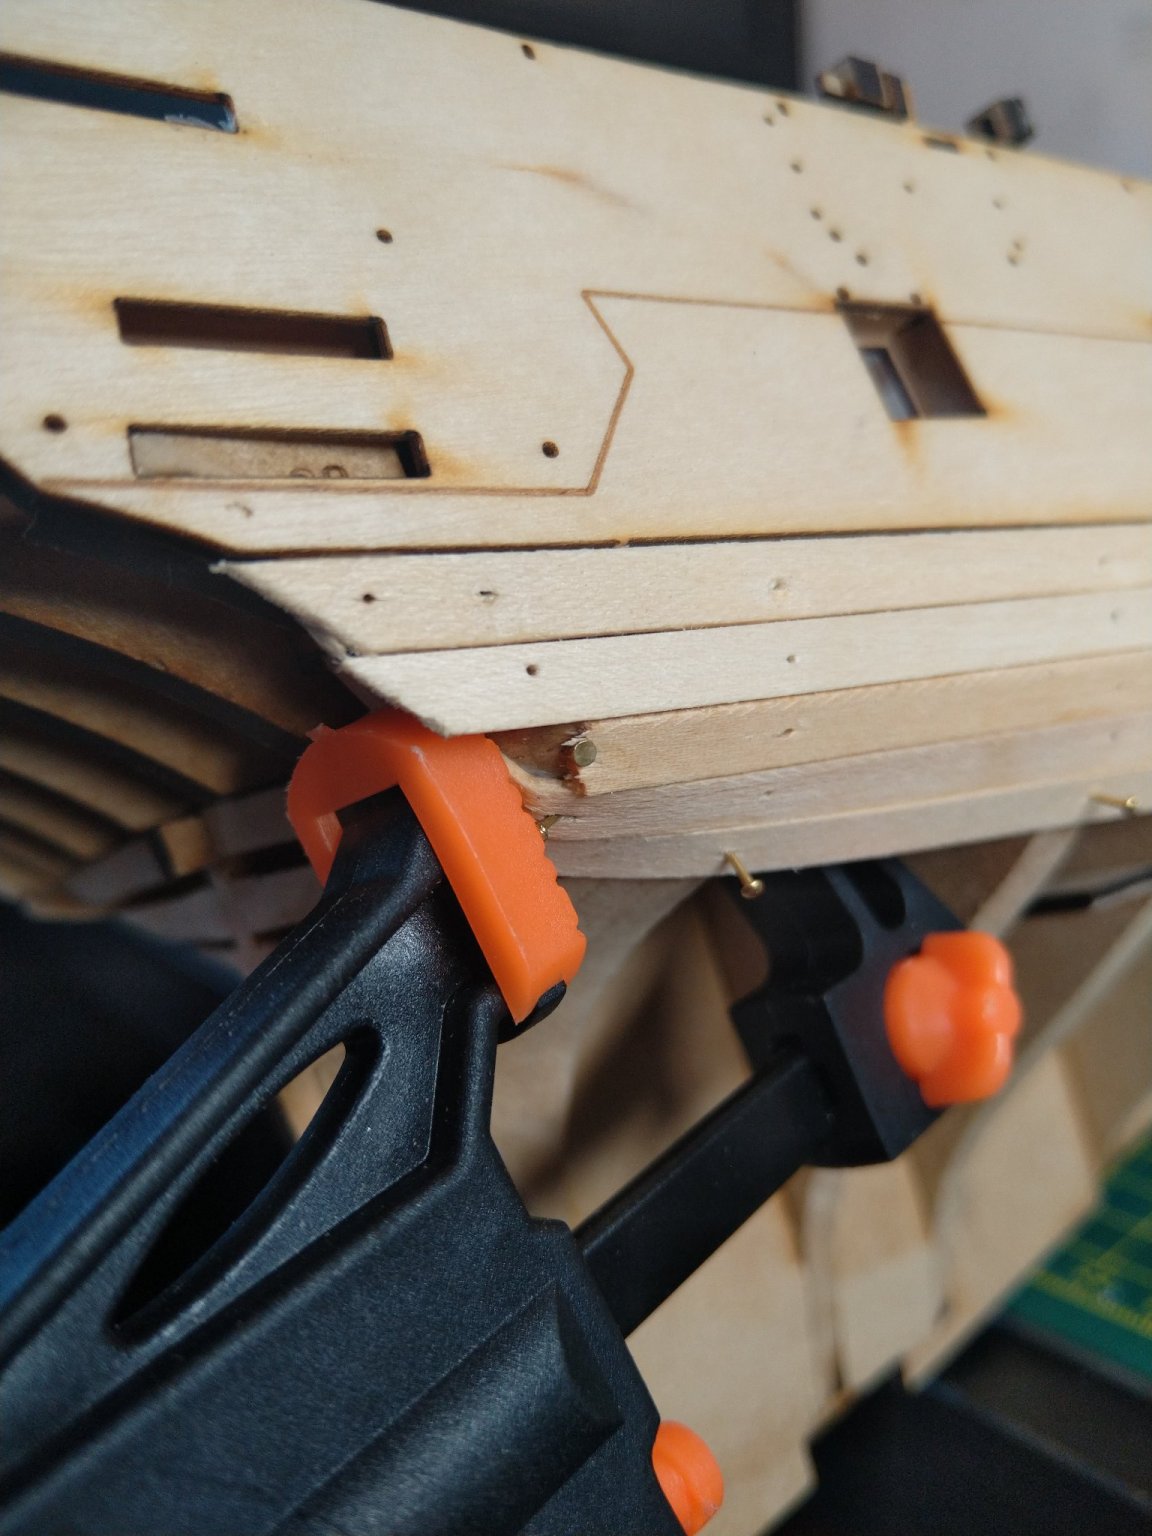
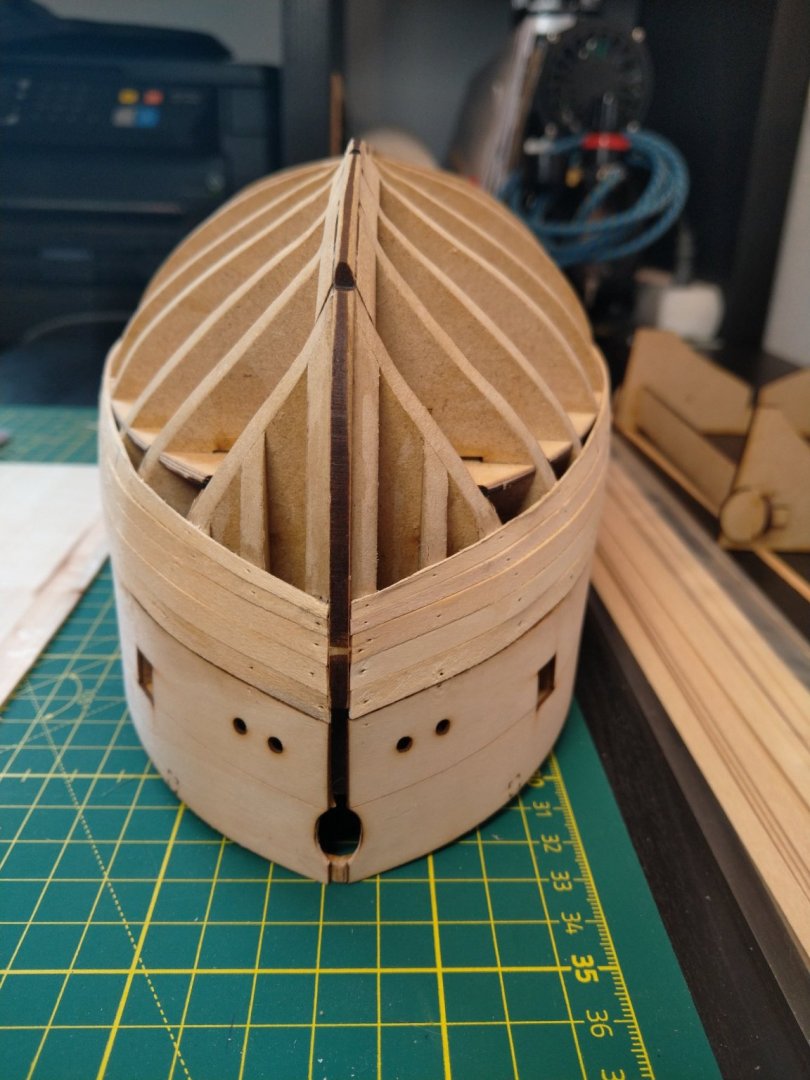
Glenn beat me to it with the post, but i did the same as him in parallel I didnt trim the edges here yet tho: Now, gotta recalculate the number of planks which fit between the gap, came up with 7.4 at widest point, so Bow need to widen them from 2.8mm to 3.8mm

-
LOL, do we have an example of "Great Minds think alike" ? I started wondering about the look of the Bow from the Keel up and just did exactly the same thing (adding the "Garboard" = 3 Full width planks)
-
each next VM kit seems to have better and better solutions
- 36 replies
-
- 5
-

-
- vanguard models
- Erycina
- (and 2 more)
-
9 done, 11 more to go. Last 2 planks on the Port side went in without any forcing. Next Step: Remove all the brass pins, i am running out
-
You are waaay ahead od the rest of us, i Wonder how much of this is thanks to that Bender thingie. Are you EDGE-bending the planks with it as well?
-
My copy of the book Was apparently lost by Amazon
-
Question, how long are you heating the planks with the Bender for EDGE-bending?
-
Huh, i need to pick up the Pace I only fitted 2 Half-Planks today, didnt do any taper on the Stern, allowing them to fan-out beginning from the 7th plank but i think i figured out the Plank-Bender i have so the sharp curve ceizes to be a problem
-
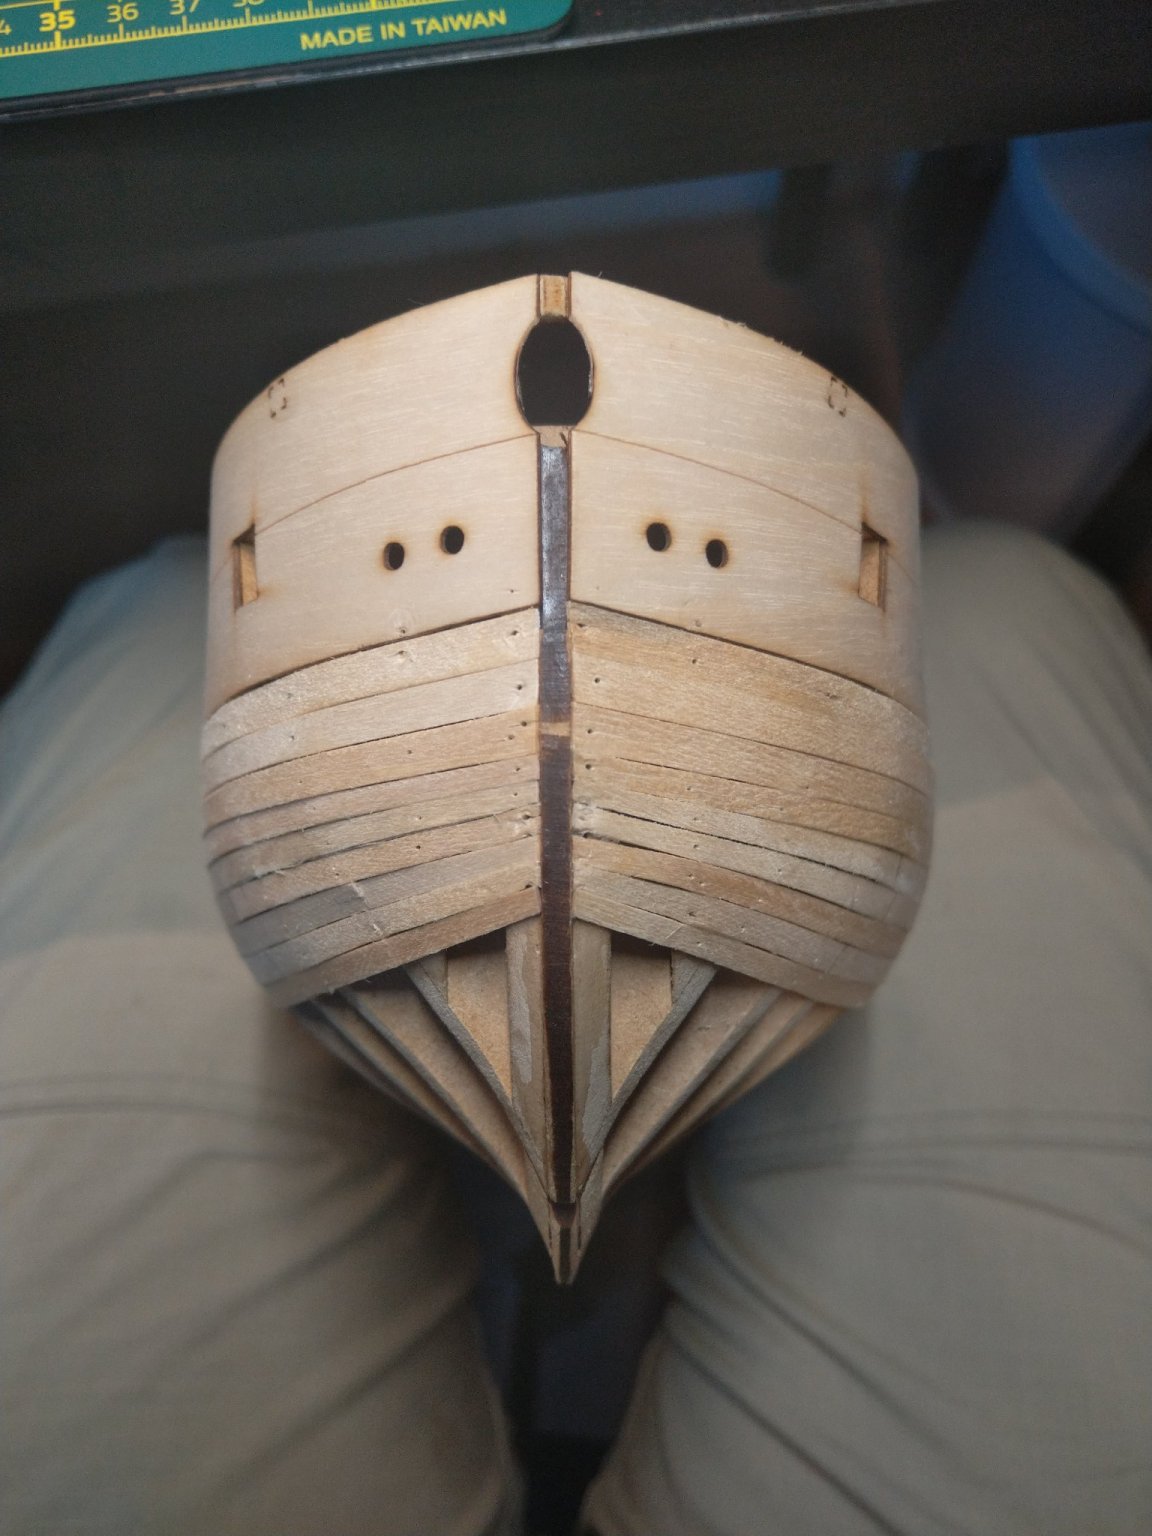
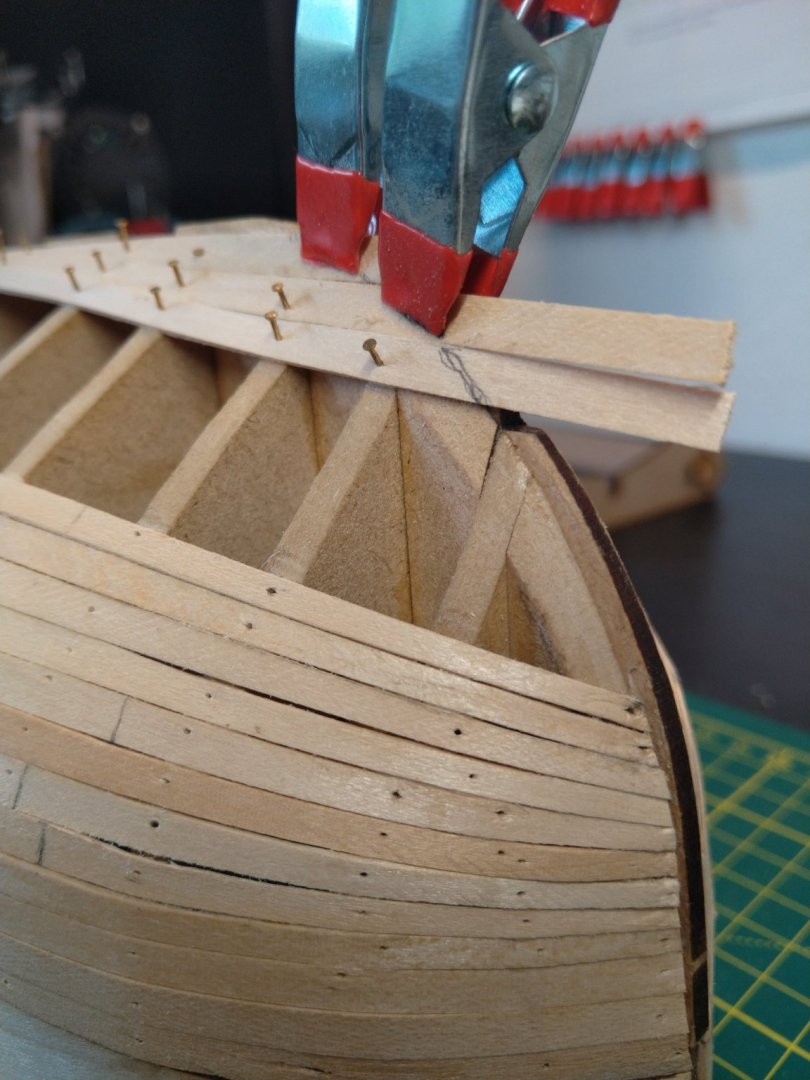
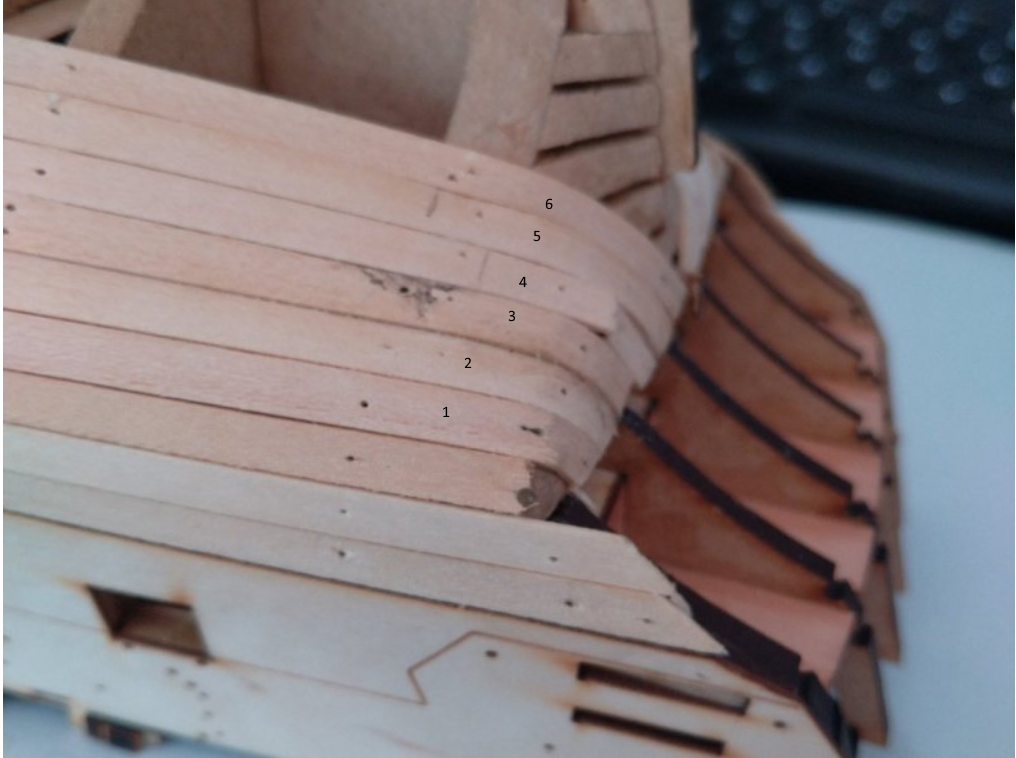
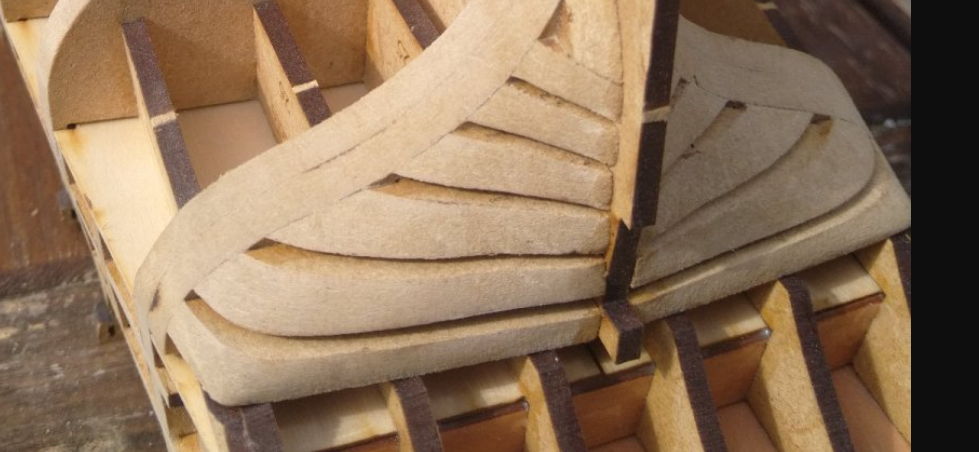
This is a close-up now
-
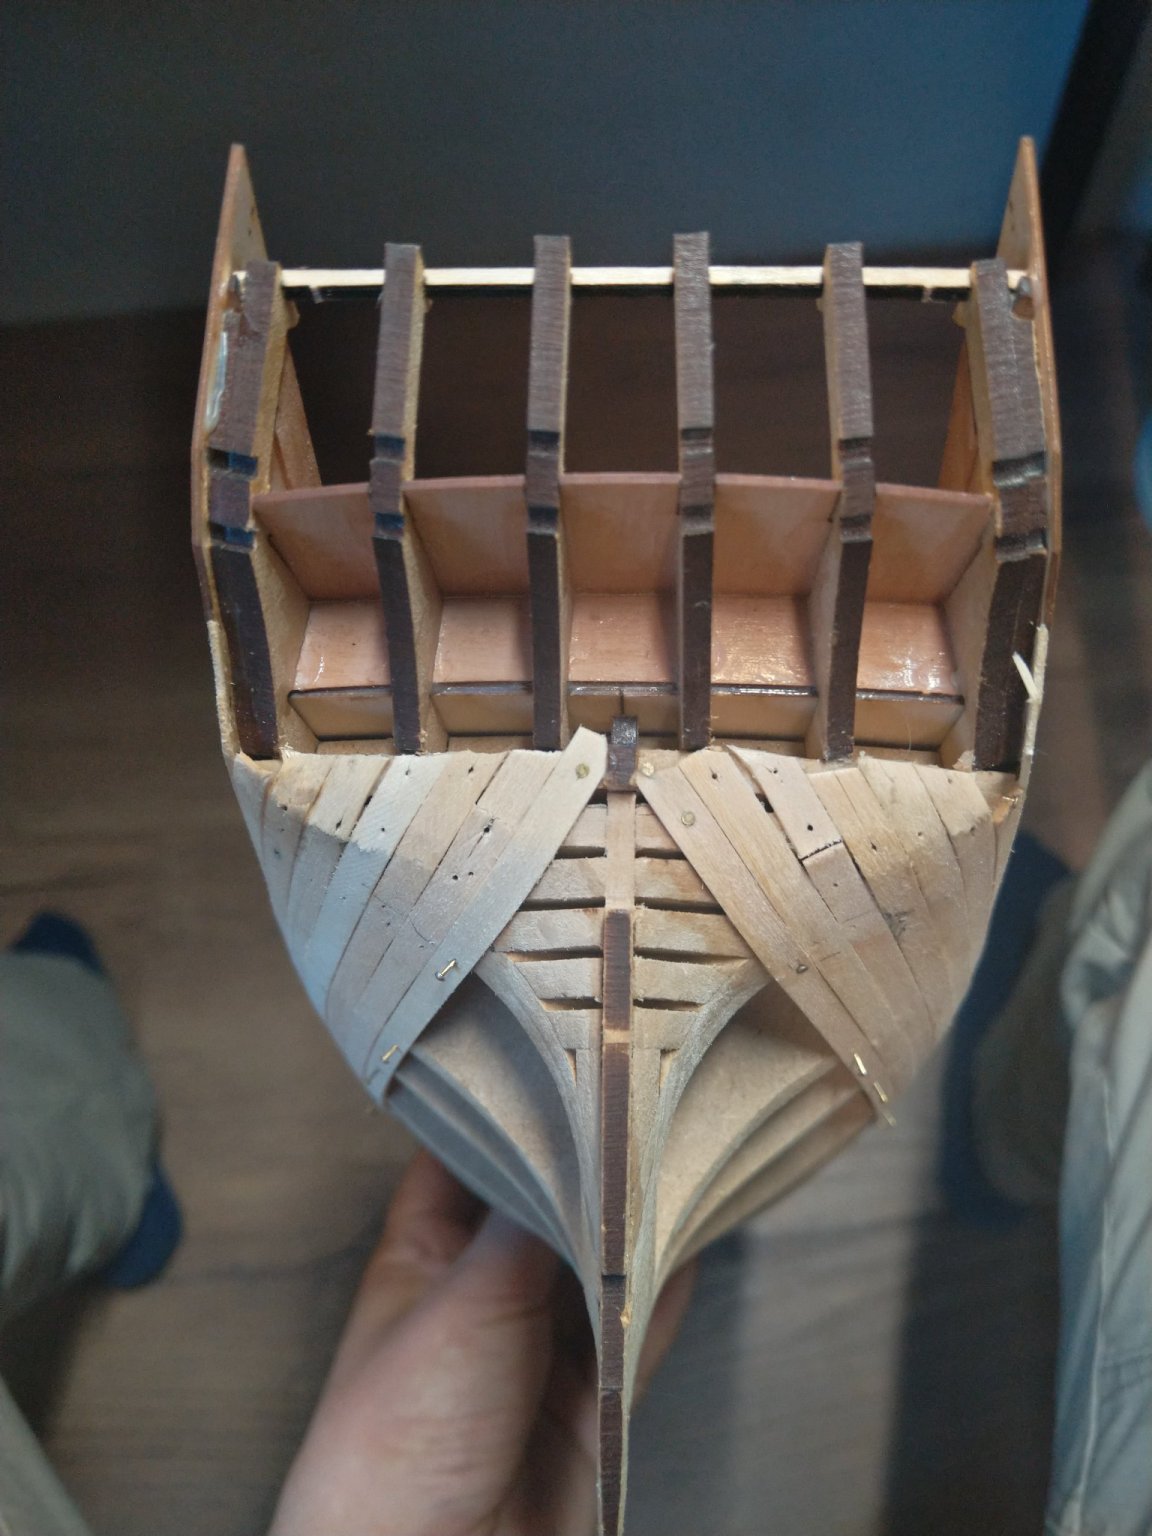
I dont have any better pic, there is a curve but it's steep and the planks broke, hence it looks like an angle now (will sand it down after i finish the whole planking layer to shape it better for second planking). Also, i didnt bend the planks there properly, possibly why they broke. I dont have any better shots on how it looked before: Also note UK Glenn's planks behave the same. The Last plank went in correctly tho, also 2nd and 5th on Starboard side sit fine with a curve (no pic at the moment - working). After i have finished the 1st layer i will sand those breaks down. There is still possibility of experimentation of how to properly lay a plank over that curve although possibly not a full-length plank (on the other hand i didnt try to fit a plank while starting at the stern, always started at the bow). Here is for comparison one of the Manual Pics: 1st plank on the counter is broken, on the 2nd the curve looks similar to mine, i will try to make a pic from same angle


-
to each his own perversion Point being, Technology has evolved, understanding of materials and tools have evolved as well, motivation comes from achievement i think and having completed something "Big" gives a kind of Satisfaction where it gives one the Power to go further. Anyways, more easier kits where some tedious and hard parts have been made easier to tackle is a good thing. Granted, i havent seen this behavior on MSW, i saw it in other clubs, not neccessary tied to Model Ships (or even to model building)
-
The model asks for keeping the quarterdeck open Partially and i didnt yet plan so far ahead if i will really use that laser-engraved sheets or do my own planking. I dont really like the openings as they are to be honest so some change might be done (maybe Half/Half) On the other hand, the way most of the models are displayed (with run out guns in the Cabin Area), the cabin bulkheads really should be removed, otherwise the 2 aft guns should be positioned along the Bulwarks in their stowed position. All guns run out in the "Ready" Position and Cabin Bulkheads fitted seems a bit Anachronistic (but i am not sure 100% of this, definitely it would not be comfortable to sleep/dine with Gunports open).
-
Well, it's too late propably for me to change the Cabin now (although, maybe i could rip part of the counter out to include benches) My only change is the 2 ladders, Wardroom Bulkhead and open gratings to the Orlop
- 857 replies
-
- 2
-
-
- Sphinx
- Vanguard Models
- (and 1 more)
-
Oh BE, i hate you, you make my small changes to the Kit look even smaller than they are @James H as a Database Architect/Admin in a major Insurance company in Germany i can only tell you: Back up to an External company from the one you have the Hosting
- 857 replies
-
- 2
-
-
- Sphinx
- Vanguard Models
- (and 1 more)
-
I second the oppinion, that the terminology should be known, but i do not believe that it has anything to do with the facts if you are building a Plastic or Wooden Kit. A lot of manufacturers strive to get easier-build kits and one should not assume that it is anything bad for the hobby, a lot of people maybe cant put aside too much time for a build between work, family and other hobbies but they still should be able to finish a build in a foreseeable time. It seems to me, that there is some "looking down on people" in regards of what choice of kit they made and the assumption that without learning all the skills one should not even attempt a build. Why should someone feel bad about himself if he wants to get quickly past some parts of the build, because he loves tying Ratlines for instance and wants to get to that stage as soon as possible ?
-
yes, i think i will exchange the blank bender for an electric one...
-
Last 2 planks for today, this time EDGE bending bow, cutting the planks off at bulkhead 8 and then soaking the ends of the remaining pieces and bending them over the stern Went much faster than trying full length
-
indeed, most time is consumed at the stern and in the end most of the planks are broken there anyway, not even the plank nipper seems to help - i still habe one plank each, which should go in that curve so may do some experimentation still
-
3 planks each side done during the whole day, combination of edge-bend and no edge bend @glennard2523 i dont know about you, but at this stage i find that making half lenght planks Would have been easier due to the Stern shape
-
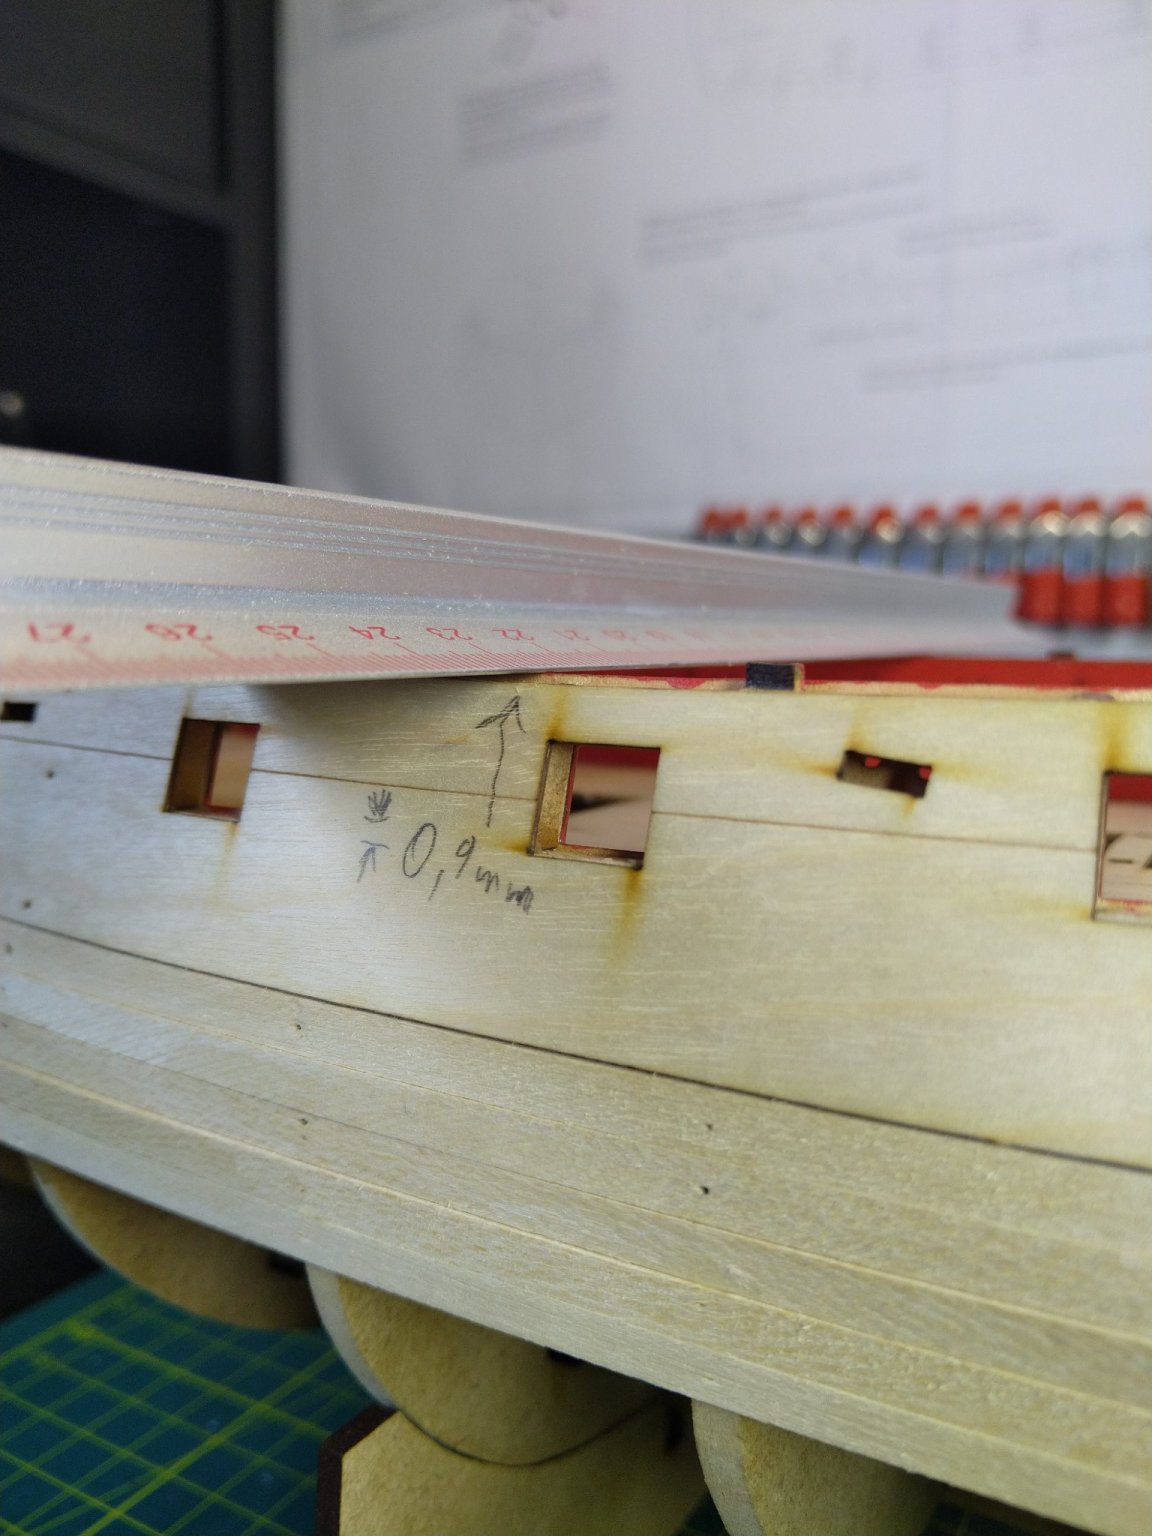
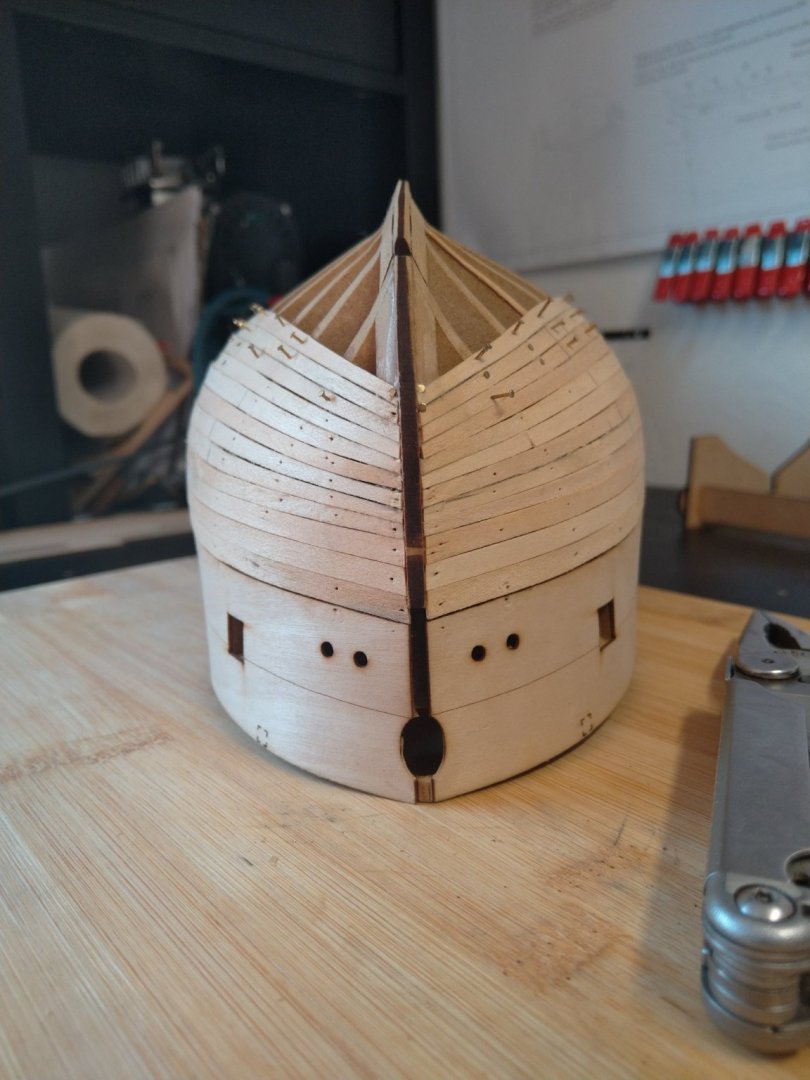
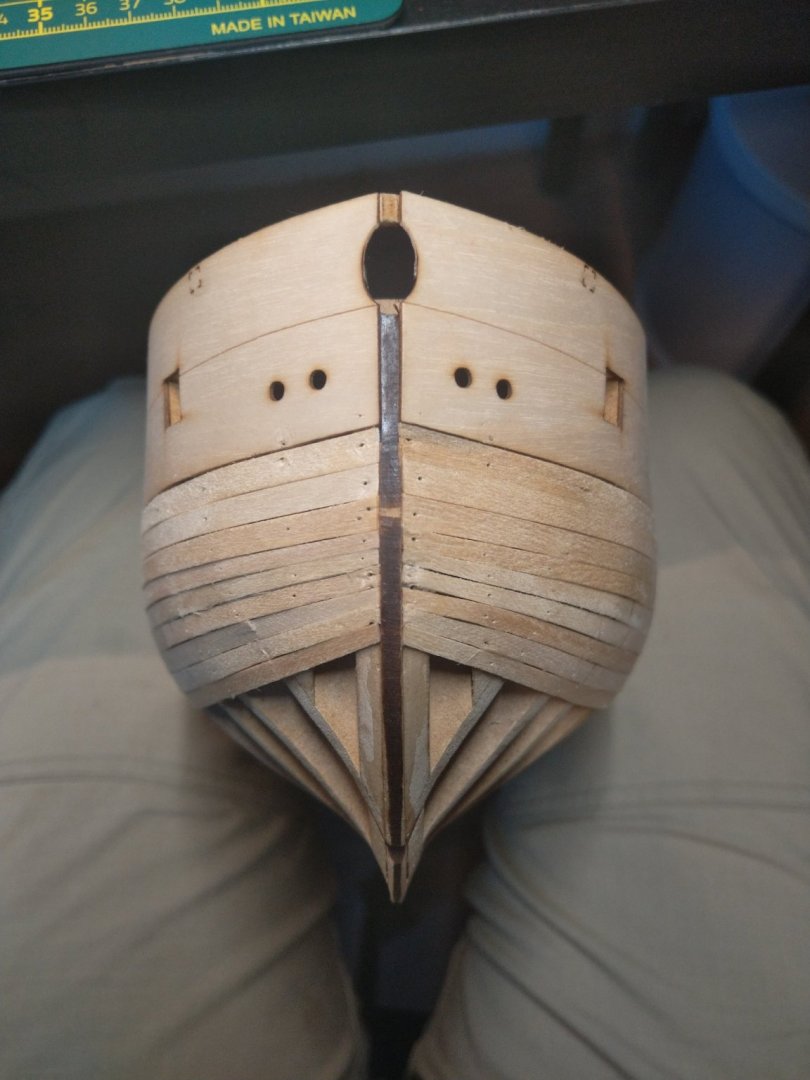
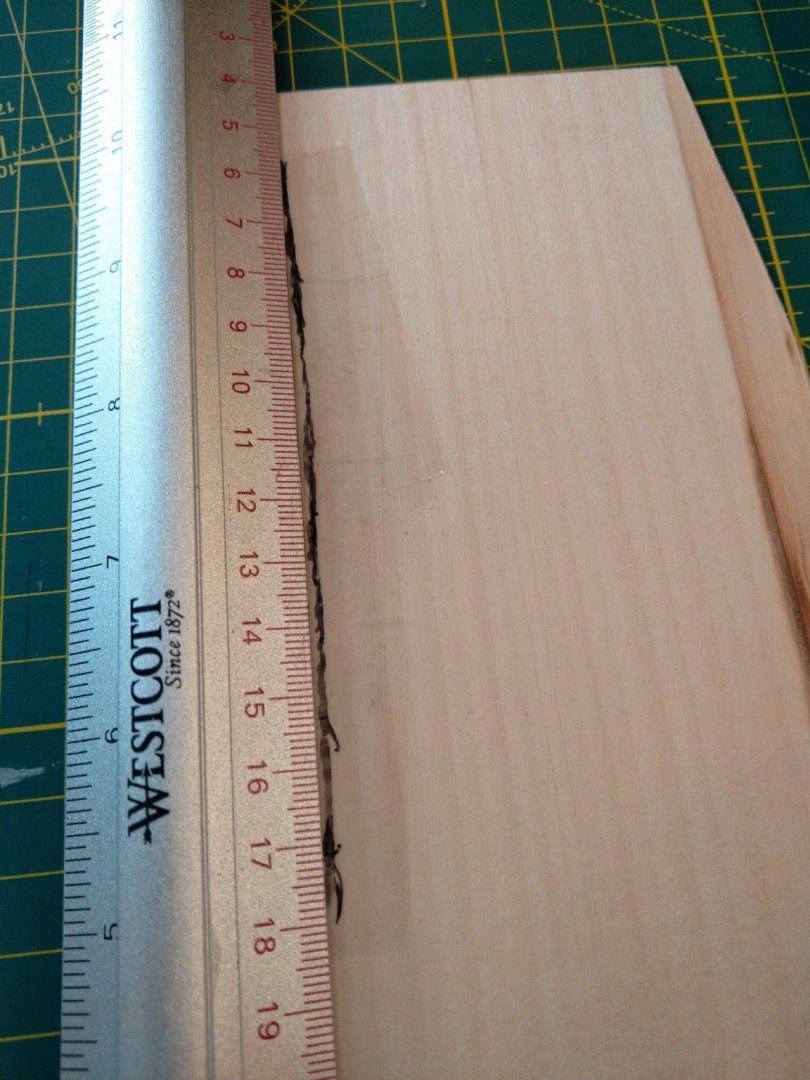
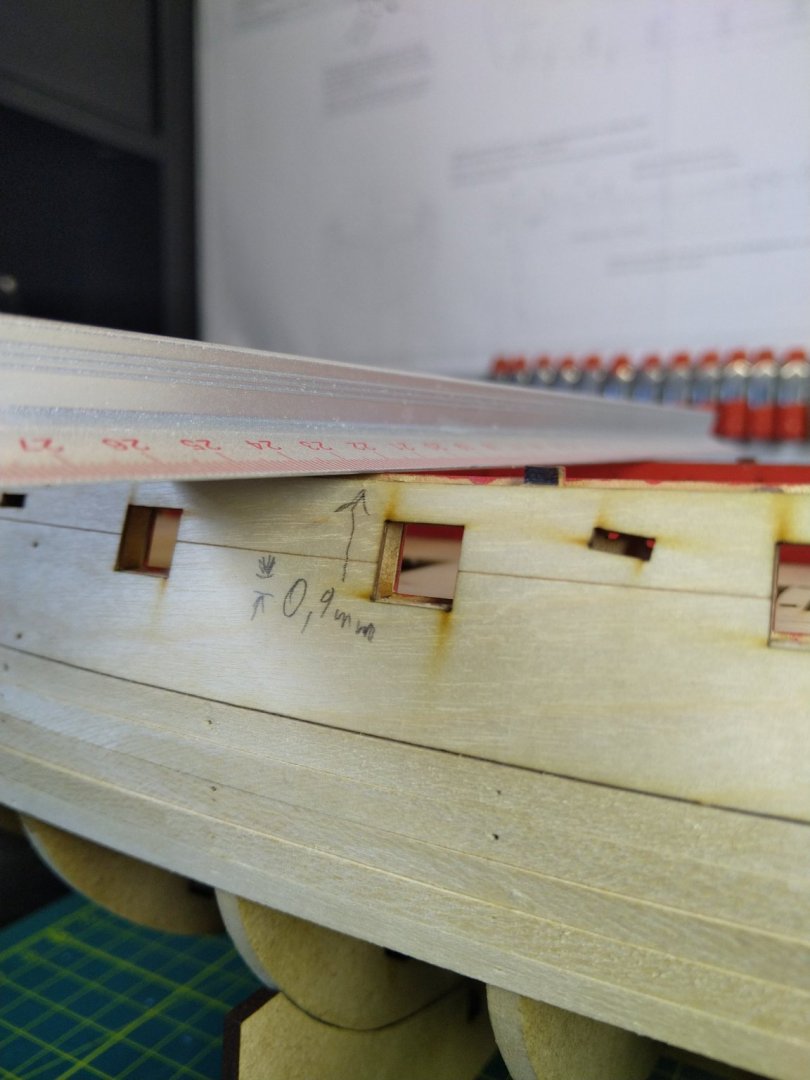
Ok, i slept over it and then did a few measurements, the difference on the bow is 0.2mm, noticeable at this stage if you look very close but nothing major: The waist i measured again from the top and the difference there is 0.9mm, can be fixed with the outer Planking layer, i am a bit relieved that i dont have to correct 2mm at the gunport level. Preparing to continue with the planking, i have traced the line of the bow planks onto a piece of clear film and the bend there is barely noticeable, i wonder if i should even bother with edge-bending using an iron, or just to use a little bit of water to make the bend while attaching the plank:
-
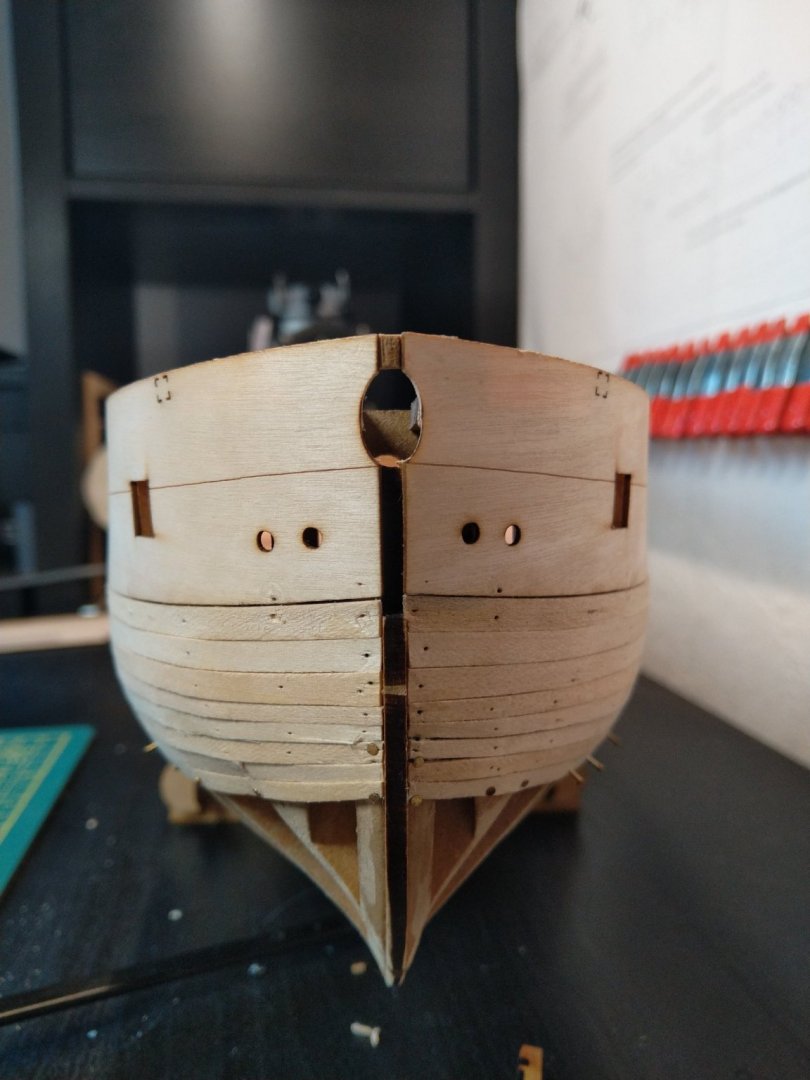
i noticed a HUGE mistake, the upper bulwark liners are misaligned, while i triple-checked the alignment at the Bow and verified now that it is 57mm on both sides, the port liner got misaligned in the waist, resulting in a 2mm difference on bulkhead 7 between port and Starboard. I should still be able to correct this during outer planking tho but it's annoying, as on one side i have to fit 20 planks, and on the other 20.4 planks in the waist (102mm divided by 5). good that i bought enough filler it's annoying, all was going so well until now
-
1st 2 tapered to 2.8mm (calculated bulkhead at widest Part and bulkhead at bow) They go in without any EDGE bending so far Broke off one of the planks at the Stern after having fitted the 2 tapered o es already...

-
Havent decided yet, i think i will try once more with full-length and see how it works (if you look closely at @James H manual pics, you will notice his 4th plank is boken at the stern and he ignored it - Step 142) I dont know if the 1st layer is worth the hassle, also i do have a lot of limewood strips 1x5mm and 1.5x5mm, so i can keep breaking them until they decide to sit right
-
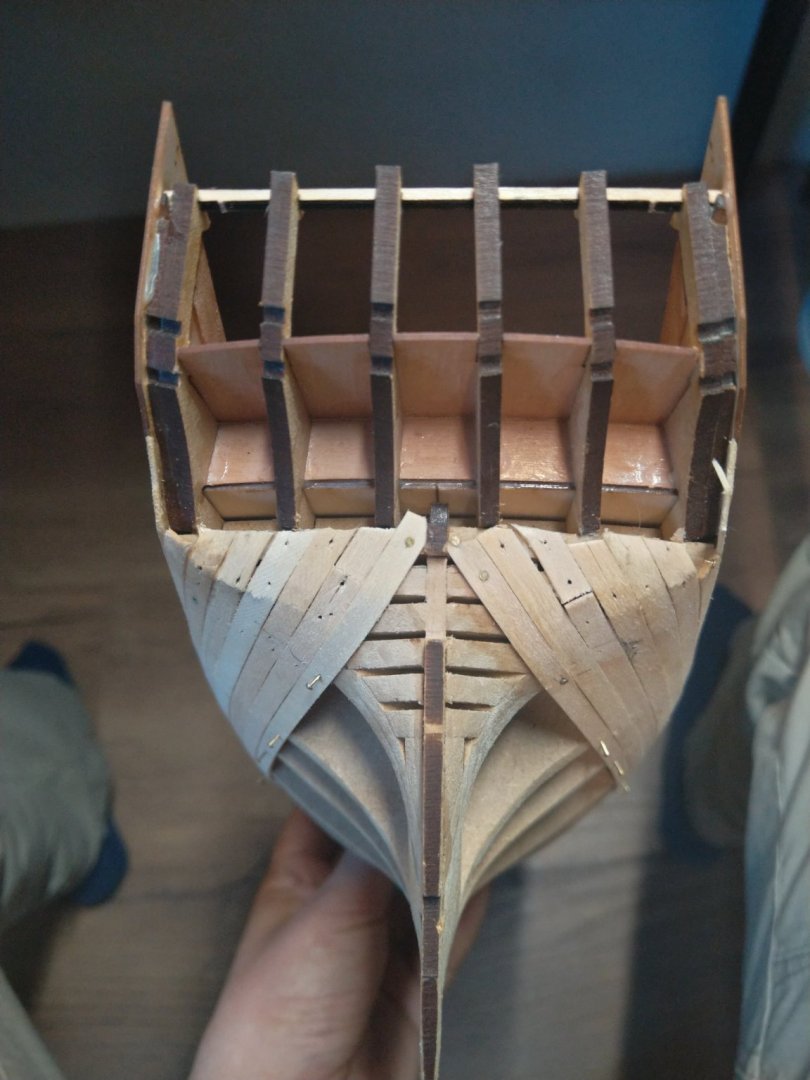
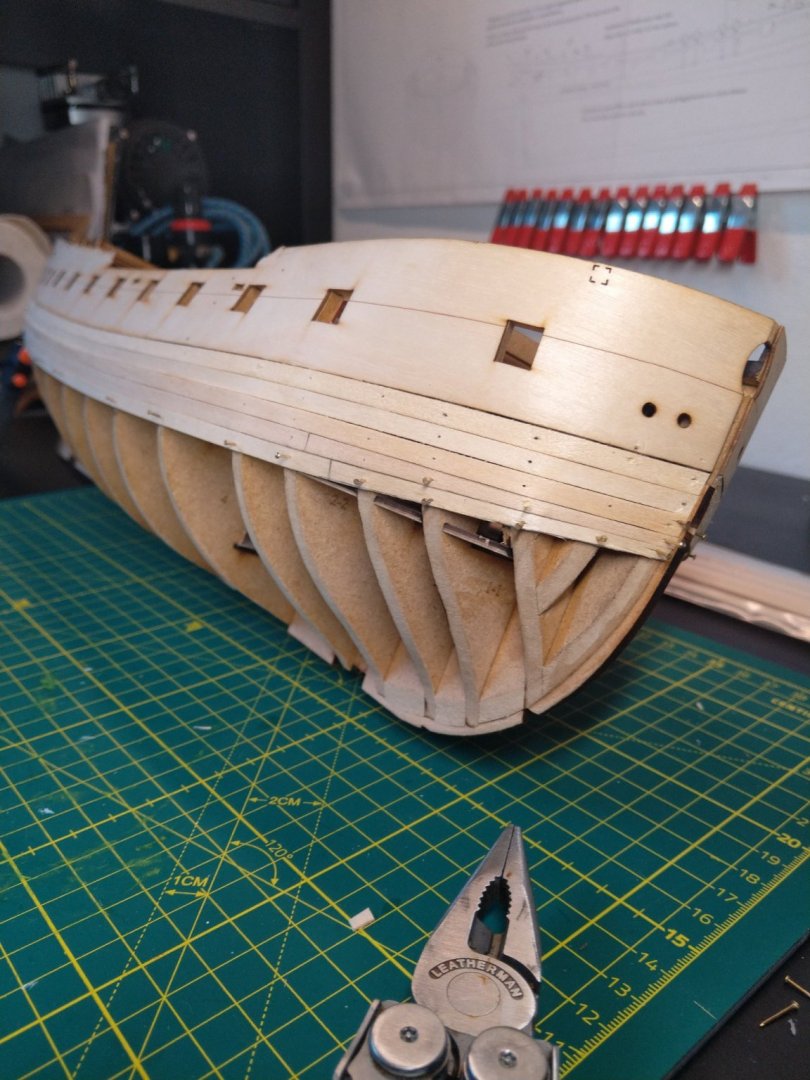
I do have to say, i think i did a good job when fairing, the planks just flow with the shape and pinning is only really neccessary to add the side-bend to them. I broke 3 planks when trying to shape them around the stern, it seems that filler will be needed there at one point. Now the tapering fun starts and edge-bending (also now i stop trying to fit full-length planks)