-
Posts
84 -
Joined
-
Last visited
Content Type
Profiles
Forums
Gallery
Events
Everything posted by Jolly Jo
-
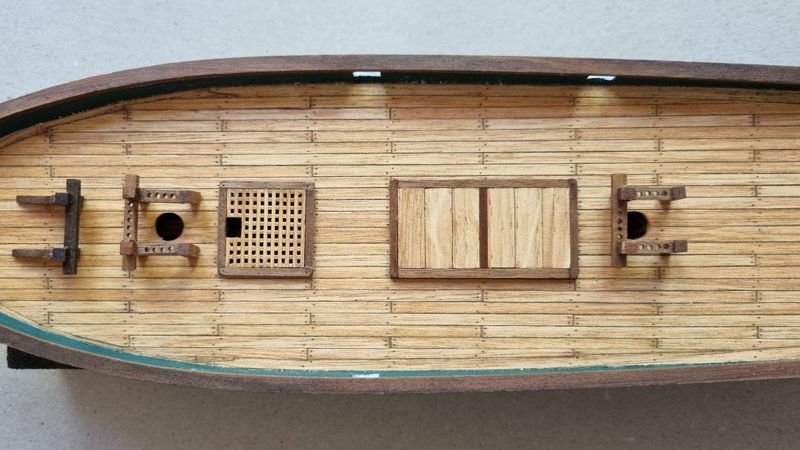
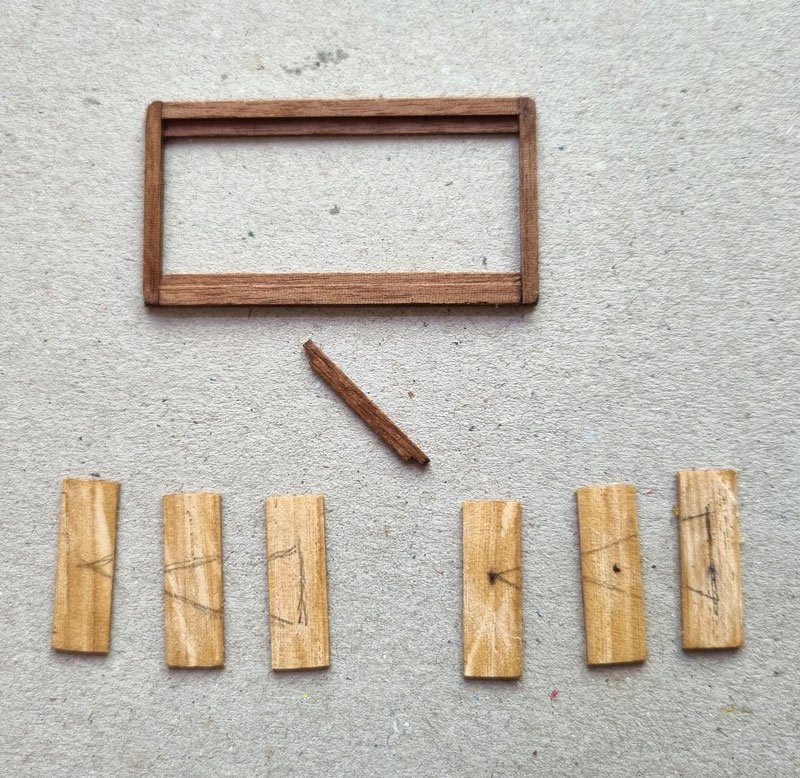
Ahoy everyone, I built the loading hatch from scratch. Below you can see the one provided with the kit and where it should have been placed according to plan. It was to large to fit between the deck beams and I didn't want gratings anyway as a smuggler essentially is a merchant vessel. A hatch as the fore one was out of the question for being to small. Making it small but wide I was afraid it would compromise the stability of the ship so I opted for a long version of the same width as the fore hatch. The space between the hatch and the fife rails is quite narrow but after all that's the most plausible solution I could come up with. Of course there will be rings on the cover boars but these will be made at a later stage.
-
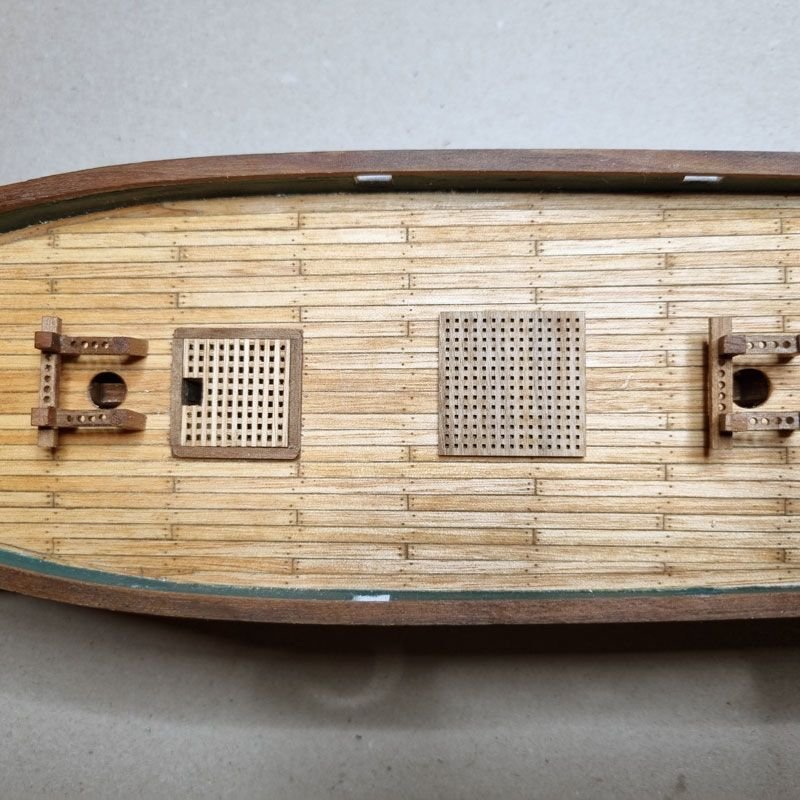
Finished the fore hatch today. I didn't want to just glue the piece to the deck, so, to add more realism, I butchered an opening into the deck, drilled away a good portion of the "false keel" and bulwark, painted these parts black, stained the edges and glued on the coamings. These were the first part of deck furniture to actually get glued on as their position, centered between the deck beams, leaves no room for moving them around anyway. Oops, forgot to the mark the nails... As the gratings fit tightly they are not glued fast and the hatch is an actual hatch. Will be helpful when adding the funnel and I like pieces which are functional, even if they don't have to be on a model.
-
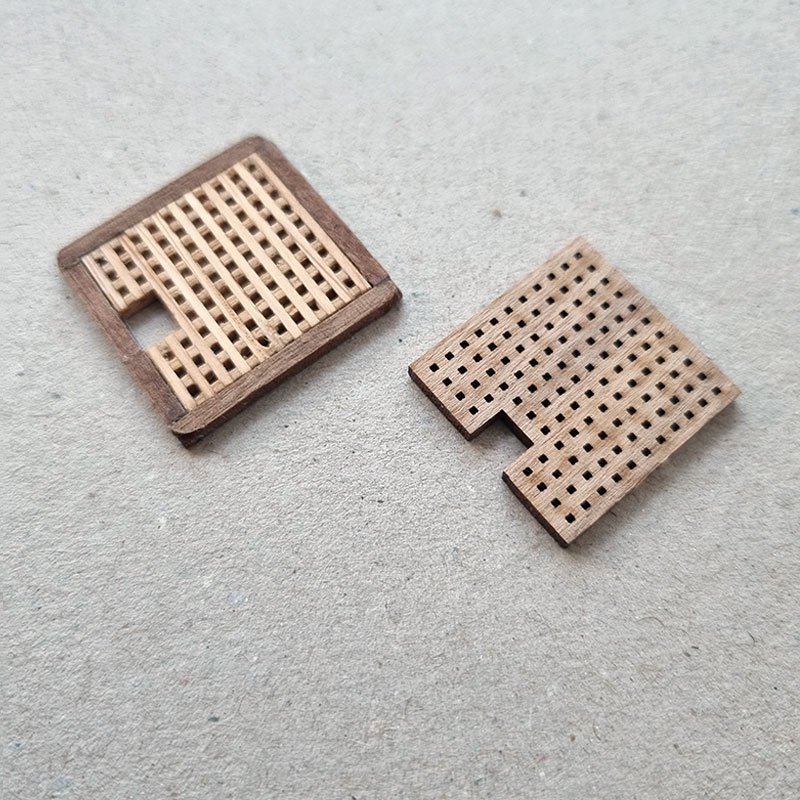
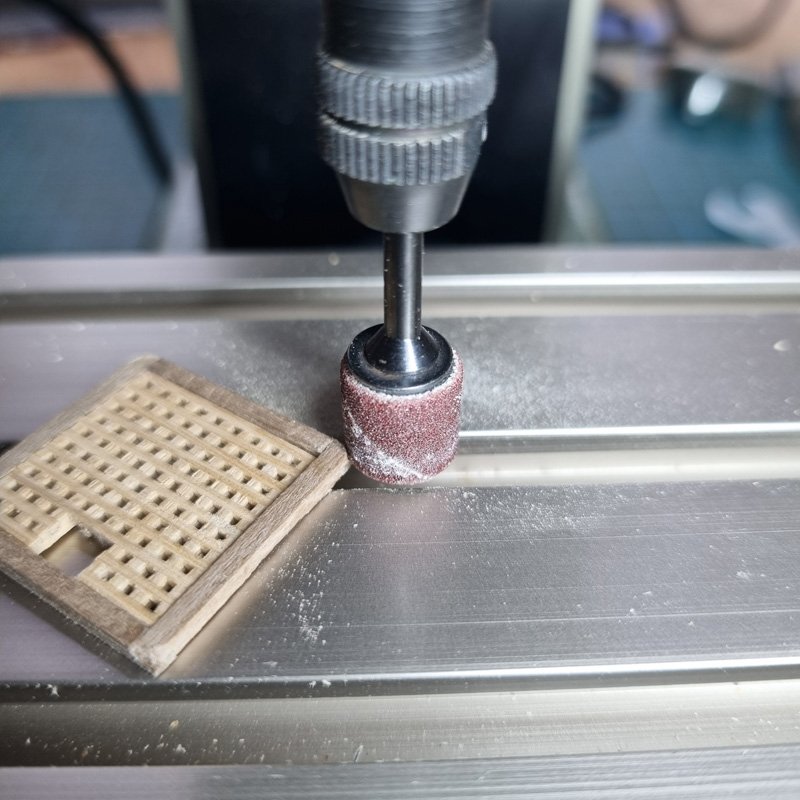
Hello Everyone, I was working on the deck furniture but without much to show. I had an idea how to do the venting piece on the binnacle but decided get to that at a later stage of the build. Instead I went on with the fore hatch. The grating I preferred to scratch build rather than using the kit supplied piece. After some trial and error I made one out of walnut. It was nice and a proof of concept but ledgers and battens were obviously out of scale. Furthermore the milling setup was less than ideal. In consequence I bought a real mill that was a quite game changer. I went for smaller 1 mm stripes for ledgers an battens and oak instead of walnut. For the coamings I stayed with walnut. My scratch-hatch versus the kit supplied grating on the right For rounding the edges of the coamings I uses a sanding bit 0.5 mm above the table so the bottom edges stayed square.
-
Nicely done, Mark. So much better than the plywood piece (plywood, why on earth...?)!
- 257 replies
-
Your build quality and speed is amazing and your fleet is quite impressive. Well done!
- 52 replies
-
- Grecian
- Vanguard Models
-
(and 1 more)
Tagged with:
-
Thank you very much, Steve! I haven't even thought about the lead in terms of long lasting effects (besides taken care not to breath in any material while drilling). I first thought of a funnel on top but in Marquardt's "The Global Schooner" there's this spherical cap instead. I think I'll stick to it in terms of shape but throw out the lead and also go for something smaller.
-
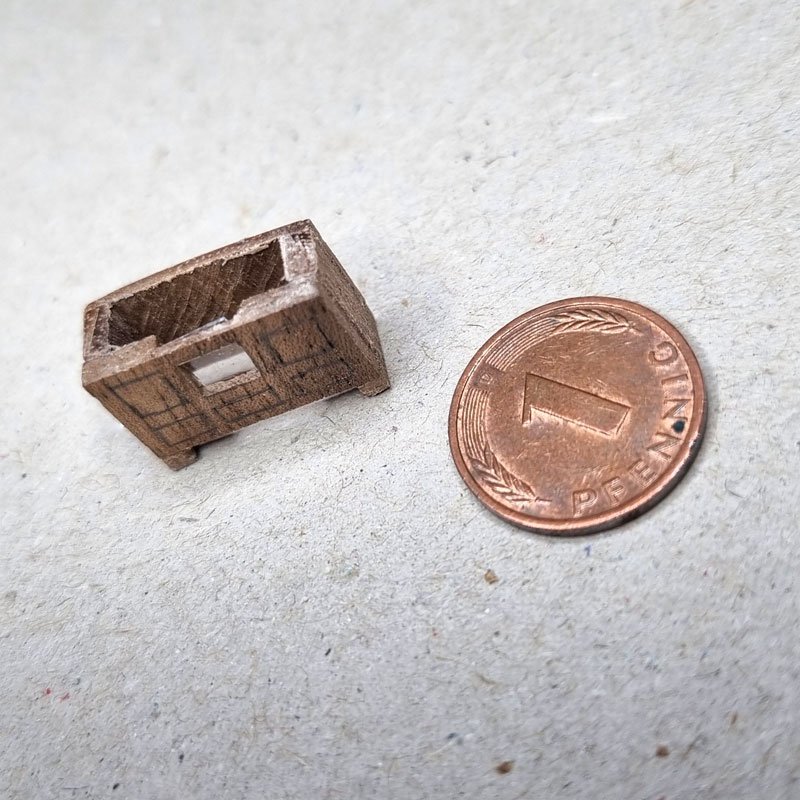
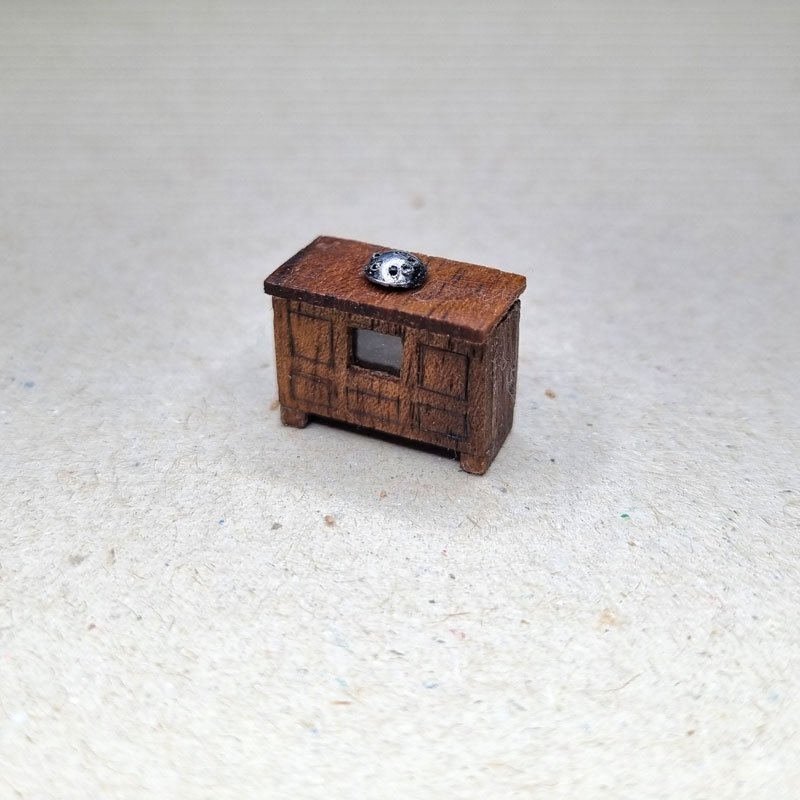
Next piece to tackle was the binnacle. The kit supplied a solid piece of wood (looks like oak) to glue stripes to as to simulate doors etc. I wanted it to be walnut like the rest of the deck furniture and to add a "real" window so I preferred to scratch build. (oops, there was a dated coin in my wallet...) The "glass" is cut from the clear plastic of the model's cover box, the drawers and doors are simulated by carving the outlines and tracing the grooves with a 0.3mm pencil. Before adding the lid I painted the rear wall white as I thought would have made sense to augment the light from the lanterns and I didn't cut a window into the back for stealth as the ship is a smuggler. The venting hood is made from a pellet head which I drilled 0,5 mm holes into. It is not fixed yet as I'm not sure about the size. What do you guys think?
-
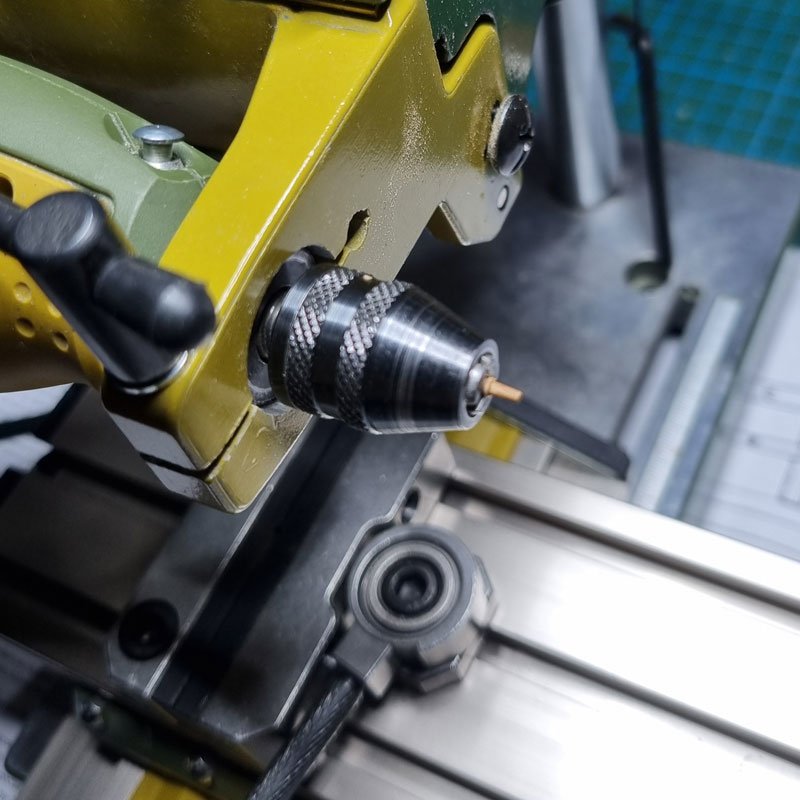
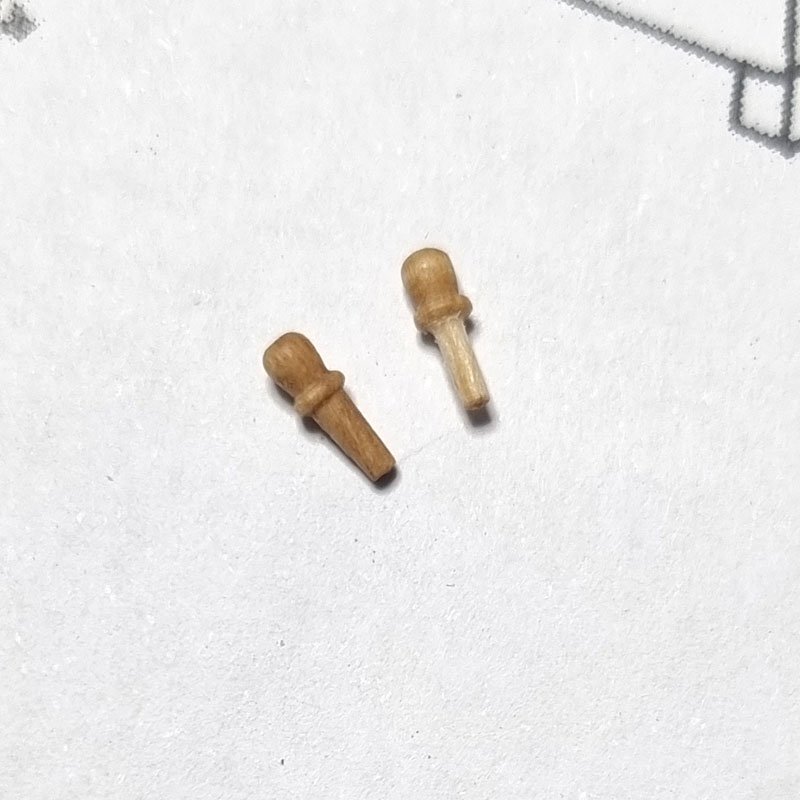
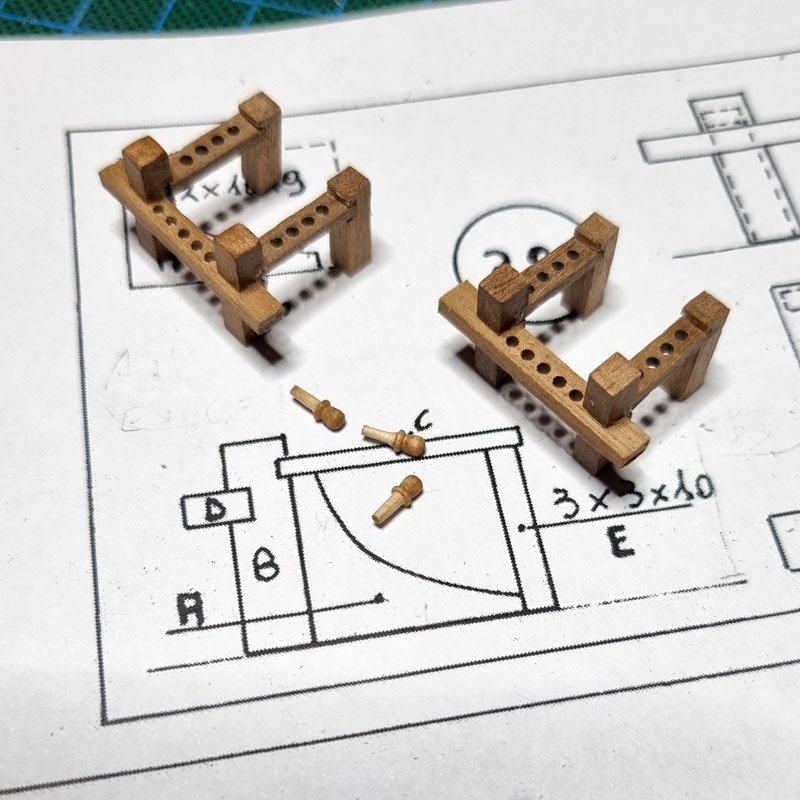
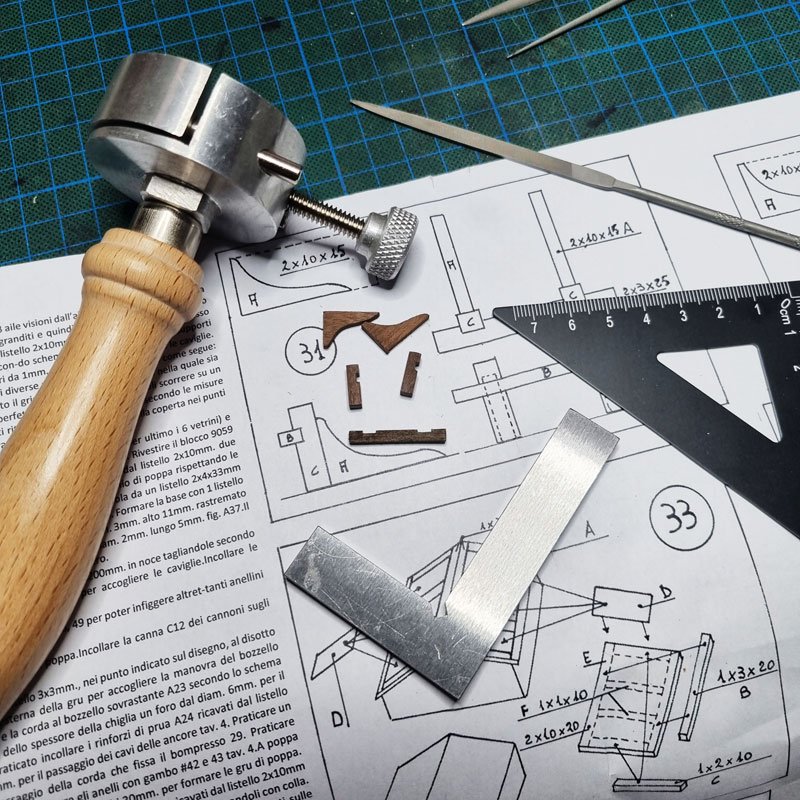
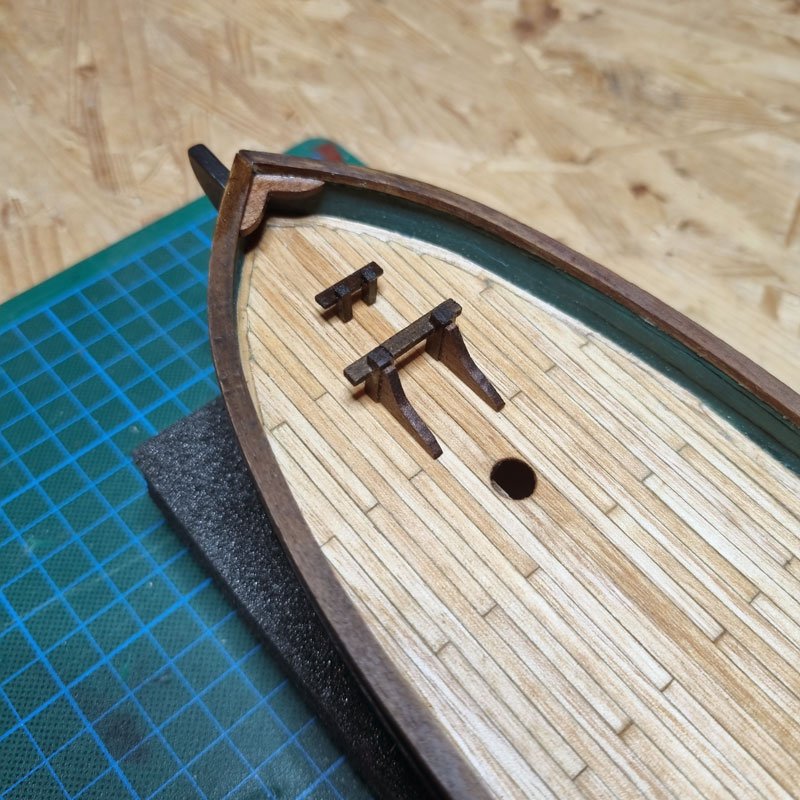
Next on the menue were the fife rails. The measurements in the plan didn't add up and I didn't like the way they were supposed to be built either (the kit is an old mamoli one, not one after mamoli was bought by Daniel Dusek, so maybe the math is right now and/or the shape different). Furthermore the holes for the belaying pins should have been 1mm but the pins were 1.12mm at the tip and 1.75mm at the top of the shaft. Hence I turned my drill 90°, carefully chucked the handles into it and filed a couple of them down to 1.2mm. The pin holes were drilled accordingly. After test fitting I thought the pins are to short. They are 6mm so I will order some 8mm ones. As I want to add topsails I went for 4 holes in the side rails instead of 3 as the plan suggests. I cannot say I have any idea or plans for rigging or belaying yet since I never built a ship before but it doesn't hurt to have a spare hole I think...
-
Congratulations on finishing your build! The ship is a true marvel and your log a great reference and inspiration. I got very much out of it and will look it up again and again in times to come for sure. Thanks Phil!
-
She looks absolutely magnificent! That's (a) top notch craftsmanship, congratulations!
- 301 replies
-
- Constitution
- Bluejacket Shipcrafters
-
(and 1 more)
Tagged with:
-
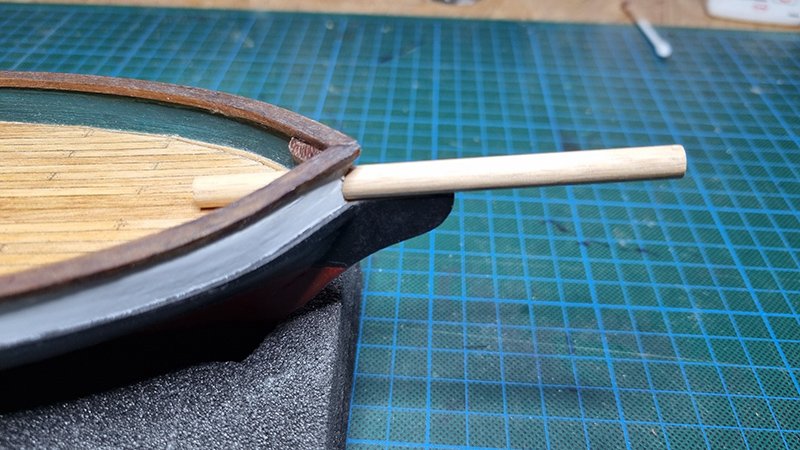
Aloha ye all! Back from my holidays it was time to go on with the build. After being a little lost what to do next I had the revolutionary idea to just follow the plan... This means fiddly stuff. The bowsprit and anchor bitts are just loosely put on deck yet. I also stained the port cap rail as it was of a lighter tone than the starboard one.
-
Very nice indeed! Now, if anything goes wrong it's your fault 😆
- 257 replies
-
Well done, Mark! Scrap wood is so versatile if one has the right idea.
- 257 replies
About us
Modelshipworld - Advancing Ship Modeling through Research
SSL Secured
Your security is important for us so this Website is SSL-Secured
NRG Mailing Address
Nautical Research Guild
237 South Lincoln Street
Westmont IL, 60559-1917
Model Ship World ® and the MSW logo are Registered Trademarks, and belong to the Nautical Research Guild (United States Patent and Trademark Office: No. 6,929,264 & No. 6,929,274, registered Dec. 20, 2022)
Helpful Links
About the NRG
If you enjoy building ship models that are historically accurate as well as beautiful, then The Nautical Research Guild (NRG) is just right for you.
The Guild is a non-profit educational organization whose mission is to “Advance Ship Modeling Through Research”. We provide support to our members in their efforts to raise the quality of their model ships.
The Nautical Research Guild has published our world-renowned quarterly magazine, The Nautical Research Journal, since 1955. The pages of the Journal are full of articles by accomplished ship modelers who show you how they create those exquisite details on their models, and by maritime historians who show you the correct details to build. The Journal is available in both print and digital editions. Go to the NRG web site (www.thenrg.org) to download a complimentary digital copy of the Journal. The NRG also publishes plan sets, books and compilations of back issues of the Journal and the former Ships in Scale and Model Ship Builder magazines.

