HOLIDAY DONATION DRIVE - SUPPORT MSW - DO YOUR PART TO KEEP THIS GREAT FORUM GOING! (Only 24 donations so far out of 49,000 members - C'mon guys!)
×


Jerry
-
Posts
1,753 -
Joined
-
Last visited
Content Type
Profiles
Forums
Gallery
Events
Everything posted by Jerry
-
Hello Glenn...Thank you for your visit to my Log. I appreciate your favorable comment as it's always nice to hear a compliment after a hard day's work. In answer to your question, I do use bees wax on all thread. I buli a Cuty Sark (see beginning of this log) several years ago on which i applied bees wax also. It sits in a lucite display case and it has never had any dust on it. i find it amazing that after all these years, about 15, case or not, there's no dust to be found. I attribute that to the use of the bees wax. There was no need to coat the end of the thread with CA as I was able to pass the thread through almost all the deadeyes. Where I had trouble, I used a needle threader. My concern is with the tny 2.5mm deadeyes on the top mizzen mast. I may have to use the threader all the time here... I'd be very cautious about drilling the holes as there is very little wood between them.. Oh well.we'll see what happens. Get a good night's sleep my friend. Jerry
- 900 replies
-
- 1
-

-
- victory
- caldercraft
- (and 1 more)
-
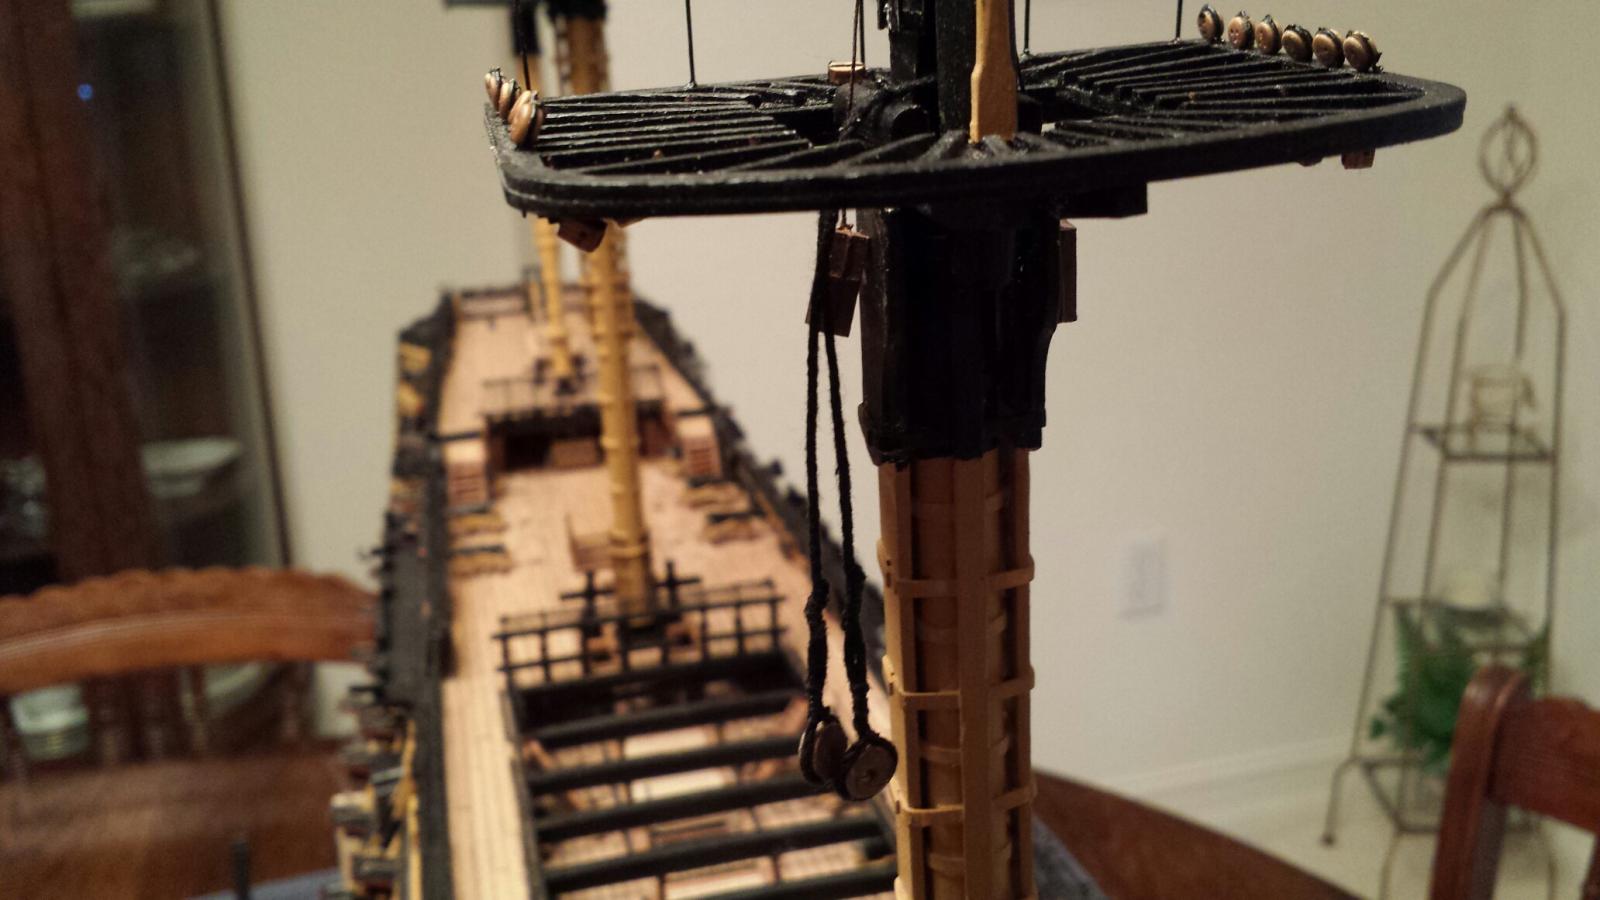
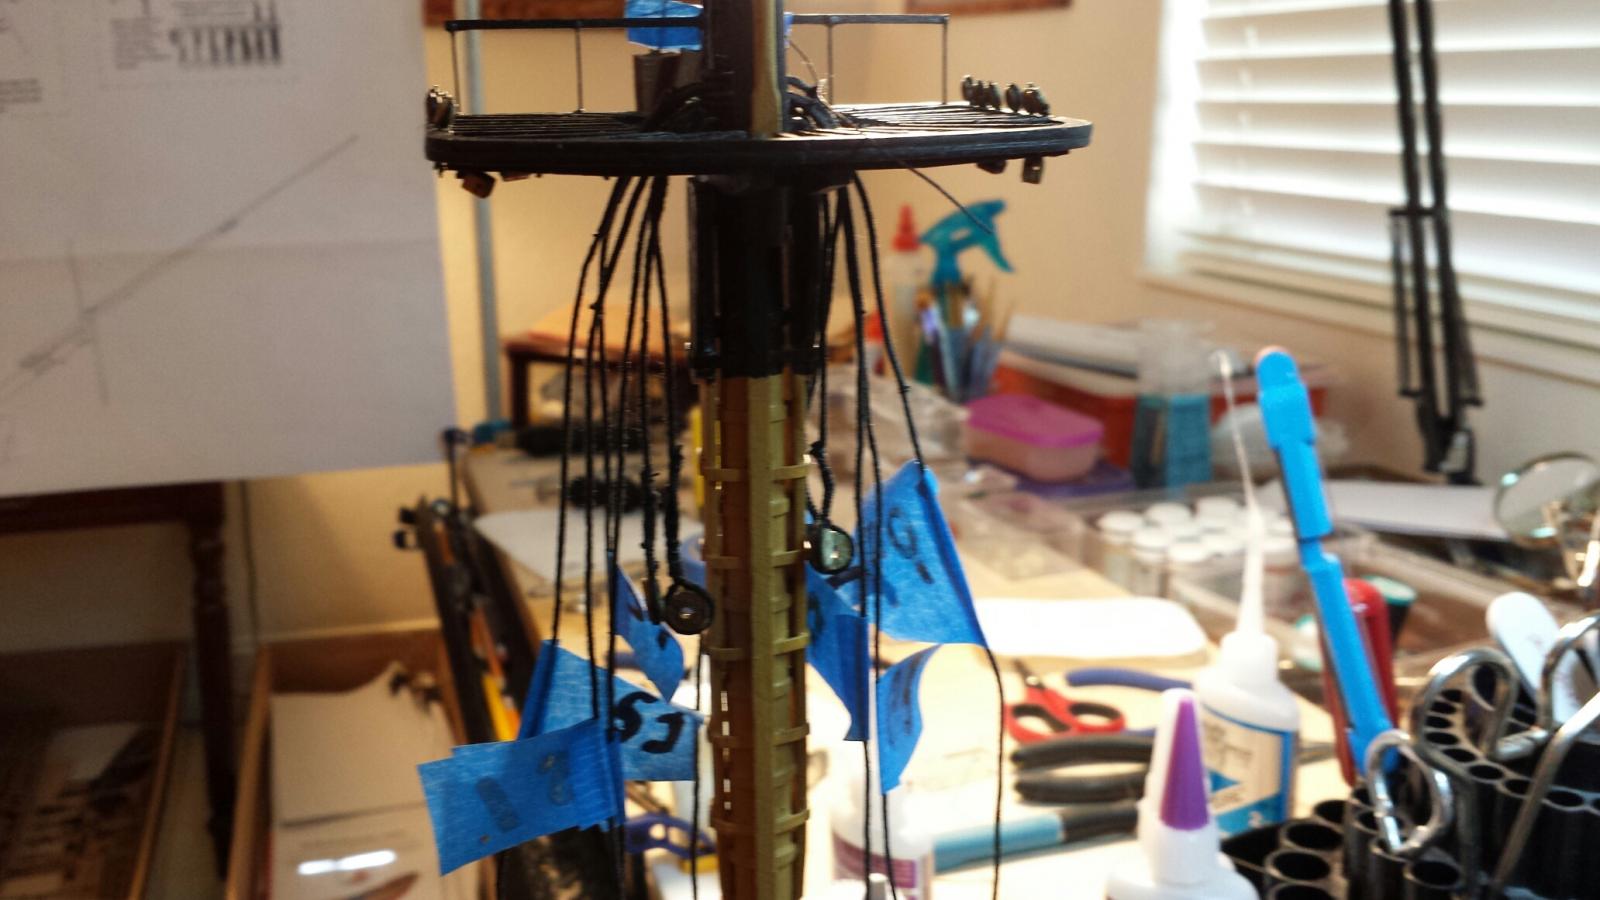
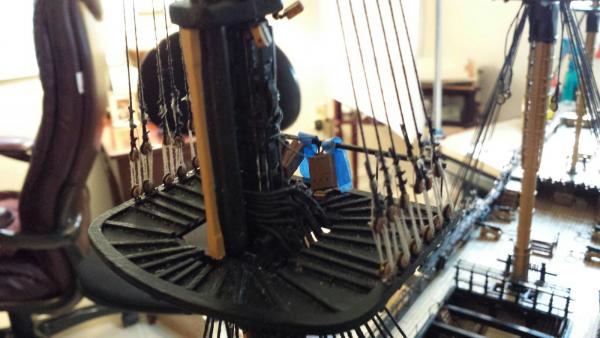
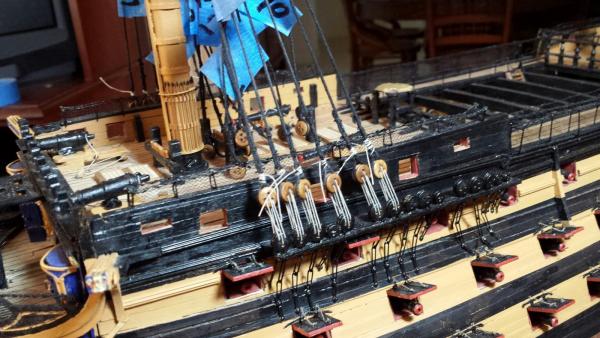
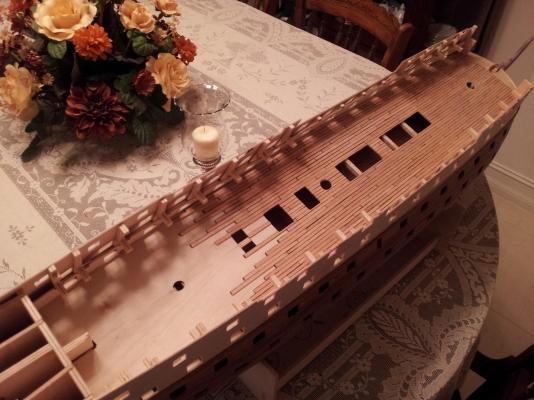
Some additonal notes from the dry dock.....Today I began to hang and attach the fore top mast shrouds. Because I am now dealing with minute deadeyes (3.5mm) and blocks (3mm), I found the going extra slow. I belive I'd better get used to this slower pace as I delve further and further into the rigging. It was tricky at times; a couple of deadeyes slipped out of their loops as I was handling them one way or another and I was lucky to be able to place them back where they belong. I had visions of removing the entire pair of shrouds in order to tie in a new deadeye but as I said I was lucky. Some of the holes in the deadeyes were a bit too small or blocked so it was also necessary to drill all the deadeye out, those that were stropped and those that were tied into the end of the shrouds. I remembered that the first pair os shrouds on both sides had a small single block lashed between them just below the top platform where the serving ended. These will be needed later for the yard lifts. So at the next session I will try and complete the same phase for the main top mast as it is the same as what I just finished. However, the mizzen top mast will be a little different as I will be dealing with 2.5mm deadeyes. Some photos are attached. Best, Jerry

- 900 replies
-
- 6
-
-
- victory
- caldercraft
- (and 1 more)
-
Thanks, David...Appreciate your very kind comments; however, that's not dandruff.....IT'S DRIED SWEAT!!!!
- 900 replies
-
- 1
-
-
- victory
- caldercraft
- (and 1 more)
-
Hello Glenn.. It's nice to see you again and thank you for your favorible comments. I began my Victory just about one year ago, Feb 21st, to be exact. You are making unbelievably quick progress so I don't believe it'll take you as long as you think to get to the stage I'm in. Furthermore, you are doing a beautiful, careful job and you are going to have one hell of a good loooking ship model when you are through. Keep your log going too. Take care, Jerry
- 900 replies
-
- 1
-
-
- victory
- caldercraft
- (and 1 more)
-
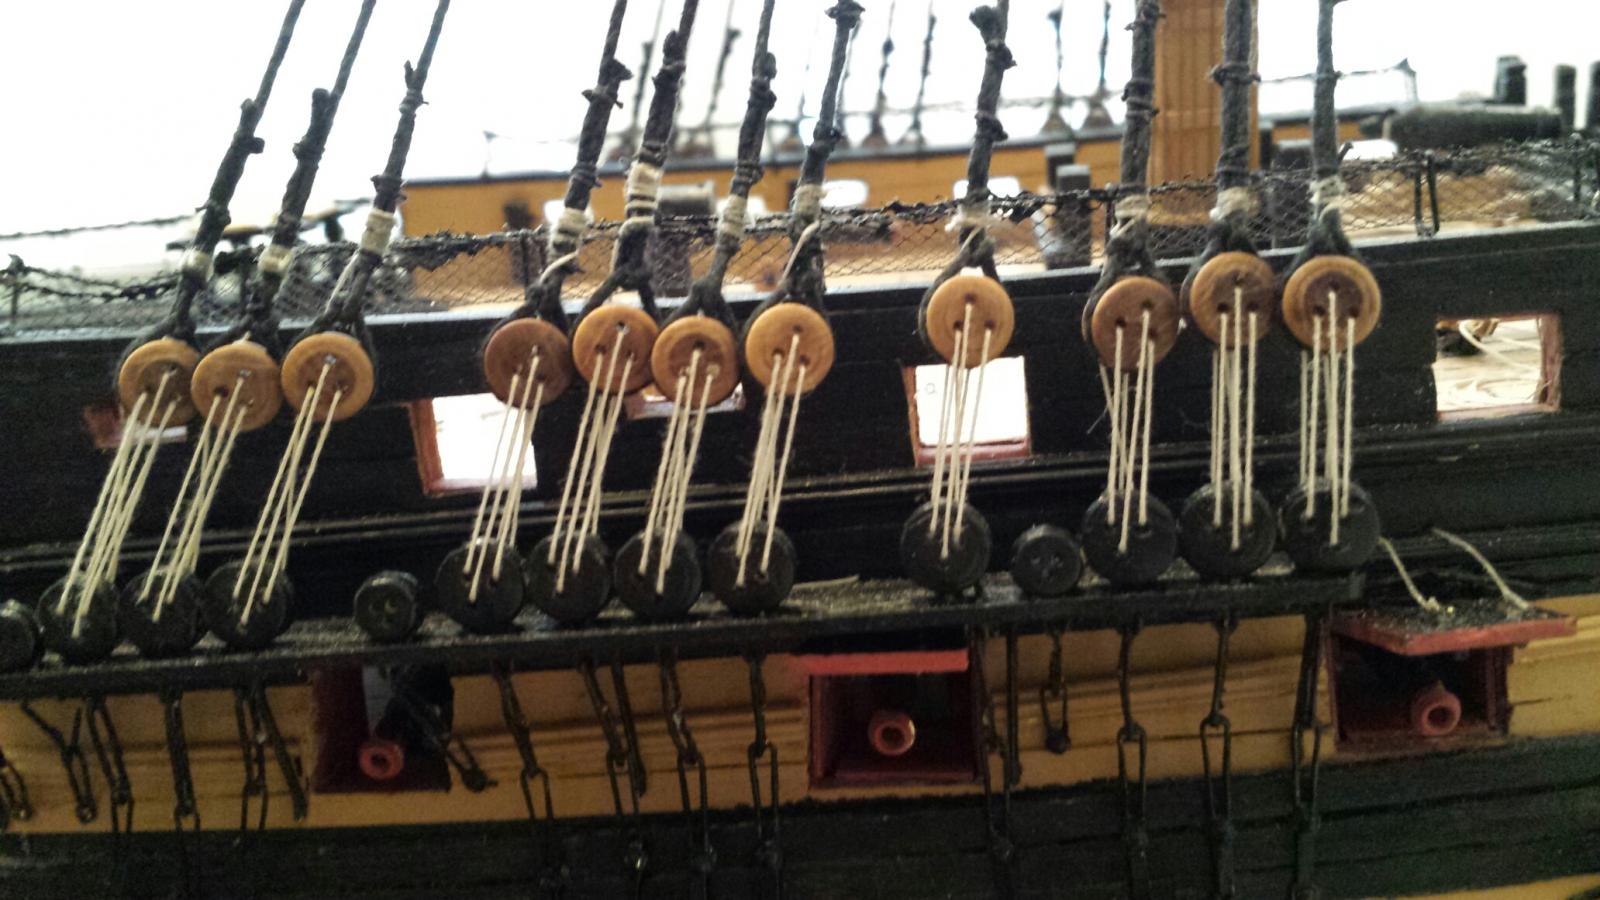
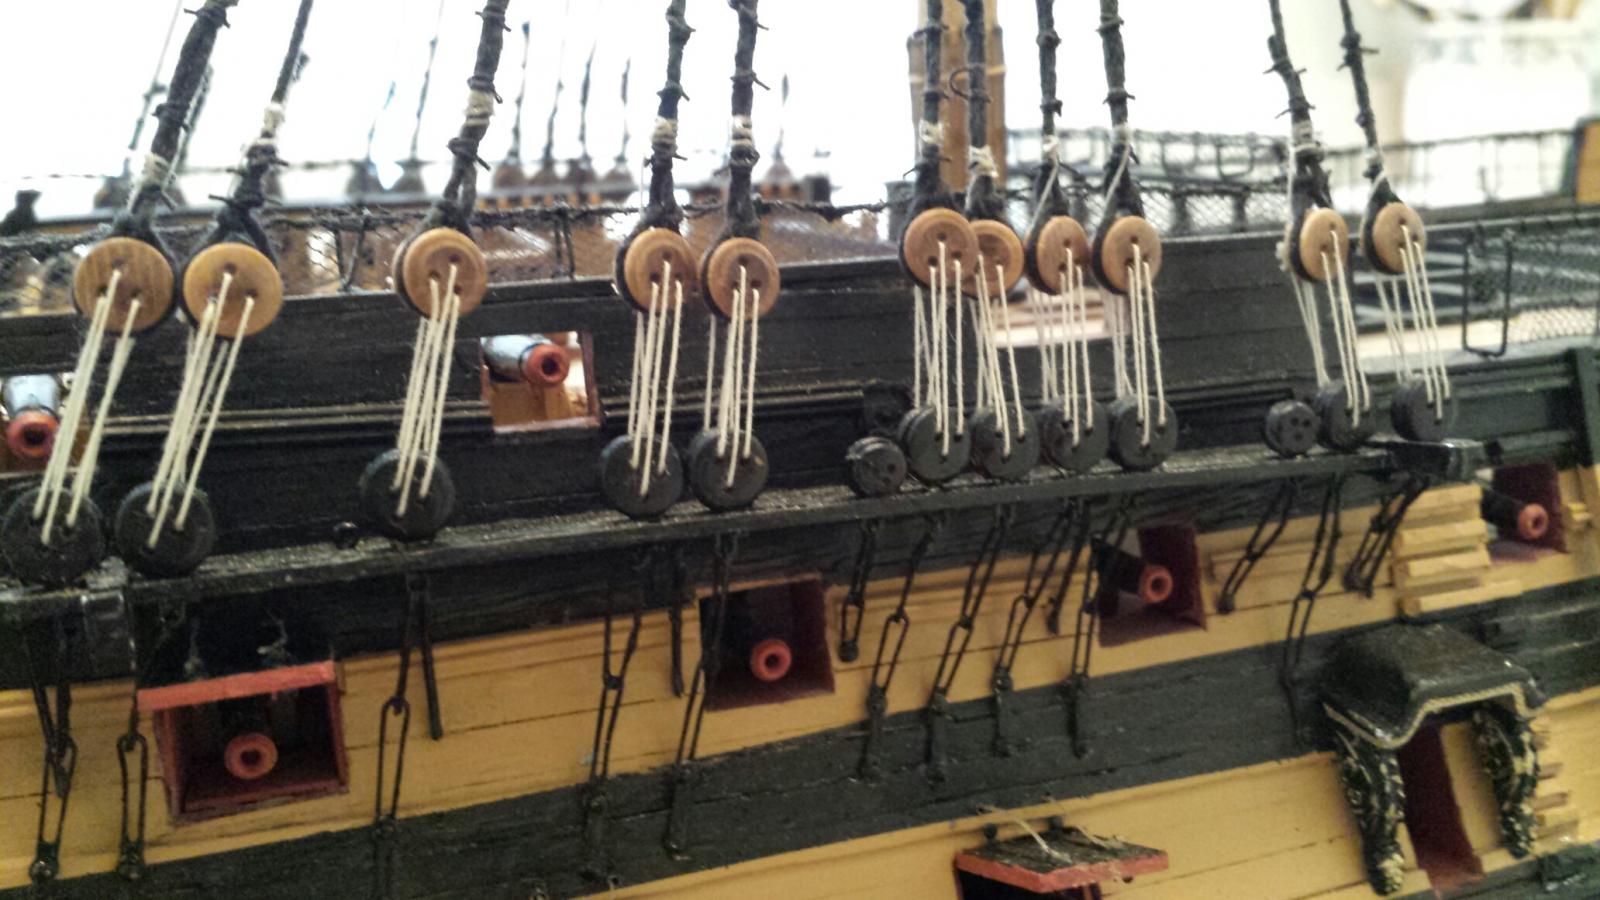
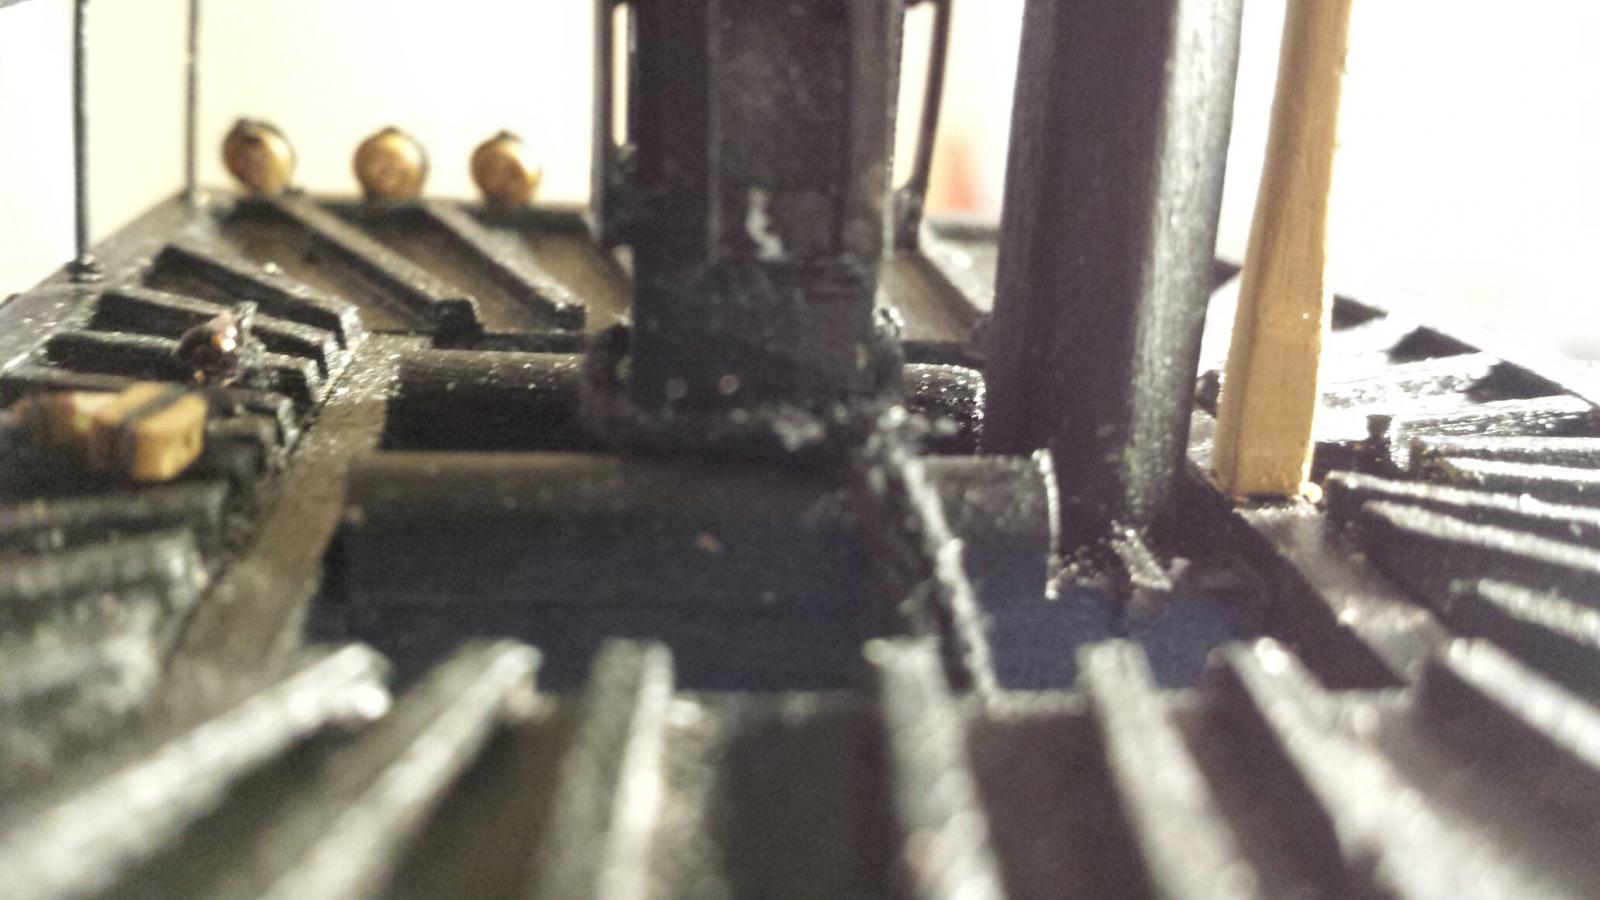
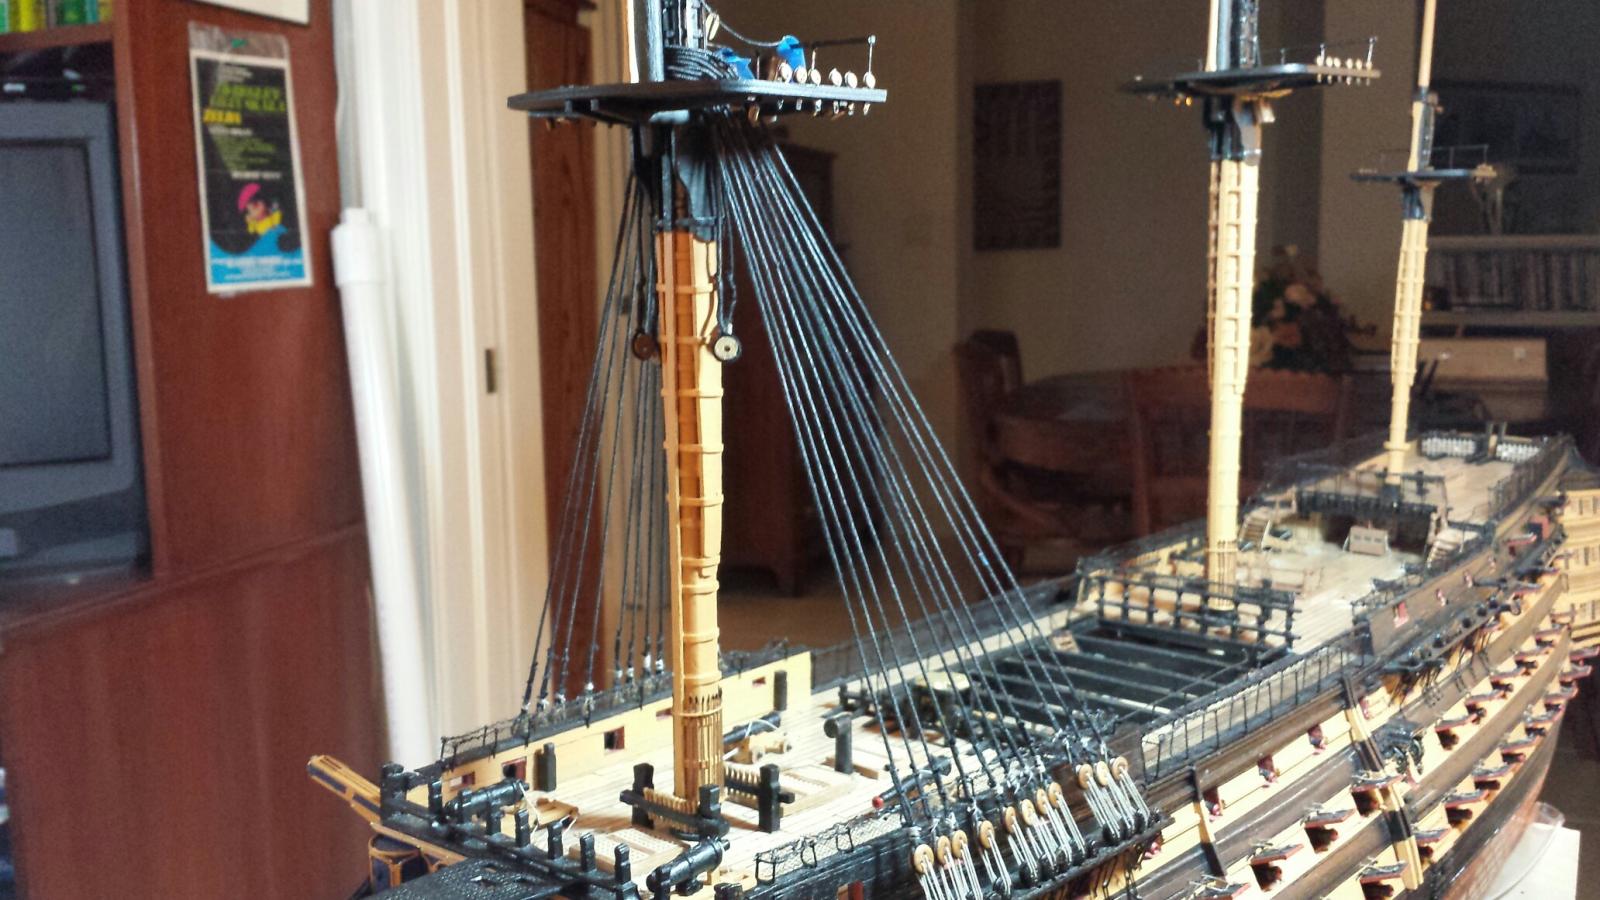
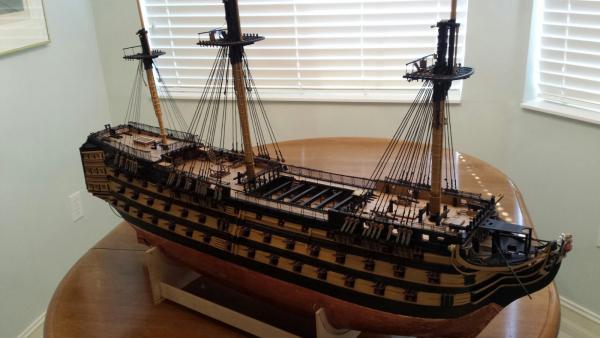
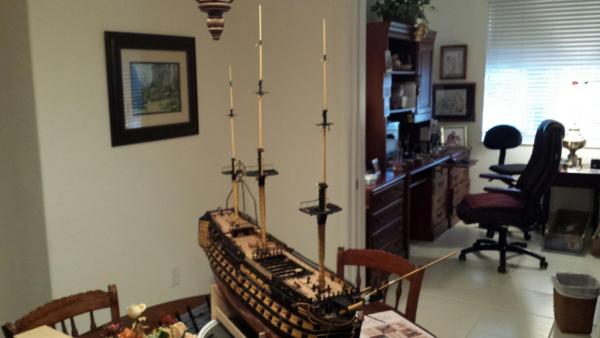
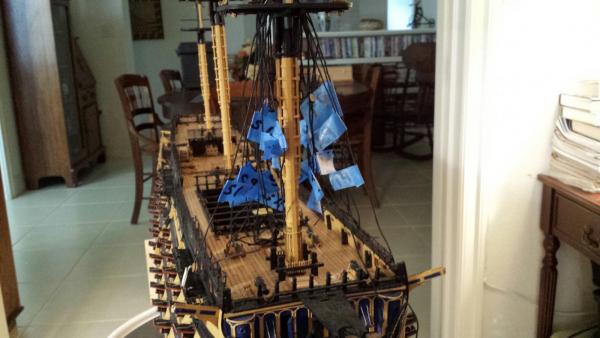
Hello everyone...I'm happy to report a little more progress on my Victory. The shrouds and lanyards for all the lower masts have been completed so it's on to the next higher level, the top masts. I have a little concern as I get higher up the model as the deadeyes are getting smaller and smaller. The jig that I made to help tie the foremast and mainmast lanyards to the shrouds is too big for the mizzen mast lanyards so I made another one, a bit smaller, in spacing and in wire guage. This allowed me to accomplish the mizzenmast lanyards but now I'm concerned about the top masts because the deadeye are again much smaller. I hope my brain works and I can figure this one out. I cringed when I noticed that one of the mizzen mast lanyards on each side sits right in front of a gun port (cannon ready to blow the hell out of it) so I guess I'll have to remove this shroud and move the deadye and strop. Maybe I'll forget to do this. LOL...Any way, I'm really enjoying the build at this time and look forward to completing the remaining shrouds, etc. and start counting clove hitches as I do the rat lines. Photos attached. Jerry


- 900 replies
-
- 2
-
-
- victory
- caldercraft
- (and 1 more)
-
Way to go, Gil. Look terrific. Can't wait to use the toule again...Glad i saved my leftovers from the hammock cranes...Take care Jerry
-
Hello kevin... I enjoyed looking at your model and am happy to see what a nice job you are doing. It's good to see you making progress in such a nice way. Best to you, Jerry
-
Way to go, Glenn. I can't believe how quickly you are working. Looks like you're moving steadily along and nicely , too. Making the paper templates was a great idea. I look forward to watching your progress. Have a great day, Jerry
-
Hello David...If you quit now I wouldn't know the difference. Your ship looks so good and all your sweat and tears appear to be well worth it. I can't believe how much there is to do on Victory and furthermore I can't believe that I'm going to try and follow you. I have lots of questions but won't bother you with any of them yet. I am so appreciative that you are publishing your progress as I don't know what I would so if I couldn't look at your beautiful pictures. Thank you for doing that and for being my friend. Jerry
-
Hey Lawrence...Good to know that the little package finally arrived . I'm really surprised that it took 11 days but a after all, Canada is a different country although most Americans, like me, find it difficult to think of it as being different. Building the masts can be very enjoyable as you stated; I found it to be a rewarding process. It's so much nicer than a plain dowel as most of the model ships' masts are built. I've been working on serving the main mast shroud lines this morning and am now tying them to the mast. Hope you have a very productive and happy day. Your friend, Jerry
- 900 replies
-
- 1
-
-
- victory
- caldercraft
- (and 1 more)
-
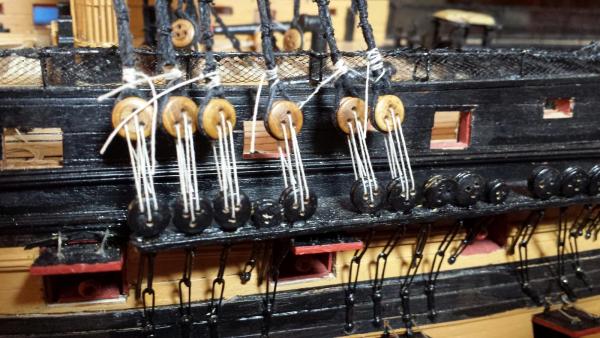
Hi Lawrence...Thank you very much for taking time to read my post. I sincerely appreciate your compliment regarding the line up of the deadeyes but as you know, it wouldn't have happened if not for your suggestion regarding the jig. The little bugger works well and I'll have to use it one more time on the lower main mast shrouds. Then the dimension changes when one gets to the mizzen mast and of course to the top masts. I'm going to begin the tackle pendants again, this time for the main mast and I'll use the slice-a-dowel method for the bulls eyes in the loops. Hope you and the Admiral have a great day with no snow blowing and I'll probably see you later. Many thanks again, Jerry
- 900 replies
-
- 1
-
-
- victory
- caldercraft
- (and 1 more)
-
Hello David...I don't see any flags on the shrouds..Did you check the last picture? LOL Jerry
-
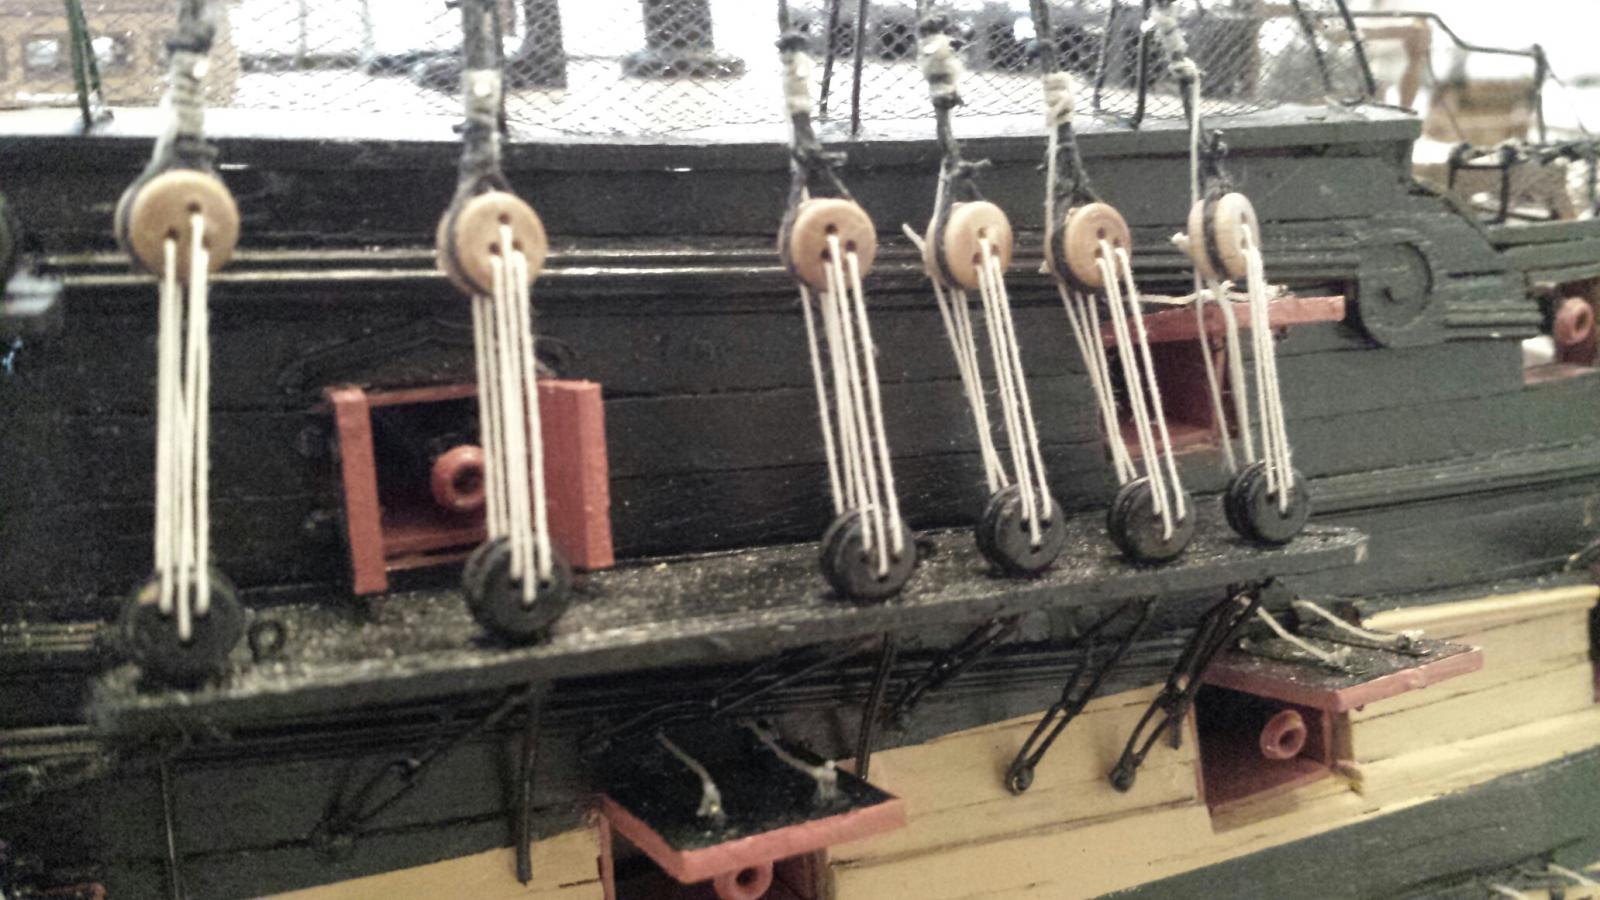
Hello Everyone...I've managed to make a little progress with the build. I have spent the last few days working on the shrouds and lanyards and have completed them for the foremast. I hear everyone talking about be careful about not knocking off one extrusion or another and I decided of course to be careful. So I managed to break off one boomkin and one cat. Both are back together so it's on to the main mast when next I get going again. By the way, I did not permanently attach the bowsprit....too dangerous; it'd sitting on the bench while I do the shrouds. Looks like I'll be starting the Main mast shrouds next. Everyone stay well... Jerry


- 900 replies
-
- 5
-
-
- victory
- caldercraft
- (and 1 more)
-
Hello David, Just a word or two to let you know how much I appreciate your postings which I expect to follow when I get (if I ever do) where you are. Thank you for taking the time to do these wonderful posts. Have a great day, Jerry
-
Hi Lawrence. Thank you very much for your visit to my log. I also enjoyed chatting with you today. I did start the shrouds and as you know had to remove numbers 1 and 2 from both port and starboard as the deadeyes which were seized before using the deadeye spacer were way off the mark. I cut them out and have finished installing their replacements. This was tricky since I had to fit the wraps around the masts under the other shrouds which sit on top of them. All the foremast shrouds are now in place, hanging and waiting for the deadeyes to be attached. I hope to do that tomorrow using the deadeye spacer like the one you mentioned. I hope you and the Admiral had a terrific weekend. I'll be seeing you both soon. best regards and once more I sincerely appreciate your wonderful compliments. Jerry
-
Hi Glenn. Well I stand corrected. All this time I had the wrong definition of the 4 butt system. So I'll eat crow. Thanks to Patrick for pointing this out. I apologize for my misunderstanding and hope you understand. Bets, Jerry
-
Hello Glenn. You are making very speedy progress and your work is to be commended. I do have one comment, however. You apparently chose not to do a 4 butt process on the deck and of course that's your choice. I see that you did a 5 butt deck lay. I was just wondering what made you change your mind. Also, I hope you decided to use some type of caulking as, with the risk of being too critical, will make your deck look more dimensional. I know you may be unhappy with my friendly critism but I feel the deck a you have done it looks a bit too plain. You have my picture above; it is a true 4 butt pattern with a caulking simulated with the use of a magic marker. But as I said the choice is yours. I hope you won't find me too critical but I can only tell you how I feel. Take care. Jerry
-
Well, you may want to try it on this deck because, as David pointed out, this deck will never be seen. Check out my pic again...I used magic marker which you haven't tried yet. of course, as you mentioned, you may not want to do any of this. Have a good night in merry old.... Jerry
-
Hello Glenn...Nice shots of your progress. I have a suggestion you may want to consider regardingthe deck planking. I used a magic marker with a soft fabric tip to line one edge and one end of each plank. You do this by lightly running the marker along the edge or side making sure not to get any ink on any of the large surface. This will result in a very nice deck that appears to have been caulked. I have enclosed a picture of how it looks on my boat. I hope you don't mind me sticking my 2 cents in but I think you'll be happier with a deck that looks caulked.. jerry
-
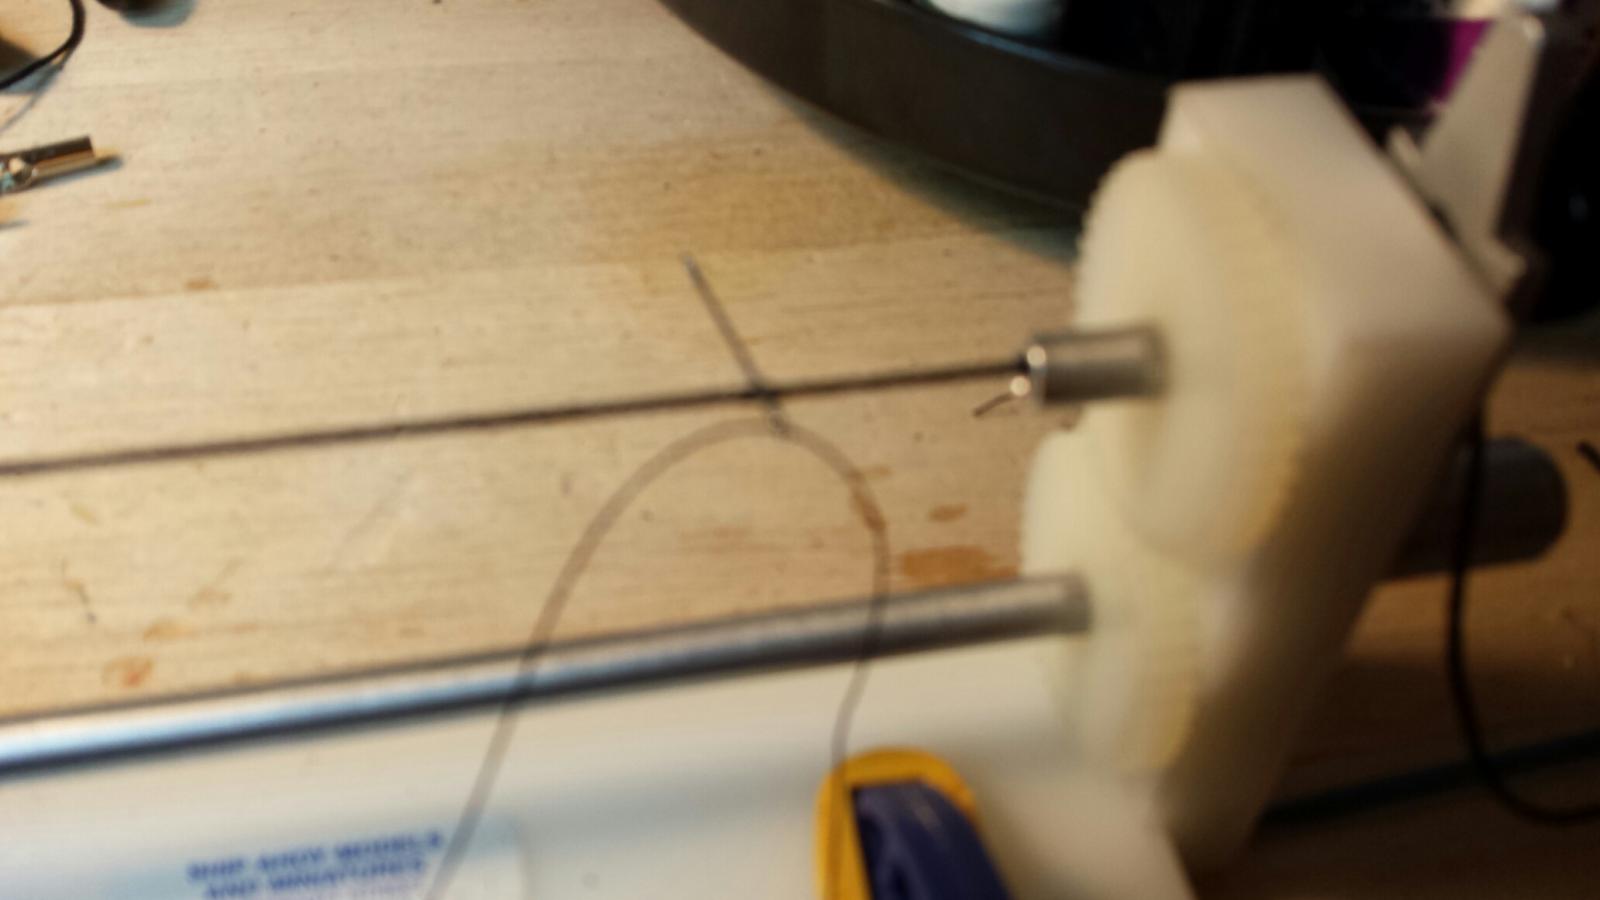
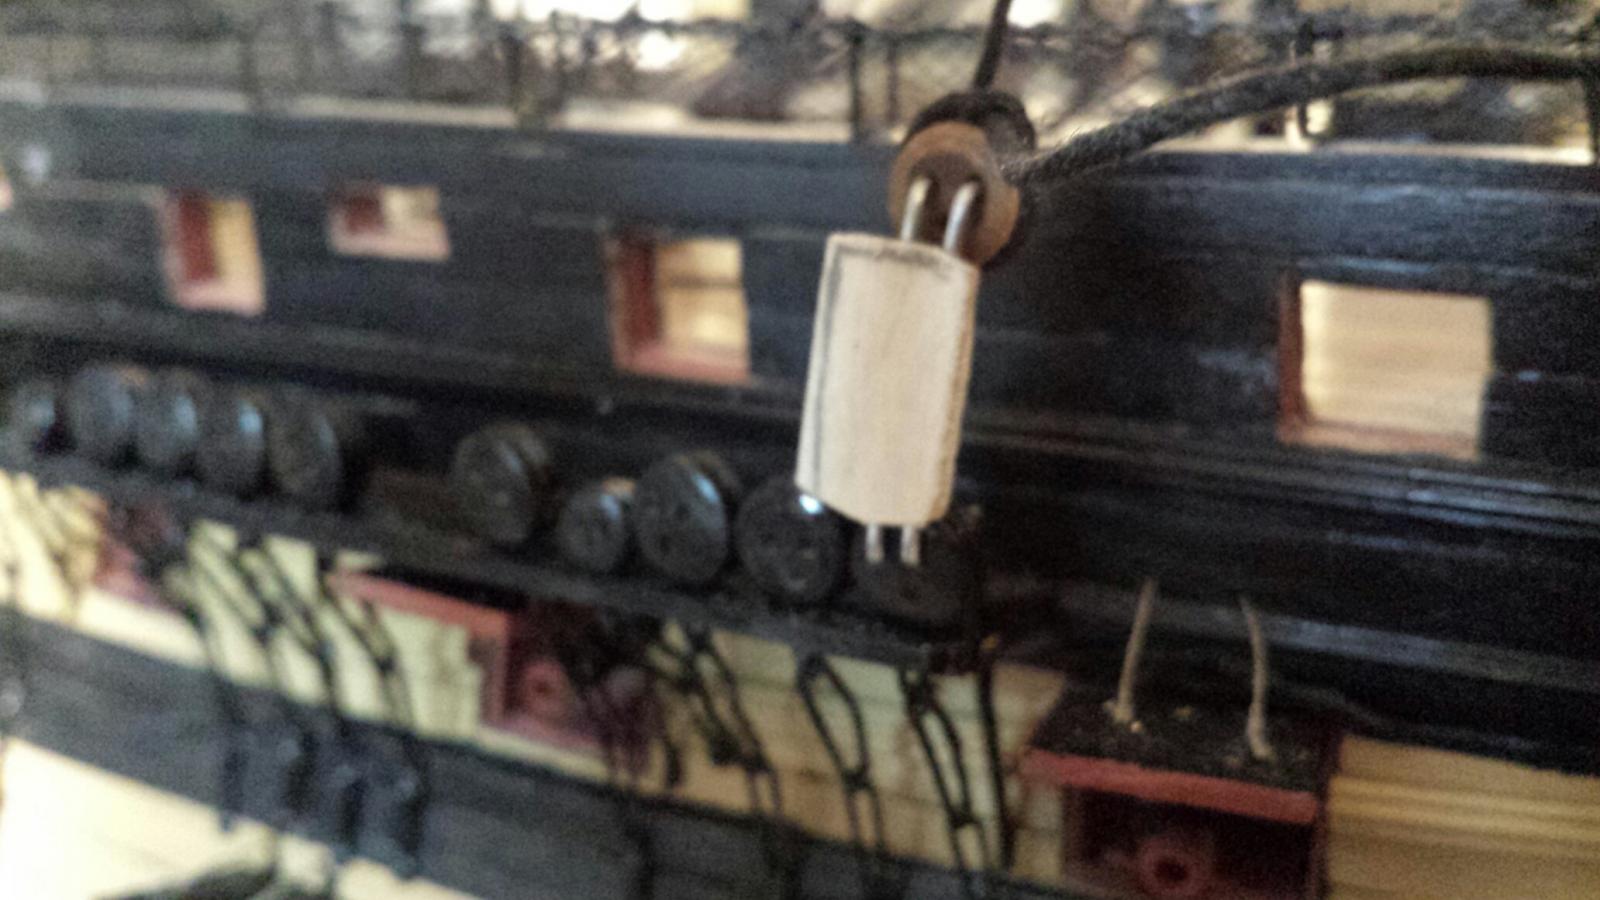
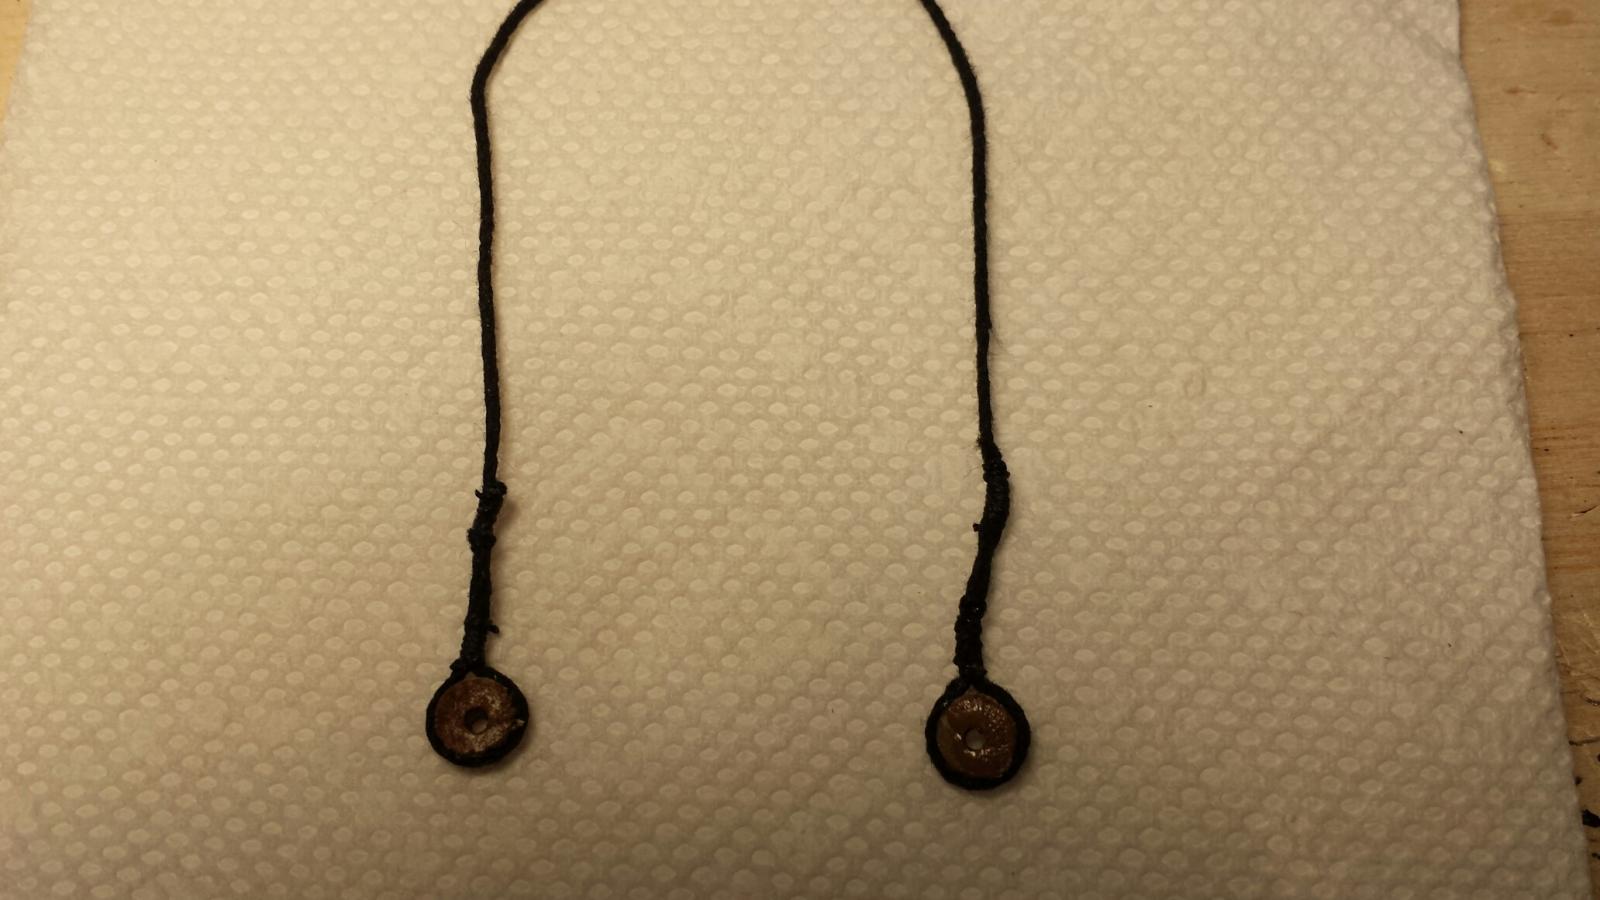
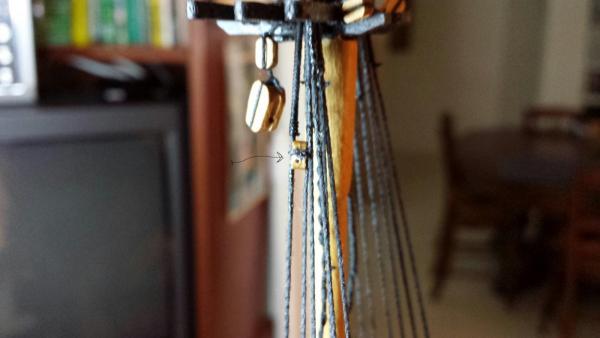
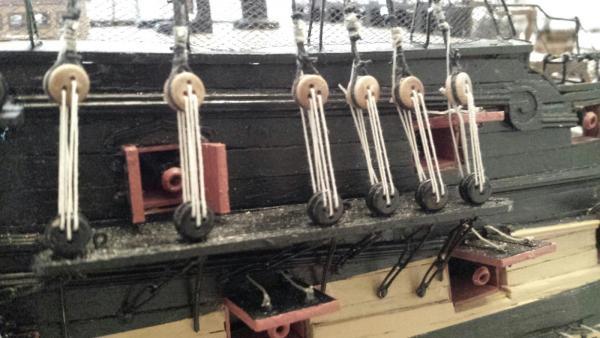
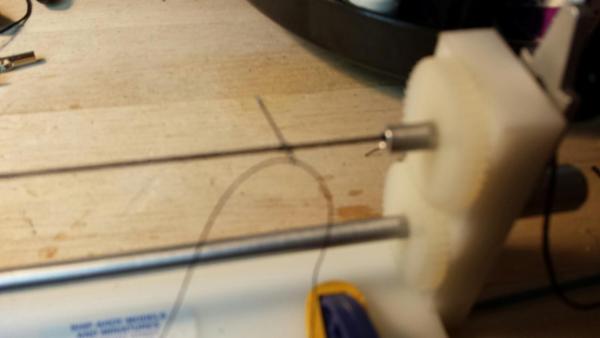
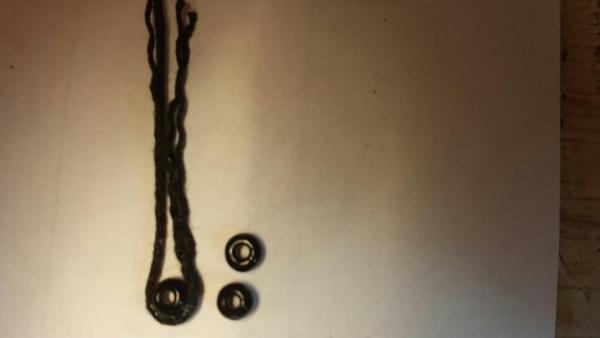
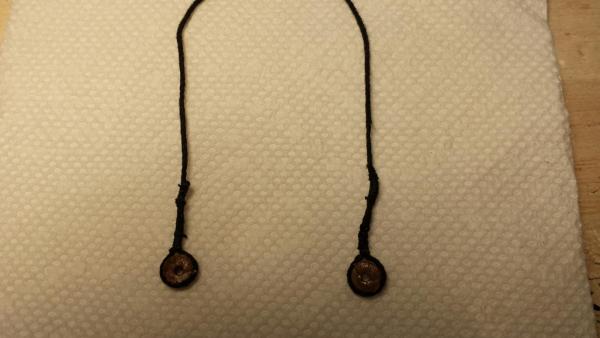
Good afternoon everyone...Not much progress to report as I have been preparing the "dry dock" for the rigging phase of the build. I have changed the workbench to be more of a supply and tool shelf than a working area as I plane to work on the ship in a different manner as before. The boat will sit on a turntable on a short bench in the midlle of the room to make it very easy to work on the shouds, rtc. The turntable, as told by others many times in these posts, is invaluable when working on the rigging. It's so much easier to gently spin the ship from one side to another then picking it up and physically turning it, The first rigging item I a have decided to do are the pendants. I have been experimenting with a way to use cord rollers at the end of the pendants. As I'm sure all of you Jotika kit builders are aware there are no such parts furnished in the kit. It looks so much better to roll the loop at the end of the pendant over a roller. I have tried using plastic beads which were purchased at a local crafts store, picture attached, but this didn't work out. The cord continuously would slip off the bead even when lightly glued. So i gave up on this method and was pretty frustraded. But luckily I mentioned this situation to good friend Lawrence today and he mentioned that someone who he spoke to cut small pieces off of the end of a dowell, drilled them and they worked fine. Lo and behold I tried it and indeed, it worked fine. I painted the wood a walnut color and the picture is attached. My first set of pendants are finished so I have officially begun my rigging. Have a great evening everyone. Jerry The first photo is the method using plastic beads that didn't turn out well. The second photo shows the pendants loop rollers made out of dowel slices.
- 900 replies
-
- 4
-
-
- victory
- caldercraft
- (and 1 more)
-
Hello Cap'n Jack (BZ).. Many thanks for your visit to my log and especially for your compliment. I sincerely appreciate your comment and hope you will visit me again. Have a great day, Jerry
-
Hello Lawrence...Nope, I would have painted then yellow-ochre if I knew that was the correct color. Looks like I'm going to settle with the black. By the way, There's a package on the way to you; look for it. Jerry
-
Hello Mike and many thanks for your visit to my log. I appreciate the pictue of your lanterns and plan to use it to help me locate them on my build. You did a great job on your lanterns as they look quite authentic. It must have been a pain to have to paint all that black but it looks real good. My kit's instructioins tell you to paint the lanterns but never mentioned what color to use. Looking at the lanterns on other sites I see no black being used for the metal so I may have goofed there. I like the lighter color better. Hope you are having a good day.. Jerry
-
Hello Glenn.. Thanks a lot for your visit. I'm going to spend some time practising with the seizing machine before I start the actyual shrouds. I also have to get all the blocks put on the the three masts. So there is a bit to do before I begin the rigging, but i'm getting close. Have a great day. Jerry
-
Good morning, Lawrence.. Much obliged for your complimentary words and your visit to my site. The lanterns wouldn't look as good if it weren't for your generousity by mailing the yellow plastic to me. So many thanks again and have a terrific day. Jerry