HOLIDAY DONATION DRIVE - SUPPORT MSW - DO YOUR PART TO KEEP THIS GREAT FORUM GOING! (Only 24 donations so far out of 49,000 members - C'mon guys!)
×


Jerry
-
Posts
1,753 -
Joined
-
Last visited
Content Type
Profiles
Forums
Gallery
Events
Everything posted by Jerry
-
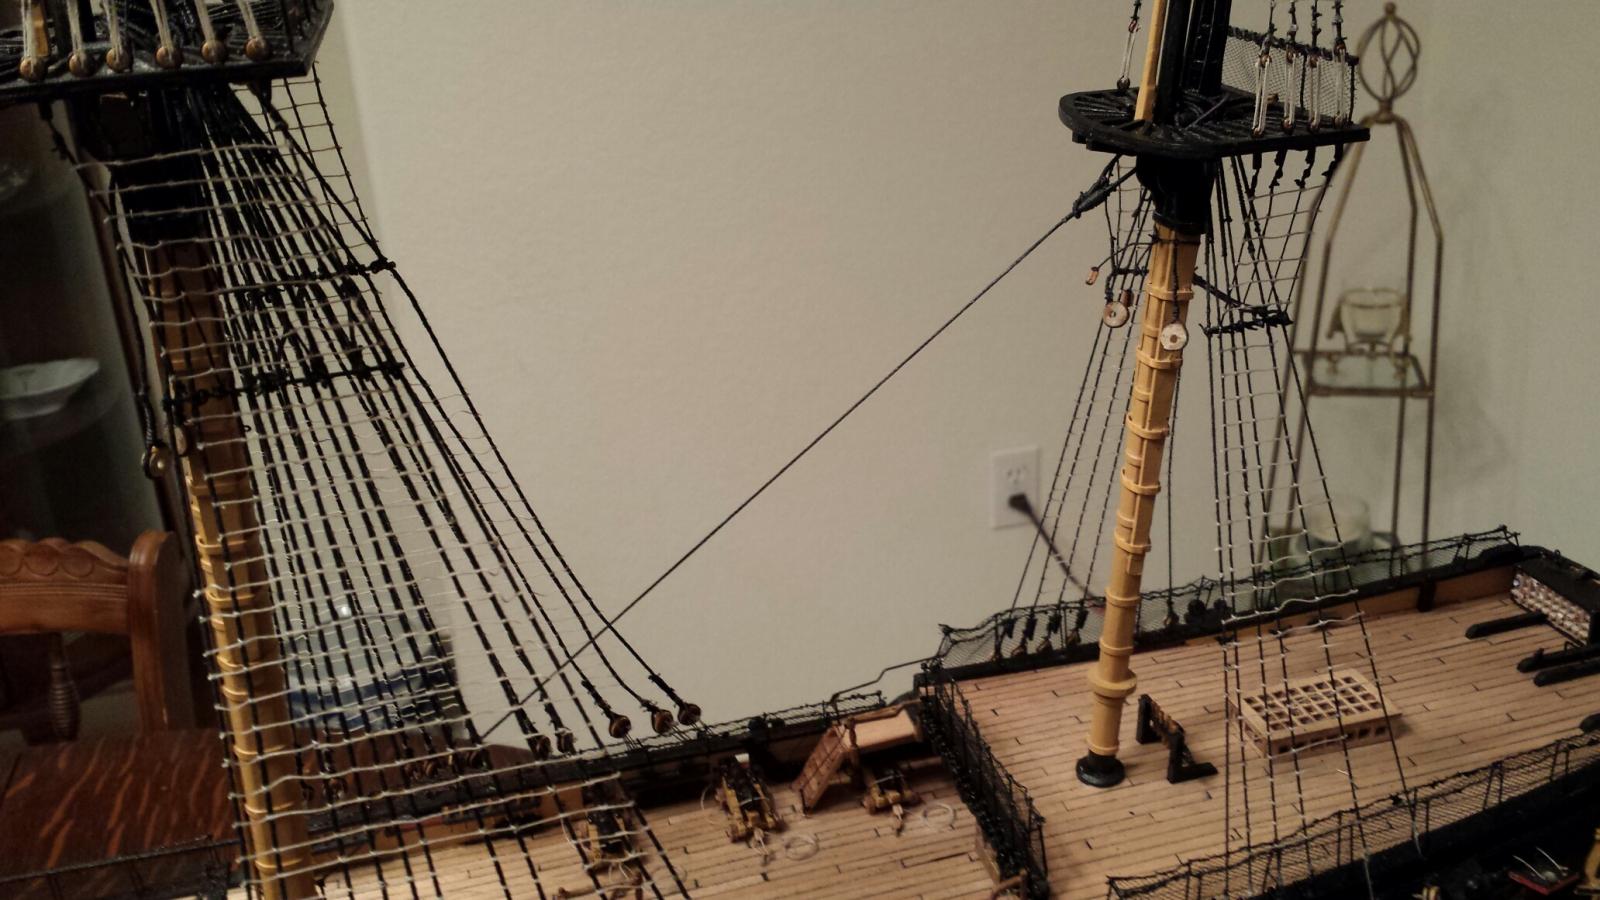
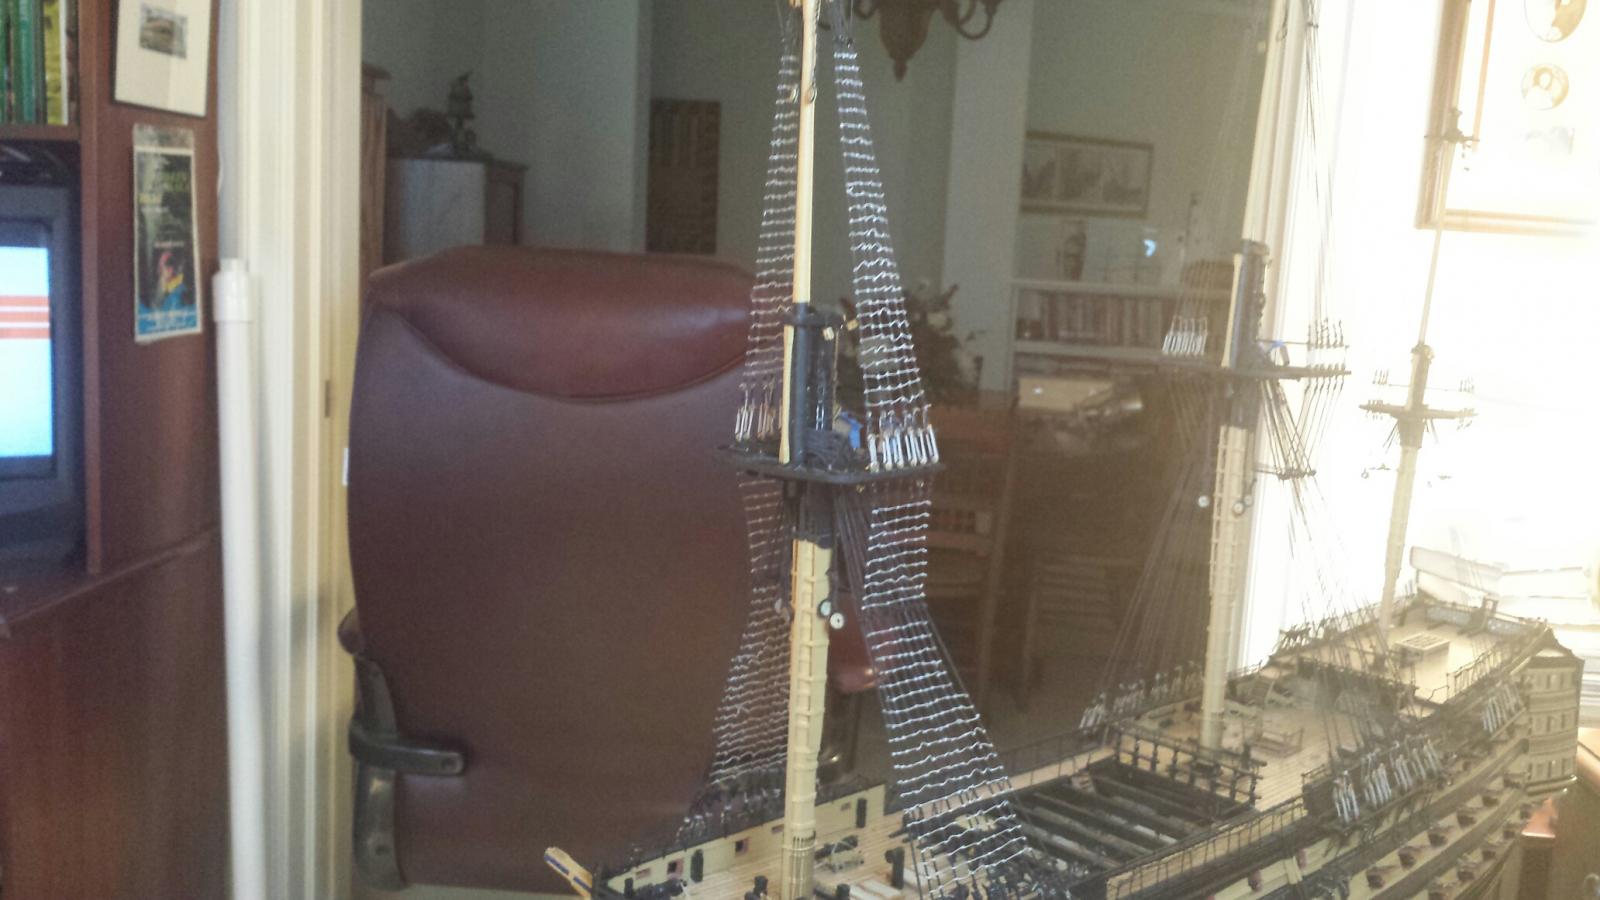
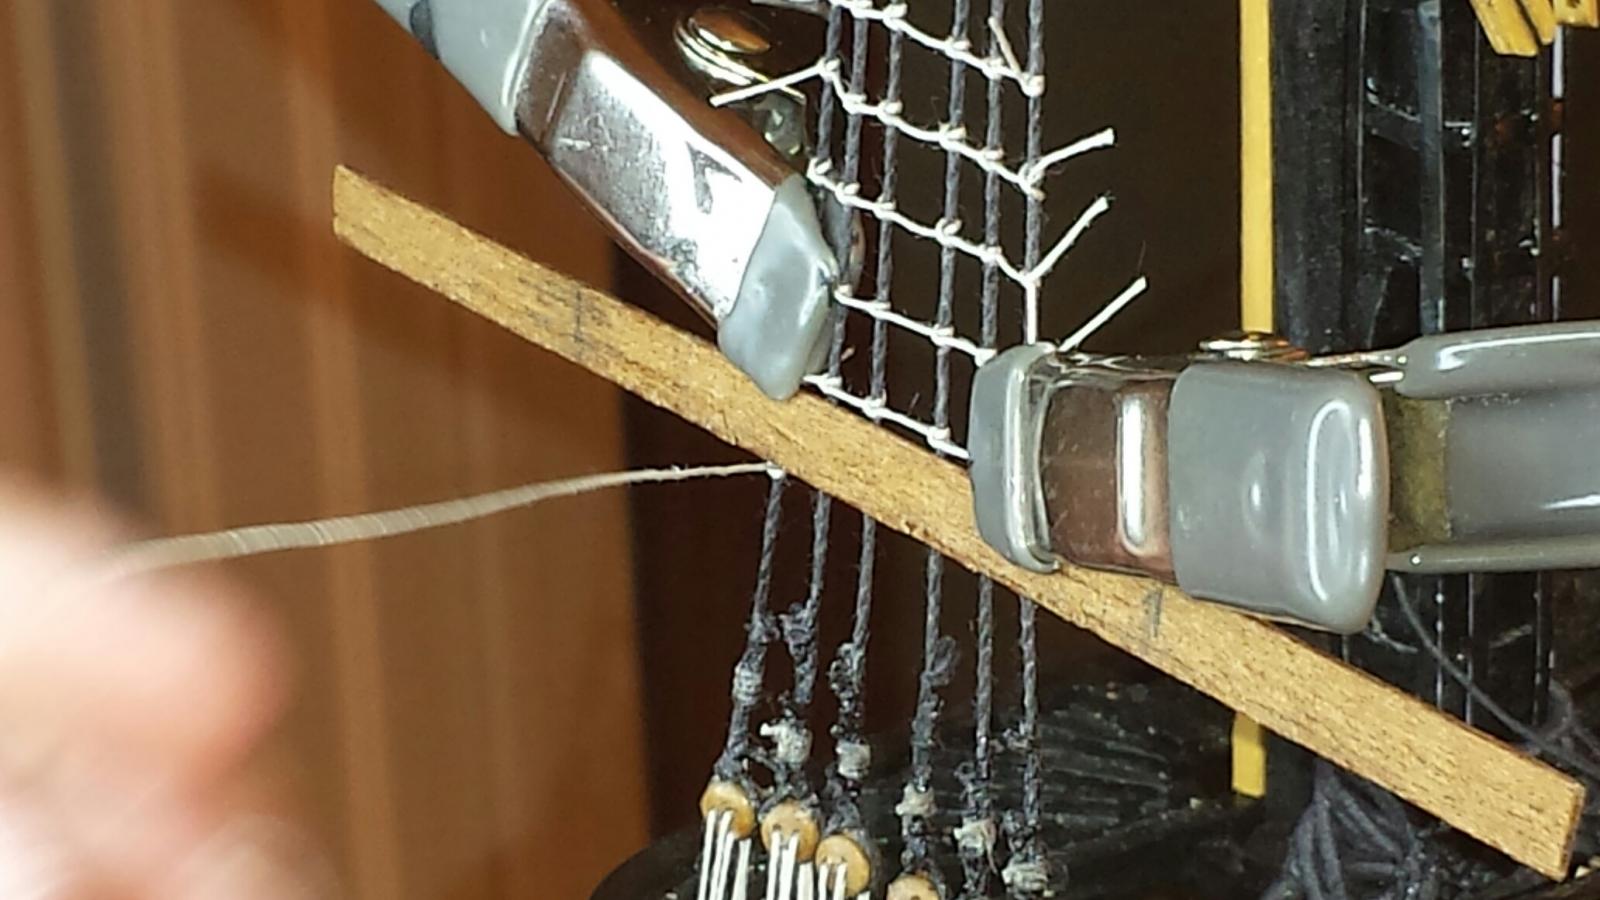
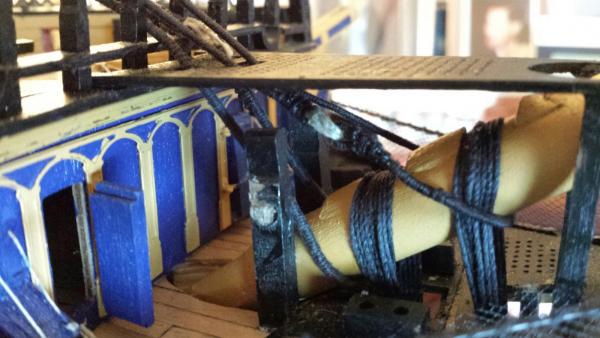
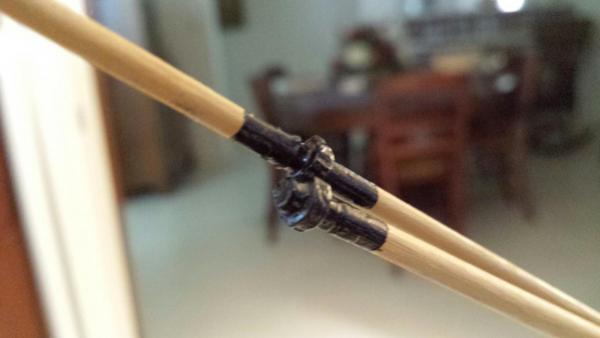
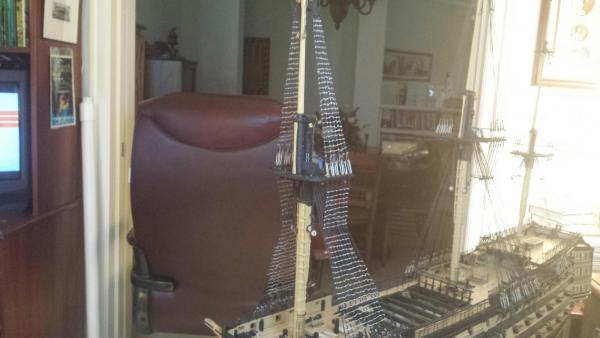
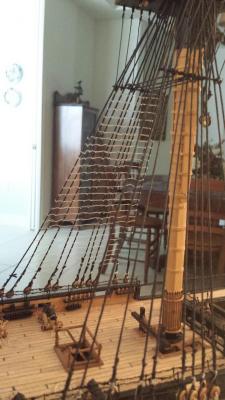
Hello again....I was conccerned about keeping the zig-zag snaking tight as it is difficult to keep the main stay and its preventor from changing the distance relative to each other. This will cause slack. I taped the two stays to the foremast as I was tying the zig-zag and here's a picture of the results. Jerry
- 900 replies
-
- 3
-

-
- victory
- caldercraft
- (and 1 more)
-
Hello david.. My PM to you crossed with your visit to my log. I wasn't planning to rig the bowsprit yet as I was trying to follow the manual. I notice that it isn't necessary to do so but it gives me some semblance of order. Maybe I'll follow your advice and complete the bowsprit...just thinkng out loud...Actually I was planning to complete the stays before going further but now you have me thinking. It would be nice to do something else to break up the monotamy. Look forward to your answer to my PM. Take care,
-
Lawrence...Just follow your instincts. LOL Jerry
-
Hello Glenn. Baited breath is OK.....as long as you don't hold it waiting for the next chapter (installment)... I appreciate your visit and comments and hope I have been some help.. Jerry
-
Hi Mobbsie...Lawrence recommended that I check out your site as I'm in the snaking phase of my Victory model and have all kinds of concerns. So I did check out your snaking and it looks terrific. I wonder which knot you used? Caldercraft recommends a marling knot or an overhand knot. My other concern is how does one keep the spacing even since a little too much tension on a kot will draw the main stay up to the preventer stay. Anyway, real nice job you're doing and thanks for letting me look in. Regards, Jerry
- 1,279 replies
-
- 1
-
-
- agamemnon
- caldercraft
- (and 1 more)
-
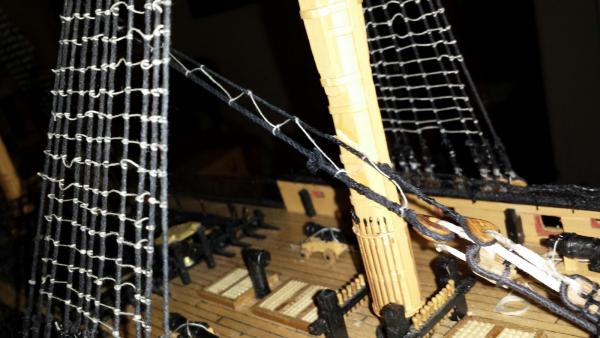
A bit more from the dry dock.....Since the main stay and the preventer stay are now rigged the next chore will be the snaking of the two together. The kit recommends a marling knot or an overhand knot to zig-zags the thread. I though that I might try and use a needle and stitch this zig-zag and when i tried it. it looked terrible so I pulled the thread out bent on using the knot method. This will come during the next session. My one concern is how do you keep the spread between the two stays and build taught zig-zag lines? Also, with such lttle space between the two stays how will it look? Well, boys and girls, we'll find out tomorrow. Have a nice evening everyone..........Jerry

- 900 replies
-
- 7
-
-
- victory
- caldercraft
- (and 1 more)
-
Thanks, lawrence...You're time is getting close for all the xmas tree ornaments. But you're right, that's what the bowsprit looks like. talk to you later. Jerry
-
Glenn...I'm sure you'll agree, family comes first (although my Victory is getting to feel like a son to me...LOL)_ Jerry
-
Glenn...I appreciate your look-see and thanks for your kind words. I look forward to your progress as well. Take good care, Jerry
-
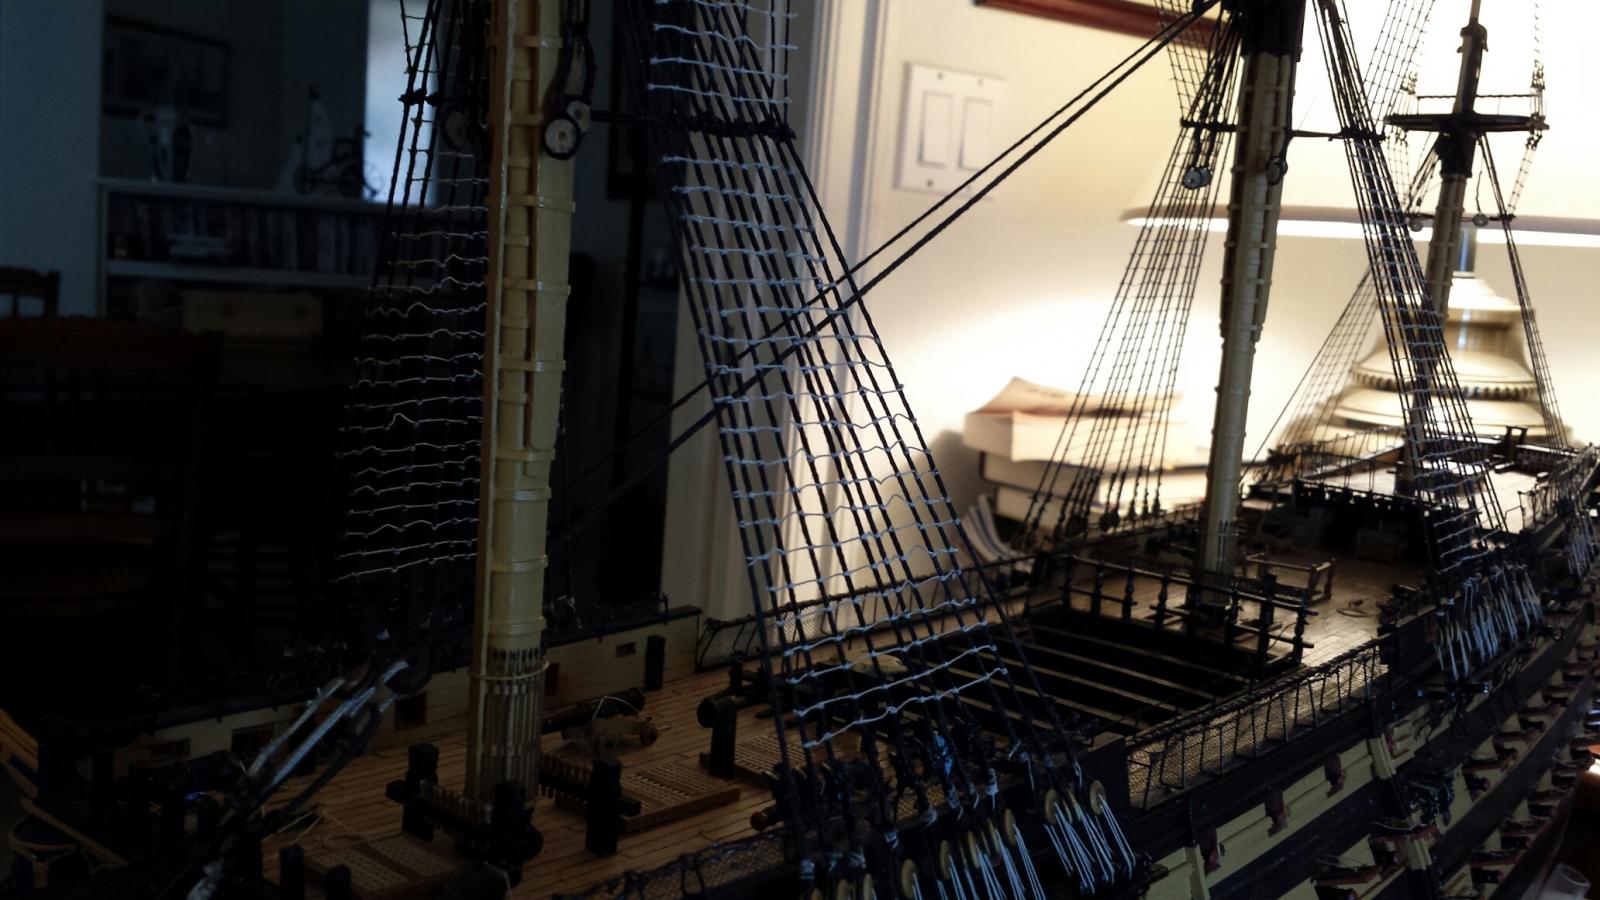
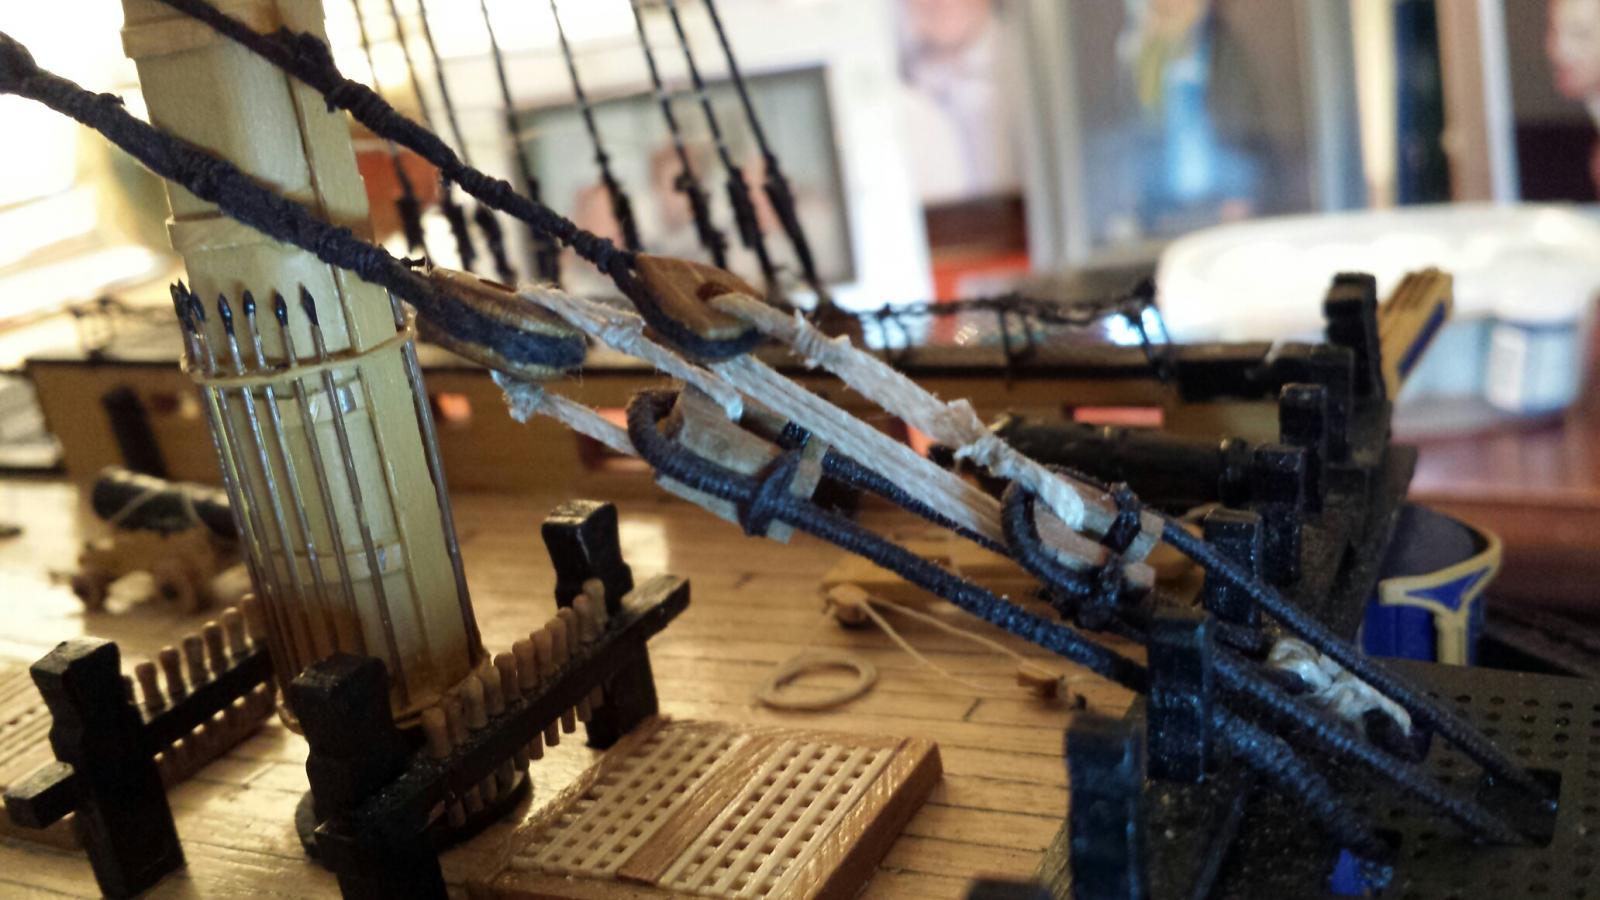
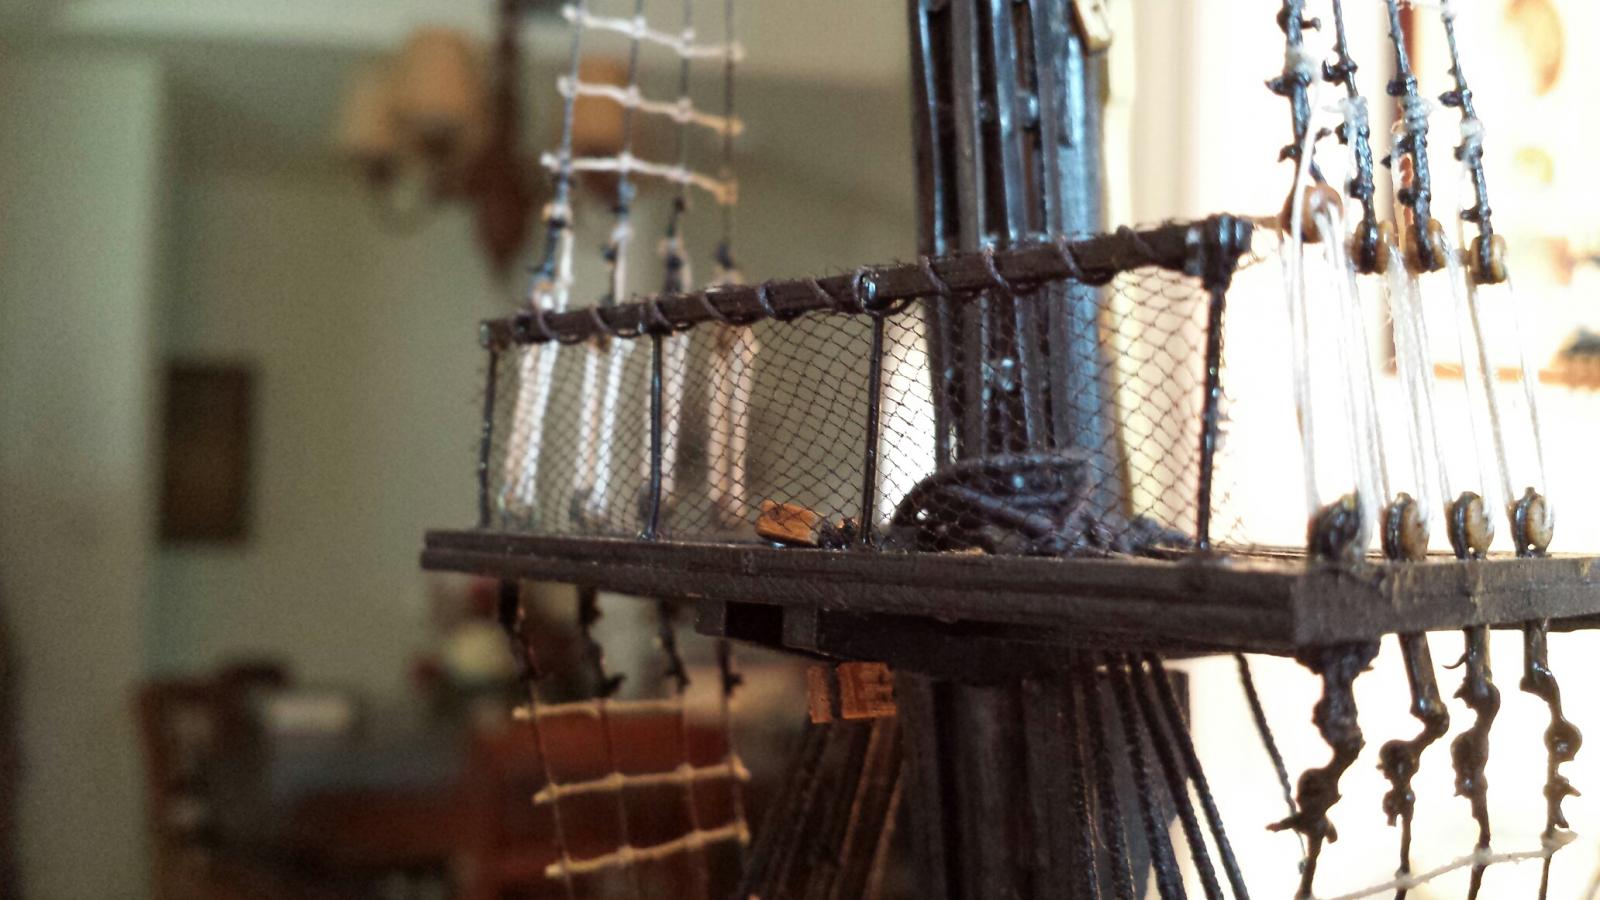
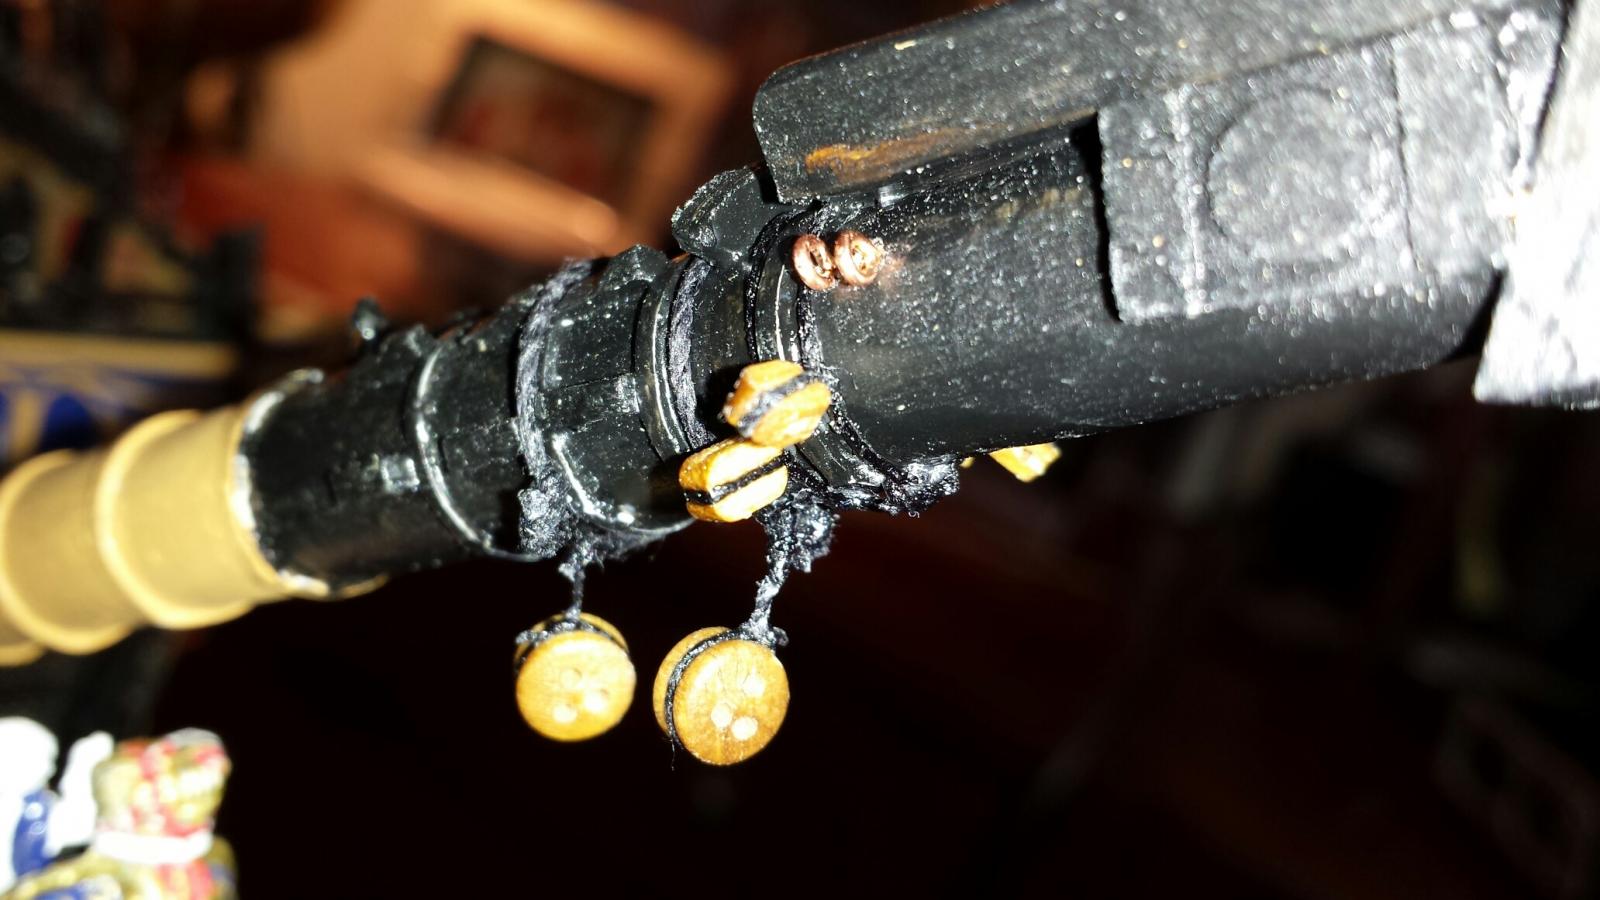
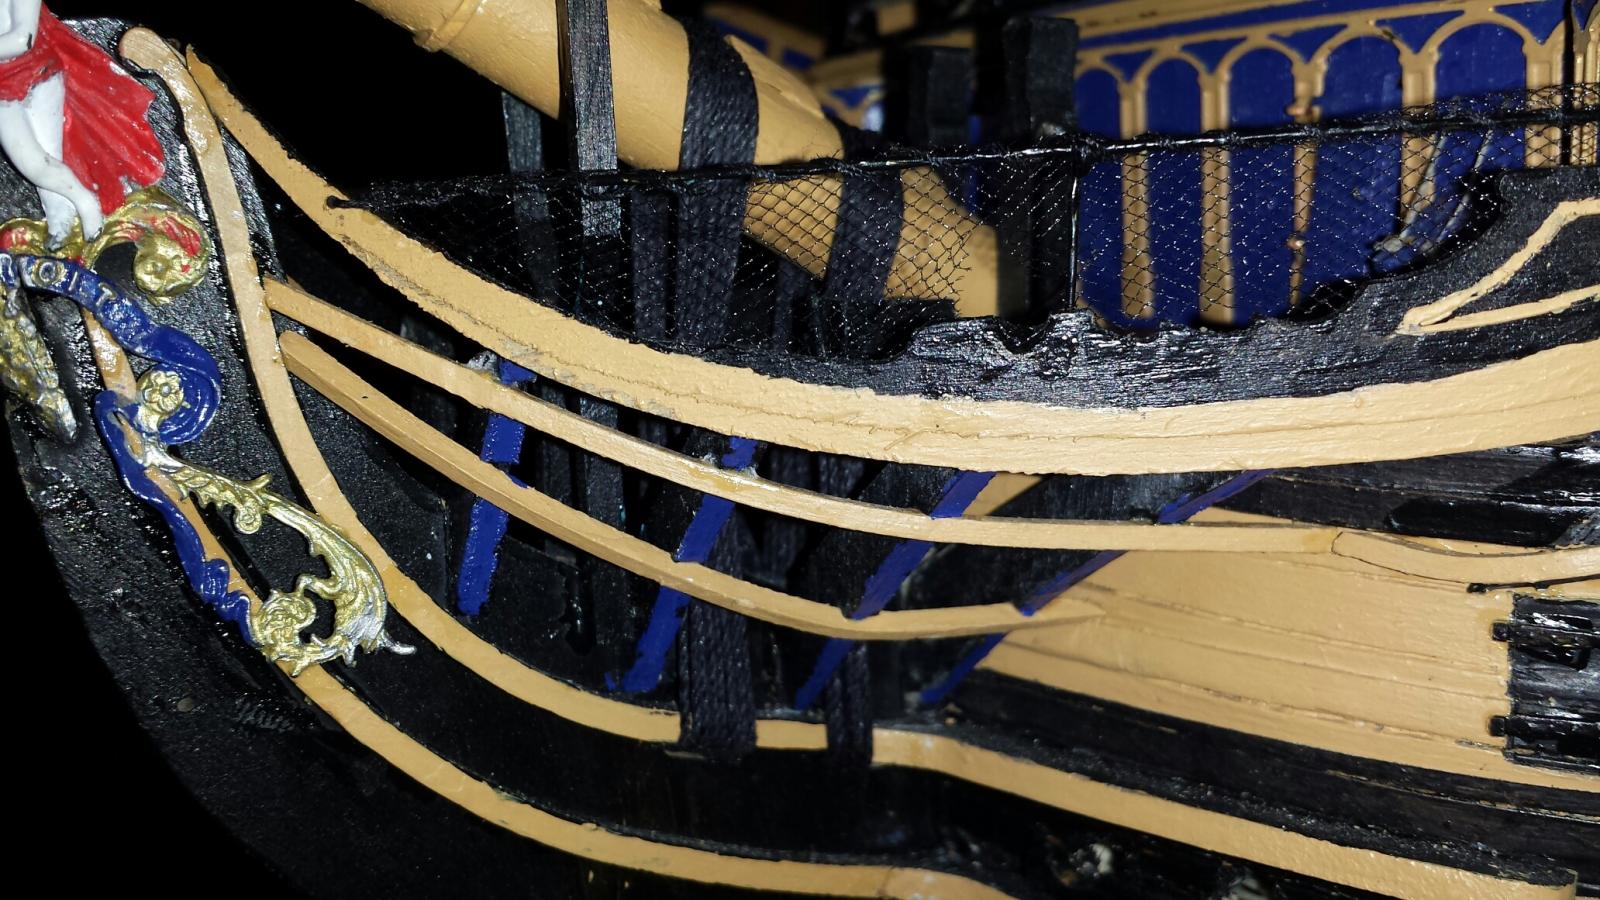
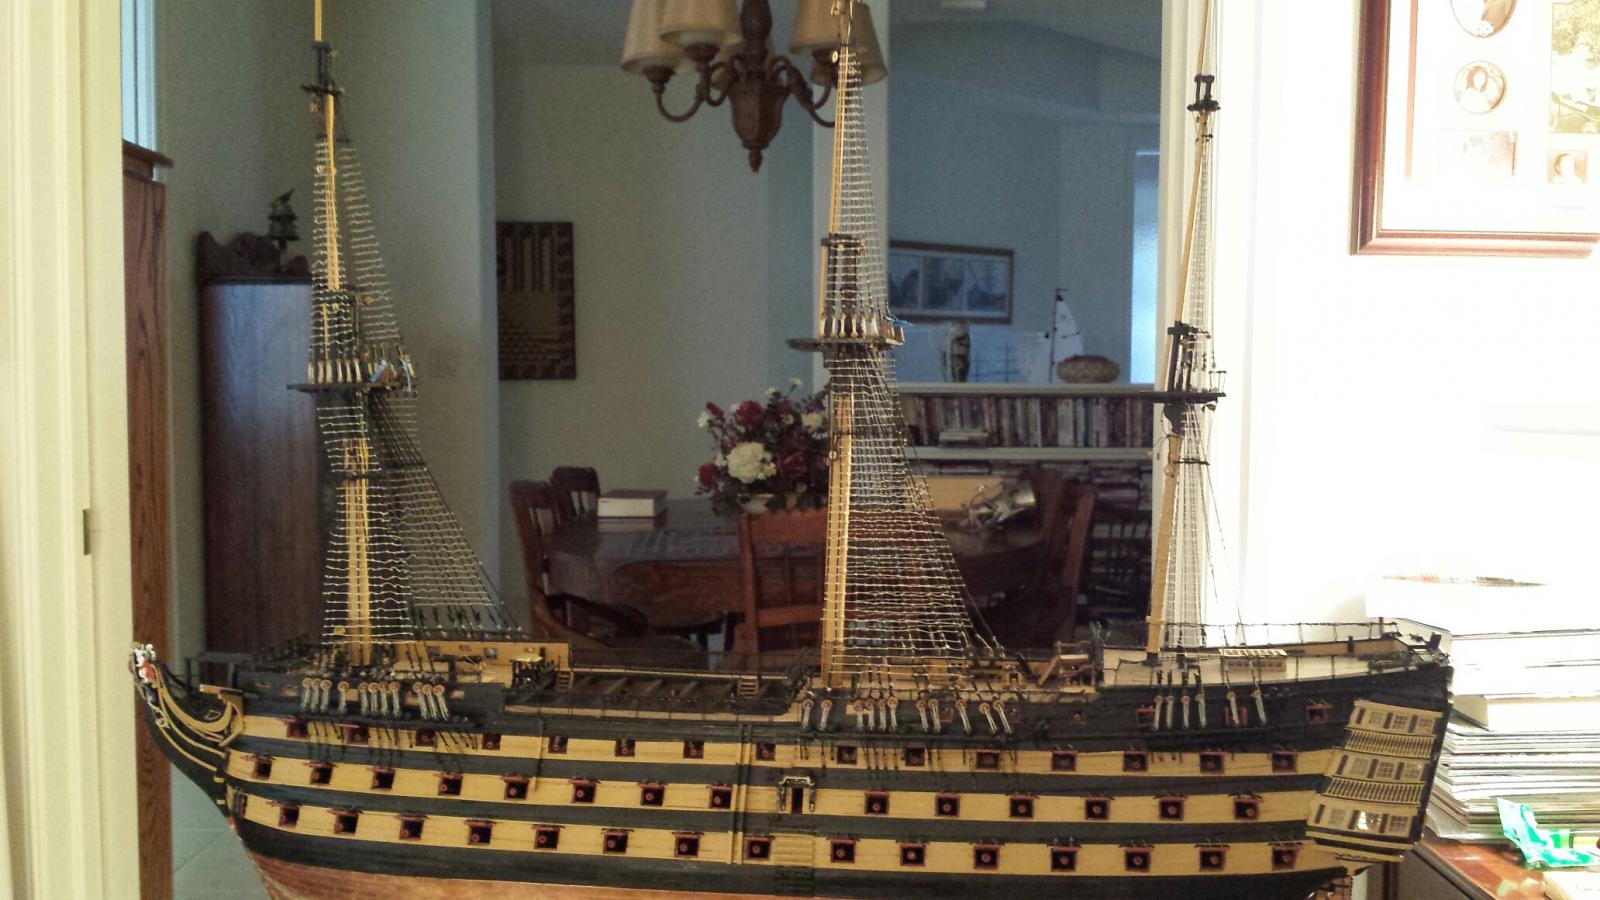
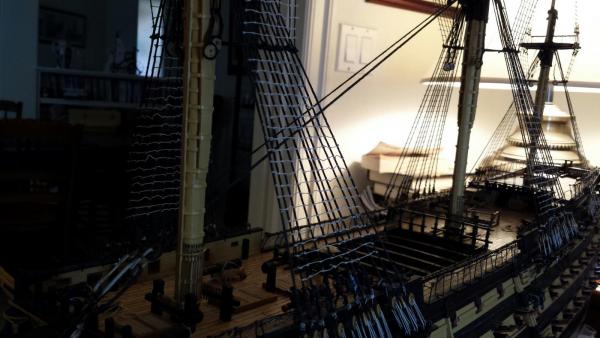
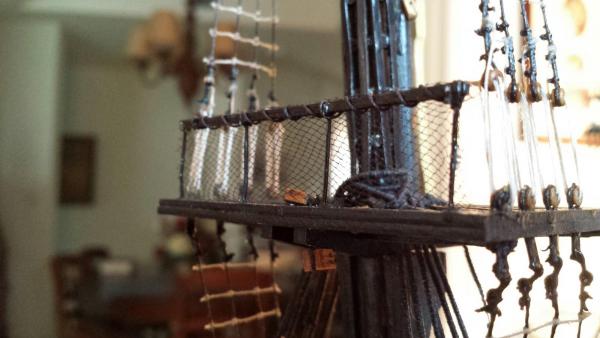
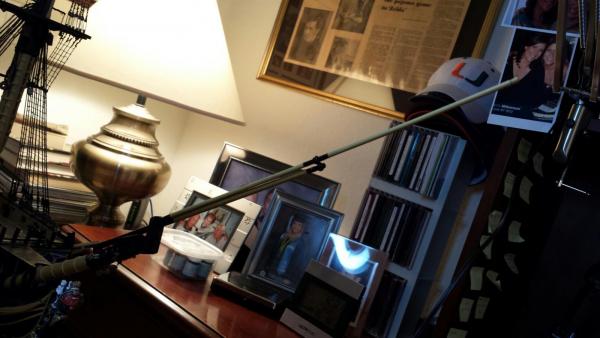
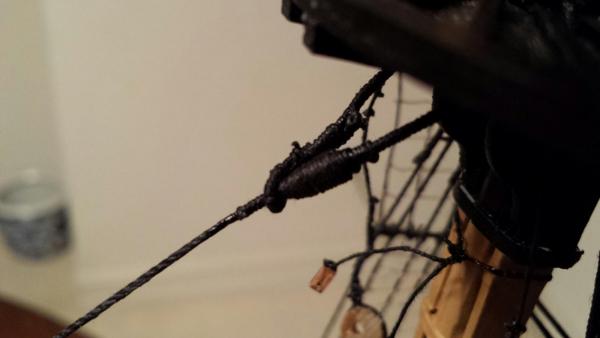
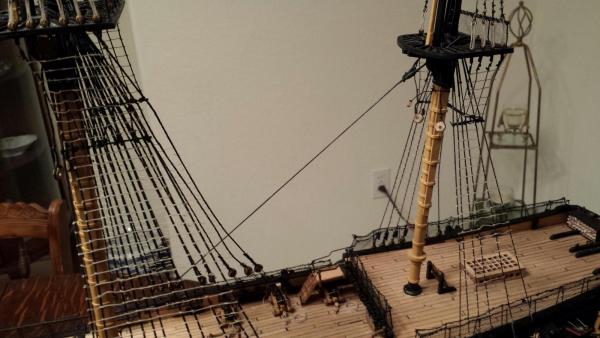
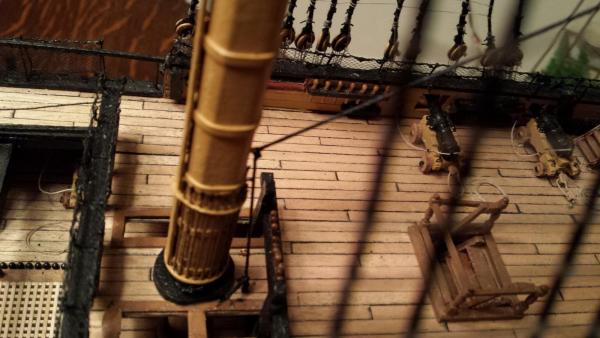
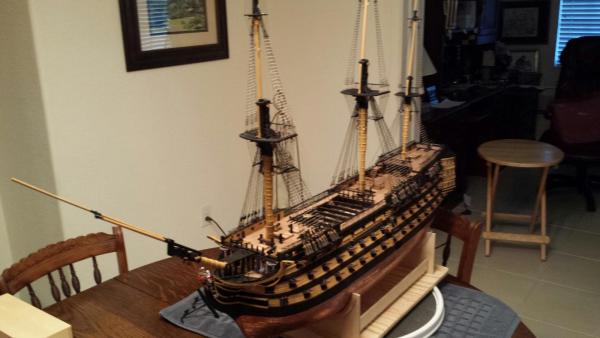
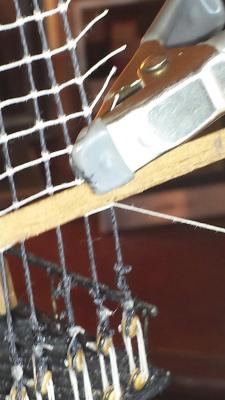
Good morning everyone. The latest progress in the drydock has been very gratifying. First of all, I have completed placing the netting on the three platform railimg. Then, attaching all the bowsprit "wood" finally gives the ship its sense of size. It also makes one very aware as to how easy it is to do damage. Besides breaking off one of the boomkins, I have already knocked off the end of the bowsprit which, fortunately, was very easy to reattach. I now handle this Victory with tender hooks. The mizzen stay, the first of about 12 stays, is now an integral part of this model and I really enjoyed seeing it shipped. After serving the end of the stay that fits around the mast , an eye (loop) was constructed (served) at its static end and a mouse was made (with the use of the serving machine) to act as the stop at the eye. The running end was threaded through an eyelet at the lower end of the main mast and finally secured in an eyelet placed in the deck at the port side of the main mast. I hope the photos will help to understand this process. I'm looking forward to making the rest of the stays as I believe, after a full day of studying the plans, Longridge and the manual, I'm on the right track .I hope everyone has a beautiful day... Jerry

- 900 replies
-
- 4
-
-
- victory
- caldercraft
- (and 1 more)
-
Hello Glenn. Your gunport linings look excellent. Nice and straight with the 1mm reset looking very good. I used ca glue with a 15 second set up time and had no problems straightening a few of them when necessary. So you're really moving along nicely and before you know it you'll be attaching gun port lids. Keep up the nice work and plese keep the pics coming. Regards, Jerry
-
Good morning, Lawrence.. Thank you so much for your greetings and complimentary words. I hope you have a nice day too and hope to see you later with news about the gammoning, etc.. Jerry
-
Kevin, It's so nicce to have a woman around the house. LOL..From the looks of the rack behind Ruth, it seems that the Caroline isn't the only thing that's been cleaned. Take care, Jerry
- 1,319 replies
-
- 1
-
-
- caldercraft
- Victory
- (and 1 more)
-
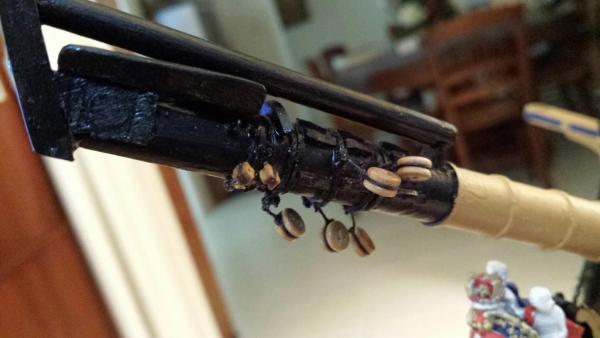
Hello Kevin. I've been wondering about you; you seem to appear and disappear. It's nice to hear from you and very nice of course, to have your compliment. What's going on with the Bismark? Are you really going backwards? I checked your site but for some reason I couldn't open your photos. I will try again. I was signed in but ran into a stone wall. I'm working on the bowsprit now. Trying to apply the gammoning thread and then, if successful, will go onto the many blocks and deadeyes attached to the main bowsprit. I hope you have a wonderful day. Best regards, Jerry
-
Hello David.. I will stay away from the boomkins until I absolutely need them in the rigging. I probably broke or cracked them 6 or 8 times before I became disgusted and removed them. Thank you very much for your compliment and for checking in. It's been easy to also break gun ports lids off when working on other things. I think I reglued at least 6 lids too. Your ship is looking so good and I know I'll contiue to need your log for reference. Thanks for all the pics. Hope your day is going well. Jerry
-
Good morning, Glenn.. Thanks for looking in to my log. I probably spaced my rat lines a little more than others since I counted 2444 clove hitch knots and I now others had more. But who cares since I'm finished with that phase and I'm off to other things. Please stay in touch, keep doing well with your Destiny, and have a great day. Uh, oh! Did I say Destiny? What a slip! I owned a real yacht named Destiny and somehow that got into my mind. Sorry about that, Glenn, I meant your Victory. Jerry
-
Hello Everyone. I'm happy to say that I have finally completed the rat lines. I'm really excited to get this far but truthfully, I can go to sleep tonight and I won't be counting clove hitch knots any longer. I do have some catch up work to do before i start installing the bowsprit which will be next. I'd like to attach the netting to the platform railing so they won't be too difficult to do later on. I broke off both boomkins during this phase of construction so they'll go back on after I install the bowsprit and its lashings down through the bows. So that's where i am at this point but it has been fun. Take care, Jerry
- 900 replies
-
- 2
-
-
- victory
- caldercraft
- (and 1 more)
-
David... Nice work! Please tell us you're almost finished. Jerry
- 439 replies
-
- 1
-
-
- victory
- caldercraft
- (and 1 more)
-
Nice work, David..I only hope you are managing this fine rigging following the plans and instruction manual. In other words, i hope it's explanatory enough for thicker minds like mine when I get there. I never saw so many threads connecting, passing close to each other, running through single, double and tri blocks in my experience. I will tread lightly. Please keep it up with plenty of photos. Take care, Jerry
- 439 replies
-
- 1
-
-
- victory
- caldercraft
- (and 1 more)
-
Good morning, Glenn. When all is said and done you will have a beautiful, well constructed HMS Victory. You have excellent foresight and a very good vision as to how this model is built. keep up your attitude and all will come out well. It's obvious you know what to do when running into problems. Good luck, Jerry
-
Hi Glenn...Enjoy your visit tomorrow...Is there a kit available of Trincomalee? And thanks for your visit to my log. Jerry Oops...I found out that Admiralty makes a kit of Trincomalee. Looks interesting.
- 900 replies
-
- 1
-
-
- victory
- caldercraft
- (and 1 more)
-
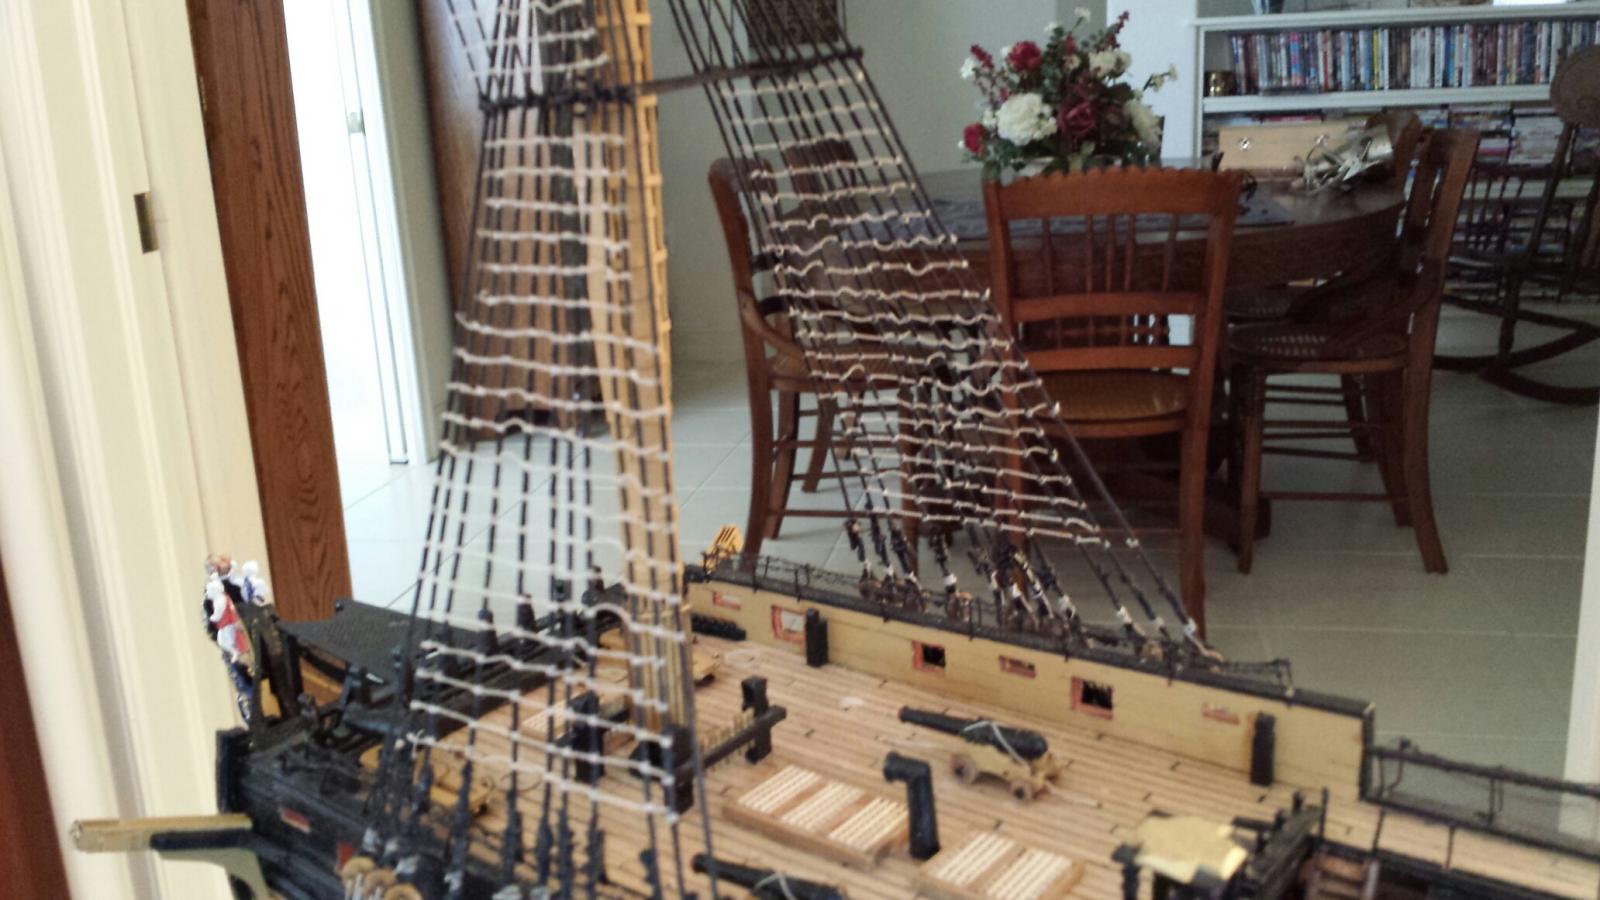
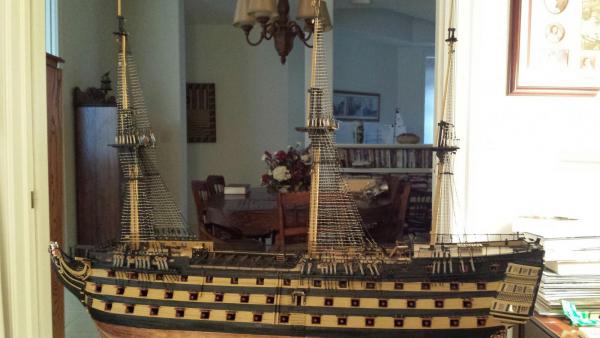
Hello everyone... Just a little bit more progress to report today as it's the weekend but I'm still hanging in. It's ratlines and ratlines or hundreds of clove hitch knots but we're getting there. The foremast ratlines are completed and the port side of the lower main mast is done. Futtock shrouds need to be worked as well as the main top mast. Please place your mousepoint on the photo to see the caption....Many thanks..And onward......... Jerry


- 900 replies
-
- 2
-
-
- victory
- caldercraft
- (and 1 more)
-
Hi Glenn...You're moving right along now. I remember this part of the planking to be very slow. I tried two methods at this point. First I started planking the way you are , cutting each piece to fit between gun ports. Then I tried planking over the gun ports and cutting out the piece directly covering the gun port. I figured that i could do it faster this way because i could put down a larger strip. But, I found it more time consuming trying to cut out each piece. Your Victory is really taking shape now and soon you'll be having a good time fitting the upper deck. Have fun.. Jerry
-
Hello David...Just a quick note to thank you again for the photos and explanations. Thank you so much for taking the time to post your work which has been guiding me for months now. Hope you have a wonderful day. Jerry
- 439 replies
-
- 1
-
-
- victory
- caldercraft
- (and 1 more)
-
Hello David.. These damn rat lines are driving me crazy. I can't remember how many I have cut out and started over. I had hoped to keep them taught but no matter how hard I try I get slack in them. I have, however, noticed that the real ships all have slack in their rat lines so i guess I'll keep what i get and keep going. Many thanks for your complmetary words and I wish you the best with manufacturing your own serving machine. Lawrence has made a beautiful serving machine, so if necessary, and if you have any questions, check with him. I hate rat lines... Jerry