


cookster
-
Posts
416 -
Joined
-
Last visited
Content Type
Profiles
Forums
Gallery
Events
Posts posted by cookster
-
-
-
Looking forward to your rigging Geoff!
-
-
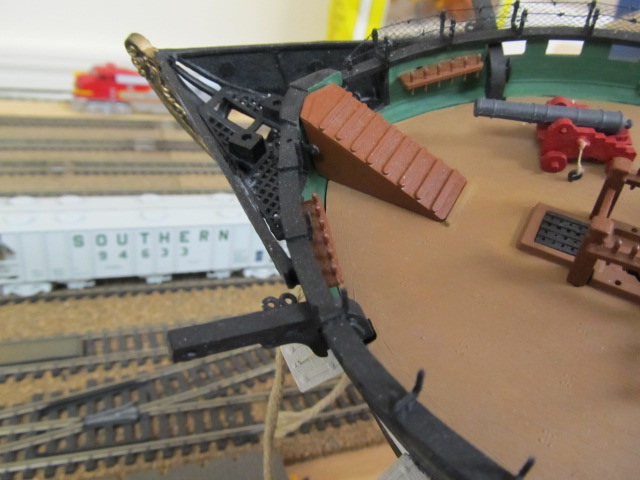
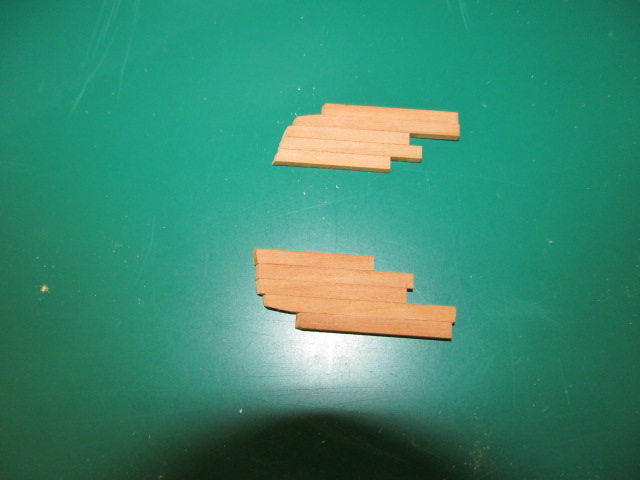
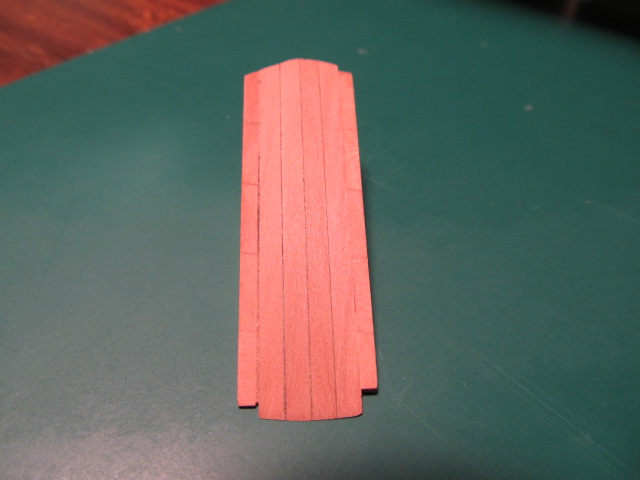
Here's the steps. I'm not sure how historically accurate this is, but it works for me and I like it

And I LOVE working with this pear wood... If any of you that haven't tried hardwoods are on the fence about it, by all means do it!!! You'll love it,,,
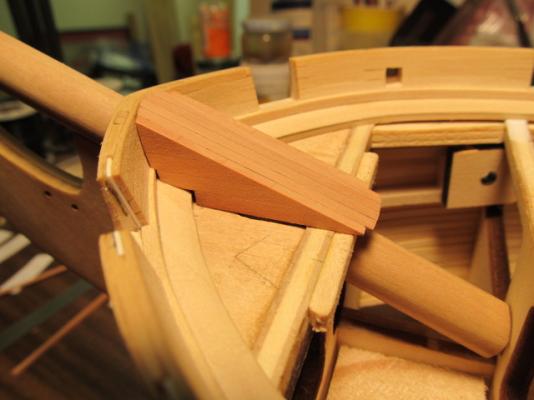
Here's what I'm after...

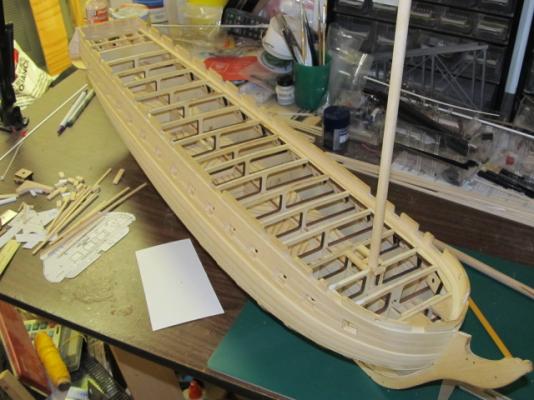
Another dry dock shot...
- fatih79, CaptainSteve, Dubz and 1 other
-
 4
4
-
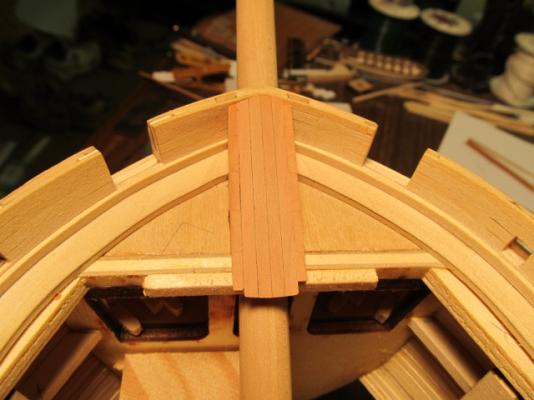
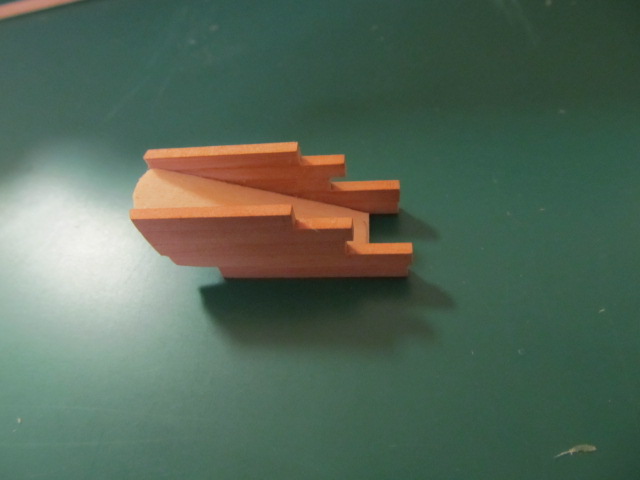
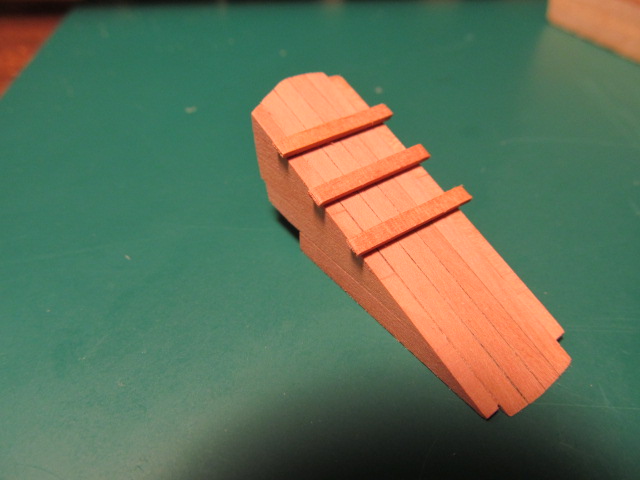
OK, here's the bowsprit steps
Glued up the sides and trimed to fit the bow bullwarks

I glued the sides together with a piece of basswood as a spacer to fit over the bowsprit

Then added the planks
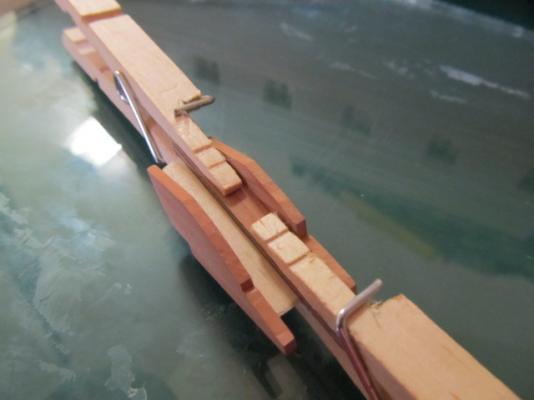
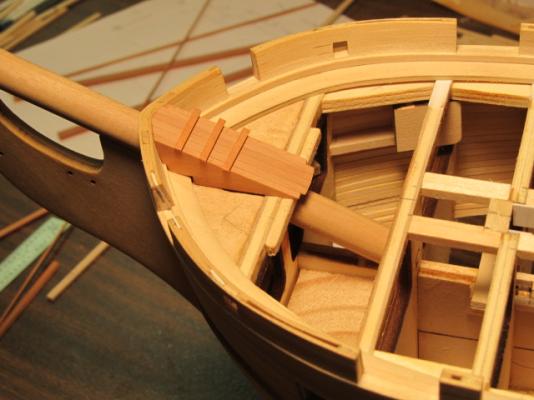
Finished... Almost

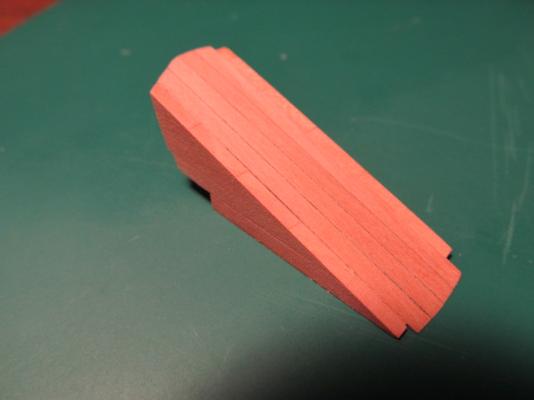
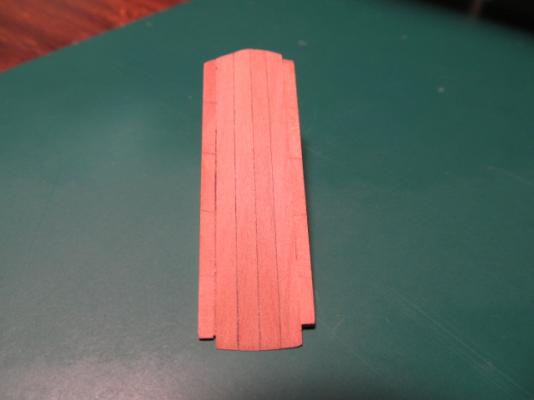
Still have to add the step treads, but I'm saving that for later until I get the bow rail on and make sure there's no fit issues

- CaptainSteve and fatih79
-
2
-
Wow, thanks for all the compliments! Not sure I deserve them though....
Patrick - Perfect?? not sure about that but thanks for saying!
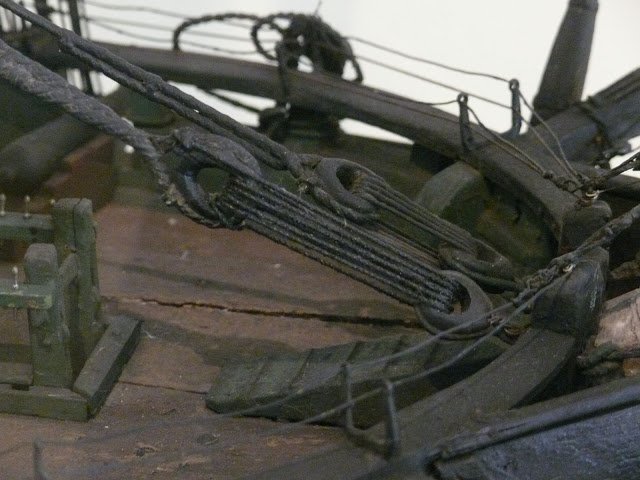
Guess I should've said steps TO the bowsprit. See the image from the Hull model. Any of you that have, or have built, the Revell Conny might remember them. I'm pretty sure they're accurate to 1812'ish, but were removed sometime later. I'm just "winging it" based on my old Revell model and making it fit. About halfway done at this point.... No pics yet
- CaptainSteve and augie
-
2
-
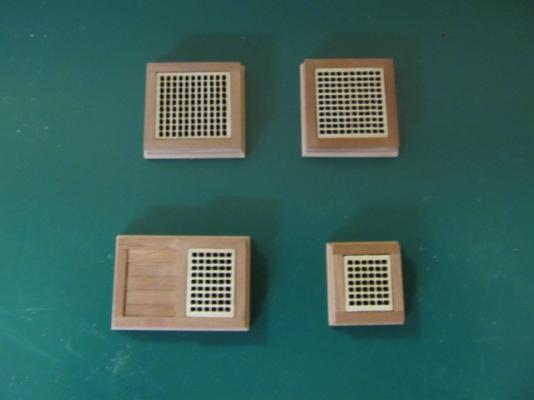
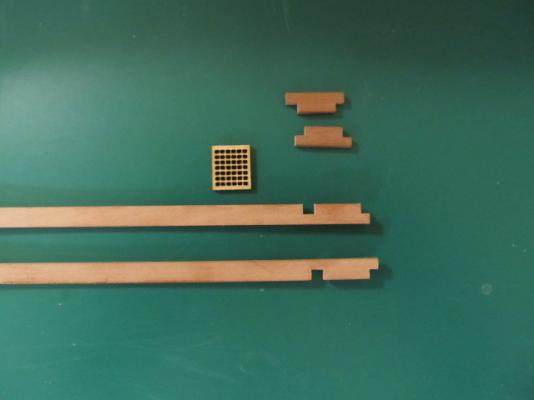
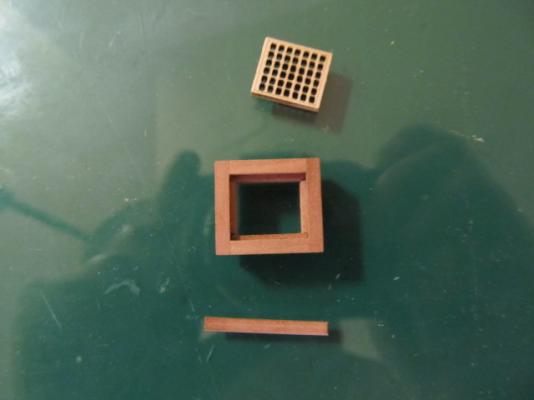
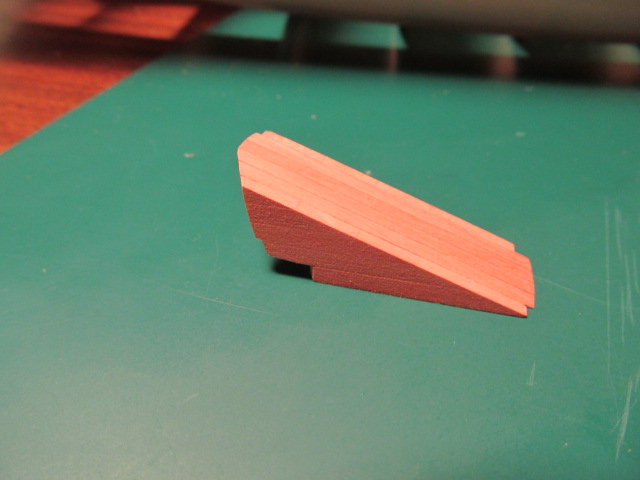
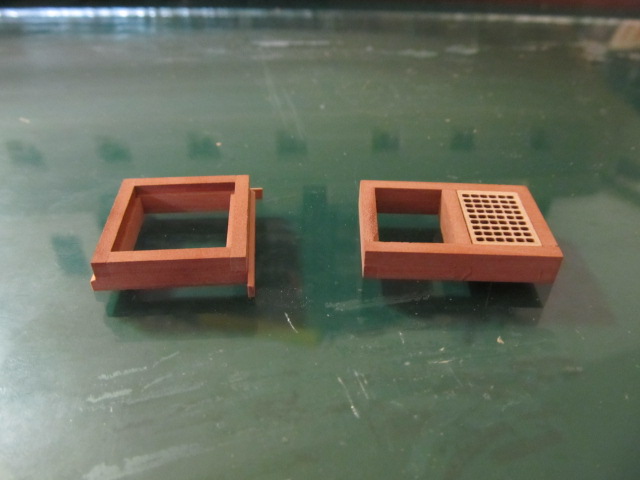
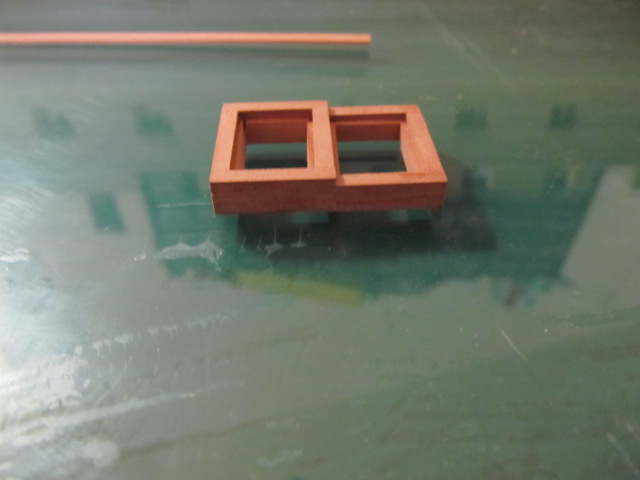
More Coamings....

The one on the right is the galley stack coaming,I cut the recess down in a router table.

And done with these....
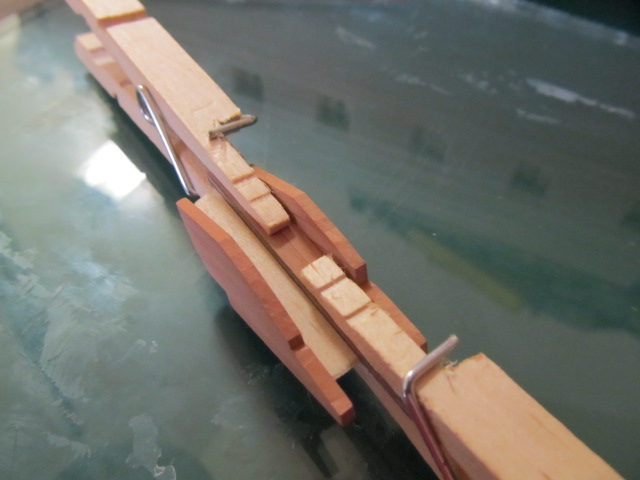
Now I'm scratchbuilding the "steps" that go to
overthe bowsprit as the MS version doesn't have them. I'm also making it out of lumber I milled myself!
-
Jeff at Hobbymill had a wood package to replace the wood needed for deck furniture, planking etc. The last time I looked at his website it wasn't listed but if you contact him I bet he'd make one up for you! And of course you can buy anything else you need. I also bought some boxwood to replace the catheads and to try my hand a carving one of these days...
-
-
Thanks all!
Yea, I bought Jeff's package for the Conny, it's great.
-
Thanks Augie! Can't think of a good comeback for the show off comment so I'll just leave it alone...

-
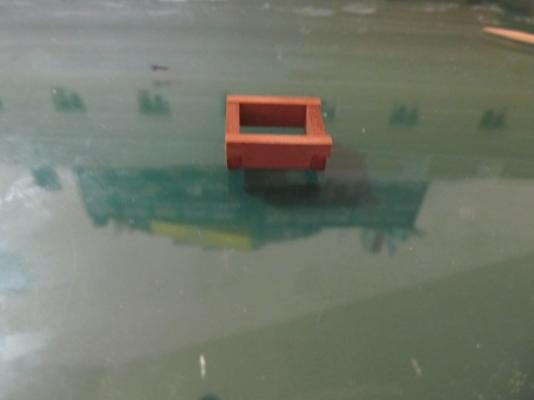
OK, got the first coaming done. (thanks to Lambsbk for reminding me of my ship's terminology!)
I was worried about making these little rascals but this one really weren't that bad!
Anyway, I added the trim pieces ran long to come back and trim down later.
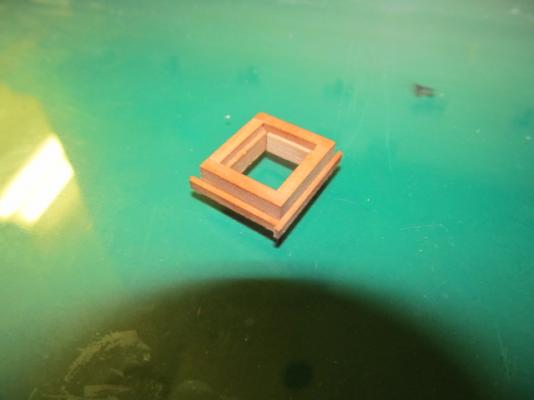
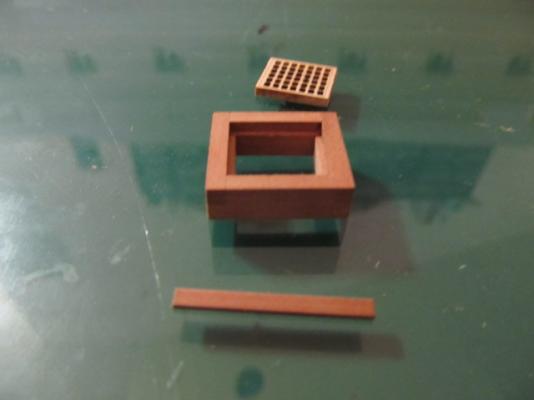
Trimmed and dressed the edge.

glued the rest on
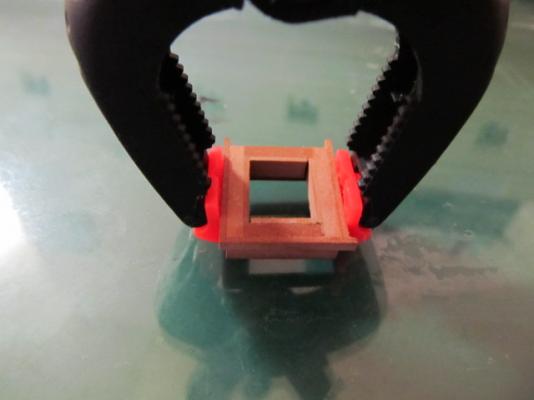
And finished it up.


Laid down some boxwood planking to see how the finished install will look, and of course couldn't resist setting in it's future home...
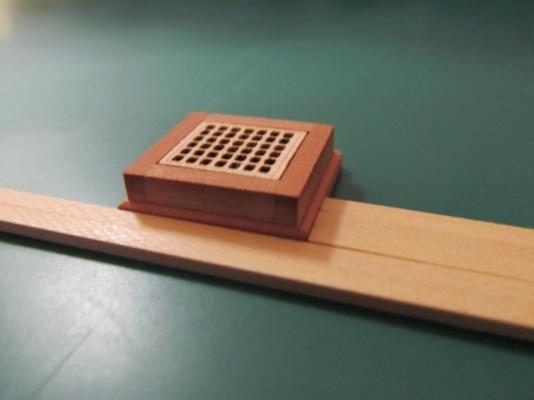

Now on to the rest of the coamings....
-
Thanks Augie and Geoff!
Hardwood is definitely the way to go, and the swiss pear has a wonderful color.
I never would've known about Jeff @ Hobbymill, or considered milling my own model ship lumber one day without MSW!!
Thanks MSW!!

-
Hope it works out for you Rich!
-
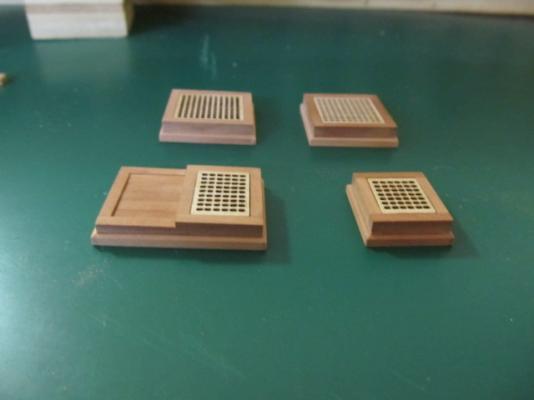
With planking temporarily put on hold to save my sanity, I moved to deck furniture.
Finally get to use some pear wood, very nice stuff!!
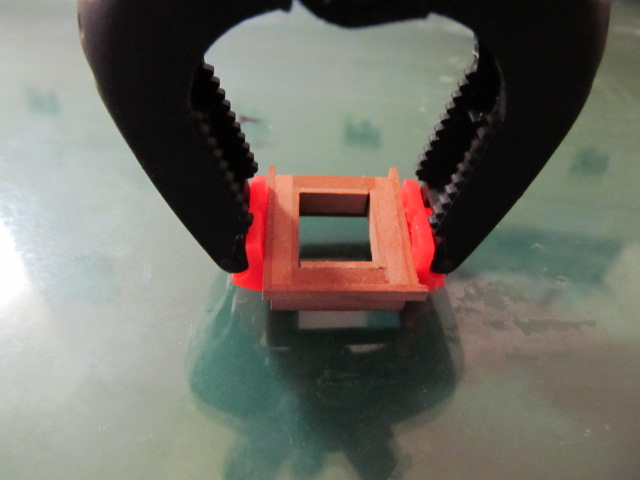
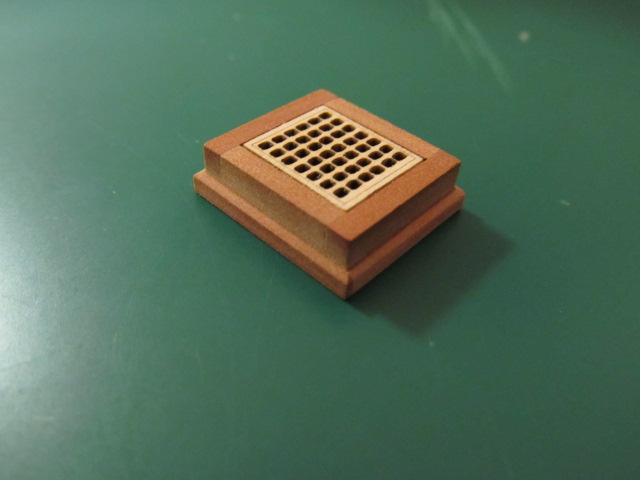
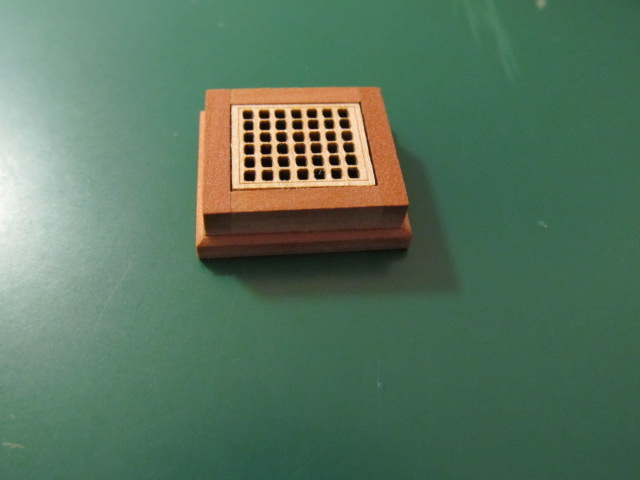
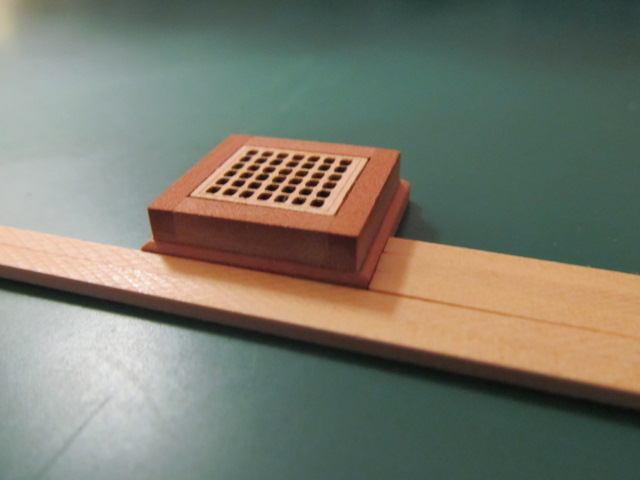
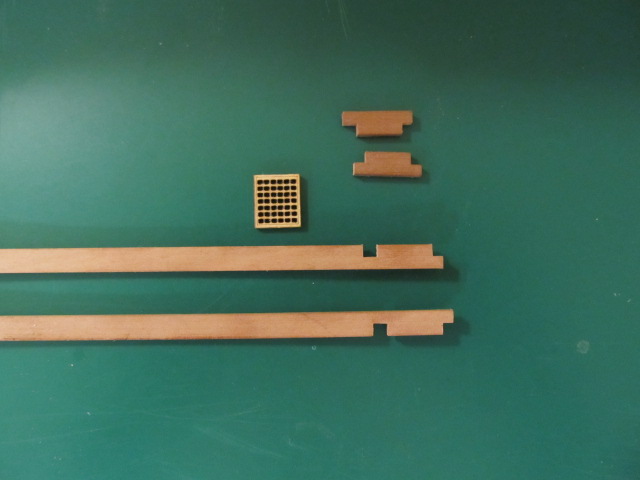
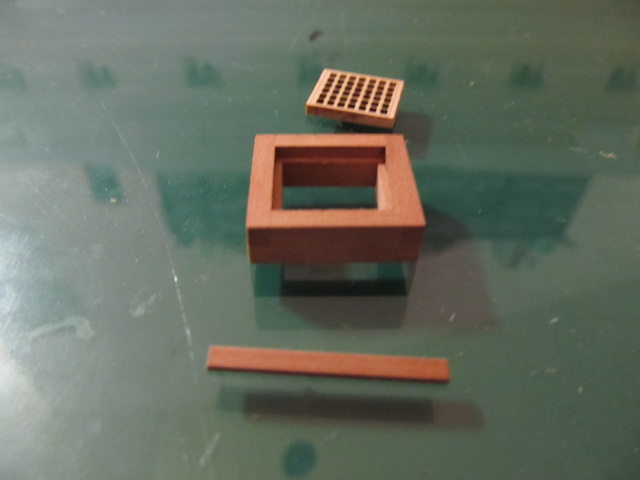
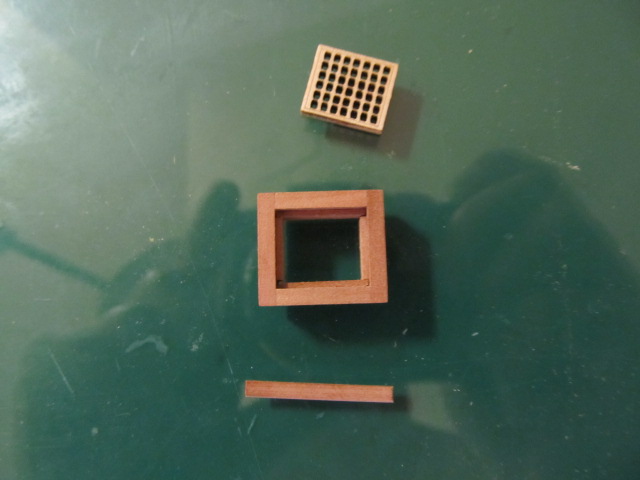
This is the first hatch cover, they"re all built basically the same as far as methods... I cut the half lap joints with my 10" table saw. Overkill? Yes, but I don't have a Jim Saw yet and I do love my power tools.... Once the half laps were cut I cut each piece to length (a little long) with a hobby miter box. Then I assembled the boxes and trimmed the excess with a knife blade, and added the support pieces on the inside for the grate. I still have to attach the small trim piece on each side. Will post pics of that when finished.
-
-
Wow, thanks guys!
Bob, coming from you that means a lot!
Evan, I've followed you Conny build and the detailed info you've provided. It's been very helpful. When I start work again on my 1812ish transom, your one of the guys I hope will like my approach.
Pygo, thanks so much!
-
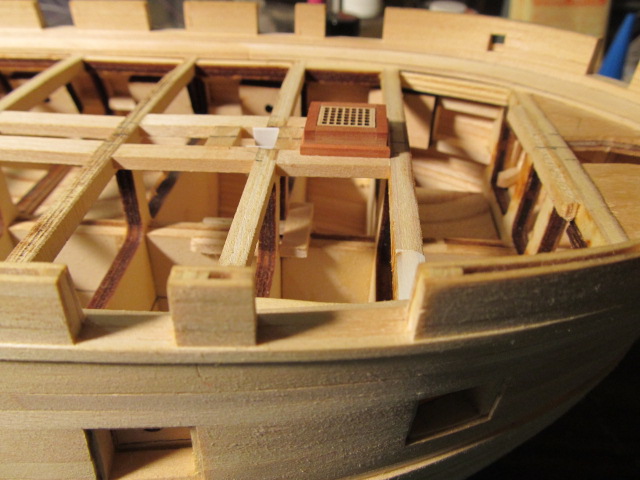
Nice planking Bob, way to go!
-
Patrick, that's a good question I hadn't considered. I think I'll lay the large mid ship grating in place and see if I can peer down into nothing, then decide. Thanks for pointing that out!
-
Doing good Rich! Glad you enjoy a good challenge, you picked the right hobby for that!
-
Thanks Augie, your Confed is coming along quickly. I had visions of starting mine and trying to keep pace with you - but not now!
Rich, not sure what to tell you about your stem. I do know mounting the stem first with the rabbet it creates makes a great way to insert the planks at the stem. The three models I have are all Model Shipways and all share that feature.
Maybe some of our more experienced builders can chime in and help you on that one!
-
-
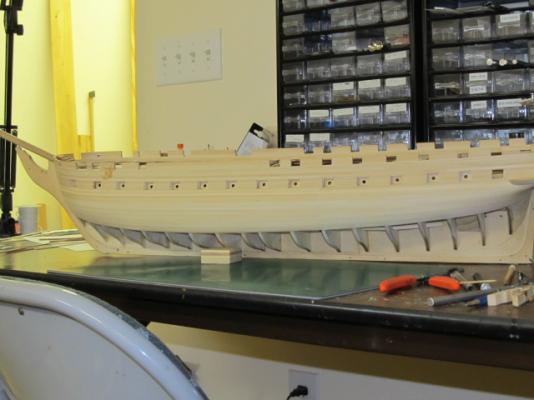
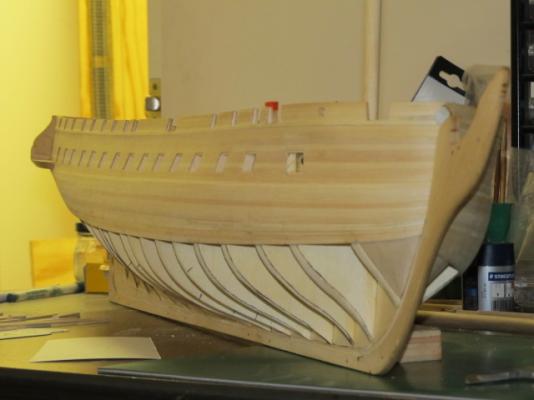
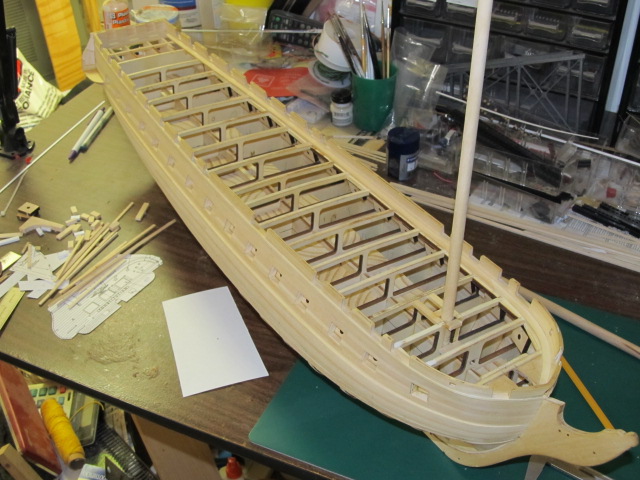
Hey, I'm a sub Lieutenant!
Not much to report other that more planking. I finally got tired of it and decided to work on the deck, fitting masts etc. Thought I'd snap a couple pic while she's sitting in drydock on the bench. That odd bend at the first upper gunport is some kind of optical illusion, it doesn't actually look like that.
-
Very nice planking! That walnut will look gorgeous when finished! (with clear I mean...)


USS Constitution by Hipexec - FINISHED - Constructo - 1:82
in - Kit build logs for subjects built from 1751 - 1800
Posted
Good going Rich, glad you're getting the hang of it!