knightyo
-
Posts
528 -
Joined
-
Last visited
Content Type
Profiles
Forums
Gallery
Events
Everything posted by knightyo
-
US Brig Syren by knightyo
knightyo replied to knightyo's topic in - Build logs for subjects built 1801 - 1850
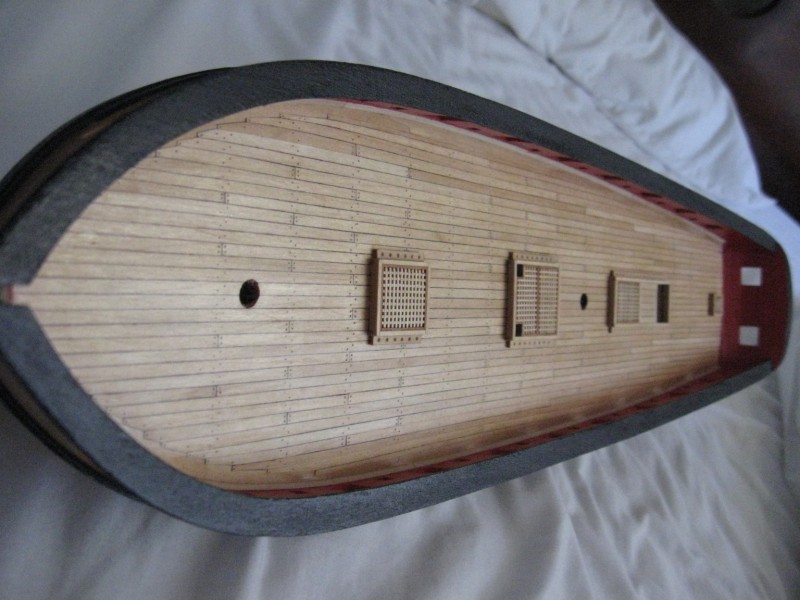
Deck is done. I remember that I used a black Sharpie marker to color the edges of the planks before gluing them in. This created a very nice effect once the planks were installed and sanded, BUT the ink from the Sharpie reacted with a Mastic I applied to the deck, which required me to resand. It ended up fine, but was very scary for a while. Lesson learned: Always test paints/stains/inks on scrap pieces first...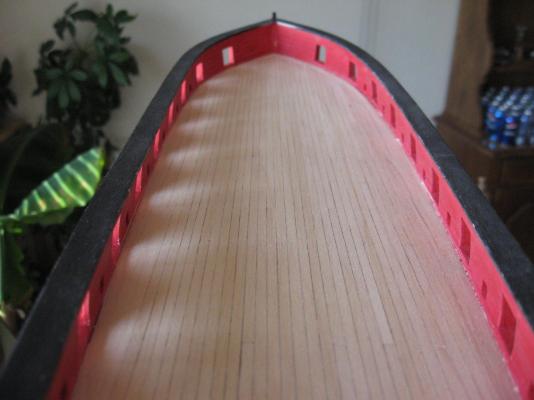
-
US Brig Syren by knightyo
knightyo replied to knightyo's topic in - Build logs for subjects built 1801 - 1850
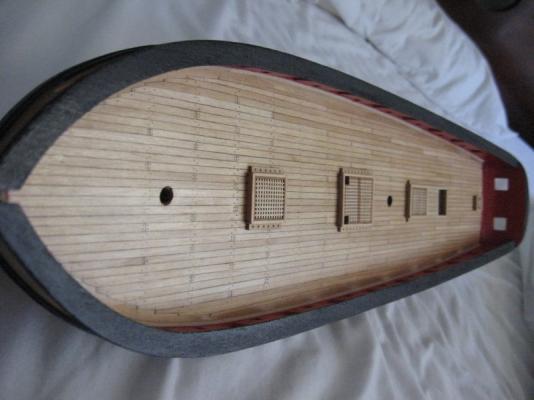
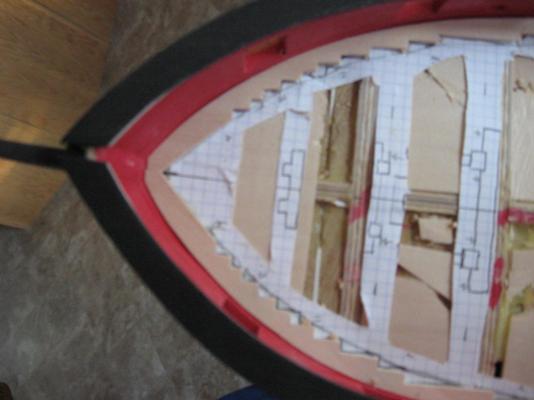
Now since I knew that pretty much everything I installed from this point on would be visible, I slowed way down. I used graph paper to help myself plank the deck properly, and to make sure I didn't end up with any surprises.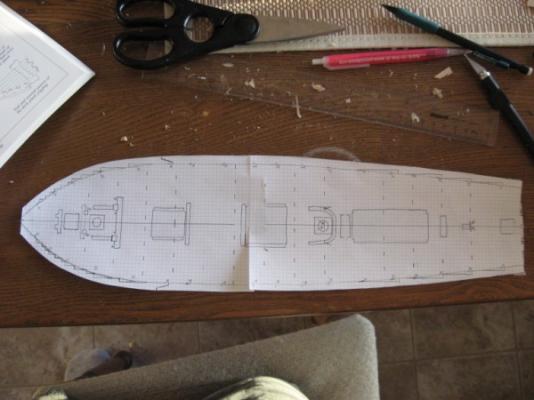
-
US Brig Syren by knightyo
knightyo replied to knightyo's topic in - Build logs for subjects built 1801 - 1850
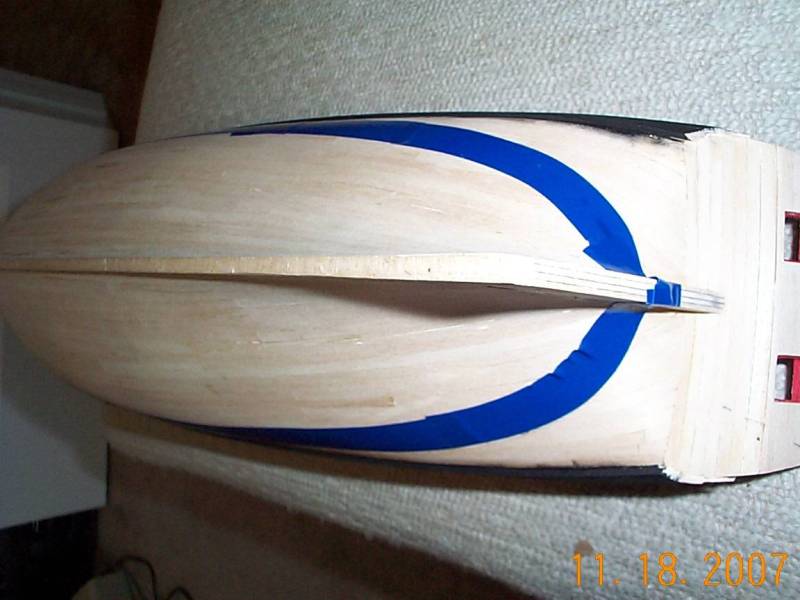
I think I used simple painters tape in order to tape off the hull. I knew it didn't have to be a perfect line as the copper plates would eventually be overlapping the paint line.
-
US Brig Syren by knightyo
knightyo replied to knightyo's topic in - Build logs for subjects built 1801 - 1850
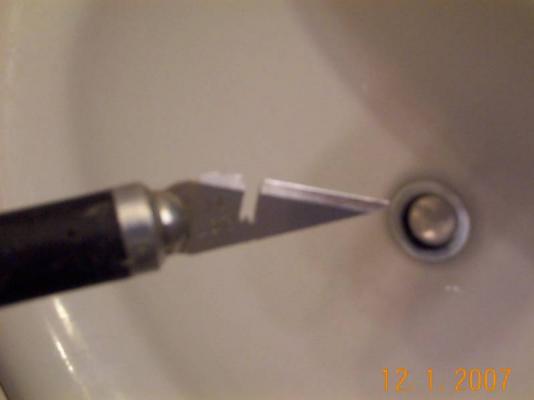
I think I stole this idea from Chuck. Used a dremel tool cutting disk to shape a beaded molding pattern in an old Xacto blade, and ran the "shaper" down a piece of planking in order to create a beaded molding strip.
-
US Brig Syren by knightyo
knightyo replied to knightyo's topic in - Build logs for subjects built 1801 - 1850
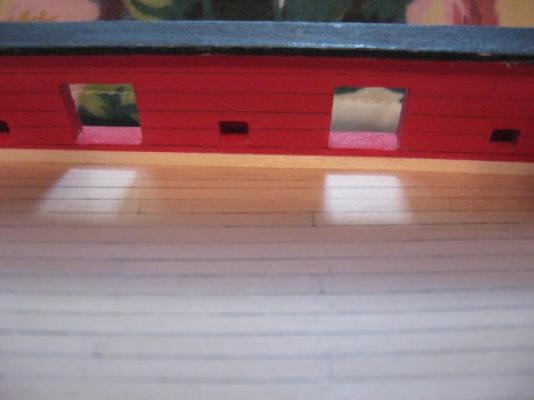
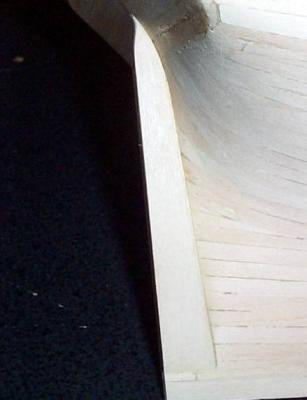
Pics showing everything after sanding.

-
US Brig Syren by knightyo
knightyo replied to knightyo's topic in - Build logs for subjects built 1801 - 1850
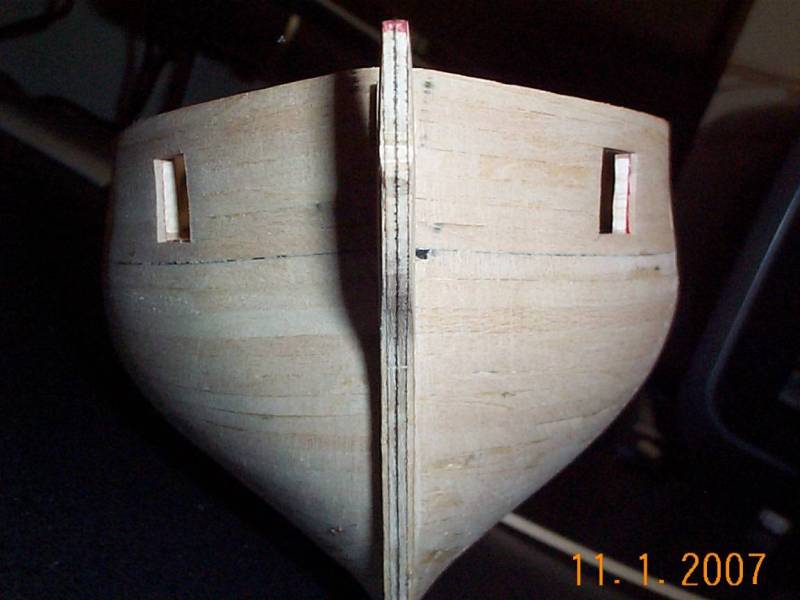
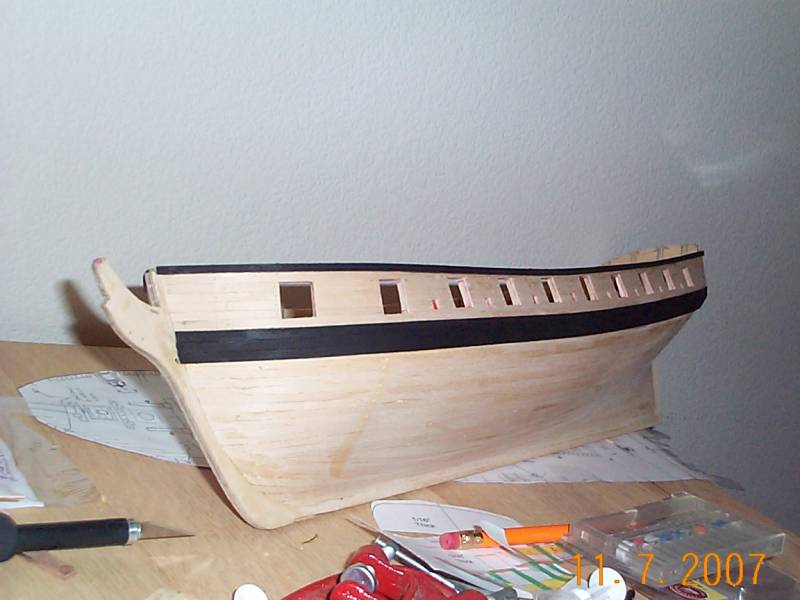
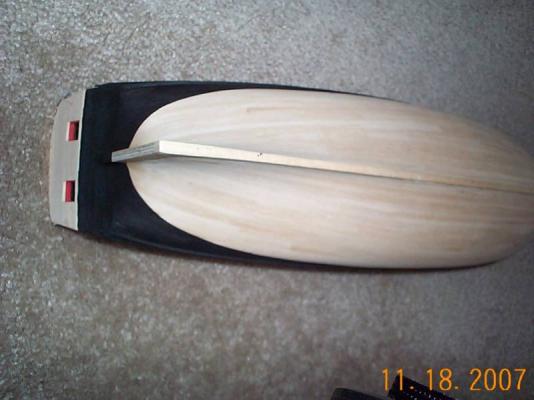
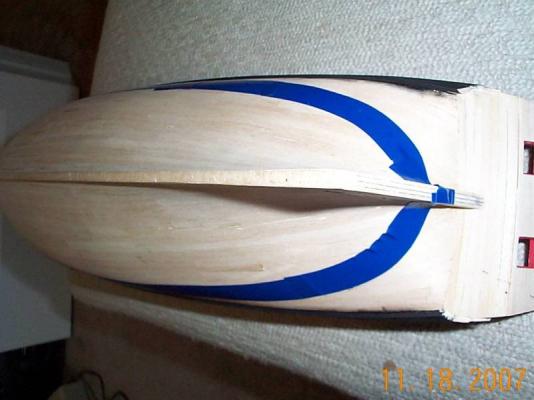
I'm including this pic as it shows how rough the hull initially looked. Since I knew I'd be painting everything, I took a very lazy stance towards really treating each section as it's own project, and pretty much threw planks and glue at the thing figuring I'd sand everything to shape later. Was this lazy? yes. Did it really save time at the end? Well, it's now 2014 and the ship still isn't done. I think it's safe to say my "timesaving" planking approach didn't really yield a lot of benefit.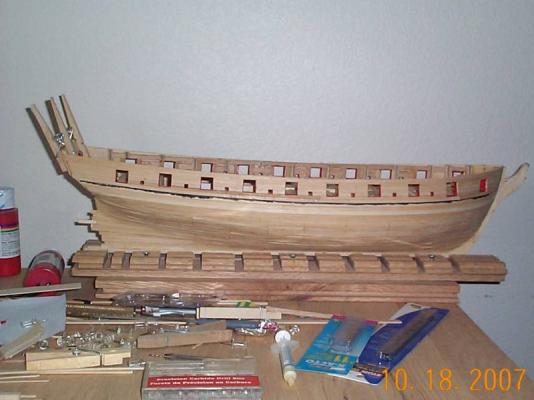
-
US Brig Syren by knightyo
knightyo replied to knightyo's topic in - Build logs for subjects built 1801 - 1850
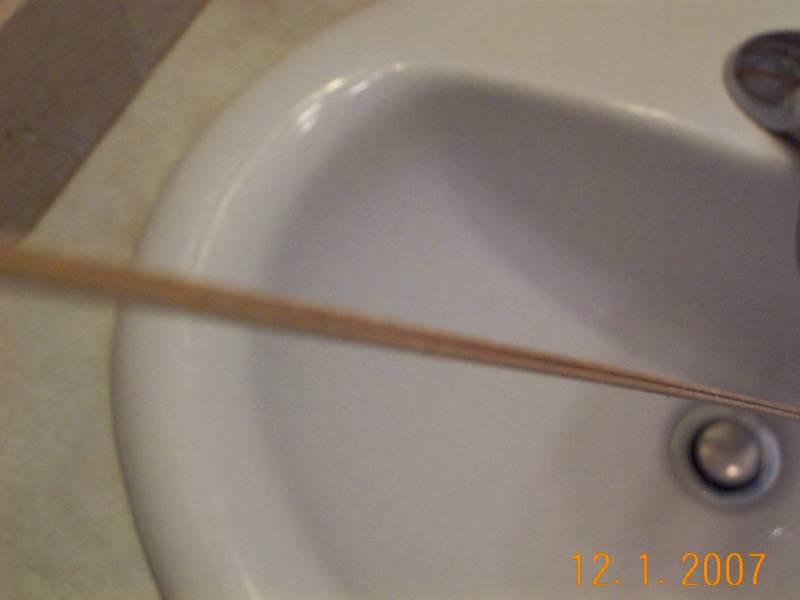
Looks like I was using kite string for alignment checks. The date of 2007 is horrifying. The turtle is definitely in this race.
-
Well, since going back to school a couple of years ago, I've had to put my modeling on hold. I have been lurking on the site from time to time however, which has been a nice respite from my studies. Now that school is starting to wind down, I'm able to lurk a little more, and can see the light at the end of the tunnel. I've decided to re-build my log from the pre-crash era, even though I won't be able to perform any solid modeling for a while yet; just having the log back up will be immensely satisfying. I'm going to try and post relevant pics in a sequential order, and any pics which seem like they might be of help to others. Enjoy, and feel free to leave any comments or suggestions. I am going to be very rusty once I start her again, and will probably need guidance in order to make sure I don't mistakenly wander down the wrong path! Alan
-
I noticed this build log right when I got up today; brewed a nice hot cup of coffee, and have spent the last hour thoroughly enjoying each entry. Outstanding attention to detail, and descriptions. Great work!! Alan
-
USF Confederacy by Rustyj - FINISHED
knightyo replied to Rustyj's topic in - Build logs for subjects built 1751 - 1800
Just doing quick "drive by" of the site in my 3 seconds of spare time this week. Rusty, those anchors really caught my eye. Perfect construction work!