HOLIDAY DONATION DRIVE - SUPPORT MSW - DO YOUR PART TO KEEP THIS GREAT FORUM GOING! (Only 44 donations so far out of 49,000 members - C'mon guys!)
×

knightyo
-
Posts
527 -
Joined
-
Last visited
Content Type
Profiles
Forums
Gallery
Events
Everything posted by knightyo
-
 I thought it was funny that Bubblehead didn't object to question #2.😀
 -
Lol @ no to Q2. 😀 It's going to be a lot of fun to see the bulkheads assembled! Hopefully I'll be back home in a month or so, and can make some progress as well.. Alan
-
Hi Jacek, I am also hopeful for responses to your questions, as I have the same questions! I'll be plodding along behind you as life allows me free time to build... Alan
-
Greg, Do you show how you affix the brass rod pedestals to your models in any of your logs? I was going to go thru your logs again to see, but am lazy of course, and thought I'd just ask. Alan
- 405 replies
-
- 6
-

-
- tamiya
- king george v
- (and 2 more)
-
If I built a full size boat, it would have 4x4 lumber for frames, as I "overbuild" everything I do in "real life". But yes, I take your point.
- 421 replies
-
- 3
-
-
- medway longboat
- Syren Ship Model Company
- (and 1 more)
-
I'm going to have to do this at some point; it's just too cool of a project to pass upon. For me, I'd do it fully rigged, but all in pear with no paint. Chuck, any possibility of a 1/64 kit version for those of us with 1/64 Syren's/Confederacy's/Lexington's/Triton's on the blocks? (omg, I know)..... I'd love to have all of my eventual "wood" ships in the same scale tho, even though this would be pretty small. That actually really appeals to me. Alan
- 421 replies
-
- 3
-
-
- medway longboat
- Syren Ship Model Company
- (and 1 more)
-
Thanks guys! That was fantastic info. I've told myself that I'm not allowed to start a new project until I finish my Syren/Triton, but I'll eventually join in with you guys unless you've modeled the entire navies of all countries by the time I'm ready. lol Alan
- 1,090 replies
-
- 6
-
-
- showcase models
- vendetta
- (and 2 more)
-
Here's a random question... Who do you guys think supplies the best photo-etch materials? Eduard? Tom's Modelworks? Gold Medal? Pontos? I've been looking for a 1/350 set for Tamiya's Fletcher destroyer, but really don't know which supplier provides the best etch! Alan
- 1,090 replies
-
- 5
-
-
- showcase models
- vendetta
- (and 2 more)
-
1:64 Copper plating
knightyo replied to Peter Y.'s topic in Building, Framing, Planking and plating a ships hull and deck
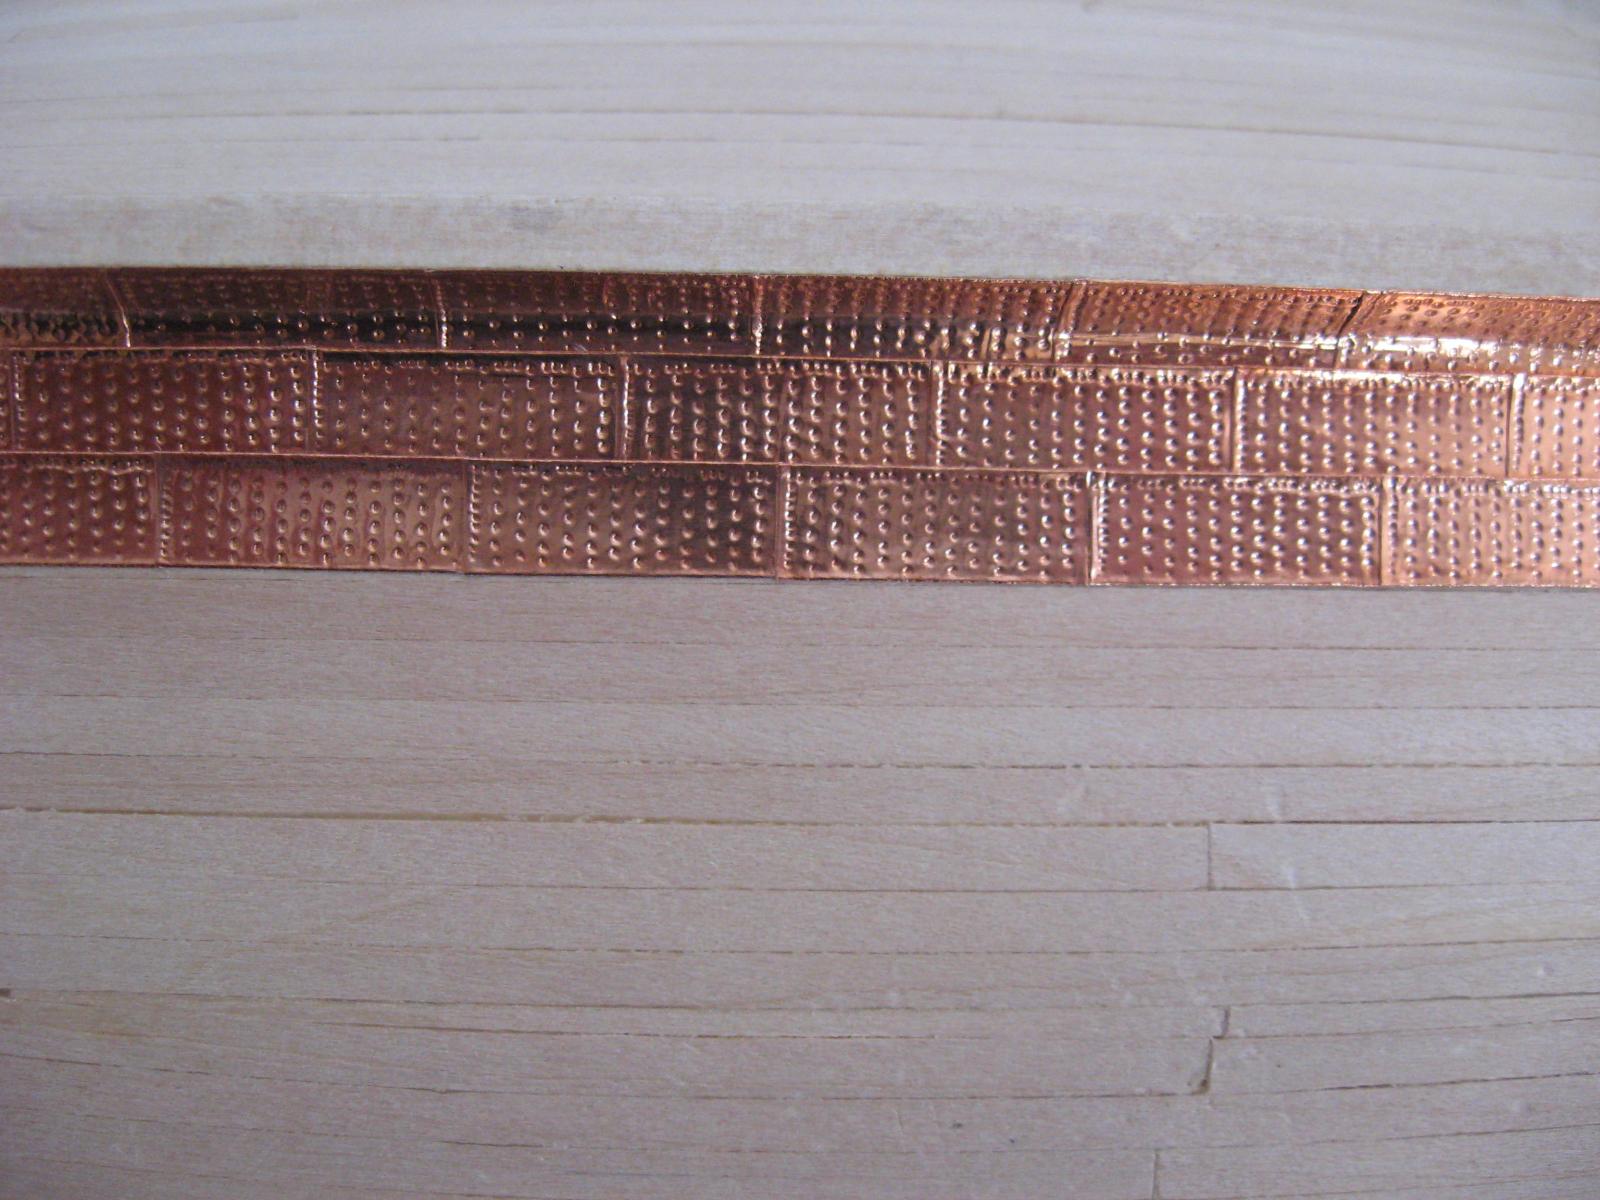
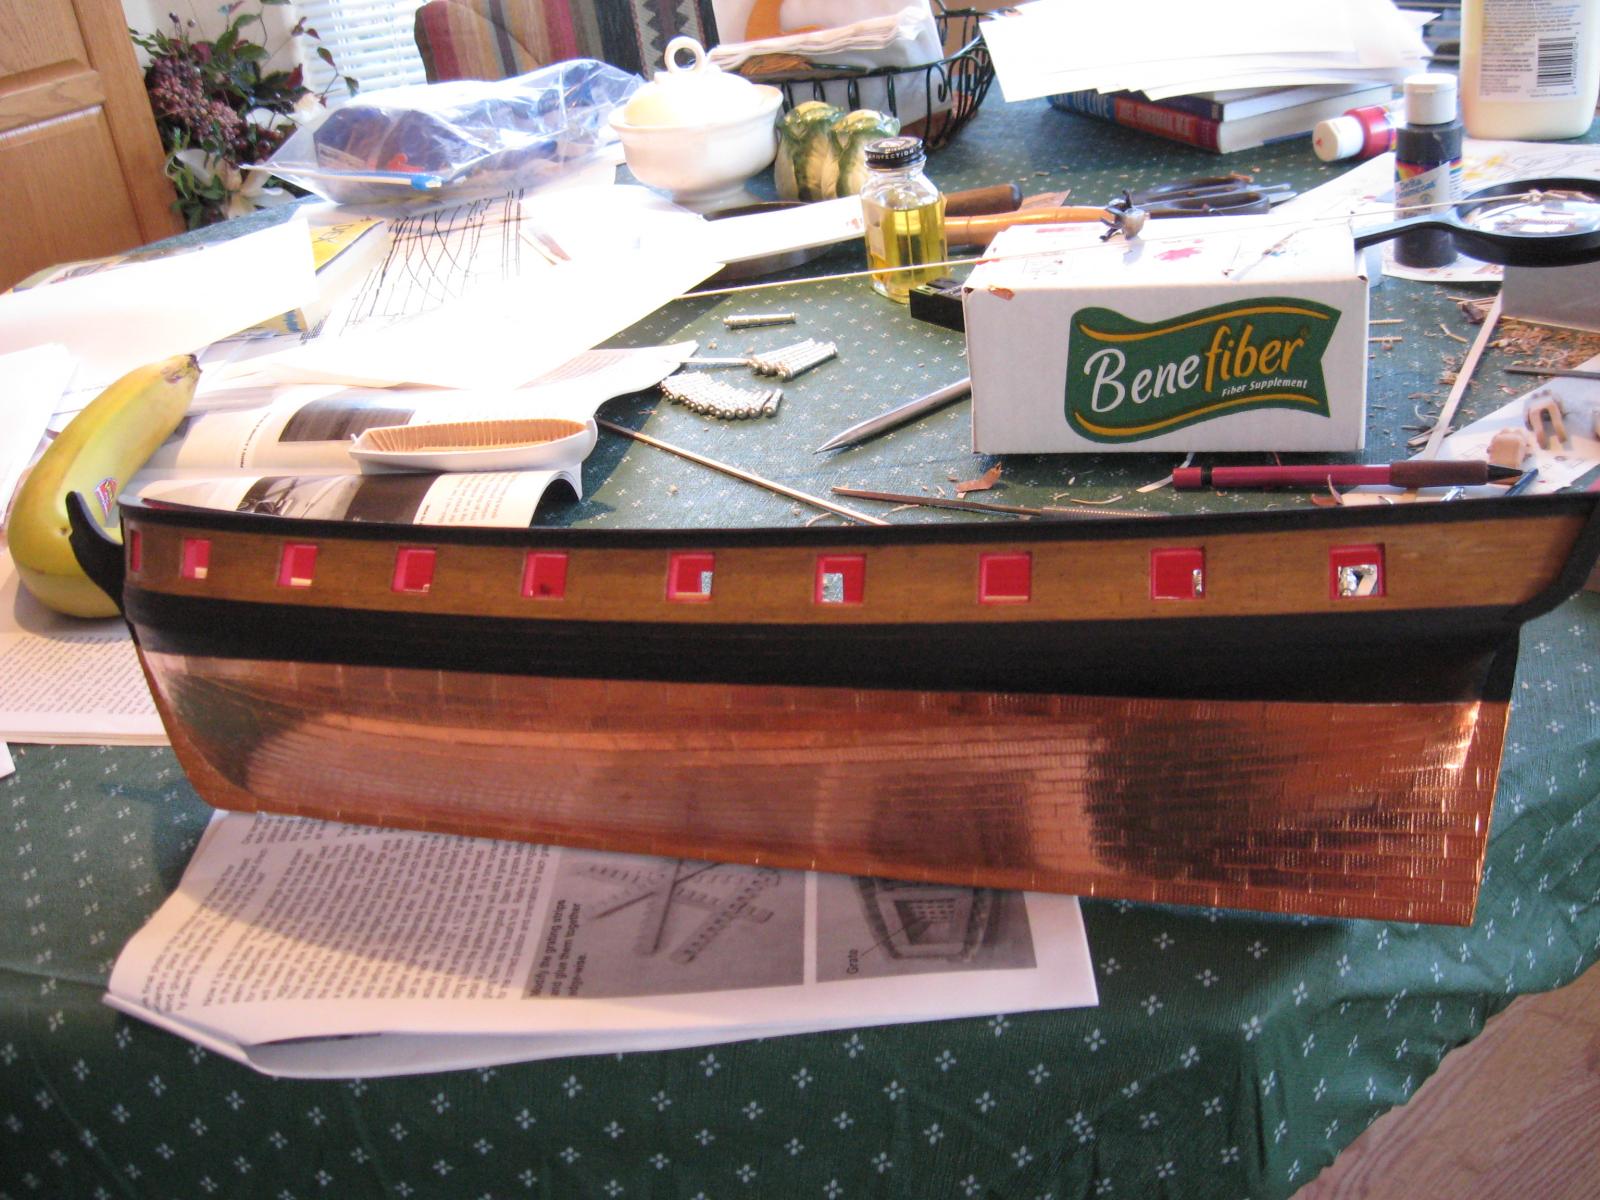
Hi Peter, I also recommend taking a look at Chuck's instructions for a copper plate building jig. I overlapped mine (below), and have been happy with the result. I do like the "nails" to show, even though they are larger than they should be. I think they make the model look more interesting from a distance (bottom photo), than if the copper was just smooth... Alan

- 14 replies
-
- 3
-
-
- pickle
- caldercraft
- (and 1 more)
-
Hi Phil, Looking forward to watching your progress! Alan
-
After I'd finished painstakingly planking my Syren deck, I was extremely excited to apply a Mastic as a final finish. Unfortunately, I'd used Sharpie "permanent" markers to color the edges of the planks, and the Mastic reacted with the ink; my pristine deck looked like someone had slathered mud all over. The next day, a light sanding was able to restore the deck, and now I can look back on that experience and just chuckle. The beauty of our hobby is that we can usually recover our projects when bad things happen. P.S. The mug.... Children are Maggots... lmao.. I must have one.
-
I've been trying to order the maple planking from Woodprojectsource for two days now, but keep getting the message that the site is down for maintenance. It's a little like torture! lol. I think I'll draw out a sample planking pattern on the templates, and run it by you guys for your thoughts. Alan
-
Aldo, thank you so much for that information! I had assumed 100% that I'd be nibbing the planks, and would have done so if I had not seen your post. Alan
-
Is 1:200 scale a requirement? Here's a 1:350 for a hundred bucks and change...... https://www.amazon.com/Trumpeter-Hornet-Aircraft-Carrier-Model/dp/B003PB7K0E/ref=sr_1_1?ie=UTF8&qid=1517968236&sr=8-1&keywords=trumpeter+hornet
-
Thanks guys! It turns out that I have neither resource. I thought I had Goodwin, but Goodwin turned out to be Lavery as well as Longridge... I'll look though both a bit more today to see if either has diagrams. They are both for ships of the line tho... I would "think" the planking principles would be the same as for frigates? Alan
-
Thanks Aldo! The lower deck has now been installed in the proper location. It just needs to be sanded smooth in advance of planking. Also getting ready to order decking material. I know the lower deck won't really be seen, but it will give me a chance to practice my planking, as I'm probably a bit rusty! I do need to find a template/drawing which shows an actual planking diagram, however.. I don't "think" we have that in our template arsenal... Alan
-
I need to change by vote over to the Dutch ship then. The cabin detail did it for me. lol. I have about 39 projects all half-done, but at the very least, I'd purchase the plans for this one. Alan
-
Hi Doug, If you are going to paint the cap rail, it can be done in multiple pieces. I think mine is comprised of at least 5 pieces. Once it's painted/sanded/painted/sanded/painted again, no one will ever know it wasn't one piece. I think I even used a little filler on one of the joints on mine as well. Alan
-
I was going to suggest you do all three since there is interest, but I see that will indeed be the case. I think you have a home-run lineup of options for builders! I think once you have all three of the new models up and running, you should allocate a lot of time to marketing in order to reach the widest audience; and then put on your seat belt, because I think you are going to become an extremely busy man. Alan
-
Me too. I must finish my Syren and Triton, but the temptation to purchase a plastic kit now is almost overwhelming...... lol
-
That is gorgeous model. I'd initially liked your IJN models more, but this one has grown on me; the pic from the bow is especially striking. Alan
-
Hi Peter, The below photo shows what my hull looked like after applying Minwax Golden Oak. I believe that was after numerous light sandings and reapplications of the stain as well. It actually looked far "blotchier" in person than in the photo. The photo at the very bottom shows what my hull looks like now (although all of my trennails are now in. yes!) By carefully brushing very thinned down acrylic brown paints to my hull, I was able to "blend" the color together, so the finish looks more uniform.
- 242 replies
-
- 8
-
-
- syren
- model shipways
- (and 1 more)
-
Hi Peter, I had severe "blotchiness" after I'd applied stain (Minwax Golden Oak) to my Syren. I was shocked. However, by applying many layers of acrylic washes, the colors started to blend together much better. Alan
- 242 replies
-
- 1
-
-
- syren
- model shipways
- (and 1 more)
-
I'm not sure whether I like the weathered flight deck more, or the lighting. Both are superb. Alan
- 82 replies
-
- 3
-
-
- carl vinson
- trumpeter
- (and 2 more)