knightyo
-
Posts
529 -
Joined
-
Last visited
Content Type
Profiles
Forums
Gallery
Events
Everything posted by knightyo
-
US Brig Syren by knightyo
knightyo replied to knightyo's topic in - Build logs for subjects built 1801 - 1850
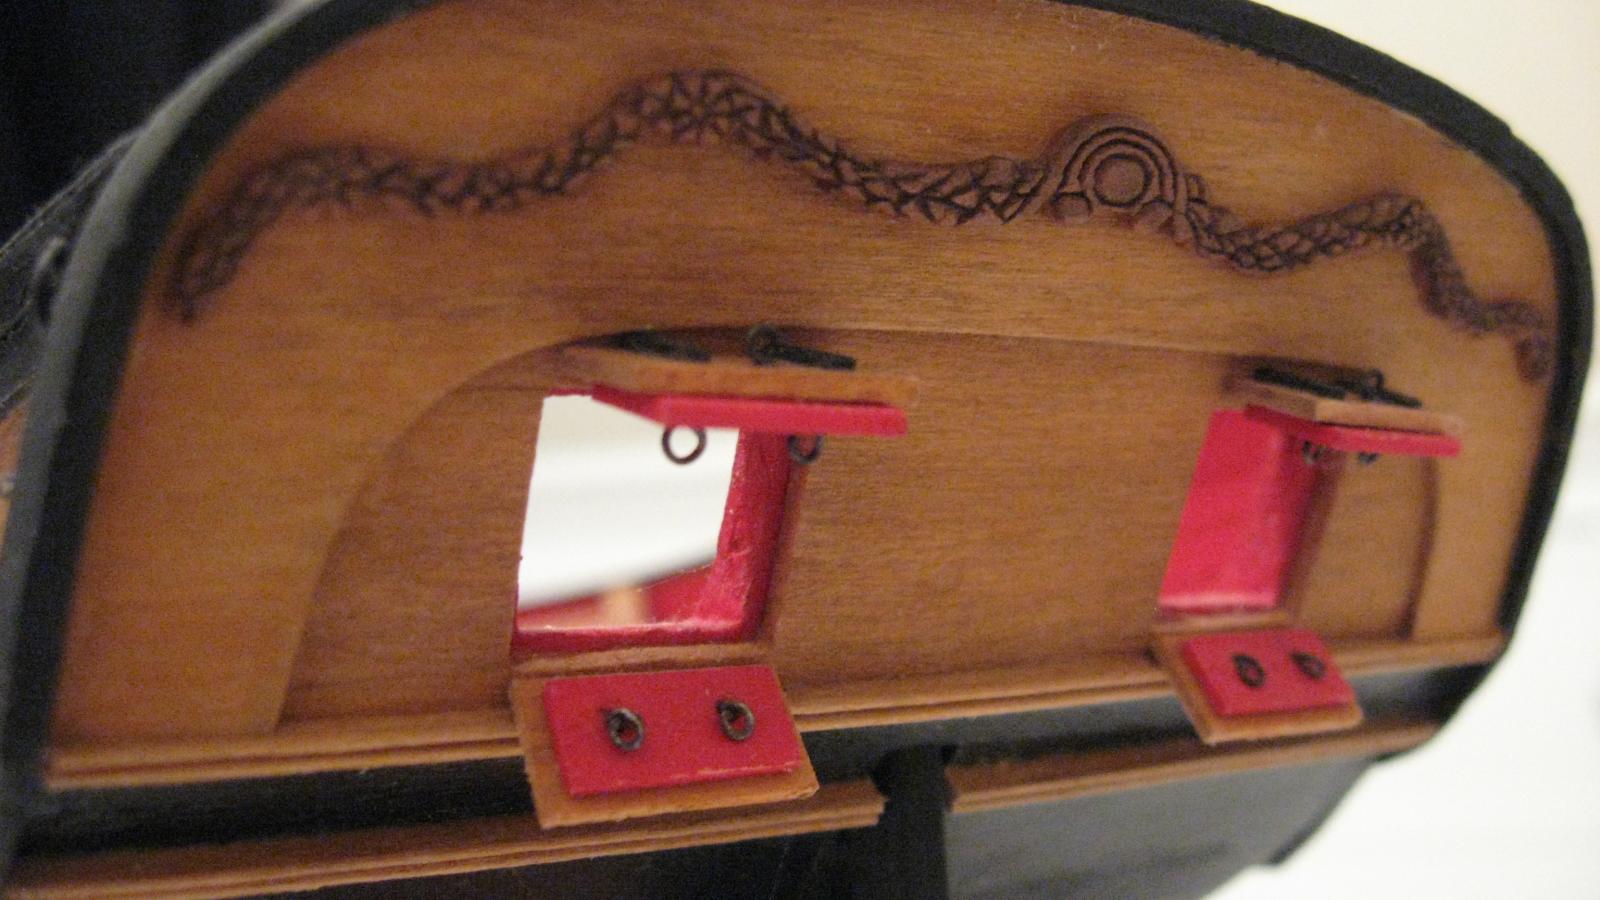
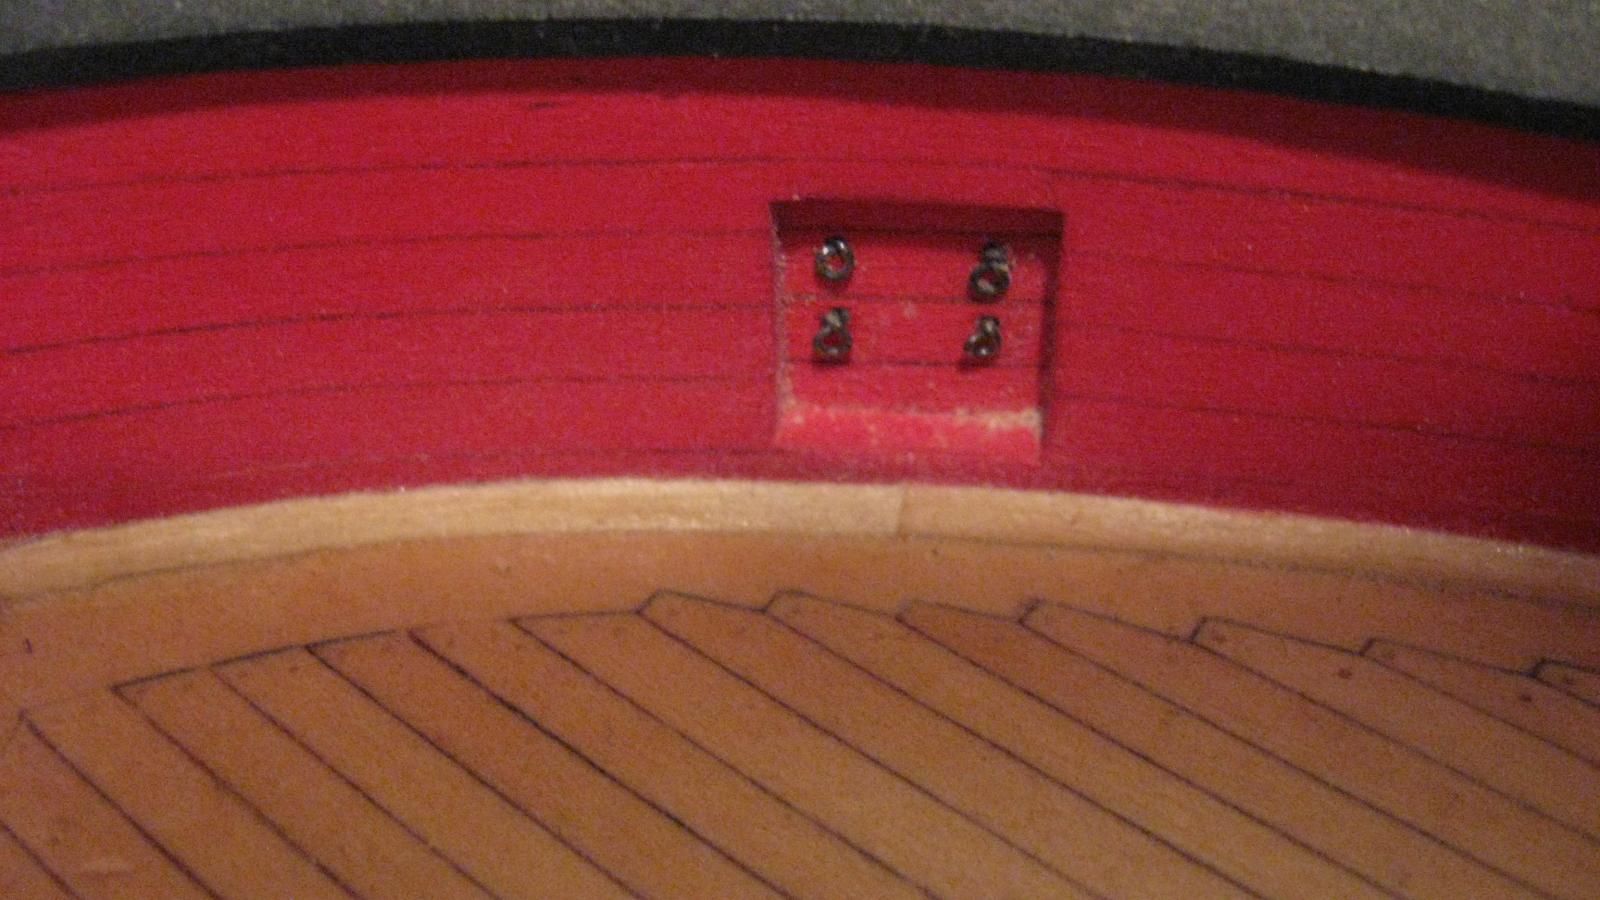
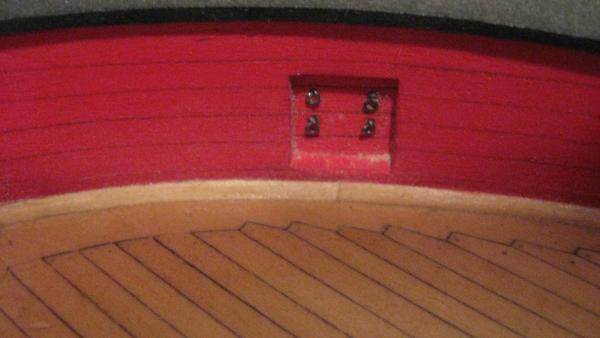
The miniature brass bolts arrived, and they fit my pre-drilled holes really well. However, when the bolts were seated in the holes, alignment issues between the bolts, breech rings, and the piece which lets the carronades move up and down became very apparent. I've removed and reseated about half of the bottom rounded pieces as a result. I also worked on the 2nd rounded pear pieces of the quarter galleries. They are roughly shaped like the upper pieces, and now need to have the molding scribed within. Once those pieces are done, I can start working on the windows; that is going to be extremely challenging, but also probably pretty fun.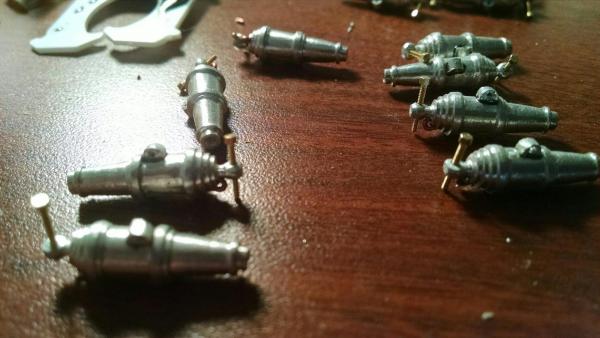
- 77 replies
-
- 10
-

-
Absolutely beautiful work through and through. A real pleasure to read your log.
- 2,191 replies
-
- 4
-
-
- confederacy
- Model Shipways
- (and 1 more)
-
US Brig Syren by knightyo
knightyo replied to knightyo's topic in - Build logs for subjects built 1801 - 1850
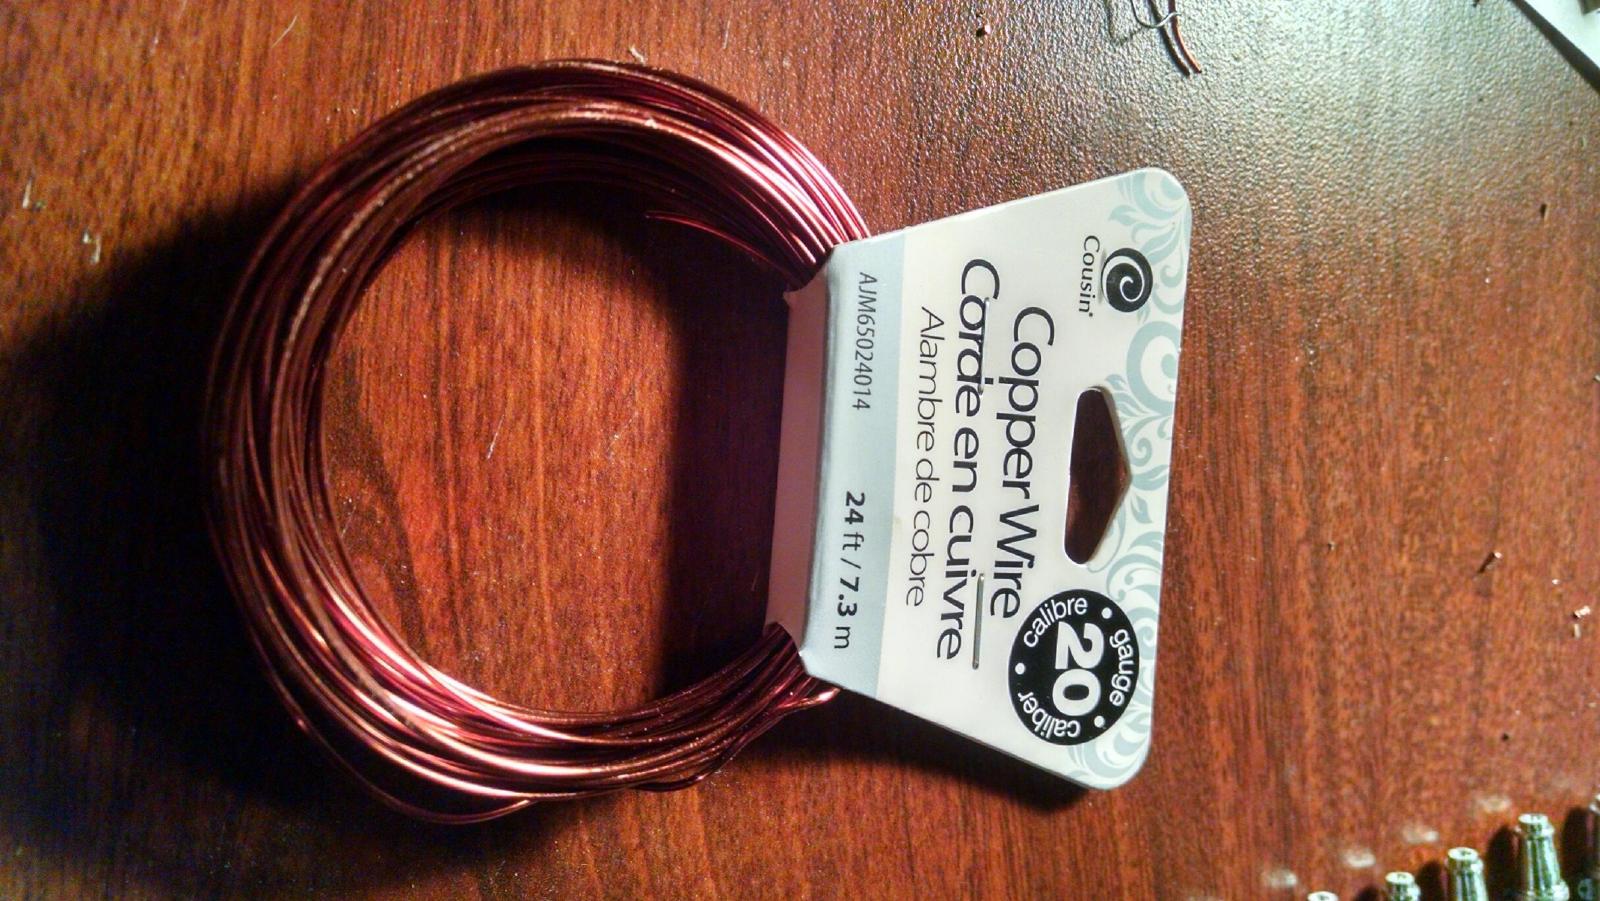
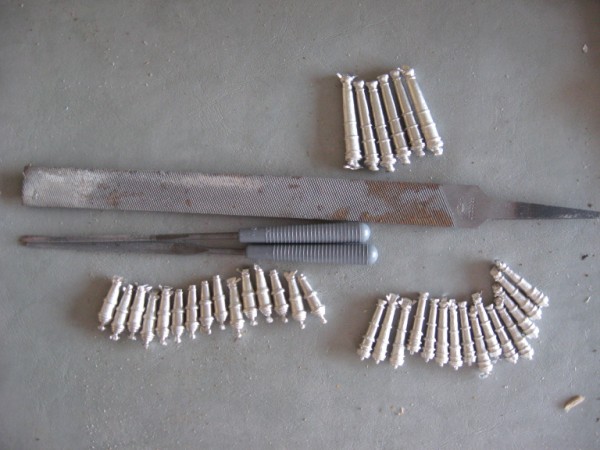
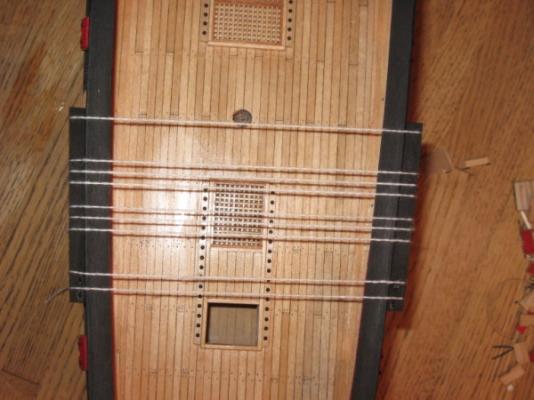
Wire used for breech line rings.
-
US Brig Syren by knightyo
knightyo replied to knightyo's topic in - Build logs for subjects built 1801 - 1850
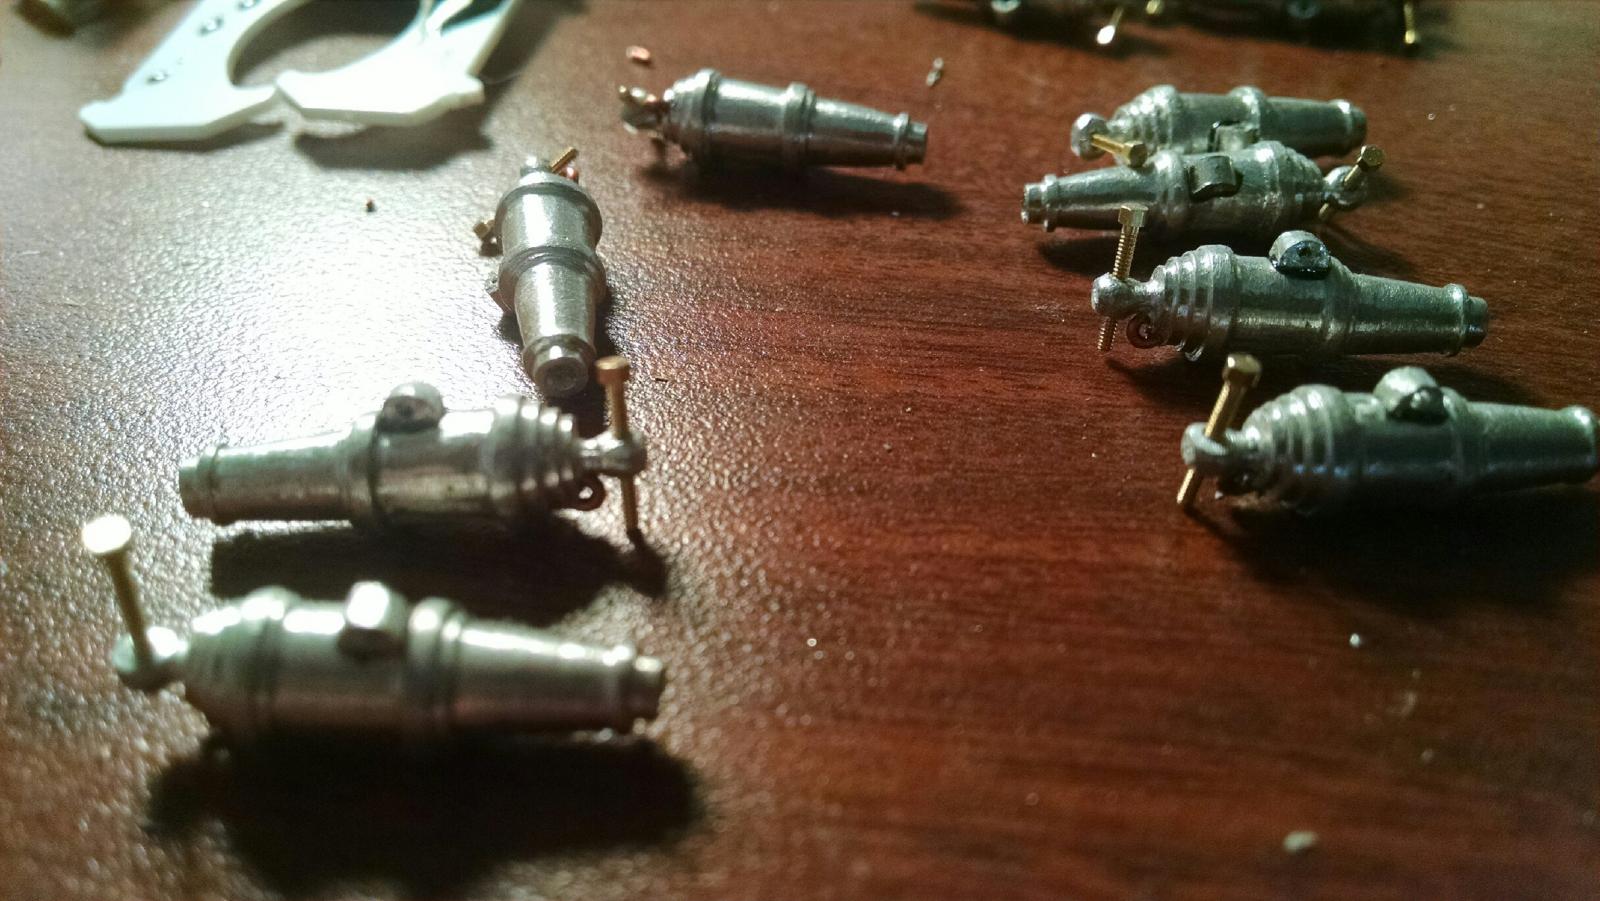
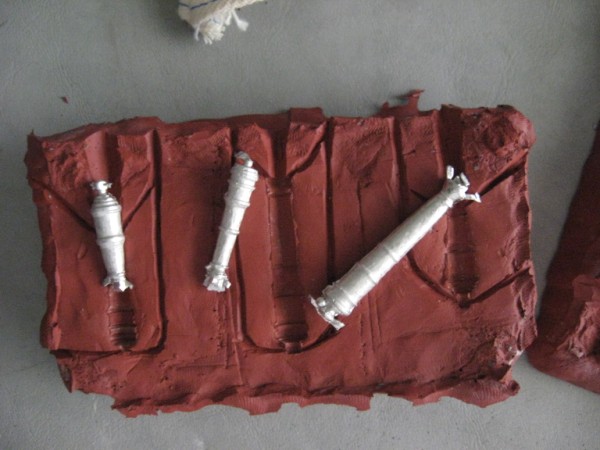
Breech line rings complete! These guys were actually pretty easy. I just used my pin vice to drill holes in the backs of the cannonades where it looked appropriate, bent wire, cut wire, and "glued" in with JB Weld. I have no clue if the oxidizer I use for the pewter will darken the wire the way I wish, but we shall see. They are almost ready for their dip. the elevation rods need to be purchased, and holes drilled to fit. Then I think they will be ready for their long awaited dips. I just realized these pictures are terrible. Lol. The photography skills should improve pretty quickly as I get back into all of this. Also just realized by looking at the pics that some of the rings will need to be rounded a bit. The wire I used is just malleable enough that this shouldn't be too much of a prob.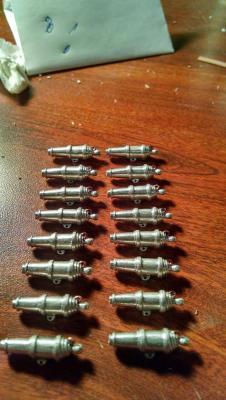
-
US Brig Syren by knightyo
knightyo replied to knightyo's topic in - Build logs for subjects built 1801 - 1850
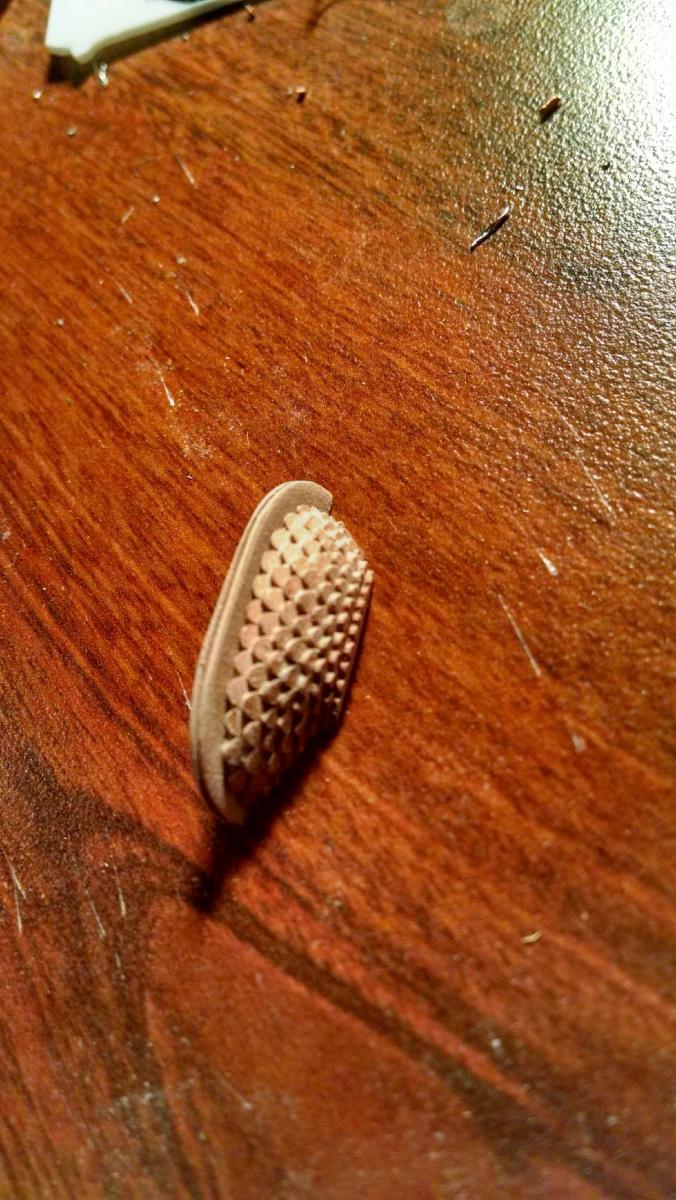
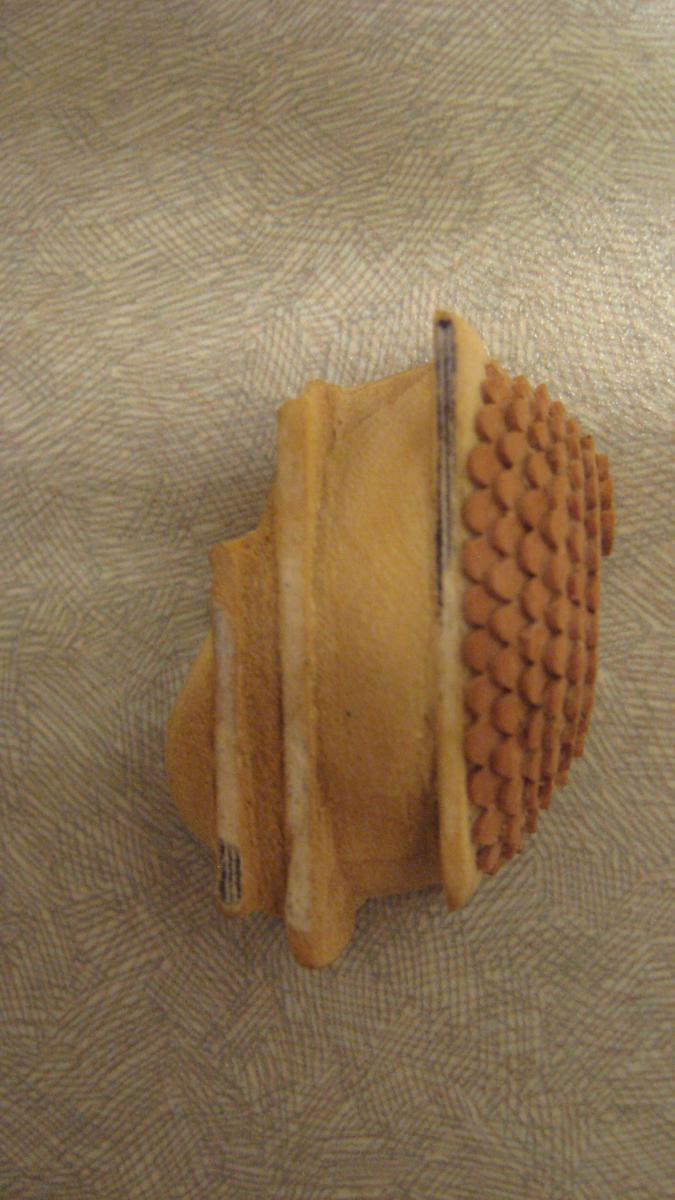
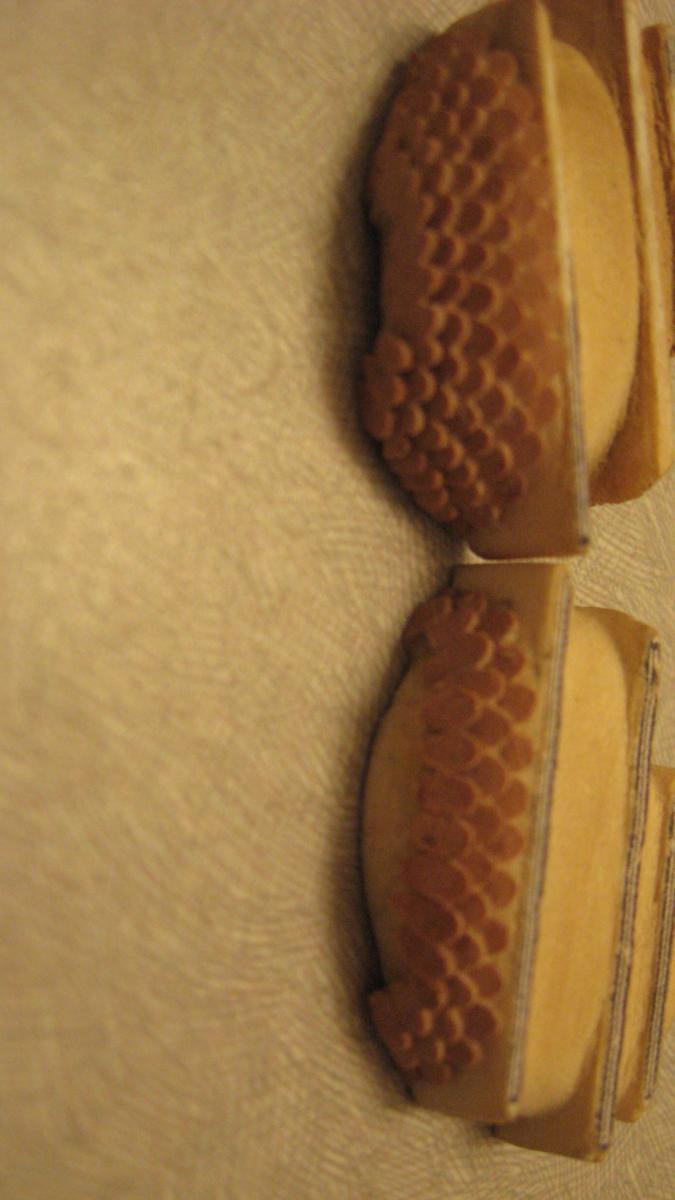
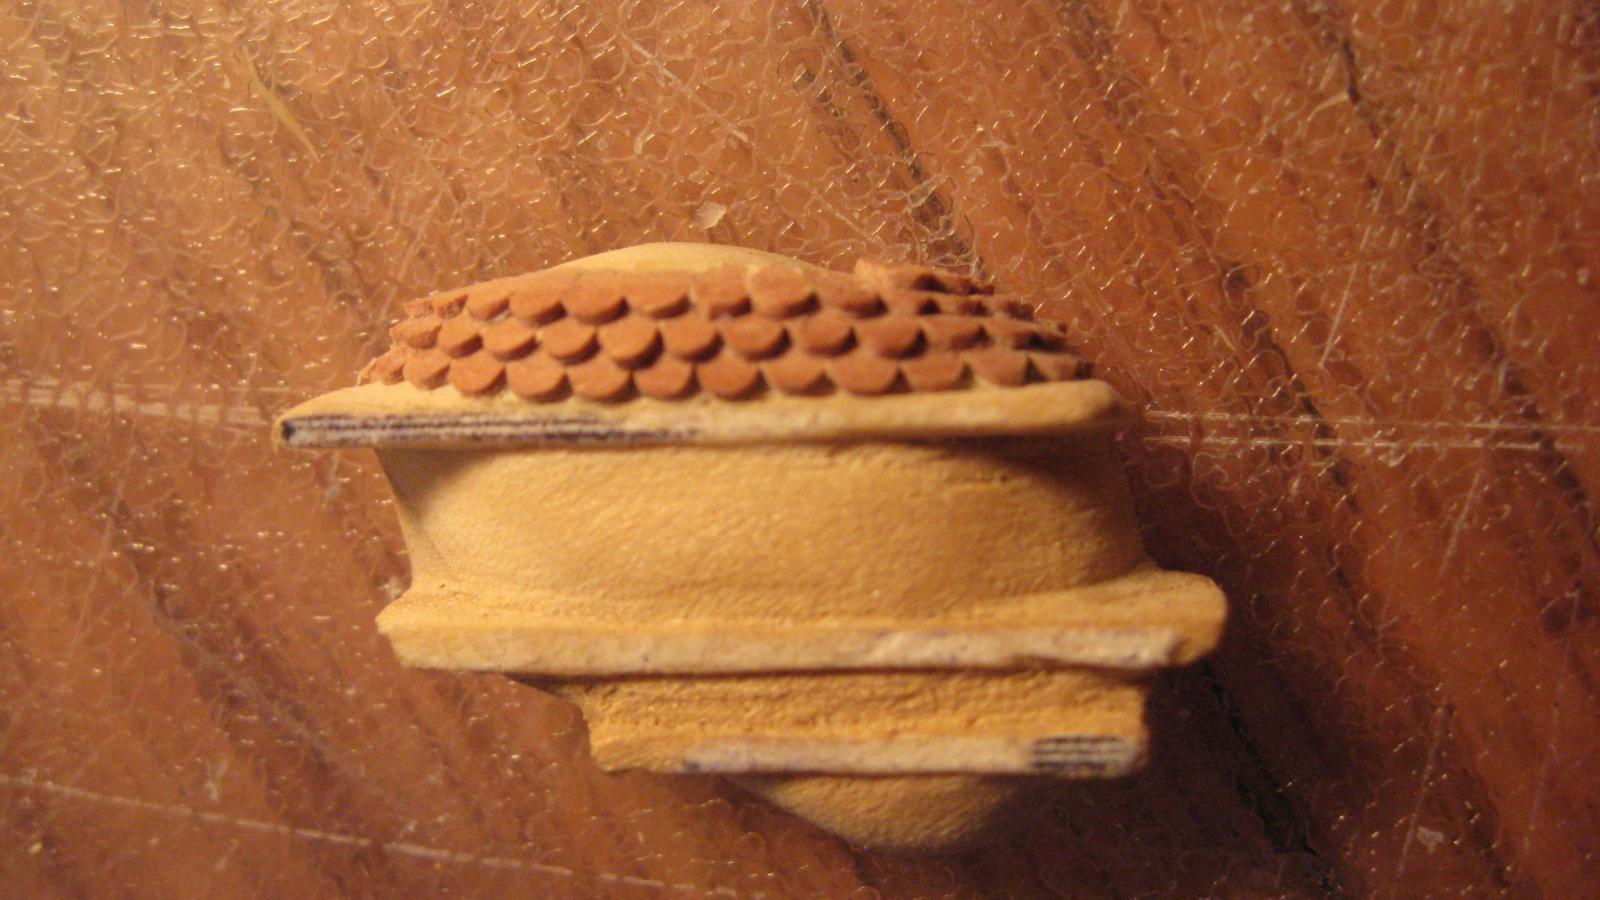
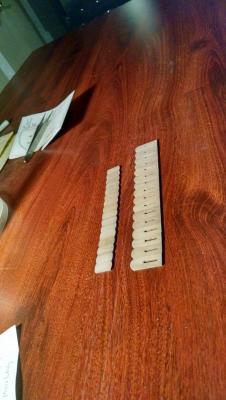
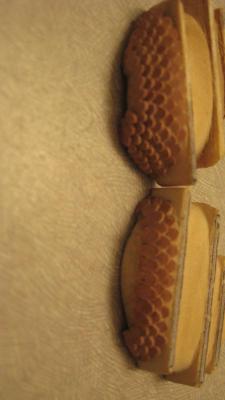
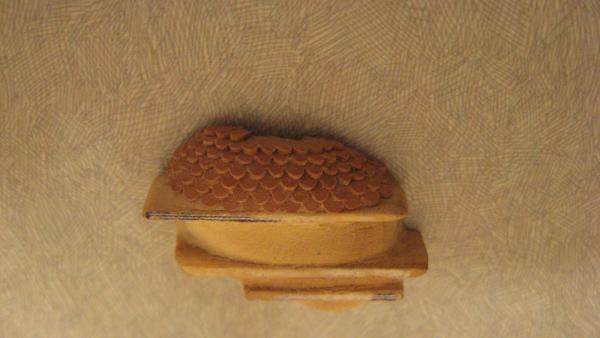
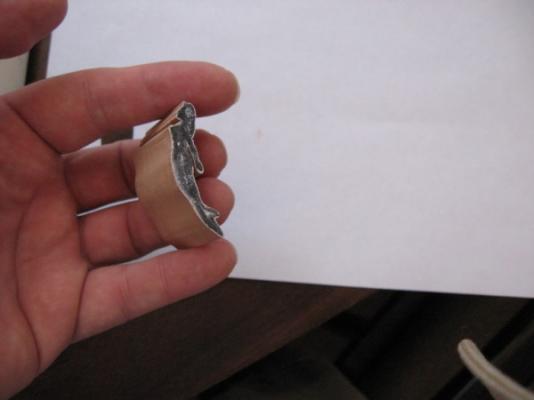
The shingles are complete! Both sides are done, and I've now lightly glued them onto thin bases of pear which have been sanded down to around to whatever size Chuck made them in his .pdf's. , I'm in the process of shaping the pear to match the bases of the shingles. The piece pictured has a lot of shaping to go, but it shows the general shape I'm aiming for. I also started the bases "wide" in order to give myself massive "error room" while establishing the molding line in the center of the piece. I don't have my woodworking confidence quite back yet, and am being pretty careful. I'm now sanding down, and deepening the molding line as I go. If I mess up, they should be pretty easy to separate from the shingle units, as they were just very lightly glued on.
-
US Brig Syren by knightyo
knightyo replied to knightyo's topic in - Build logs for subjects built 1801 - 1850
This is great info. I've filed just about every micrometer of each of the cannons in order to correct casting/shaping errors, etc.. Hopefully they'll accept the blackening agent.... I'm going to hunt for wire tomorrow so I can get the breech line rings done. Worked on the "shingles" of the quarter galleries tonight. The tops of each are nearing completion. My eyes are NOT used to looking at things close up any more. I'm really hoping they can "adjust" again... -
US Brig Syren by knightyo
knightyo replied to knightyo's topic in - Build logs for subjects built 1801 - 1850
Hi Larry, Here's what I'm going to use... It will be interesting to see the results... But now that I think of it... The wire I use for the breech line rings won't be pewter... Hopefully the product will have the same oxidizing effect on whatever wire is used, so everything looks uniform..... I suspect I'm being naive, however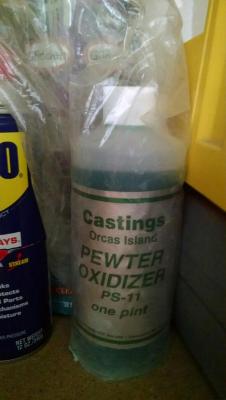
-
US Brig Syren by knightyo
knightyo replied to knightyo's topic in - Build logs for subjects built 1801 - 1850
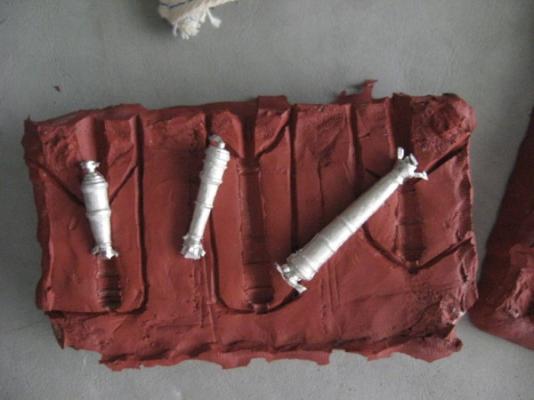
Well, this year the following events occurred; Got married Finished school Started a new Job Purchased a home For some reason, I didn't get a whole lot of modelling done. I'm tinkering away again now however, and am working on the carronades! The slides are shaped, but still need to have the blackened photo-etched hardware installed, etc. I'm intending to blacken the carronades (pewter). Does anyone know what type of wire should be used for the breech line rings? Definitely don't want to have bright shiny silver breech line rings! I should also mention: The slides were made from Black Walnut which Rusty kindly sent to me many years ago when I was working on another smaller project (still unfinished of course). I want Rusty to be pleased on this part, and to know that his generosity paid off, even thought it's taken many moons!
-
Excellent tutorial. Chris is right about how you can end up with amazing miniatures simply by applying washes. I used to paint a lot of 40k miniatures, and had many appreciative comments about my paint jobs. I'd always giggle to myself, because I didn't really have any skill at all.. It was all in the washes!
-
US Brig Syren by knightyo
knightyo replied to knightyo's topic in - Build logs for subjects built 1801 - 1850
GREAT memory, Augie.. Thank you, good sir. -
US Brig Syren by knightyo
knightyo replied to knightyo's topic in - Build logs for subjects built 1801 - 1850
Hey guys, I was able to sneak into the garage today and get some work done on the carronades! Does anyone remember which Syren builder simulated the elevation rod in his carronades by using a threaded rod? For the life of me, I can't figure out where to get a threaded rod that small. Alan -
I had to do a double-take when I saw "Boise" in the title! Alan
-
US Brig Syren by knightyo
knightyo replied to knightyo's topic in - Build logs for subjects built 1801 - 1850
Thanks David! If it was you, would you round them over, or leave them "straight"? Alan -
I'm pulling up a chair along with the rest of the guys.. It's going to be fun to watch you work! Alan
-
US Brig Syren by knightyo
knightyo replied to knightyo's topic in - Build logs for subjects built 1801 - 1850
Thanks guys. It's a pretty fun mini project working on these things. Not much to report today. I was able to squeeze in a quick bit of time to cut off the lower portions of the "ugly" wood, and sand the "shingle" area down. I think I'll finish the "shingling", then glue it to the new pear base, after it is constructed. Then I'll start work on the window and lower sections. I'm intending on using a mild acrylic black wash on the quarter galleries in their entirety when they are finished, in order to match the method I used on the stern decoration way back when. I think that method will also be used on the figurehead when she is done, so every pear component matches in color/look/feel. I'm still not sure whether or not to round the shingles. at this point I think it's the right thing to do, but I know once that process is started, there is no turning back, and if I foul it up, a LOT of time will have been for naught. Rounding the shingles will also give me the opportunity to correct/disguise the uniformity errors with a few of them and help to make all of them to appear to be as symmetrical as possible.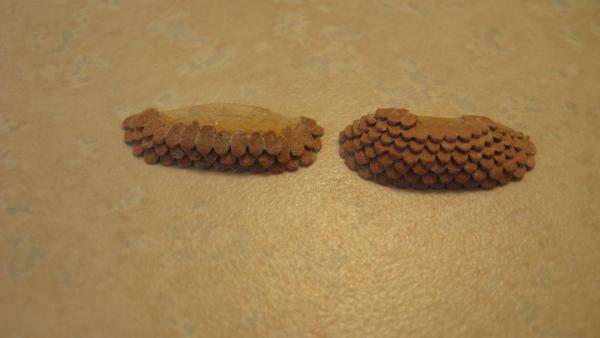
-
US Brig Syren by knightyo
knightyo replied to knightyo's topic in - Build logs for subjects built 1801 - 1850
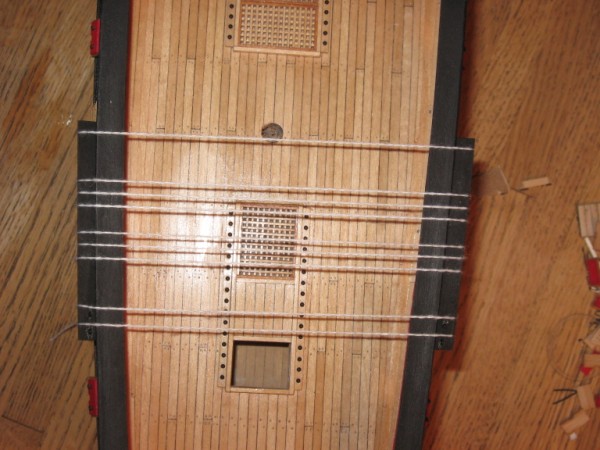
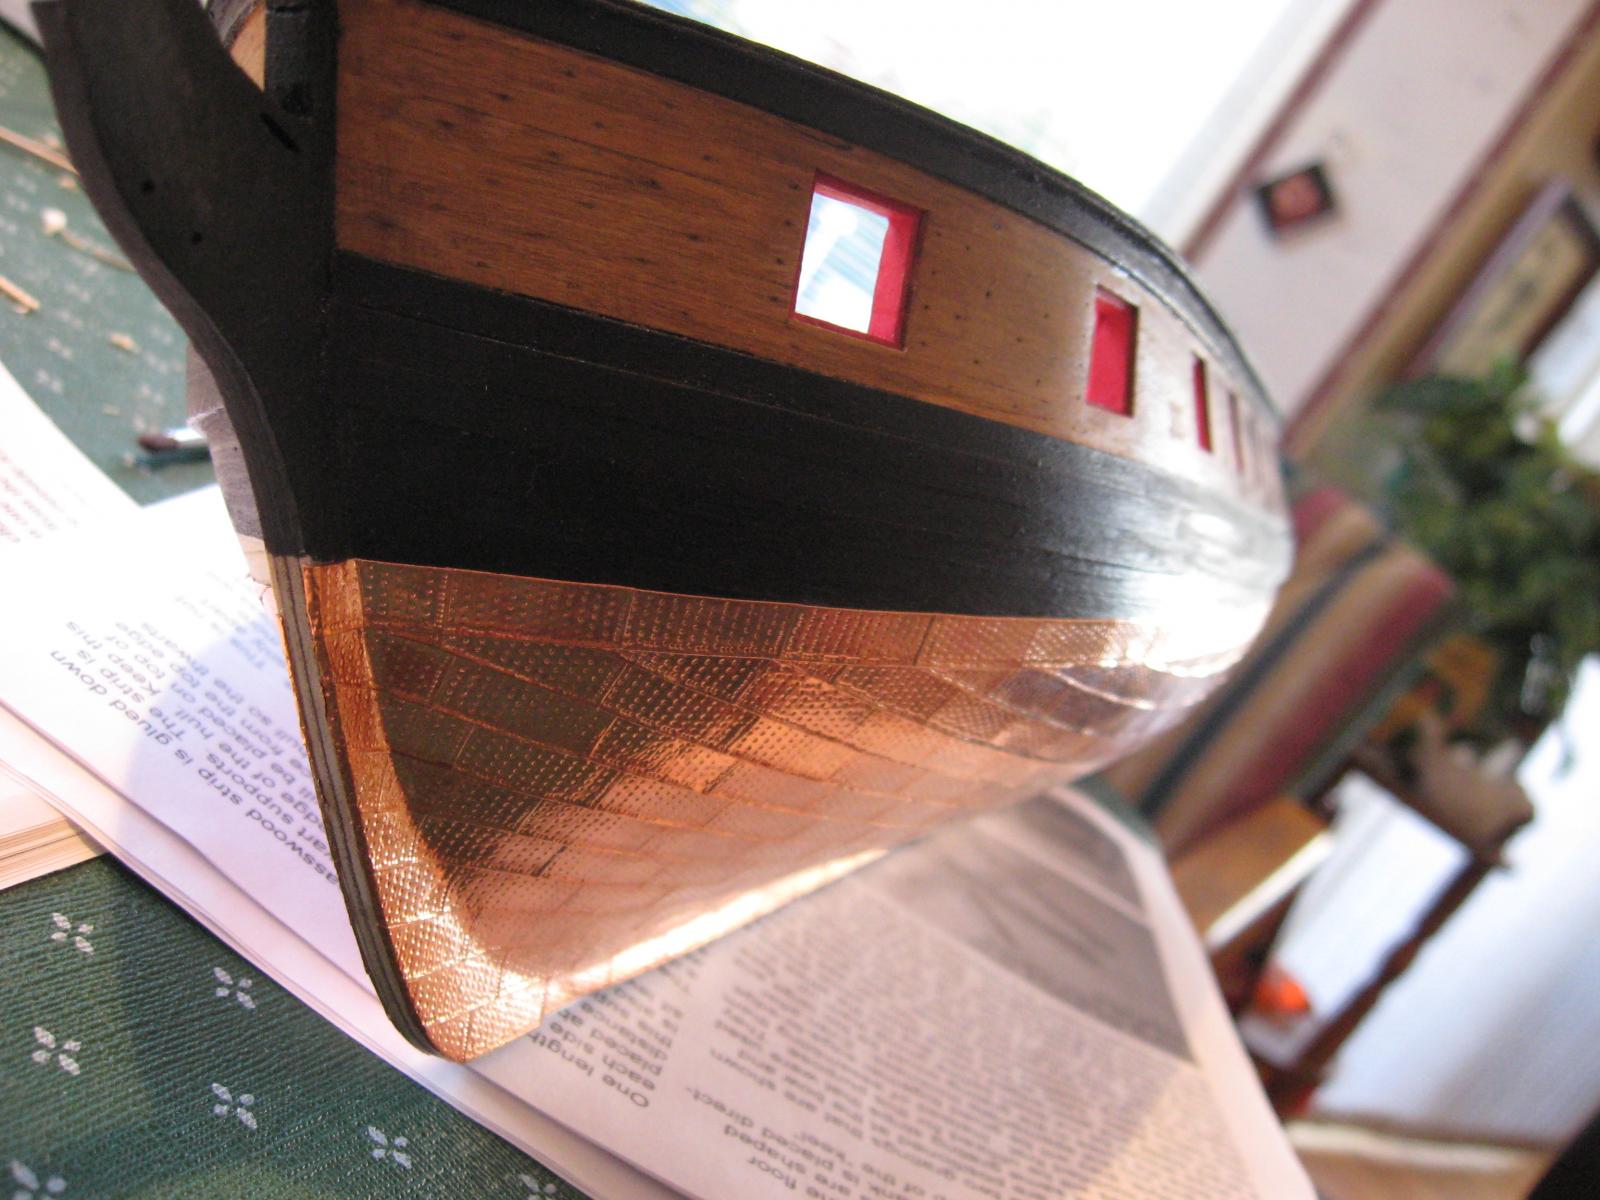
Some random shots to update/re-create the build log. Just took them, and that's about where I'm at. I chuckled when I saw the dust in the gunport, and had to take a pic. Alan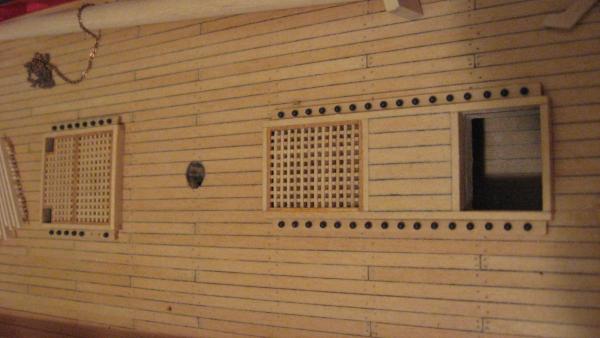

-
US Brig Syren by knightyo
knightyo replied to knightyo's topic in - Build logs for subjects built 1801 - 1850
Slowly, but surely.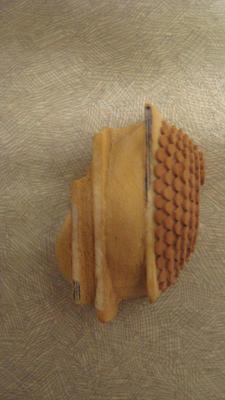
-
US Brig Syren by knightyo
knightyo replied to knightyo's topic in - Build logs for subjects built 1801 - 1850
Thanks guys! I've got a LOT of catching up to do! I did run across another pic on my system. I've periodically snuck in time here and there to sand little "shingles" for the quarter galleries. I'm not quite sure whether to sand them down flatter, round the edges over on each, or quite what to do. You guys wouldn't believe how small they are. About the only way I can work on them is to gently hold them in tweezers, and use a very fine sandpaper to shape them. I'm about 4/5 finished with the one, and the other is about halfway done. I'm basically working my way down on these, trying to make them as ornate as my skills will allow. I'm thinking of using microscope cover slides for the window sections..Perhaps hollowing the structure out from the back.... My goal is to have every surface on these be of pear for consistency... The pear also matches the stern ornamentation and the figurehead. I don't seem to have pics of my stern ornamentation to show for comparison against the rest of the planking, but I'll work on getting a few more pics up. Alan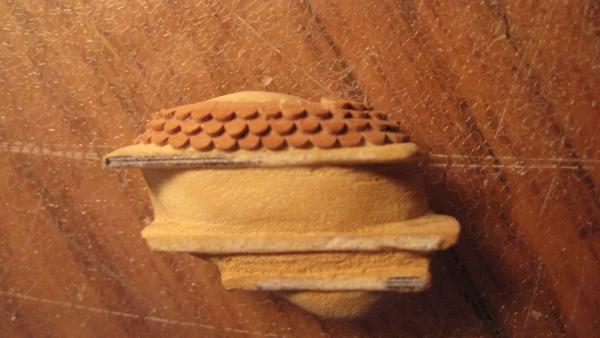
-
US Brig Syren by knightyo
knightyo replied to knightyo's topic in - Build logs for subjects built 1801 - 1850
Thanks David, it sure is fun to be back! -
US Brig Syren by knightyo
knightyo replied to knightyo's topic in - Build logs for subjects built 1801 - 1850
David, that is an outstanding point! It also seems like scraping can really give a nice polish effect as well. Definitely fun to experiment with sanding vs scraping. Hmm.. tried to quote David's message and respond... But it didn't work... Looks like I'll have a learning curve with the new site as well as getting back into the groove with modeling. lol -
US Brig Syren by knightyo
knightyo replied to knightyo's topic in - Build logs for subjects built 1801 - 1850
Misc pics..
-
US Brig Syren by knightyo
knightyo replied to knightyo's topic in - Build logs for subjects built 1801 - 1850
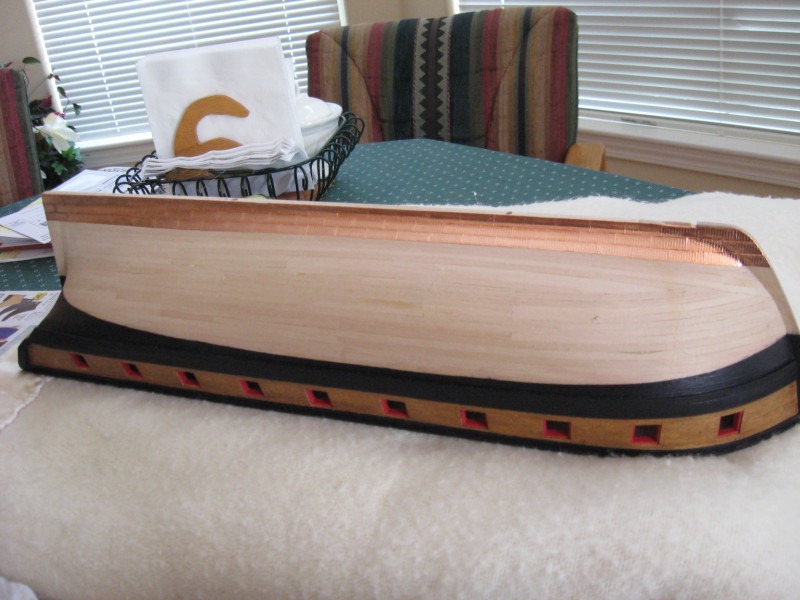
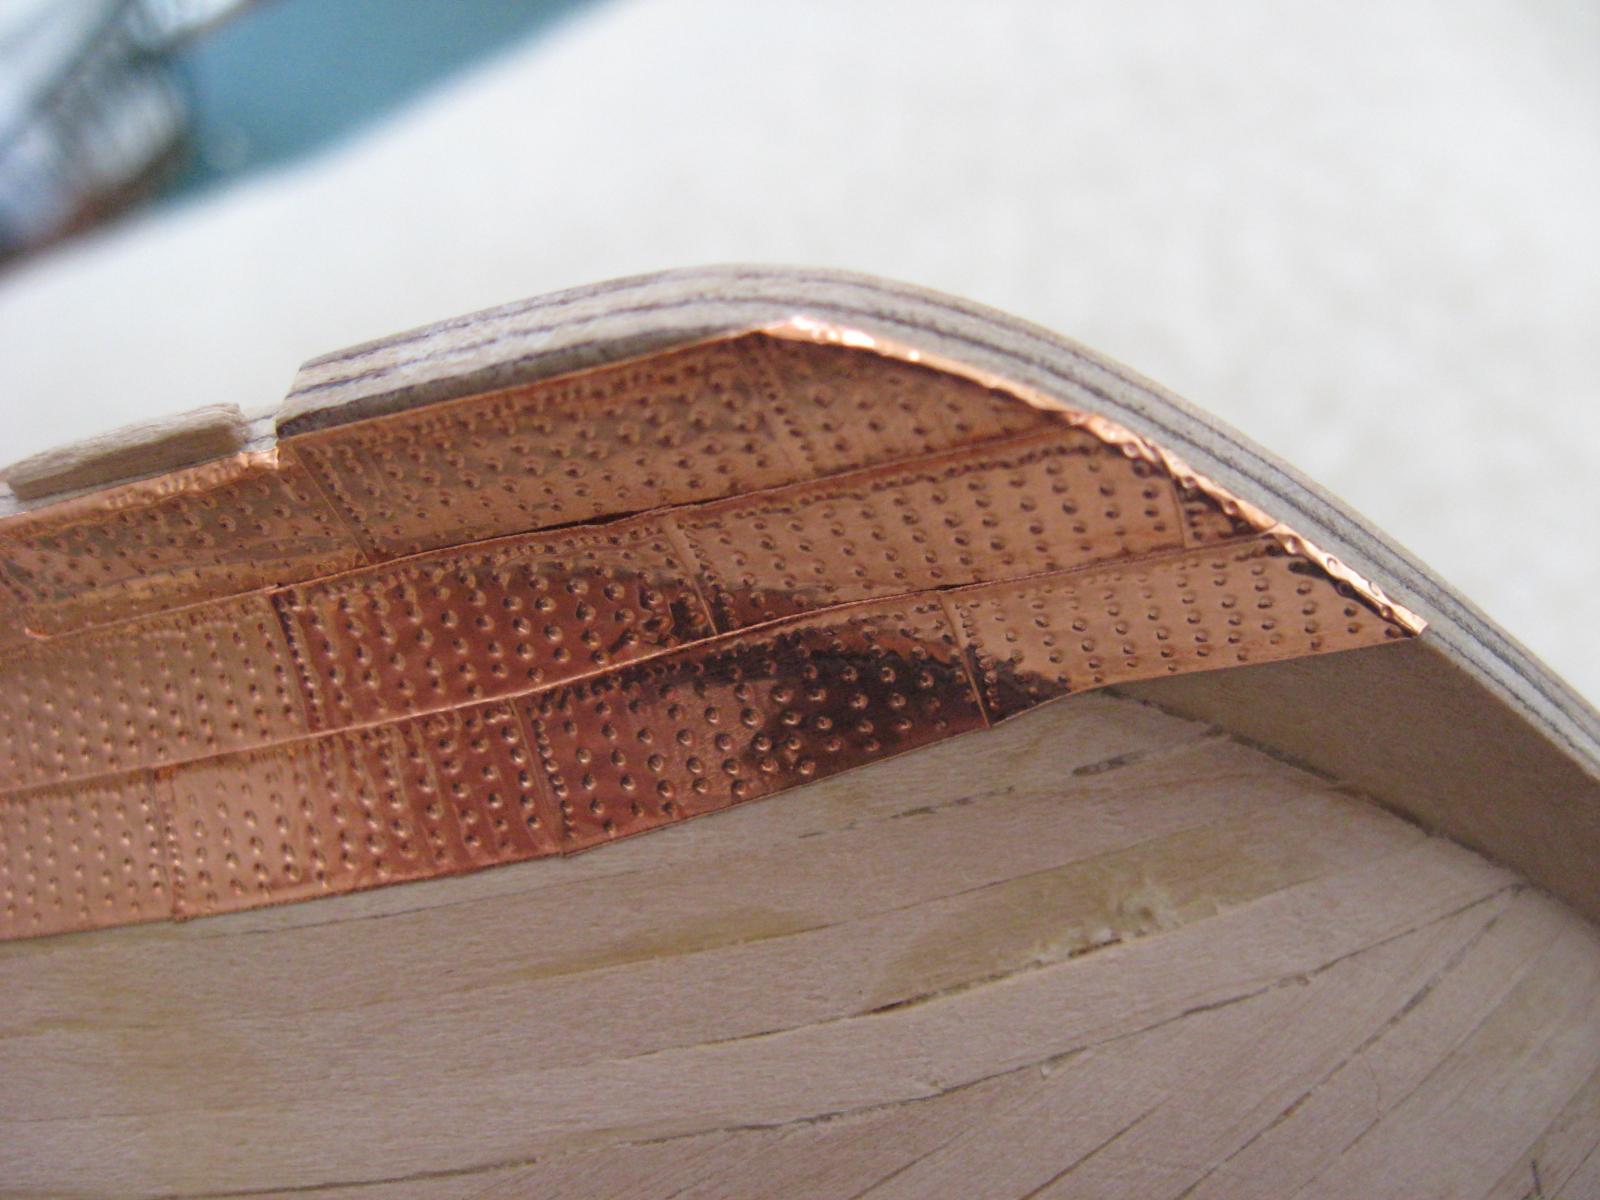
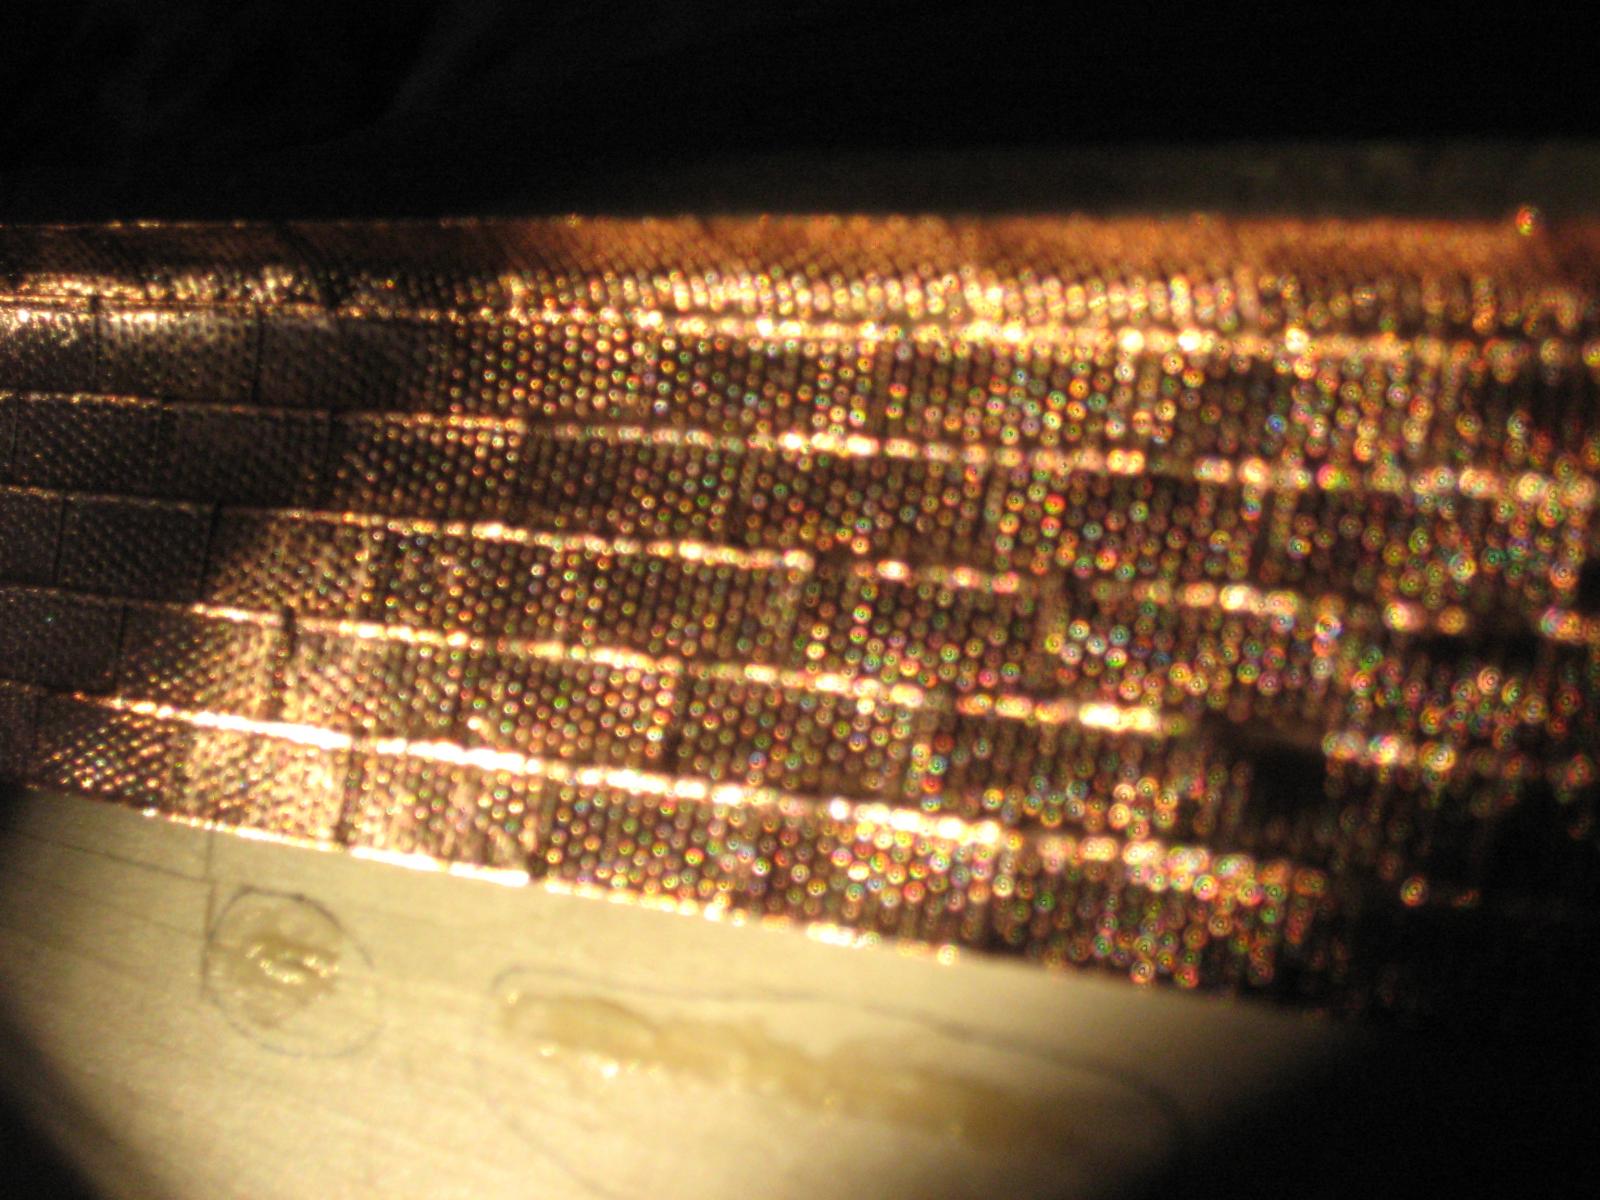
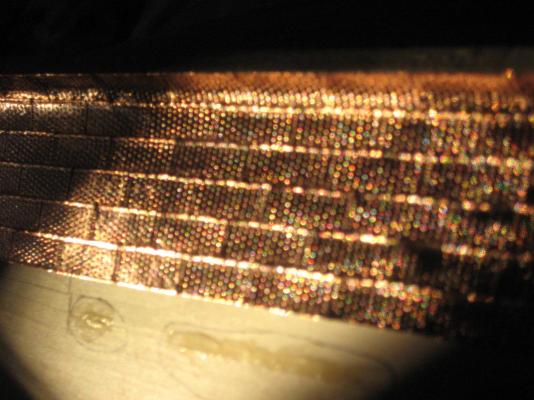
Misc hull plating shots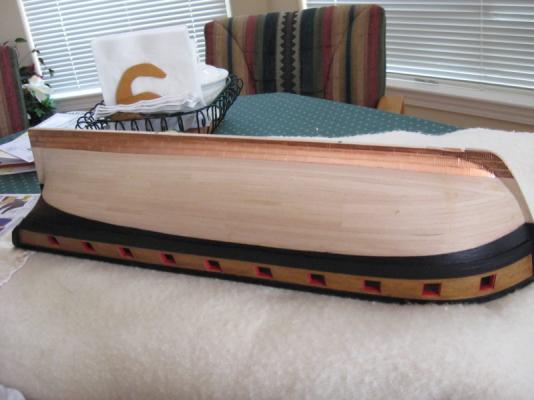


-
US Brig Syren by knightyo
knightyo replied to knightyo's topic in - Build logs for subjects built 1801 - 1850
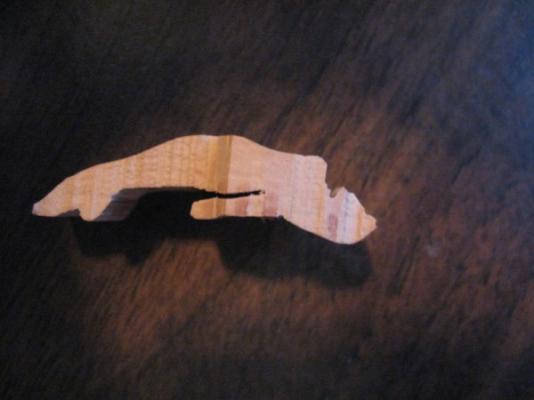
The figurehead was inspired by an old plastic Heller model of La Sirene. I took a pic of the figurehead, and scaled it down to size. Then it was a matter of printing out, gluing to a piece of pear, and cutting out. She currently looks like an ancient idol. Much work to be done on her!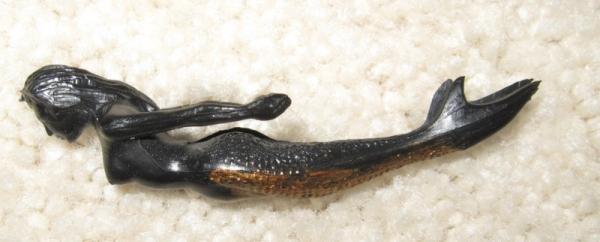
-
US Brig Syren by knightyo
knightyo replied to knightyo's topic in - Build logs for subjects built 1801 - 1850
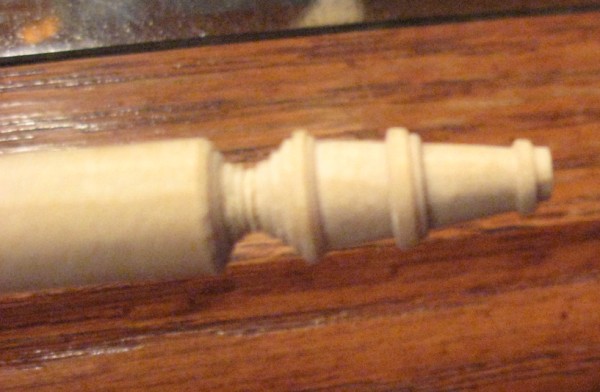
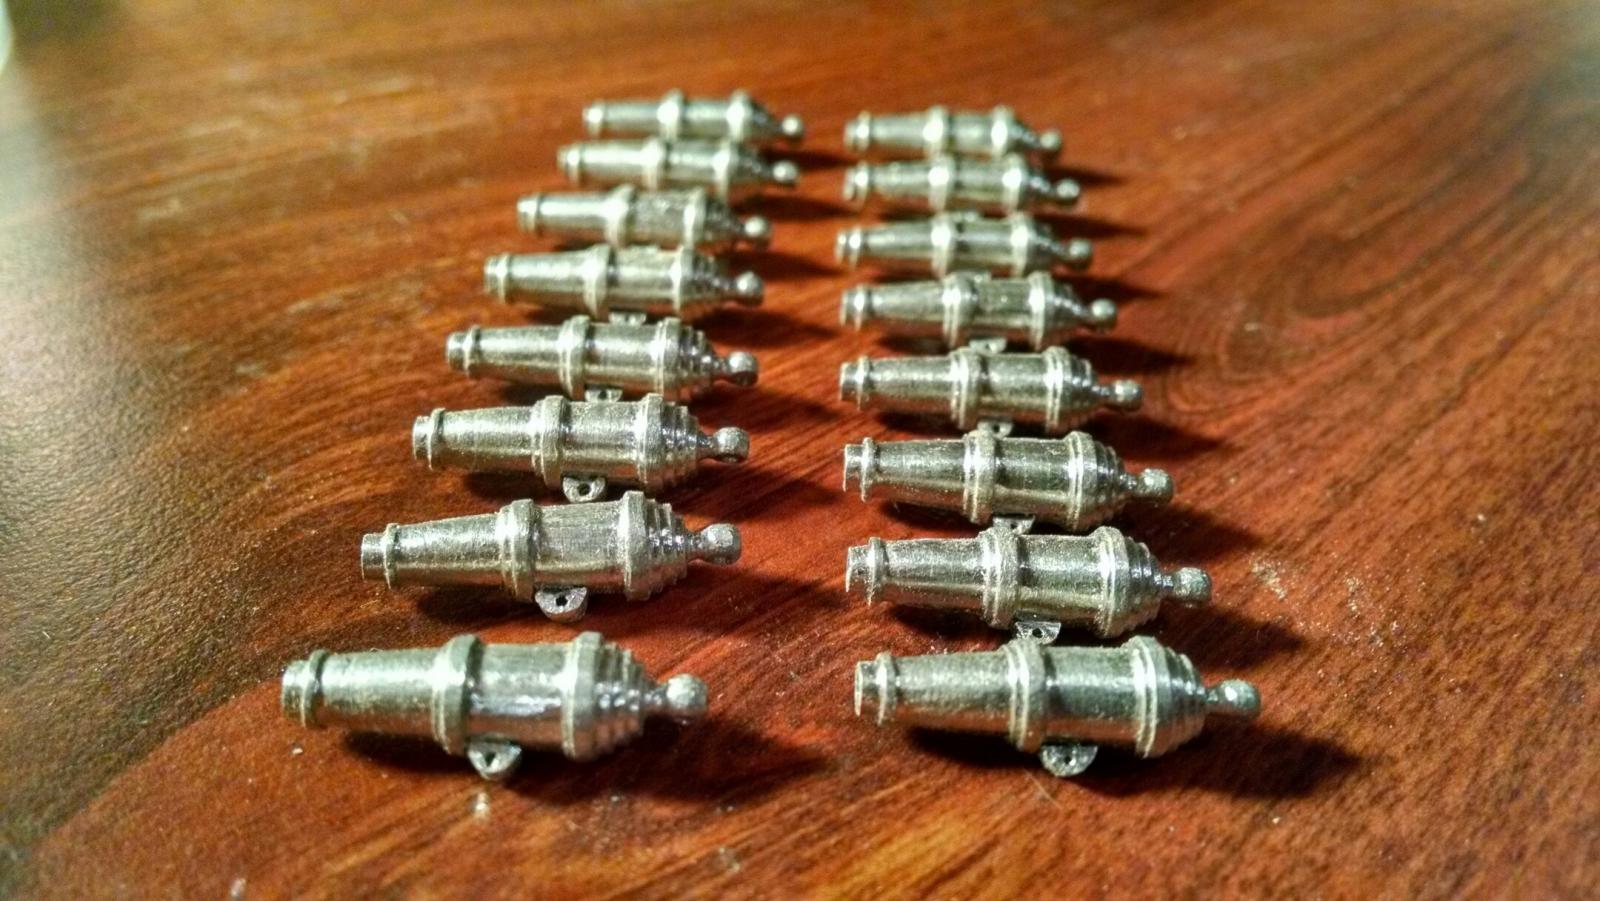
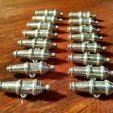
Creating the cannons (cannonades? carronades? I can't remember ) was really fun. I turned a master in my mini-lathe, then created a mold. The metal is pewter. The other cannons shown are for my Lexington which is also collecting dust. I think I'll finish the Syren first, then the Lex, then the Confederacy. I also have a tiny model I've been fiddling with in my spare time. And of course the Triton. And YES. I know if I'd focused on one project at a time, one of them would be done by now. I just couldn't resist starting each project as it came down the pike!