Glenn-UK
-
Posts
3,169 -
Joined
-
Last visited
Content Type
Profiles
Forums
Gallery
Events
Everything posted by Glenn-UK
-
 Looks good.
 -
Thanks Derek. You can always reduce the diameter of the dowel to get a tighter fit for the deadeye in its groove. I would never have thought of it if I had not seen your use of the drill bit.
-
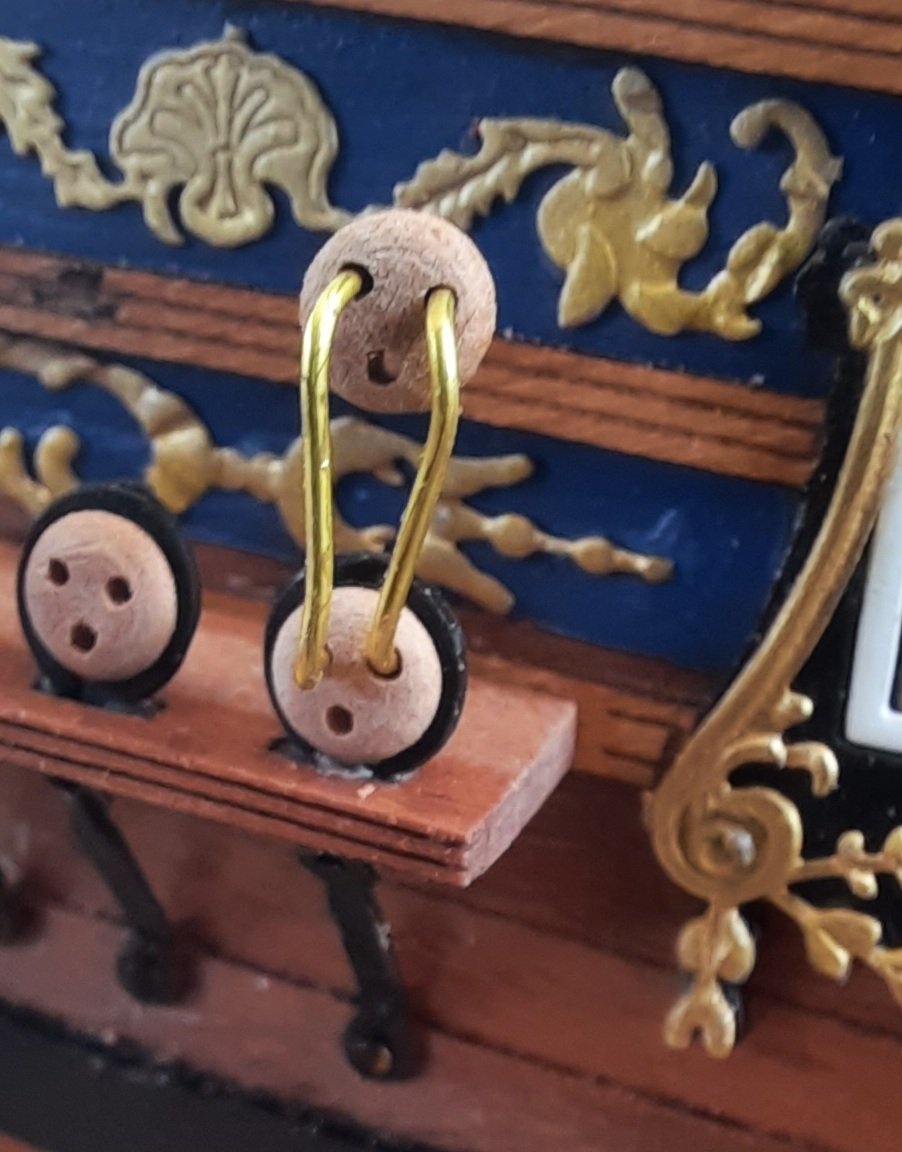
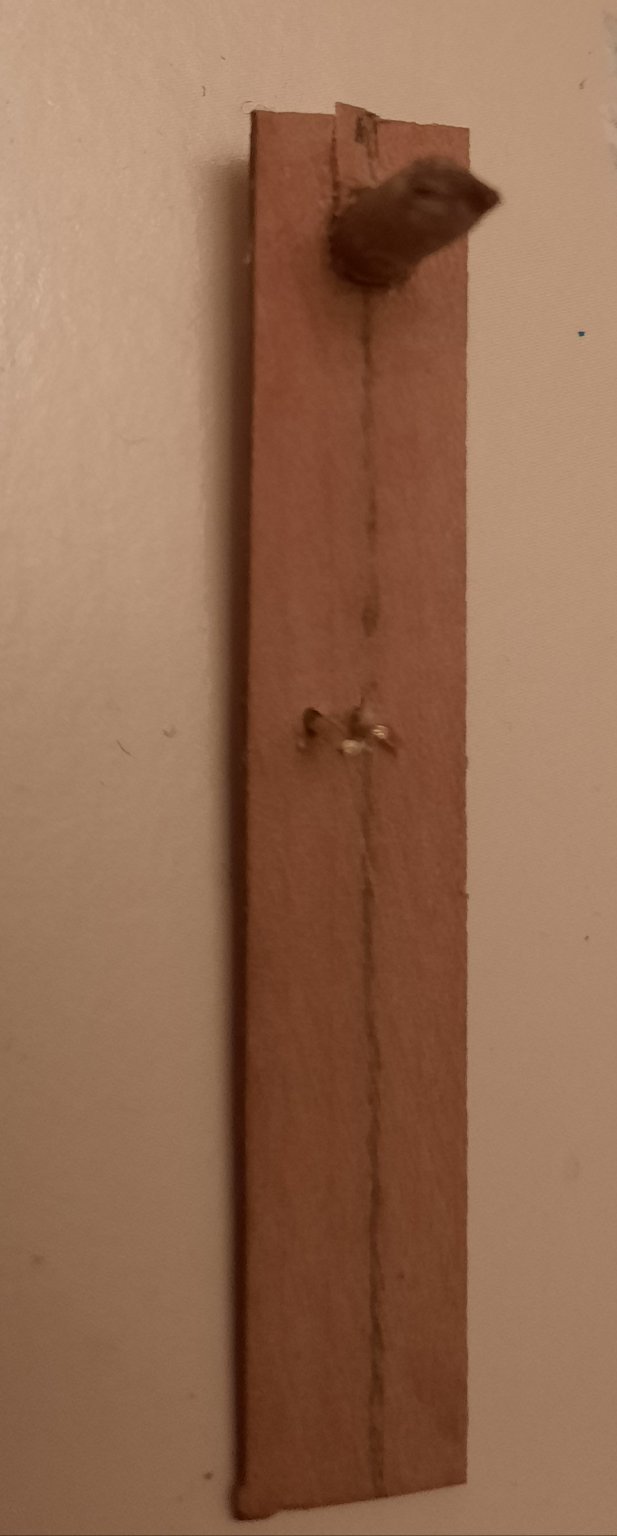
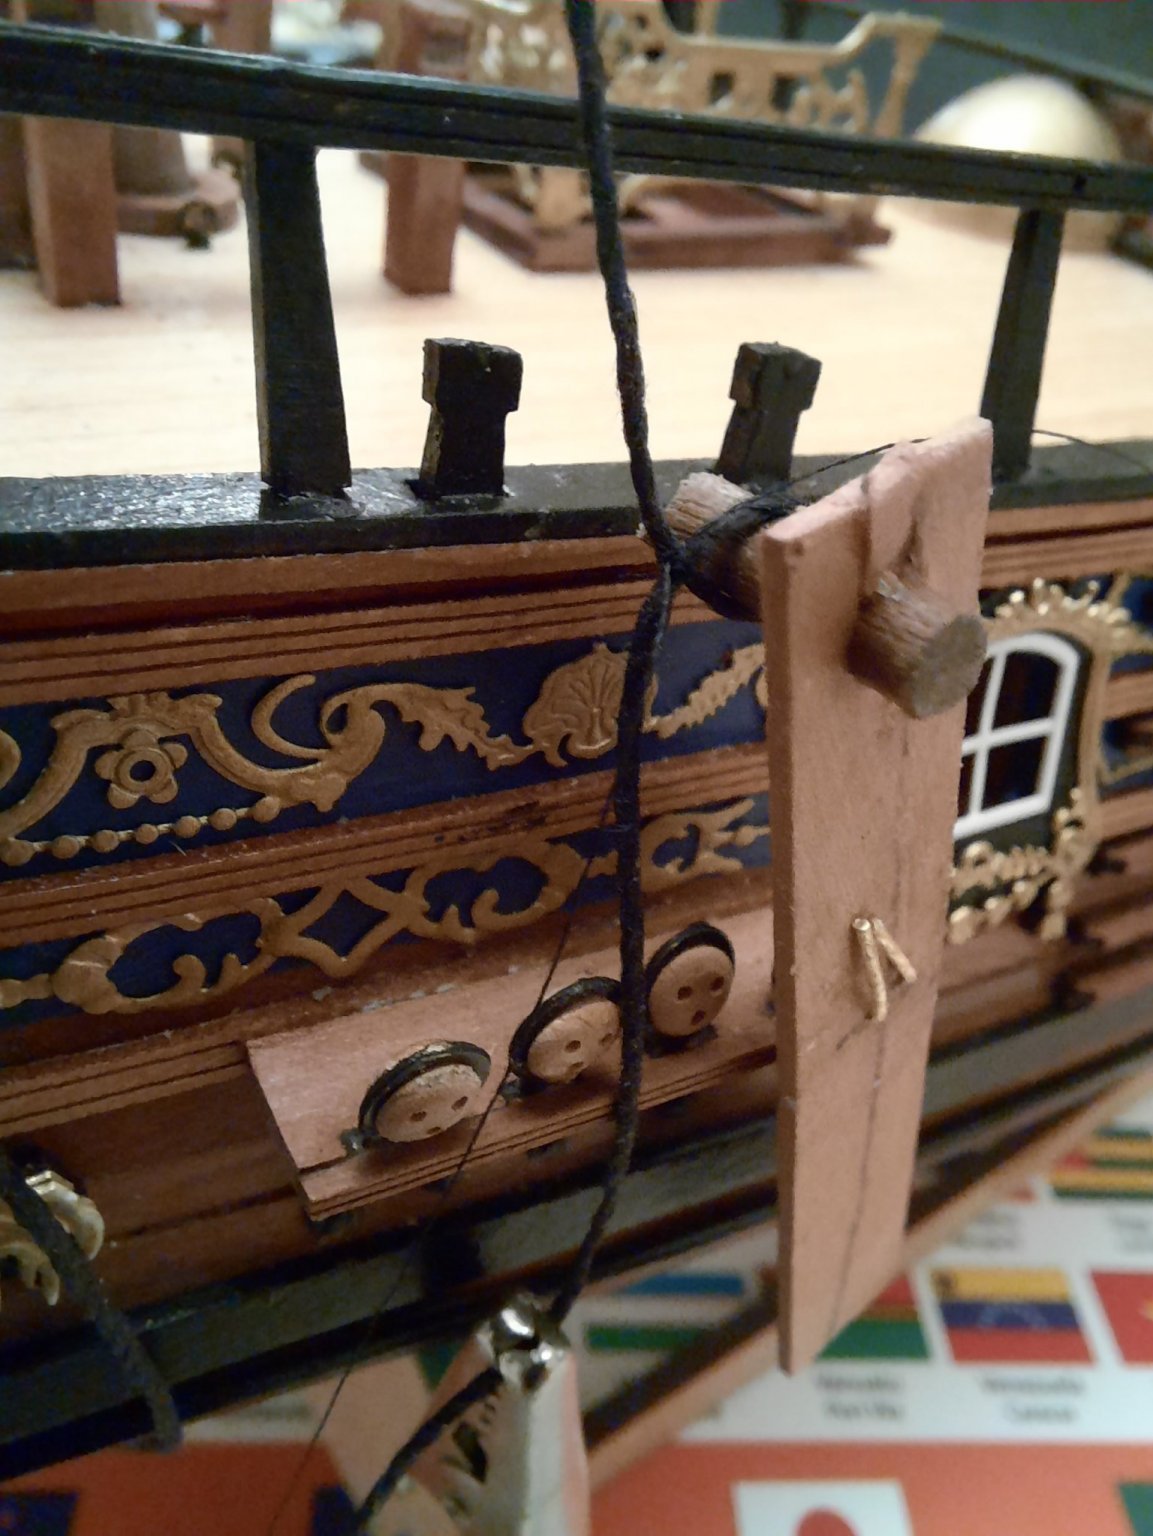
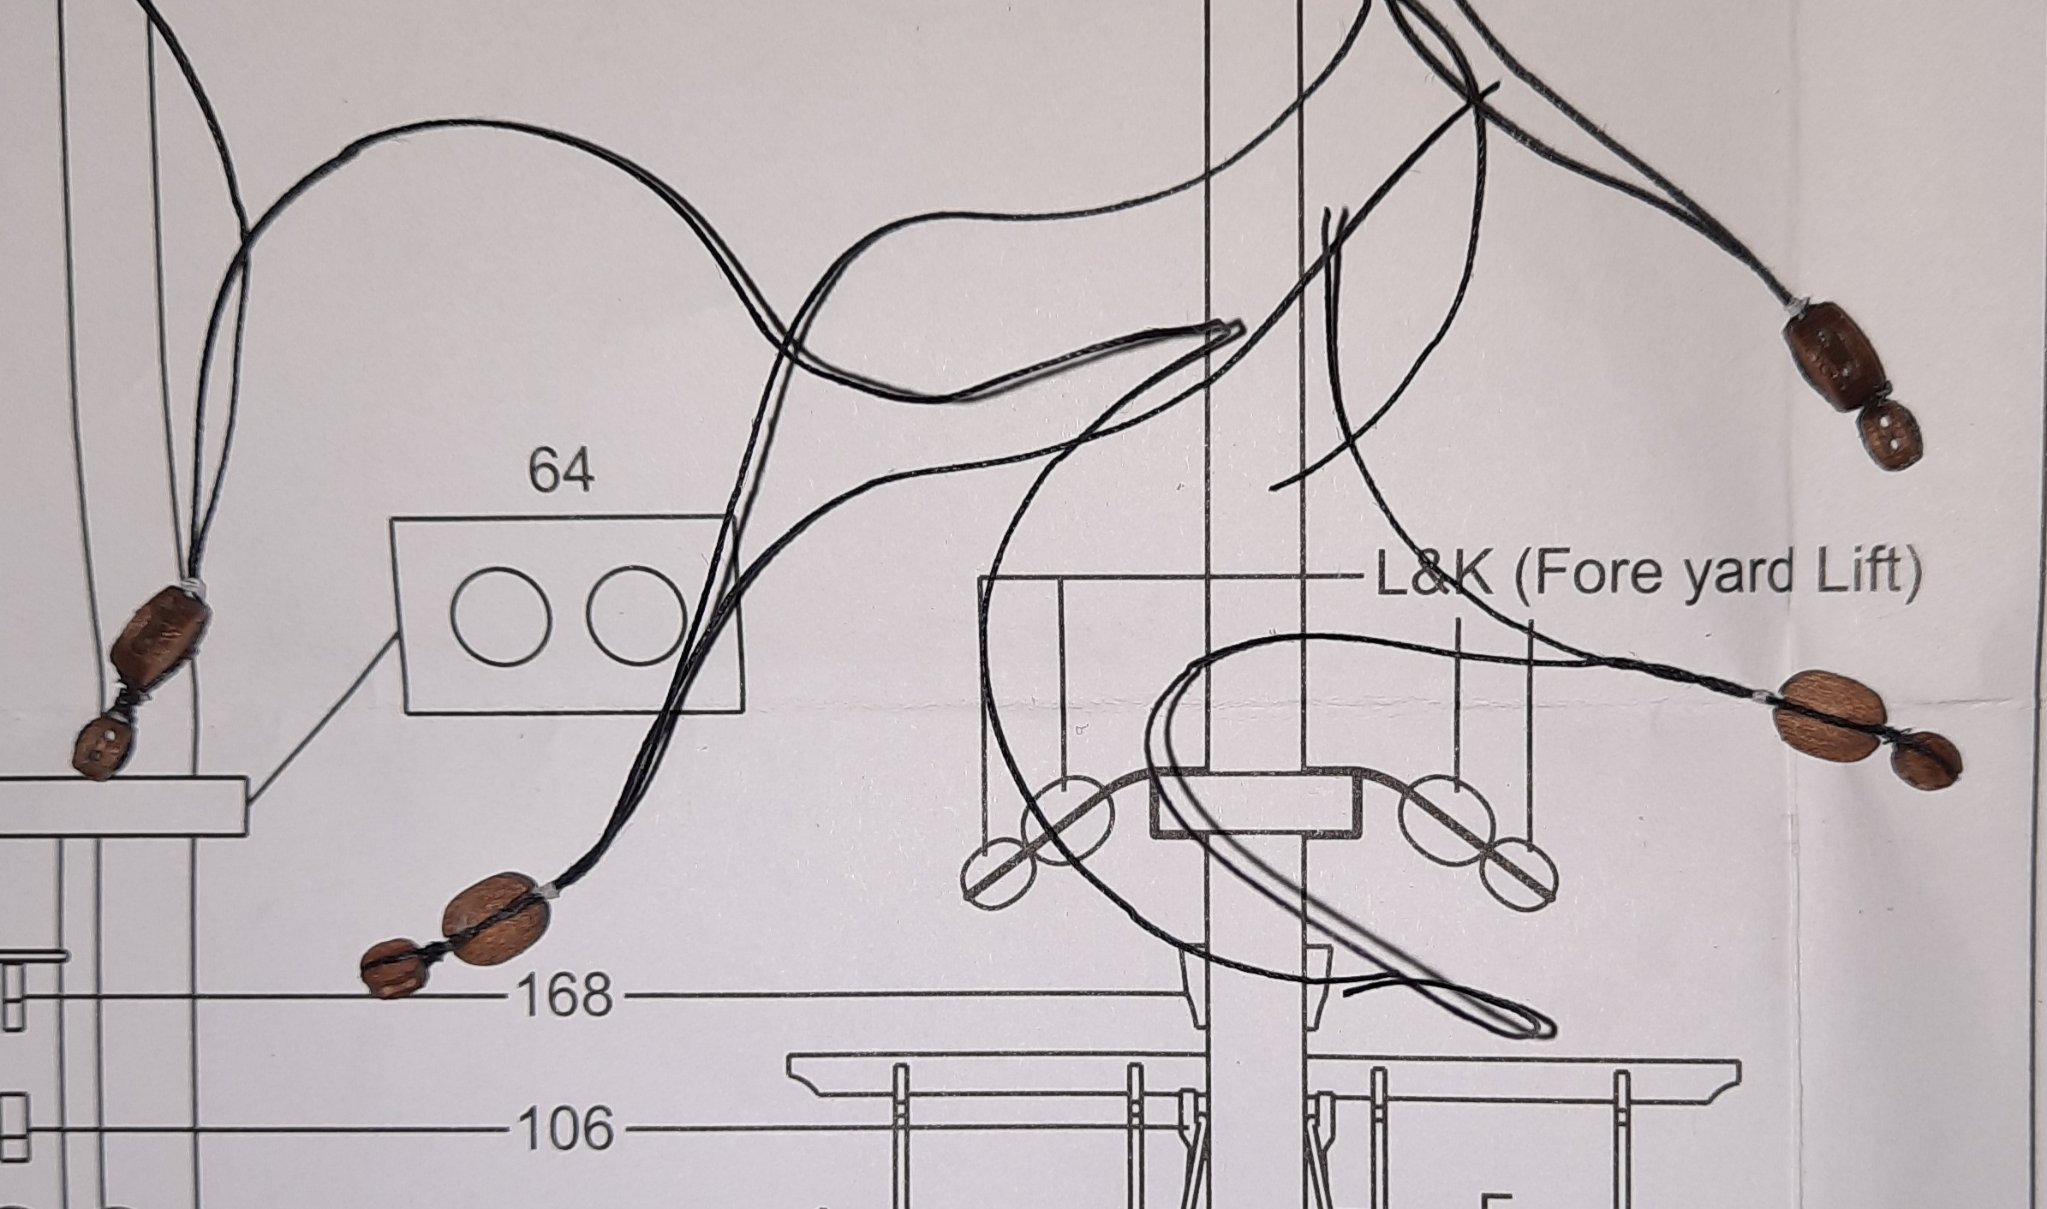
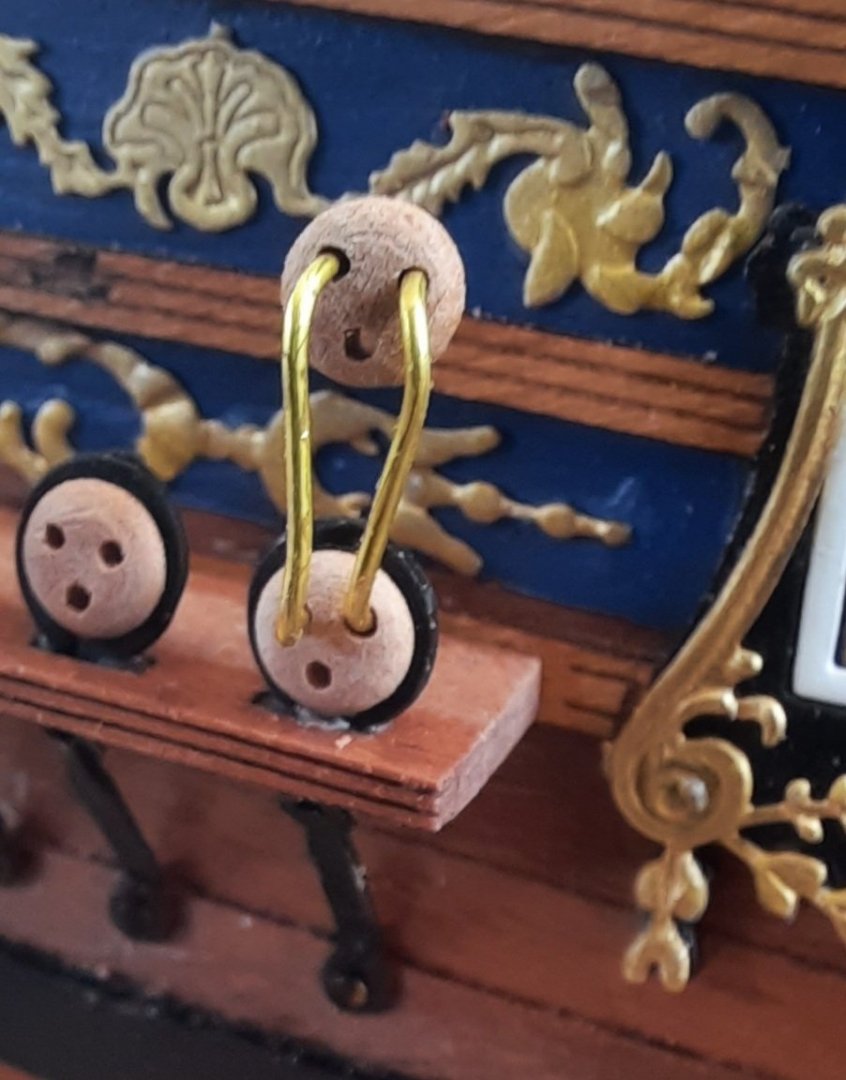
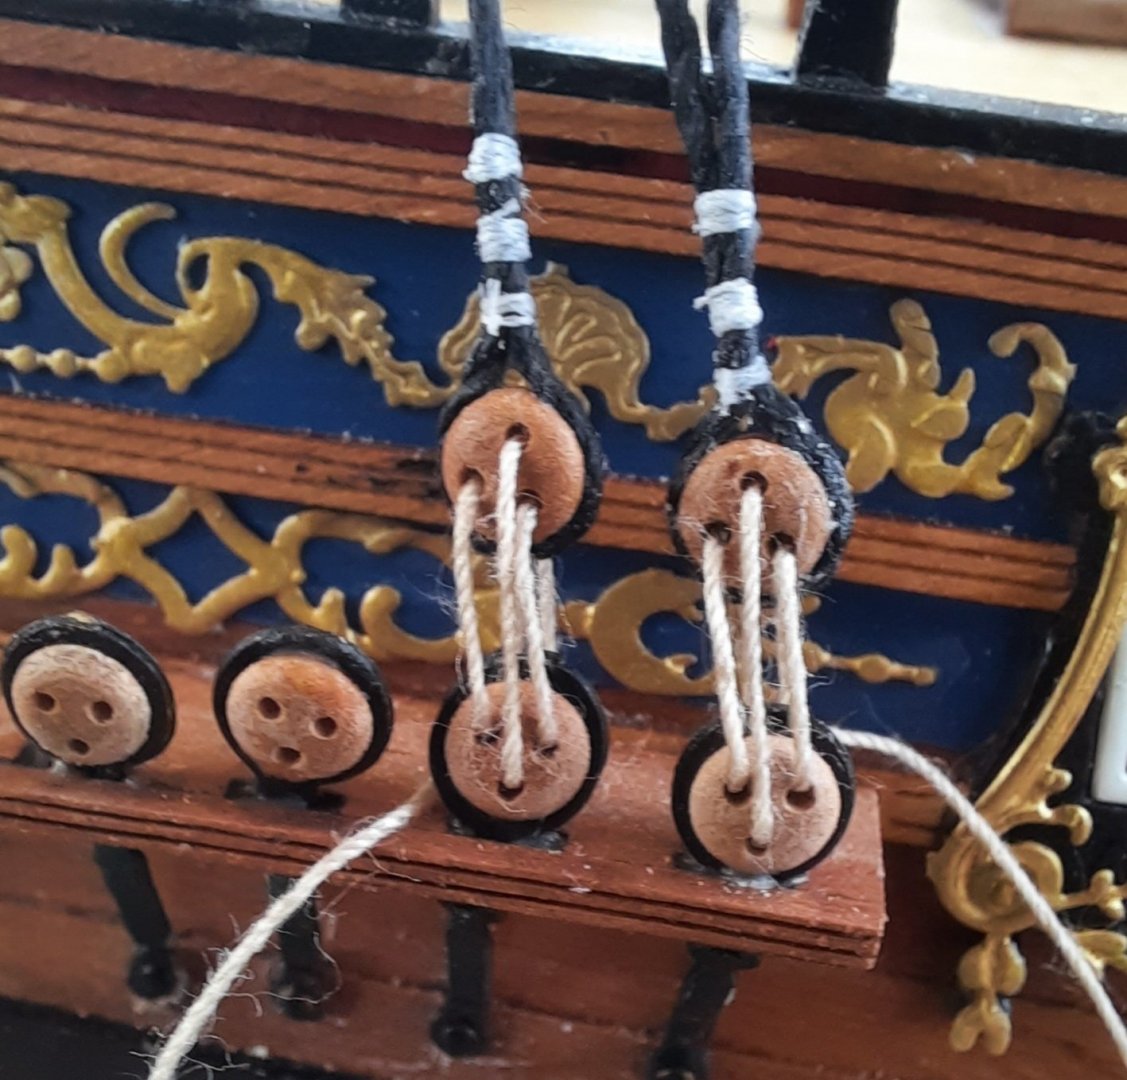
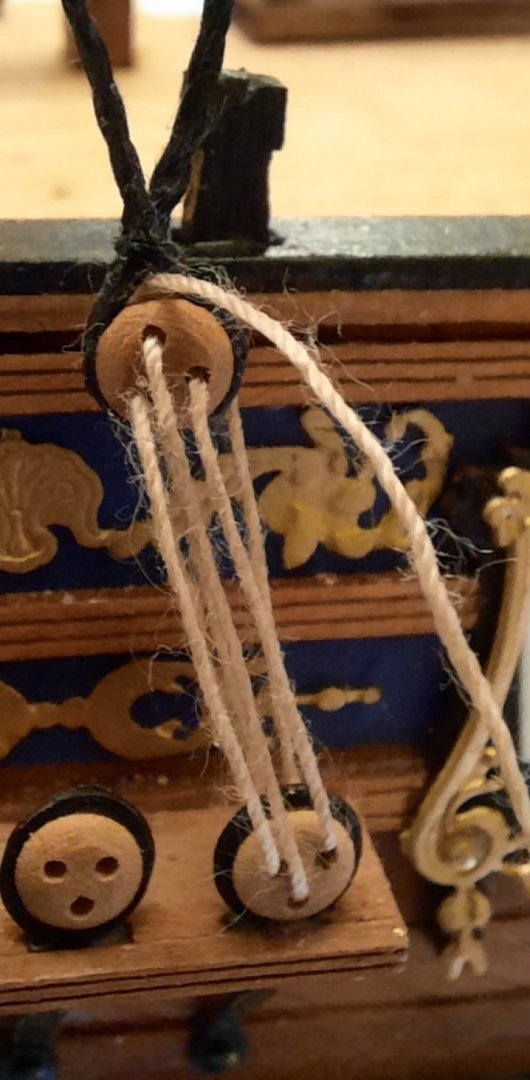
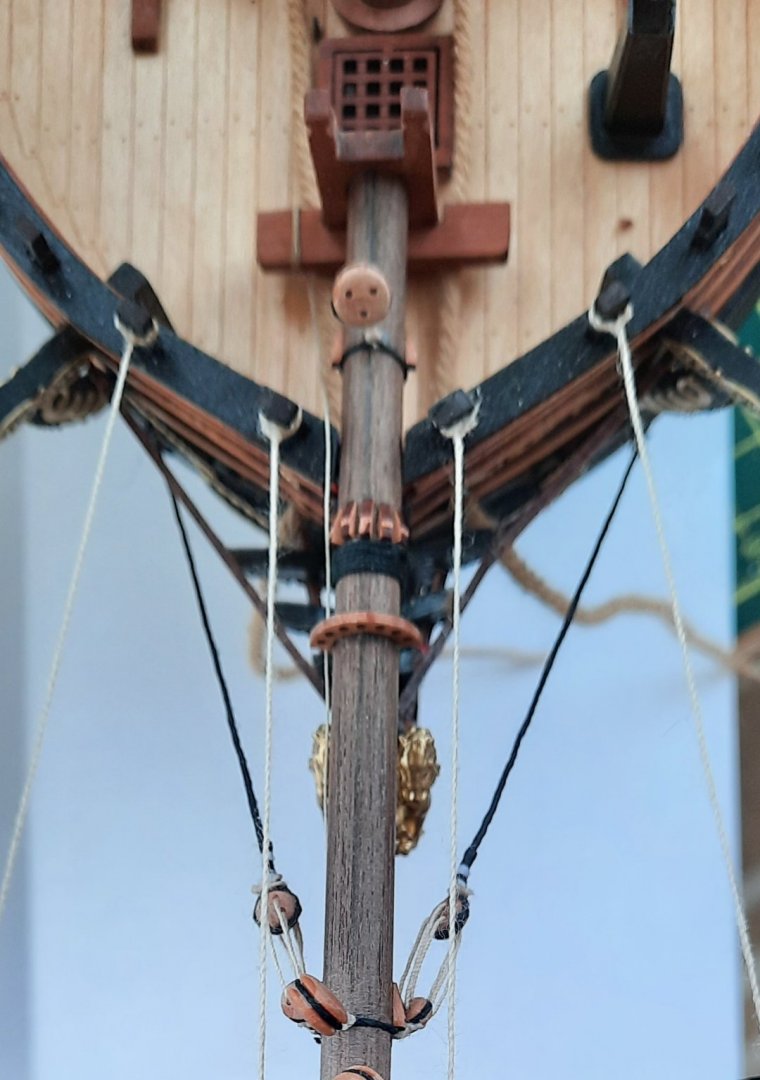
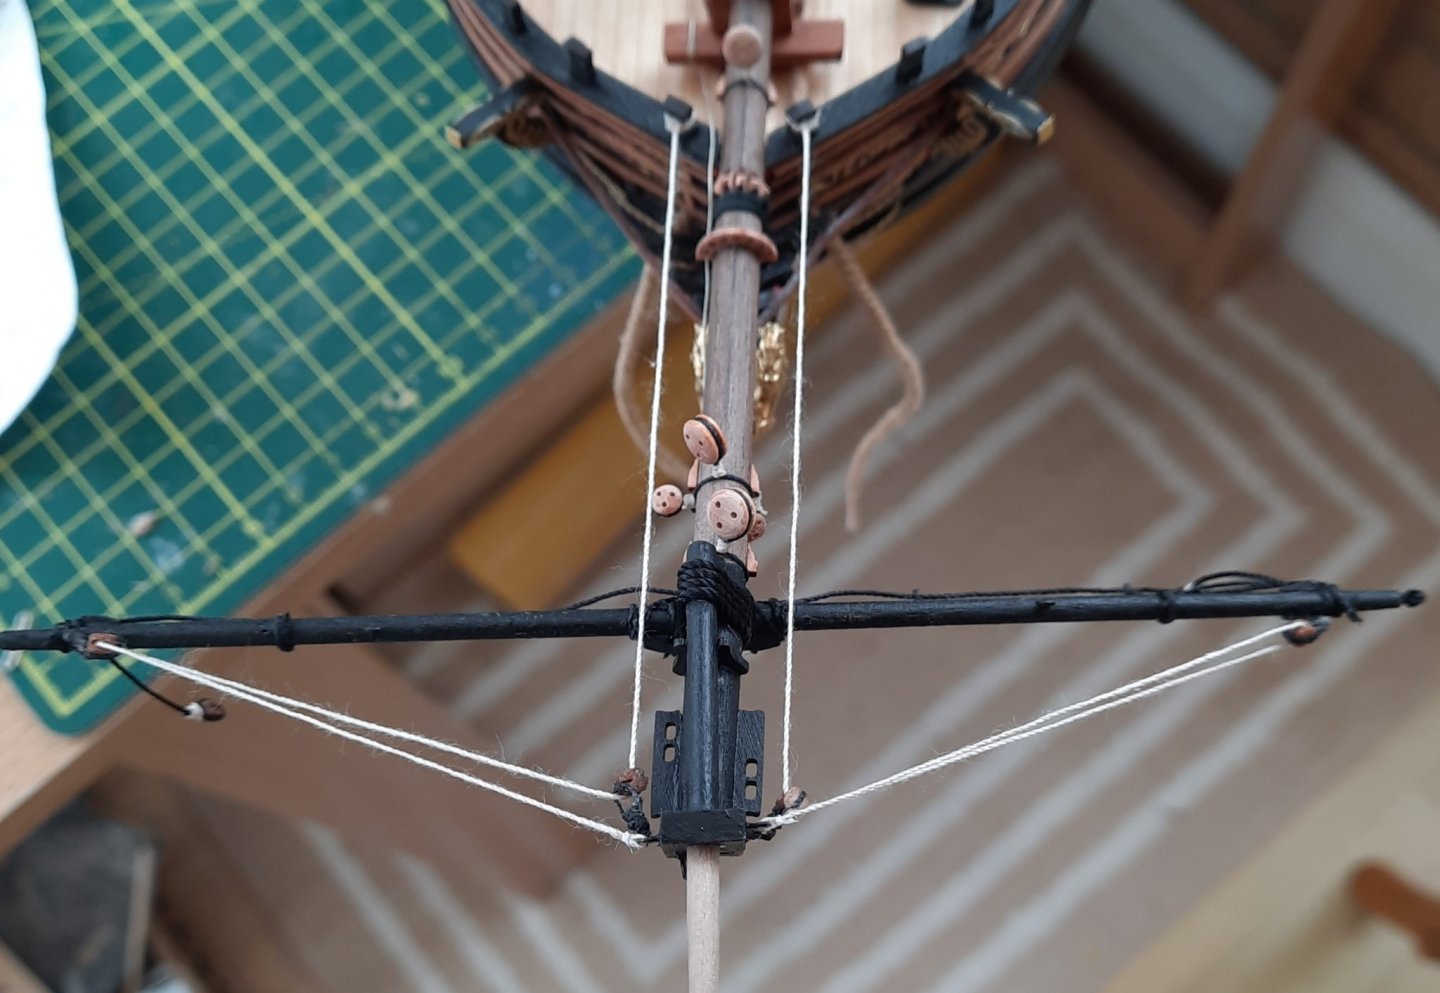
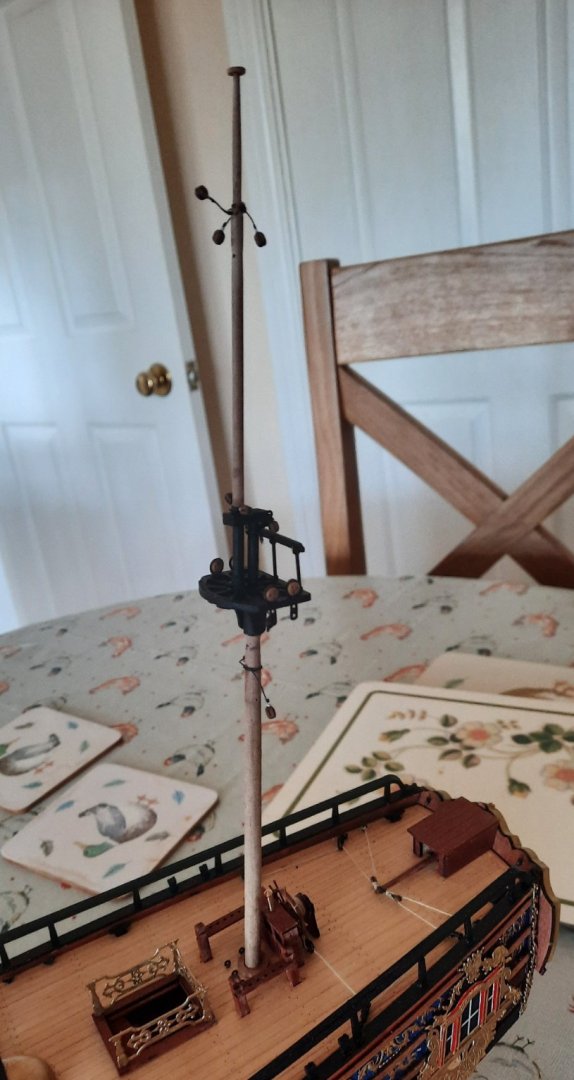
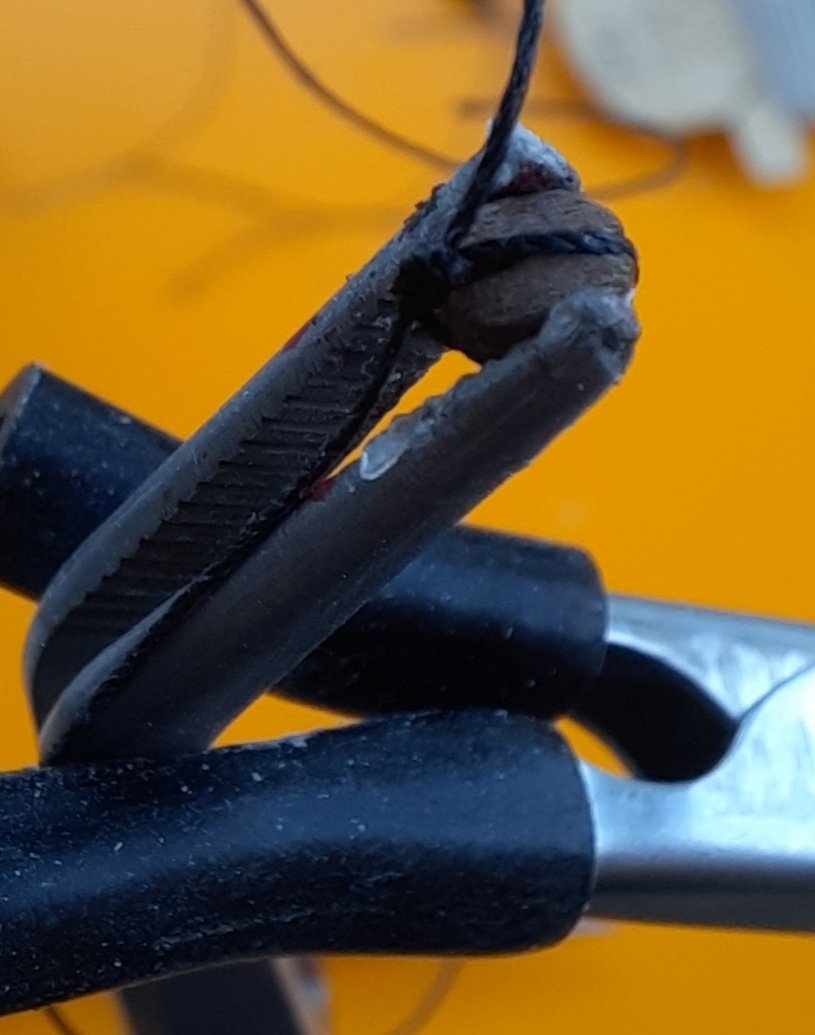
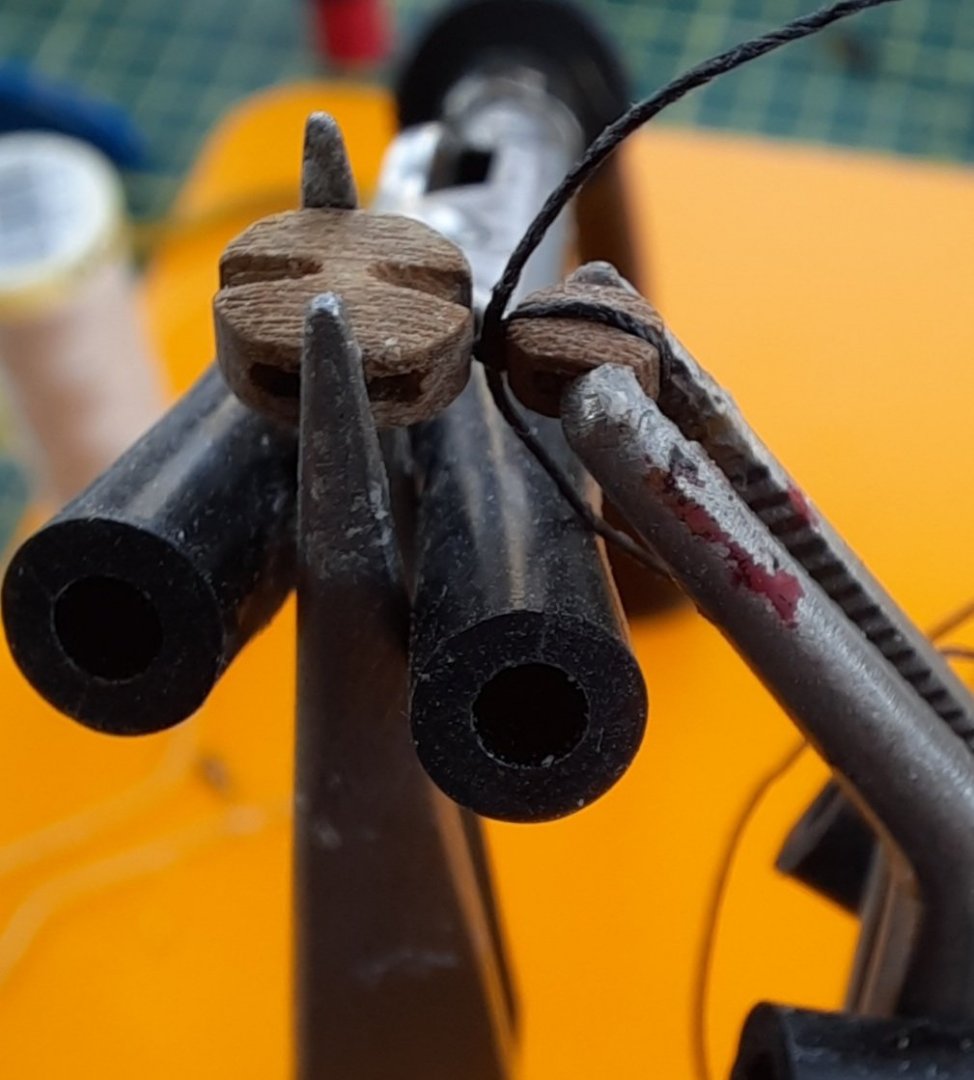
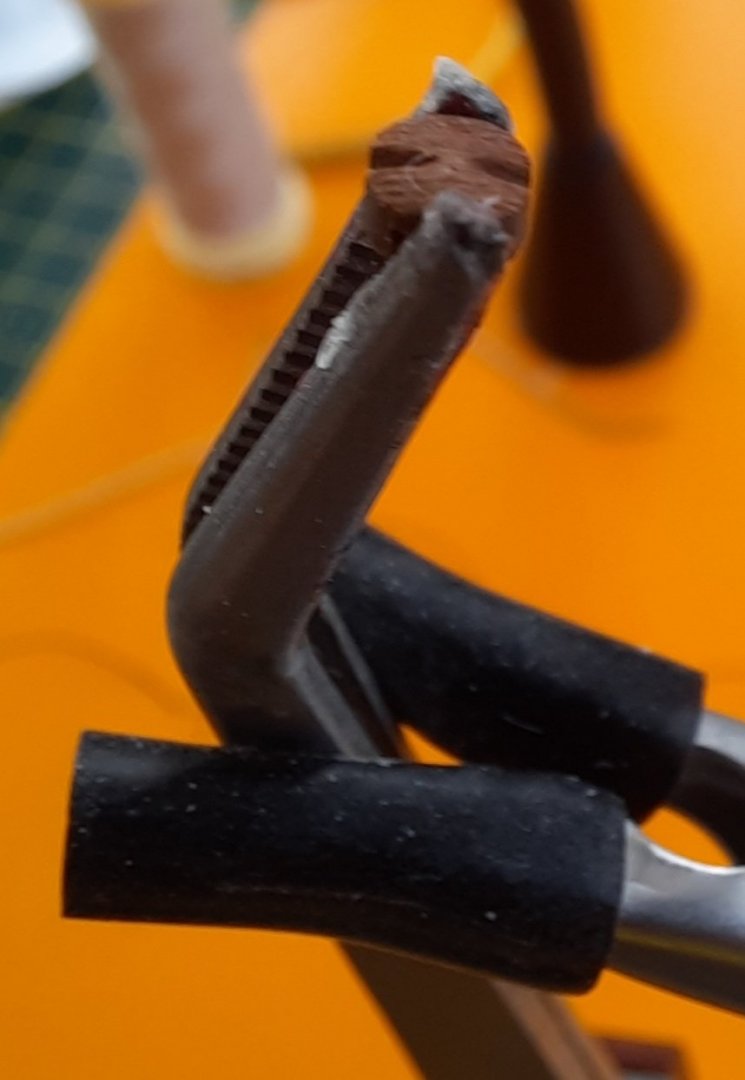
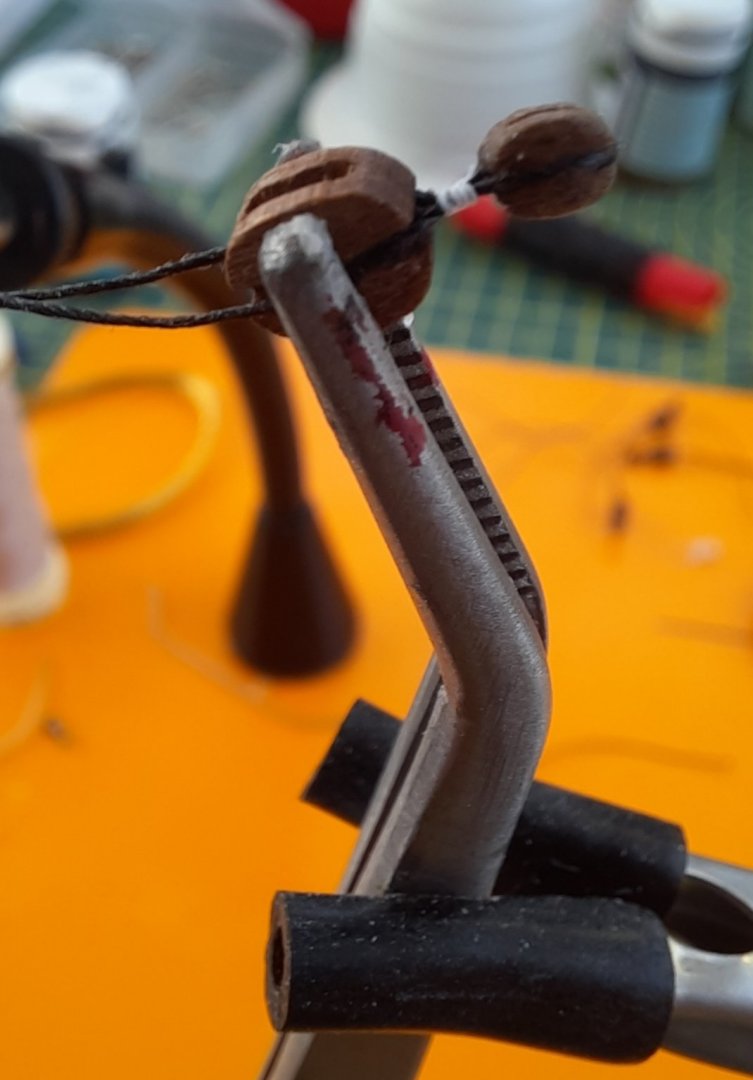
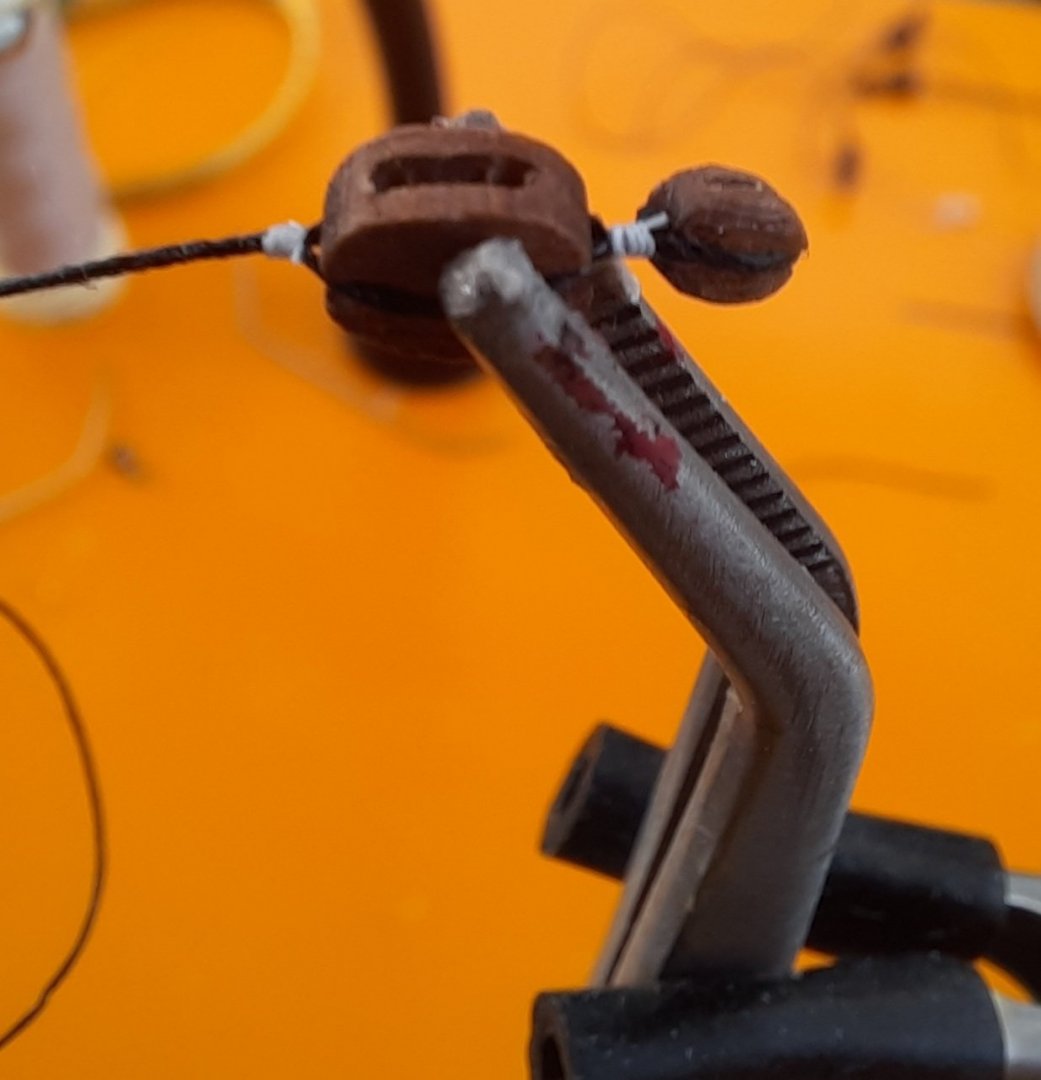
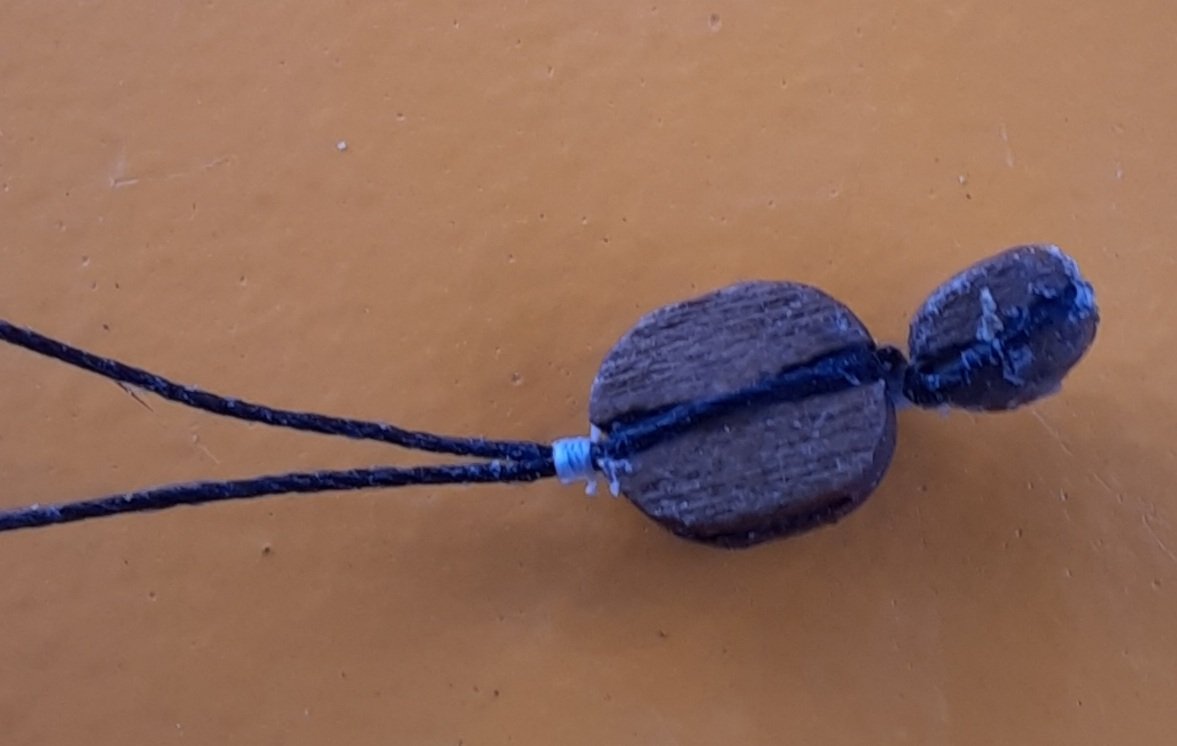
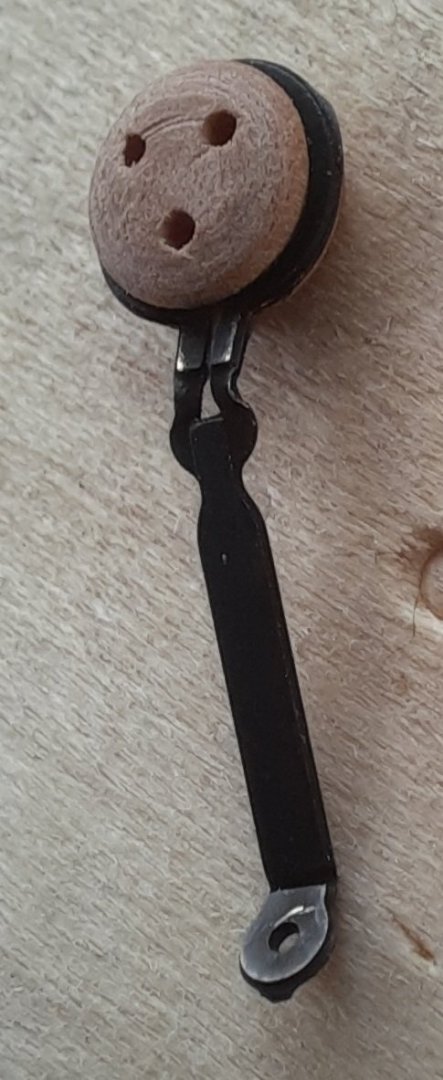
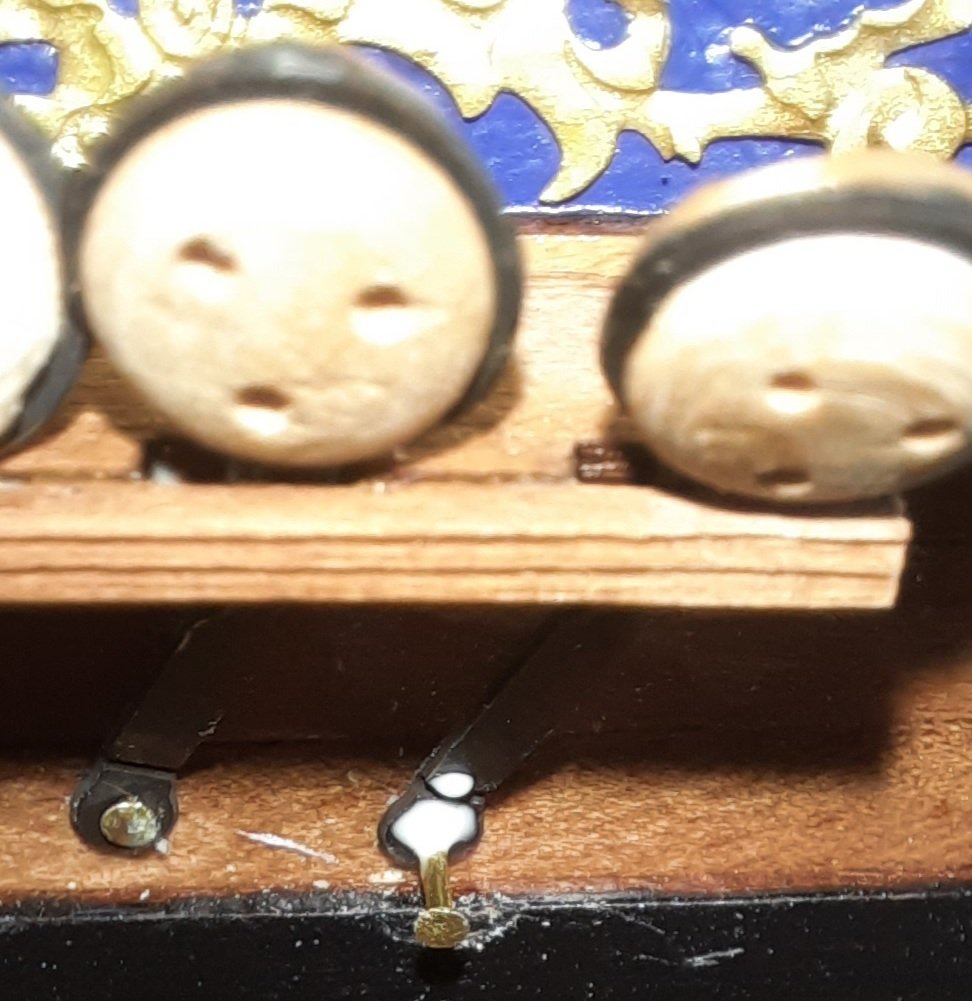
The title of this post is called the good, the bad and the ugly. The Good - Part 1 - Mizzen Shrouds Using 0.75mm black thread I added the two shroud pairs and the two single shroud lines in turn. I used black flying tying thread to seize the shroud lines around the mizzen mast, using alternate top and bottom half hitch knots The Bad - Spacers for the Deadeyes After looking at the plans and build pictures I decided where the deadeyes needed to be positioned at the end of the shroud lines. I bent two lengths of wire to the required distance. They look pretty bad and were a complete nightmare to use. The top deadeye is shown upside in the photo, the single hole should be a top The Ugly - Deadeyes I used some flying tying thread to seize the deadeyes to the shroud lines. I made a right mess of it and was very embarrassed with the end result. In setting the distance between the deadeyes with the copper wire jigs I made a basic schoolboy error. I forgot to account for the tensioning of the lanyards. When I added the lanyards and started to adjust then I noted that the shroud deadeyes were too close to the channel deadeyes. The seizing is also uneven and very messy. I was left with no choice but to remove the shroud deadeyes and start again. It was a easy task to replace the shroud pair line and keeping it in the right position (at the bottom) around the mizzen mast. The Good Part 2 - A new start I then spent a couple of days trying to figure the best way to tackle adding the 3mm deadeyes to the shroud. I consulted with DelF (Derek) and I looked very closely at his method which he described in his Speedy build log (post #492) . I did try his method on a deadeye and length of thread and I was very pleased with the end result. I ran into problems when I tried to replicate this on an actual shroud line. After I had seized the block in what I thought was the right position it had somehow magically moved. I also looked Donnie Driskell's YouTube video. His method relies on using plenty of beeswax to stiffen the shroud line so it retains it shape. I have tried this before and I did not like the look (or feel) of a heavily beeswaxed line so I discounted this as a viable solution to my problem. After much experimentation I came up with a modified version of the method used by Derek. I liked the jig he used but I had issues keeping the shroud deadeye in place when I tried to position the shroud line around the deadeye. I then had a brainwave and devised a slightly modified jig. It has two pins at the bottom which are used to locate in the channel deadeyes and a 3mm dowel at the top to represent the position of the shroud deadeye. I found I could wrap the shroud line around the dowel and I could use a croc clip to keep some tension in the free end of the line. I was then able to add the sizing in situ, as can be seen in the next photo. As can be seen the seizing is done to one side, but I did account for this when setting the distance between the two pins and dowel on the jig. The 3mm deadeye was a nice snug fit in the seized loop. I then added the lanyards to check the approx. distance between the two deadeyes. I was very happy with the distance. All that is now left to do is add the two shroud seizing above the deadeyes which should be straightforward. I will remove the lanyards before I do this. Now that I found a method that seems to work for me I can now spend the next few days finishing the mizzen mast shrouds and lanyards.


- 382 replies
-
- 7
-

-
- Vanguard Models
- Duchess of Kingston
- (and 1 more)
-
Looks really nice, great work and a very informative method description.
- 725 replies
-
- 1
-
-
- vanguard models
- speedy
- (and 1 more)
-
I have contemplated redoing them however they look reasonably OK to the naked eye. I might be tempted to redo the two side ones at some stage.
- 382 replies
-
- 1
-
-
- Vanguard Models
- Duchess of Kingston
- (and 1 more)
-
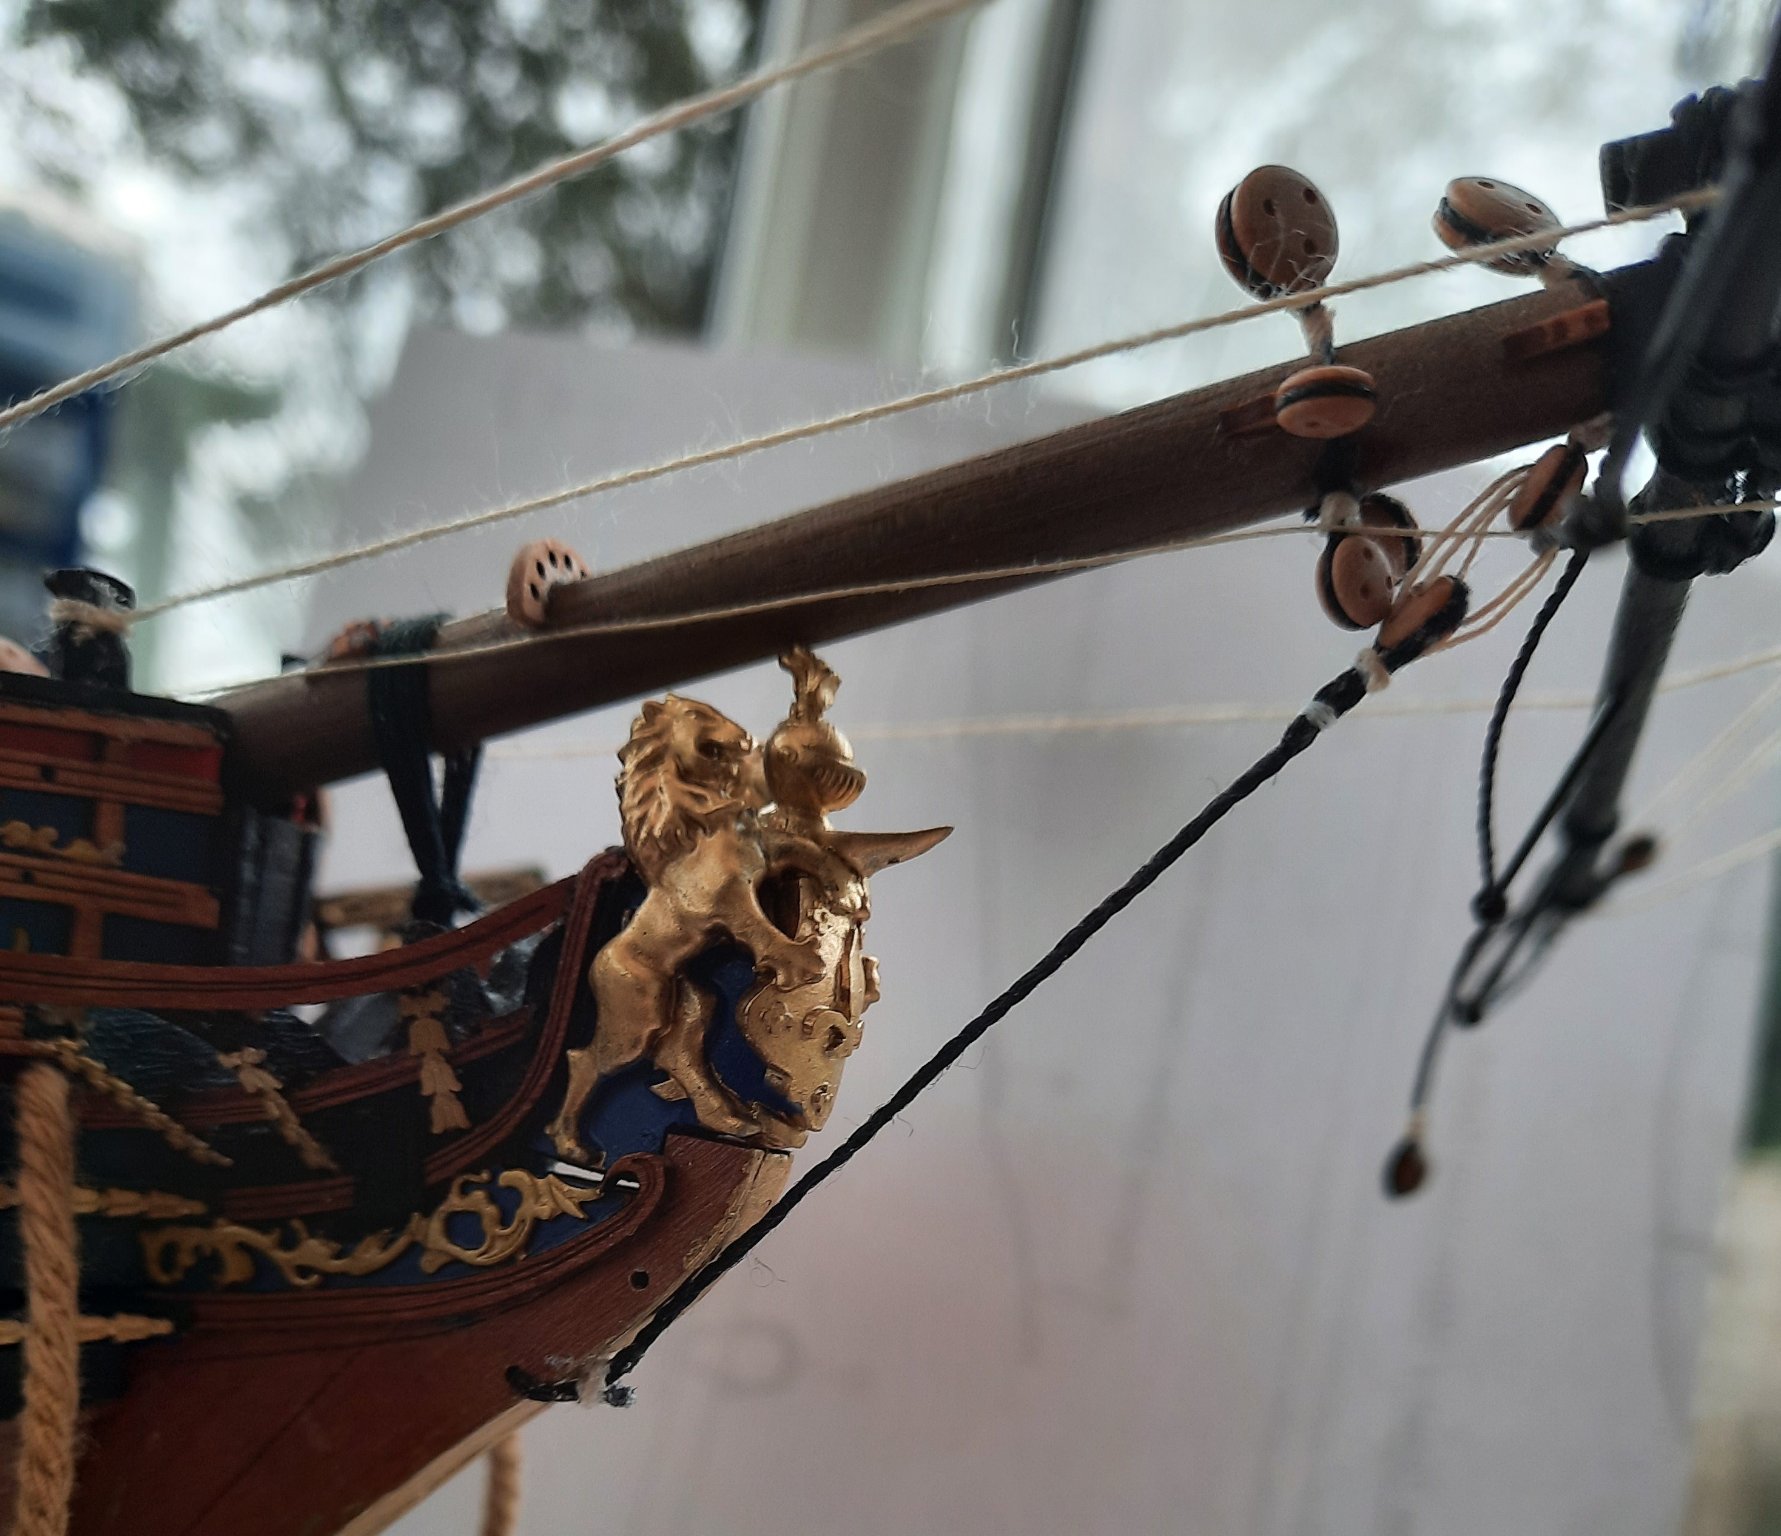
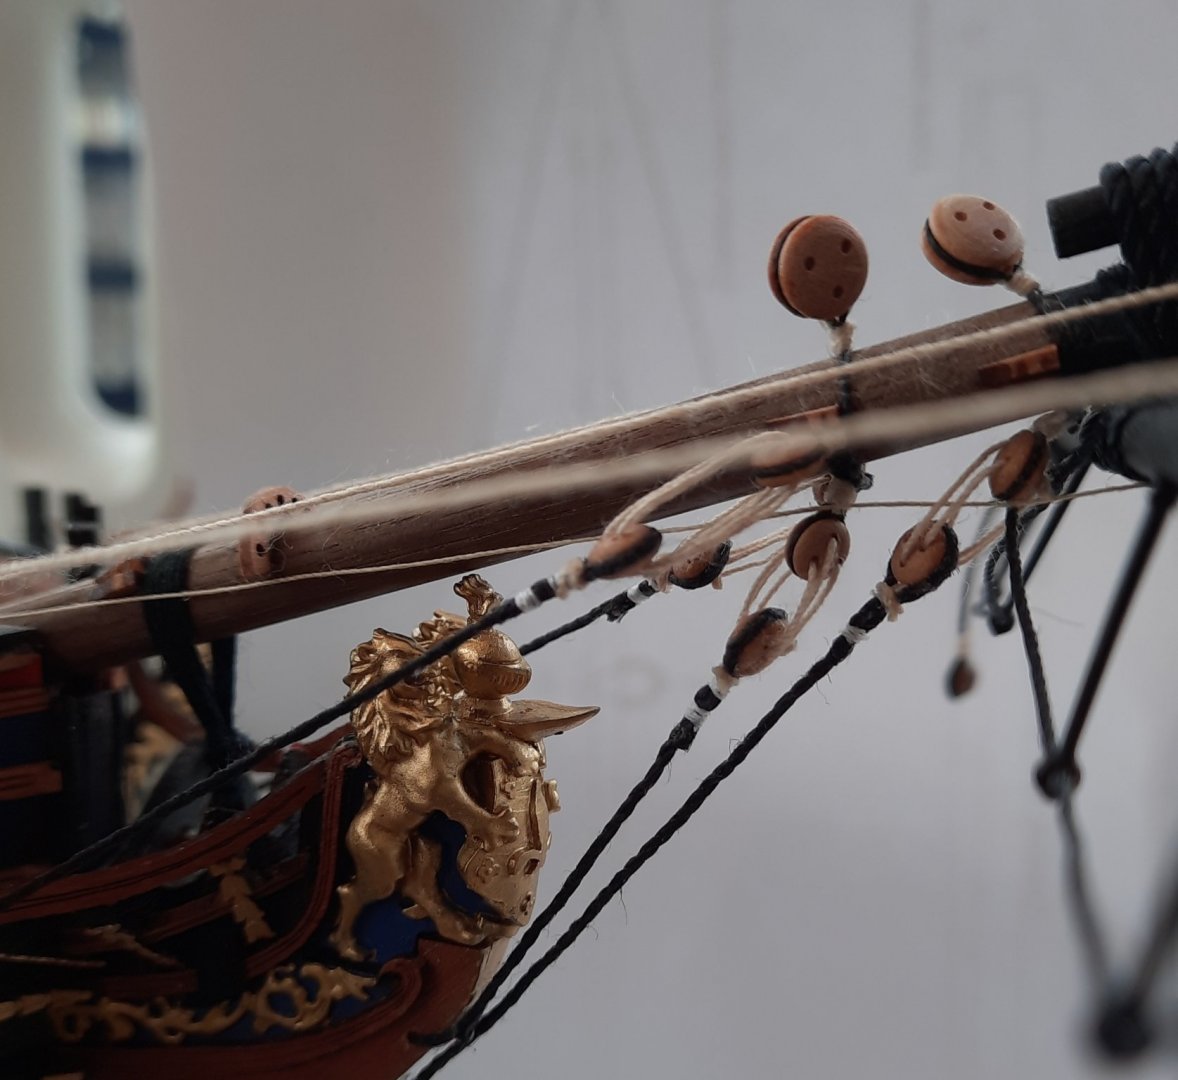
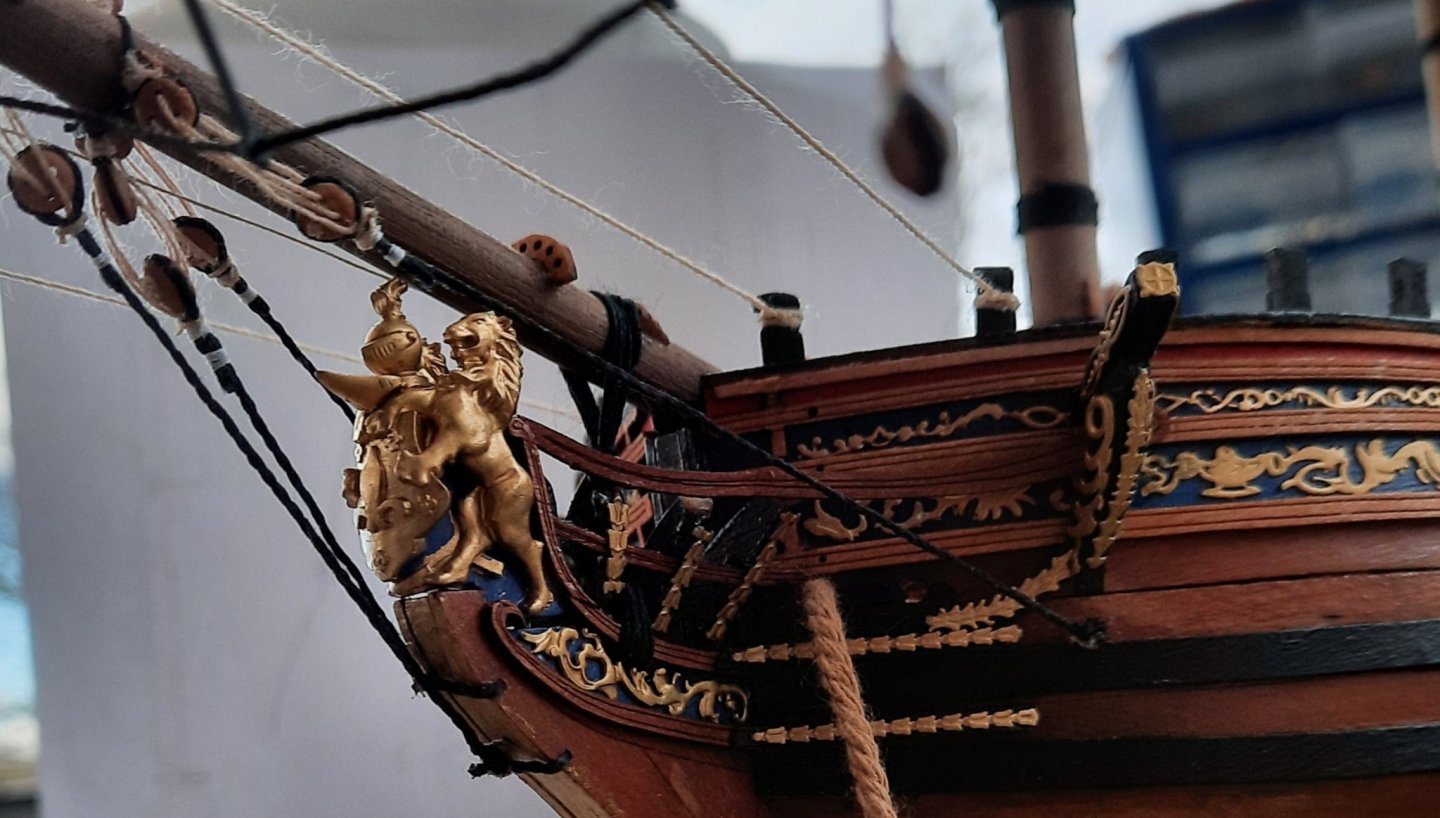
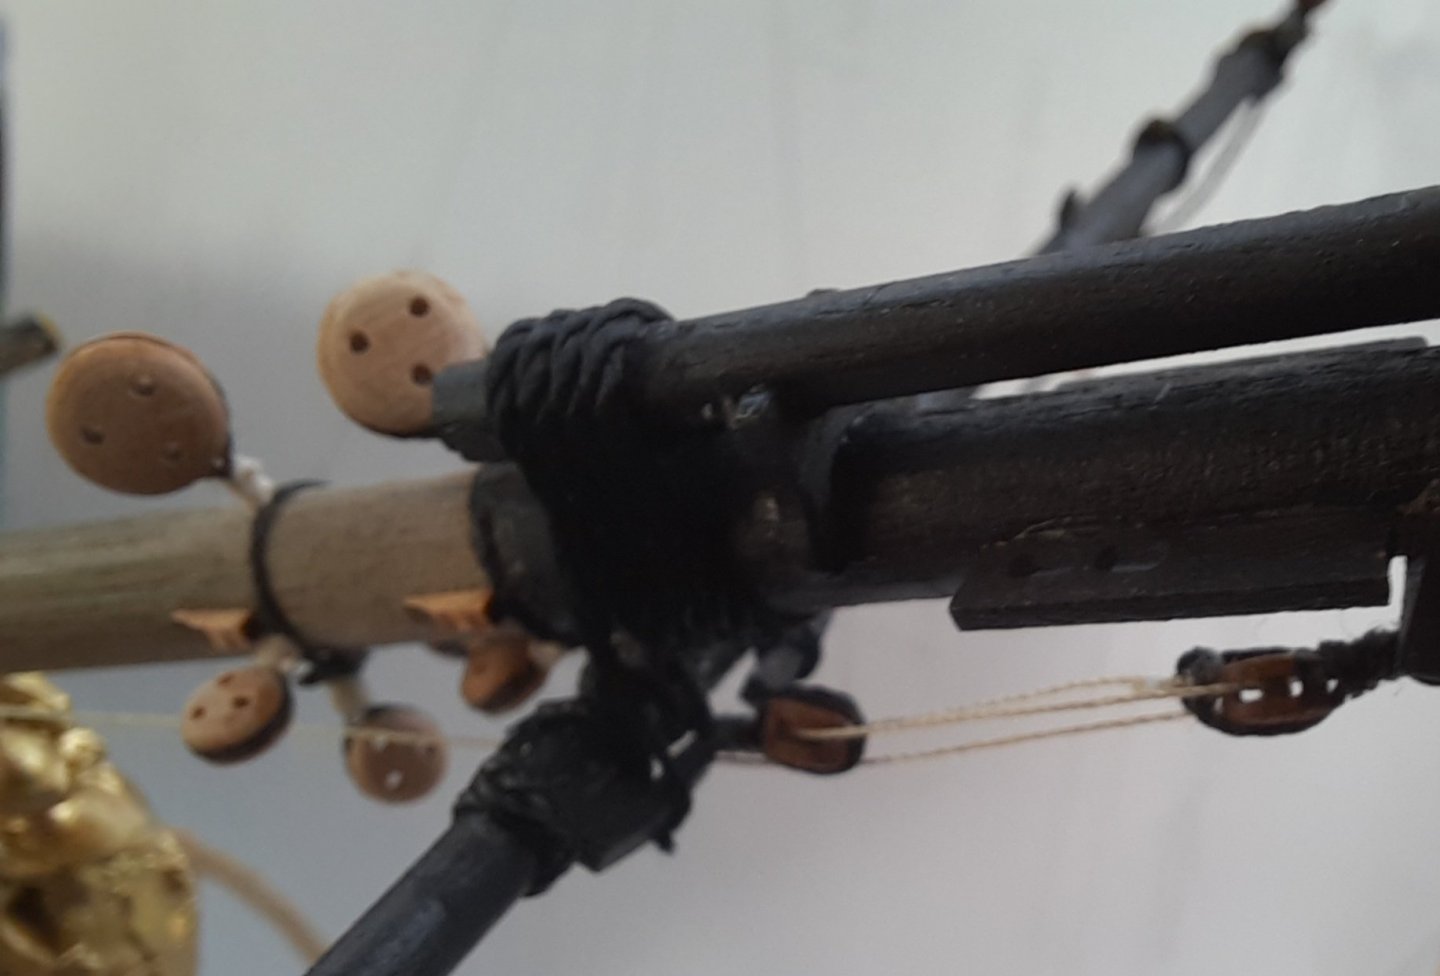
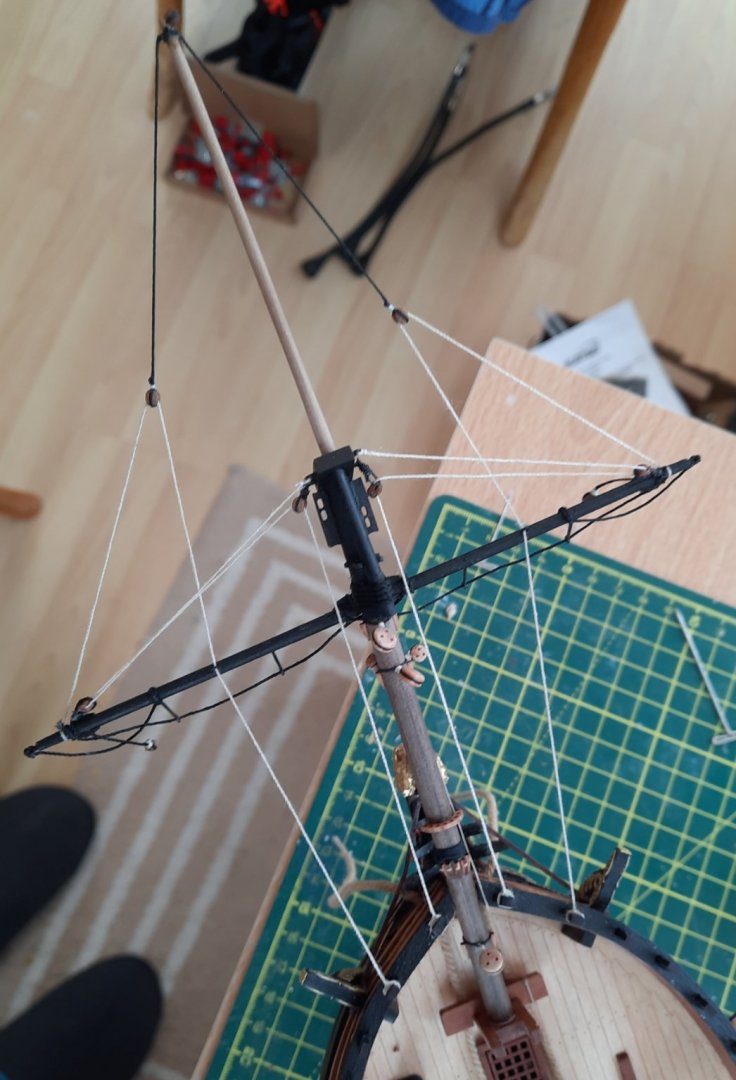
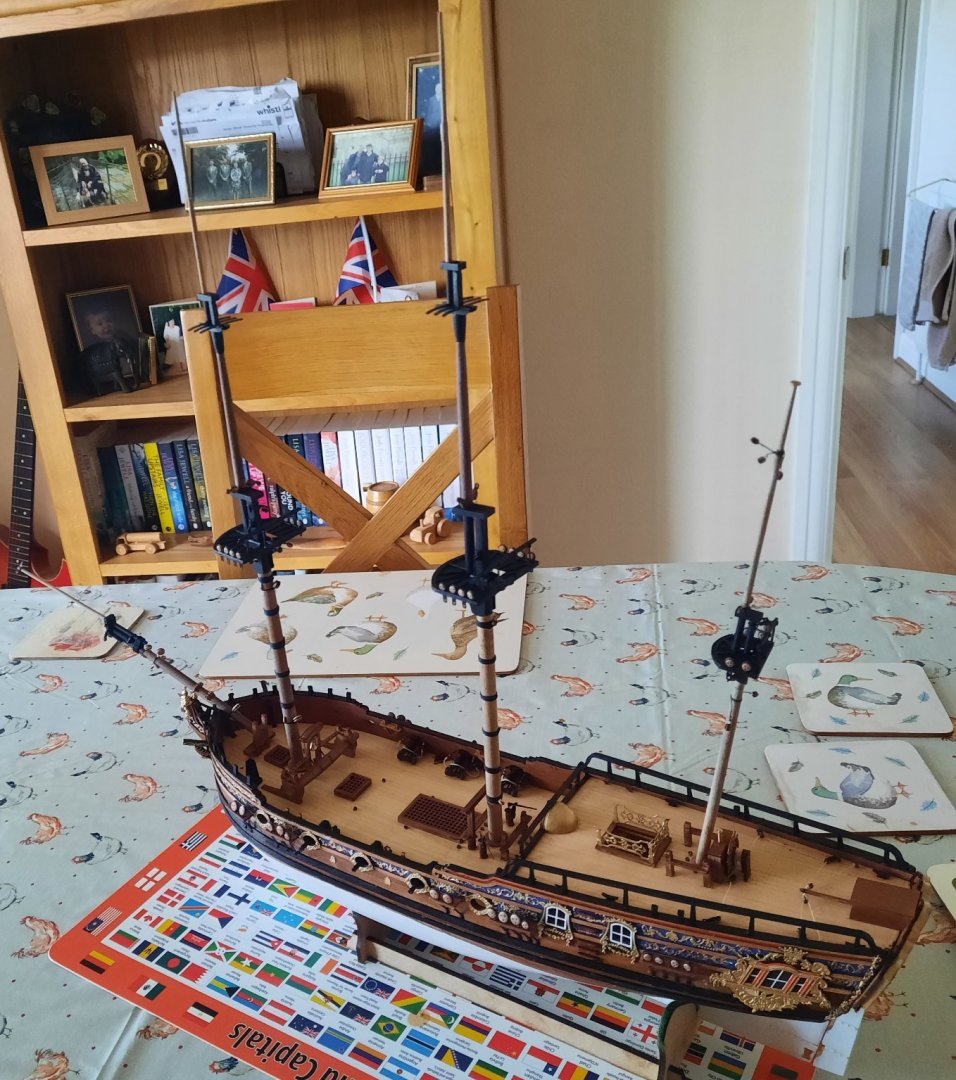
I have now fitted the four bowsprit stays and the work on rigging the bowsprit is now complete for the time being. Tomorrow I will start work adding the shrouds, starting with ,the mizzen mast shrouds. The rigging of the 4 x bowsprit stays was a tad fiddley and, at times, tested my patience. I was not happy with the amount of tension I set in the deadeye lanyards but they do not look too bad to the naked eye. Once completed I coated the rigging with a heavily diluted solution of pva. The first bowsprit stay Birds eye view of the two two side bowsprit stays. A picture showing all 4 bowsprit stays Another picture of all 4 bowsprit stays

- 382 replies
-
- 5
-
-
- Vanguard Models
- Duchess of Kingston
- (and 1 more)
-
Thats true, adding the first bowsprit stay was a bit of a challenge but not as bad as I first feared. The final 3 bowsprit stays will be easier. Then I'll start adding the shrouds.

- 382 replies
-
- 5
-
-
- Vanguard Models
- Duchess of Kingston
- (and 1 more)
-
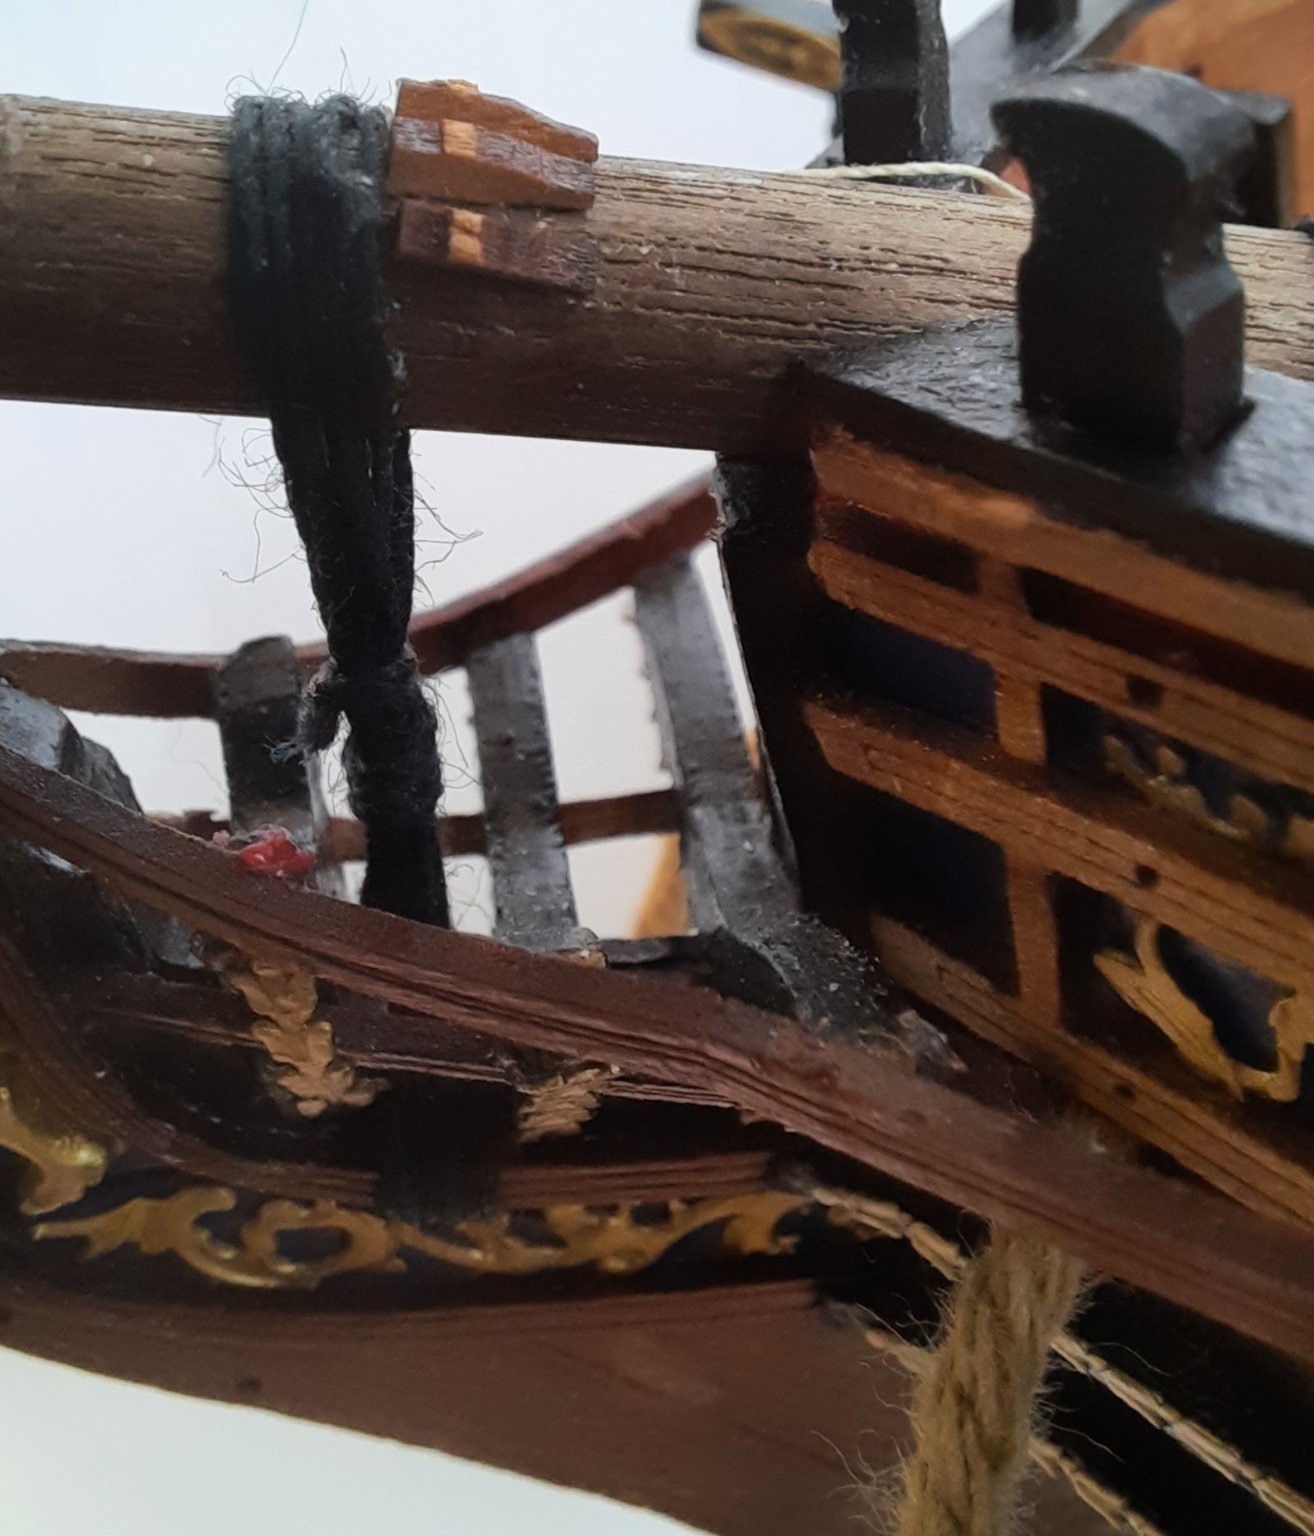
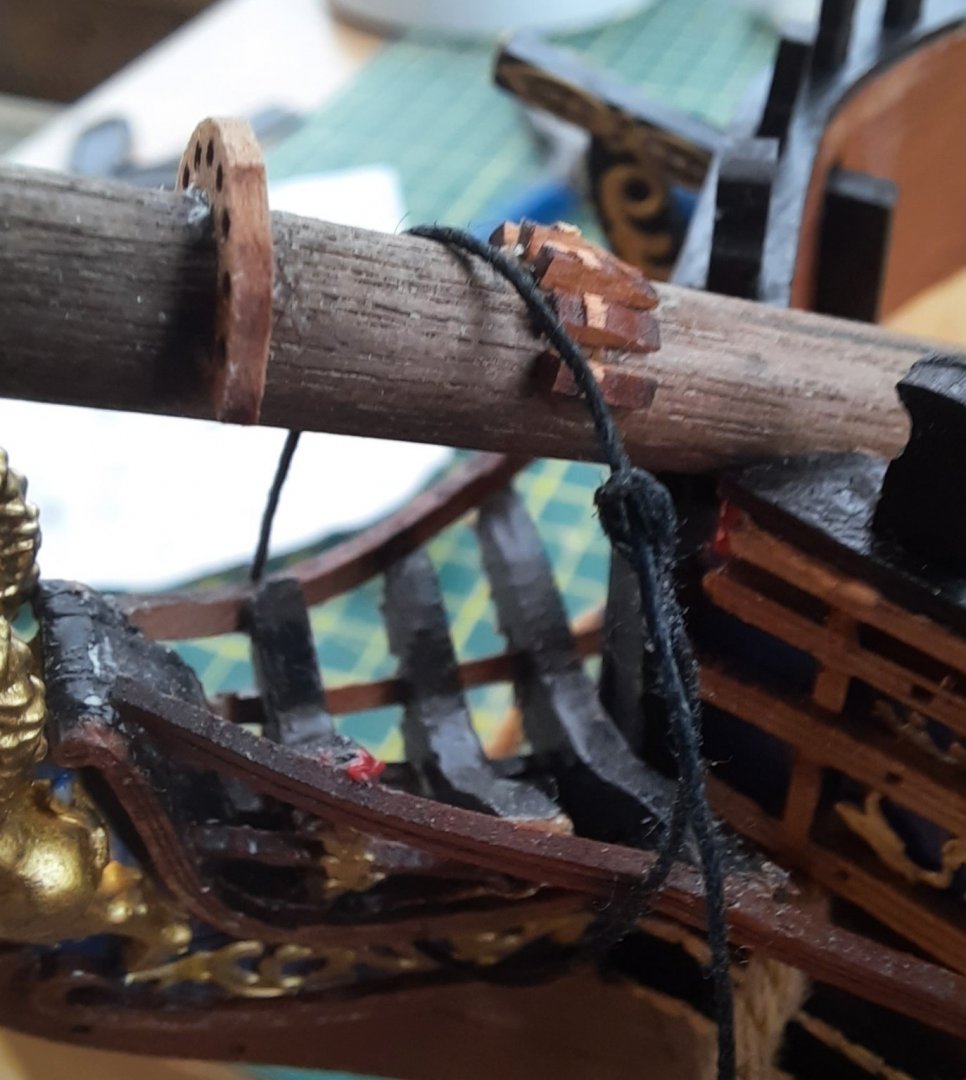
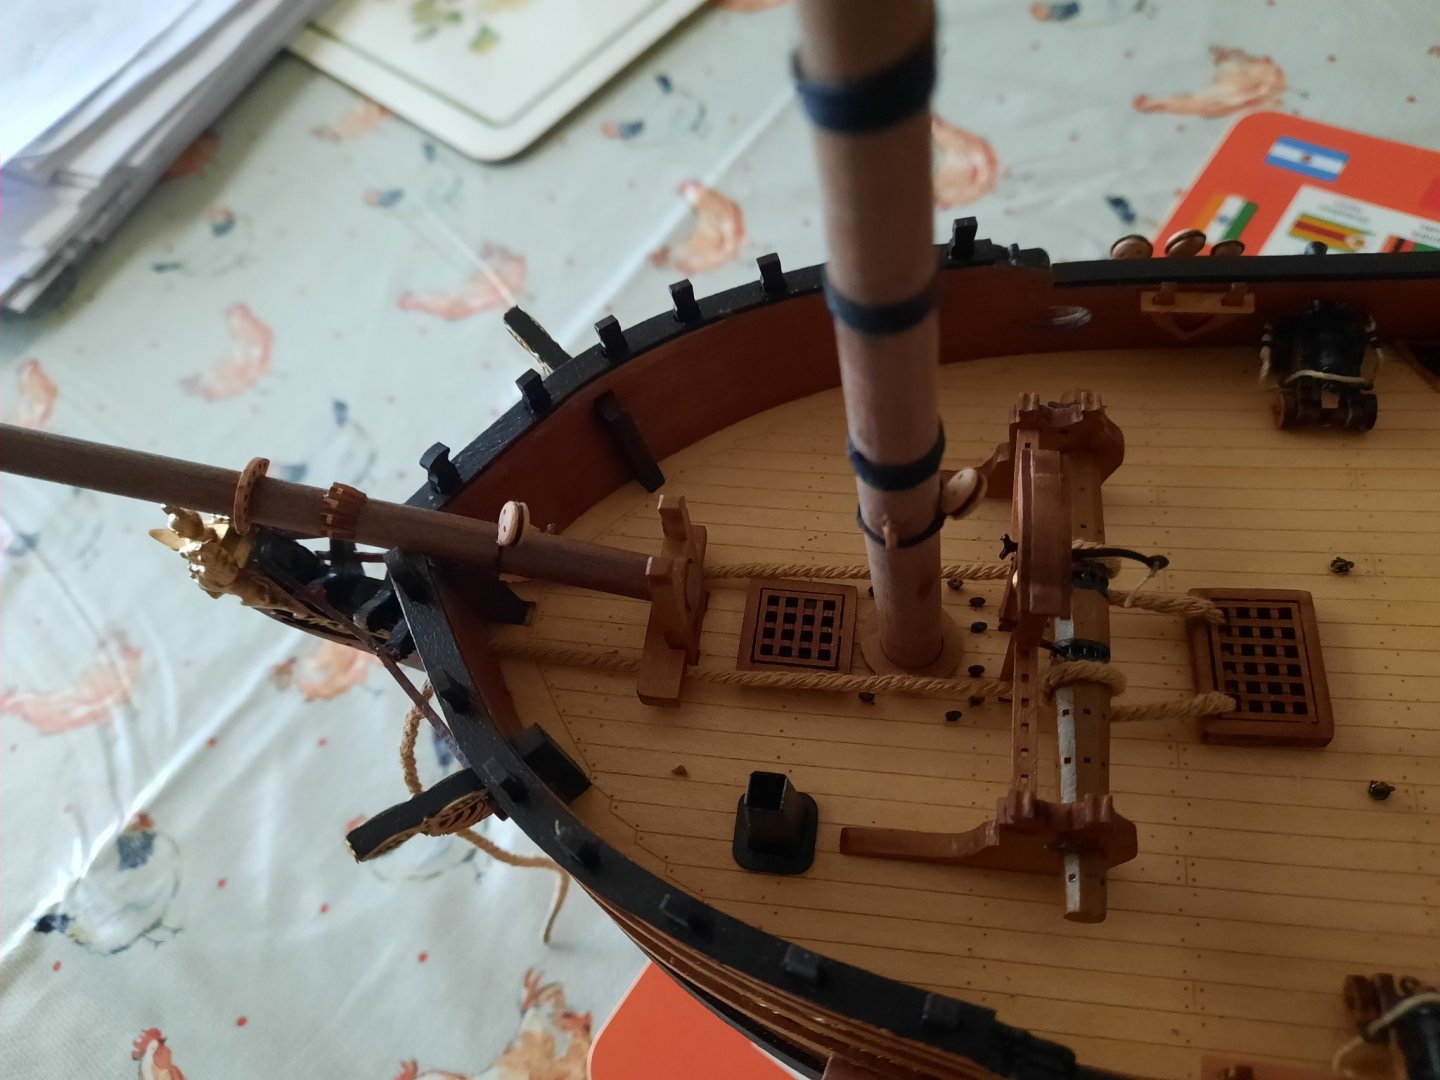
Gammoning and Spritsail Tye I have started the rigging. I decided to start by fixing the spritsail, which I thought would be easier to do before the bowsprit was positioned on board. I then thought it would be a good idea to rig the spritsail tye blocks. The bowsprit assembly was positioned on the hull. I did not use any glue thinking if I rig it properly it should be held firm. I also noted that the jibboom was at a slightly jaunty angle. I did contemplate trying to remove the jibboom but thought I could do more damage trying to do so I decided to live with it. I cut a length of 0.5mm black thread and seized a small loop at one end and then started with the gammoning process. As can be seen in the photo below I had a senior moment and tried to add the gammon over the bow rails. It was a bit fiddly threading the gammoning beneath the bow rails, but it did not take long to complete adding the 7 loops. I realised my thread was not going to be long enough to complete the gammoning so I had to remove it all and start again with a longer length of thread. This time I was able to complete and tie off the gammoning. Although I thought I had counted 7 loops when rigging it would appear, from the photo, that I only added 6 loops. I will live with that. After completing the gammoning I belayed the spritsail tye loose end to the bowsprit bit. Spritsail Lifts This was a relatively straightforward rigging task. I started with the starboard block attached to the outer edge of the spritsail and its associated block on the side of the bowsprit end cap. After I had passed the thread (0.25mm natural) through the block pairs I seized one end to the eyebolt also located on the side of the bowsprit cap. Once secured I tensioned the rigging and belayed it to the timberhead. I repeated the process for the port side. Next I moved on to the two flying blocks attached to the end of the jibboom. I started on the starboard side and attached a length of 0.25mm natural thread to the end of the spritsail. This was then passed through the flying jibboom 3mm block and then through the eyebolt on the spritsail before it was belayed on the timberhead. I then repeated the process for the post side. The slight misalignment of the jibboom can be seen in the photo below To finish off I applied a very diluted coat of pva over the rigging thread. My next task will be to rig the bowsprit stays. I think this will be a little bit more tricky than the lifts.


- 382 replies
-
- 10
-
-
- Vanguard Models
- Duchess of Kingston
- (and 1 more)
-
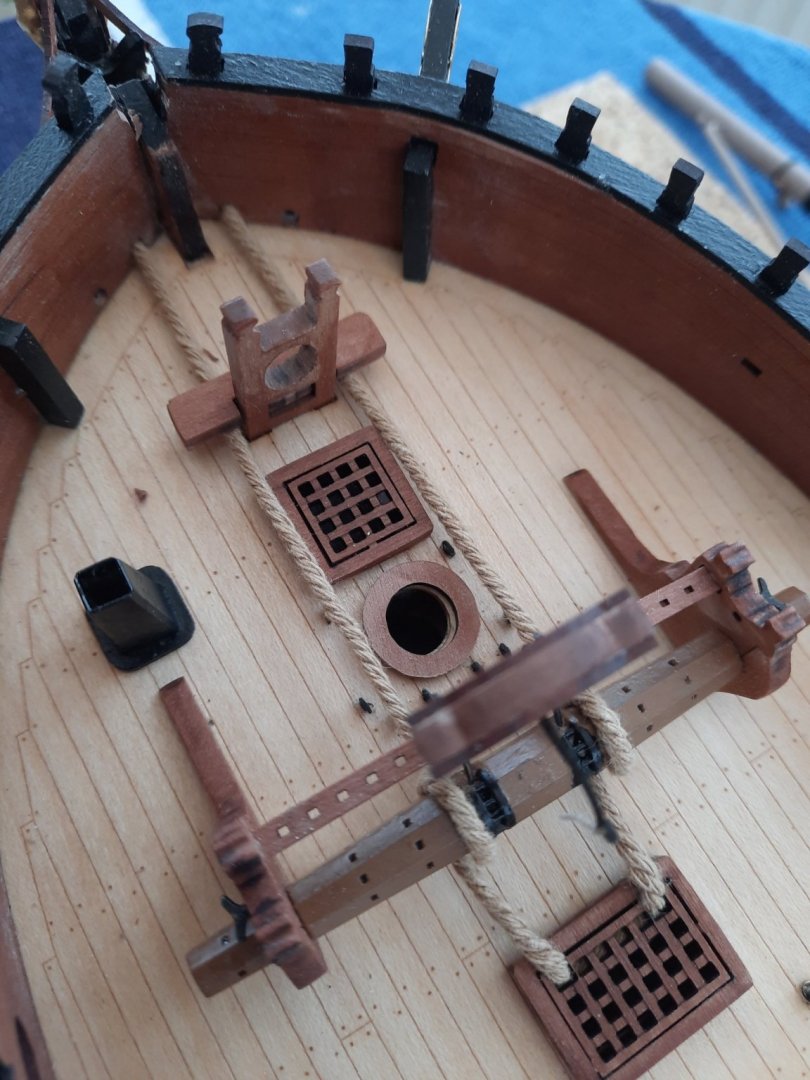
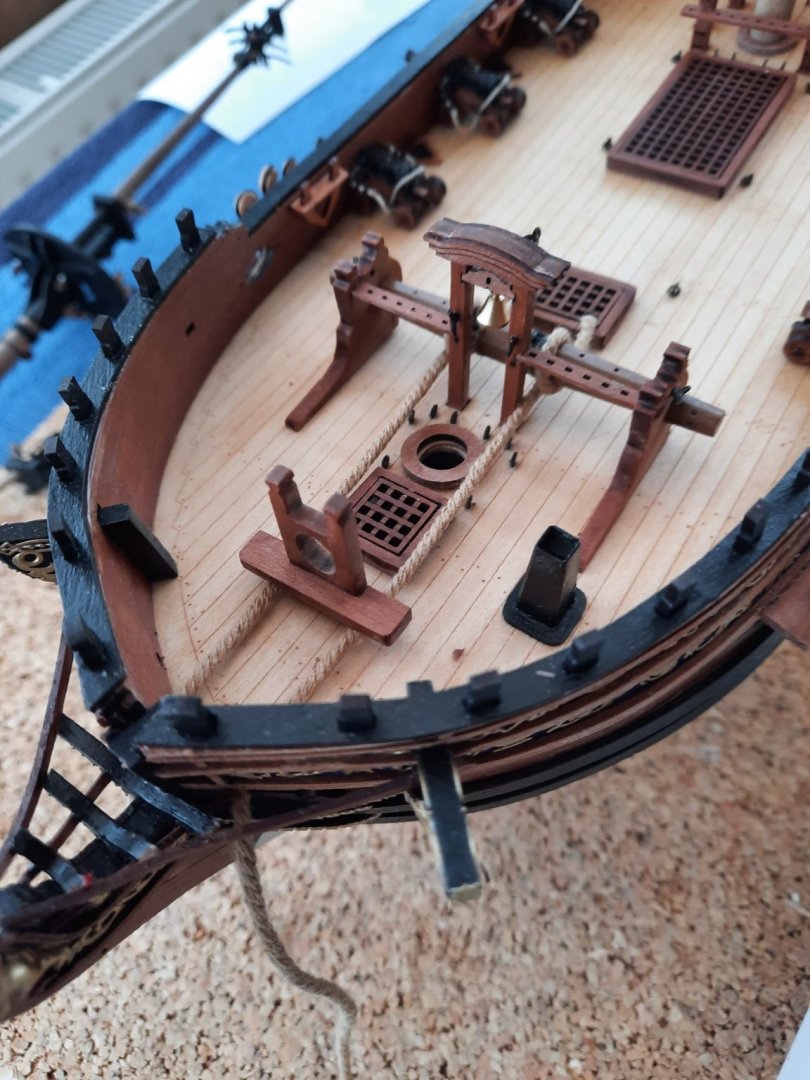
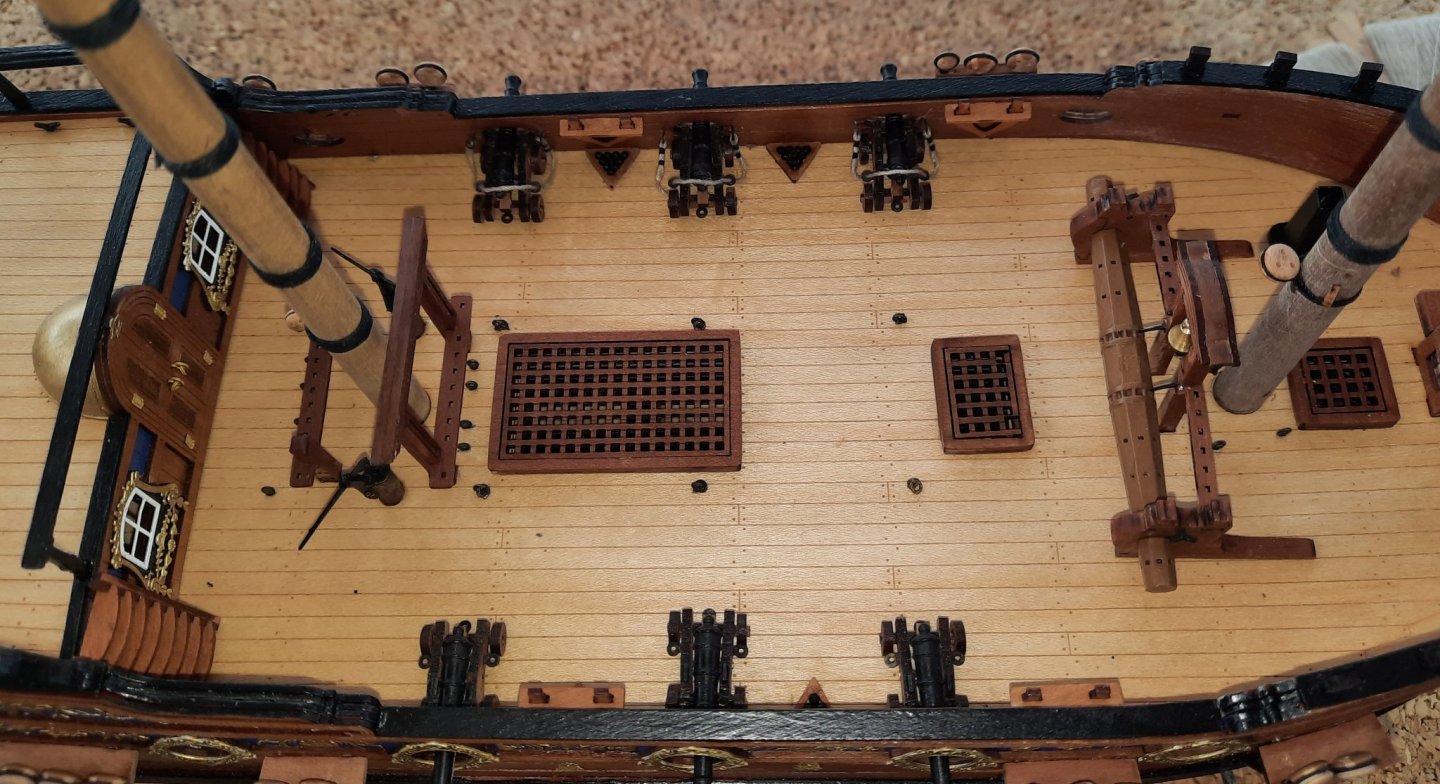
I have made better progress than I was expecting. I finished adding all the blocks to the fore and main mast assemblies this morning so I decided to move straight on and fitted the ship’s bell strap complete with a small length of 0.25mm natural thread from it. Next I installed the Anchor Hawse Thread which turned out to be an easy task and only took 15 mins to complete. I started by treating each end of the anchor hawse thread with a very thin coat of ca gel and then with my craft knife I made a slight chamfer. I checked that I could feed both ends of the anchor hawse thread through the holes provided in the hull. The centre of the thread was then positioned in the hatch, as can be seen below. With the thread in place the hatch was glued in place and both ends of the thread wrapped around the windlass winch drum then fed under the bowsprit bit and finally pushed through the holes in the hull. I have now reach the stage where the Duchess Deck work is complete and I can now start with the rigging.


- 382 replies
-
- 10
-
-
- Vanguard Models
- Duchess of Kingston
- (and 1 more)
-
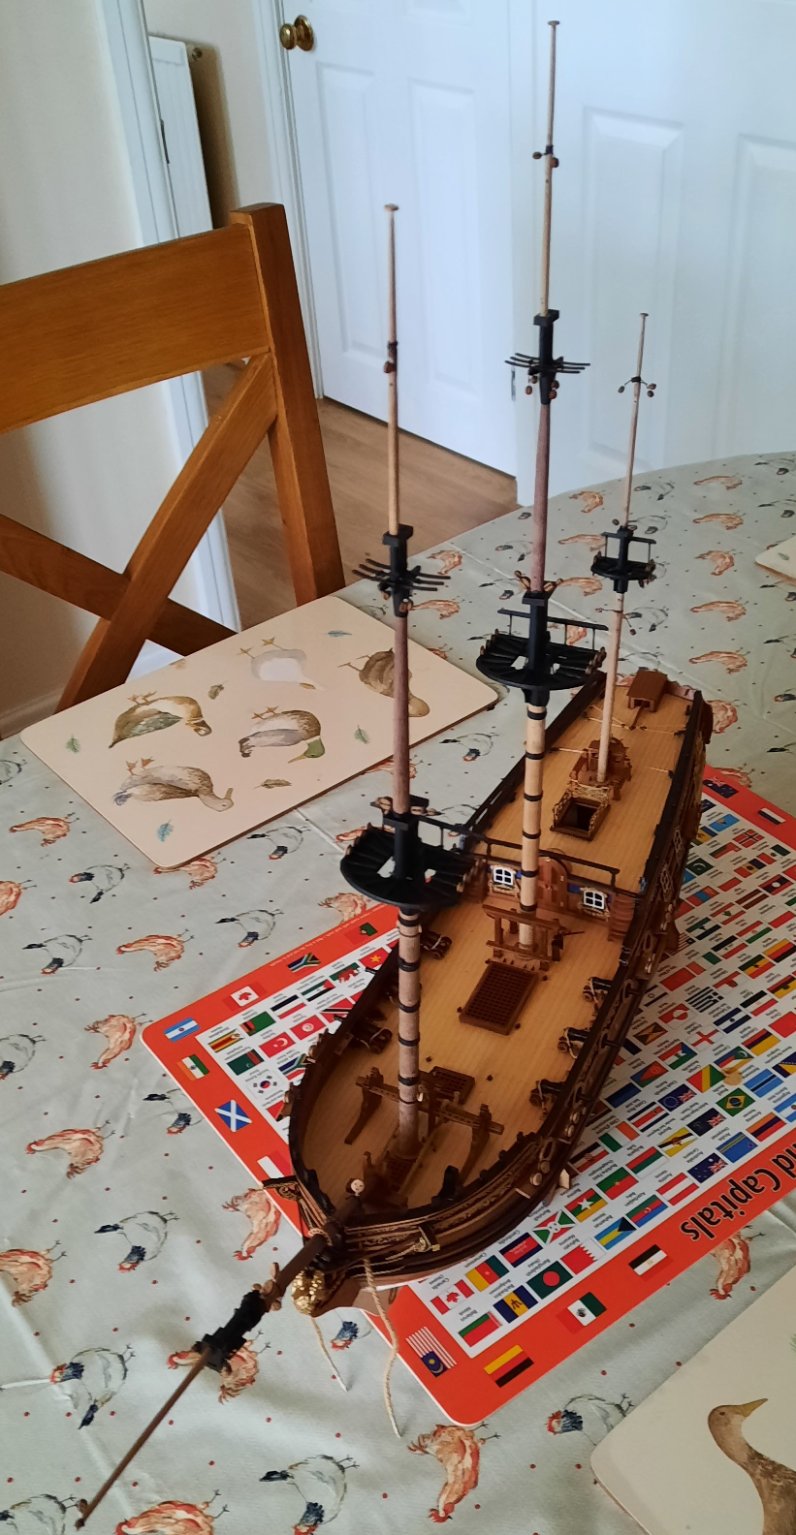
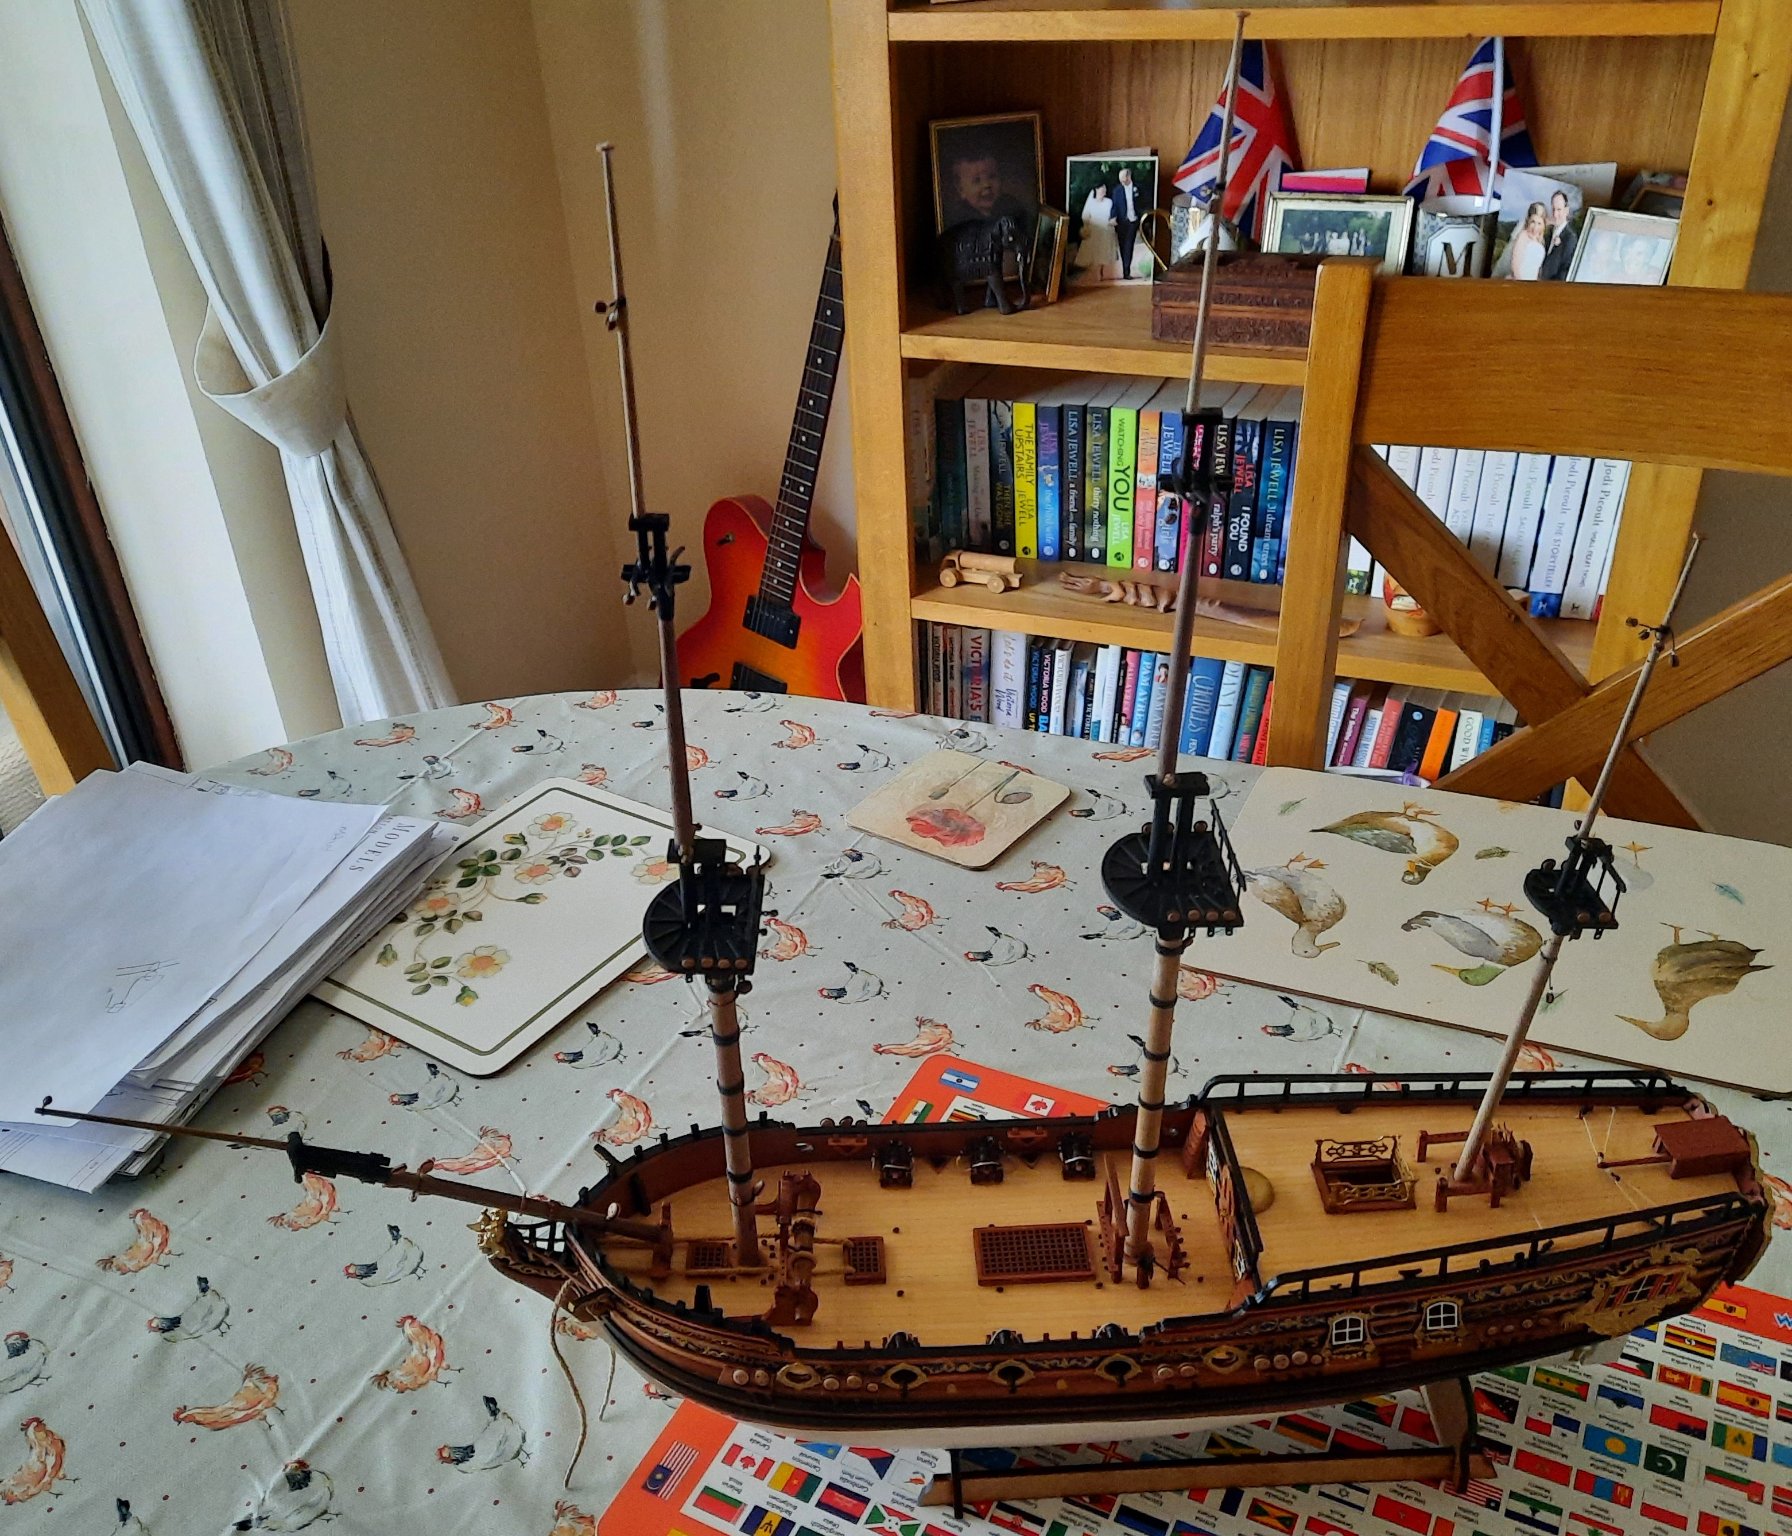
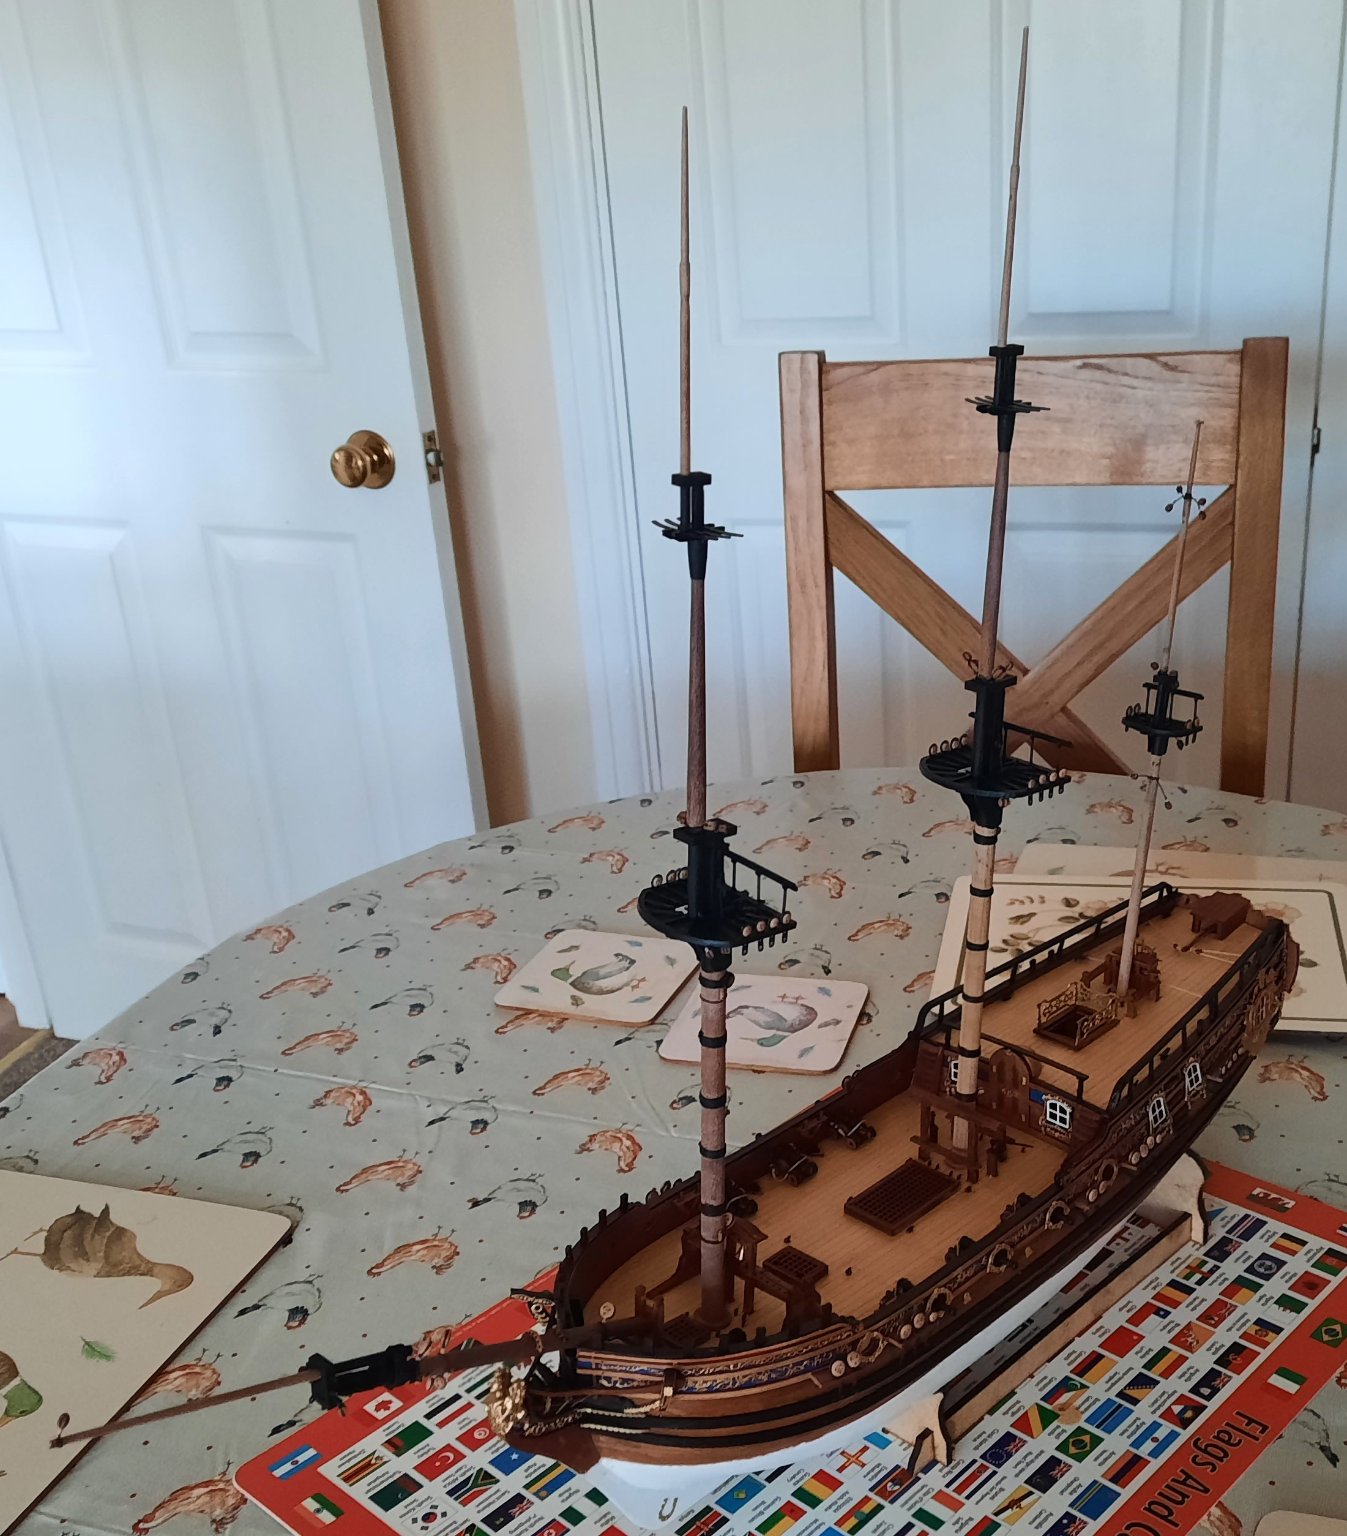
Work continues on the slow and painstaking task of adding the various blocks to the mast assemblies. I have completed adding everything to the mizzen mast today and this is now ready for the rigging phase. The main and fore masts are almost complete, each require just 6 more blocks adding to complete (topsail ties x 2, topsail yard lifts x 2 & topgallant yard lifts x 2). It is a time consuming task to add each block. I have opted to make each pair on one length of thread which I have found to be better when positioning and securing to the mast. I should have these made and added to the masts by the end of week.(Sunday). If everything goes to plan I intend to start the rigging phase on Monday morning, starting with the Anchor Hawse Thread and followed by adding the bowsprit gammoning and bowsprit stays.

- 382 replies
-
- 8
-
-
- Vanguard Models
- Duchess of Kingston
- (and 1 more)
-
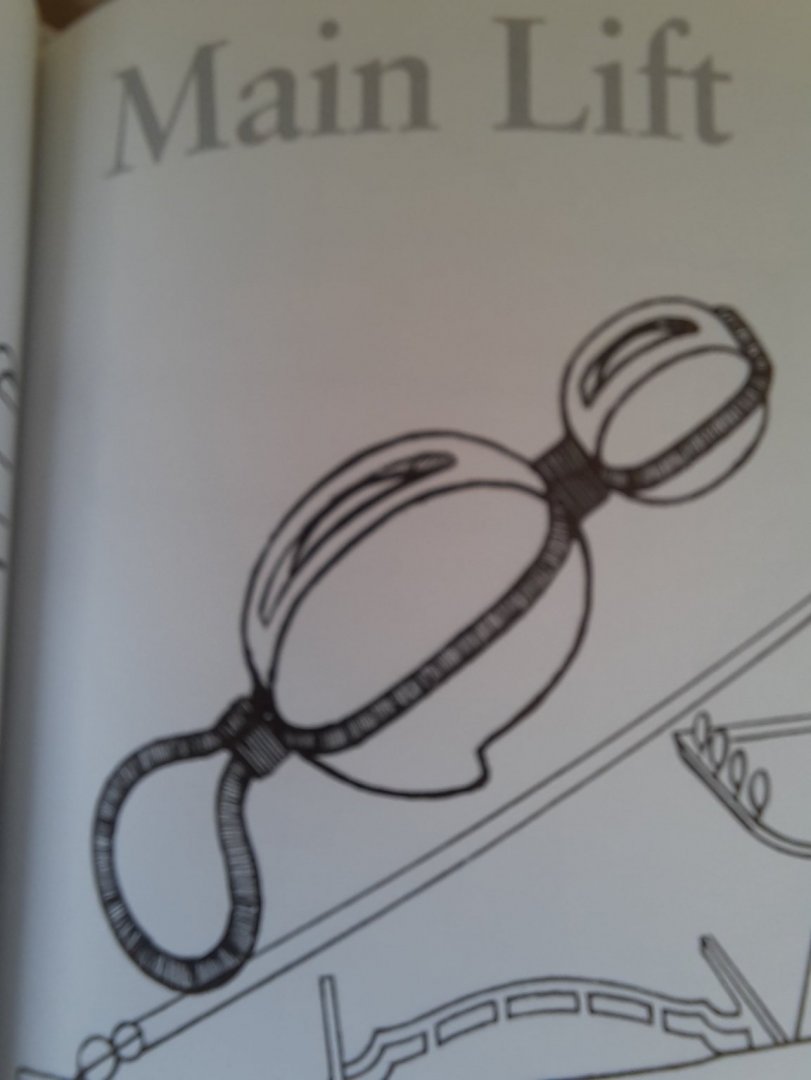
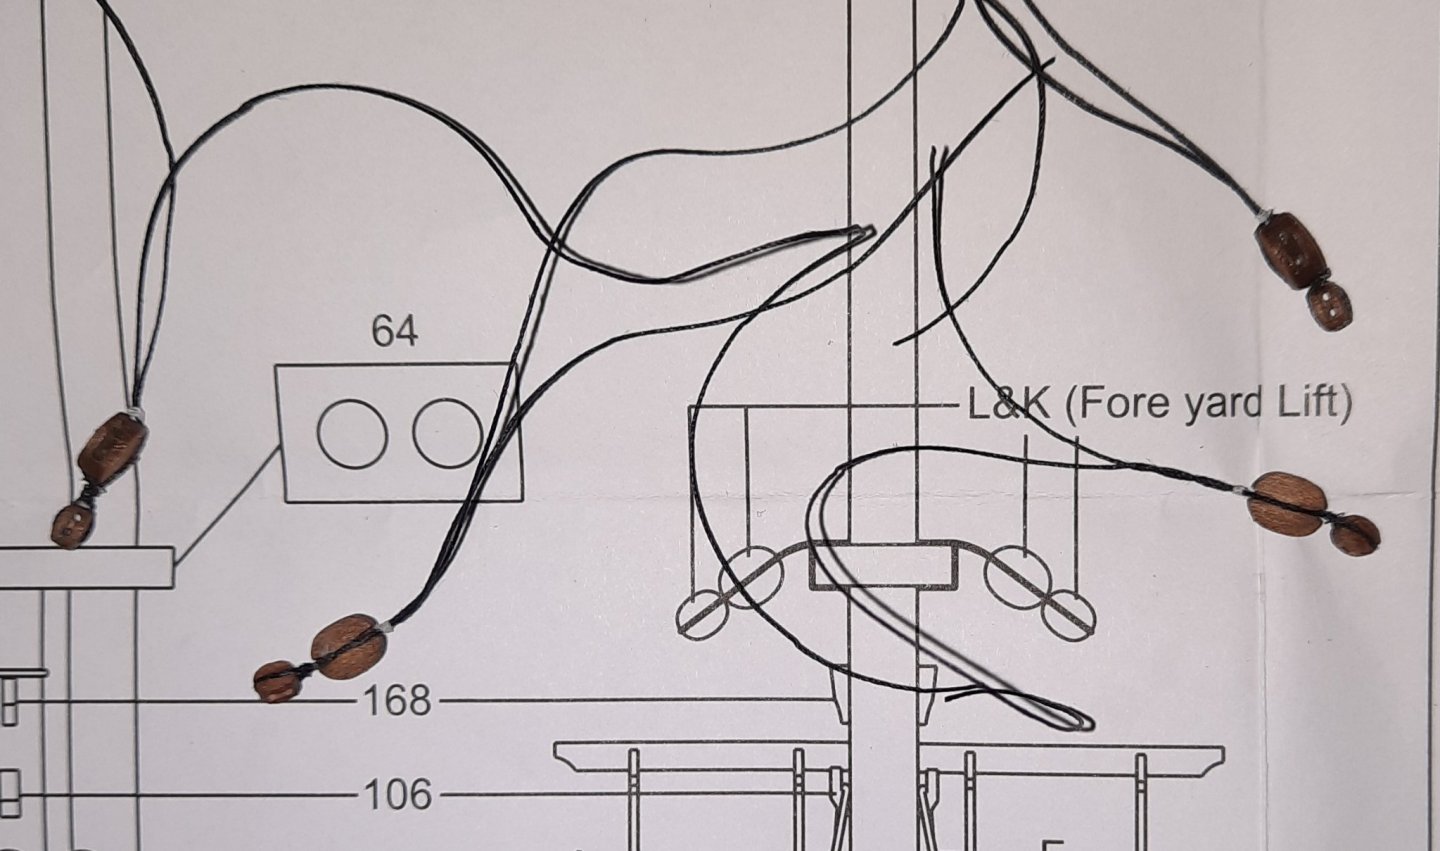
As indicated in my previous post I was thinking of trying a 2nd method for the fore and main yard double block yard lifts. When in doubt I should have gone to my book of reference, which is Rigging Period Ships by Lennarth Petersson. I have found this to be a very useful book. Under the section about the yard lifts it shows the following picture Armed with this I decided to ditch my previous yard lift double blocks and started a fresh. I held a 3mm block using my quad hands and secured the thread using a standard reef knot. Next I positioned the 5mm block next to the 3mm block. The quad hands proved to be really useful for this task. With the 5mm block in place I secured it in position using a reef knot. I did adjust the thread shown in the picture below so it sat in the grove. I then applied the seizing to the thread between the two blocks, as shown in the illustration provided in the book, using thin black fly tying thread. The end result was a much better looking double block arrangement for both the fore and main yard lifts. I did trim the seizing thread ends a bit more after I took the following photo.
- 382 replies
-
- 11
-
-
- Vanguard Models
- Duchess of Kingston
- (and 1 more)
-
Thanks. I understand your method. I think my 2nd method will yield similar results.
-
I am in the process of adding the all the blocks and deadeyes to fore, main and mizzen masts, including their respective top and top gallant masts. It feels like I am doing a lot of work but I'm making very little progress. That said I should have completed this in the next day or two and can then make a start on adding the standing and running rigging. This afternoon I have made both the 2 x fore yard lifts and 2 x main yard lifts. Each of these lifts requires a 3mm and a 5mm single block. I was not sure how to go about this task. I have detailed my first method below. I found this method was relatively straightforward and both blocks were secured together as one assembly. I do have another idea for securing the two blocks together, without adding the seizing which I will try in the morning. Method 1 - Seizing Blocks I started with the 3mm block which I held in place, using the quad hands. Using the thin fly tying thread I added three loops of seizing, using half hitch knots top and and bottom. Next I positioned the 5mm block and clamped the thread in place Using top and bottom half hitches I seized the 5mm block in place As I was using white seizing thread I applied a touch of black between the two blocks. After about an hours effort I had completed all 4 yard lifts, which now just need to be tied to the masts. Method 2 - Not yet tried but will reduce the gap between blocks a) Secure a 3mm block with thread using a reef knot. b) Add the 5mm block, and clamp the thread in place c) Secure a 5mm block with thread using a reef knot (or maybe add a seizing).

- 382 replies
-
- 2
-
-
- Vanguard Models
- Duchess of Kingston
- (and 1 more)
-
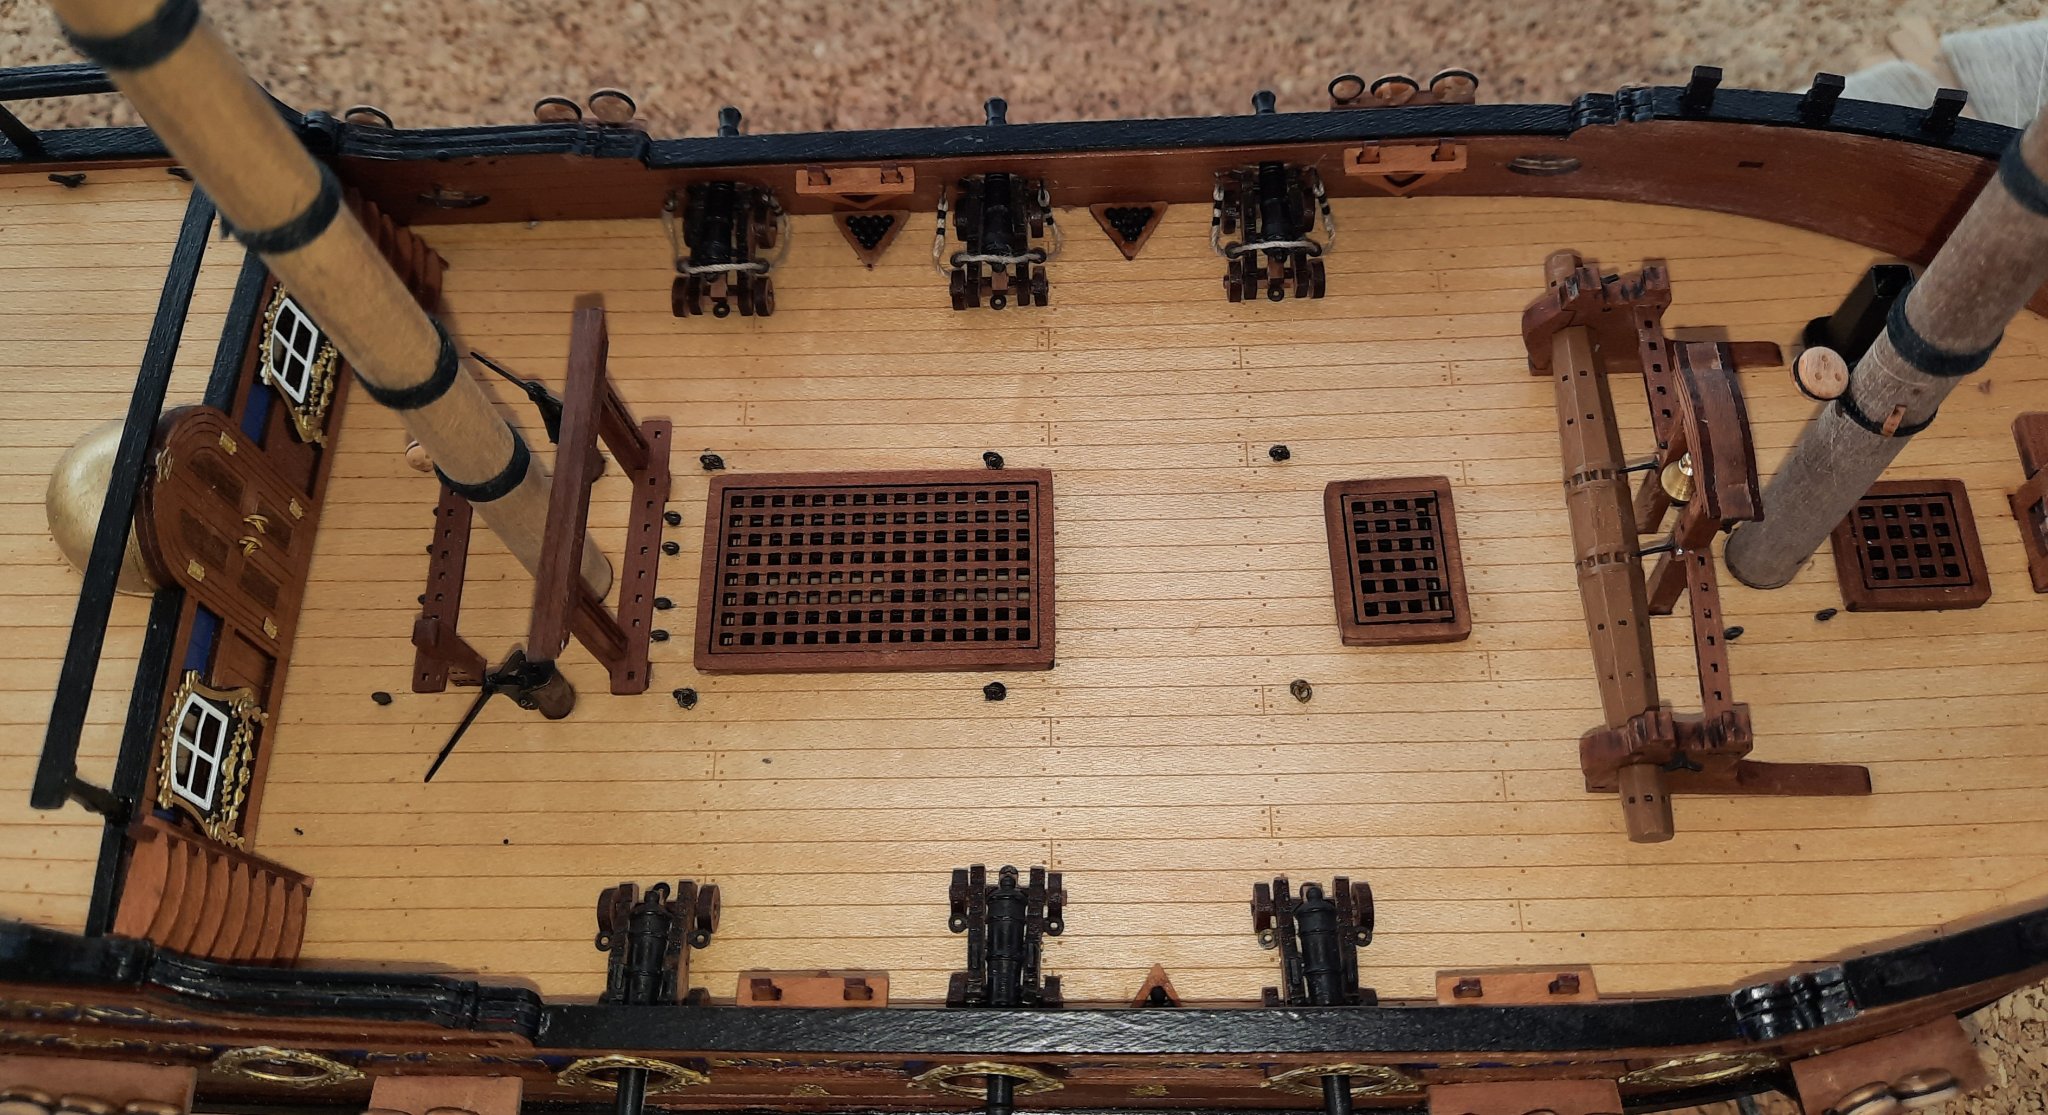
I know what you mean, rings would be accurate but as I am only adding partial cannon rigging for decoration purposes I think the lack of rings will not be noticed once the standing and running rigging has been completed. I have no plans to move my cannons either.
-
Thanks Jim, I will be starting the main rigging in the next week or two.
-
Much appreciated. I have been rigging my cannons following your method. I have found the fly tying thread a really improvement for my seizing.
- 725 replies
-
- 2
-

-
-
- vanguard models
- speedy
- (and 1 more)
-
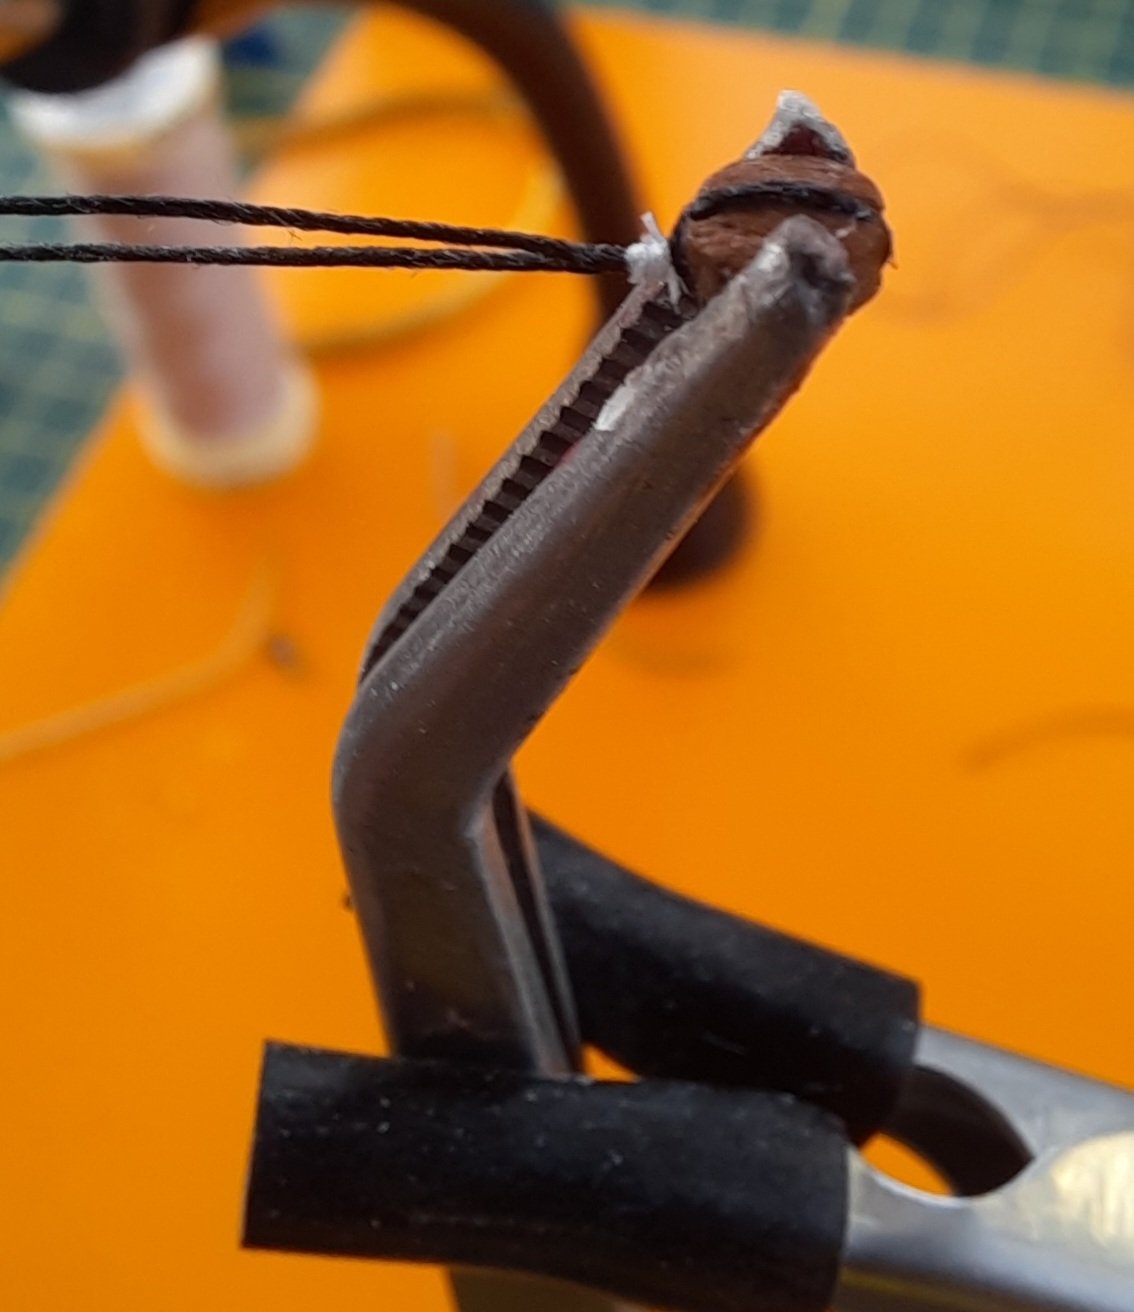
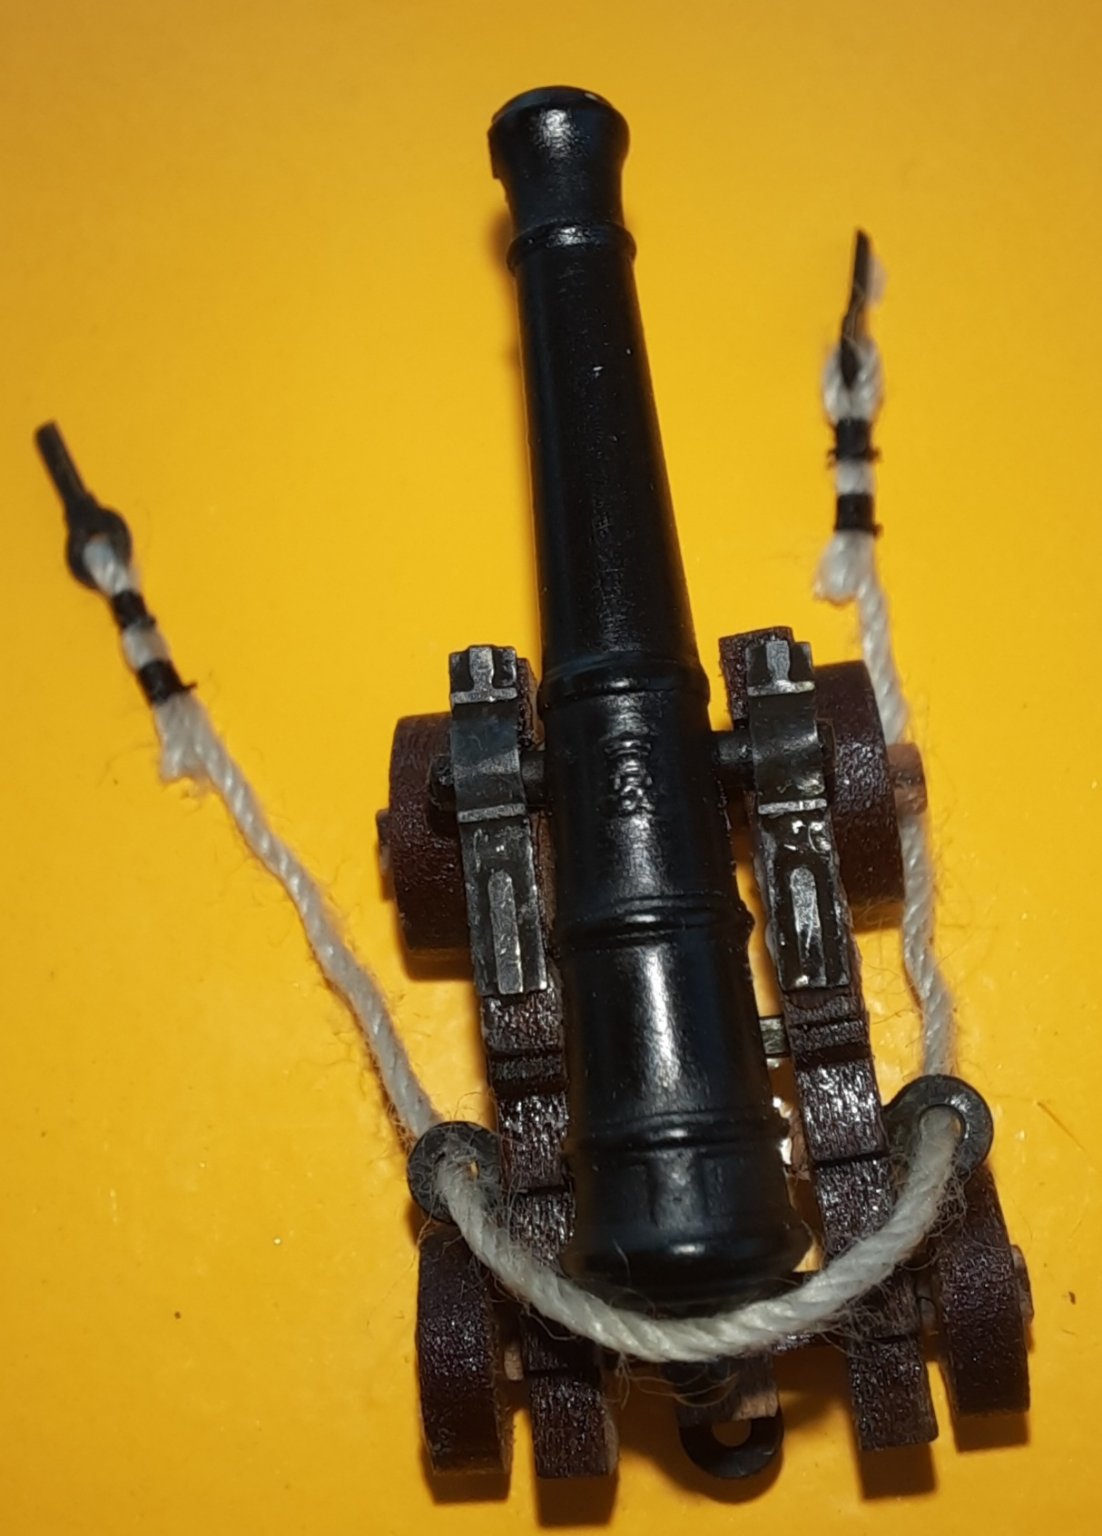
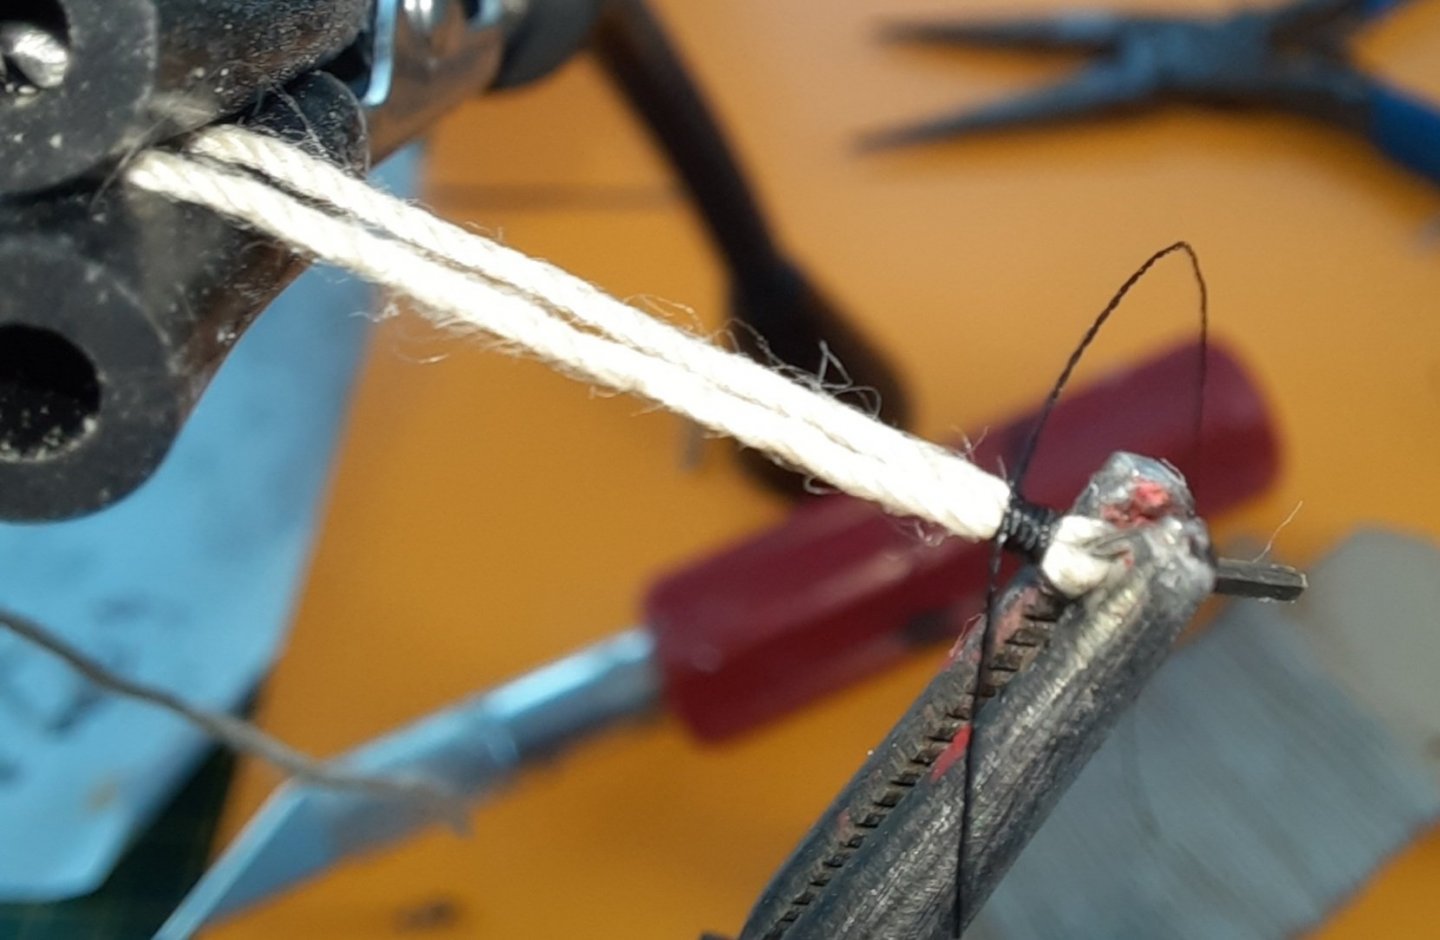
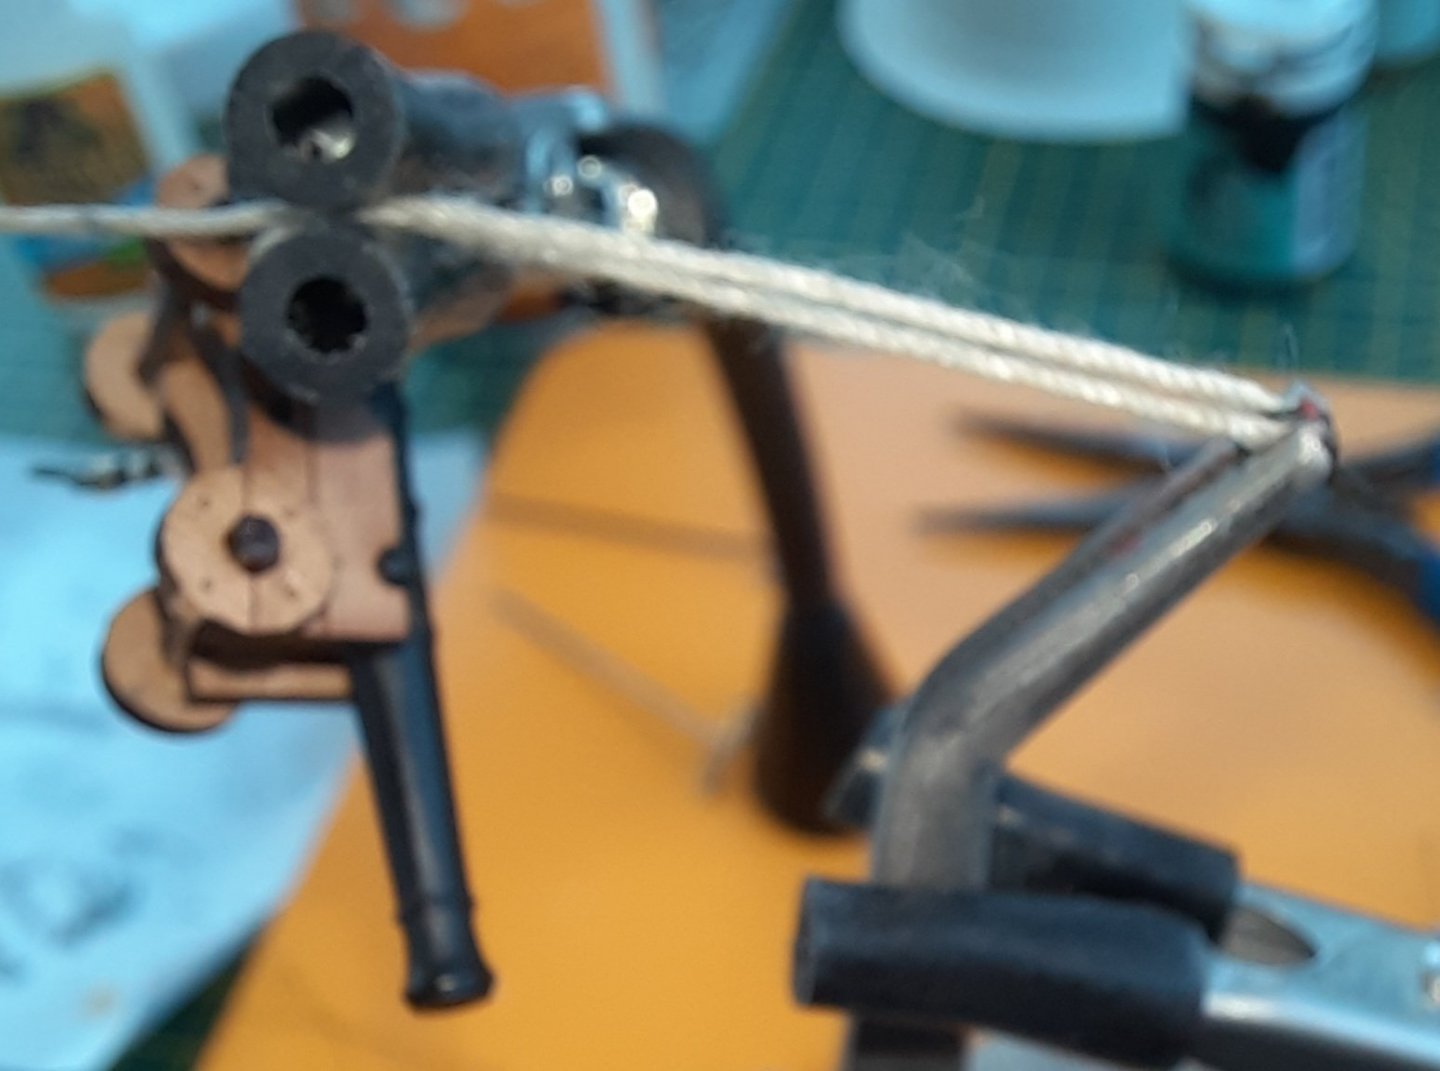
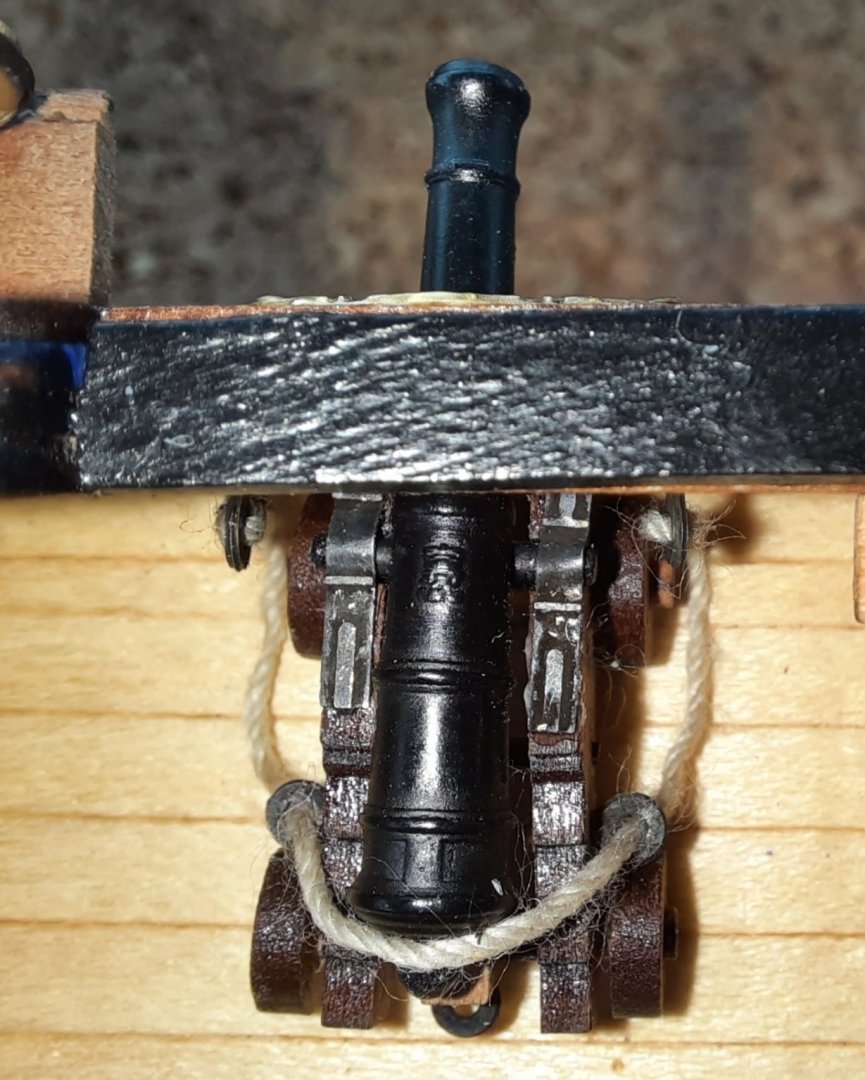
Today I have started to rig the cannons. I am undecided if I will add the inhaul tackle but I have added the breach rope to the first 3 cannons. I started by seizing an eyebolt to a length of natural thread, using black fly tying thread, as can be seen in the photo Once I had seized the eyebolt I threaded the breach rope through the two cannon eyebolts and then set about seizing the other eyebolt. I have tried to show this in the next picture, which is a little bit blurry. The end result The cannon was then place on deck and the eyebolts inserted in the two holes on the bulwalks.

- 382 replies
-
- 9
-
-
- Vanguard Models
- Duchess of Kingston
- (and 1 more)
-
Great work as always. I would love to see a side on picture of your wire catherpins😀
-
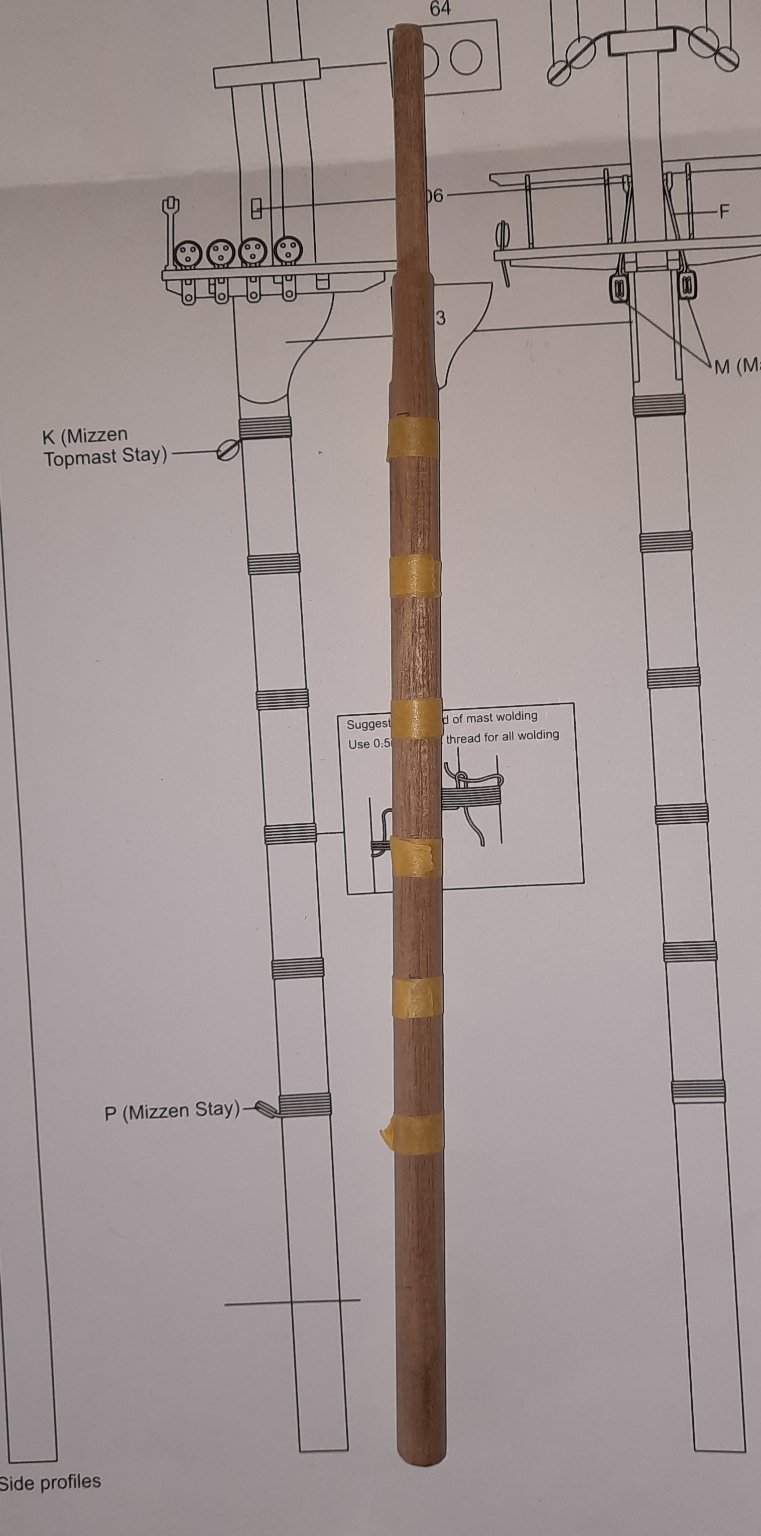
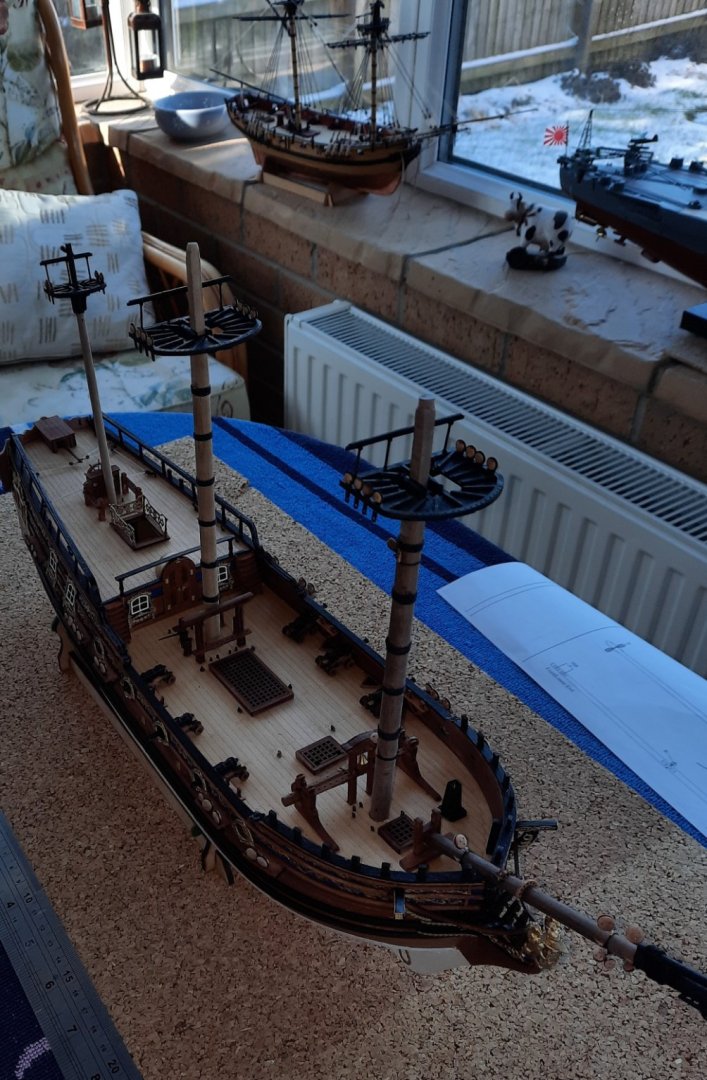
All work on the lower masts and lower platforms is now complete. I did not encounter any problems with completing this aspect. Speedy is hiding in the background With regards to adding the wolding to the fore and main mast it was a straightforward task. I started by marking the various position, using tape. Next I took a length of black thread and clamped the loop. I added 5 full turns and then 6th turn was feed through the loop, as shown in the plan drawing. To finish off I applied a very diluted solution of pva over the wolding. It took me around 10 mins to per mast to complete. Once that was I done I added the cleats, deadeyes and blocks to the fore and main masts.


- 382 replies
-
- 8
-
-
- Vanguard Models
- Duchess of Kingston
- (and 1 more)
-
Thanks Rusty. I should be starting the rigging in the next couple of weeks, just a little bit bit work left on the yards and masts. Also the 6 cannons need rigging. Busy times ahead.
-
I think we all had the same problem. The kit is supplied with spare legs.
-
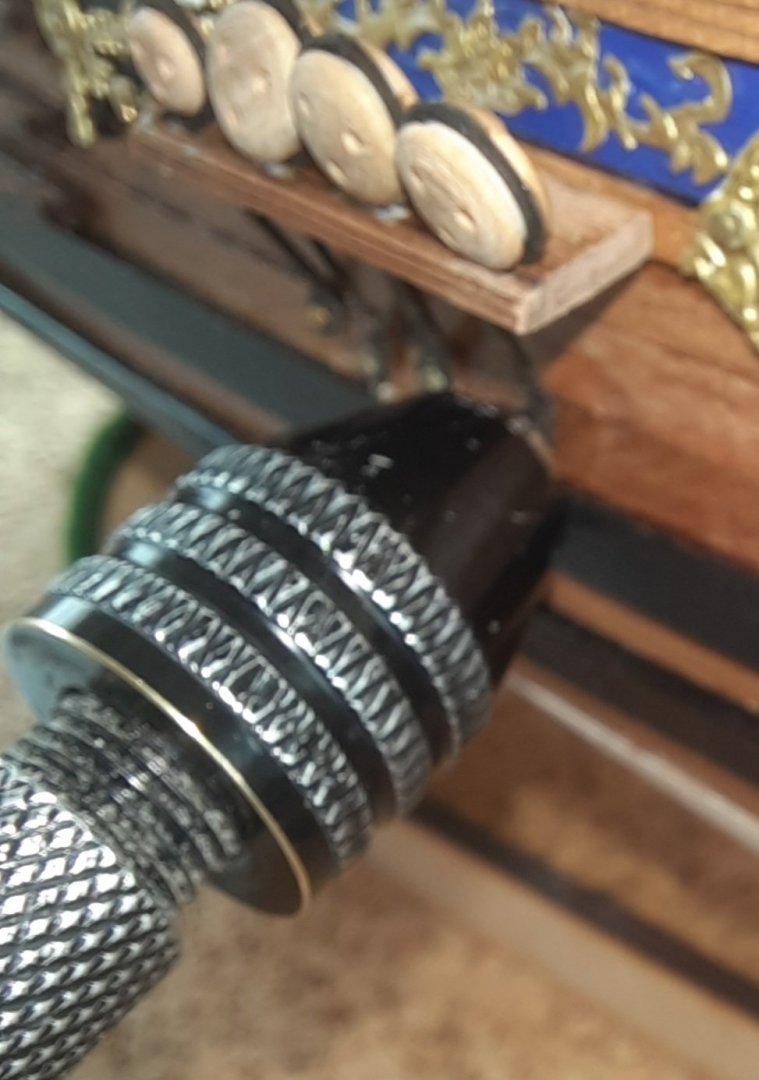
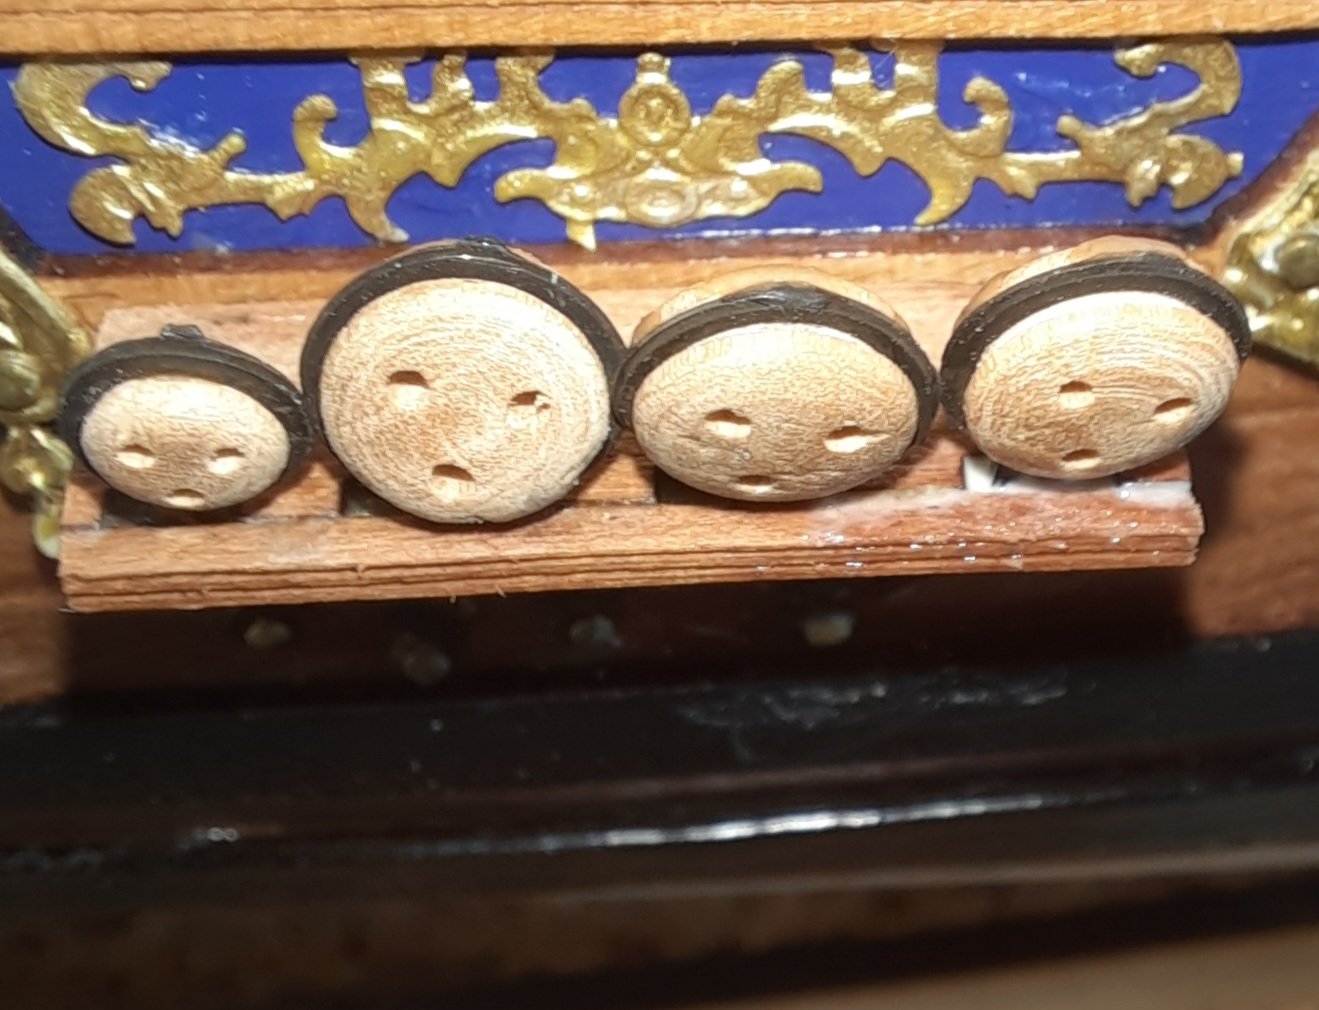
I am currently adding the deadeyes to the channels, the starboard side is complete. With previous builds I secured the strops in the channels using a 2 part epoxy resin glue. For this build I have opted for a different method which I have detailed below. There may be better ways to tackle this task, but I found this method worked really well. I added the 6 off (per side) 3mm deadeyes to the channels first and then added the 9 off (per side) 5mm deadeyes. Step 1 - The strop was bent into shape prior to being placed in the channel. I used my round nose pliers for this task. Step 2 - With the strop in position I used a 0.5mm drill to make the hole in the hull for the pin. I found this to be the most fiddly part of the process. Where possible I used a full length pin but in some cases this was not possible so I used a shortened pin. Step 3 - I did apply a touch of pva behind the strop and on the pin shaft as the pin was inserted. Once the pin was fully inserted the excess pva was wiped away. Step 4 - pva was added to the channels slots around the strop. I found it best to use a fine paint brush for this step. Once I was happy I had the slots had plenty of glue the excess pva was wiped away. As the glue cured and dropped a bit in the channel slots I did add more pva as can be seen in the next photo where all the deadeyes have been fitted to the channels and I have topped up some of the slots with pva.
- 382 replies
-
- 9
-
-
- Vanguard Models
- Duchess of Kingston
- (and 1 more)