Glenn-UK
-
Posts
3,169 -
Joined
-
Last visited
Content Type
Profiles
Forums
Gallery
Events
Everything posted by Glenn-UK
-
 Looking good
 -
Great job Rusty. Did you soak and bend the stern decoration before painting blue and gold?
- 201 replies
-
- 2
-

-
- Duchess of Kingston
- Vanguard Models
- (and 1 more)
-
Maybe they just be shown on the plan drawings for guidance purposes. I did not really enjoy the model space Yamato build but they did provide some sanding templates for the hull which were really useful.
-
Chris Are you planning to include a fairing guide line on the bulkheads?
-
For me the price of your kits is not an issue and the more idiot proof the better based on my skill set.
-
looks an interesting and fun build
-
Thanks Chris I was pondering using pins or maybe elastic bands
-
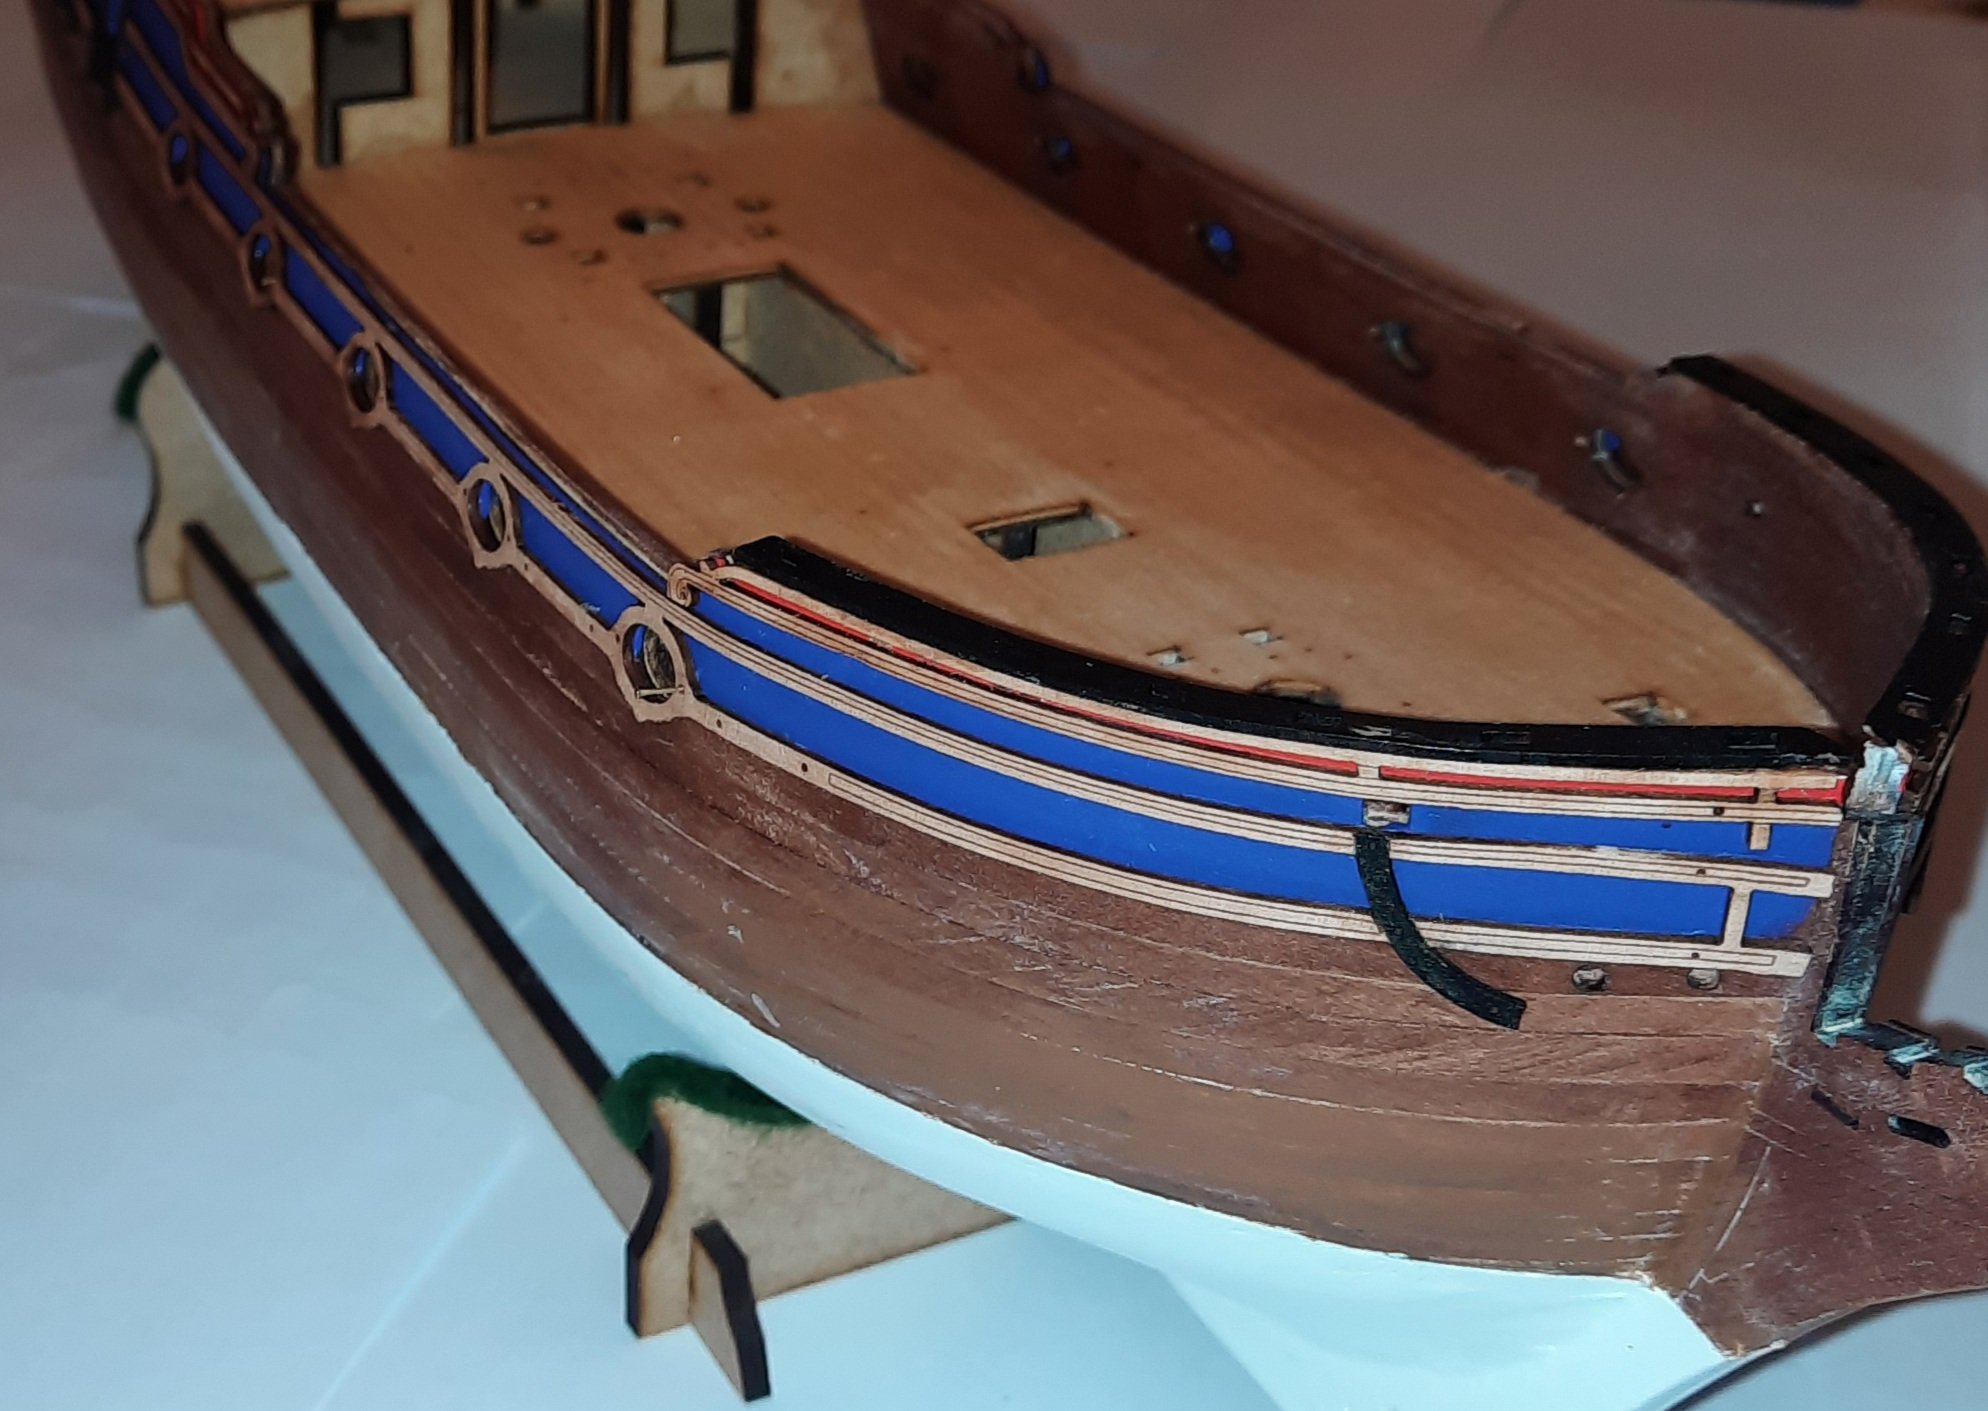
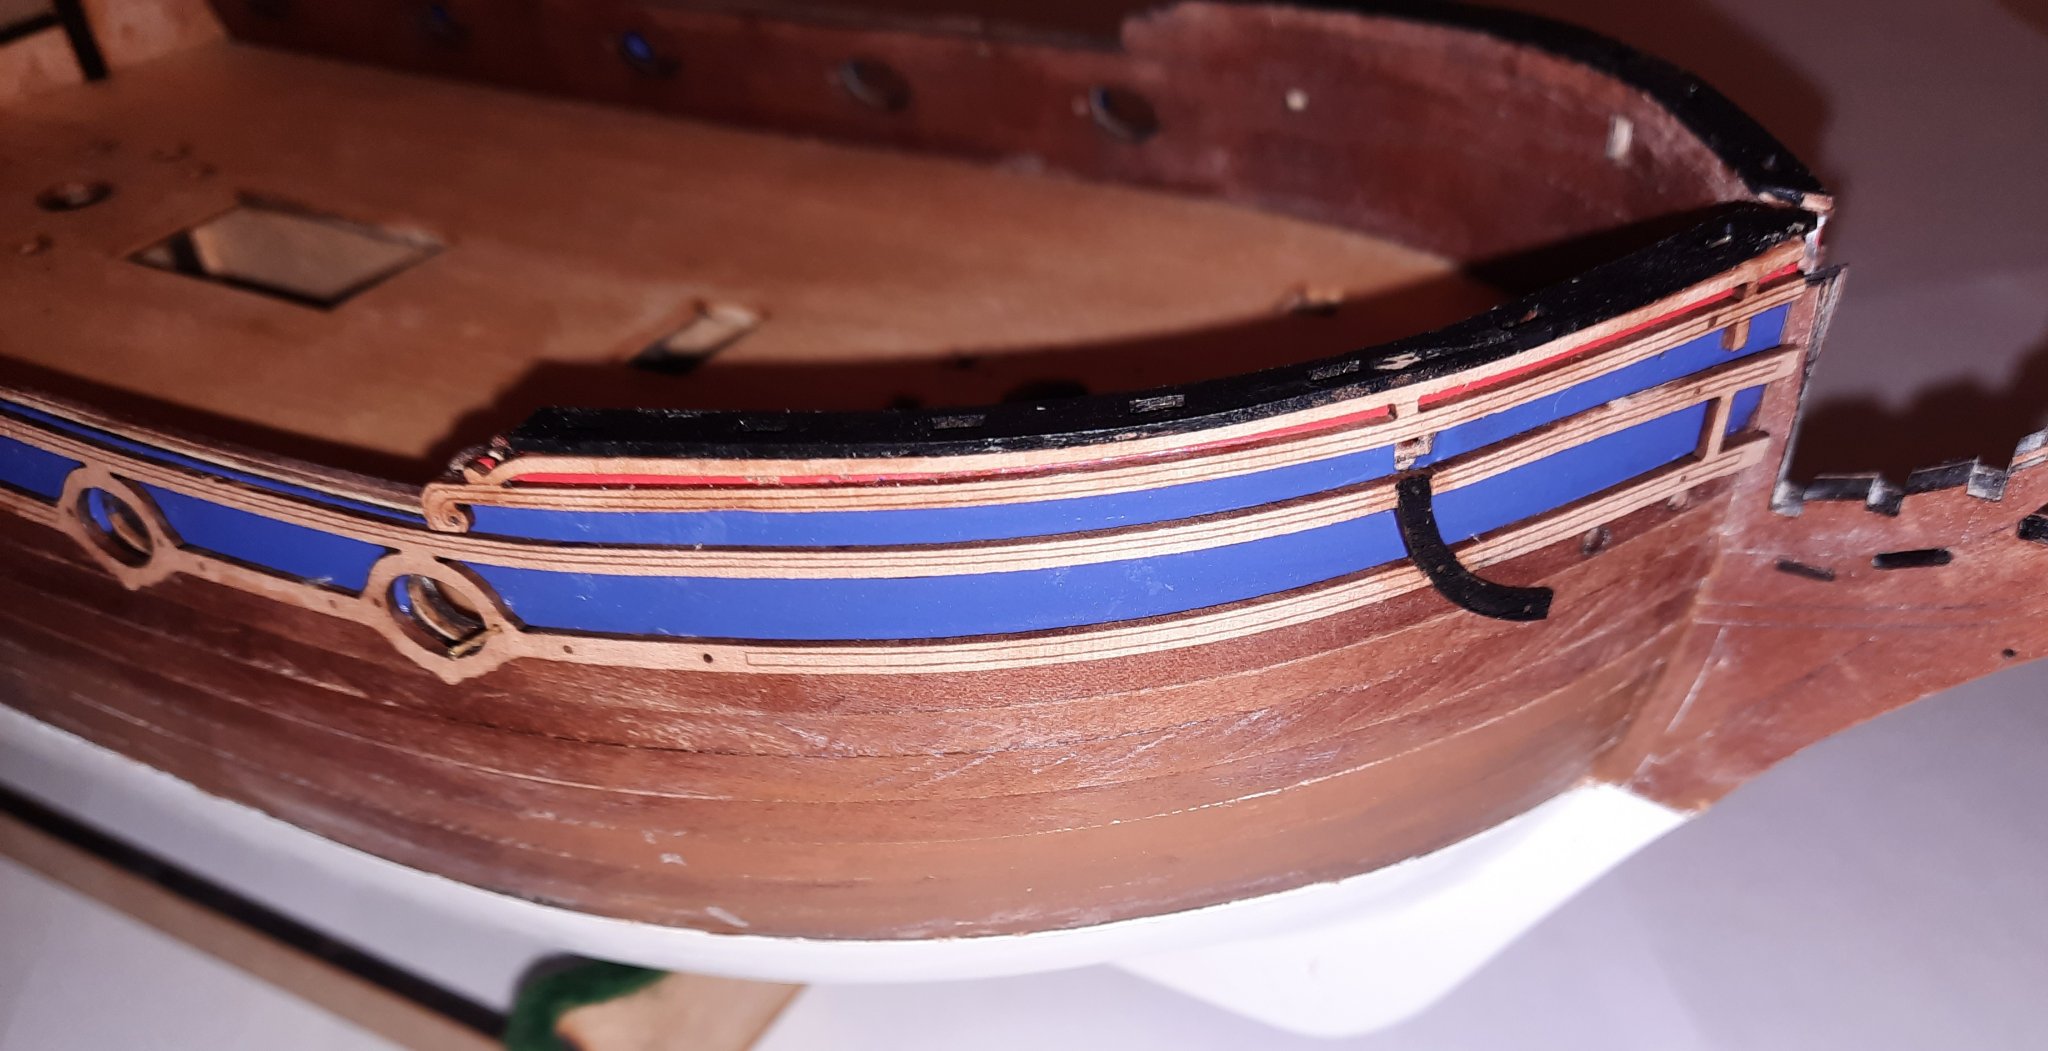
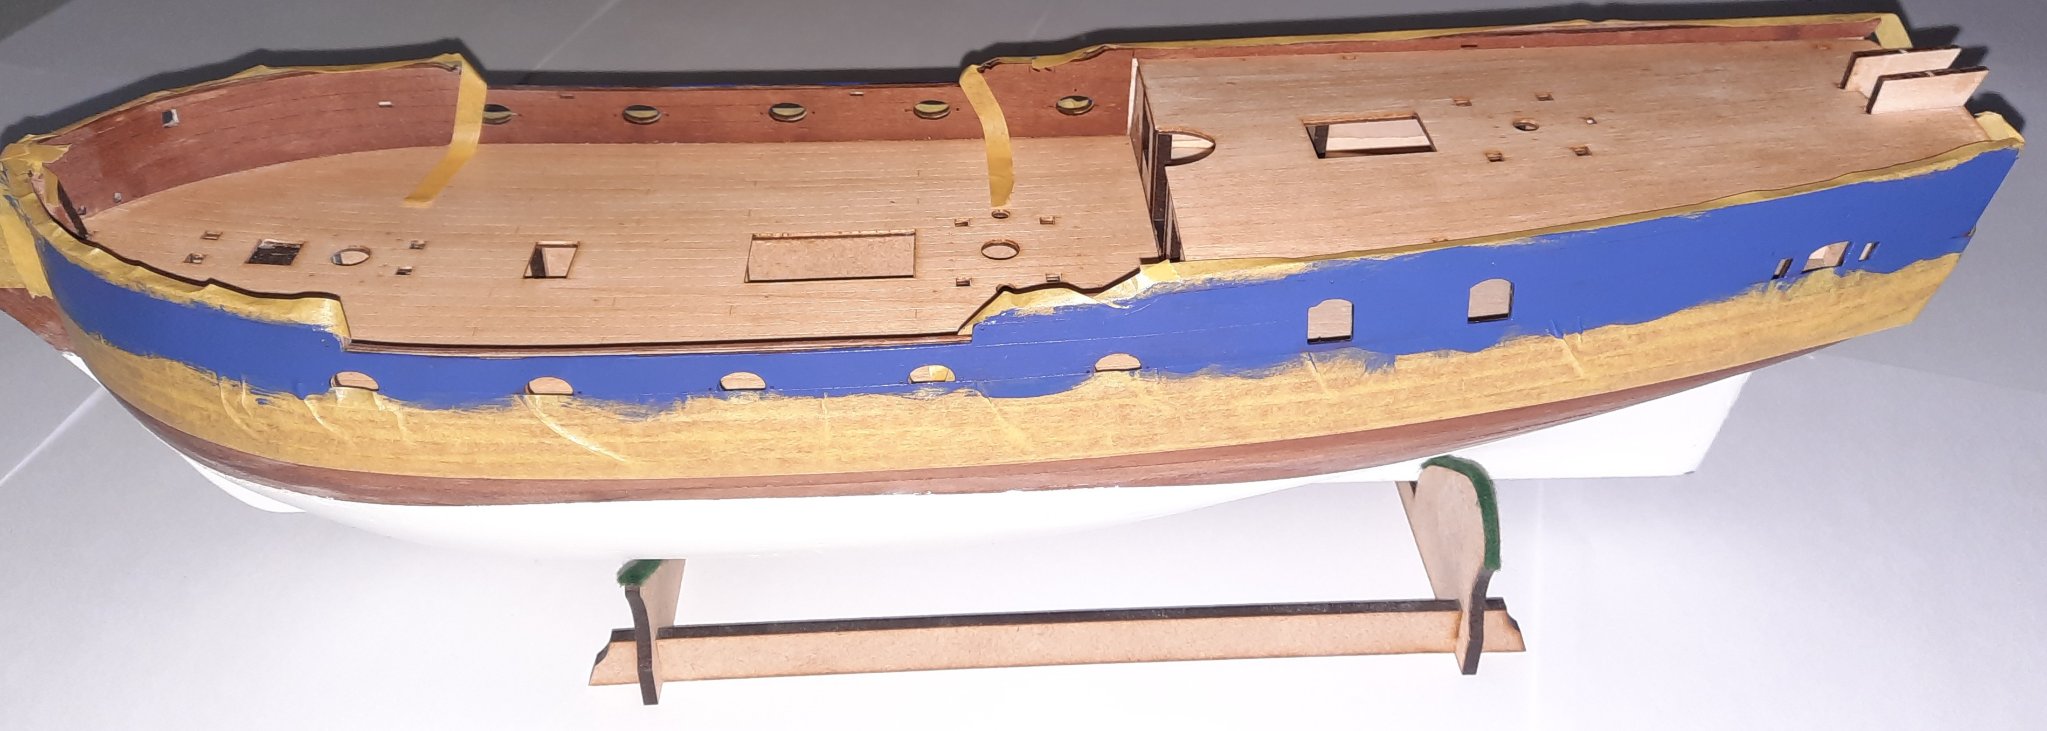
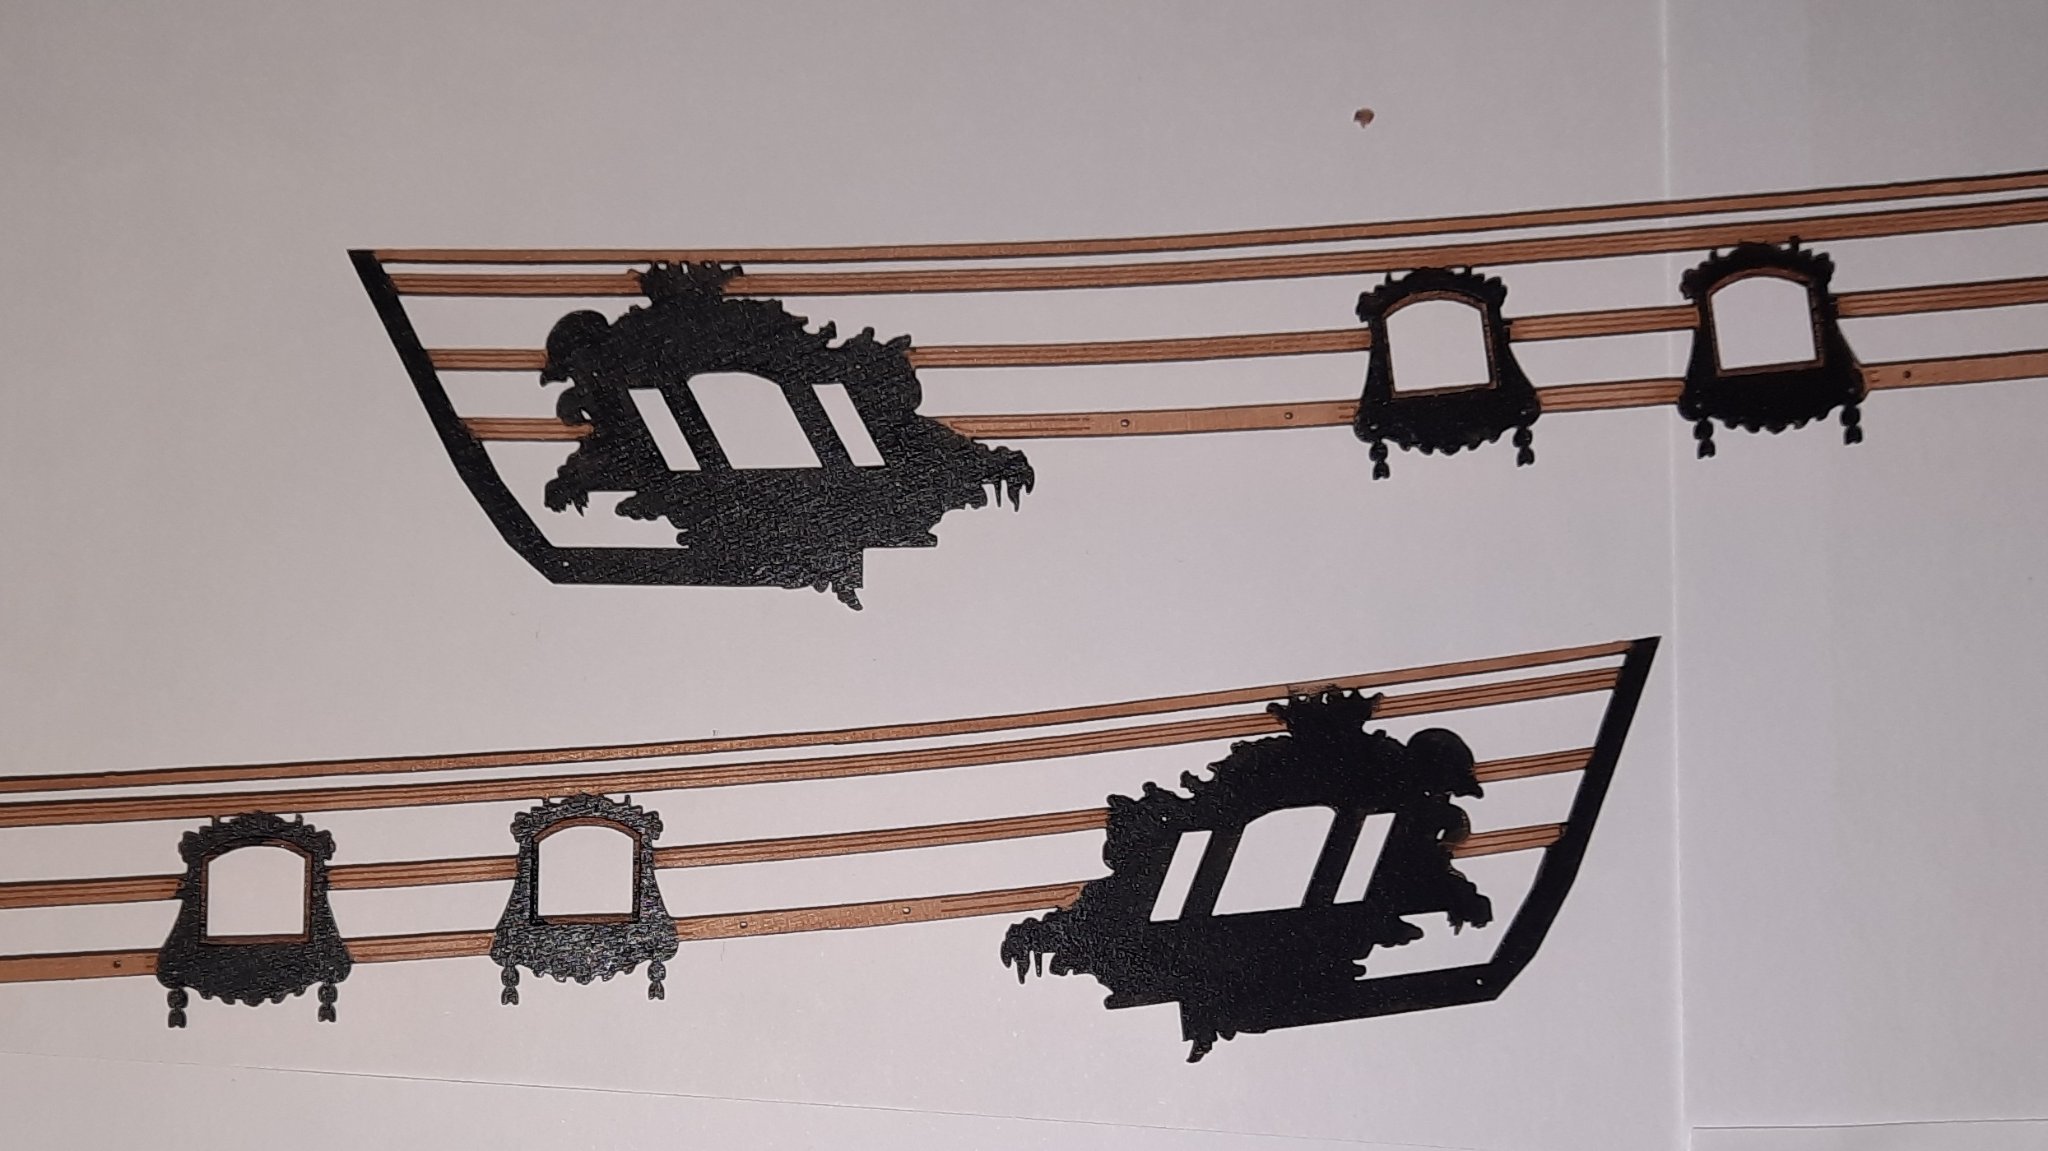
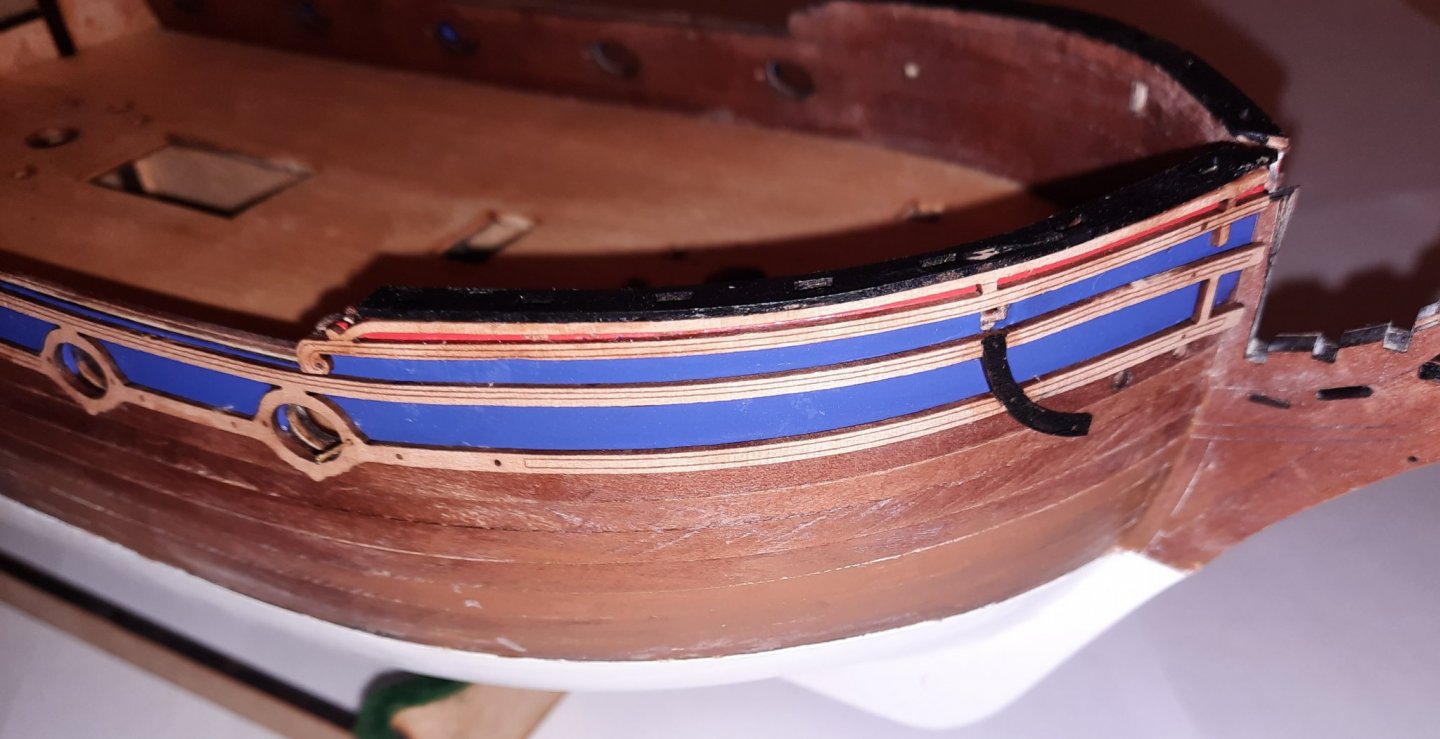
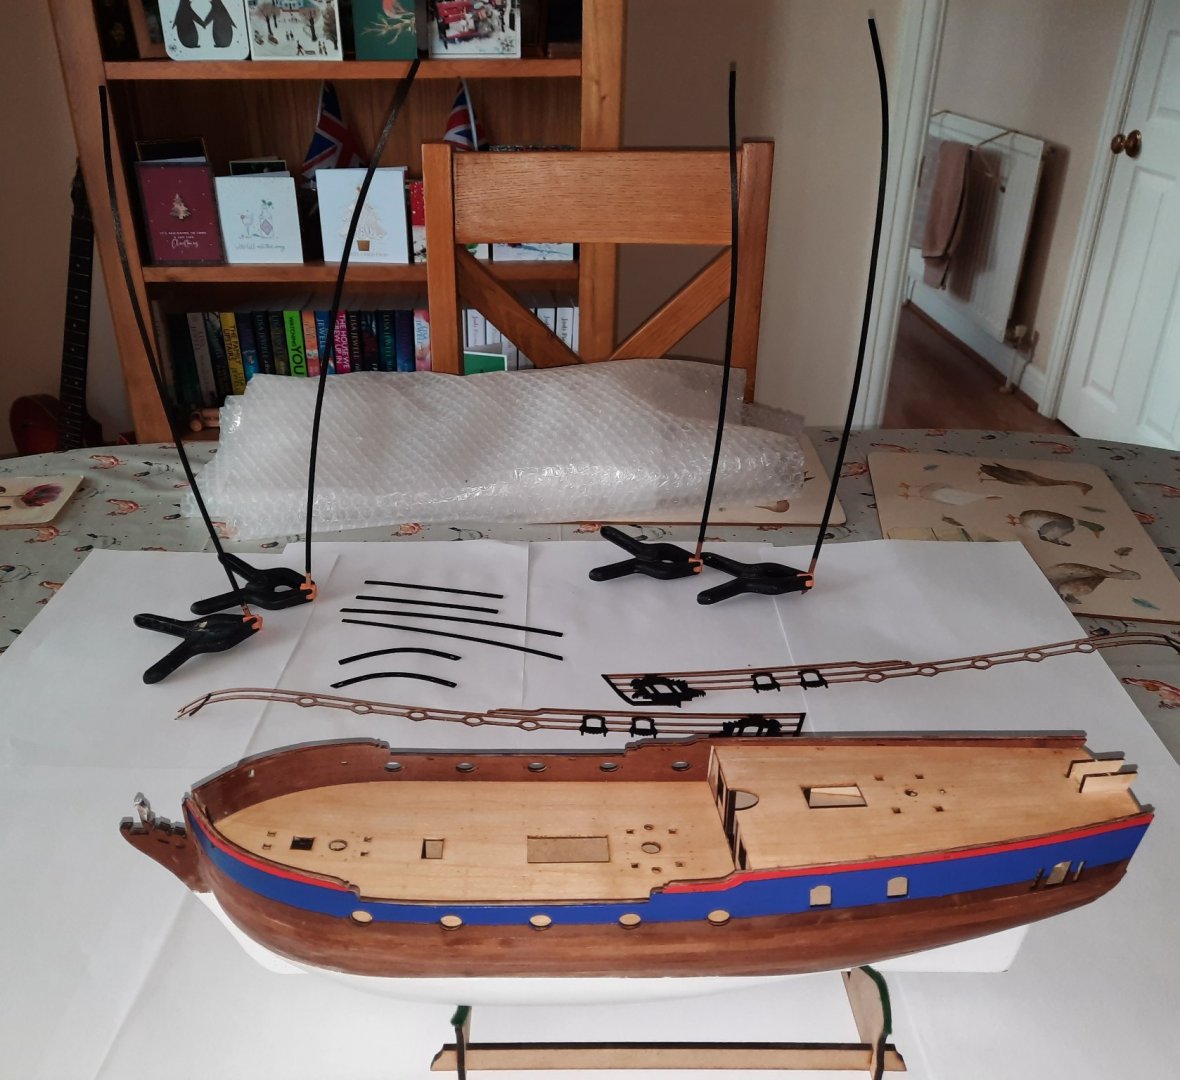
I have now added the two rails to the hull which as added an extra dimension to the hull. I think it will look amazing once I have added all the PE decorations. I have also added the capping to the bow area. The wales have been painted and bent and are ready to be installed. I'm just debating the best method. I am not a fan of using ca and I would prefer to use pva but I will need to find a method to clamp the wales if I use pva.

- 382 replies
-
- 10
-
-
- Vanguard Models
- Duchess of Kingston
- (and 1 more)
-
Thanks, it will look very good once the rails and decorations have been added
-
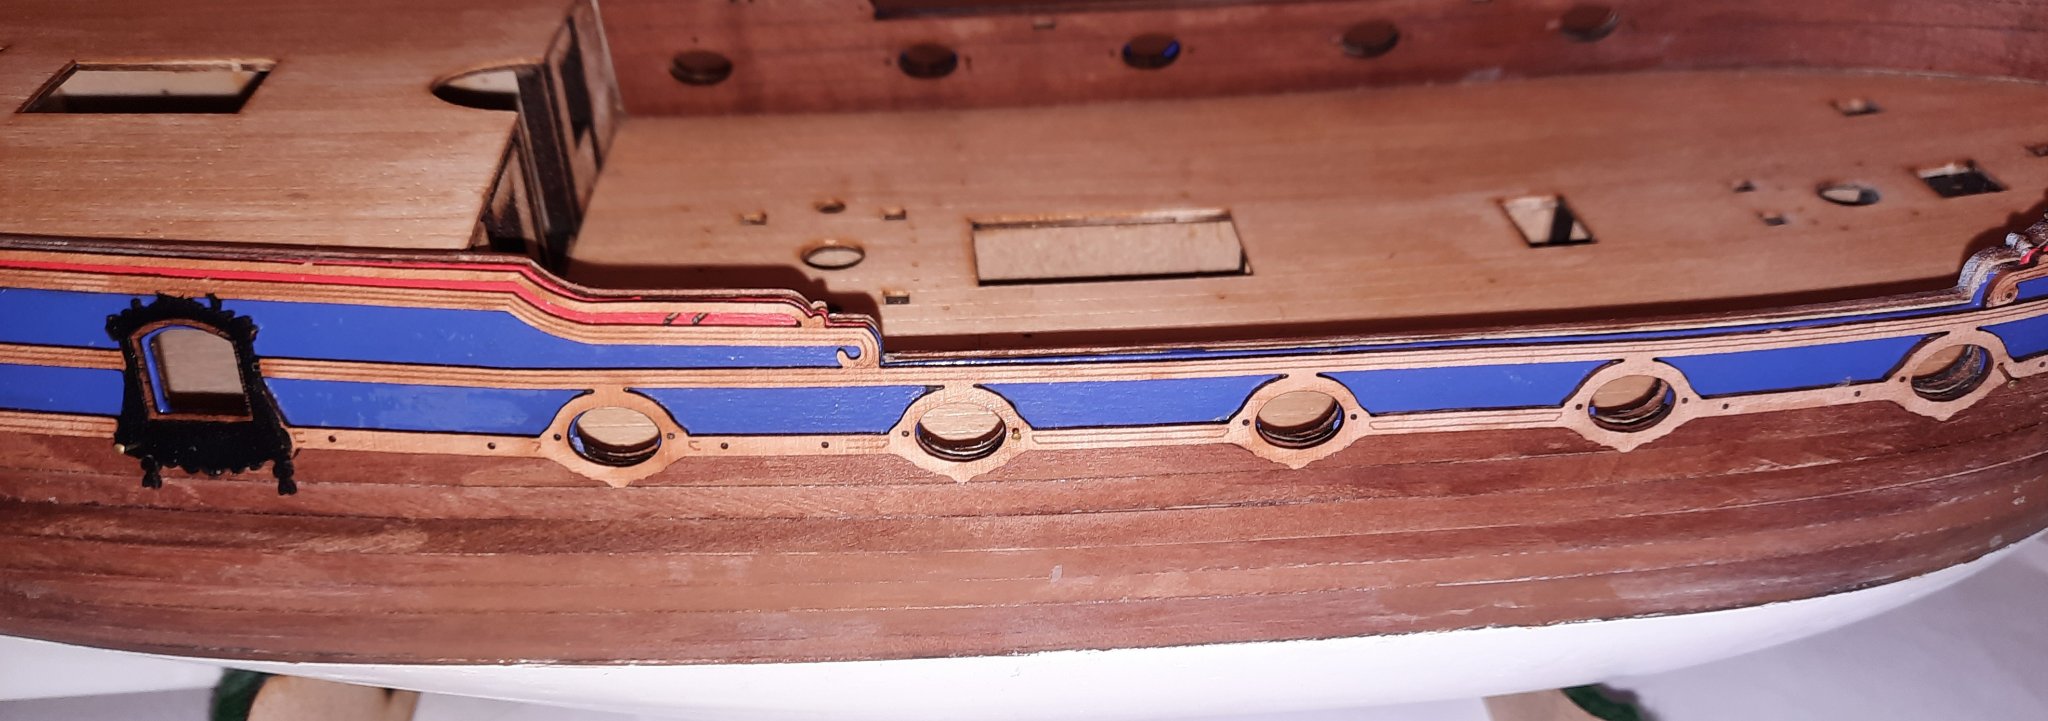
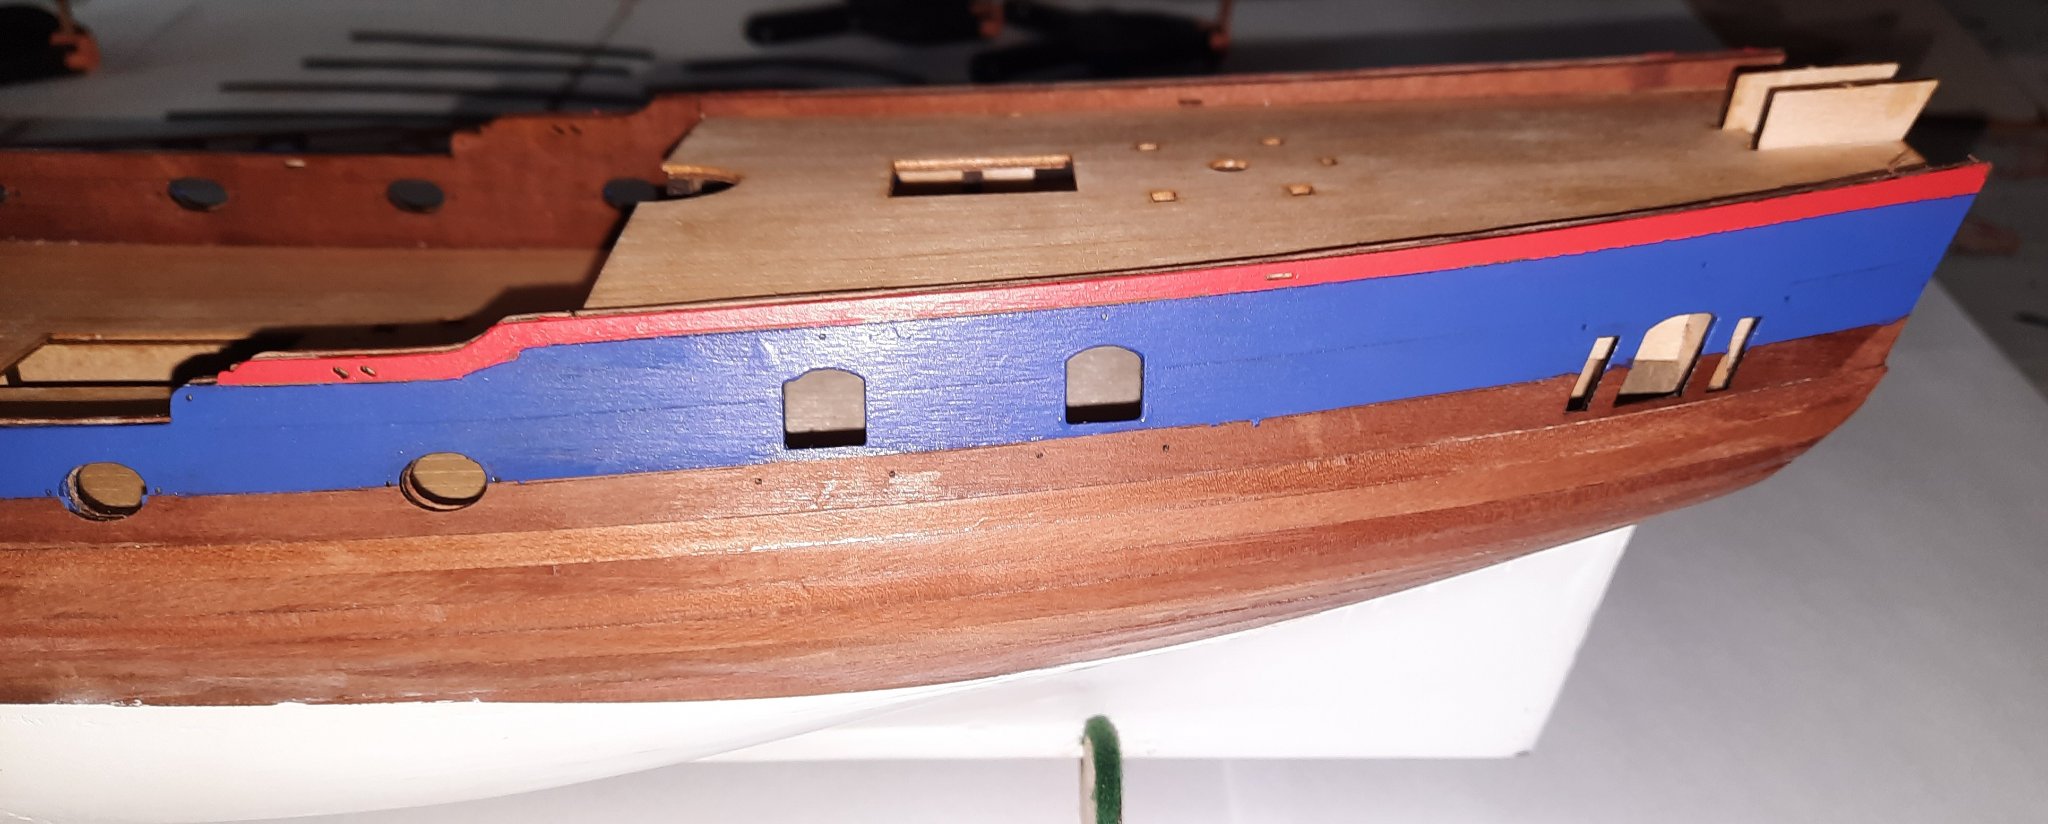
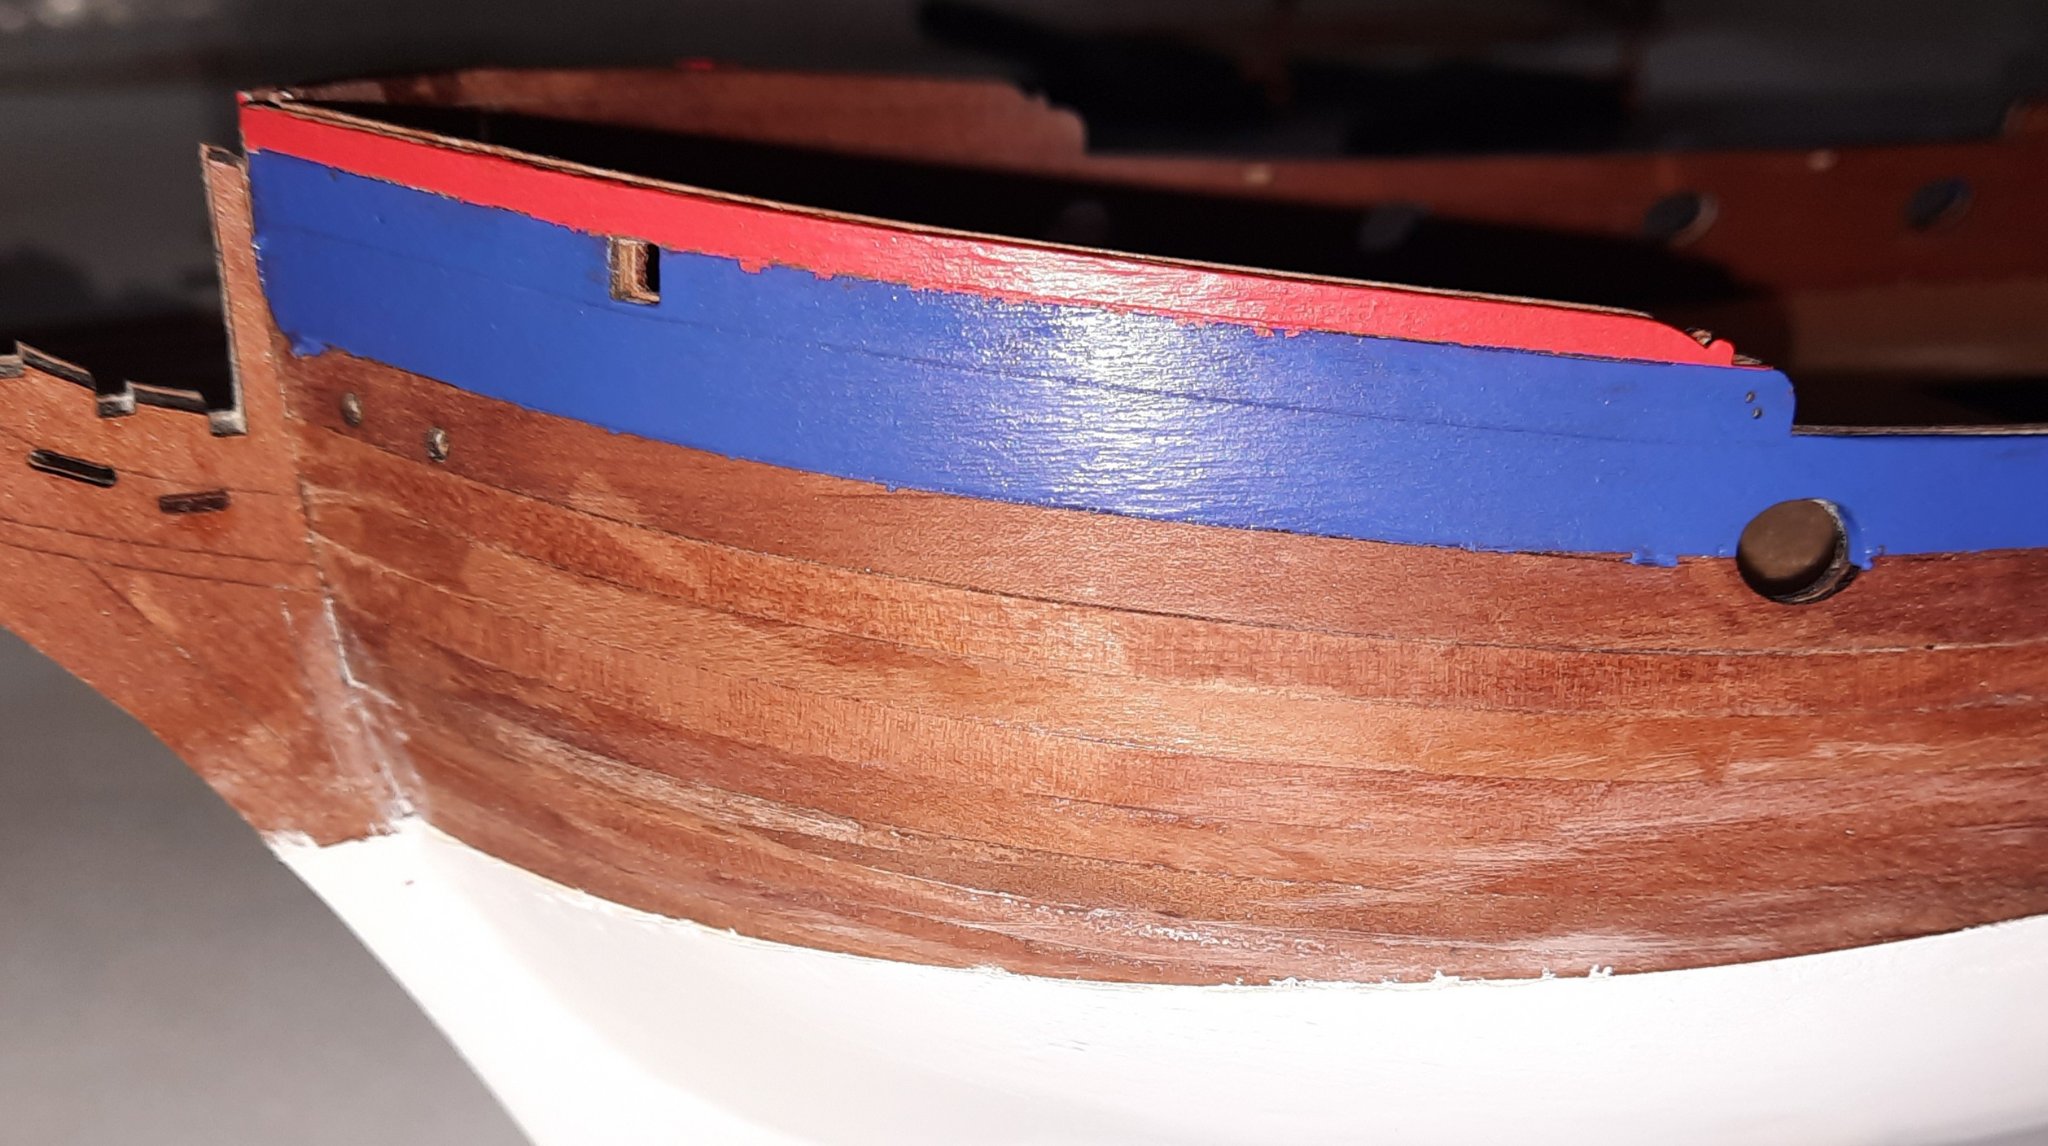
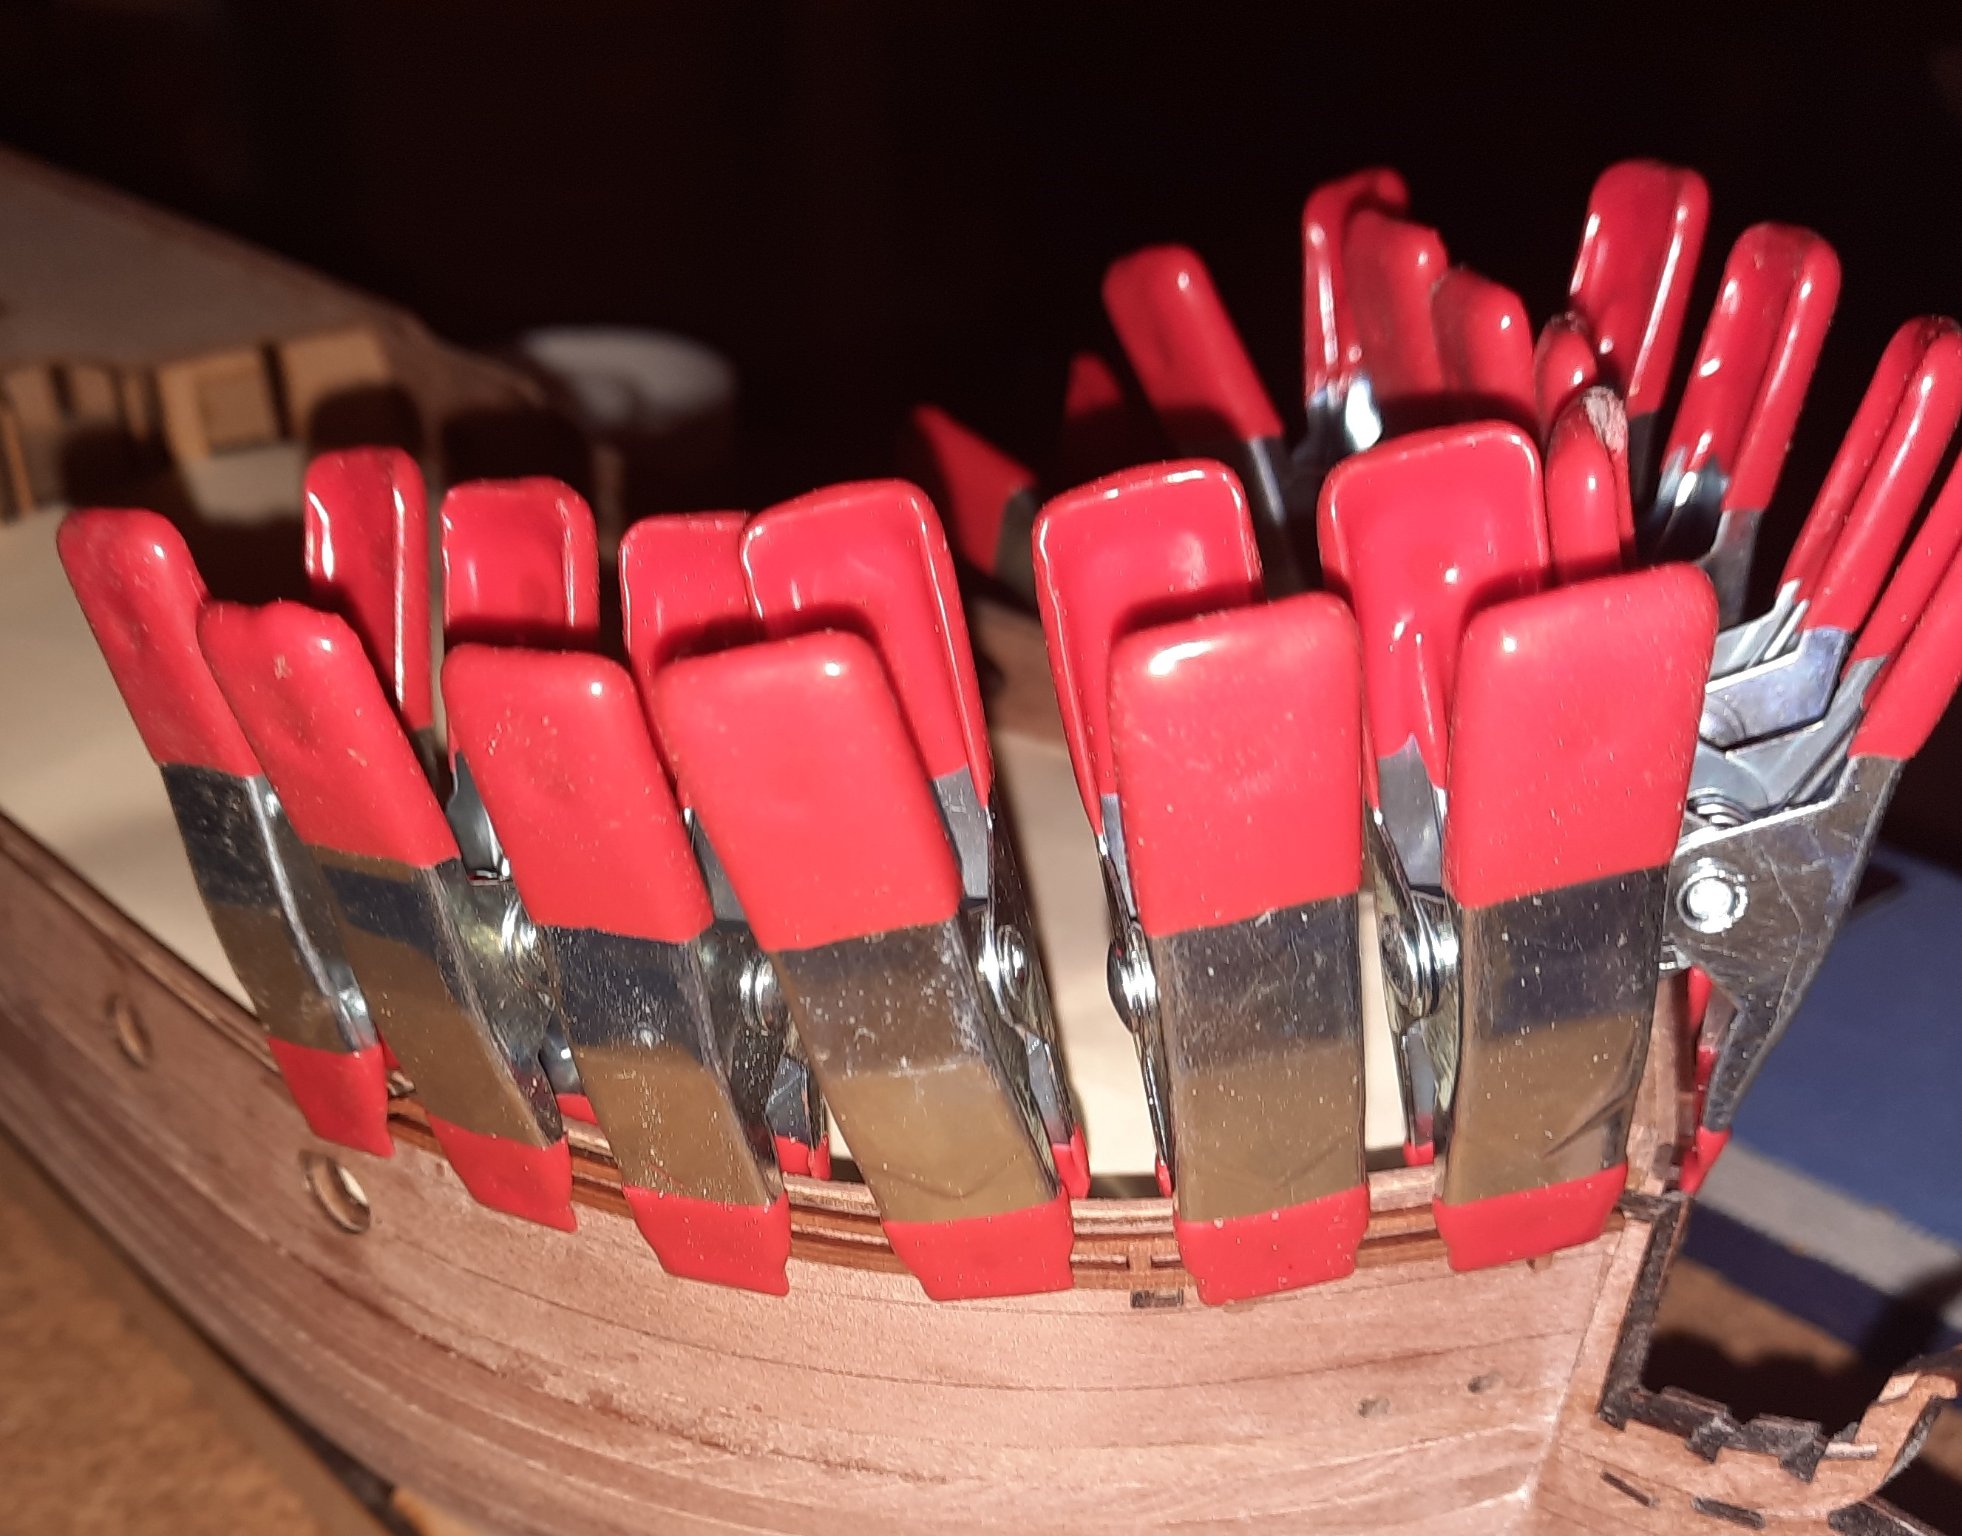
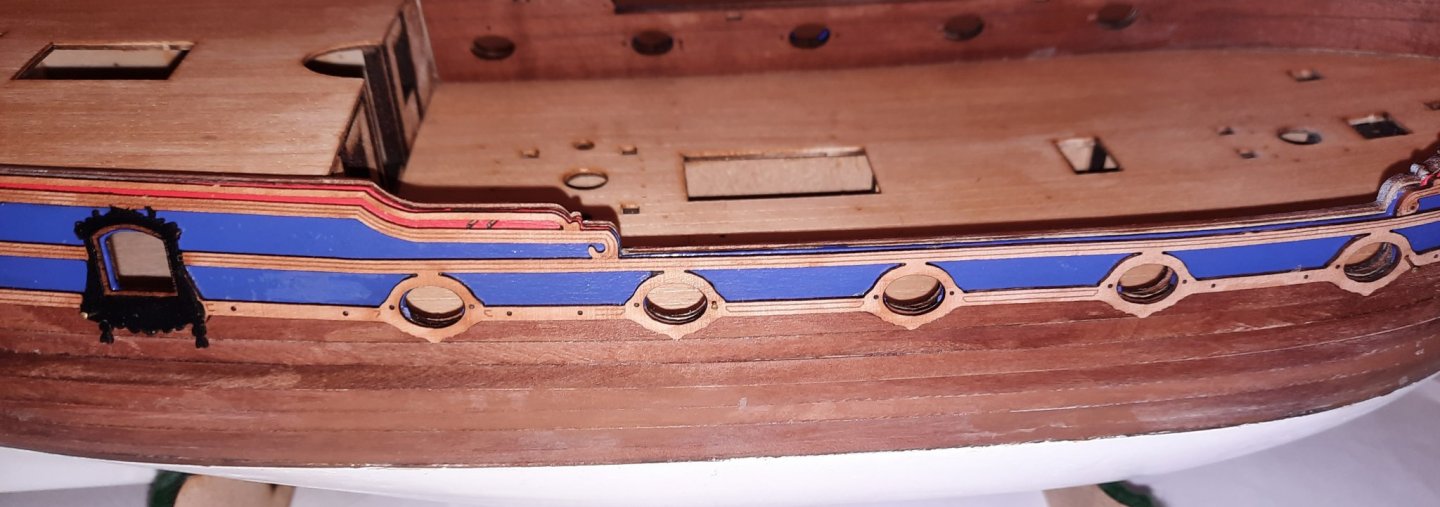
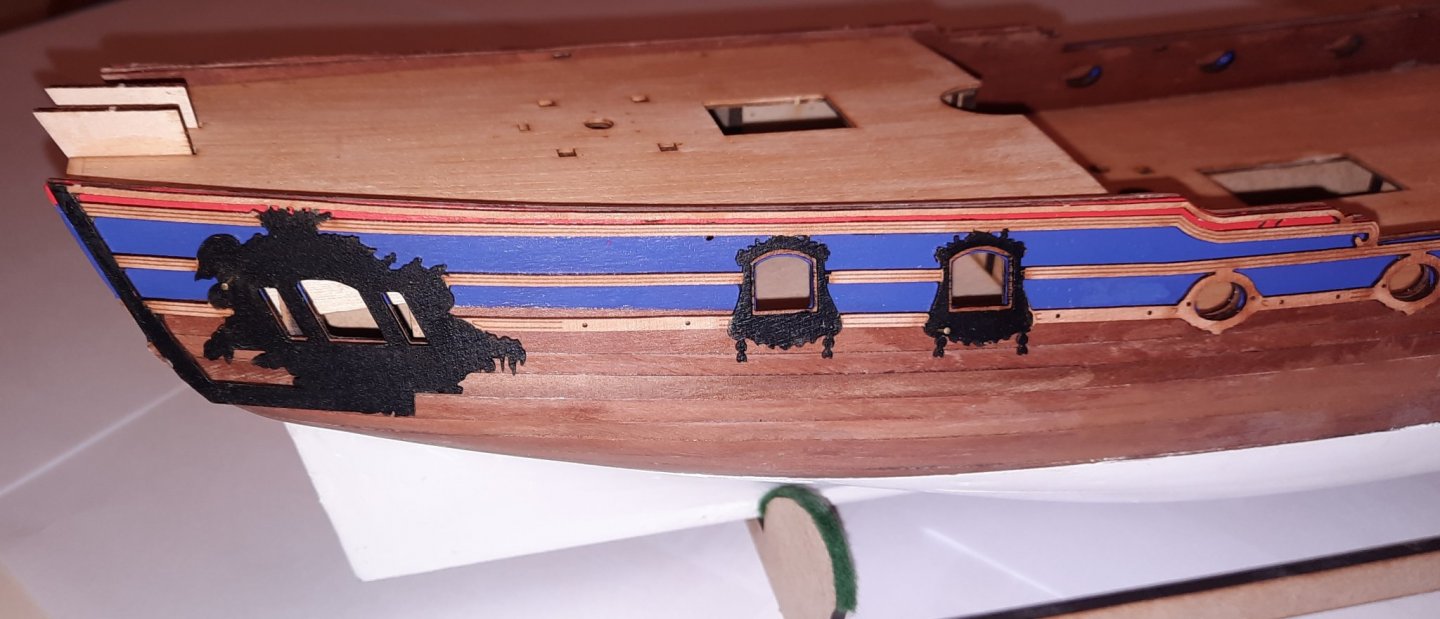
I have now moved on to painting the outer bulwarks (blue and red), main rail patterns, wales and cappings. I started with the outer bulwarks patterns and applied the blue paint (Humbrol Matt Blue No.25) as shown in the picture below. Bulwark taped and painted blue After that I applied the red paint to the outer bulwarks patterns (Vallejo Model Color 17 ml Acrylic Paint - Scarlet). There was a little bit of bleeding, but as can be seen on the third photo when the main rail was dry fitted the bleed is hidden. Stern area Bow area, where a bit of bleed can be seen. Main rails dry fitted, bleeding is hidden. I then moved on to the main rail and applied the black paint to the rear window frame patterns and to the front curve. I also applied black paint to the bulwark capping and to the wales. Rear Main Rails Bow end of main rails Cappings Wales are drying in a vertical position, using clamps.


- 382 replies
-
- 11
-
-
- Vanguard Models
- Duchess of Kingston
- (and 1 more)
-
Hello Jim I plan to start later today/tomorrow. I've been tweaking the hull paint job around the stern this morning. When I checked the finished paint job with my waterline marker I noticed a slightly error which I have now corrected (hopefully).
- 382 replies
-
- 1
-
-
- Vanguard Models
- Duchess of Kingston
- (and 1 more)
-
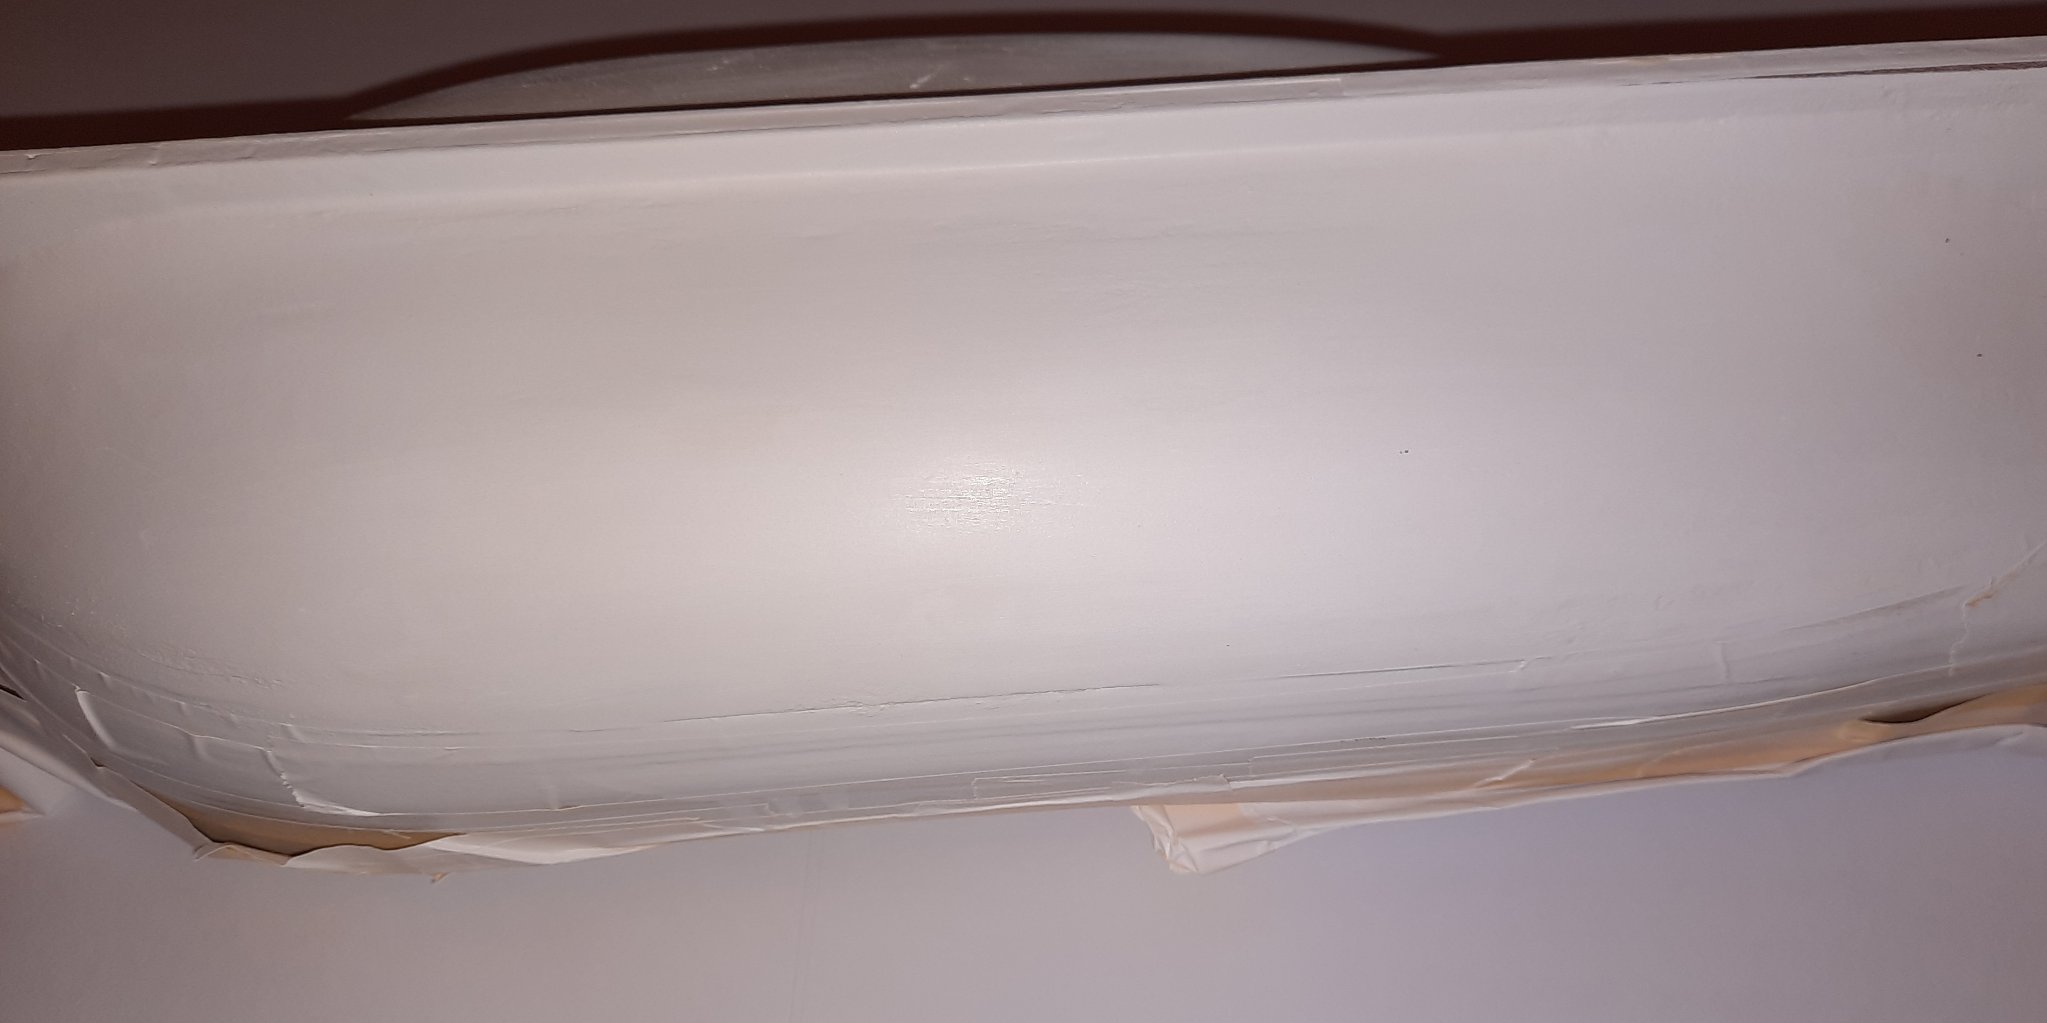
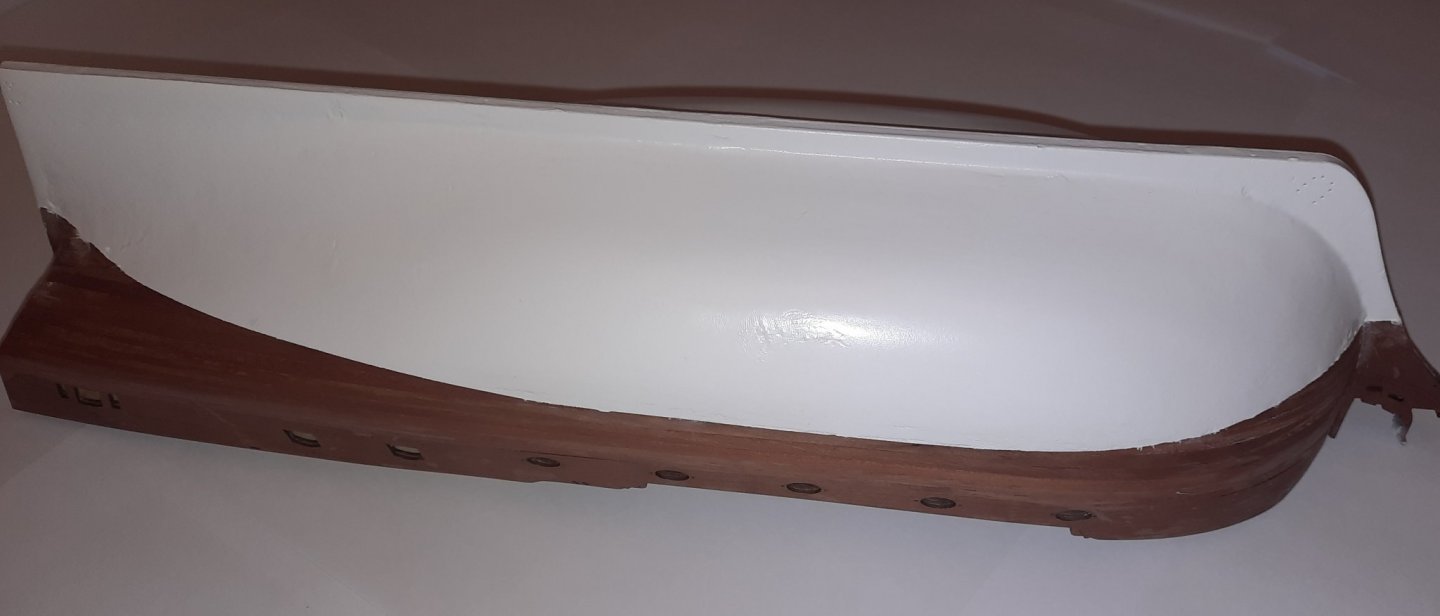
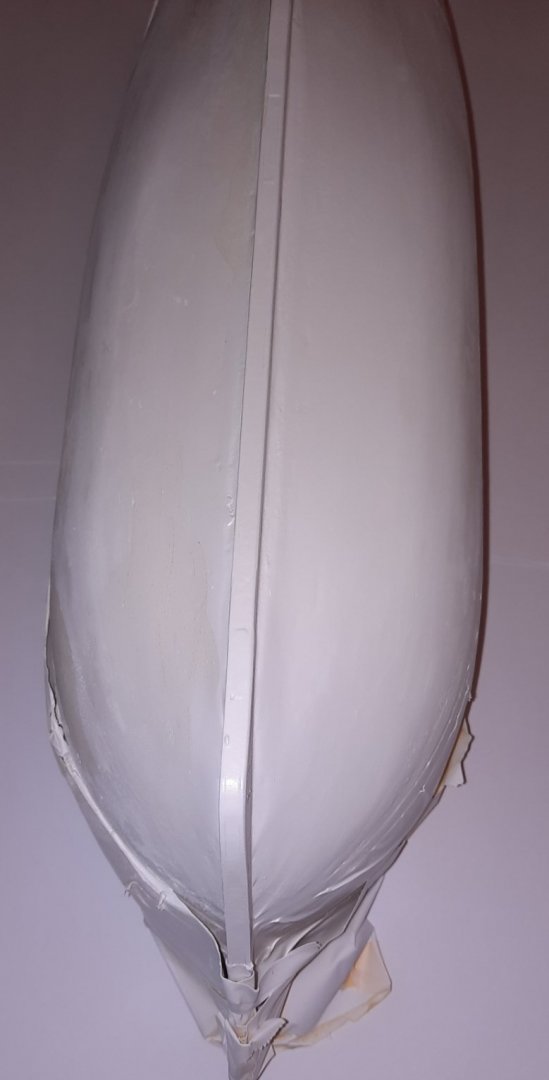
I have now completed the hull painting task. The hull looks smooth and sleek and (almost) fit for a Duchess. When I removed the tape there was a small bit of leakage around the stern and bow area. Using some acetone and warm soapy water applied with some cotton bud sticks I was able to remove the excess without too much difficulty. Good job I applied a polyurethane varnish coat above the water line before I started painting. I will leave the paint to fully dry for 24 hours before I neaten the painted edge line (if needed) and apply the clear polyurethane matt varnish finish. I am happy with the end result, it is by no means perfect but is good enough for me. Once the deck features, hull decorations, masts and rigging has been added no one will inspect the hull paint job that closely anyway.

- 382 replies
-
- 10
-
-
- Vanguard Models
- Duchess of Kingston
- (and 1 more)
-
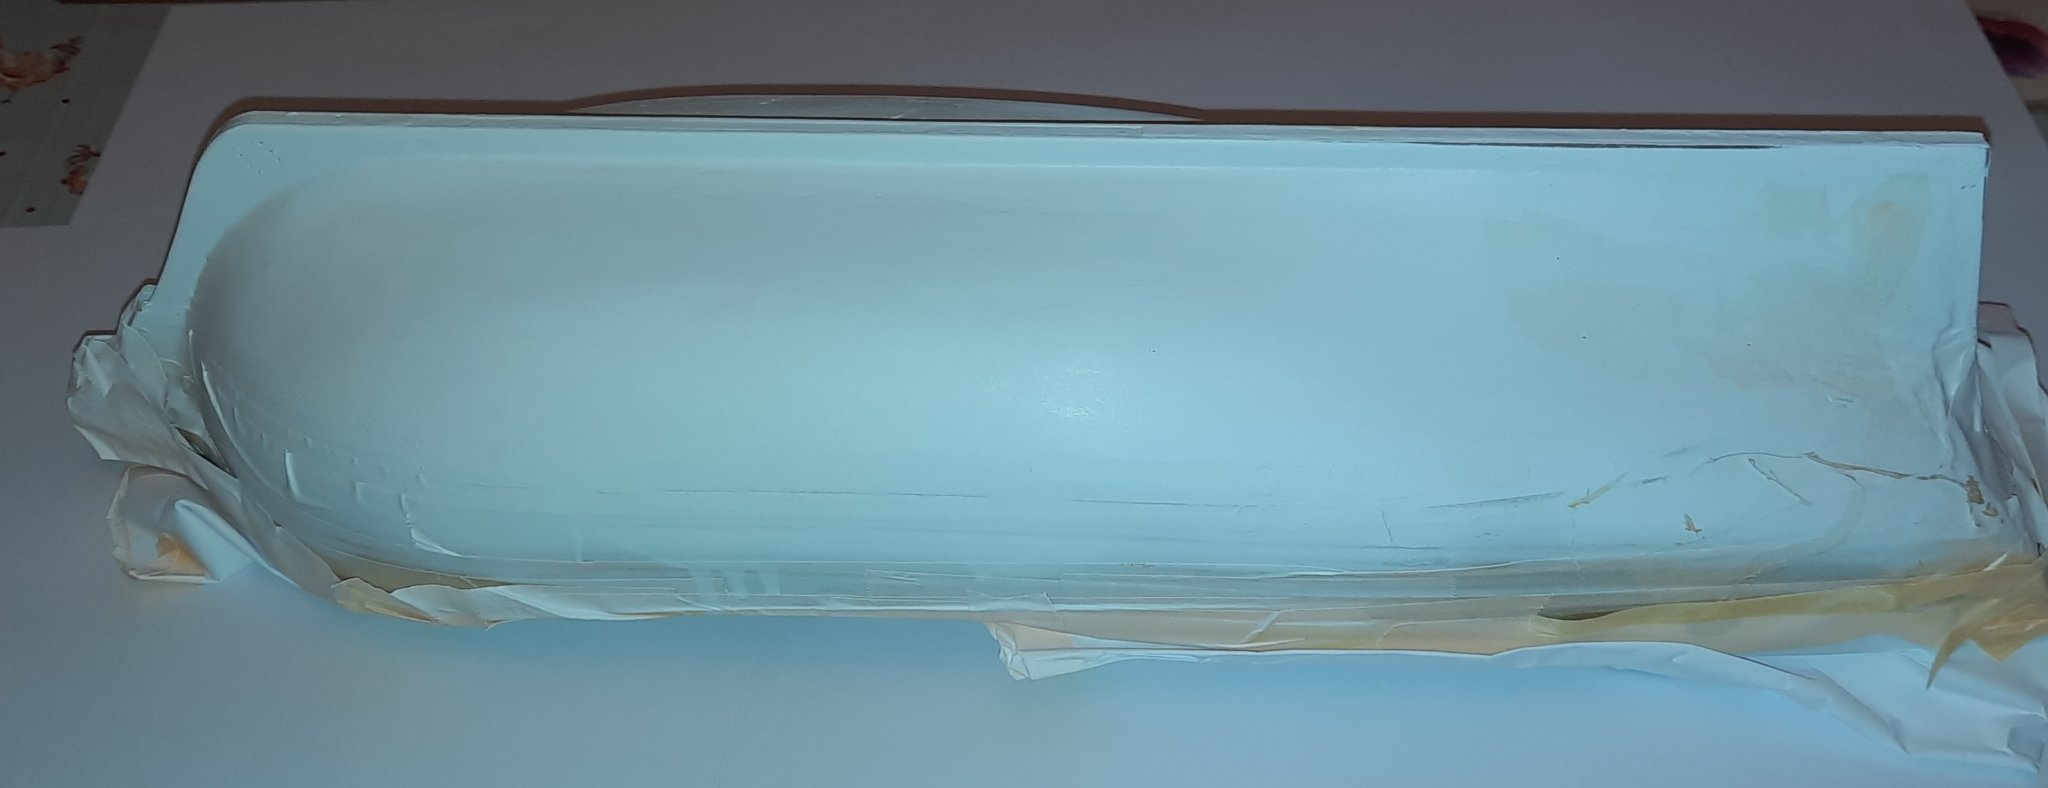
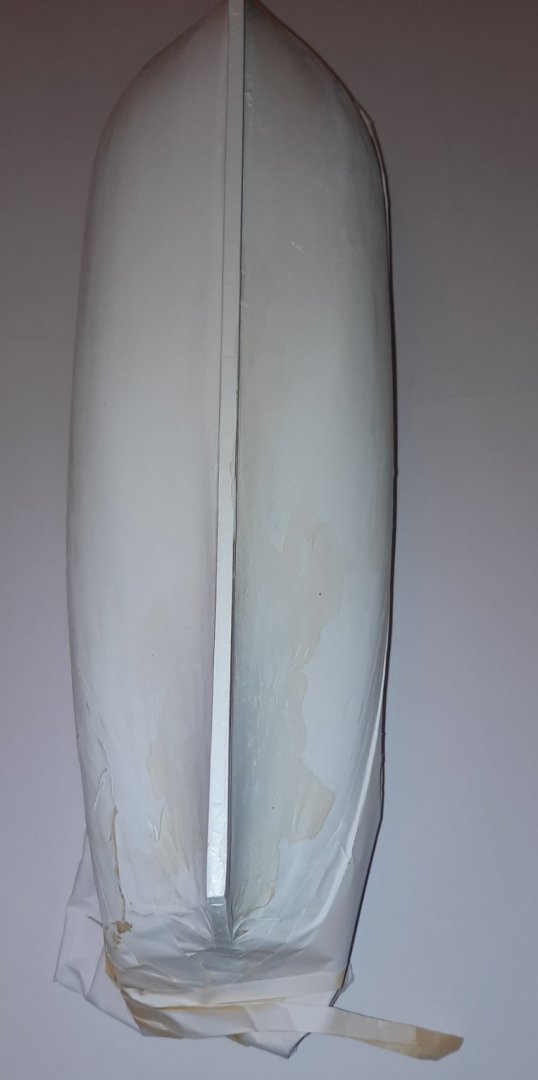
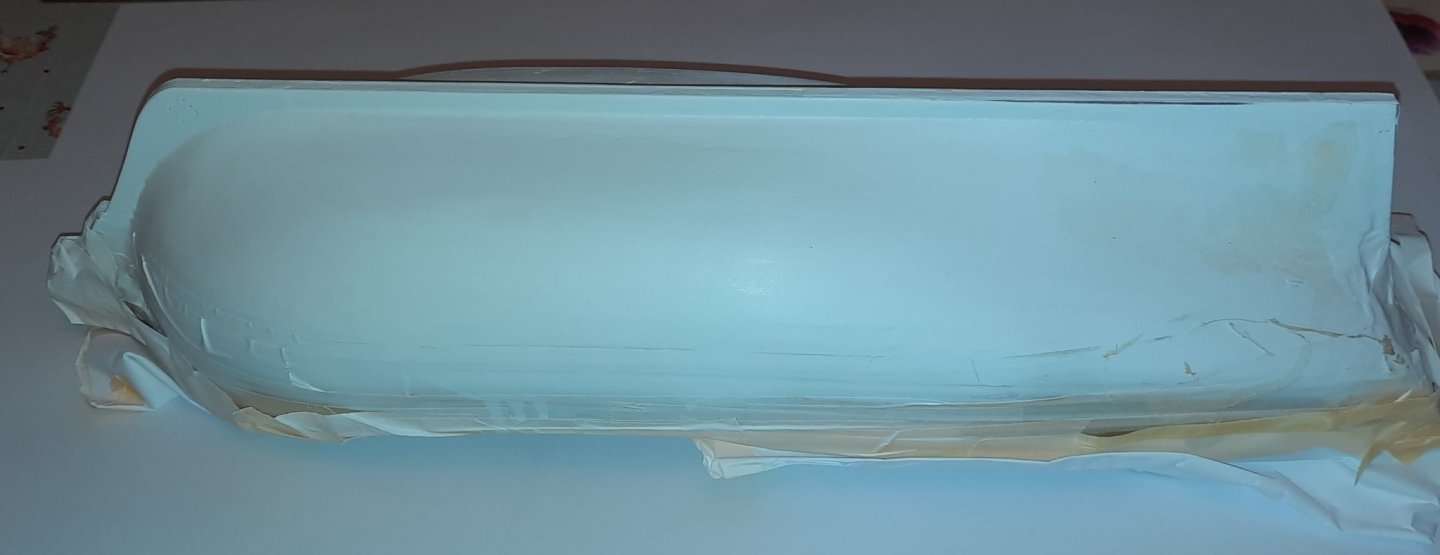
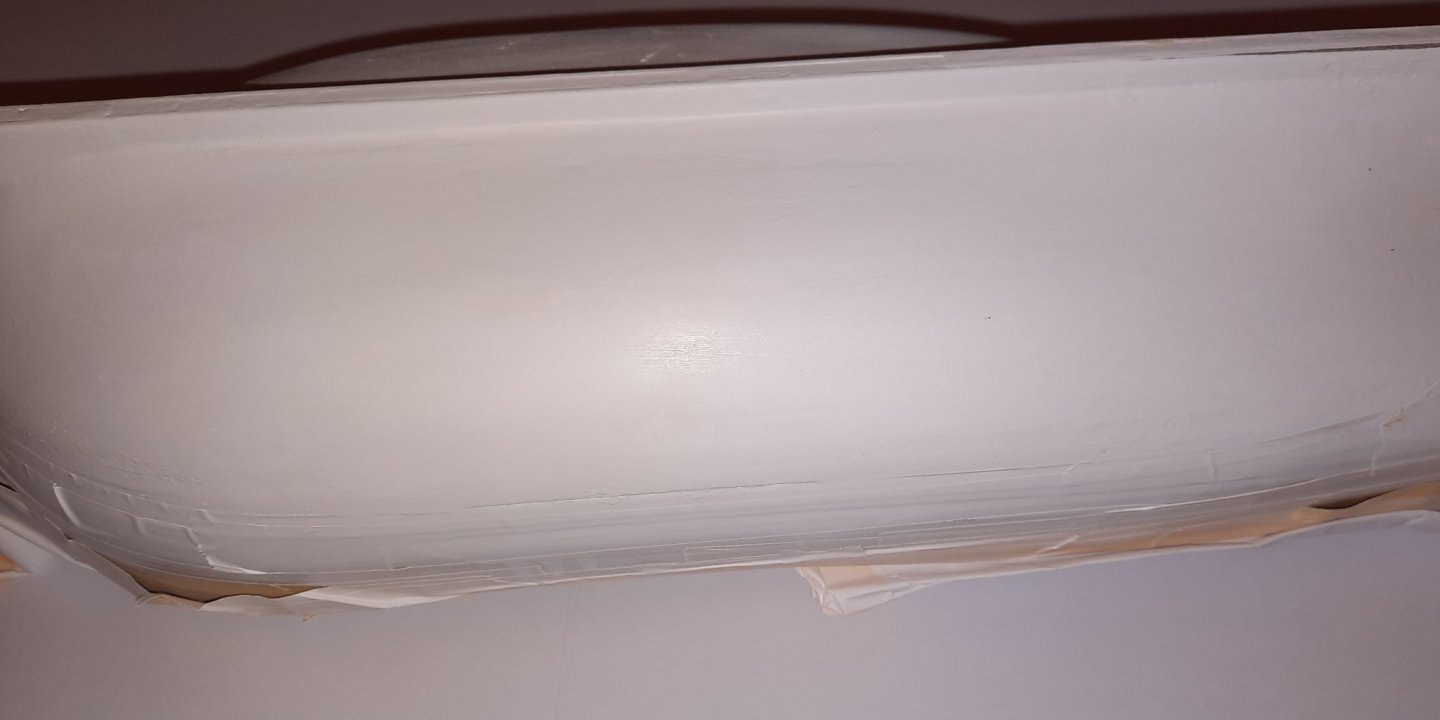
I have continued with applying coats of white paint below the water line today. In between coats I have been giving the hull a light sand and I have continued to apply filler where needed. The hull is looking (and feeling) smooth, but it is not as smooth as Jim's prototype build. I will give the hull a few more coats light coats of paint tomorrow before removing the tape for the big reveal! I have applied some diluted filler to the stern area, hence the brown tinge on the photo below Looks smooth and blemish free midships. The bow area is not perfect but overall it looks reasonable OK The stern area has been the most difficult area to get smooth, as can be seen below
- 382 replies
-
- 7
-
-
- Vanguard Models
- Duchess of Kingston
- (and 1 more)
-
Great work, I agree with Jim the polyurethane varnish sorted out any minor colour match issues.
- 201 replies
-
- 1
-
-
- Duchess of Kingston
- Vanguard Models
- (and 1 more)
-
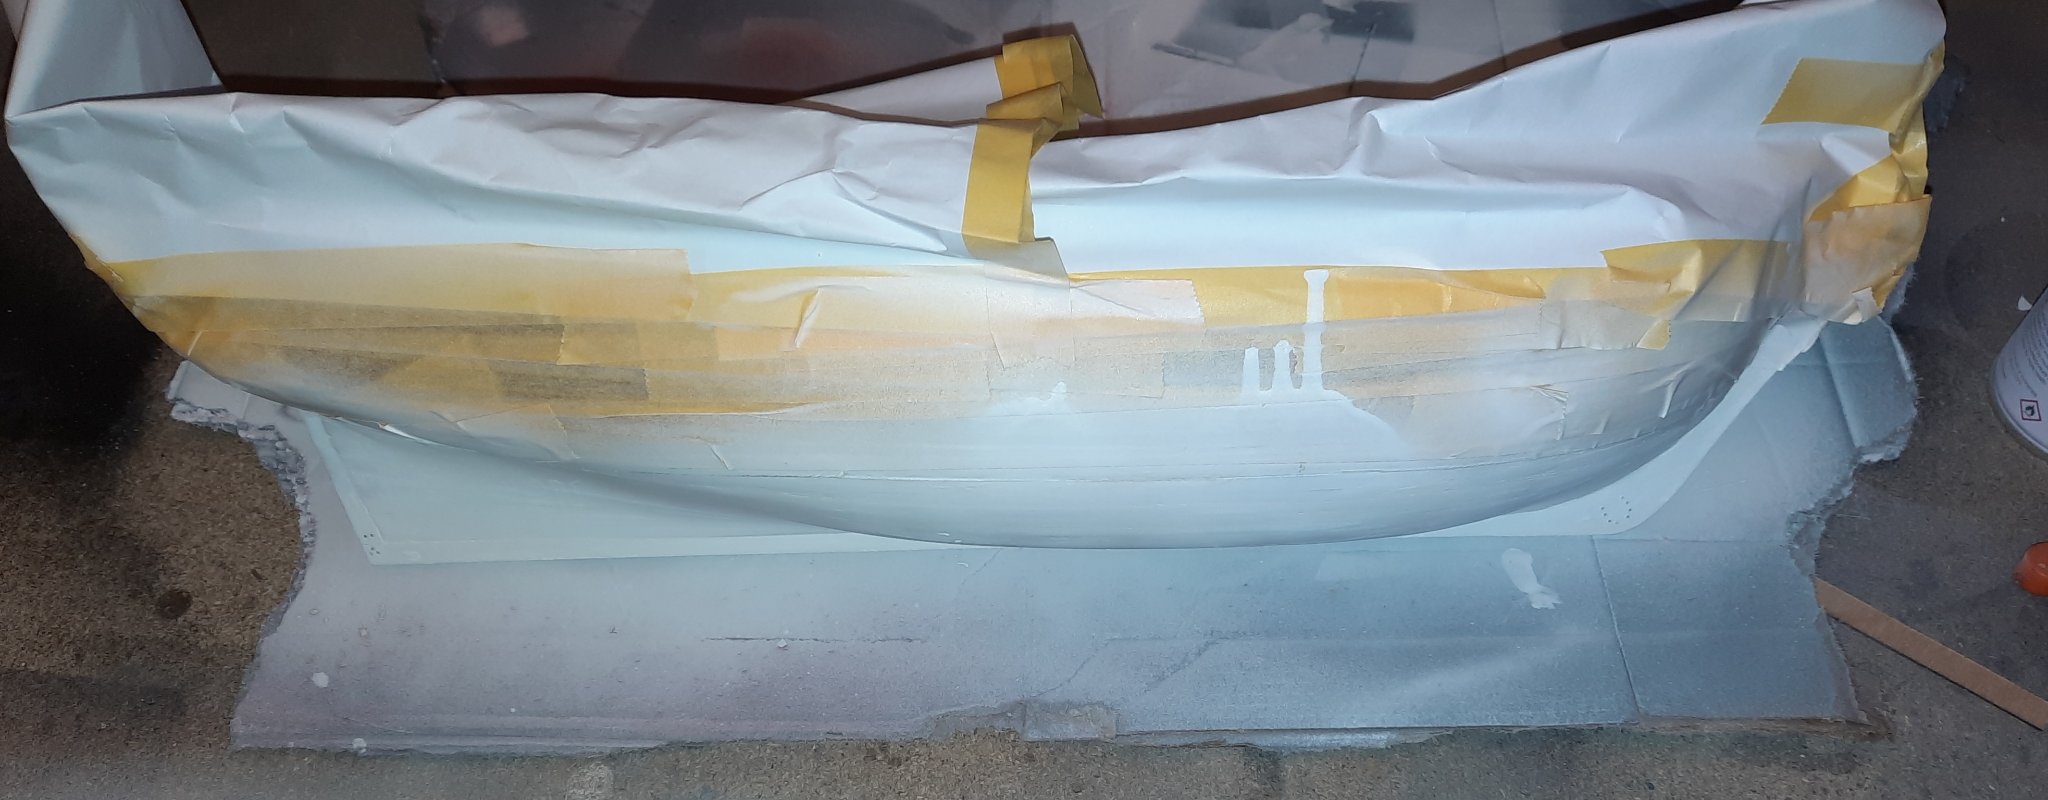
The Duchess is now in the paint shop. I decided to paint the hull white before adding the rails and wales. I have applied plenty of tape to the hull (above the water line) and I have also protected the deck areas. In the picture below the hull has had one coat of paint. This is going to take time to complete as I will have to wait for the paint to dry before sanding, filling and applying further coats. Fingers crossed there will not be any leakage I have sanded, filled and applied a 2nd coat of paint and it is starting to look better but does now require another application of diluted filler in a couple of areas, mainly around the stern post area.

- 382 replies
-
- 10
-
-
- Vanguard Models
- Duchess of Kingston
- (and 1 more)
-
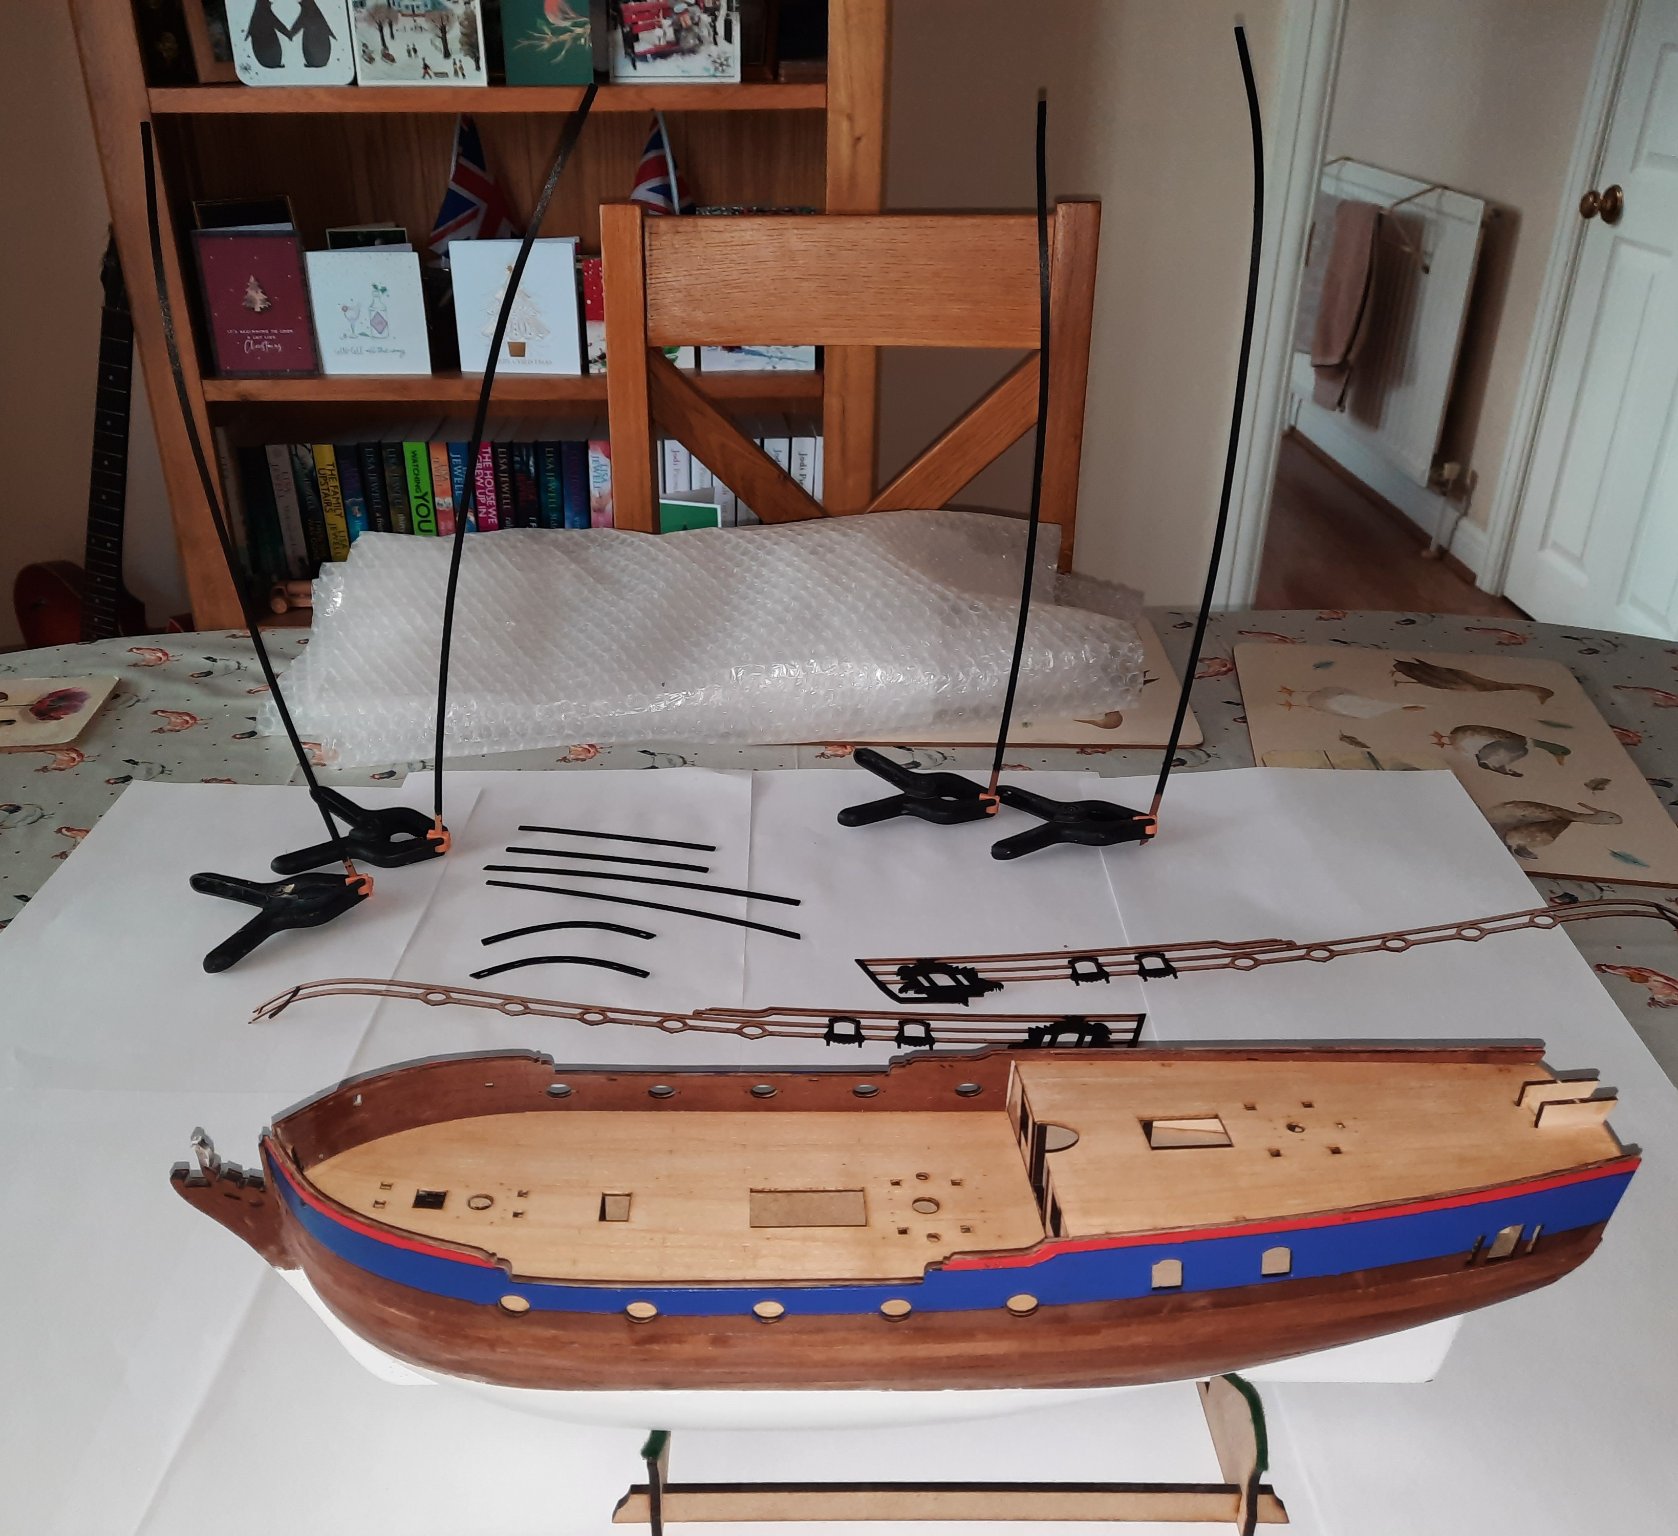
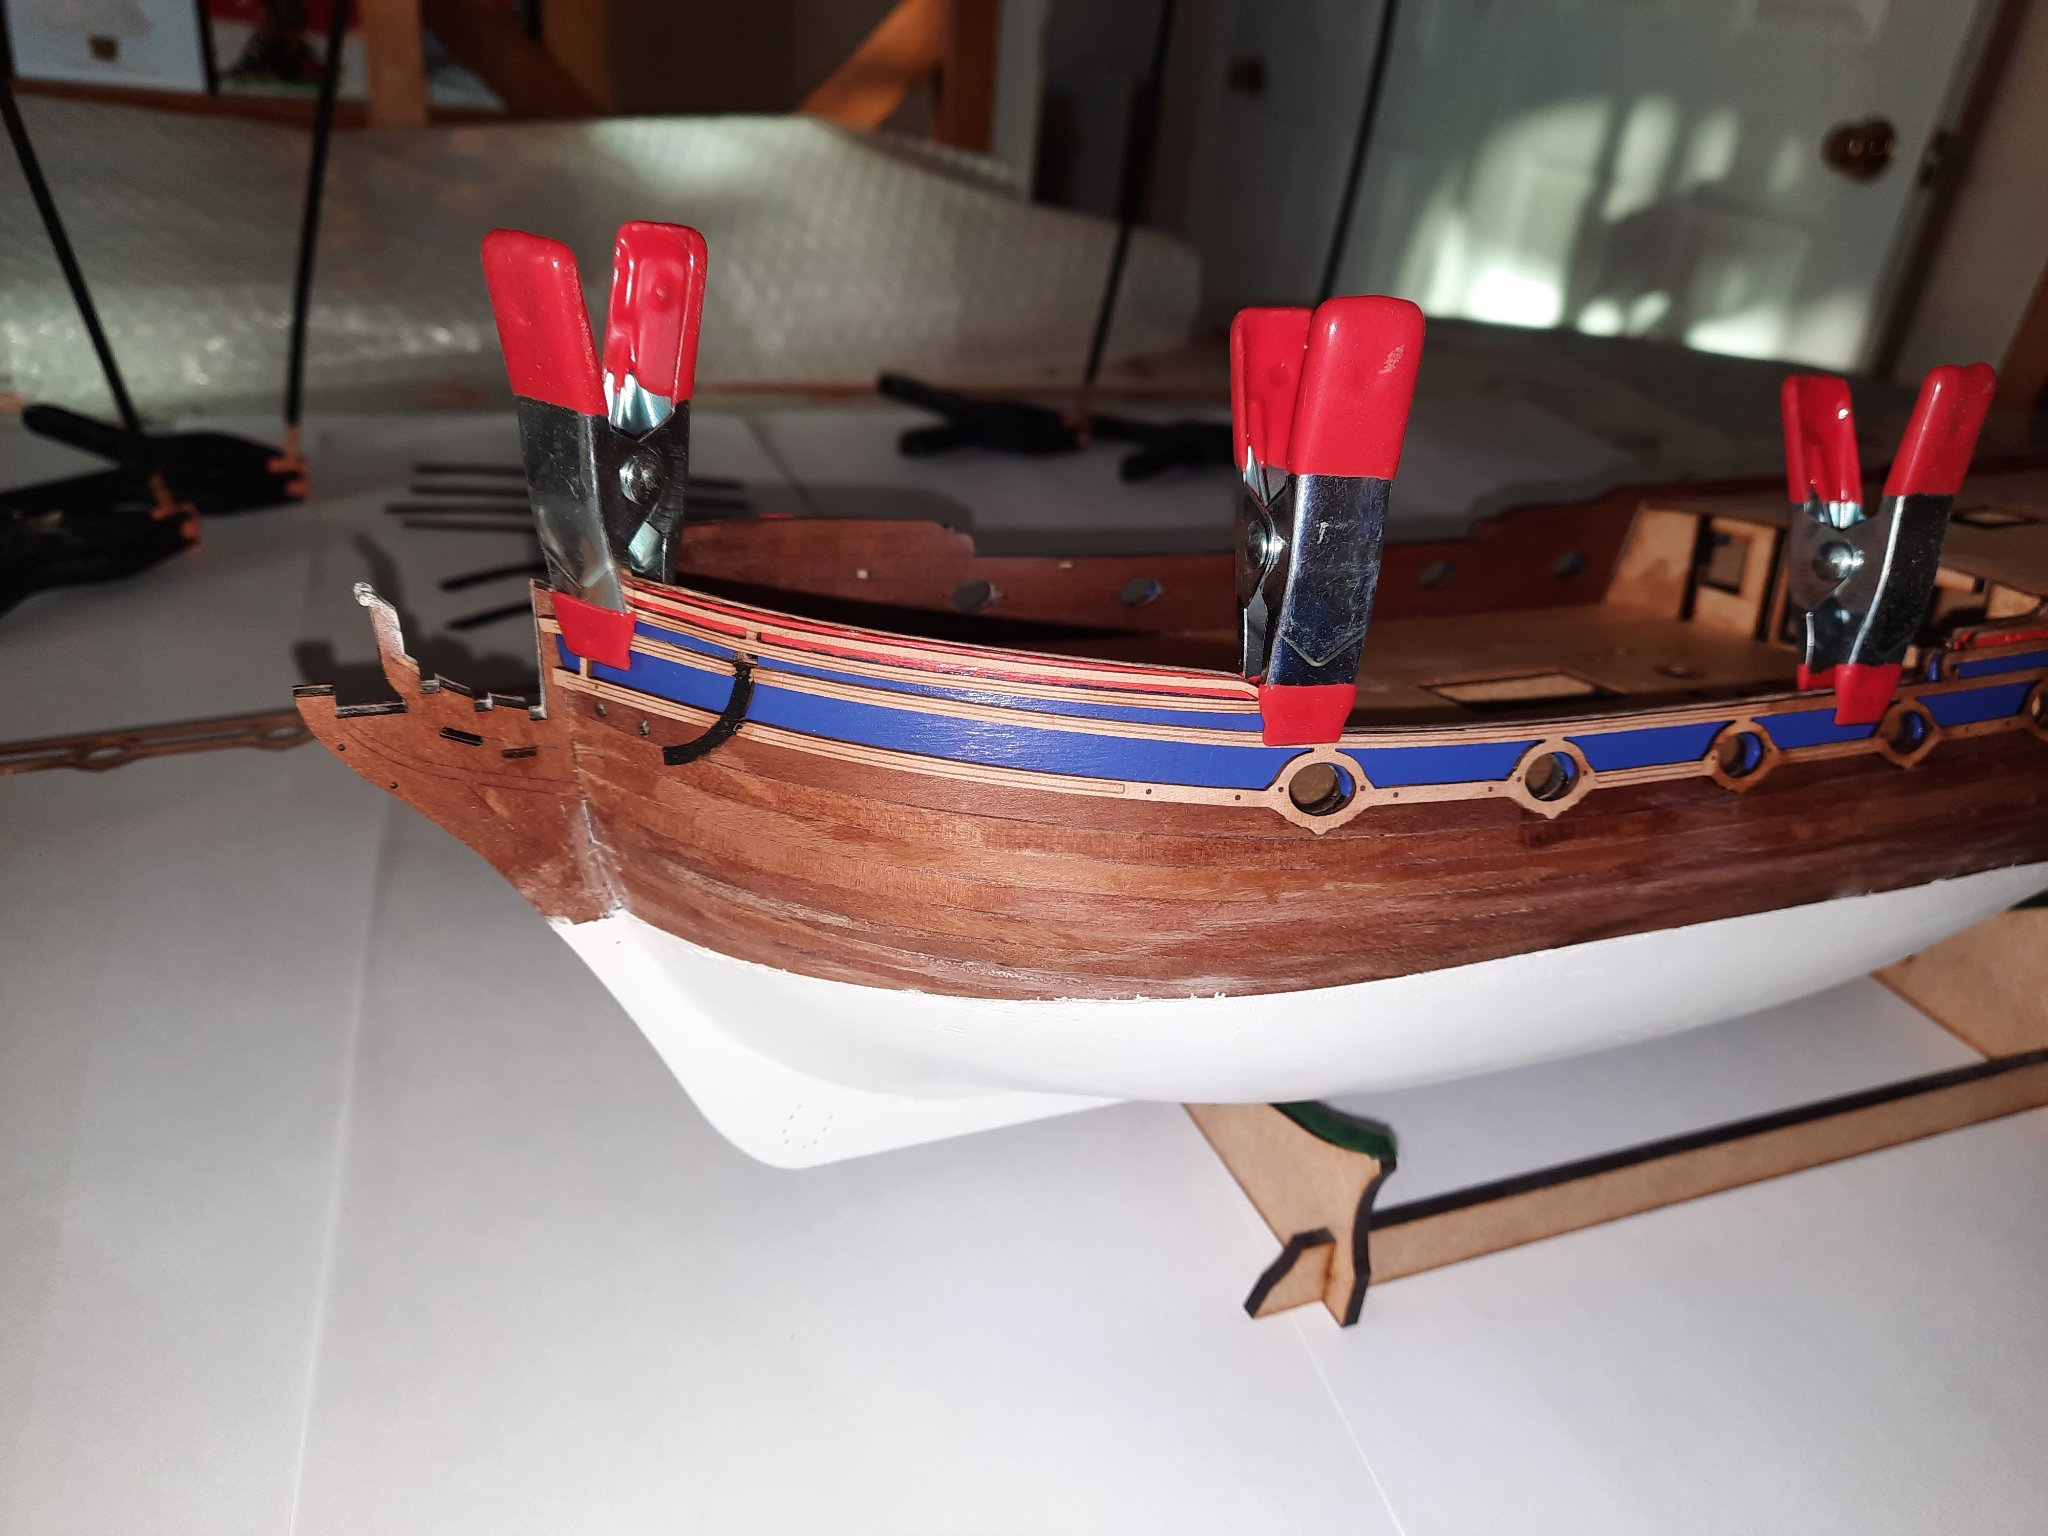
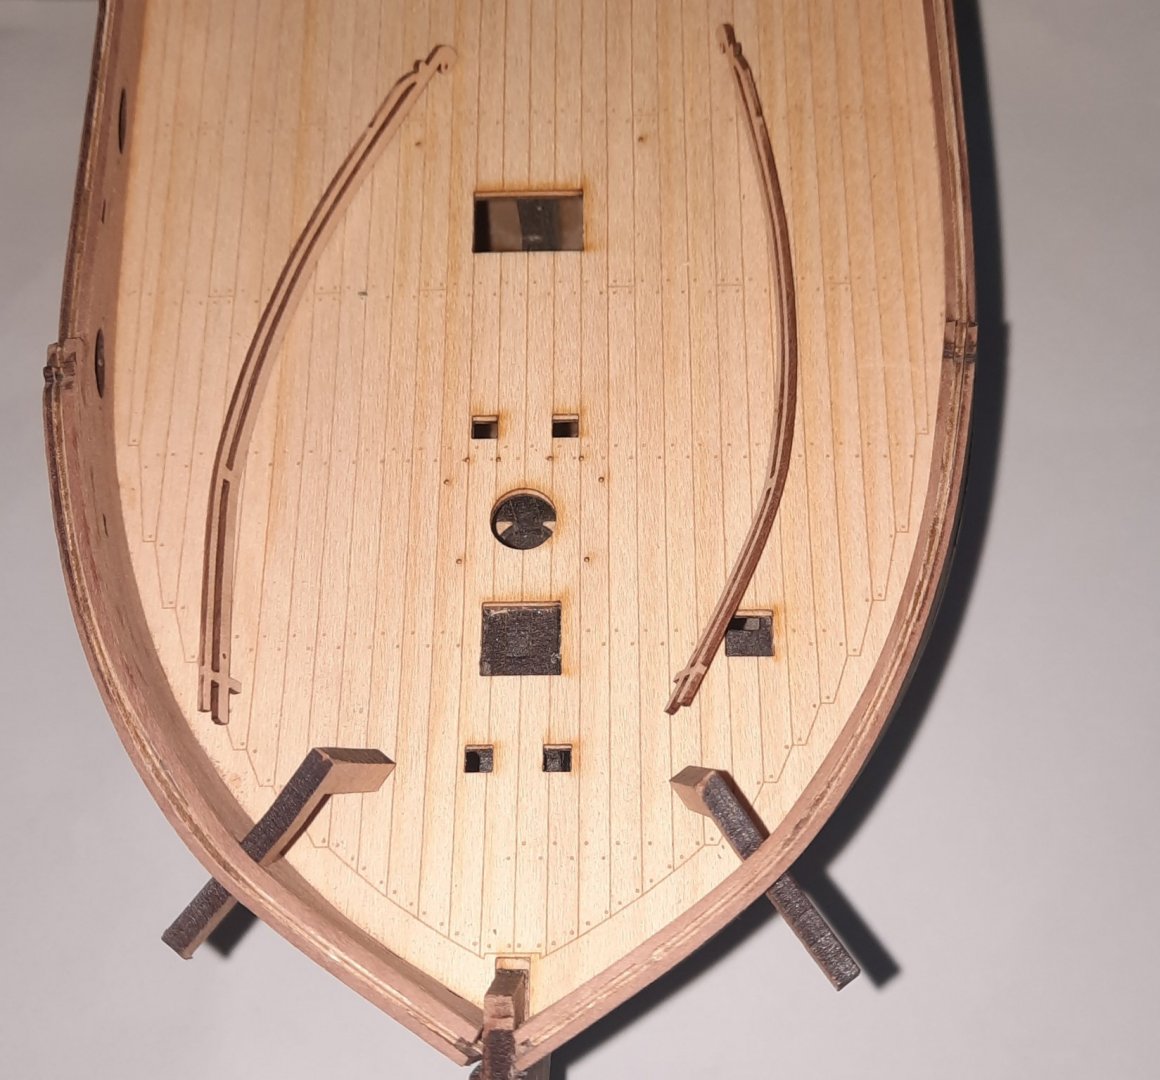
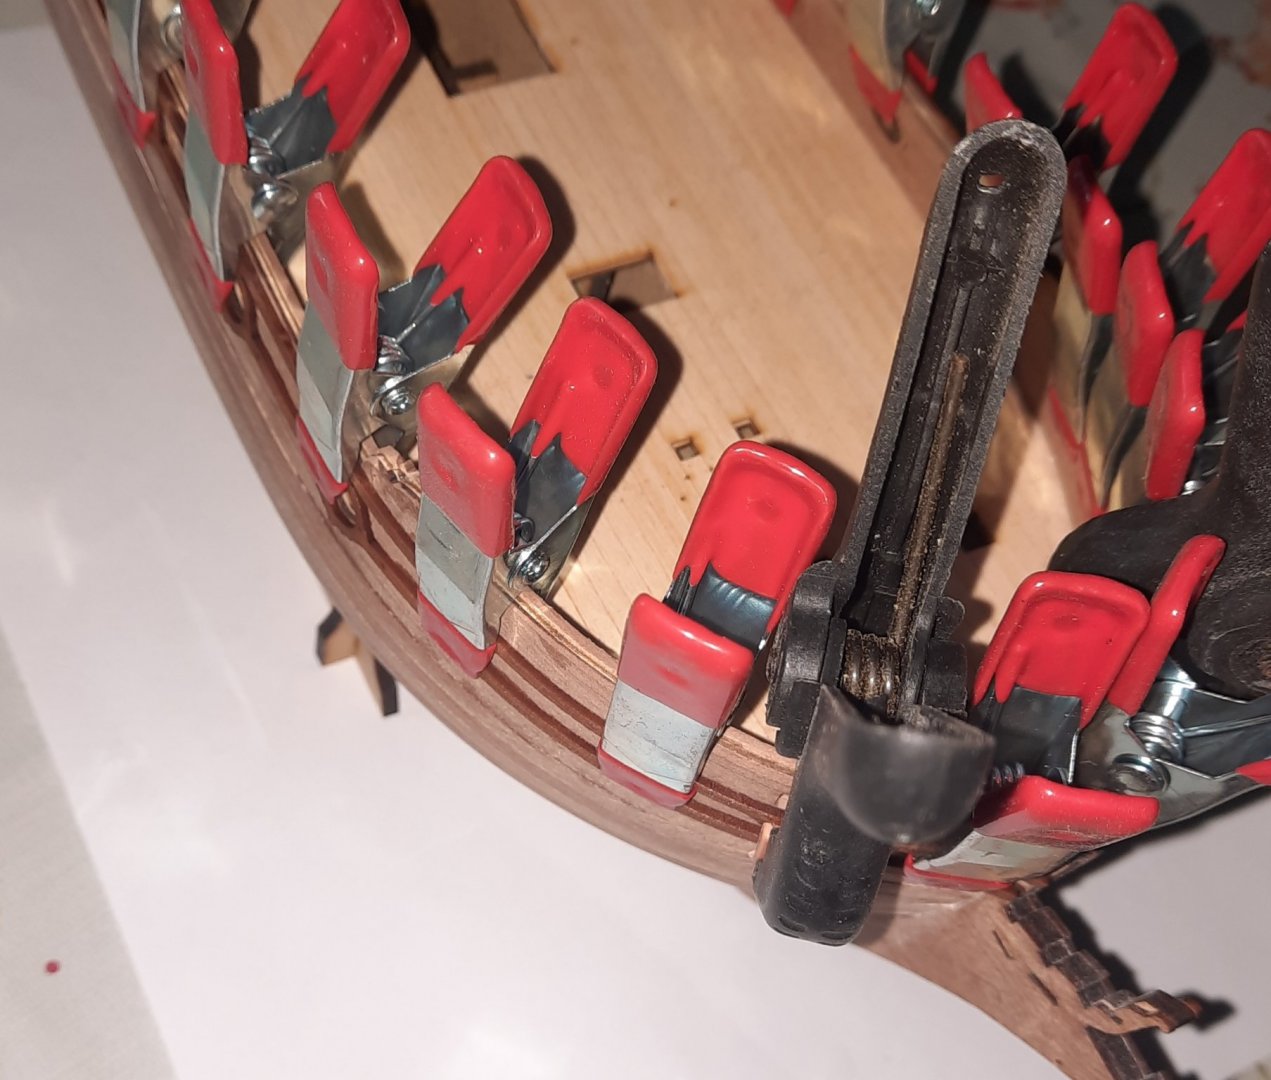
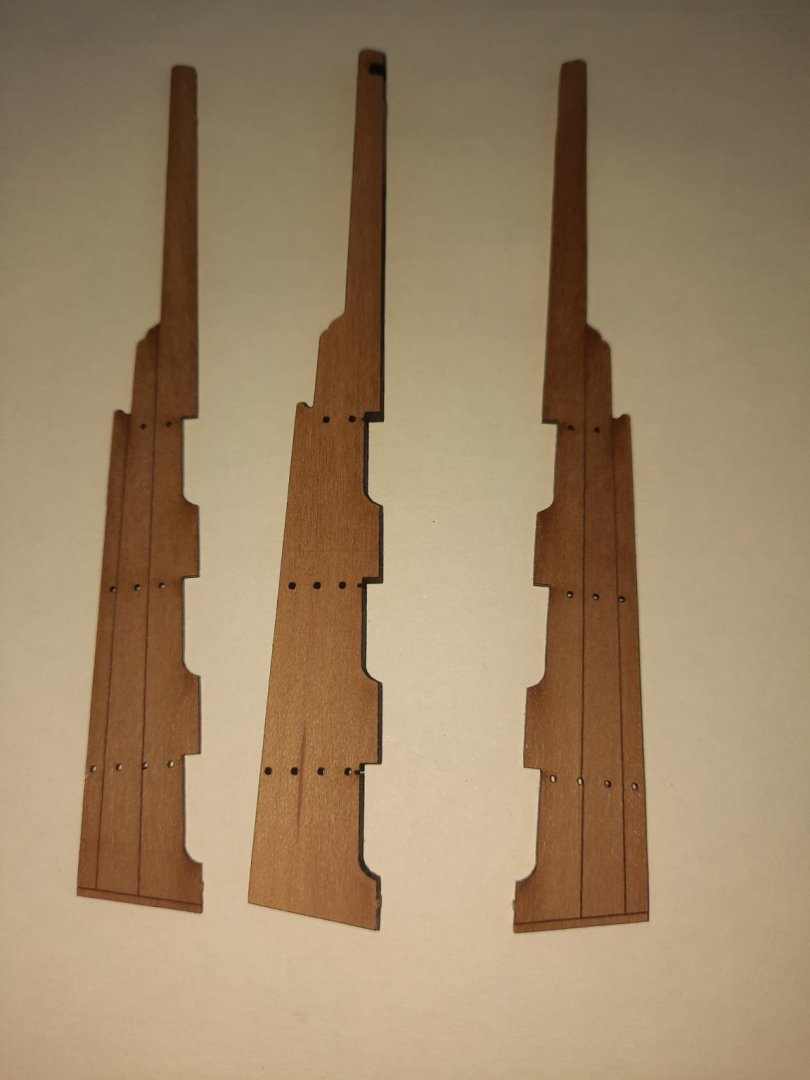
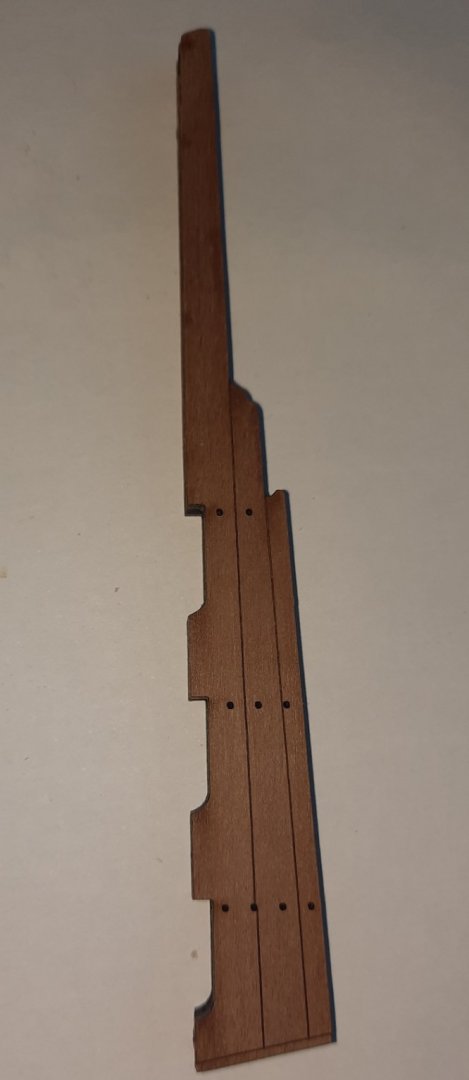
A day for filling in time while I continue wait for some essential items to be delivered. I started by soaking the 4 wales (2 per side) in hot water for 30 mins and they were then clamped to the hull so they can retain the required bend once they have fully dried out. Next I checked the fitting of the following deck items which seated in their various deck openings without any problem. I also removed the laser char from all the visible surfaces which was quite time consuming. a) Gallows and Main Mast Bits b) Ship’s Bell Standard, Head Stock and Belfry Fascia c) Bowsprit Bitts d) Windlass (Bitts and Front Pattern) The polyurethane varnish was finally delivered this afternoon so I plan to apply to this to decks (fore and aft) and Bulwarks (inner and outer) tomorrow morning and they will then be left to dry for 24 hours. Once dried I can apply the blue and red paint to the outer bulwark patterns.
- 382 replies
-
- 4
-
-
- Vanguard Models
- Duchess of Kingston
- (and 1 more)
-
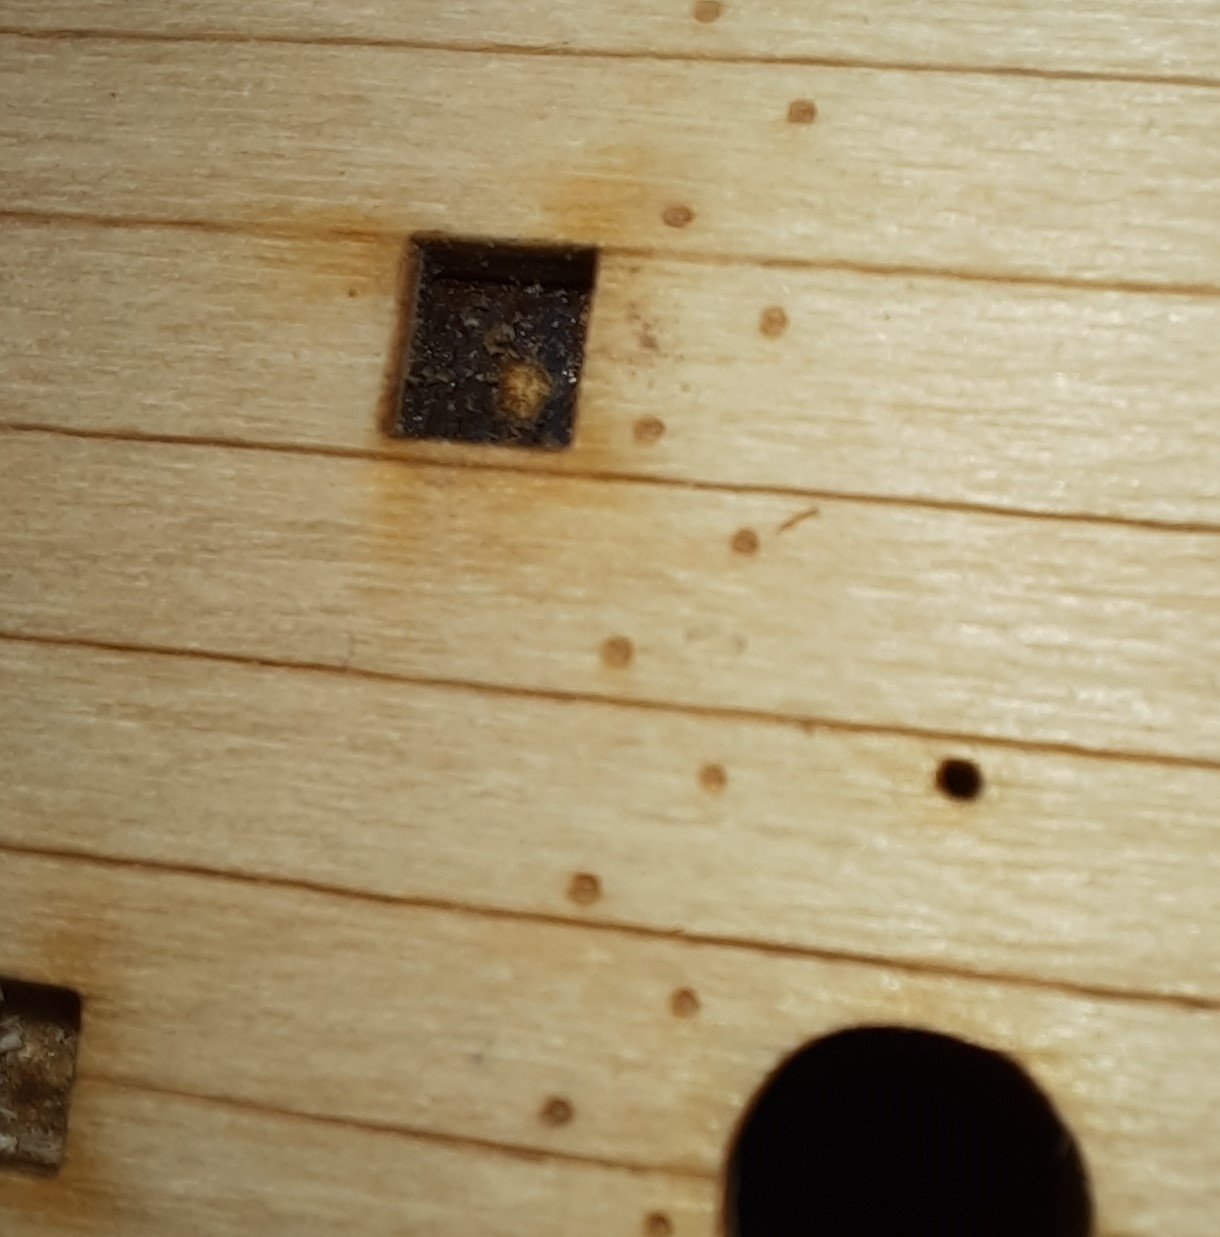
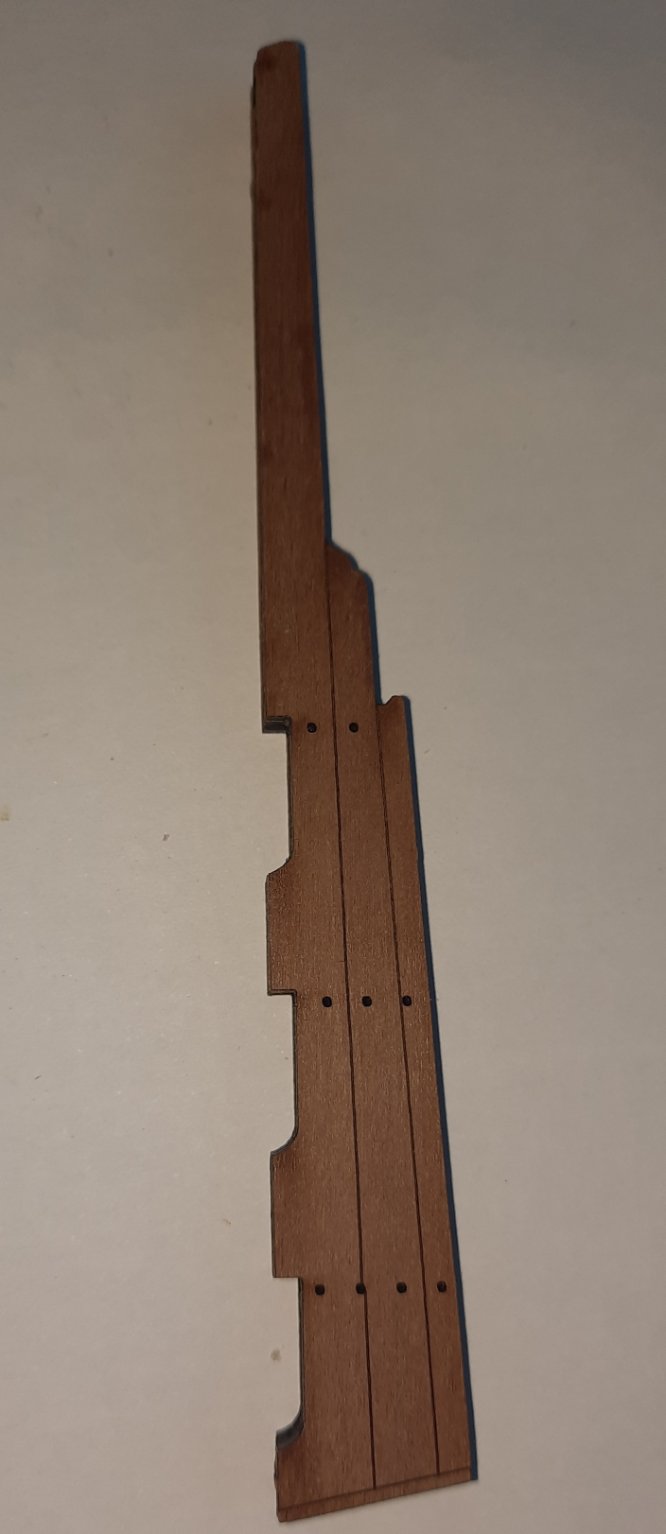
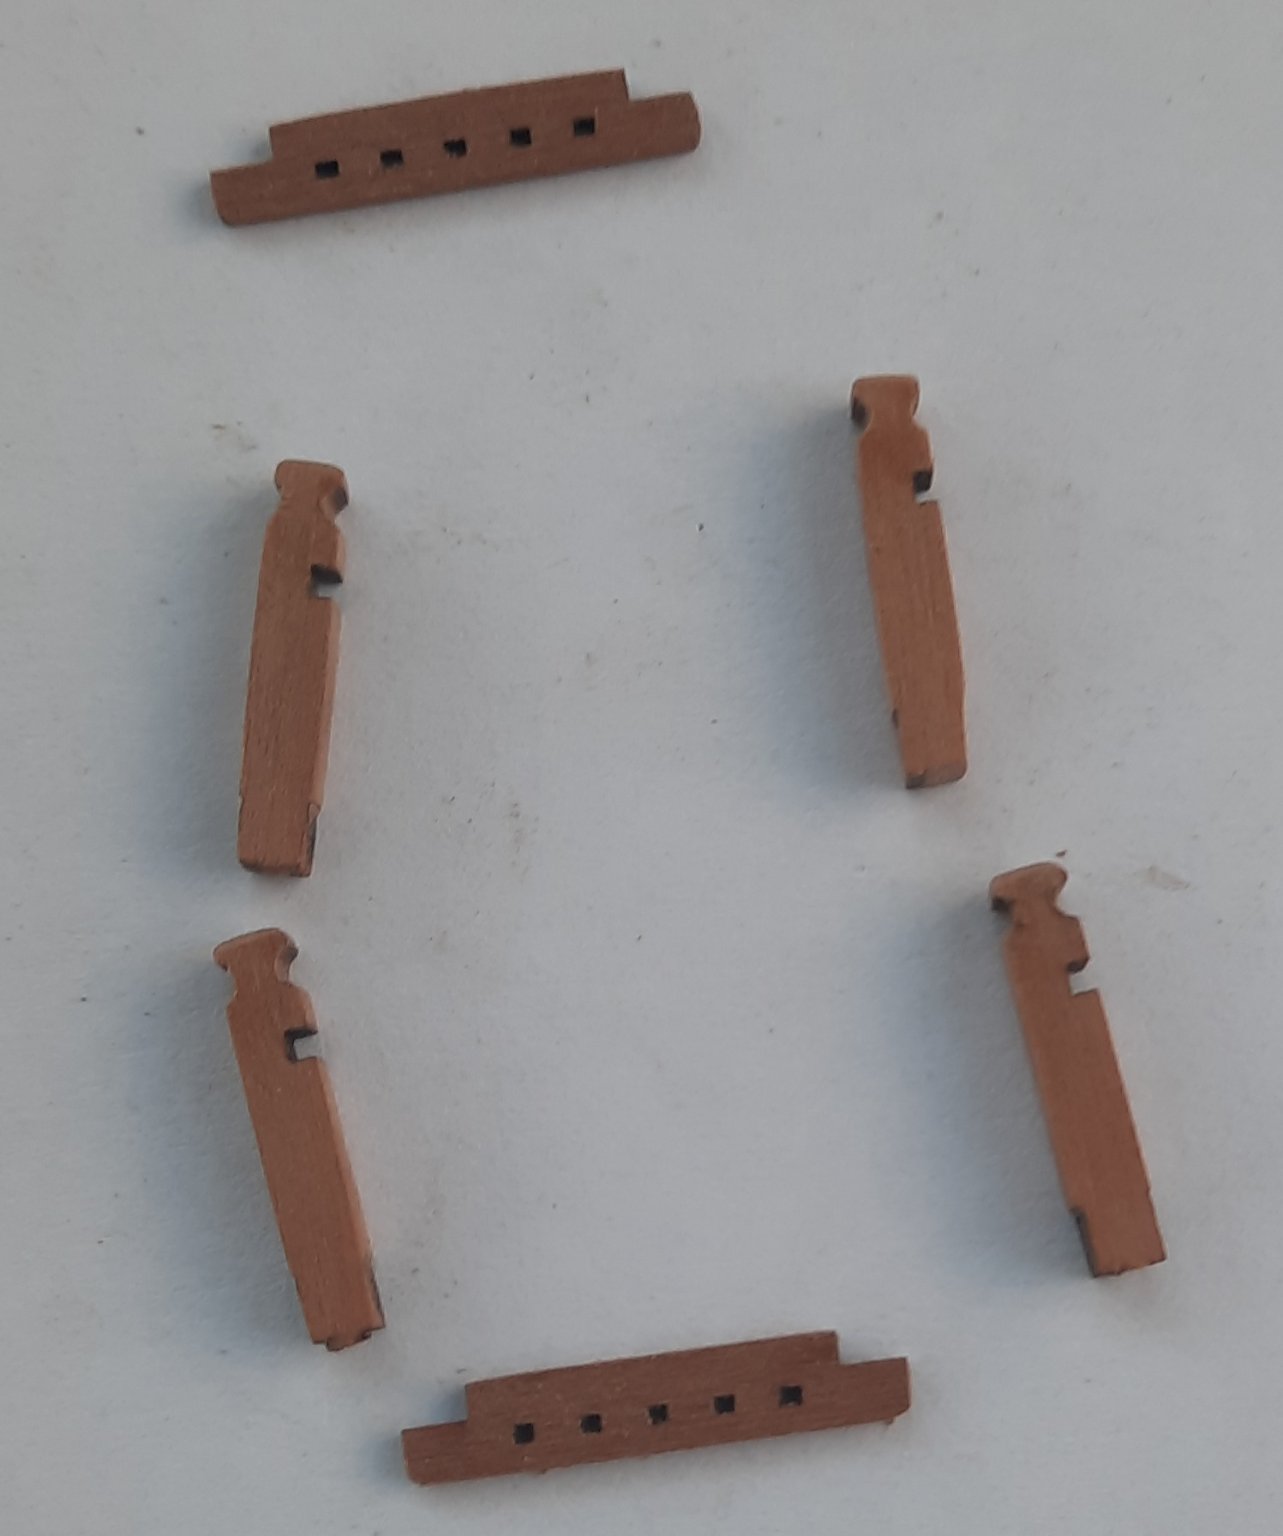
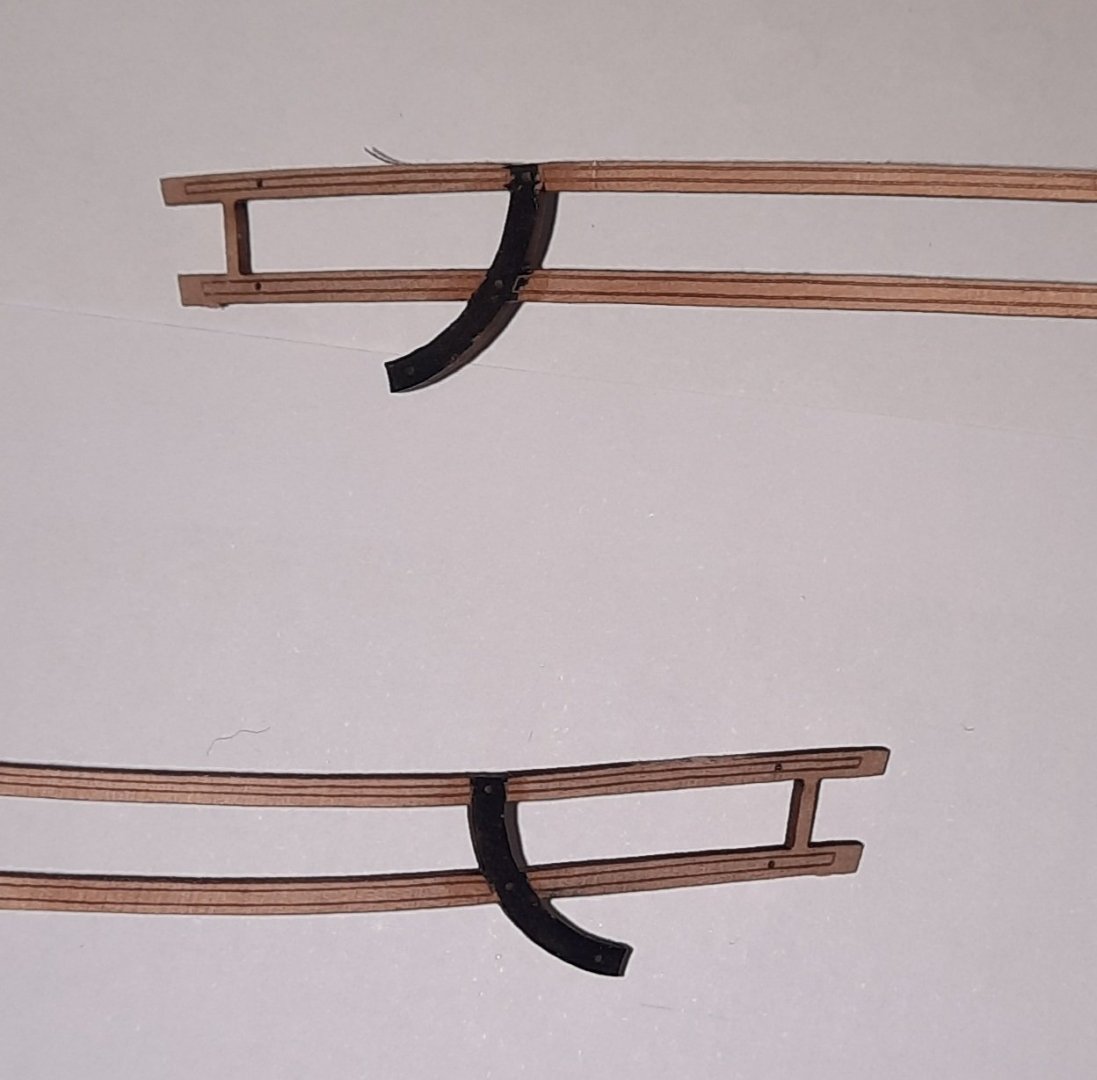
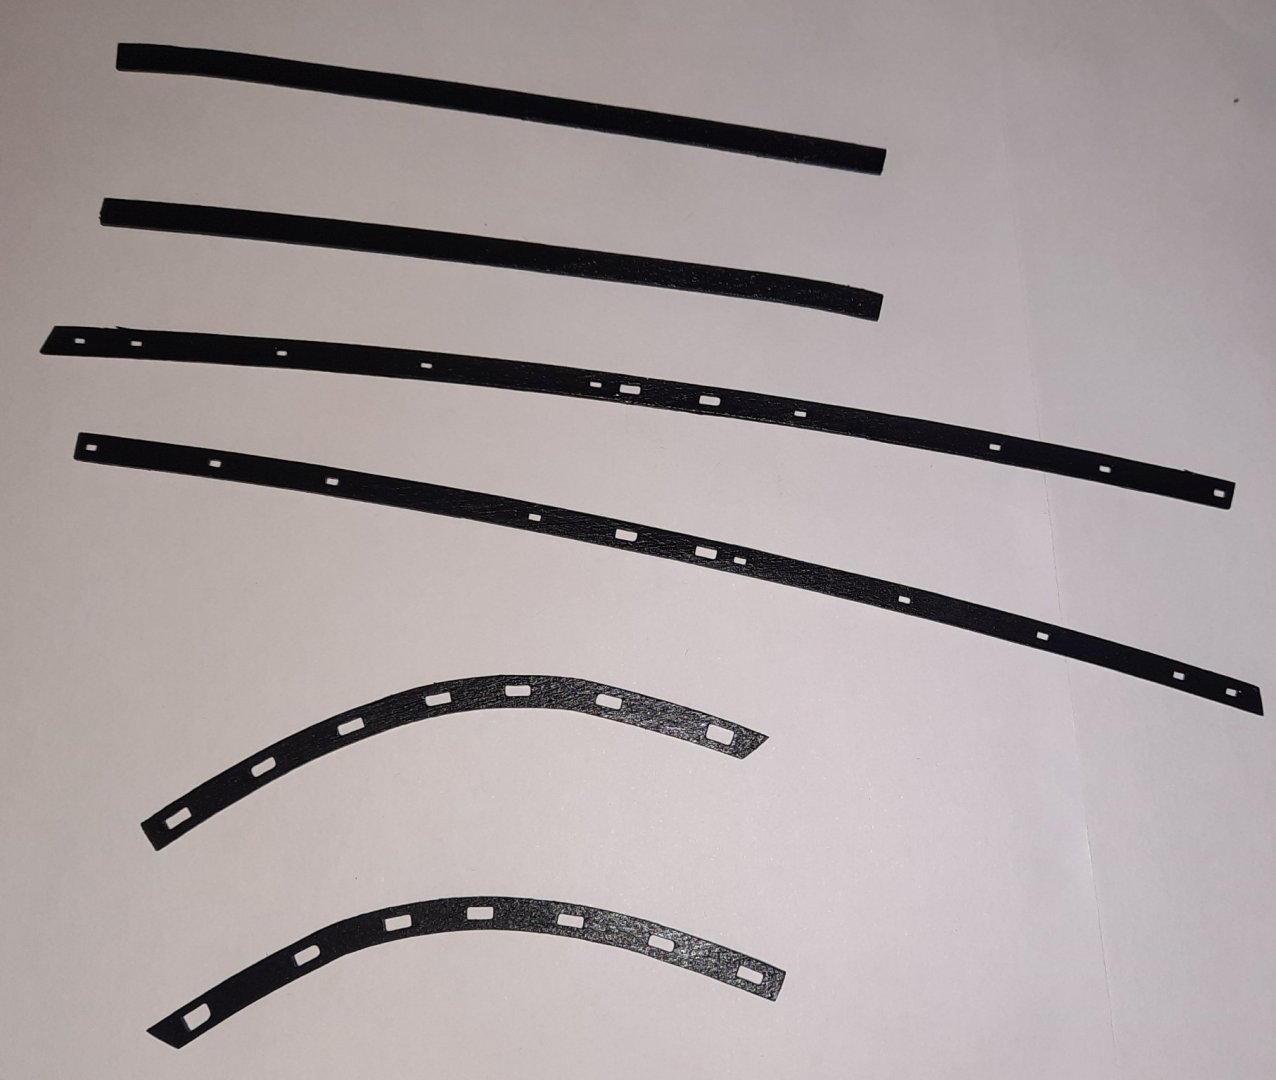
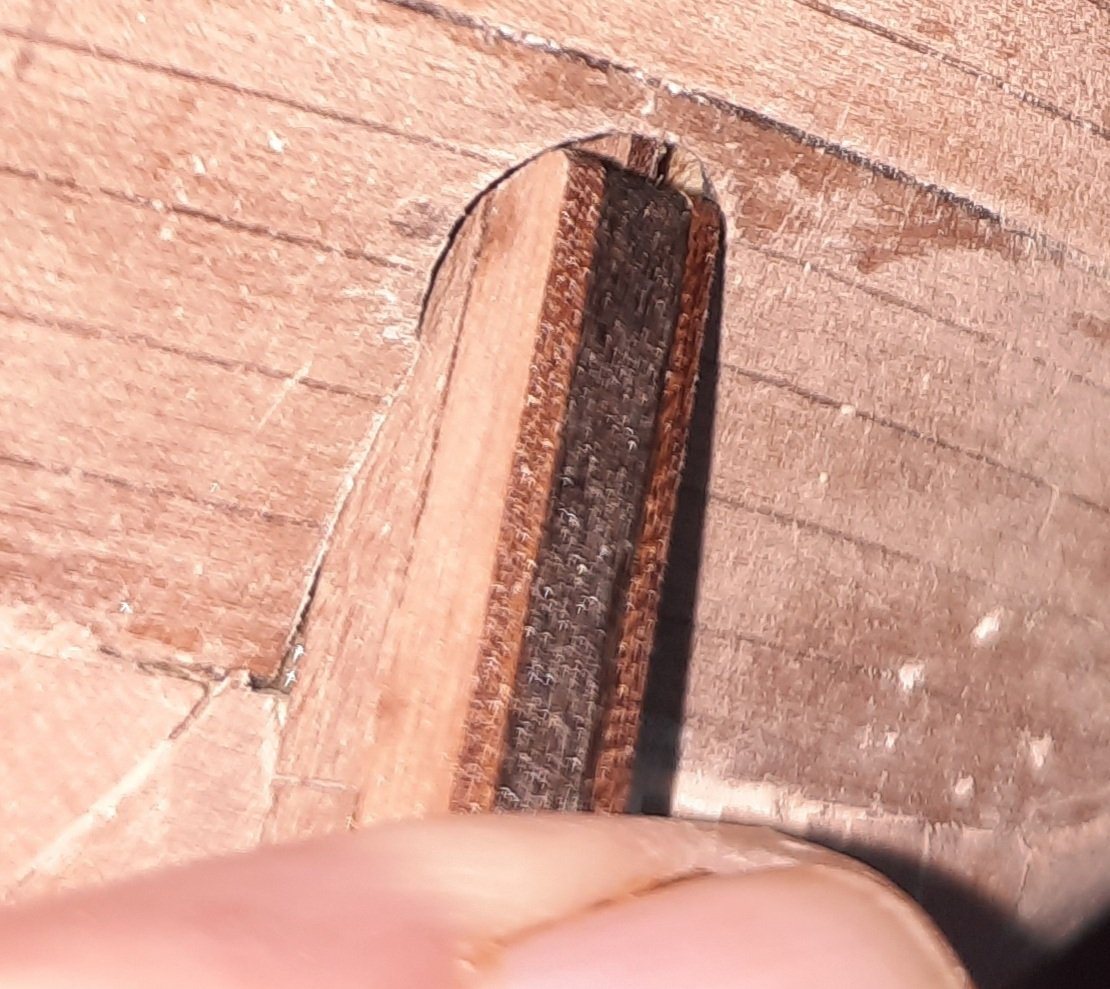
The upper rail was soaked and clamped to the hull last night without any problems. I have now soaked and clamped the lower main rail. Bent upper main rail and catheads Lower Main Rail Clamped I have received the hull primer today, I'm just waiting for the polyethene varnish which has been dispatched before I can start painting the hull. This primer will also provide the final white finish. I have made a start with the rudder assembly. When I tried a test fitting I noted a problem with the fitting as the assembly would not fit through the lower stern counter. This will require a bit of work to open up the gap. I am pleased I have discovered this before I had painted the stern counters. The rudder will not fit through the stern counter hole I have also made a start on the mizzen bitt assembly. I have removed the char from the visible areas and I have also rounded the top edges. When I tried fitting the mizzen mast bits in the aft deck cut outs the two leading bitts fitted in without any problems. The two aft bitts are sitting proud due to the bulkhead which is sat underneath. I have two options. I could trim the excess material so they sit flush, noting I will have to remove the same amount of material from each bitt. Alternatively I could try to remove some of the bulkhead by drilling down 2 or 3 mm and then squaring the hole using a craft knife, sandpaper and files. I am more inclined to trimming the bitts as this is an easier option and will not cause damage to the aft deck. The aft bitts are sitting proud The bulkhead can be seen in the picture below


- 382 replies
-
- 11
-
-
- Vanguard Models
- Duchess of Kingston
- (and 1 more)
-
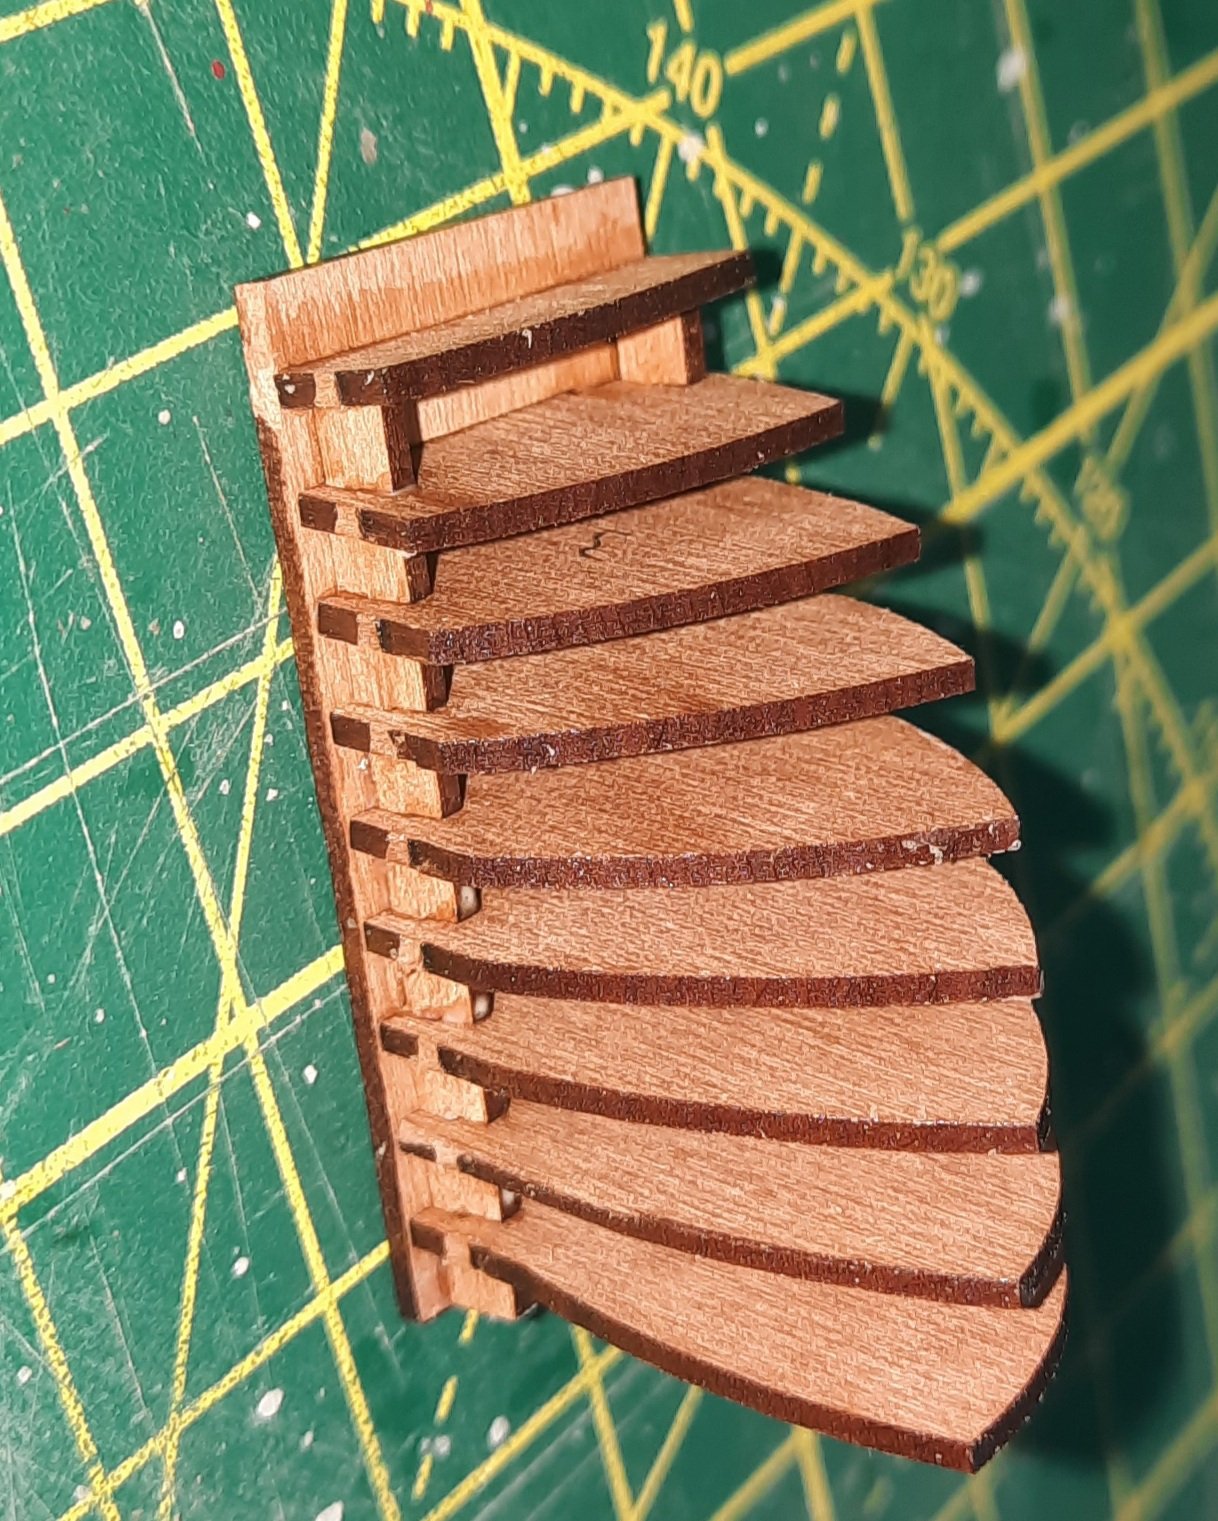
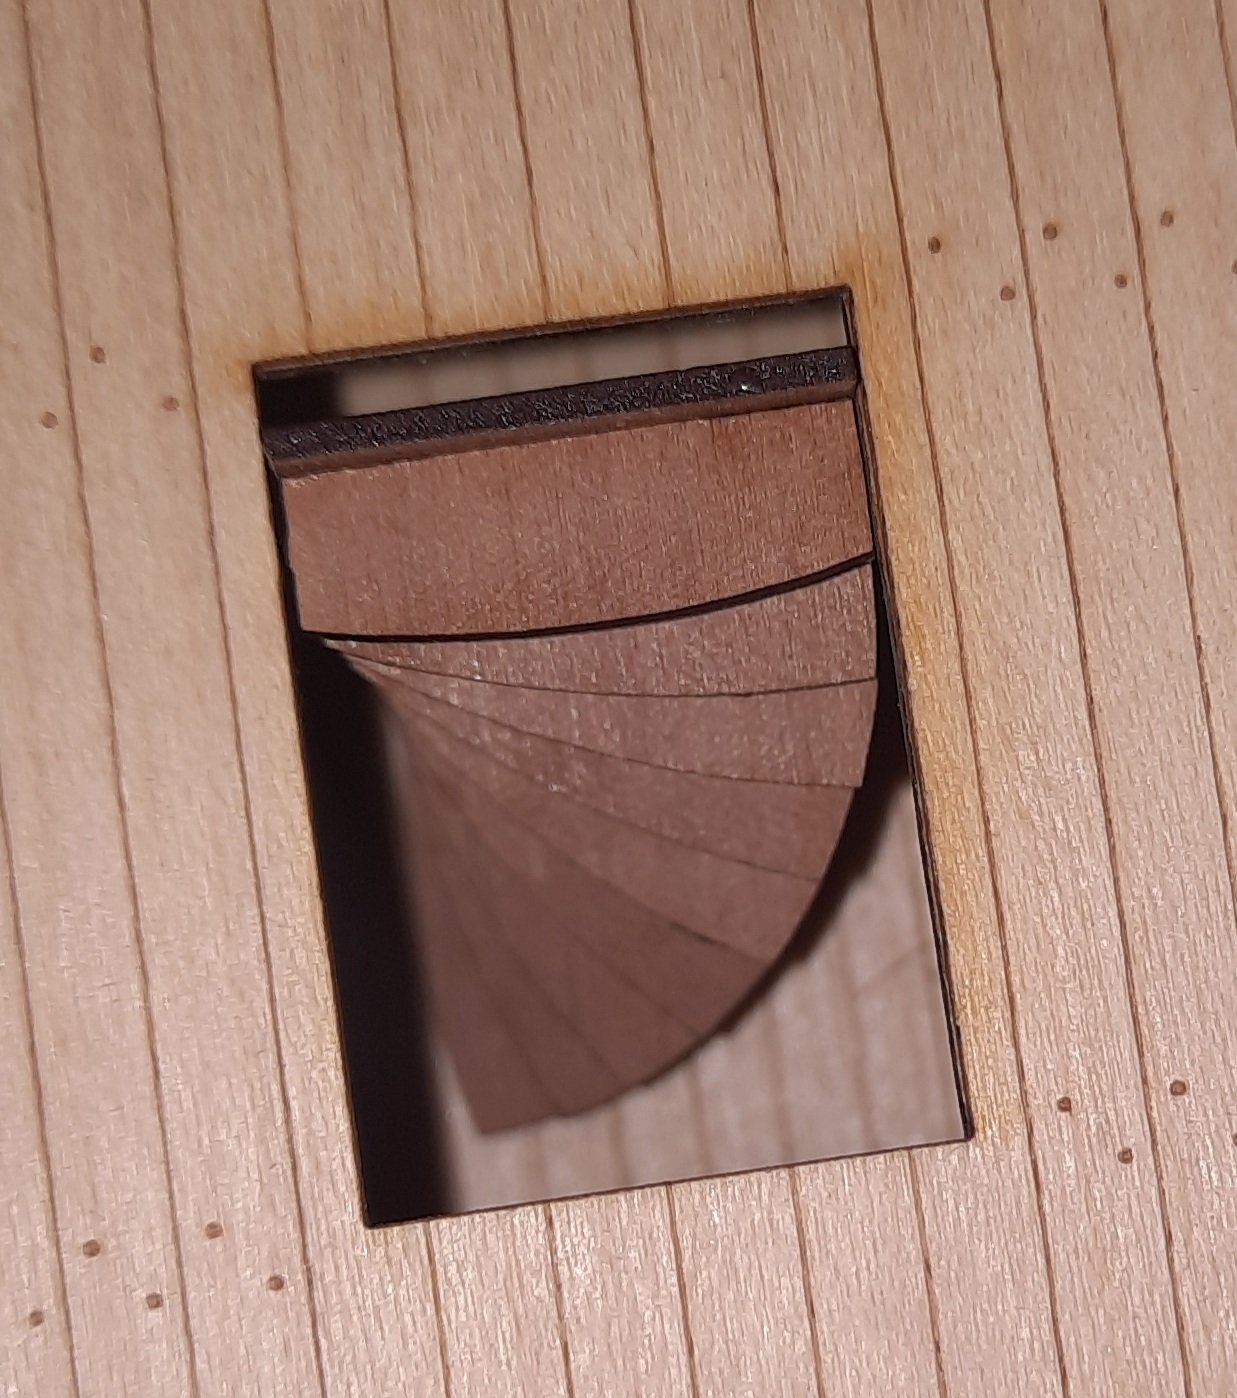
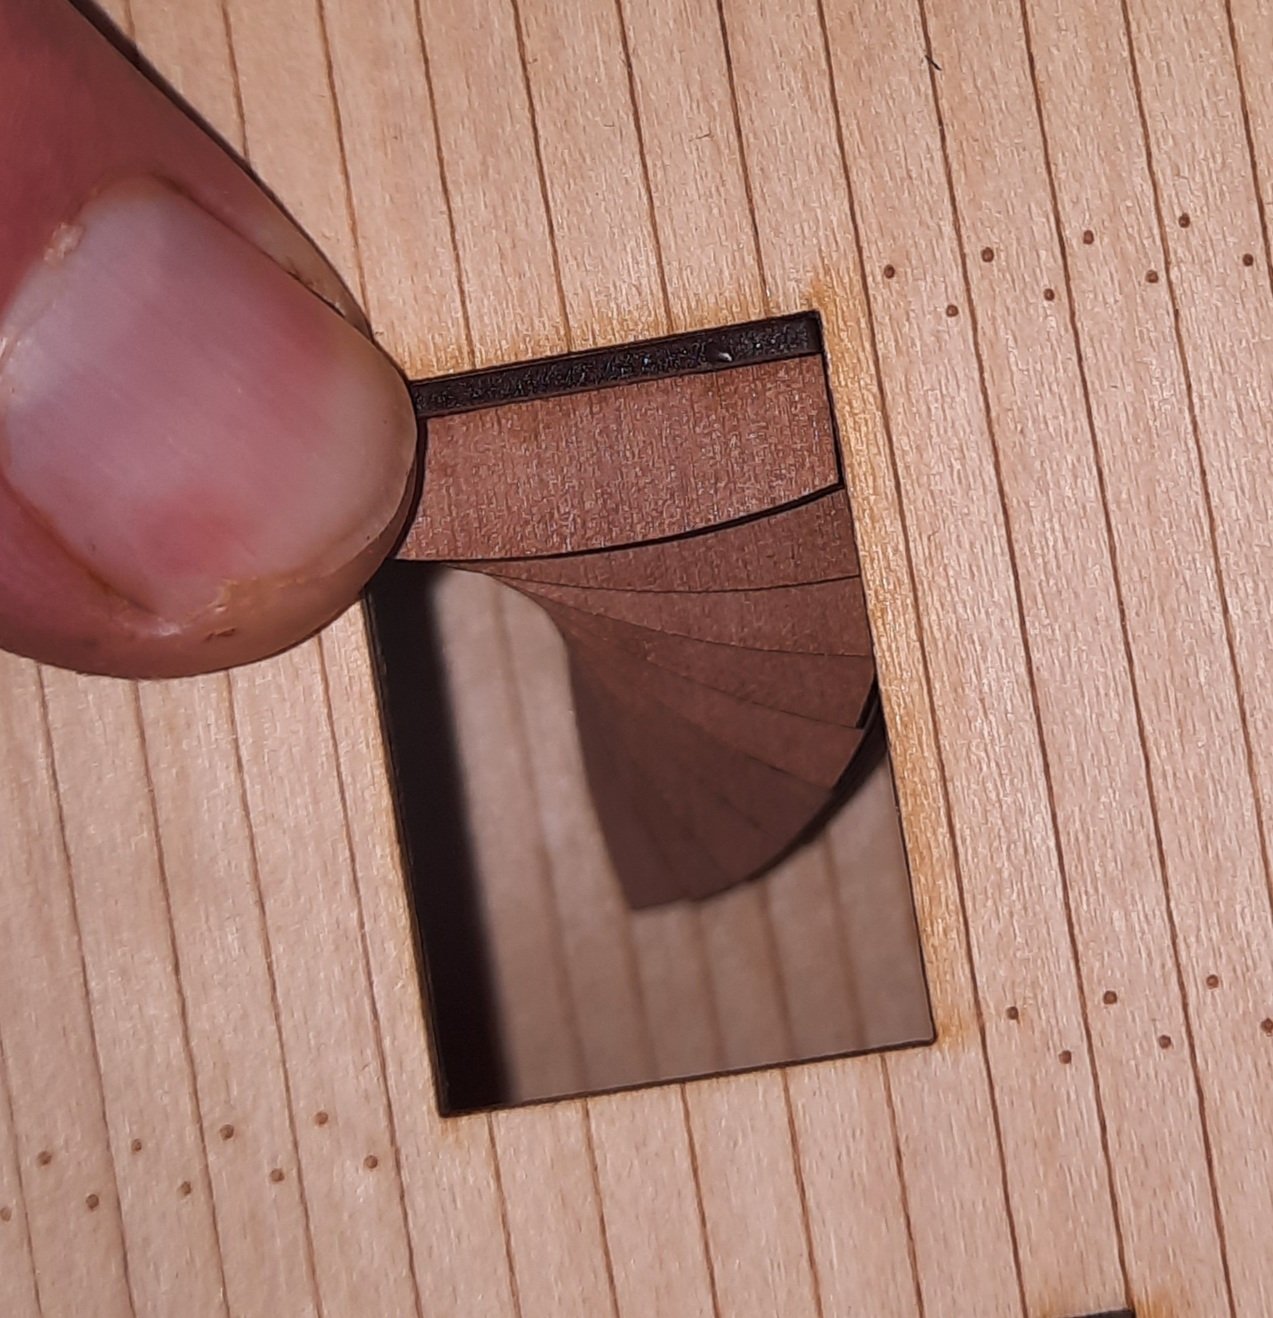
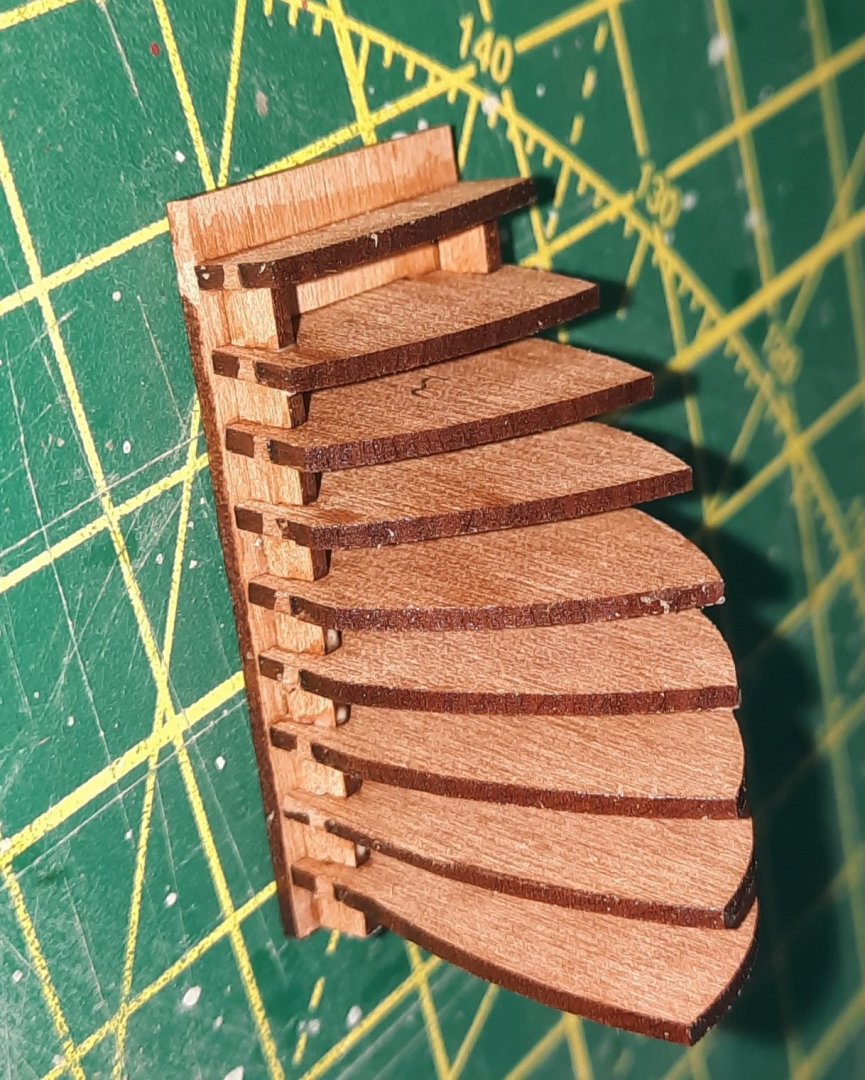
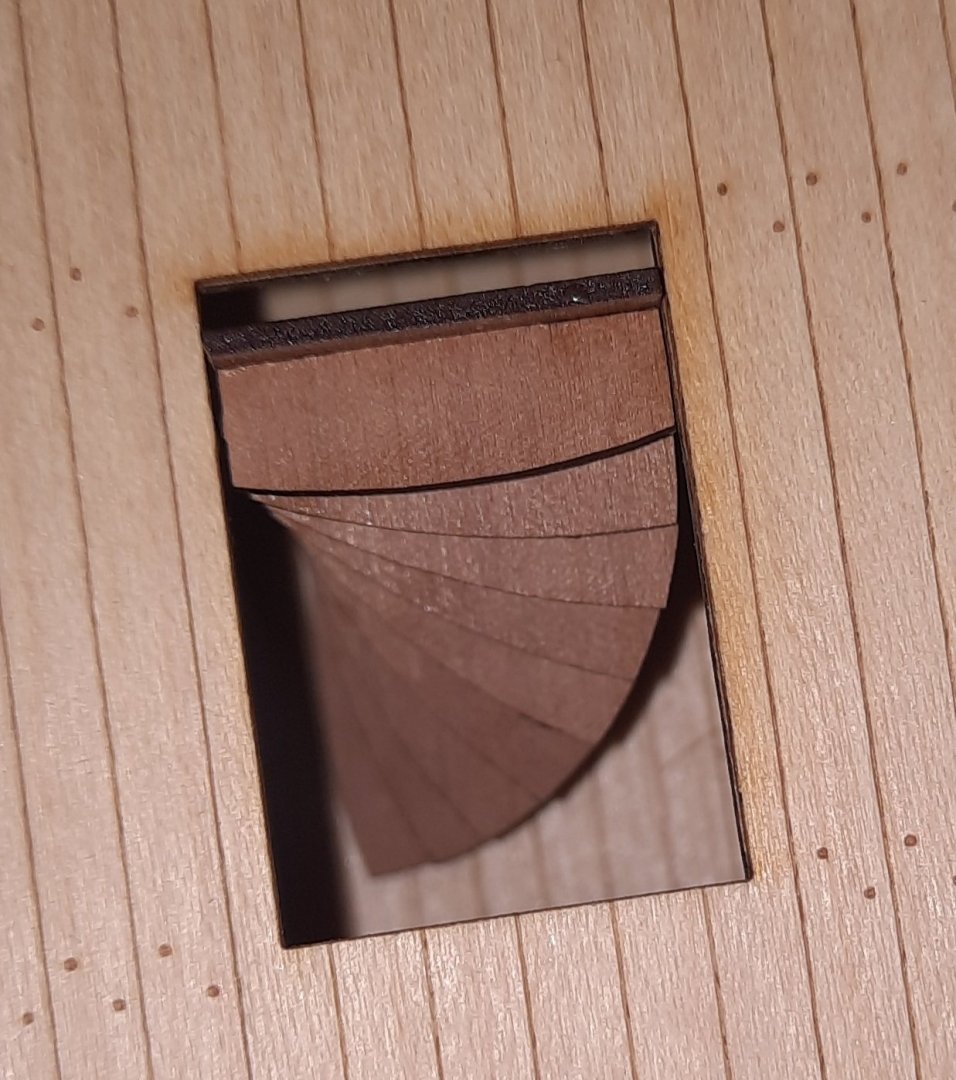
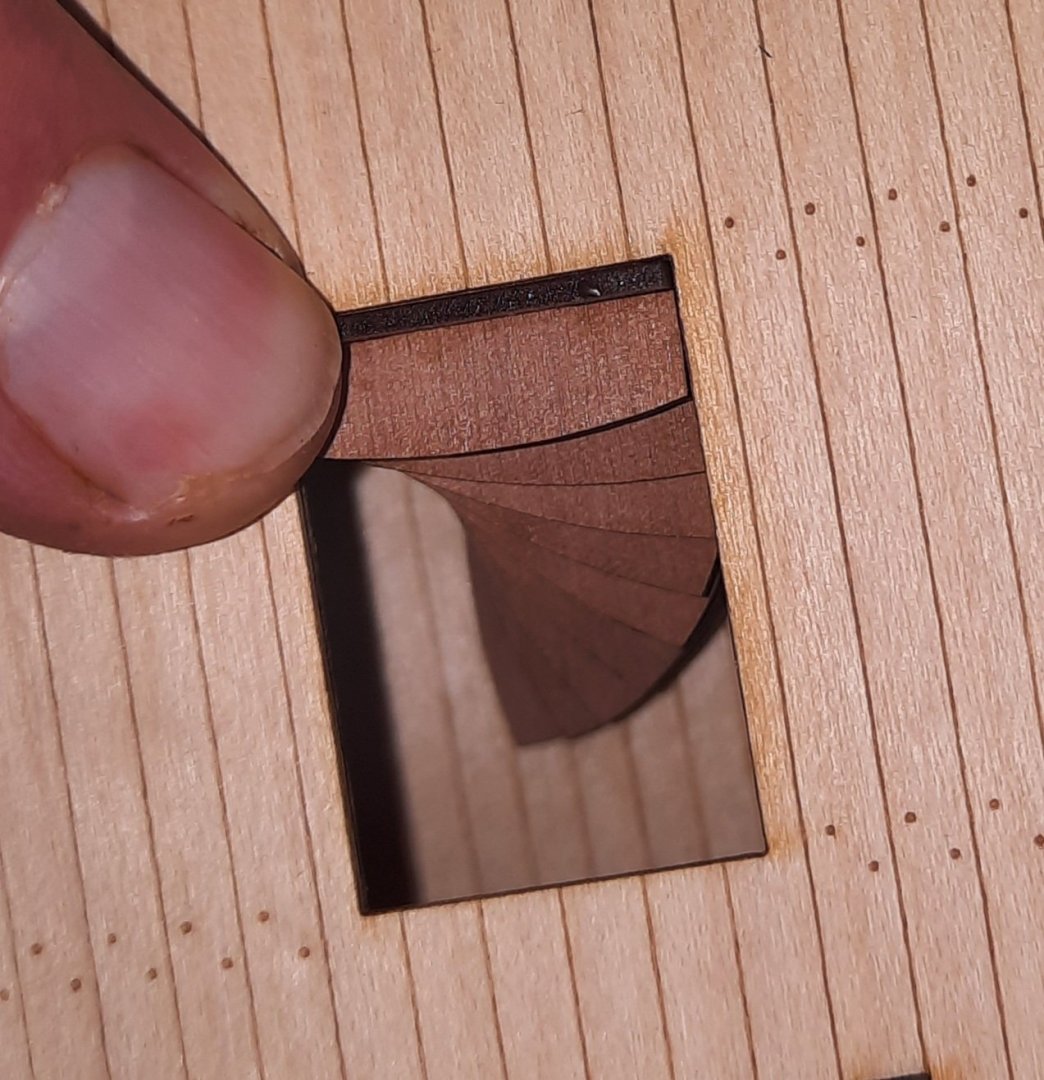
This afternoon I decided to assembly the spiral staircase. This is a very nice looking staircase and just like the binnacle it was a straightforward assembly task and does not require any detailed explanation of my build method, see pictures below. Parts ready for assembly. I did number the parts in size order. Assembled Spiral Staircase Dry Fit of Spiral Staircase - bottom tab has been located in lower deck slot but the top does not sit flush with hatch opening unsupported Glue will be used to ensure the staircase is joined to the hatch opening when fitted, below the ladder is held in the correct position (dry fit)

- 382 replies
-
- 11
-
-
- Vanguard Models
- Duchess of Kingston
- (and 1 more)
-
Great start
-
Great to see another build, great work so far.
- 201 replies
-
- 1
-
-
- Duchess of Kingston
- Vanguard Models
- (and 1 more)
-
Hi Jim Thanks for your information. I had run out of acetone, but I have a new supply on order which should arrive later this week.
- 382 replies
-
- 1
-
-
- Vanguard Models
- Duchess of Kingston
- (and 1 more)