MrBlueJacket
-
Posts
1,304 -
Joined
-
Last visited
Content Type
Profiles
Forums
Gallery
Events
Everything posted by MrBlueJacket
-
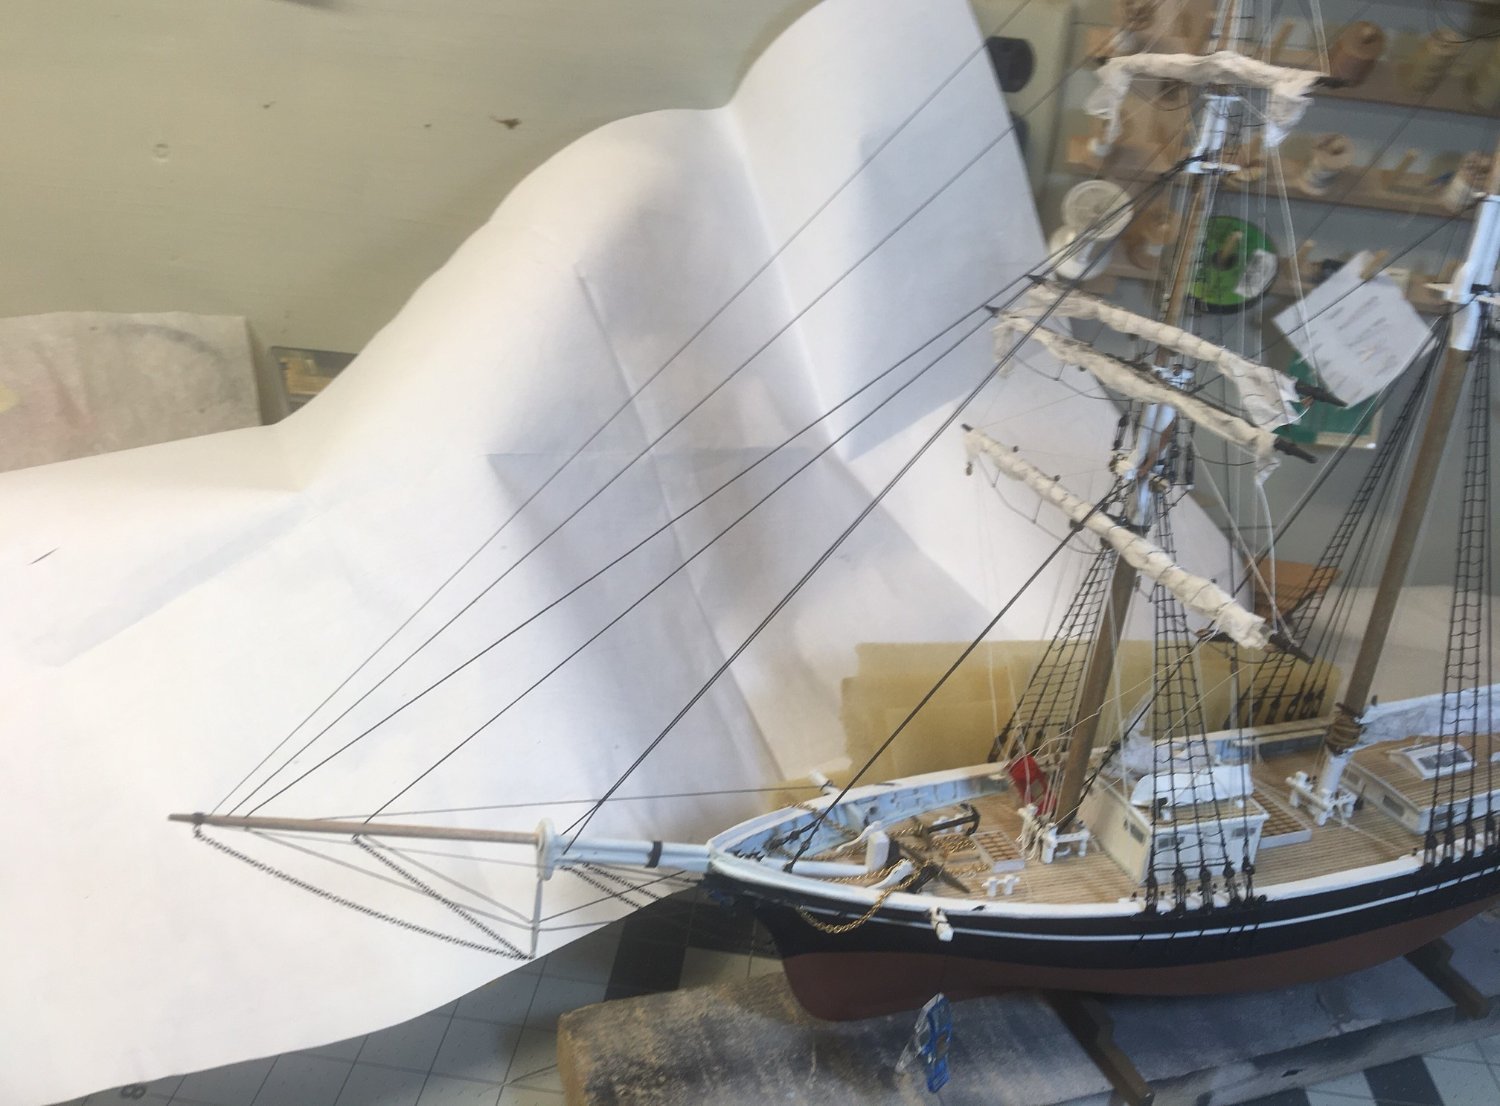
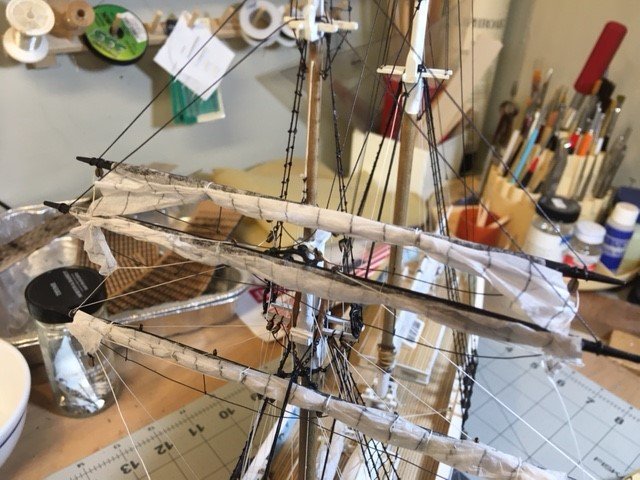
 Here we have the three lower braces attached. Two more to go, then the running rigging on the bowsprit, attach 2 jib sails, and she's done.
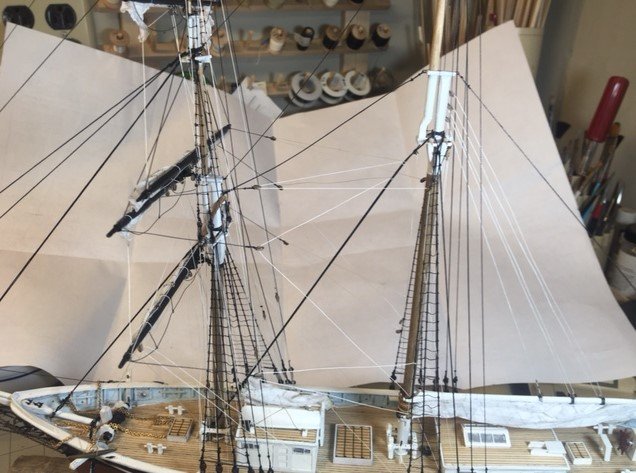
- 121 replies
-
- 8
-

-
- Newsboy
- Model Shipways
- (and 2 more)
-
The decision to make them limited edition was made by the previous owners. When I took over, they were already well into development. The idea was to honor the 150th anniversary of their battle off Cherburg, France.
-
I believe the smokestack, like funnels, could rotate depending on the relative wind. Nic
-
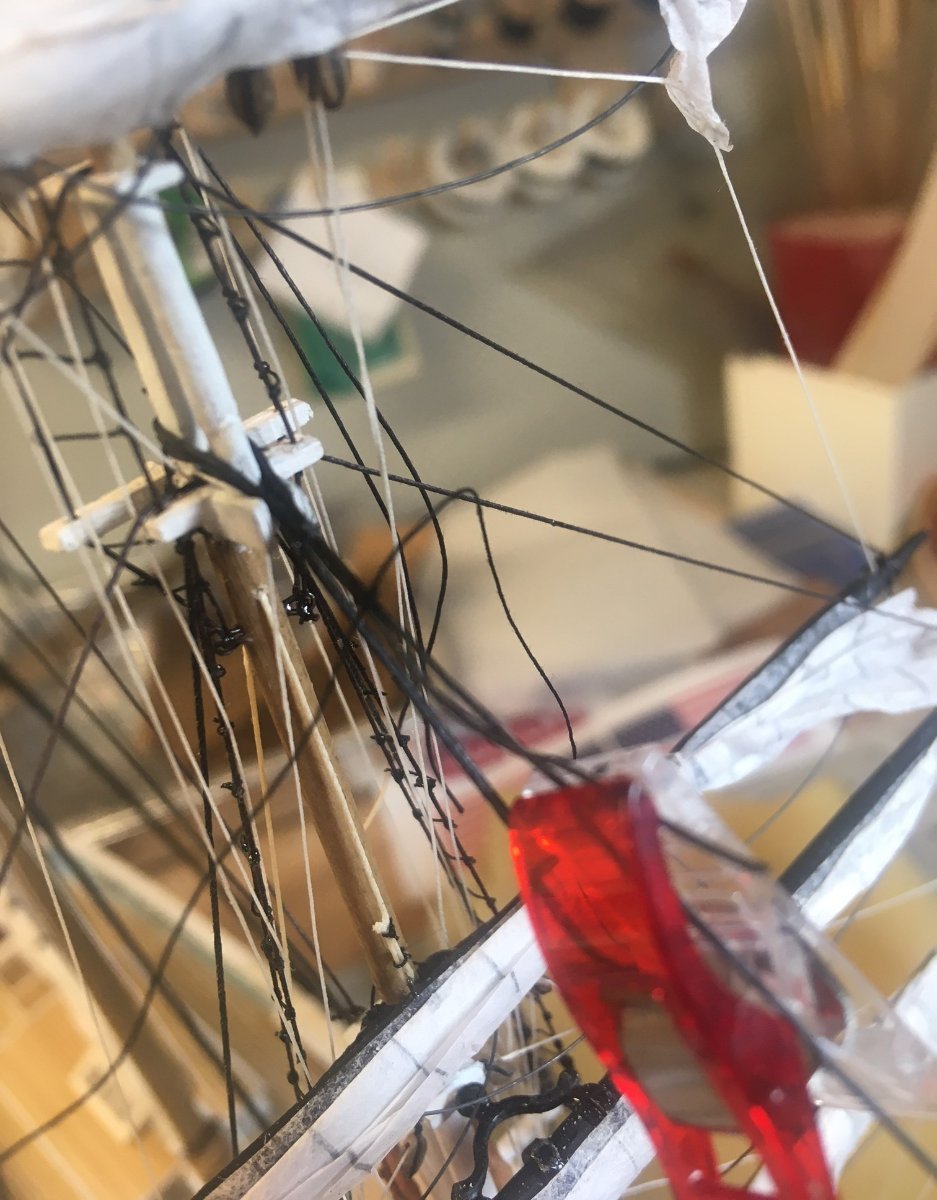
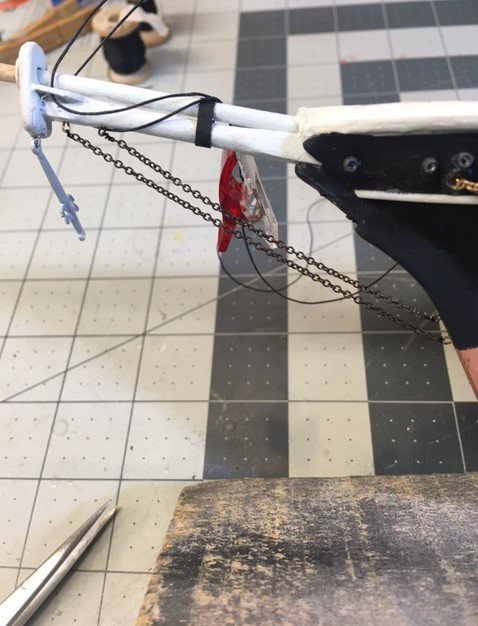
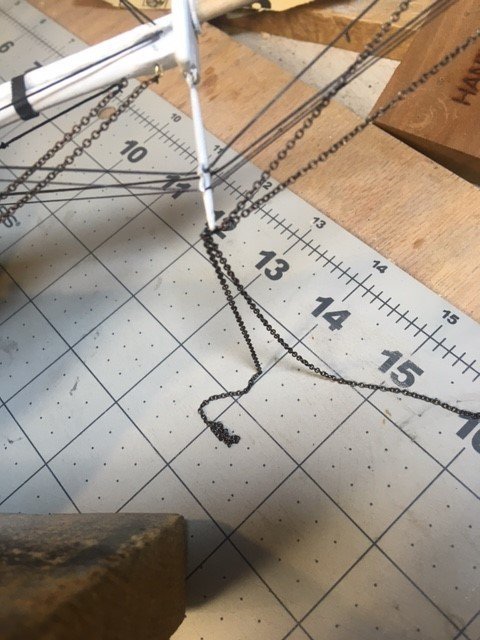
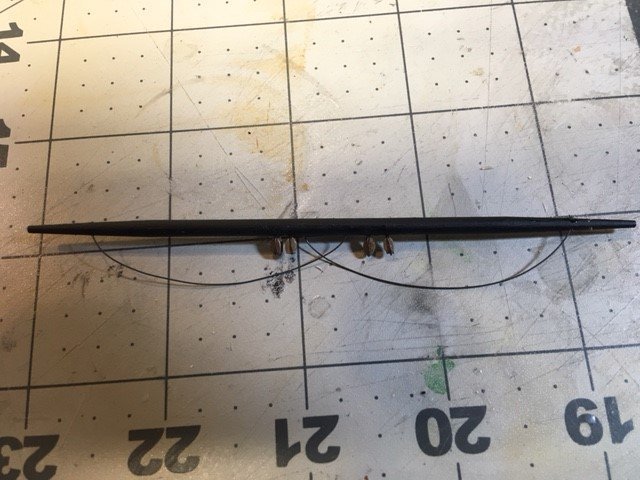
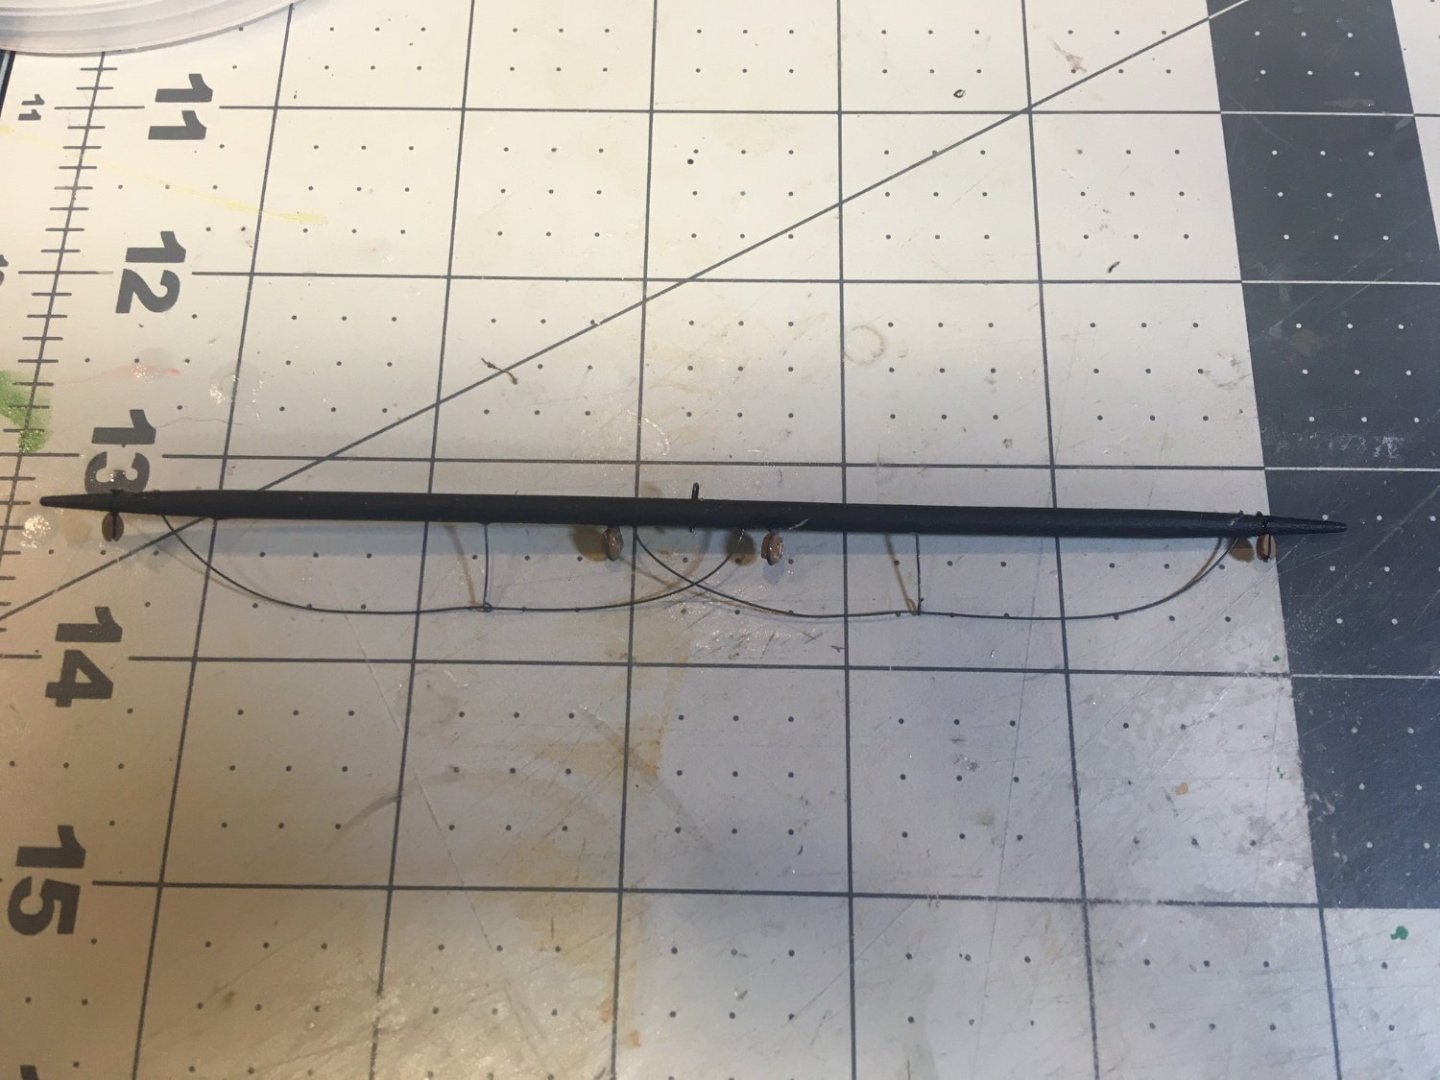
Attaching the martingale bobstays (chain) The back end goes to bullseyes.
- 121 replies
-
- 4
-
-
- Newsboy
- Model Shipways
- (and 2 more)
-
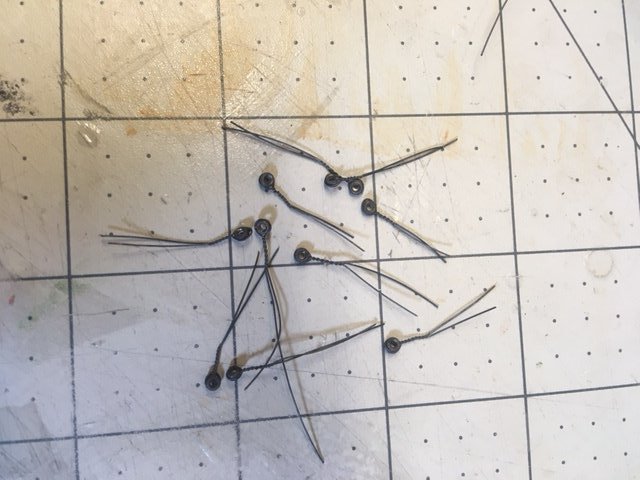
Prepping bullseyes for the bowsprit rigging. the mat has 1" spaced lines
- 121 replies
-
- 3
-
-
- Newsboy
- Model Shipways
- (and 2 more)
-
I agree - very good work! Nic
-
Very nice, Dave. Your customer file now shows 10% discount on the next kit you buy from us. Nic
- 19 replies
-
- 2
-
-
- Putnam
- BlueJacket Shipcrafters
- (and 3 more)
-
Absolutely. An America kit would have either a frame set labeled A-B-C... or 1-2-3... as we still do today. The keel is labeled A 1 B 2 C 3 etc.
-
One of the most relevant reasons for the loss of solid hulls is that they are labor intensive and expensive to produce, compared with POB laser cutting. The cost of the basswood boards is also more than the cost of the sheets required to produce bulkheads. Our POF models of the America and Jefferson Davis start out as solid hulls which we then slice like a loaf of bread. that technique was invented and patented by Art Montgomery. who owned BlueJacket in the 1980's. It is very expensive, since you have the cost of a solid hull and the cost of slicing it.
-
That would be nice, but it would take hours of work that doesn't generate any revenue. With the state of the economy, it's just not practical.
-
And a long one at that. BlueJacket alone has over 80 current kits, and 100's more from the past.
-
I think you've said that before....... Nic
-
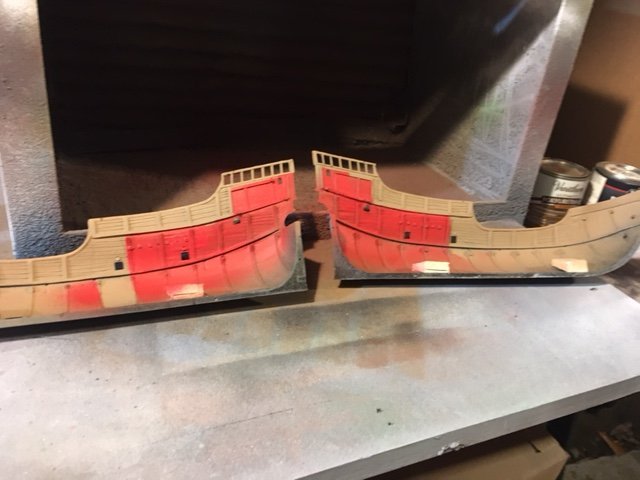
Painted the inside of the cabins flat red, per the instructions. Next step is to paint the outside dark brown.
-
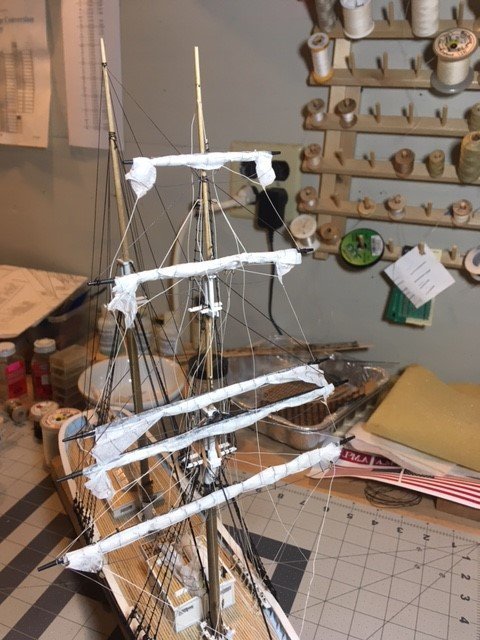
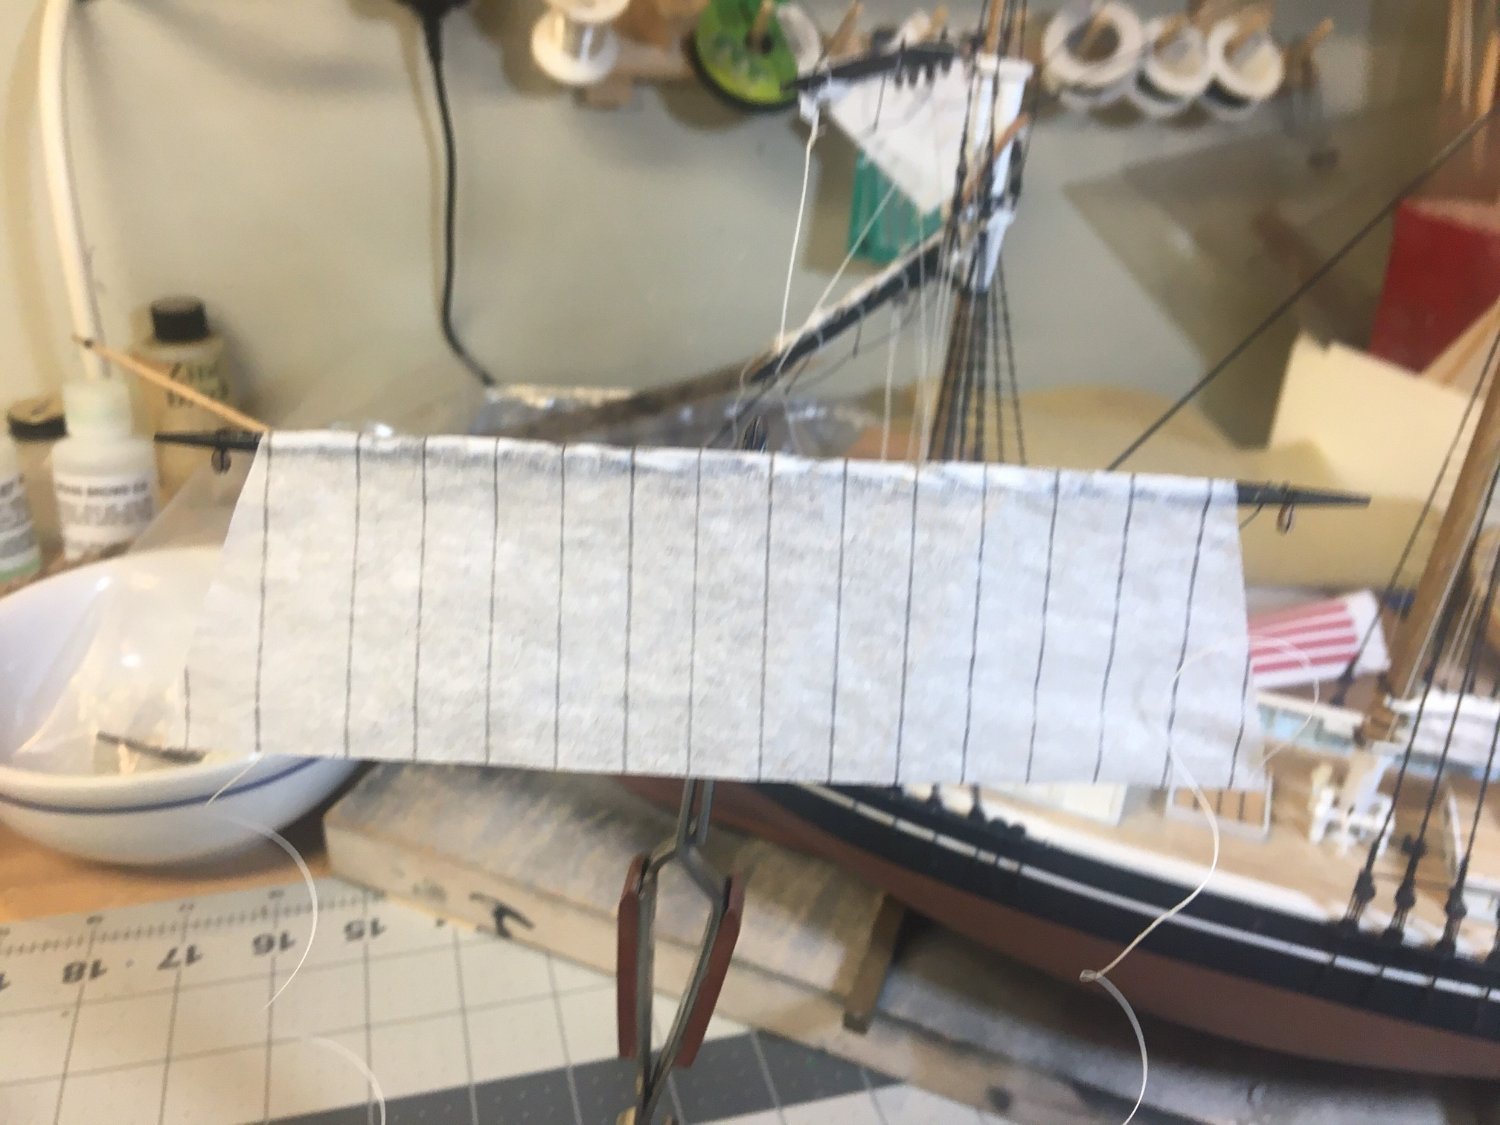
Topgallant yard prepped, will do its sail this w/e.
- 121 replies
-
- 4
-
-
- Newsboy
- Model Shipways
- (and 2 more)
-
Upper topsail furled, mounted, and all rigging belayed.
- 121 replies
-
- 3
-
-
- Newsboy
- Model Shipways
- (and 2 more)
-
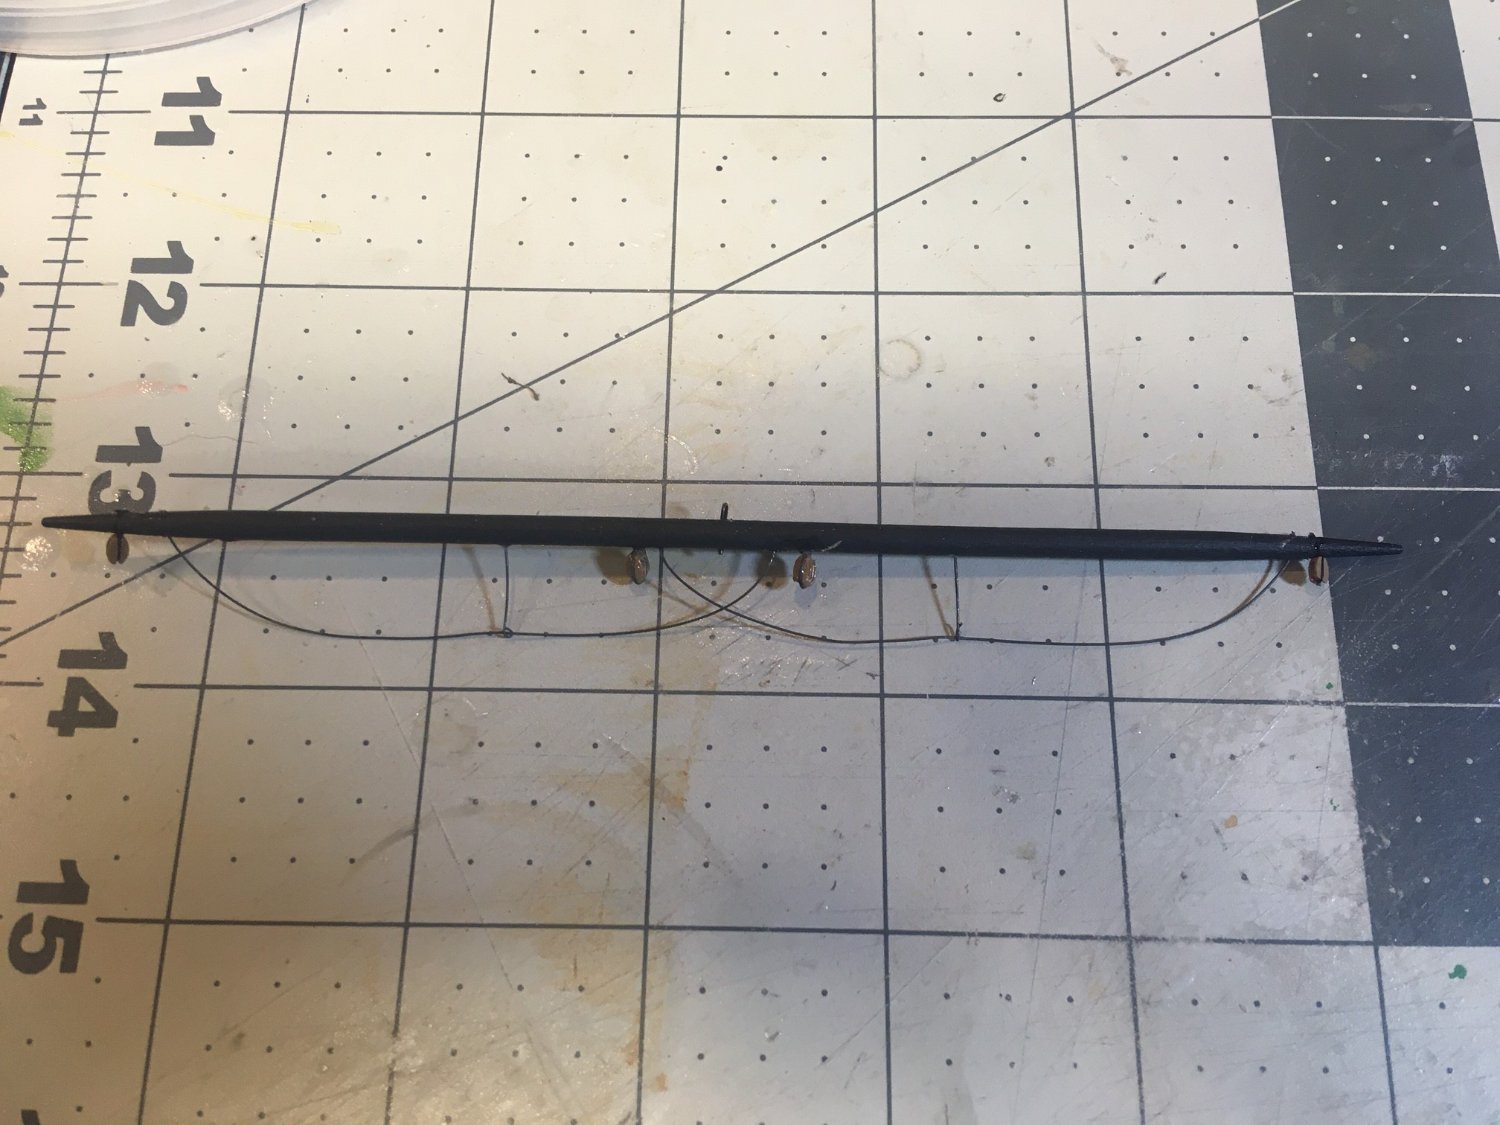
Upper topsail yard prepped and ready for its sail.
- 121 replies
-
- 2
-
-
- Newsboy
- Model Shipways
- (and 2 more)
-
The pintle has a pin, the gudgeon has a hole.
- 72 replies
-
- 3
-
-
- Seguin
- BlueJacket Shipcrafters
- (and 2 more)