MrBlueJacket
-
Posts
1,317 -
Joined
-
Last visited
Content Type
Profiles
Forums
Gallery
Events
Everything posted by MrBlueJacket
-
 you will notice that by splitting the false deck and having each side butt against the keel, you are assured of a straight hull. Nic
 -
Don't know. It would have to be thick, like clear flex-seal, but I think it would look terrible. Nic
-
With overlapped plates, there's not much to protect the edges. Be careful handling the hull, and when the model is finished and in a case, then no-one will be able to touch or brush against it. butt joining the plates reduces, but does not eliminate the problem. Nic
-
I suggest you contact the Tampa Bay Ship Model Society: http://tampabayshipmodelsociety.org/
-
Note: The copyright date on the plans is not the manufacturing date of the kit, it only documents when the kit was designed. Nic
- 170 replies
-
- 4
-

-
- Red Jacket
- Marine Model Company
- (and 2 more)
-
Yes, you can buy a carved hull, and the plans page with the templates. Call us up. 207-548-9970 Nic
-
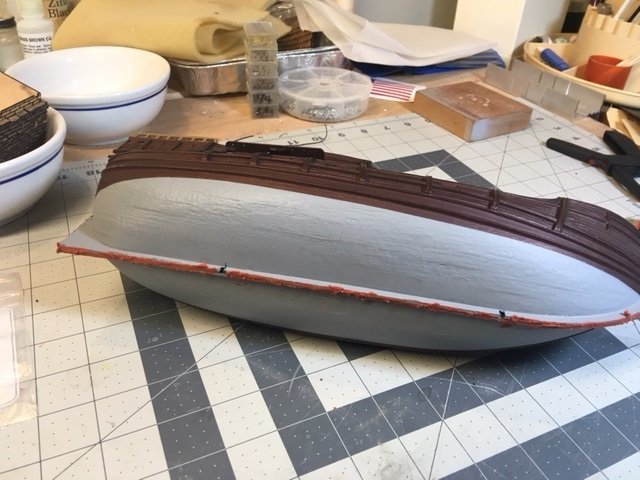
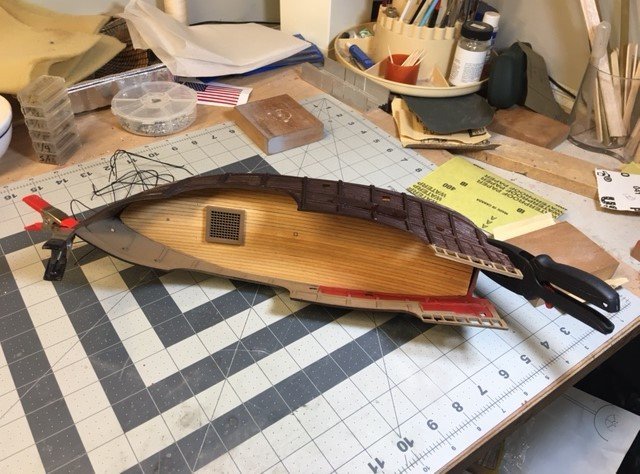
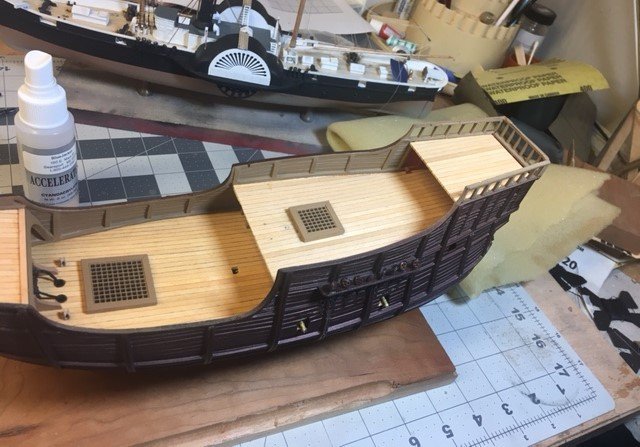
Marrying the other half was a bit more difficult, the deck AND the keel needed to line up. but in the end, it worked.
-
So I also had to warp the bow area. Some rubber band coaxing, and the deck is now married to the port half.

-
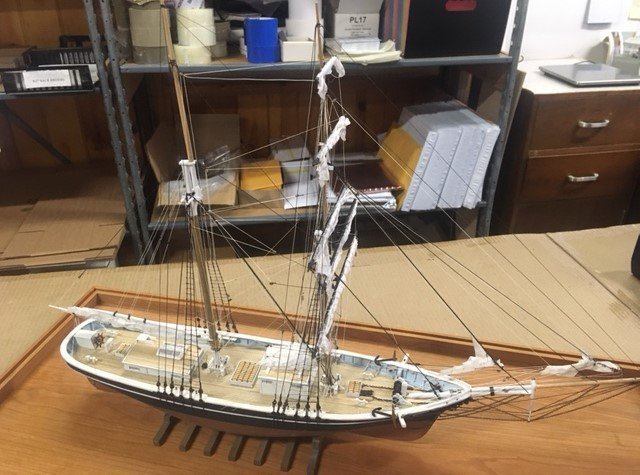
Thanks, everyone. When my customer picked it up, he was very happy. And I learned why he wanted this particular model. His older brother by 13 yrs built one as a young adult. His brother passed away, and the model was lost. So this has a lot of sentimental value. I'm so happy I could do this for him
- 121 replies
-
- 4
-
-
- Newsboy
- Model Shipways
- (and 2 more)
-
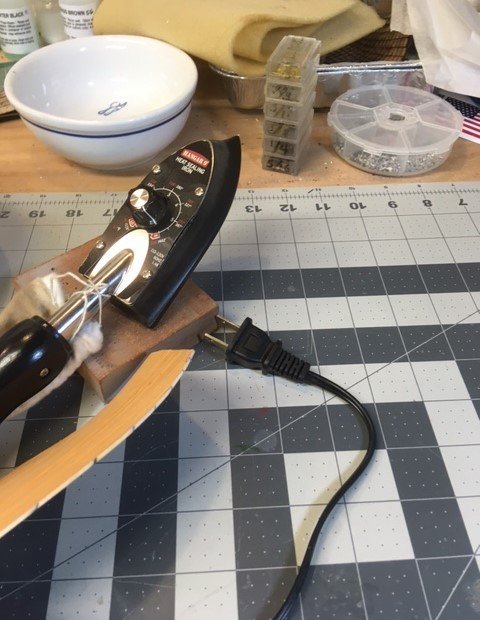
So, wood bending V.2 Again I wet the underside, but used a Monokote iron to steam out the wood while bending it over an old coffee can. Ended up working perfectly.
-
Working on a plastic Santa Maria for an IPMS show in the spring. Build thread here:
- 121 replies
-
- 1
-
-
- Newsboy
- Model Shipways
- (and 2 more)
-
Congratulations! Your customer file now shows a 10% discount on the next kit you buy from us. Nic
- 72 replies
-
- 1
-
-
- Seguin
- BlueJacket Shipcrafters
- (and 2 more)
-
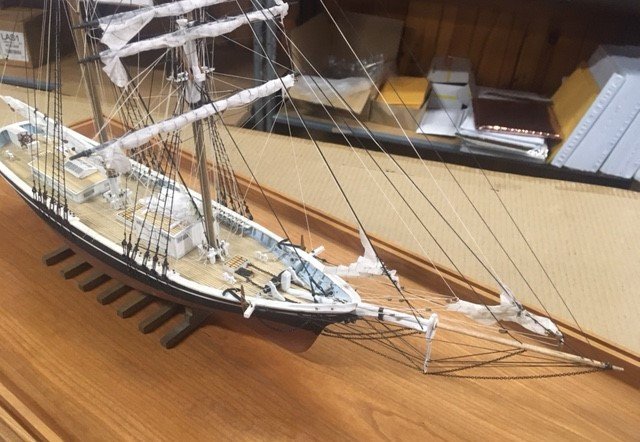
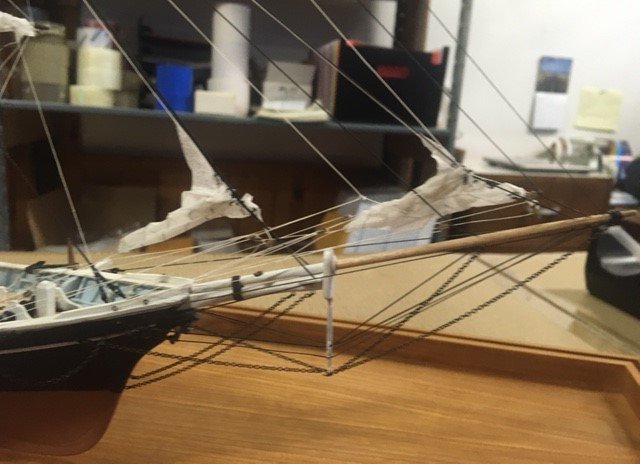
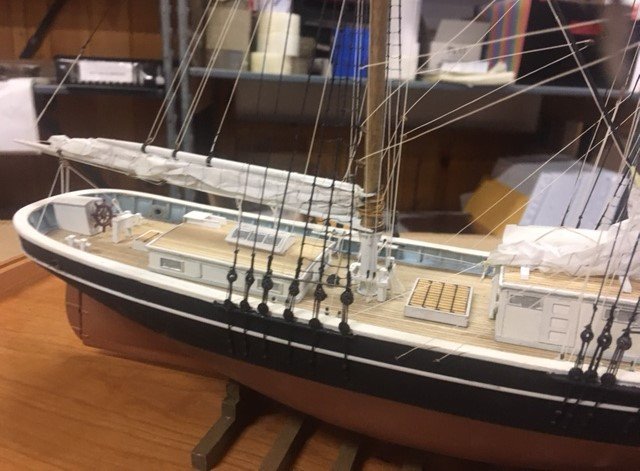
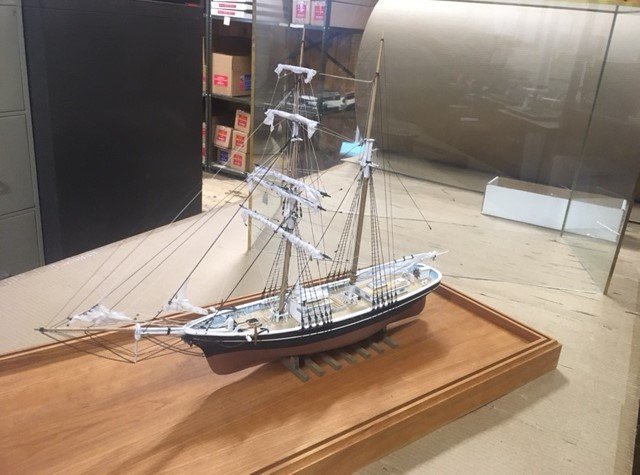
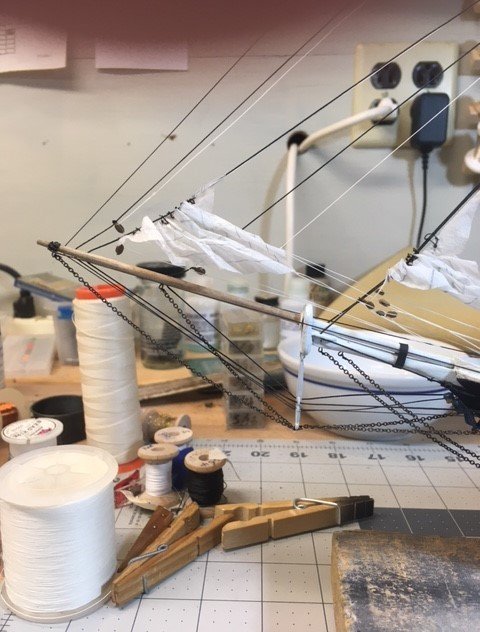
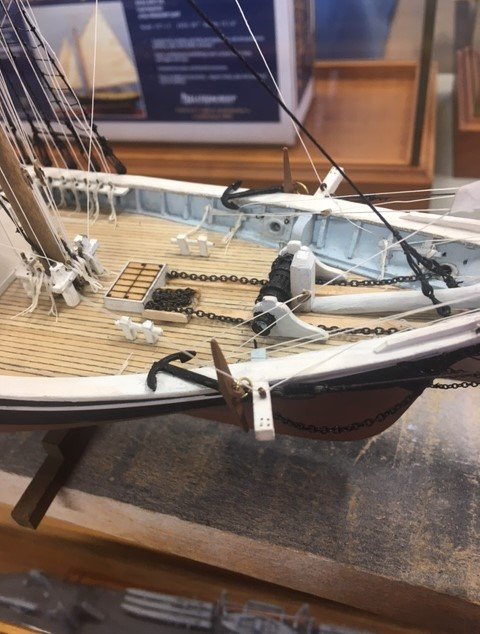
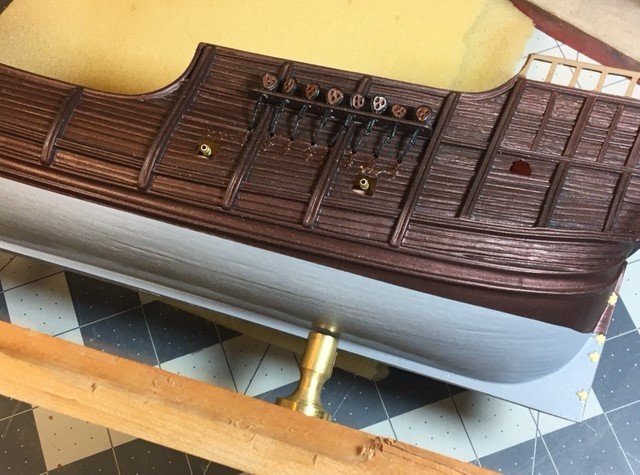
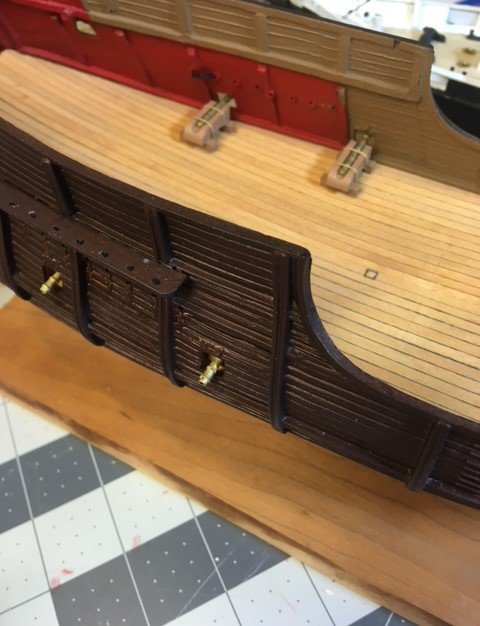
And with the addition of the anchors, the model is complete. Next step is to put it in its case.
- 121 replies
-
- 6
-
-
- Newsboy
- Model Shipways
- (and 2 more)
-
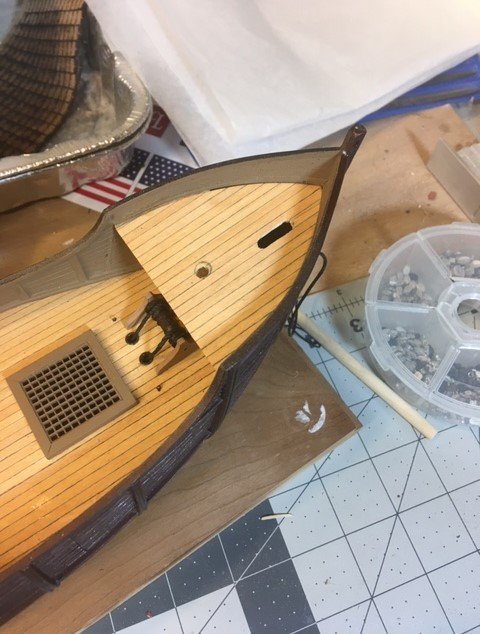
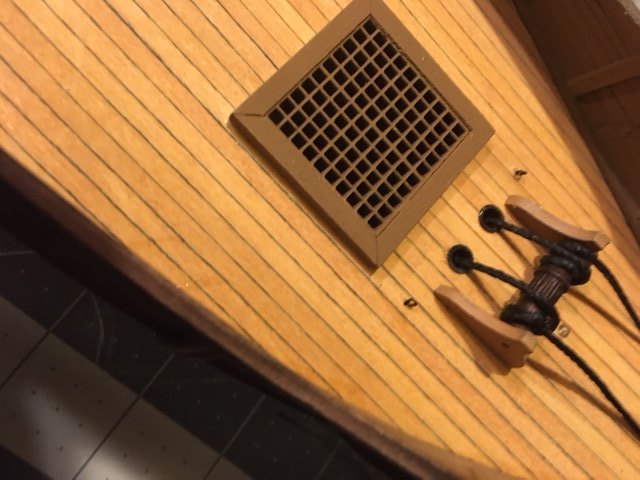
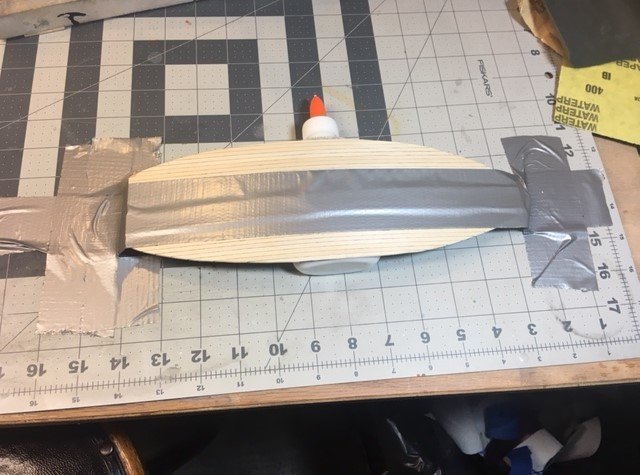
So after a few months, painted the outside, and trial fitted the deck. big problem - the deck has a lot of shear, so I have to pre-bend the deck to get it to fit. Here's the first attempt, but it didn't bend as much as needed.
.JPG.c10b631f6e0fe17515715606066e2dc9.JPG)