MrBlueJacket
-
Posts
1,314 -
Joined
-
Last visited
Content Type
Profiles
Forums
Gallery
Events
Everything posted by MrBlueJacket
-
And a long one at that. BlueJacket alone has over 80 current kits, and 100's more from the past.
-
 I think you've said that before....... Nic
 -
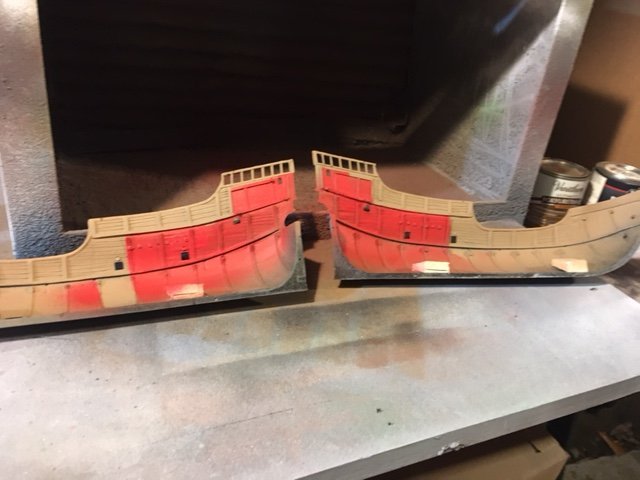
Painted the inside of the cabins flat red, per the instructions. Next step is to paint the outside dark brown.
-
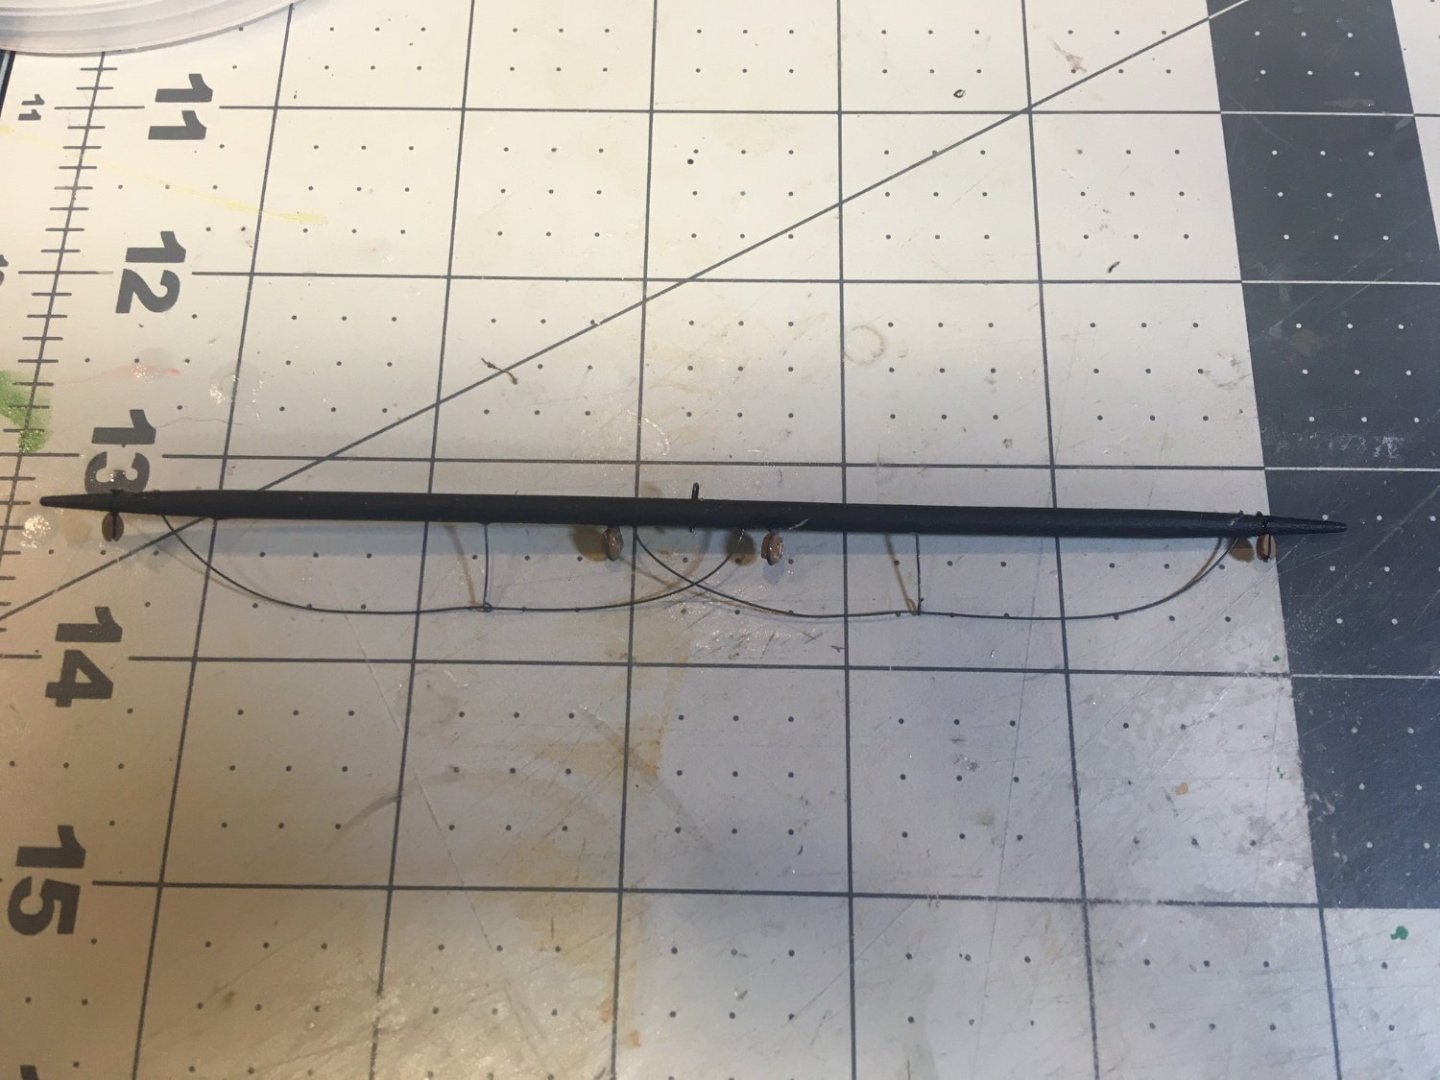
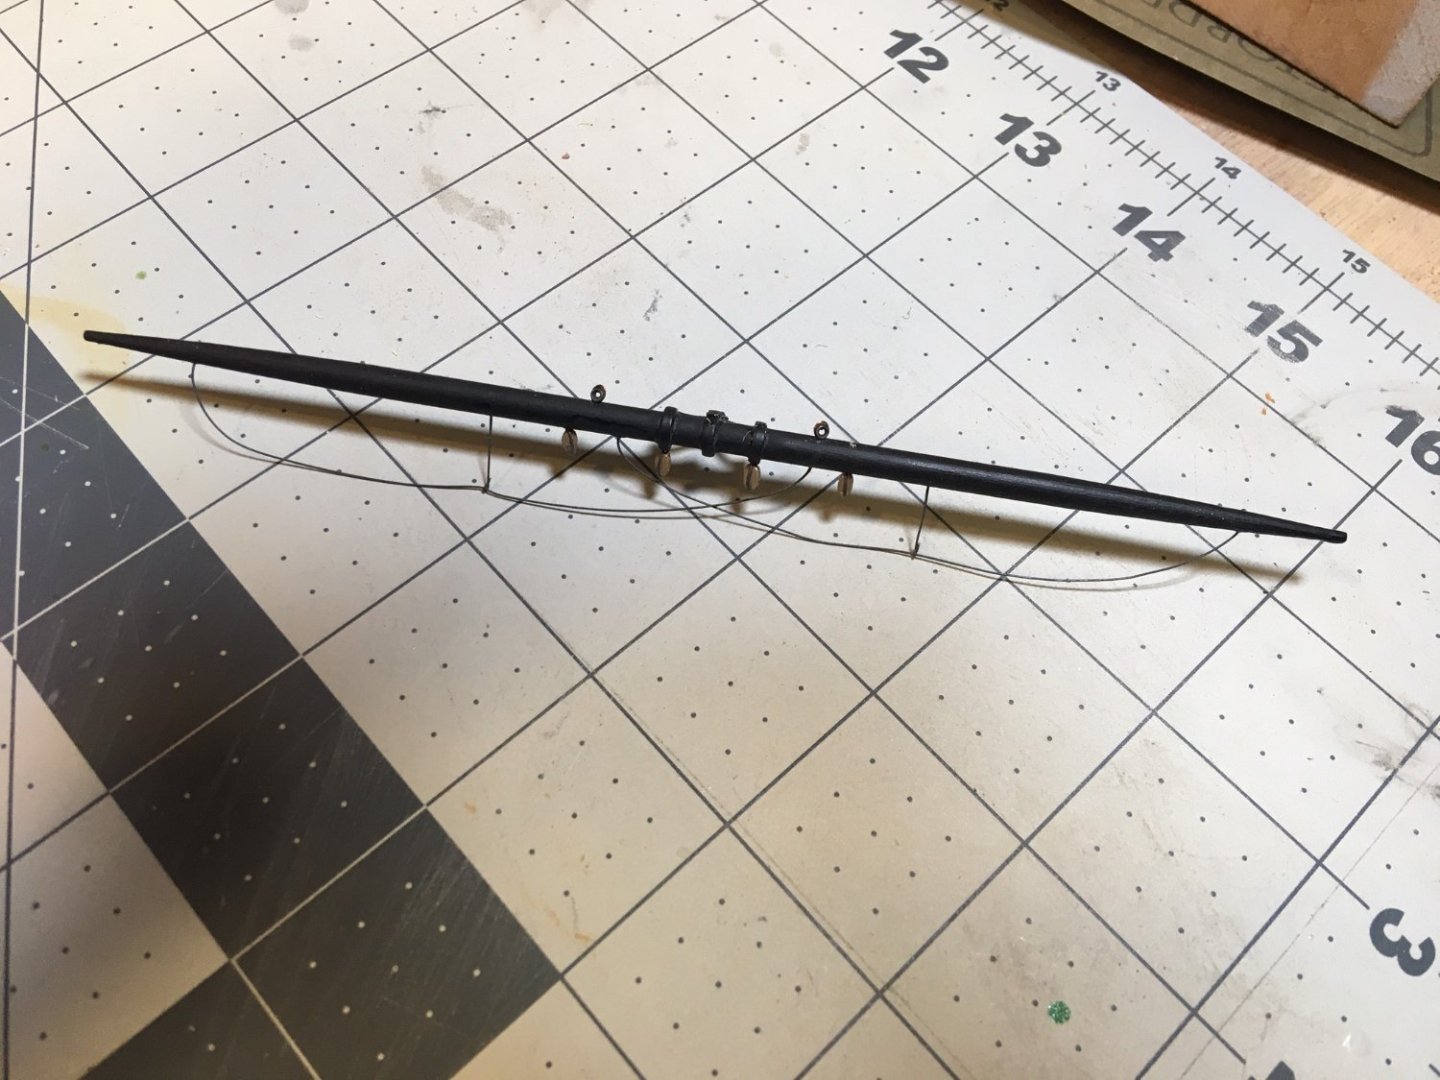
Topgallant yard prepped, will do its sail this w/e.
- 121 replies
-
- 4
-

-
- Newsboy
- Model Shipways
- (and 2 more)
-
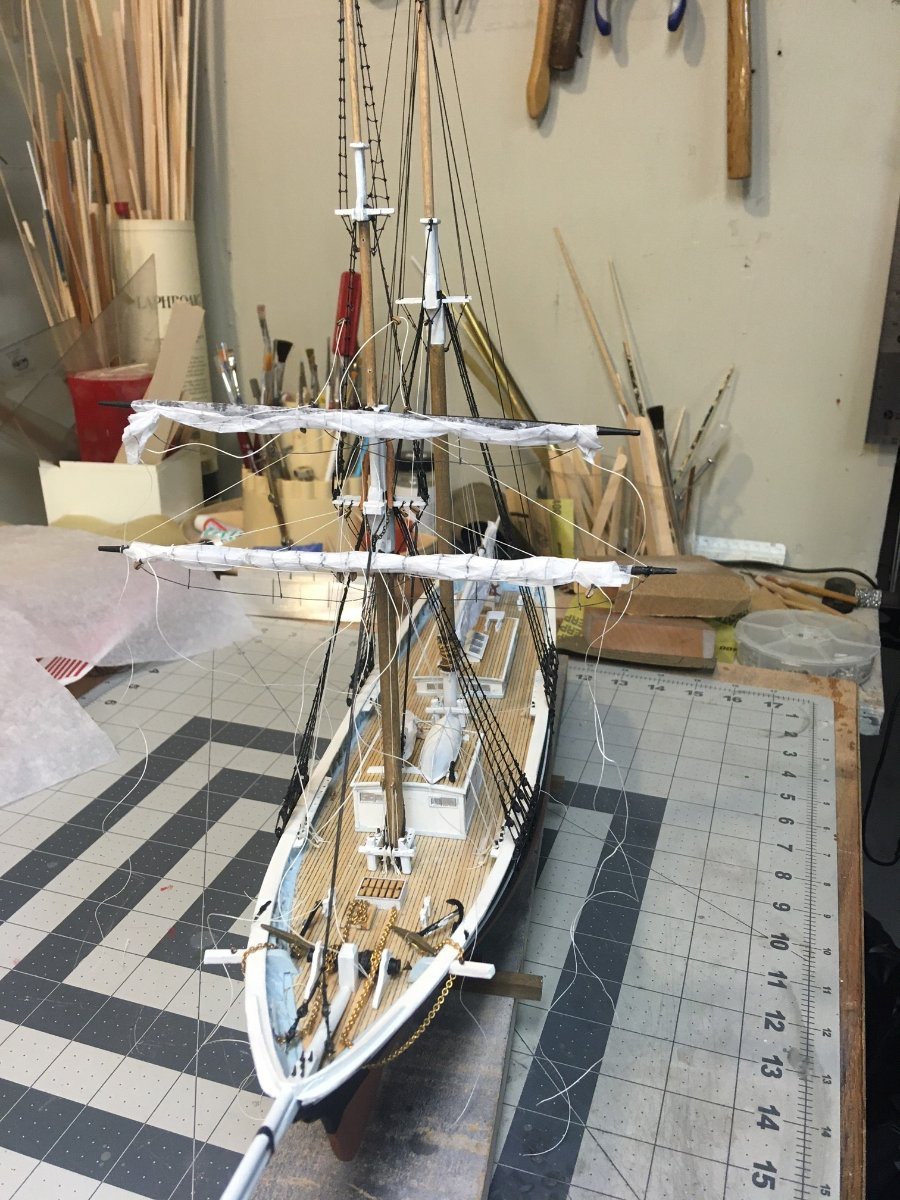
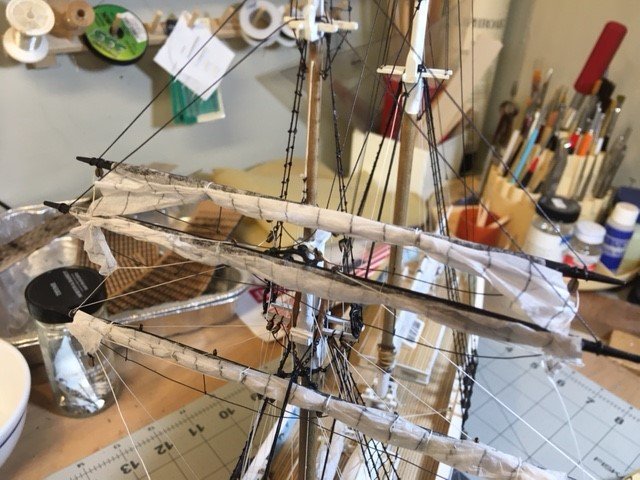
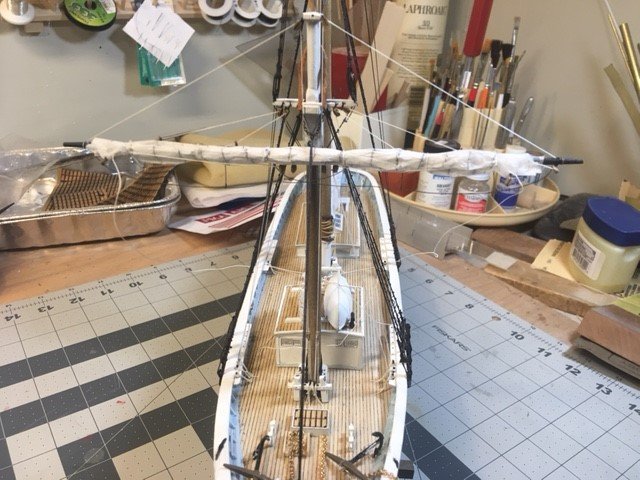
Upper topsail furled, mounted, and all rigging belayed.
- 121 replies
-
- 3
-
-
- Newsboy
- Model Shipways
- (and 2 more)
-
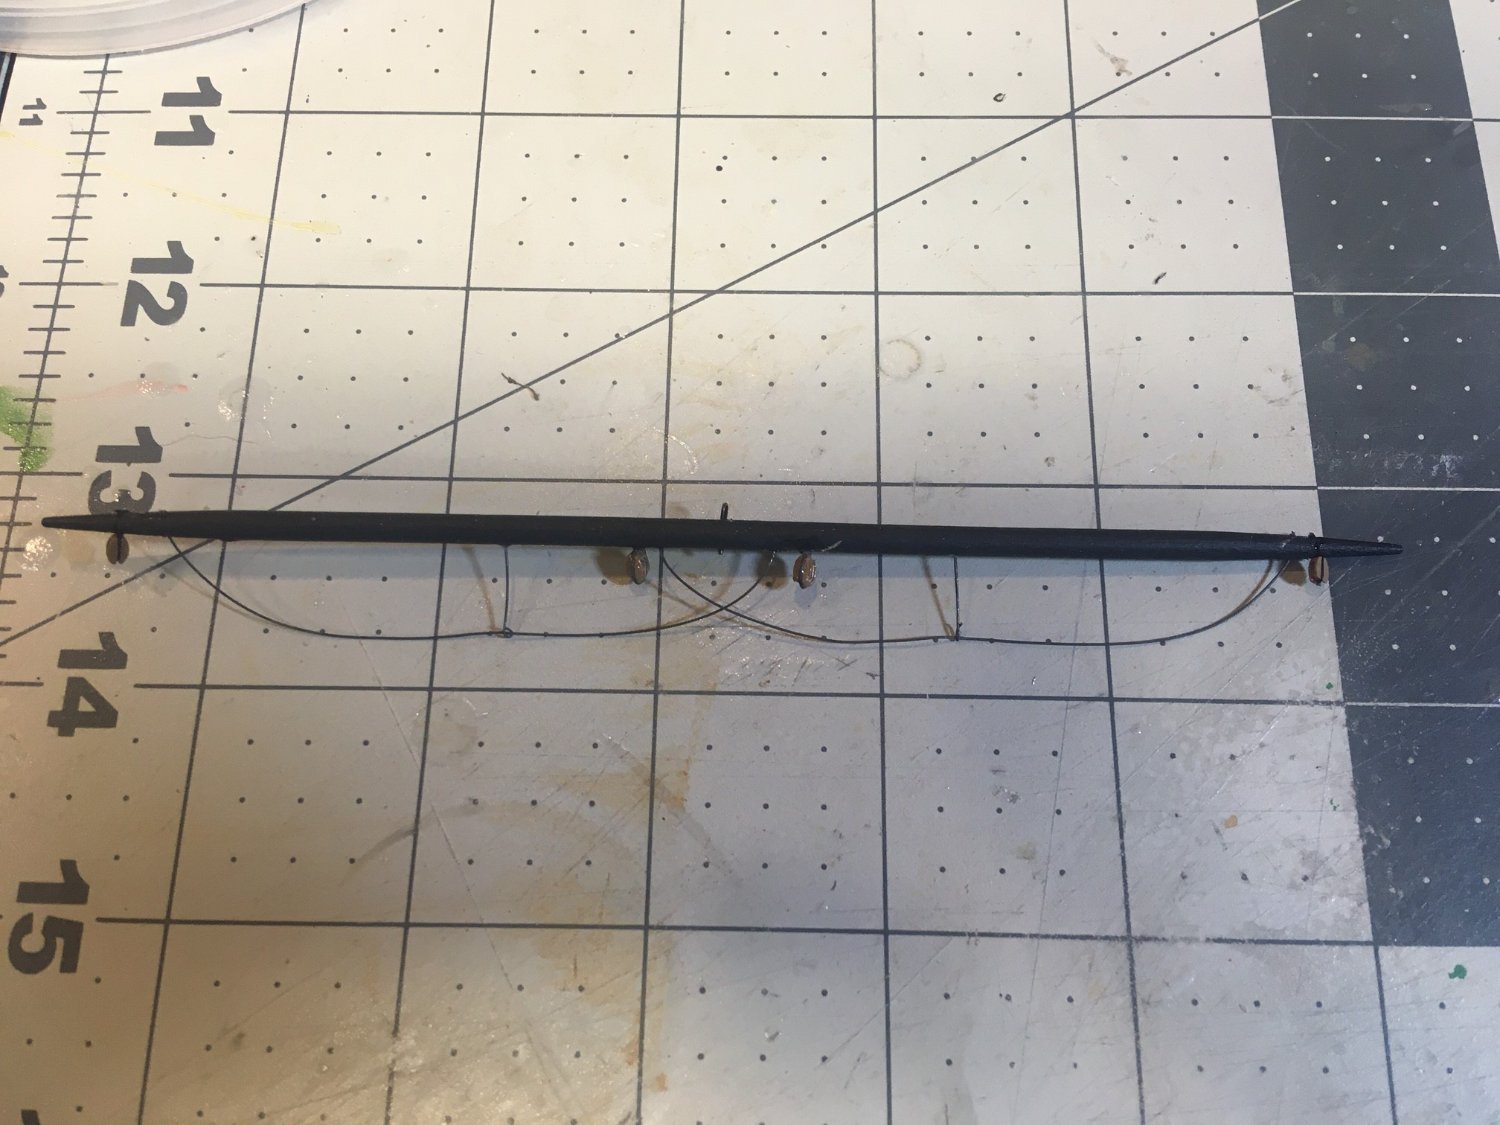
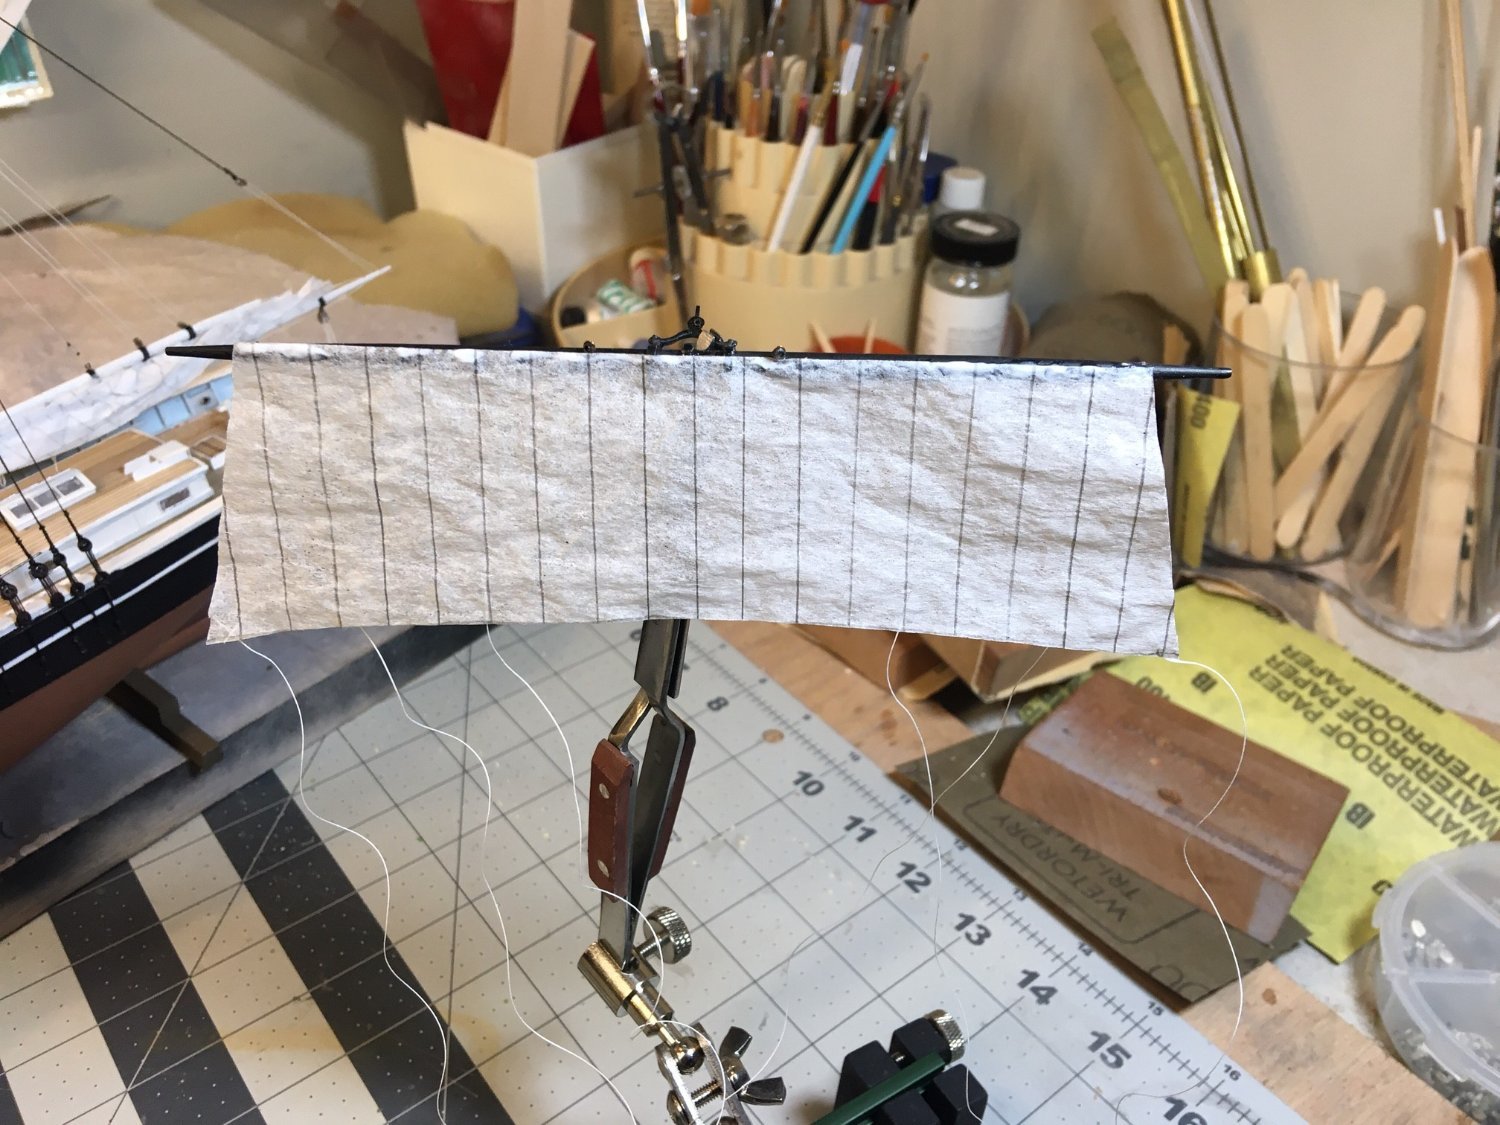
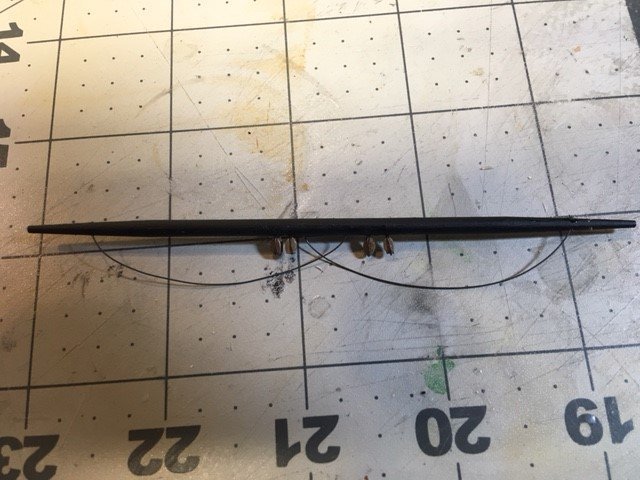
Upper topsail yard prepped and ready for its sail.
- 121 replies
-
- 2
-
-
- Newsboy
- Model Shipways
- (and 2 more)
-
The pintle has a pin, the gudgeon has a hole.
- 72 replies
-
- 3
-
-
- Seguin
- BlueJacket Shipcrafters
- (and 2 more)
-
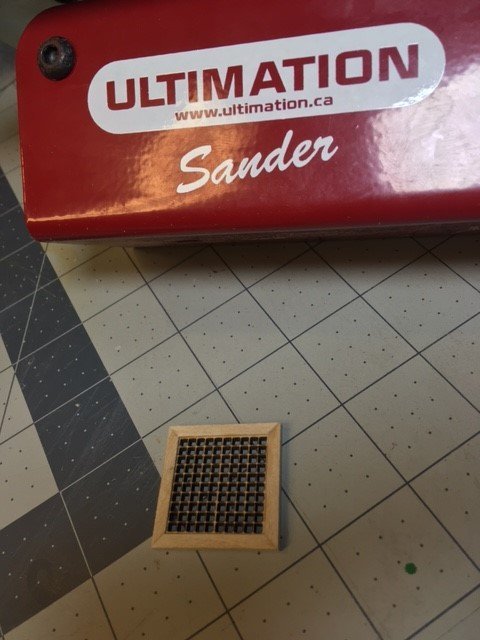
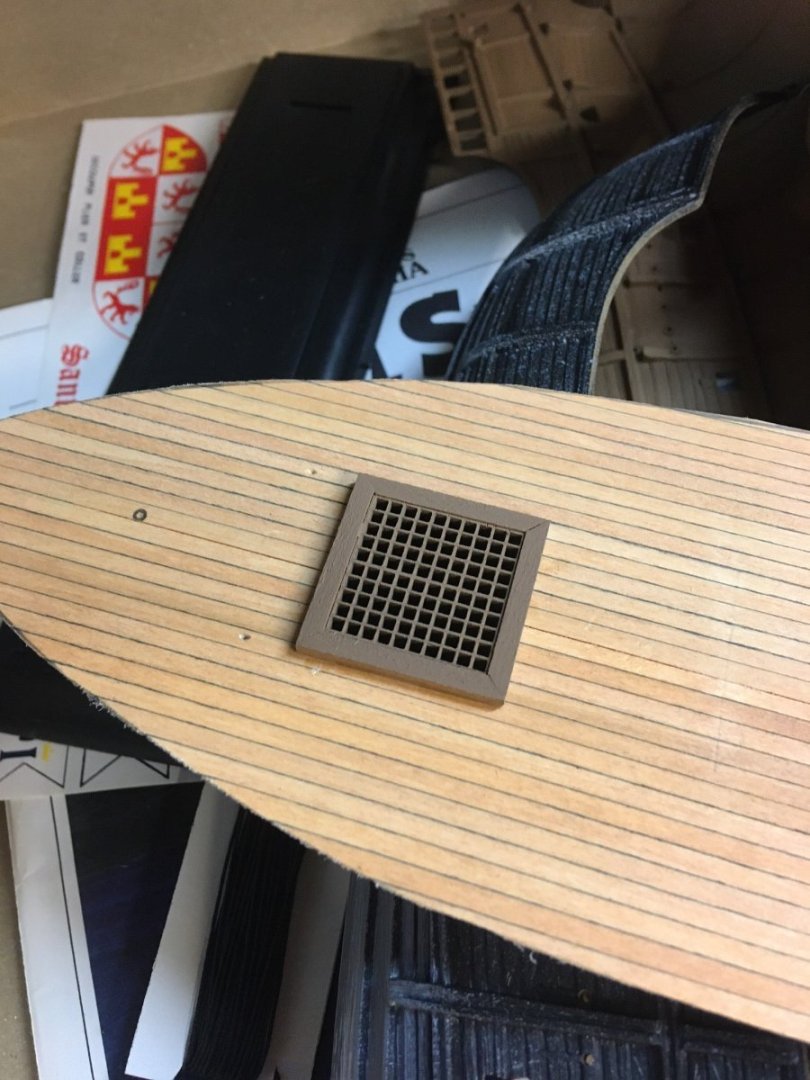
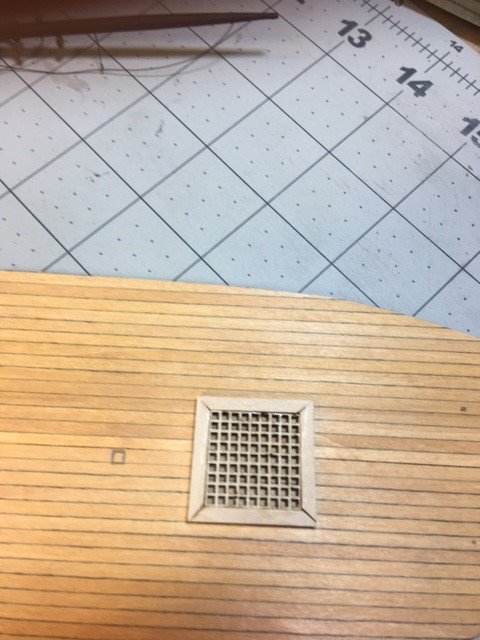
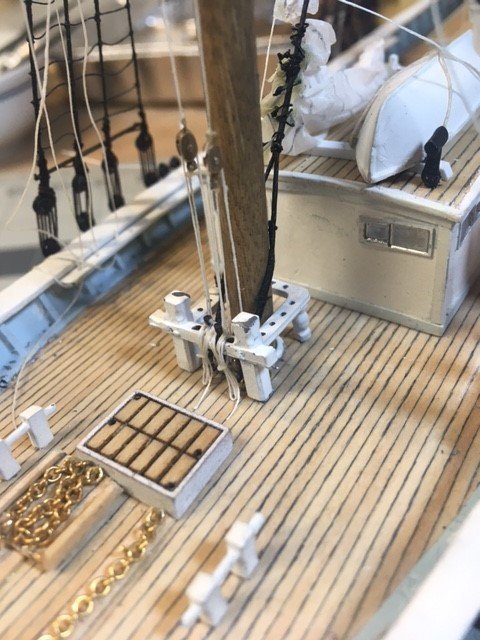
Over the weekend, painted and installed the grating. I like the way it looks, I painted under it with black.
-
Sail is furled and hung on the mast. Next step is to belay the 6 sheet, clew and bunt lines.

- 121 replies
-
- 5
-
-
- Newsboy
- Model Shipways
- (and 2 more)
-
And hung on the lower topmast. Next will be to furl the sail, then hang it on the mast.
- 121 replies
-
- 4
-
-
- Newsboy
- Model Shipways
- (and 2 more)
-
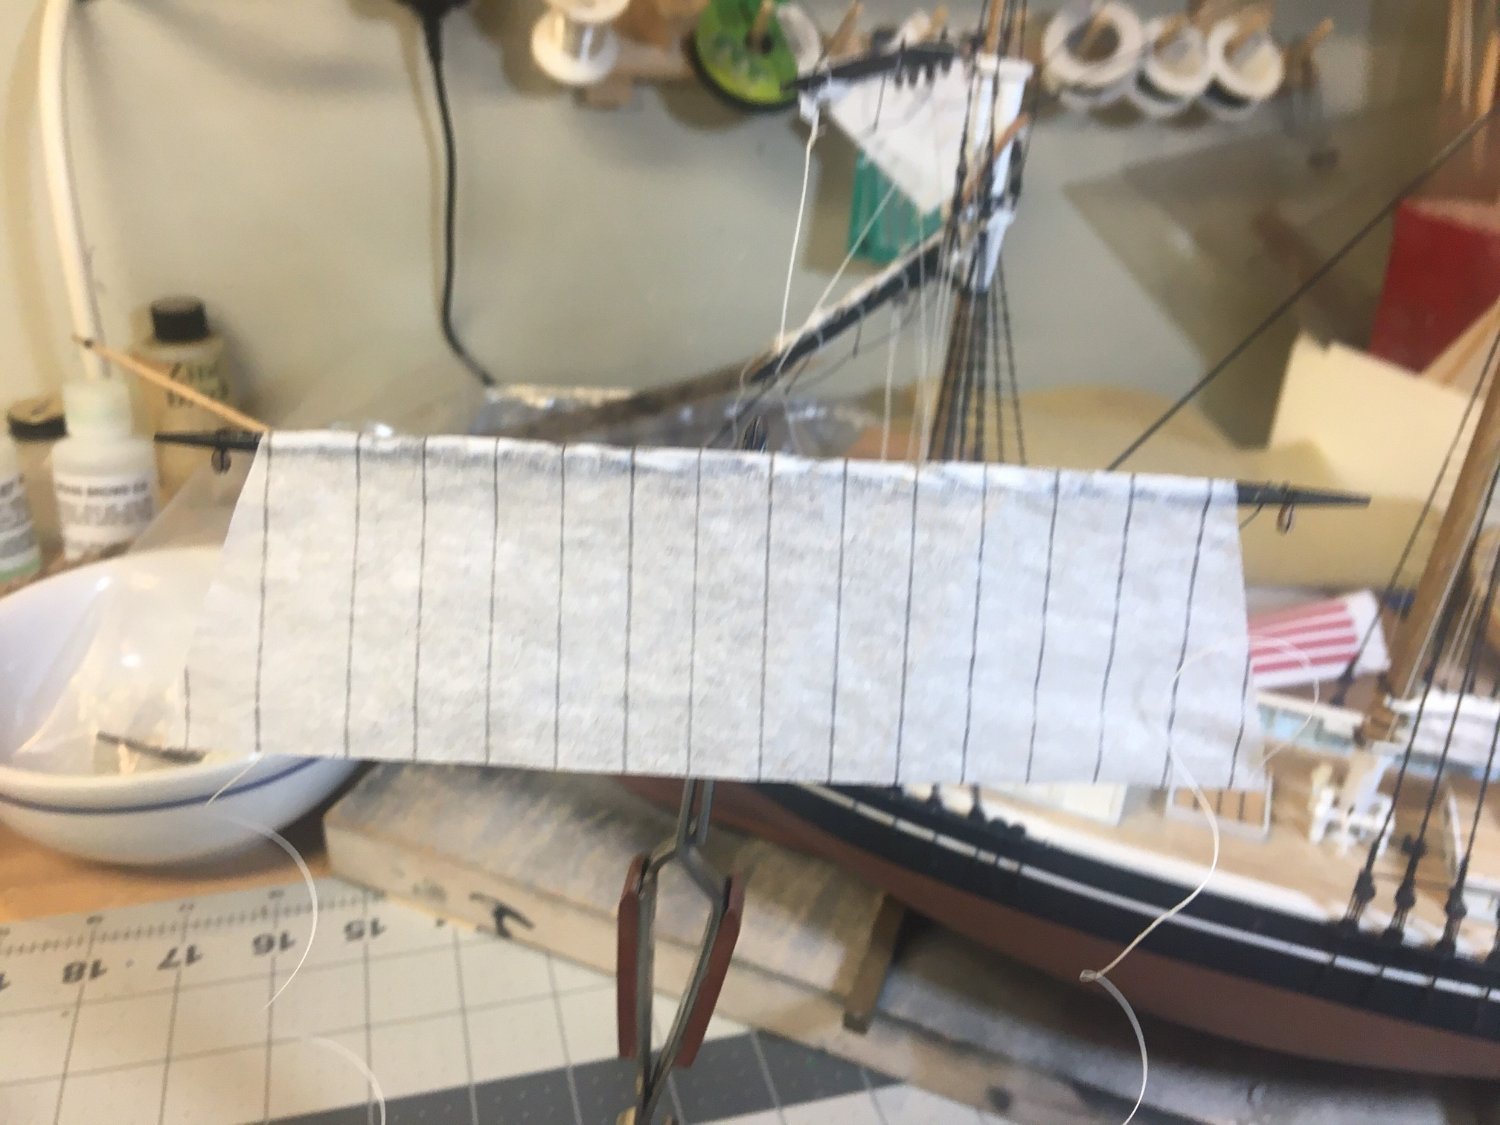
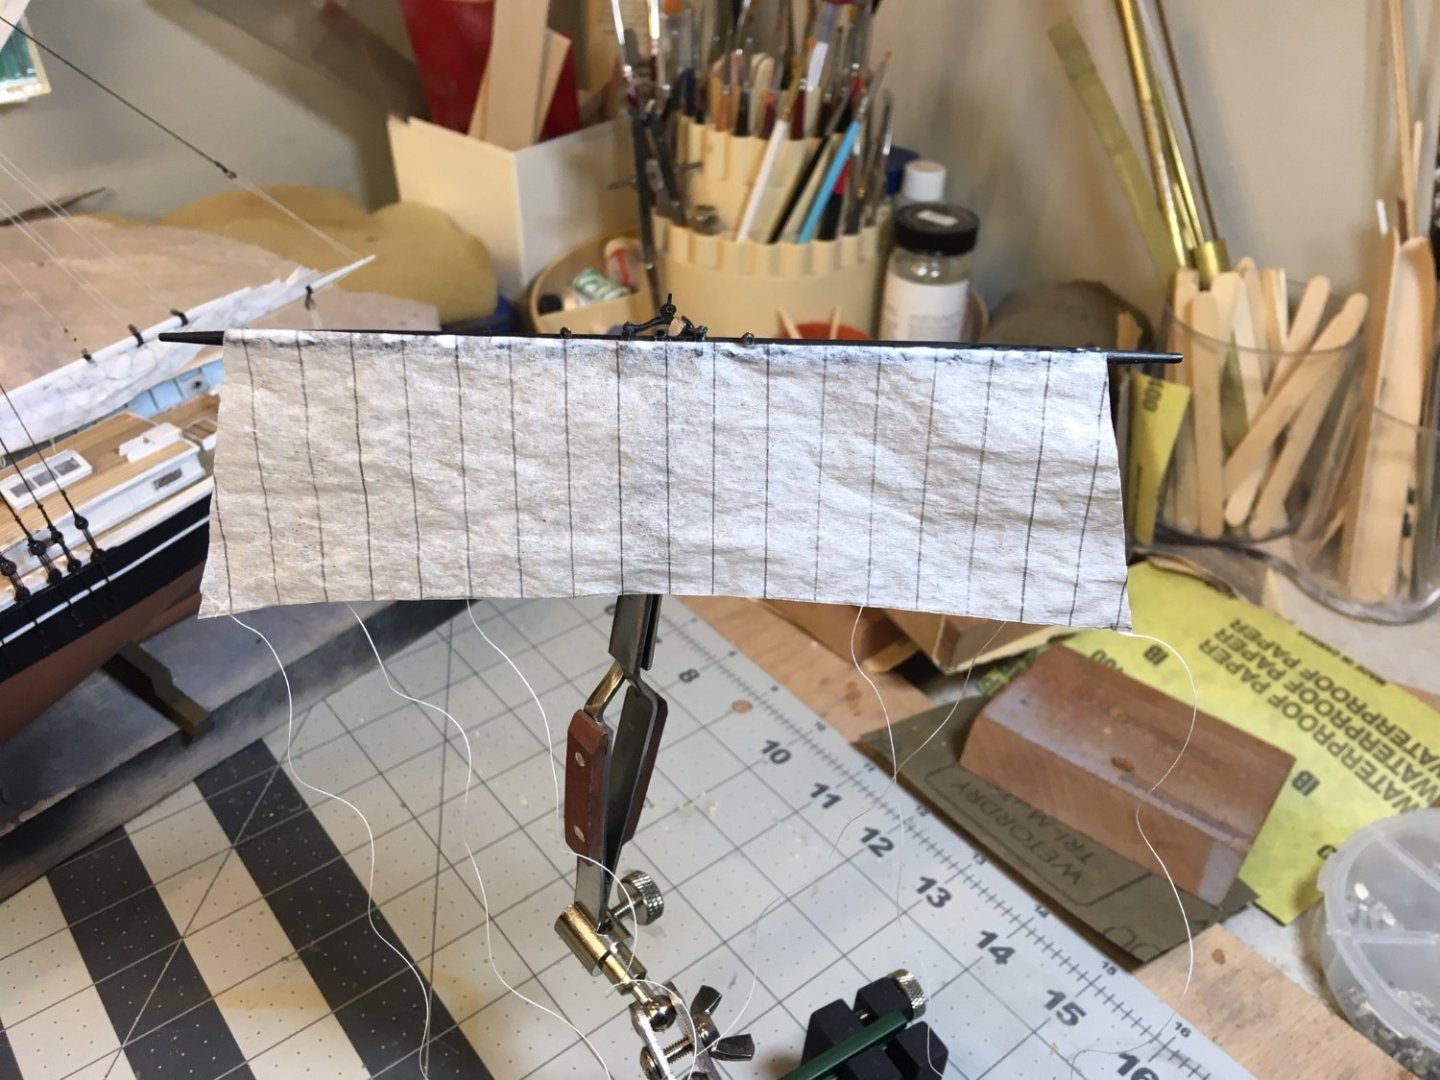
Sail drawn. Added the sheet, bunt and clew lines. Ready to hang on the yard.

- 121 replies
-
- 2
-
-
- Newsboy
- Model Shipways
- (and 2 more)
-
Here's my first attempt. Our gratings are rectangular, so I cut off the edging, squared it, and added new edges. Not happy with my joinery work, so I will re-do tonight. Like the noted modeler Steve Wheeler said, "The wastebasket is your best tool."
-
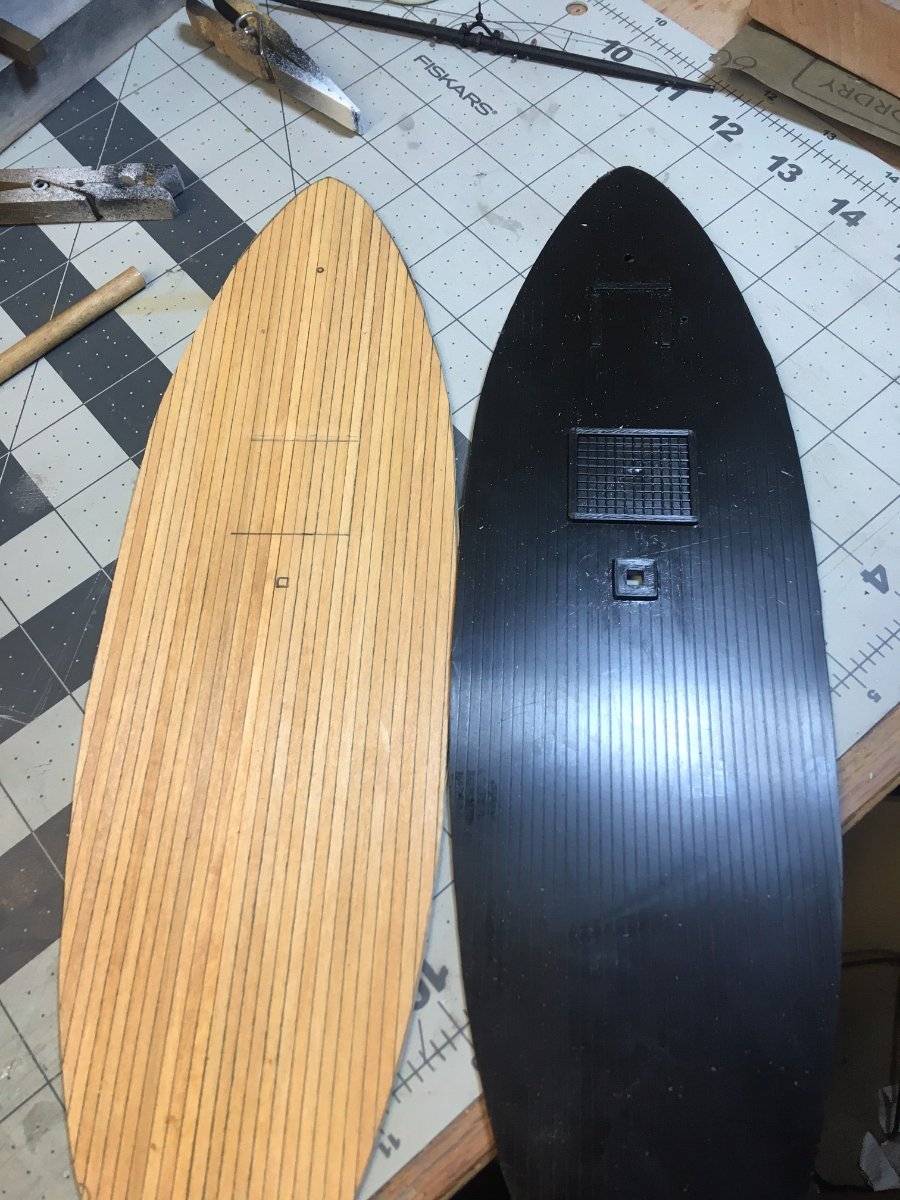
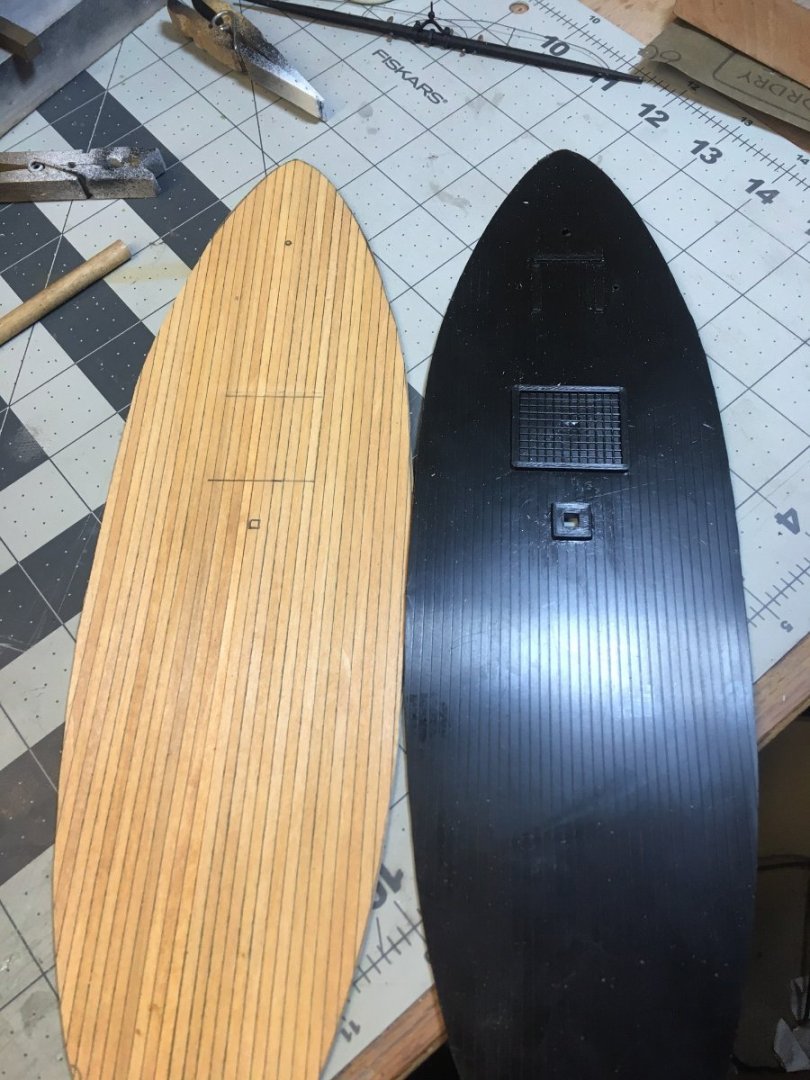
Shaped the wooden deck and traced the attachment points. Not sure if I will cut the grating off the plastic deck or use the laser cut gratings we sell. Opinions?
-
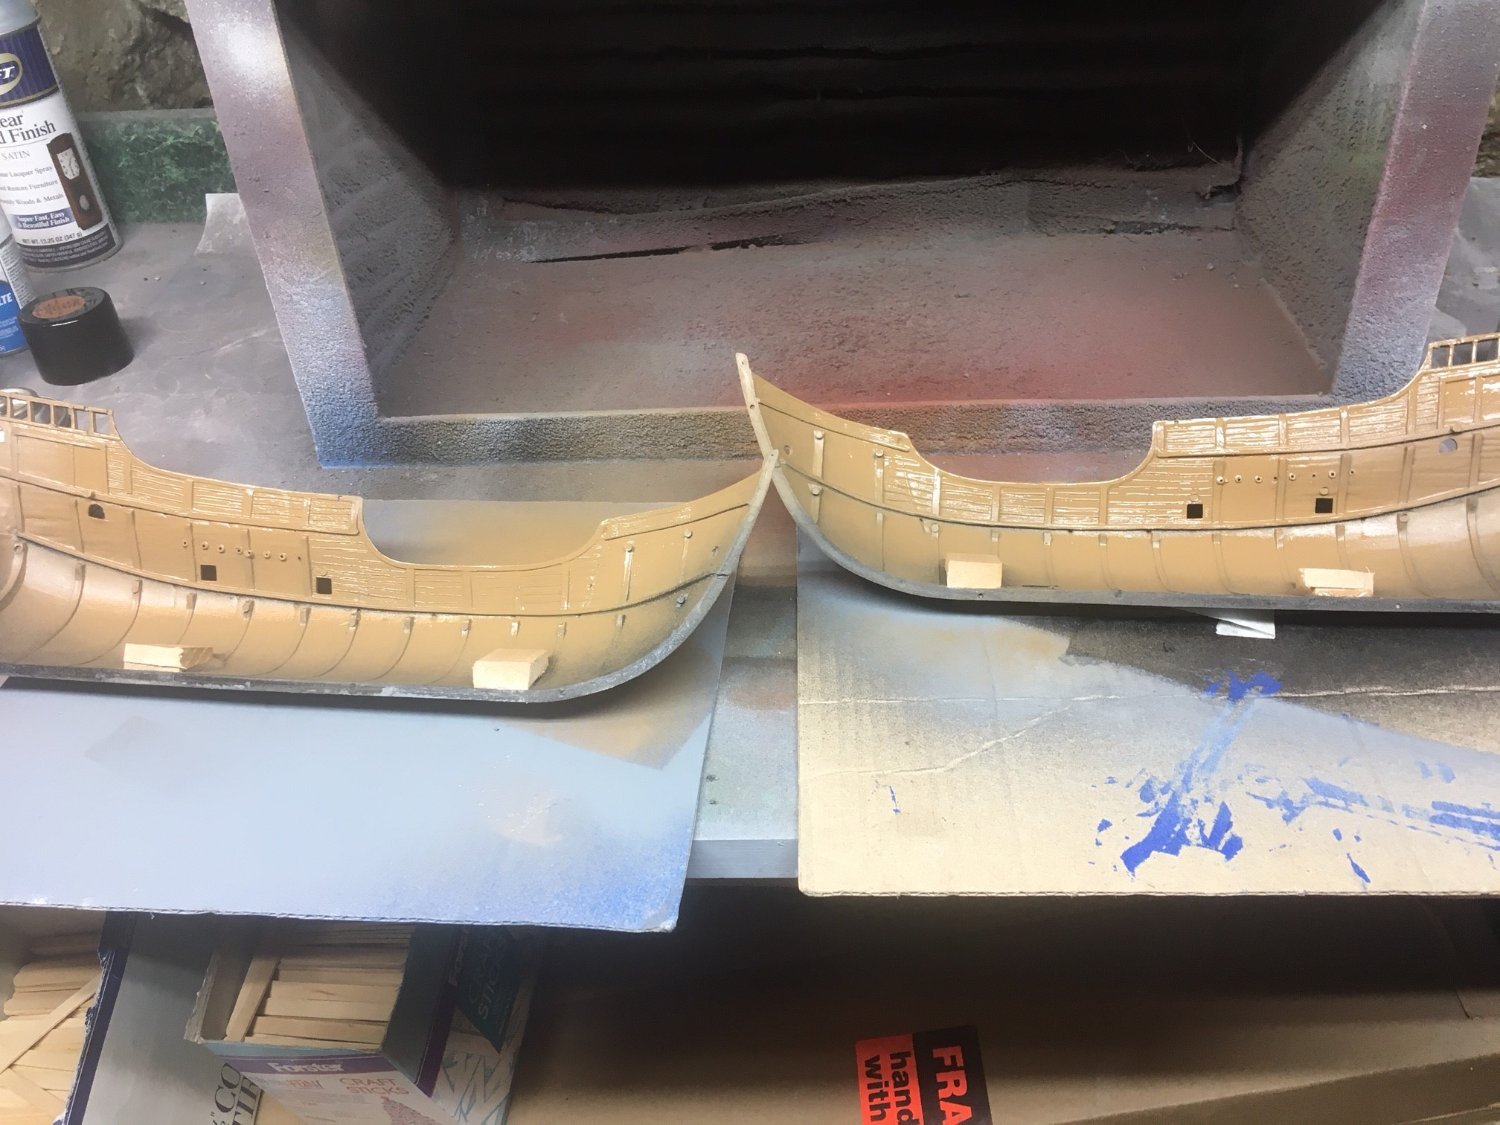
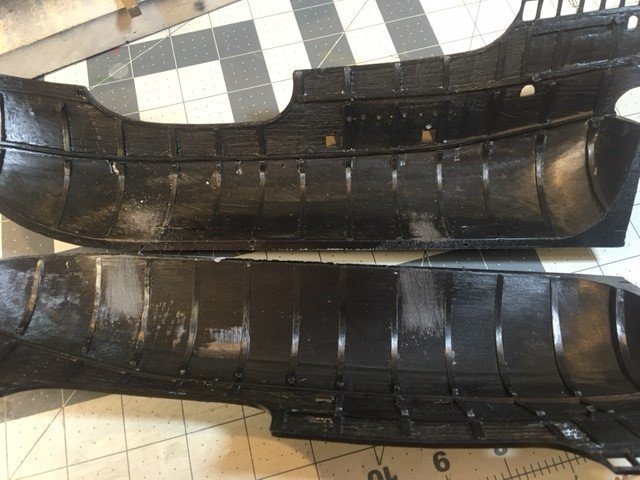
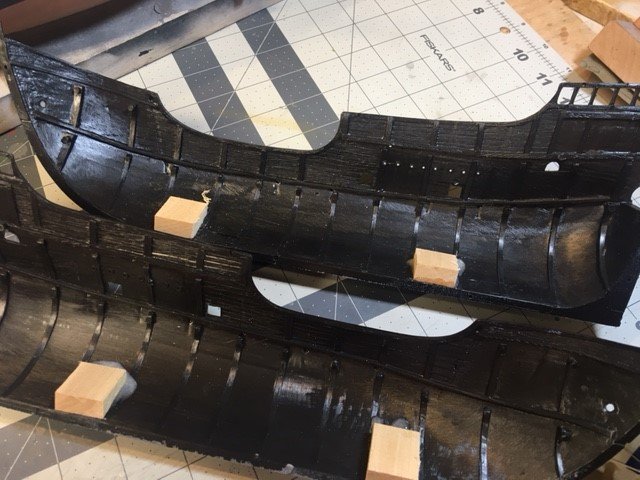
Next step is to insert wooden blocks because I will be using pedestals, not the plastic cradle tht came with the kit. First step is to rough up where the blocks will be with some 60 grit sandpaper. Then some 5-minute epoxy to hold the blocks, which were tapered to fit the curve of the bottom.
-
Over the weekend, prepped the lower topmast yard. Will draw the sails during the week.
- 121 replies
-
- 4
-
-
- Newsboy
- Model Shipways
- (and 2 more)
-
Nice job! Your customer file now shows you will get a 10% discount on the next kit you buy from us. I can suggest the Smuggler, Charles P. Notman, Atlantic, Fannie Gorham, Bowdoin, or Alfred to name a few.....
- 50 replies
-
- 3
-
-
- Perry
- BlueJacket Shipcrafters
- (and 1 more)
-
Then attach all the rest of the sail lines, except for the tack line, which would interfere with other stuff. The tack lines will get attached when doing the braces.
- 121 replies
-
- 2
-
-
- Newsboy
- Model Shipways
- (and 2 more)
-
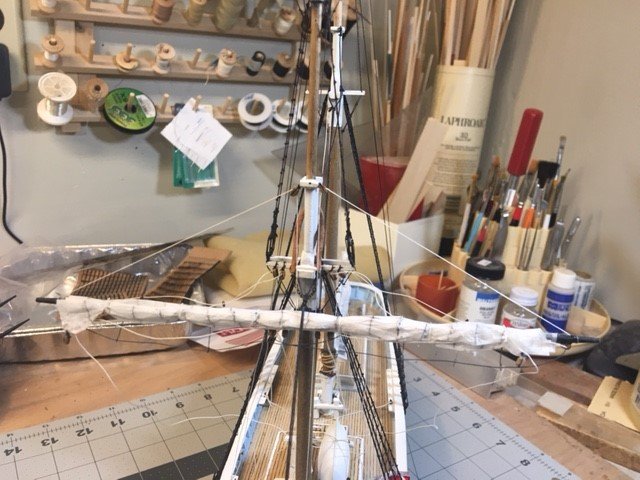
Next step is to attach the lifts. They start of course at the yardarm, go through a block in the cap, and terminate to a single becket block.There were two difficult steps which took about 2 hrs. One, getting a line through the little blocks under the fife rail. (see post#22) Second was to align the lifts so the yard would be perpendicular to the mast.
- 121 replies
-
- 2
-
-
- Newsboy
- Model Shipways
- (and 2 more)
-
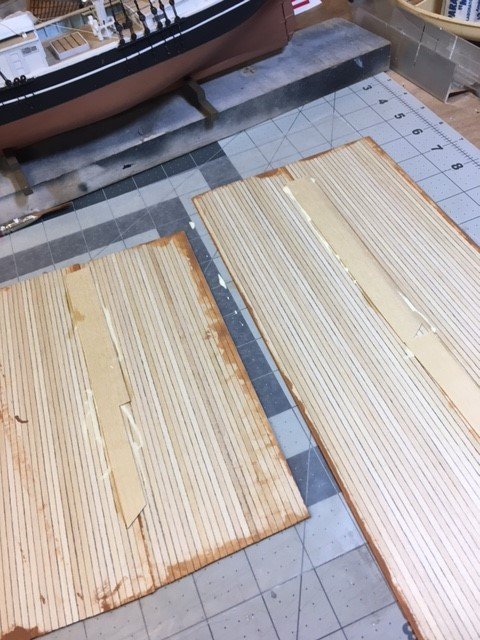
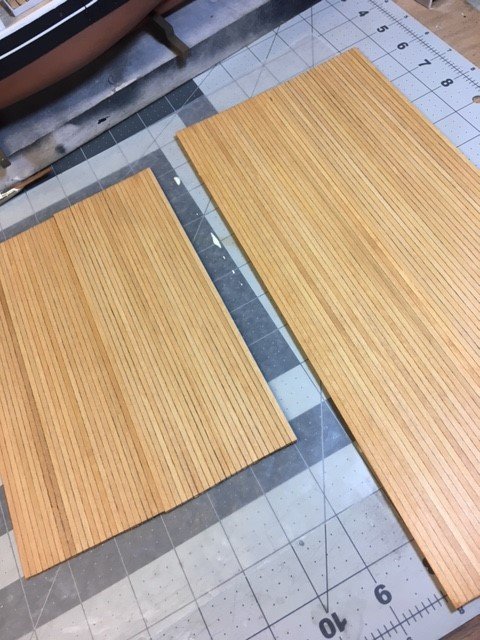
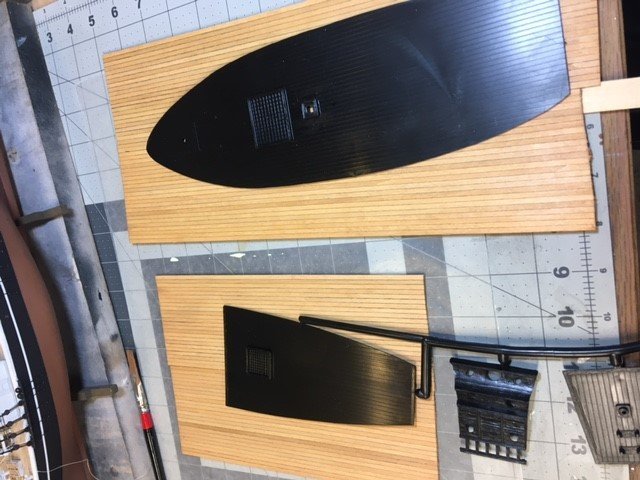
First, the vacuformed sails will be discarded. also, the plastic decking will be replace with wood. I took some glued-up decking, and painted it wood, then wiped it off with thinner. SInce the main deck was a little wider than the wood, I had to butt splice 2 sheets together. A scrap strip of 1/32 basswood added strength to the joint. When flipped over, you can't see the joinery.