Old Collingwood
-
Posts
12,104 -
Joined
-
Last visited
Content Type
Profiles
Forums
Gallery
Events
Everything posted by Old Collingwood
-
 Indeed Mark. OC.
 -
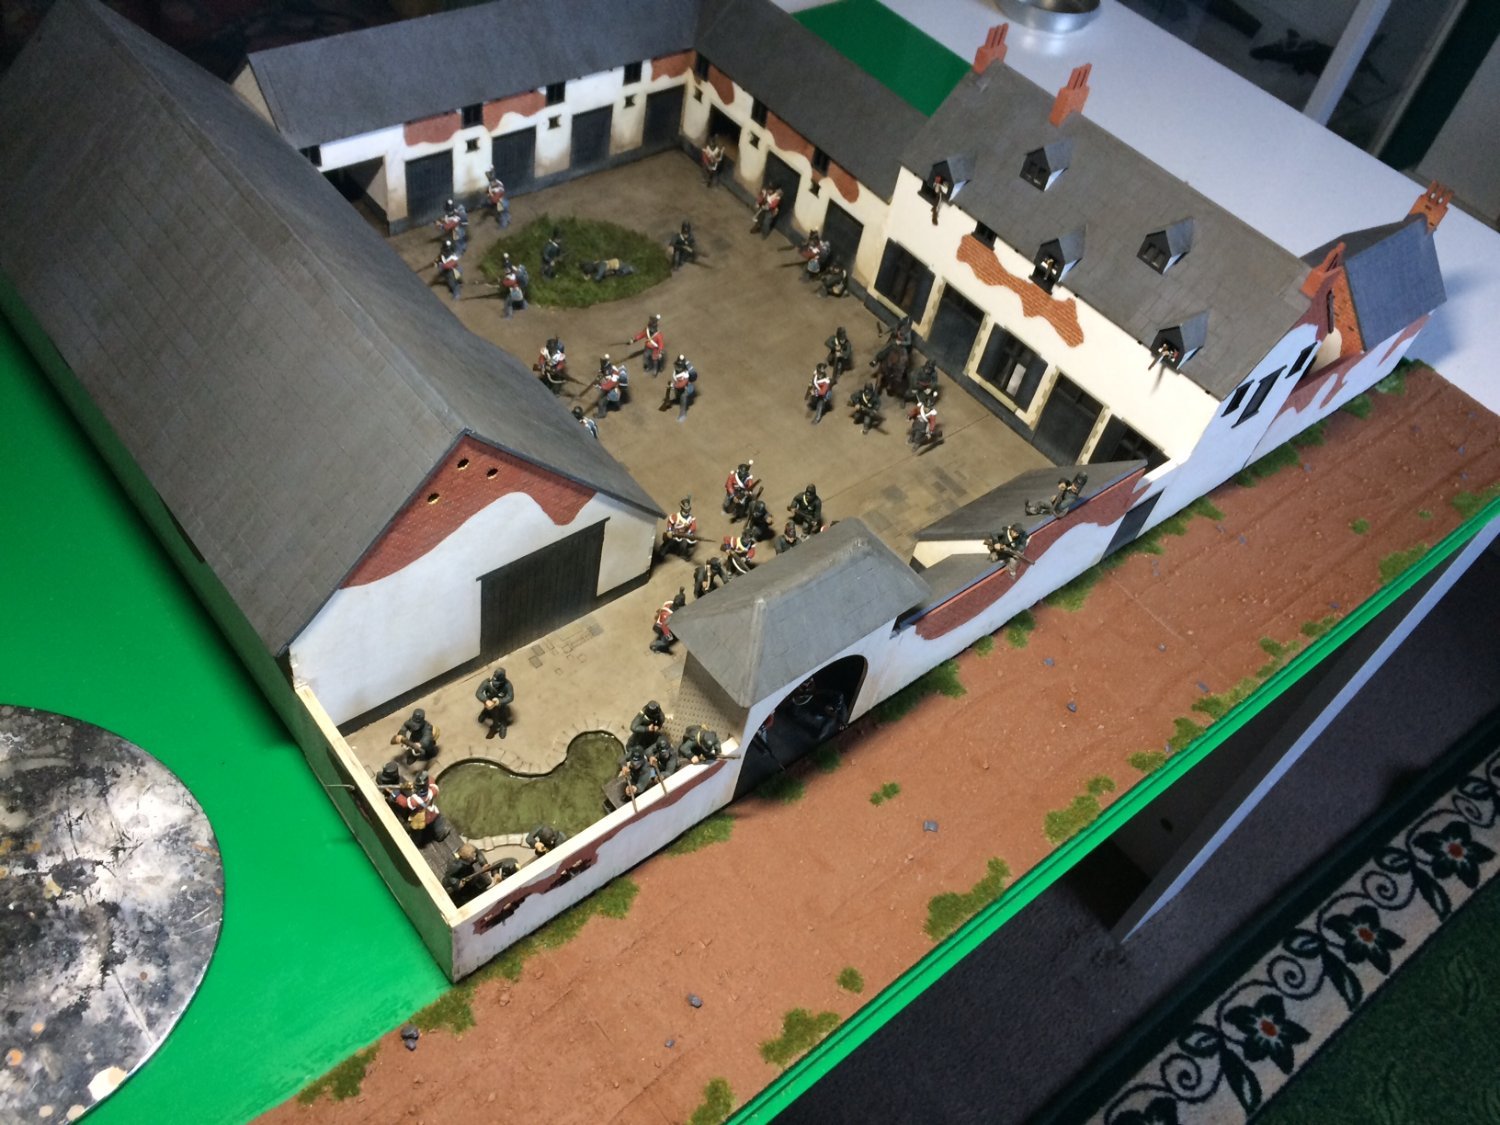
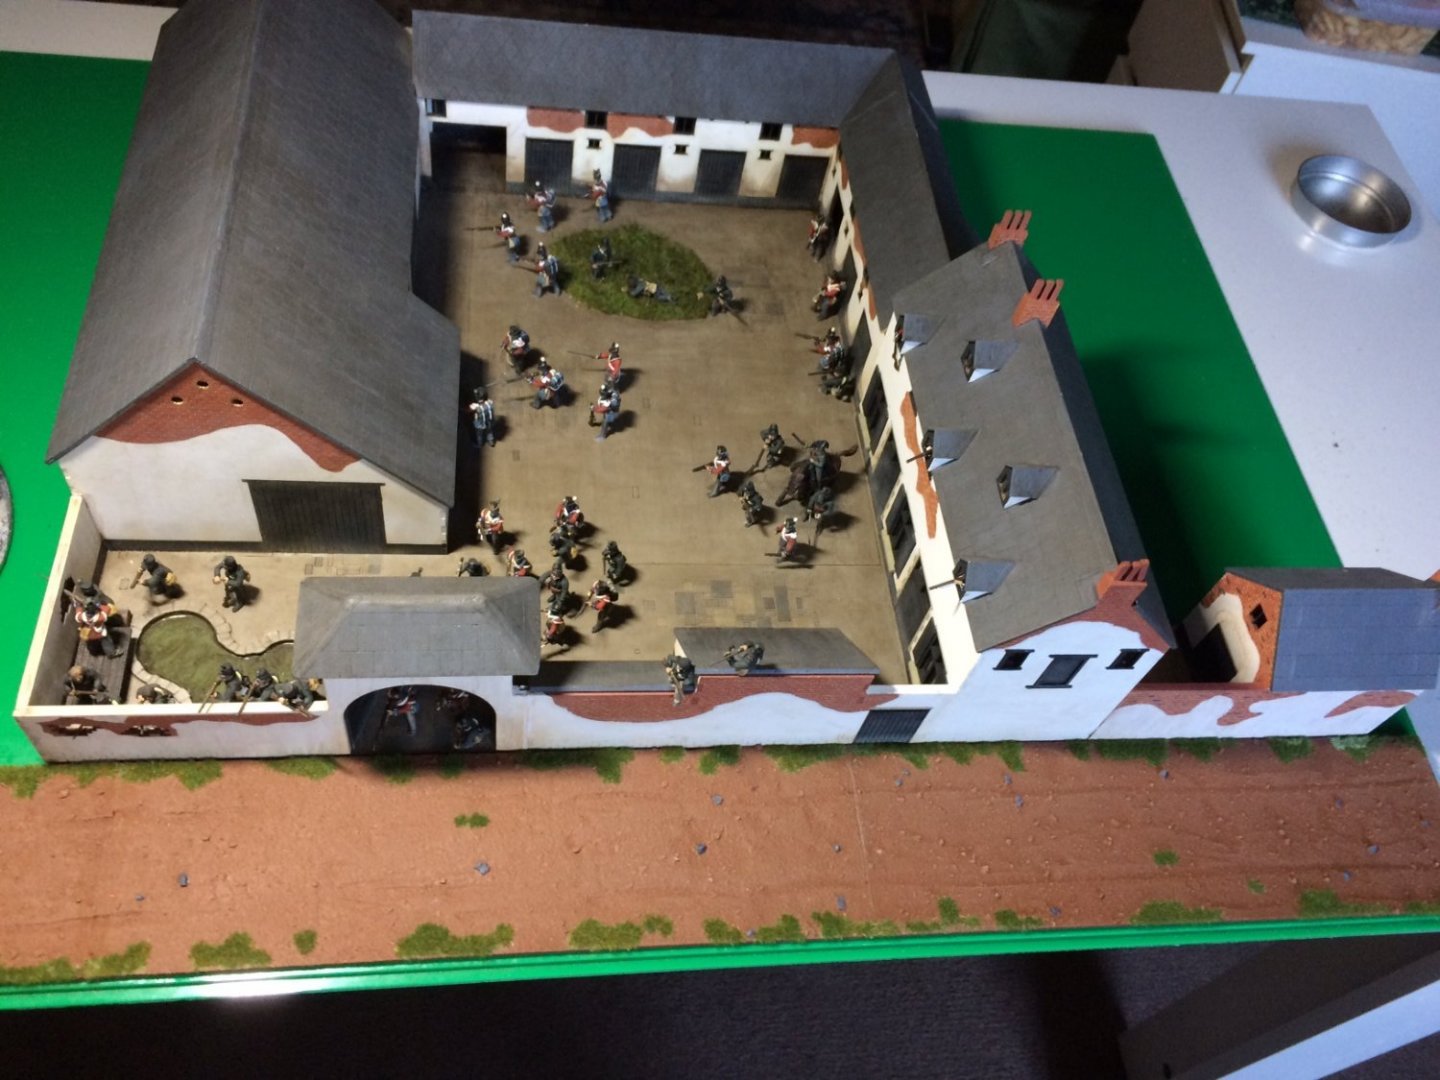
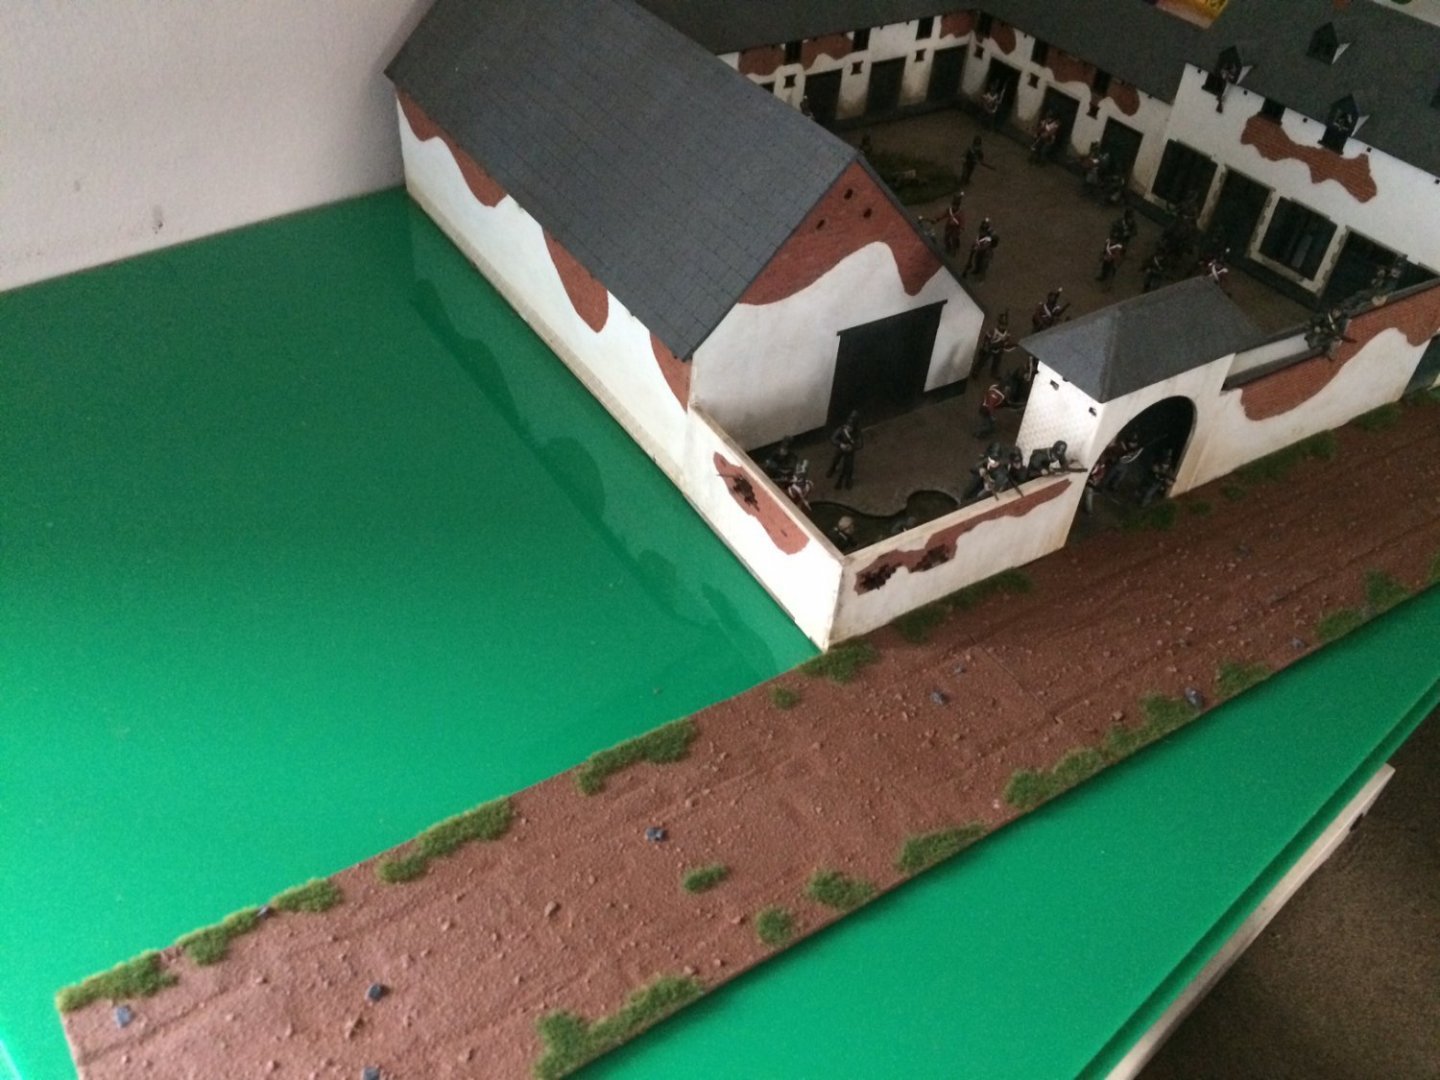
Thank you Edward, the plan is to have the Orchard with hedge lined and some trees in large Green are to the Left, grass on the other side of that and more hedge to the Right with some soil areas where veg was grown and some grass areas. The French will be in the orchard mix of fighting and dead/injured along the path but about to retreat as the first British Hussars are making an attack, and some of the KGL charging out through the front gates. Also the Three Cuirassiers will be towards the back with a few French trying to get in through the barn at the back. Think I'm gonna need a Bigger board😁 OC.
-
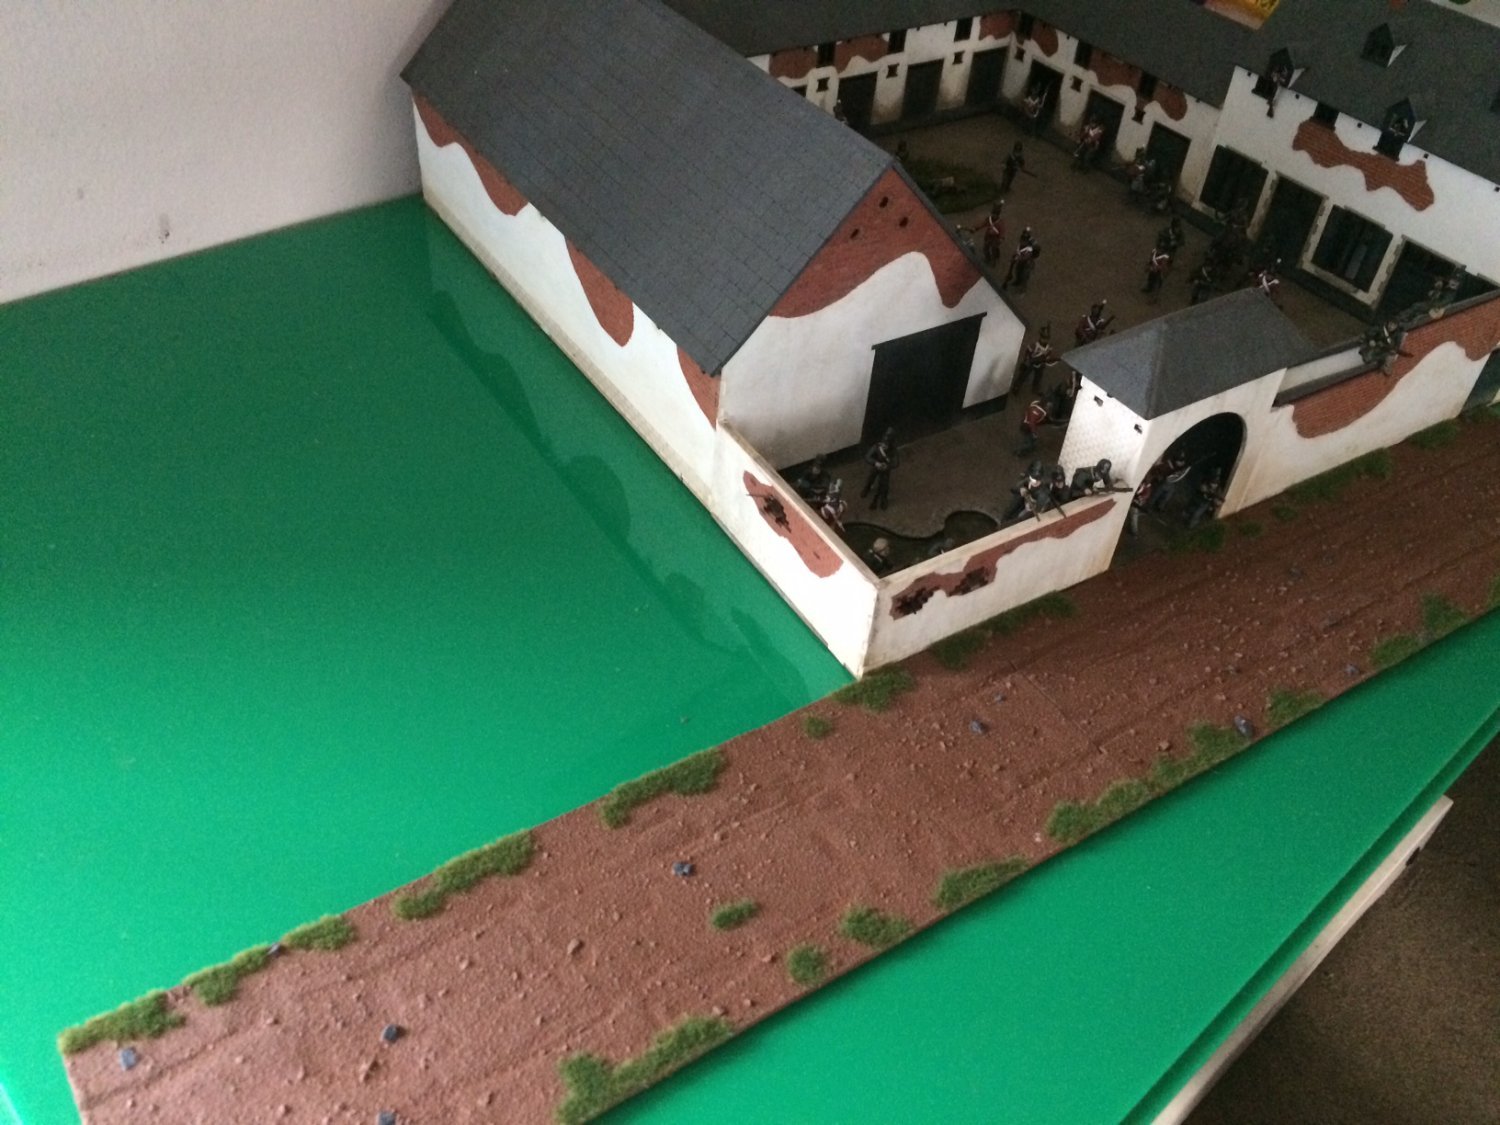
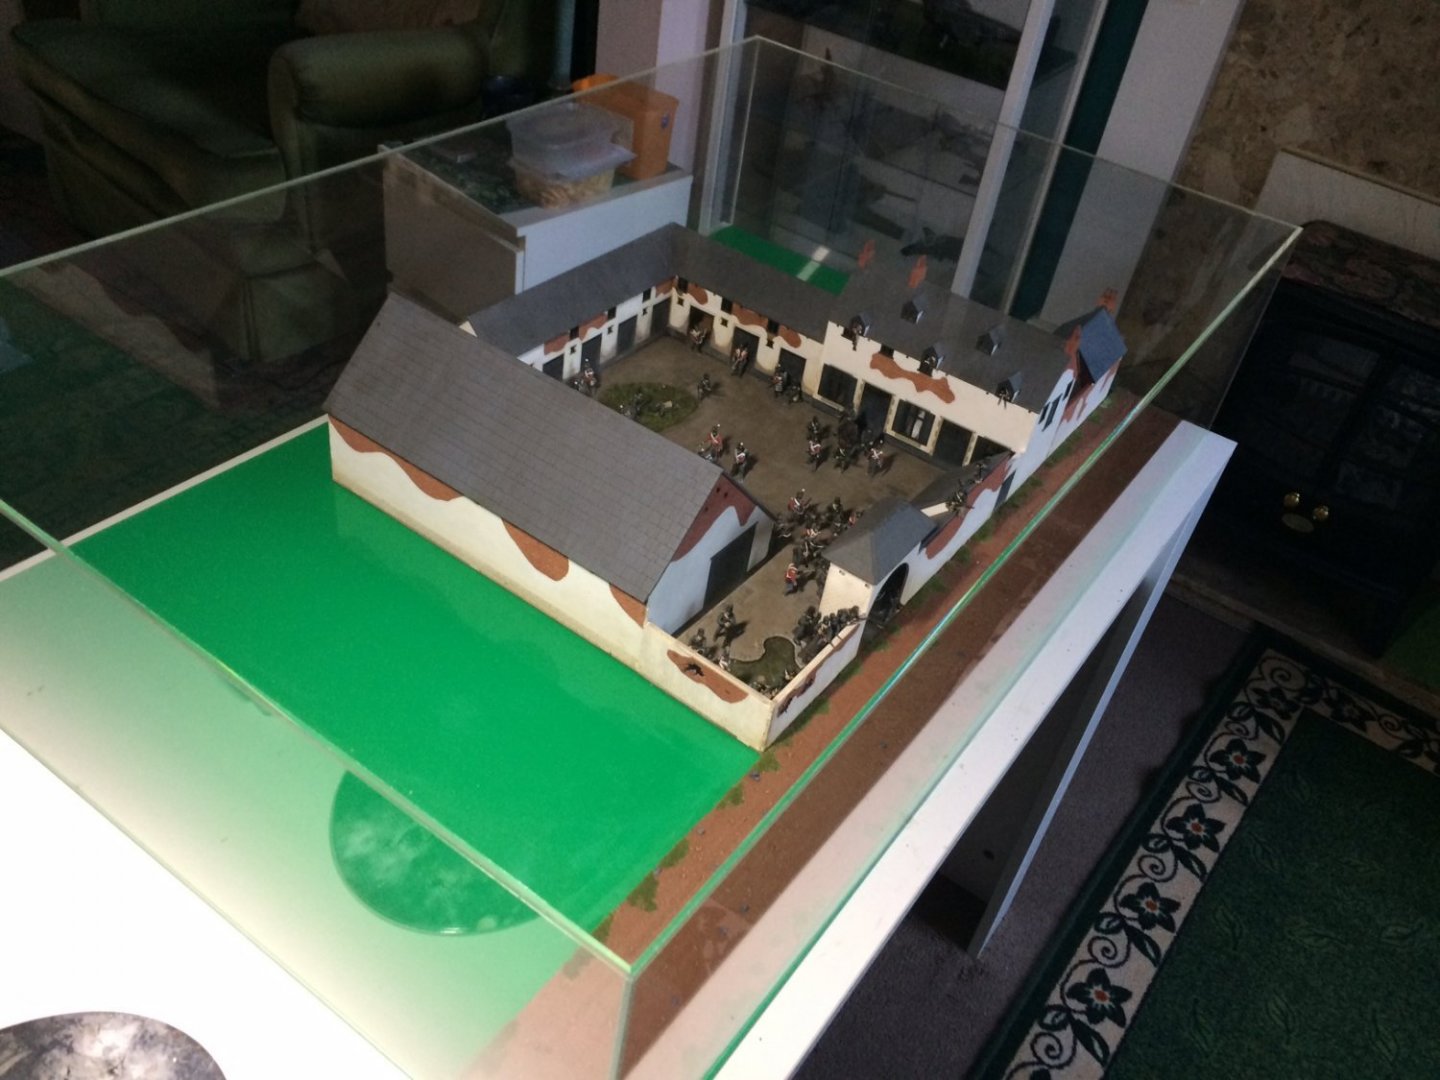
Evening all, I decided to change the angle of the farm by making it run level with the front/road, this way it illiminates the need for the frontal section to be worked on, so first job was to lign up the road sections - and trim a little from one of the ends, I then decided to glue them down onto the base as it wont need to be moved and the cover will be left movable. So ised my PVA smeared it under the road sections then placed them with some weight, a few hours later I did the same to the farm complex and the kitchen garden shed. So its a start - I even popped the lid on as it will keep the dust away as I had a fair bit of dusting to do.... OC.


-
Yes indeed brother, the whole farm comeplex is made from MDF I want to glue that down to the Plastic base, so I can start working on the scenery - The roadway I had made is also MDF that will then need securing PVA then?. What has struck me - the roadway is about 4mm thick, that ok the side that buts up against the buildings, but the other edge will leave a hight difference where its supposed to be a level transition from the road to grass, working my head around this - it might need that 4mm difference filling with a medium of some kind - but "hand on a minute" I will have some off cuts from the road sections, I could use these - fill off the road details then turn them over - cut to size then add grass to them. OC.
-
Thanks mate, that is very true - notice how it sticks hard to the plastic bottle it comes in - so that maked sense. OC.
-
Morning all, I have a question for my friends - I plan to glue down the MDF parts of the farm to the Plastic base of my display case (I think its Acrylic or possibly Perspex) what would be the best glue to use I have some Gorilla PVA, Gorilla Suer Glue and that AMMO Acrylic glue that's strong on plastics and clear/PE. Any thoughts idea's please? OC.
-
F-86F-30 Sabre by Egilman - Kinetic - 1/32nd scale
Old Collingwood replied to Egilman's topic in Non-ship/categorised builds
My late farther was an "Airframes and Engines" mechanic during WW2 he also spent some time on the First Whittle engines that where fitted to the Meteor, he used to draw me the internal set up of them showing the different stages and combusion chambers. OC. -
F-86F-30 Sabre by Egilman - Kinetic - 1/32nd scale
Old Collingwood replied to Egilman's topic in Non-ship/categorised builds
Those are the plans for his 3D model he is working on - gonna be awsome. OC. -
Thank you so much Denis. OC.
-
Thank you kindly Phil, and thank you for looking in. OC.
-
Yep going to do that Ken, still lots more to do yet including about 80 more figures in the stash that need making/panting etc. OC.
-
Just added another shot taken just now for a laugh. OC.
-
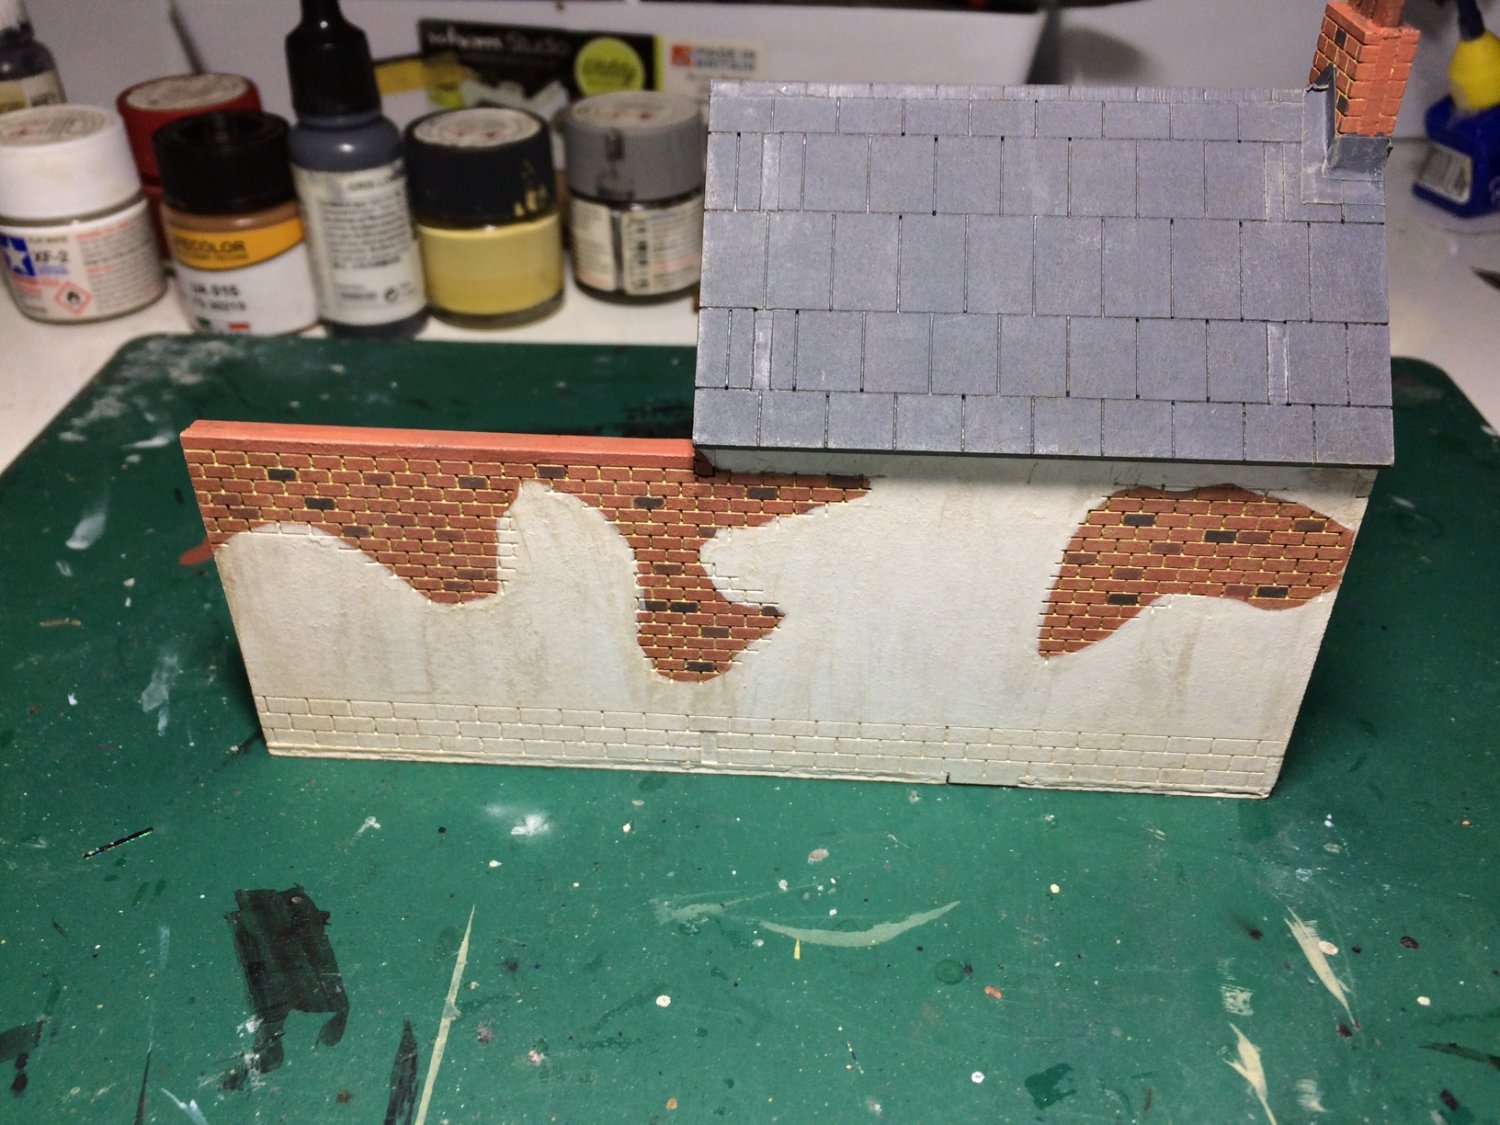
Thanks mate, I have made the whole farm complex like that to display how dirty it would have been from the terrible weather the night before and the heavy use of it. OC.
-
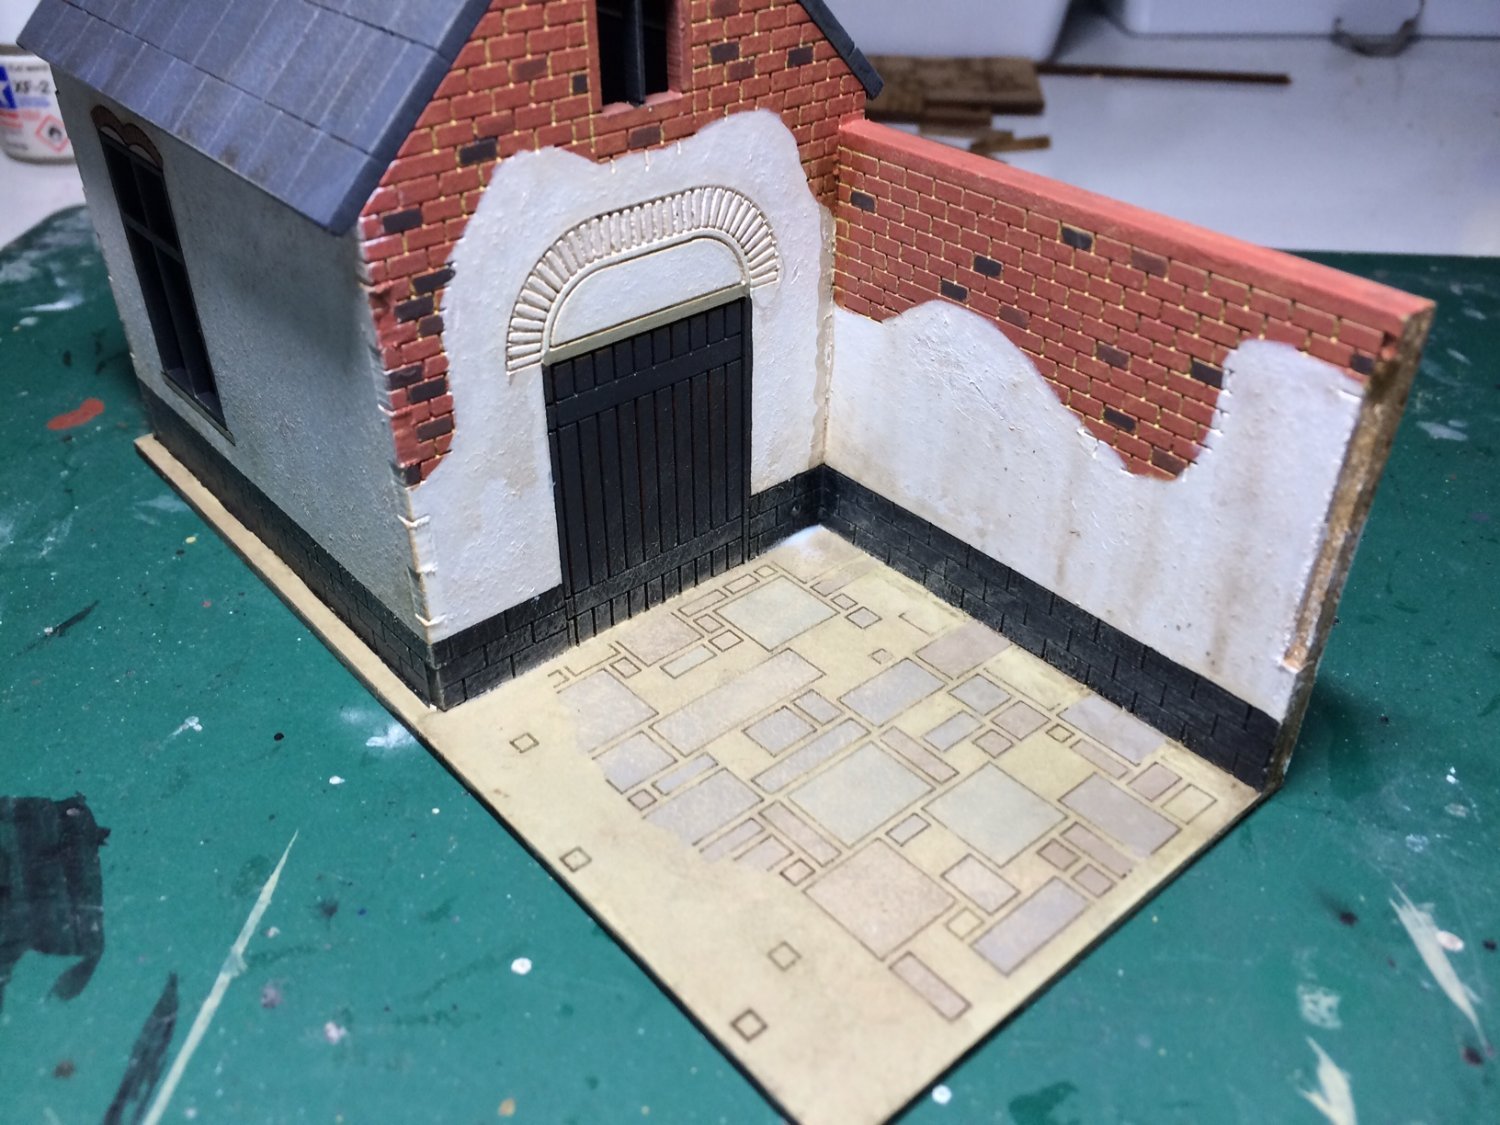
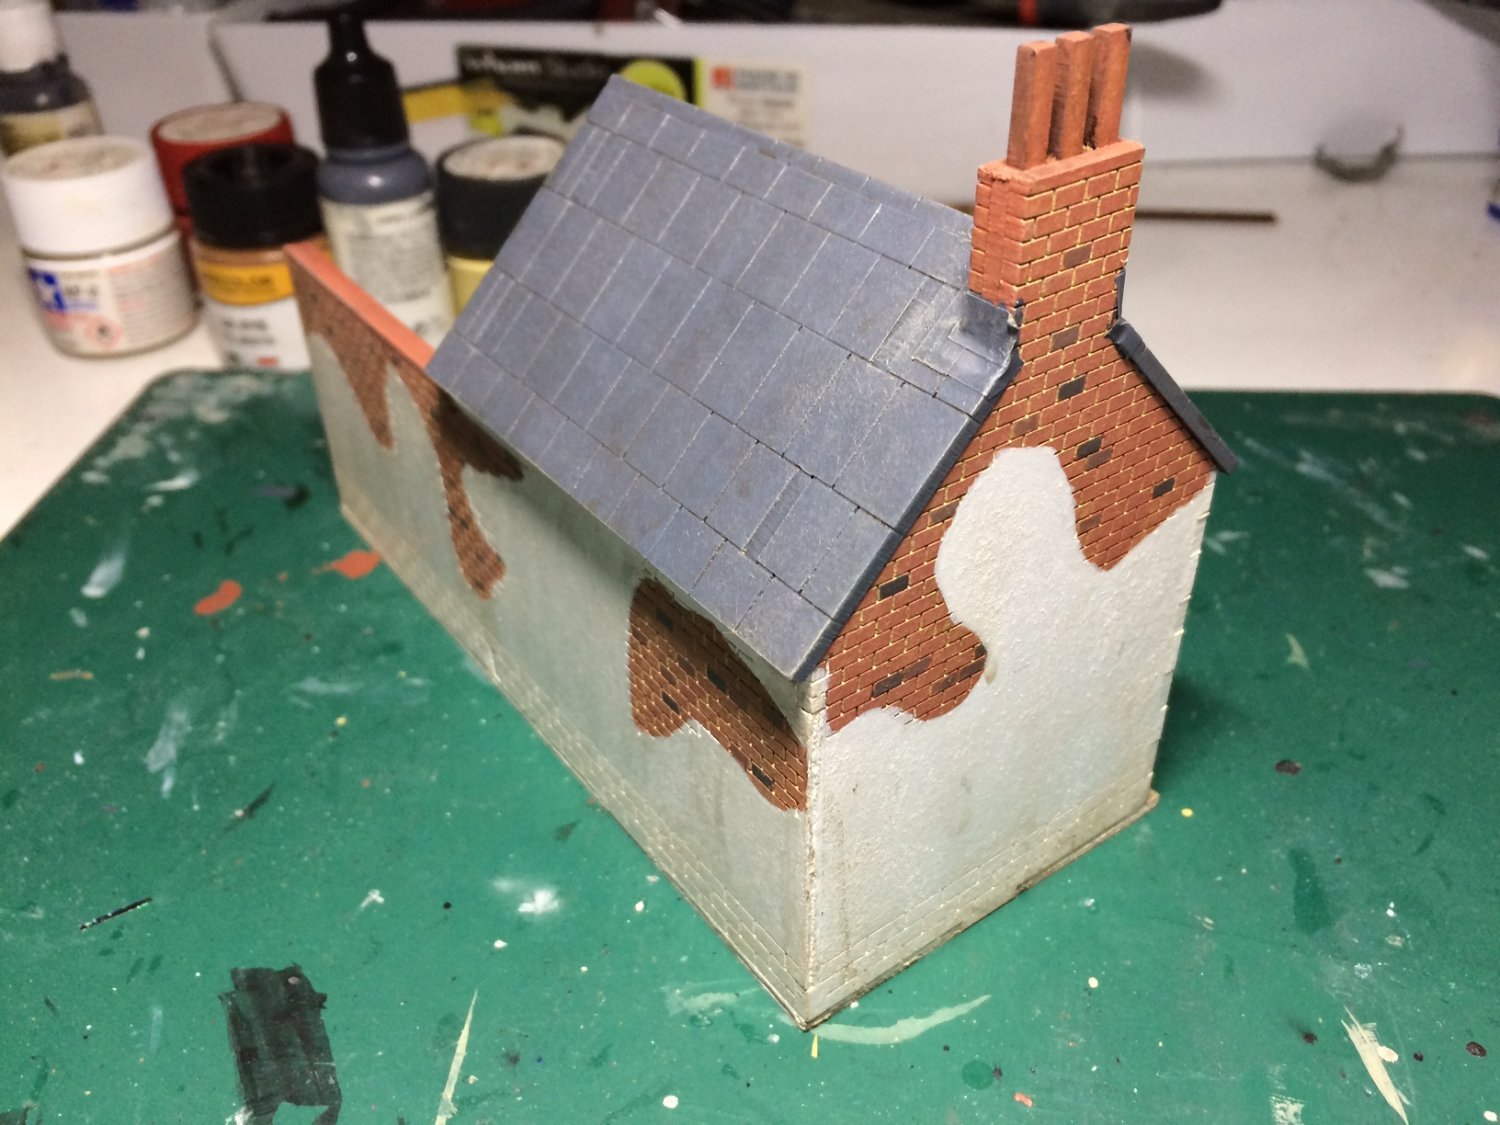
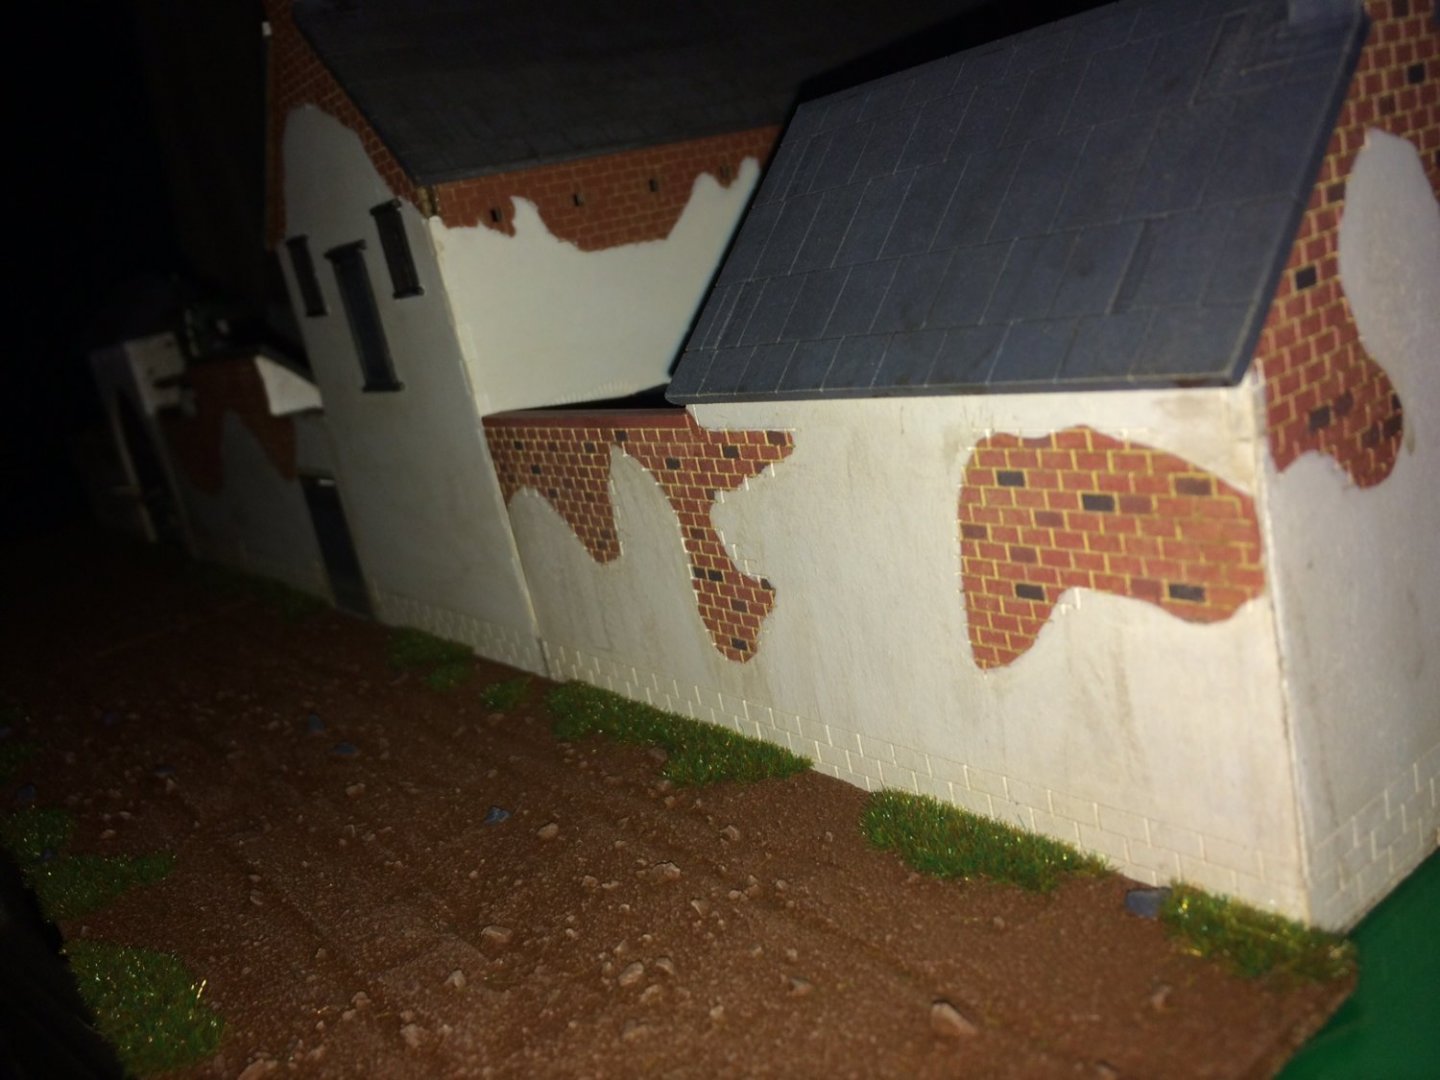
Eveing all, right roof painted than glued down, flashing made fitted/timmed and painted, then the fun stuff dark wash followed by dry brushing dust, Oh and some water in the corner (that still needs to set and go fully clear) But its done. OC.


-
Hi all, Just a teaser showing part of the roadway its rough location will be trimmed and have scenery both sides including and orchard with hedges and trees, there will also be some broken farm equipment including a cart, that was a set up across the road as a defence? OC.
-
F-86F-30 Sabre by Egilman - Kinetic - 1/32nd scale
Old Collingwood replied to Egilman's topic in Non-ship/categorised builds
Amazing work - so much tech design work - blows my mind and I'm just reading it. OC. -
Thank you very much Gary. OC.
-
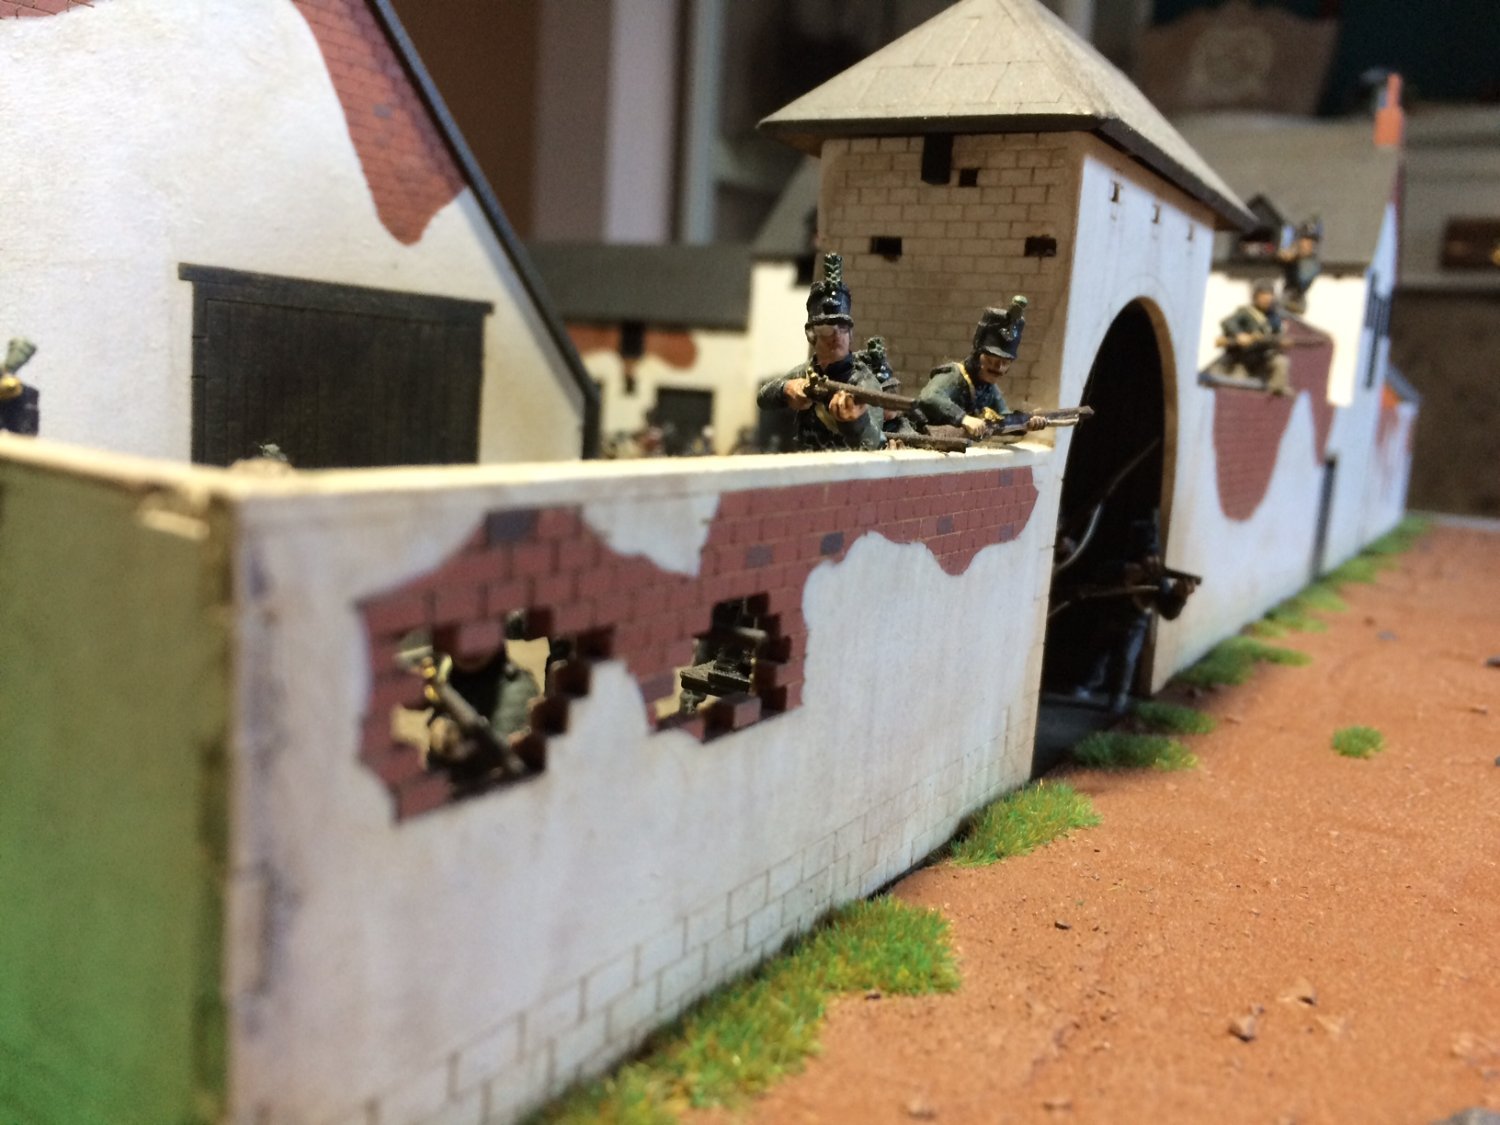
Hiya Denis - the Allies formed squares to defend them selves against the French Horse charges, they were very effective that way as a Four/Five man wall was a real threat to the French on Hourseback. OC.
-
Amazing video of a model of the main Waterloo scene - OC.
-
Thank you kindly Alan. OC.
-
Thank you Jack. OC.
-
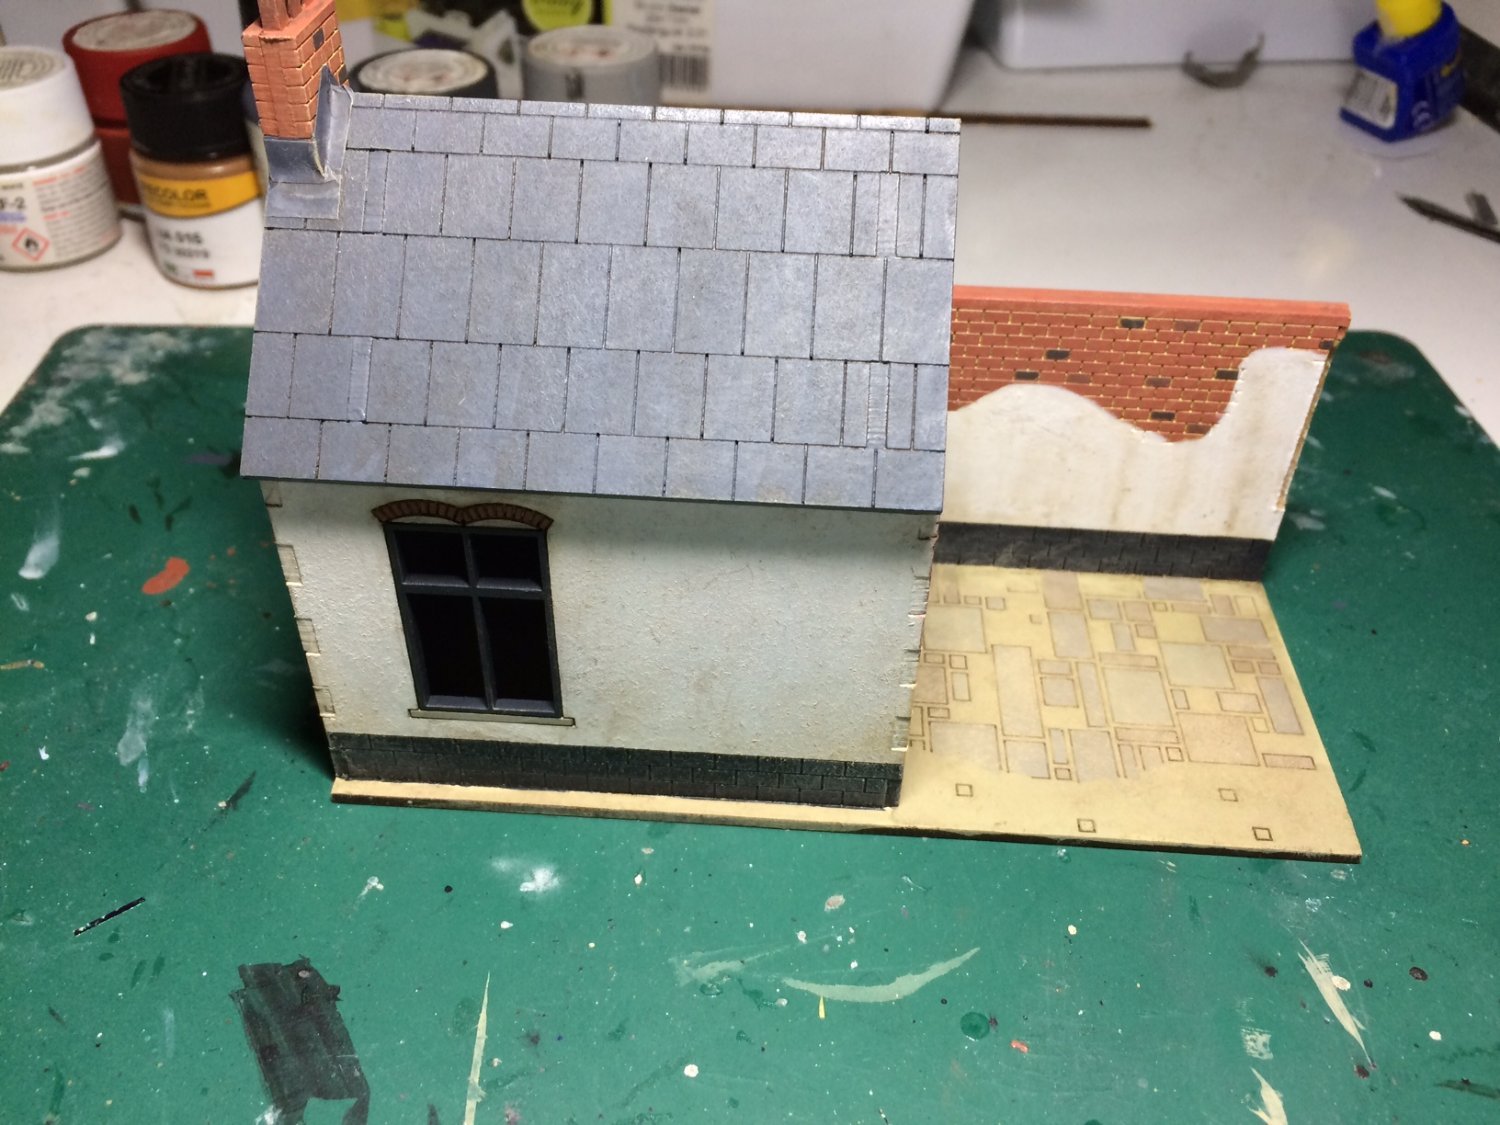
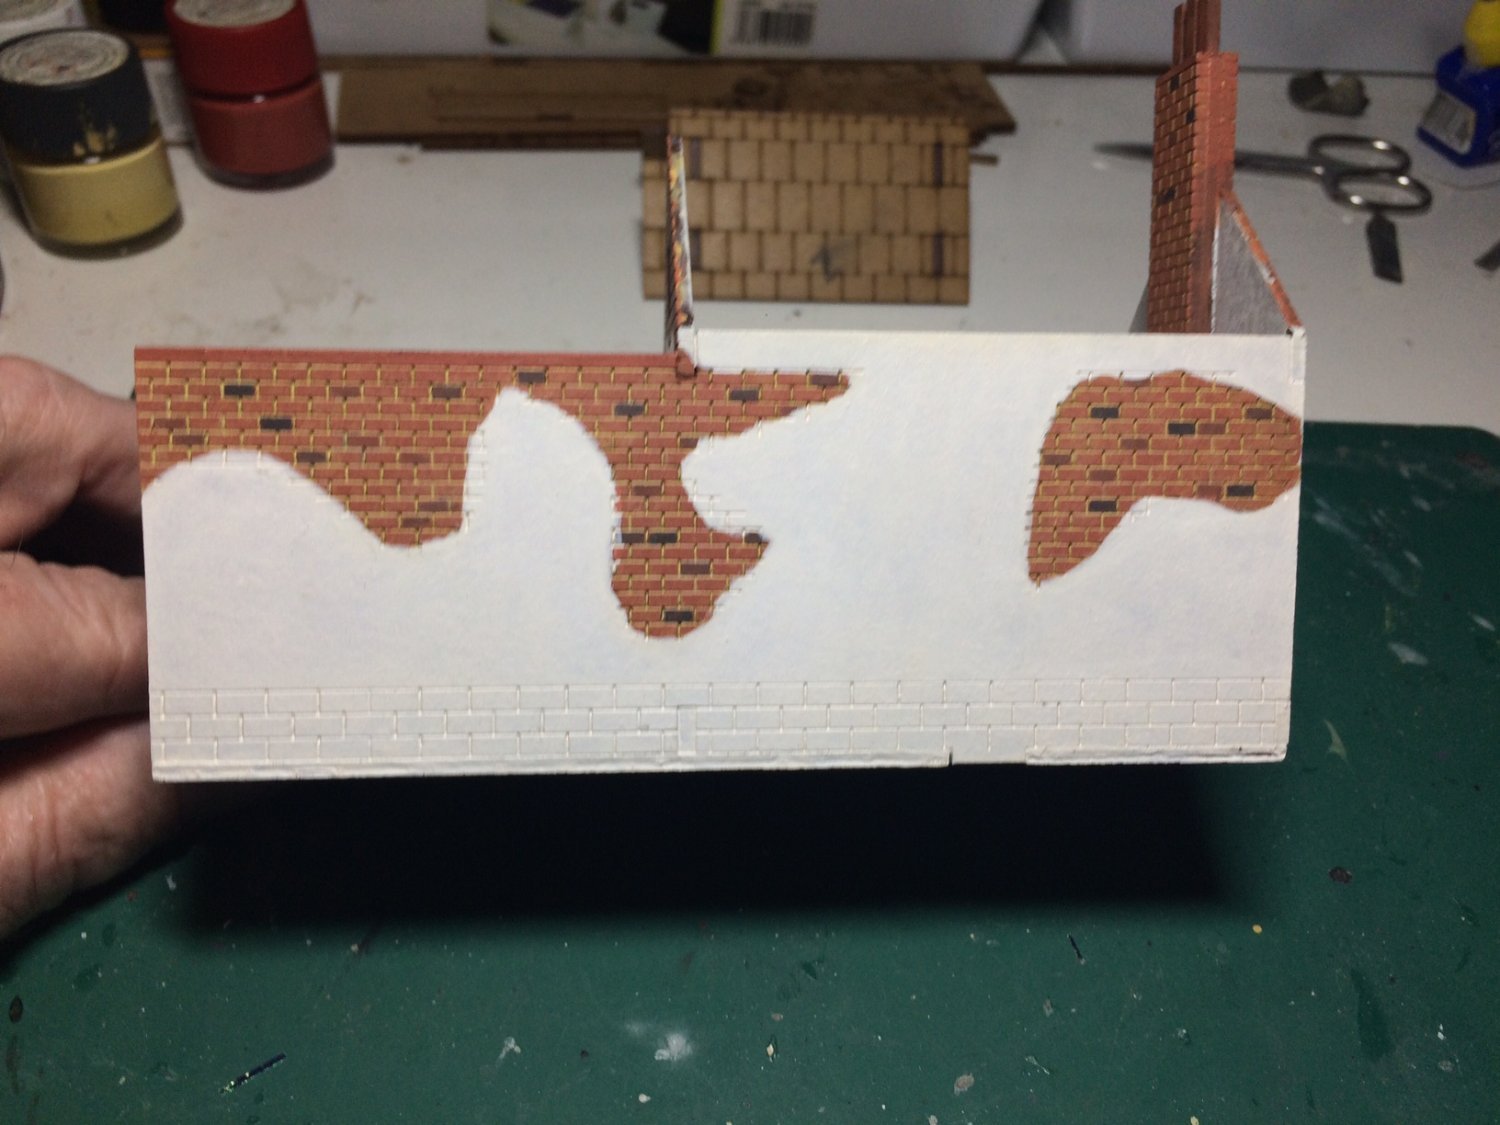
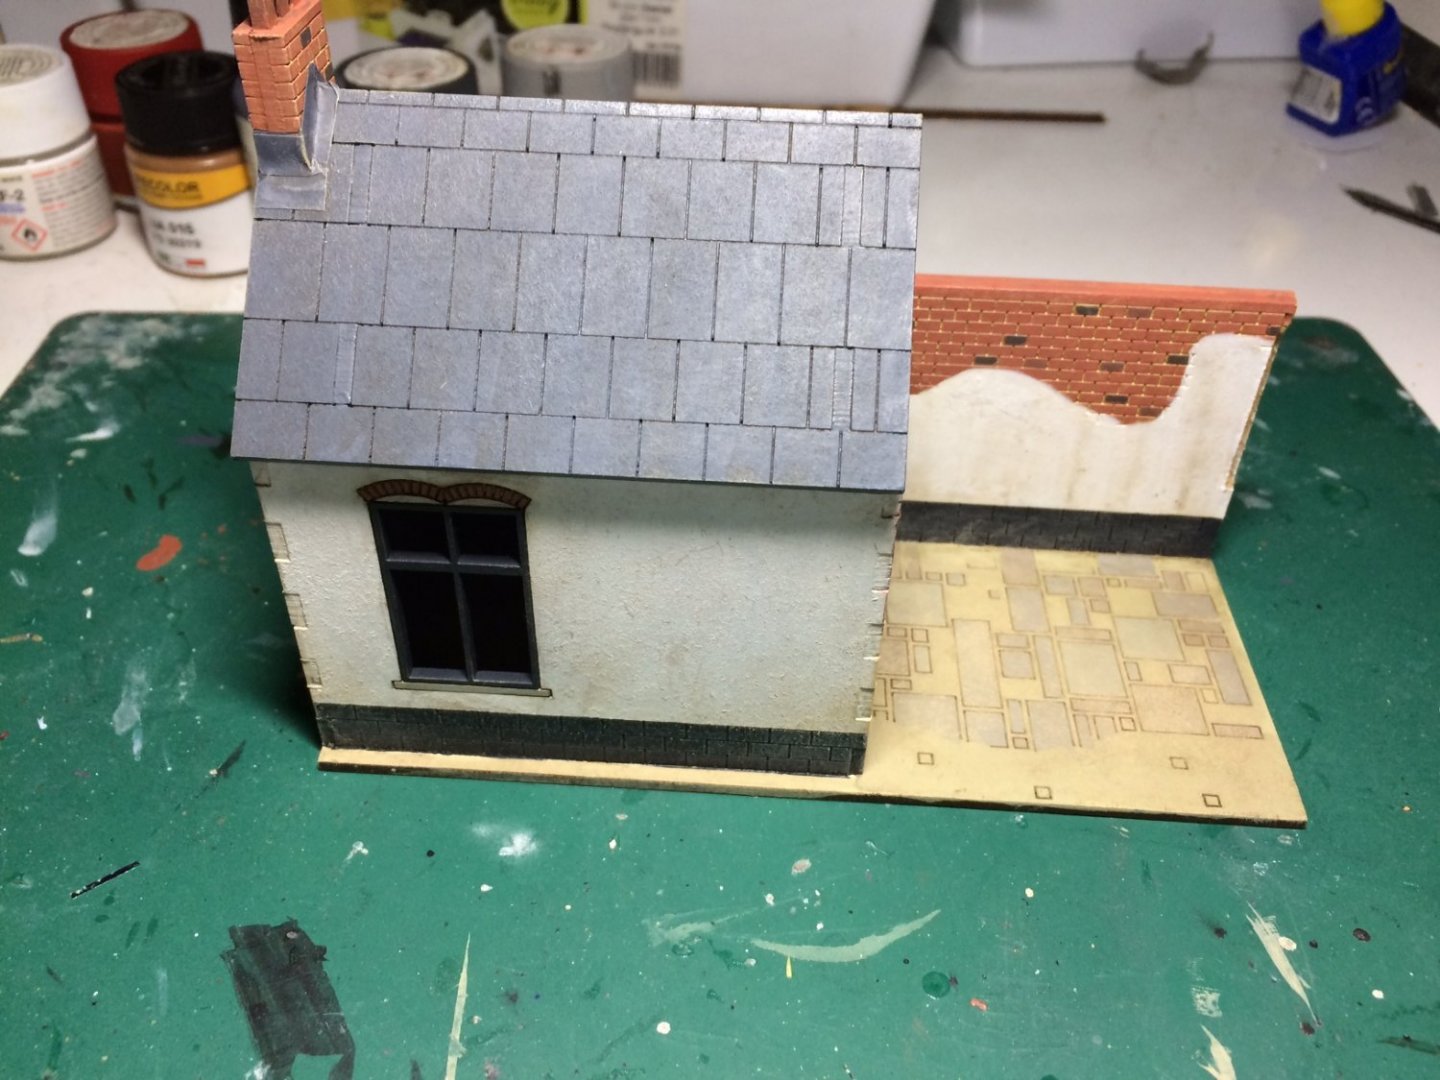
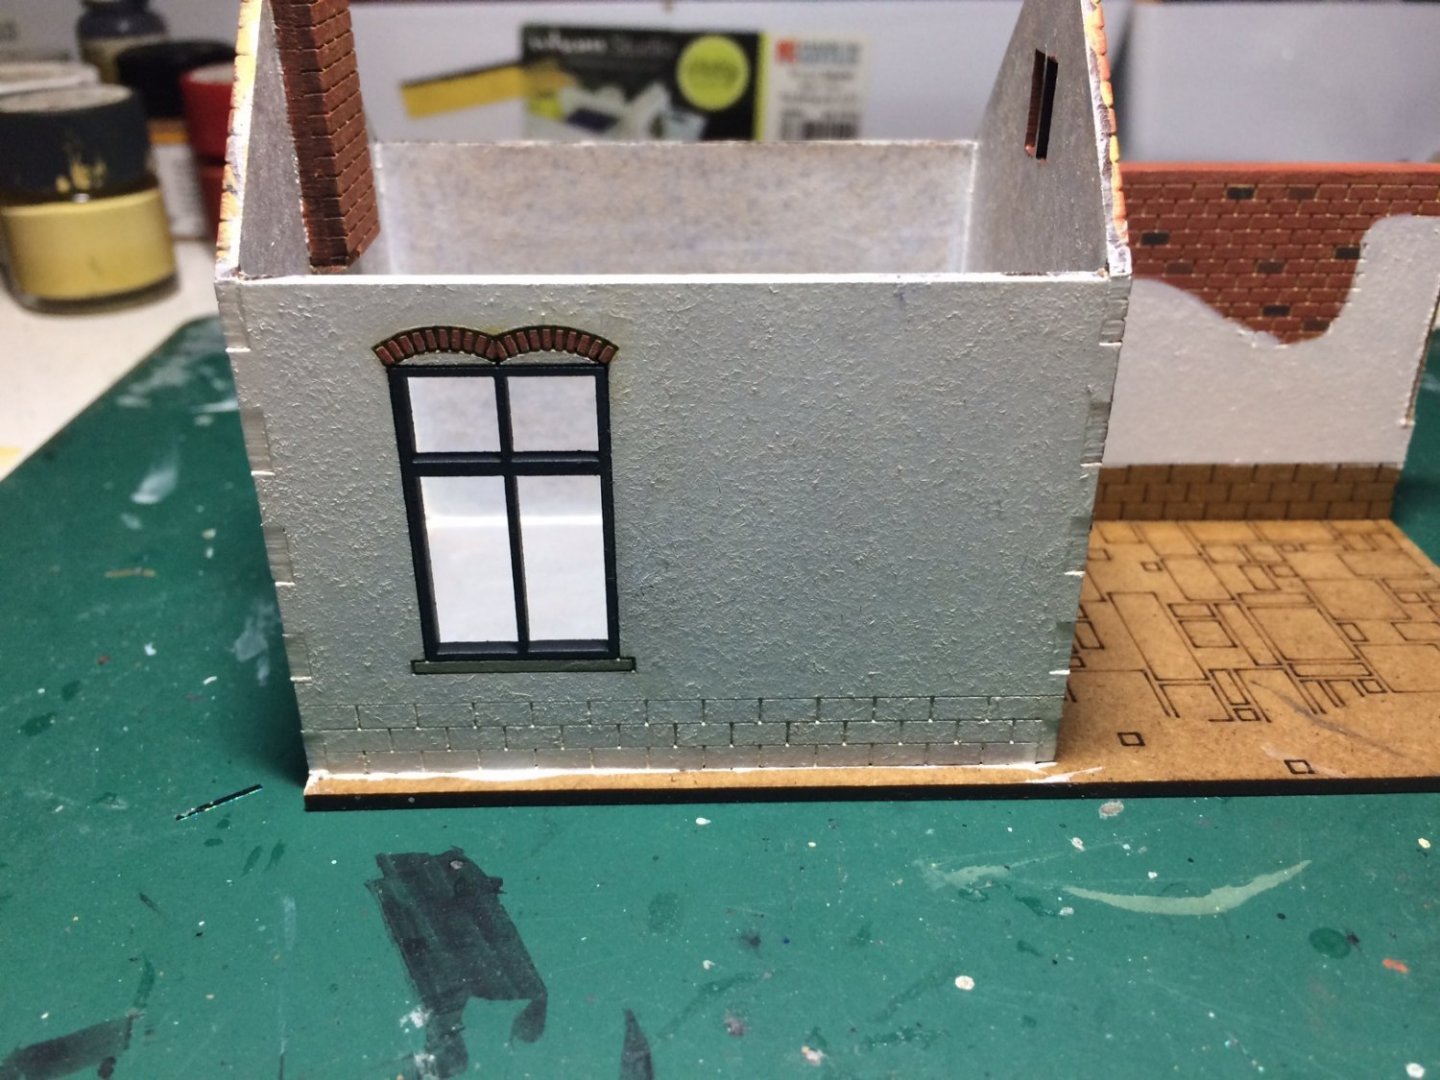
Evening all, so more progress - the walls have been White Washed leaving a rough texture (as I wanted) then the window frames, detailing and door painted. OC.


-
Thank you kindly Denis - take your seat mate - its still here (hang on wasn't yours a hammock also) OC.
-
Thank you kindly Patrick. OC.
-
So sorry to hear this my friend as a fellow dog owner I know where you are coming from - all the best mate will be thinking of you. OC.
- 201 replies
-
- 4
-

-
- SD 14
- Marcle Models
- (and 1 more)