Old Collingwood
-
Posts
12,106 -
Joined
-
Last visited
Content Type
Profiles
Forums
Gallery
Events
Everything posted by Old Collingwood
-
 Thank you kindly, Bob? OC.
 -
Thank you kindly. indeed the PE certainly make's a Huge difference and so good that many kits now inlude PE with the kits. OC.
-
Thank you Denis. OC.
-
Greetings from Spain
Old Collingwood replied to Artesania Latina's topic in New member Introductions
Just like to join the rest in here and say a warm welcome and thanks for both supporting this fine place, and thank you for making some really amazing construction kits. OC. -
Thank you kindly Ken, yep there is a fair bit to go in there, I plan to make it very busy. OC.
-
Try using this photo uploader Bill, it respects the flip you make to your pics and posts them the correct way round after you have flipped them. OC. https://postimages.org/
-
Welcome back Alan, glad you had some Special family time. great to see you back on this - making Superb progress mate. OC.
-
Thank you kindly Alan, and welcome back. OC.
-
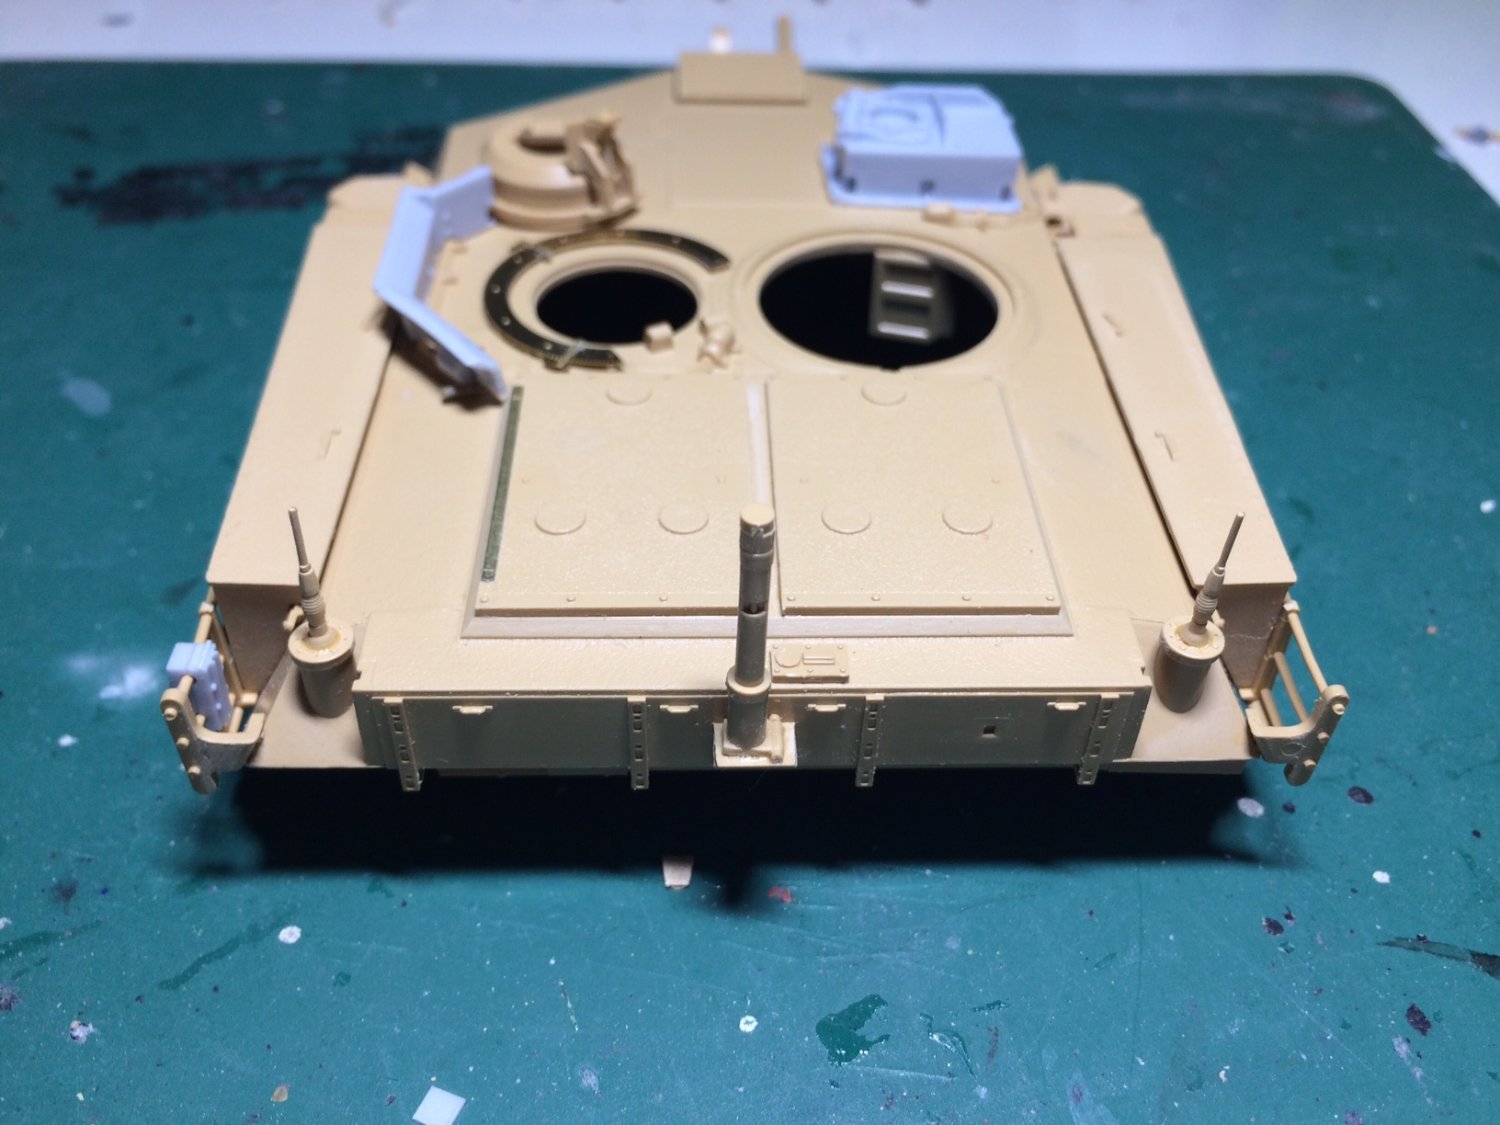
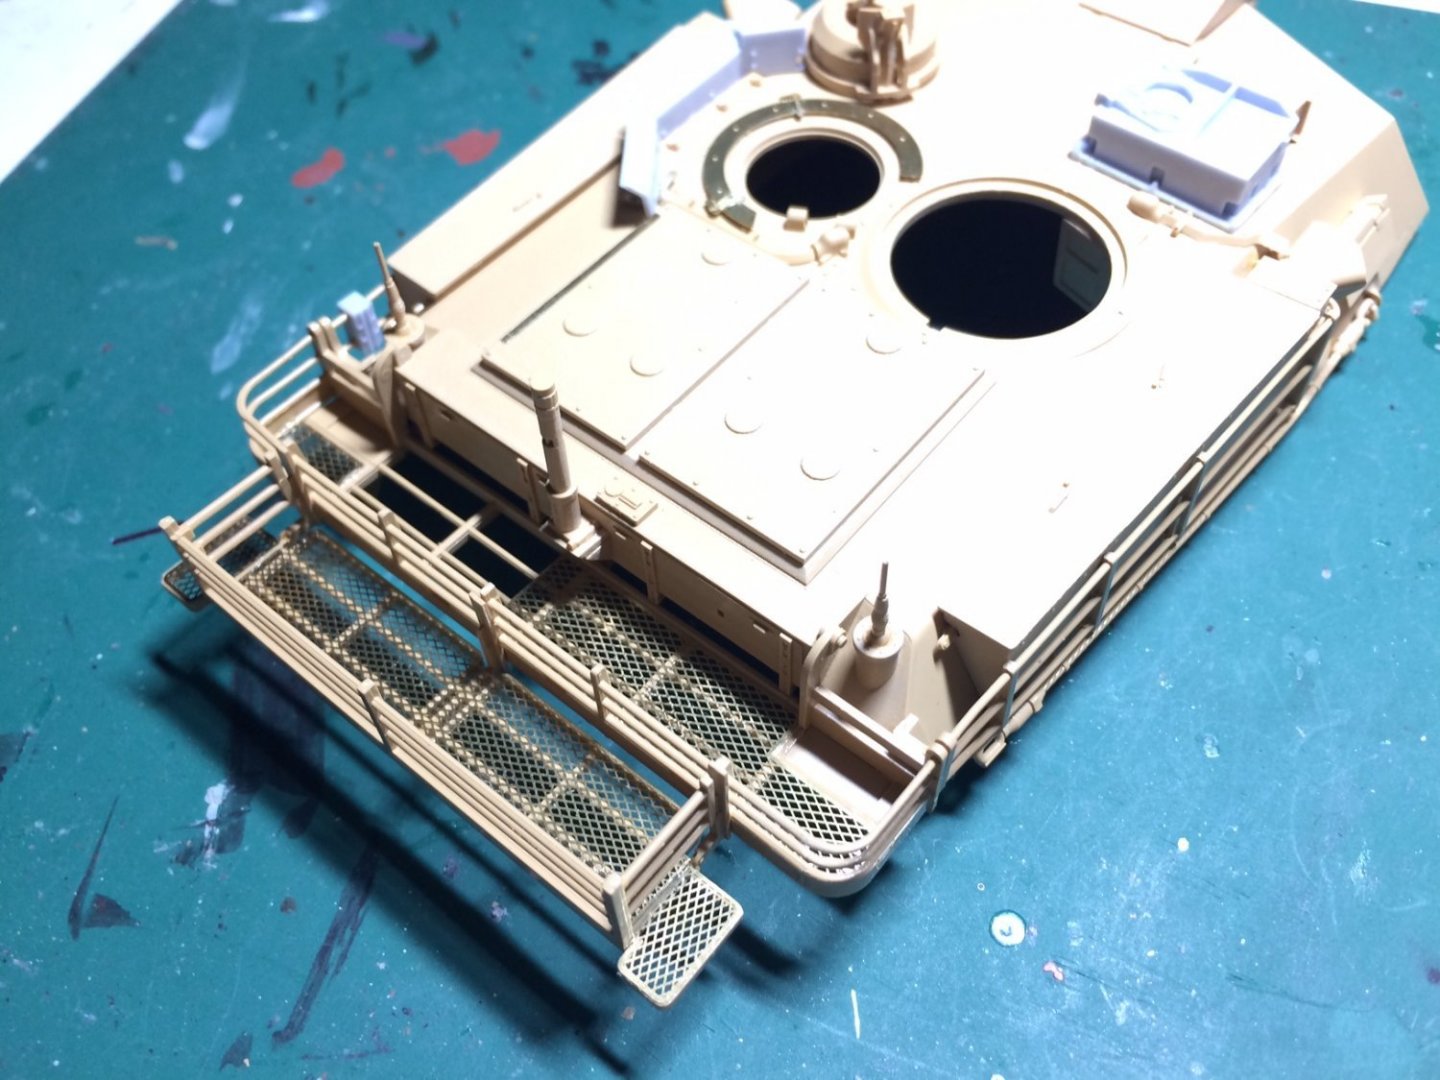
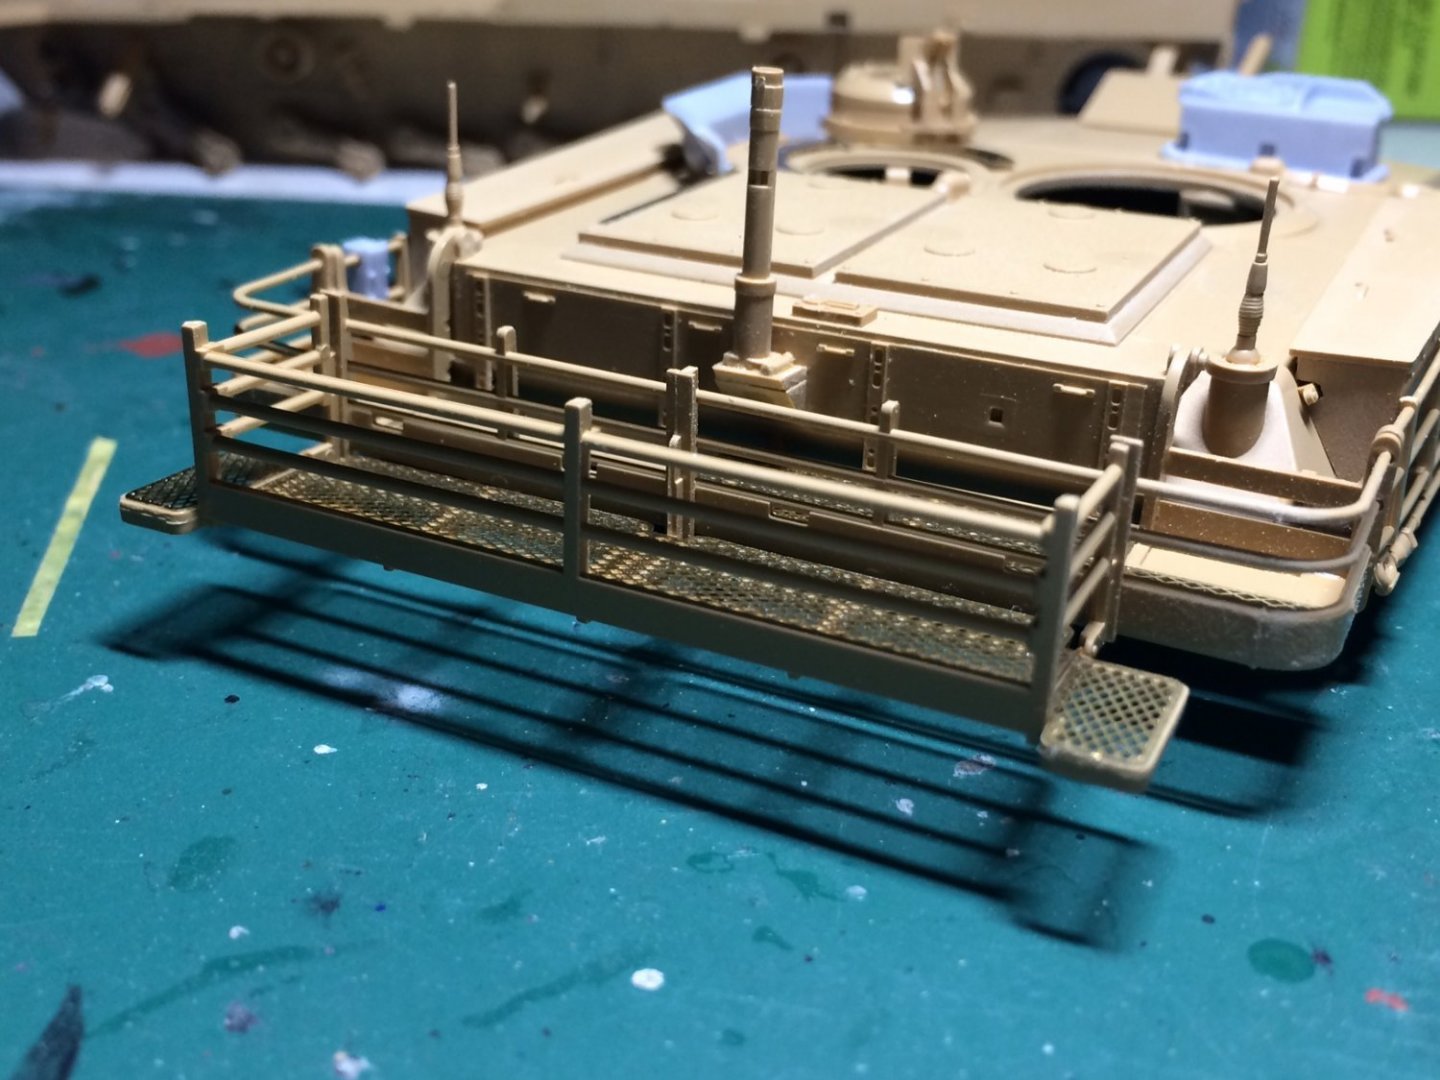
Evening all, a bit more done this evening - I have constructed the rear cages including some bling for their bottoms, delicate plastic work but not as much so due to the scale. OC.
-
F-86F-30 Sabre by Egilman - Kinetic - 1/32nd scale
Old Collingwood replied to Egilman's topic in Non-ship/categorised builds
Looking forward to this brother, count me in. OC. -
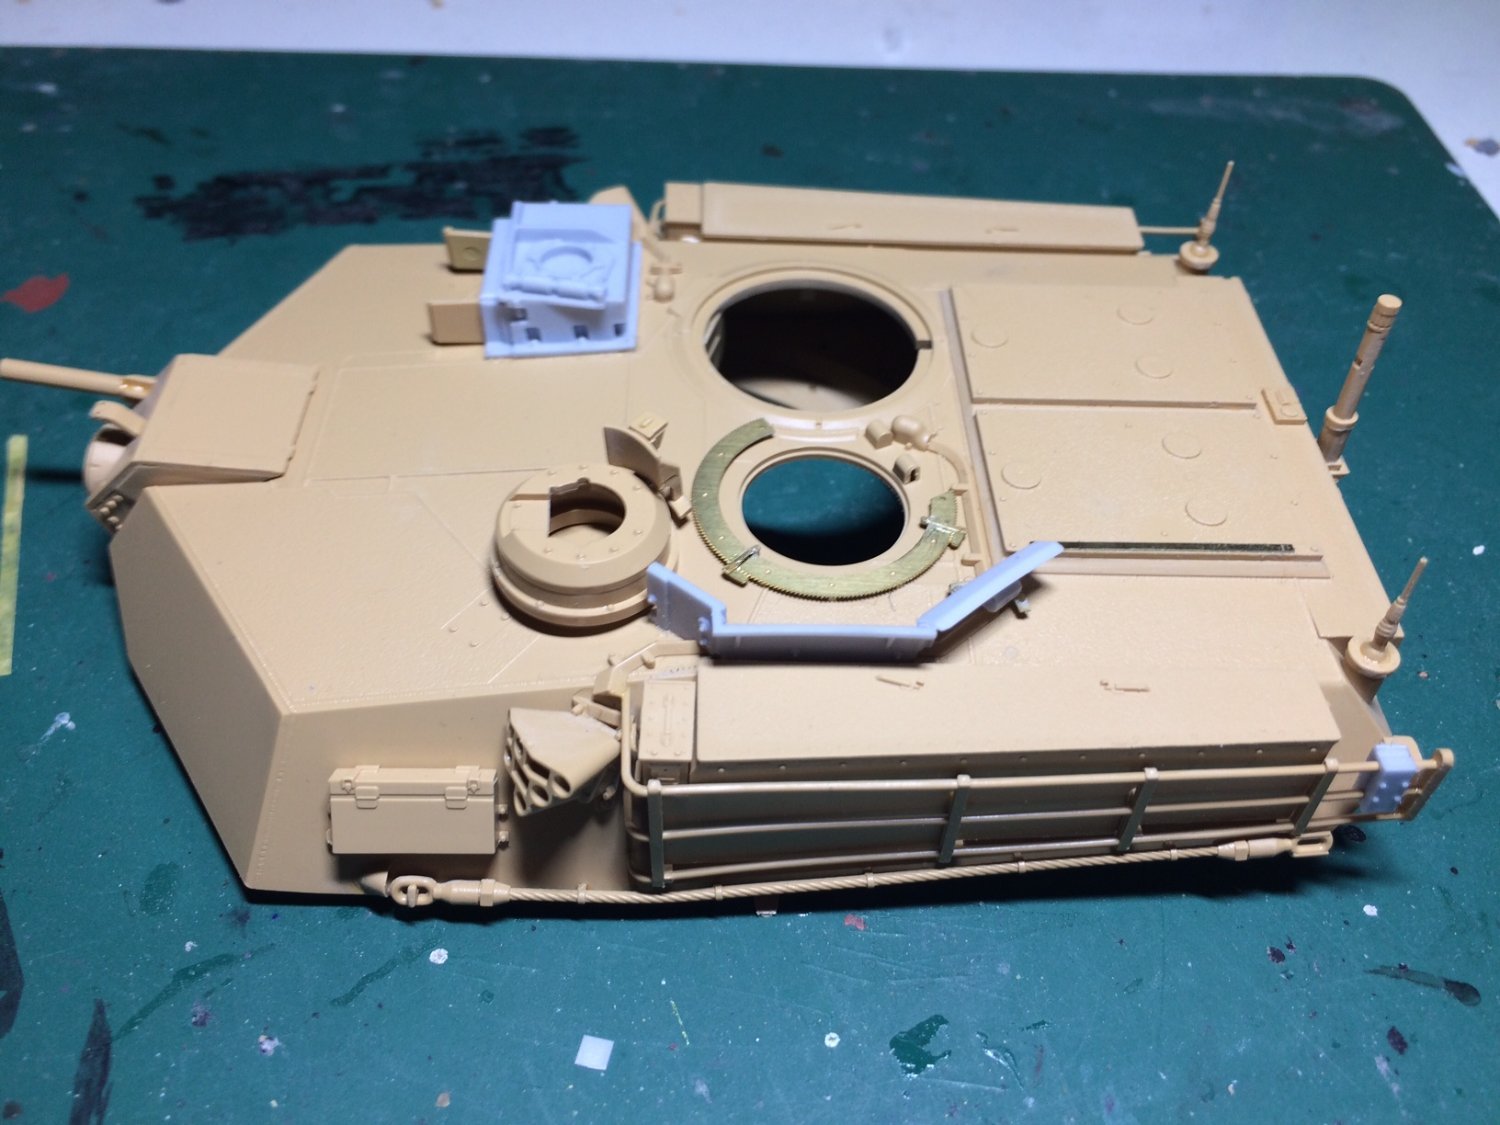
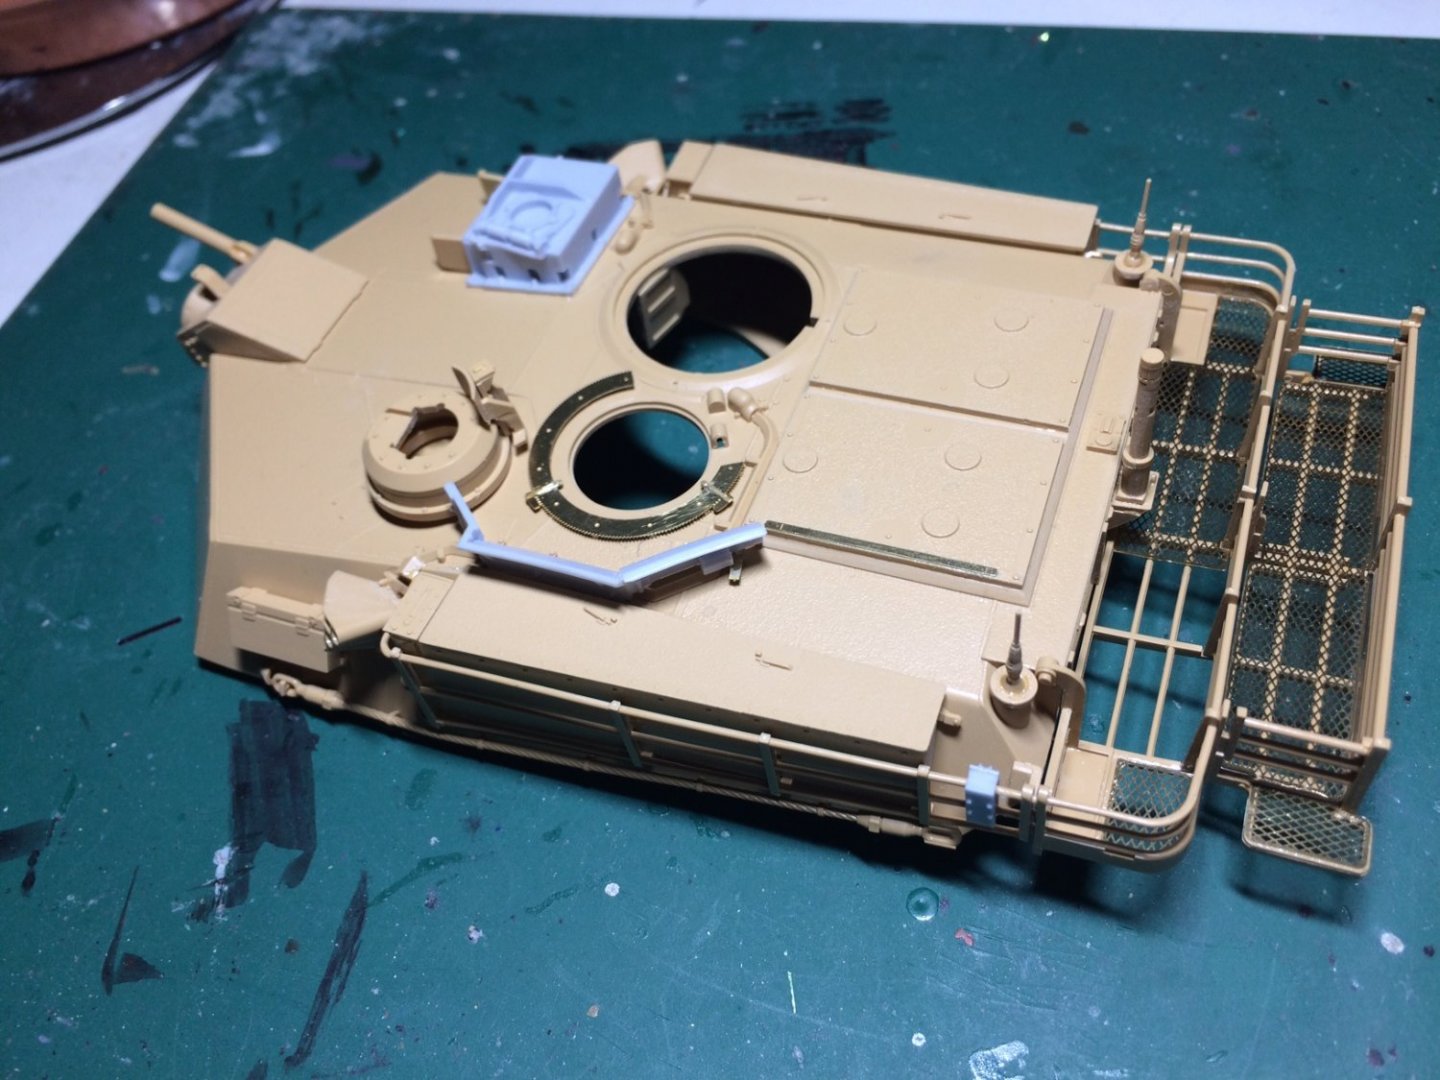
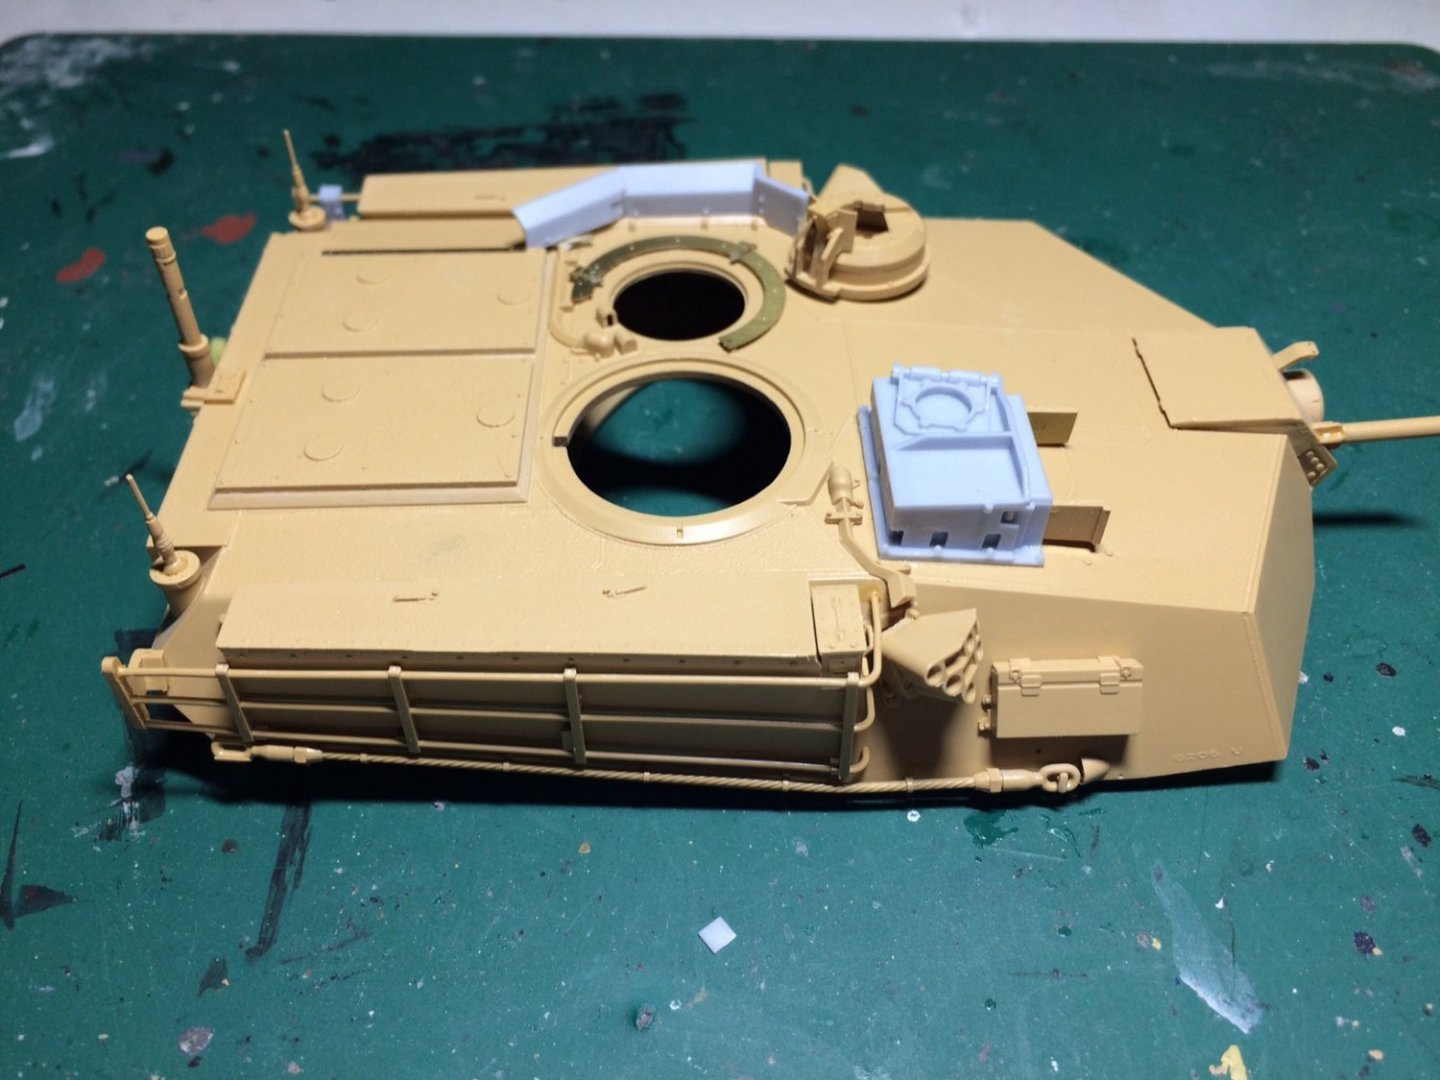
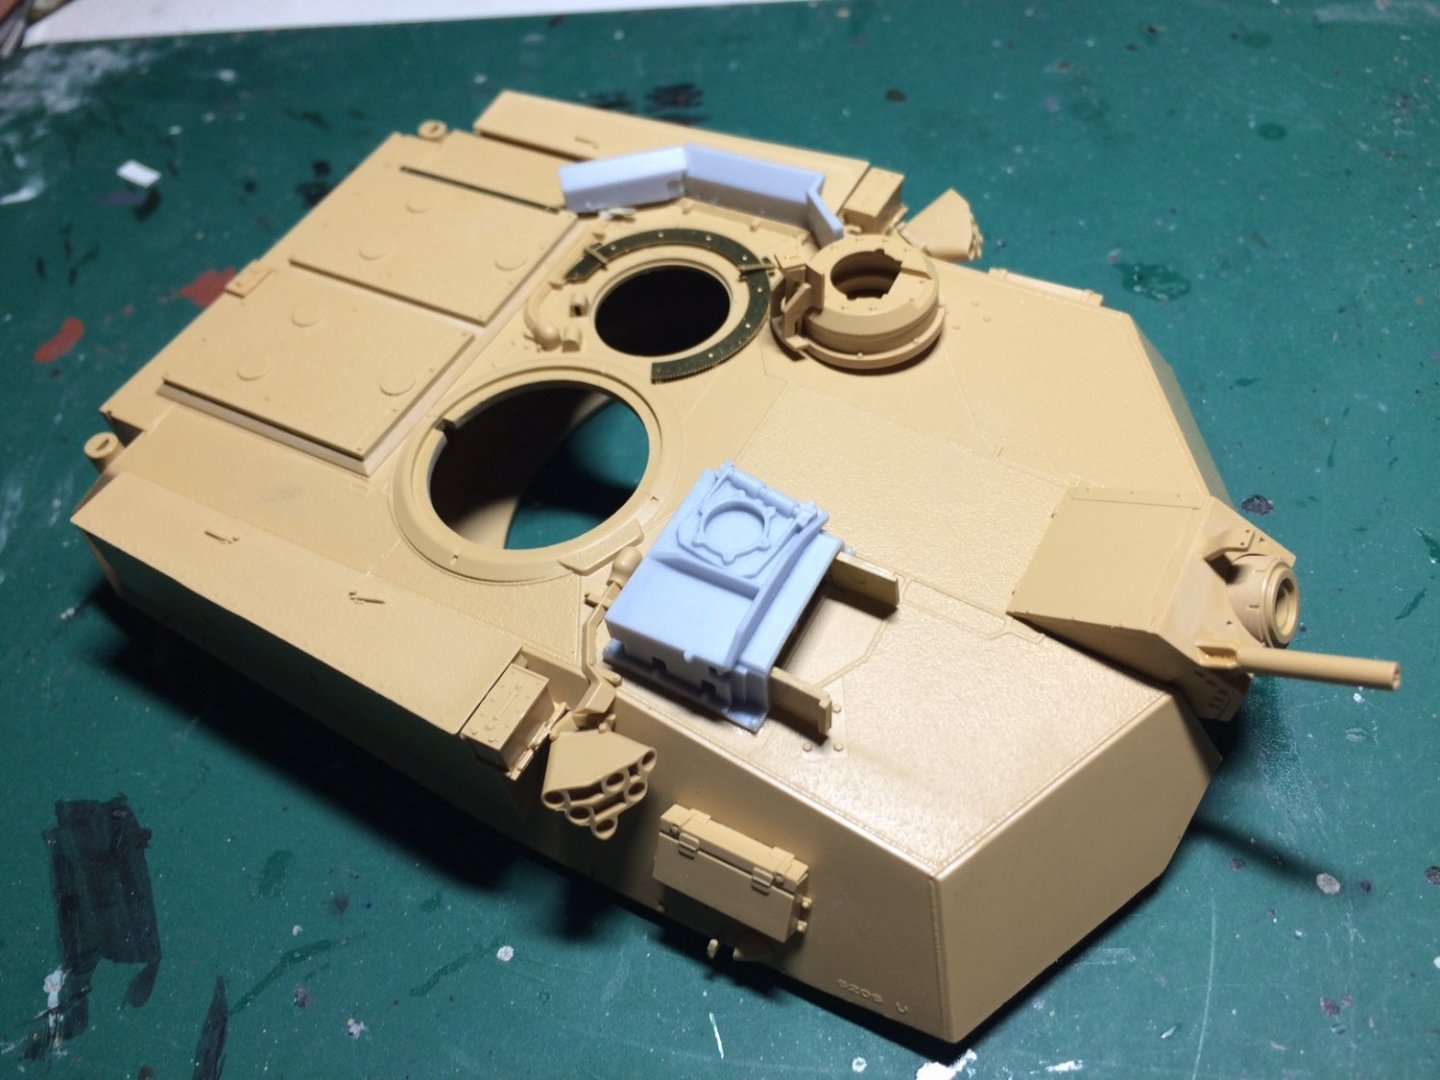
Evening all, so I made up for lost time today and got a bit more done adding more details to the turret - side rails rear cover etc. OC.


-
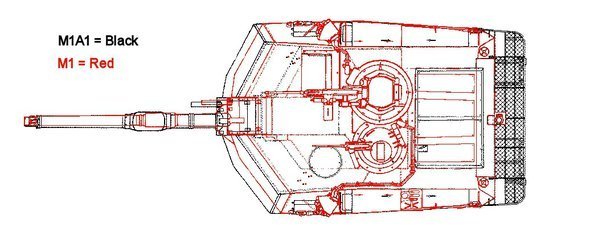
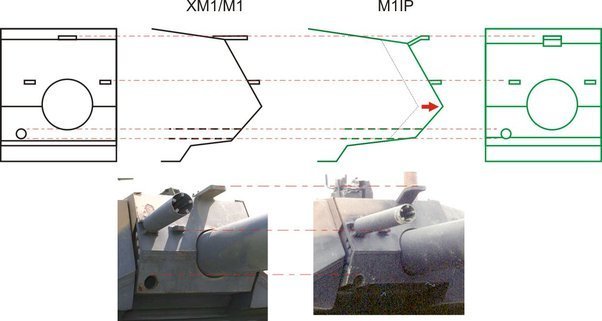
Morning all, no work progress as life required my attention (well tv actually lol) but I have been doing some research into the visual differences between the base M1 and the latest M1A1/ M1A2, and apart from the additional fittings the Two main Turret changes are - the front turret faces received some extra armour of around 150mm thick - extending the physical length of the turret, and the rear edge of the turret was sloped in the M1 and straight/flat in the M1A1/M1A2. Here are a few diagrams off the net that show the difference - OC.
- 164 replies
-
- 11
-

-
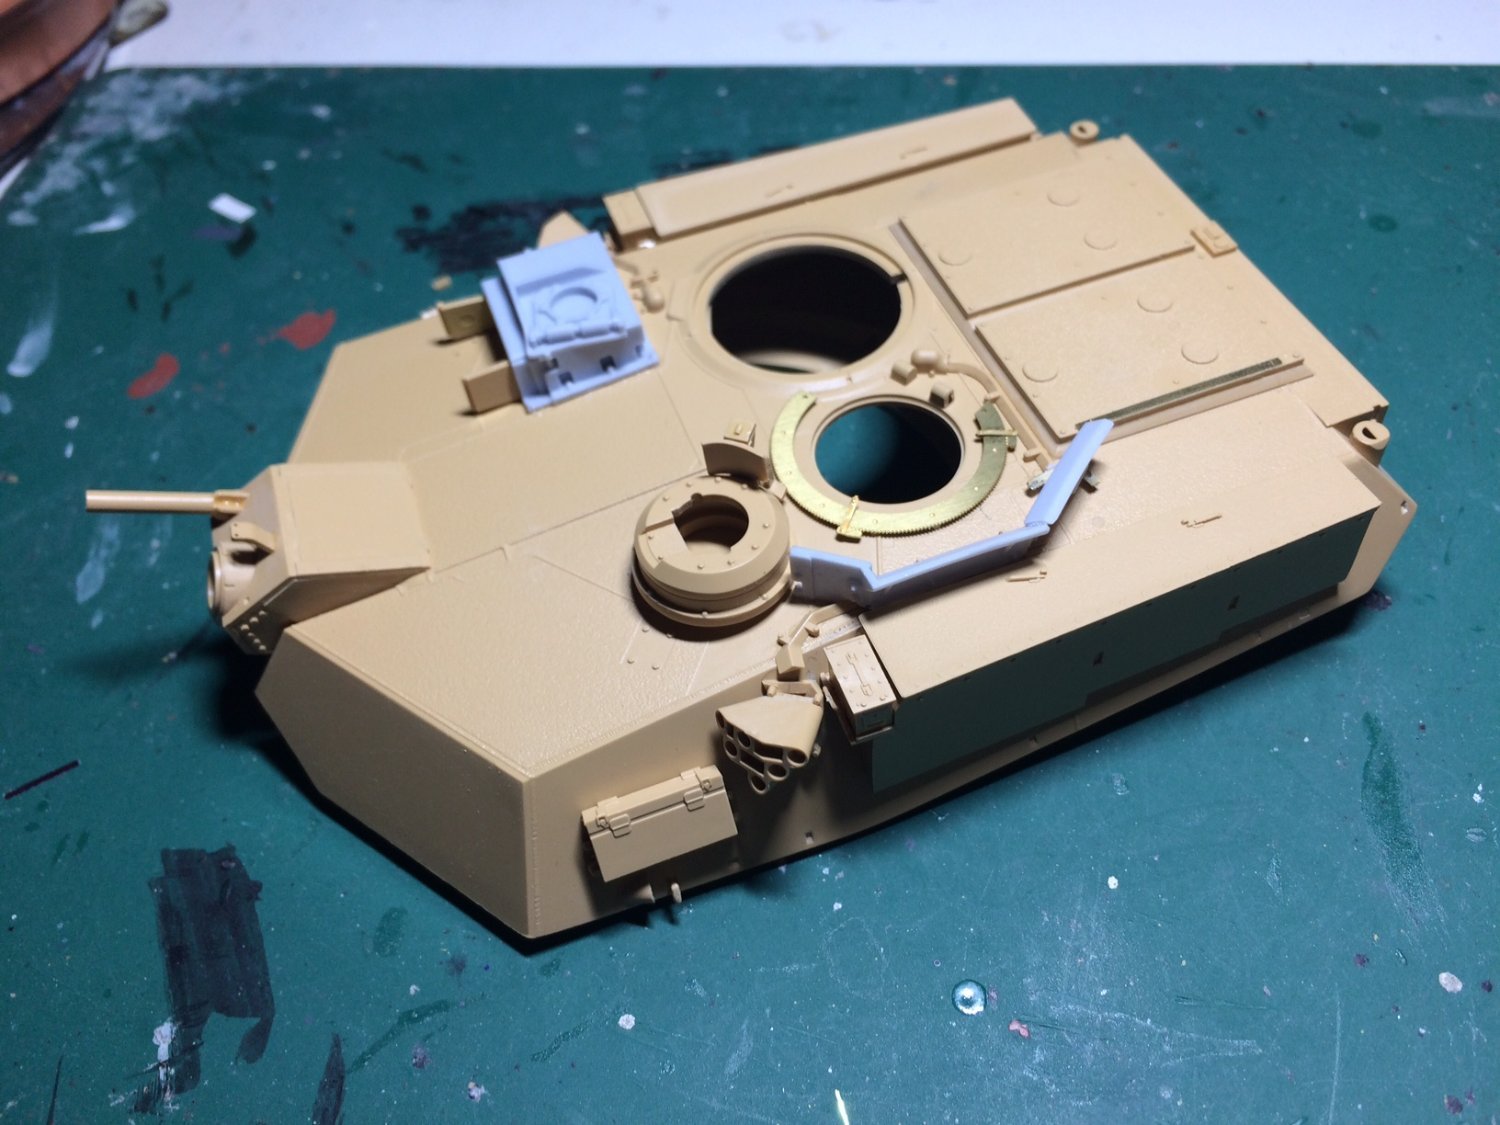
Evening all, I did a wee bit more on the turret today, I made up the smoke grenade launchers and fitted them also the side bins. OC.

-
Thank you kindly Gary. OC.
-
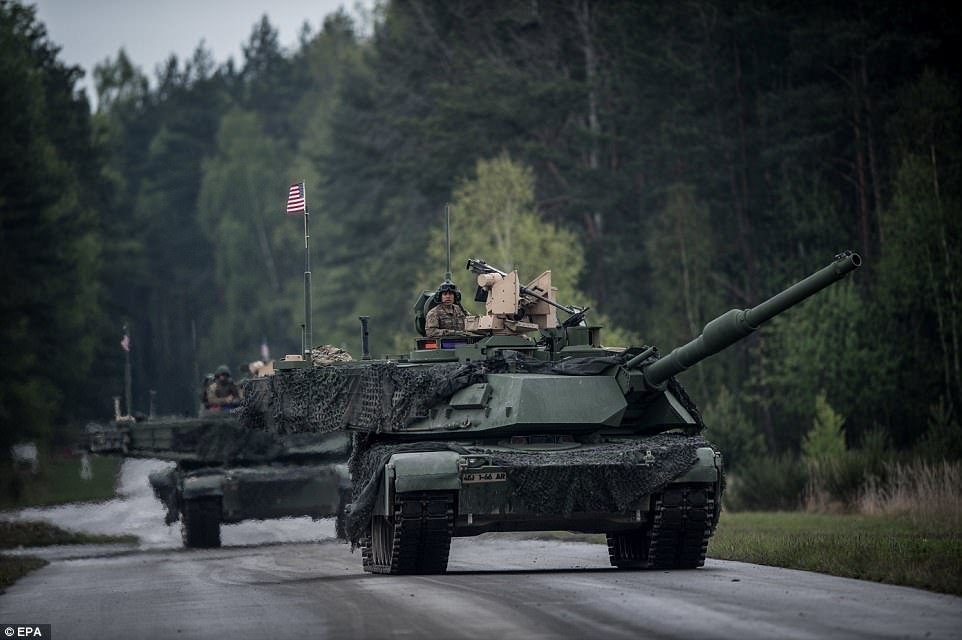
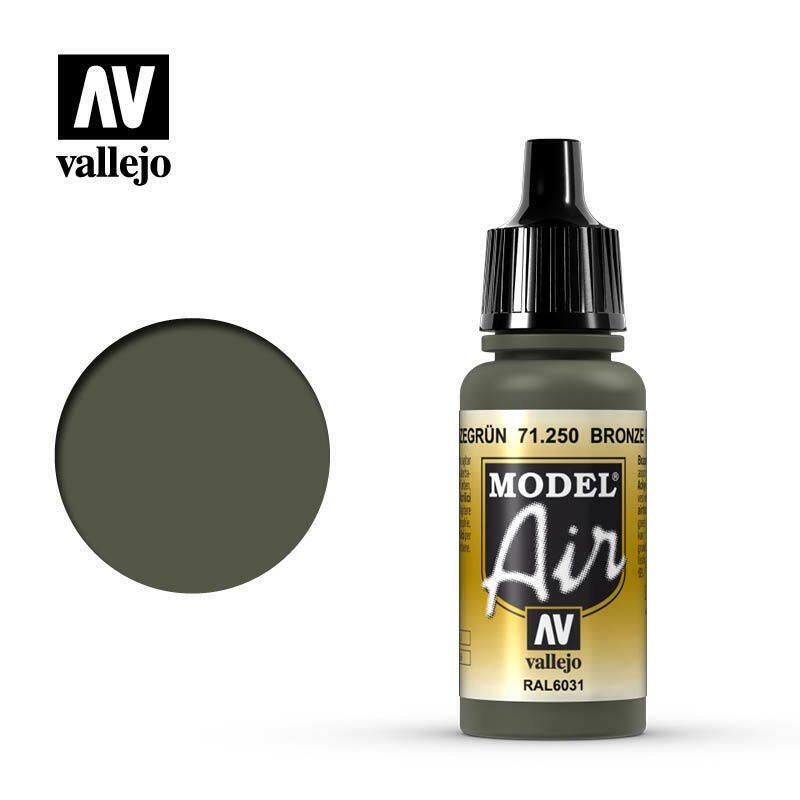
I did a bit of research regarding the European temp colour the M1 now wears, and my understanding is the single colour Green colour is called Bronze Green, its painted in Europe then pressure washed off when back in the States. This is a pic of am M1 in Europe with the Bronze Green paint applied and the Vallejo Acrylic paint. Pics of the net. OC.

-
Thank you kindly Denis. OC.
-
Thank you so much, they were/are fiddly but as you say so worth it. OC.
-
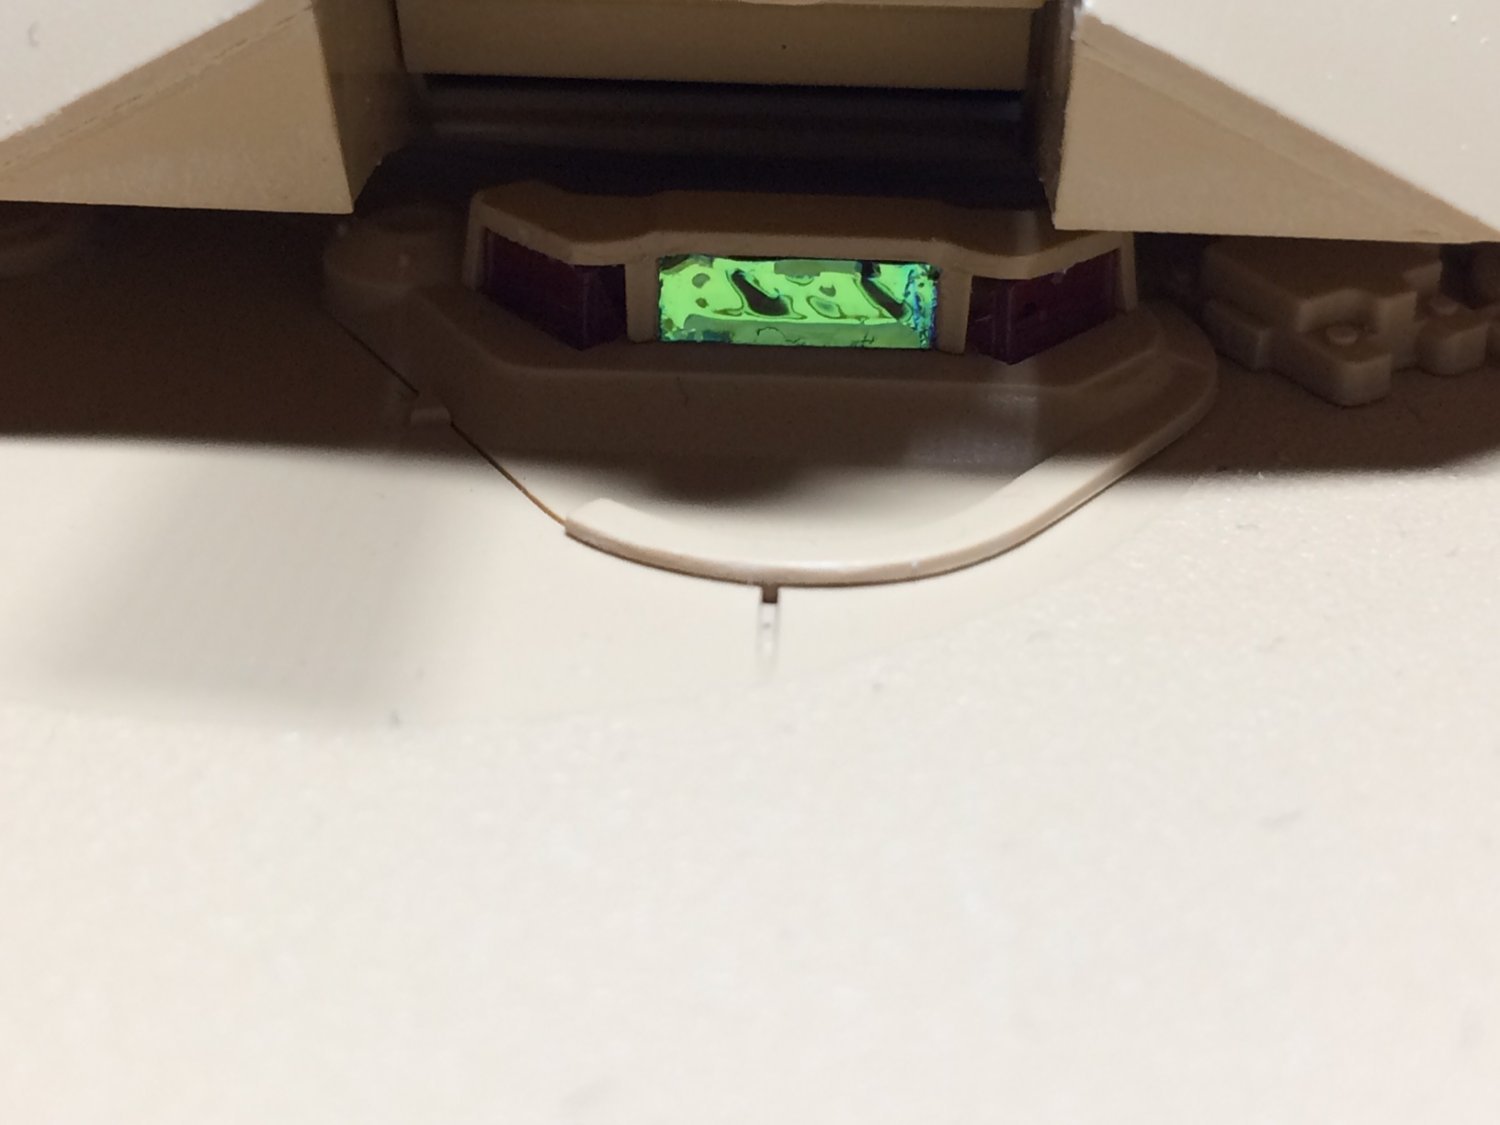
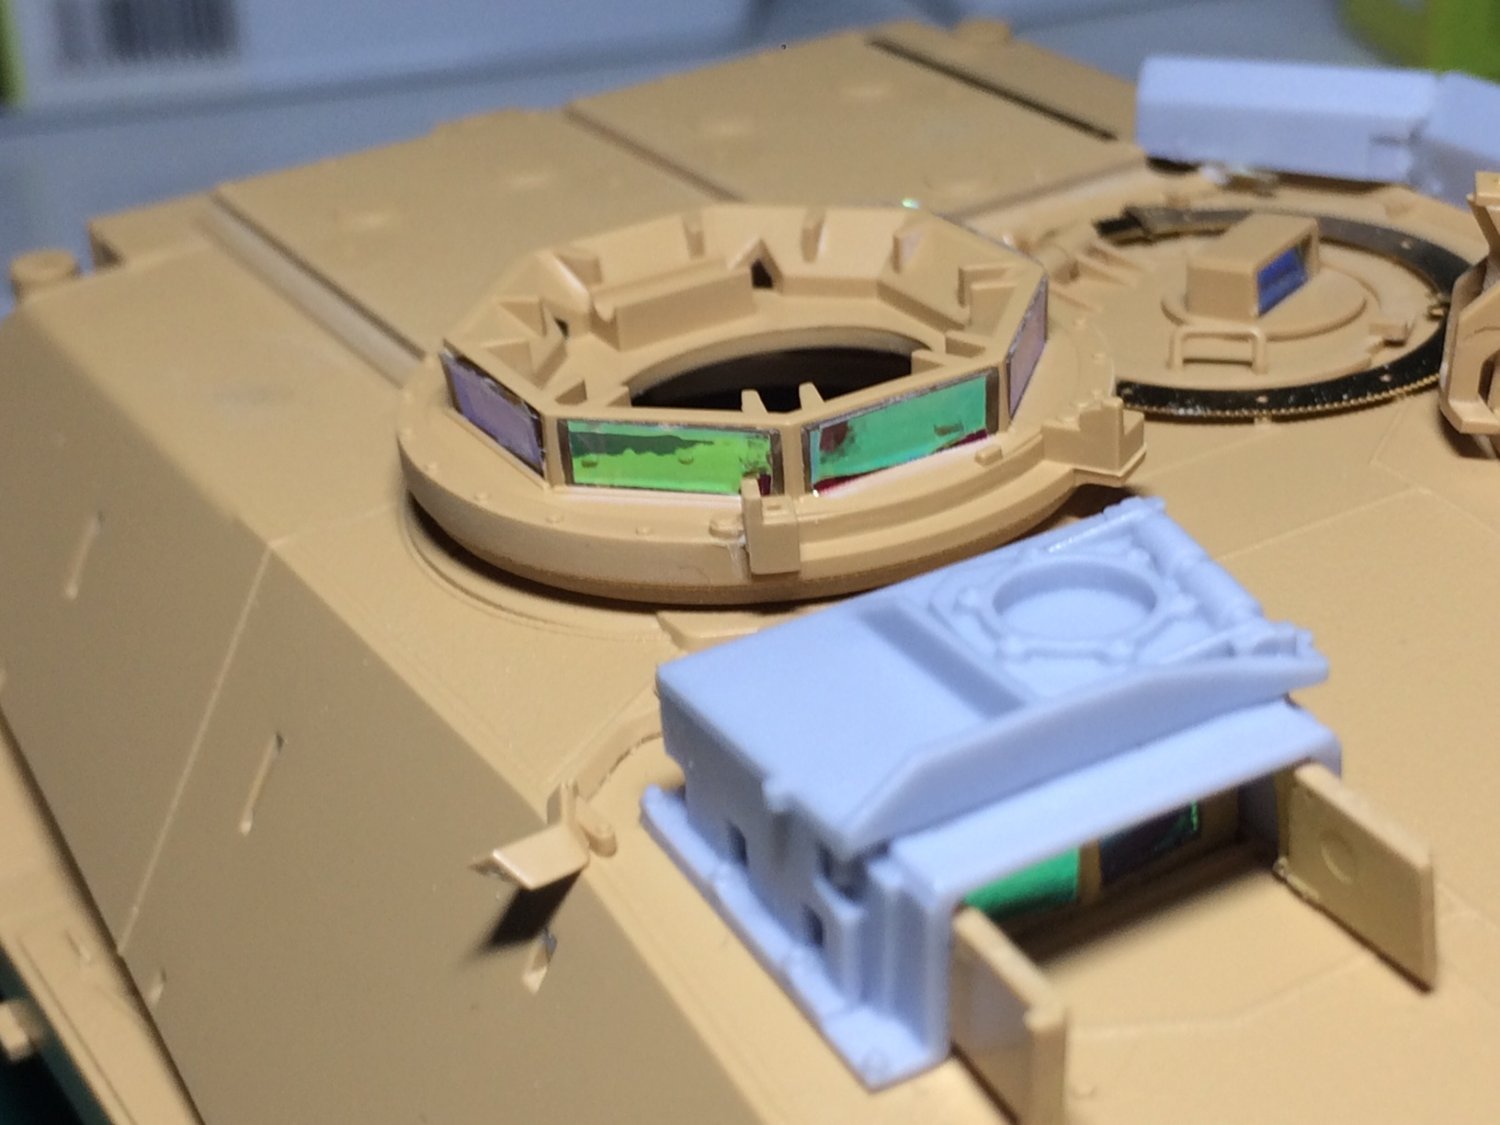
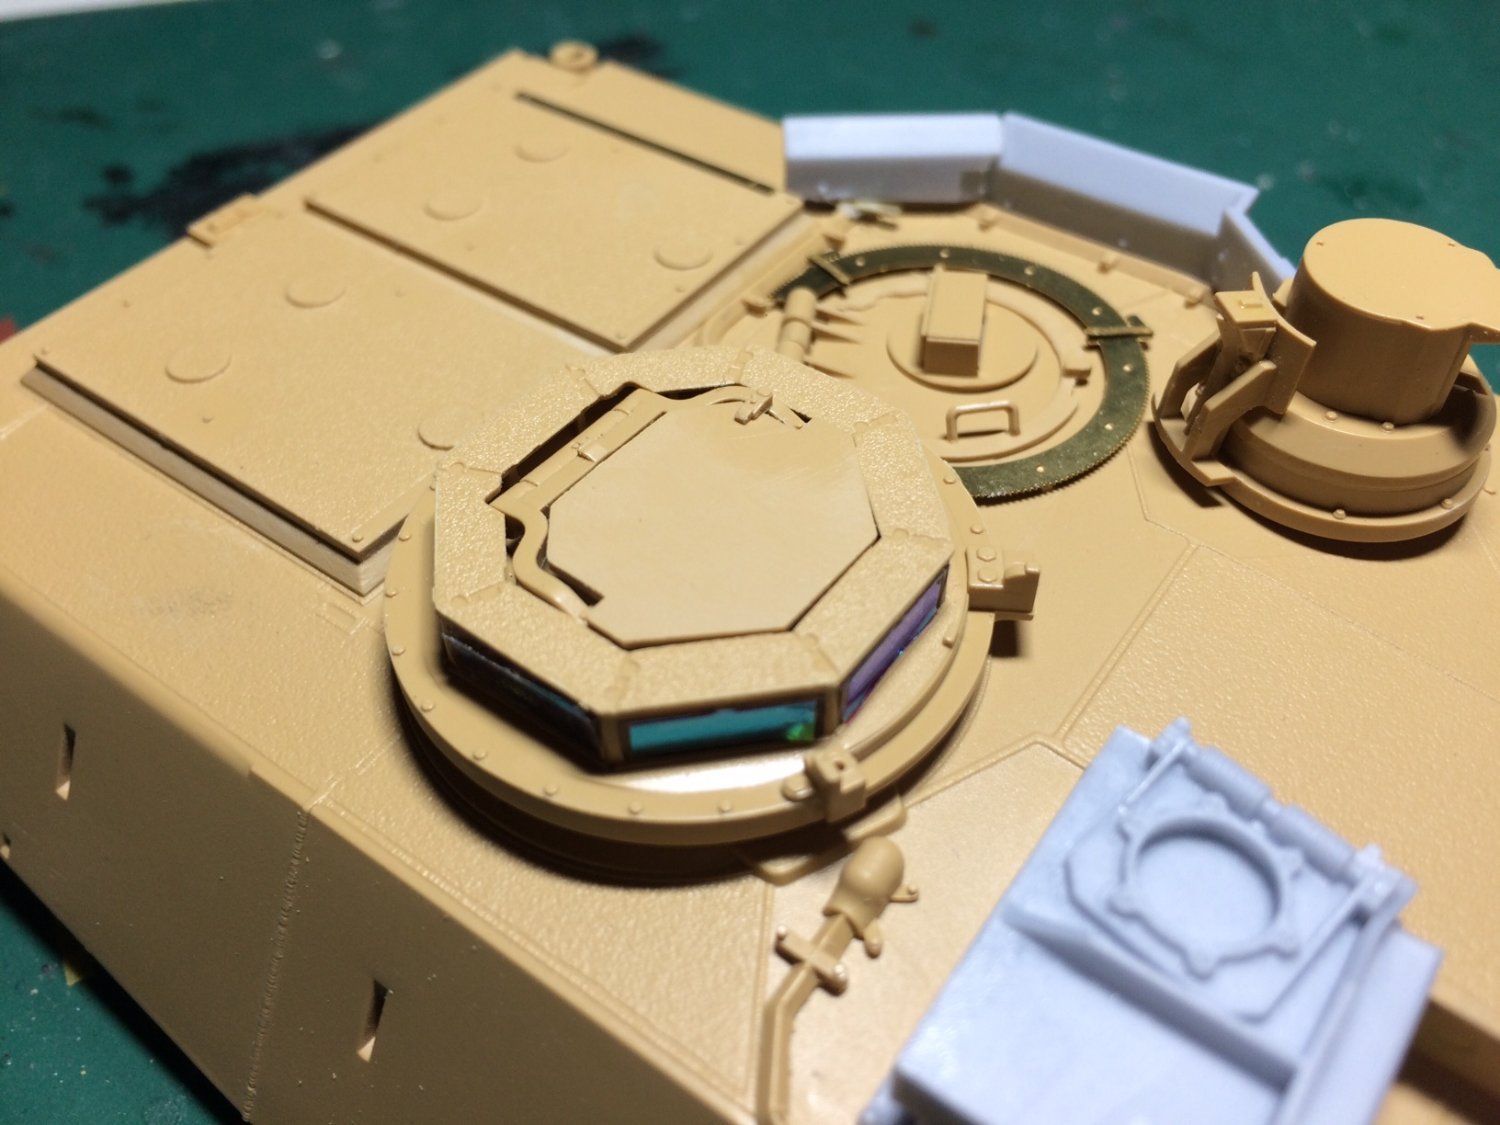
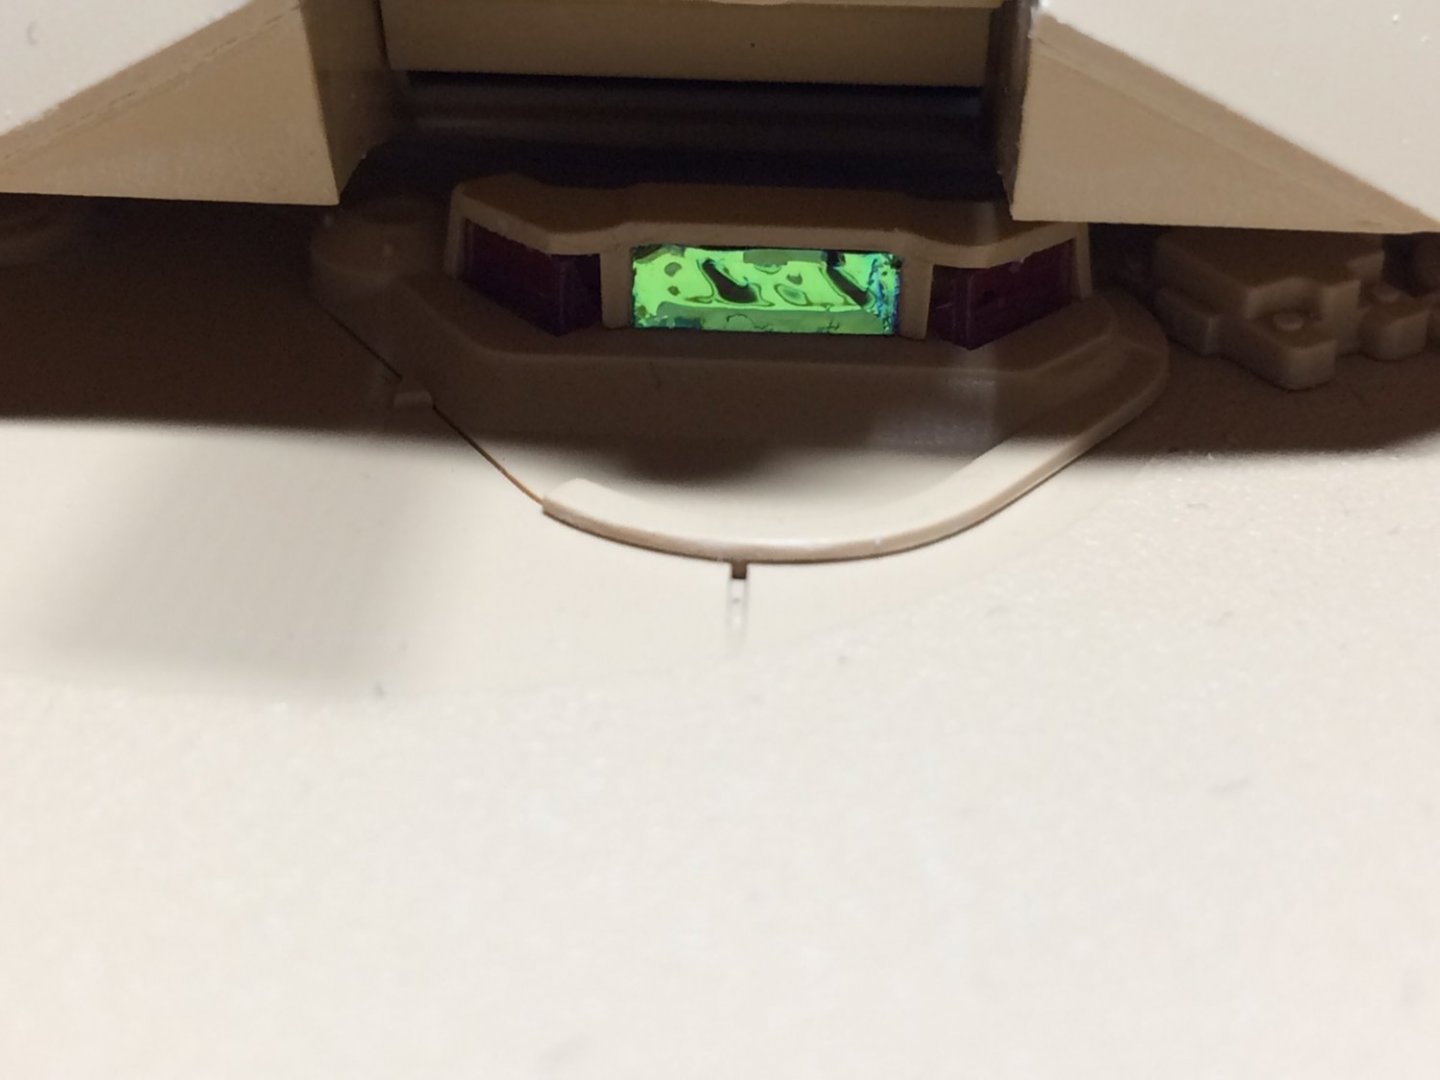
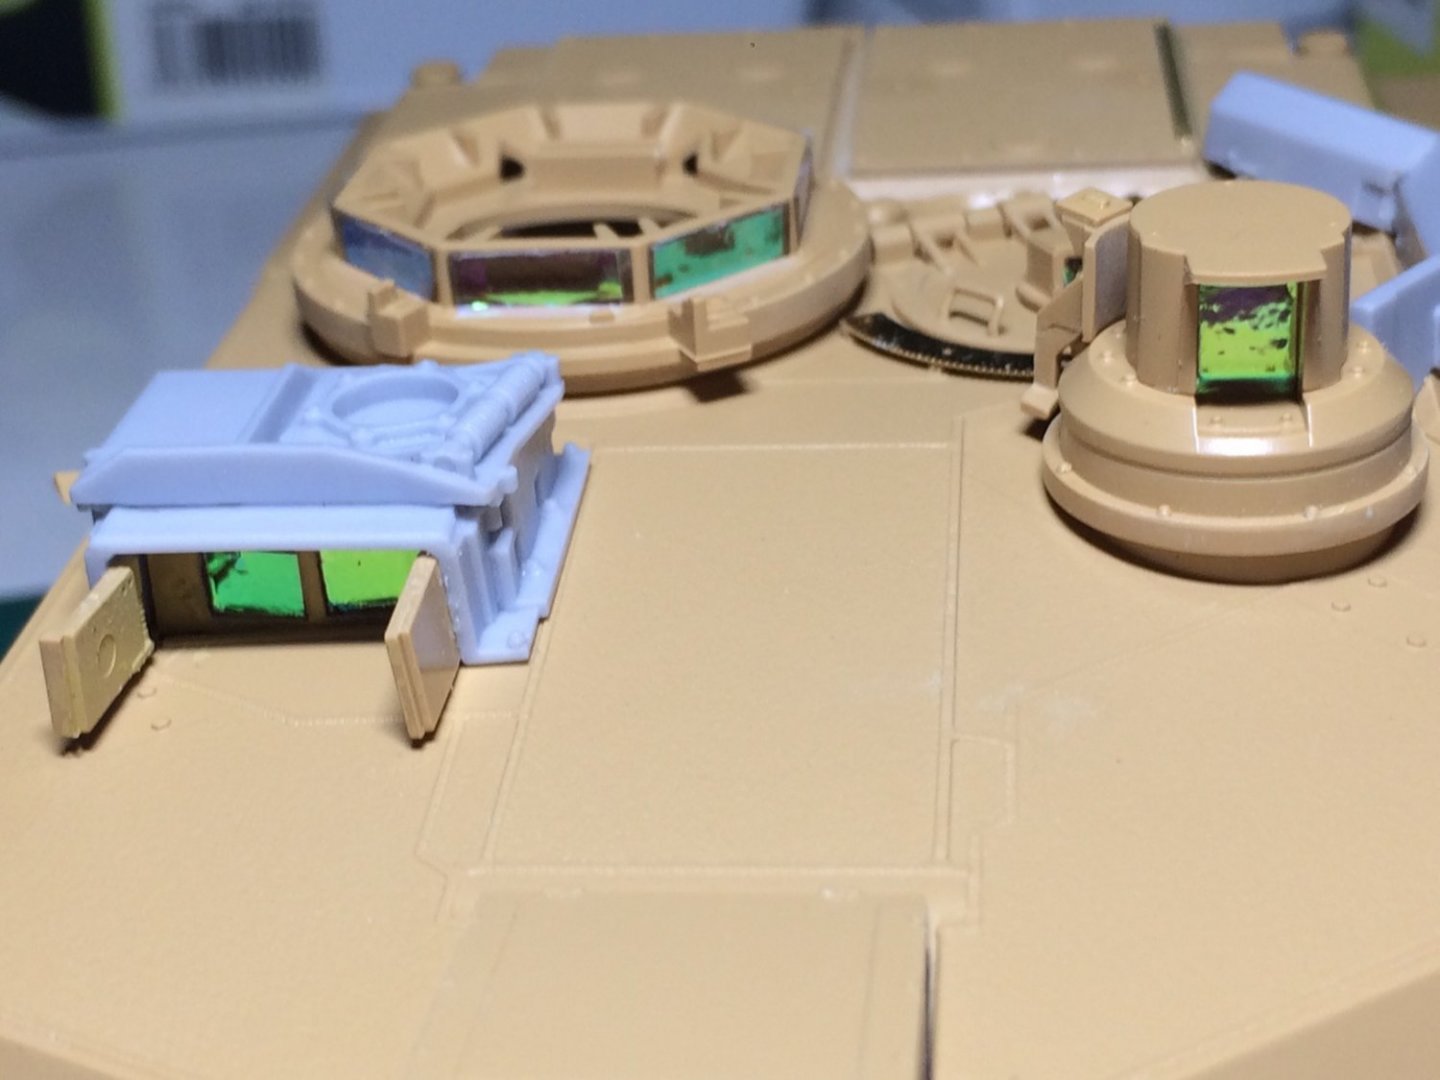
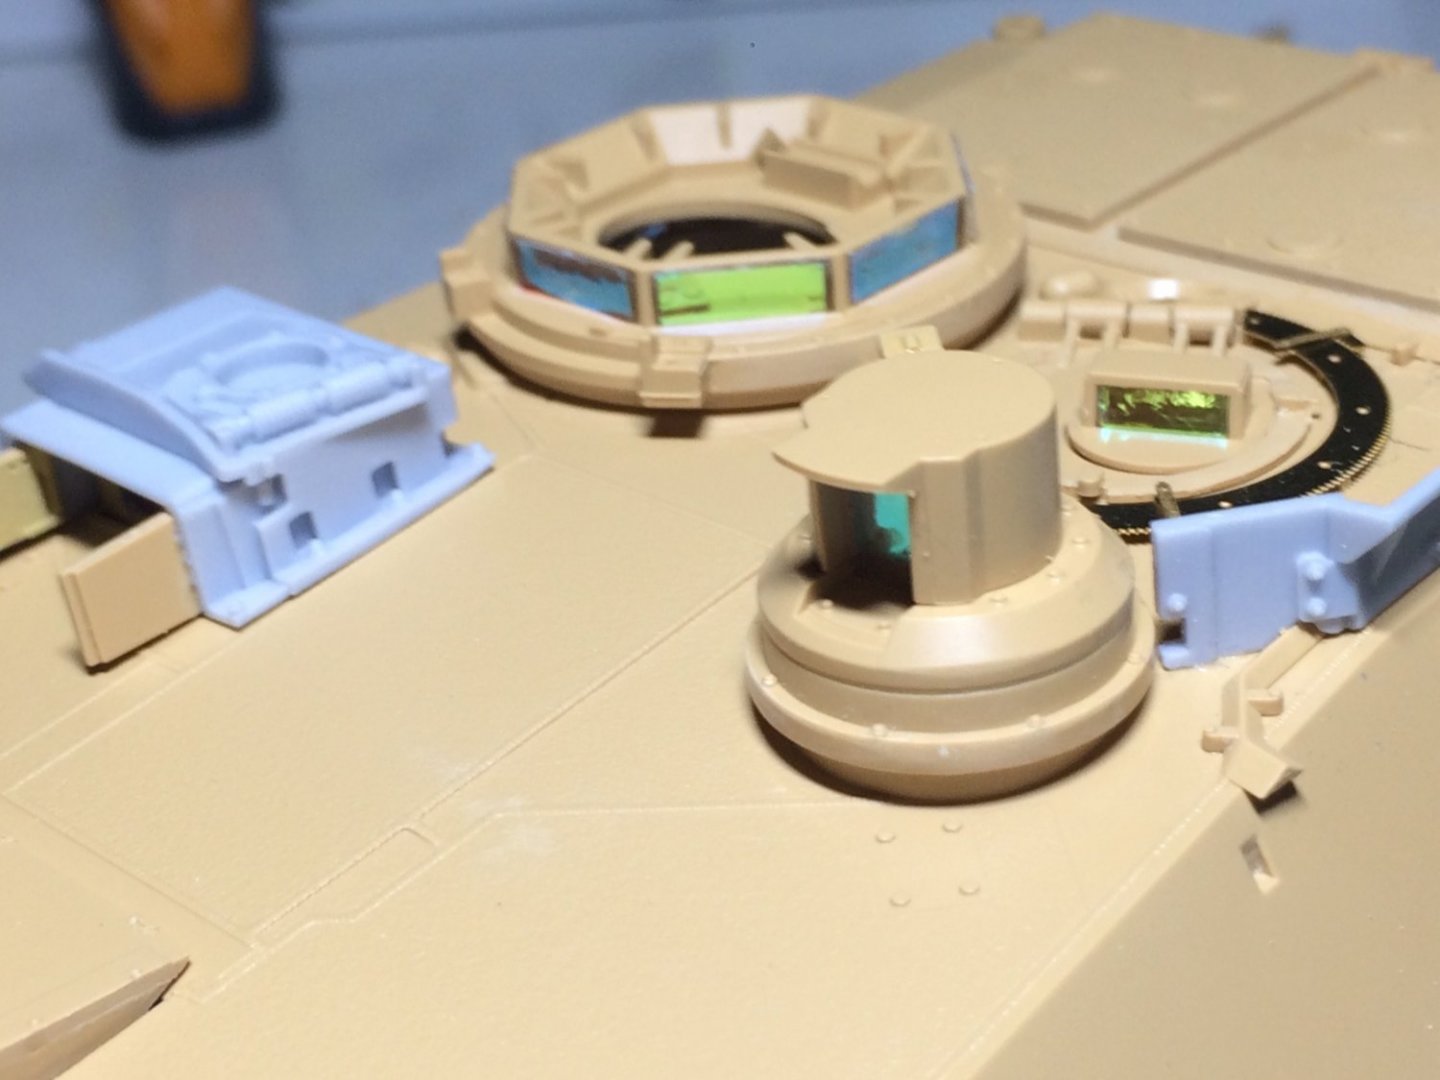
Beacuse of the delicate nature of the self sticky viewing block pieces, I will not be masking them in case they pull the coloured papers off, I will be hand painting the cupula assembly/FLIR/CITV and drivers hatch as they will be easier to hand paint and put on when the main turret is sprayed. OC.
-
Kevin (just showing my ignorance with card building) would it help to strengthen the card during the build to brush over the parts/sections etc some watered down PVA - just wondered if that would strengthen the card? OC.
- 201 replies
-
- 3
-
-
- SD 14
- Marcle Models
- (and 1 more)
-
Eveing all, some more progress - I over fitted a few more vison blocks with the stick on "thingys" and fitted the cupula vision blocks and fitted the stick on pieces, I also fitted the top and hatch. OC.


-
Thank you kindly Ken. OC.
-
Thank you kindly Gary. OC.