Old Collingwood
-
Posts
12,104 -
Joined
-
Last visited
Content Type
Profiles
Forums
Gallery
Events
Everything posted by Old Collingwood
-
 Think I will be doing a bit more on this later, as I am stalling my Tank builld as I'm waiting on some airbrush pipe cleaners to arrive (as the Vallejo Acrylic Primer doesn't half block it up). I will have other things I can do on this plenty of sub assemblies to build. OC.
 -
Why (How) did you put the actual Victory in your back garden Kevin......😲 OC.
-
Brilliant work Alan, not such an easy task (as I well know) I would be so proud of this) OC.
-
Wowzer ......... I wont talk to loud incase it destroys all your fine work Kevin - Amazing Work mate. OC.
- 201 replies
-
- 5
-

-
- SD 14
- Marcle Models
- (and 1 more)
-
Thank you kindly mate. OC.
-
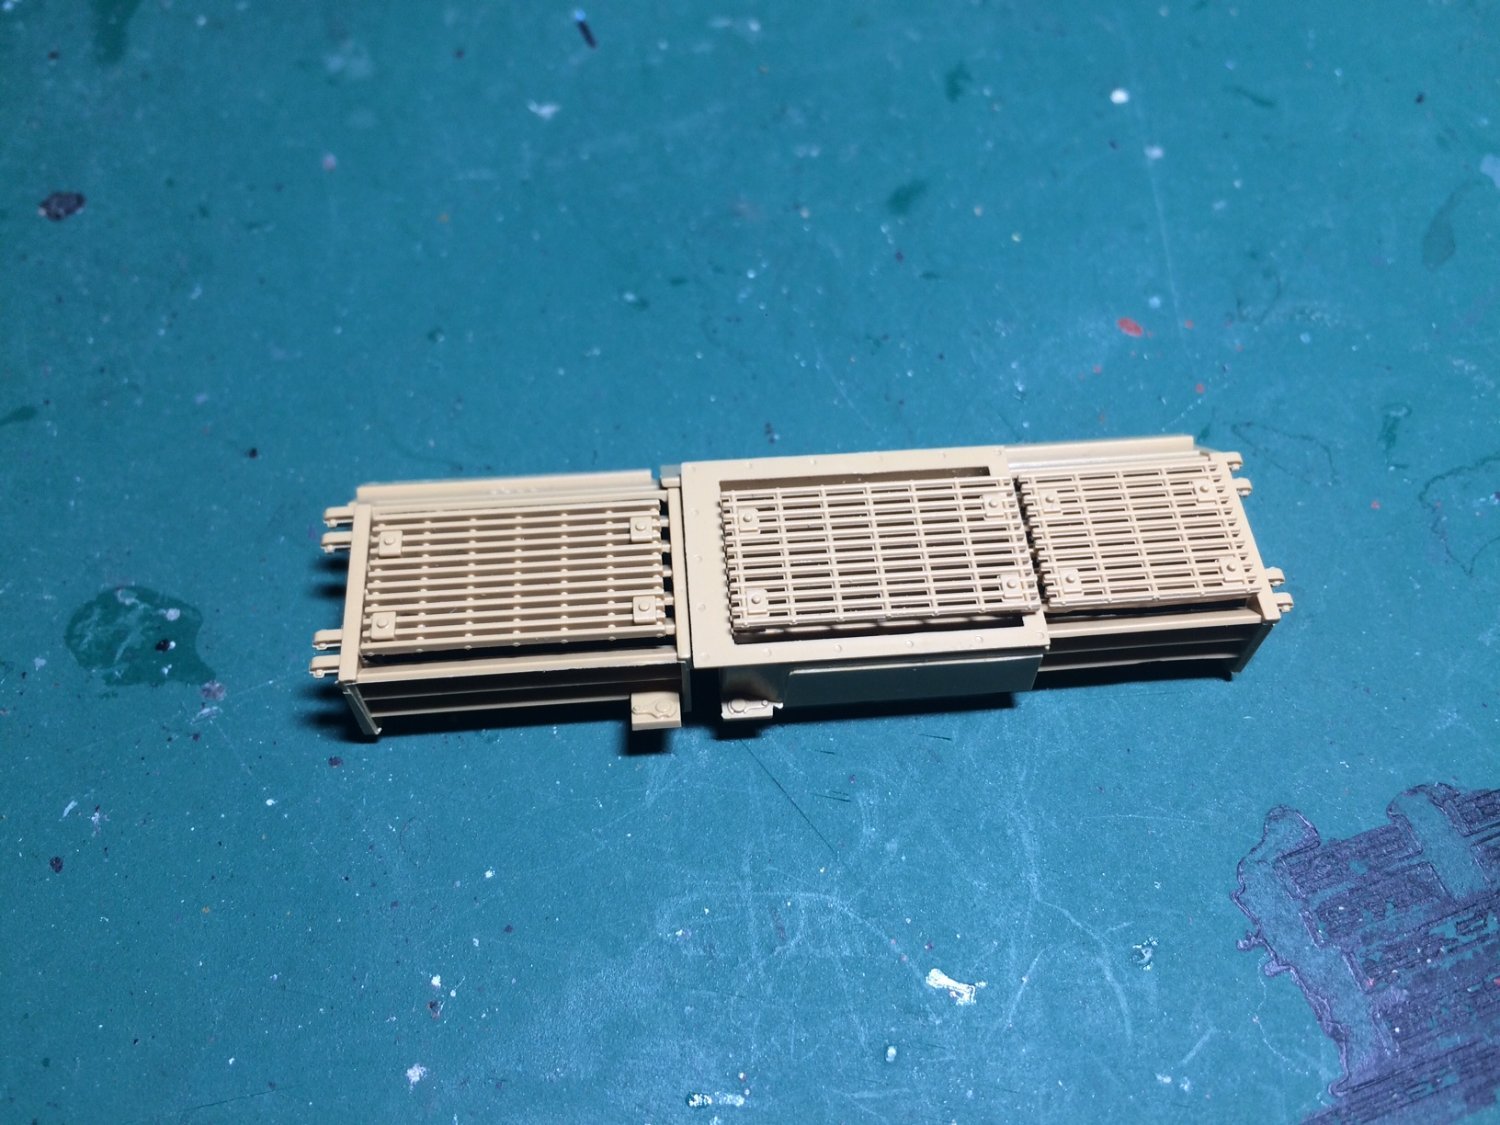
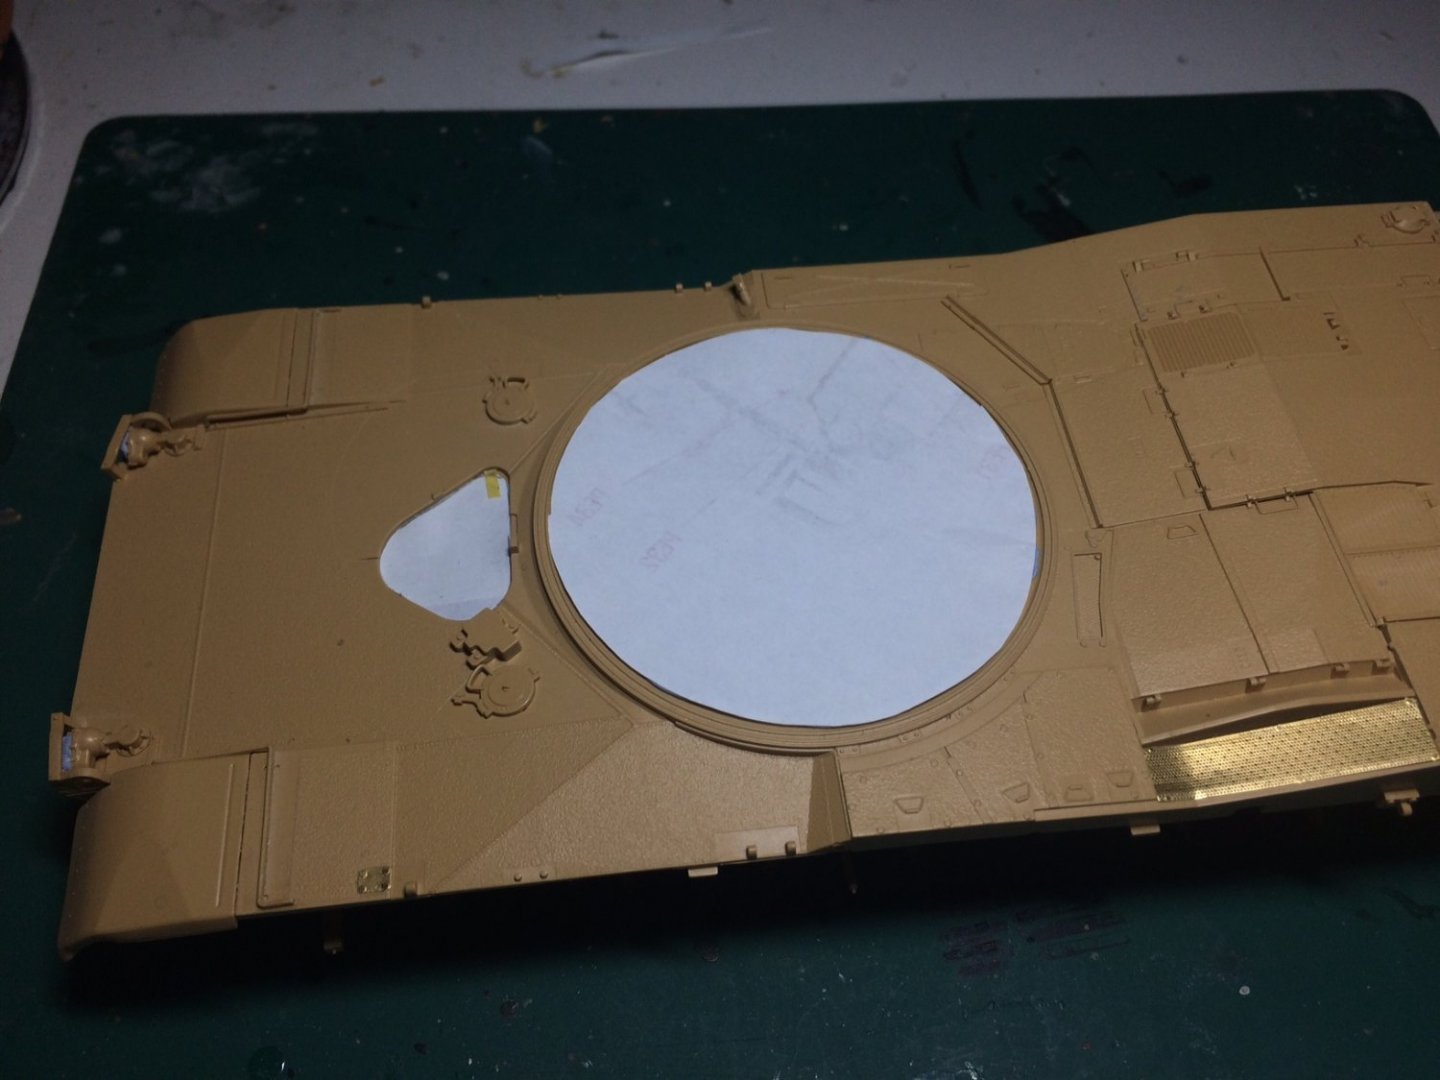
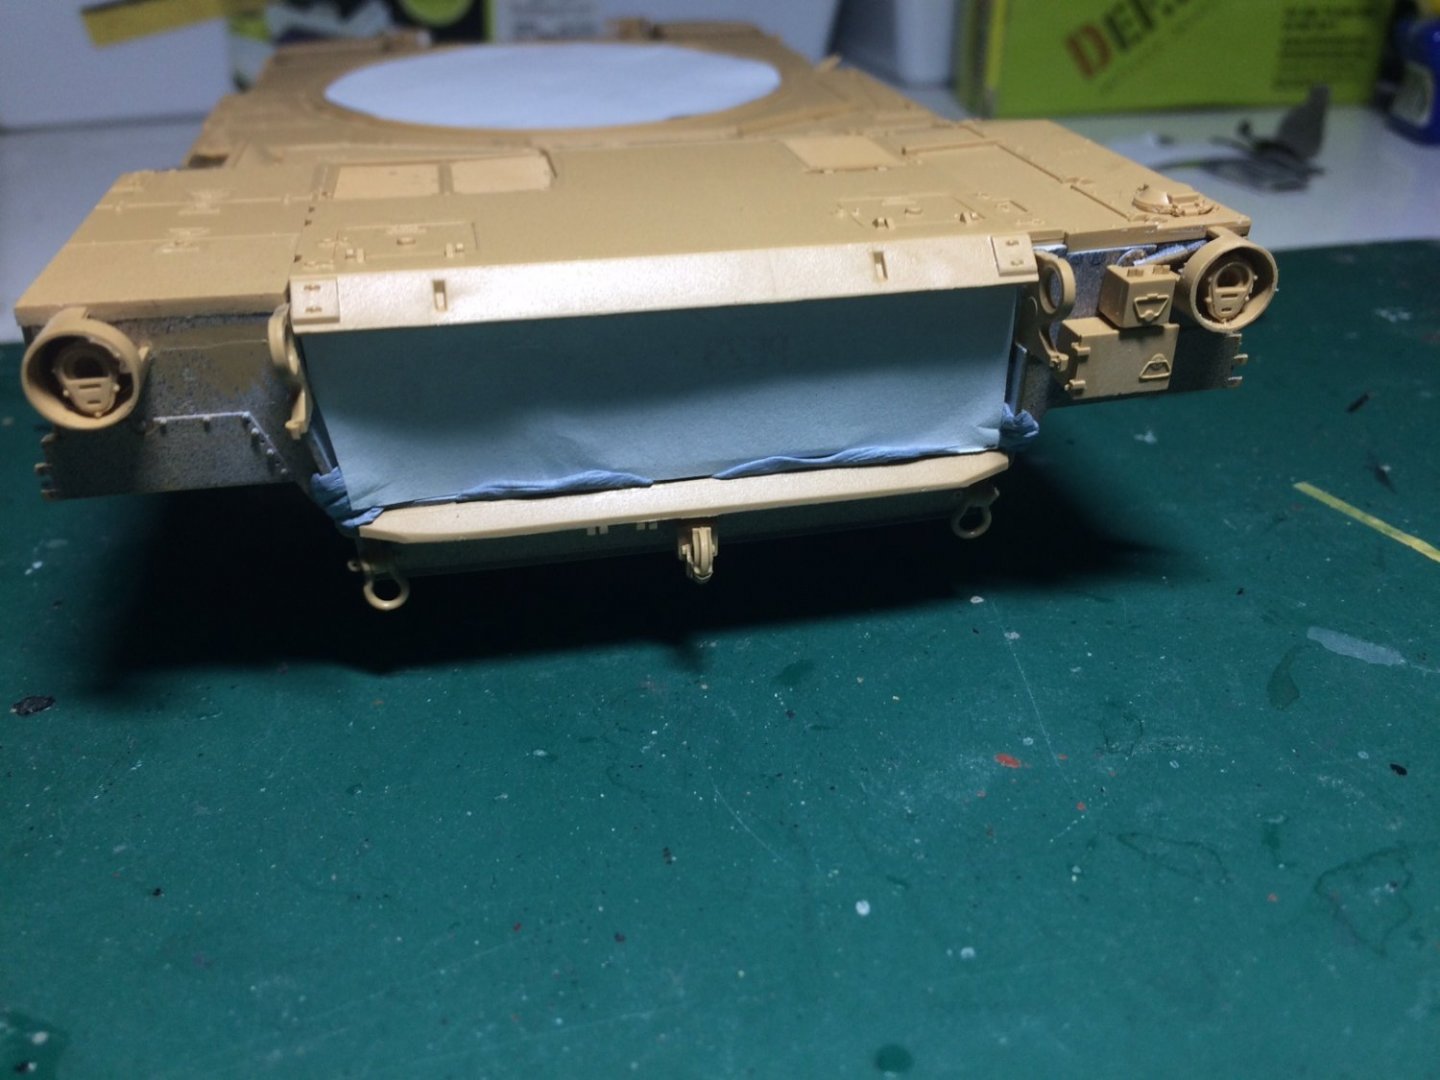
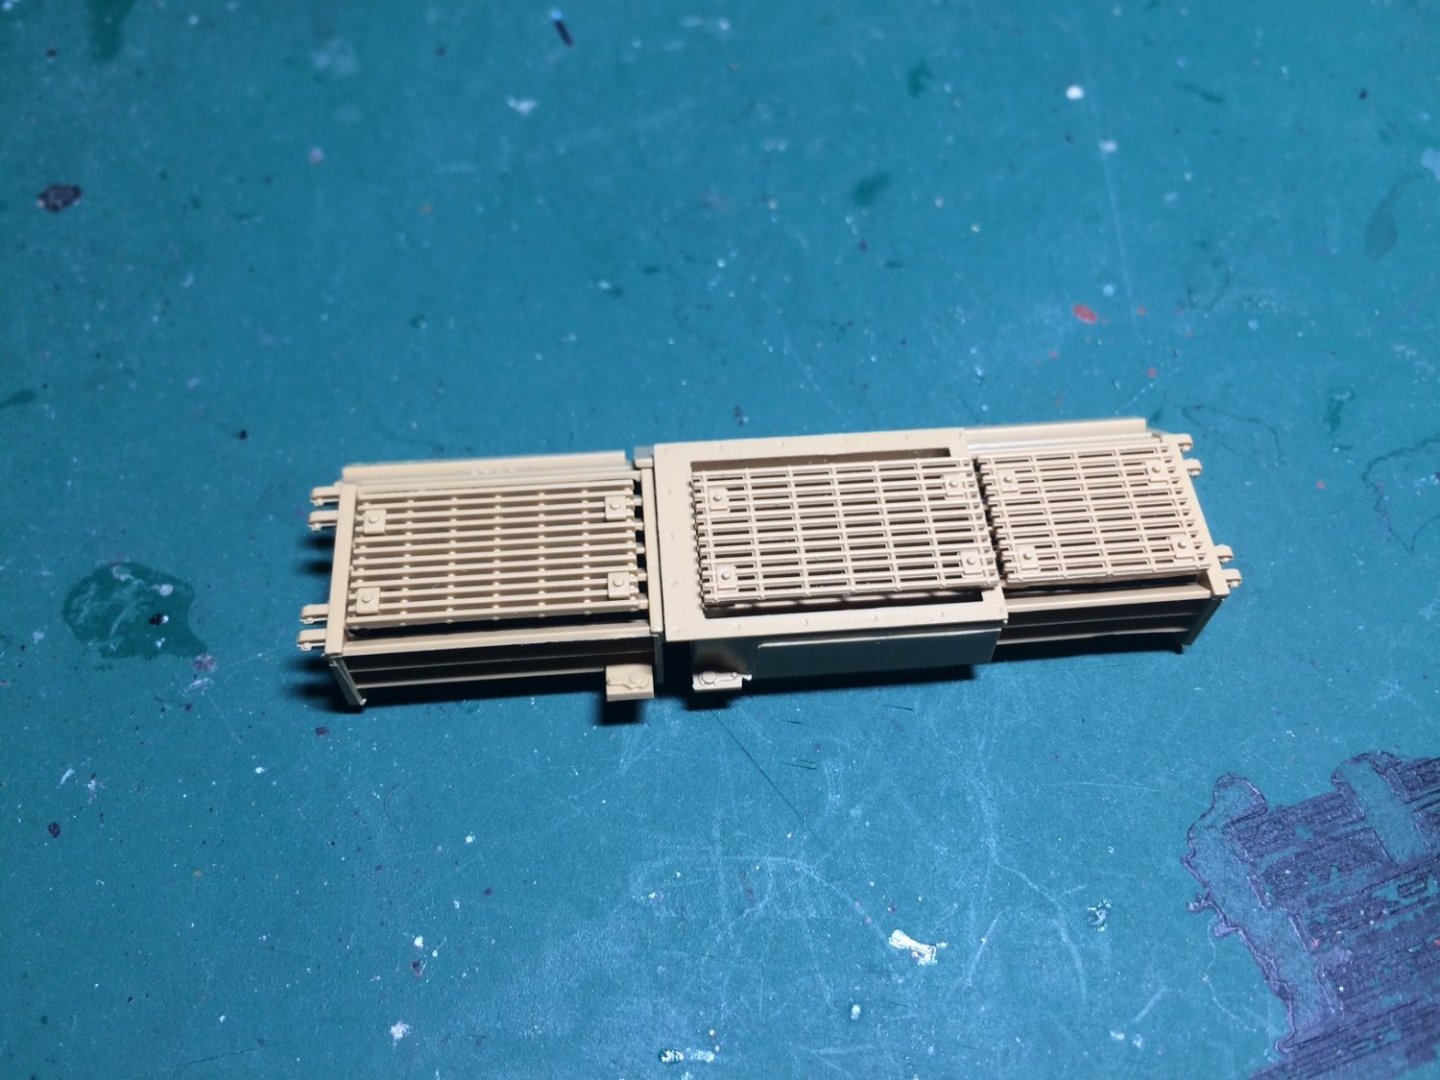
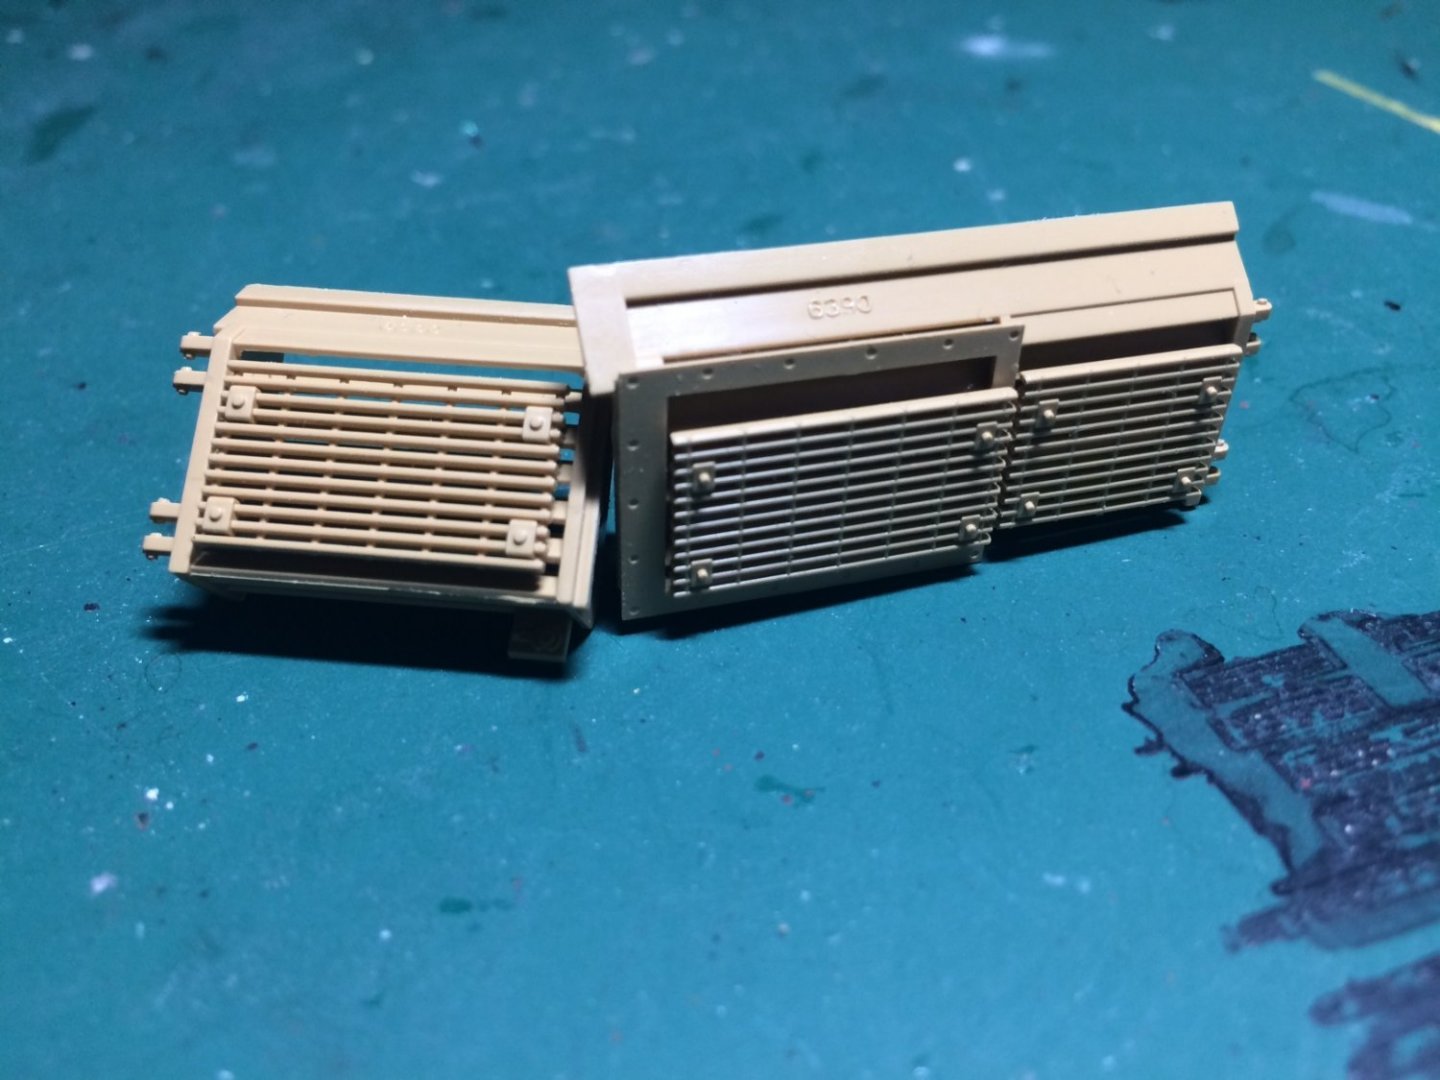
Evening all, more progress - I have been prep-ping the assemblies ready for priming, this involved making some paper masks and fixing in place with some Blue Tack, including a small piece of paper covering one of the sights, I also made the rear vents - these will be painted and fitted. OC.

- 164 replies
-
- 10
-
-
Indeed Lou, bet it would be quite a thing to be close by, I saw a video where an M60 fired a round into the engine bay of a Land Rover car and it completley destroyed it - amazing power. OC.
-
I do like that Alan - really nice - it so does not look that scale - fine job my friend. OC.
-
Dont foreget the Pink Panther car. OC.
-
Thank you kindly Denis, no worries all the crew are out of the turret while the engine is being checked, with instructions given to Dave the driver over radio. OC.
-
F-86F-30 Sabre by Egilman - Kinetic - 1/32nd scale
Old Collingwood replied to Egilman's topic in Non-ship/categorised builds
Brother - going the "Extra Mile" in our pursuit of realism is what we all do here, and frankly I don't think you will be happy unless you gave the 3D printing a try, you know you have our attention for the duration - and for me personally the more involved the project is - the more interest it has - its good to push the envelope so to speak. OC. -
Thank you kindly Gary. OC.
-
Thank you so much - at the moment the engine has stalled - hence why there will be another of the crew looking into it - guess if they find chocolate bars they will be eaten very quickly lol. OC.
-
Thanks Alan, but pack it in you will start them lot off wanting some lol☺️ OC.
-
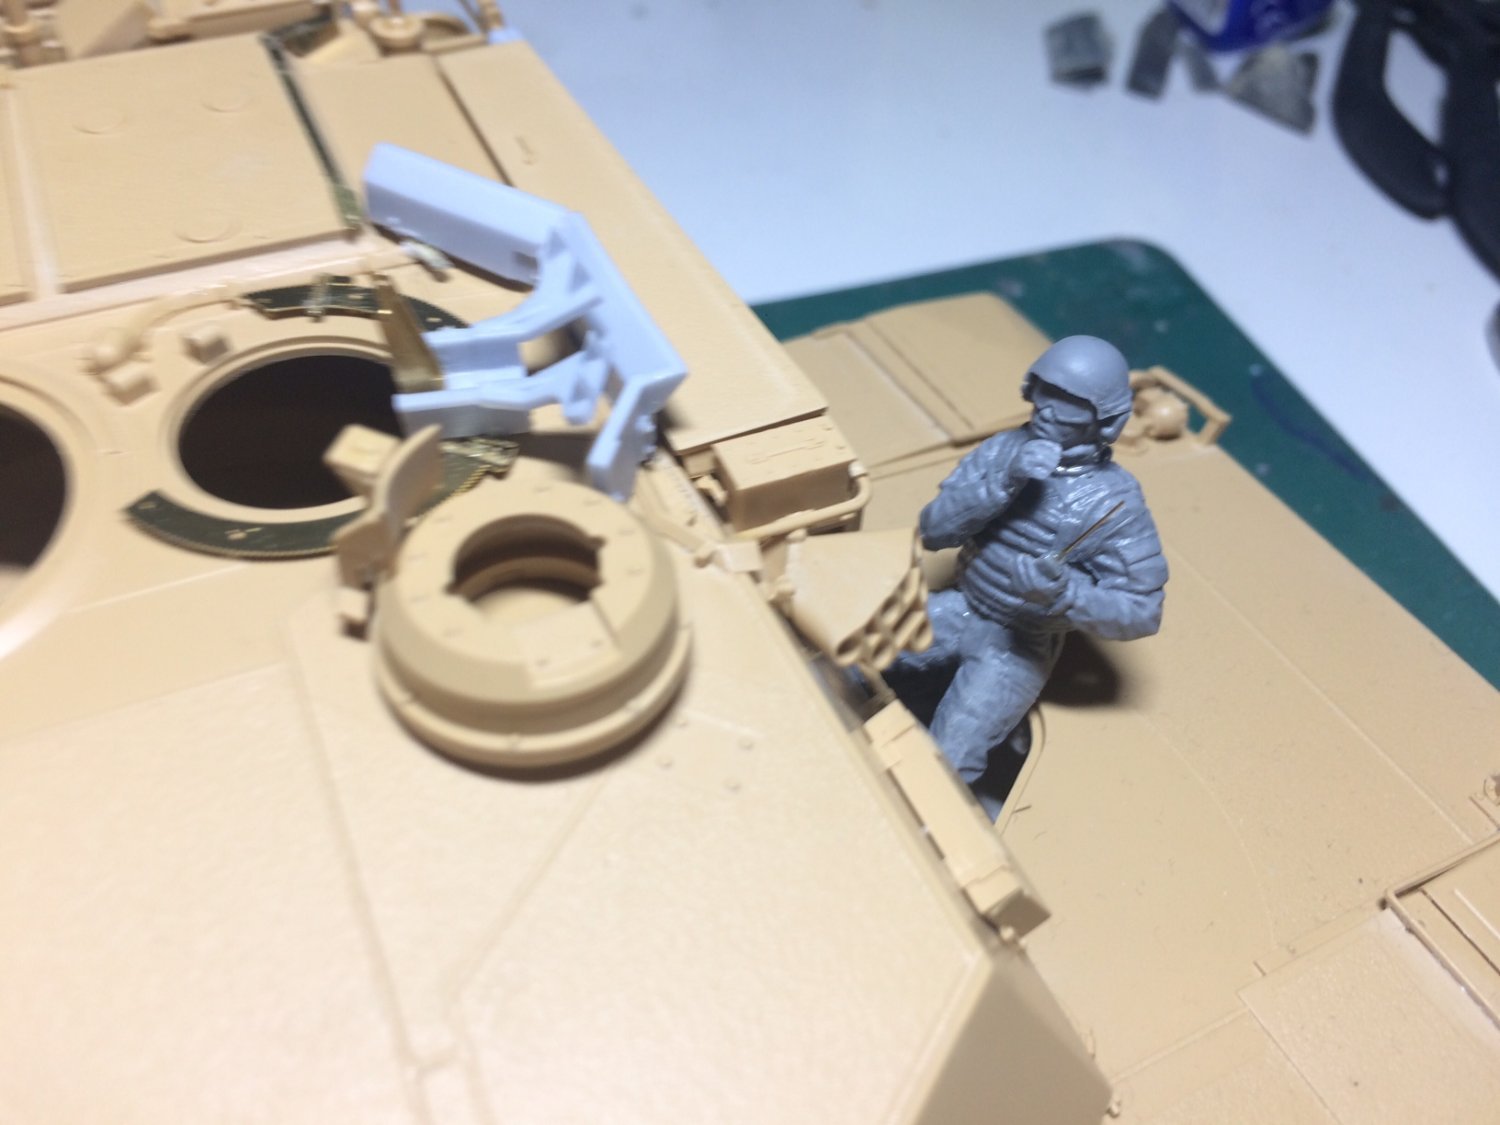
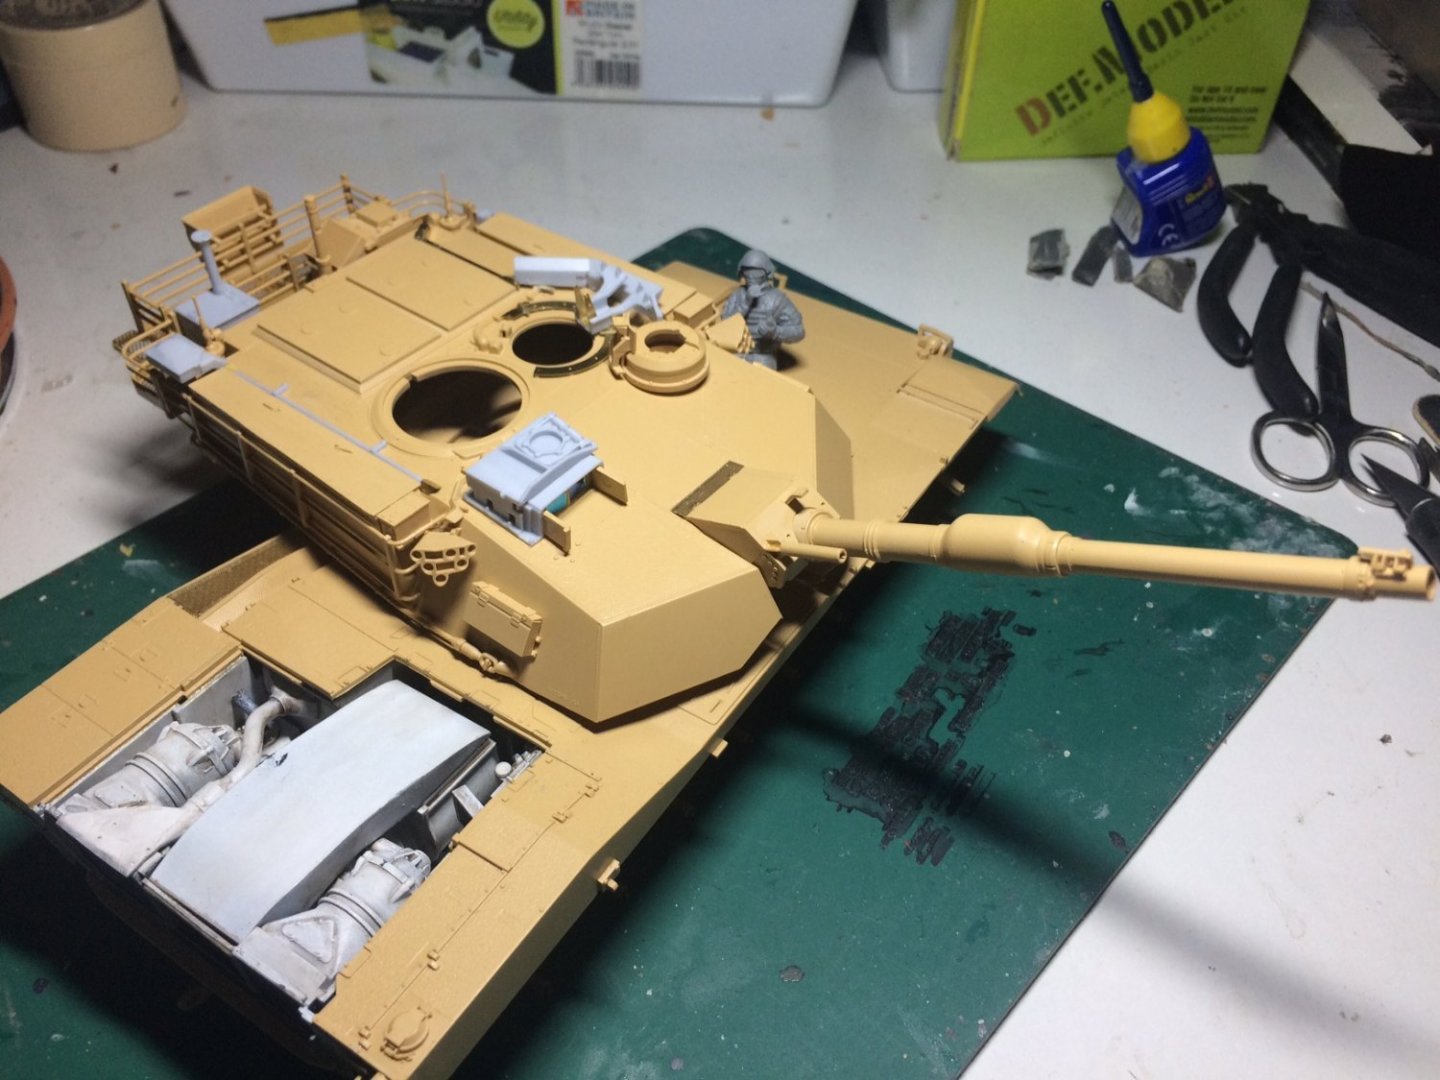
Evening all, I managed some more time on this today - firstly I added some more PE trunking, then I made the barrel up consisting of several sections, this was then glued in place and the PE guard was added. I have the barrel elevated and glued in that position. Photo/s also include driver Dave just placed there for now (he was feeling left out) OC.


- 164 replies
-
- 12
-
-
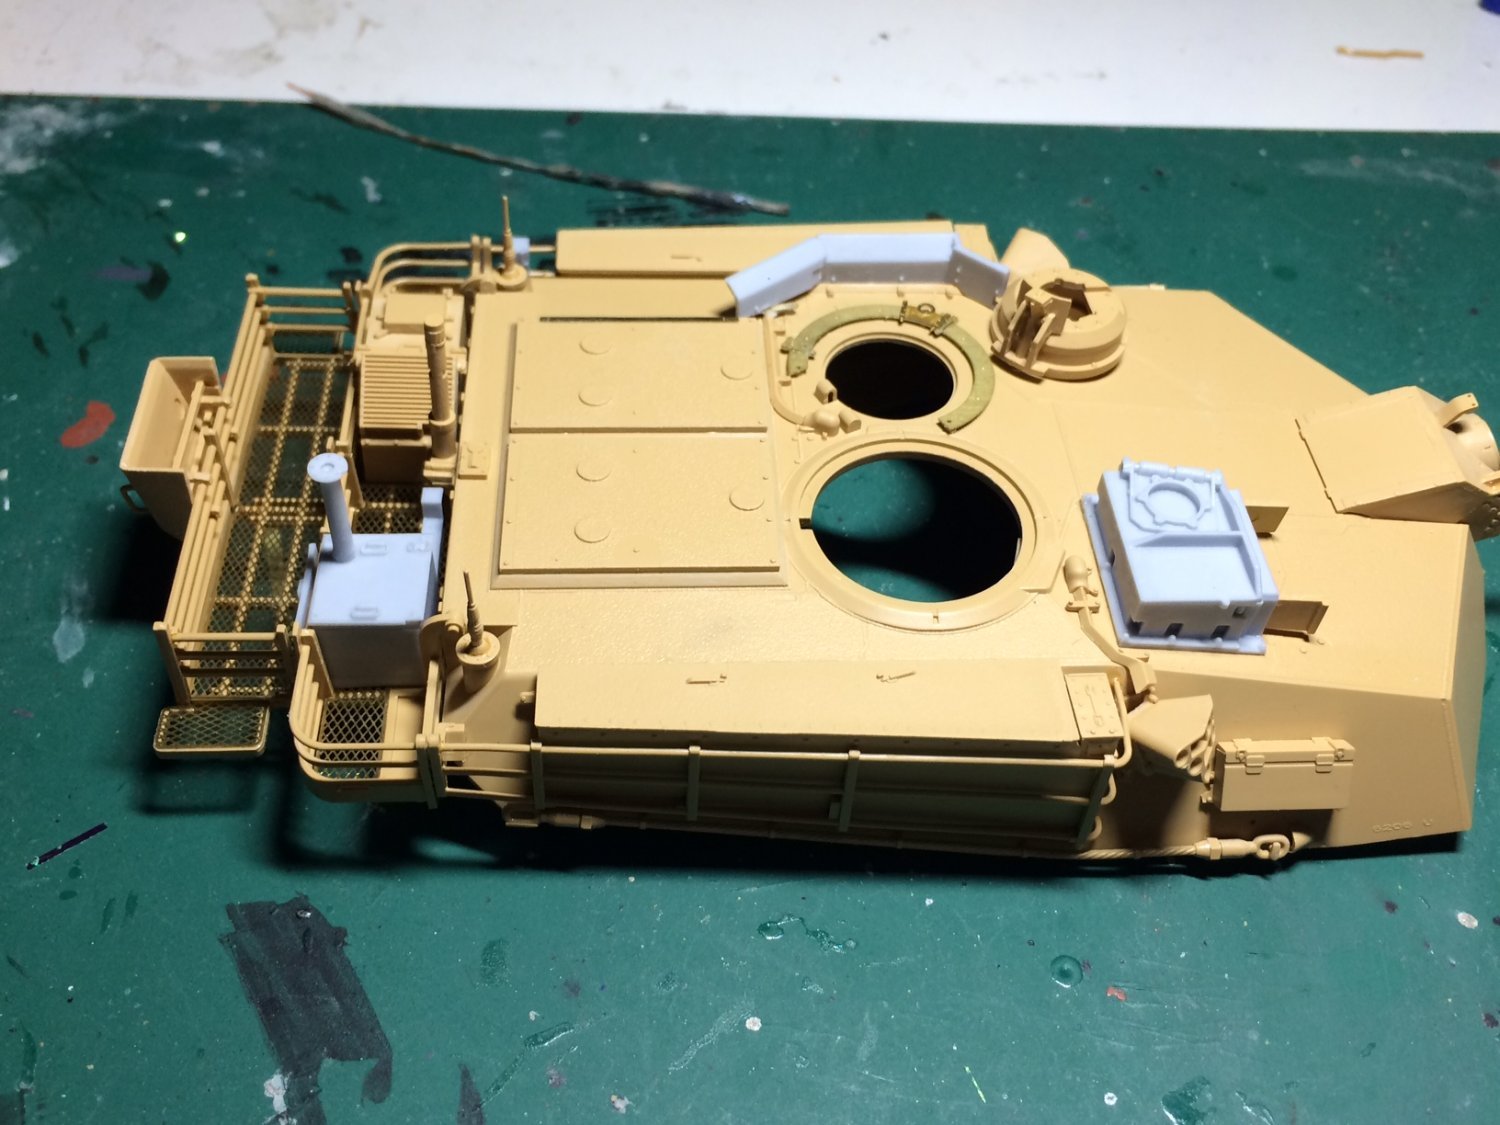
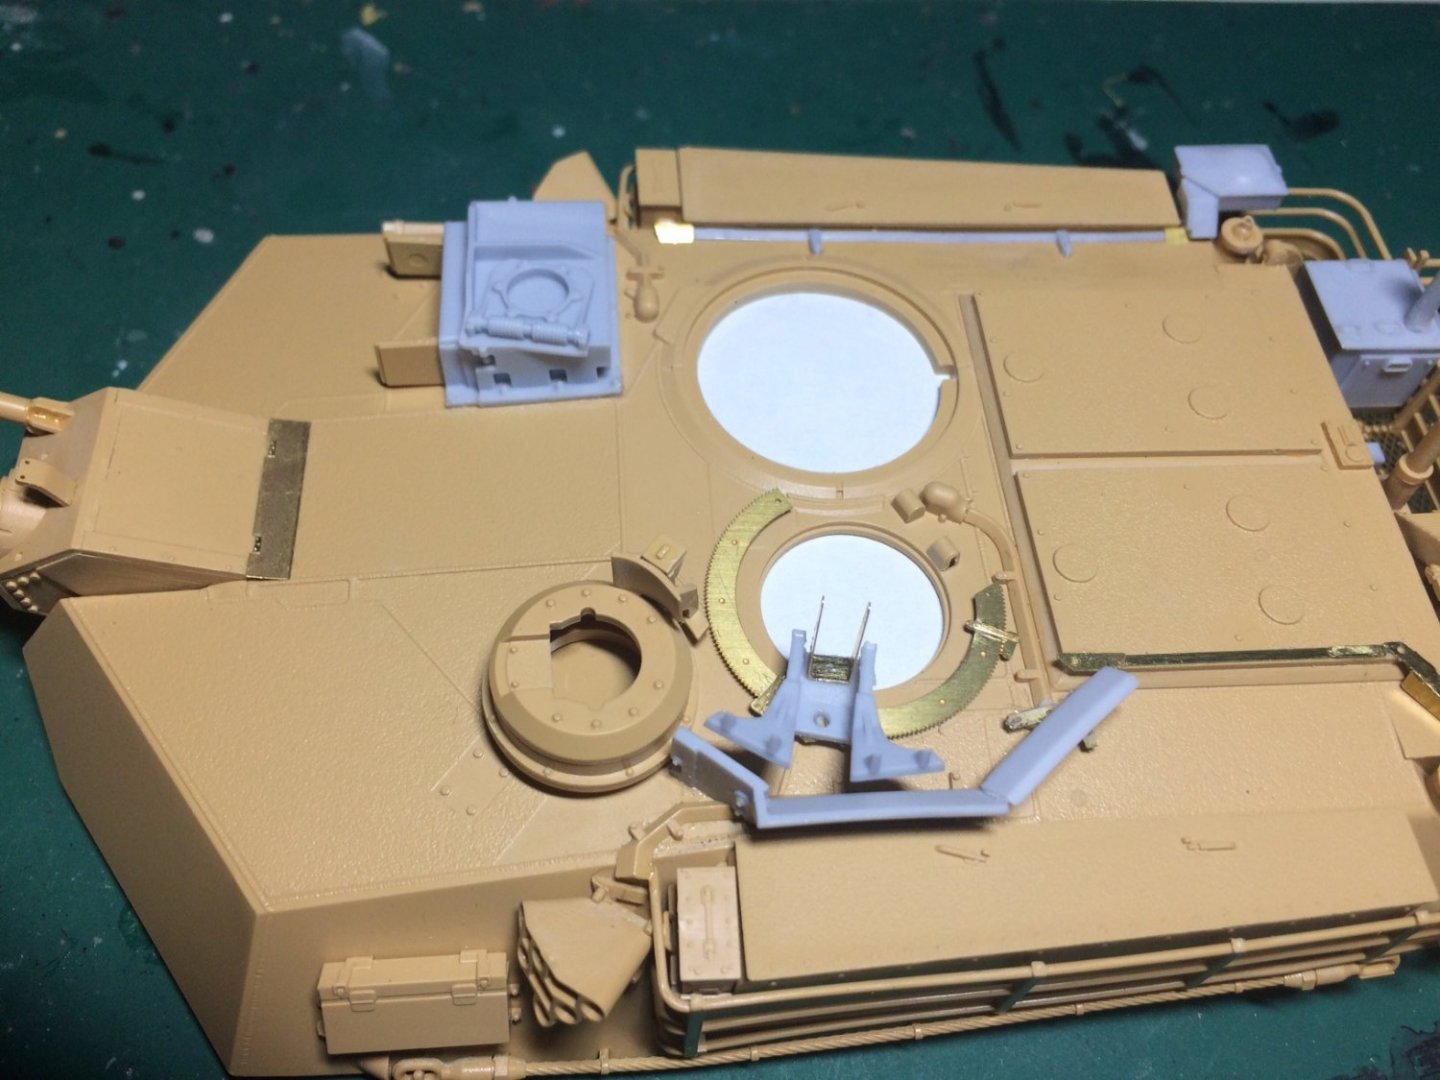
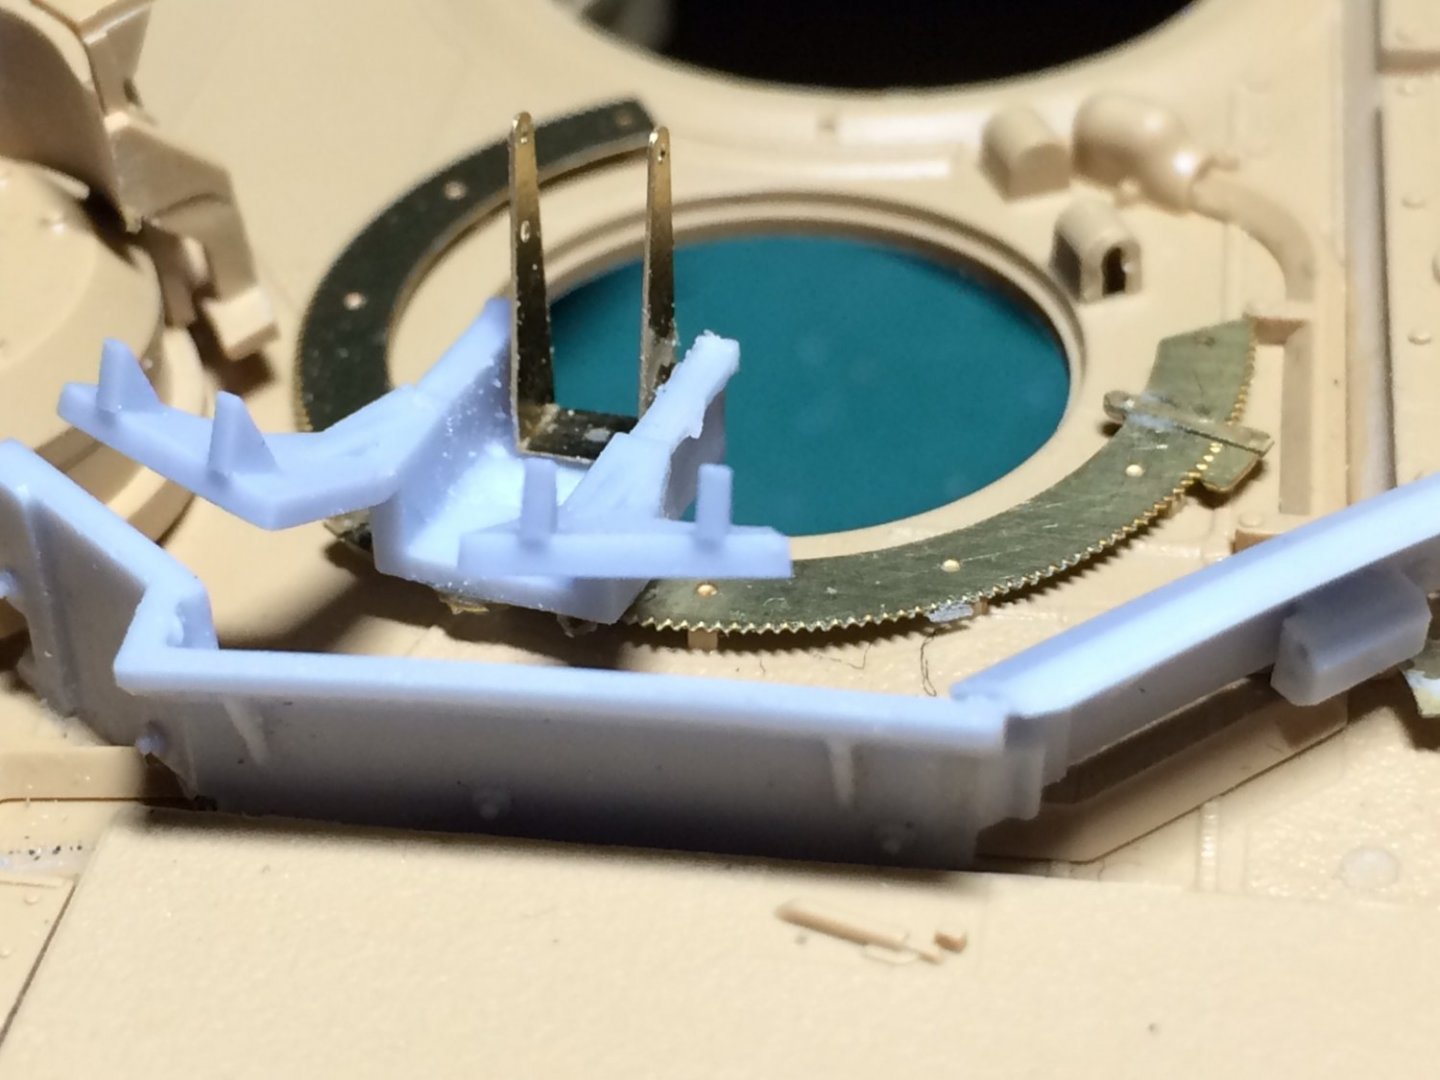
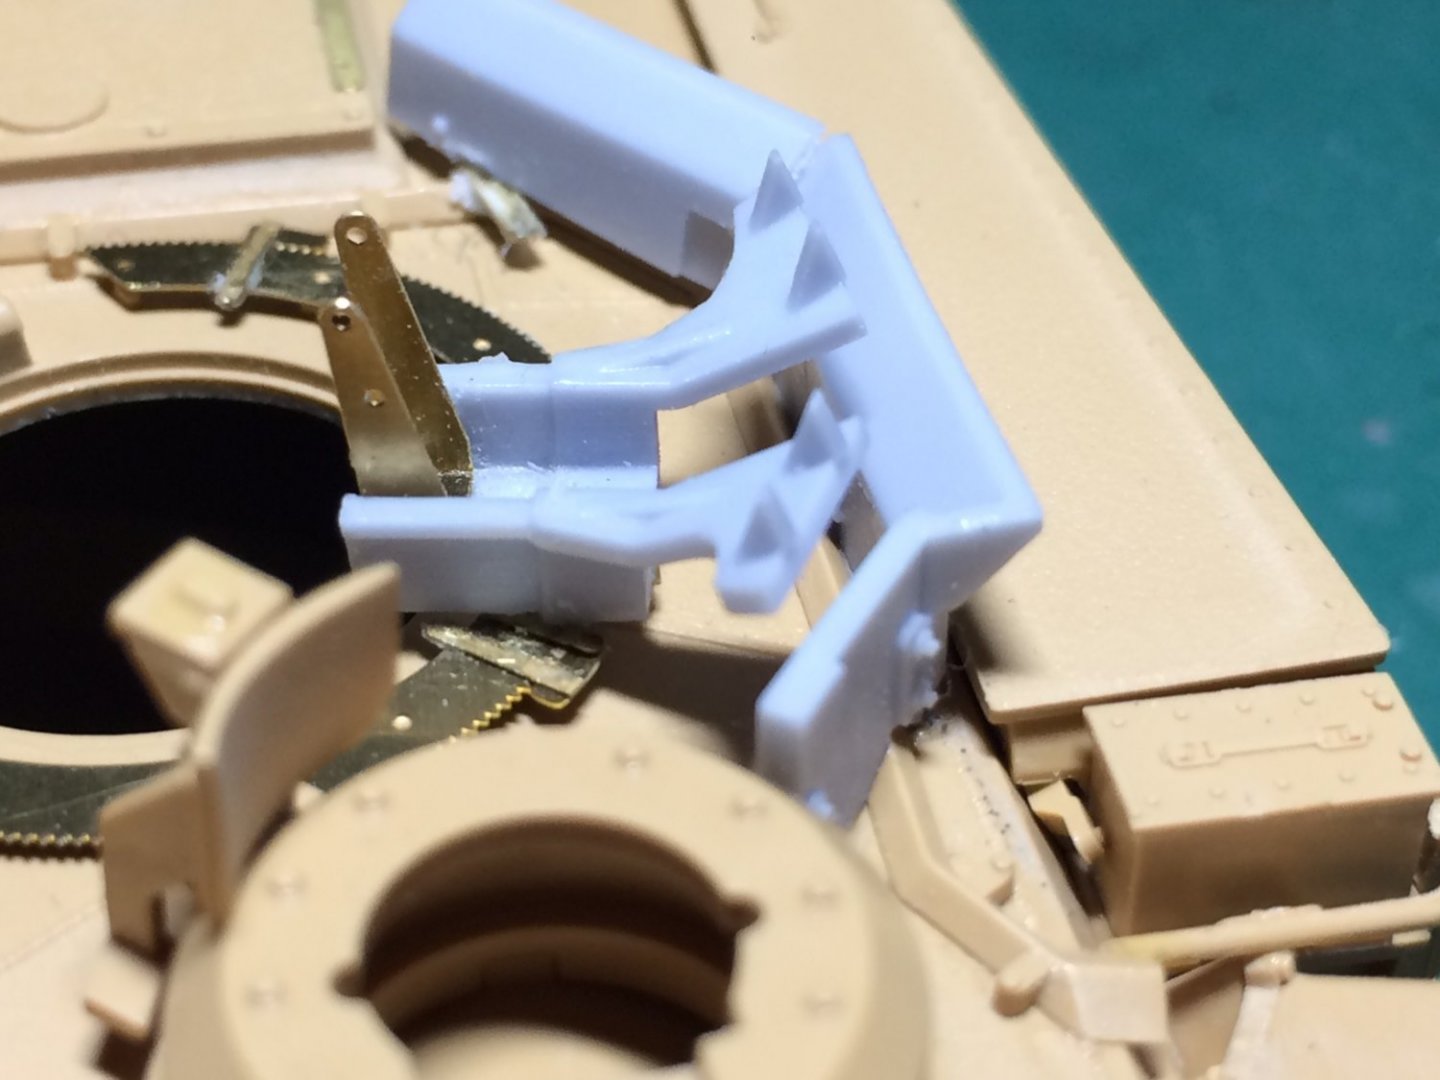
Evening all, some more things added - the frame for the loaders co axial and some other details on the roof. Just noticed a need to make a joining cover for where the trunking meets the body of what ever device it is towards the back. OC.

-
Superb work Kevin, take my hat off to you for doing such an amazing job with such delicate parts. OC.
- 201 replies
-
- 6
-
-
- SD 14
- Marcle Models
- (and 1 more)
-
See told you we end up chatting about food in here - and chocolate sweets are no different 😁 Thats a nice fix to the vison blocks Alan. OC.
-
Looking forward to this one - and at that scale. OC.
-
F-86F-30 Sabre by Egilman - Kinetic - 1/32nd scale
Old Collingwood replied to Egilman's topic in Non-ship/categorised builds
That looks like a Superb Kit from an excellent company - this is going to be a stunning build - can't wait brother. OC. -
Thnak you kindly mate. OC.
-
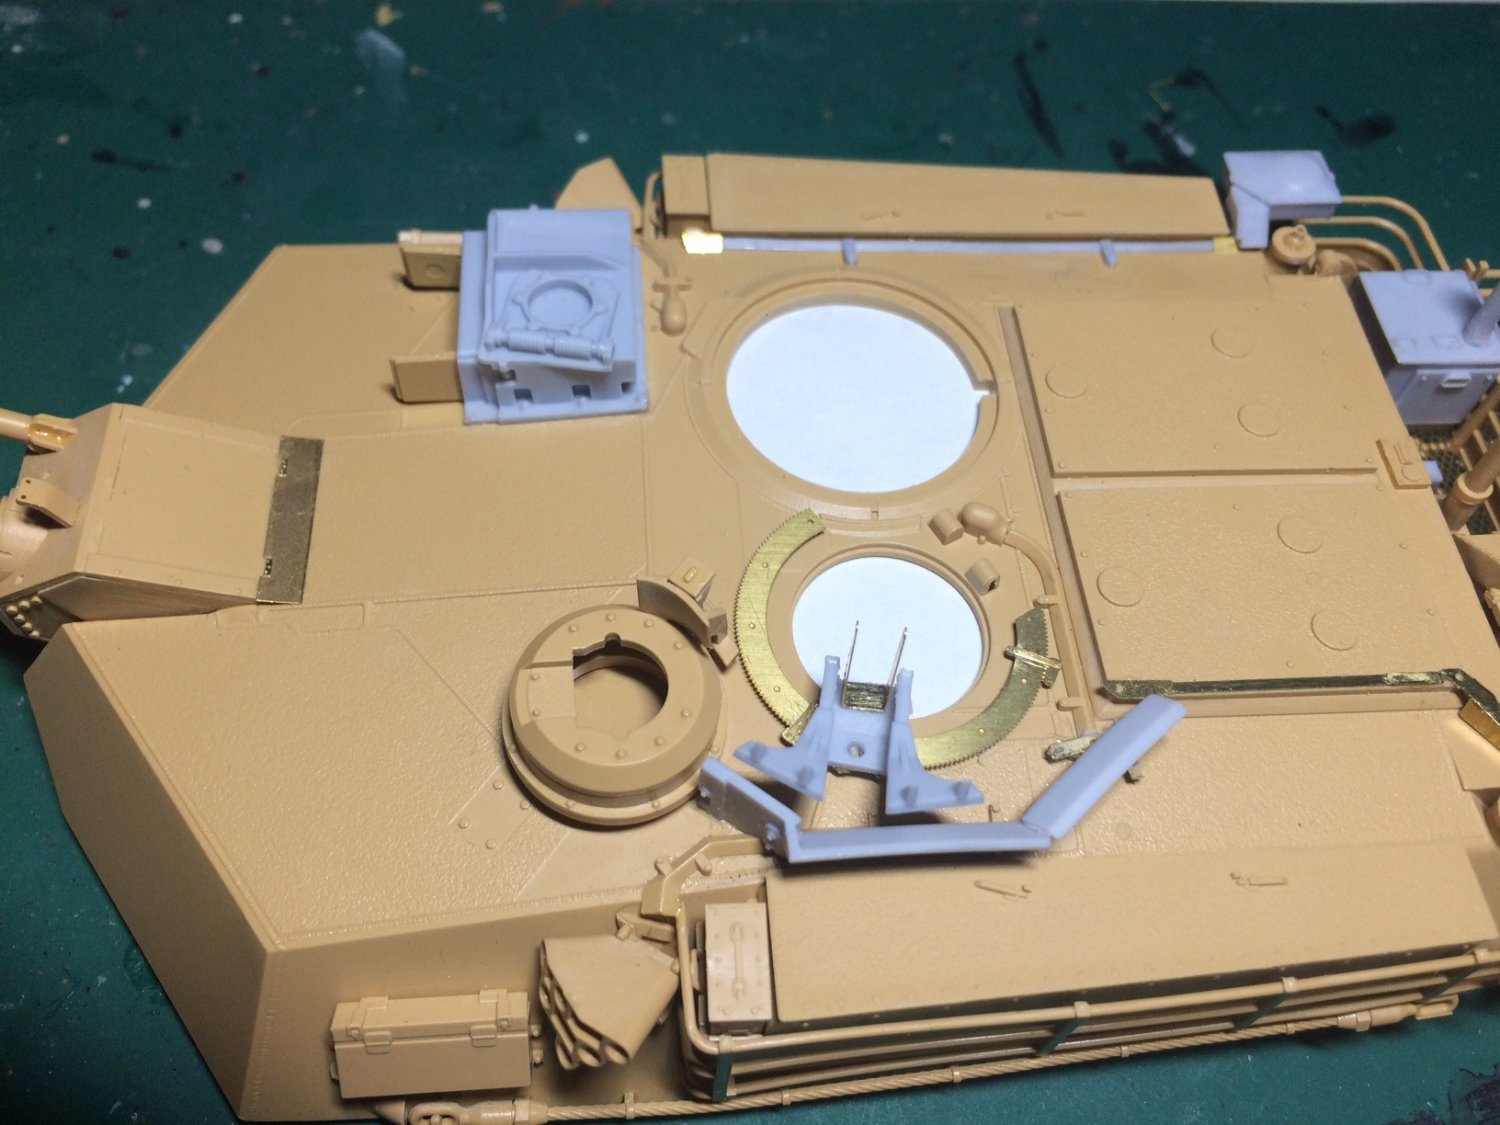
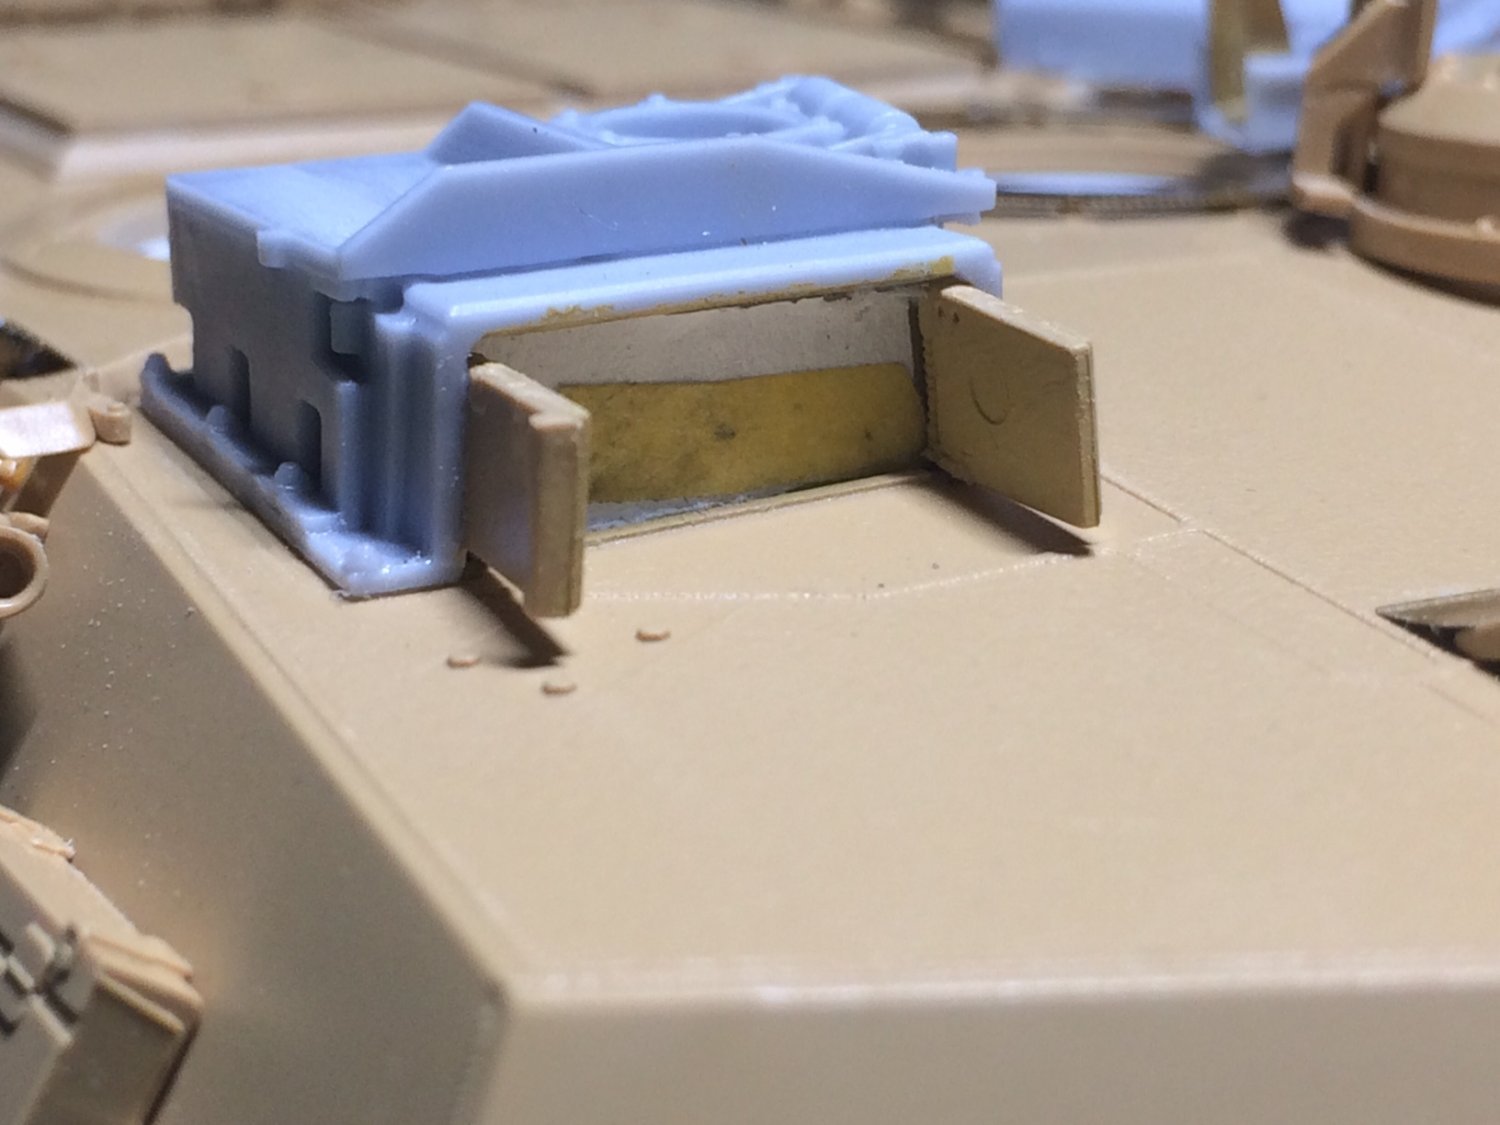
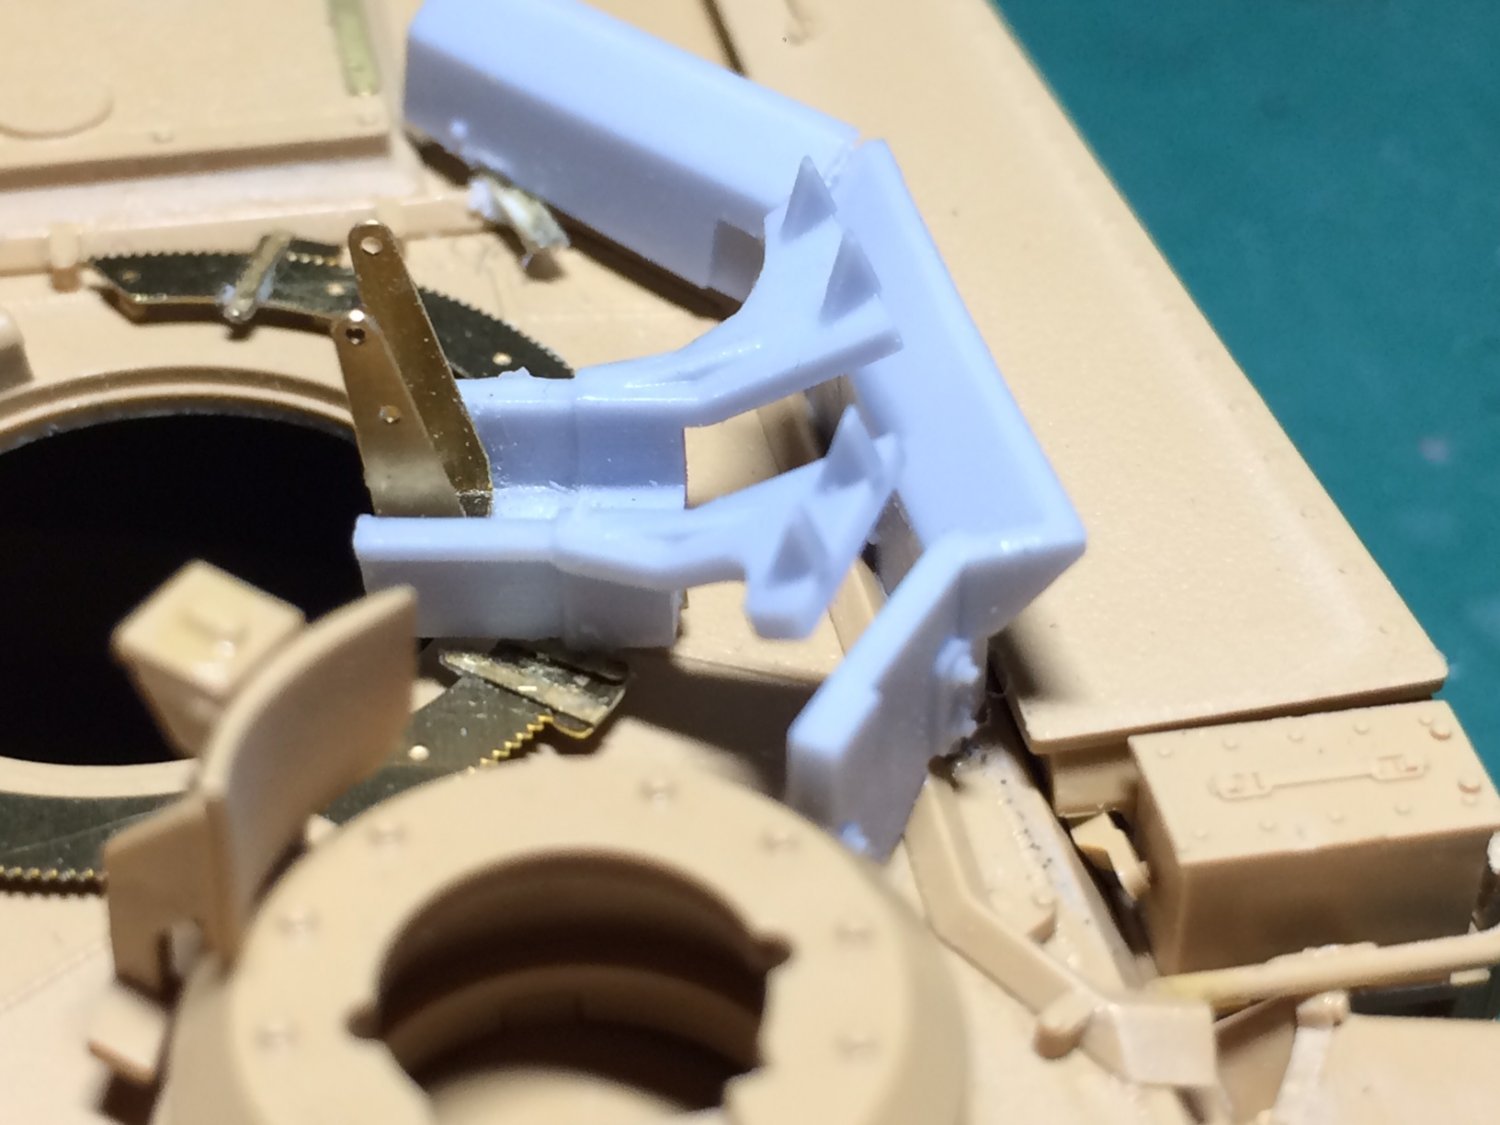
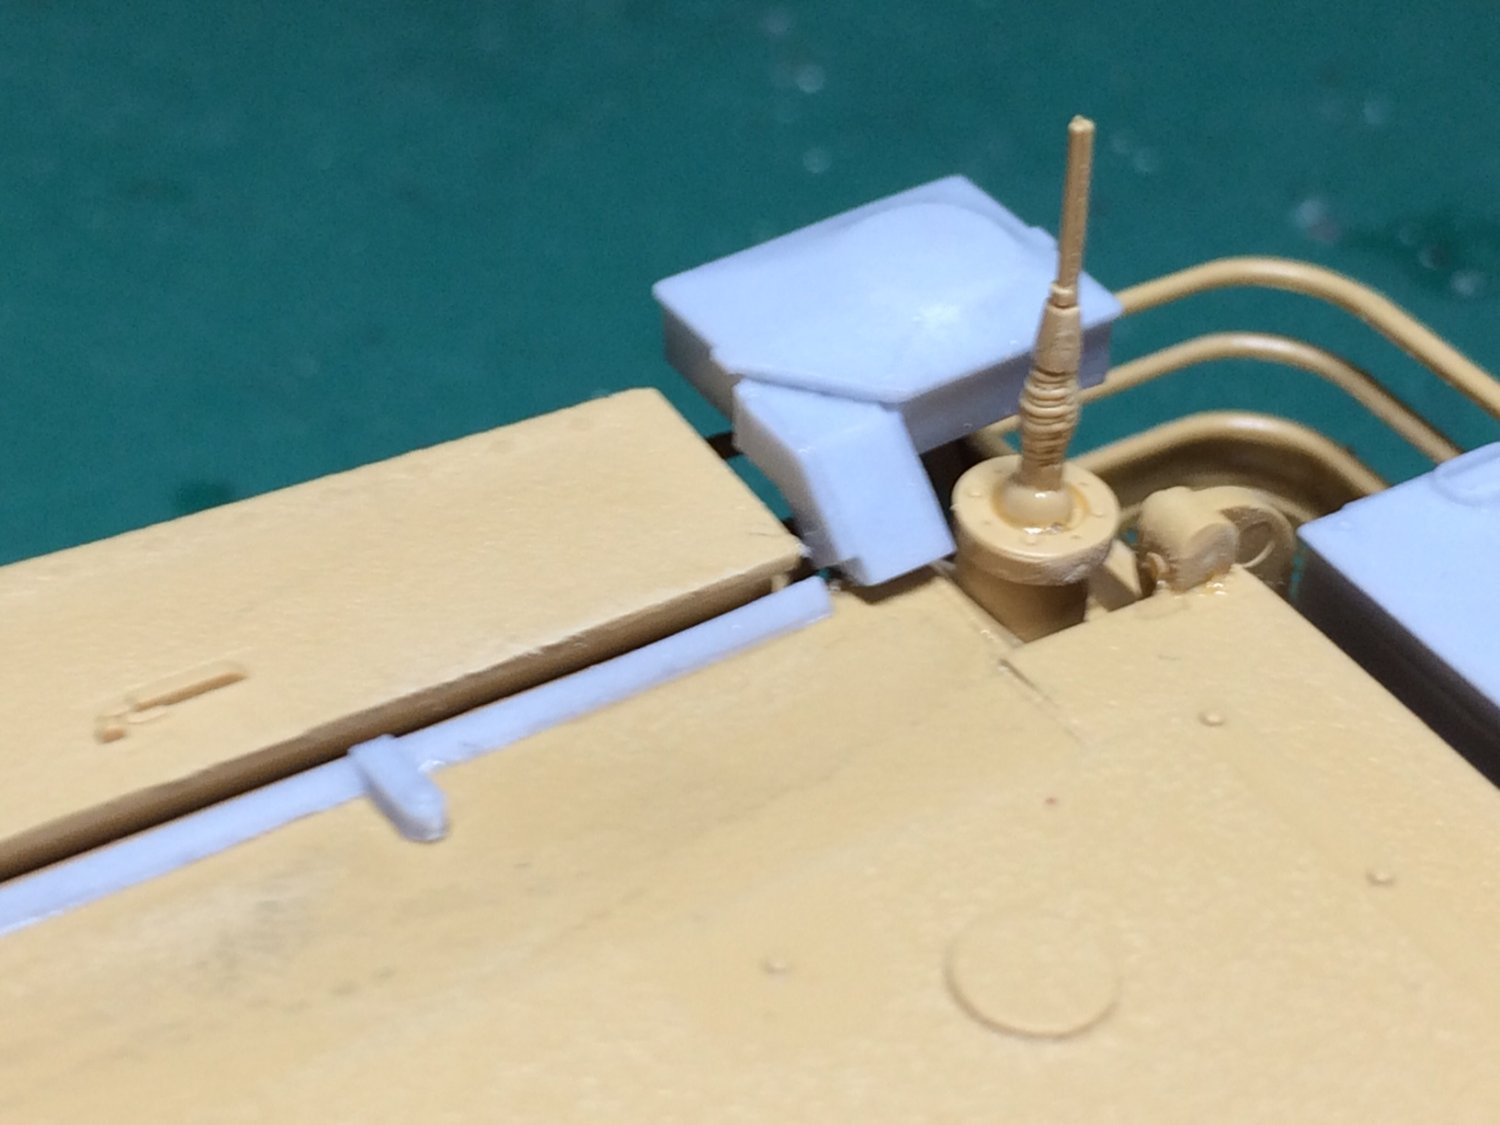
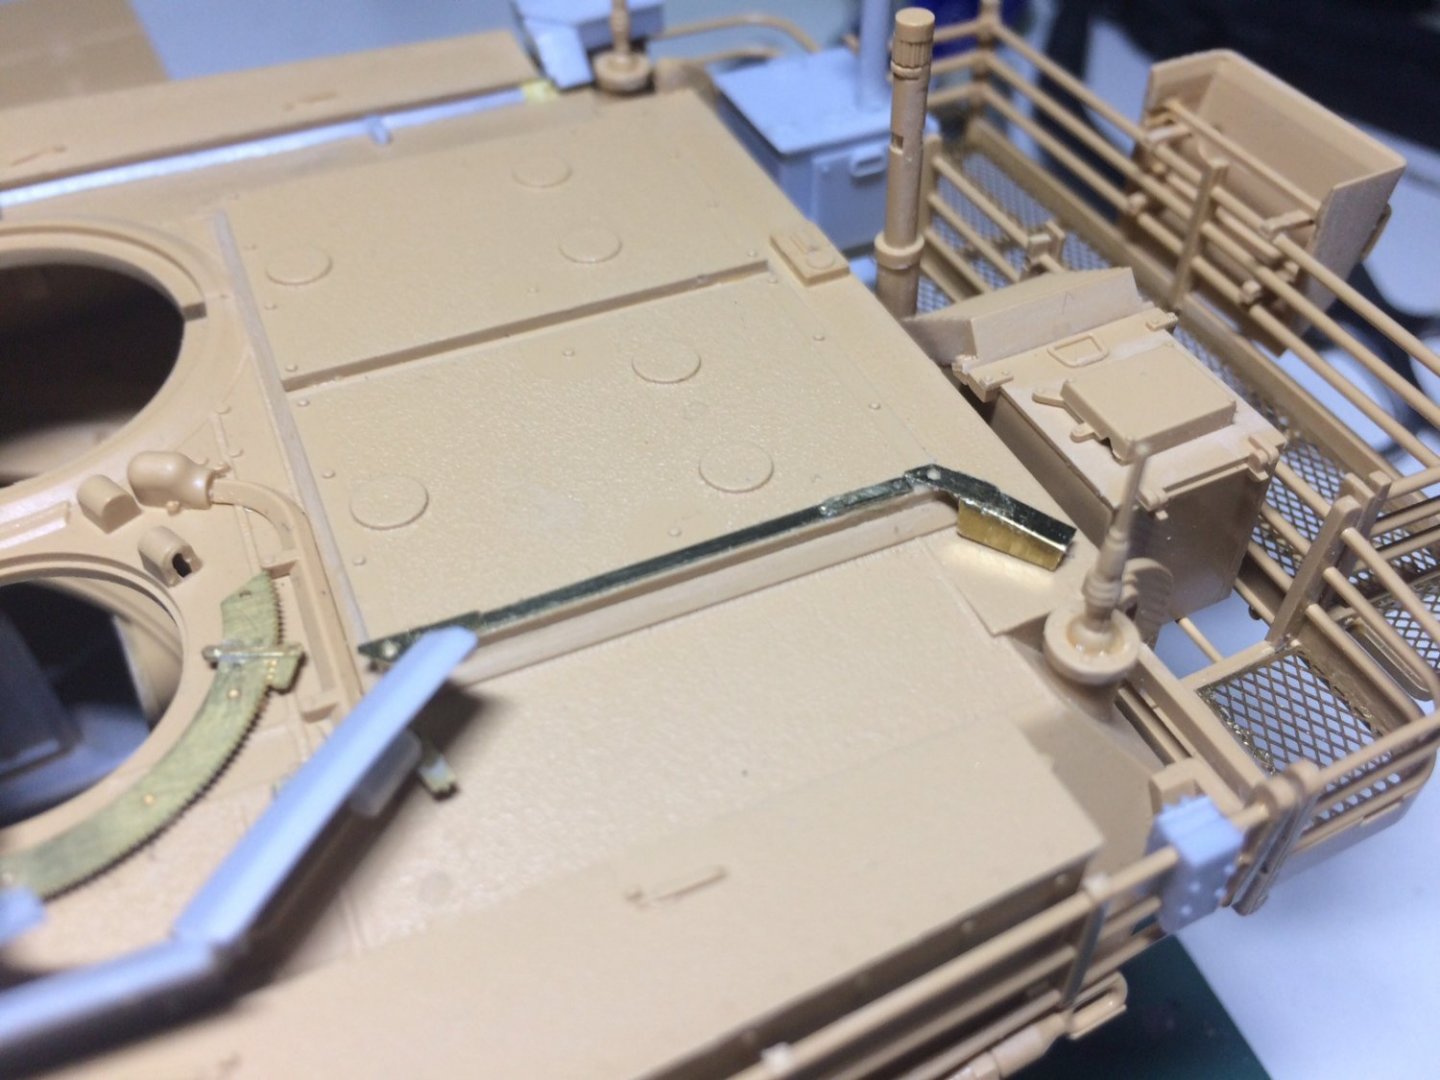
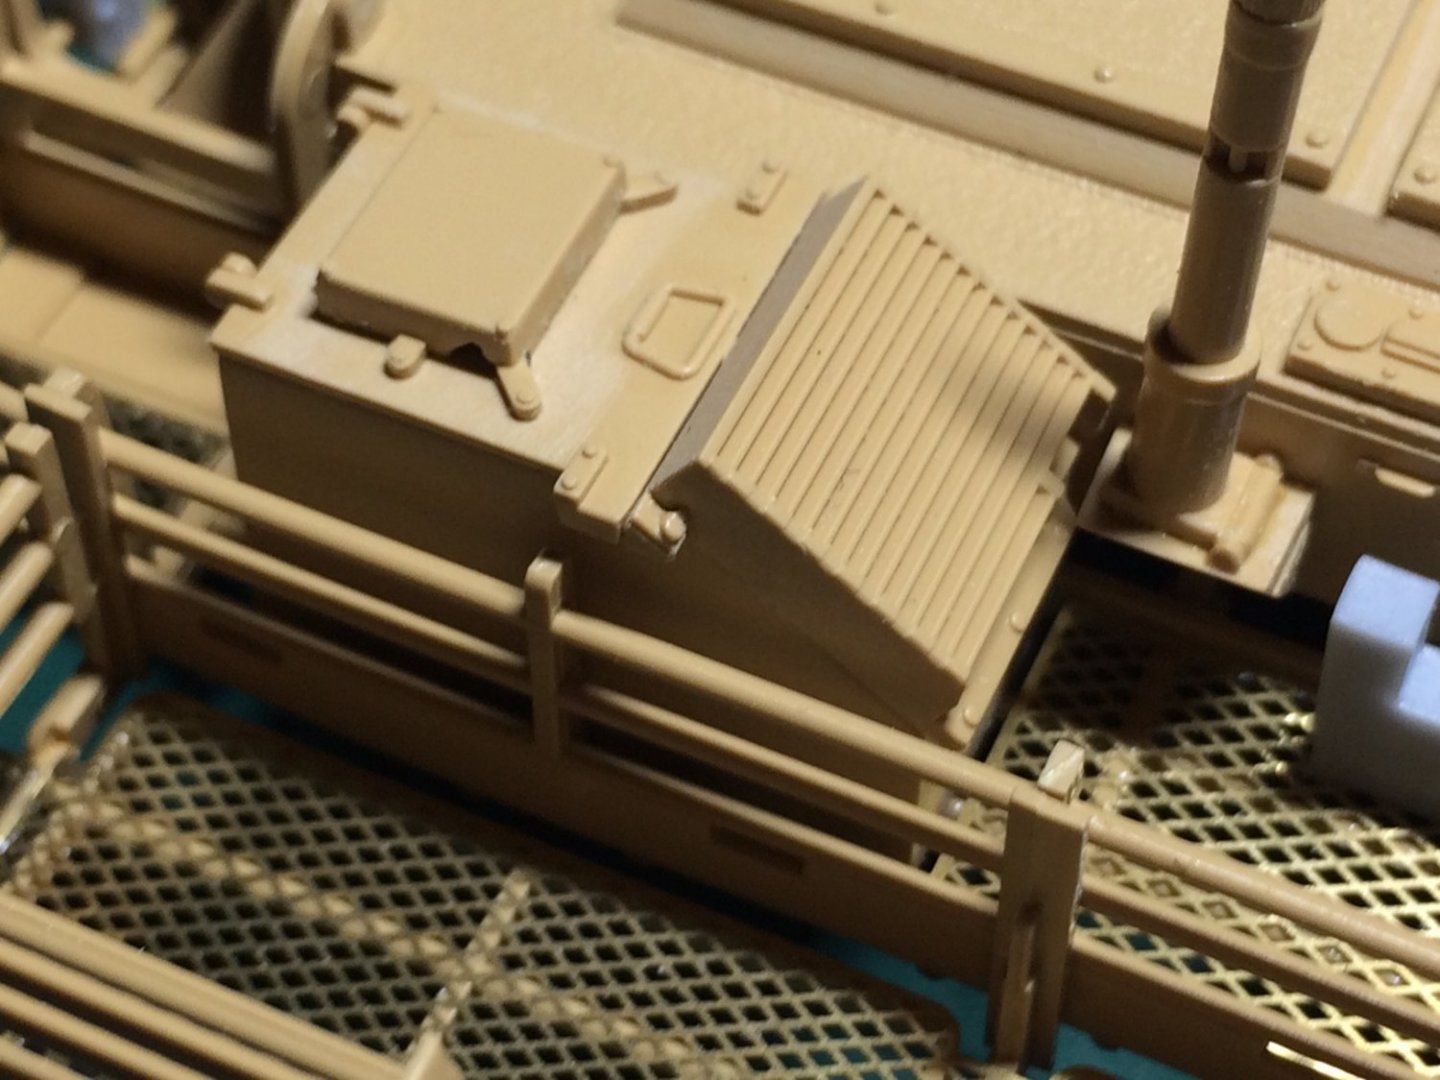
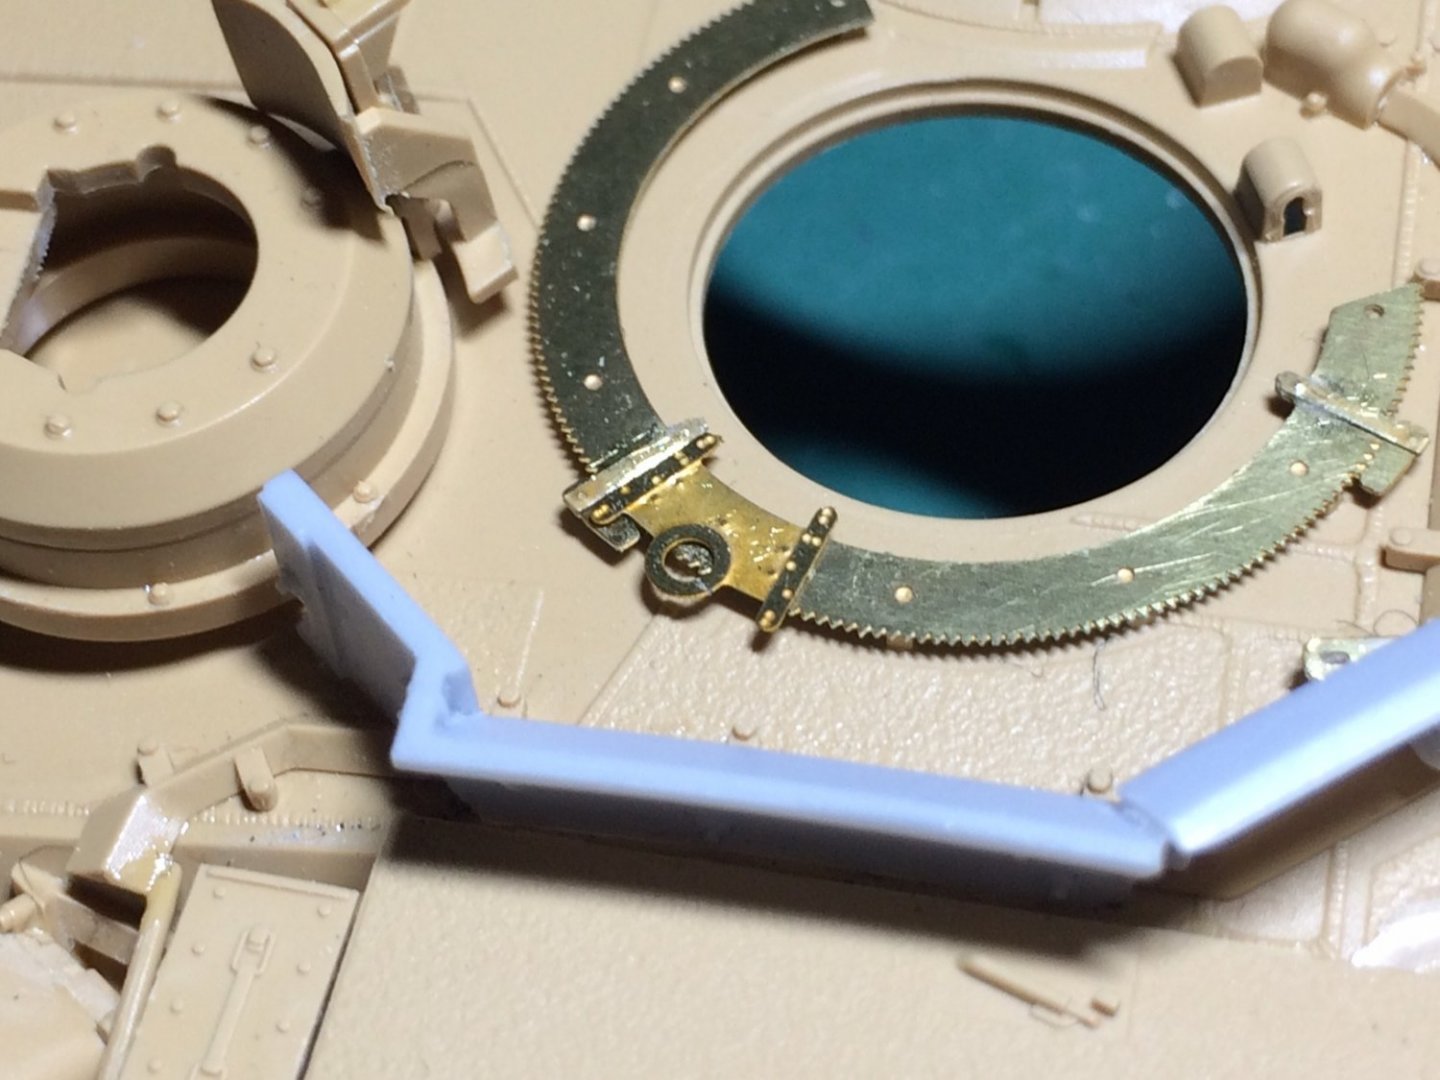
Evening all, more work continues on the turret - I built up the Thermal management system and the VCU unit, and also added the machine gun mounting bracket to the semi round PE plate. OC.


- 164 replies
-
- 10
-
-

-
Thats a great idea with that tinted foil - there should be loads of it around, love the idea for the wheel mask - so much easier than hand painting each one I will have to try and make something similar. OC.