
HOLIDAY DONATION DRIVE - SUPPORT MSW - DO YOUR PART TO KEEP THIS GREAT FORUM GOING!
×
.jpg.f4fa790b1fa2f0e00e3d149ed7bdd37c.jpg)

shipaholic
-
Posts
540 -
Joined
-
Last visited
Content Type
Profiles
Forums
Gallery
Events
Everything posted by shipaholic
-
 Hi Umberto There is a piece blocking the rudder at this stage, indicated by the arrows below, it is enclosed by the two pieces no. 57 Later on in the build you are required to drill that section out with a 4mm drill to be able to insert the rudder post Cheers Steve
.jpg.41ca2207ba3854bc08a988b3bb4e0cc9.jpg)
-
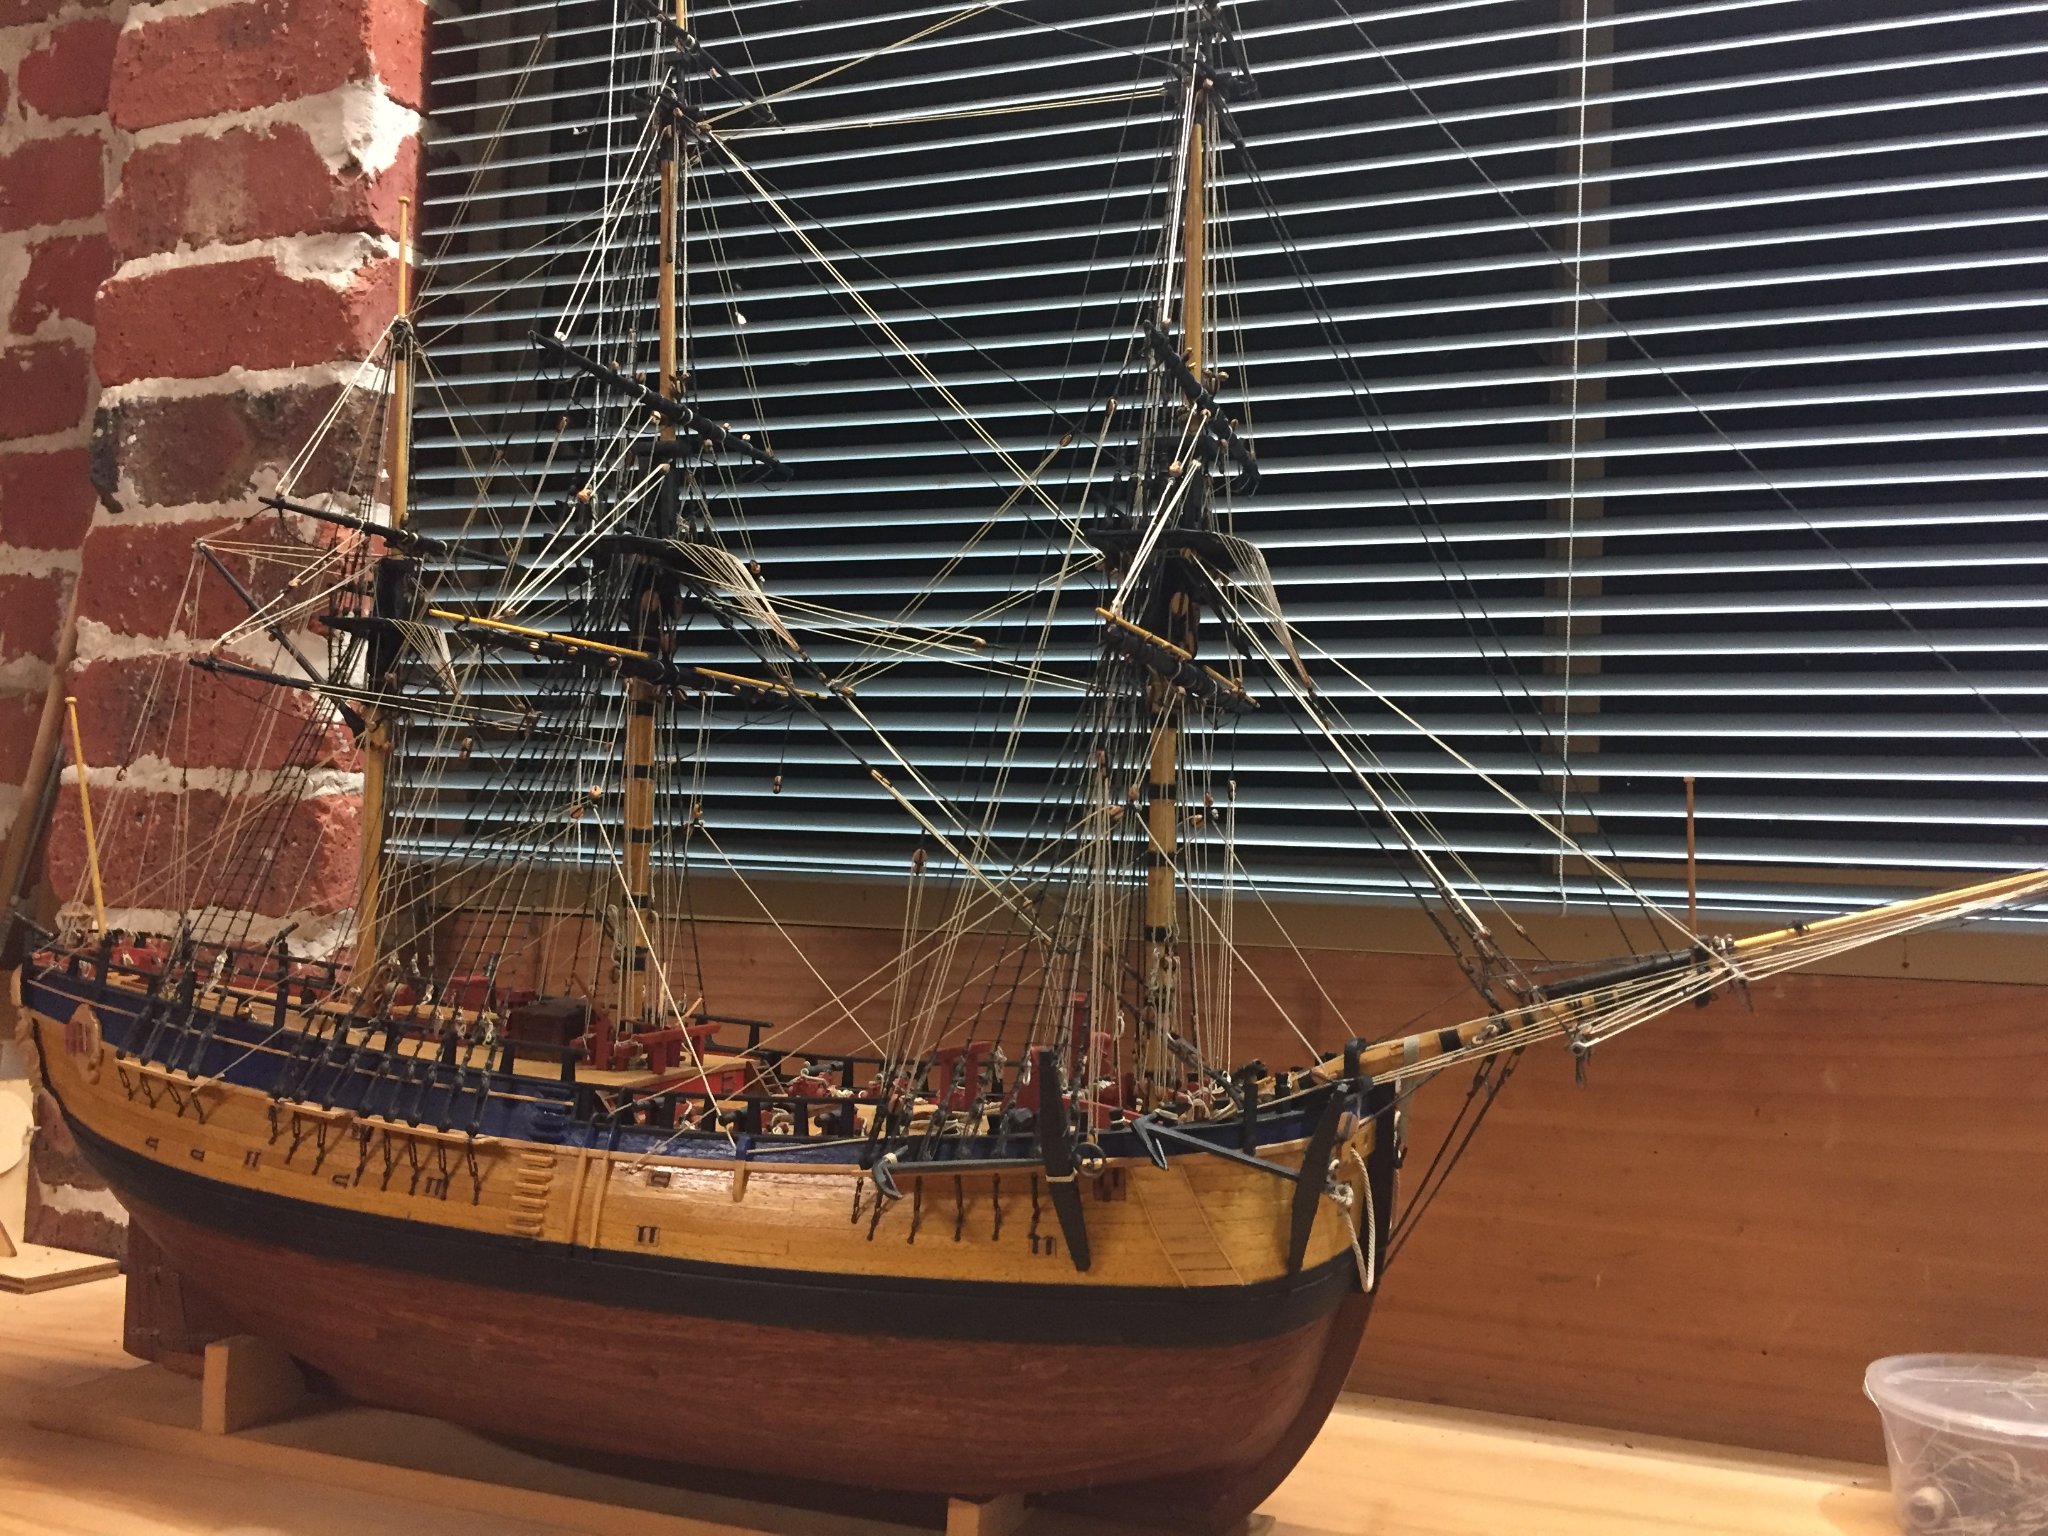
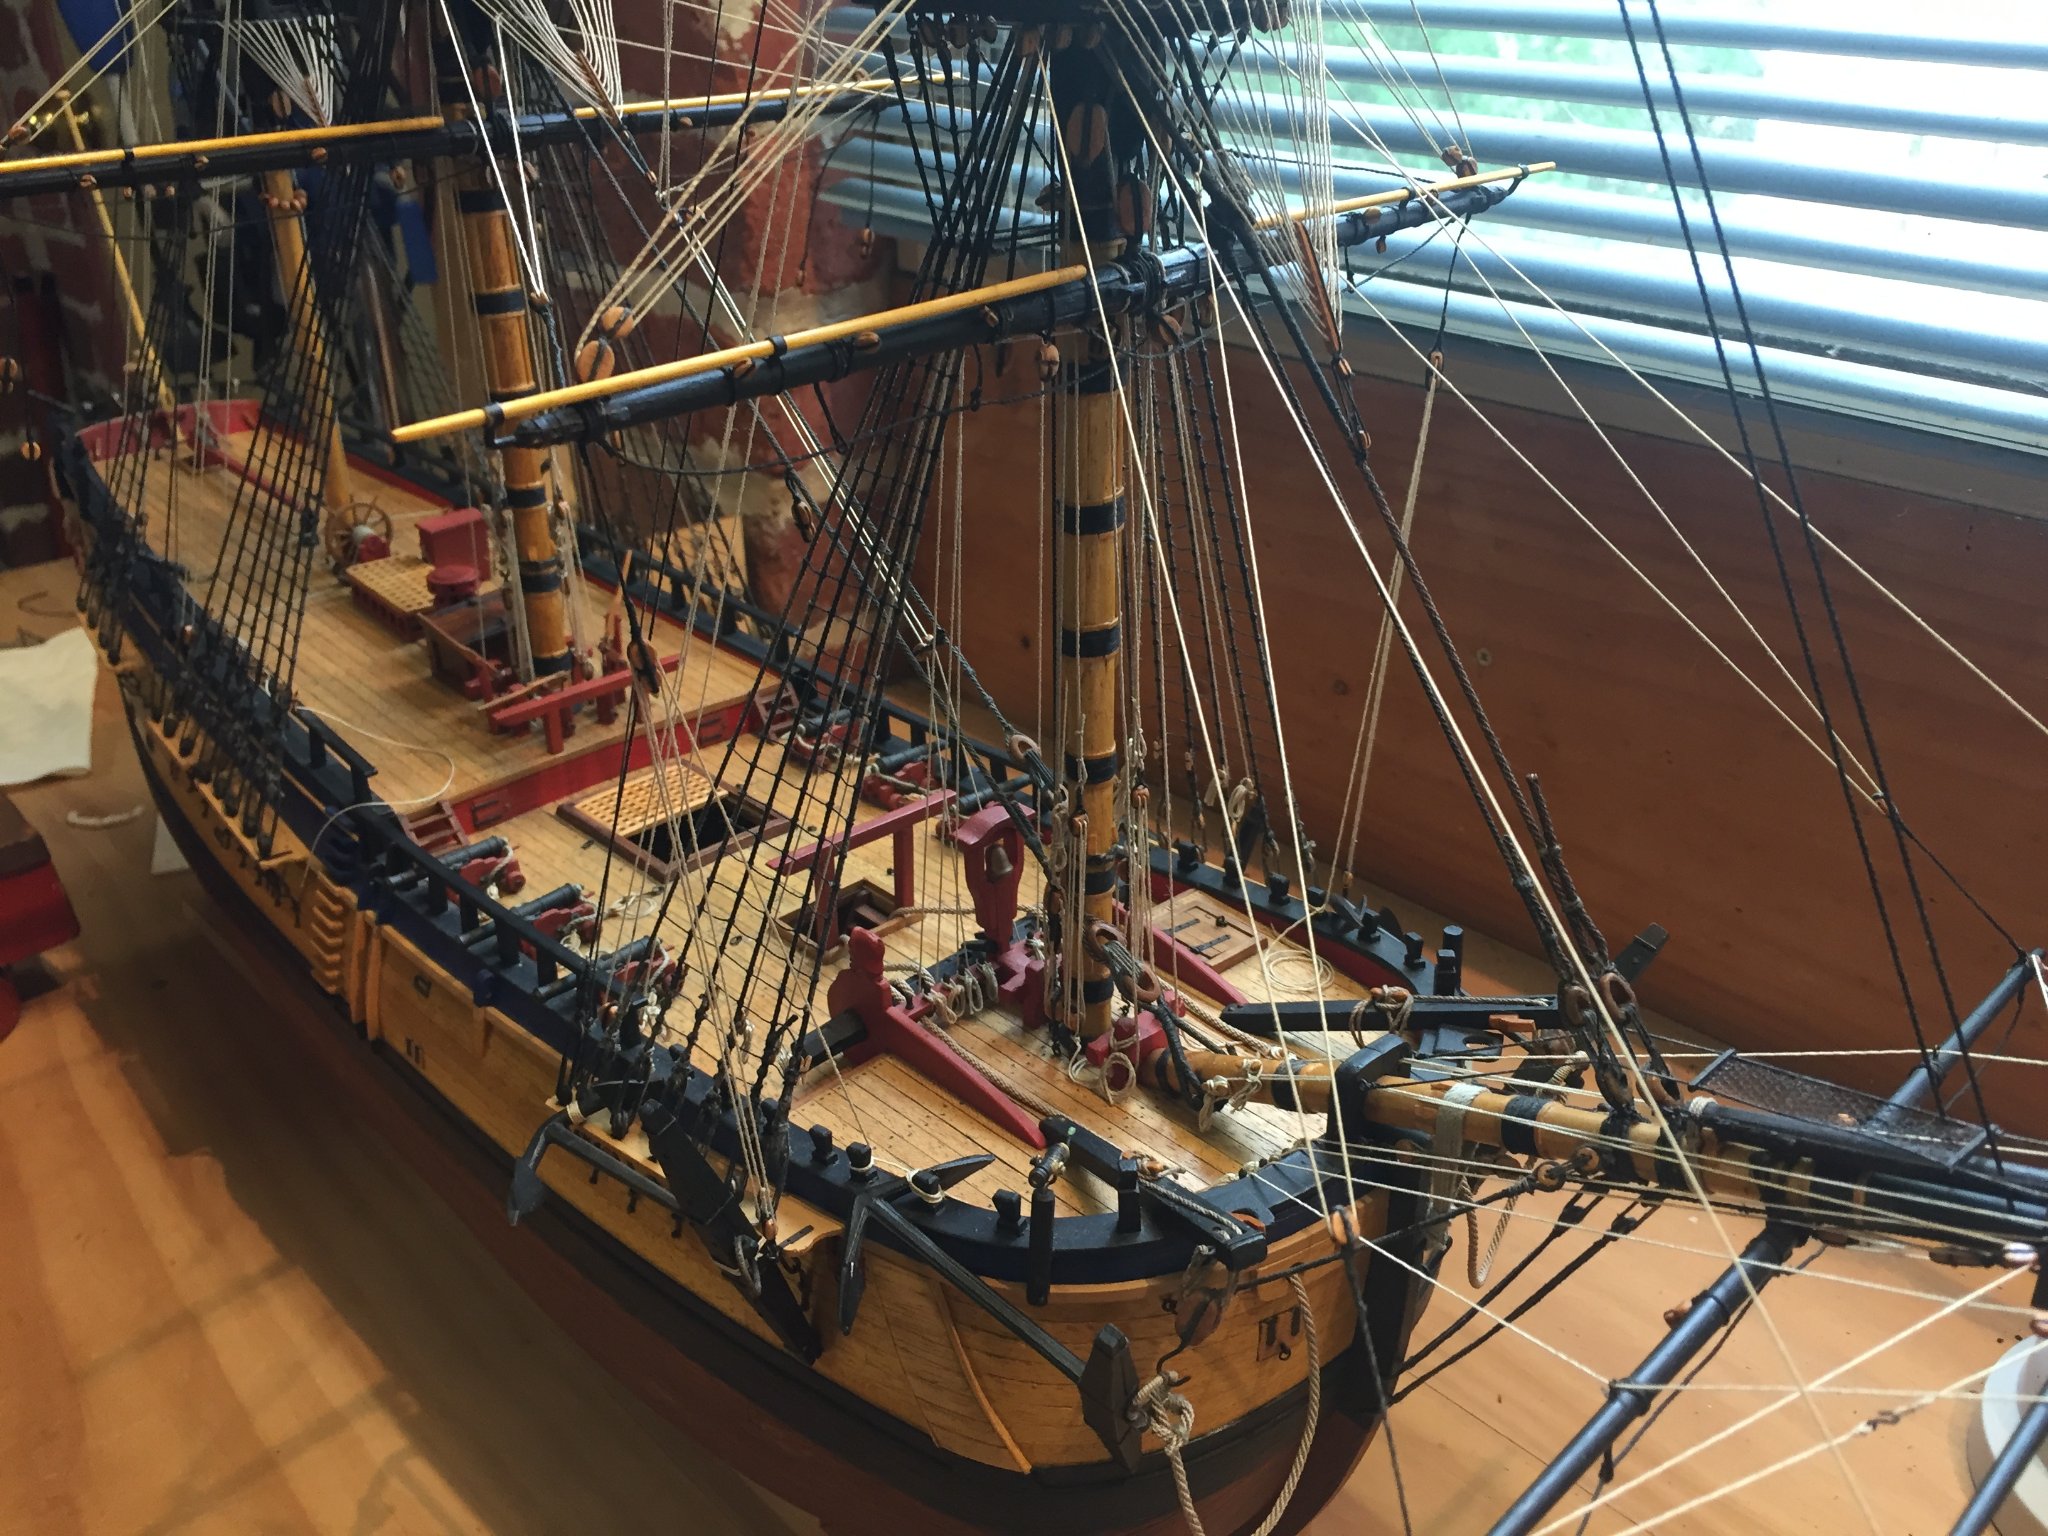
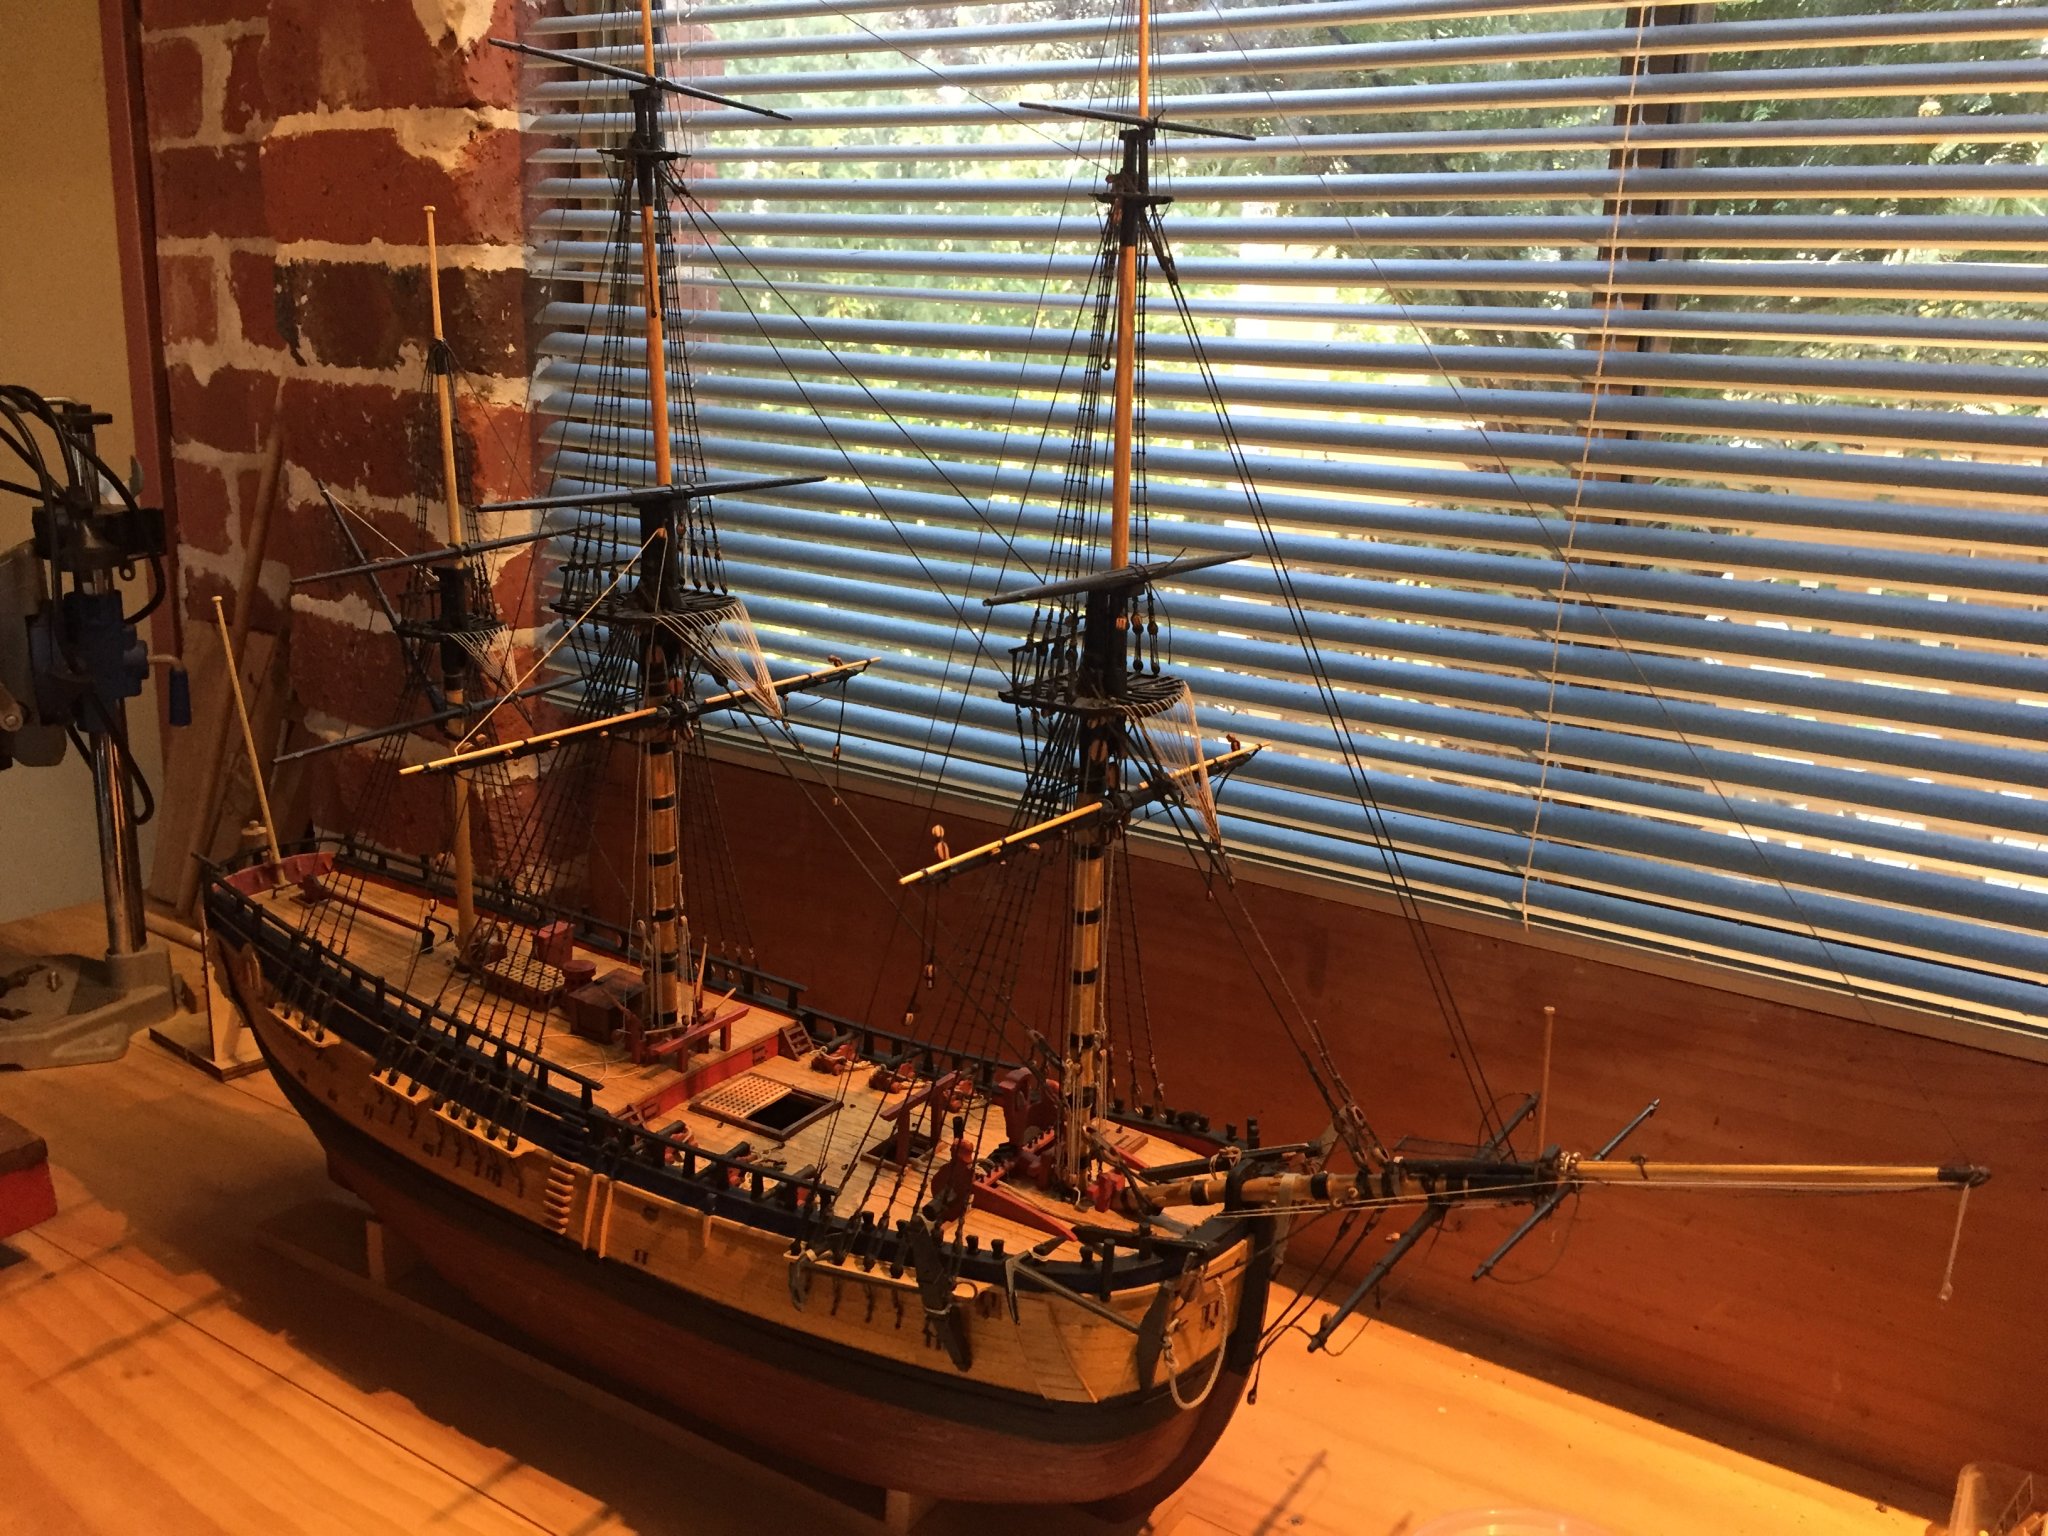
Most of the running rigging completed, still need the bunt lines, leech lines and bowlines. Debating whether to put them on, maybe I will just leave off the bowlines. Next job is making the boats

-
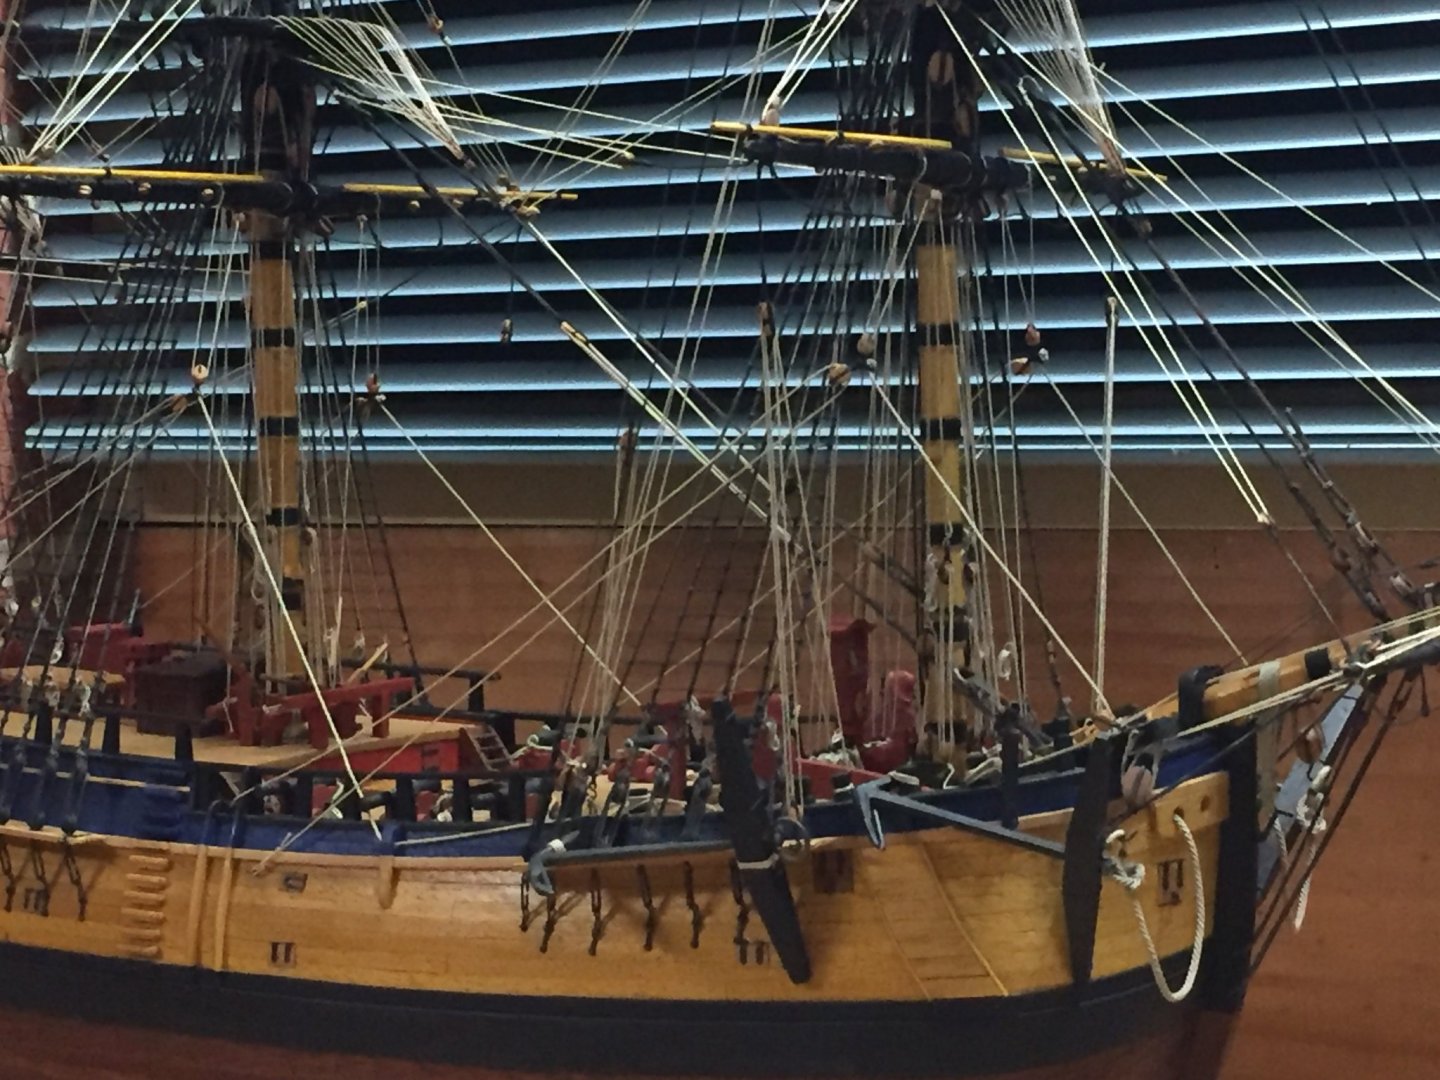
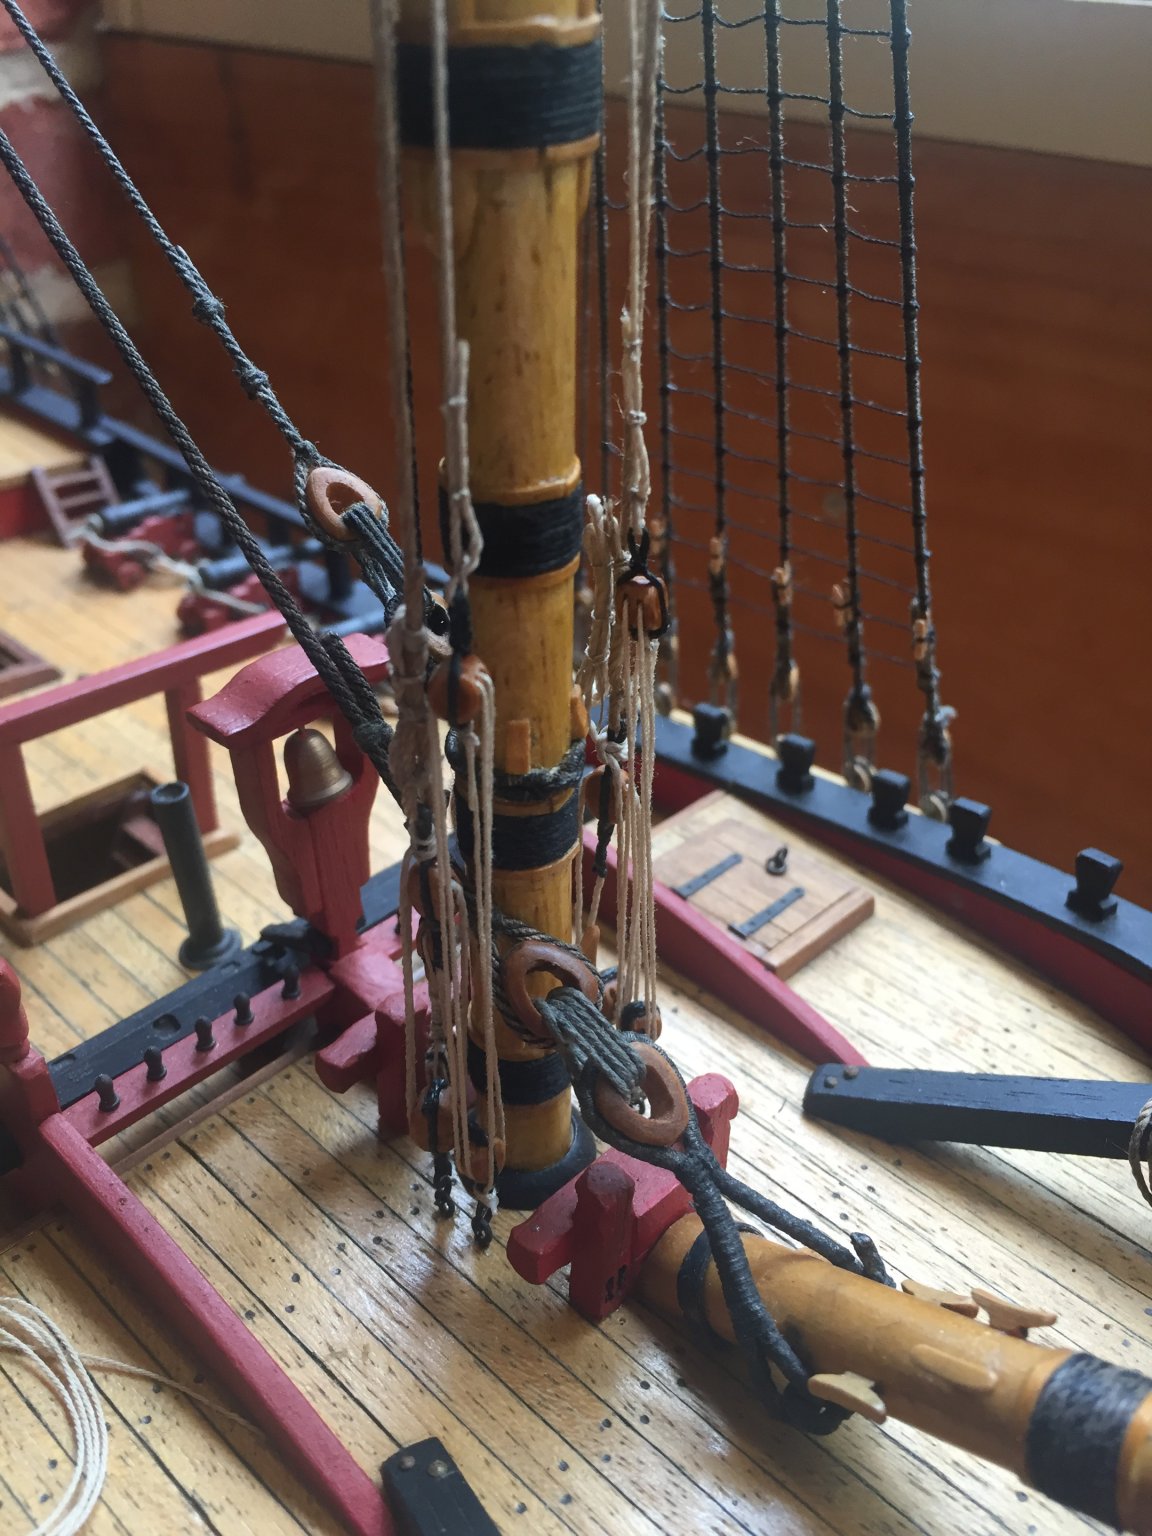
Arrangement of the main course sheets. I did a bit of research to work out the best way to do the main course sheets. Because I have arranged the rails as depicted on the original 1768 draughts there are no bitts under the quarter deck rails. I looked at pictures of a few different Endeavour models in museums, both with and without those bitts and also checked qite a few reference books for how the sheets are set up. This is how I have set it up, I added a cleat to the bulwark and a block attached to the rail stanchion. Instead of hitching the standing part of the sheet to an eyebolt just forward of the mizzen channel, I hitched it to the fore mizzen chain to get it out from the hull a bit so the sheet line doesn't foul with the main shrouds so much when raised.
.jpg.52a6444b1f342664035aa69869a7f97c.jpg)
.jpg.bd07a72e7cd47a94dfba57b09f06f5de.jpg)
.jpg.7e53bbde29f7b4a8a4452e246c0c1bef.jpg)
-
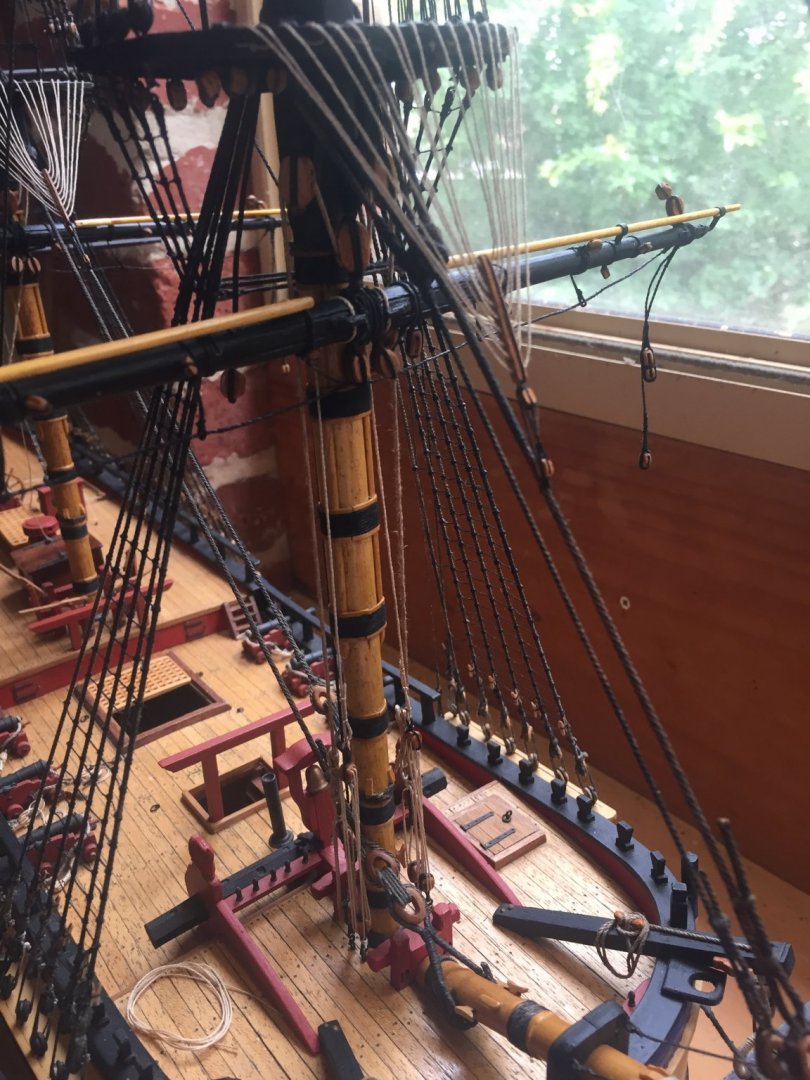
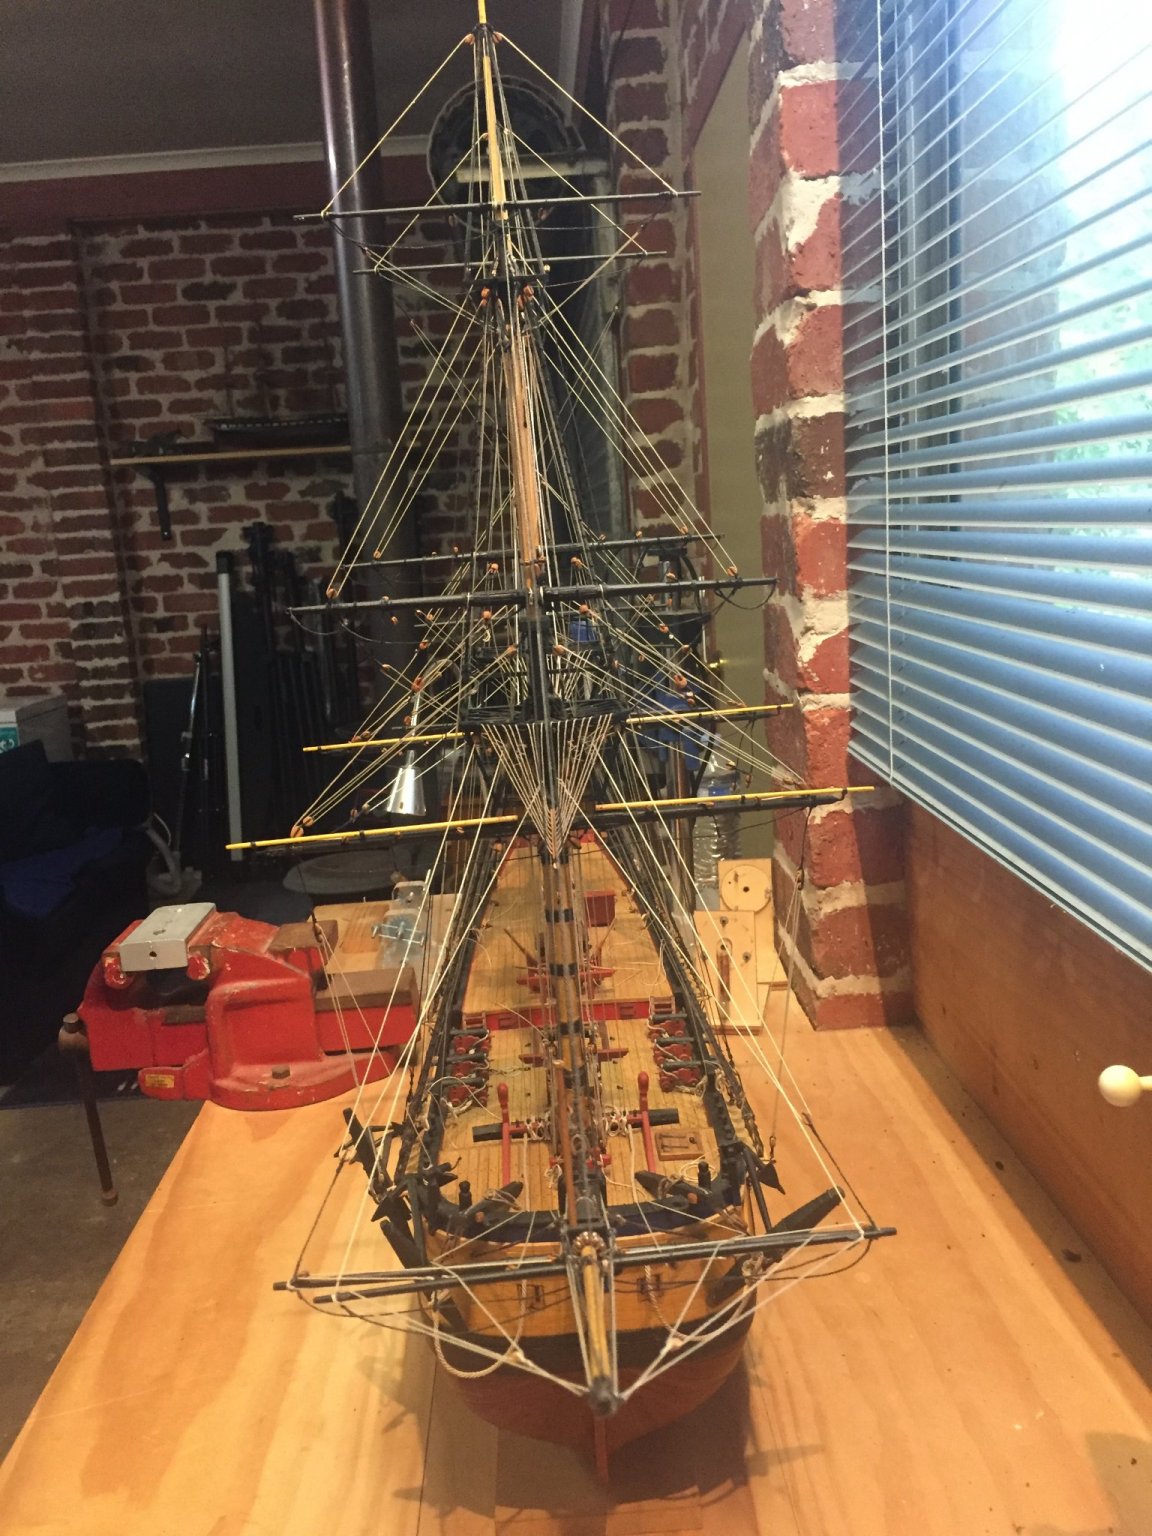
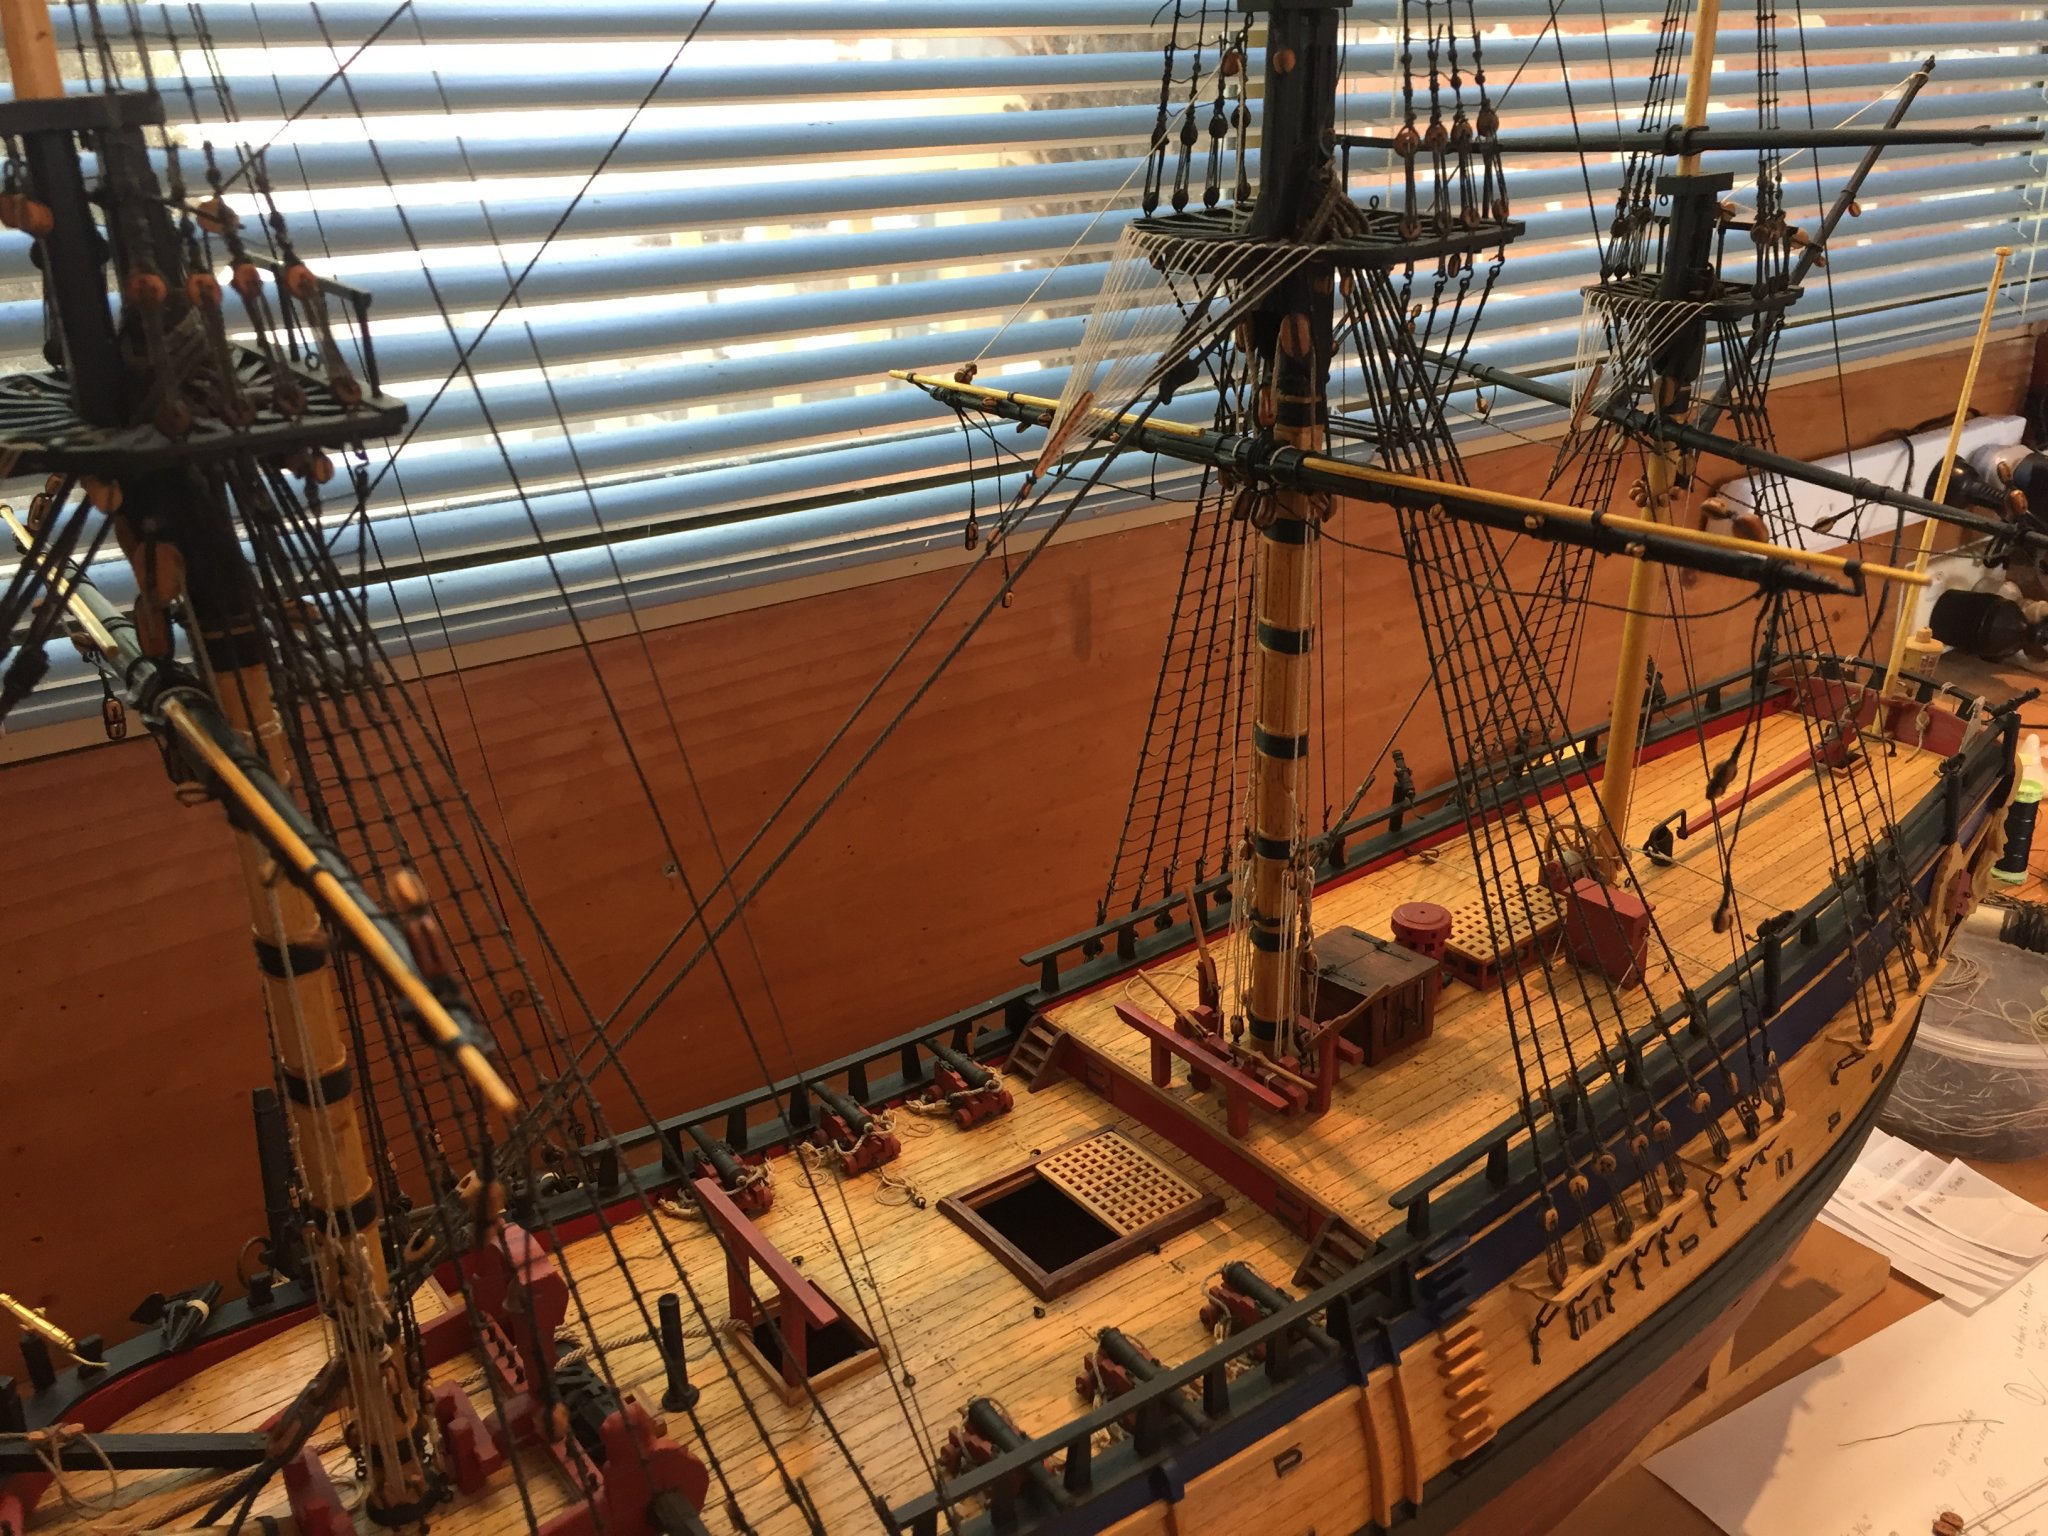
Finally got all the yards "dressed" with blocks and now working through adding all the running rigging
.jpg.32fdd6f115921042b4ca78e8510804d4.jpg)
.jpg.9a6fd34a34b32550ccaf3b0e034d41f8.jpg)
-
I am still working on dressing all the yardarms with the various blocks, pendants and footropes, and fitting various blocks to the rigging. Once all the blocks are in place I will install the running rigging

-
Welcome to the Endeavour club, I will watch with interest. Don't be afraid to get agressive with the sanding of that first layer of planks, use some fairly course grit on a wooden block and get it free of any bumps, doesn't matter if they get a bit thin in spots, I even used some filler on mine to fill the dips. Believe me the smoother you get it the better the next layer of planks will go on. The second layer planks are very thin and warp and buckle easily and they won't sit right on an uneven base. Cheers Steve
-
Hi Scott I think the hole in the deck is for the stairs to the deck below, I think the main hatch behind it is created by placing a frame and grating on top of the deck planks. Trouble is that hole doesn't look far enough forward Cheers Steve
-
Hi Scott Yes I also built this kit about 30 years ago, and am currently building a bigger 1:51 scale Endeavour. Be careful about using the Marquardt book as reference, it has quite a few errors but mostly its a good reference especially for spar dimensions and some of the finer details not in the kit plans. The AL kit rigging plans are mostly correct, but as I said, lacking detail. I will follow your build with interest. Cheers Steve
-
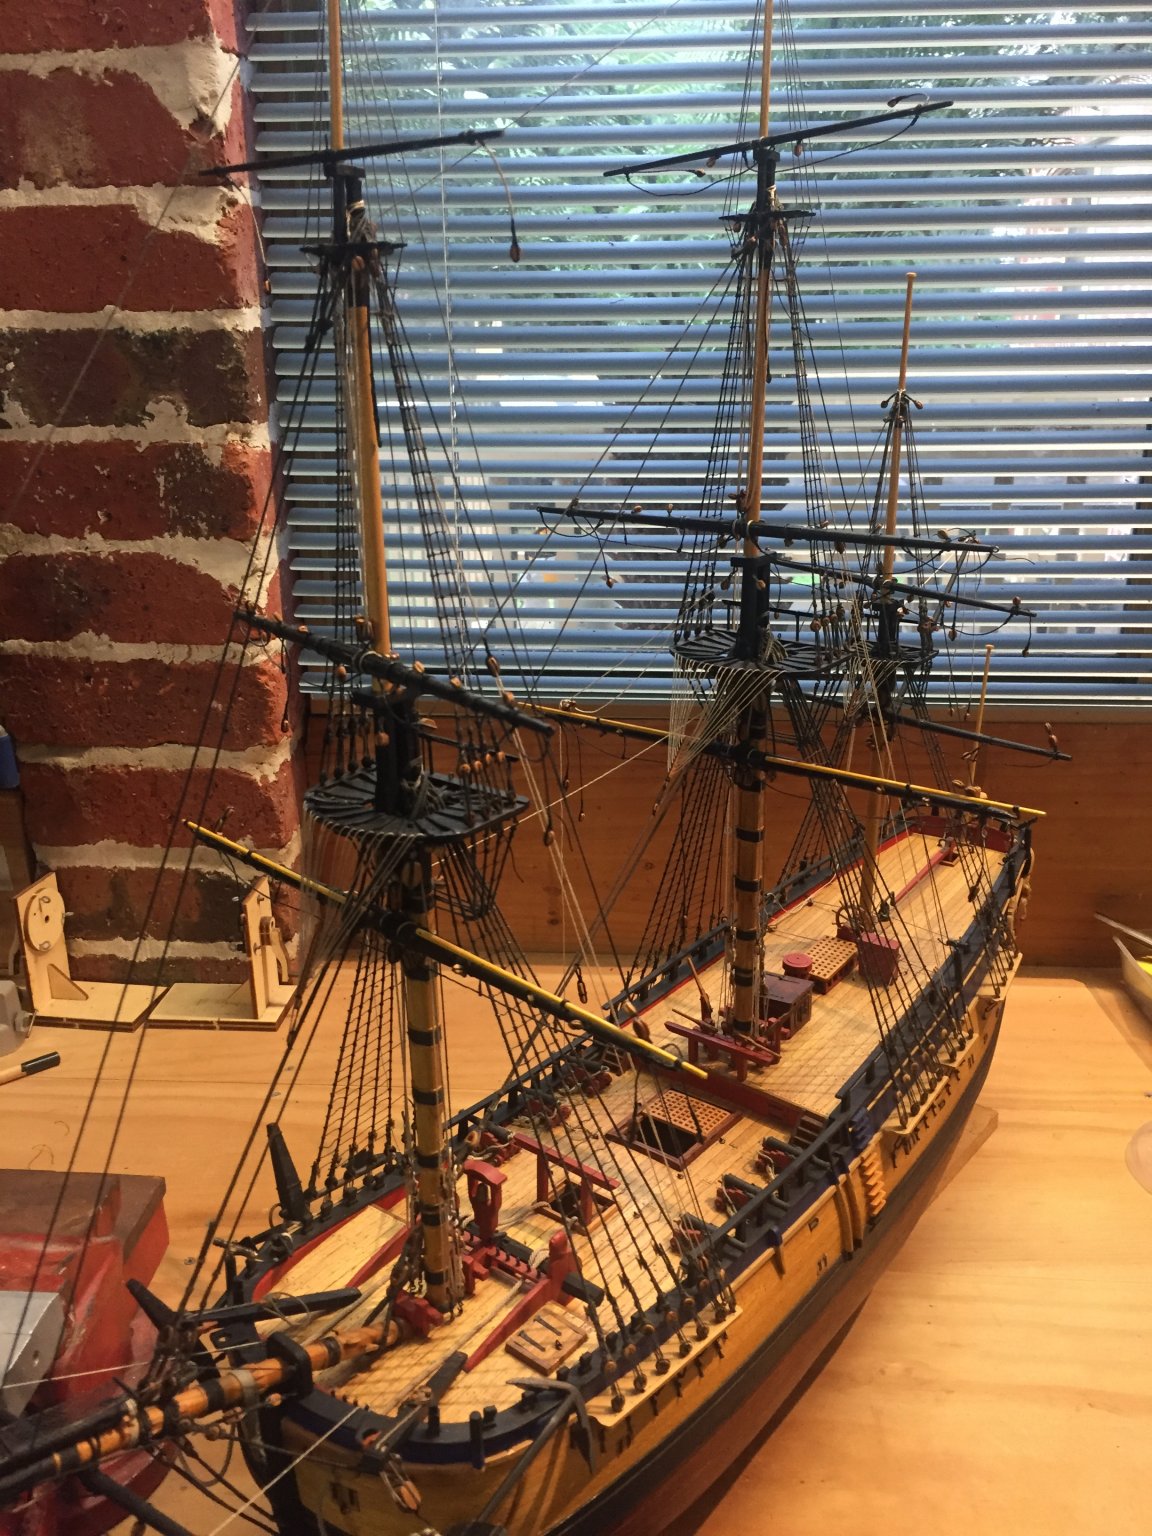
I have been doing a fair bit lately, mostly getting all the blocks prepared, stropped and fitted. Due to the Covid-19 lockdown here I am hoping to spend the whole 4 days of easter working on her
.jpg.1bb3c136e73e3d20c77a3747e692206f.jpg)
.jpg.808f3edddce2afbe3507e46a4be8ea76.jpg)

-
Hi Helena Yes I still have all the copies of the magazine, I will email you Cheers Steve
-
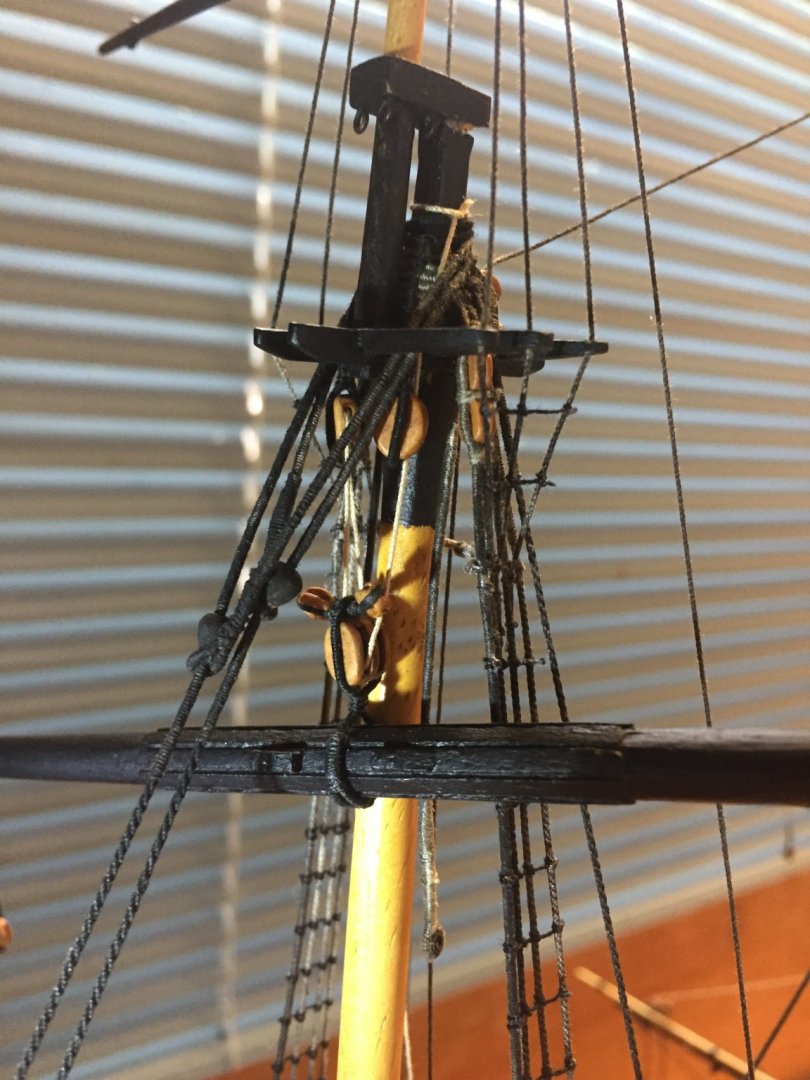
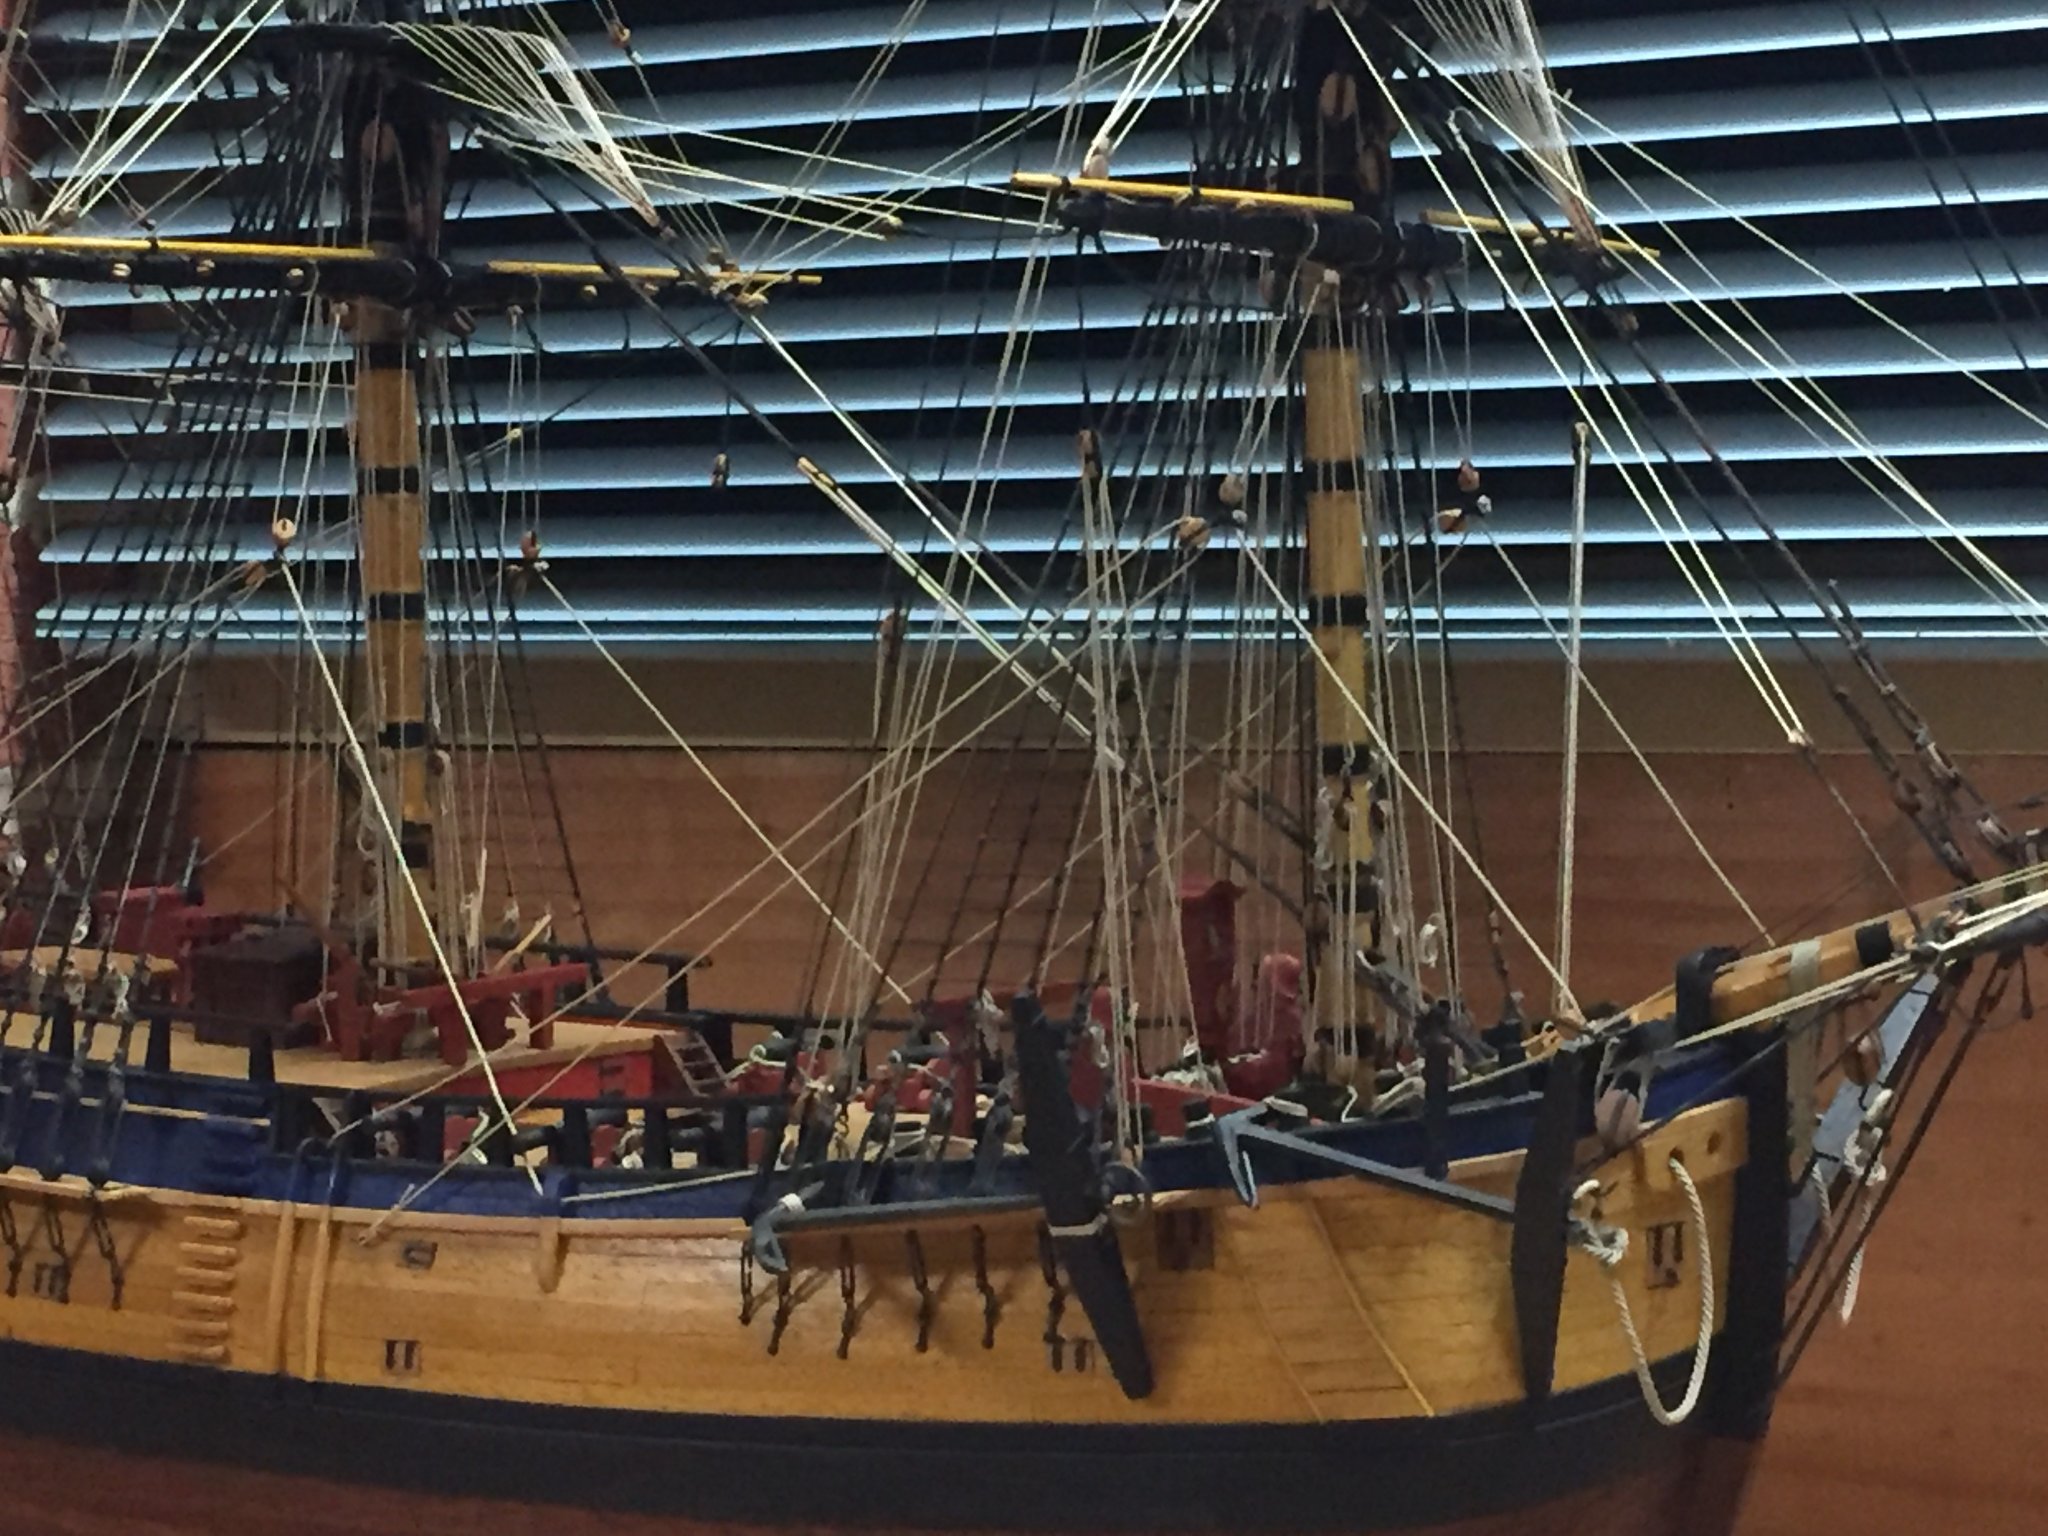
Fitting the topsail tye blocks today. I realised that I should have put them on before installing the topgallant masts because they go over the mast head like the shrouds. No problem I just pushed the caps up, lucky I didn't use much glue on them.
-
Hi Sab The windlass heads are the ones that came with the kit, they are cast metal. The quarter badges are ones I made and carved myself using 4mm thick boxwood. There are many parts that I have made myself, such as metal parts and a lot of the rope that I made myself using a rope walk. Also there are many parts I have purchased separately such as blocks, some ropes, cannon barrels, lantern, helm etc. Most of the wood used is what came with the kit except for a few items made with wood I have purchased or left over from previous builds
-
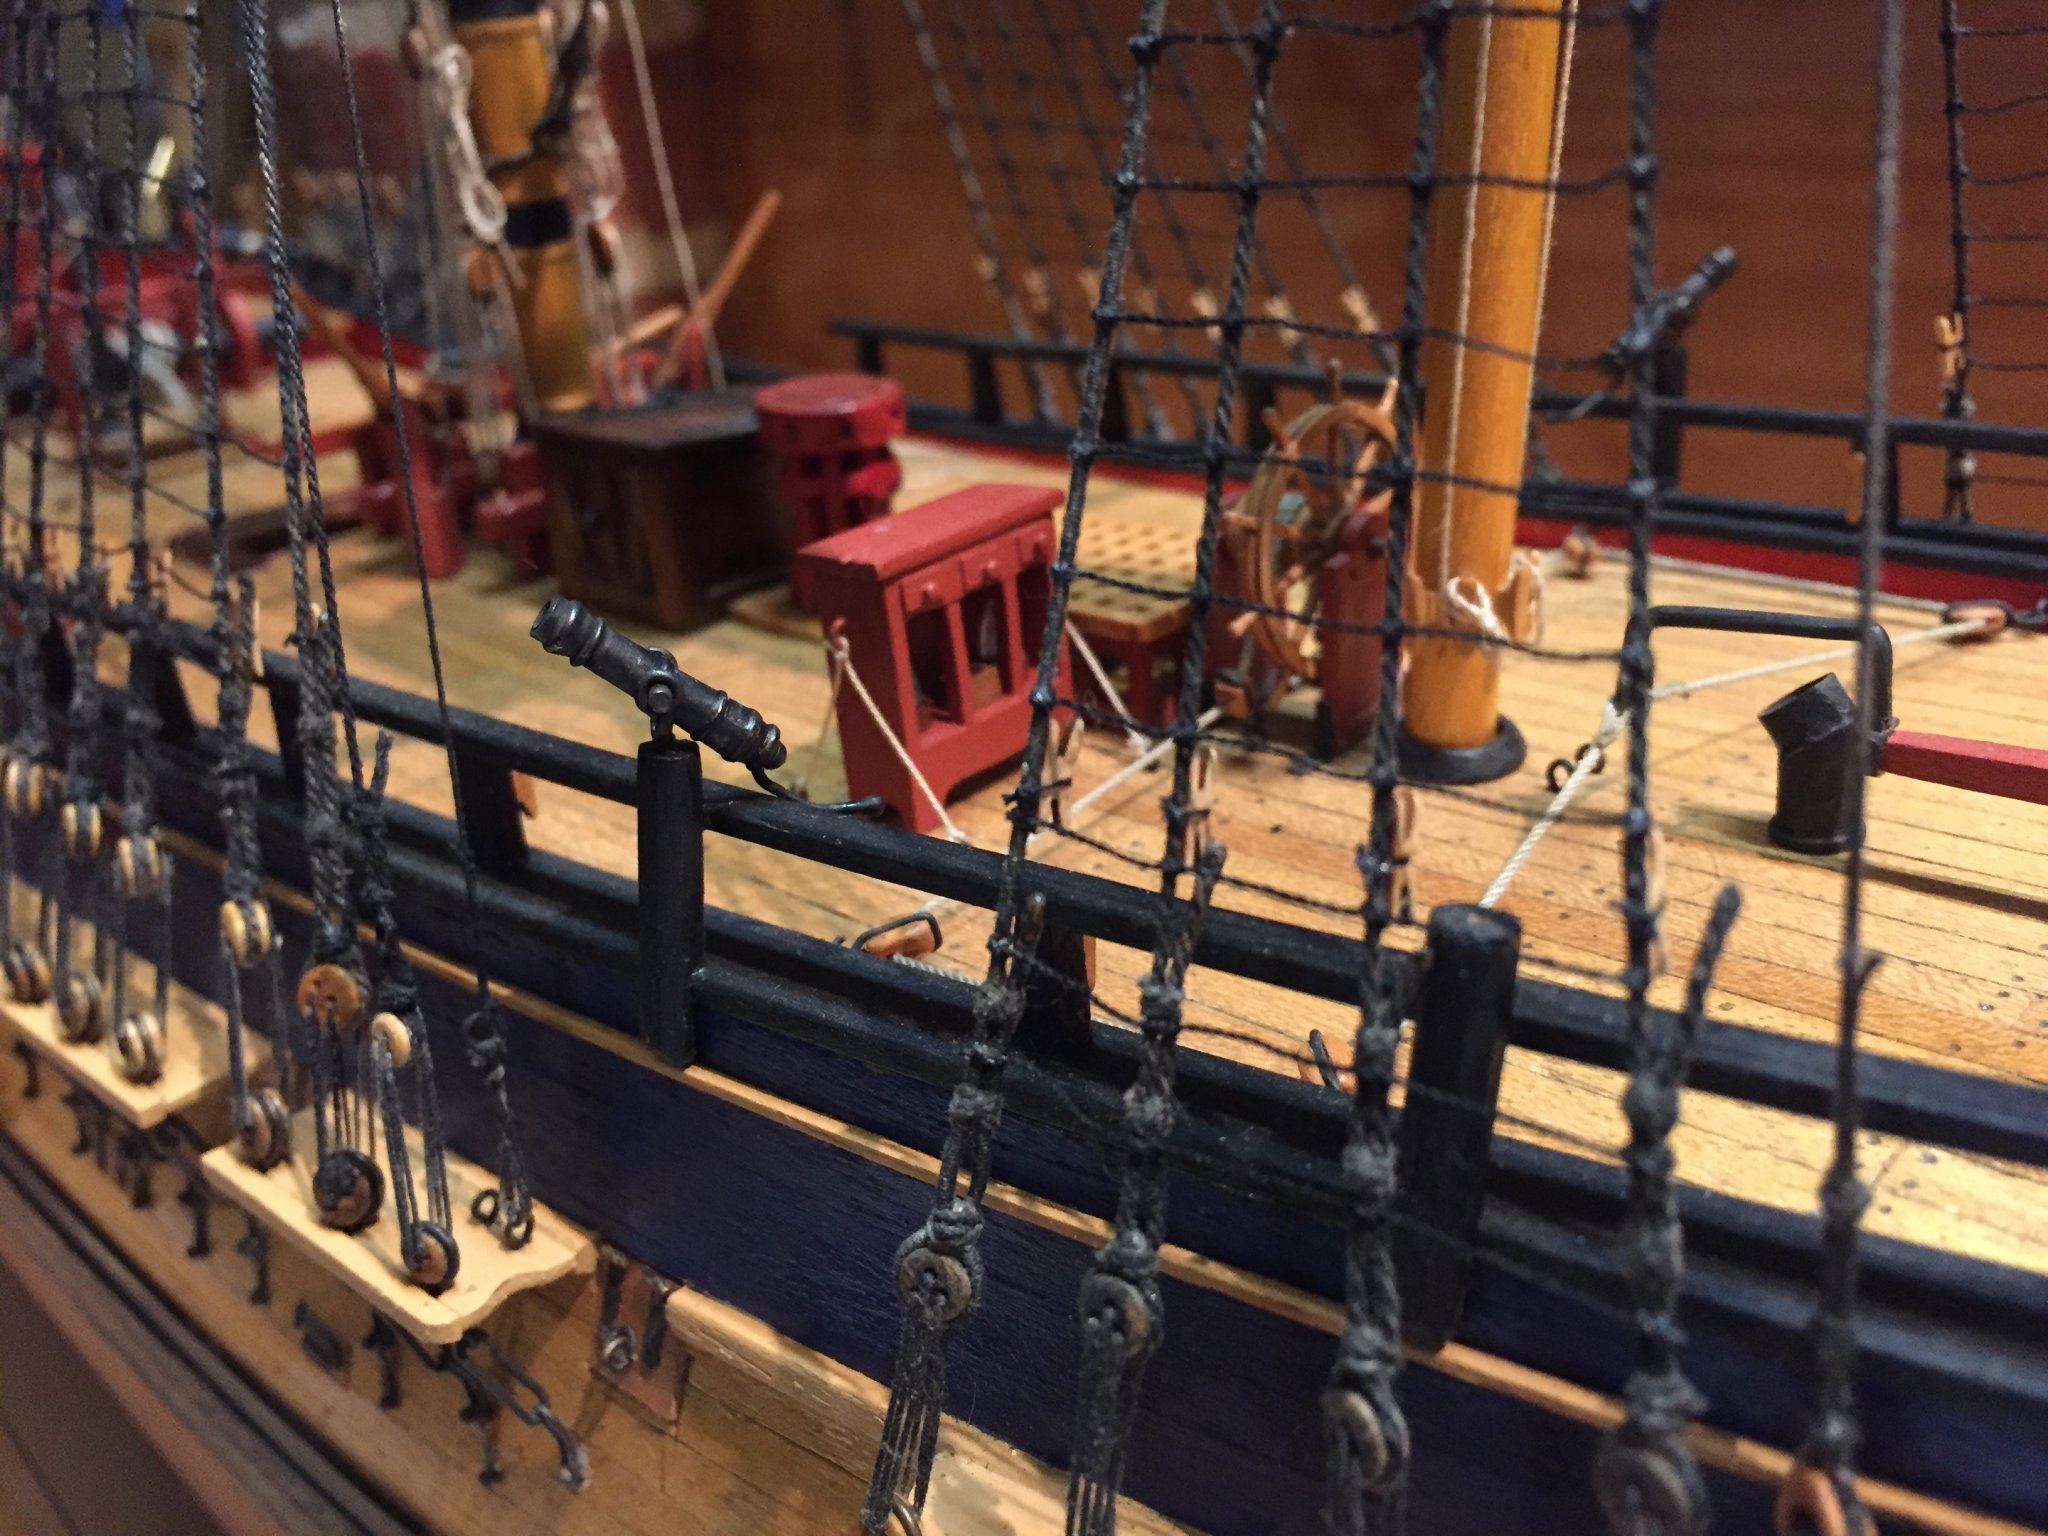
Today I finished fitting the blocks and attaching the crossjack yard to the mizzen mast. Yard is attached to mast using a sling-parrel, then slings through a large single block on the yard. Also changed the parrel on the gaff. Found some nice 5mm wooden balls in a local craft shop, applied some wood stain/lacquer and they look fine. I noticed that the HMB Endeavour replica uses one double block for the mizzen topsail sheet sheet lead. I have stayed with two single blocks.
.jpg.77b4b21ef84467f16531c0b63ad76527.jpg)
-
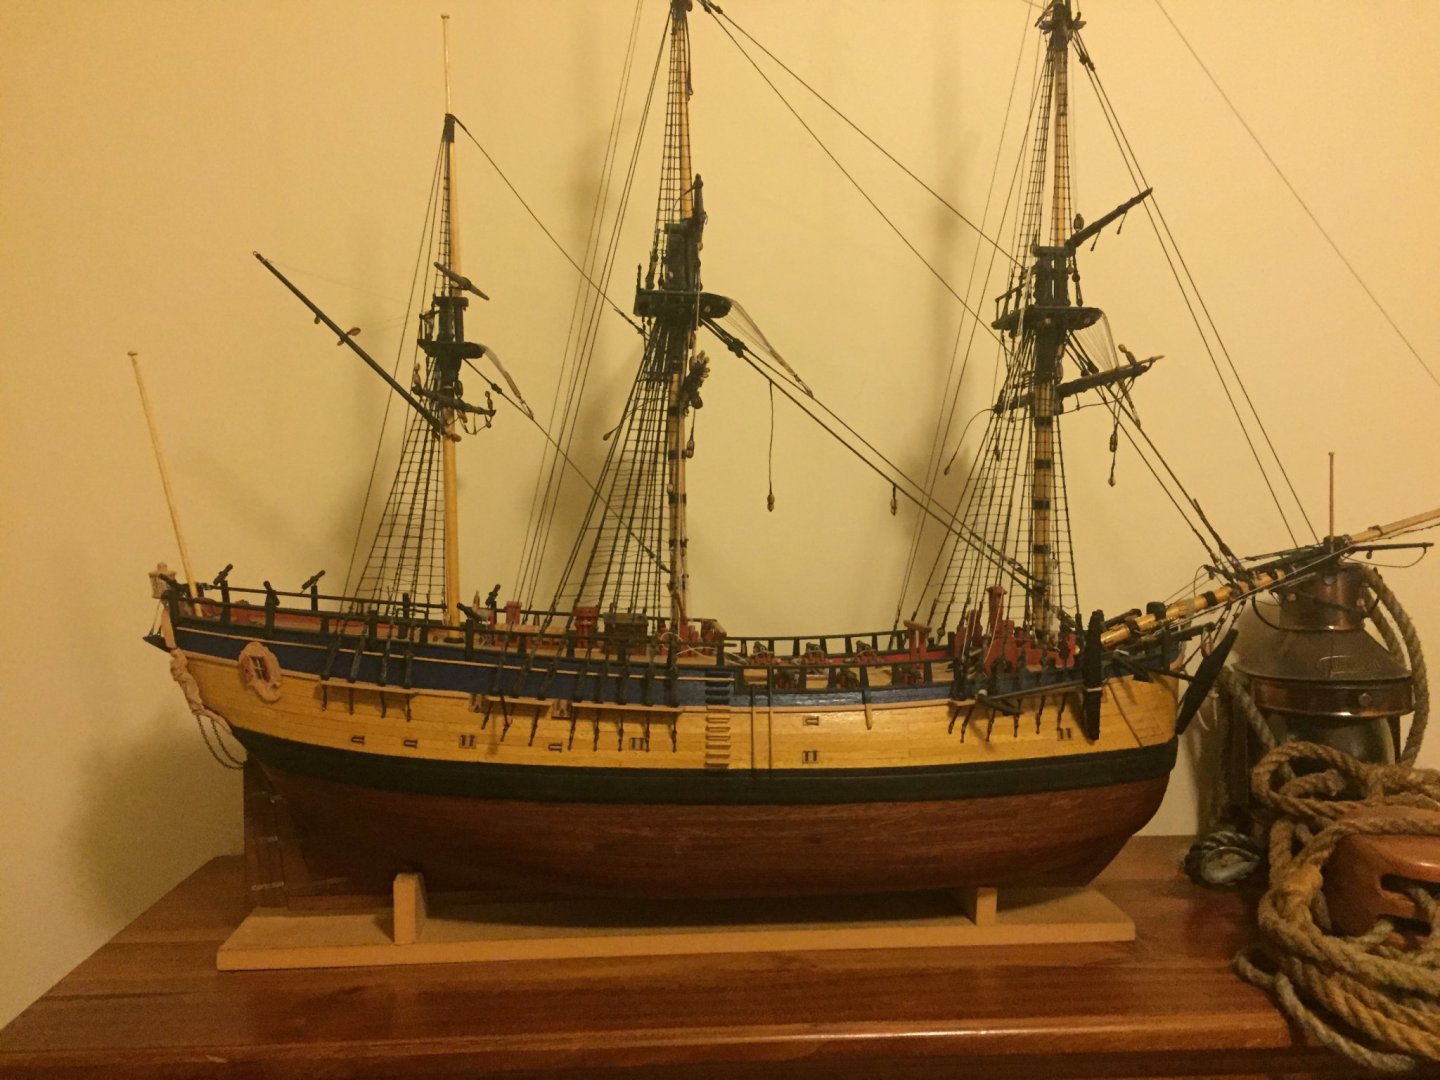
Still a long way to go, maybe a couple of hundred hours. I have been building this ship for 9 years now because I don't get to spend much time on it.
-
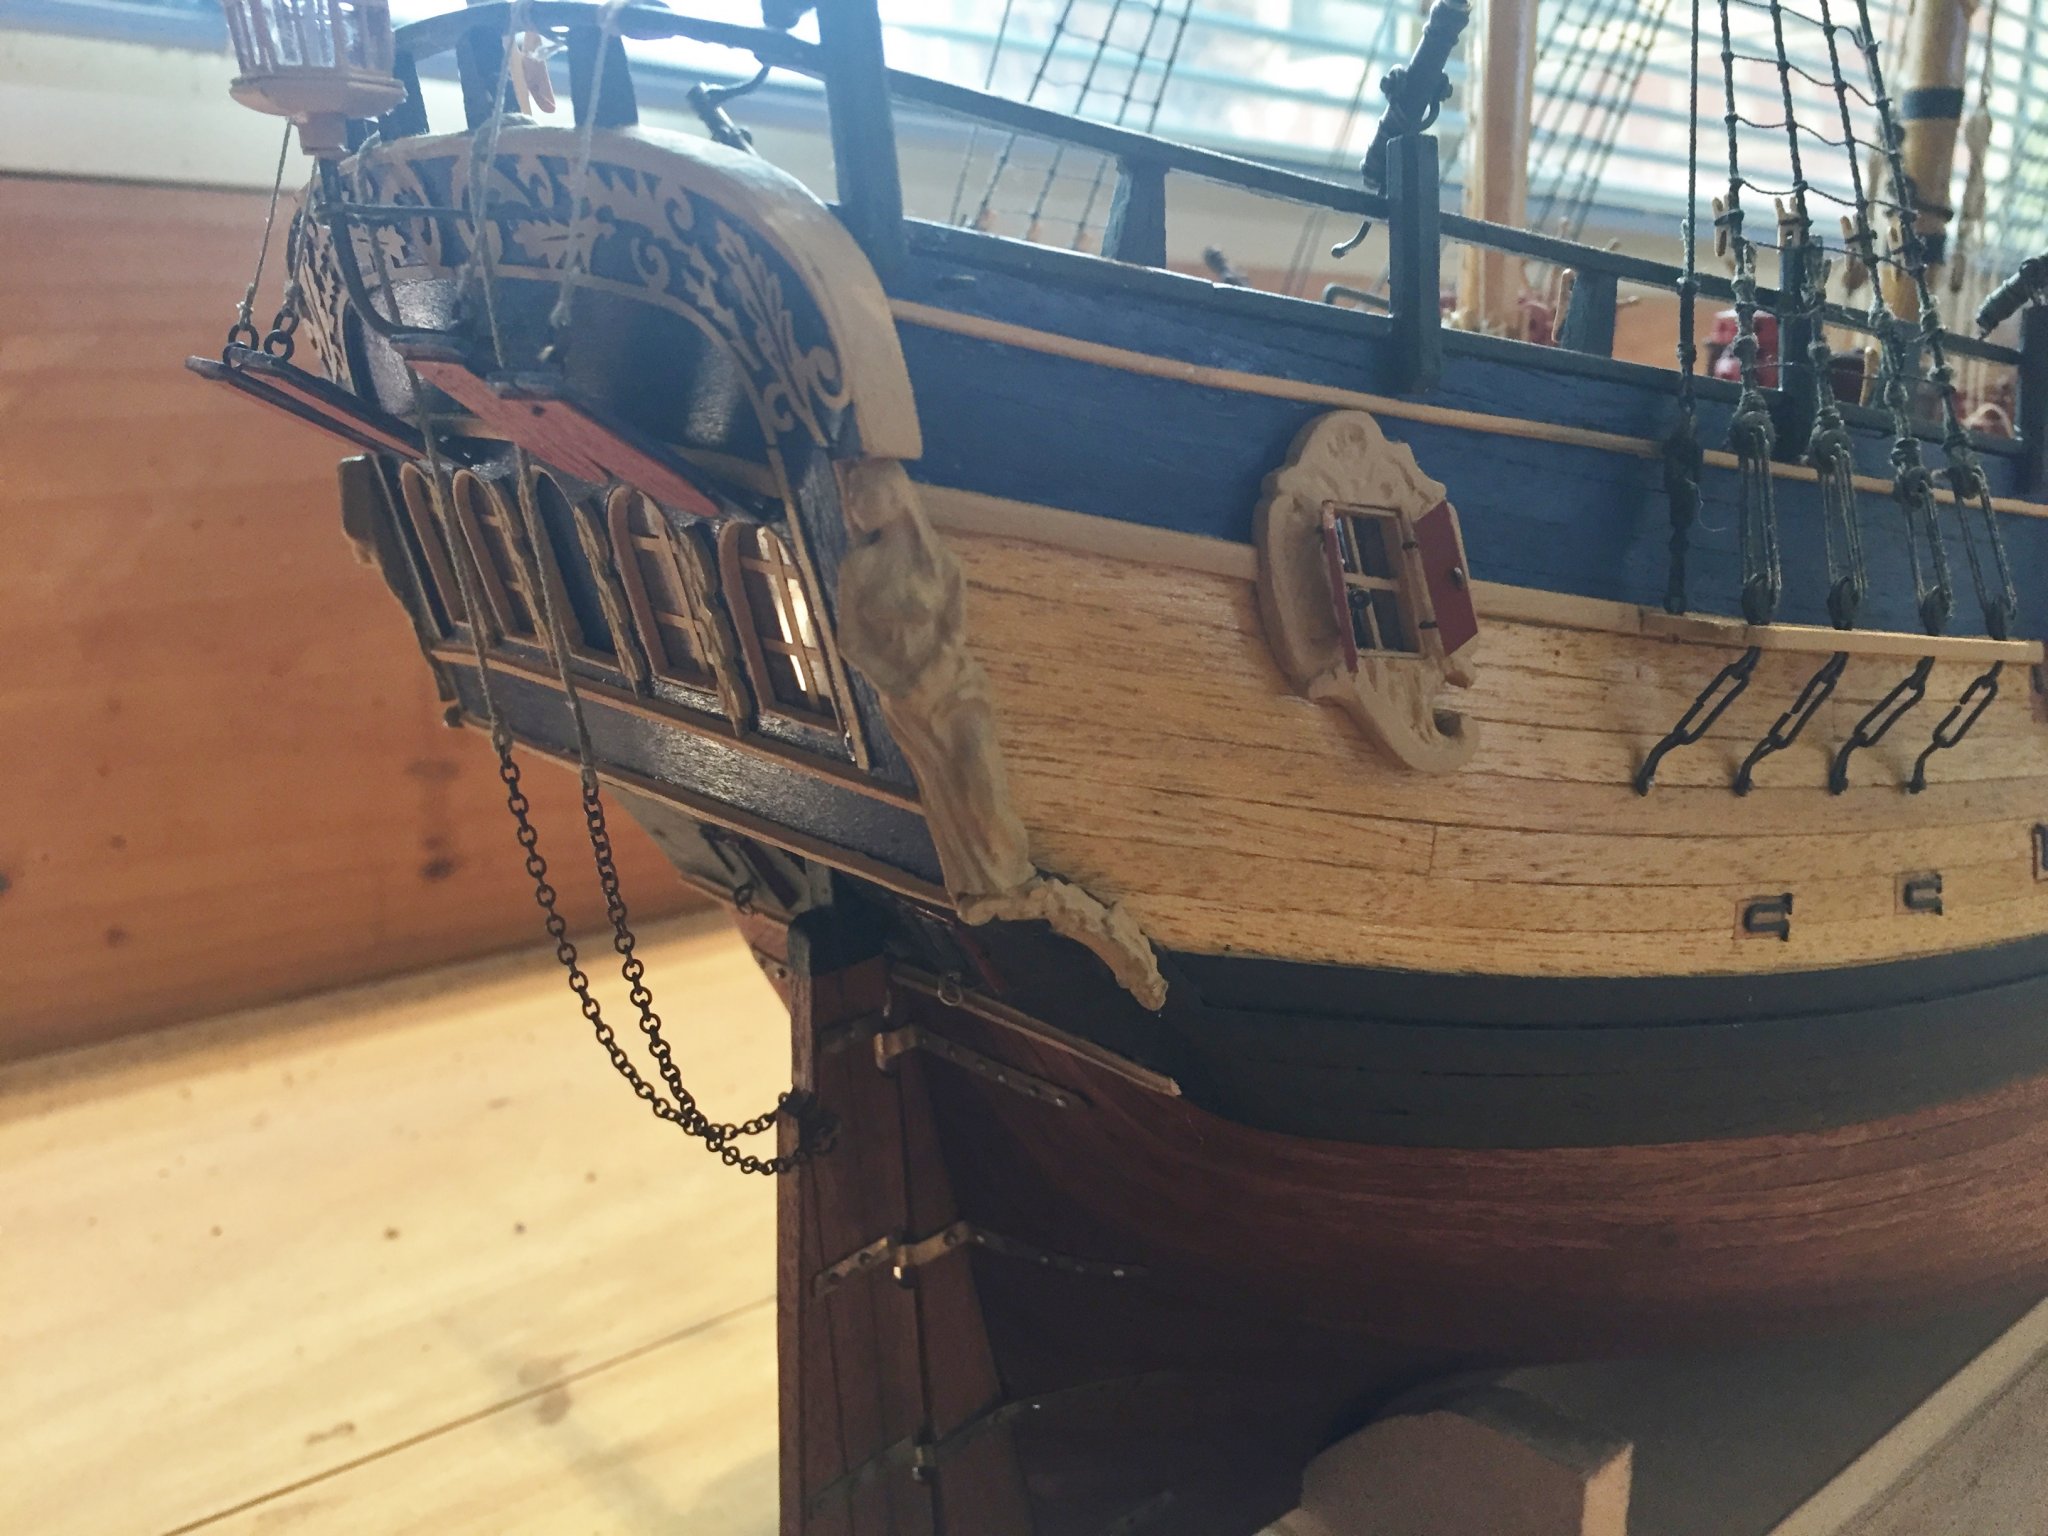
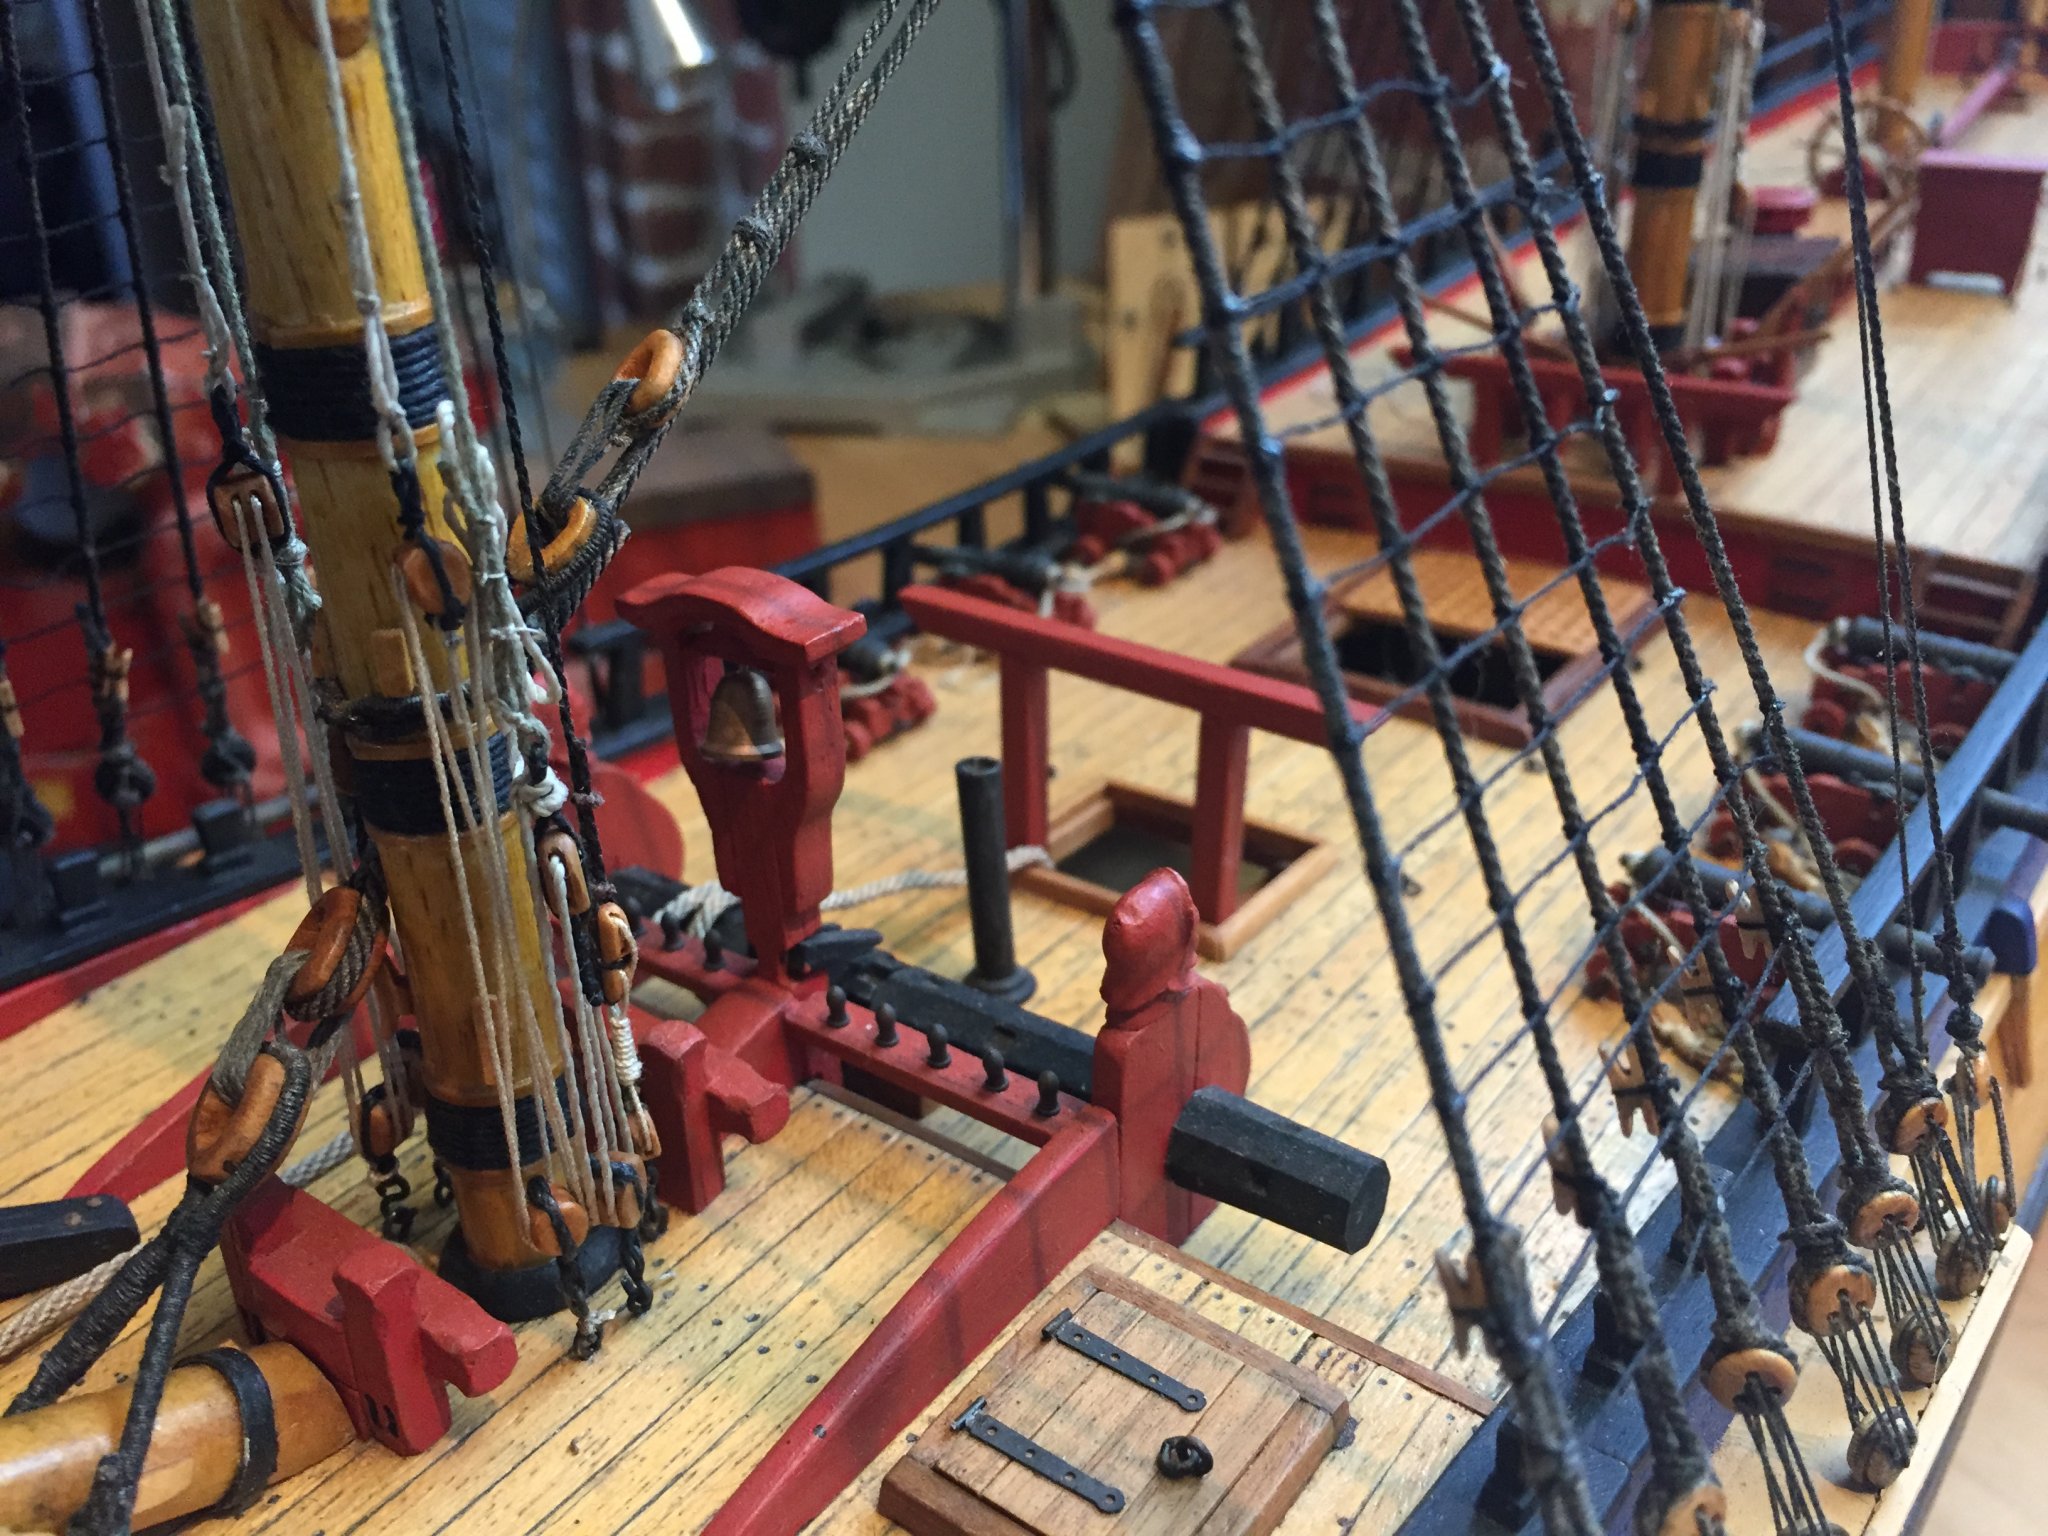
A diversion from the rigging this week, made and fitted the stern window shutters. I made them with a window shaped raised bit that fits snugly inside the widow frames when closed, they stayed in place when just sat in position , then I made hinges. Also fitted the rudder pendants.
.jpg.d300f00ea8afbc31023e1764cb4698f1.jpg)
.jpg.89c21ffa394586d0fb530c08589ba6dd.jpg)
.jpg.66417c7773bb280c98262bc185460e1c.jpg)
.jpg.a9e7d961a56724081995a79b77d920fa.jpg)
.jpg.6834c8ec0ab07404198a8548e3dd7b77.jpg)

-
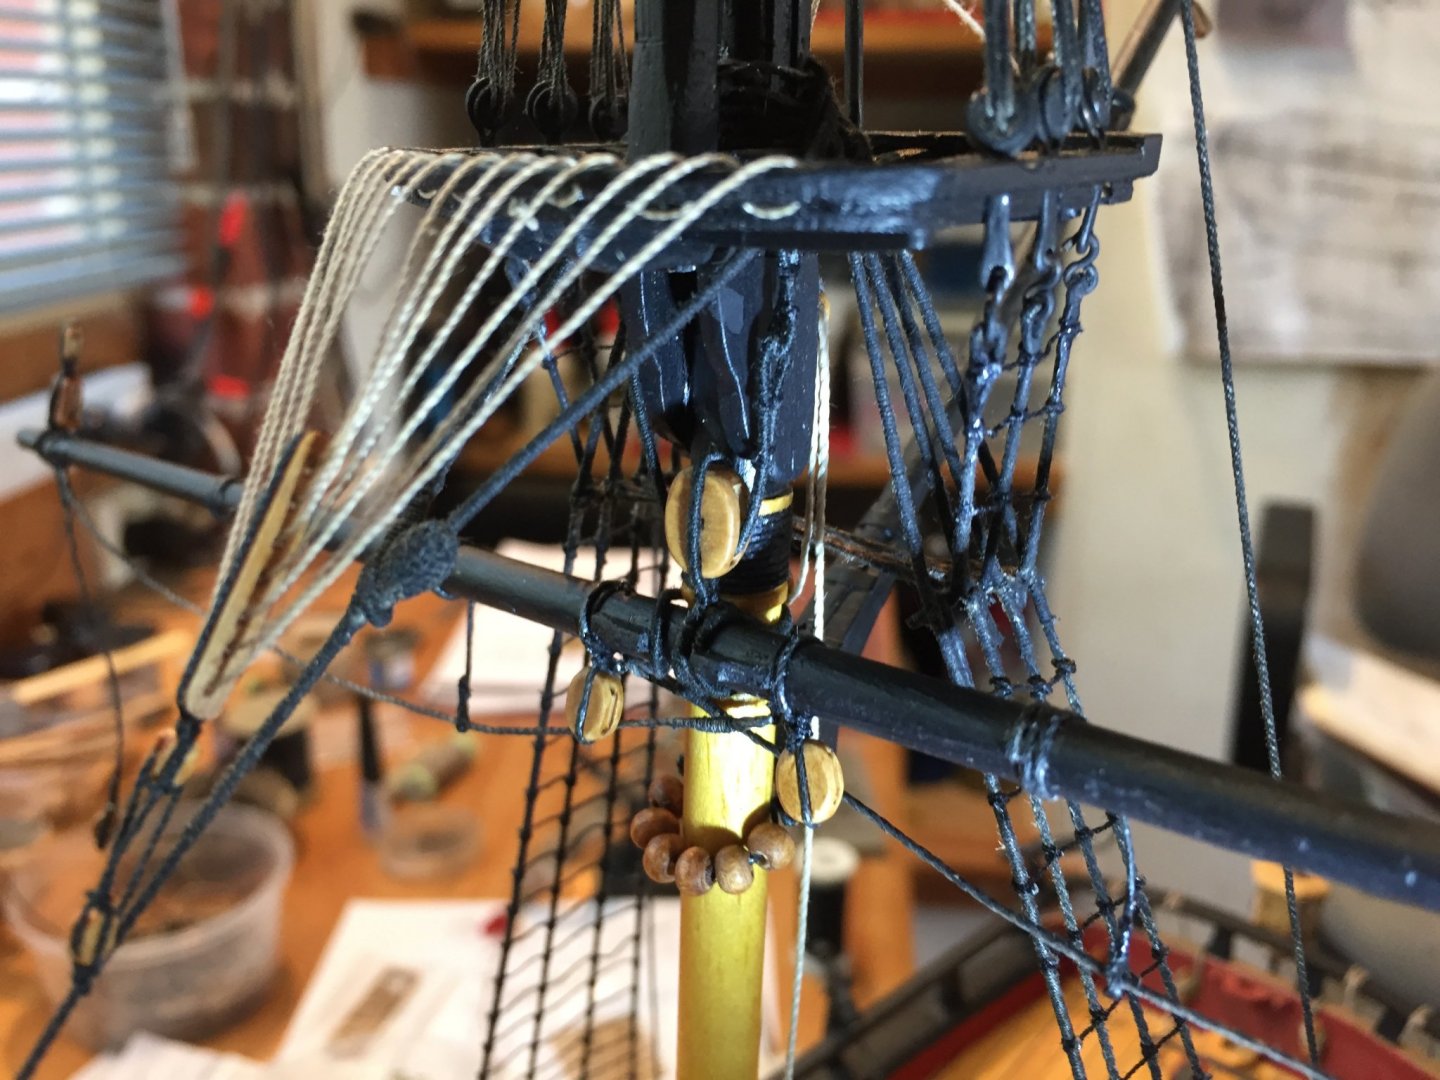
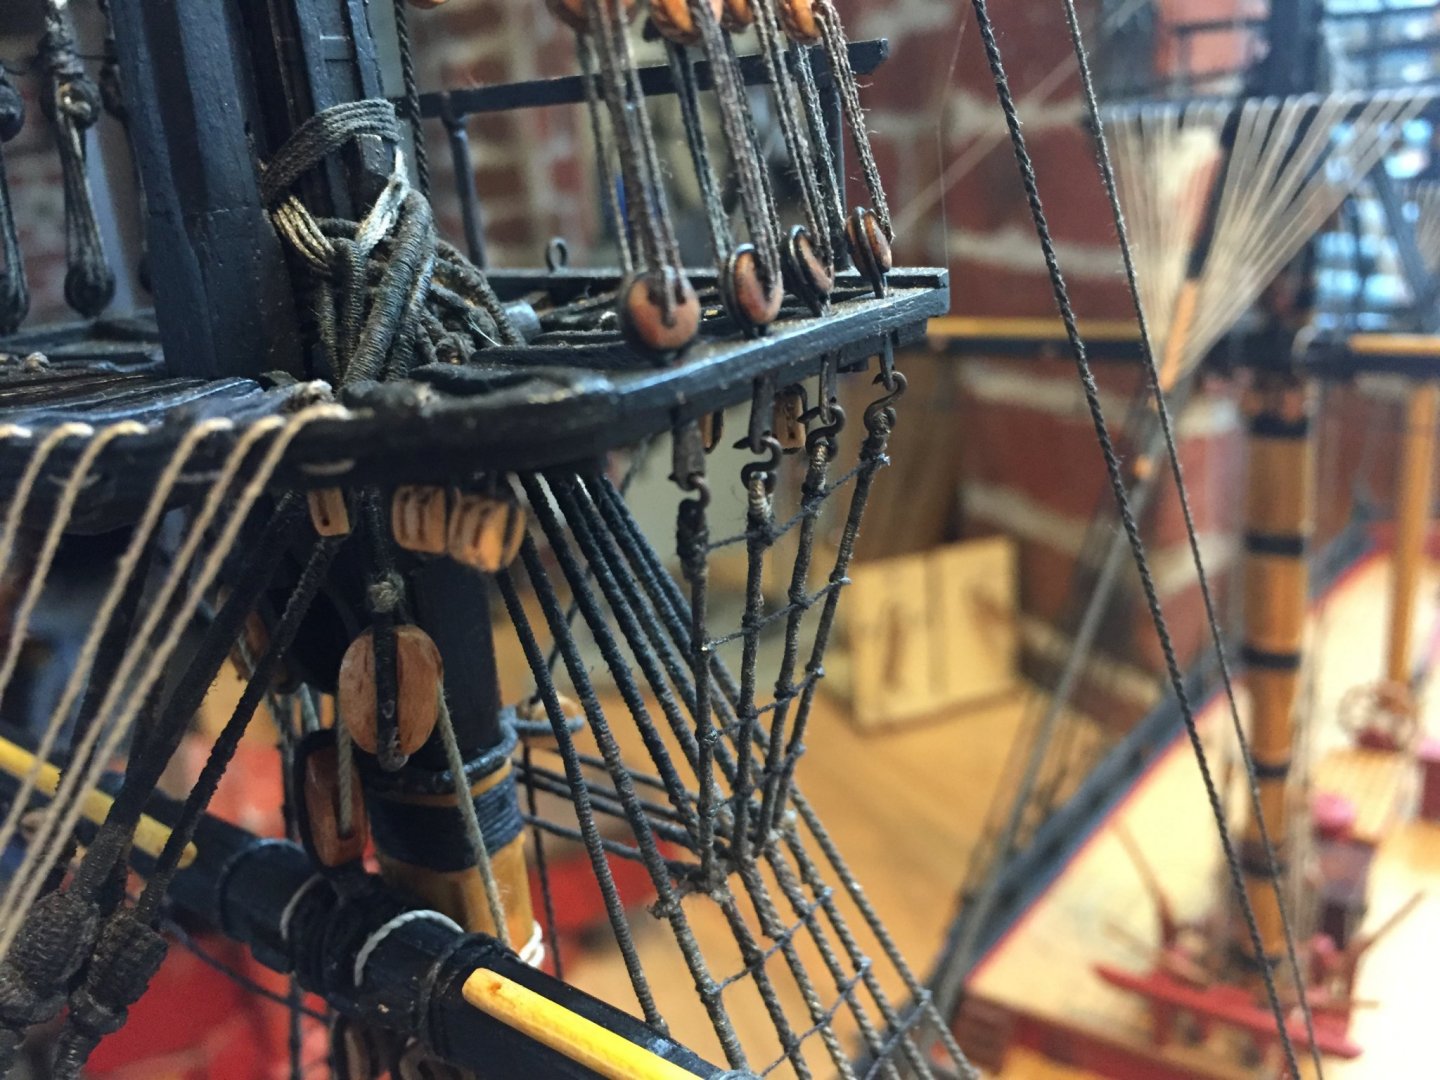
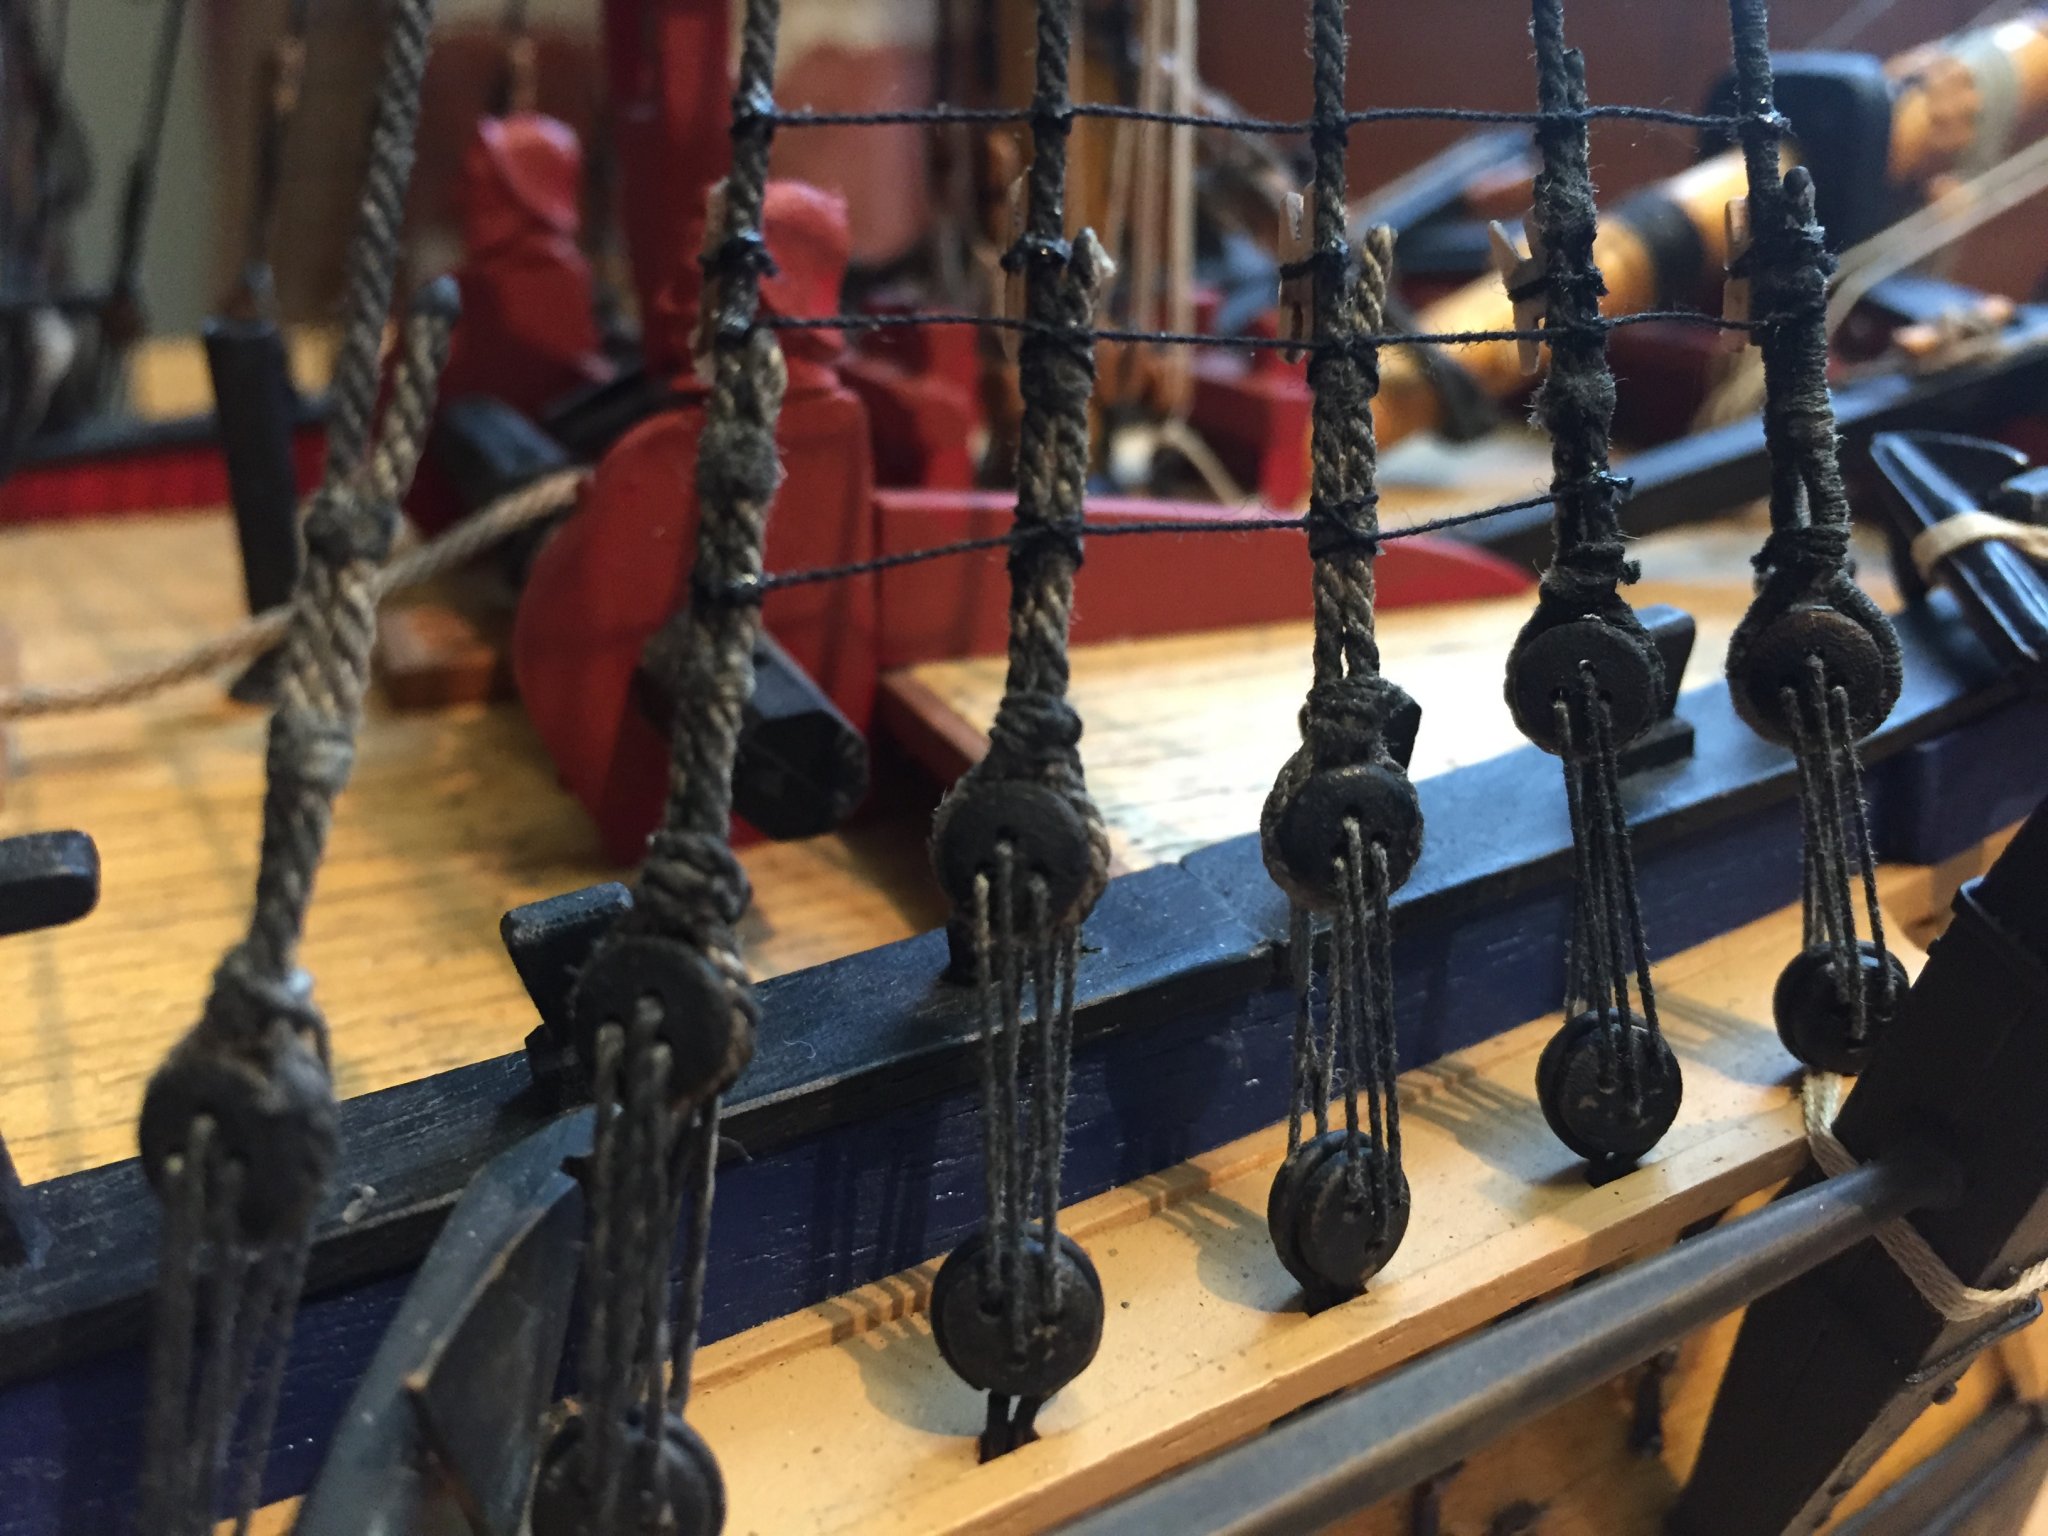
Another set of pics, I have paid attention to detail getting the rope thicknesses correct and shaping blocks, also showing the light blackening of standing rigging to simulate weathered tarred ropes


-
I am making the Endeavour at 1:51 scale and I purchased a Caldercraft anchor which is 74mm long, about the same length that you need. The Caldercraft anchors are very authentic, they don't come with the hoops for the stock, I had to make them. I got it from Corwall Model Boats in the UK
.jpg.0e5f3df3832d691b9c72622ae0a21f3e.jpg)
.jpg.ced5f0d95c4ddb5aa18c40104264ff40.jpg)
.jpg.103799315216e9d9ec3216664f04ac16.jpg)
.jpg.a425726e65d77216db8d0c87eb143448.jpg)
-
A truly exceptional piece of work Dashi, well done!
-
The Jeers I always intended to do the Jeers like they are on the Endeavour Replica, with single blocks, because that made sense for a small vessel of 300 tonnes. But I still had a niggle in the back of my mind whether that was right because the AOTS has two sets of double blocks. Today I found the answer in Steel's book "Elements and Practice of Rigging and Seamanship" Quote: "JEARS, in merchant-ships, and small ships in the navy, have two single blocks lashed on each side the mast-head, as above, and another, the same size, in the middle of the yard. The tye, which connects with these blocks, reeves through one of the blocks at the mast-head, then through the block on the yard, and afterwards through the block on the other side the mast-head. In the lower ends of the tye is spliced a double-block, which is connected by its fall to a treble-block, that hooks to an eye-bolt in the deck, close to the mast, on each side. By this the power of the tackles below is communicated to the tye, which, connecting with the block upon the yard, easily sways it up, or lowers it down." Another case of the AOTS being wrong
.thumb.jpg.d97bd2760d82834f2f51152a268a0c2a.jpg)

.jpg.d6ebd0278d9ab5eacea014aed62b3574.jpg)
.jpg.94498212e28445c0d389049b21e86a66.jpg)


.jpg.8f40baf48d64422991277d3205f3259b.jpg)
.jpg.bd557d03185f2aa53865fe0efbe95b6a.jpg)

.jpg.8647c4ffbe856e541dd037e188c9ded2.jpg)
.jpg.da9606a346adf41b2b4e83e35b8cb3f5.jpg)
.jpg.275d48c965878c72474189cbf2667008.jpg)
.jpg.85bb2779e139ab8f92d96edc548bcc23.jpg)
.jpg.943776168b831bfded0ef57e97146898.jpg)