HOLIDAY DONATION DRIVE - SUPPORT MSW - DO YOUR PART TO KEEP THIS GREAT FORUM GOING!
×


robdurant
-
Posts
842 -
Joined
-
Last visited
Content Type
Profiles
Forums
Gallery
Events
Everything posted by robdurant
-
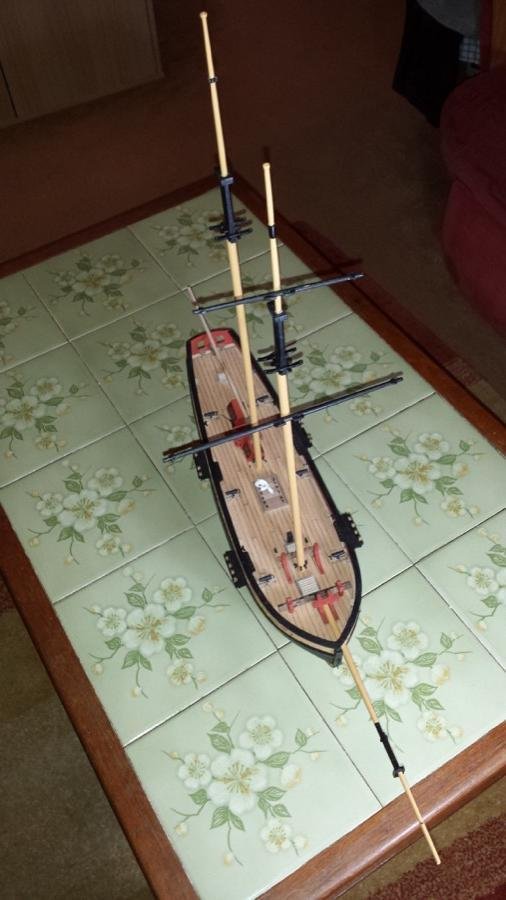
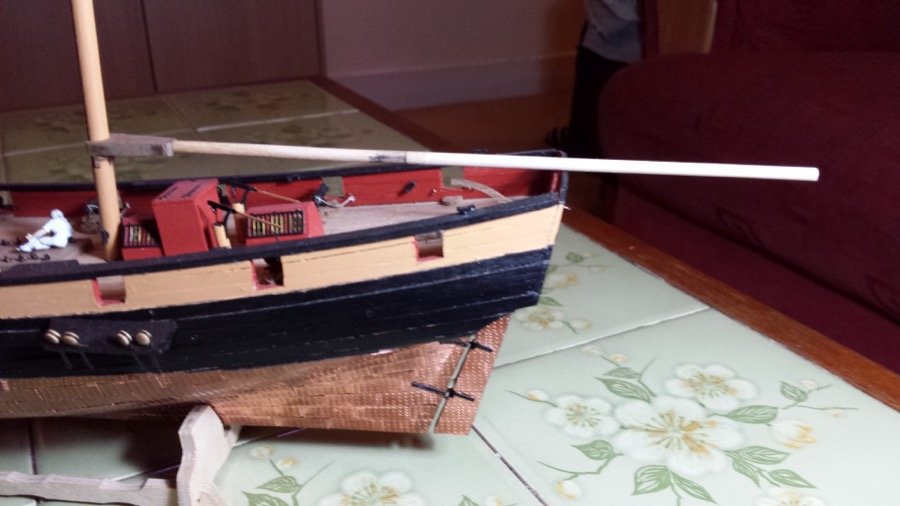
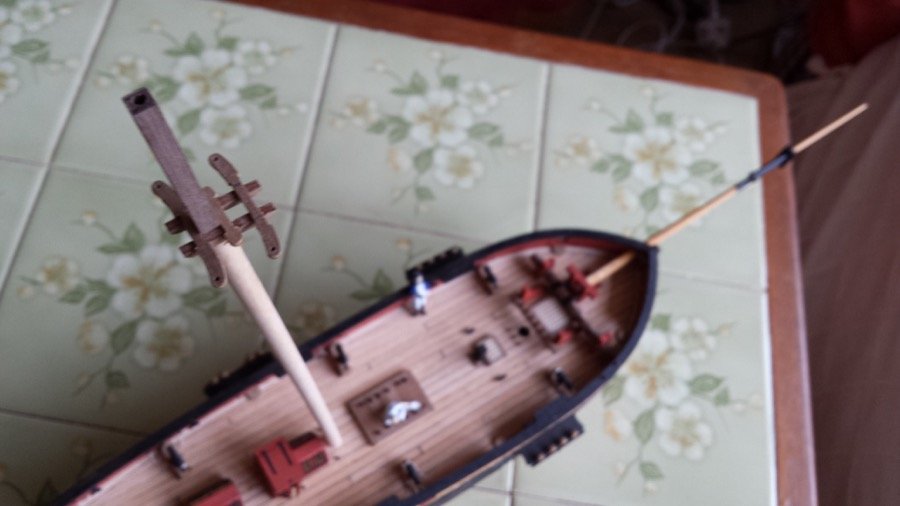
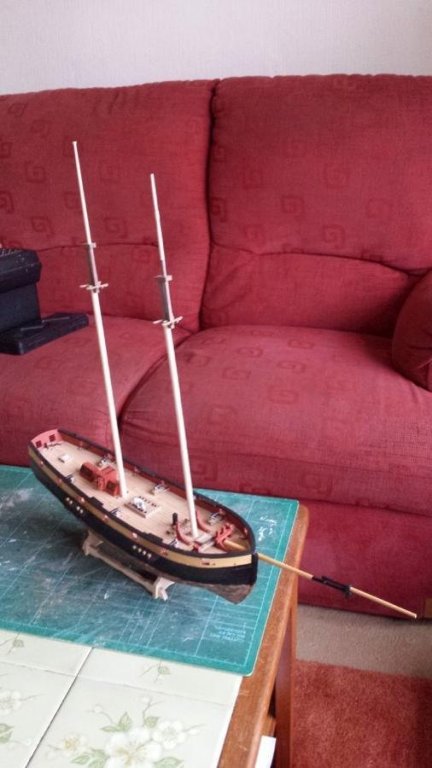
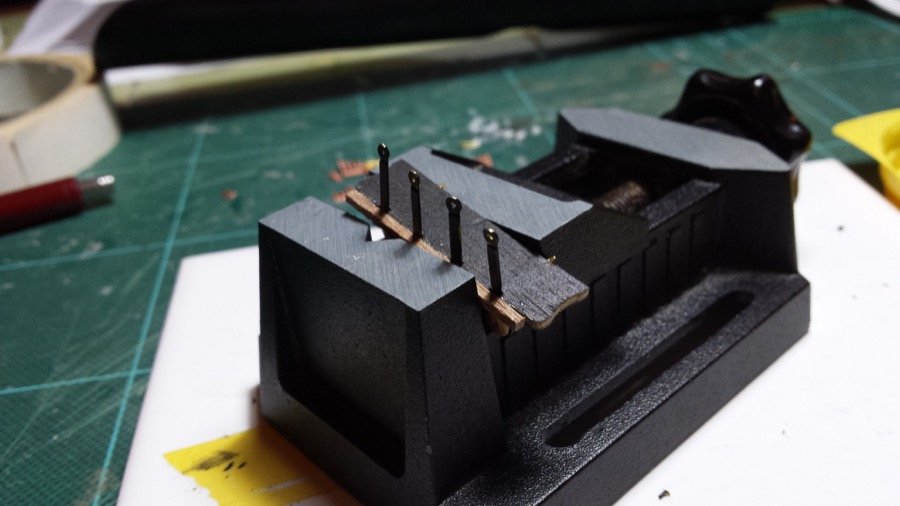
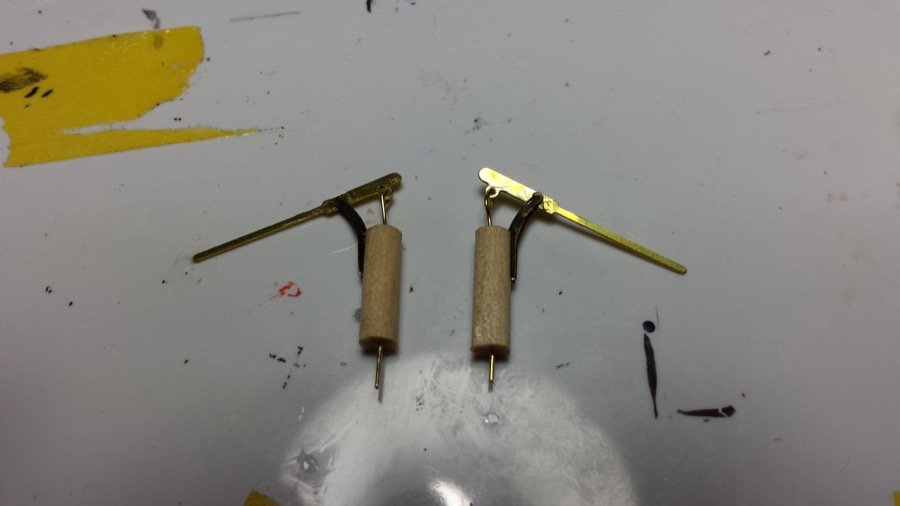
 So... time for another update. Not a lot to update, really, but just about enough to make an update worthwhile. Yards complete, and driver boom ready for painting. I've put pins in the schooner (fore) mast to take the yards and keep them in position during rigging. I managed to make the 3mm rod shatter on the lathe, and there's only just enough in the kit to do the whole job, so I've ordered some more ready to do the remaining parts... Happy building Rob
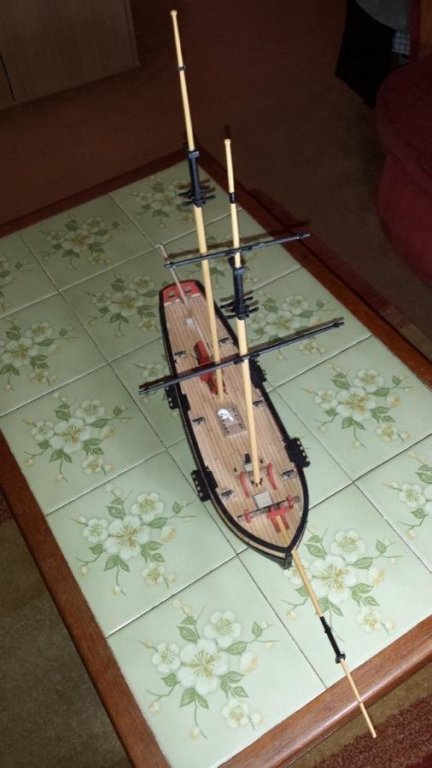
- 76 replies
-
- 4
-

-
- caldercraft
- finished
- (and 1 more)
-
Hi Rick, Just catching up on your build log. Looks like you've got a challenge there with the keel ply, but I'm sure you'll get through it. Is the warp as pronounced at the bottom of the keel too? I had a minor bit of twist too, when I'd got the gunport patterns on, but it brought the top of the stern-most bulkhead top about 1mm lower on starboard than port, and I decided I could live with that... especially when the stern fascia was mounted level. Looking at the second picture you posted, it looks like the pattern's a few millimetres higher on the starboard side than the port, which might account for a little of the twist you're seeing? Hopefully with the gunport patterns off it will just pop back into line... and as Spyglass says, they'll be nicely curved ready to refit, which should give you an easier job this time round. All the best Rob
-
Thanks for the encouragement Eamonn, I'm pleased with how it's turned out, too. Rick: I've got a little list of power tools I'd love to have, too... trouble is, it keeps on growing!! Rob
- 76 replies
-
- 1
-
-
- caldercraft
- finished
- (and 1 more)
-
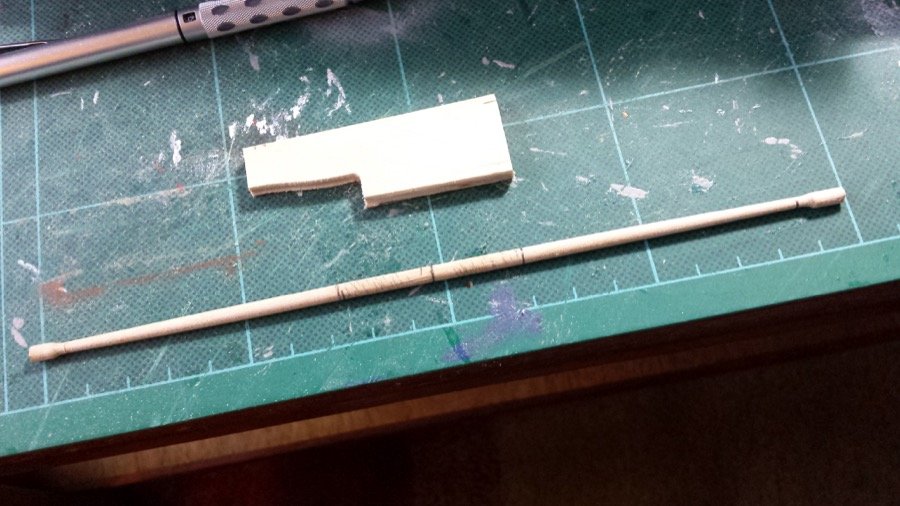
So... I made up my mind. I really like the idea of the timbermate, but I wanted to avoid the walnut look, and I'd used walnut further up the main topmast than suggested in the instructions... so painting it was... I finished putting the rest of the detailing onto the main mast today, and also started work on the crossjack (main yard). I only bought some digital vernier calipers a couple of weeks ago, but I don't know what I'd do without them now. I also realised that leaving some full diameter wood at either end of the piece I was working on the lathe REALLY helped... Probably sounds totally obvious, but I was having all sorts of problems with it jumping out of true and splitting before, and now it's much better. (I haven't trimmed the ends off in this shot) More photos (and hopefully progress to show soon Happy building Rob
- 76 replies
-
- 4
-
-
- caldercraft
- finished
- (and 1 more)
-
Hi, It's looking pretty good! I say this as a complete newbie, but this is how I tried to work it out for my pickle, so if it's helpful, great! I found using a strip of the first planking wood, and putting it along the bulkheads to see how it lay was really helpful. It should be a smooth round curve, without forming flat sections or kinks in between... and it should lie flat up against the frame rather than just touching at the front / back... I ended up taking off more wood than I thought I'd need to and it still wasn't quite as much as I think I probably should have, in the end, but it worked out nice eventually. It might be worth considering filling the gaps with balsa, as that can help you to see the curve more easily? I only realised others had used this approach after I was planking, so it was a bit late. An example to look at is Blue Ensign's excellent Pickle build log on this forum - especially post number 3, where you can see the way he's used balsa to fill the gaps. Hope that helps. Rob
-
Definitely. I've got a four year old and a six year old, and they constantly surprise me. Bit more painting last night... update coming soon. Rob
-
Thanks Rick, Jim, I've never used something like that timbermate before... my previous models have all been fibreglass / styrene / etc... so a very different deal, but it does look like it could come in handy. Love this forum! I'm learning all the time. Good to have the warning about the dust, too... I build on the dining table, so I suspect that wouldn't go down too well. I'll have to get down to the local diy store and take a look around. Rob
-
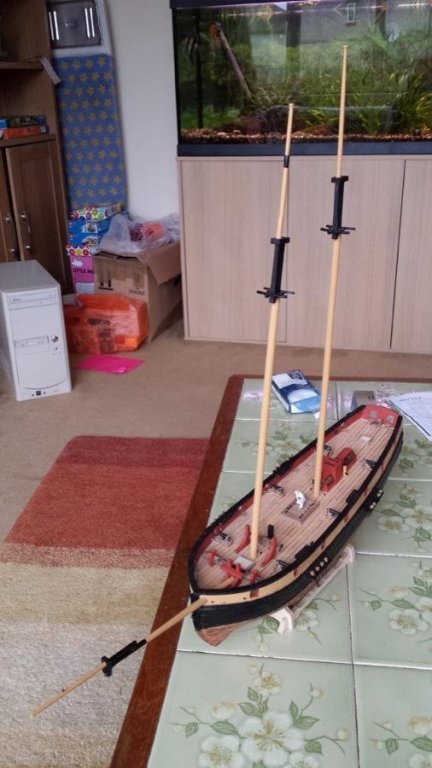
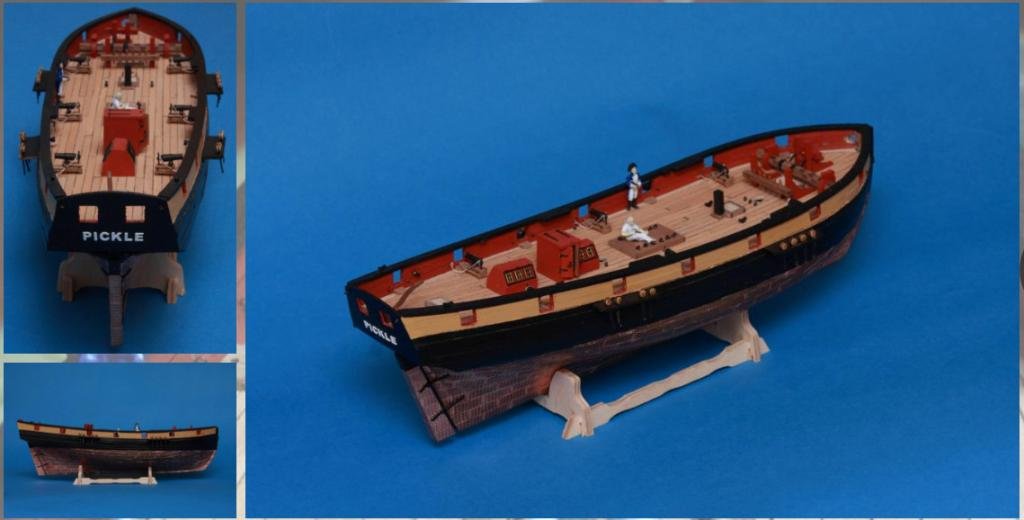
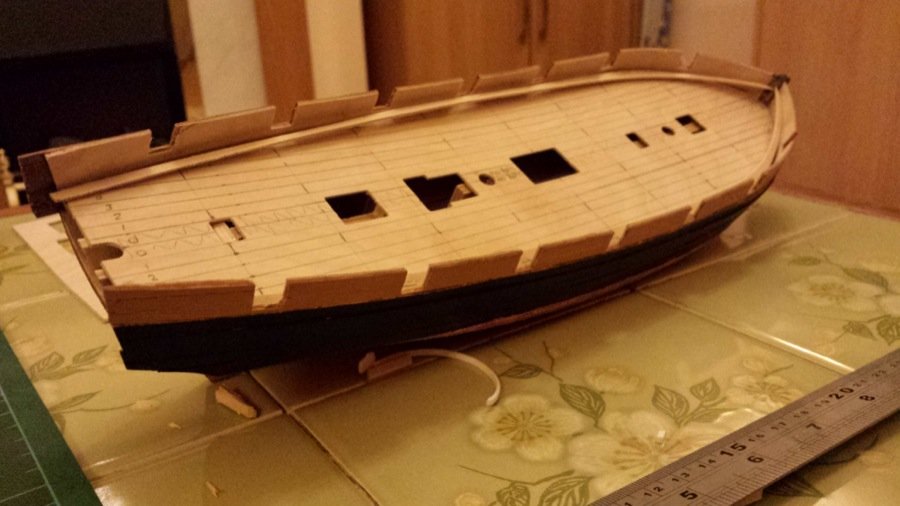
More progress... I thought it would be nice to try and get some reasonable photos of Pickle around about the half-way stage... so here they are... I've also started making up the masts... (although they're all dry-fitted without fids at the moment) Still not decided on the colour scheme for the masts... we'll see. Probably yellow ochre below the tops, black at the tops, and something above... (but what??) Happy building Rob
- 76 replies
-
- 5
-
-
- caldercraft
- finished
- (and 1 more)
-
Hi Rick, Mind if I pull up a chair...? Really looking forward to seeing another Pickle join the fleet!- such lovely boats to make. Just make sure you choose a day (or two) when you're feeling calm to make up the carronade slides Blue Ensign's build log on Pickle is so helpful, and well worth a good read, too. It helped me avoid messing my Pickle up a good few times. Rob
-
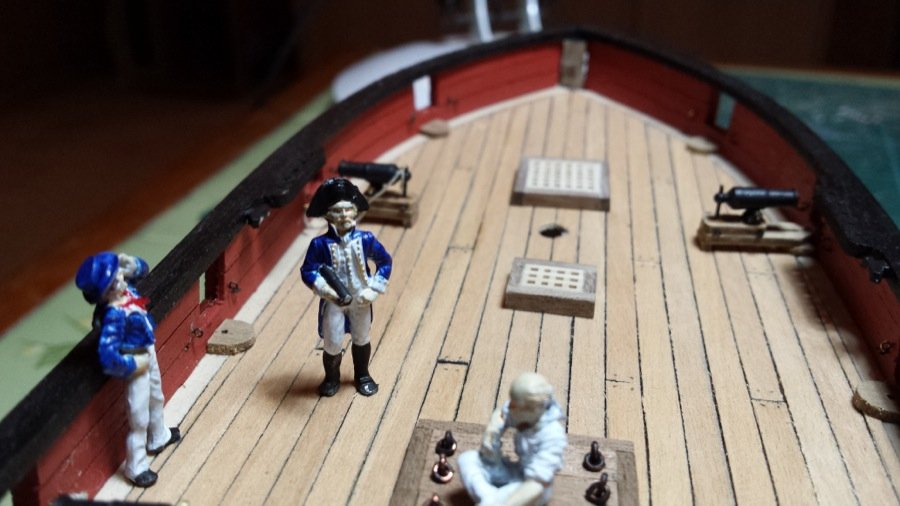
Hi Rick, They really are fantastically designed and prepared models... really good fun (if a little fiddly in places - the carronades especially). The figures are Amati, and I got them from Cornwall Model Boats (in the UK), here: http://www.cornwallmodelboats.co.uk/acatalog/amati_crew.html It's so helpful having other people building the same kit... it really adds depth and insight to the (very good) plans and instructions provided by Jotika, and gives hints on how things can be improved as you go... It also helps to avoid the pit-falls that I suspect I'd be jumping into all too easily otherwise. I'm sure you'll get great pleasure from building this kit... It'd be great to see a build log as and when you start Rob
-
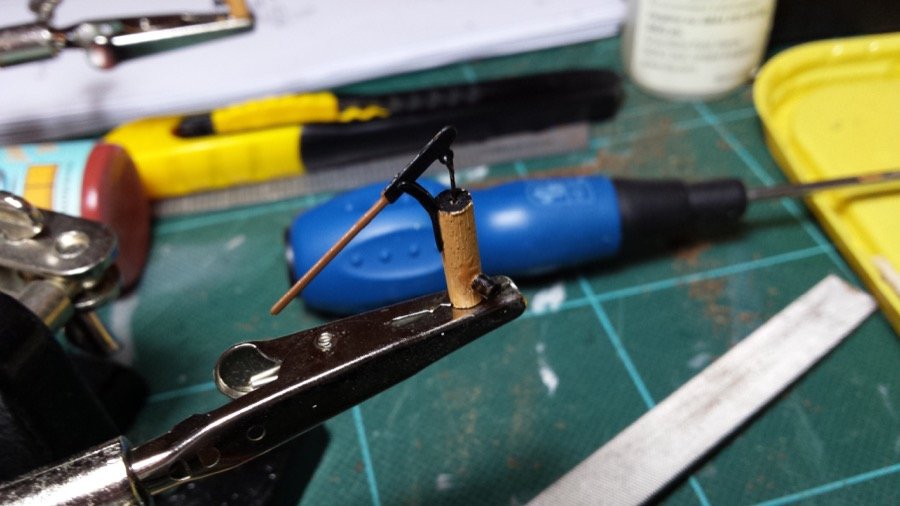
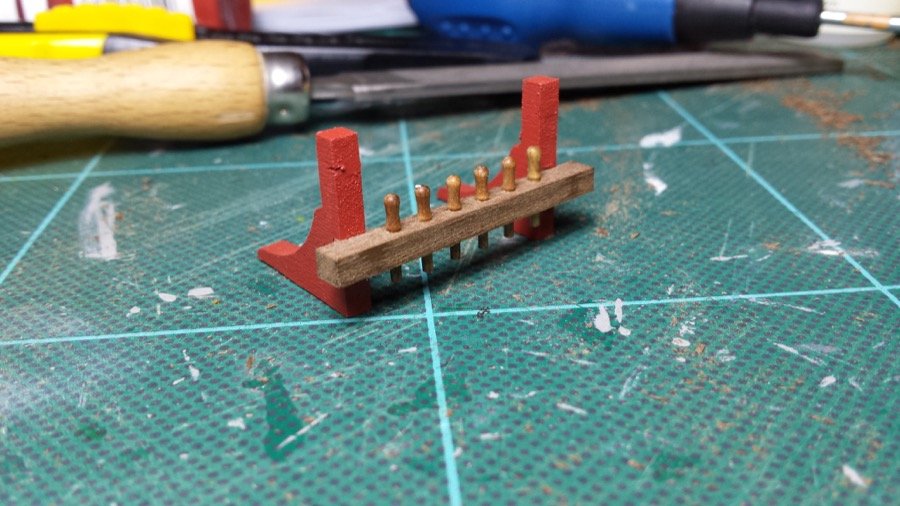
A little update... I've completed the fore-bitts, and painted the pumps. I haven't put 'iron' bands on them yet, but I may do that before they go onto the deck. Otherwise, it's just navel pipes to put into the deck, and I'm onto the bowsprit and masts! (I also departed from the official colour scheme, because I preferred it this way (and it's my model ) You can barely see that big gash in the upright with the naked eye, but lighting and camera seem to be conspiring against me!! Oh well... back to the sandpaper! Happy building Rob
- 76 replies
-
- 4
-
-
- caldercraft
- finished
- (and 1 more)
-
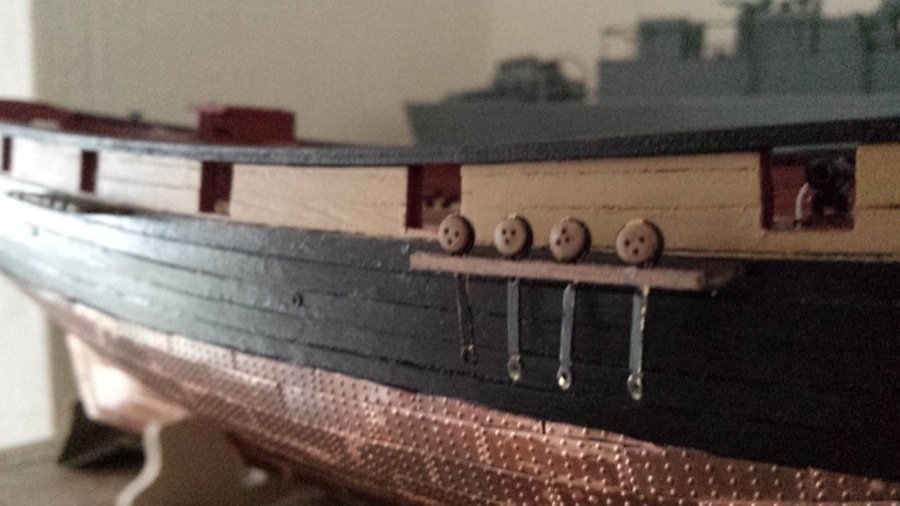
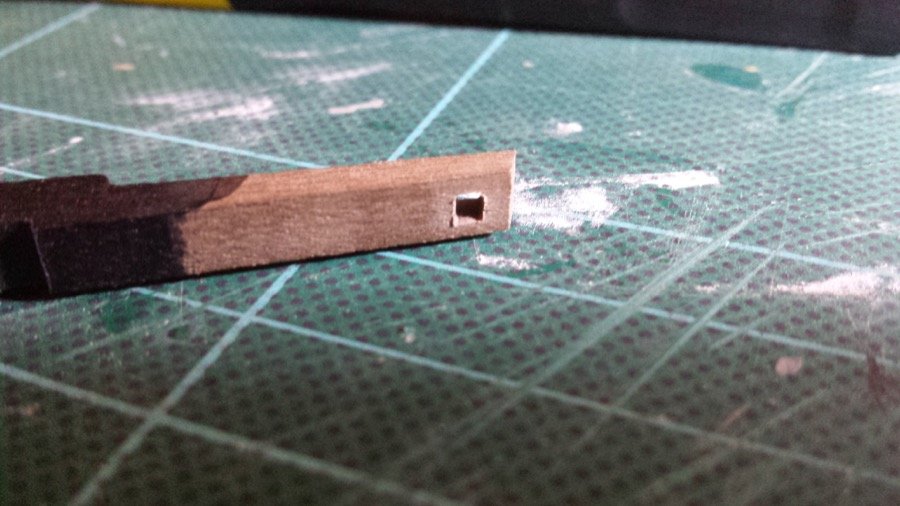
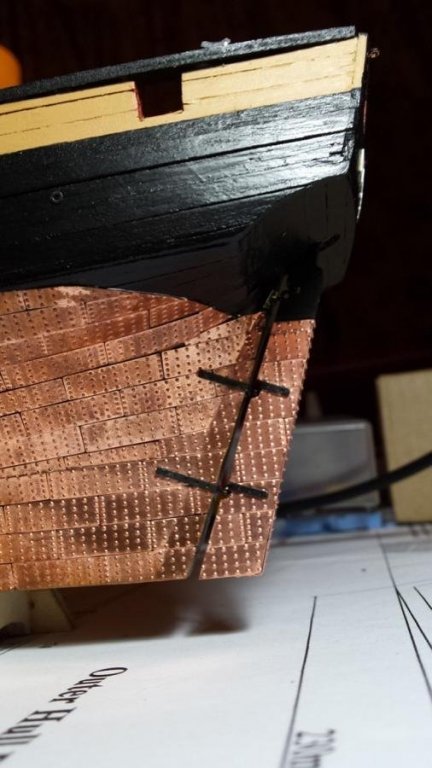
Time for another update, now I've had the chance to make a little progress... First, the channels placed together (those brass photo-etch deadeye strops are fiddly little blighters, aren't they :S ) Then I turned my attention to the rudder... The area above the plating was painted first (before plating), and the plating put on... where the rudder post comes above the deck, I'm leaving it natural. I've also drilled and filed out the square hole for the tiller. I was dreading this, but taking it slowly, it went okay. Next the pintles and gudgeons were fitted, and the rudder put in place... Finally, last night I started the elm-tree pumps: Thinking it'd be worth putting a band round the top to add a little detail? What do people think? I've been using a small pillar drill for the holes... it'd be a real fiddle without it. It's really come into its own over the past few tasks. Happy building! Rob
- 76 replies
-
- 4
-
-
- caldercraft
- finished
- (and 1 more)
-
Utterly stunning... Those carvings are beautiful. Thank you for sharing them with us. Rob
-
Hi Dave, The results speak for themselves... the planking's looking great! Looks like you're on the final stretch, and it's certainly been worth all effort Rob
-
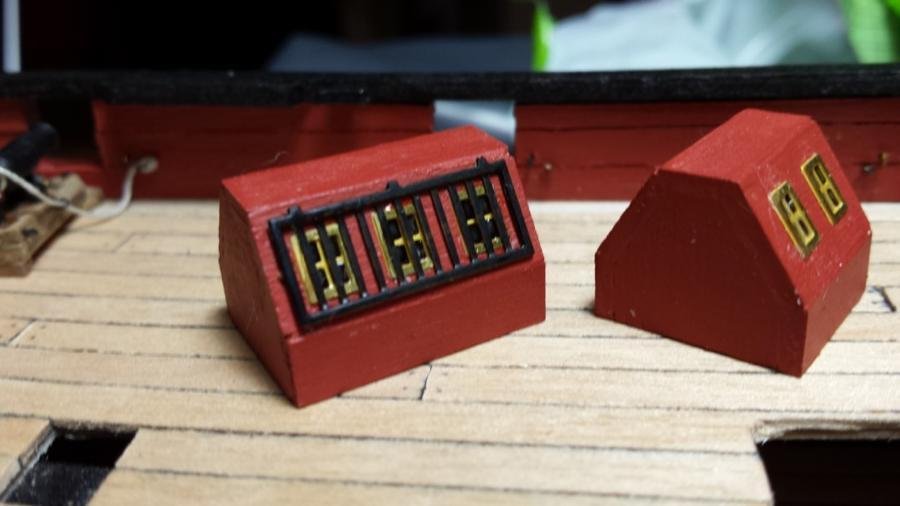
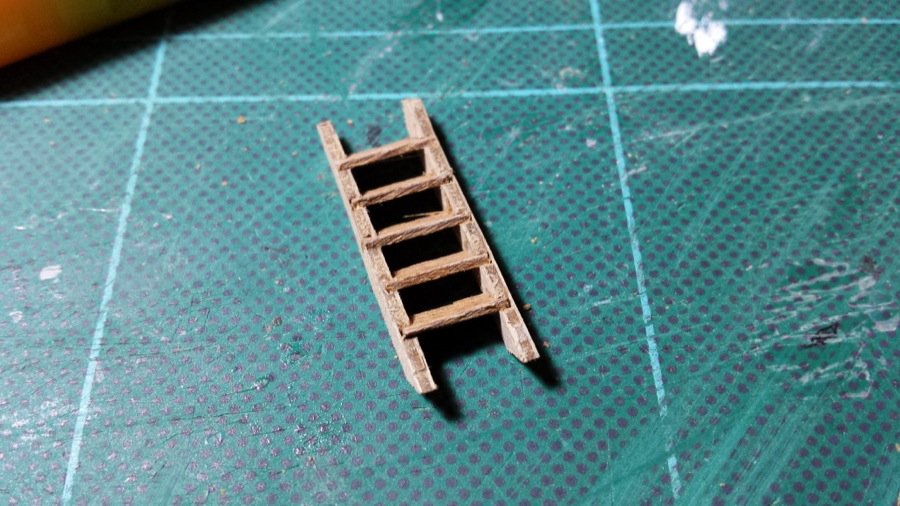
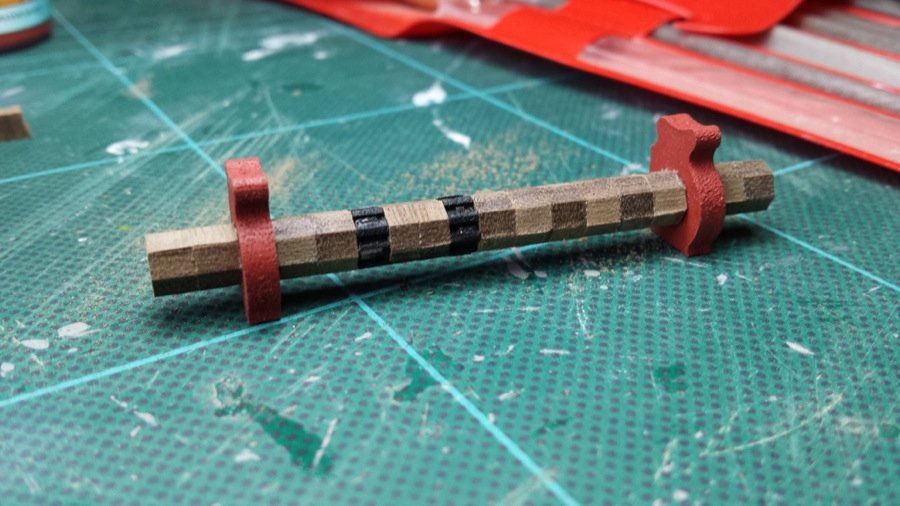
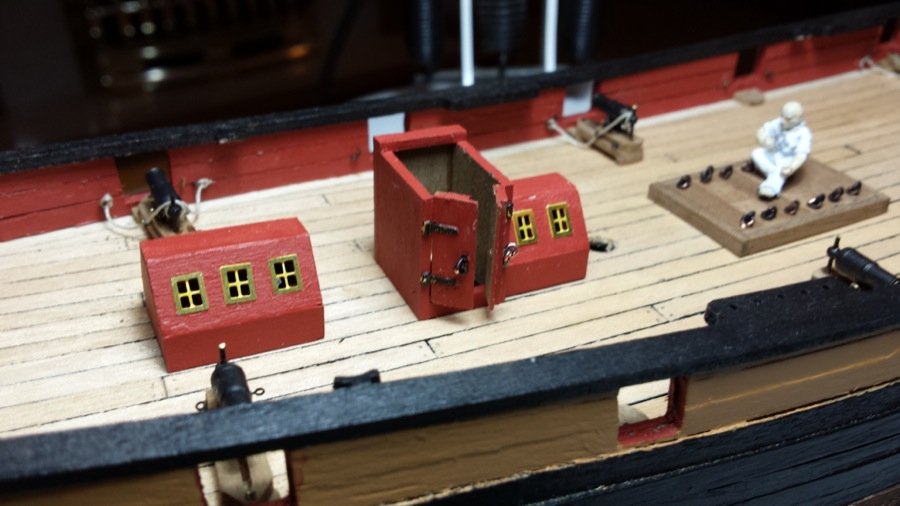
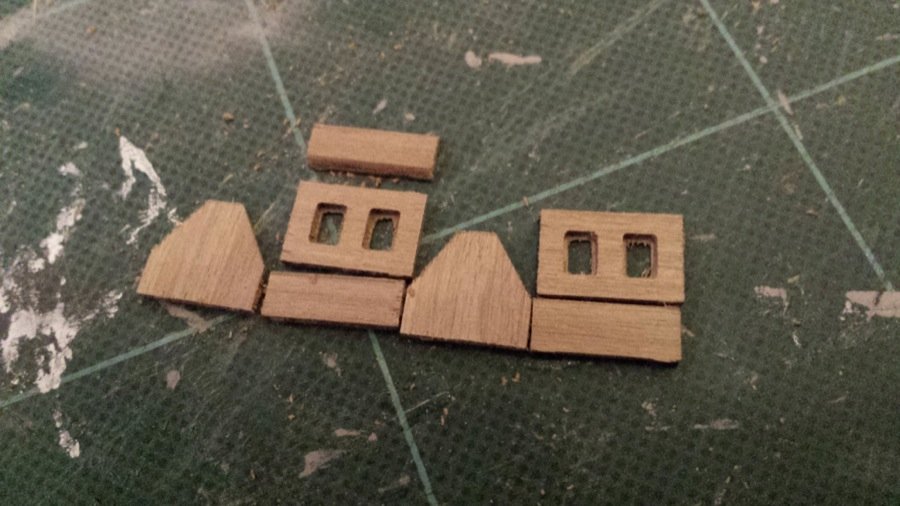
Thanks Jim, Wonderful kits aren't they Time for another update. * Breeching ropes are finished. * Skylights have the windows in place and grills stuck over them. I glazed the skylights with clear seal, which gives a really nice old effect. I much prefer it to using clear plastic... Sorry about the pictures... they don't really capture it. * Built the ladder to go inside the companionway (although it turns out you can barely see it at all through the partly open doors... - I know it's there! ) * Put the windlass together, and the pawl bitts. * Added the flue and trim in front of the grating. * Put more eyelets and cleats onto the deck. * I've also glued lots of these parts onto the deck now (except the windlass and pawl bitts). Need to read up on making square holes to complete the windlass, and put pins in the bottom to locate them firmly. Think that's pretty much it. Hawse holes and scuppers next

- 76 replies
-
- 3
-
-
- caldercraft
- finished
- (and 1 more)
-
Thanks for the encouragement, Eamonn, and well spotted... I'm glad someone's awake around here since I'm clearly not this evening! I've updated the post accordingly Rob
- 76 replies
-
- 1
-
-
- caldercraft
- finished
- (and 1 more)
-
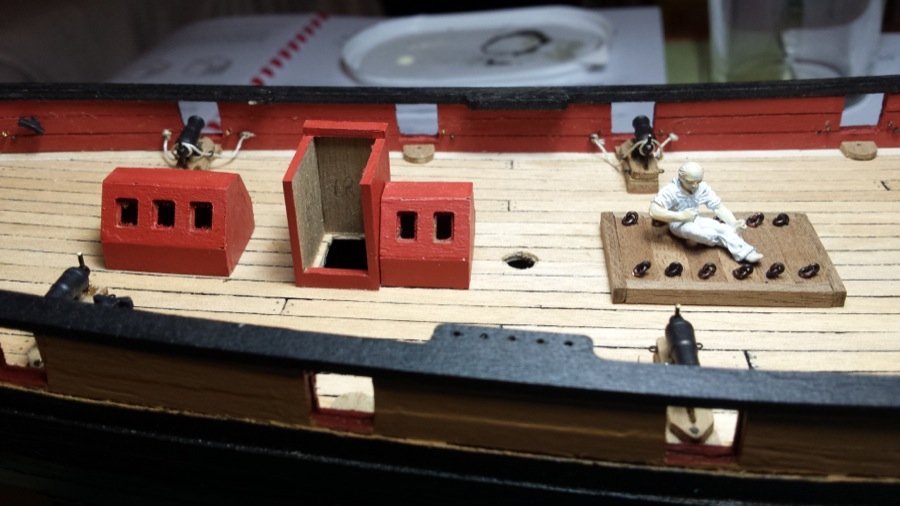
Well, I've made a bit of progress since my last post ... Added the height adjustment screws through the carronade cascabels (is that even vaguely right?) Put breeching ropes on the port carronades (starboard still to do) Handles on the main hatch Started painting the figures Put together the second skylight and companionway (all but the top hatch) - I've left the doors open a little to just give a hint of what's inside. I can see these breaking right off again, but we'll see how they go :S Put the windows on the skylights, although I haven't yet glazed them (I plan to use Humbrol clearfix), or put on the protective grills. The photos show up just how much touching up is still to do, but I'm pretty happy with it so far... All comments very welcome Rob
- 76 replies
-
- 4
-
-
- caldercraft
- finished
- (and 1 more)
-
Hi, I've got some of the Amati 25mm white metal napoleonic royal navy figures, and I want to paint them to go on my Jotika HM Schooner Pickle, but I've never painted figures before. I've heard that the Vallejo acrylics are highly regarded. Does anyone have any tips on which colour shades I'd be best starting off with? I've trawled through a bit of Youtube looking for some basic advice on preparation, priming, etc... but any other advice people have would be gratefully received, too. Thanks in advance. Rob
-
I don't mind in the slightest... stunning flower class - a real inspiration!!! Thanks for the post. And thanks for the likes for my last post Rob
- 76 replies
-
- 1
-
-
- caldercraft
- finished
- (and 1 more)
-
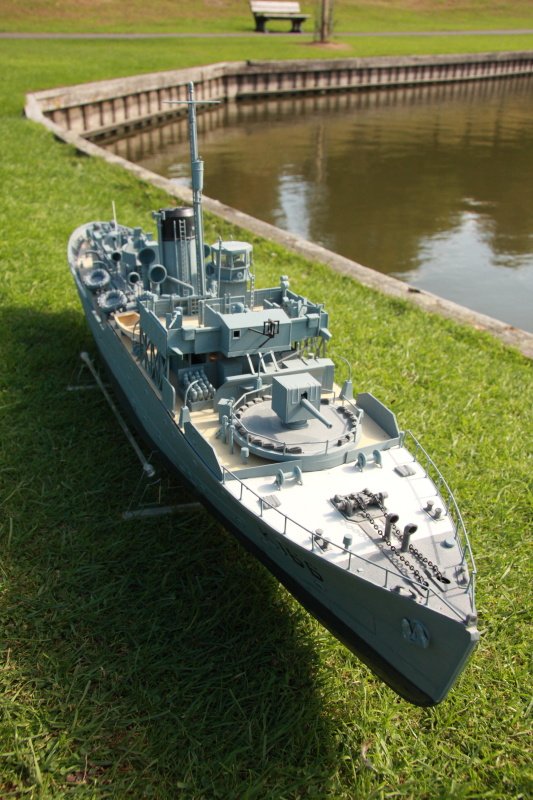
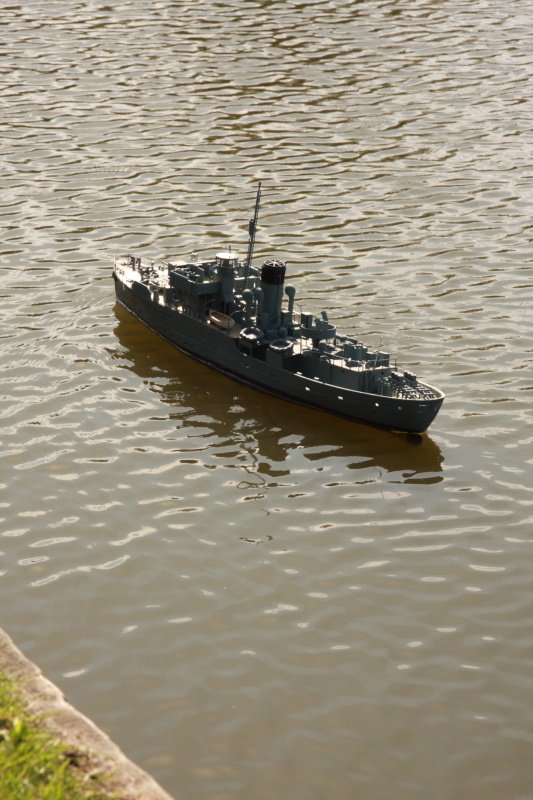
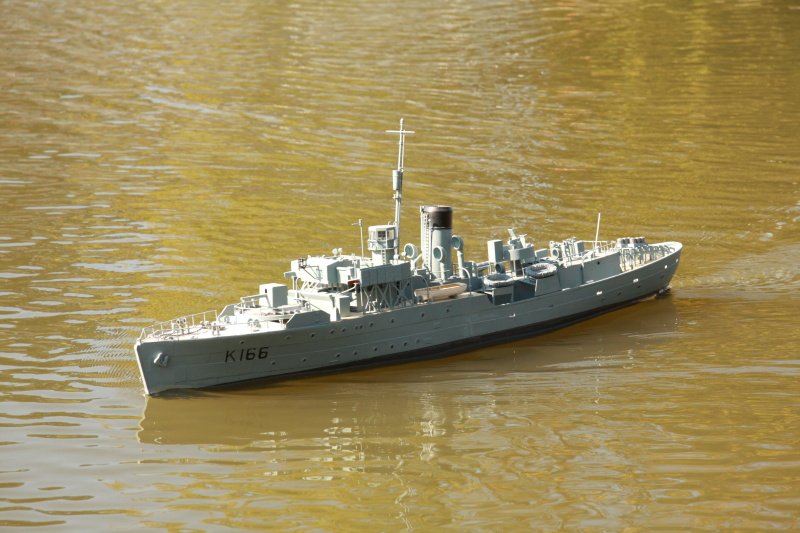
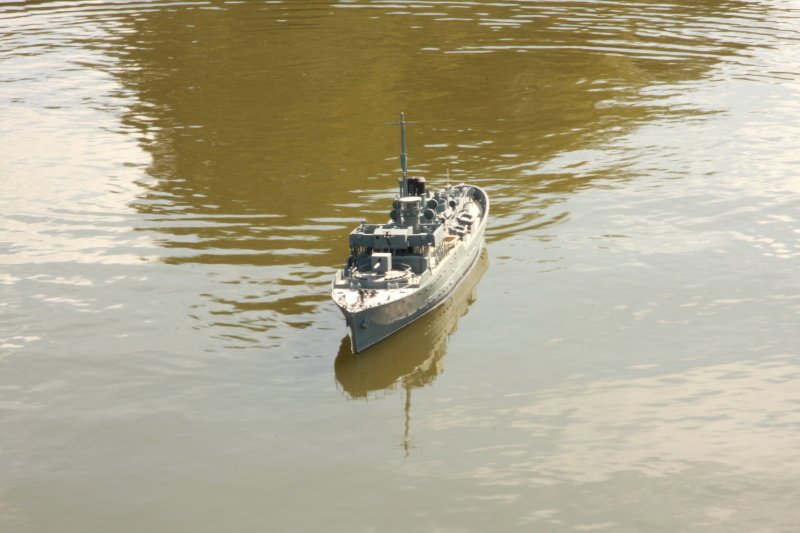
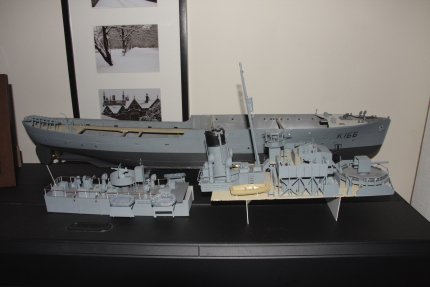
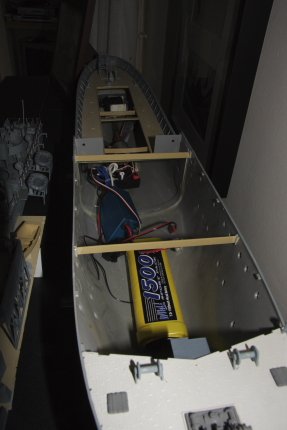
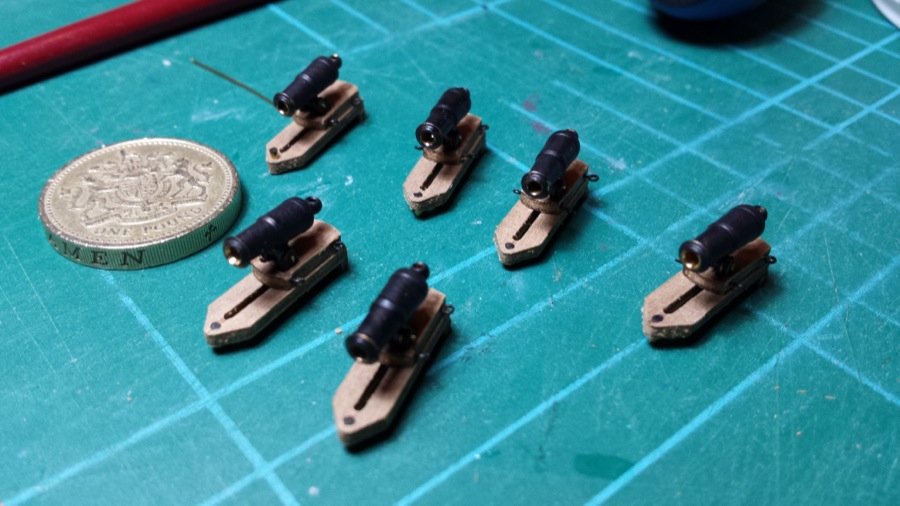
Hi Eamonn, Thanks for the kind words. I painted the carronades, along with all the eyelets, but I think I'd definitely look at blackening them on a future project. The black acrylic takes quite a few coats to get a good even finish, and I suspect it won't take much scratching before the brass underneath shows up... The avatar is of a model I built a good few years ago - the Revel HMCS Snowberry Flower class corvette in 1:72 scale, converted for radio control. It looks okay in standoff on the lake, but it's a little rough in places, close-up Here's a few pics of her on and off the water (taken in 2009)... Finally, a picture of her guts... Cheers Rob


- 76 replies
-
- 5
-
-
- caldercraft
- finished
- (and 1 more)
-
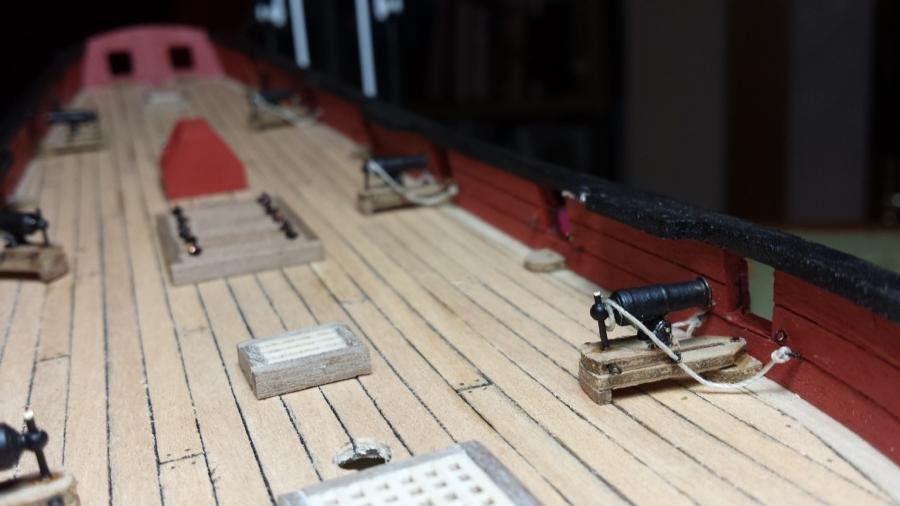
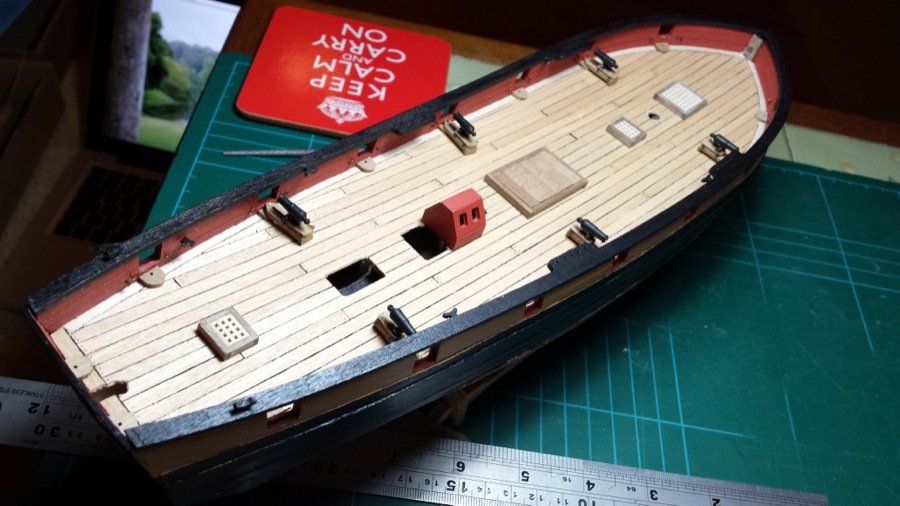
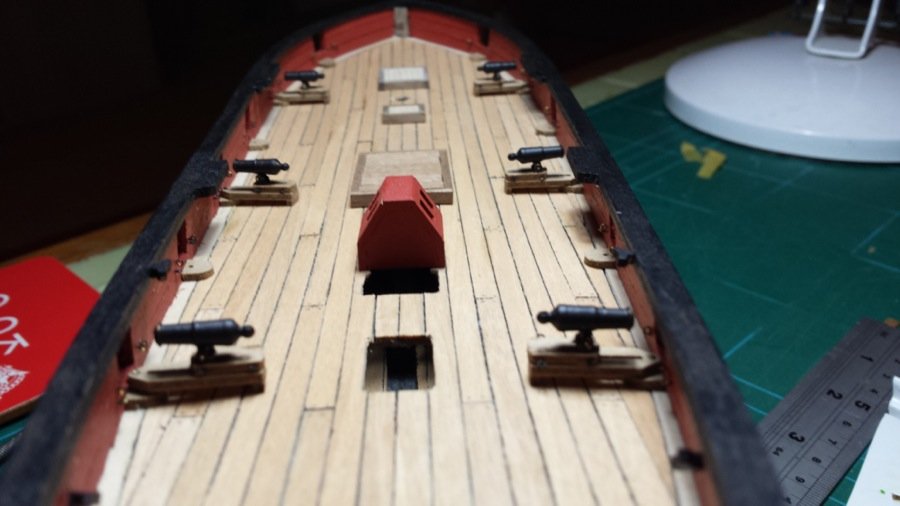
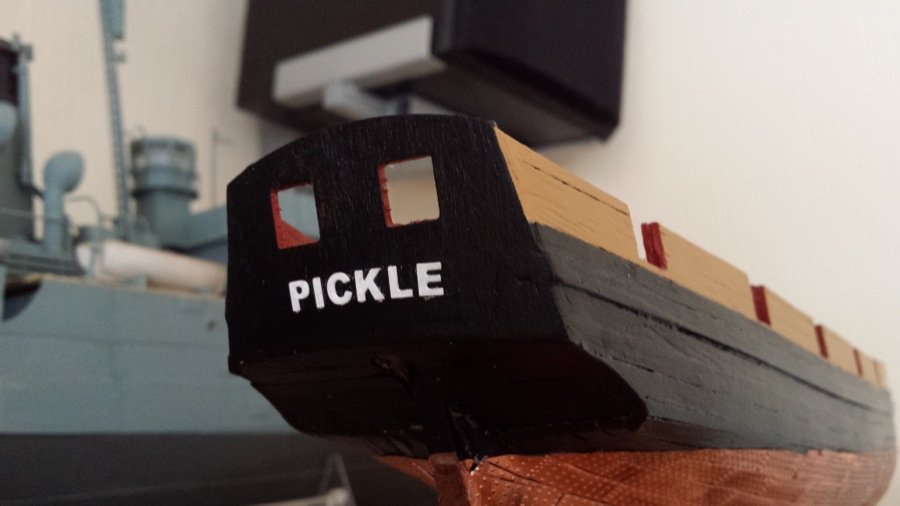
Well, I bit the bullet and got on with it... The deck's planked, the capping rails are on, and the carronades are finally built. They still need to be rigged, and I haven't put the vertical screws in the back yet, but otherwise, they're there. I've also put together the other deck grating, and decided to stick with the main hatch as per the kit for a contrast with the gratings (I notice others have replaced this with a fourth grating). Again, I haven't put the ring-bolts onto the main hatch yet. I've also put the name on the back, as per kit. Anyway. Here are some pictures of the progress so far.
- 76 replies
-
- 3
-
-
- caldercraft
- finished
- (and 1 more)
-
Thanks B.E. Yes, I agree. I'm really enjoying the whole experience of building Pickle. More pics of the deck planking coming soon Rob
-
Another update... I've had opportunity to put the stern fascia on. This highlighted that the margin planks had been trimmed too short, but I've fixed this with a plank running across the stern to tidy things up. Next job is to get the deck planked, and then put the capping rails on... (and yes... I'm avoiding doing the carronades for as long as possible ) Happy building Rob
- 76 replies
-
- 3
-
-
- caldercraft
- finished
- (and 1 more)
-
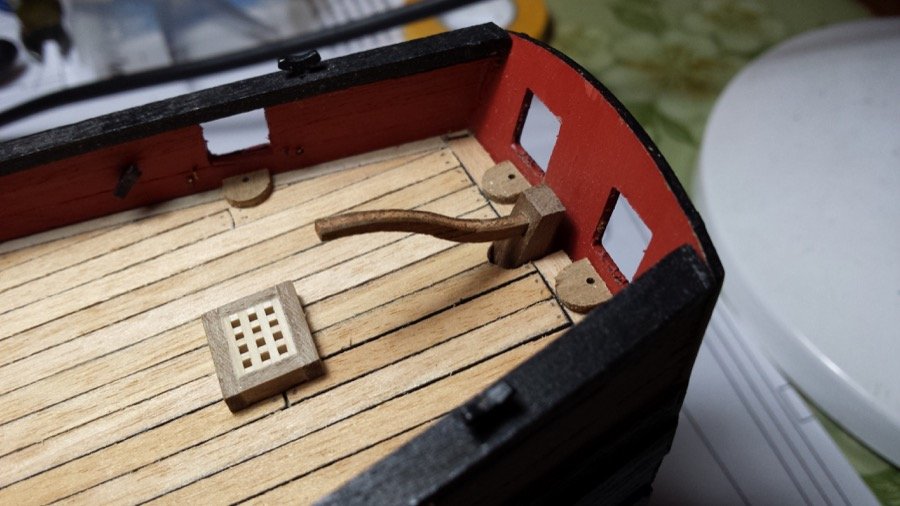
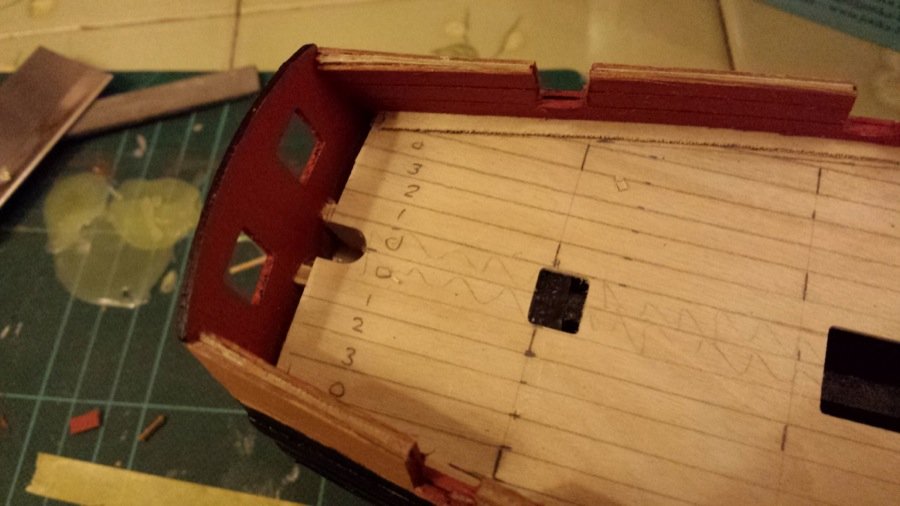
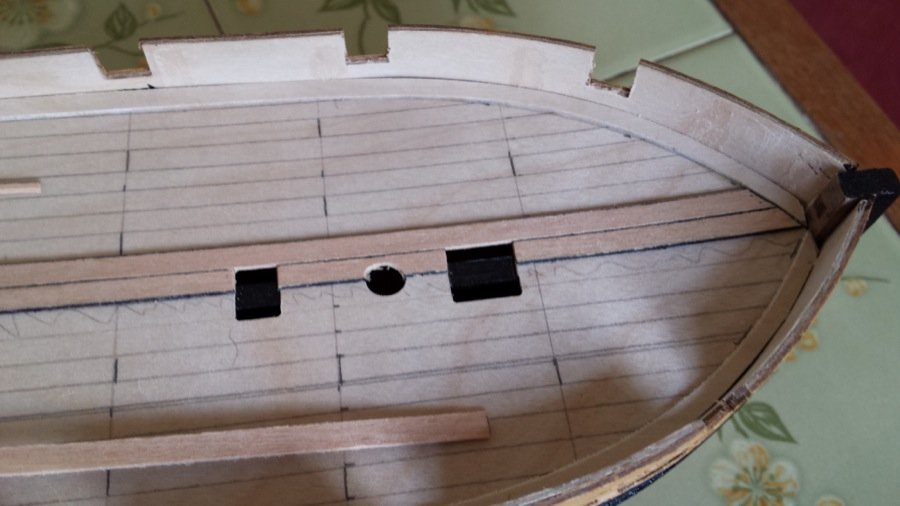
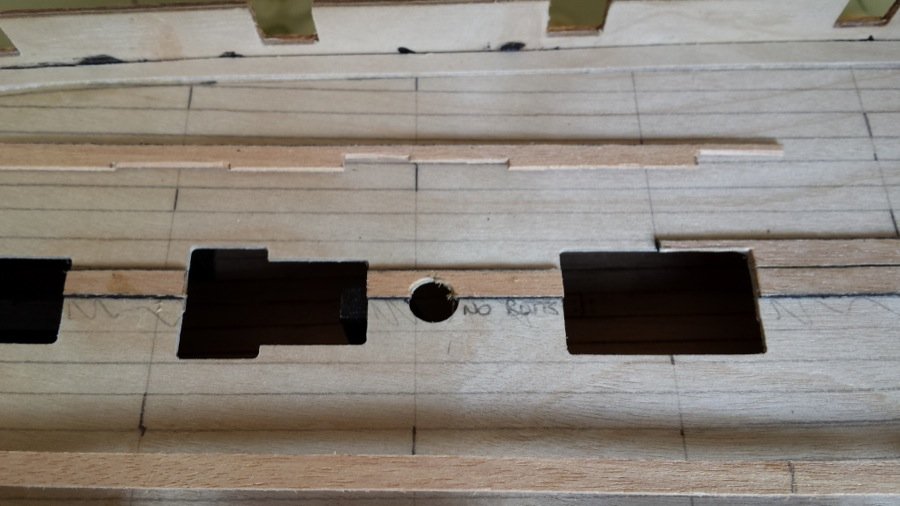
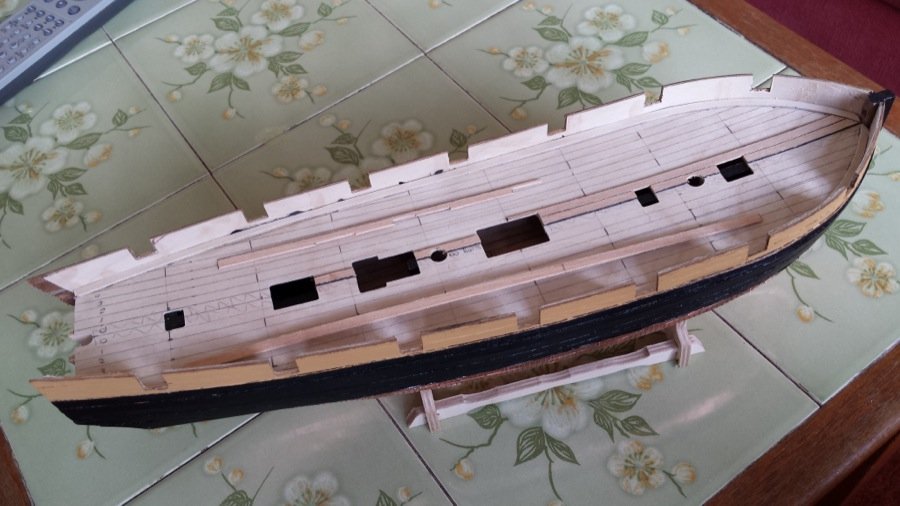
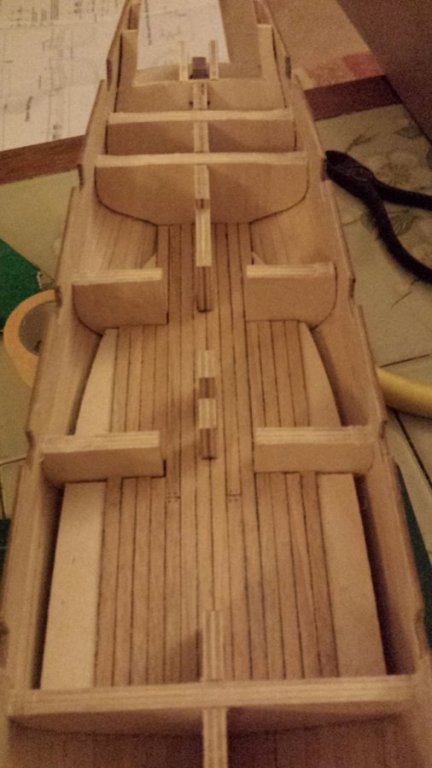
Time for another update. Since last time, I've fitted the deck, added margin planks, (thanks to Blue Ensign for the inspiration for these), started planking the deck, and started putting together the smaller skylight. I used the kit Tanganyika for the decks, and marked one side with a Black Sharpie marker. I need to remember to let the deck overhang the back so that it can be trimmed to fit the stern fascia. I really like what Blue Ensign did with the stern, but not sure whether I'm quite ready to break from the kit... looks like a place I could cause things to go very very wrong :S... But before then I need to plank the insides of the bulwarks, too, so I have a little time to think about it as I go. Thanks for the likes and encouragement. Rob
- 76 replies
-
- 4
-
-
- caldercraft
- finished
- (and 1 more)
-
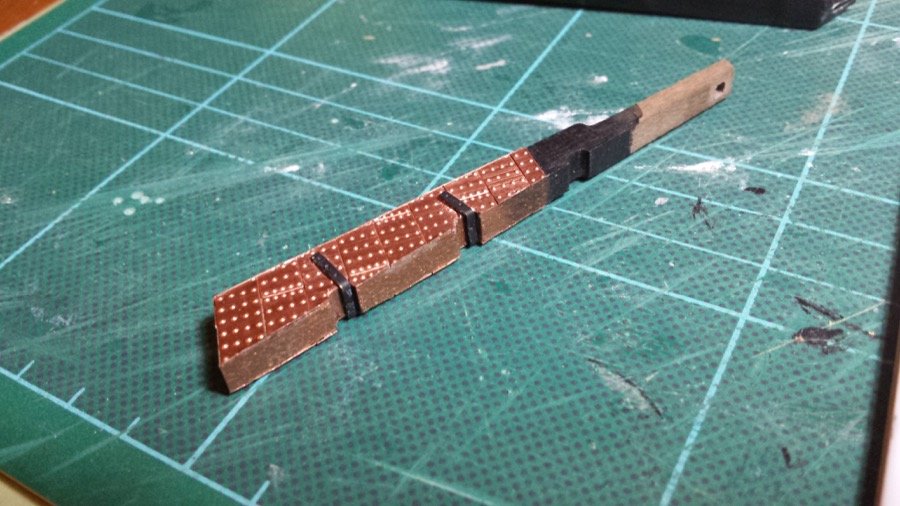
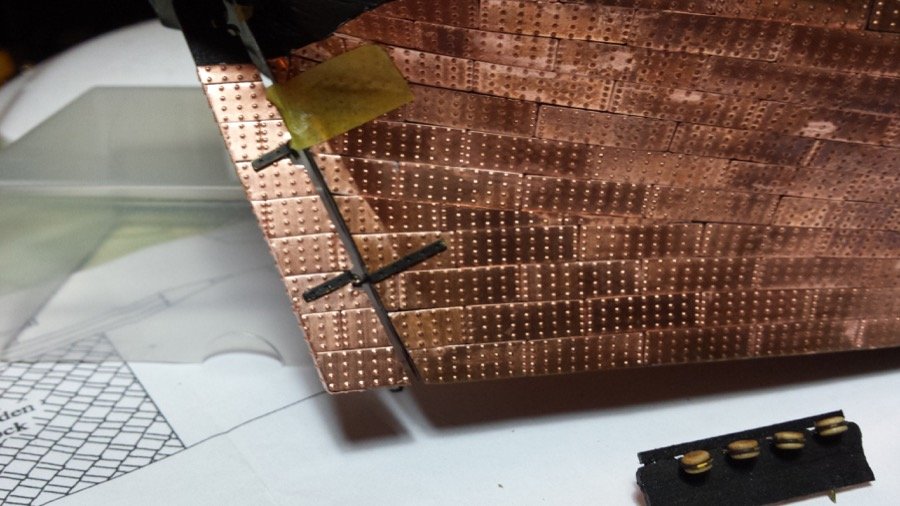
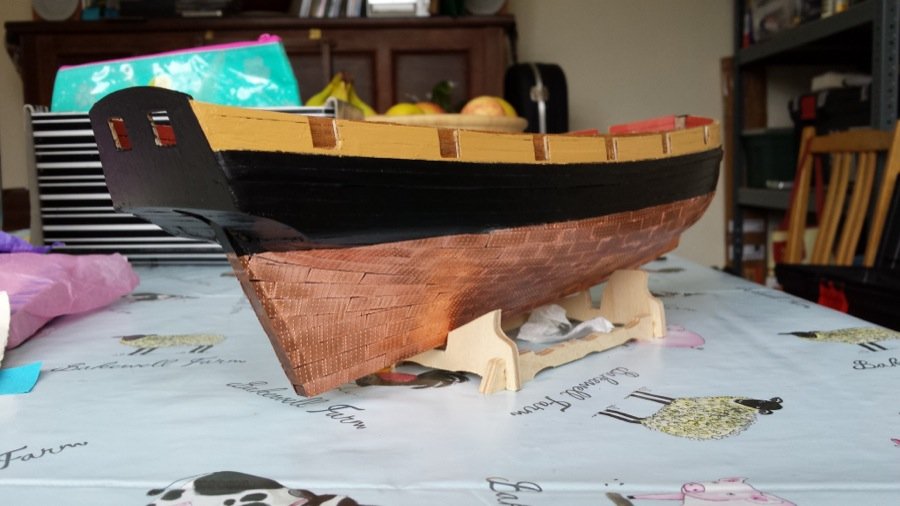
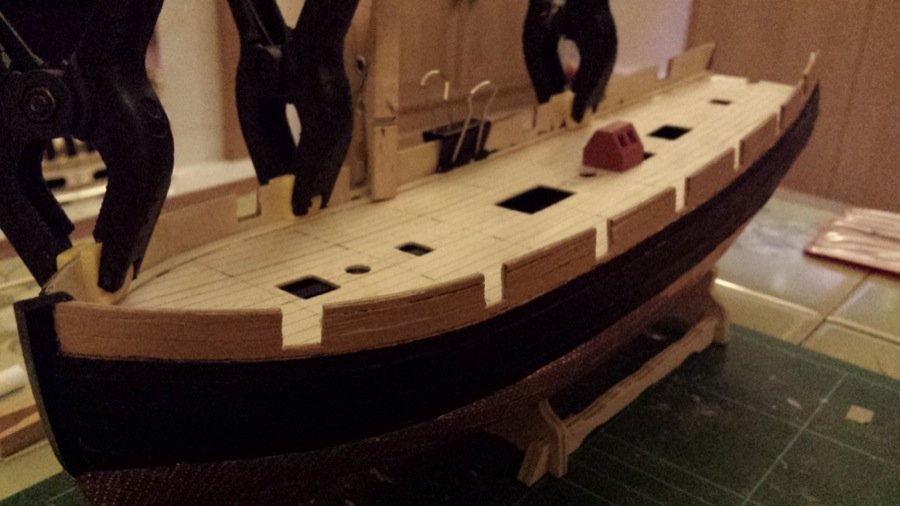
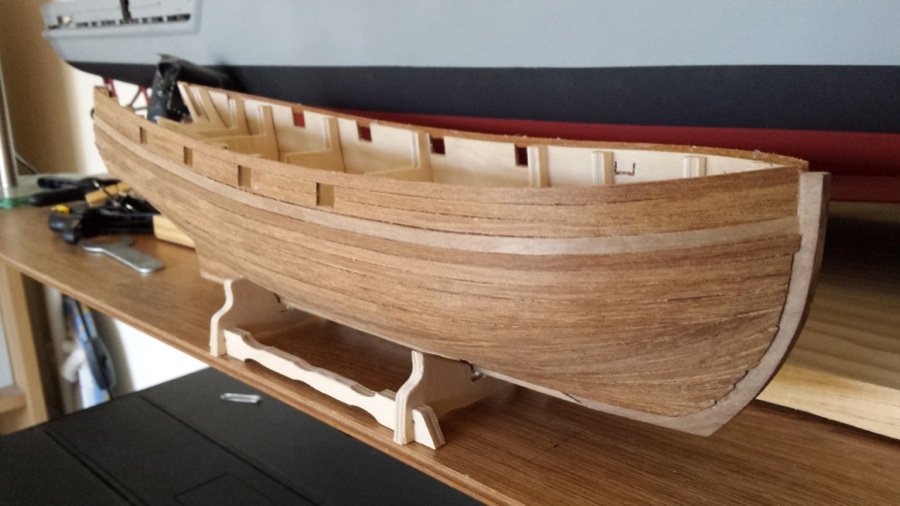
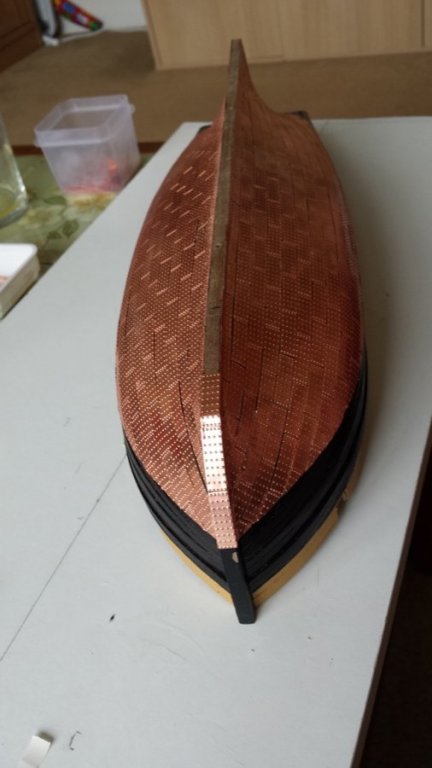
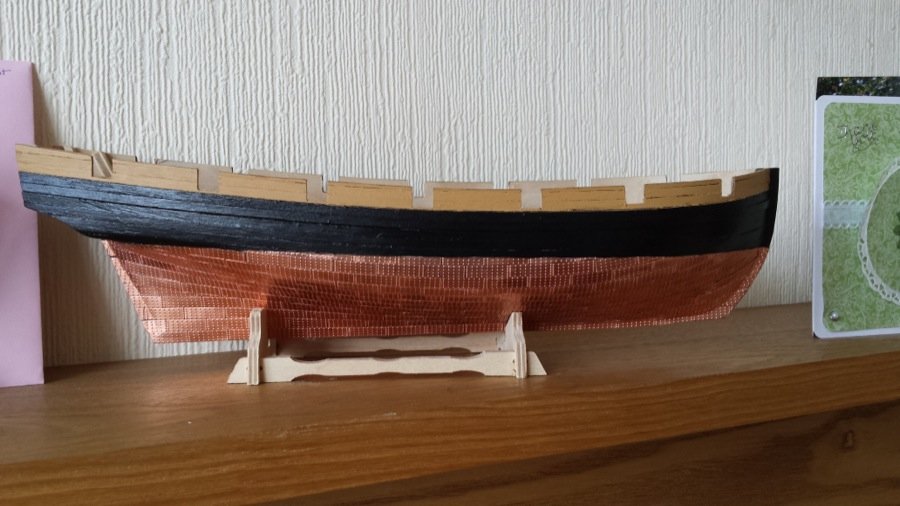
Well, I've finished the second planking Cut out the bulkhead stubs... Planked the false deck... And then broken with the order of the instructions, because I wanted at least one coat of paint on before I started the coppering... I figured it might help me to end up with a neat line at the waterline... as it turns out, it just makes marking the waterline on a nightmare (pencil won't work on black paint!)... and all I had was a huge silver marker... anyway... it's done now. Waterline marked, and coppering complete: I'm really quite pleased with it... the planking isn't completely smooth, but I like the way it allows you to see the planking underneath.

- 76 replies
-
- 3
-
-
- caldercraft
- finished
- (and 1 more)