-
Posts
1,140 -
Joined
-
Last visited
Content Type
Profiles
Forums
Gallery
Events
Posts posted by Stuntflyer
-
-
Chuck, how long are the handles for the windlass? Thanks, Mike
-
-
Anyone know a good source for wooded belaying pins?
-
Locker and cockpit details completed. The hinges were made as Chuck suggests in his build log using card stock and 28 gauge wire. I know that the contemporary model calls for a red cockpit but it ended up not looking very authentic when painted on such a broad surface using a brush. I was trying to get a even coverage but it didn't work out. I decided to do the cockpit area over again. The instructions say that using stain here is okay.
-
Michael, I tried that but the area I'm working on makes it hard to get the 0000 into the crevasses.
-
Great Augie, I will try and find it on-line. . . .Success, direct from Testors. Thanks!
-
I have been using Badger water based acrylic paints on my Longboat build. I find that the finish has a little too much gloss. Is there another finish that can be applied over it that will remove the gloss? Maybe I should have been using a different paint technique to start with. Thanks!
-
Hi Augie, I have been following your build logs since I joined MSW recently. Your work is simply beautiful and I hope that I can achieve 1/2 of what you have been able to do in the years to come. Now that my Longboat is ready for some metal work, I have a question regarding your Blacken-it procedure. You wrote: "They are then soaked in a bath of 50% 'Blacken-it'. ." Can you tell me what the bath consists of? Thanks, Mike
-
More interior details completed. I ended up braking a thwart while trying to get it under the cap rail. Fitting them close to the inner hull width means that one has to bend them slightly and they can break easily. Raising one end up so it touches the cap rail makes it easier to insert the other end. I'm still working on the wider thwart for the mast and need to paint the filler piece at the bow red.
-
Mike, I use lint free 100% cotton cheese cloth to apply the Wipe-On Poly. The Min Wax Wipe-On poly in the satin finish works great. On stained wood it will soak in so use a dry area of the cloth to wipe off the excess and let it dry overnight.
-
Molding strip under friezes and some interior details completed. The red paint is much smoother than it appears here. I applied 4 coats thinned just a little bit with water. Used 1/64" and 1/32" shims to get the floor spacing as close to the plan as I could. The front platform required a lot of sanding and fitting to place it low enough thereby making room for the risers which I have yet to work on.
- WackoWolf, Ryland Craze, Aussie048 and 7 others
-
 10
10
-
David and Chuck, thanks! much appreciated. Chuck, you said in the Longboat Instruction Manual ". . take your time and treat each plank as a small milestone", which I think is great advice. I am trying to do this with each step regardless of how simple it may seem.
- WackoWolf, MEDDO and Jack Panzeca
-
 3
3
-
First two friezes finished. Used Krylon Workable Fixatif 1306 to protect them and 3M Super 77 Spray Adhesive. If you happen to get some of the adhesive on the out side there is a great product called UnStik (see below) that will easily remove any excess without harming the frieze or the planking. I used it for many years when I was in the picture frame business. You can even use it on glossy photos.
-
-
- WackoWolf, fnkershner, Aussie048 and 3 others
-
 6
6
-
Decided to fix the shear plank by redoing the planking once more. I realize that I could have left things as they where but I need planking experience anyway. After sanding the hull with 400 sandpaper to a near sheen I applied the stain, 1 part Golden Oak to 3 Parts Natural and a coat of Wipe-On-Poly. After removing the bulkhead centers I thinned the bulkhead tops to 3/64". 3/64" + 1/32" plank + 1/64" overhang will give a 3/32" cap rail. I stained the hull inside as well. I then added the cap rail which is now ready for sanding.
- fnkershner, Ryland Craze, WackoWolf and 2 others
-
 5
5
-
Thanks! That explains it perfectly.
-
If the cap rail width is 3/32" can the depth of the bulkhead at its upper most point be slightly under 3/32" or should its edge line up with the edge of the cap rail?. Hope this makes more sense.
-
Hello Chuck,
Can the bulkheads be slightly recessed where they meet the cap rail or are they supposed to be flush with the cap rail edge? Thanks, Mike
-
Hello Chuck, Are the sheave holes for the ball truck the same 69 or 70 drill you recommended for the mast?
-
Thanks, I see what you are saying.
-
Looking at Model Shipways period ships 19th century, are there any in particular that have larger parts like dead eyes, blocks, canons, etc? I have read somewhere were some ships are easier to build than others because of this.
-
Dremel sounds like a good way to go. Perhaps a little bulky and hard to get close to the hull when drilling so I ordered this from Ebay. Dremel 225-01 36" Flexible Flex Shaft Rotary Tool Attachment. http://cgi.ebay.com/ws/eBayISAPI.dll?ViewItem&item=370943910461&ssPageName=ADME:L:OC:US:3160
-
Mike, I'm getting ready to treenail the Longboat. Did you drill the treenail holes by hand or use power? I have bits from Drill City and they tend to screw in if I try doing it by hand.


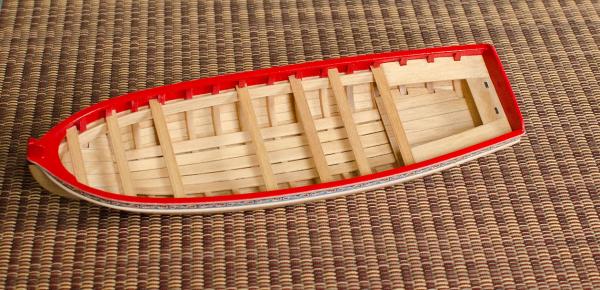
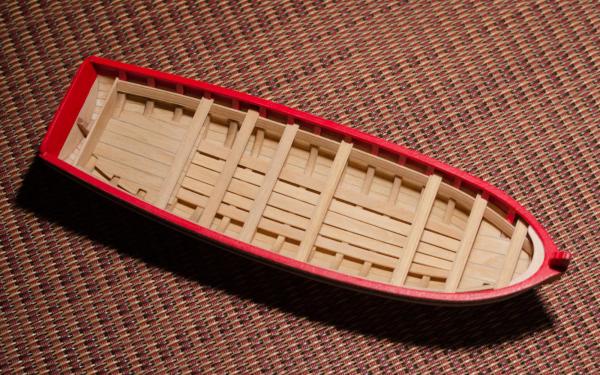

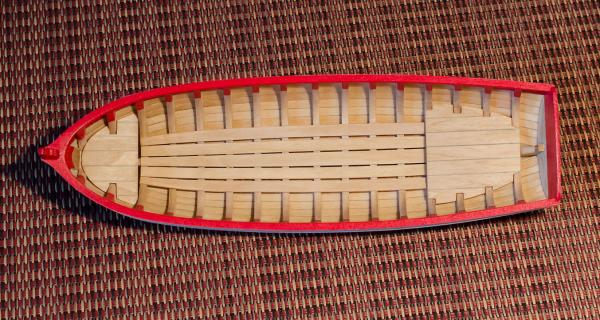
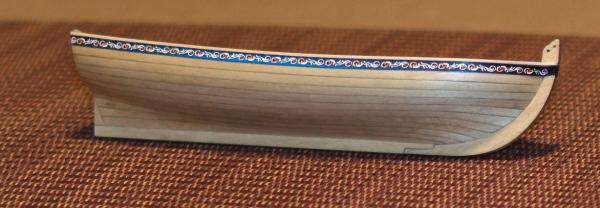

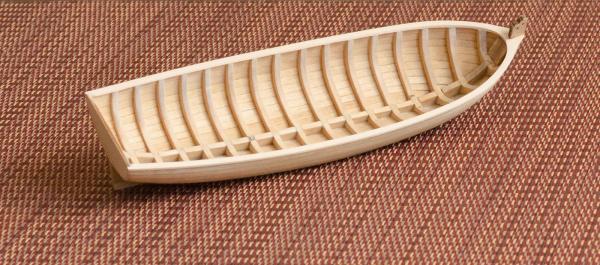
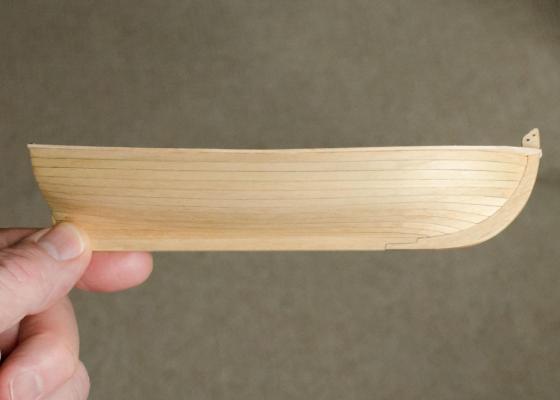
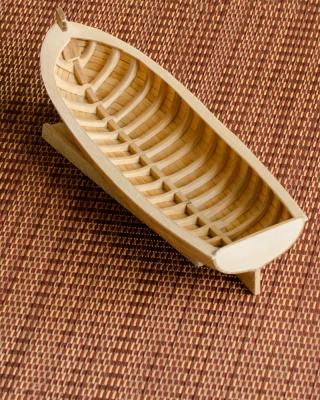
21ft English Pinnace by Mike Y - FINISHED - Model Shipways - 1:24
in - Kit build logs for subjects built from 1751 - 1800
Posted · Edited by Stuntflyer
Mike, Congrats! Just completing it should make you very proud. I'm really looking forward to your Longboat build. Again, well done.