-
Posts
1,197 -
Joined
-
Last visited
Content Type
Profiles
Forums
Gallery
Events
Posts posted by Stuntflyer
-
-
I have a few sources for the case that I want to use on Cheerful. They offer a plexi box with a round over across the top length of the box. Thanks reweir, Bob and Tigersteve for that.
https://www.ttplasticland.com/products/acrylic-display-case#
Any suggestions on what the overall dimension of the box should be? The ship dimensions are L 29.5", W 12.5", H 27"
- Canute and Ryland Craze
-
 2
2
-
I left a message. The are open Mon-Thu
-
Wasn't quite sure where to post this question. Does anyone know where I could purchase a plexi box case that has rounded edges across the top of the case? Basically it's one piece of plexi for the front, top and back. Two separate pieces for the other two sides. I had two sources that are now no longer in business.
Thanks,
Mike
-
-
-
-
Nicely done, Erik.
- Ryland Craze, Canute and Nirvana
-
 3
3
-
Beautifully done, Ben and a very unique build as well. Love the case too.
Mike
- FrankWouts and Trussben
-
 2
2
-
-
Very sad Rusty. Never easy to lose a faithful companion. She was a real cutie.
Mike
- Ryland Craze, FrankWouts and Rustyj
-
 3
3
-
-
-
-
Looking very nice, indeed. One would never know that things have slowed down.
- FrankWouts and westwood
-
 2
2
-
-
One of the things I ran into was the inside of these timbers can be over faired if not careful. It could lead to areas that are too shallow be faired smoothly . Since your working in AYC I wouldn't worry too much about trying to get the inside faired perfectly at this stage. Maybe consider just angling close to the fairing lines but not on them. HTMS.
Mike
- Rustyj, FrankWouts, KentM and 3 others
-
 6
6
-
Looking really nice. Keep in mind that as you add more frames you will probably need to fair previously done ones some more. At least that's what I found.
Mike
-
Over the weekend I completed the construction of the inboard side of the transom. My goal was to leave as little gap filling as possible. No easy task, for sure. The red paint work still needs to be completed, just not into it right now.
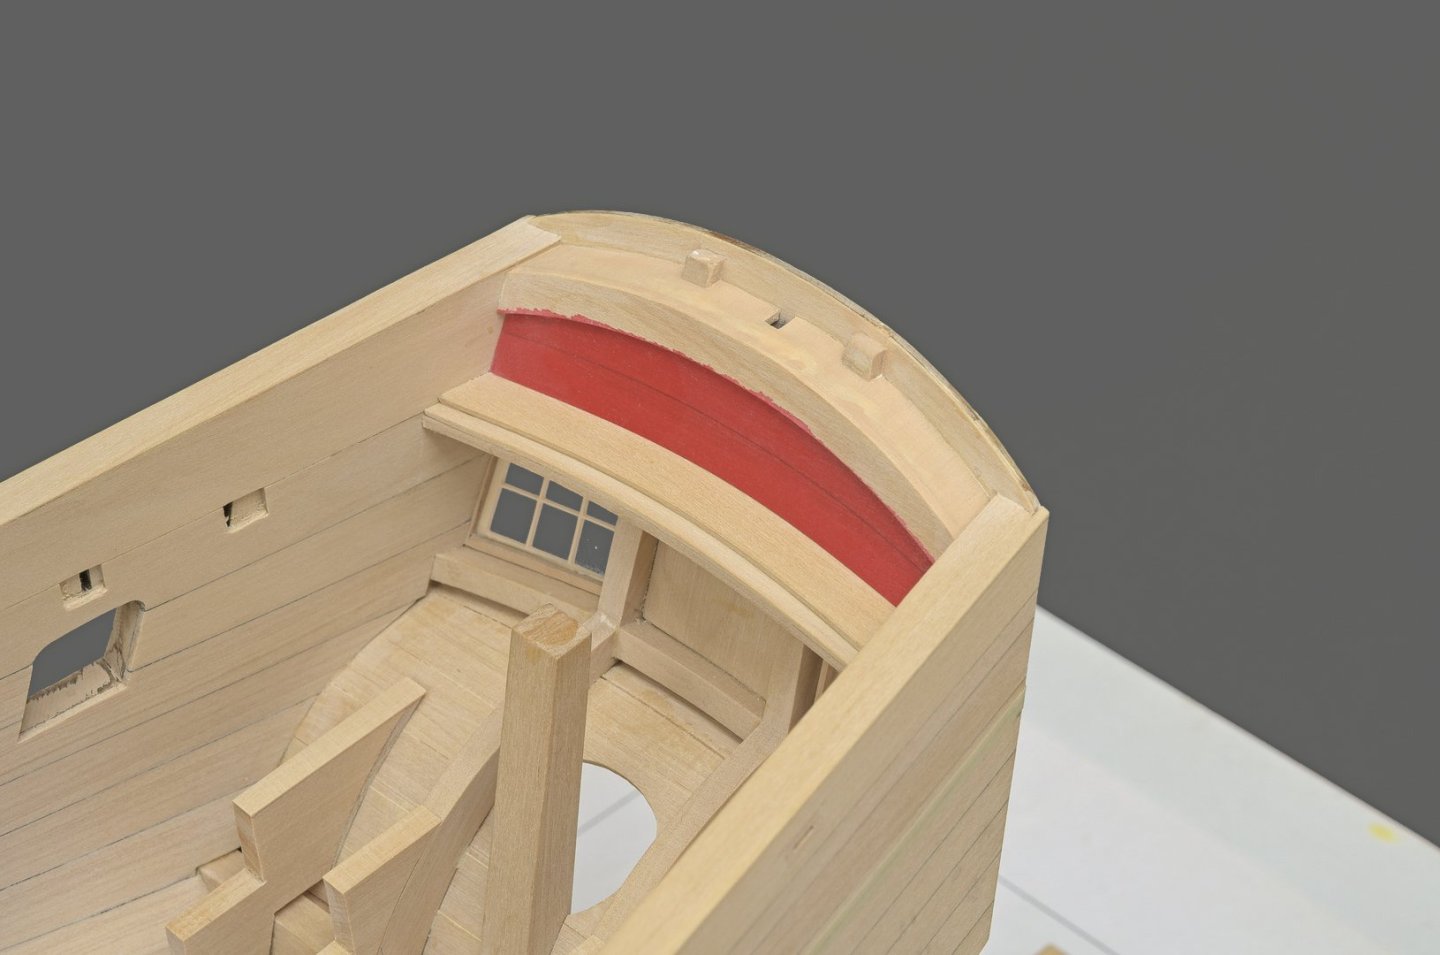
Bench lockers
So far I've added the four main bench support pieces. I made sure that they where all equidistant from the forward edge of the lower aft platform and the tops where even with each other. I had to add some filler pieces to the outer two supports where they come in contact with the counter. You can see that in the above photo. There a two more support pieces that sit against the cabin planking which I will add later on.
Mike
- gjdale, CiscoH, JacquesCousteau and 25 others
-
 28
28
-
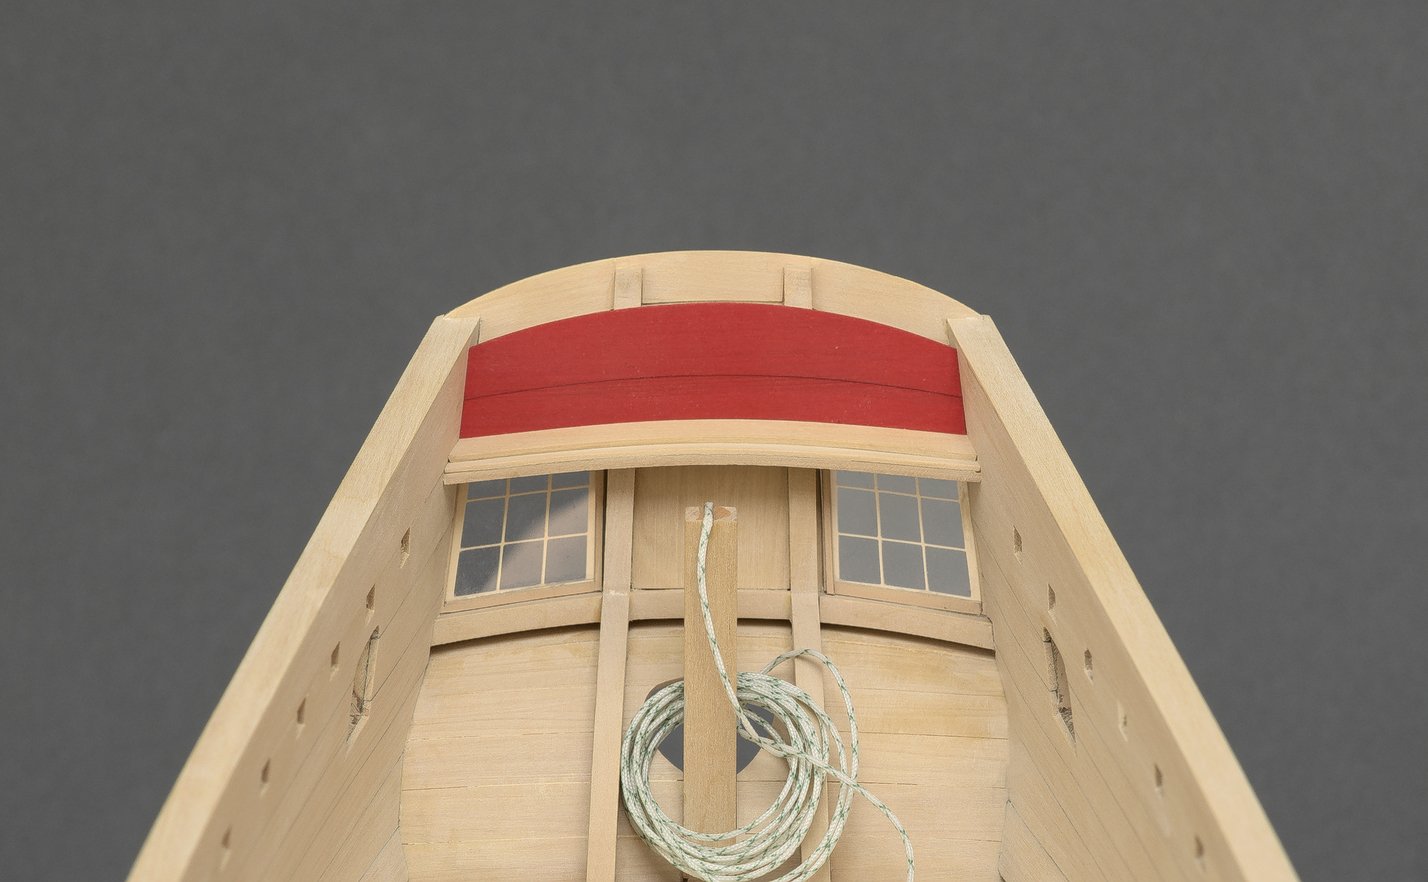
I wanted to get the 1/64" thick quarterdeck cap rail installed and sanded before adding the inboard transom planking. Lessons learned from the past, I added the cap rail using medium CA, moving slowly along the length of the it's outer edge. Any excess spill can be easily removed before the CA sets with a damp Q-tip. I know that sounds crazy but it works quite well. With the outer edge of the cap rail completed, I switched the inside edge. With both cap rails completed I then I added the inner transom planking.
Mike
-
Transom
If you take a Look at the photos in my last post you should be able to see where the cedar transom template had split in a few places. There are actually four cracks overall and were probably caused by my rough handling here and there. They have all been glued back together but remain problematic when prepping for the red paint work ahead. I decided to cover it up with a .010" boxwood veneer made in three parts. I'm very happy with the result and the transom is much stronger than before.
I made the inboard transom planking in two parts from 1/32" boxwood. I went with thinner wood which leaves the whole piece flexible enough to conform to the curve of the transom without placing to much stress on the butt joint. I won't glue it in until after it is painted. I also added the margin strip for the quarter deck planking.
Mike
-
Glenn,
You should very proud of the really nice work that you have done on Winchelsea. Looking forward to seeing your next project.
Mike
- glbarlow and FrankWouts
-
 2
2
-
Nice, Ben. I like that you pinned the channels.
-
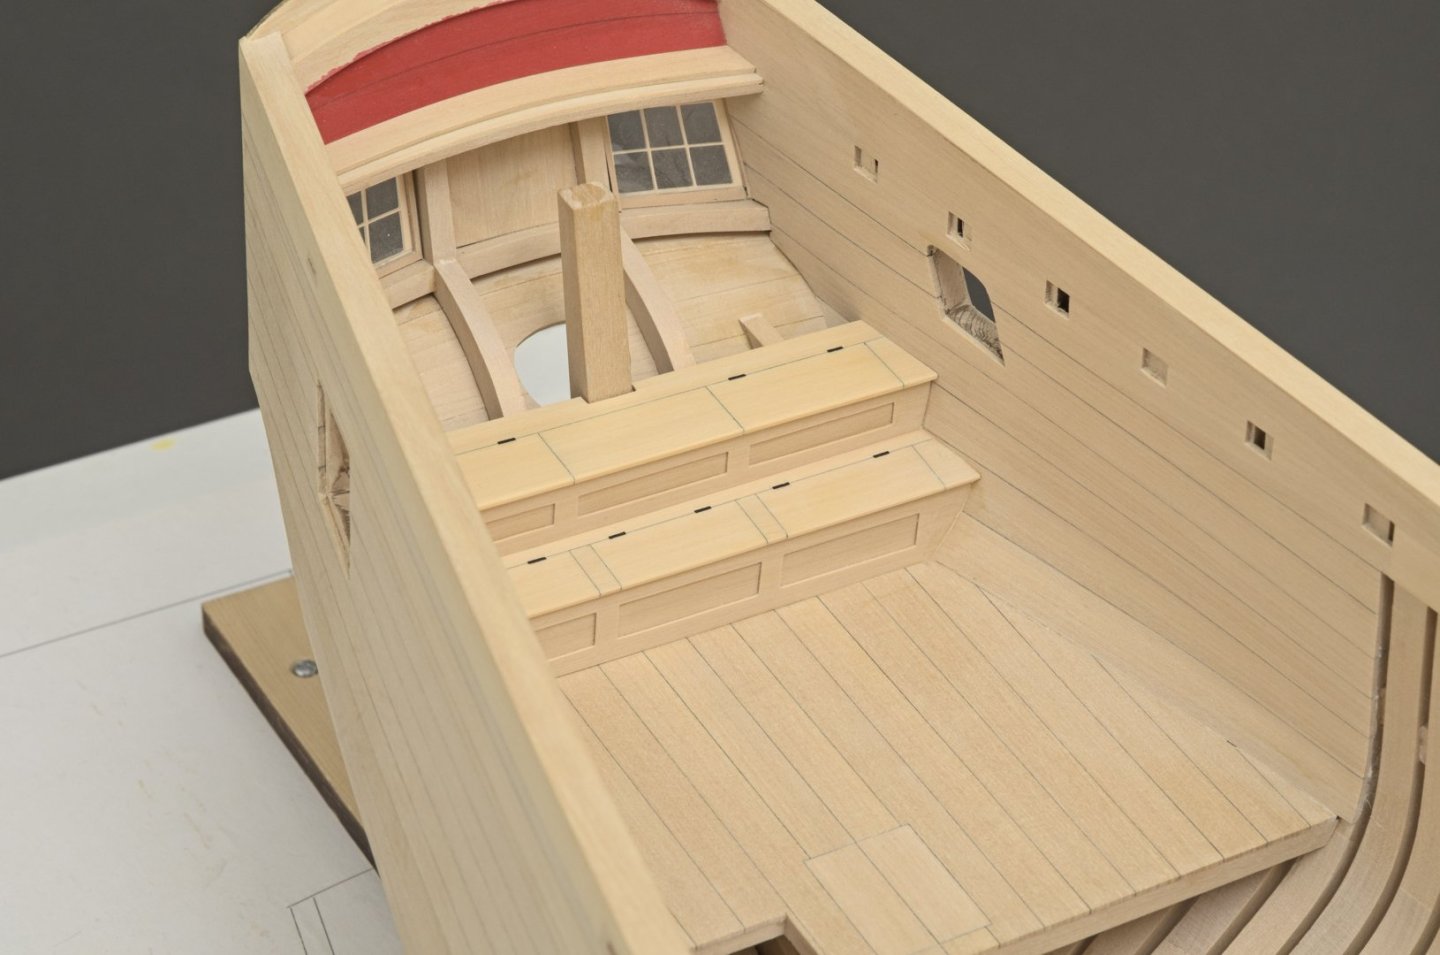
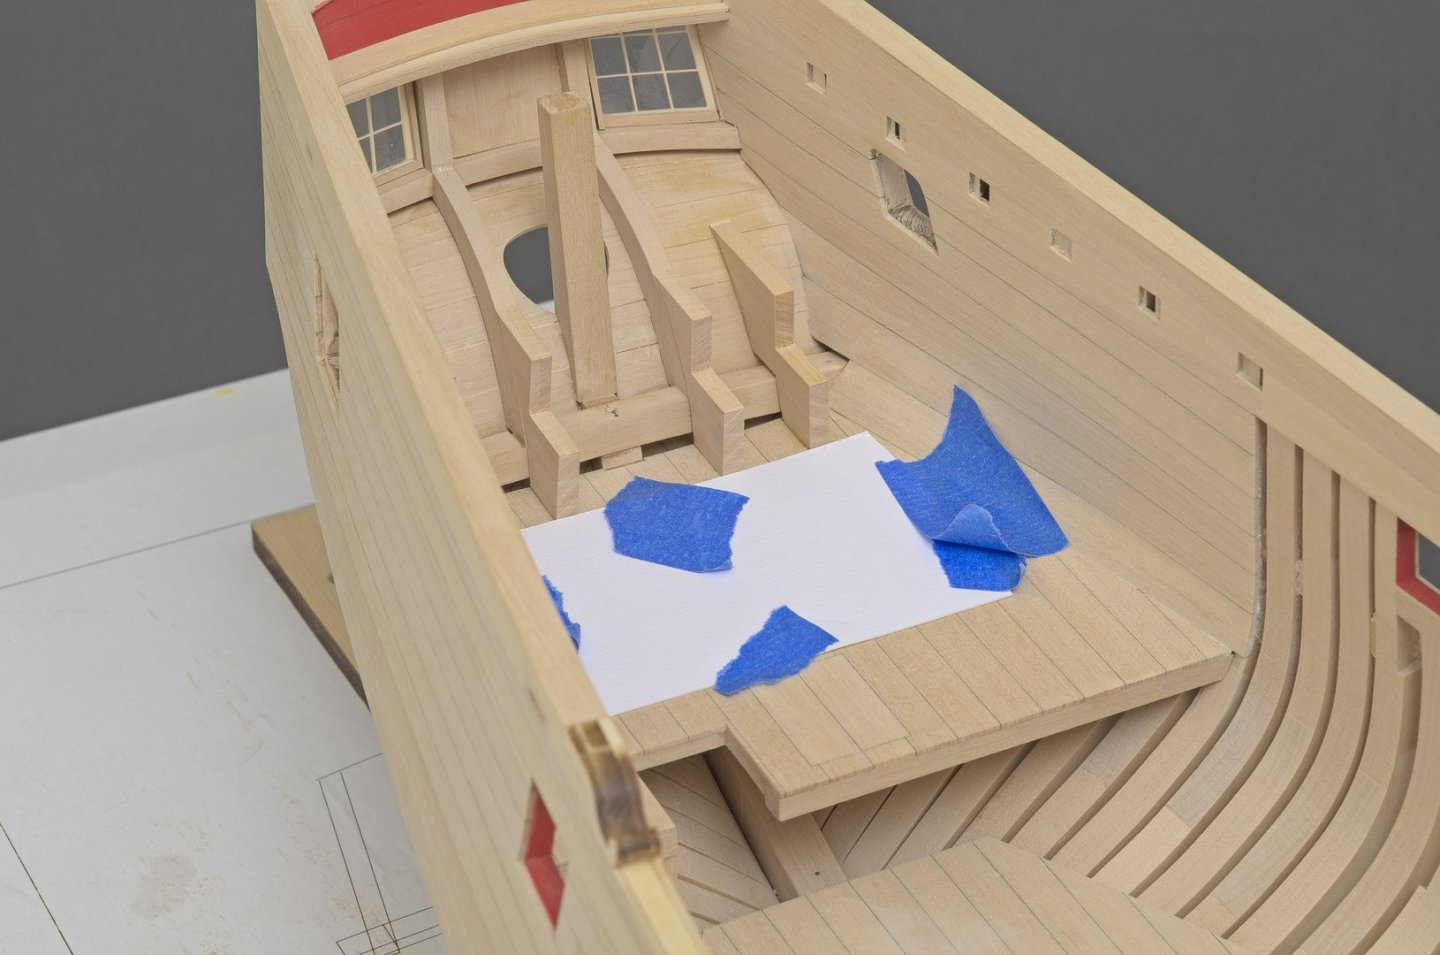
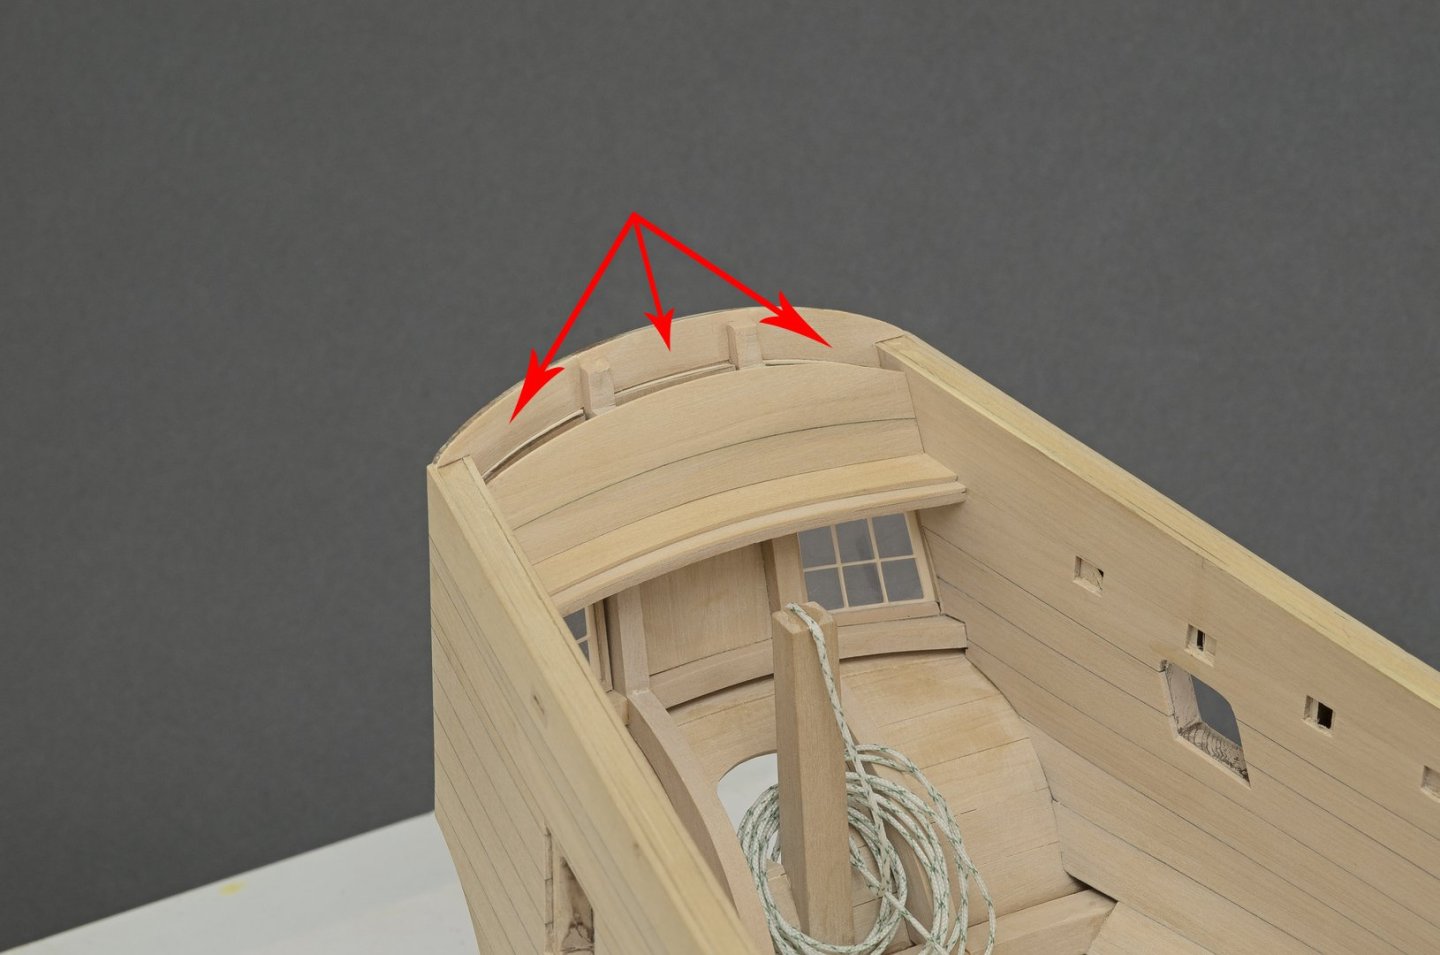
Quarterdeck beams
I finished the quarterdeck beams using the ones from Chuck. Other than having to enlarge a few bulwark cutouts, it went smoothly. I scratched the transom beam which is made in two layers. It was adjusted in thickness in order to get a smooth run of planks. To do that I made the top 1/32" thick rather than 1/16". None of the beams are glued in except for the transom beam. The deck has a curved sweep. When I push down on the plank it sits flush with all the beams.
Mike





The Hayling Hoy 1760 by Stuntflyer (Mike) - 1:48 scale
in - Build logs for subjects built 1751 - 1800
Posted · Edited by Stuntflyer
No Christian. I have shelved the project in order to pursue, once again, a hobby which I was actively involved in from 1973 to 2006. Control line precision aerobatics. All the ships are being well preserved should I decide to start building again.
Mike