Stuntflyer
-
Posts
1,197 -
Joined
-
Last visited
Content Type
Profiles
Forums
Gallery
Events
Everything posted by Stuntflyer
-

Drilling Sheave Holes For Masts
Stuntflyer replied to Stuntflyer's topic in Modeling tools and Workshop Equipment
Q A, That's just what I was looking for. I will pick up the bench block and centre drill. I'm sure that Russ's way would work too but I don't trust myself doing it that way. Thanks! -
Drilling Sheave Holes For Masts
Stuntflyer replied to Stuntflyer's topic in Modeling tools and Workshop Equipment
Wow, some very impressive tools you got there. Well, I'm no machinist, that's for sure. However, using the suggestions above, I have come up with an idea that I think will work. I have started on it but won't finish until I get back from vacation. I will put up a few pics then. -
Hello, using a drill press, is there a good way to center and hold dowels for drilling small sheave holes. Thanks, Mike
-
Chuck, What size drill would you recommend for drilling the sheave holes into the mast? Thanks, Mike
-
Thanks Mike, I just finished reading your Pinnace build log. Very nice work!
-
Mark, I have found through some tests I have made that basswood looks better if I use a lighter stain. It's not as blotchy. See. . .http://modelshipworld.com/index.php?/topic/4930-18th-century-longboat-by-stuntflyer-mike-model-shipways/. . post #12. So, if this is true, I would like to find out if other woods suitable for planking the hull would take a darker stain better while having the flexibility of or similar to basswwod for edge bending, etc. Also, I will look into using sanding sealer as a prep. Jaager, I will look into this too. So many different ways of doing things. Thanks!
-
Sam, Great advice, I will keep that in mind when I start the staining process. Andy, One reason why I picked the Longboat was that it had both planking and rigging. I wanted to see if I could build it without making a mess of things. The planking was very challenging and I expect the same thing when I do the rigging. So, for sure, my next build will take rigging into the equation.
-
Having stained a few small test pieces(roughly sanded)I noticed that using a 50/50 mix of Minwax Golden Oak and Natural produced some patchy spots whether I used the Minwax Pre-Stain or not. I decided to compare the 50/50 mix with a mix of 1 part Golden Oak to 3 Parts Natural like Ryland Craze did on his build. I Pre-Stained the sample and waited an hour before applying the stains. The picture shows the untreated(roughly sanded)wood of the same color tone above the stained sample. The 1 to 3 mix on the left and the 50/50 mix on the right. I appears that using a lighter stain on basswood gives a better result. However, what I found was sanding the wood very smooth with 400 sandpaper before applying the stain gives good results whether using a light or dark stain.

- 109 replies
-
- 2
-

-
- 18th century longboat
- model shipways
- (and 1 more)
-
I'm not familiar with using sanding sealer first. I plan on using minwax colors, Golden Oak and Natural mix. I have the Minwax Pre-Stain which some say will help the stain go on more evenly across the surface once it is applied.
-
Is there a preferred wood that will stain more evenly and perhaps even bend more easily than basswood?
-
Andy, I realize now that I need to take more time reviewing the plans and other build logs as I move through each step. This is something I will do from now on. Thanks for the feedback and kind words. Mike
-
Great, thanks!
-
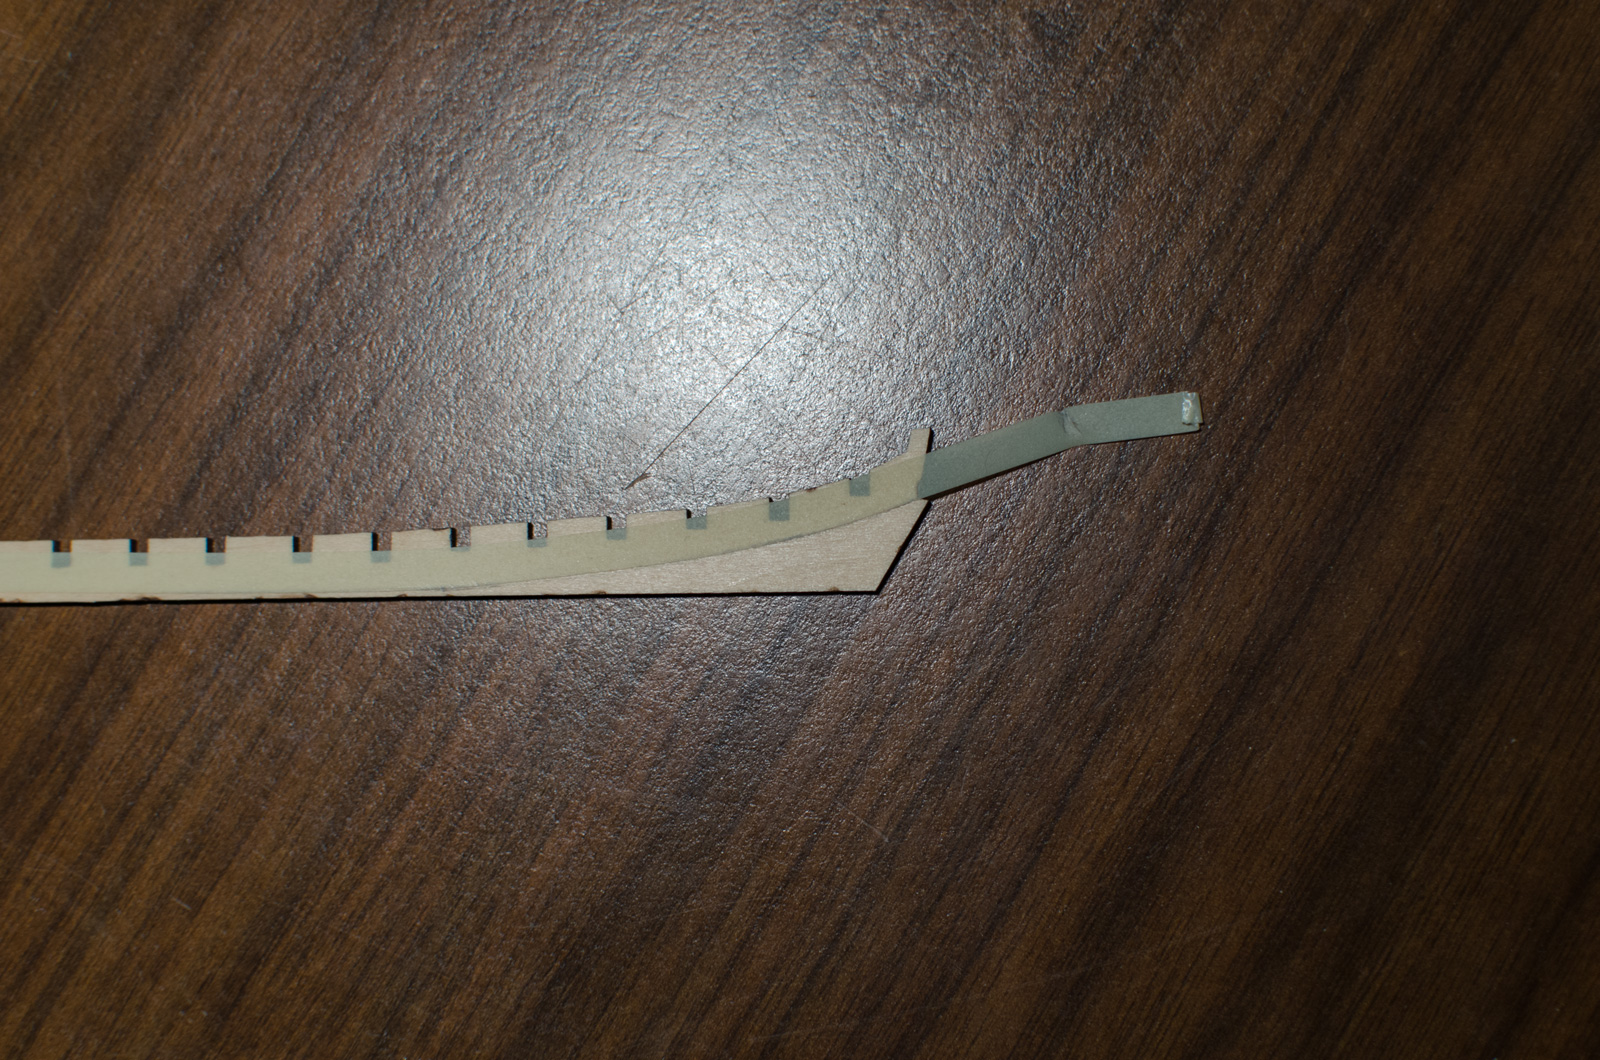
Chuck, after tapering the shear plank, leaving room for the cap rail to fit on top and inline with the indent on the stem. I'm wondering if this will work?
- 109 replies
-
- 3
-
-
- 18th century longboat
- model shipways
- (and 1 more)
-
Chuck, I see what happened. The stem has an indent(for lack of a better word) in it's profile. Instead of leaving clearance for the cap rail I ran the shear plank up tight against the indent. I checked the measurements on each bulkhead from their tops down to the top of the shear plank and they are all correct. It's only after "H" that I pushed the shear strake up into the indent. This is what created the extreme curve in the front. In order to clear for the cap rail I would have to remove 1/32" from the top of the shear plank and gently taper the shear plank aft. I doubt if this would totally remove all of the the curve however. This would also probably create a problem for the frieze fitting nicely into a constant shear plank height. I'm not quite sure how to get around this one. Unless I start over AGAIN!!!! LOL!
- 109 replies
-
- 1
-
-
- 18th century longboat
- model shipways
- (and 1 more)
-
Bob, thanks. Planking is completed. I found your expertise to be extremely useful and it made things go much smoother than the first go around. http://modelshipworld.com/index.php?/topic/4930-18th-century-longboat-by-stuntflyer-mike-model-shipways/?p=141930
-
Bob, If you look at my log you will see that I had some trouble. I'm on the right path now, however. I will be using a total of 12 strakes. I'm figuring that the bulkhead in front of the garboard strake, "F" will get 11 strakes, "G" will get 10 and "H" will get 9. Correct? With the shear strake and the one below it installed, It also appears that the 7 remaining planks that fit across "H" need to taper close to 1/16" or so in order to fit them all in. Does this seem right? Thanks, Mike http://modelshipworld.com/index.php?/topic/4930-18th-century-longboat-by-stuntflyer-mike-model-shipways/?hl=%2B18th+%2Bcentury
-
Found it here. . . http://www.leevalley.com/en/wood/page.aspx?p=32639&cat=1,310,41069&ap=1
-
I'm looking for a planking scraper that has multiple curved shapes. I remember seeing it somewhere on the site but lost the link to where to buy it. Anyone know where I can get one? Thanks
-
Bob, That explains things much better. I will give it a try.
-
Happy New Year Bob, I just finished reading your excellent build log here. I just started the Longboat myself and I am very new to this. Can you please explain or show how you edge bent the plank sitting next to the garboard plank. I am having difficulty trying to make that curve without putting a slight crease in it. Thanks, MIke
-
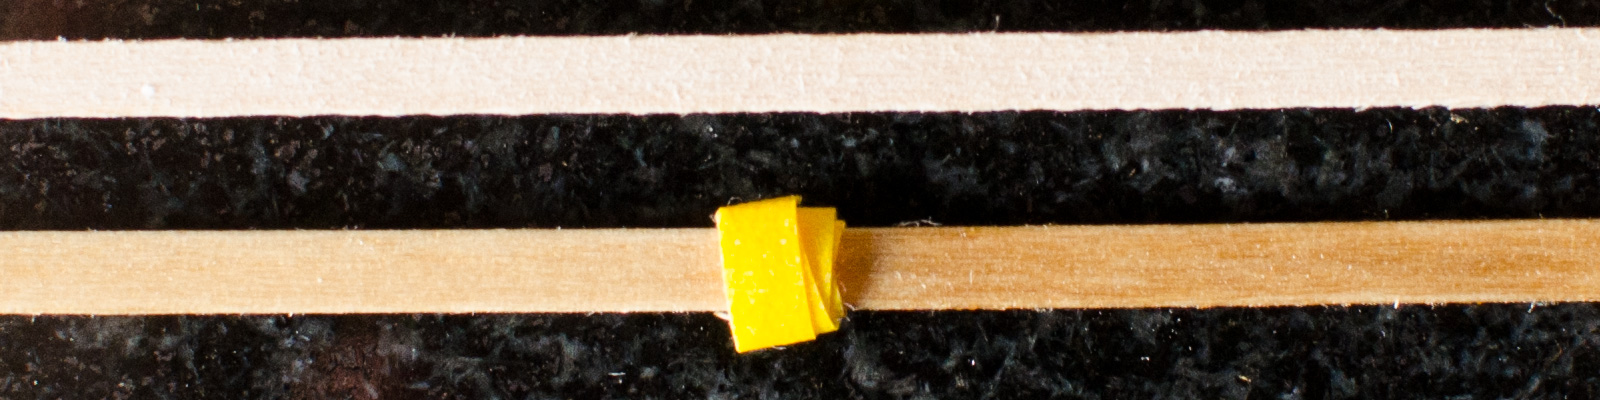
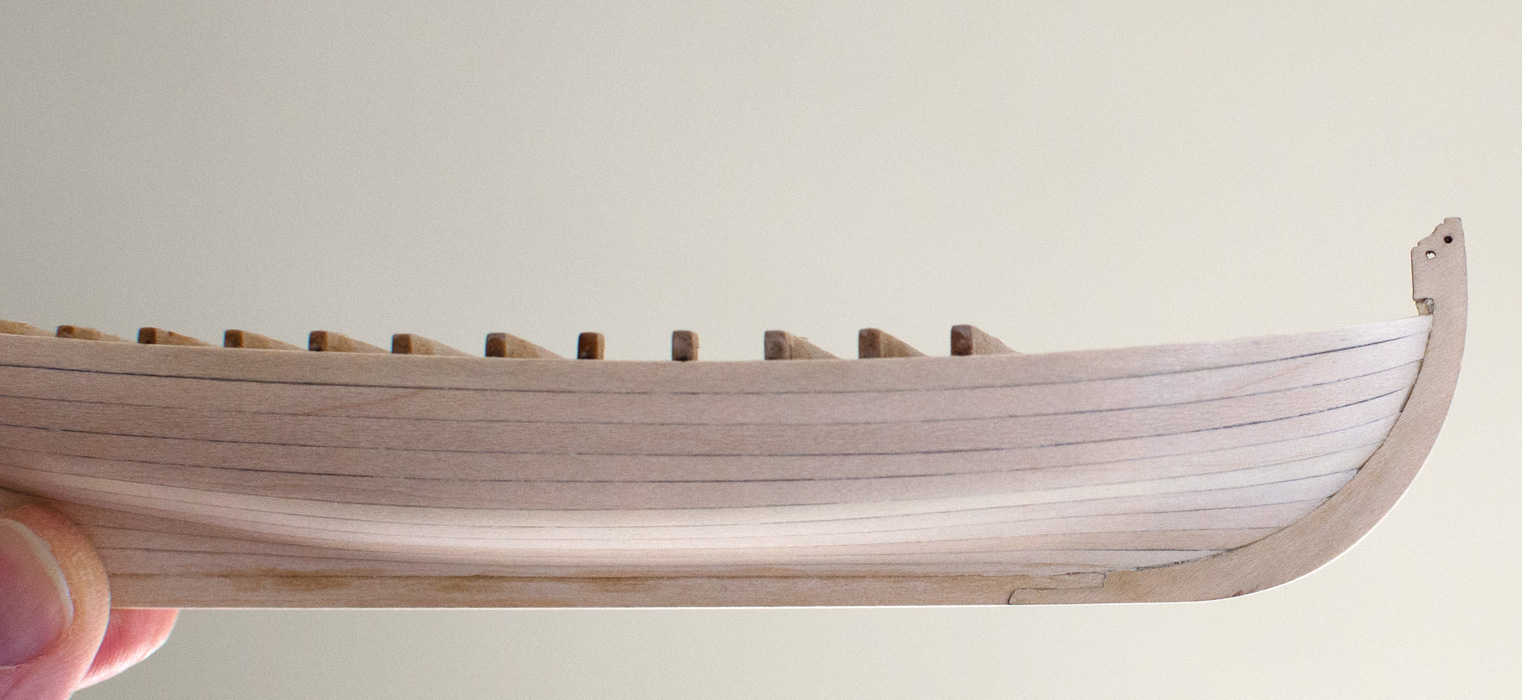
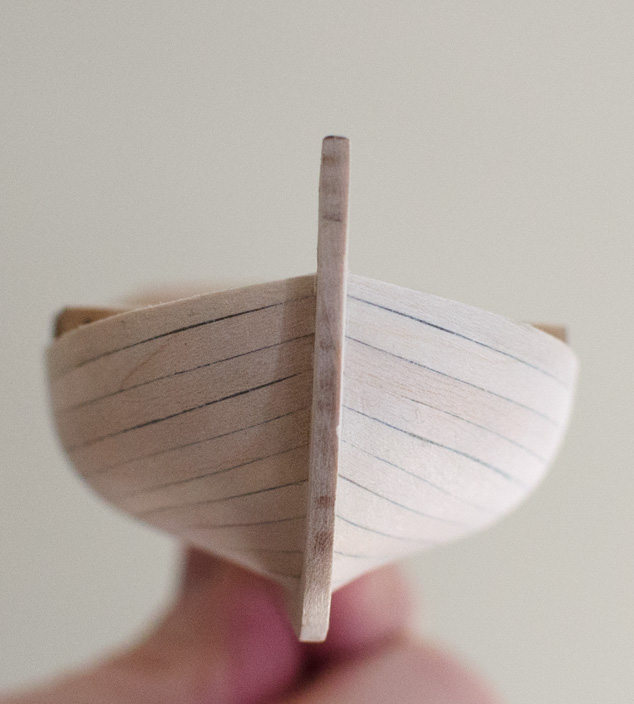
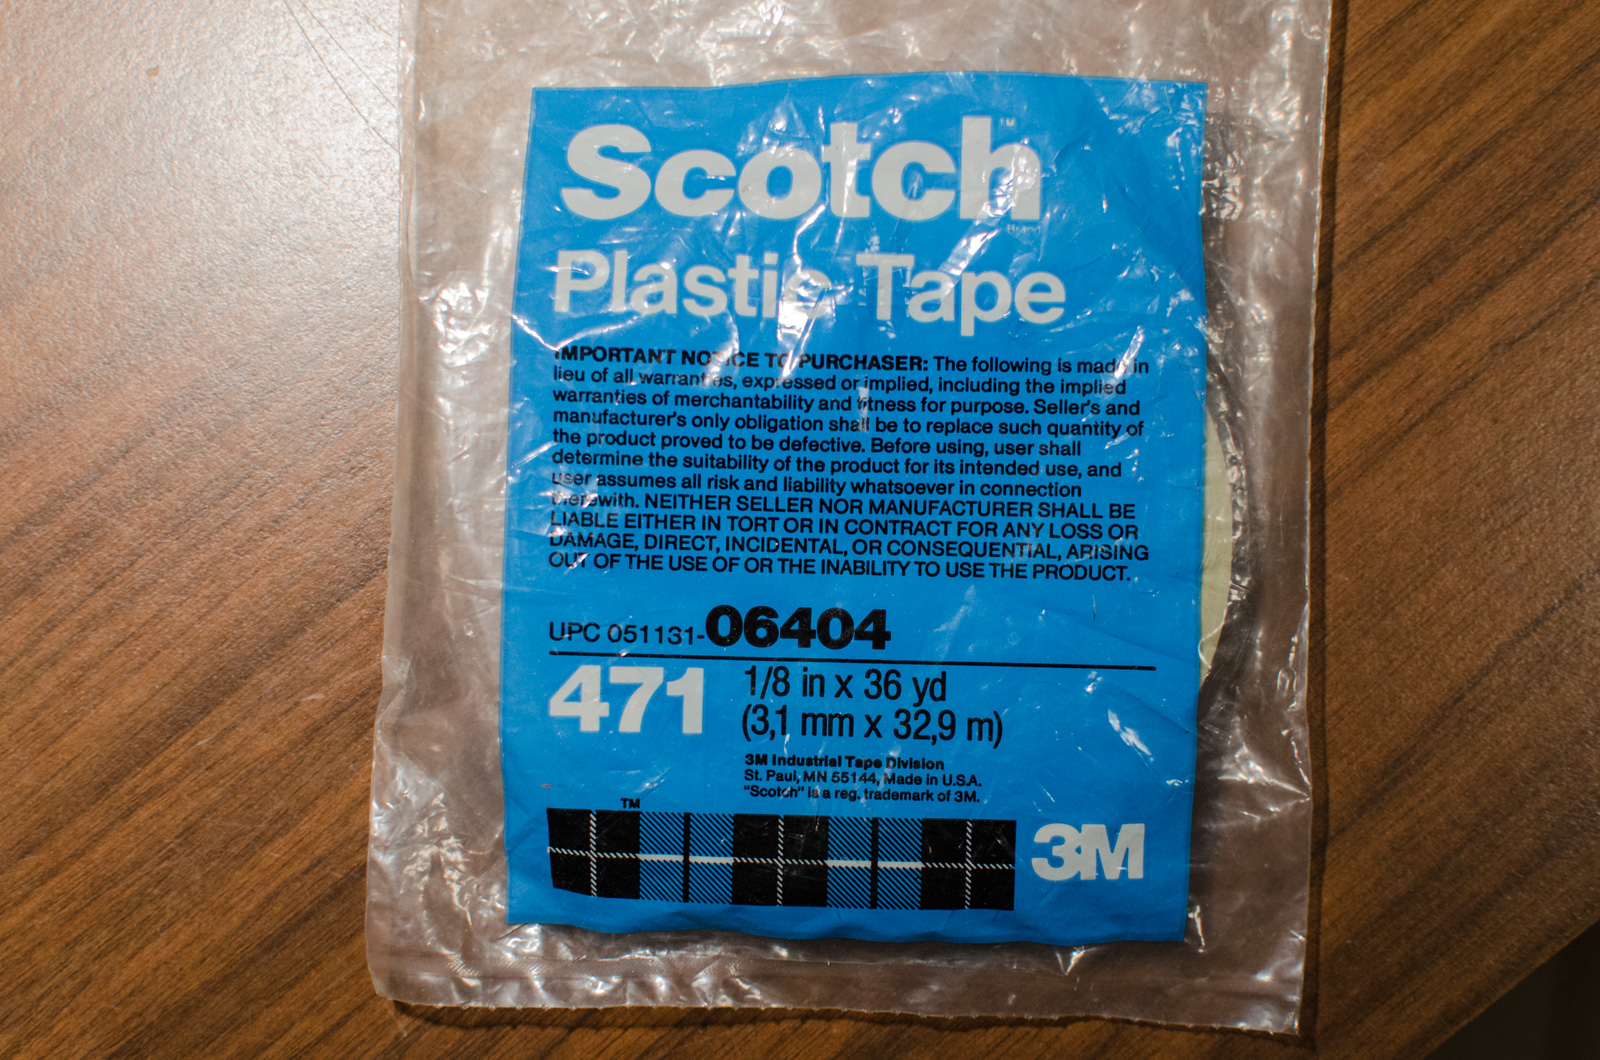
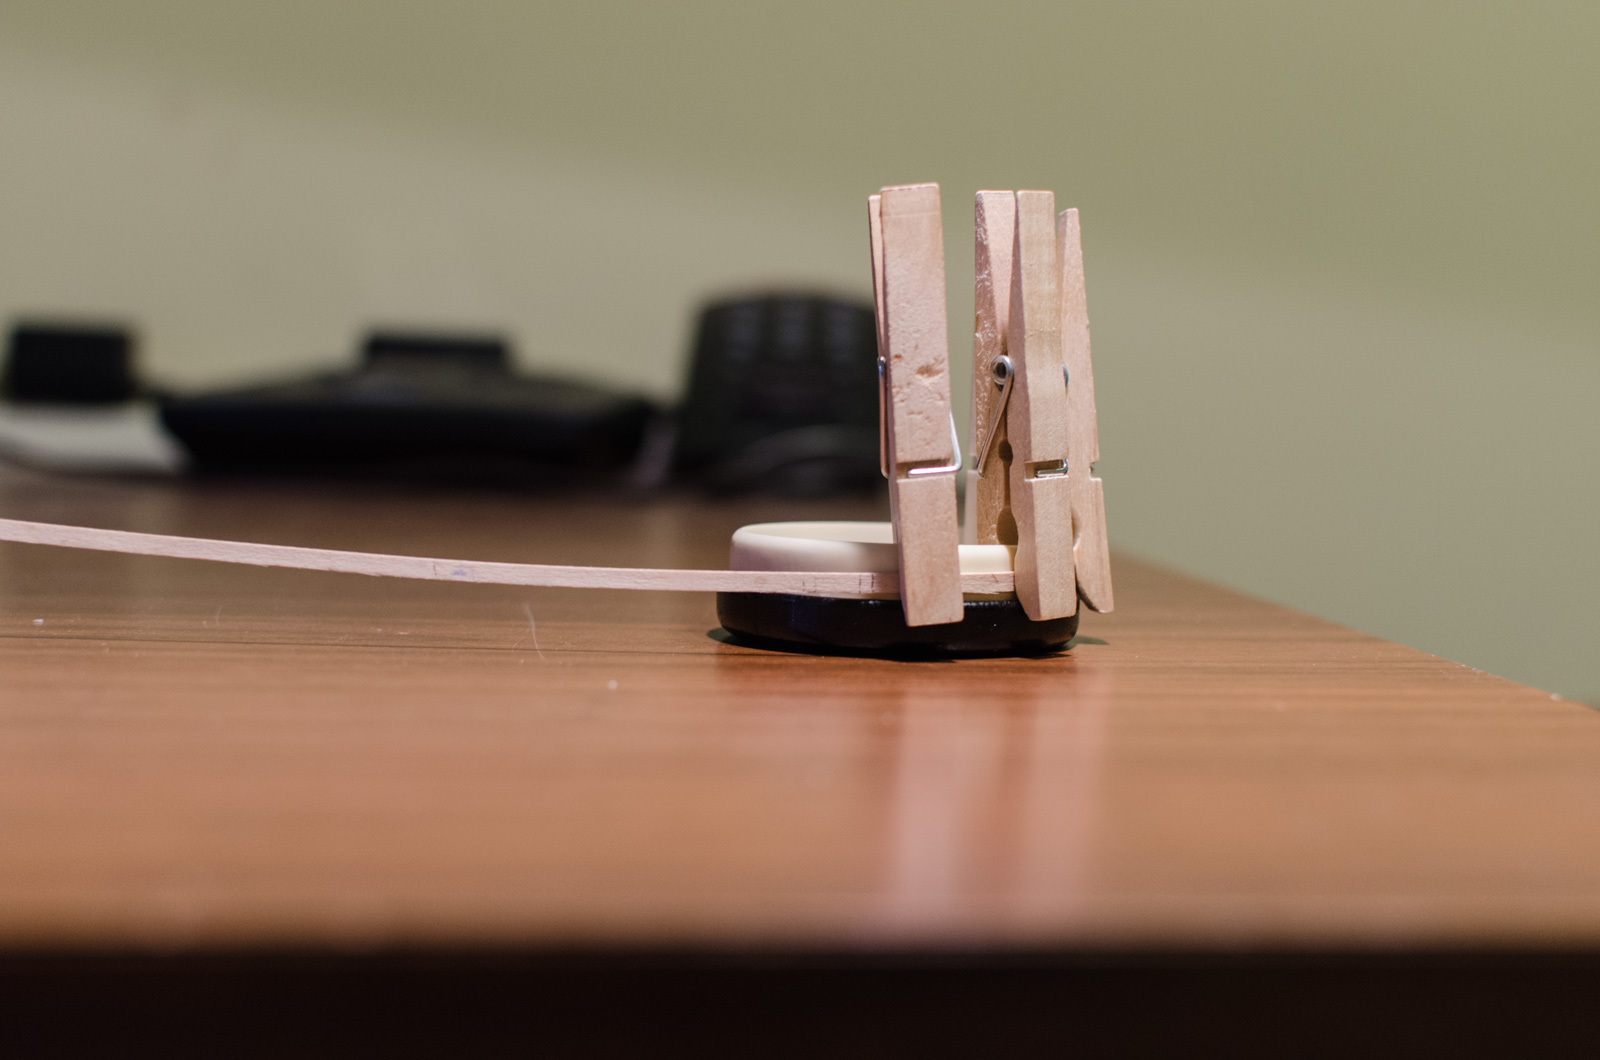
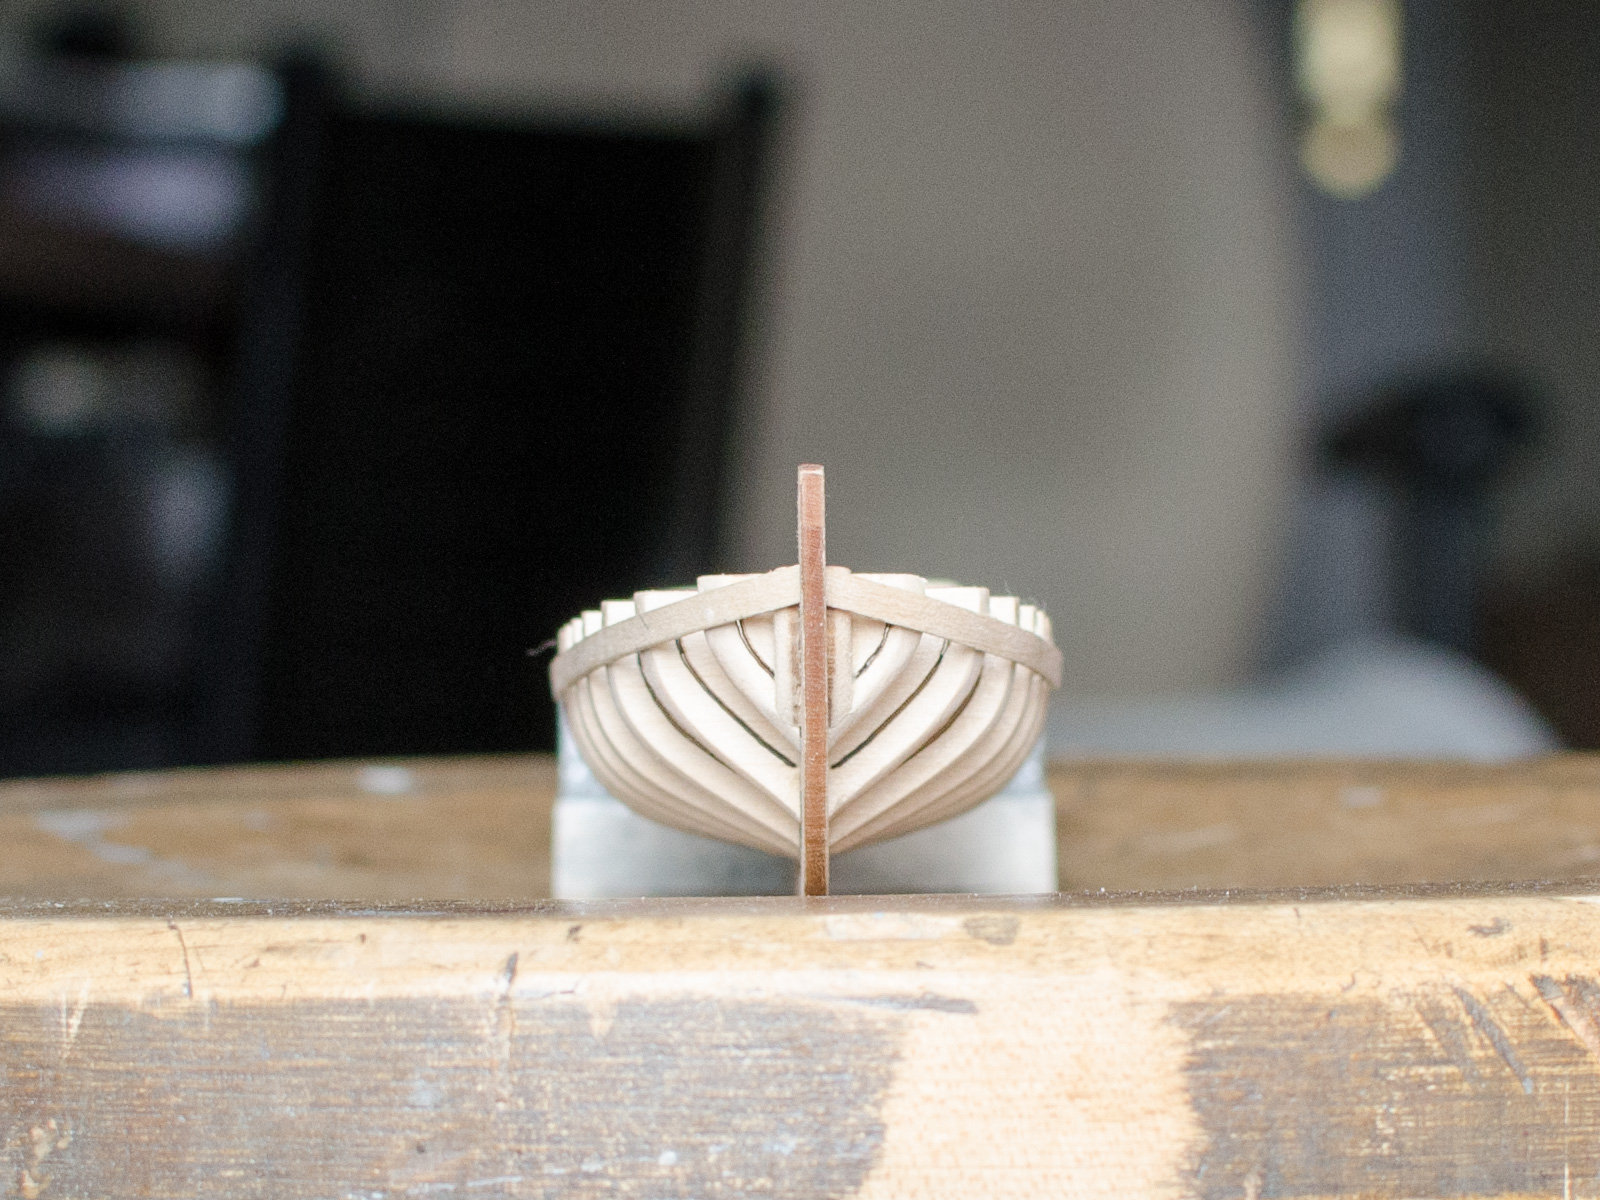
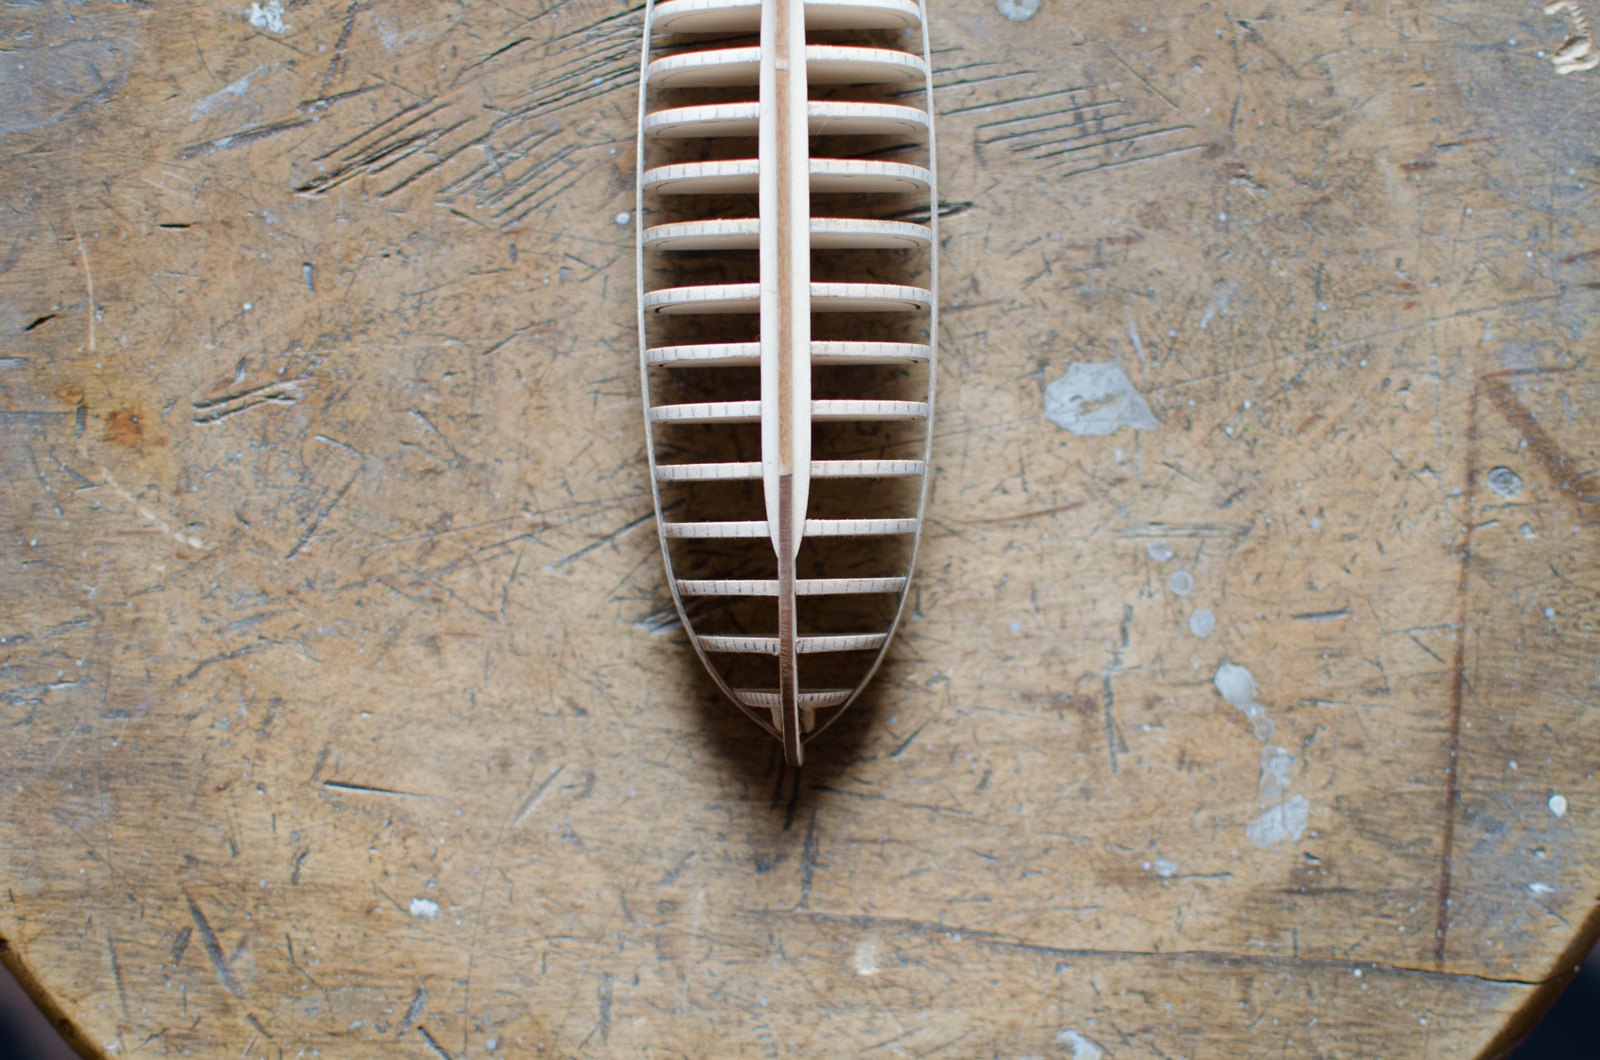
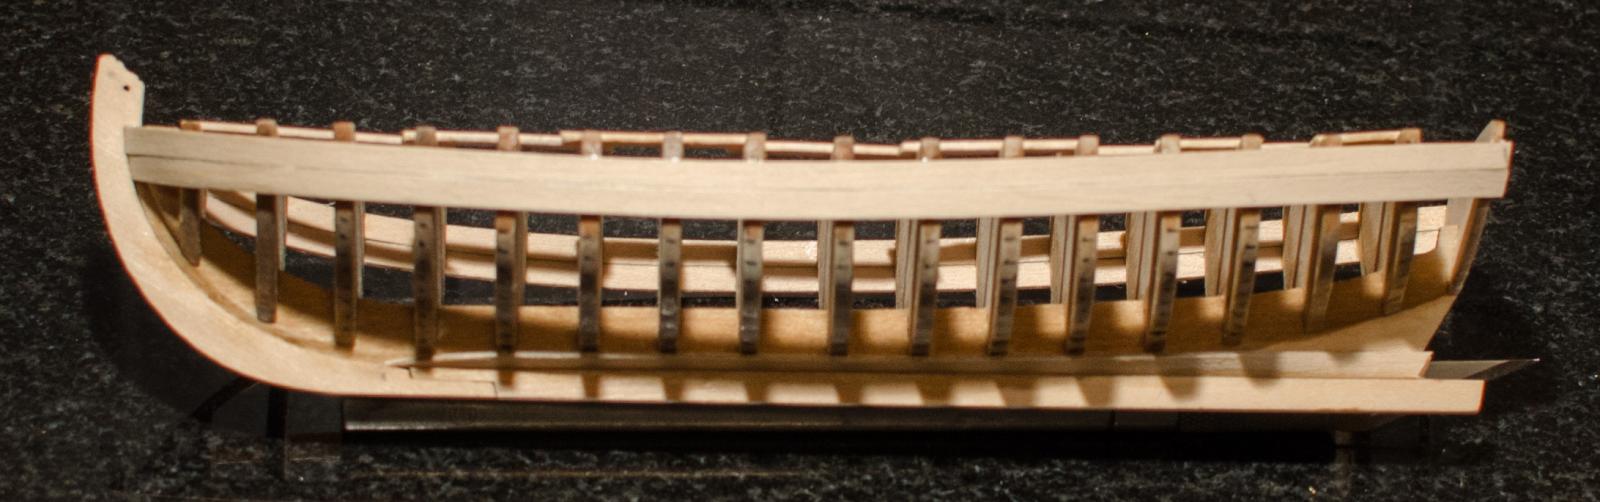
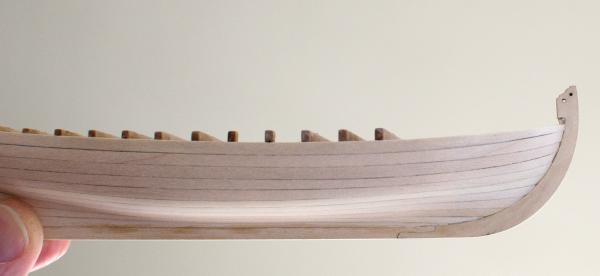
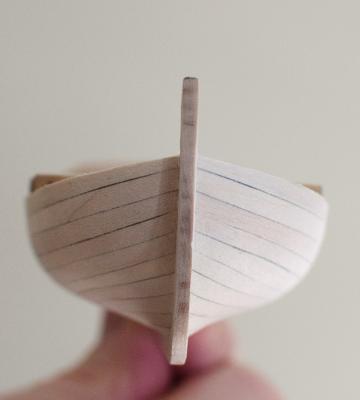
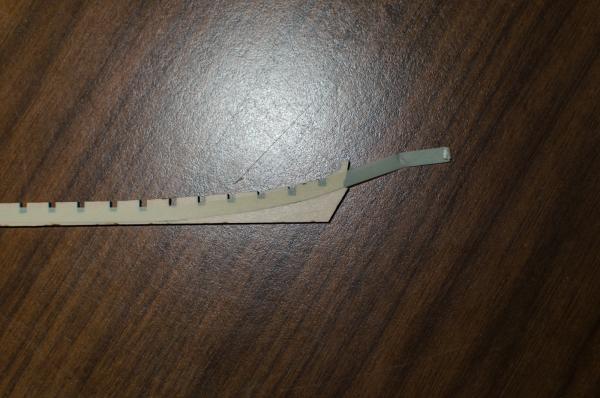
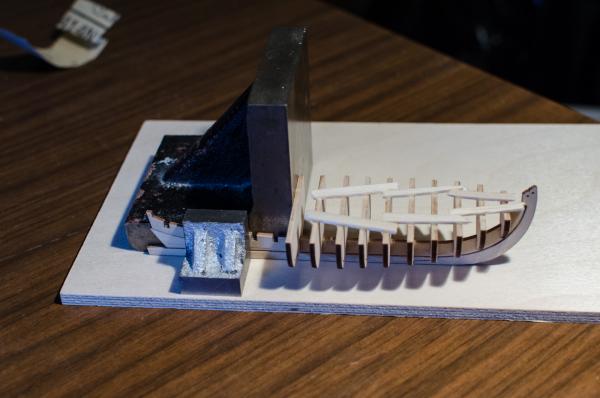
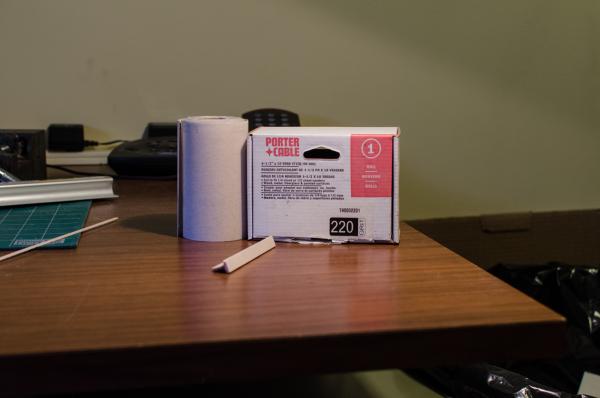
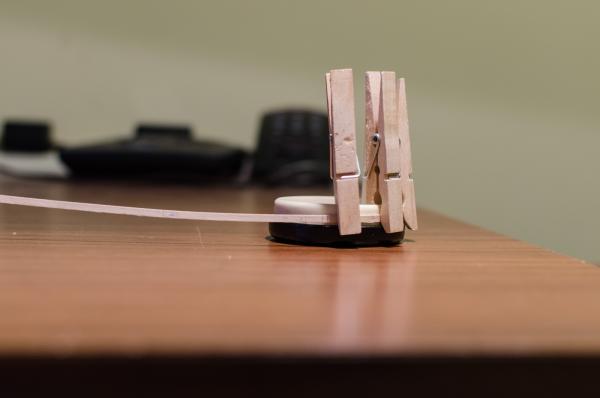
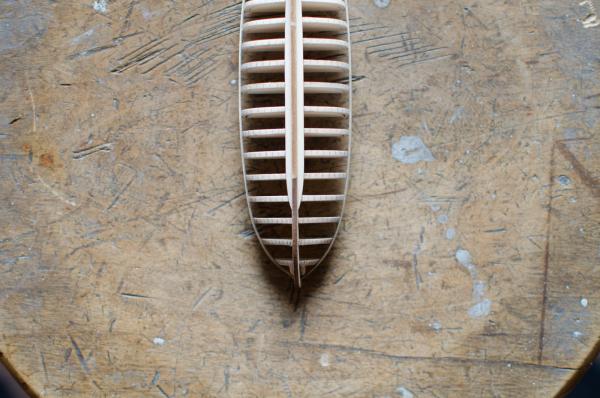
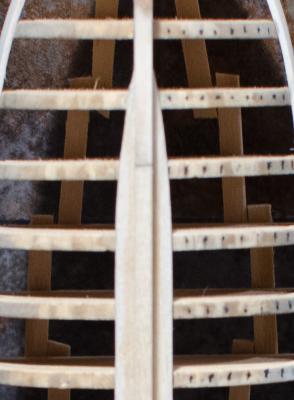
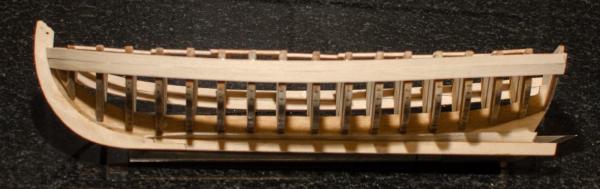
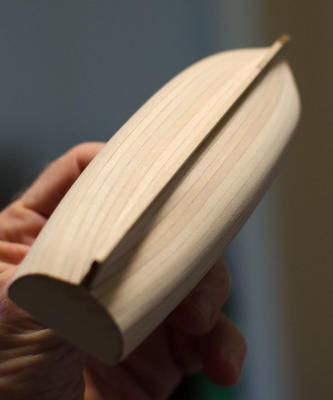
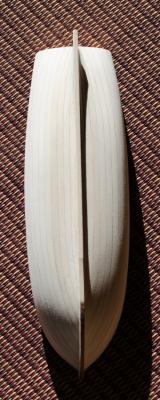
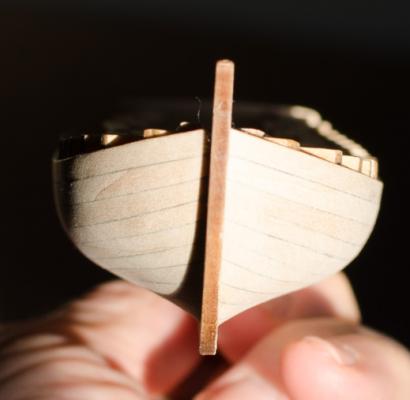
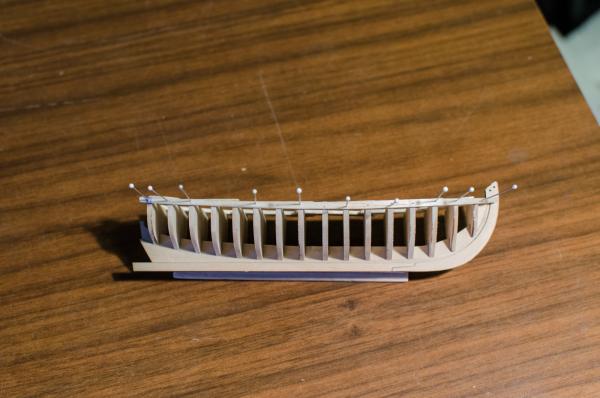
Hello everyone, This is my very first model ship build and I am very happy to be posting it on MSW. I'm finding out that model ship builds are quite unique and challenging. You don't have to try it first to know that. Just reading the build logs on MSW is enough. There is a lot to learn for sure. I chose the Longboat because it seemed like a good place to start as a first build. I have read every build log for this boat and I just want to say what a great job everyone has done. I have learned a lot and I would appreciate any help or suggestions that you might have as I move ahead. Using very thin plastic tape which goes around curves easily, I was able to sand away without going past the bearding line. A few strokes after removing the tape finishes the work. I used 1/4" tape but somehow I lost the package. See below for the same product but a different width. A simple way to line up the bulkheads square to the false keel. The bulkhead tops were aligned by eye after the first one was squared in both directions. I found that using Elmers Carpenters Wood Glue gave me approximately 5 minutes to check things over both ways before the glue started to set. Since it is water based I sanded a tad more clearance between the bulkheads and false keel to allow for swelling. I will use this sticky back sandpaper and a "T" sanding block made from 1/8" balsa to fair the hull. I Left the transom off for now. I found that close pins worked fine here without any worry of creating dents. Made this template from balsa to mark location of the shear line which turned out to be inaccurate. One strake ended up slightly lower than the other. At the time I went with it anyway. Shear strakes in place. Garboard planks installed Lesson learned. . .never try and build when you are sick, coughing and medicated. After ten days and 75% of the planking completed I started to realize that the front end was not going to close up properly with the last plank. The first mistake was tapering the garboard plank too abruptly. Not only were all subsequent planks a nightmare to edge bend at such an extreme curve but doing so prevented each plank from going forward enough to fill in the bow area, I think. Also, Chuck pointed out that I tapered the second plank down from the shear line to nearly a point at 1/64" when I should have only removed 1/64" to produce a very slight taper instead. Really dumb as I misread the instructions. Frustrated and wanting to kick myself, but not one to give up easily, I carefully removed all the planks as well as the keel and stem. The kit provides an extra set of these. To be honest I didn't know that I would be successful tearing everything down but it all worked out fine. I'm glad I used Elmers Carpenters glue and not CA. Here you can see the new garboard plank with a much more gradual taper. As described in Bob F's log, http://modelshipworld.com/index.php?/topic/1465-18th-century-longboat-by-bobf-ms-148-tri-club/page-2, I transferred a tick mark to each bulkhead. Shear strake and following strake installed. This time I tapered the second strake just a bit as per Chuck's instructions. Shot was taken at and angle giving a distorted few of the other side of the boat. Thanks again to Bob F. and Chuck for all your help! Finally! for what seemed like forever, the planking is finished and 95% sanded. Prior to sanding I used these. . http://www.woodcraft.com/Product/2020022/19046/Curved-Scraper-Set-of-4.aspx. . which I found very useful. They allow the removal of just the high spots thus saving as much plank thickness as possible. I suggest that anyone doing the Longboat should read Bob F's log. . . http://modelshipworld.com/index.php?/topic/1465-18th-century-longboat-by-bobf-ms-148-tri-club/?hl=%2018th%20%20century%20%20longboat. . . which contains very useful tips and how to's on planking the longboat from both his initial comments as well as his comments from the dialog he and I had on page 8. I did the planking with 11 strakes which worked out well. I had thought that I would have to taper the strakes at the stem to almost 1/16" but that turned out not to be the case. The most I had to reduce each plank by was no more than around .030. I found the last plank on each side to be the most difficult to make since it had to fit between 2 planks. I tried spiling them but the angles and curves made it difficult to do. Perhaps there is an article on MSW on the best way to do this.


- 109 replies
-
- 9
-
-
- 18th century longboat
- model shipways
- (and 1 more)
-
Wipe-on Poly
Stuntflyer replied to Stuntflyer's topic in Painting, finishing and weathering products and techniques
Thanks. That what I thought as well. . .Coming from a modeling background using "dope" for finishes, we always had to blanket cover the wood with silver or gray first when painting colors like white, yellow or red. This prevented having to shoot heavy coats in order to get good coverage. Weight was always an issue too. Do the acrylic type paints from Badger and others cover that much better so as to not need a primer or blanket coat first? -
Wipe-on Poly
Stuntflyer replied to Stuntflyer's topic in Painting, finishing and weathering products and techniques
By "paint " do you mean colors like red, white, etc? I don't exactly remember but I thought I read that someone put it on before stain. To me, that seemed unusual in that it would block the stain from being absorbed into the wood. -
Wipe-on Poly
Stuntflyer posted a topic in Painting, finishing and weathering products and techniques
I see that quite a few builders are using wipe-on poly. What does it actually do in the finishing process and is it usually applied before staining? Details appreciated. -
Thanks for the suggestions.