HOLIDAY DONATION DRIVE - SUPPORT MSW - DO YOUR PART TO KEEP THIS GREAT FORUM GOING! (89 donations so far out of 49,000 members - C'mon guys!)
×


Stuntflyer
-
Posts
1,197 -
Joined
-
Last visited
Content Type
Profiles
Forums
Gallery
Events
Everything posted by Stuntflyer
-
 Will do, thanks
 -
Is that the same as Dick's Sporting Goods found here? http://www.dickssportinggoods.com/products/athletic-apparel.jsp There are a few close by. If yes, I will visit but leave the wallet home!
-
David - Thanks for the tip. The closest Bass Pro store is 3 1/2 hrs away in Harrisburg, PA. They say that there will be one "coming soon" in Bridgeport, CT and that is only 45 min from me. I will go there after they open.
-
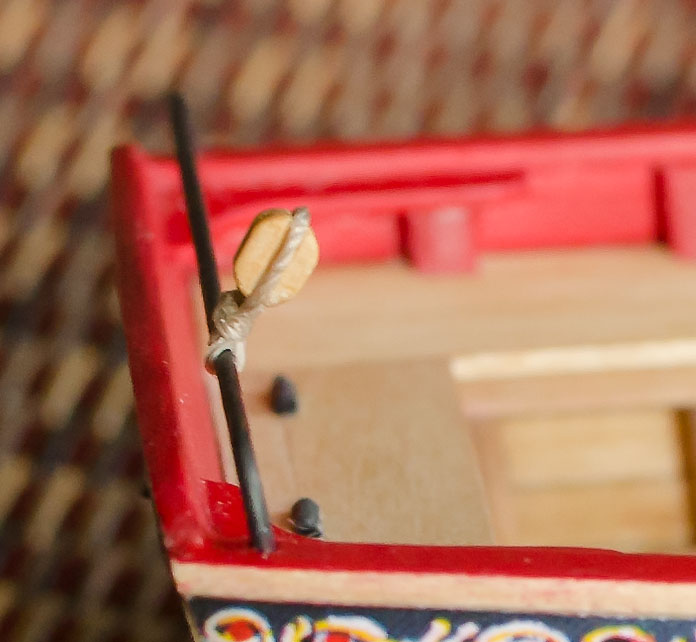
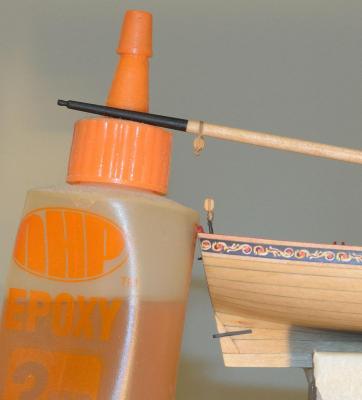
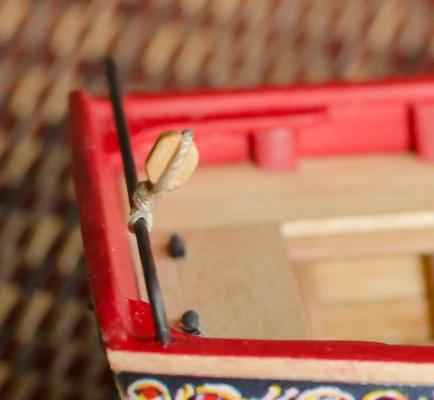
Thanks guys, your kind words keep me going. I have made and destroyed several seizings in an effort to understand and do what Chuck has explained to me. Here is the end result. . . I formed the eye at the bottom of the block by making an overhand knot around a looped piece of rope and sliding the knot down over a pin and pulling it tight. I applied a few thinned coats of white glue to stiffen the eye and once it was dry I removed it from the pin. I tied the rope around the block with another knot and glued that. I wrapped the loose ends (forming a double wrap) of the rope around the boom and tied it off at the bottom of the boom with an another overhand knot. Looking at the photos of Chuck's build it's hard to tell if he tied the final knot on top of the boom which would make it a single wrap, I think. The double wrap is small and looks clean so I went with it.
- 109 replies
-
- 2
-

-
- 18th century longboat
- model shipways
- (and 1 more)
-
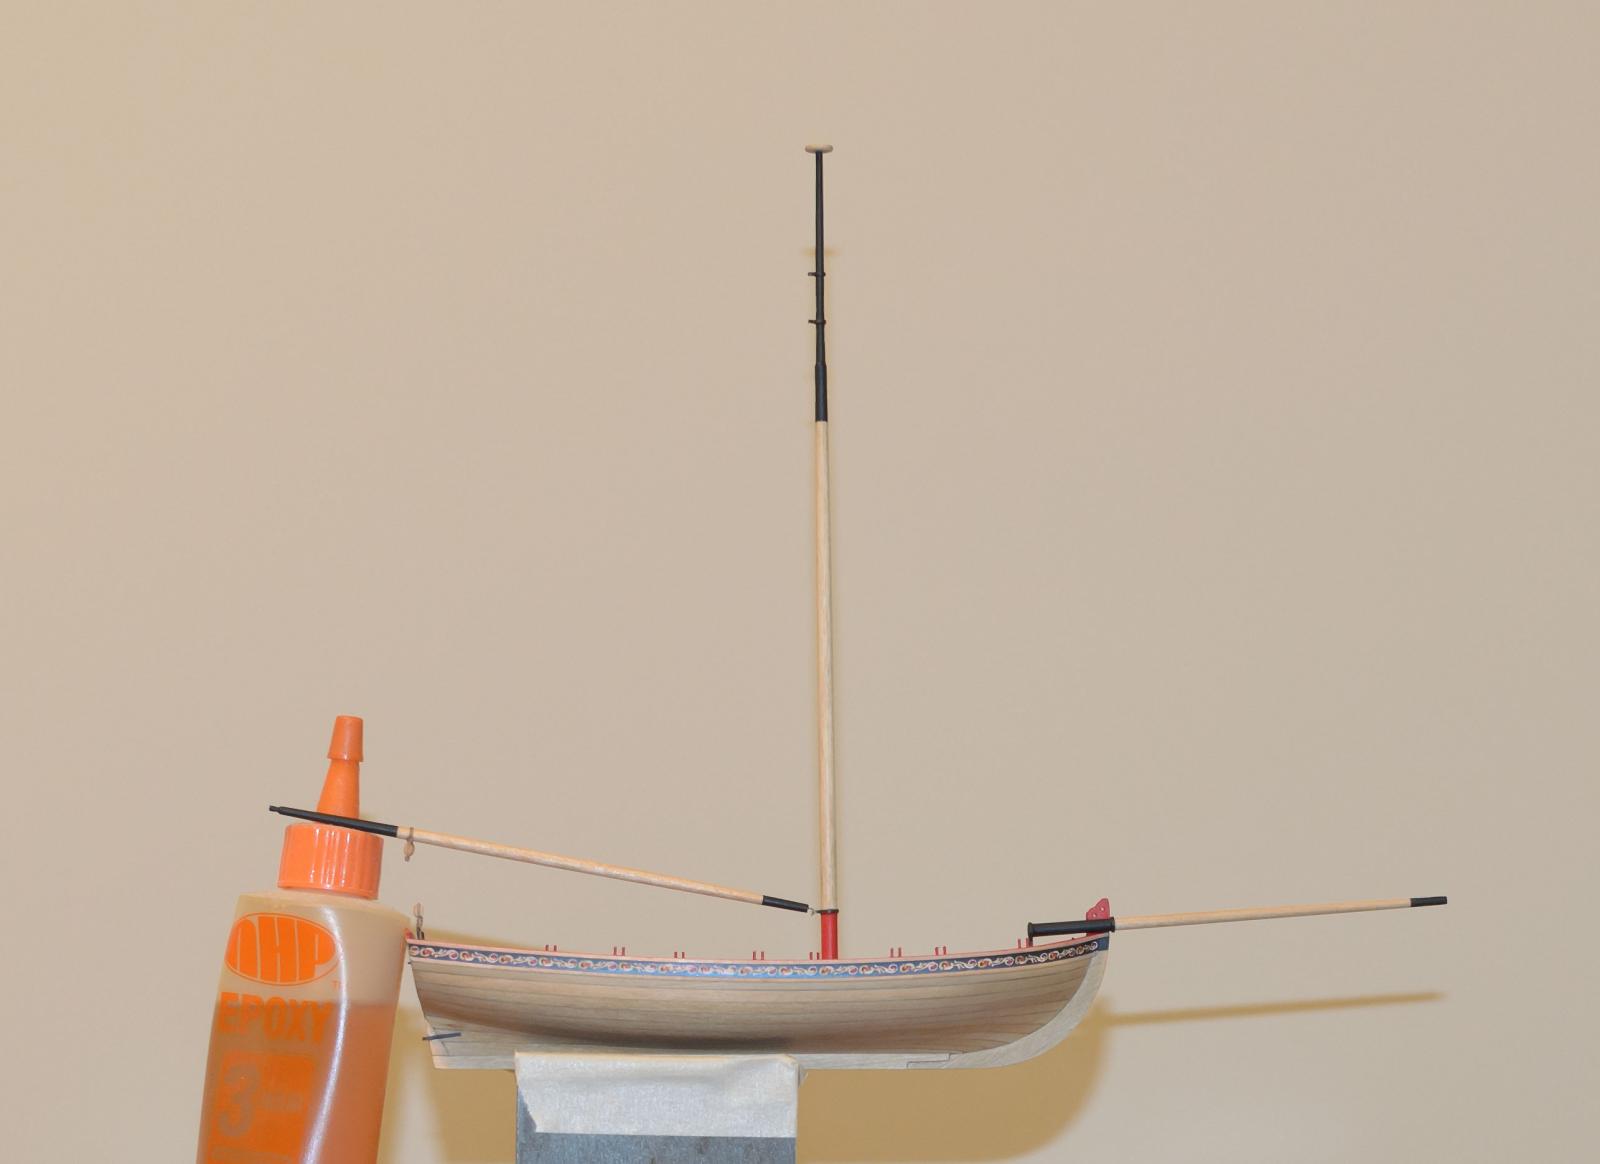
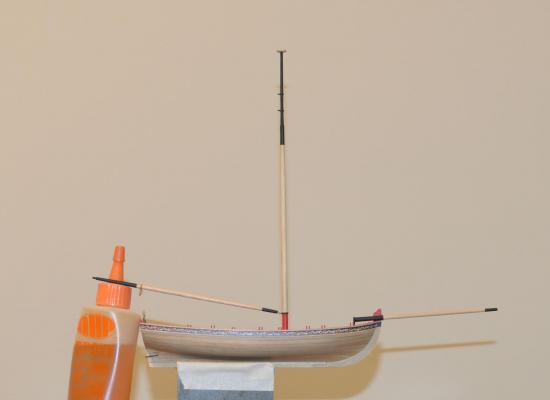
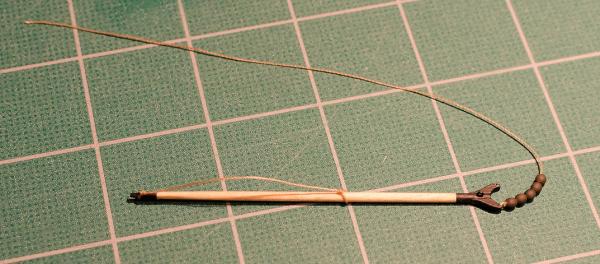
With the mast repaired and re-glued into the hull my next project will be the boom and gaff. I shaped and painted the two parts without any problem but had no idea how to do the seized block and rigging that went along. I posted the topic on "Masting, Rigging and Sails" found here . .http://modelshipworld.com/index.php?/topic/7277-stropping-and-seizing/#entry215601. Some great tips and how-to's came out of that post but I needed more information. I talked with Chuck who also gave me a number of great tips and how-to's as well as explaining that I was over thinking the process. His opinion was that "The scale is too small to do it the way it would be done on the actual ship". Needles to say I had to do a number of trial runs before I was satisfied with the results. I will pass on the tips as I post new photos. The gaff rigging was made from one piece of rope. Measuring off the plans the length of rope is approx 48mm. I seized the loop around the gaff in the middle first. The second loop was then seized for the peak of the gaff. I moved that seizing to approx 48mm of the first seizing and pulled the loop tight to the peak of the gaff. When I first did the seizings I thought they looked too large so I removed 1 strand from the tan rope to make it thinner. The thickness went from .015 to .010 and to me it looks more realistic. As Chuck said "Its just very tricky and there are no silver bullets." BTW; the black color is very dark, not what you see in the photo.
- 109 replies
-
- 1
-
-
- 18th century longboat
- model shipways
- (and 1 more)
-
I second David B. Looking very good!
-
Lextin - Your photos and explanation on seizing help a lot. I still need to see how to seize the block to the boom and create an eye on the bottom end of the strop.
-
Jerry, I understand what you are saying about "As for making the strop grommet". Just can't open the jpg file.
-
Any videos or drawings on how to do all this?
-
Hello, I am building the 18th Century Longboat http://modelshipworld.com/index.php?/topic/4930-18th-century-longboat-by-stuntflyer-mike-model-shipways/page-3 Can anyone show me how to strop a block with an eye on the bottom of the block and seized to the boom on top of the block as in the photo below. The photo is from Chucks log. Thanks very much, Mike
-
Thanks Rich, much appreciated. Your Constitution looks awesome! Do you have photos here of the Aluminum long boat?
- 109 replies
-
- 1
-
-
- 18th century longboat
- model shipways
- (and 1 more)
-
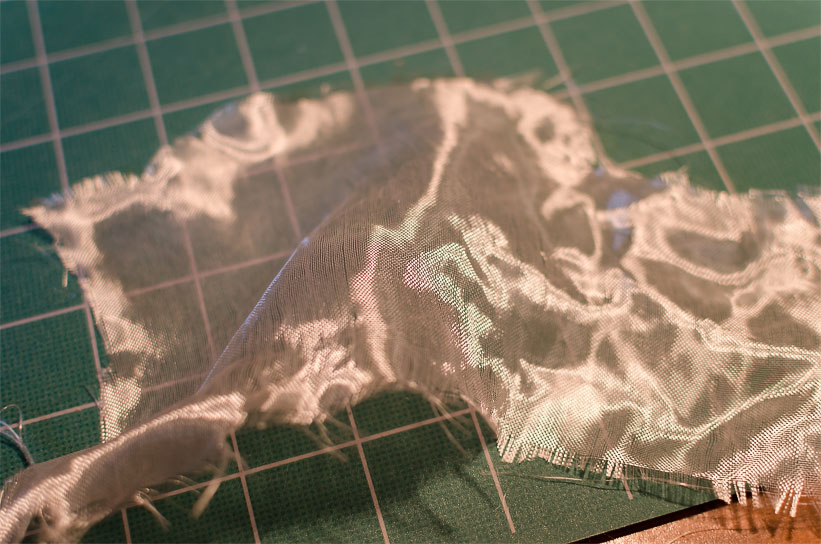
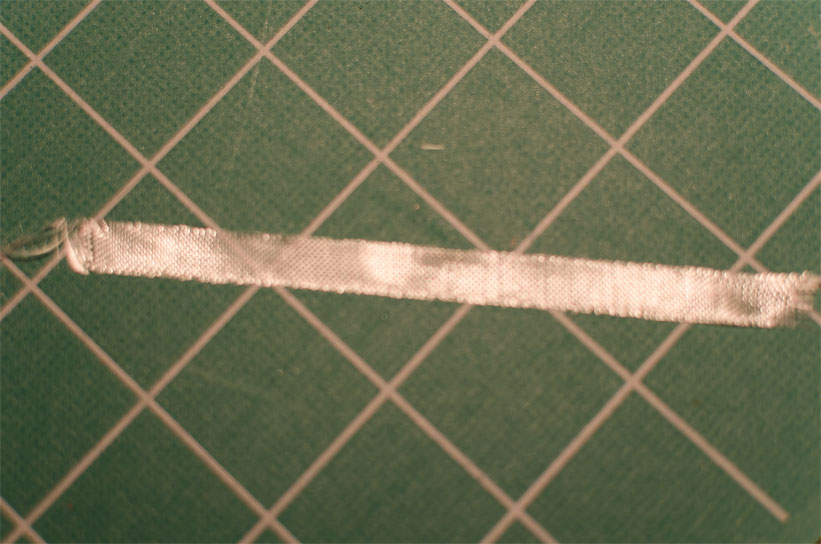
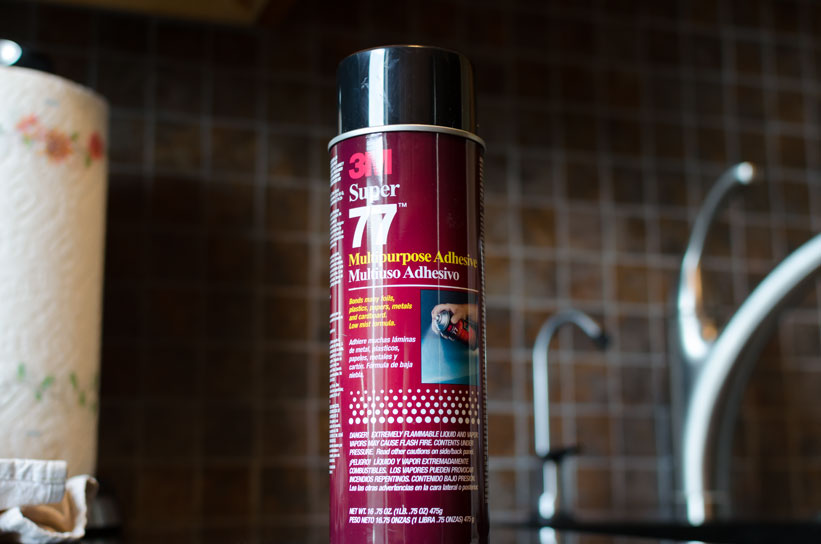
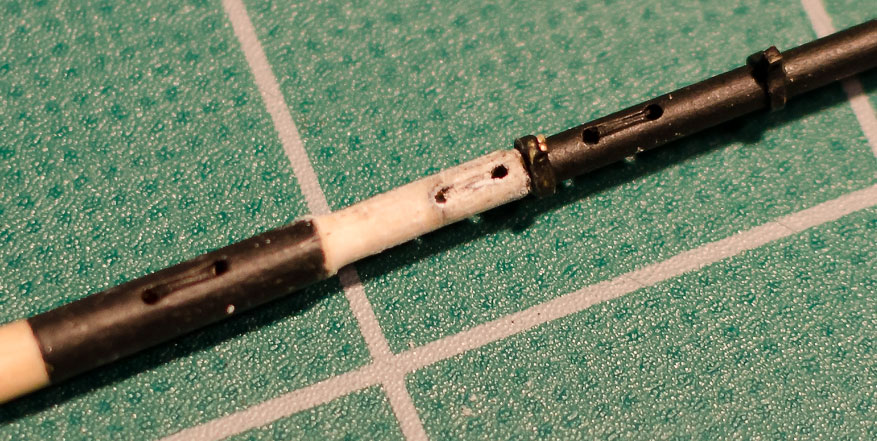
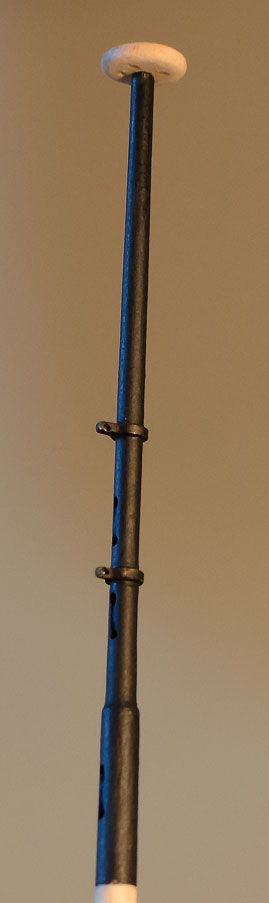
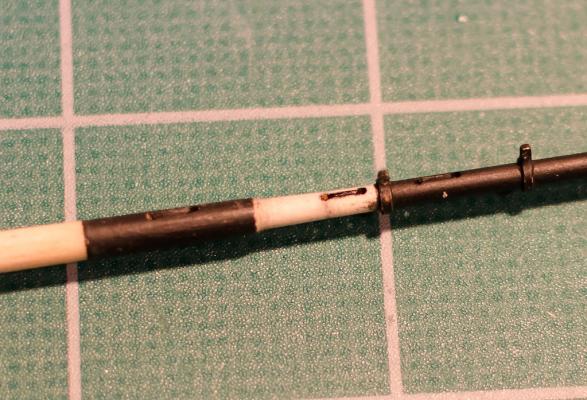
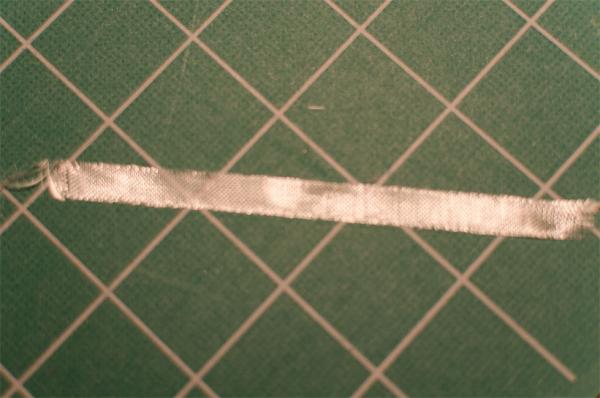
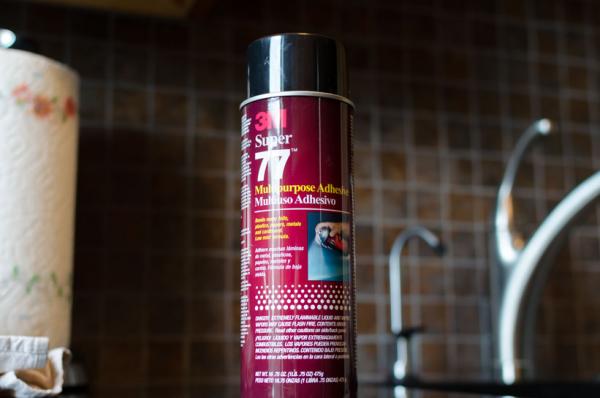
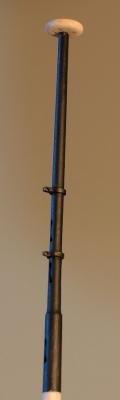
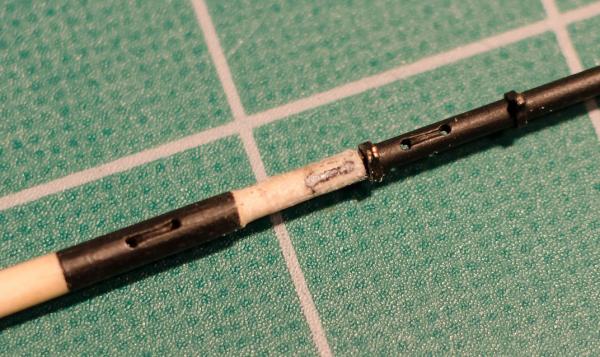
David - your idea sounds really good but I wanted to try something I used to do on the airplanes to strengthen glued wing joints. When doing aerobatics with 90 degree pullouts at 60 mph, 10-15g stresses on the airplane are common. 1. First step was to glue the mast together with epoxy glue. 2. Use 1/2oz or 3/4oz fiberglass cloth, I chose 3/4 oz, to strengthen joint. 0.0015 thick. 3. Attach the cloth to the mast by spraying the cloth with spray adhesive and wrapping the cloth around the mast just once. 4. Here is a photo of the wrapped and glued cloth. At this point the joint is stronger but still not strong enough. 5. Apply 4 to 5 thin CA applications lightly sanded between coats. After the first application the mast is super strong without any flex at the joint. The additional applications will fill the weave of the cloth. 6. Finished mast repair

- 109 replies
-
- 5
-
-
- 18th century longboat
- model shipways
- (and 1 more)
-
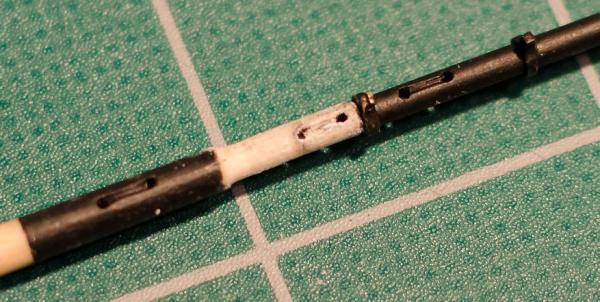
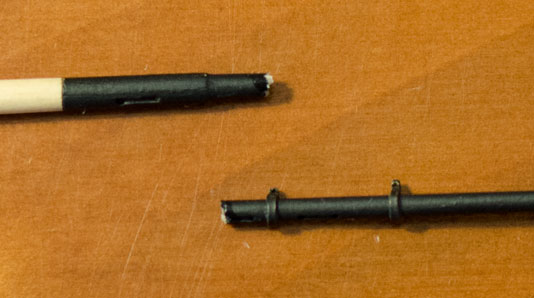
I'm trying to fix it now. It broke at the bottom sheave hole which is a weak spot. Will take pics of what I hope will be a working solution. Definitely don't want to make another one. But, I will if I have to.
-
This is what happens when your not careful.
- 109 replies
-
- 1
-
-
- 18th century longboat
- model shipways
- (and 1 more)
-
Just did my first ever seizing even though it took 5 attempts to get it halfway right.
- 109 replies
-
- 6
-
-
- 18th century longboat
- model shipways
- (and 1 more)
-
Floyd - Have you done any planking yet?
-
Will do, Thanks
-
Chuck, Sorry for so many questions. Being my first build I really want to do things right. Should I seize the block/horse and Mast block/hook the same way? Is there a link showing the way that you would do the seizing? Thanks, Mike
-
Thanks! As always very helpful.
-
Chuck, do you normally ca the seizing between a block and the "horse", for example? When I do, it turns the tan line dark brown and it just looks too dark. Thanks, Mike
-
Mike, I know what you are saying but I don't see where the problem is. The gap between planks and the false keel is normal and won't have a negative effect on the final shape of the hull. By the "joint would be smooth" I'm guessing that you mean like on the Pinnace where the bulkheads flow into the keel. Again, I don't see where the problem is. Only 3 planks after the garboard are needed to get to all the bulkheads. Those 3 planks can easily be sanded into a smooth contour.
-
Longboat 1:48 scale 1/4"=1ft Here is a good link on oars. . . https://sites.google.com/site/shipwrightsfaq/smf-qoars
-
Mike, Page 4 of Chucks manual explains how to bend planks 90 degrees so they fit against the false keel. There are 3 after the garboard plank that need this type of bending. He also explains about beveling the edges where necessary to get a tight fit between the planks. I don't know if your using boxwood makes this impossible to do. With basswood it's quite easy. If it would be helpful for you to see photos of the process, I would be happy to post a few. Mike
-
Thanks guys! Pops. . . Your coming along nicely and fast too. You will be where I am in no time. David B. . .Do you have any build logs I can follow?