-
Posts
1,197 -
Joined
-
Last visited
Content Type
Profiles
Forums
Gallery
Events
Everything posted by Stuntflyer
-
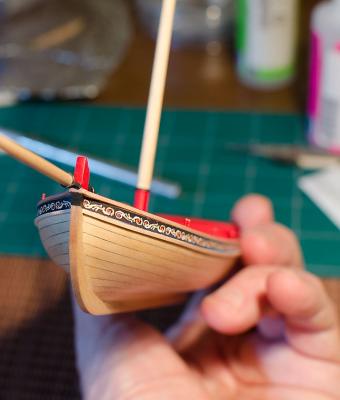
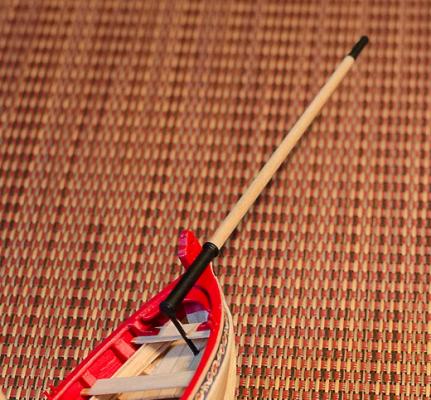
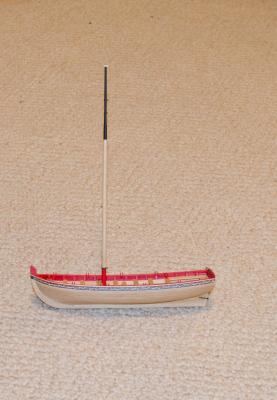
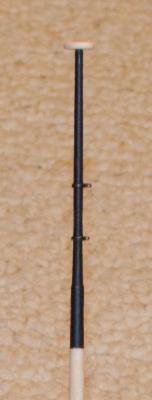
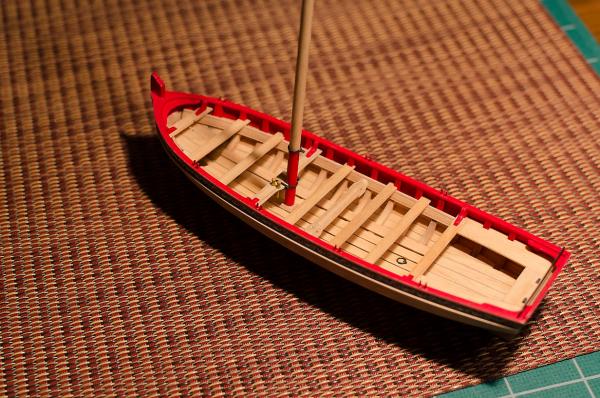
Finished the bowsprit today. I painted all the parts off the model to keep things looking as clean as possible. I glued the "bowsprit step" in place as per the instructions. After sliding the end of the bowsprit into the step I slid the smaller brass band up against the stem. Once I was sure that there was no play fore and aft I spot glued the small brass band to the bowsprit. I then removed the bowsprit from the "bowsprit step" by pulling the bowsprit gently forward. Once removed, I applied more glue to the brass band and painted the bowsprit behind the brass band black. I then glued everything permanently into place.
- 109 replies
-
- 18th century longboat
- model shipways
-
(and 1 more)
Tagged with:
-
- 109 replies
-
- 18th century longboat
- model shipways
-
(and 1 more)
Tagged with:
-
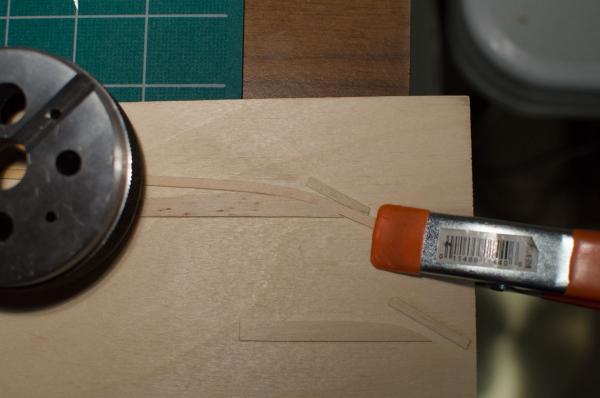
Pops, I did my garboard like your bottom pic. All you have to do is edge bend the next plank(see photo below). If edge bending does not give you a perfect fit then you can sand from behind the curve, slightly, in order to pull the plank closer to the garboard. I believe that this it what Bob F. . .http://modelshipworld.com/index.php?/topic/1465-18th-century-longboat-by-bobf-ms-148-tri-club/page-2 did on his build. I just made this up a few minutes ago so you can see how I did my edge bending. Soak the wood in warm or hot water for 15 minutes, Apply a little hydrogen peroxide with a Q-tip and bend very slowly in the jig. The wood here is a little under size so it doesn't fit tight at the front of the jig. All the planks that I used on the Longboat did. Normally, though not seen here, I would have covered the bend with a heavy weight with a paper towel under it until dry. That will flatten the wood thus removing the slight warp or bulge that you see here. You could make the garboard like your top pic but it will be more difficult to shape the next plank. It will have to be shaped from a wider plank or spiled. You would not be able to just edge bend it into shape because the curve is too severe. Although it worked for me, the Longboat is my first build so please get some confirmation on procedure as I don't want to steer you in the wrong direction.
- 132 replies
-
- 18th century longboat
- model shipways
-
(and 1 more)
Tagged with:
-
Per, I'm also sorry to see this but I do agree with Mike Y. and Chuck S. As long as the broken off pieces are not smashed then you should be able to glue things back together. Besides, the false keel will not show on the finished model. If you need a stem, I have one still in the laser sheet. I would be more than happy to send it to you.
- 335 replies
-
- 18th century longboat
- Finished
-
(and 1 more)
Tagged with:
-
I tried seizing the blocks to the mast bands but for some reason the tan line keeps breaking at the band side with only a few light pulls, even though I 320 sanded the metal smooth. Could be a sharp edge or weak thread, not sure. Looks like I will have to go with hooks. Any suggestions regarding the shape and size? Thanks, Mike
- 162 replies
-
- 18th century longboat
- model shipways
-
(and 1 more)
Tagged with:
-
Chuck, thanks for the info and the link!
- 162 replies
-
- 18th century longboat
- model shipways
-
(and 1 more)
Tagged with:
-
Hi Chuck, I purchased a few books on rigging to help me out when needed. I couldn't find anything on securing the blocks to the iron bands on the mast. Do you have an illustration showing the path that the rope would take. Thanks, Mike
- 162 replies
-
- 18th century longboat
- model shipways
-
(and 1 more)
Tagged with:
-
Made some progress over the past 2 days by completing the rudder and tiller. The tiller was made with the kit supplied 1/16" square basswood. It is thinned down to 1/32" at its narrowest point. I've never worked on anything this fragile so I had to be super careful. The pintles and gudgeons were made from kit supplied 1/32" x 1/64" brass strip and the pin was made using a tiny piece of 28 gauge wire soldered to the brass strip. As per Chuck's instructions, the cutouts in the rudder might need to be deepened slightly to ensure that the pintles lay even to the rudders edge. If they are not flush there will be a gap between the rudder and transom. The pintles and gudgeons were painted with Badger 16-05 Weathered Black. Once everything was done a thin coat of Dullcoat(not seen in the photo)was sprayed over the entire structure. This has the added benefit of sealing the Weathered Black paint which has a tendency to rub off easily.
- 109 replies
-
- 18th century longboat
- model shipways
-
(and 1 more)
Tagged with:
-
A big thank you to Chuck, Pops, Ryland, Andy, Mike Y, Sam, David B. and others who have looked in. I really appreciate all the positive comments and words of encouragement.
- 109 replies
-
- 18th century longboat
- model shipways
-
(and 1 more)
Tagged with:
-
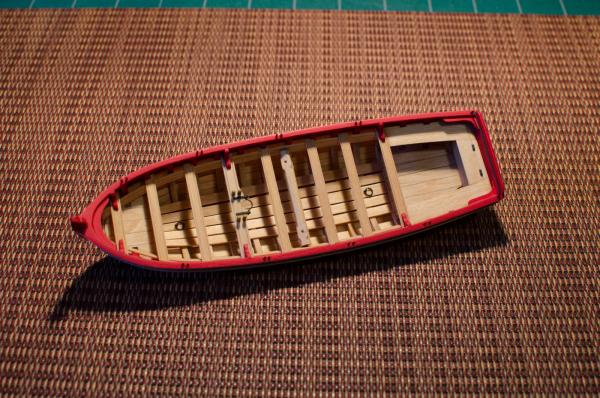
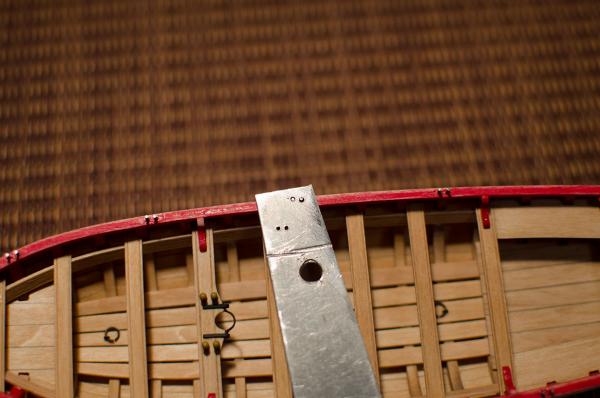
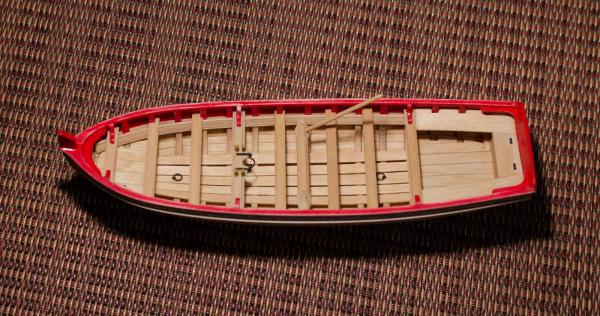
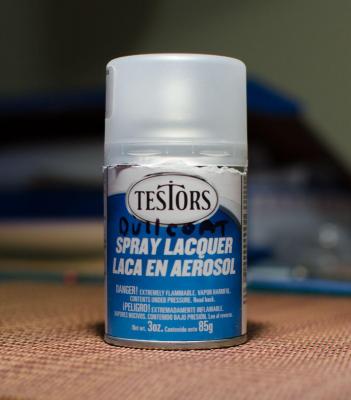
I finished the oarlocks, the horse located in front of the transom and red paint work today. Looks crude but it works. Made from scrap 3/32" aluminum stock to even out the oarlocks using a file. The oarlocks were painted with the same wood tone color that I used on the belaying pins in order to lighten the color of the wire. I then did all the red painting as necessary including the oarlocks. All of the red was then sprayed with the Testors clear dull coat. I sprayed the clear into an airbrush container and used the airbrush to spray. This gave me finer control over the area being sprayed. Even though you can't see it in the photo the red has no shine at all and looks very evenly toned now that it has been sprayed with the Testors Dullcoat.
- 109 replies
-
- 18th century longboat
- model shipways
-
(and 1 more)
Tagged with:
-
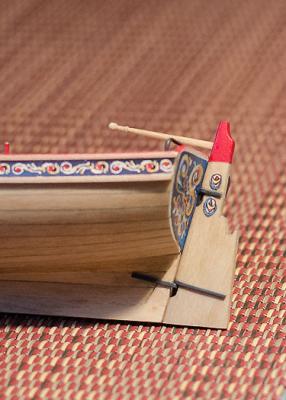
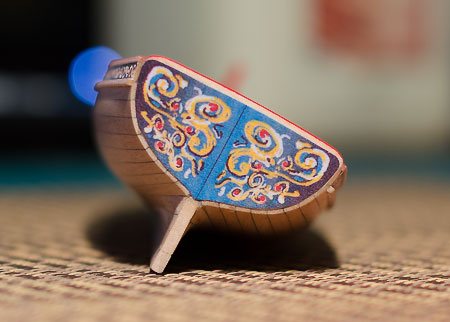
Finally got most of the inner hull details completed. I used Blacken-it on all the metal parts. 15 minute baths in acetone and vinegar in that order and then 50% reduced Blacken-it with distilled water. The windlass and handle where made next. I could not get each end super close to the riser because the riser is at a slight angle. Though everything looks good, if I did the model again, I would sand the frames slightly more vertical so the risers would be more perpendicular. Handle is not glued yet. I was hoping to get wooden belaying pins of the right scale but they are not available according to Chuck. I painted the brass ones from the kit after applying a gray primer coat first. I used yellow ochre Acrylic paint with a touch of orange, white and burnt orange. After I place the oarlocks using 24 guage wire I will clean up the red paint on the cap rail and paint them red as well. Transom frieze Augie told me about this product which he uses to flatten glossy acrylic paint. It's very easy to use and works great. Just a light spray is all that's needed. I will use it on the red paint later.
- 109 replies
-
- 18th century longboat
- model shipways
-
(and 1 more)
Tagged with:
-
Chuck, Regarding the oarlocks. The instructions say to use 26 gauge wire . The kit comes with 22,24 and 28. Which gauge should I use? Thanks, Mike
- 162 replies
-
- 18th century longboat
- model shipways
-
(and 1 more)
Tagged with:
-
Let's say that at the hulls widest point 12 planks will be needed to cover that bulkhead from the keel to the shear line. Since the garboard plank does not go full length from stem to stern, the bulkheads in front of it get fewer than 12 planks. How many planks depends on how many more are necessary in order to touch the next bulkhead. On mine it was 2 more. If it takes 2 more planks to touch the next bulkhead then that bulkhead will only need 9 more planks to cover it, since 3 are already in place. A tick strip at that bulkhead divided by 10 will yield the widths needed to cover that bulkhead. The plank that first touches this bulkhead might not be the exact width of the tick marks but that will not be a problem as you move along. The top tick mark should be lined up with the shear line before the marks are transferred to the bulkheads as it is more accurate than working from the bottom up. I think that using 11 planks makes the scale too large for this boat. 12-13 seems better and 12 seems ideal.
-
Per, On my build every bulkhead's notch had to be opened up slightly as well as every notch in the false keel. We are talking about just enough to allow the bulkhead to move off perpendicular in both directions(fore and aft)as well as side to side. I used a block to get 90 degrees(see third photo on my build log http://modelshipworld.com/index.php?/topic/4930-18th-century-longboat-by-stuntflyer-mike-model-shipways/). Once the first bulkhead was glued in place, I used my eye to align each subsequent bulkheads top to the one previously glued. Hope this helps. Mike
- 335 replies
-
- 18th century longboat
- Finished
-
(and 1 more)
Tagged with:
-
Per, It's true that the stem is fragile but I found that once the cap rail is glued in place it's much stronger. Also, the false keel will not be seen on the finished model and as Mike Y said "Making false keel of boxwood could be tricky. . ." Mike
- 335 replies
-
- 18th century longboat
- Finished
-
(and 1 more)
Tagged with:
-
Mike, looking at your close-up shot of the keel and false keel it appears the bevel is somewhat rounded. FWIW, I found that beveling the false keel straight and thinning it to less than 1/32" helped a lot in allowing the planks to get into position without slipping out. Although more difficult to do, you can still bevel it more after the keel and false keel are glued together. Also, the bevel will not show up on the finished models interior. Mike
-
Mike, I did it early on because Chuck said so in his instructions and I wasn't about to question the master. Perhaps he will give us some insight here. I will say that placing the garboard early on does a lot to strengthen the overall structure. Remember also that you will have to reduce the number of tick marks forward of the garboard plank by 1 or 2 depending on which bulkhead.
-
Mike, Congrats! Just completing it should make you very proud. I'm really looking forward to your Longboat build. Again, well done.
- 137 replies
-
- finished
- model shipways
-
(and 1 more)
Tagged with:
-
Chuck, how long are the handles for the windlass? Thanks, Mike
- 162 replies
-
- 18th century longboat
- model shipways
-
(and 1 more)
Tagged with:
About us
Modelshipworld - Advancing Ship Modeling through Research
SSL Secured
Your security is important for us so this Website is SSL-Secured
NRG Mailing Address
Nautical Research Guild
237 South Lincoln Street
Westmont IL, 60559-1917
Model Ship World ® and the MSW logo are Registered Trademarks, and belong to the Nautical Research Guild (United States Patent and Trademark Office: No. 6,929,264 & No. 6,929,274, registered Dec. 20, 2022)
Helpful Links
About the NRG
If you enjoy building ship models that are historically accurate as well as beautiful, then The Nautical Research Guild (NRG) is just right for you.
The Guild is a non-profit educational organization whose mission is to “Advance Ship Modeling Through Research”. We provide support to our members in their efforts to raise the quality of their model ships.
The Nautical Research Guild has published our world-renowned quarterly magazine, The Nautical Research Journal, since 1955. The pages of the Journal are full of articles by accomplished ship modelers who show you how they create those exquisite details on their models, and by maritime historians who show you the correct details to build. The Journal is available in both print and digital editions. Go to the NRG web site (www.thenrg.org) to download a complimentary digital copy of the Journal. The NRG also publishes plan sets, books and compilations of back issues of the Journal and the former Ships in Scale and Model Ship Builder magazines.


